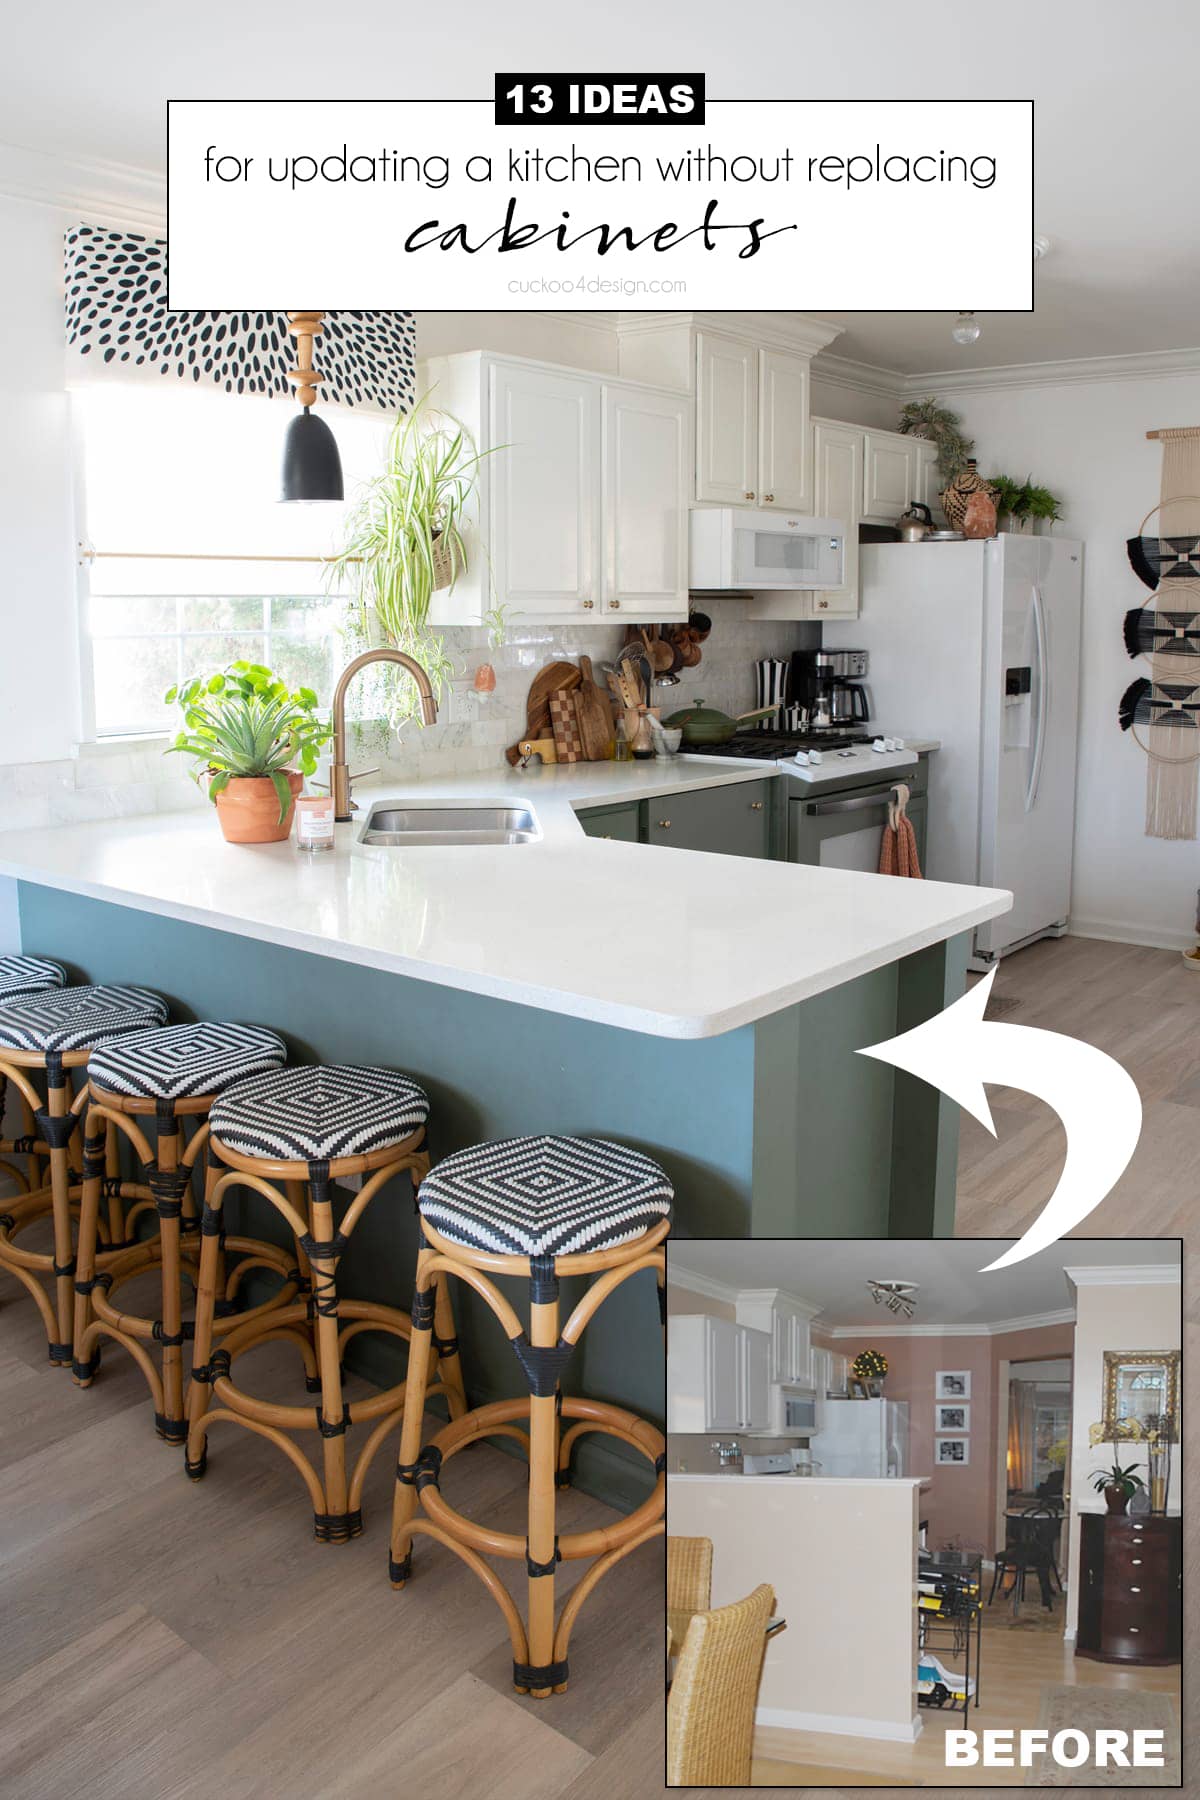
13 ideas for updating a kitchen without replacing cabinets
When people are looking into updating their kitchen without replacing cabinets, they often have lots of questions and face all kinds of challenges. When you do research online about how to update your kitchen, you find round-ups by big sites with beautiful photos. They showcase wonderful kitchens that might be cheaper than others but a lot of times not relatable or DIYable on your own. That’s the reason I thought I’d write a blog post about what I have done myself and what some of my friends have done.
My house and kitchen were built in 2000 and guess what? I still have the same cabinets, I just updated the builder-grade look. Keeping your existing cabinets is obviously the best way to save money on your kitchen renovation.
13 ideas for updating a kitchen without replacing cabinets
The main question when renovating your kitchen on a budget is “Are there any DIY projects that I can do to upgrade my kitchen without spending too much money?” Well, yes there are! If you want to upgrade/update your kitchen, DIYing is a must. Everything I’m mentioning below is a DIY project of some sort.
1. Update your cabinets (with paint or an old primitive trend)
I am mentioning this first because it’s a no-brainer by now, especially if you want to update your kitchen without replacing the cabinets. I mean, some of you might even insert an eye-roll here because it’s pretty much a given that mostly everyone will grab some paint to give furniture and cabinets a basic makeover.
But, did you know that you can revamp crappy laminate cabinets successfully with paint too?
So… Do you have laminate cabinets that are peeling? I did and they can be fixed and made to look like new with some elbow grease. All I did was peel off the old laminate, sanded, primed, and then painted the cabinets the way you would with wood cabinets. (make sure you check out my project)
I did peel the laminate off the lower and upper cabinets. The lower cabinets in a dark green and the upper cabinets in a pure white.
(I also upgraded the doors with some soft close hinges and drawers to soft close adapters which makes a huge difference but that doesn’t affect the look of the kitchen just functionality)

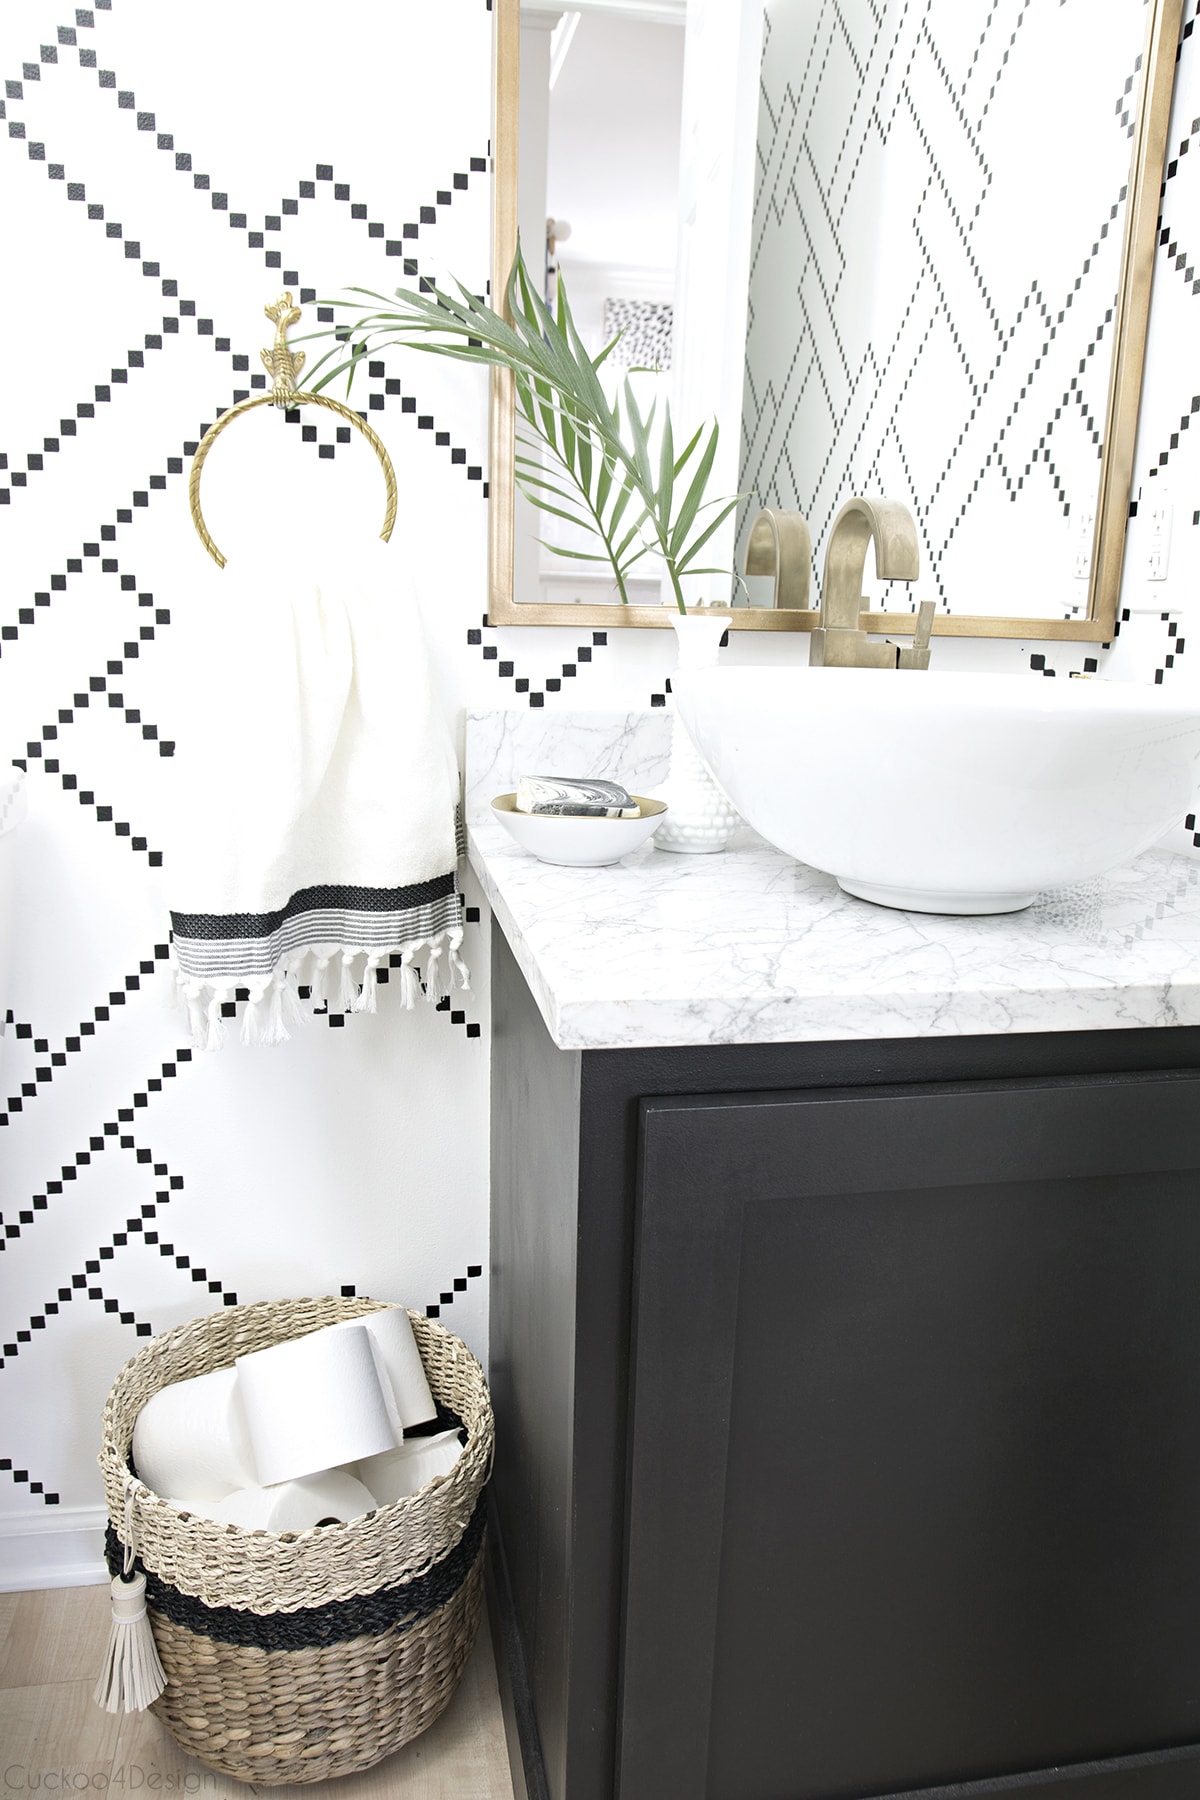
If your doors and drawer fronts are beyond repair, you can order new ones for pretty cheap on Amazon. I ordered an unfinished MDF door for my bathroom which has the same type of cabinet as my kitchen and I’m really happy with it. You do not need to pay someone to reface the cabinetry for you. Painting those unfinished MDF doors is the same process that I mentioned in my blog post about my cabinet painting tips.
In the below photo, you can see the door painted black and attached to my cabinet.
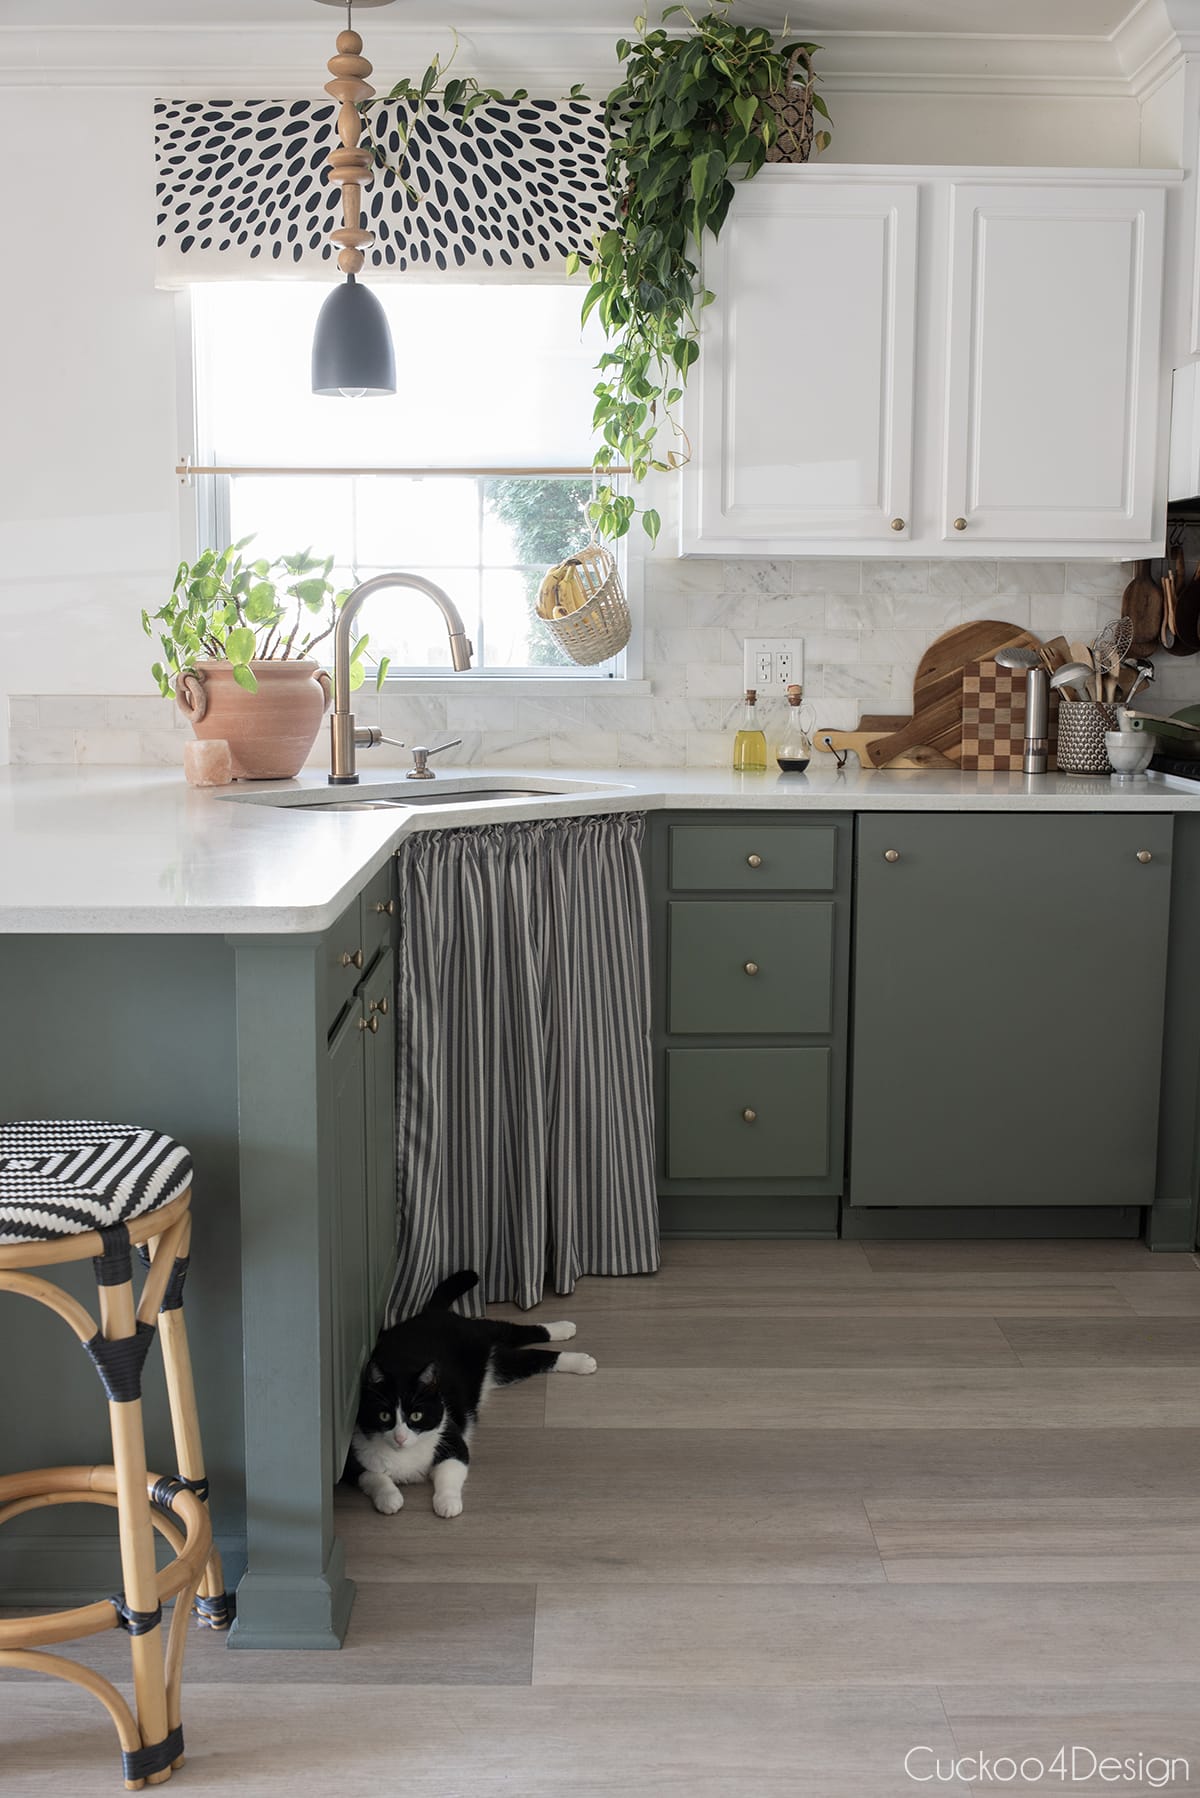
One more thing! Guess what is coming back in style? My old self would have never said this but I have been all over that old-but-new trend on my Pinterest kitchen board… drumroll please for the kitchen cabinet curtains! And don’t give me that disgusted side eye (that my teenage daughter gives me) because I see you. Hear me out! Cottagecore is here in full force. Check out my Pinterest board that I just mentioned and there isn’t a more affordable way to update your existing cabinets by using cabinet curtains. So let’s embrace it if it is coming back in style. I’ve been so annoyed how my family destroys my sink cabinet door all the time and how I have to repaint it frequently, it’s crossed my mind to just take it off for now and add some sink curtains.
But I totally get that this look isn’t for everyone. A couple of years ago I would have called you crazy had you suggested this to me. You can certainly put a modern twist on it too.
UPDATE: I recently took the cabinet door off and wrote a tutorial about How to make a sink skirt curtain without sewing. I am very happy with how it turned out and as you can see below, Willy likes it too.
2. Adding new cabinet hardware
We just talked about updating your cabinetry which can also be done by simply adding new hardware. New drawer pulls and knobs can be very expensive though. So if your cabinet hardware is outdated but you don’t have money to spend on pricey new knobs and drawer pulls then you can make DIY drawer pulls with some plumbing Ts and dowel rods.
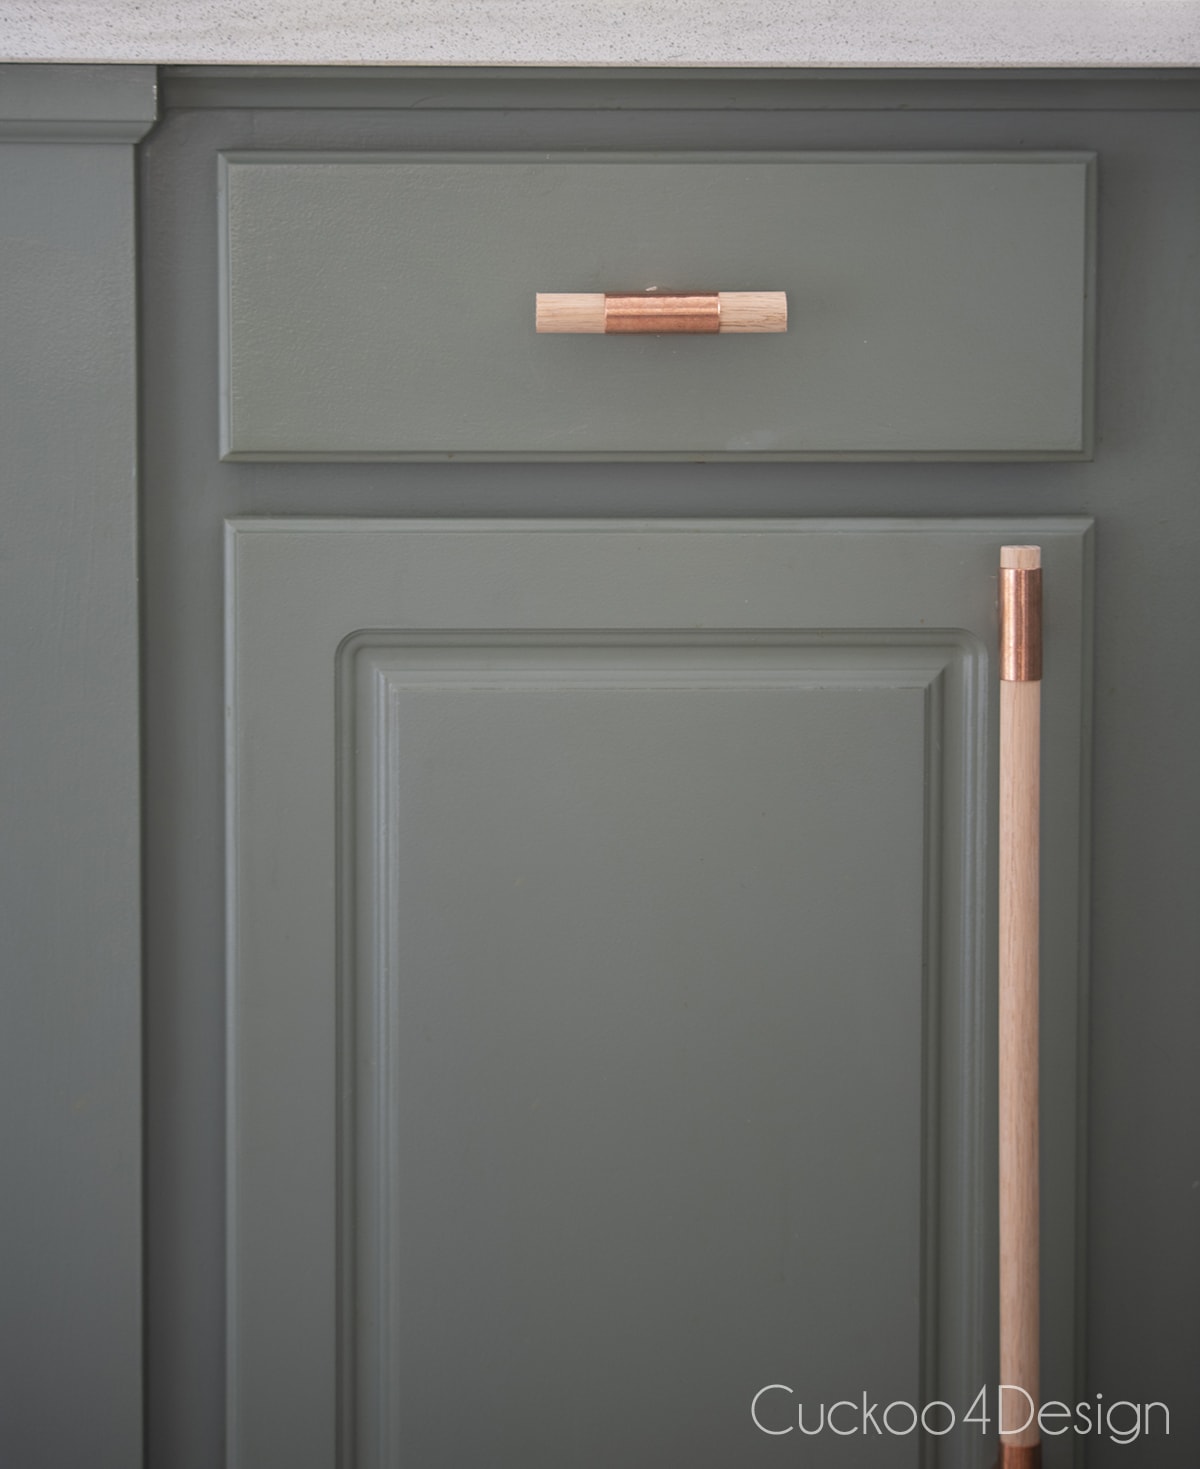
I made these handles for my bathroom vanity and ended up using cheap Ikea knobs in the kitchen.

Or you could make my easy DIY leather drawer pulls or macrame drawer pulls. All three cabinet hardware tutorials can be made to fit over existing holes.

3. Install crown molding
Unfortunately, I don’t have a before photo for this project. I added crown molding to our ceiling and cabinets before I started my blog. Adding decorative molding elevates the look of any room and most definitely when added to the top of your cabinets.
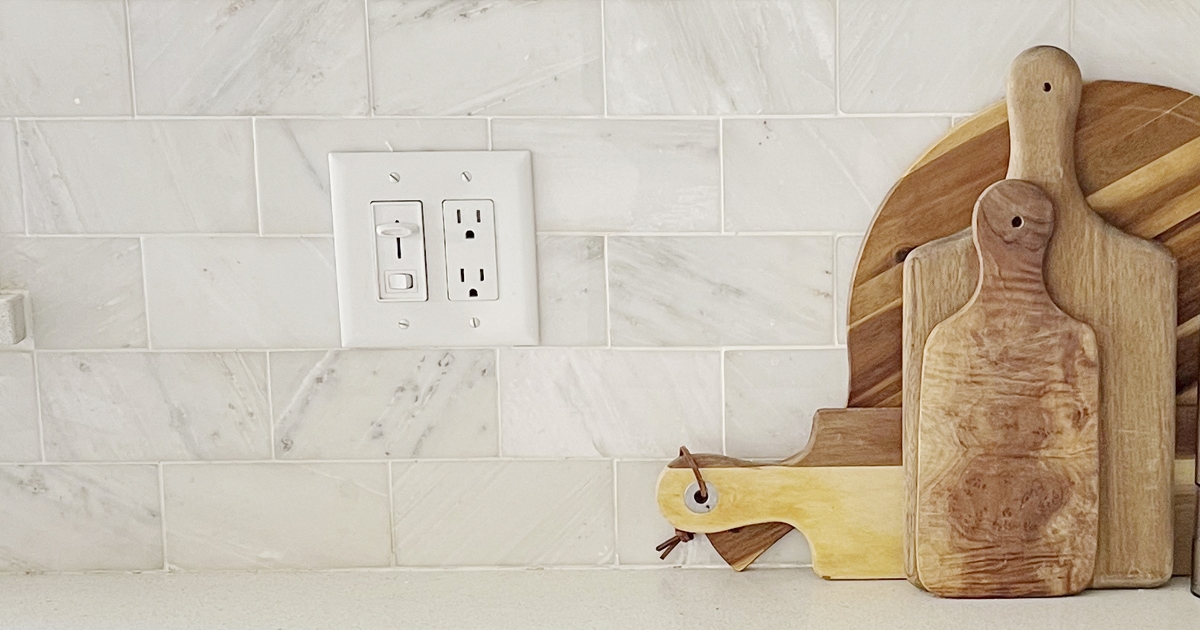
4. Update or add a backsplash
You might ask if there are any cost-effective ways to add a backsplash to your kitchen.
I added a real marble subway tile backsplash to our kitchen because I love the timeless elegance of marble. This project doesn’t need to be expensive. We have a really small area and it cost me around $300 for real tile. I donated my leftovers to our Restore where you can find great tile options occasionally as well.
Sometimes I do crave something more bold which I could achieve with a cheap peel-and-stick backsplash should I decide to go bold.

Adding peel and still wall tiles is another great option if you don’t want to fake one with paint. (My friend Nicole’s rental kitchen is coming up below with another great backsplash example). Here are some great options…
5. Install under-cabinet lighting
I used simple LED under-cabinet lights from Amazon and drilled holes through my cabinets so I could plug them into my microwave outlet above the stove. They don’t just look nice at night but add so much functionality to the kitchen. I couldn’t live without them anymore.
6. Give your appliances a makeover
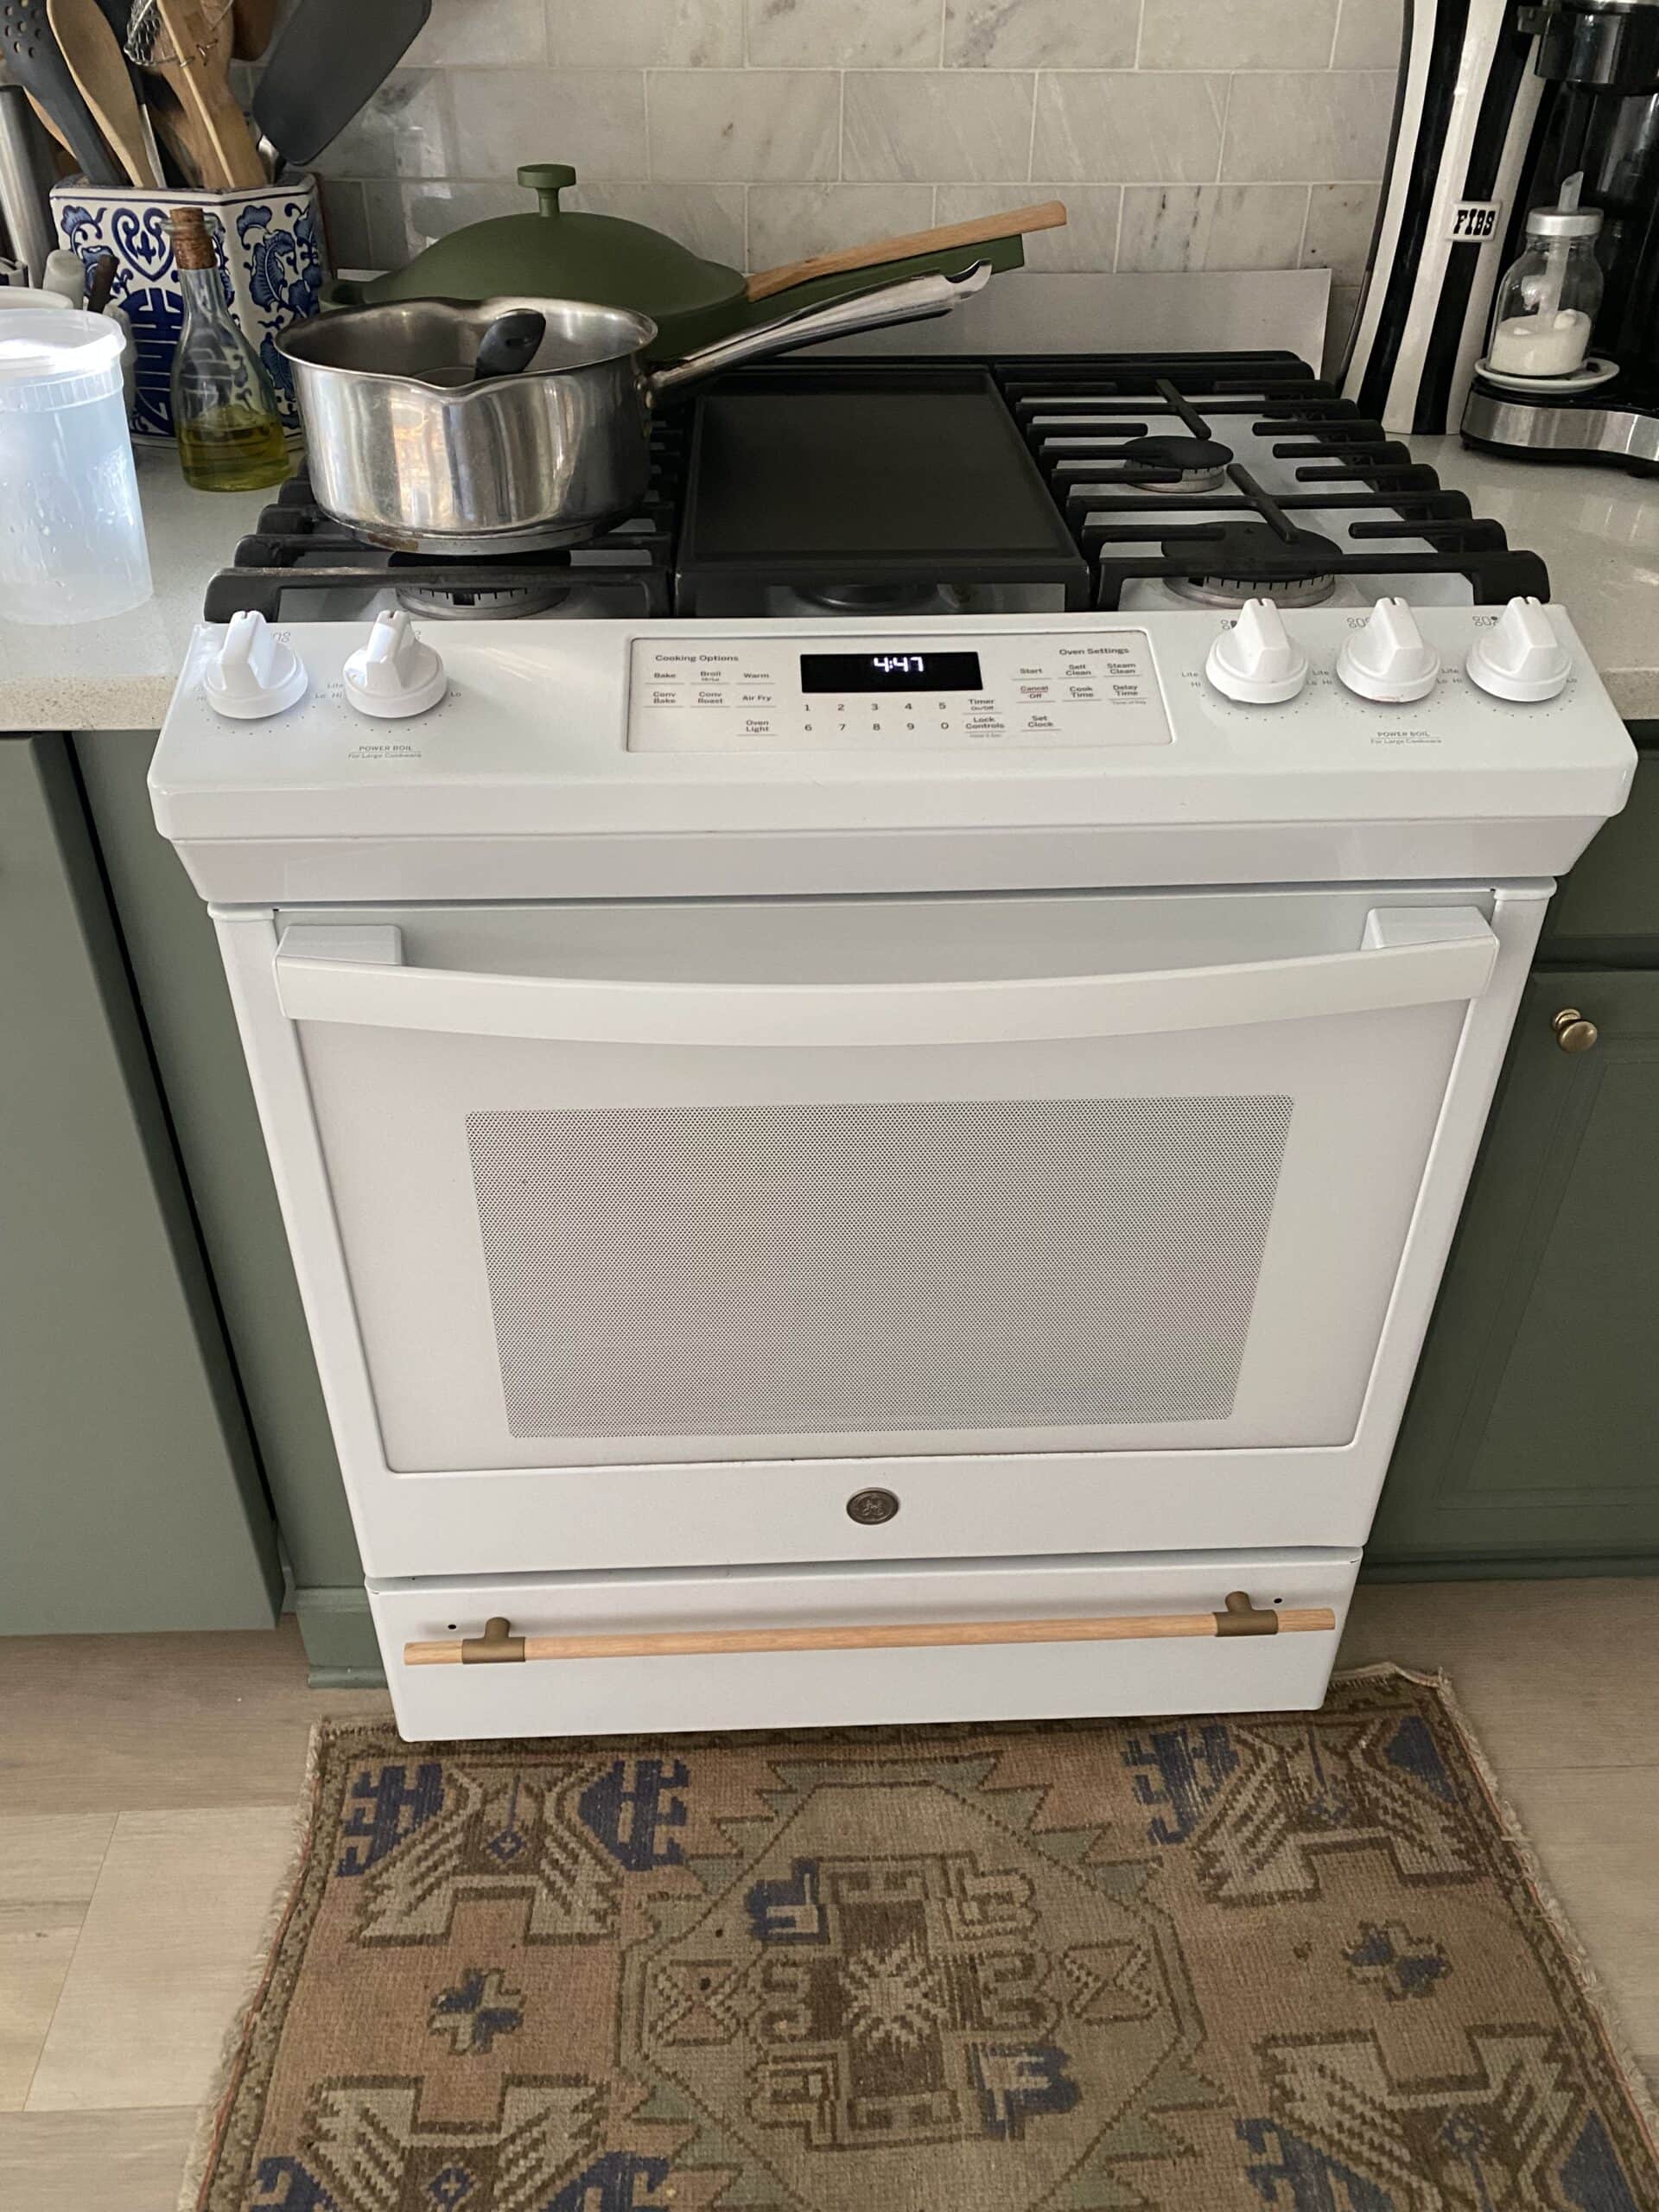
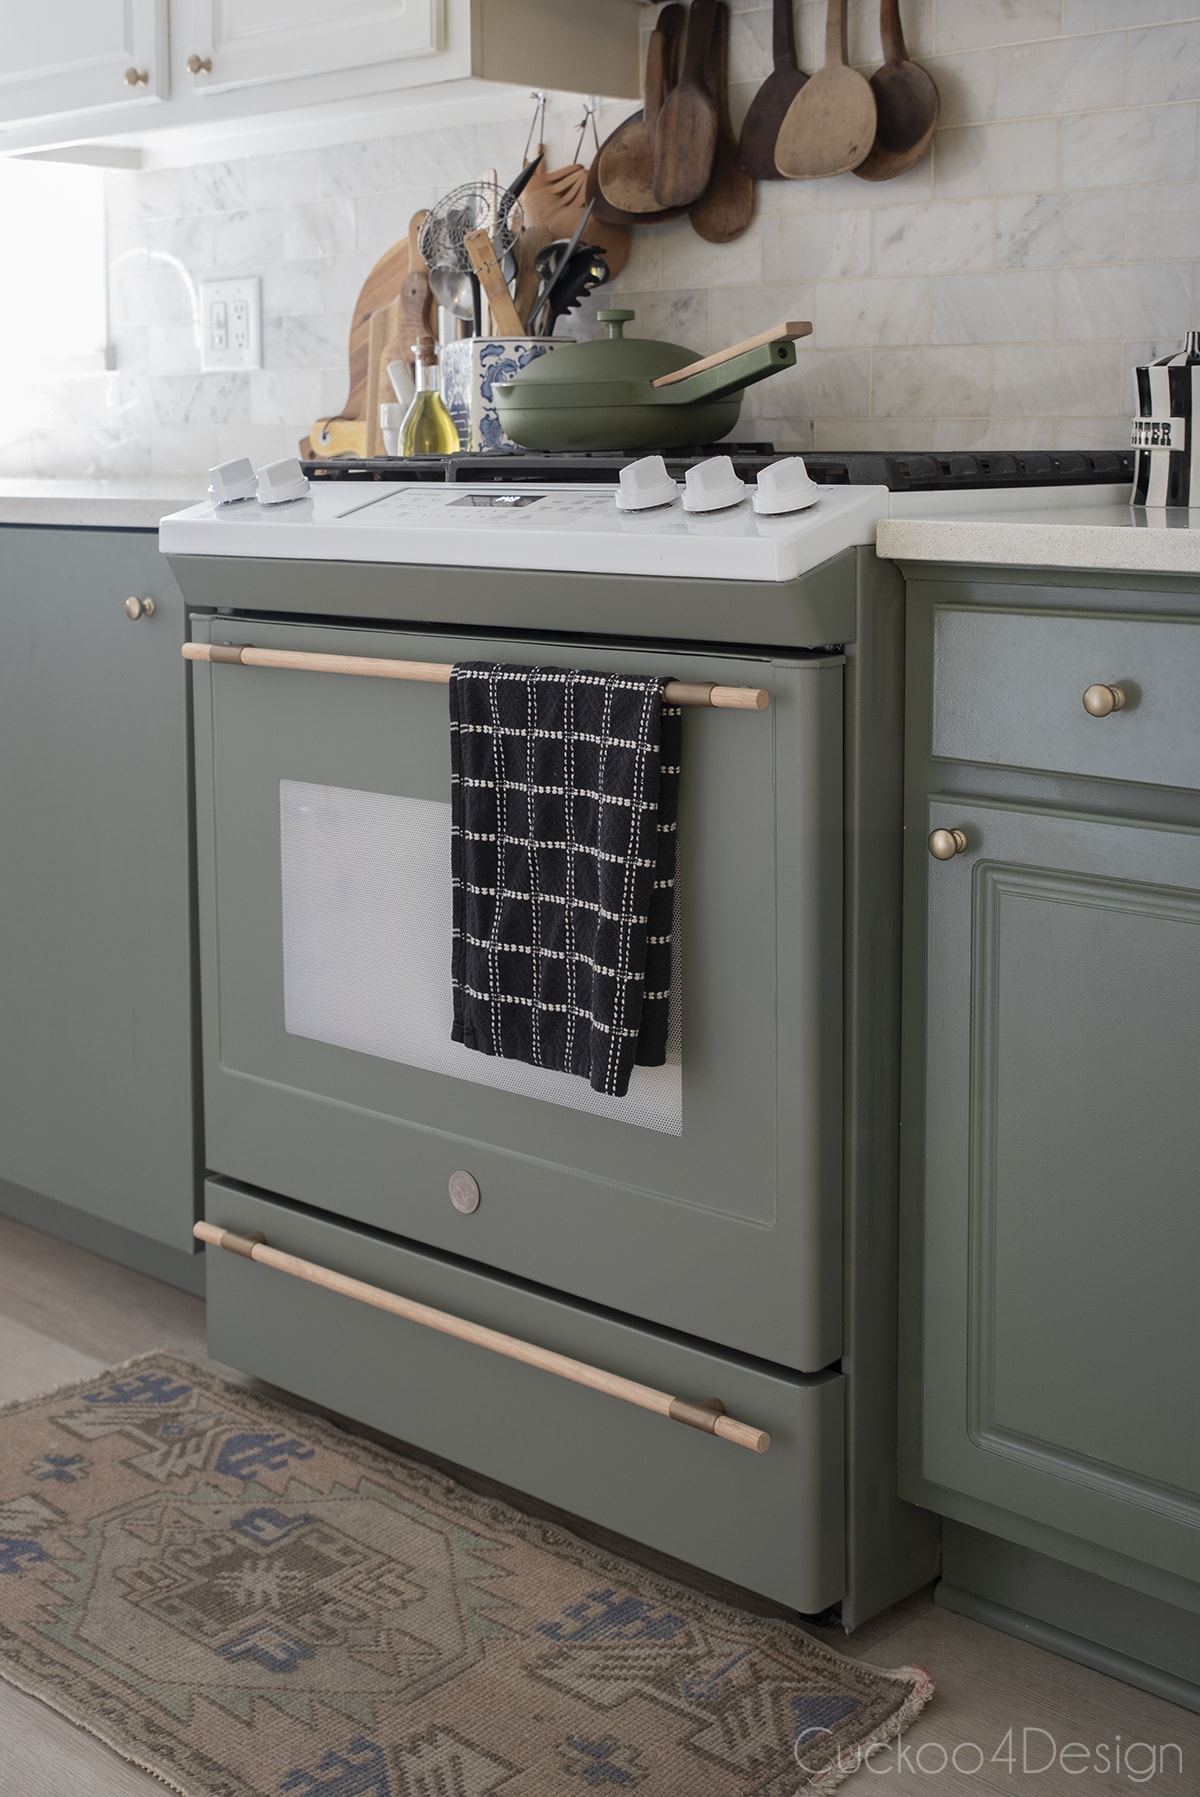
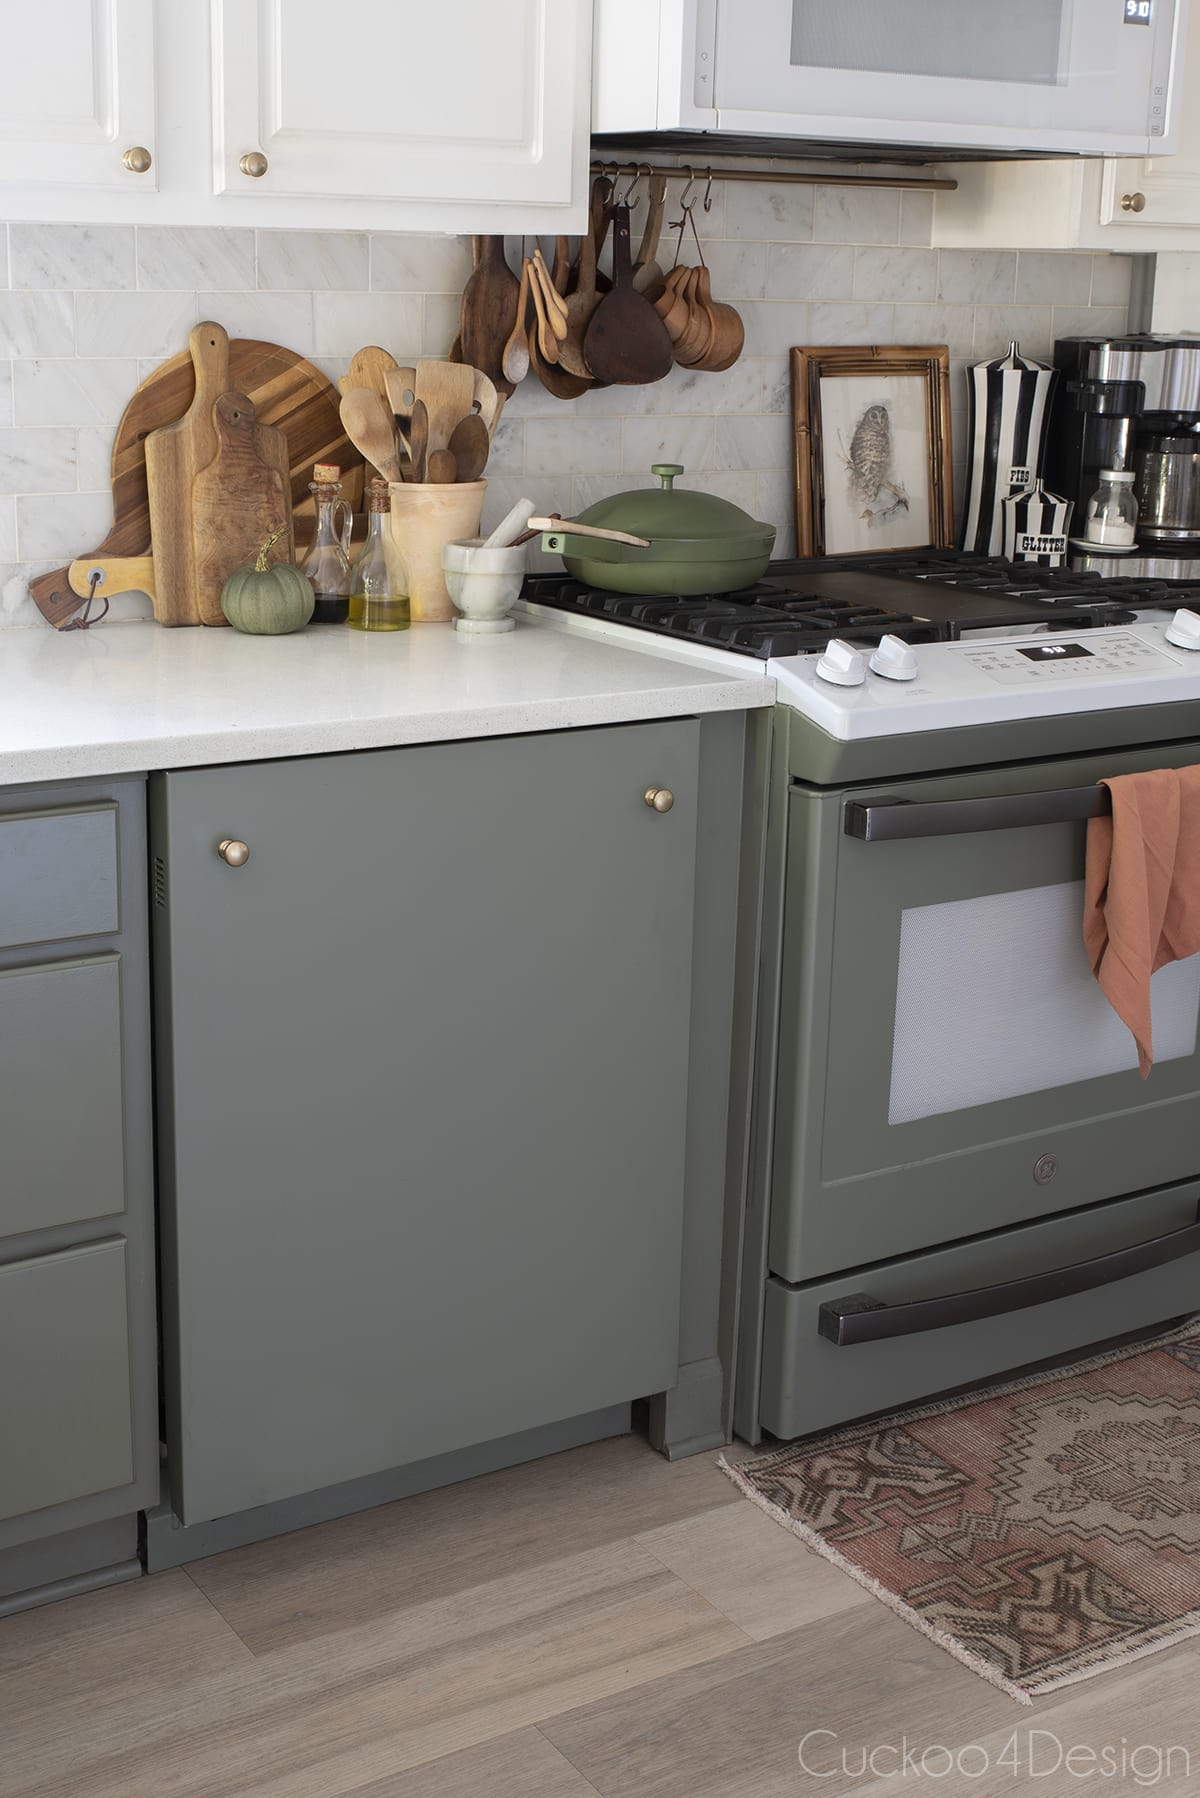
We all know that stunning new appliances can really update the look of a kitchen but let’s face it, most of us do not have the budget for beautiful new designer appliances. So how can I save money on kitchen appliances, such as a stove, refrigerator, or dishwasher? Well, you can DIY the look of designer appliances which is what I did with the help of vinyl car wrap.
Check out my blog post about how I turned the below basic white stove into a custom colored stove.
The photo below shows you how the dishwasher and stove look like expensive custom appliances. I frequently get asked why I didn’t update the fridge and I simply didn’t want to spend more money on a large sheet of heat wrap vinyl. It can get pretty pricey too and I don’t mind the white fridge.
If vinyl isn’t your cup of tea, then check out how Drew of the Lone Fox, wrapped his dishwasher in copper sheeting. It’s a must-see project on YouTube.
7. Update your countertops
Beautiful new countertops are one of the biggest splurges in a kitchen makeover. As a matter of fact, they are the only splurge in my kitchen. I did gather some ideas from my friends that you can easily replicate in your budget kitchen makeover in case you are wondering how to update your kitchen countertops without spending a lot of money.
Paint your countertops
Paint is always a great option. For example, my friend Diane of In My Own Style did an incredible job painting her existing wood laminate kitchen countertops to look like marble. The entire kitchen in her lakehouse was originally all brown laminate. You have to see the before!

She did an amazing job, don’t you think so?
DIY concrete countertops
You can skim thin layers of Ardex Feather Finish over existing countertops for a concrete look. Check out how Young House Love updated one of their kitchen counters that way.
Contact paper countertops
Use contact paper to update the look of your countertops the way my friend Nicole of Sweet Domicile did. She didn’t stop there though and used cheap peel-and-stick tiles as her backsplash twice and on the kitchen floor. Make sure to check out her Instagram to find out exactly which products she used.
Nicole also used faux brick removable wallpaper on one wall to add character. I just love how her kitchen turned out. She has so many great ideas that anyone can replicate whether you are renting or just looking for a quick and affordable kitchen update.


8. Add a DIY range hood
This post may contain affiliate links from which I will earn a commission at no extra cost to you. View my full disclosure policy.
I recently stumbled upon Kelly of Hartley Home‘s $40 DIY range hood slipcover and just had to include it in my blog post. It’s such a genius idea and adds so much charm to Kelly’s kitchen. You must check out the entire blog post and more photos about her vent hood cover project. This is best done if you don’t have a microwave above your stove like I do.
Such a great project for a rental as well.

9. Add decorative details and decor
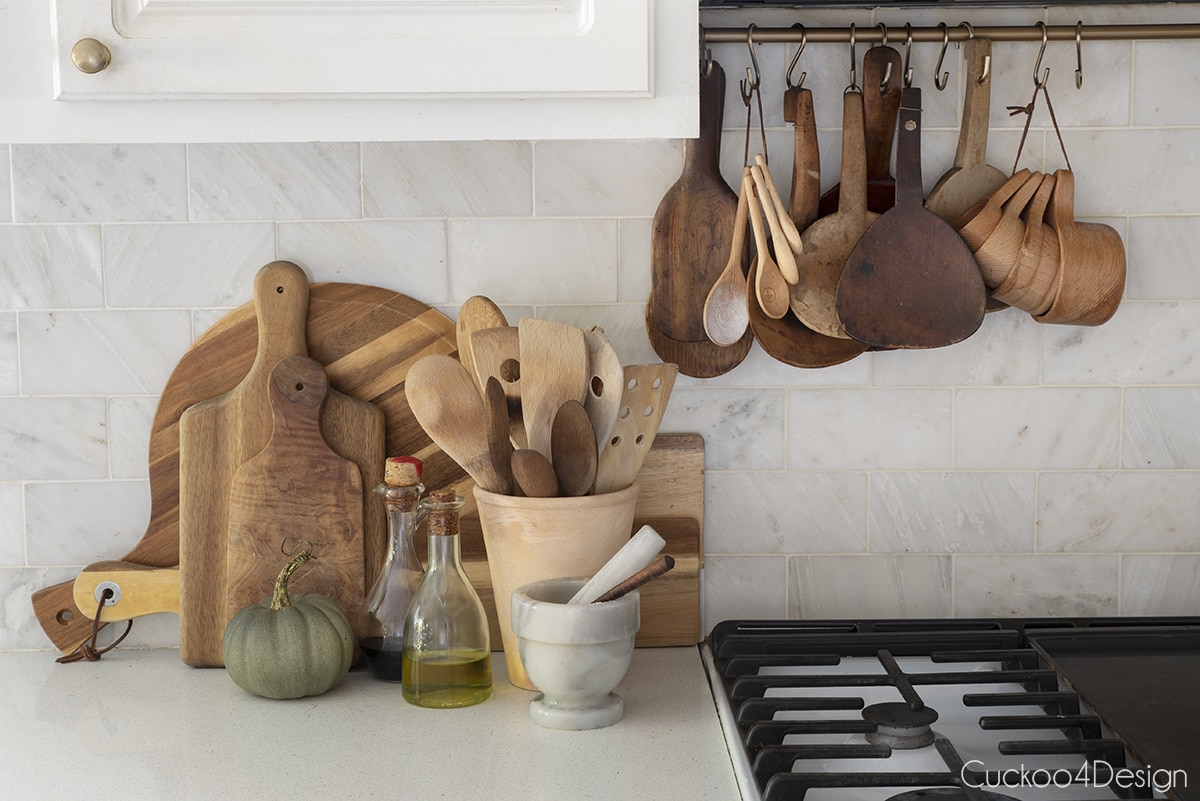
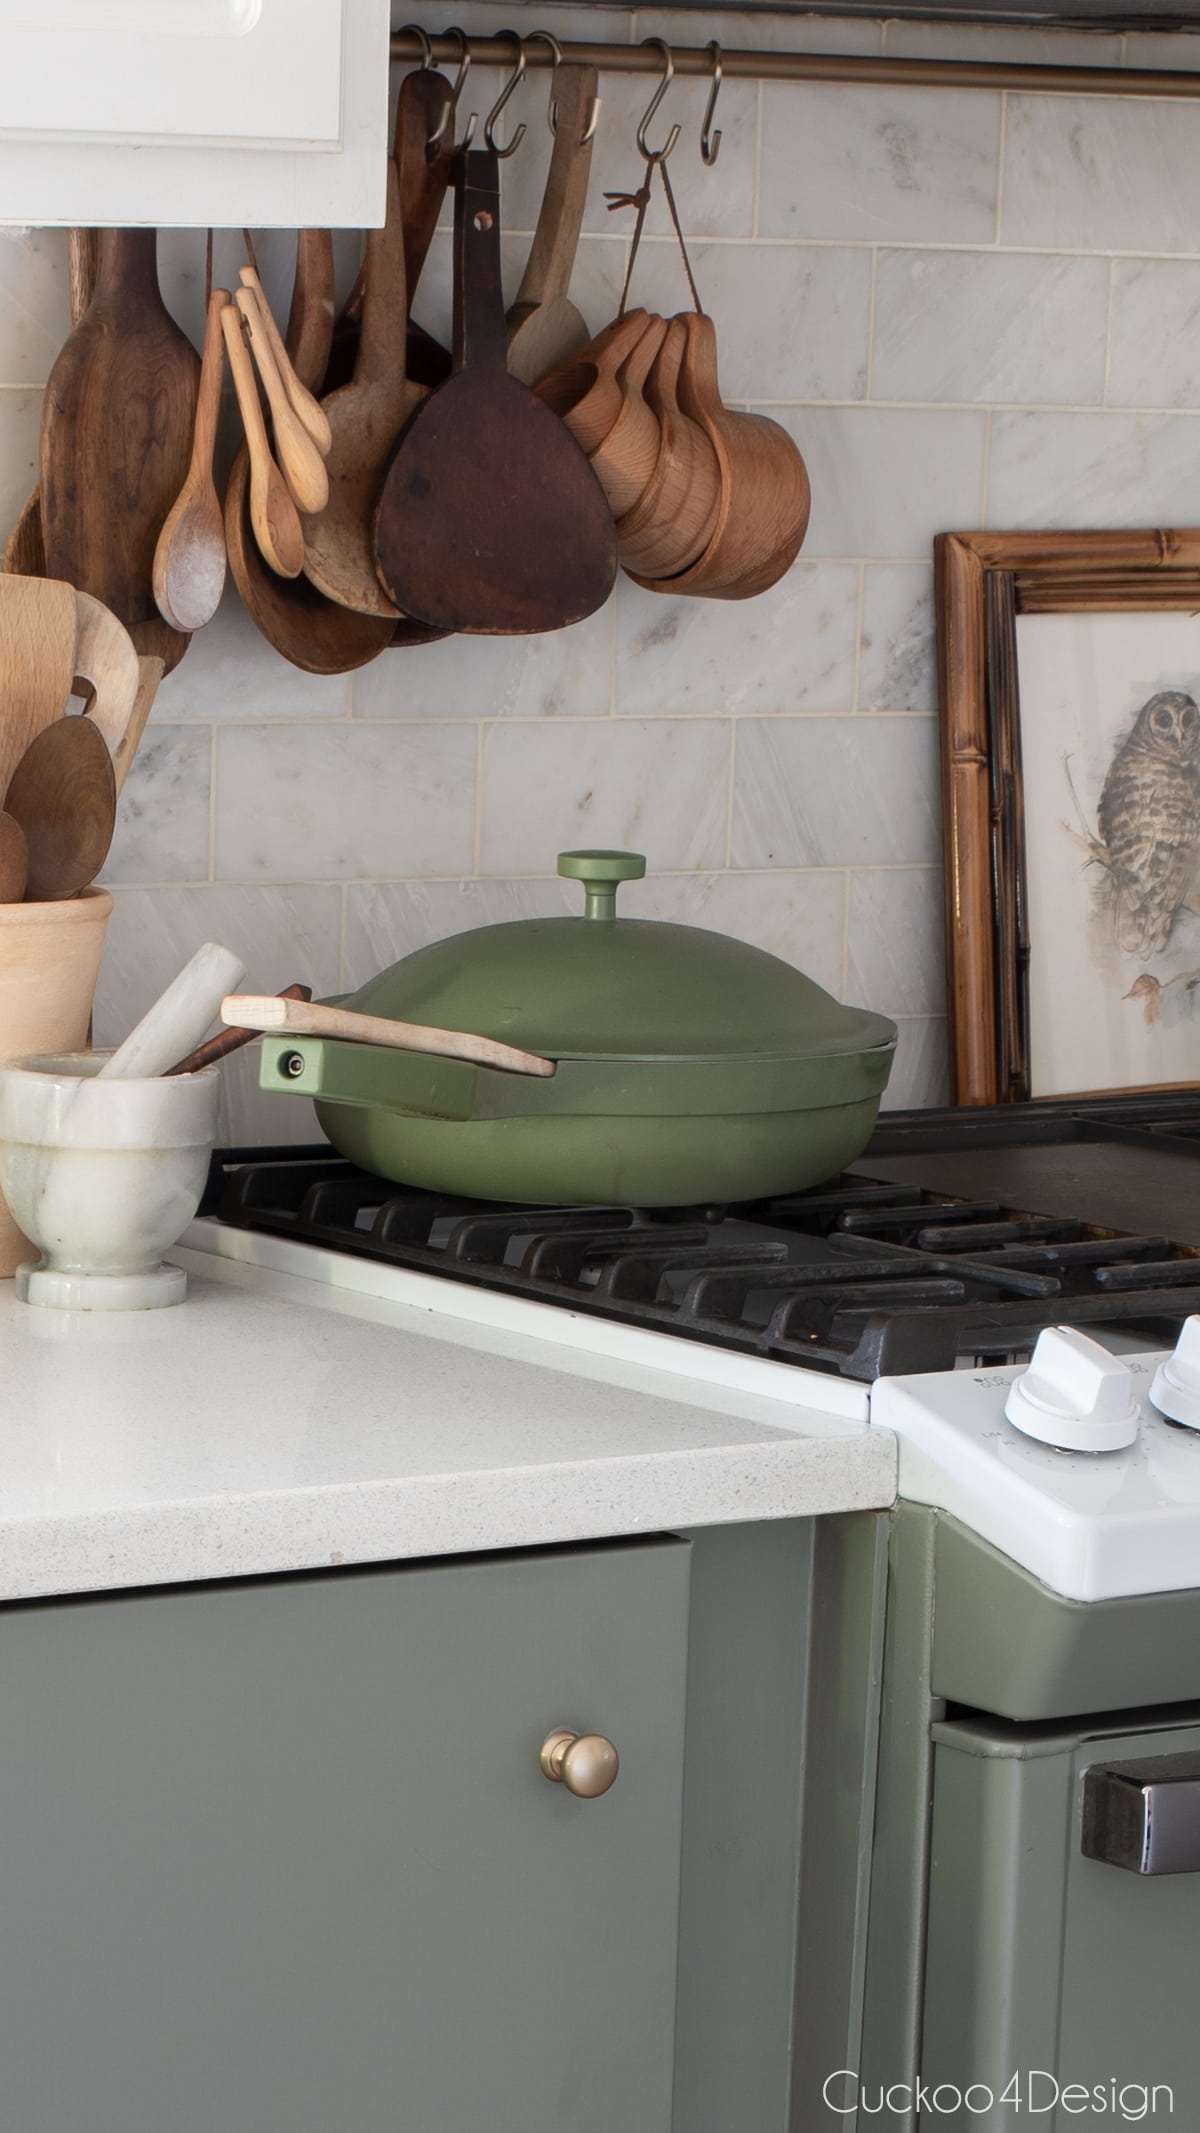
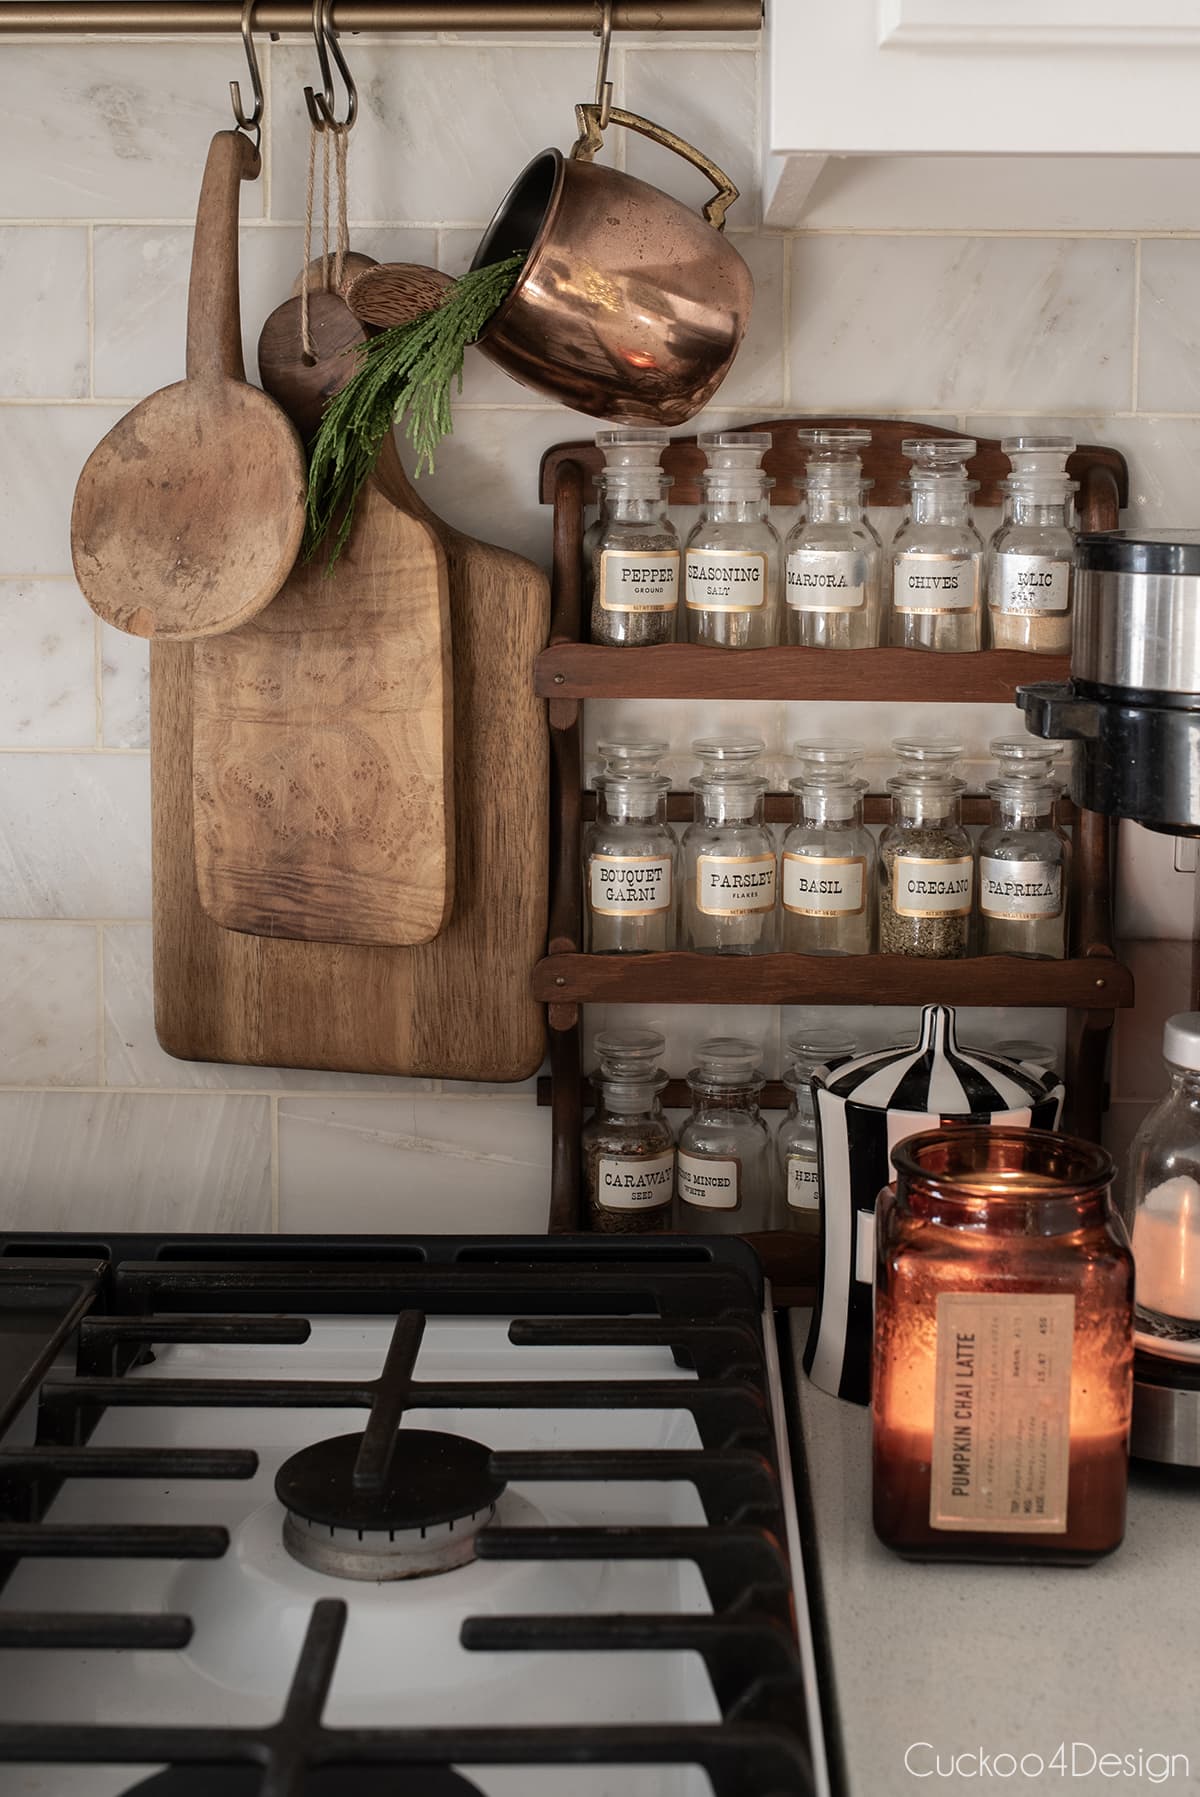
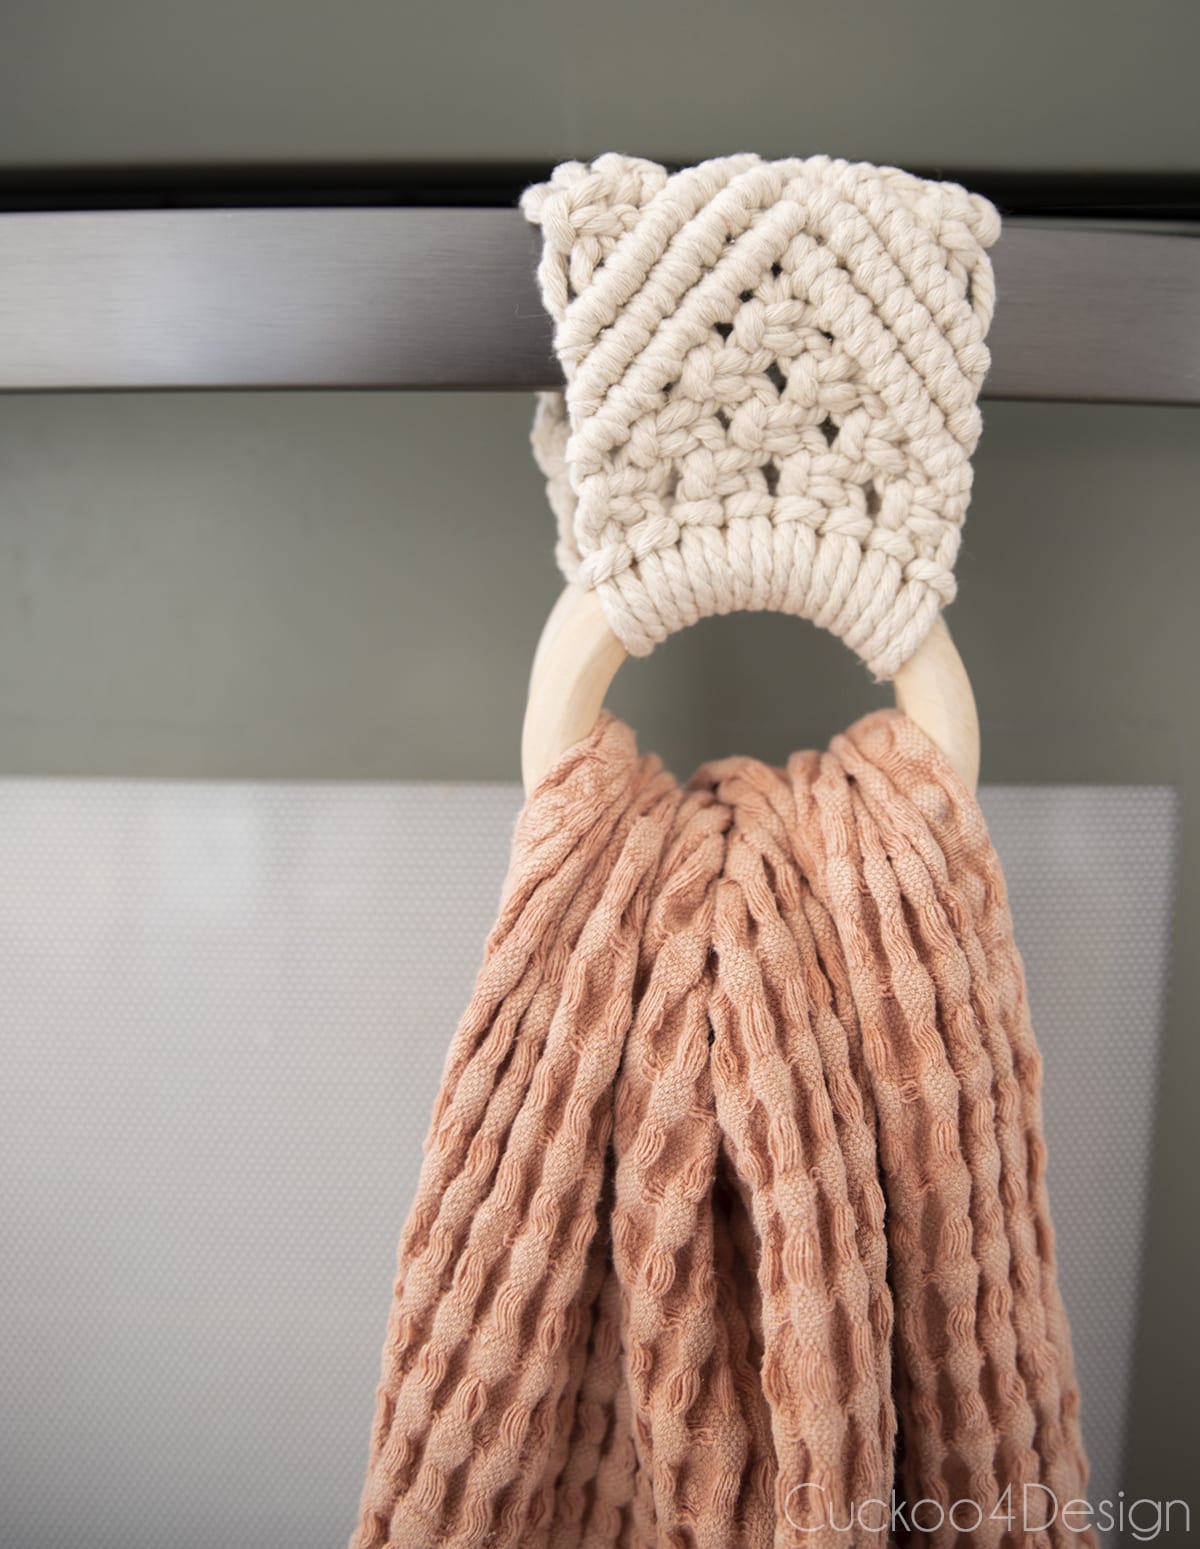
I wanted some old-world charm in my updated kitchen and decided to add a DIY utensil rack for above the stove, added an antique spice rack from my parents, and some other unique decorative objects such as my macrame towel holder.

10. Switch out lighting and faucet
Old lighting and faucets can really date a space, which also applies to a kitchen. Of course, I had to try to DIY my lighting too which is easier than it sounds. I made a wood bead pendant light for above my sink. You could also try to make a smaller version of my jute DIY pendant light for a different look.
If you have outdated outlets and light switches, they should be updated with your lighting. Small details like this make a huge difference when trying to update the look of a space.
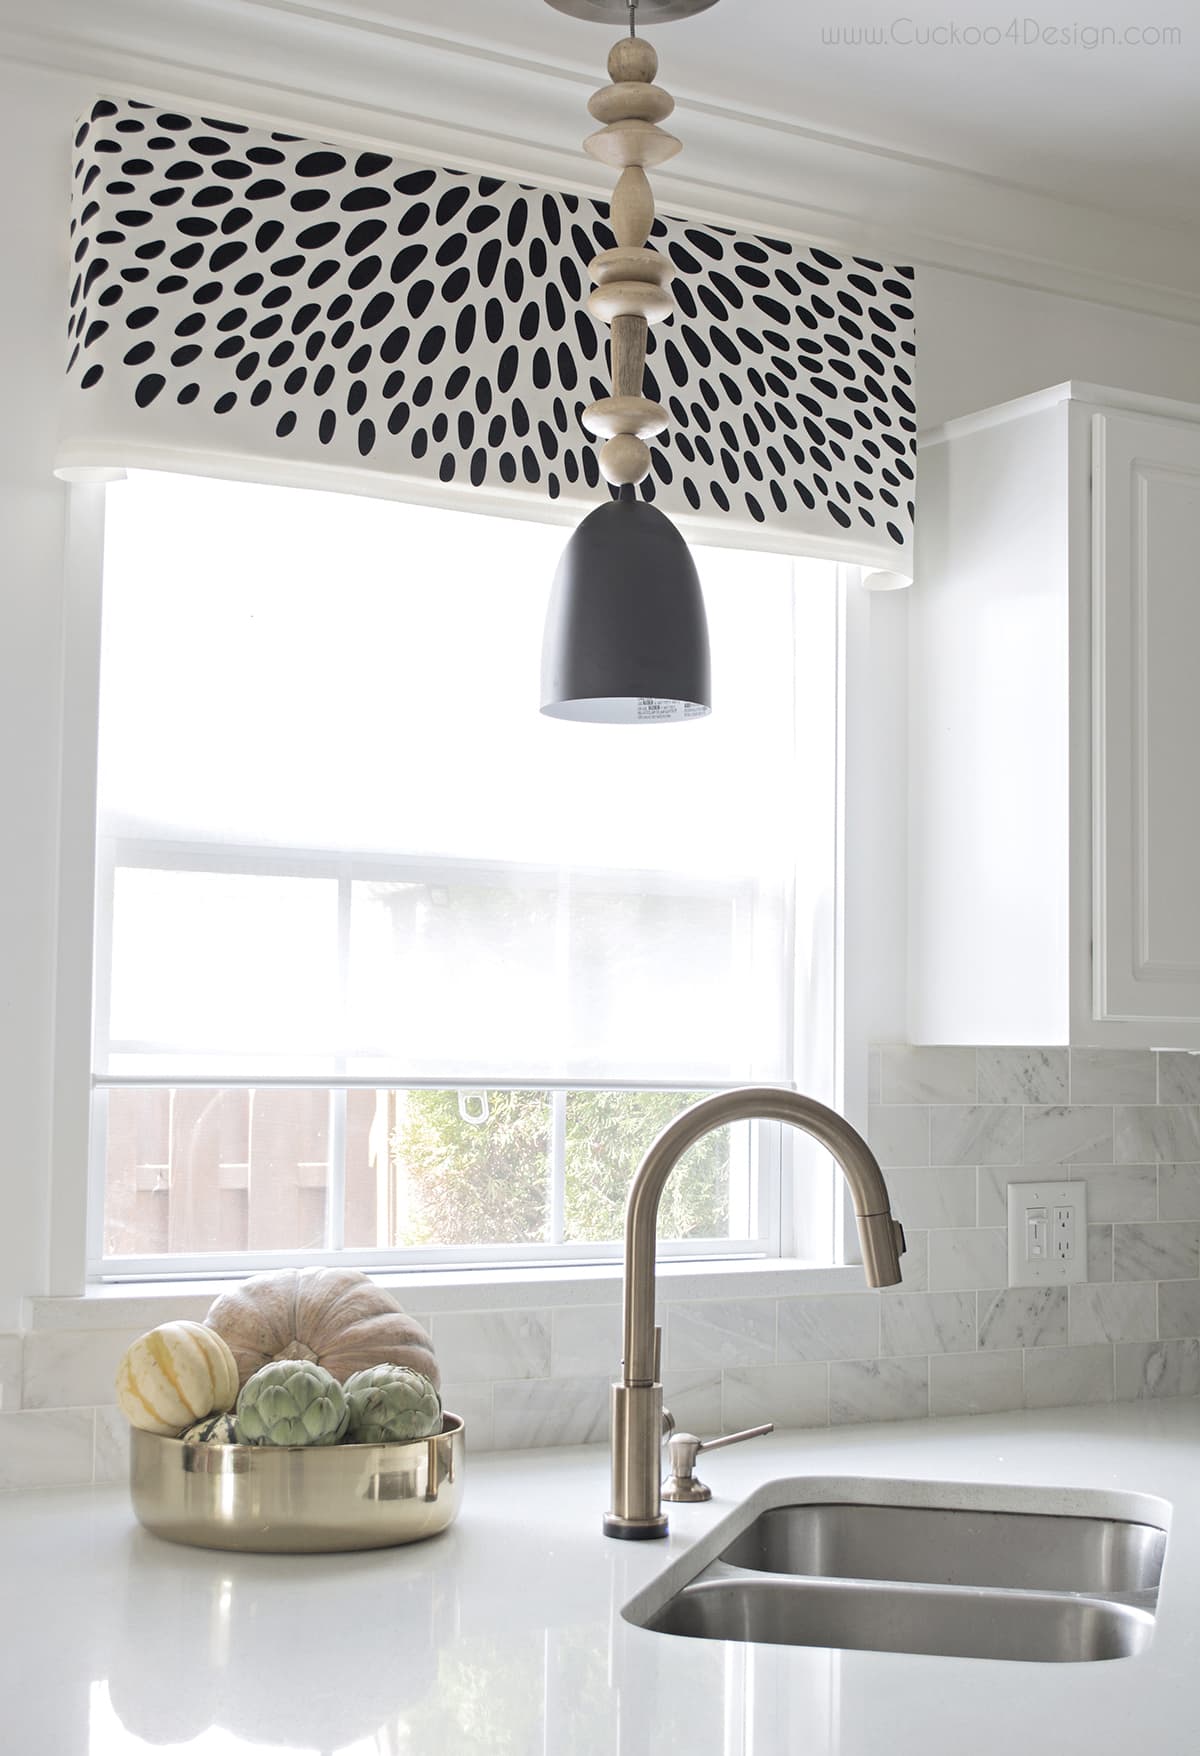
Updating your faucet can be pricey but thankfully there are many great affordable options out there now at places like Ikea and Amazon.
11. Open up your kitchen visually
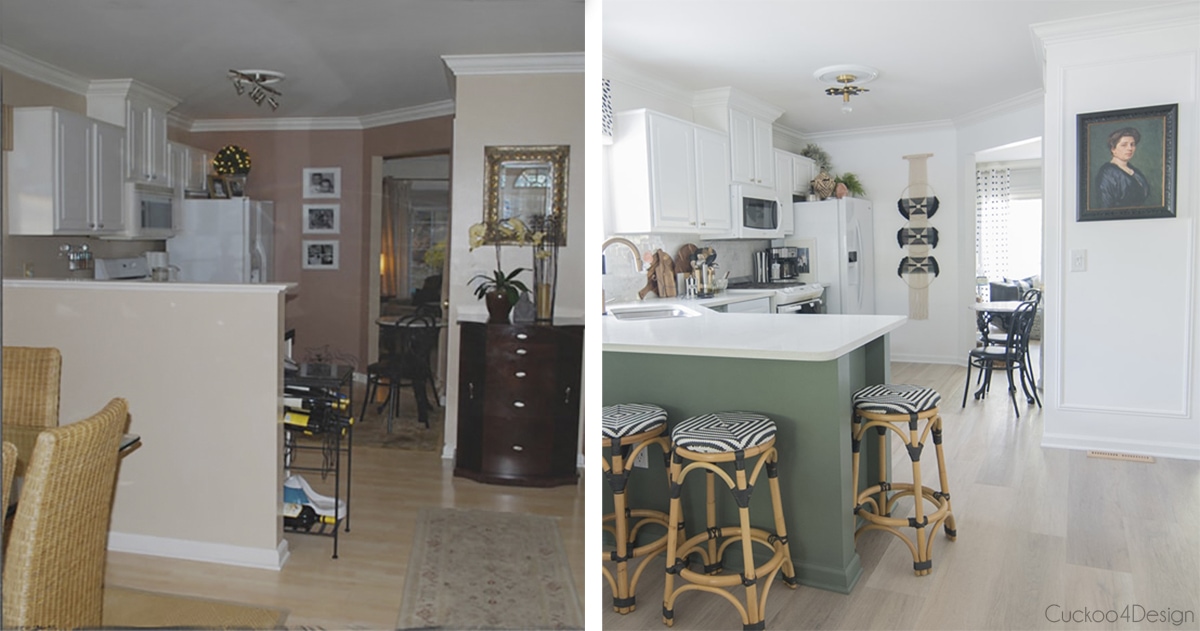
This is the biggest change and impact I have had on our kitchen. If you’ve been following me for a long time then you know this already. We used to have a half wall separating the kitchen from the dining room which drove me crazy from the moment we moved in. I just wanted it gone.

I cut it down myself and moved the outlets to the bottom.
You can also open up your kitchen visually by removing some upper cabinets and adding open shelving. I opted not to do that even though I love the look because I know my family. They are slobs and would never keep the look of open shelving to my satisfaction. They would clutter it up LOL, I’m sure you know what I mean.
Did you notice above, how my friend Diane took off the doors to her upper cabinets for a fresh new look and to showcase her beautiful dishes. This is another great way to update kitchen cabinets while getting the look of open shelves.
12. Add or update a kitchen island
When I removed the above-mentioned kitchen half-wall, I decided that I wanted to turn that part of our kitchen into an island with added seating. I’m so glad that I did this. It was worth the added elbow grease and money. We use the kitchen in a completely different way. It just functions and looks so much better.
I added some extra wooden detail with kitchen island corner posts and color by painting my lower cabinets and island a dark green paint and have been happy with it for years.


Pictured below you can see a before and after of the same kitchen view. Subtle changes with a big impact!
Related: Check out my friend’s light gray and white kitchen and kitchen island for some more inspo.
13. Update your kitchen floor
I’m always a big fan of updating your entire floor and not cutting it off for one room, especially if you have an open floor plan the way we do. But a lot of people don’t have the budget for it.
We replaced the entire downstairs with Karndean vinyl plank flooring. Years later we are still so happy with it. That floor was also a budget decision though. You can see the cheap laminate we had before and while it looks ok in the photo it wasn’t in person. You can see the awful before photos in the actual blog post about the new floor.
If you are wondering about what types of kitchen flooring are the most affordable? The most affordable option is always cheap peel-and-stick floor tiles. I have used them in my bathroom remodel and wrote a long blog post about it. I would use them in a kitchen in a heartbeat. There are so many beautiful and affordable options out there. You already saw my friend Nicole’s updated apartment floors in a checkerboard pattern above. She laid paper over the existing tiles before applying the vinyl tiles.

More after photos of our updated budget kitchen
Our kitchen is by no means perfect and there are many things I’d like to change yet. One thing that has been bothering me for a long time, is that the cabinets don’t go all the way up to the ceiling. If I can find a great price one day for cabinetry then I will maybe change that too. It would certainly add some much-needed storage space.
But I am pretty happy with it. It is cozy and everyone always loves hanging out in the kitchen.
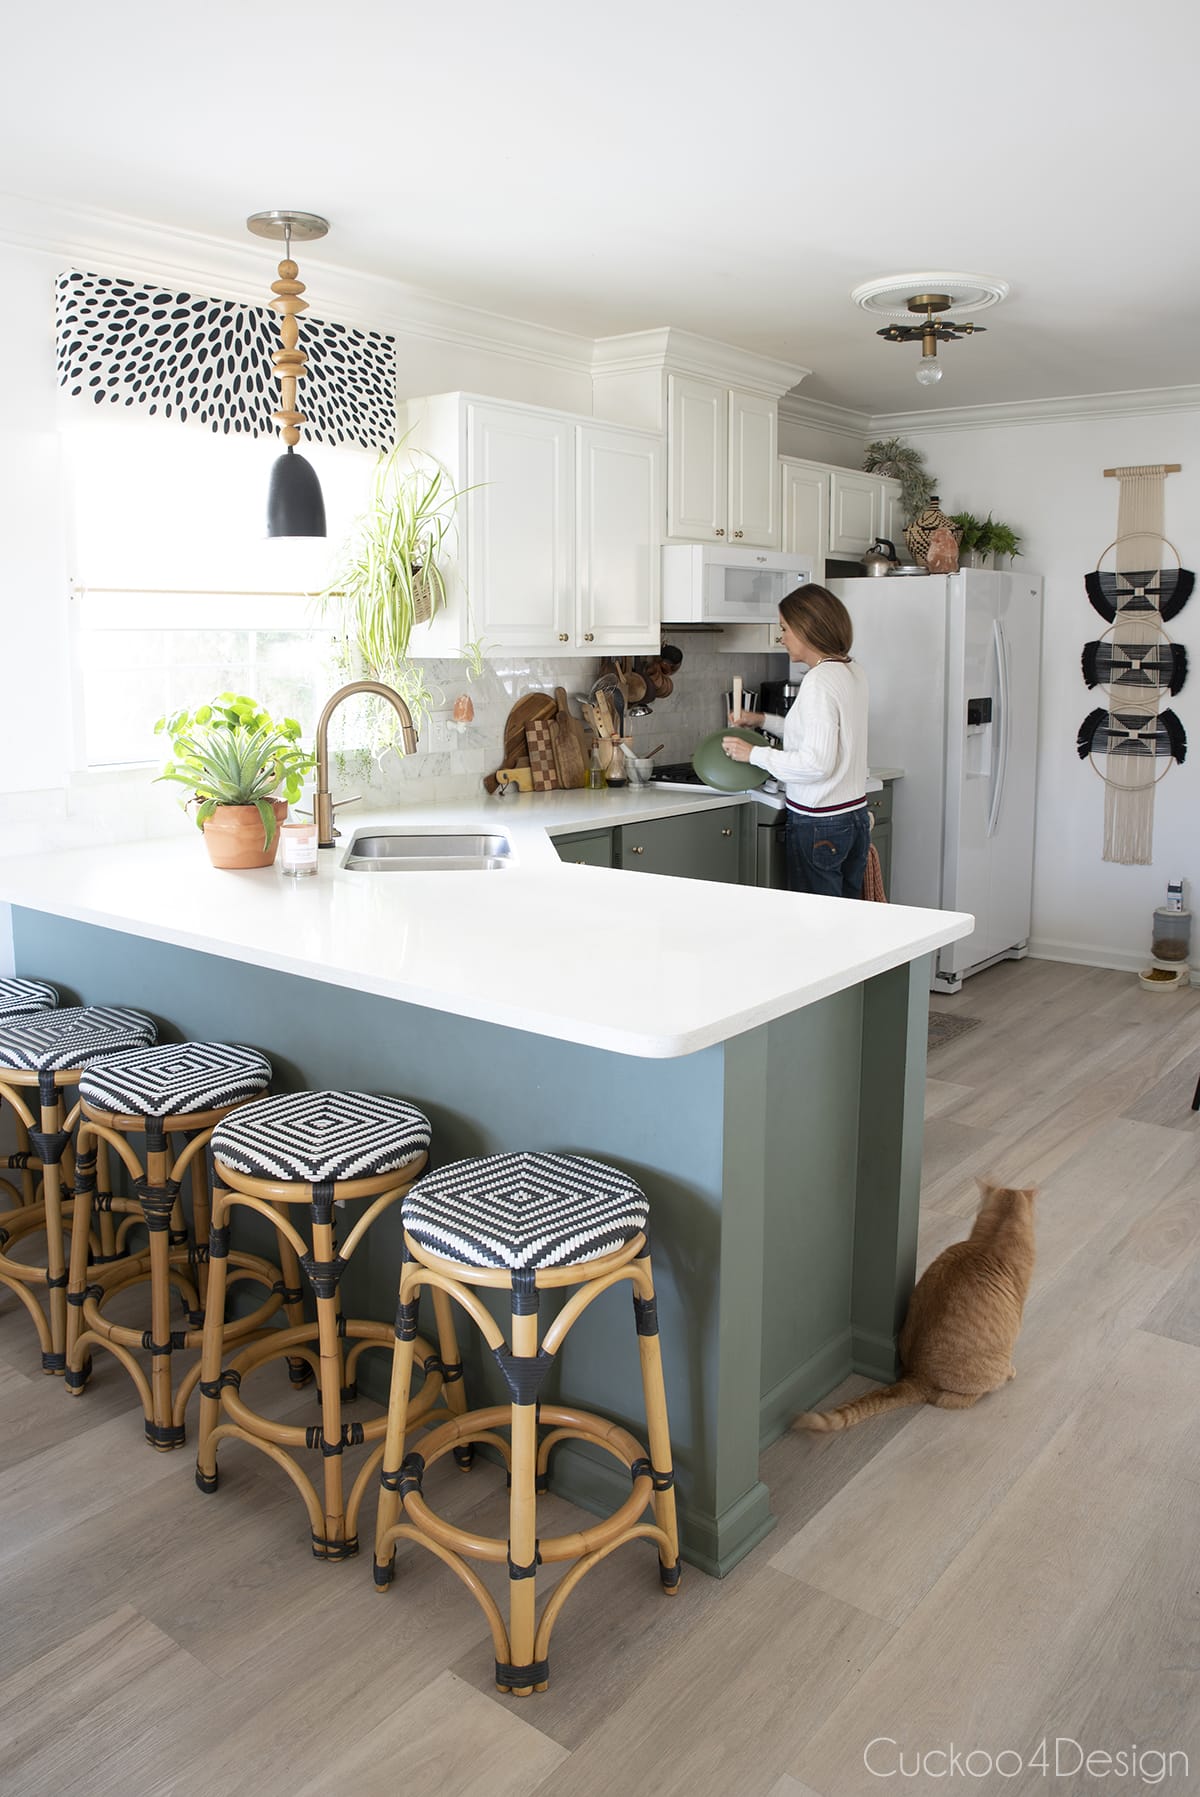
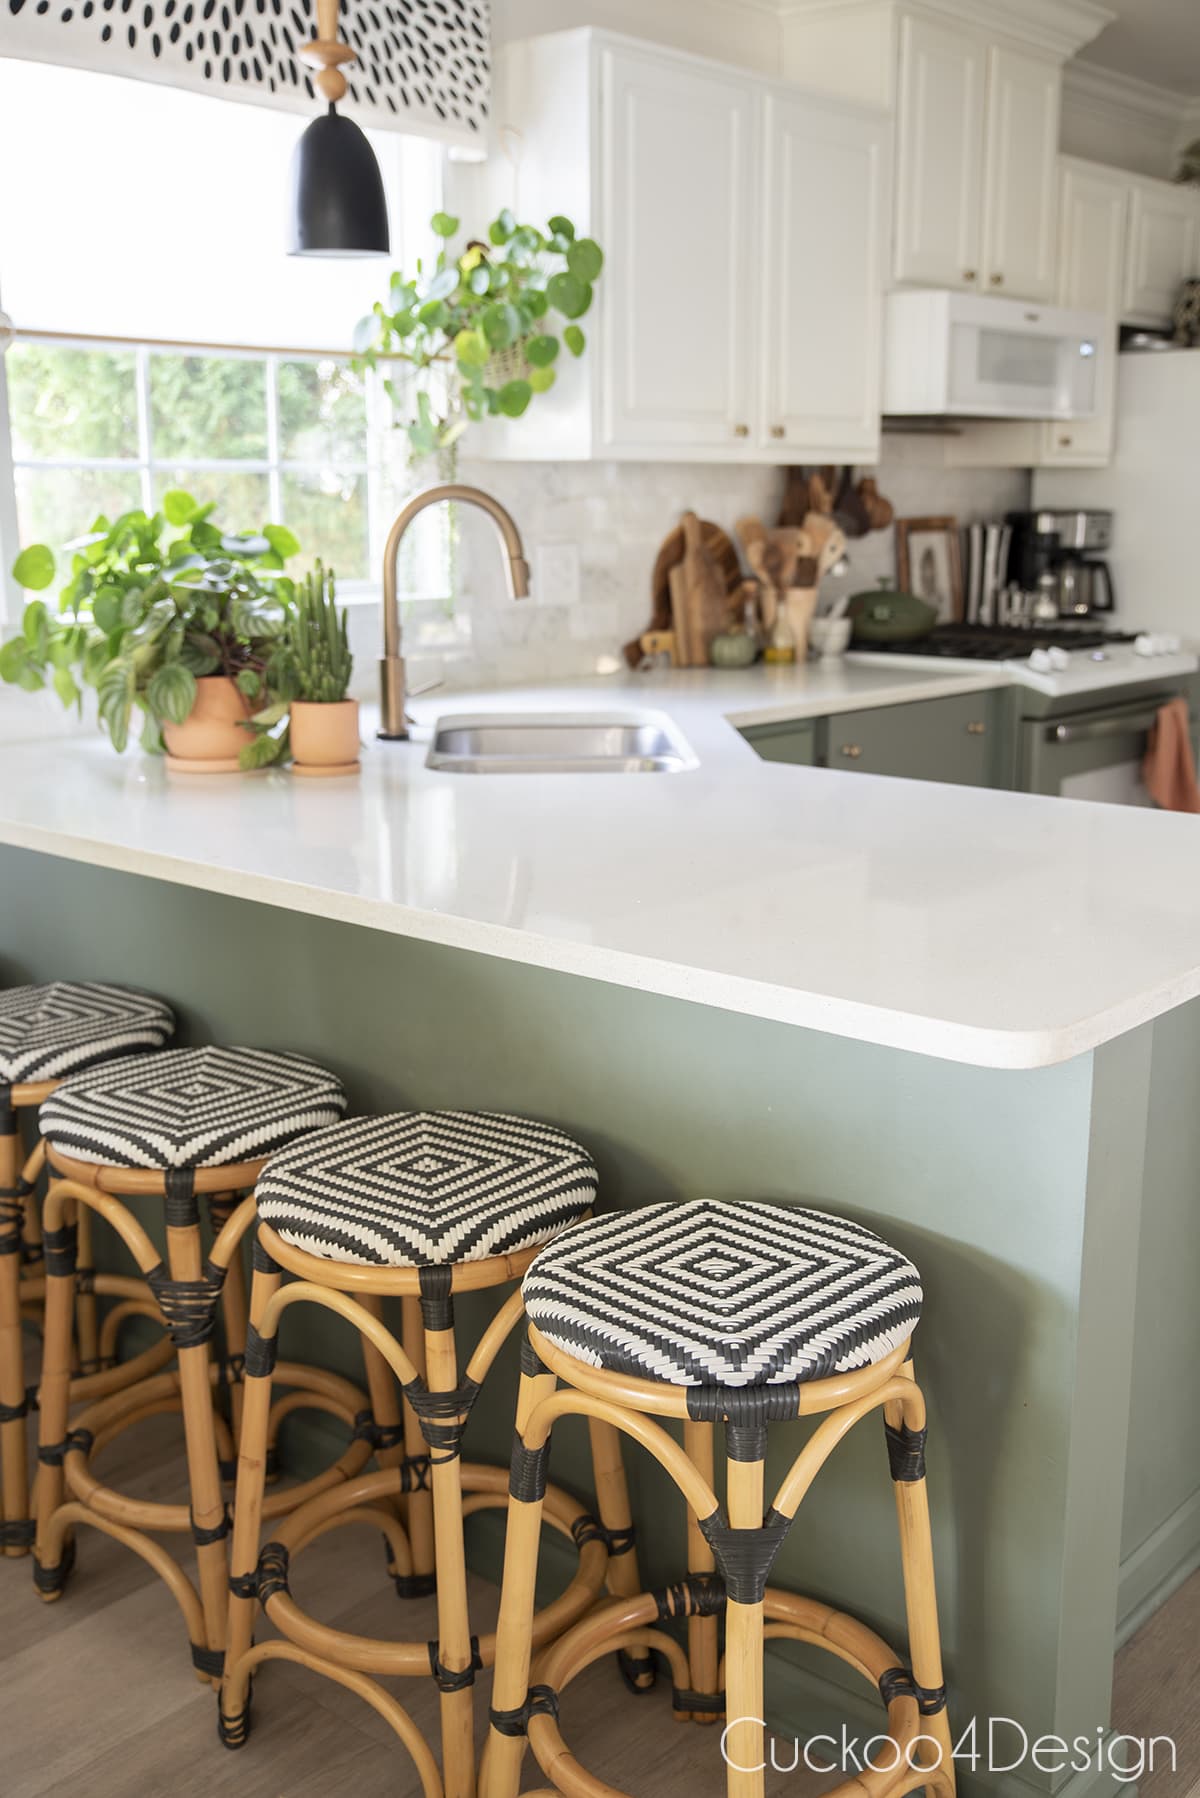
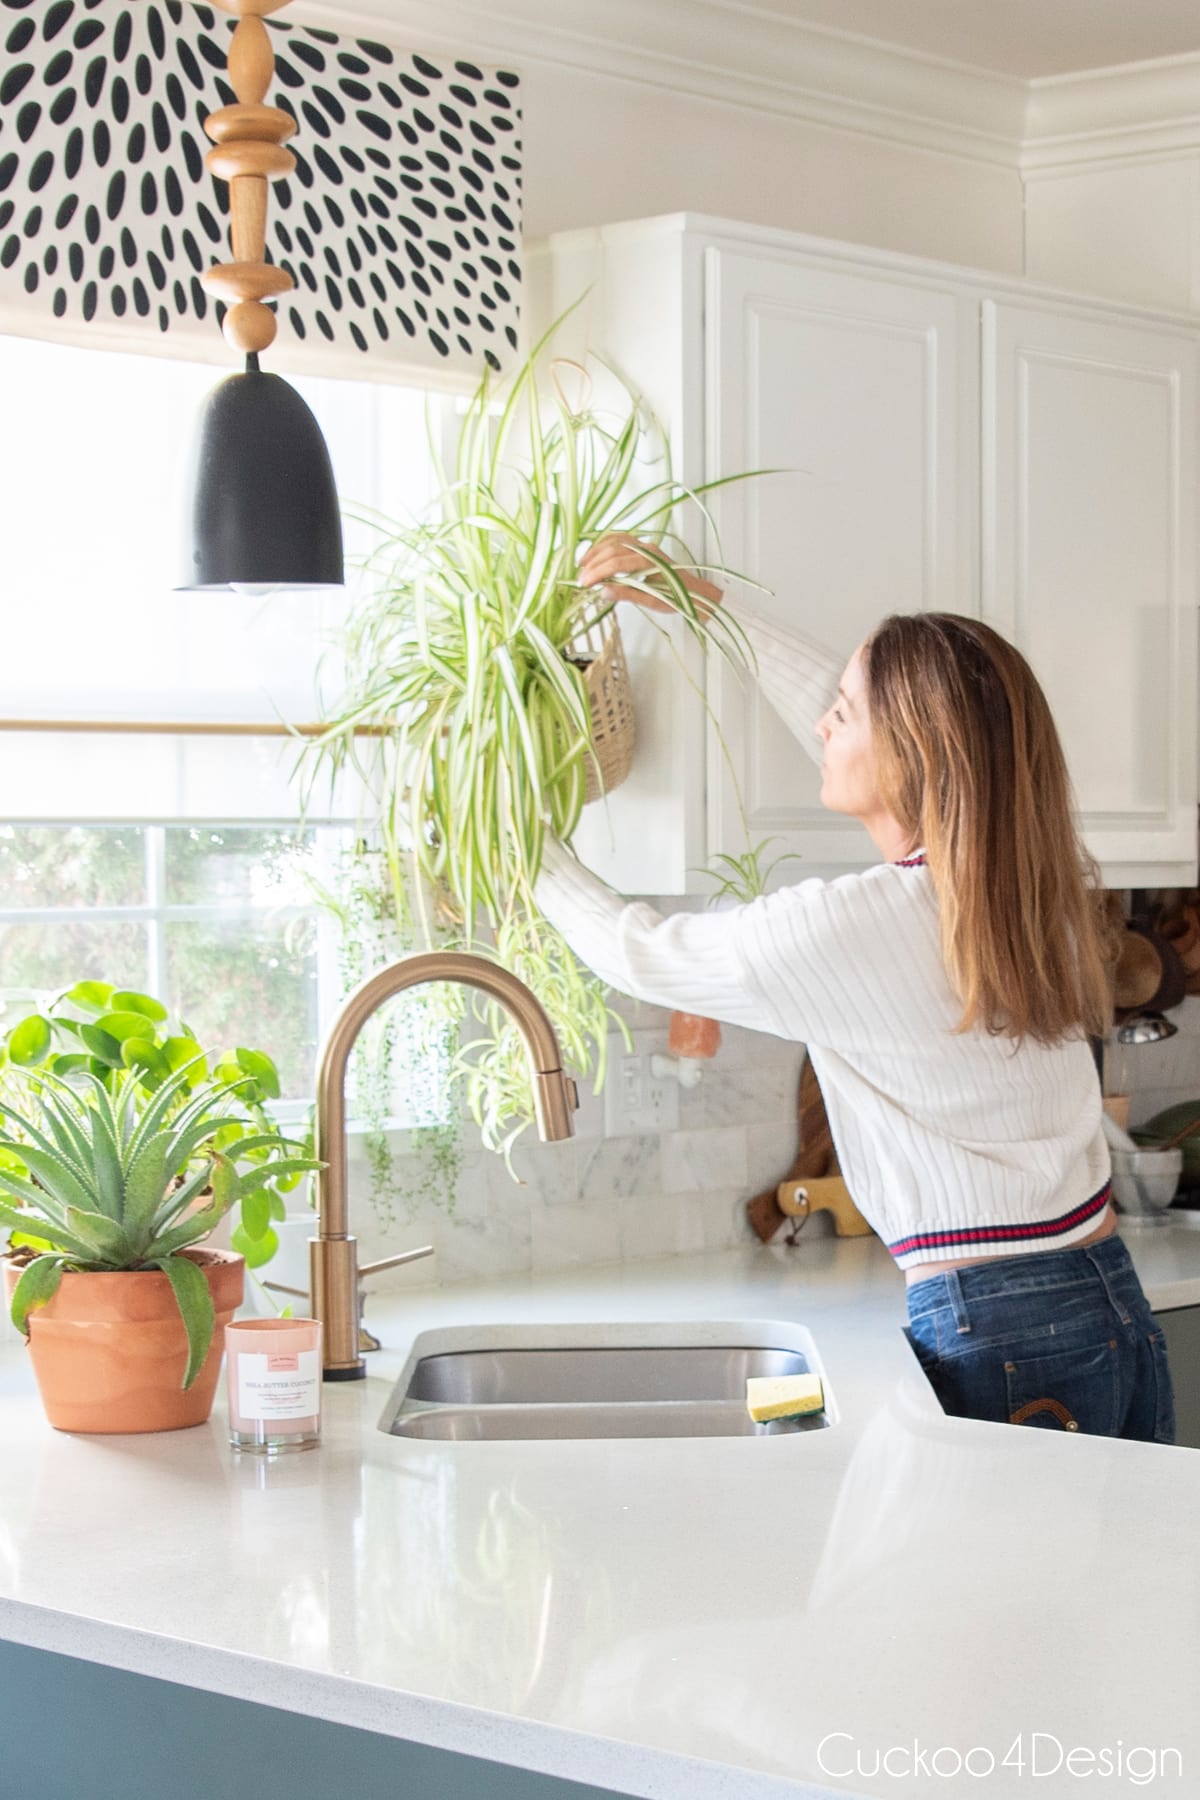
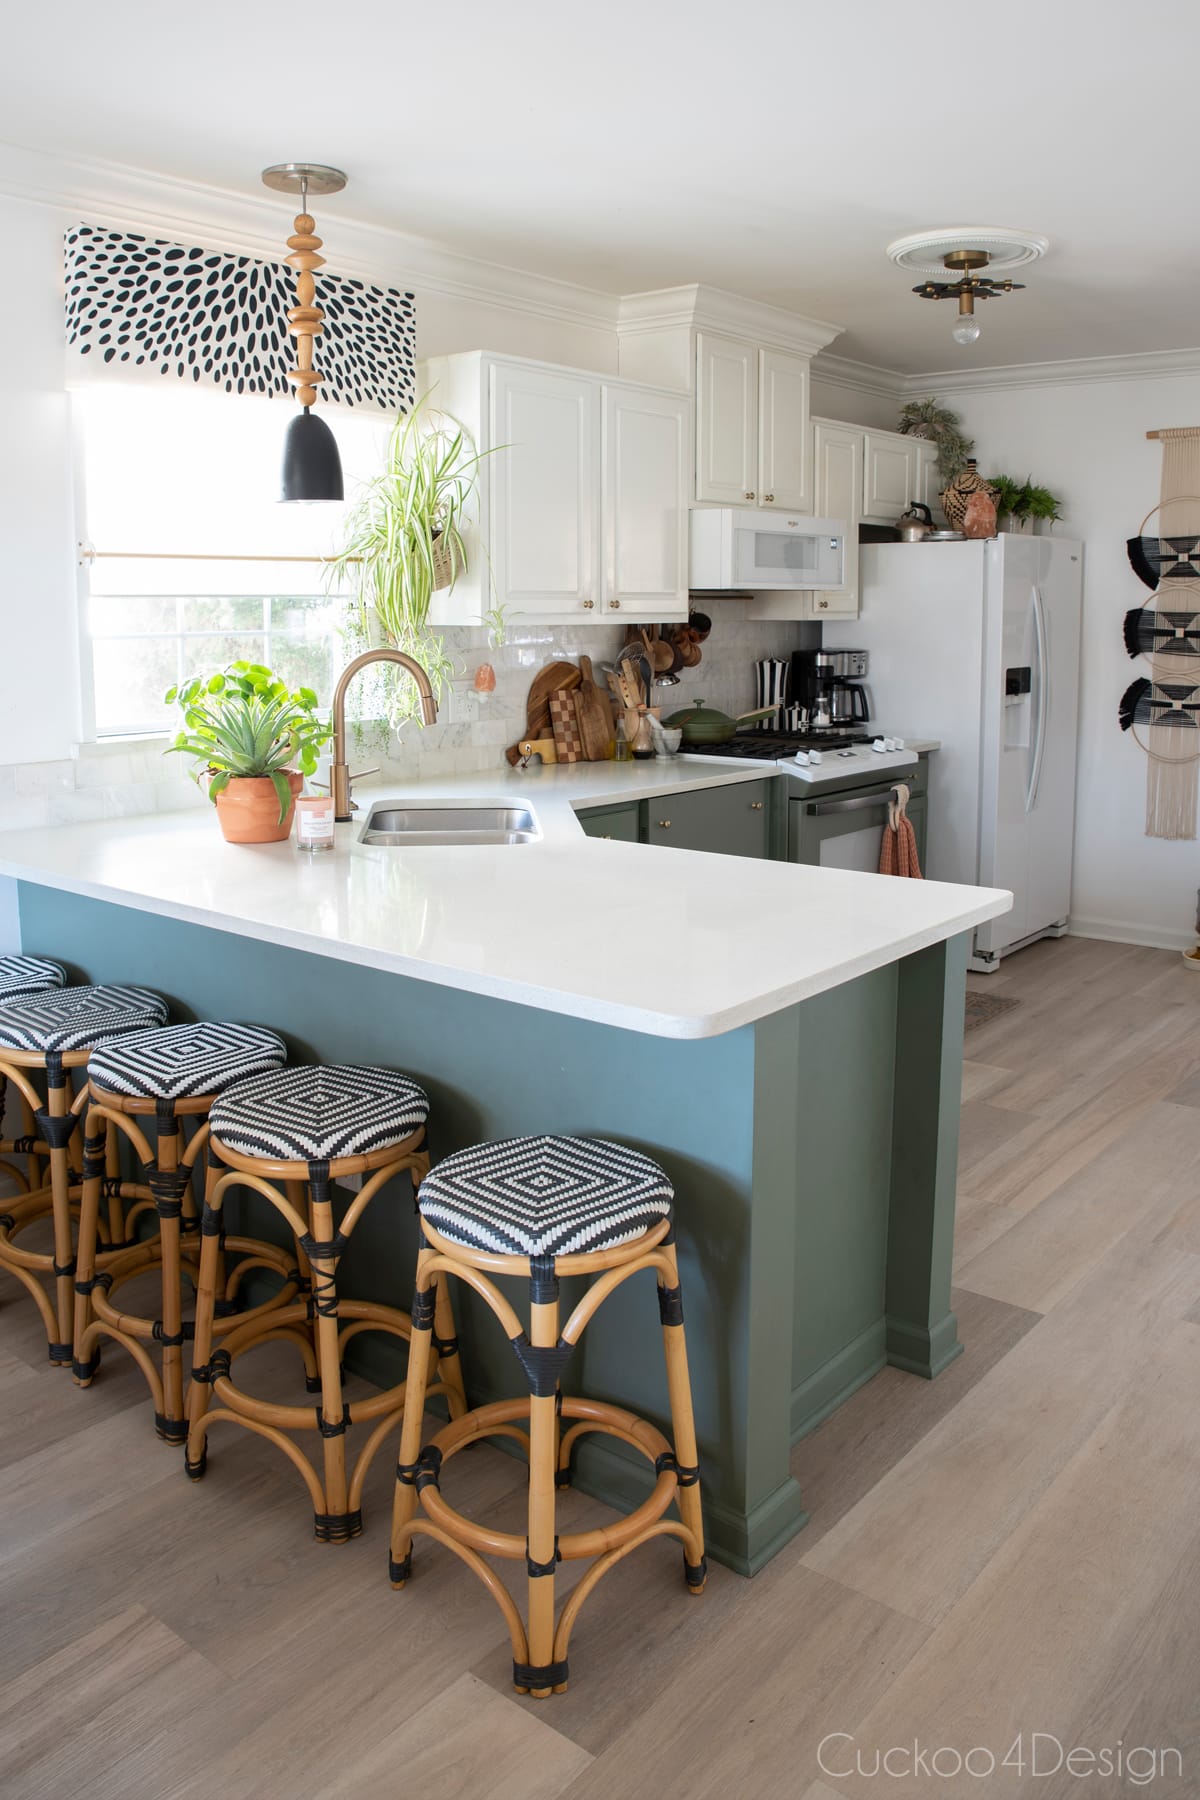


Below is another side-by-side view of the old black laminate countertops versus the new look. Updating a kitchen without replacing cabinets is definitely the best way to upgrade your kitchen on a budget.

I hope you found a lot of inspiration in today’s blog post for your own budget kitchen remodel. Mine was done slowly over time so don’t beat yourself up if it doesn’t happen overnight.
Tschüß,

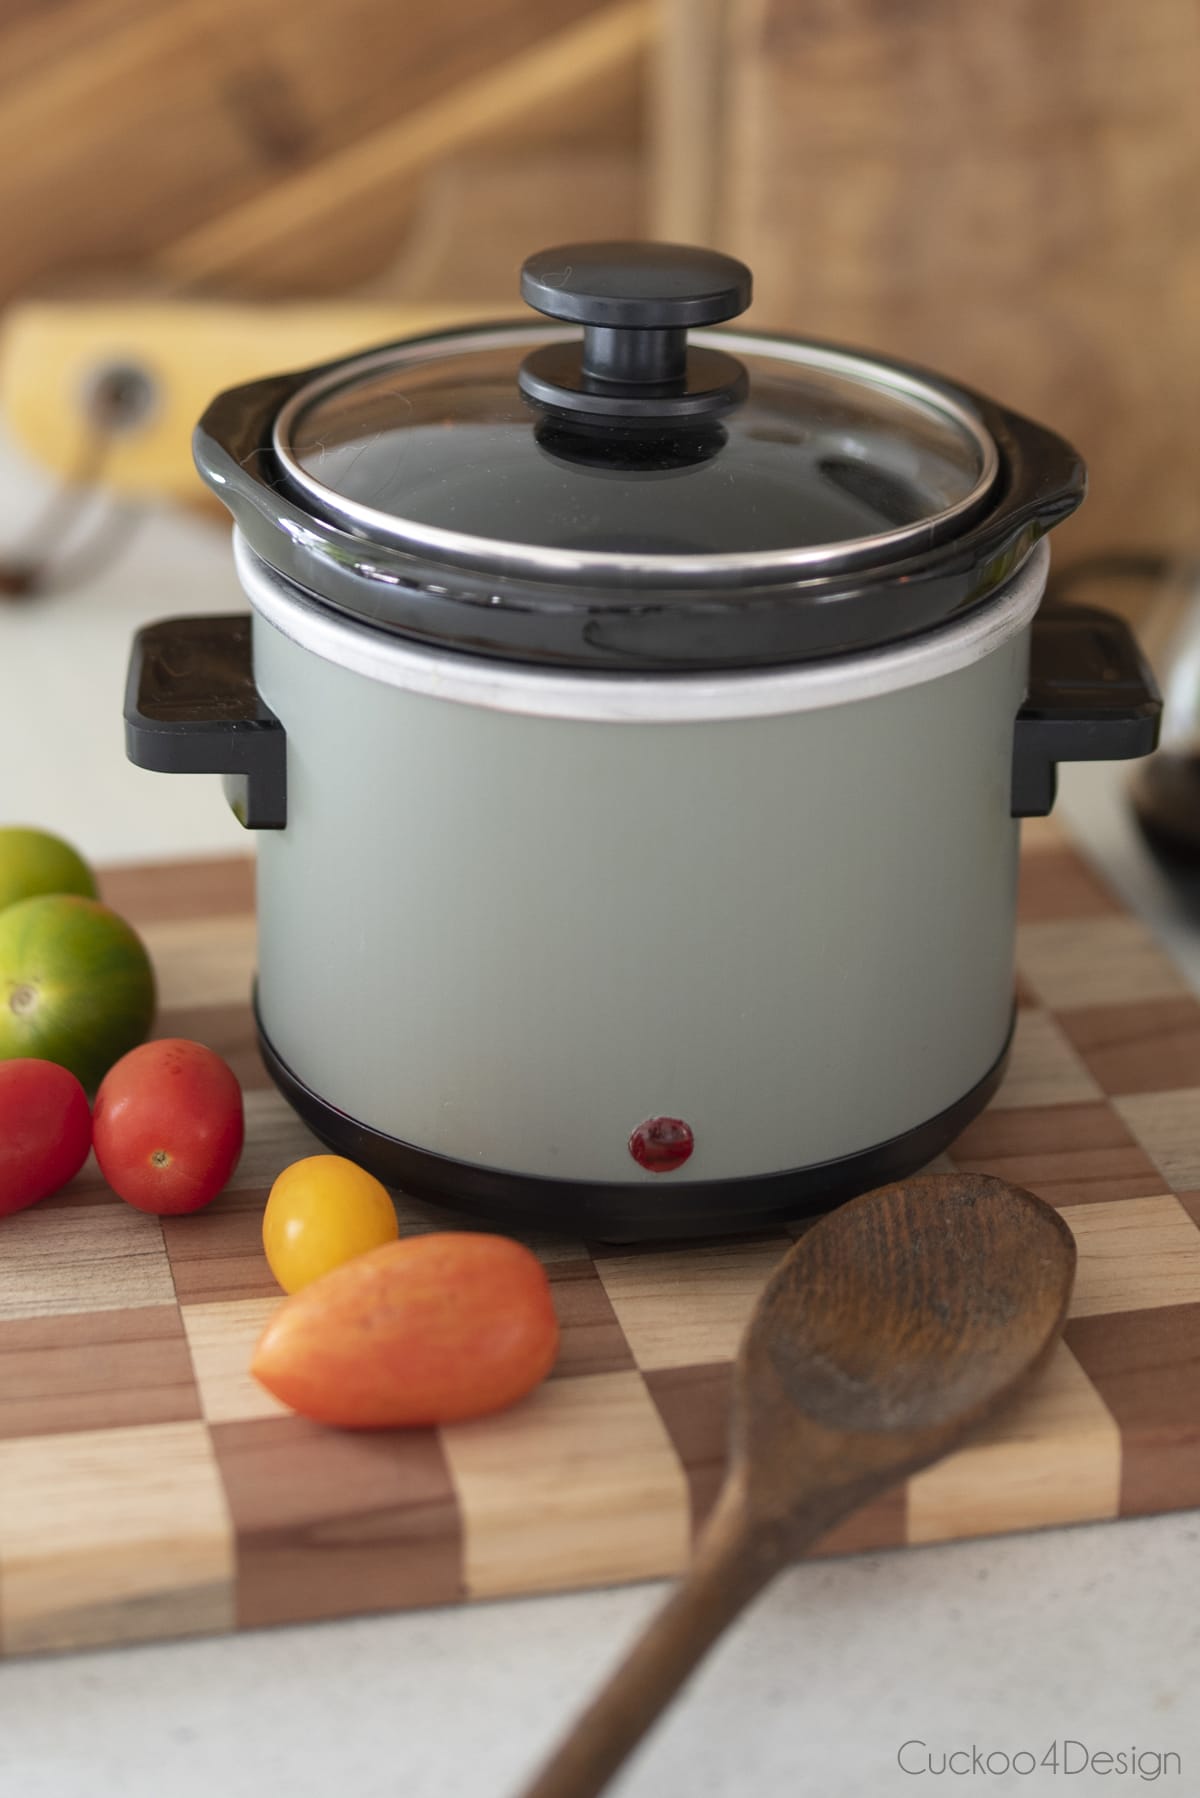
RELATED: I also came up with a little crockpot makeover to match our kitchen using leftover vinyl from my appliance makeover.
