

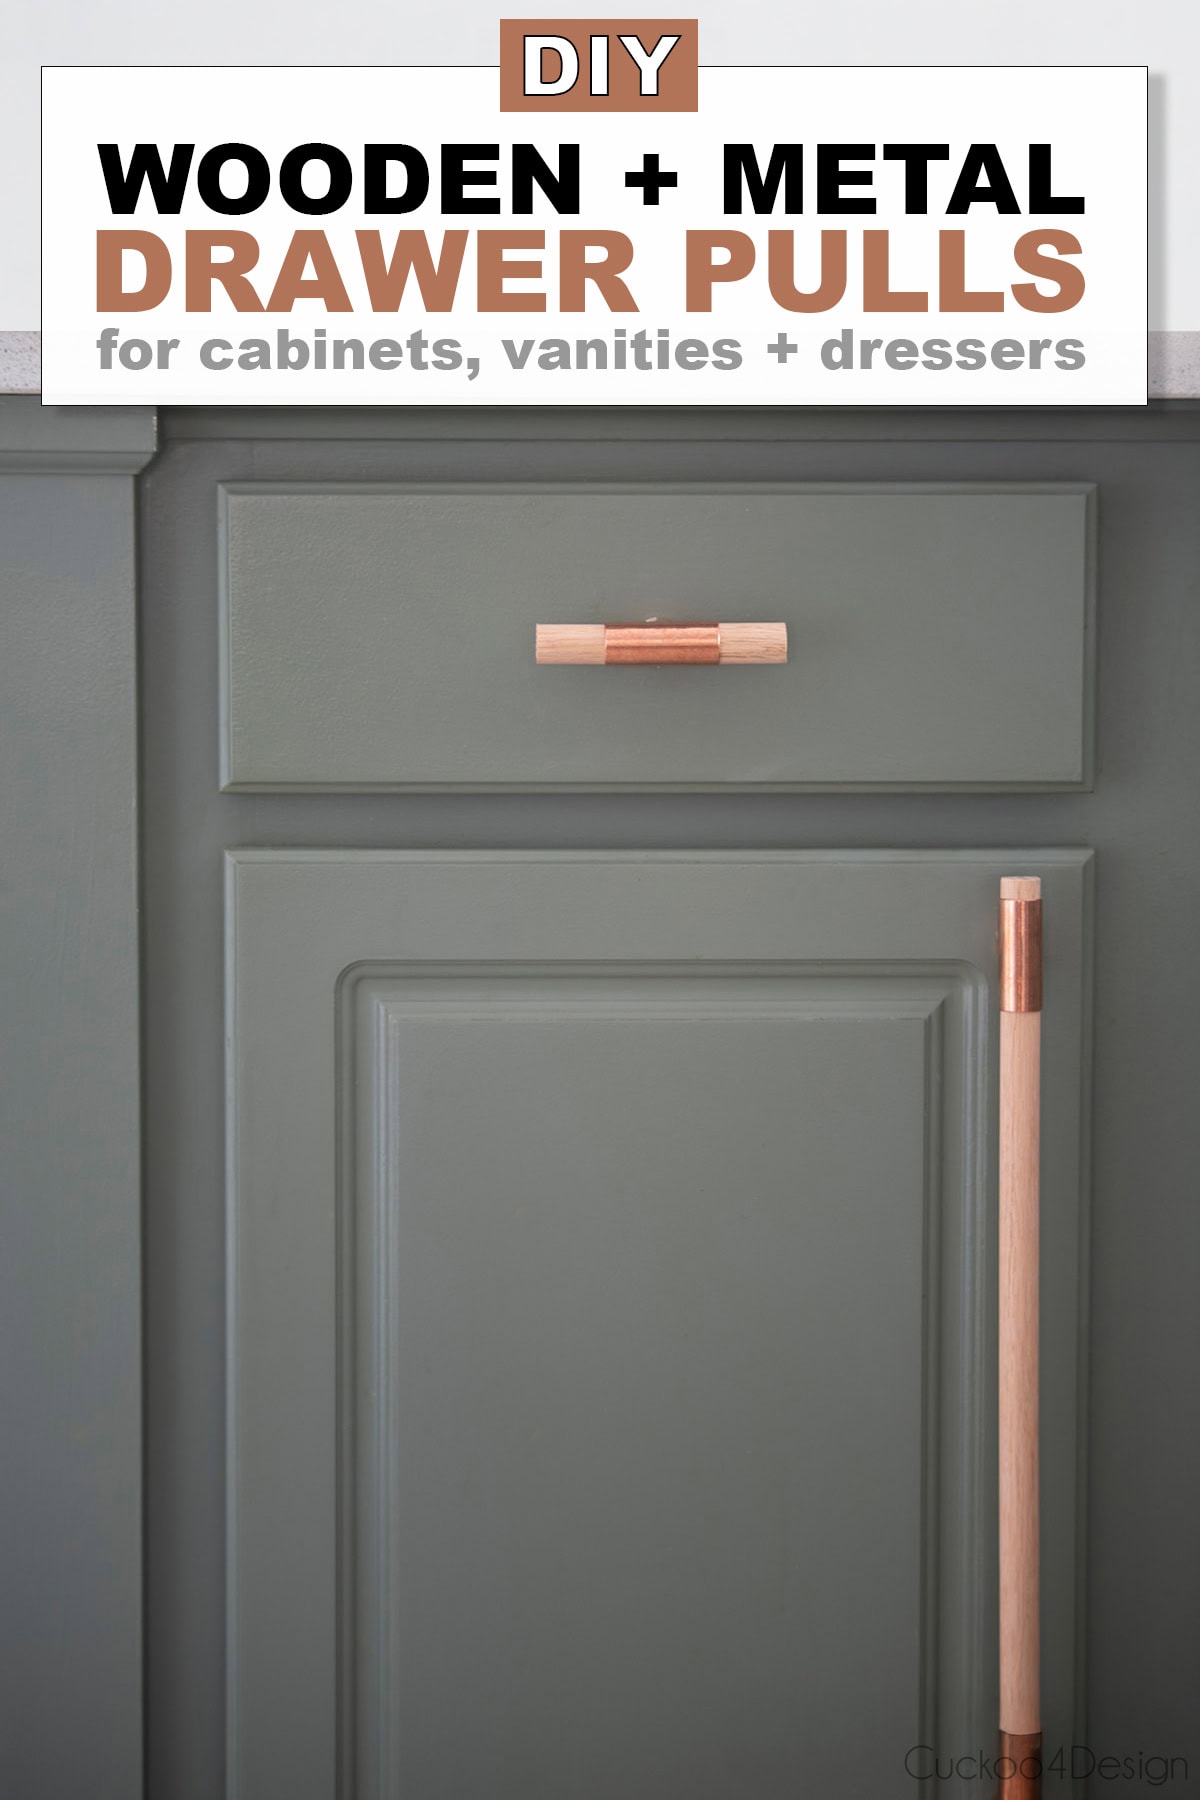
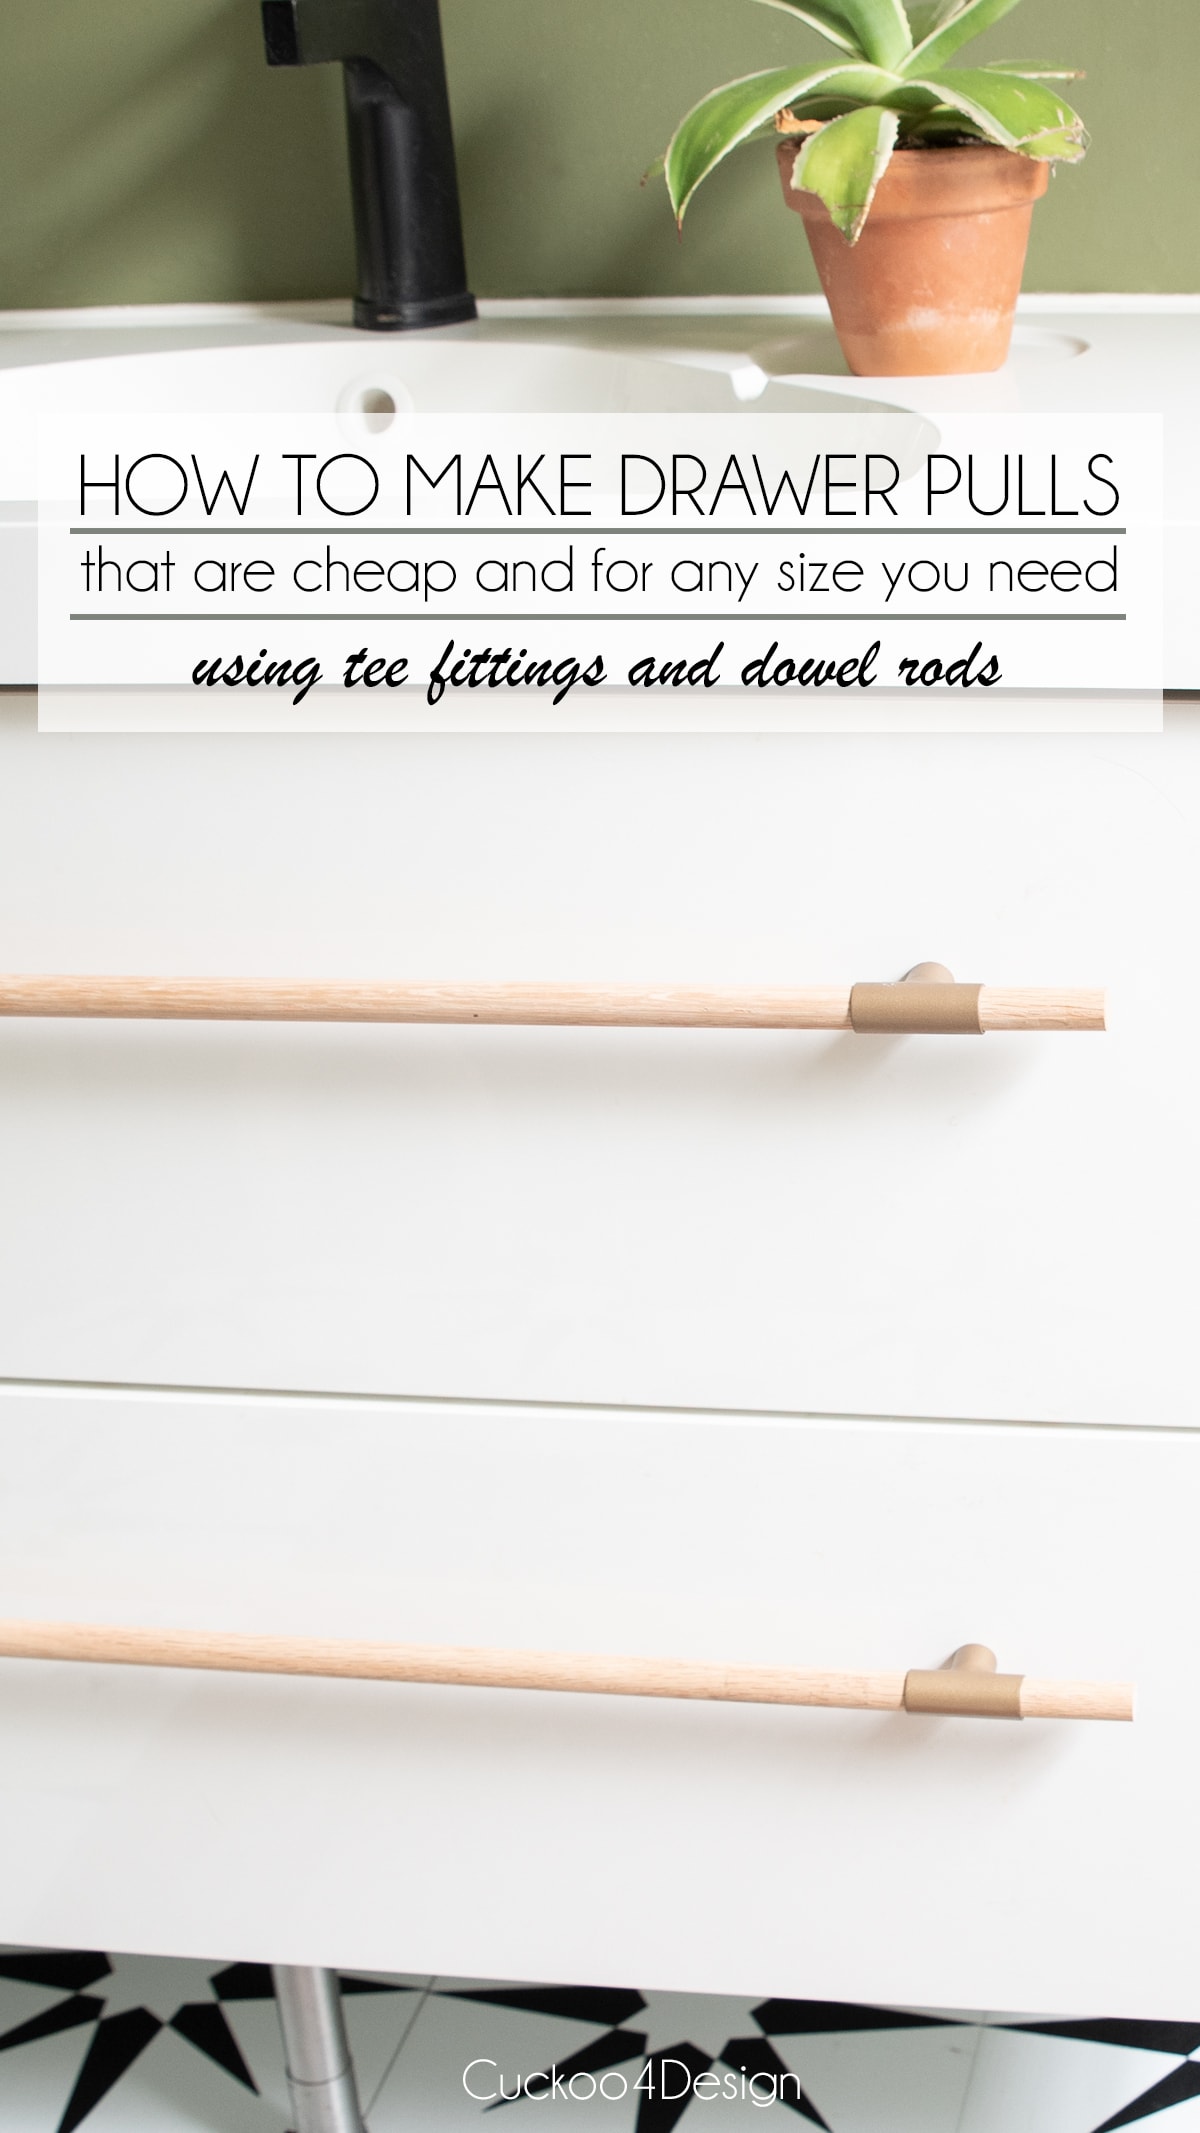
How to Make DIY Wooden Drawer Pulls with Dowel Rods and Plumbing Tees
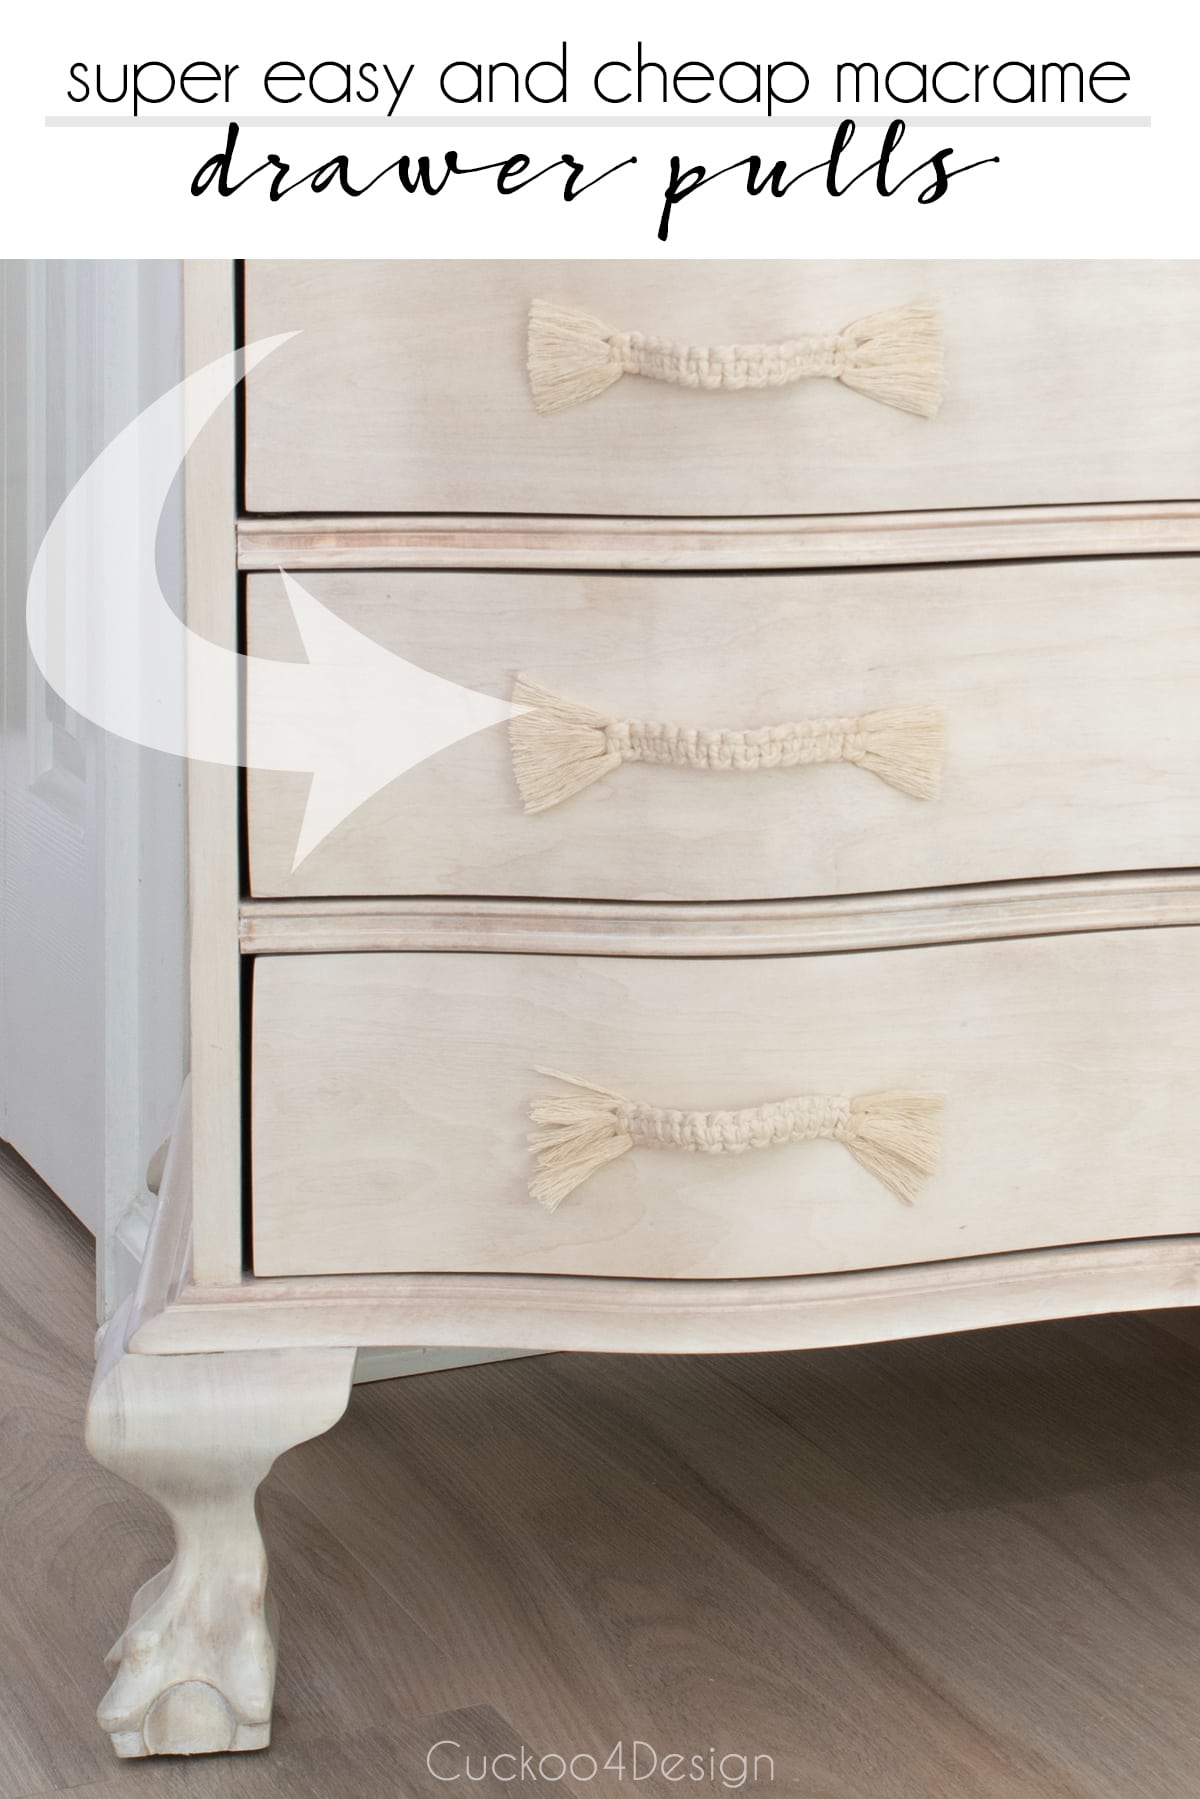
I came up with these DIY wooden drawer pulls when I was giving my stove a makeover and needed cabinet handles that would fit over the existing holes. Let me show you how you can make stylish metal and wooden drawer pulls, and cabinet handles to fit on differently spaced holes without spending a lot of money using plumbing tees and wooden dowel rods. If you are interested in a different material or want to go even cheaper, then check out my boho drawer pulls that I made from scrap macrame yarn. Hardware definitely doesn’t have to be expensive to be stylish.
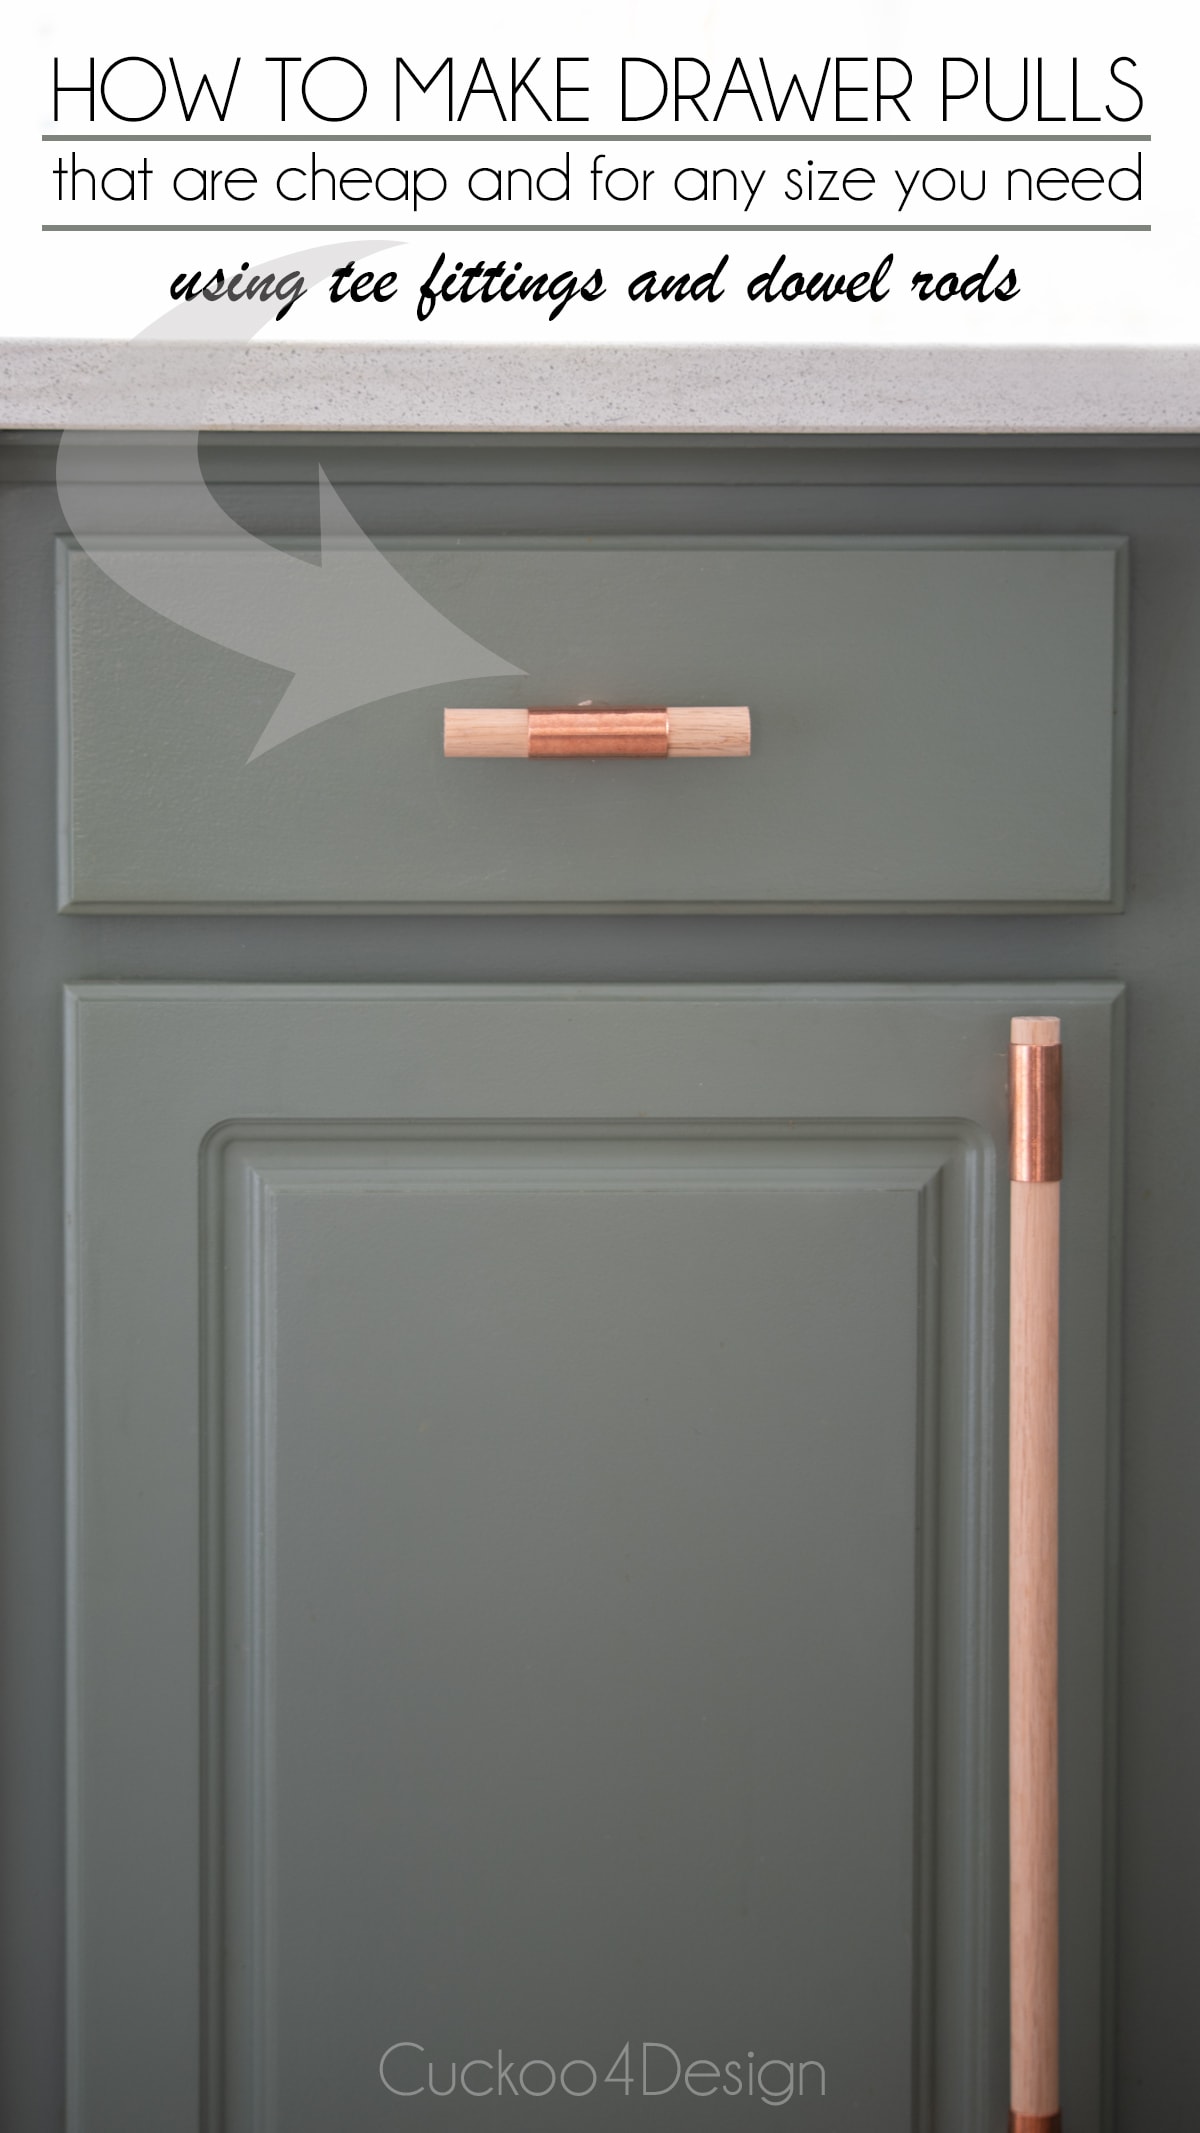
DIY wooden drawer pulls to fit any differently spaced holes
This post may contain affiliate links from which I will earn a commission at no extra cost to you. View my full disclosure policy.
These are not solid wooden handles because I really wanted some metal accents as well to go with my existing kitchen cabinet knobs.
With my tutorial, you can make any length of drawer pulls or knobs to fit over any spaced holes for cabinets and even a dresser.
Materials used to make the wooden drawer pulls
- 5/8″ oak dowel rods
- copper plumbing tees
- glue (something like Liquid Nails or Gorilla glue)
- screwdriver
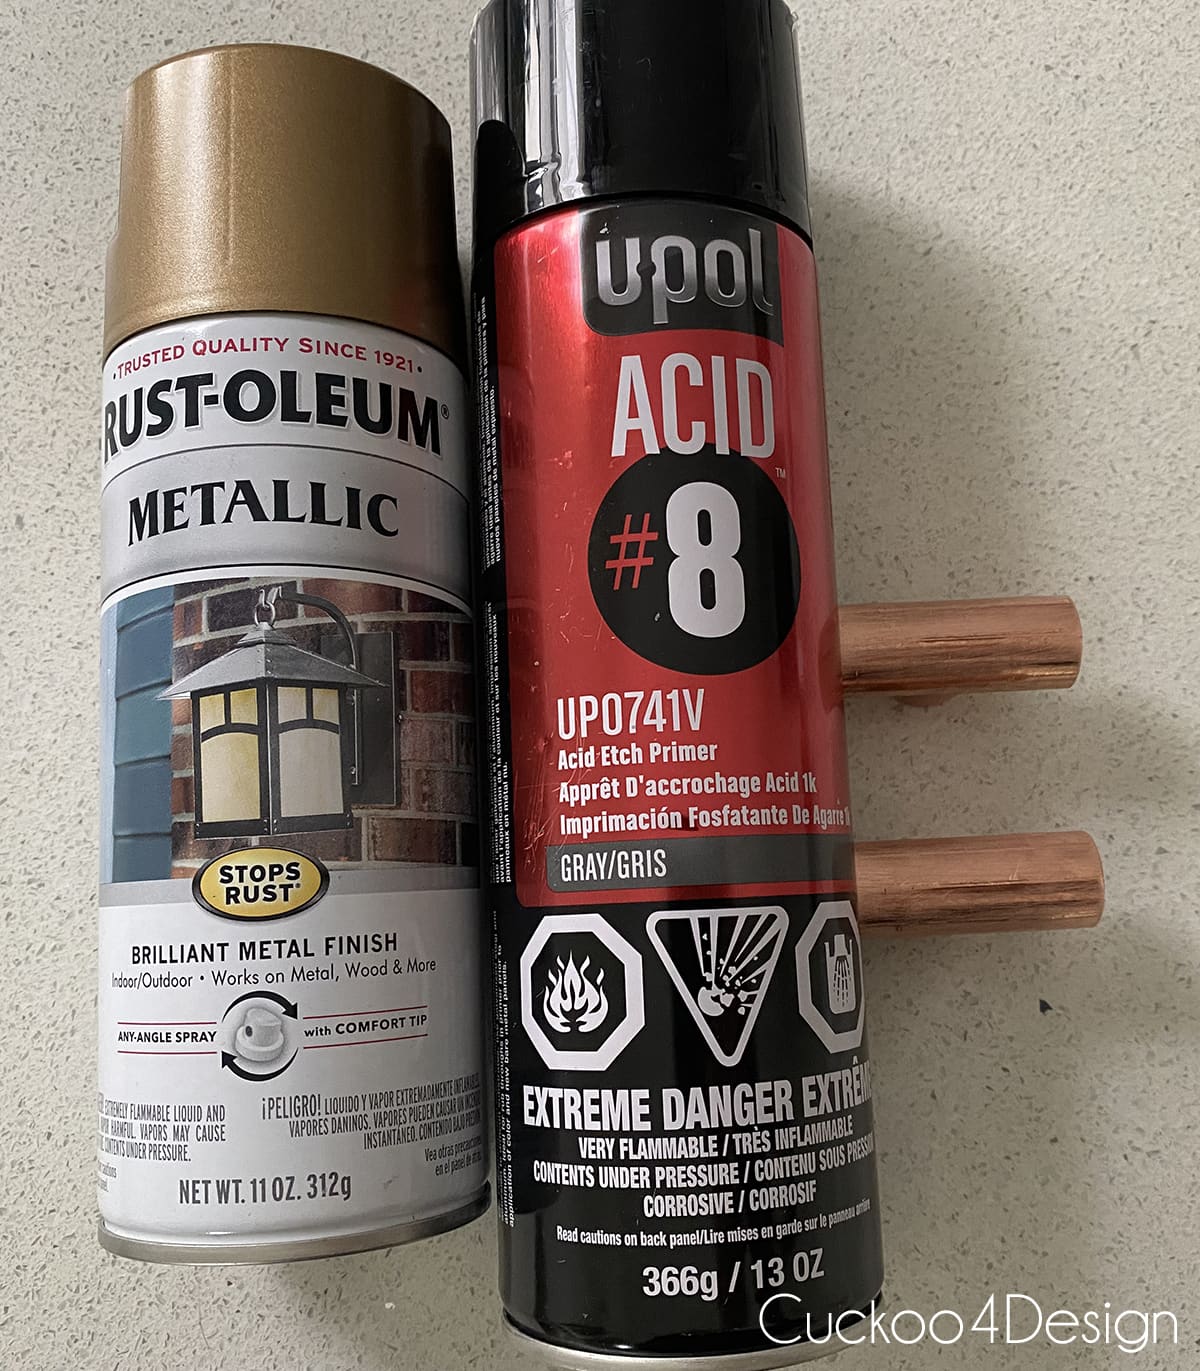
- metal spray primer and spray paint (if you want to change the copper look)
- sandpaper
- miter handsaw or power saw
- washers (The more important washers are the 1/4″ flat washers for the inside of the tees, and the others I use with the screws when attaching the hardware. They are optional!)
- wood screws (The length depends on the depth of your drawers or doors, so make sure to measure!)
- hammer
- clamp on bench vise
TIP: You could also use acrylic rods for this project and make elegant acrylic drawer pulls the same way I made these wooden drawer pulls. (I’m assuming that THESE 5/8″ acrylic rods will work just the same)

Step-by-step DIY drawer pulls instructions
I also made a video tutorial so you can see exactly what I did for this project. If, for any reason, it doesn’t load for you, then you can also check it out on my YouTube Channel.
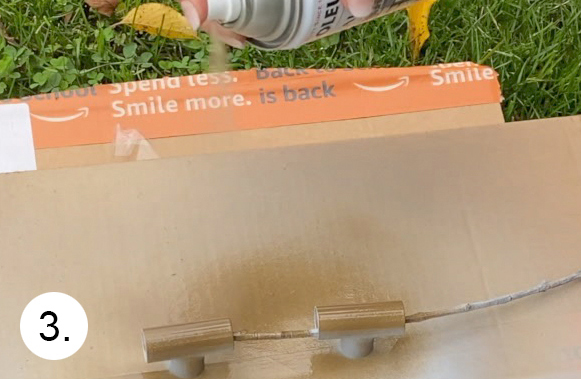
For different finishes, check out steps 1 to 3, where I change the copper color to gold. I love both. For our kitchen’s existing hardware, I needed it to be champagne bronze, and those are the ones I spray-painted.

Tip before you start: Are you making these to cover existing holes? Start by holding your plumbing tees over the existing holes to see where they sit. The center dowel rod needs to span the distance between the two tee openings, not the holes themselves. Measure that gap between the tees and cut your center piece to that length.
- Use fine-grit sandpaper to rough up the metal before priming.
- Use the spray primer to give the copper plumbing tees a good coat of spray primer.
- When the primer has dried, add two coats of your desired color. I used champagne bronze.
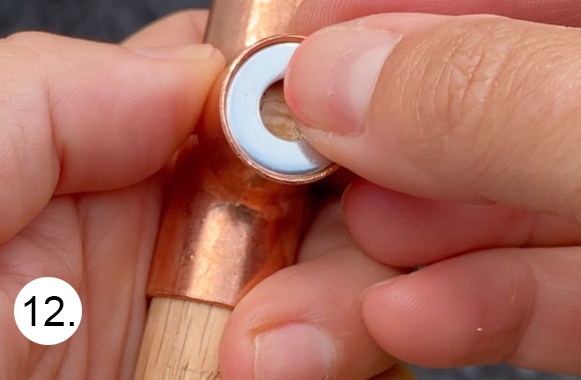
- Time to cut the dowel rods to the desired lengths. This obviously depends on your specific needs. If you want long cabinet pulls or drawer pulls to fit existing holes, then you need a long piece in the center and short pieces on the outside. Or you can make small wooden drawer pulls with two short pieces for one hole, as pictured in image 12. I like sketching this all out on scrap paper with counts and measurements before cutting my pieces.
- Here you can see the two shorter pieces and one longer piece for a long drawer pull.
- Also, cut smaller pieces at around 0.5″ long, which are for the inside of the plumbing tee and won’t be visible. These are the pieces that the screws get drilled into.
- Sand the edges of the pieces that are visible.
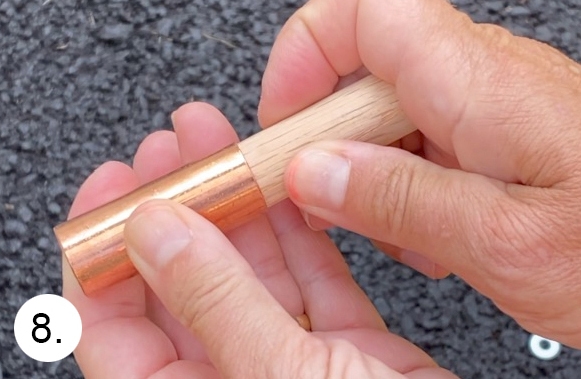
- Insert the pieces into the plumbing tee. They fit pretty snug, and sometimes I actually needed help from a hammer.
- When inserting the long center dowel rod, make sure that the plumbing tees on each side line up evenly, which requires some nudging and rotating so they lie flat on your surface.
- Add glue to the bottom of the plumbing tee.
- Insert the small 0.5″ pieces of the dowel rod into the tee.
- Add the washers on top of the small pieces of dowel rod to the back of the drawer pulls. Make sure it is all flush with the tee. These washers are mainly here to make sure you have a hole in the center and guide the screw for sturdiness. Let the glue dry after this.
- Hold the plumbing tees tightly in the bench vise so you can screw into the bottom of the tees with the right drill bit for the screws you are using. I used #8 screws and used a 1/8″ drill bit for the pilot holes inside the plumbing tees. (You can also use a drill press)
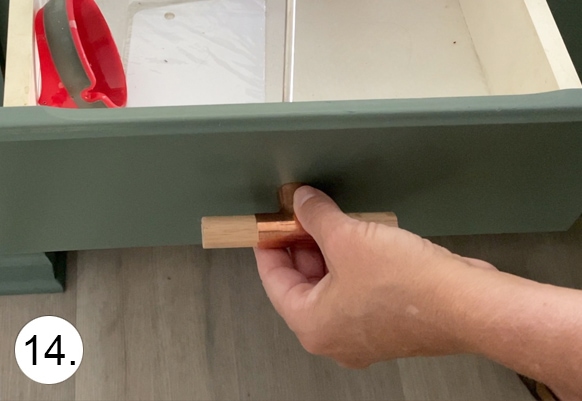
- Now all that’s left to do is to attach the DIY drawer pulls and DIY knobs to your drawer fronts or doors, and DONE! (The length of screws used depends on the thickness of the drawer face or cabinet door.)
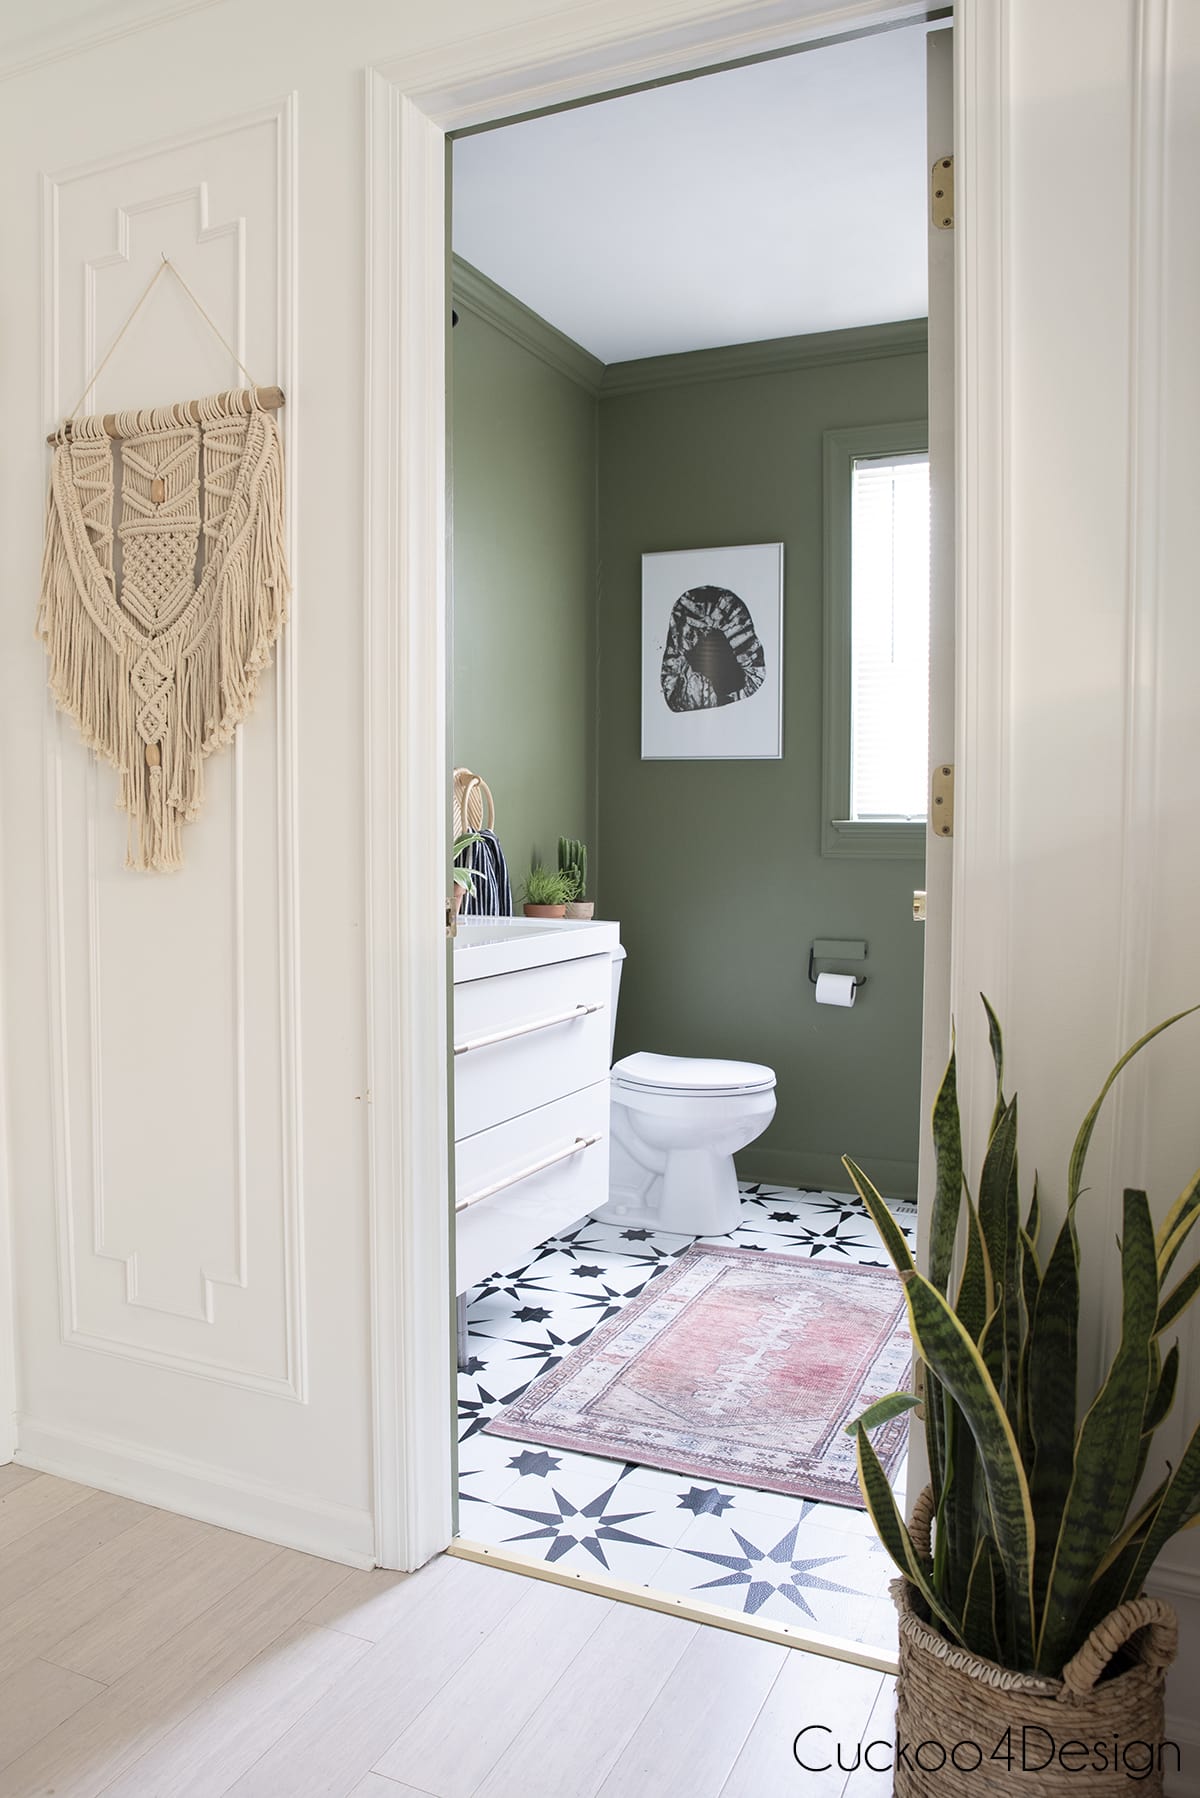
Below you can see two long wooden cabinet pulls or door handles in champagne bronze and wood I made. They would look great on my bathroom vanity drawers!

Or a small wooden drawer pull and longer door handle with the original copper finish. You can also check out more of my basic builder kitchen and how I transformed the cabinets into a two-toned stunner and my cabinet painting tips and tricks.
All these DIY ideas and some of my friends’ ideas are gathered in an extensive blog post about updating a kitchen without replacing the cabinets. I’m sure you can find an idea to use for your kitchen remodel.

Below you can see what the custom new drawer pulls look like on my Ikea vanity. I usually have black ring pulls on the drawers but I love how it changes the look with the wood. What do you think?

Check out my DIY stove makeover or how to change the color of your appliances tutorial where no paint is needed.

Also, check out my honest review of the cheap peel-and-stick vinyl tiles. You definitely can’t beat the price. The floor only cost me $100.
And in case you are wondering about the shades of green used to paint the cabinets and walls then check out my blog post about my favorite shades of dark green paint colors for more info.
Similar drawer pulls for sale
Some of you might not feel like making your own cabinet hardware. So I thought I’d share some similar options on Etsy that you can buy and support some small businesses along the way:

More of my DIY hardware posts
Or check out my DIY leather drawer pulls.

Another hardware idea is my DIY boho drawer pulls using macrame yarn, which are super affordable and easy to make.
Stay tuned for another blog post about how I customized our boring white stove with these handles and some other details to make it look like a high-end, expensive appliance.
Tschüß,


DIY wooden drawer pulls
Make DIY wooden drawer pulls from dowel rods and plumbing tees. Fits any hole spacing for cabinets, vanities, and dressers.
Materials
- 5/8" oak dowel rods
- copper plumbing tees
- glue (something like liquid nails or gorilla glue)
- metal spray primer and spray paint (if you want to change the copper look)
- sandpaper
- washers (The more important washers are the 1/4" flat washers for the inside of the tees and the others I use with the screws when attaching the hardware. They are optional!)
- wood screws (The length depends on the depth of your drawers or doors, so make sure to measure!)
Tools
- screwdriver
- miter handsaw or power saw
- hammer
- clamp on bench vise
Instructions
- Use fine-grit sandpaper to rough up the metal before priming. (or you can jump to step 4 and skip painting if you want to leave copper as is)

- Use the spray primer to give the copper plumbing tees a good coat of spray primer.

- When the primer has dried add two coats of your desired color. I used champagne bronze.

- Time to cut the dowel rods to the desired lengths. This obviously depends on your specific needs. If you want long drawer pulls to fit existing holes then you need a long piece in the center and short pieces on the outside. Or you can make small wooden drawer pulls with two short pieces for one hole as pictured in image 12. I like sketching this all out on scrap paper with counts and measurements before cutting my pieces.
- Here you can see the two shorter pieces and one longer piece for a long drawer pull.

- Also, cut smaller pieces at around 0.5″ long which are for the inside of the plumbing tee and won’t be visible. These are the pieces that the screws get drilled into.
- Sand the edges of the pieces that are visible.
- Insert the pieces into the plumbing tee. They fit pretty snug and sometimes I actually needed help from a hammer.
- When inserting the long center dowel rod make sure that the plumbing tees on each side line up evenly which requires some nudging and rotating so they lay flat on your surface.

- Add glue to the bottom of the plumbing tee.
- Insert the small 0.5″ pieces of the dowel rod into the tee.

- Add the washers on top of the small pieces of dowel rod and make sure it is all flush with the tee. These washers are mainly here to make sure you have a hole in the center and guide the screw for sturdiness. Let the glue dry after this.
- Hold the plumbing tees tightly in the bench vise so you can screw into the bottom of the tees with the right drill bit for the screws you are using. I used #8 screws and used a 1/8″ drill bit for the pilot holes inside the plumbing tees.

- Now all that’s left to do is to attach the handles to your drawers or doors and DONE!


Notes
You could also use acrylic rods for this project and make elegant acrylic drawer pulls the same way I made these wooden drawer pulls. (I'm assuming that 5/8" acrylic rods will work just the same)
Wow- your pulls are so cool- they look beautiful. I love the contrast of copper mixed with wood.
Thanks Karen! I do love the copper too. I think I’ll change the bathroom ones to copper.
Great hack. Really love it!
These are absolutely amazing! You are so smart.
Great post. Your instructions are so detailed and clear….I wish all product assembly instructions were like that. 🙂 The pulls are fabulous.
These drawer pulls are awesome! They are modern and look very high end for a fraction of the cost. I’m going to have to make these pulls for my bathroom cabinets. Thanks for sharing this idea and providing such great instructions.
Thanks Linda
Hi there, i tried making this but when i installed them they pulled right off the screws. Any recommendations ?
Hi Sarah! If they are pulling off the screws then it sounds like the hole that was pre-drilled is too large for the screw.