How to repaint a painted concrete porch
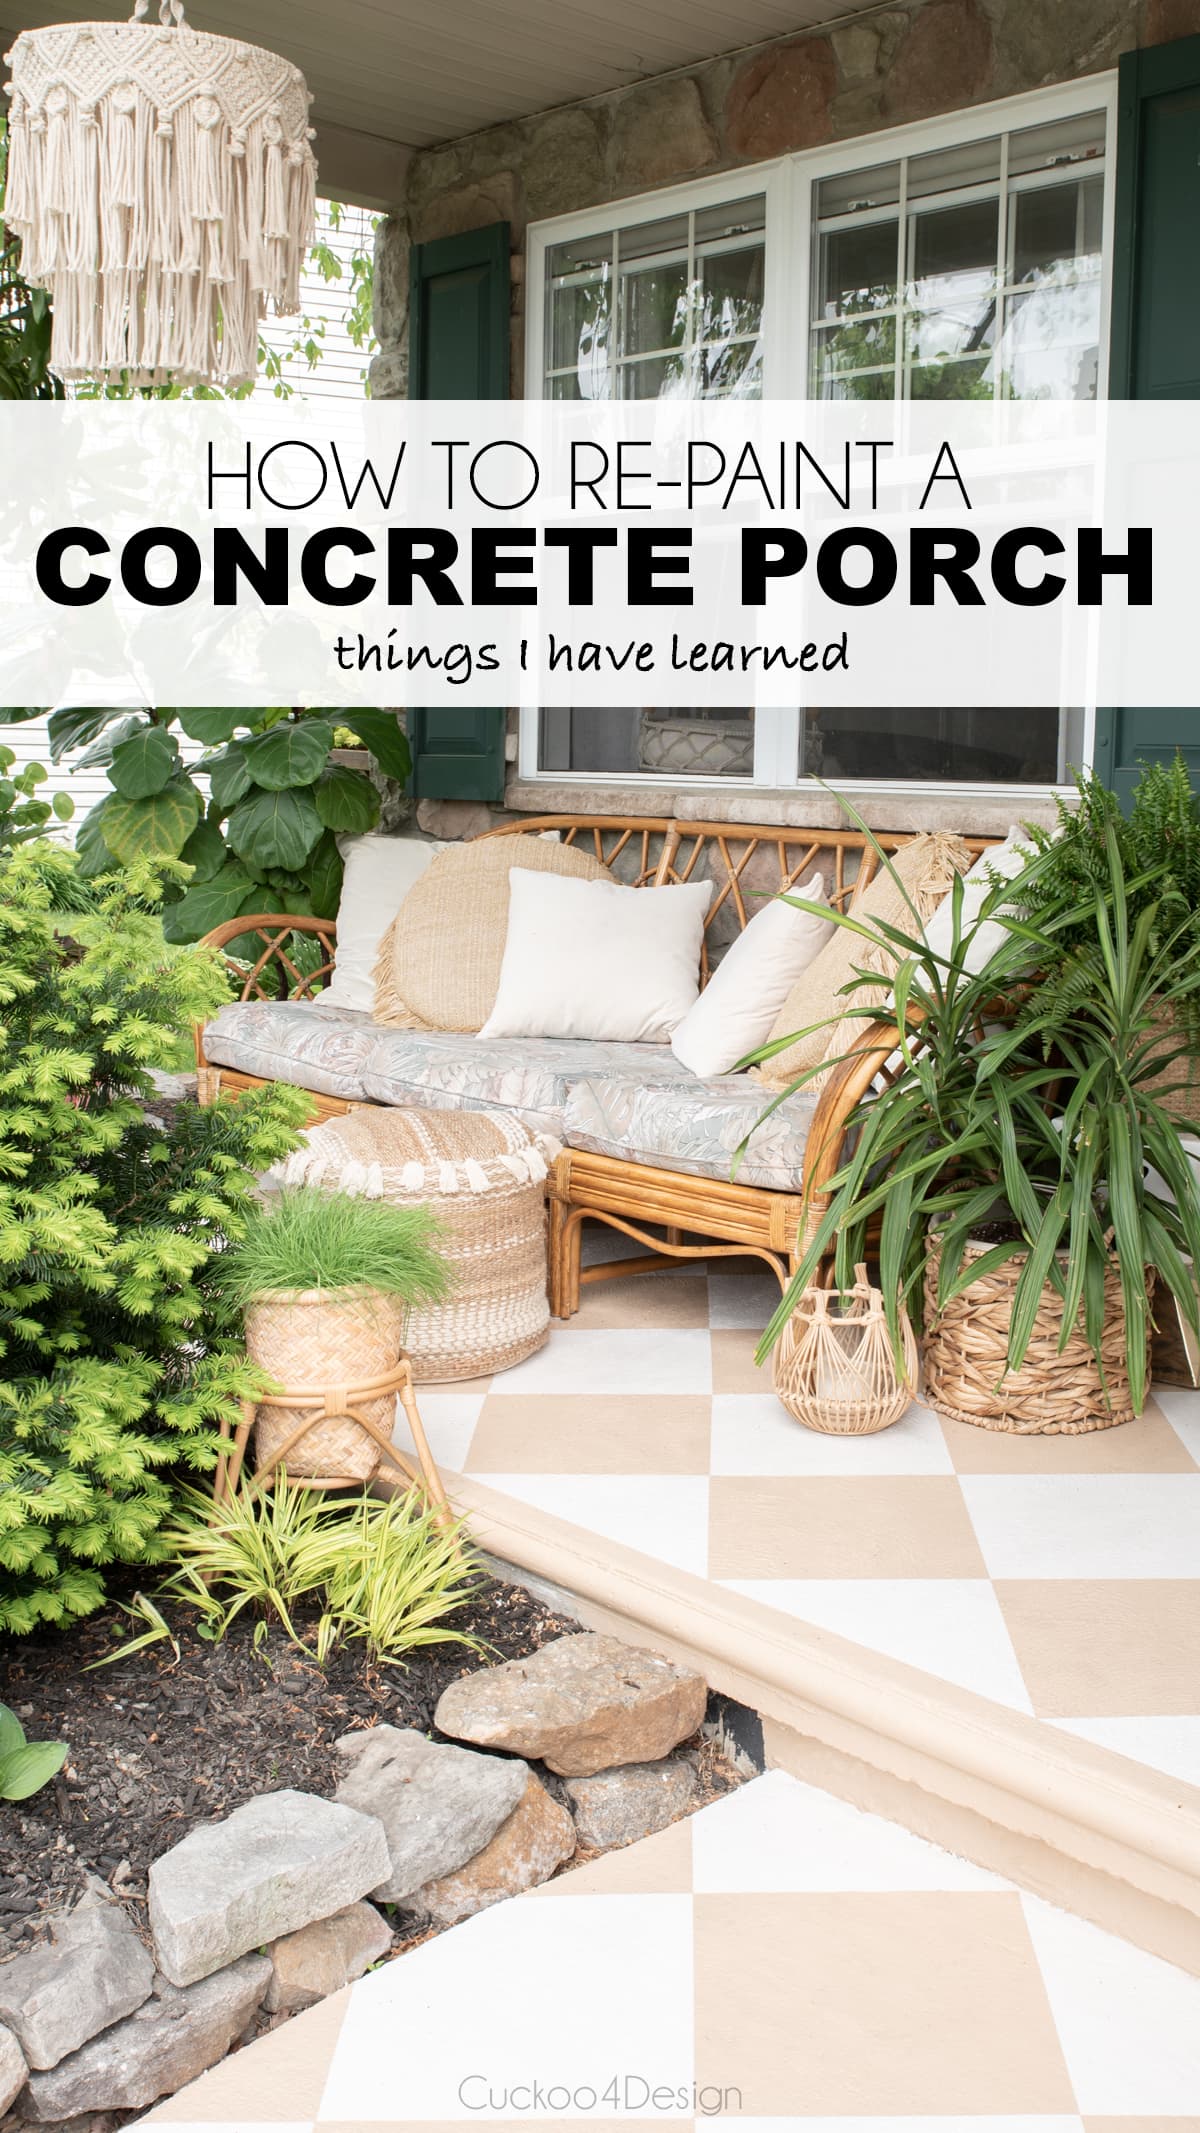
I’ve had today’s “How to repaint a concrete porch” project on my to-do list for quite some time and was anxiously awaiting warmer weather. When I bought the vintage rattan sofa for our front porch, I made it work on the black and white striped porch but I knew that at some point I wanted to change the colors.
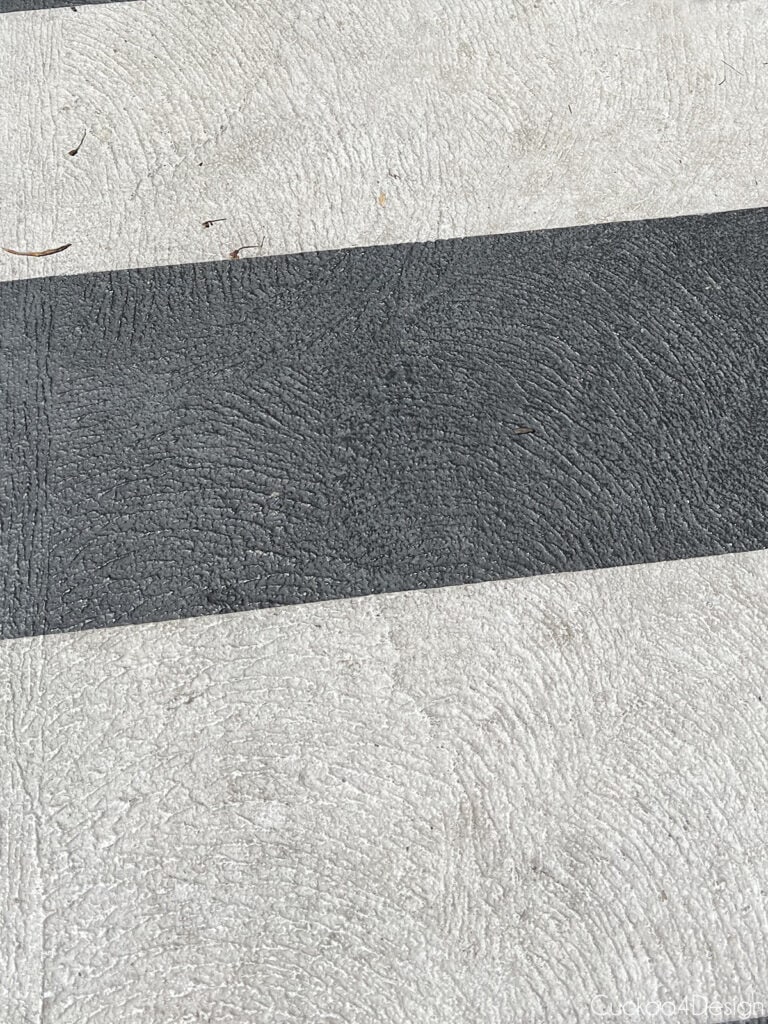
The stripes held up great and the paint didn’t chip at all over time but the white had stained a lot and my pressure washer wasn’t able to clean it well anymore. Bird poop can really do some damage ya know?
How to repaint a concrete porch
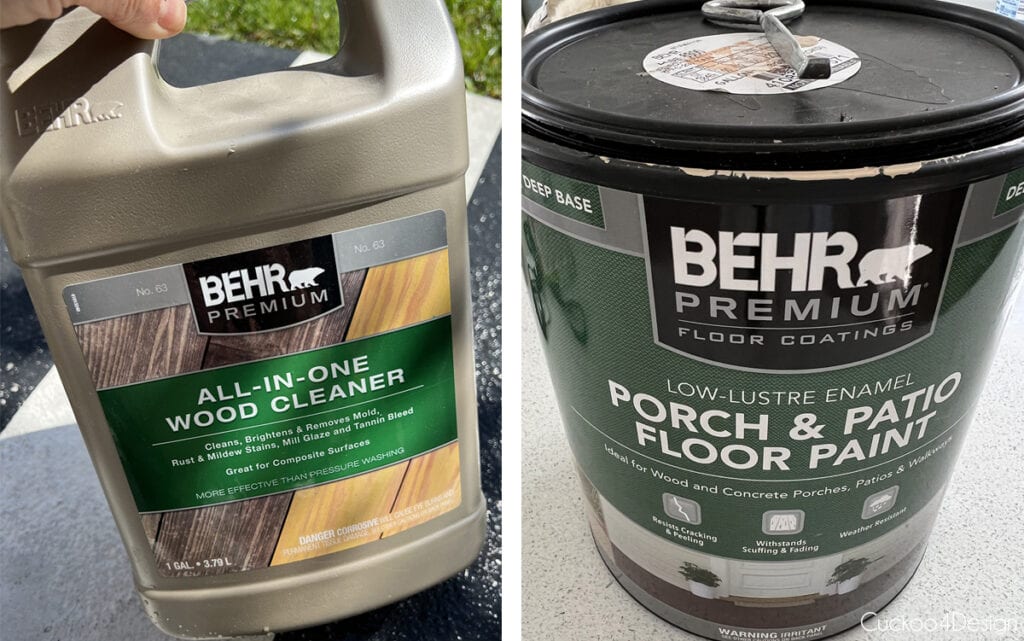
The last time I painted our concrete porch in 2016, I used Olympic Rescue Paint, but our Home Depot stopped selling it, and I didn’t want the hassle of trying to pick paint online and it not being accurate. So at the store, they told me that I could use the Behr Porch & Patio Floor Paint right over the existing paint if I cleaned it well with their recommended cleaner. To be honest, I liked the Olympic Rescue Paint better. The Behr paint remains slightly tacky after a week which is frustrating me a bit. But… it’s held up well and didn’t peel off with the painter’s tape, which is always my biggest fear after putting so much work into it. There was only one tiny spot where it came off with the tape.
Materials used to repaint concrete porch
- paint brush
- large and small paint roller (I used the large roller for the first two coats and the small roller for the checkers)
- tack cloth
- Behr ALL-IN-WOOD CLEANER
- Behr Porch & Patio Floor Paint Low Lustre (two colors I used are: White Cloud PFC-72 and Tan PFC-23)
- pressure washer (we love this small electric pressure washer)
- scrub brush
- Handheld Pump Sprayer
- frog tape or painters tape (both worked for me with my crisp line painting trick)
- measuring tape
- square ruler
- pencil
- tarp if you need to protect and cover up plants
- posterboard or cardboard (optional)
- acid-resistant rubber gloves, protective eye goggles and footwear like rubber boots
Frequently asked questions
Can I Paint Over A Painted Concrete Floor?
Yes, you sure can and that is exactly what I did in this project! I followed the exact steps that I was told at Home Depot and it turned out great.
Do you need to remove paint from concrete before repainting?
Old concrete paint only needs to get removed if it is chipping or flaking off. If that is the case you might be wondering how to remove paint from concrete. Some suggest removing old chipping concrete paint with a heavy-duty paint stripper. I personally don’t recommend that especially if you have plants around your concrete porch or patio the way we do. The chemicals are just way too toxic and messy and could do a lot of harm.
I suggest that you remove any loose or peeling paint by sanding it with medium-grit sandpaper or with a wire brush. If your concrete porch is textured like ours then try to use a floor maintainer that has a concrete prep tool attached to it to scuff and remove the paint.
After that, you’d have to use muriatic acid to etch the concrete as well.
I was lucky that all I needed to do was to clean and degloss my old pained concrete.
Do you need to prime already painted concrete before repainting it?
You need to prime already painted concrete if it is peeling after you prepped it the way I described above.
Generally, you only need primer on unpainted concrete before painting but I did not when I painted my concrete porch originally because the paint I used didn’t require it and as I said earlier it held up great for all these years.
(If you have cracks in your concrete fill them with concrete patching compound before painting as well.)
Do you need to seal painted concrete?
It is commonly suggested that you seal concrete paint especially if it is in a heavy foot traffic area. With that said, I did not and I repeat again that it held up great with heavy foot traffic. We had the stripes for 6 years without sealer.
Instructions
This post may contain affiliate links from which I will earn a commission at no extra cost to you. View my full disclosure policy.
Video Tutorial
If you are on a phone or tablet, hold your device horizontally for better viewing. If it doesn’t load for some reason, you can see the video on my YouTube channel.
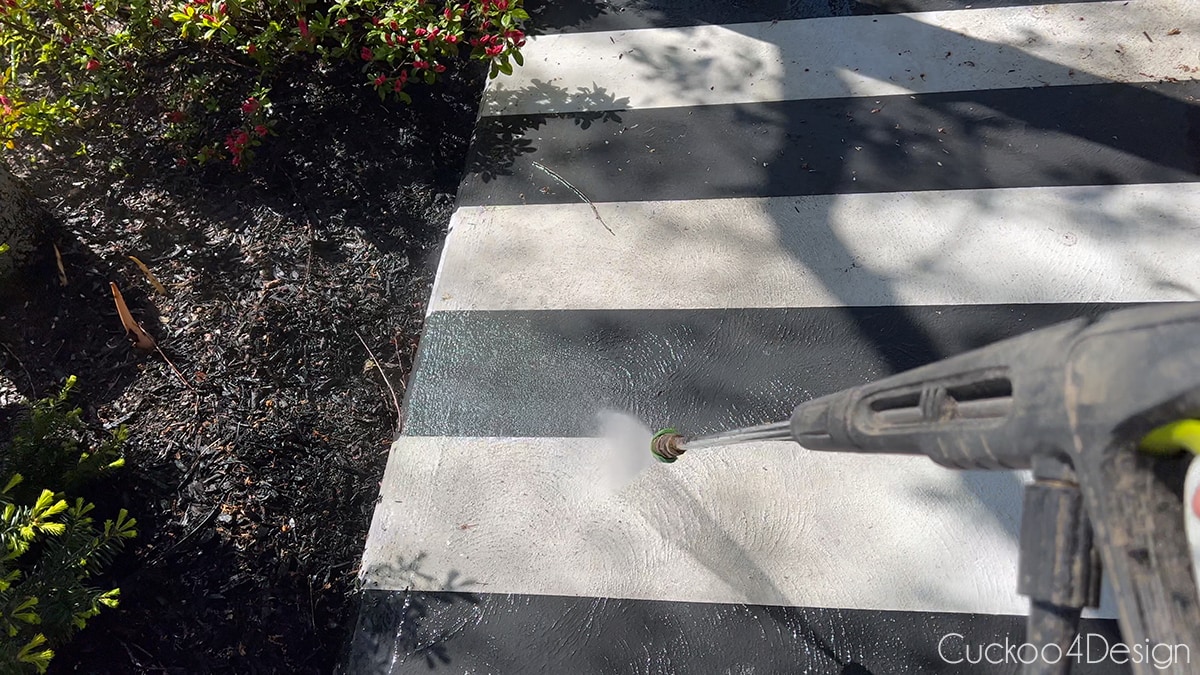
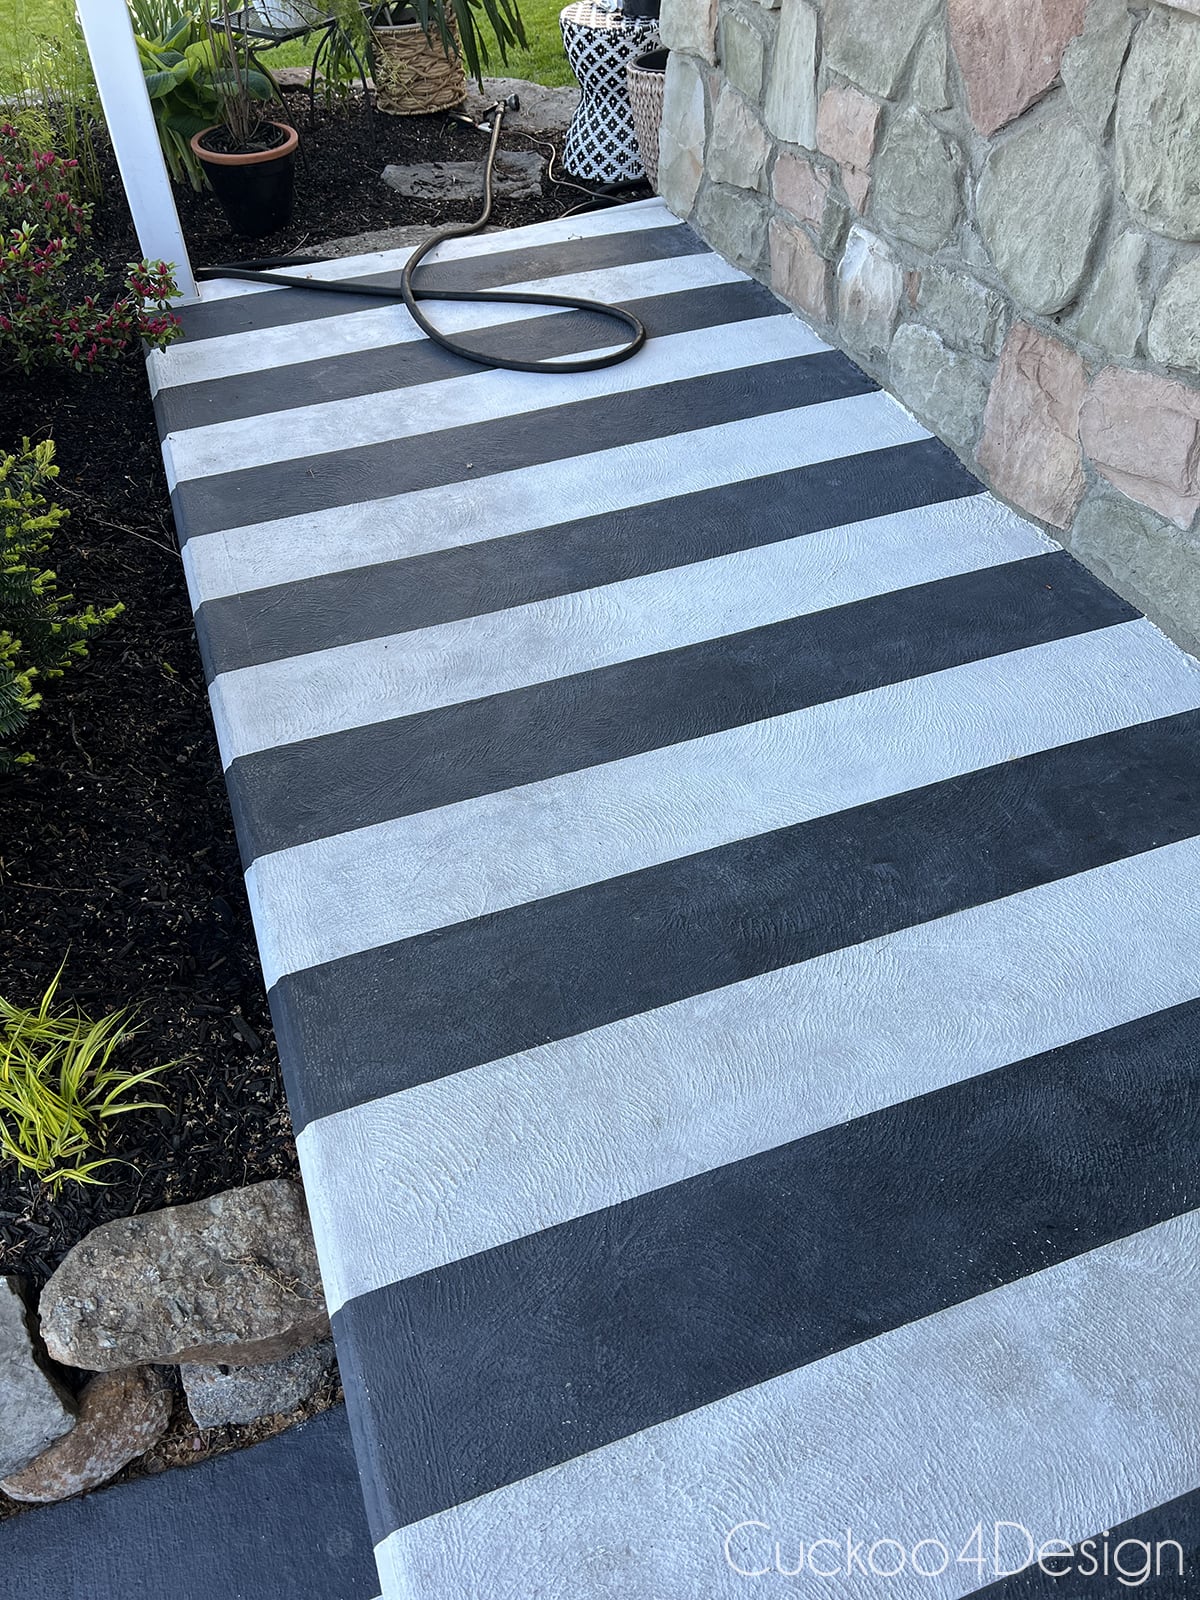
As a reminder, below is a photo of our porch before I painted it in stripes years ago. It’s what most of the porches look like in our neighborhood. Even a pressure washer couldn’t get it clean anymore and the visible stains were the reason for my decision to paint it.

And here is a photo of the stripes right after I finished painting it and the paint had dried.

And here is the porch after winter this year:

Now 6 years later the paint still held up great and wasn’t chipping but the white part was really stained and looking rather yucky as you can see.
How to prep the painted concrete before repainting
Before I was able to just paint over the old painted concrete surface, I had to do some prep work. As I mentioned above, since it wasn’t chipping, I only had to clean and degrease it thoroughly. I used the cleaner that was recommended to me by Home Depot. It says wood cleaner on the container but can be used for other surfaces. It helps to degloss and degrease the surface that you want to paint which is very important.
The concrete on our porch is textured which helps. A garage floor is smooth concrete and the paint doesn’t adhere to the smooth concrete as well as the textured concrete.
Some cleaners are made for bare concrete (like this one HERE) and some are made for treated surfaces. One of my favorites is TSP and I’ve used it for many painting projects. However, I did want to use what they recommended in case I ran into issues, and then it is blamed on the fact that I used a different product. This time around I used Behr products and this is not a sponsored post, it’s just what I ended up using.
Also, make sure that you wait for nice warm weather!
- I started out by pressure washing the patio to remove the dirt and leaves from the winter.
- I used a plastic tarp over my flower beds to protect the plants and soil from the harsh cleaner.
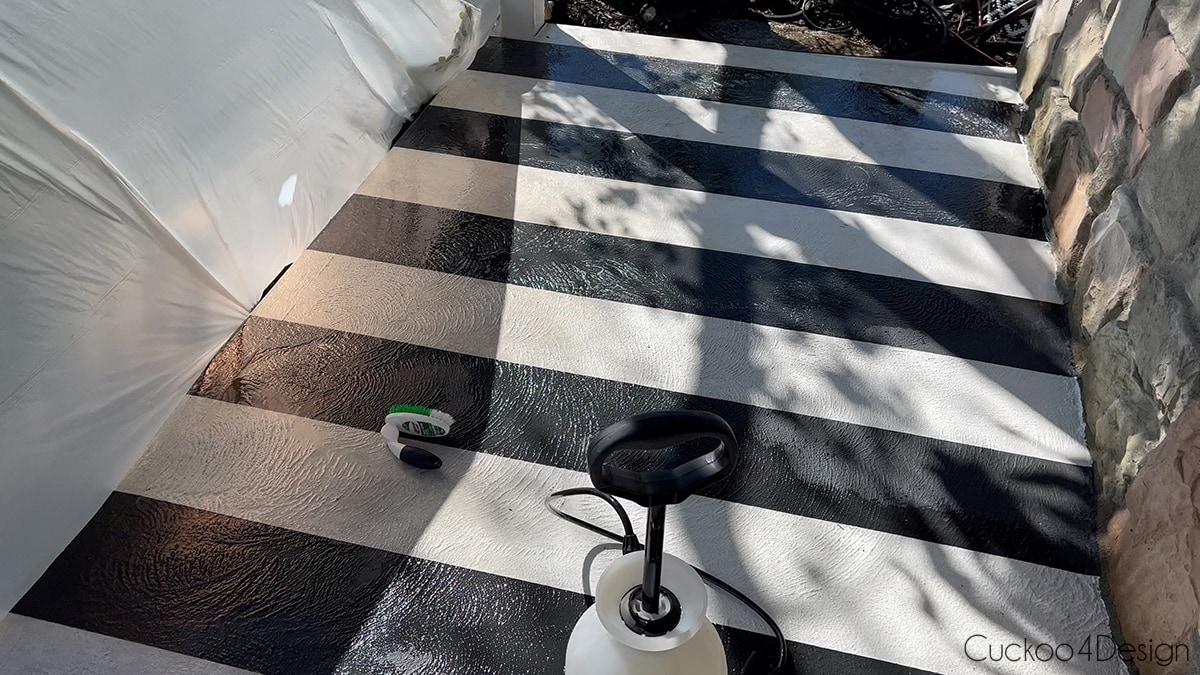
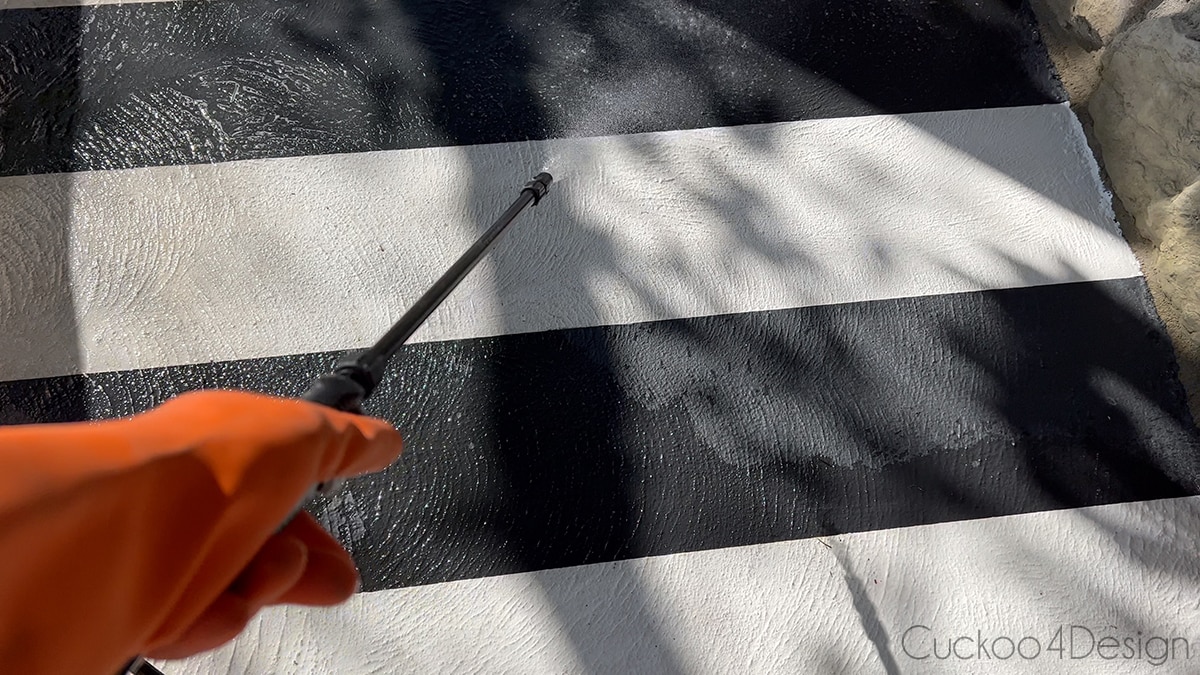
- After that, I diluted the cleaner in a sprayer according to the directions and sprayed it evenly over the painted concrete patio while wearing my protective gear.
- I then used the hard bristle brush to really scrub the floor until it foamed while also making sure that the cleaning solution didn’t dry up by spraying more as needed.
- Keep the painted concrete porch/patio wet with cleaner for around 15-20 minutes before carefully rinsing the cleaning solution off.
- Let the painted concrete patio dry completely before you get to the re-painting part.
- Apply your fresh new coats of paint.
how to paint a checkerboard floor
Originally I wanted to stencil our porch but I am not a big fan of stenciling. The vintage fabric of the sofa also looks much better with a classic and less busy checkerboard pattern.
Our porch is small at 159 inches wide by 60 inches deep with the additional small rounded entry pad to the right that is about 43.5 inches wide by 61 inches deep.
Starting out with a square line to move from is important. I made that line at the front of the porch which then doubled as a border painted in the darker color. The reason for that is that the rock back wall and siding are uneven and you can’t get a straight line.
But first I had to determine the square size for the checkerboard pattern which can be a bit tricky. I wanted them to be as large as possible.

While the border serves a decorative purpose, it also serves the purpose of helping give even square numbers. Without the border, it would have been so much harder to paint the checkerboard pattern onto the porch without having to cut some of the squares. This is the reason why the border is only 1.5 inches in the front and 3 inches on the left side.
To determine the checkerboard square size I used the red lines (inner crosses of the squares) which you can see in my sketch above. I just played around with numbers by dividing the depth and width with even numbers until I found one that would work. For me, it was 19.5 inches for the cross size.
I then used my square ruler to draw a 19.5-inch square cross on the poster board. All you need to do is connect the endpoints of the cross, so you end up with a square and cut that out.

This is a template now that helped me along the way while drawing the pattern on the concrete to make sure I didn’t mess up the measurements and sizes. It did happen by an inch in one area and I was glad to have had this. This part is definitely optional though.

I did not tape the walls and just cut in the edges carefully with my favorite paintbrush.


Then I applied two coats of the ivory color with the large paint roller and without a paint tray by simply pouring the paint on the porch or dipping the roller into the paint.
Let the two coats dry overnight before drawing in the checkerboard pattern with a pencil, ruler, and square ruler (most important for this project).
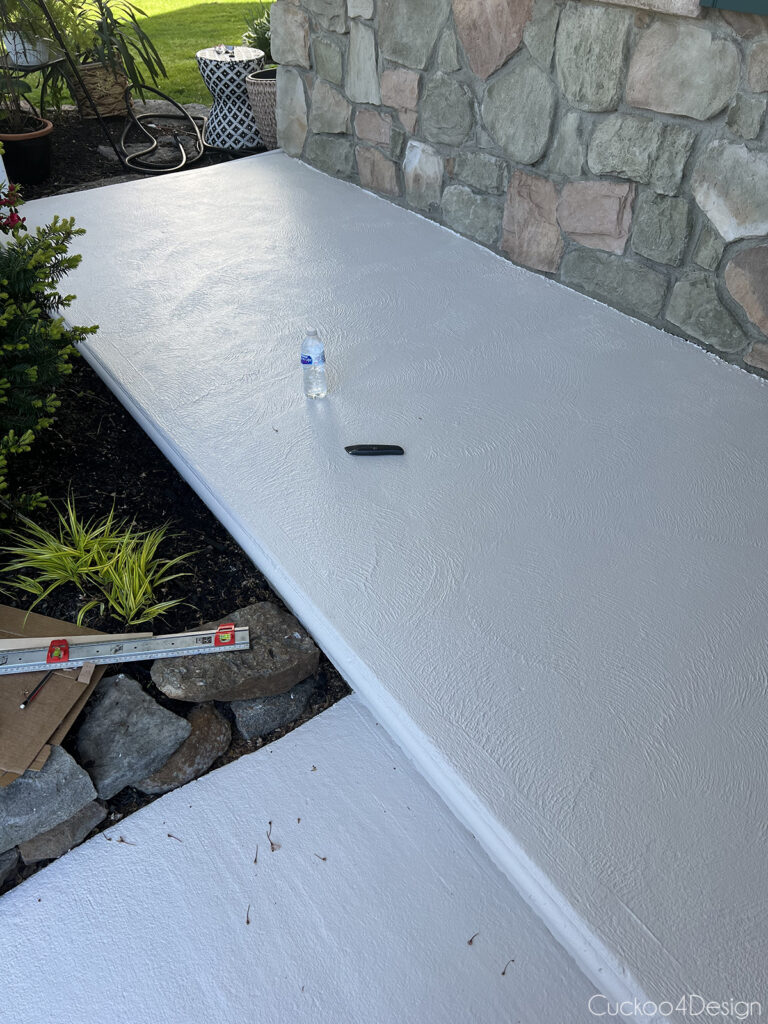
Below you can see how I worked with the rulers, measuring tape, and square template. This was definitely the most tricky part, so take your time. And don’t be afraid to mess up, it happens! In some areas, I was simply able to use a wet rag to wipe my lines away if I messed up.
Drawing on the red cross lines pictured in my sketch helped with creating the pattern and since the crosses are in the darker-painted checkerboards they will be covered by the final coats of paint.

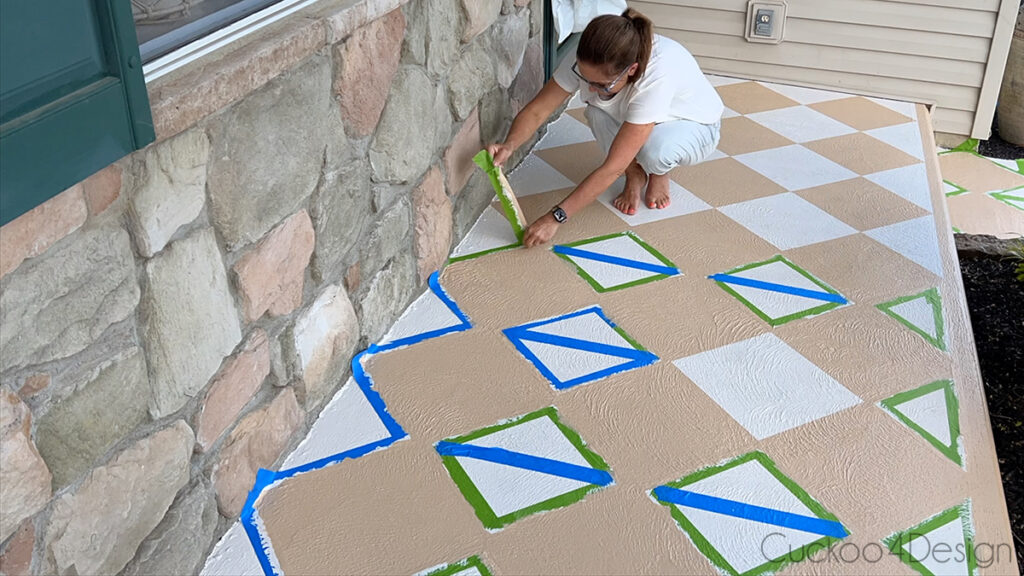
I ran out of frog tape which is why you see blue tape mixed in. I decided to add a tape line in the squares that remained light, so I wouldn’t accidentally paint inside them.
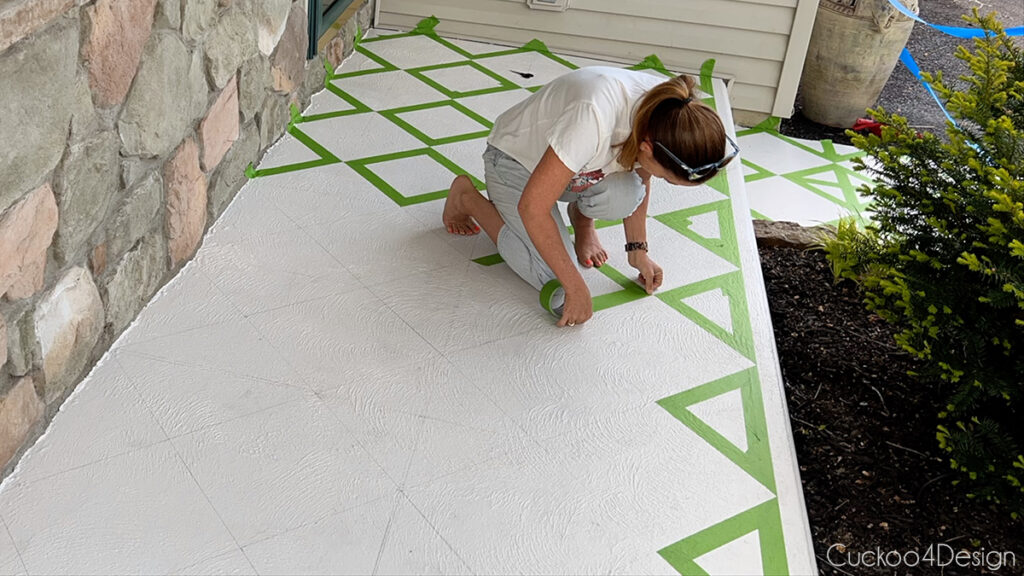

Before painting again, I used my vacuum cleaner to get some of the dirt off that was blown onto the concrete porch.

TIP: My favorite painting tip/trick is to seal the painter’s tape with the base coat. Paint will always bleed through no matter how much effort you put into pushing the tape down. So let it bleed by using the same color. This seals the tape and prevents the darker color from bleeding through. You’ll get crisp lines every time!
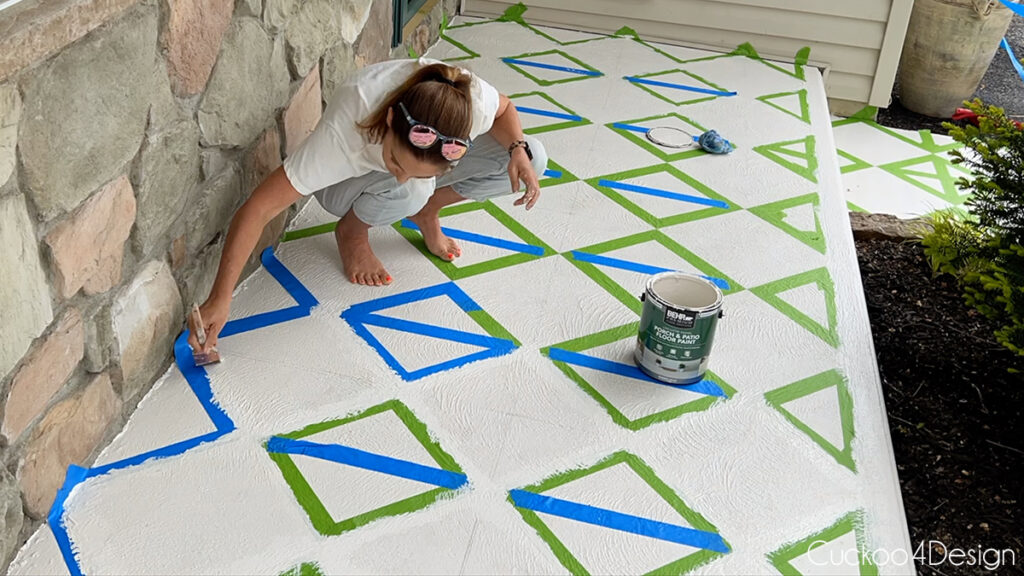
Let the sealed painter’s tape seams dry, so the paint colors don’t mix.
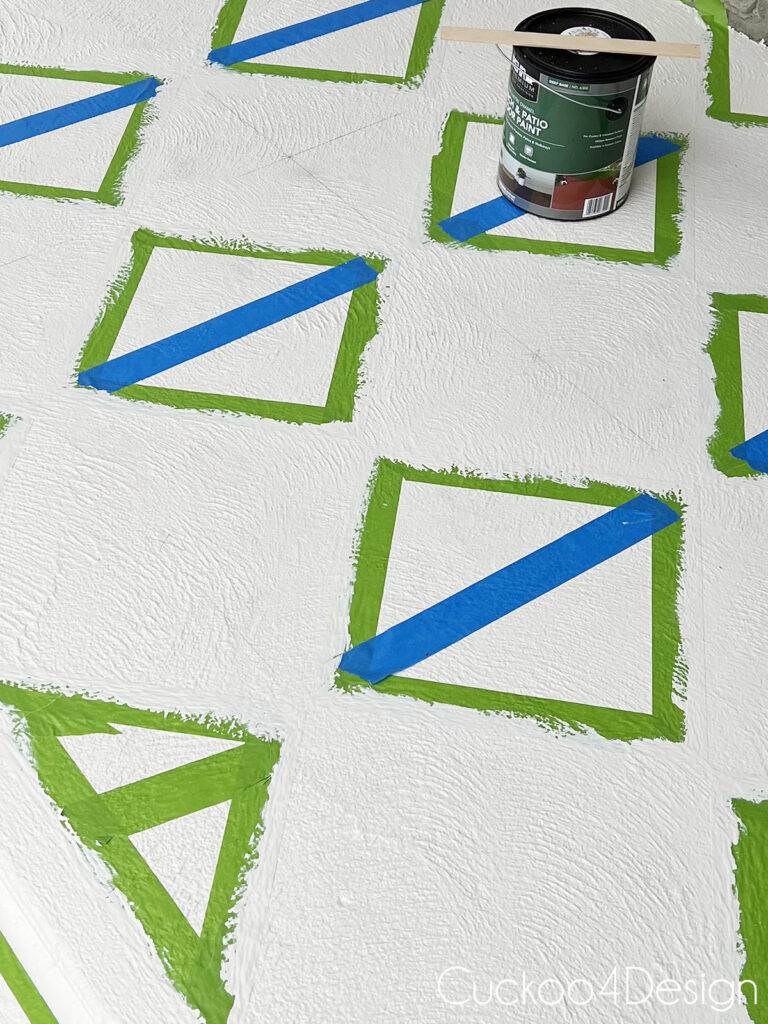
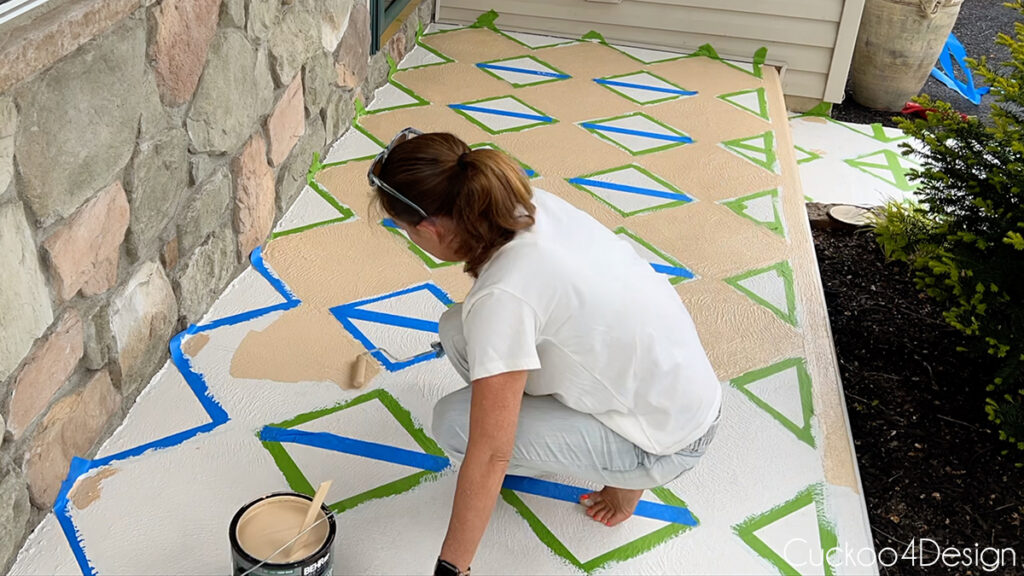
For the darker checkerboard squares, I used the small paint roller. I also kept using tack clothes throughout the painting to pick up any loose debris.
Pulling off painter’s tape is my favorite part but I’m not going to lie, I was scared that the tape would pull off some of the new paint from the existing old paint. Thankfully there was only one tiny area where it happened and I successfully touched it up with a small brush.
For me, not letting the second coat dry fully when pulling off the painter’s tape works best.
And that’s it. This is definitely a doable project that requires a moderate amount of elbow grease.
Photos of finished repainted concrete porch
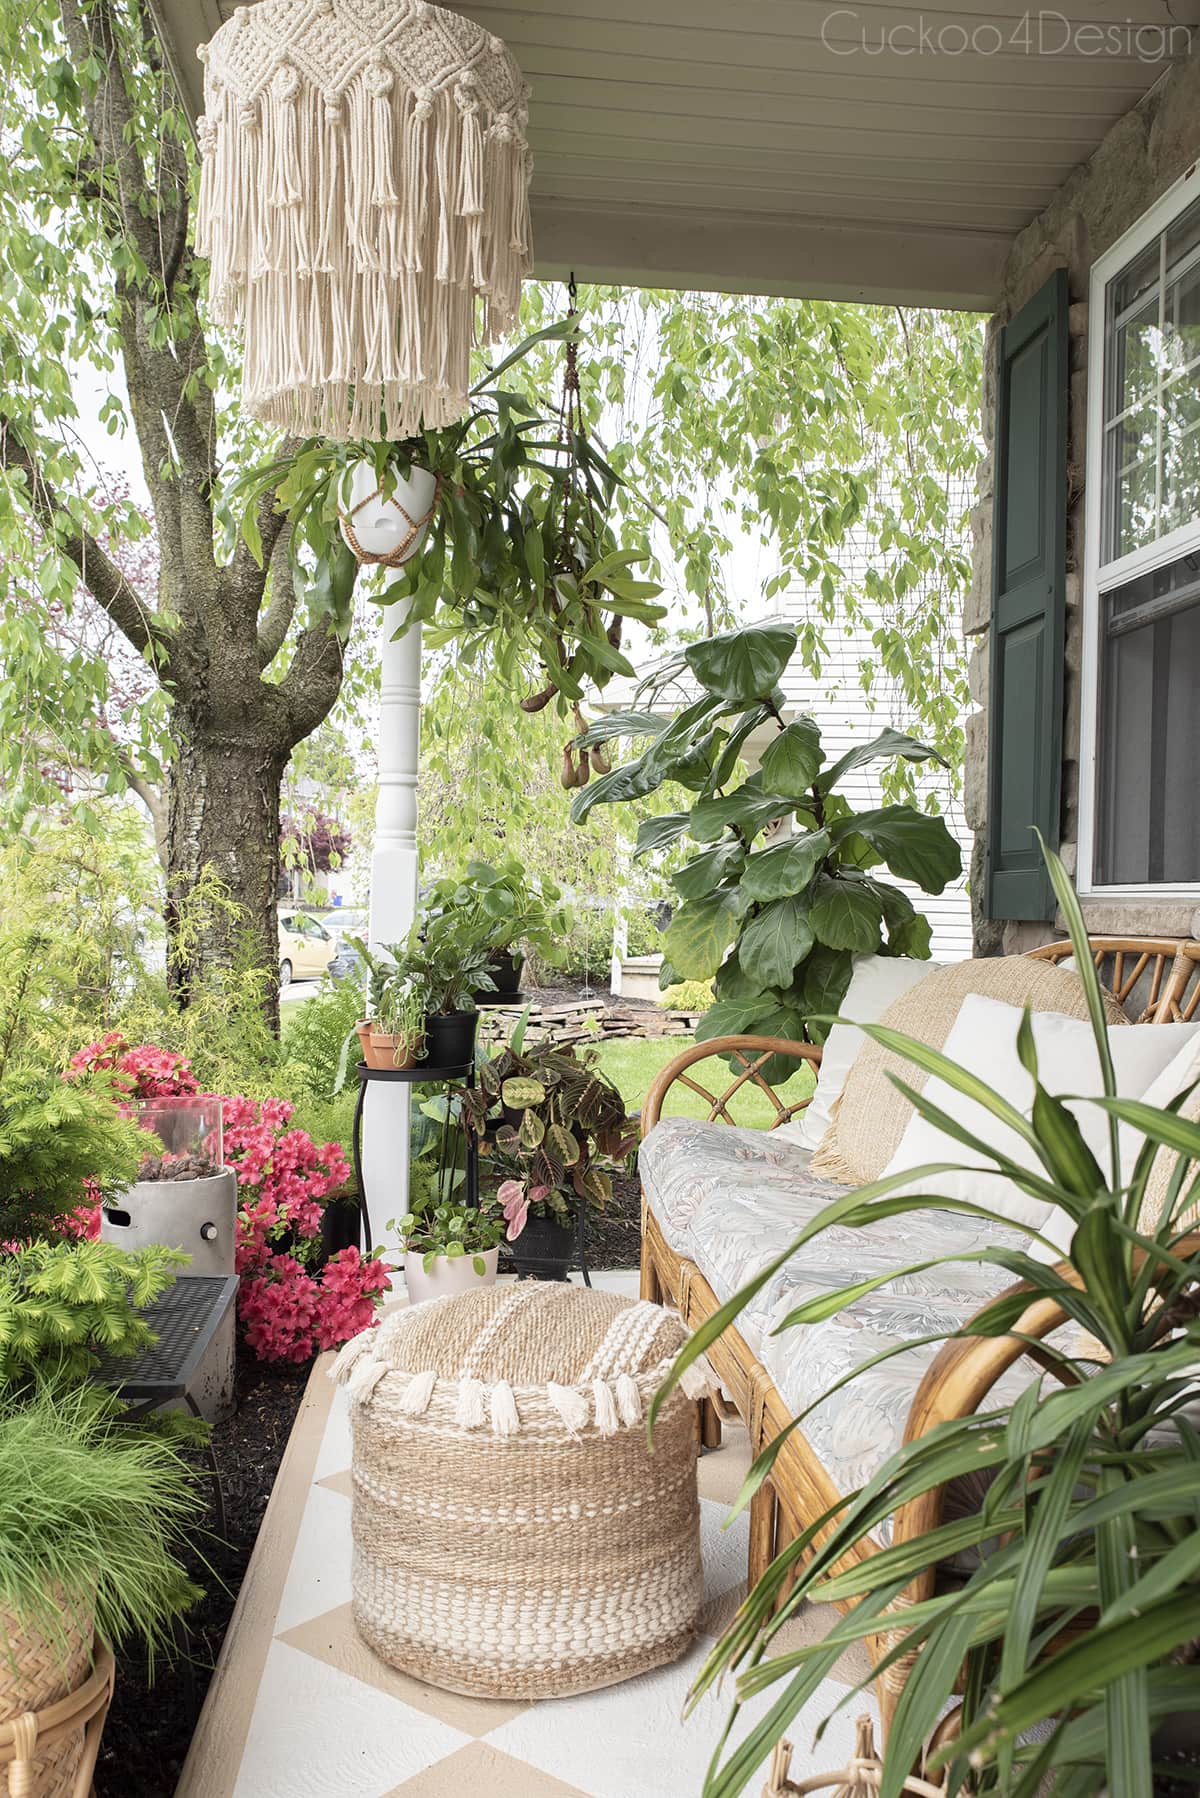
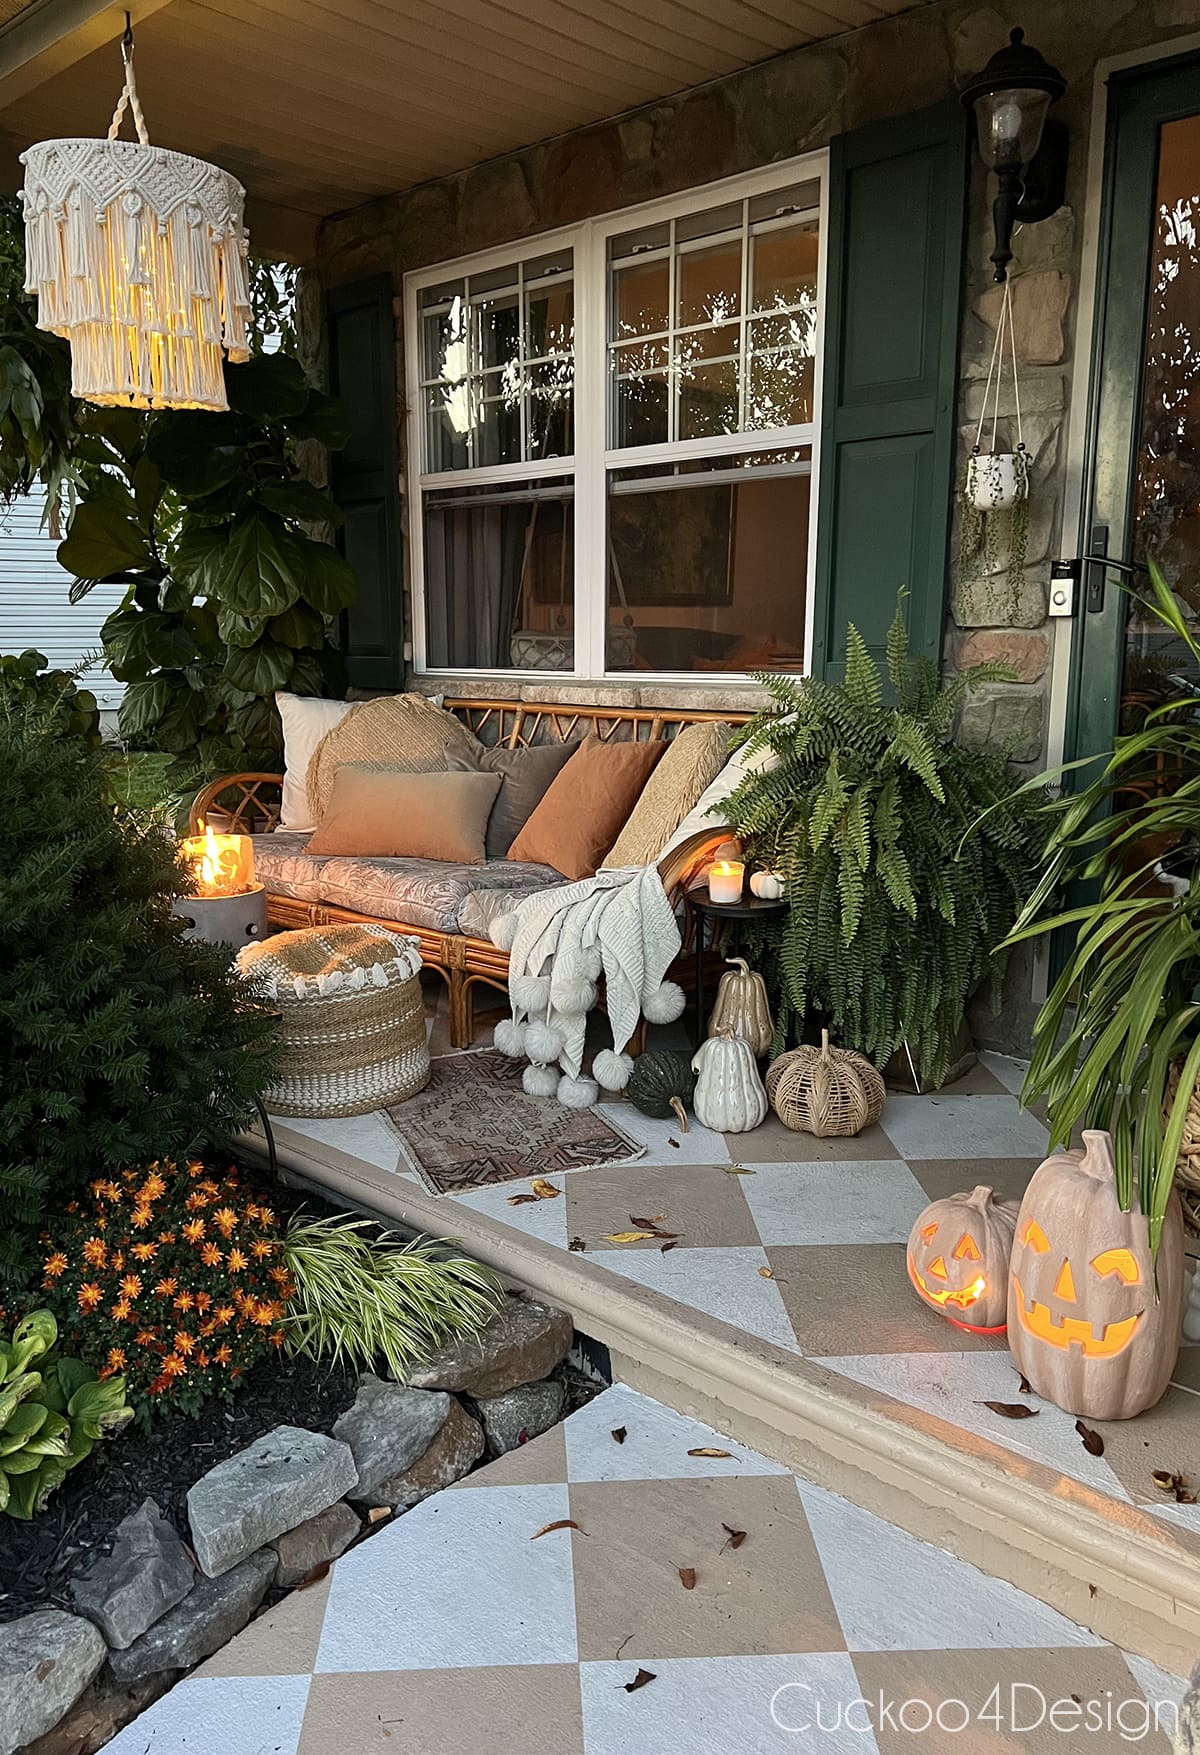
In the photo below you can spot my macrame cat bed which the kitties love so much. I also made another macrame chandelier for the porch but this time I don’t have a tutorial for you. The reason for that is that I used the chandelier frame from my daughter’s blue Ikea chandelier which she didn’t want anymore and that part isn’t available for purchase so it would be hard for you to replicate. Sorry!
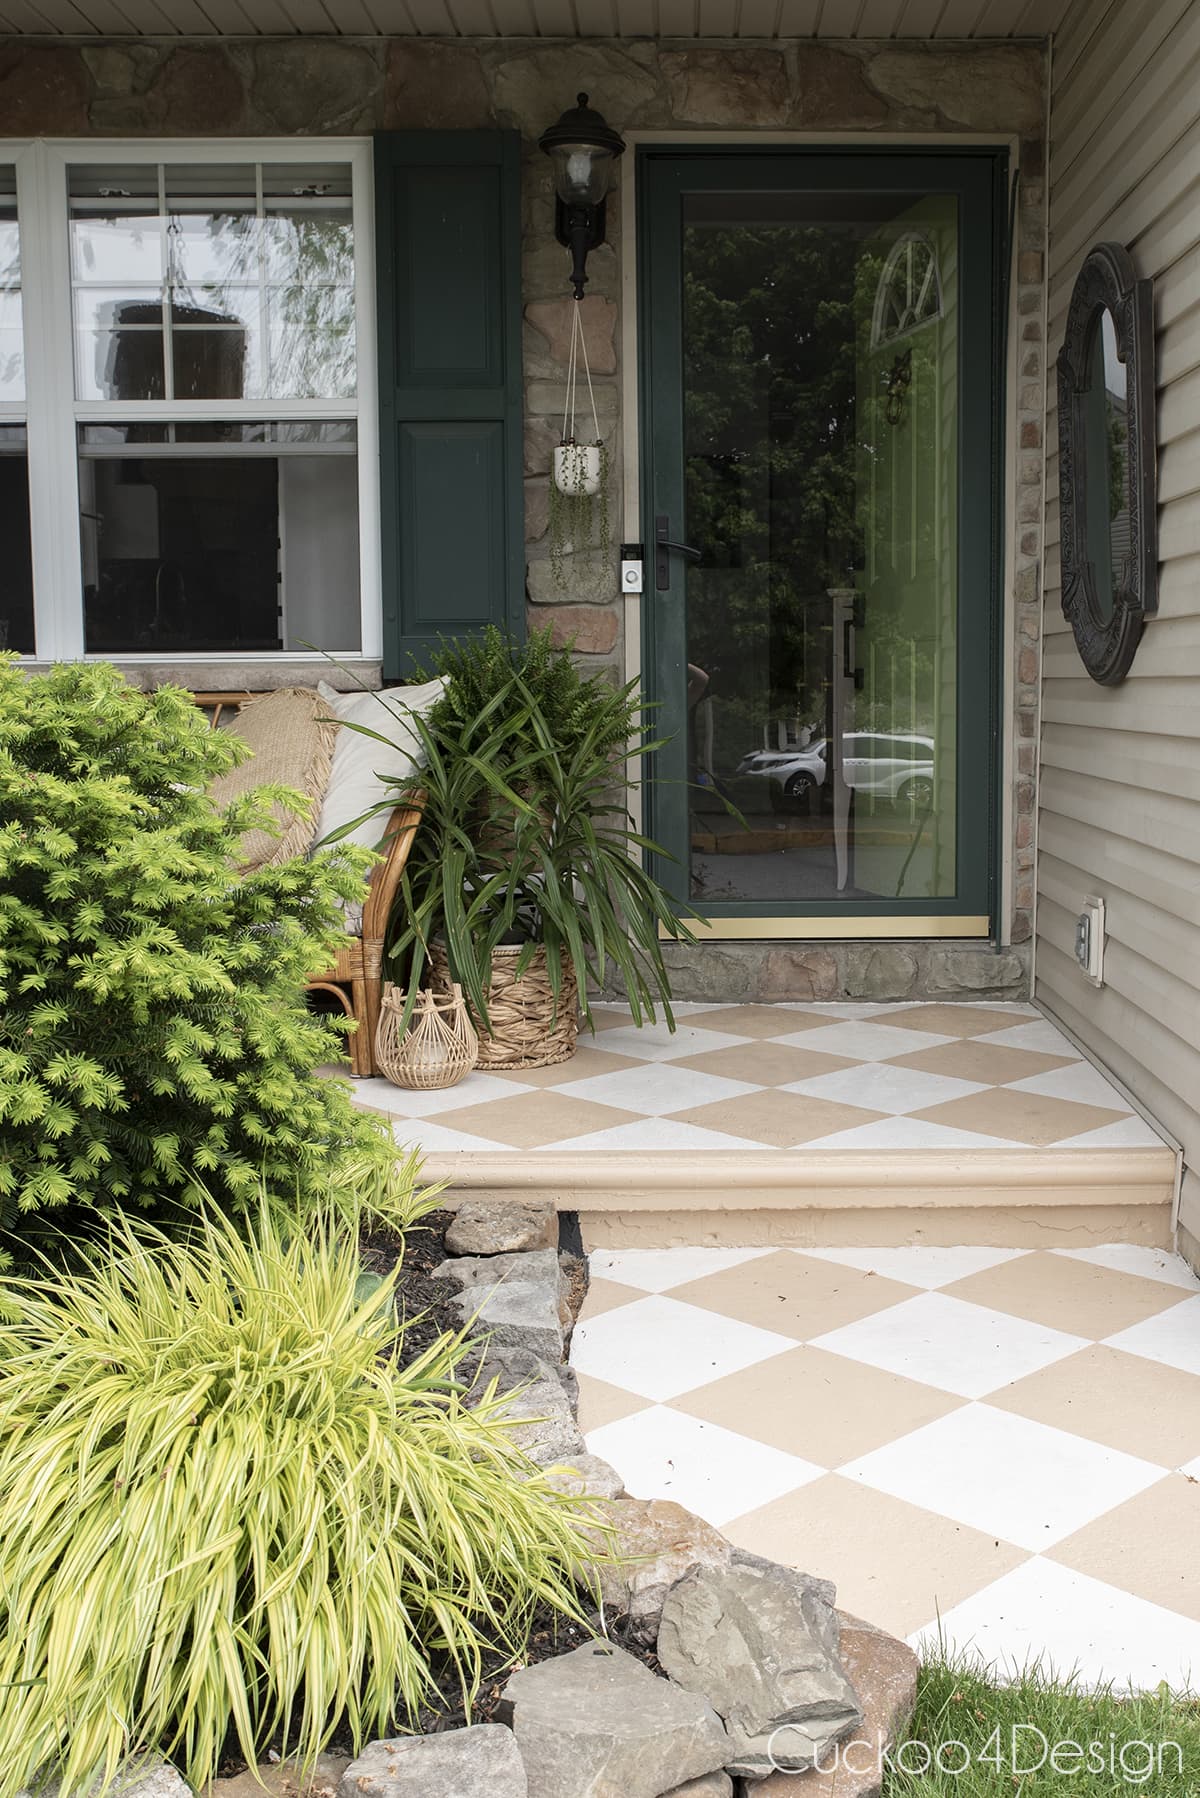
The floor looks like a light terracotta tile which is what I love. I recently wrote a blog post about my favorite terracotta paint colors in case you want a different color.
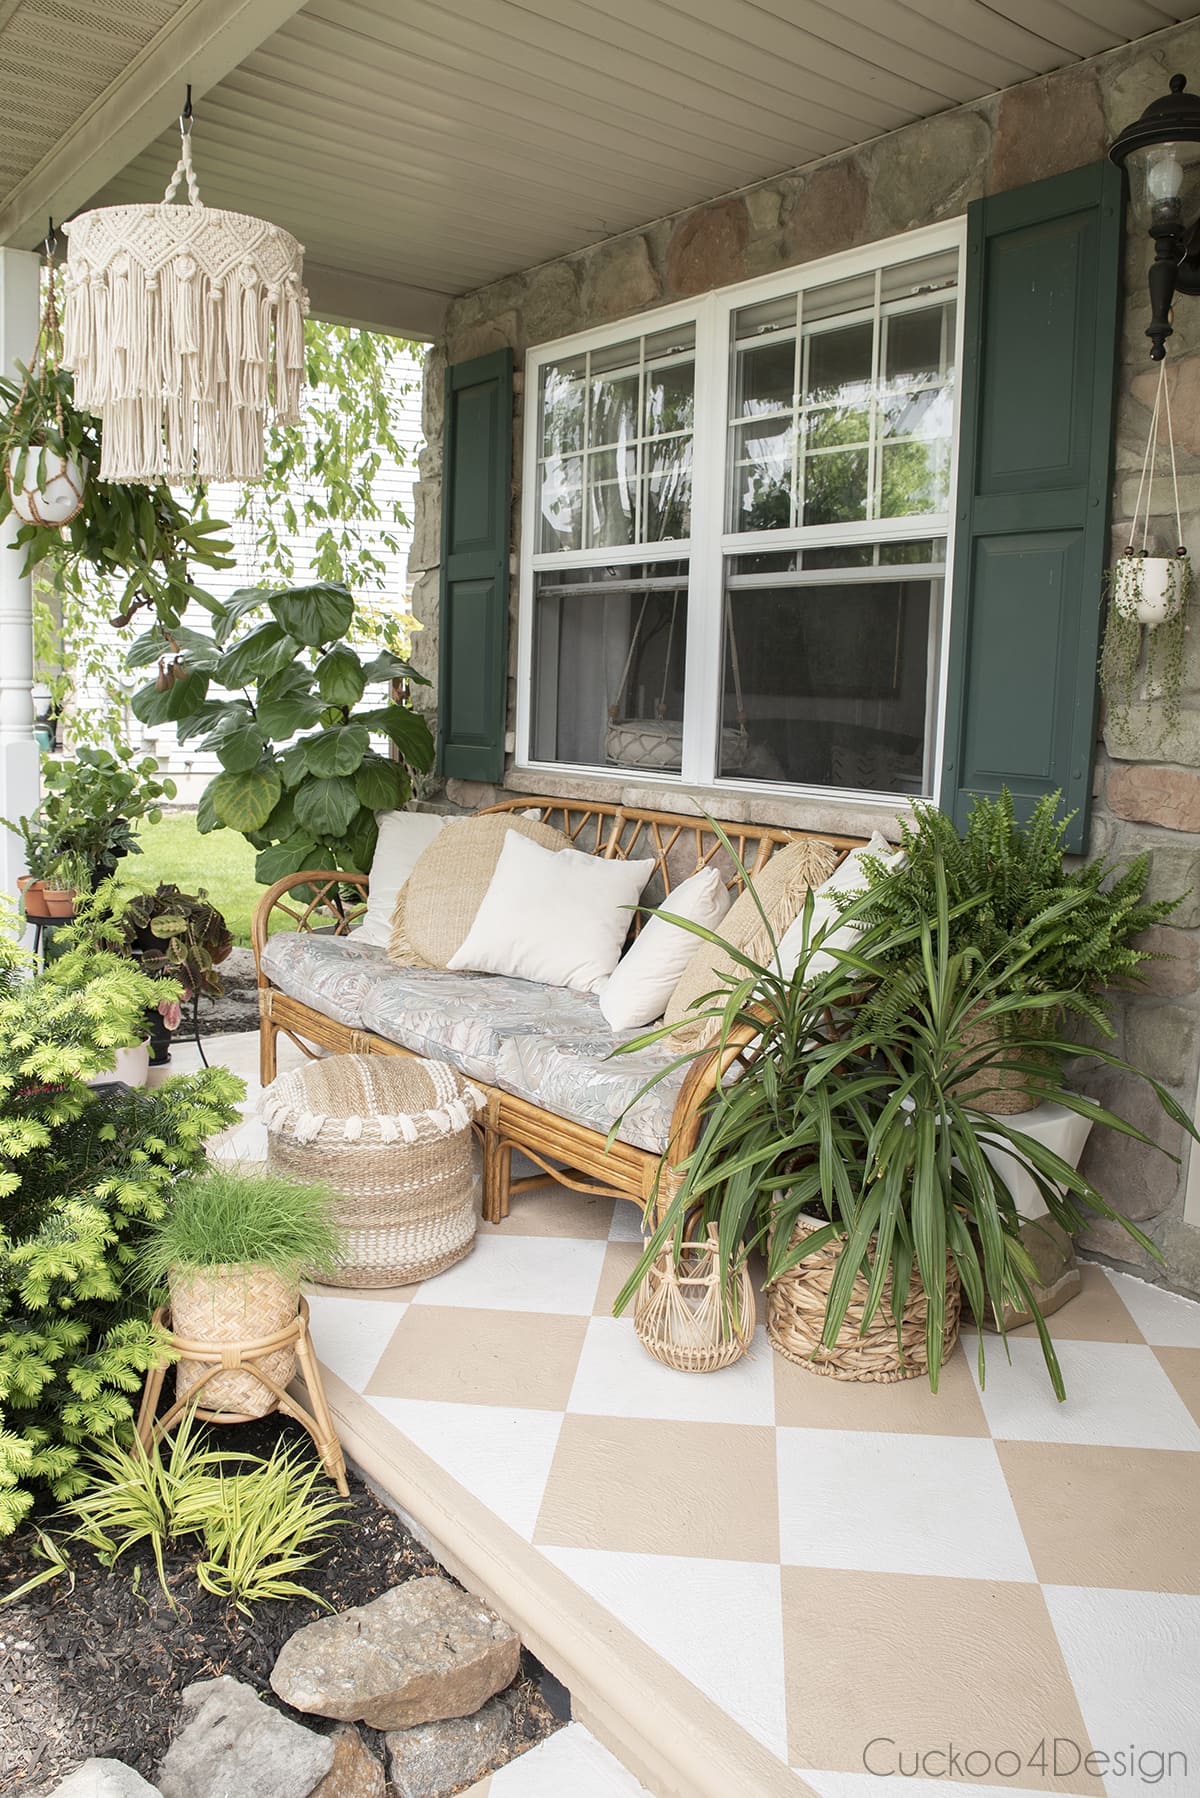
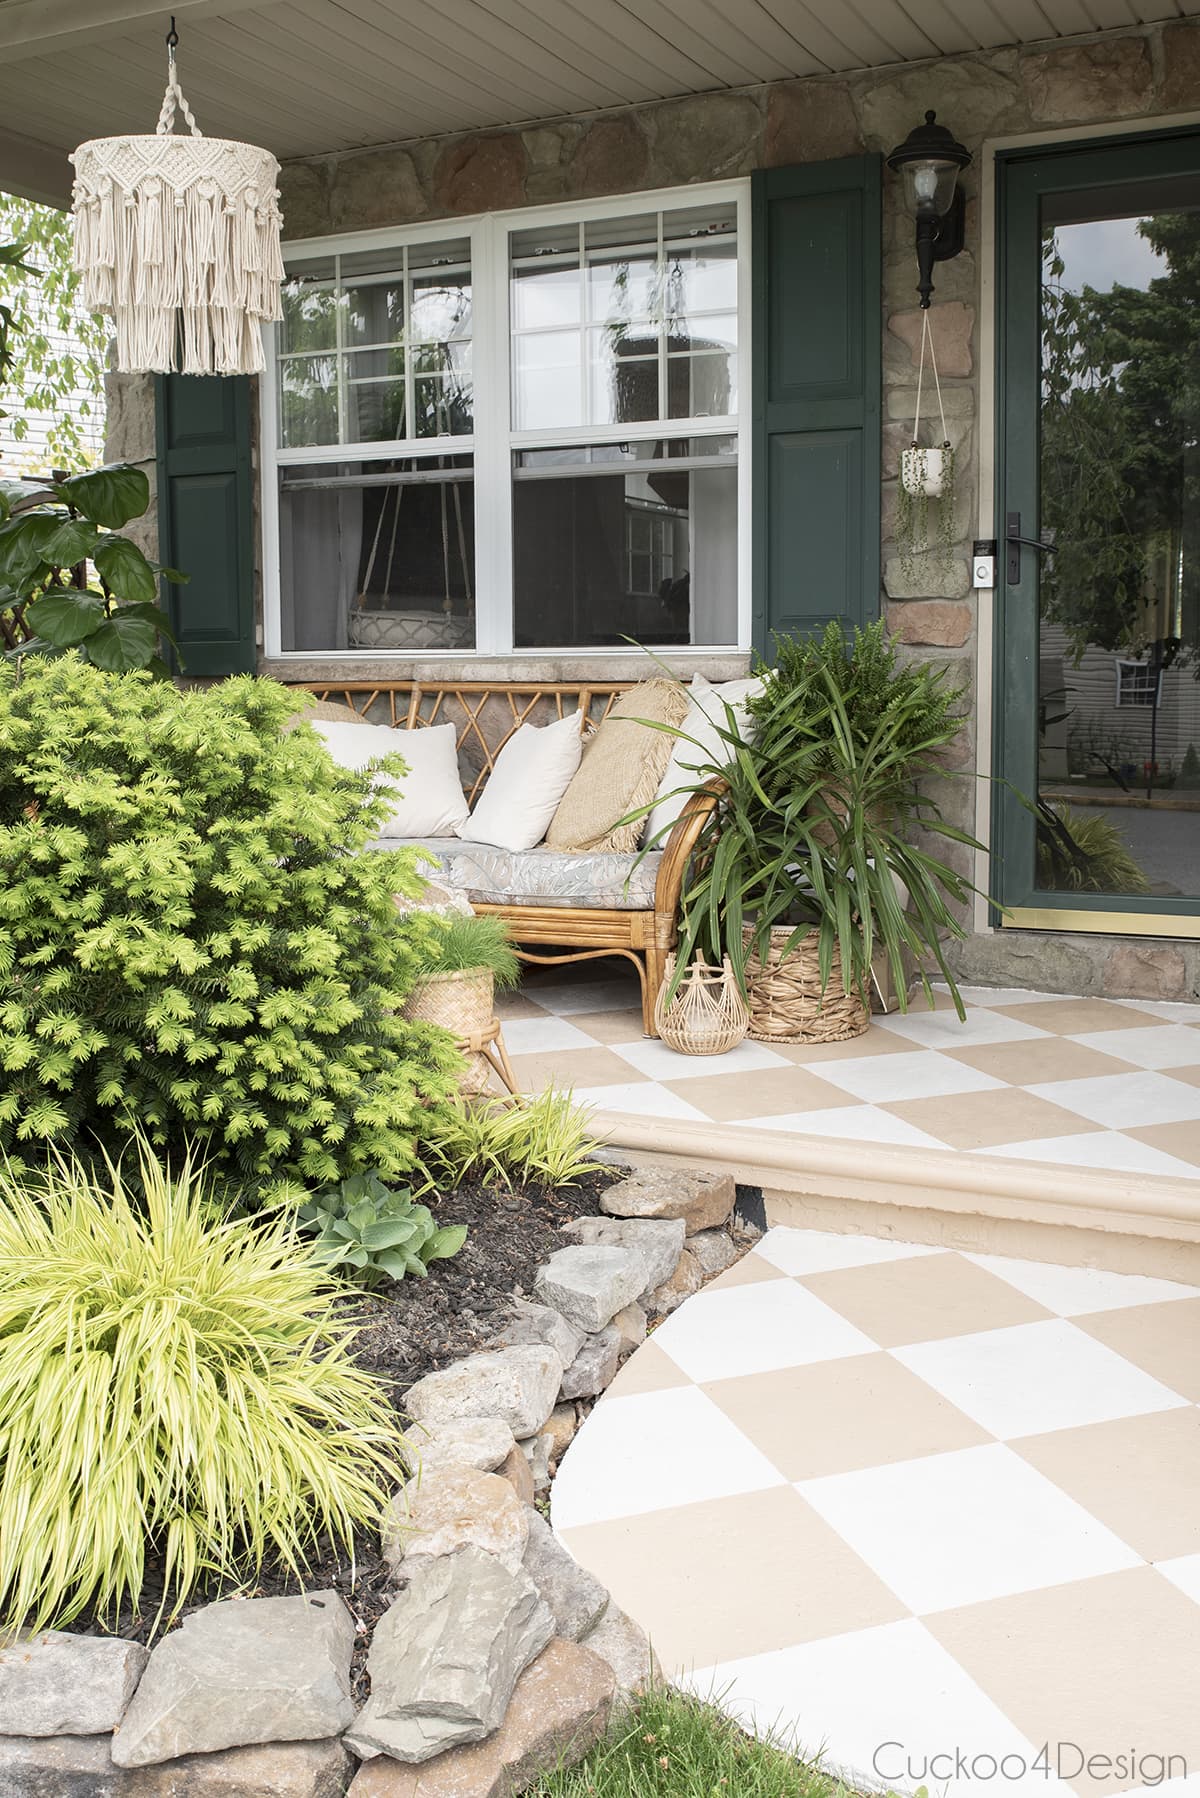
Also, check out my blog post about my favorite shades of dark green paint colors for more info about the green shutters and other greens used n our home.


Below you can see the same sofa on the striped porch before. It looked pretty as well.

But the vintage fabric looks so much better with the new checkerboard pattern. Don’t you think so?


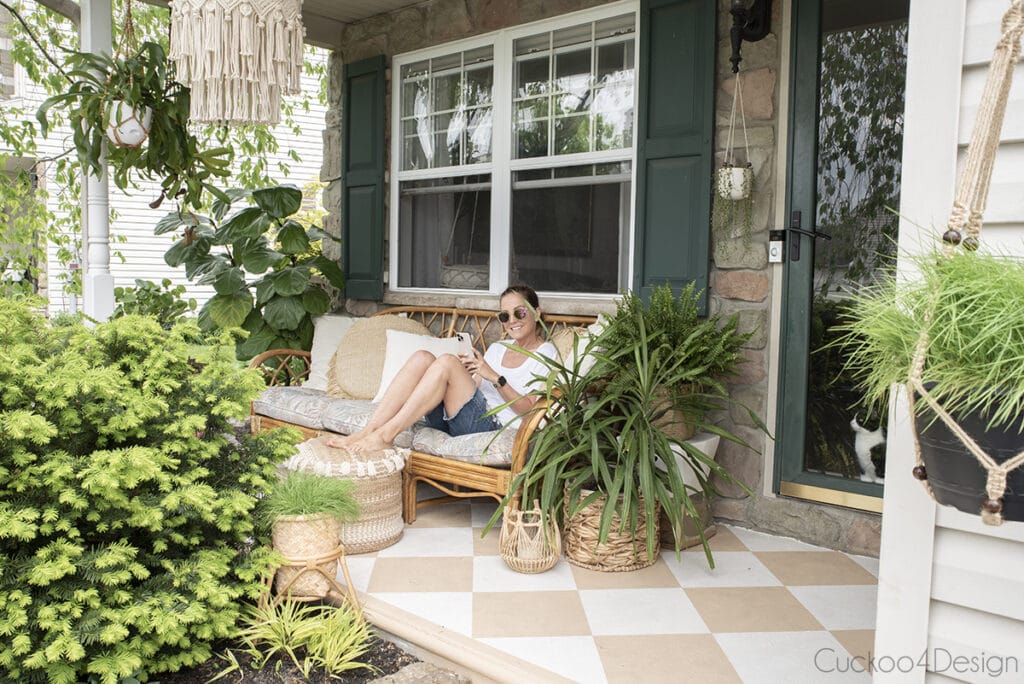
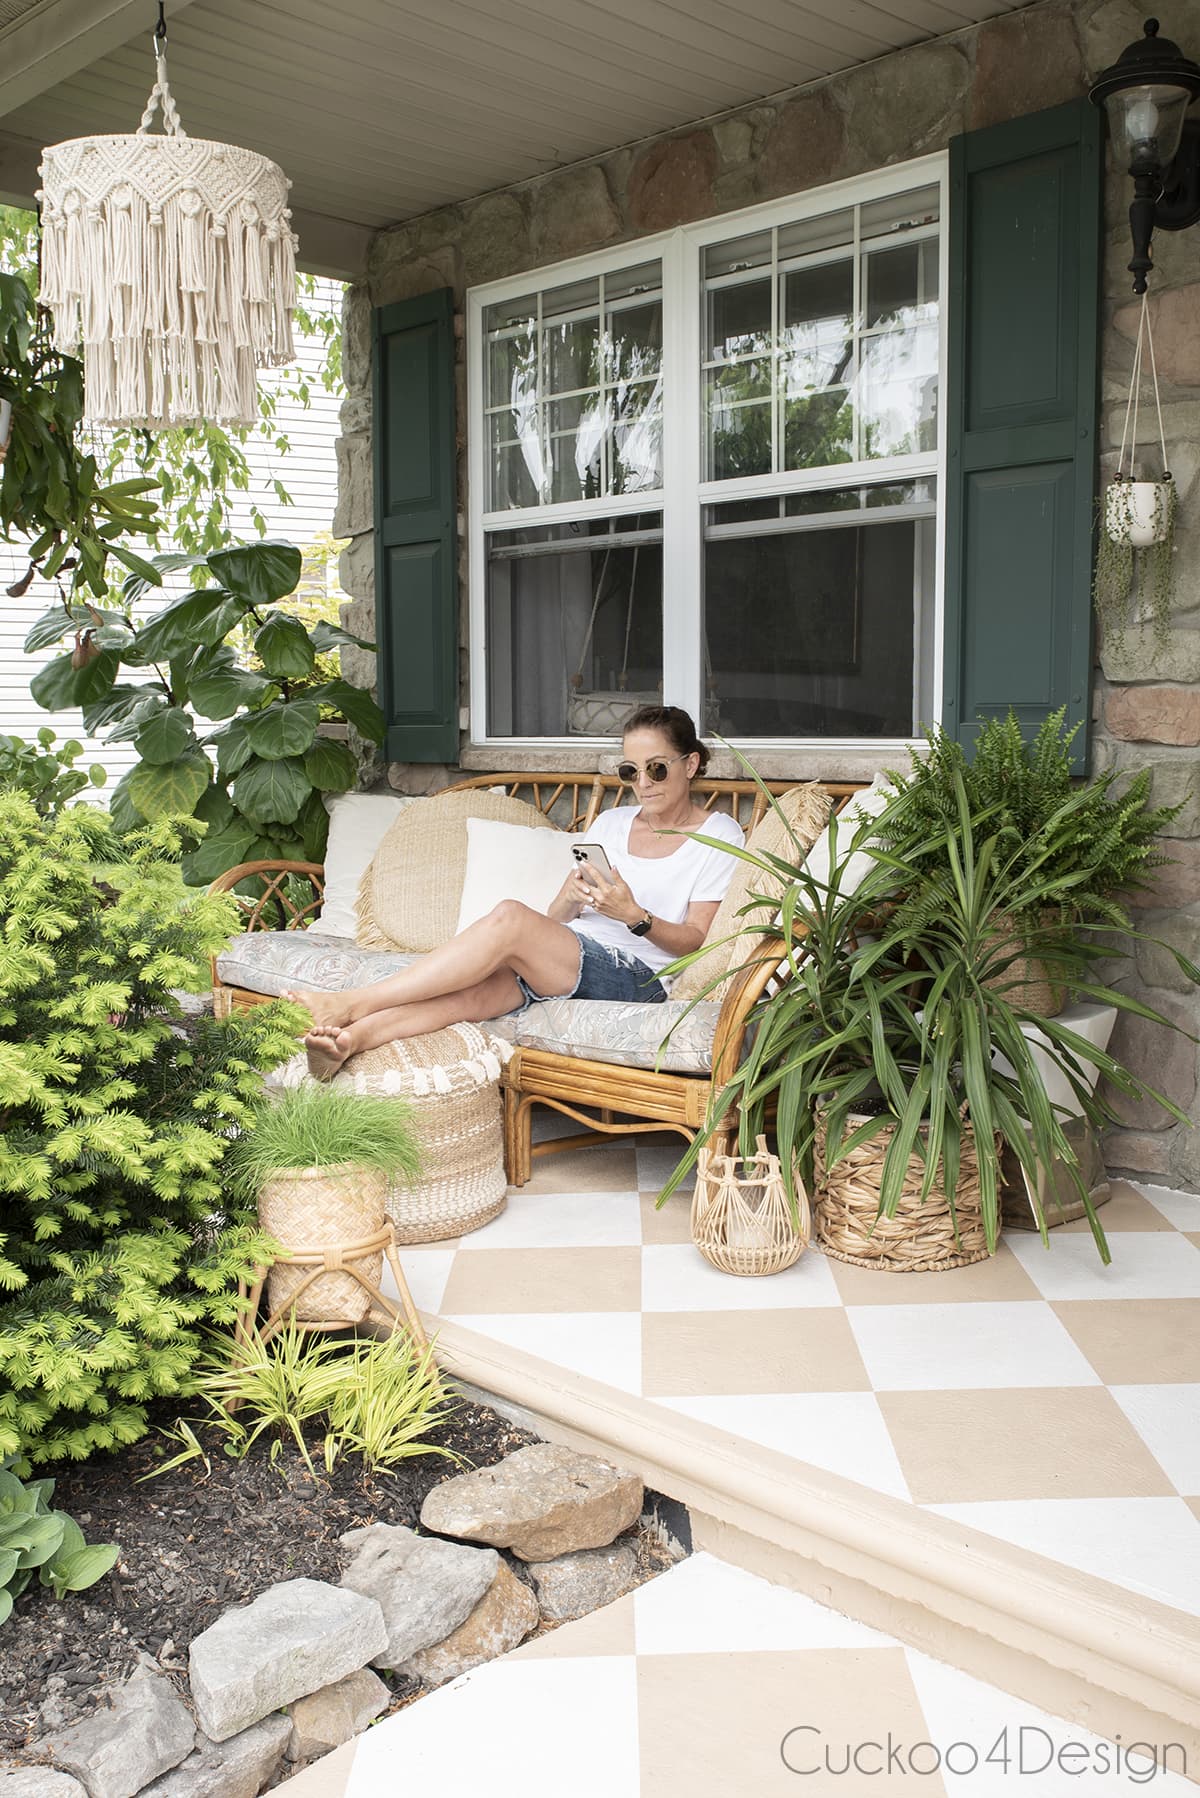
I started to bring Willy outside on a harness and leash and he is obsessed. I probably shouldn’t even have started that. The other two can’t get over being stuffed into a harness and all they do is roll around on the floor.

My kids and their friends also love sitting on our porch in the evening. It’s just such a cozy place to hang out.
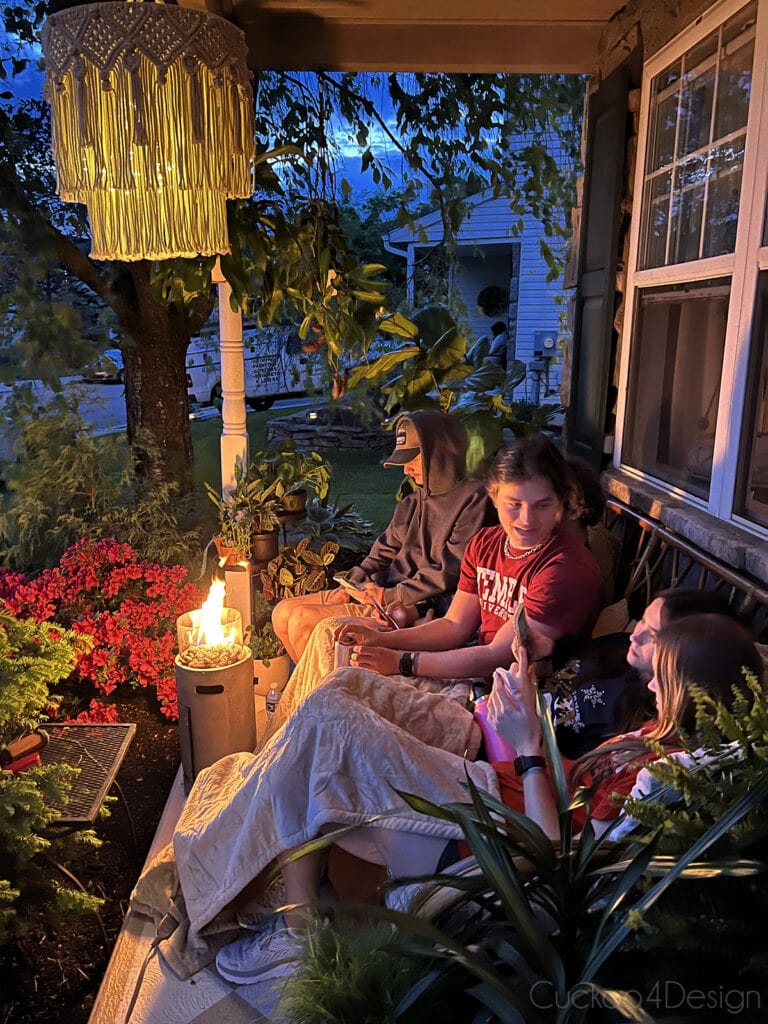
I added this battery-operated fairy light fixture to the center of the chandelier. It can be turned on by remote control and looks so cozy and pretty at night. If you aren’t new around here then you know how much I love using fairy lights and solar lights in our home and garden.

Check out more photos of my summer home tour and also my fall porch that I recently wrote about.
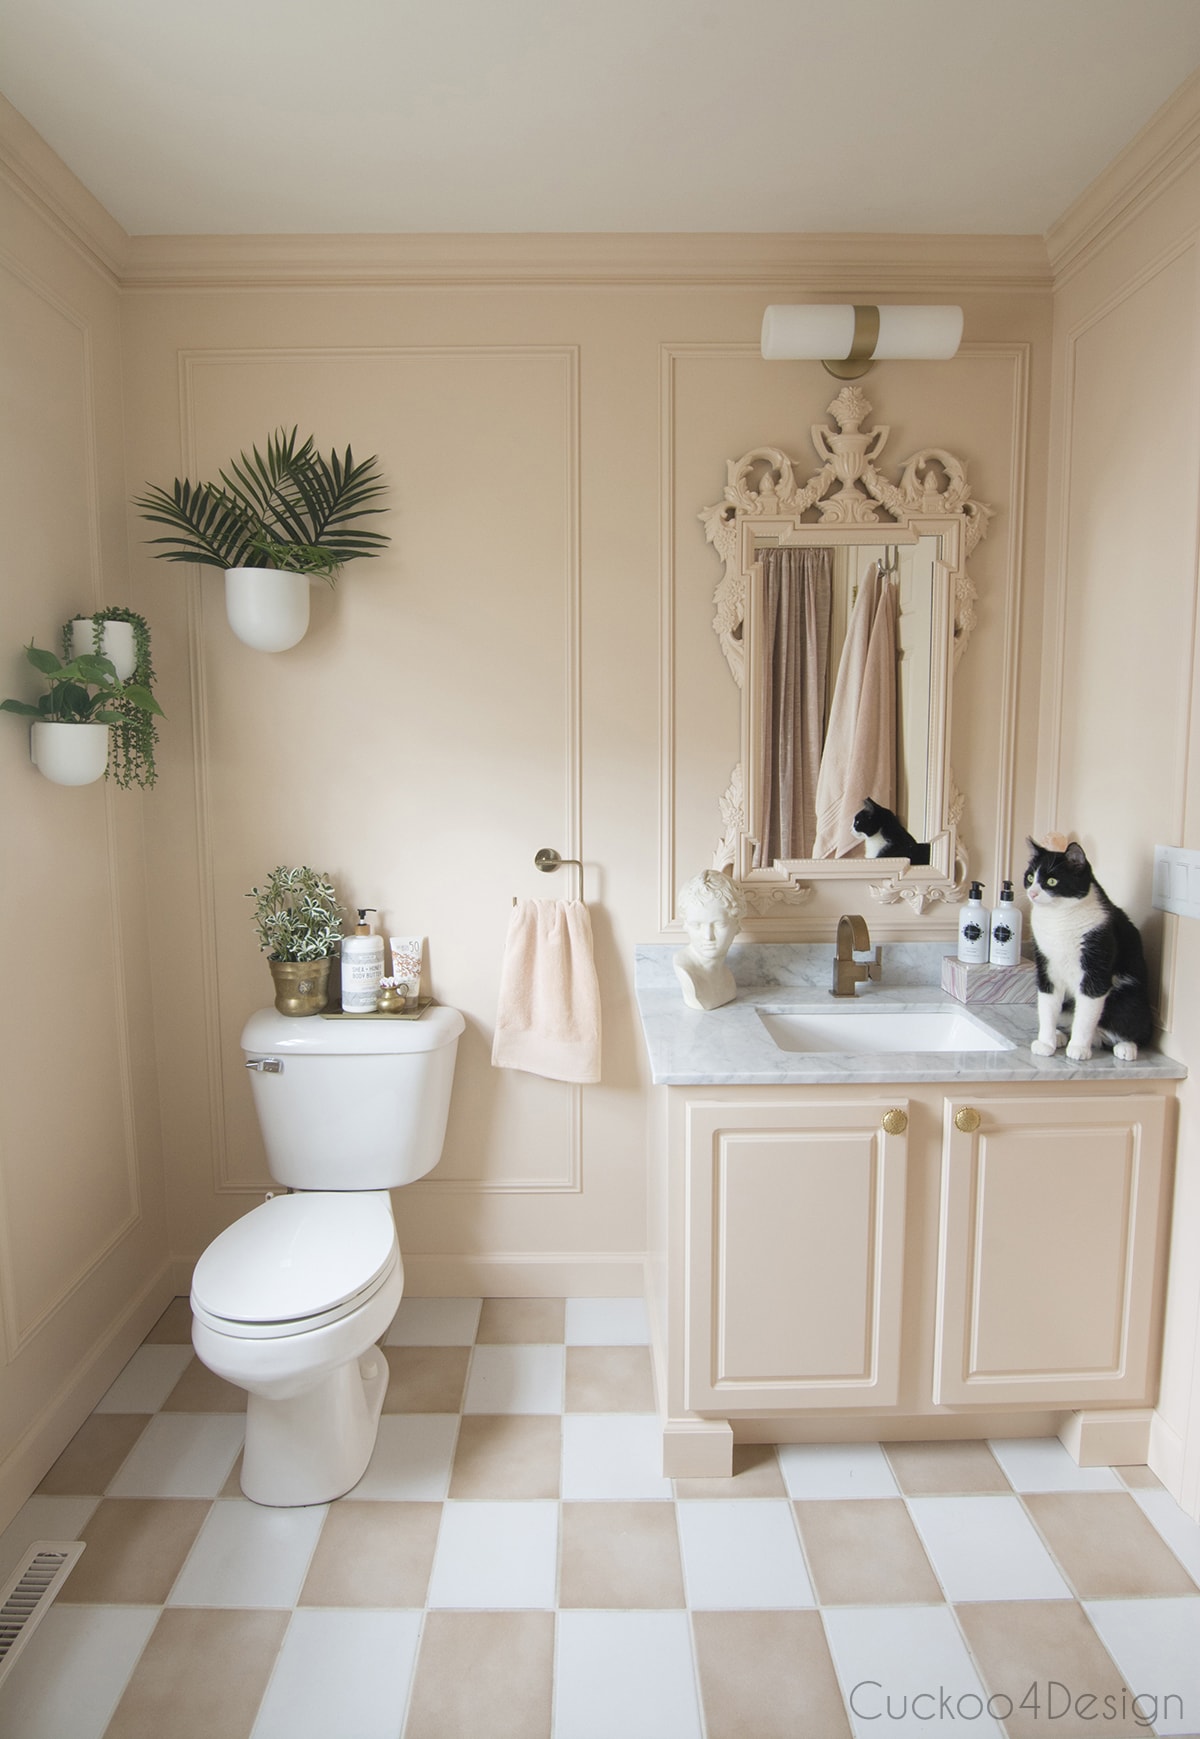
My daughter says the porch looks like her blush bathroom and she definitely isn’t wrong.
I’m so happy with how this turned out. I’m contemplating painting our door in faux wood grain. What do you think?
UPDATE: Check out how this porch looks after the first winter and how to clean a painted concrete patio or porch.
Tschüß,



I would say no to painting the door! Since you did this makeover the green really pops and looks great! This all came out really nice! The before was nice too but this really looks so much nicer!
Thank you Shirley! I really eventually want a new door because this one is banged up and has holes.
Looks great! We purchased the same fairy light and just love it. Great for the 4 th of july , looks exactly like a giant sparkler. With no worry of starting a fire.
Yes it is a great light. I’ve used it in my other macrame chandelier as well.
Julia, it looks fantastic!
Thanks so much Cheryl
Looks so good. Great job!
Thank you Ann!
Oh my gosh. I love the ambience of your front porch.
Thank you Dorenda. I love that I only had to buy paint which shows again how big of a difference only paint can make.
As always, Julia, you’ve made something look fabulous. I’m surprised all your neighbors aren’t hiring you to paint their porches. I can see why your family loves spending time out there. You’re so very creative and talented. Hope you’re enjoying your summer.
Oh thank you June! I would be afraid to paint their porches 😉 I always feel comfortable doing my own projects but afraid of messing up others.
Another outstanding makeover.
Thank you so much.
Love the new look, Julia! Love the colors and design.
Thanks Cassie! I hope it will hold up as great as the stripes.
You did a beautiful job on the porch, and if you also designed/installed the landscaping you did a beautiful job of that, too! It’s all so inviting, and I agree that the new floor color looks great with the fabric.
I love your mini fire pit. Did you make it, or is it available elsewhere?
Thanks Jane, yes we did the landscaping too. We love working in the yard. The fire pit is from Target a couple of years ago. They don’t have the same one anymore but I think they sell similar ones.
I love the new front porch:) You have a lot of patience painting that pattern. Love, love the rattan couch and planter:)
Thanks Debbie. I do have patience when it comes to projects 😉 The rattan couch is one of my favorite finds for only $50 and we bring it in the garage in the winter so it doesn’t get ruined.
It looks fantastic!
Thanks so much Susan!
Beautiful work, Julia! Your porch and front yard look enchanting!
Thanks Karen! My parents are about to visit and I’m looking forward to sitting out there with them.
A brilliant job of uplifting the space. You’ve created such a warm vibe out there! The colors are easy on the eye and Willy clearly approves. Well done!