How to cut down a kitchen half wall to create an island
Over the weekend I did some damage in the kitchen and besides creating a huge dusty mess, it was kind of fun to cut down the kitchen half wall. Exciting and scary too! I did it all by myself.
I’ve hated this half wall room divider for way too long. Even before open floor plans became all the rage, this little wall was an eyesore to me. Unfortunately, my husband wanted nothing to do with this project. All my pleading went in one ear and out the other. But I knew that cutting the kitchen half wall down would make such a big impact in our small duplex kitchen and add extra living space. An island-type countertop is just so much more useful than an awkward half wall like this.
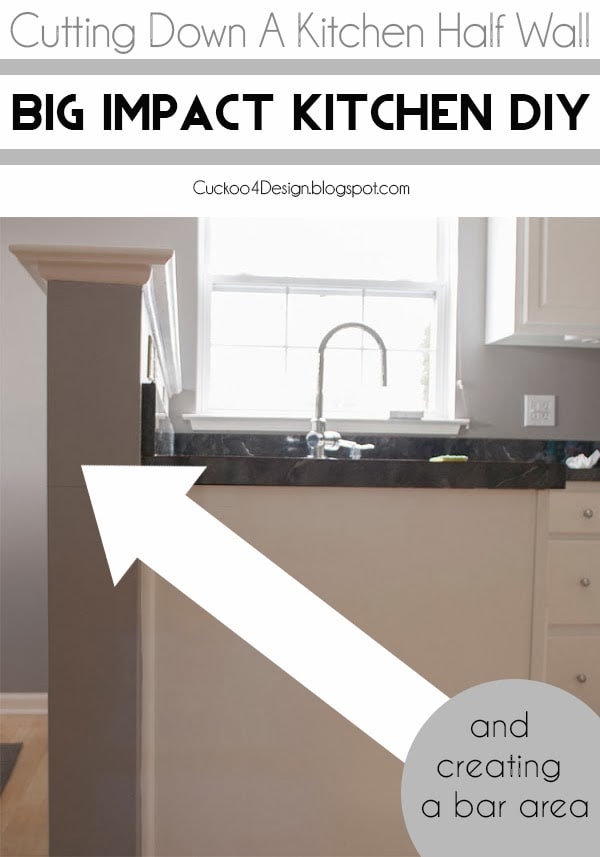
How to cut down a kitchen half-wall
This post may contain affiliate links from which I will earn a commission at no extra cost to you. View my full disclosure policy.
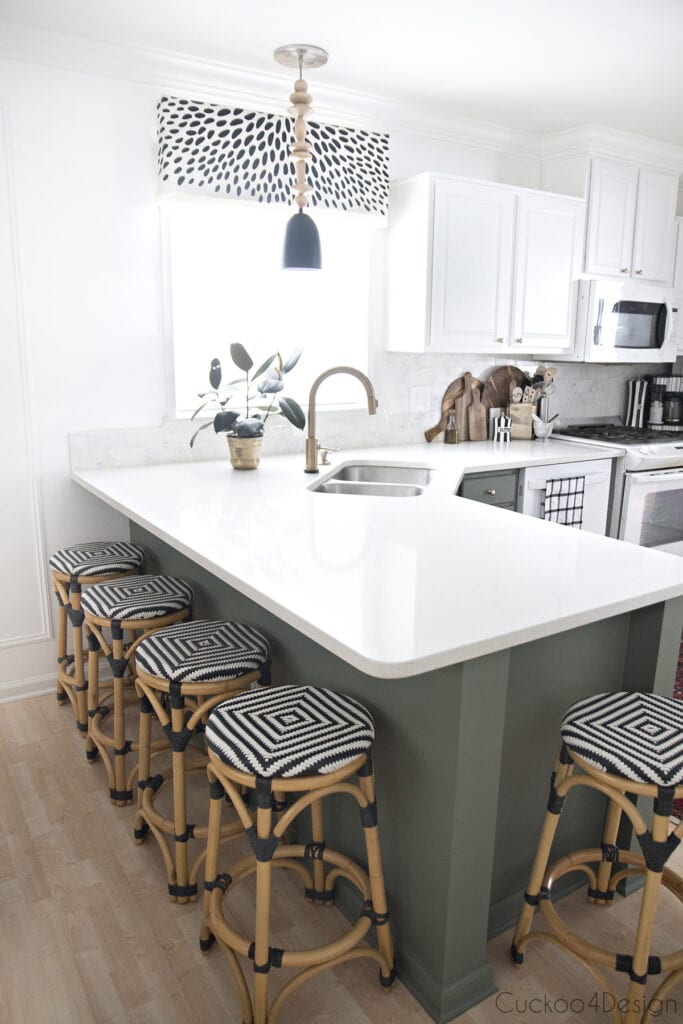
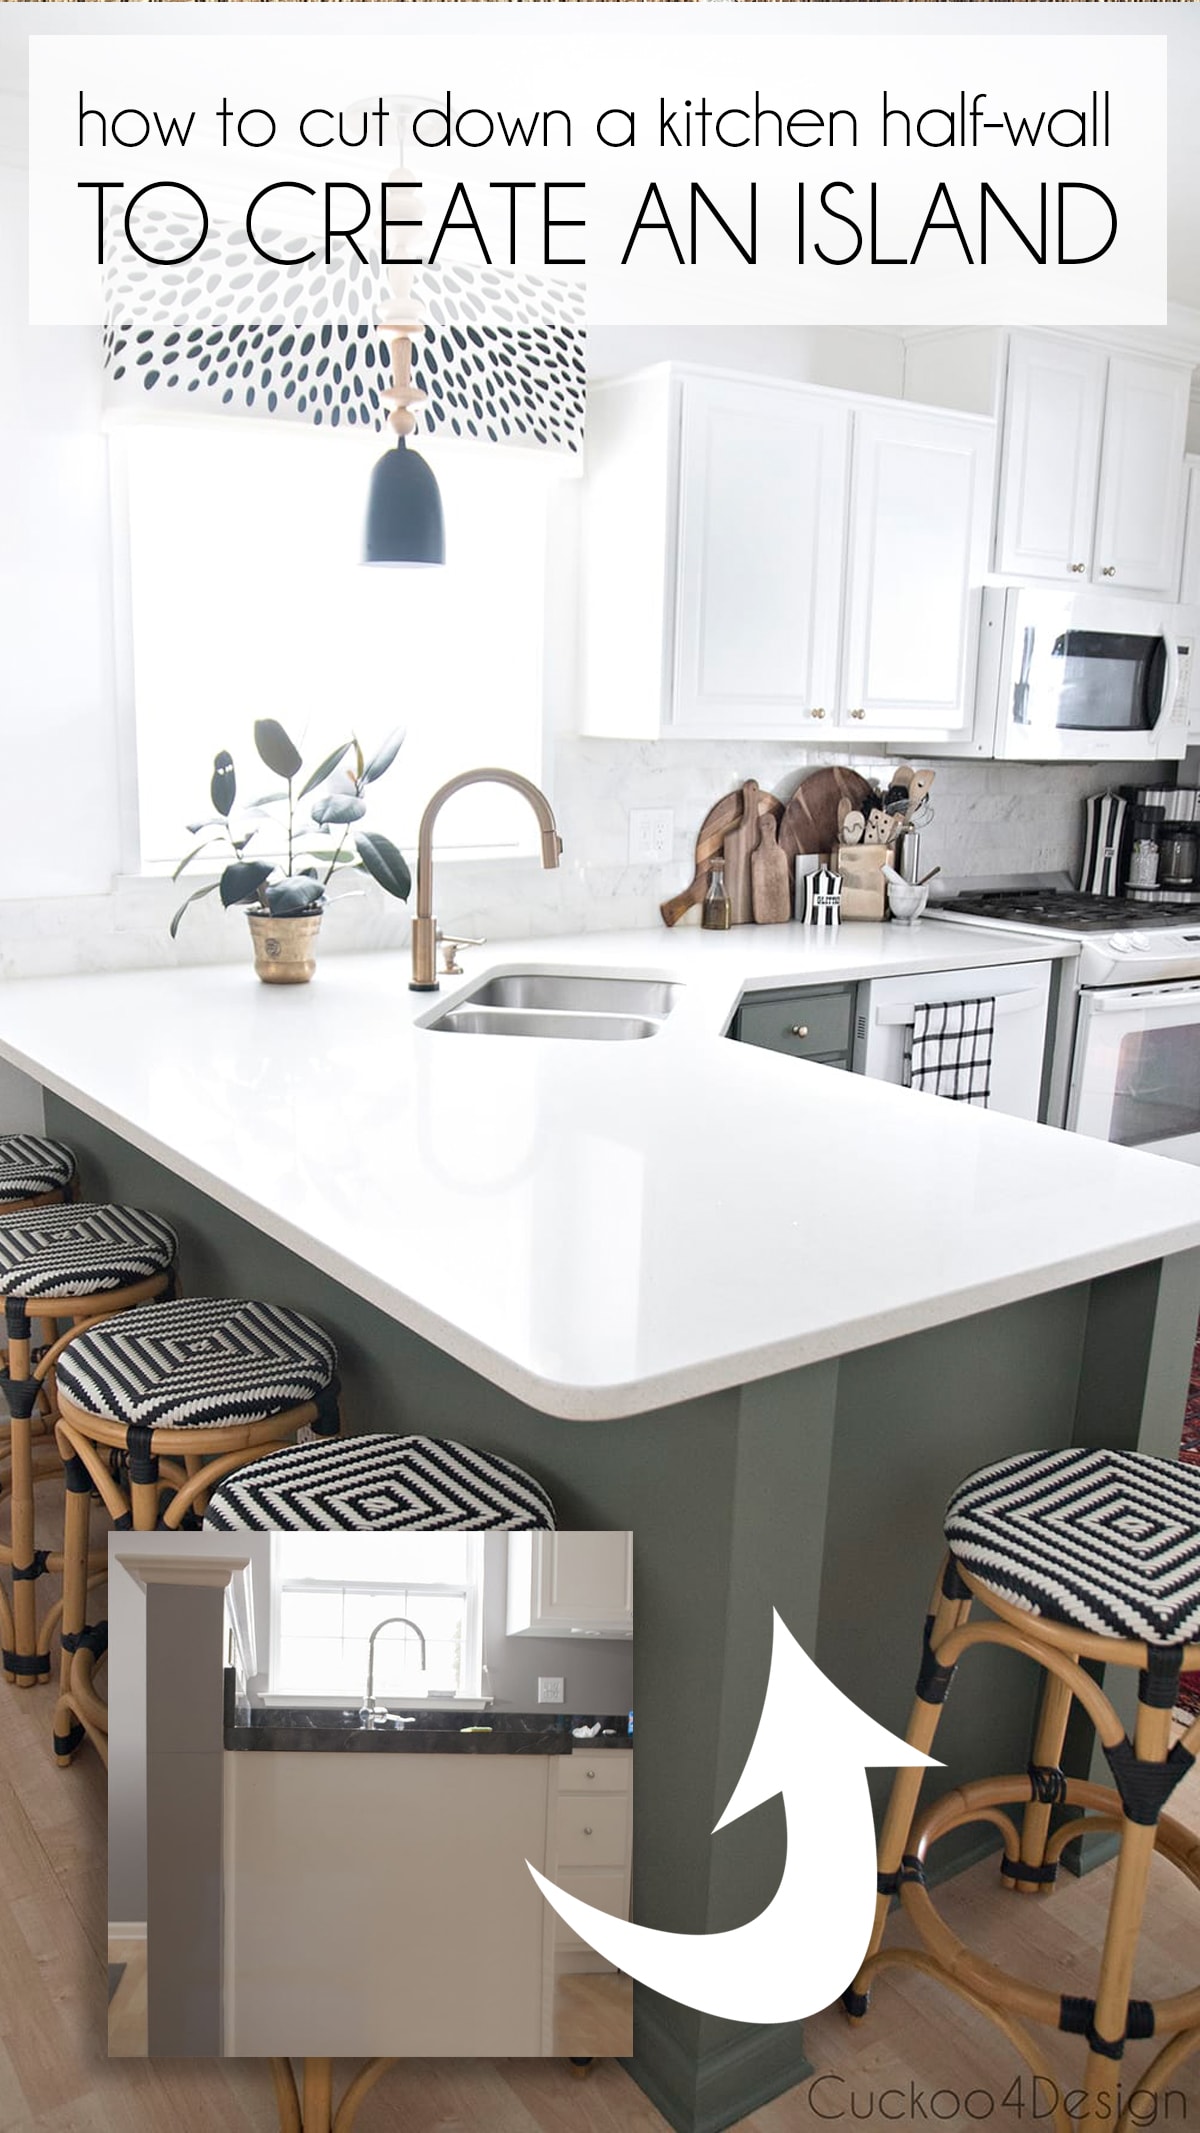
First, let me explain the entire floor plan a bit better. Our tiny dining room/eat-in kitchen is to the left of this wall in our kitchen area. A small bathroom, hallway, and garage entrance are to the right, so having this useless half wall removed opened everything up and the entire flow of our daily lives was improved immensely. Creating a kitchen island with counter stools created another separate dining area with additional seating for us that gets used daily.
I really wish I had this project on video so you could see how I did it. This was all done before I started to make YouTube videos (my channel) though, so I don’t have any video footage of the process.
We didn’t lose any storage space since the old lower white cabinets remained in place to create the kitchen island.
Tools needed to cut down the kitchen half-wall
- circular saw
- level
- pencil
- wire cutters
- drywall saw
- screwdrivers
- eye protection
- dust mask/respirator
- pry bar
- hammer
- extension cord
- new electrical boxes
Instructions
Below you can see what I started with and what everything looked like before I started to cut the top of the half wall.
Make sure that your power is turned off for that section of the wall and run an extension cord from another area of your home where you can leave the power turned on. My little trick for successfully turning off the power on the breaker is to plug a loud vacuum into one of the outlets, so I can hear it when I go into the basement to turn off the breakers. When the vacuum shuts off, I know that I have turned off the right switch.
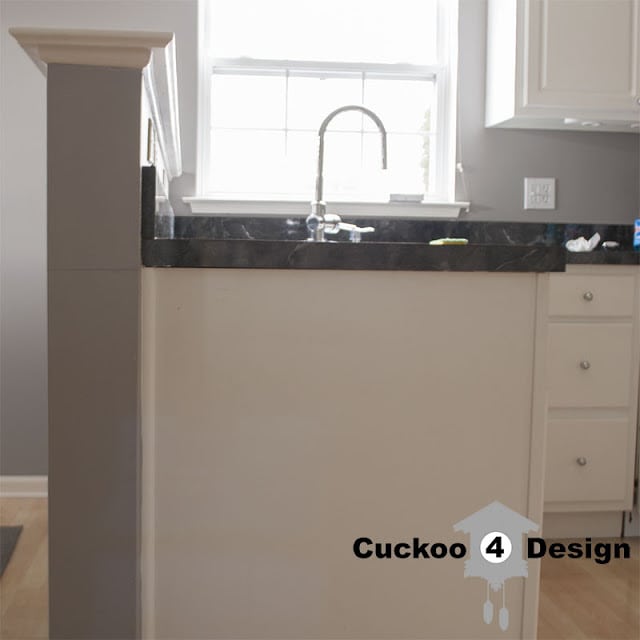

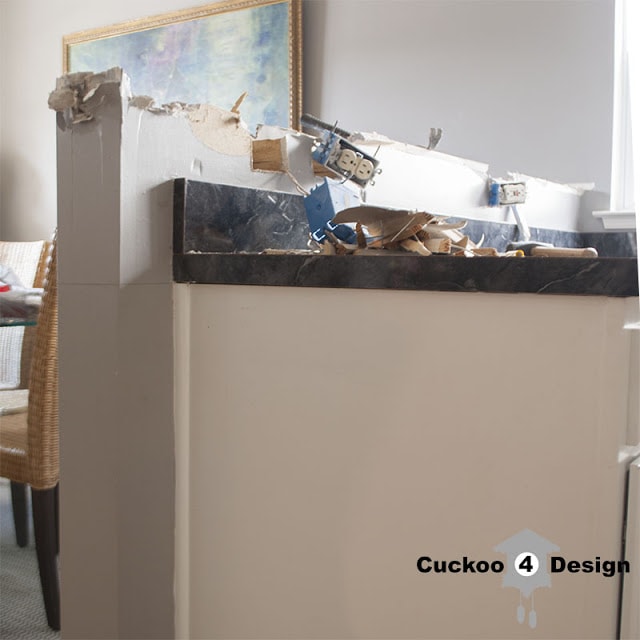
I removed the molding below the top ledge with a pry bar and hammer as you can see below. I wanted to remove the top ledge first so I could see how the wall was constructed and where the electrical cables were running from and into the regular wall.
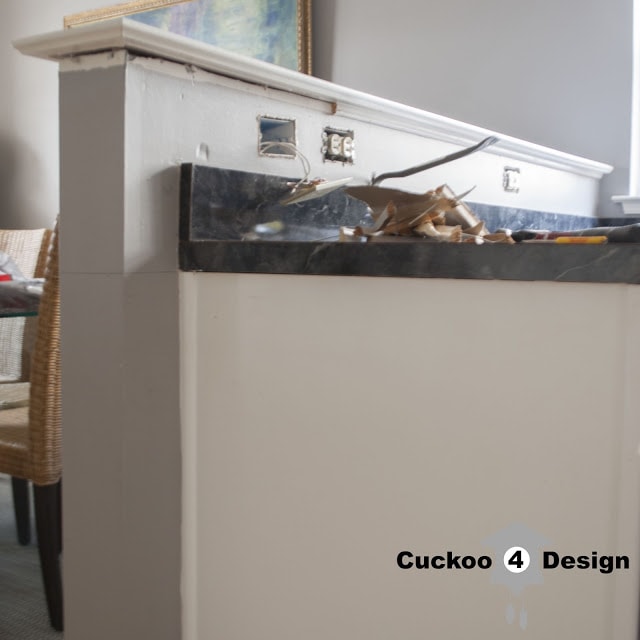
Below you can see that the top ledge is removed. I had also opened up all the outlets. My plan was to move them to the lower part of the wall. The phone outlet wasn’t needed anymore and I just removed that wire entirely.
Tip: Take some cellphone photos of each outlet for reference so you can see later how they were set up should you need it.
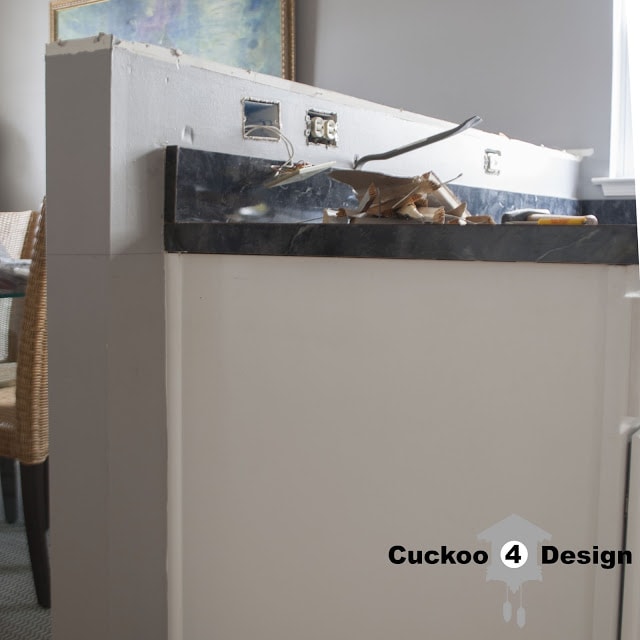
I then started to chip away the drywall and studs to make sure I didn’t make mistakes with the electrical wiring. I do have so say anything electrical makes me nervous and I don’t want to describe exactly what I did because I’m not an electrician and don’t want people to get hurt. You might be better off hiring an electrician.
For me, it was as simple as cutting out new outlets below into the drywall, adding new electrical boxes, and just cutting the wires shorter.
On the other side of the wall, I used the pencil and level to draw the line where I wanted to cut the wall off.
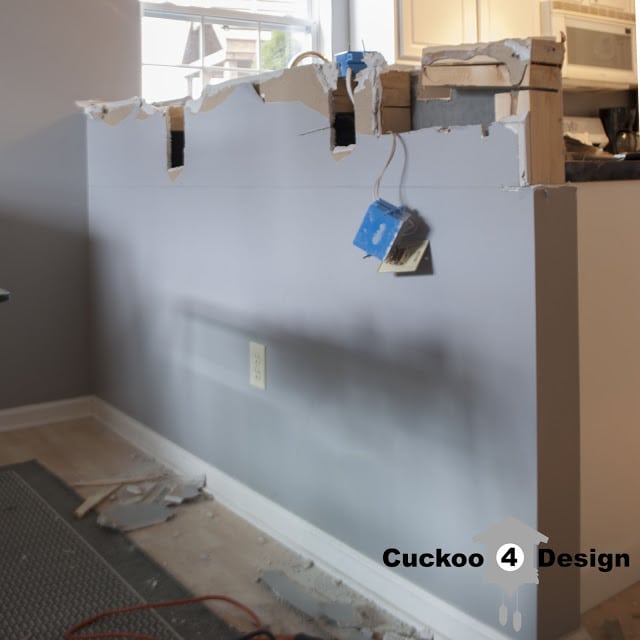
And then it was time for the circular saw. When I cut the wall, I made sure that I didn’t cut into the exposed electrical wires while running the saw blade along the marked line on the wall. Since I turned off the electricity, I wouldn’t have hurt myself, had I cut into the electrical wires but I just wanted to make sure that I had enough electrical cord to run the outlets where I wanted them to be.
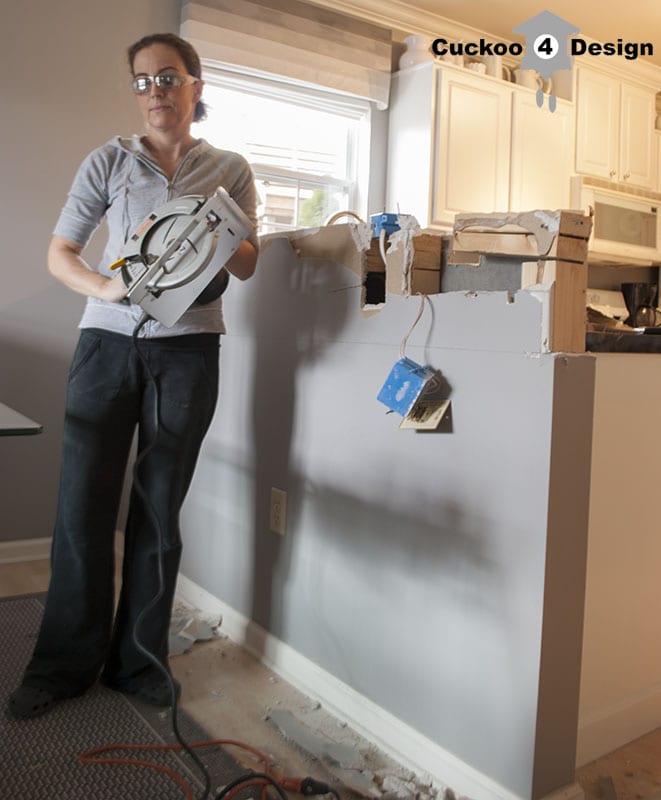
That’s where it got really messy, look at all that dust! At this point I could see exactly where the outlet wires were running in the wall and all I needed to do is mark the drywall electrical outlet boxes at the same height as the other one in the dining room.
Then I used the drywall saw and cut out the holes for the electrical boxes with the drywall saw. The wiring was pretty easy and I just replicated how they were set up before on the top of the wall.
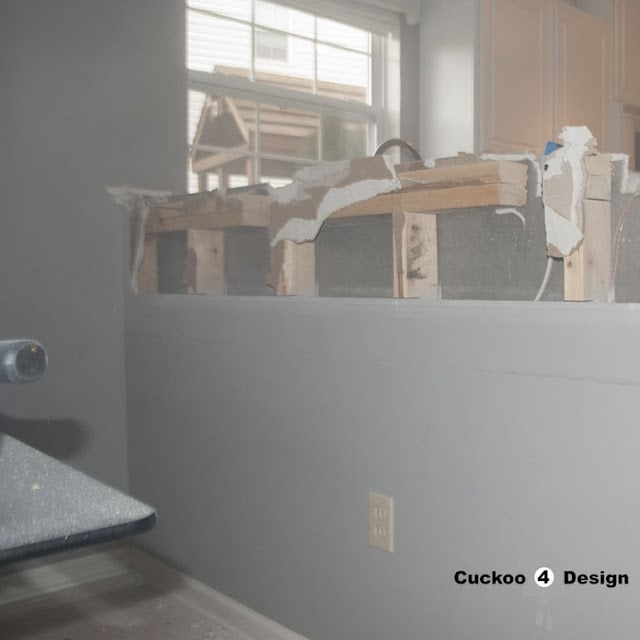
And I also did some cleaning and painting under the sink because it was yucky! Since I’ll be the one installing the faucet again, I didn’t want to be lying in filth while doing so.
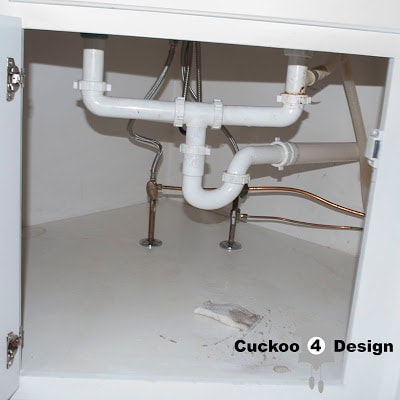
When the hubby came home from work, all I got was a dirty look…no comment whatsoever.
After that, I had to still relocate some outlets and patch up the hole in the wall that was left from the teardown on the kitchen wall.
Removing the old black marble laminate counter wasn’t hard at all but we waited until the countertop company came out to measure and evaluate the situation.
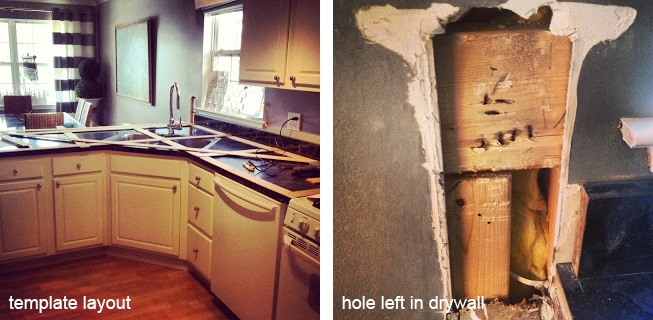
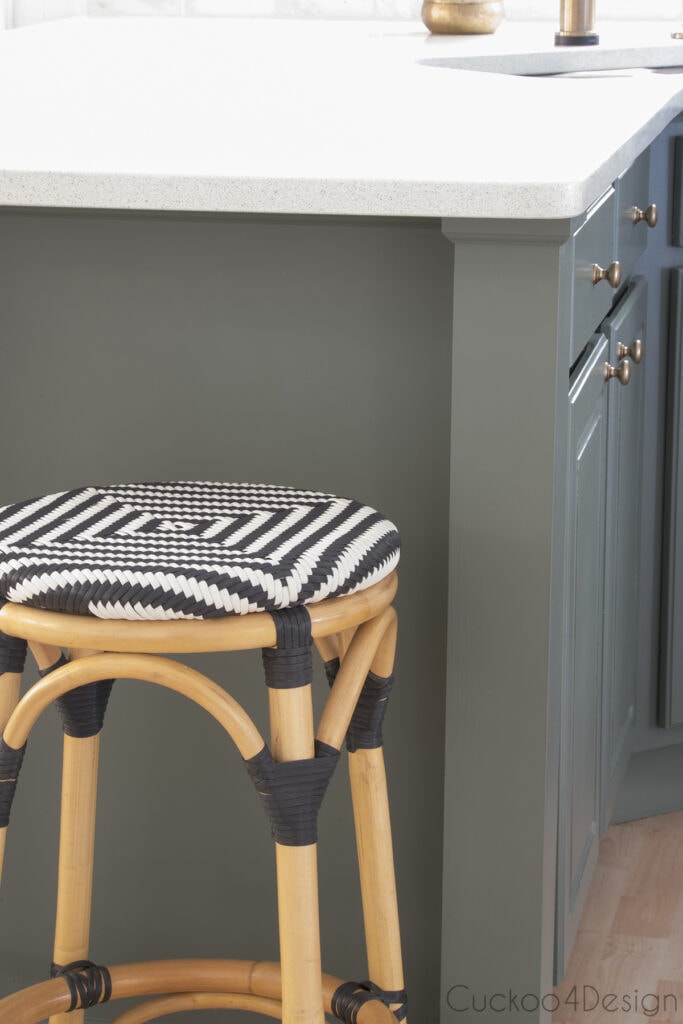
I decided on white quartz that is speckled with tiny bits of mirrored glass pieces. I wanted a durable countertop that is versatile and matches any color changes and design decisions.
Since the original publishing of this post, a lot has changed in our kitchen and it went through several color changes and designs. I also added a kitchen island post under the island after the new countertops were added.
I installed the new marble subway tile backsplash and recently painted the lower half of the cabinets green which you can see HERE.
If you love gray and white kitchens then check out my best friend’s gray and white kitchen blog post where I’m also showing her kitchen island pendant lighting ideas.
I even added a vintage couch/settee as dining room furniture and raised the legs with some casters. This part of the small eclectic kitchen feels so much cozier than before now and the kids love sitting on the couch to do homework while I cook now.
You can check out my post about the thoughts behind my dining room design and how I installed the wall moulding which makes such a difference and adds some architecural detail and interest to the mostly white space.
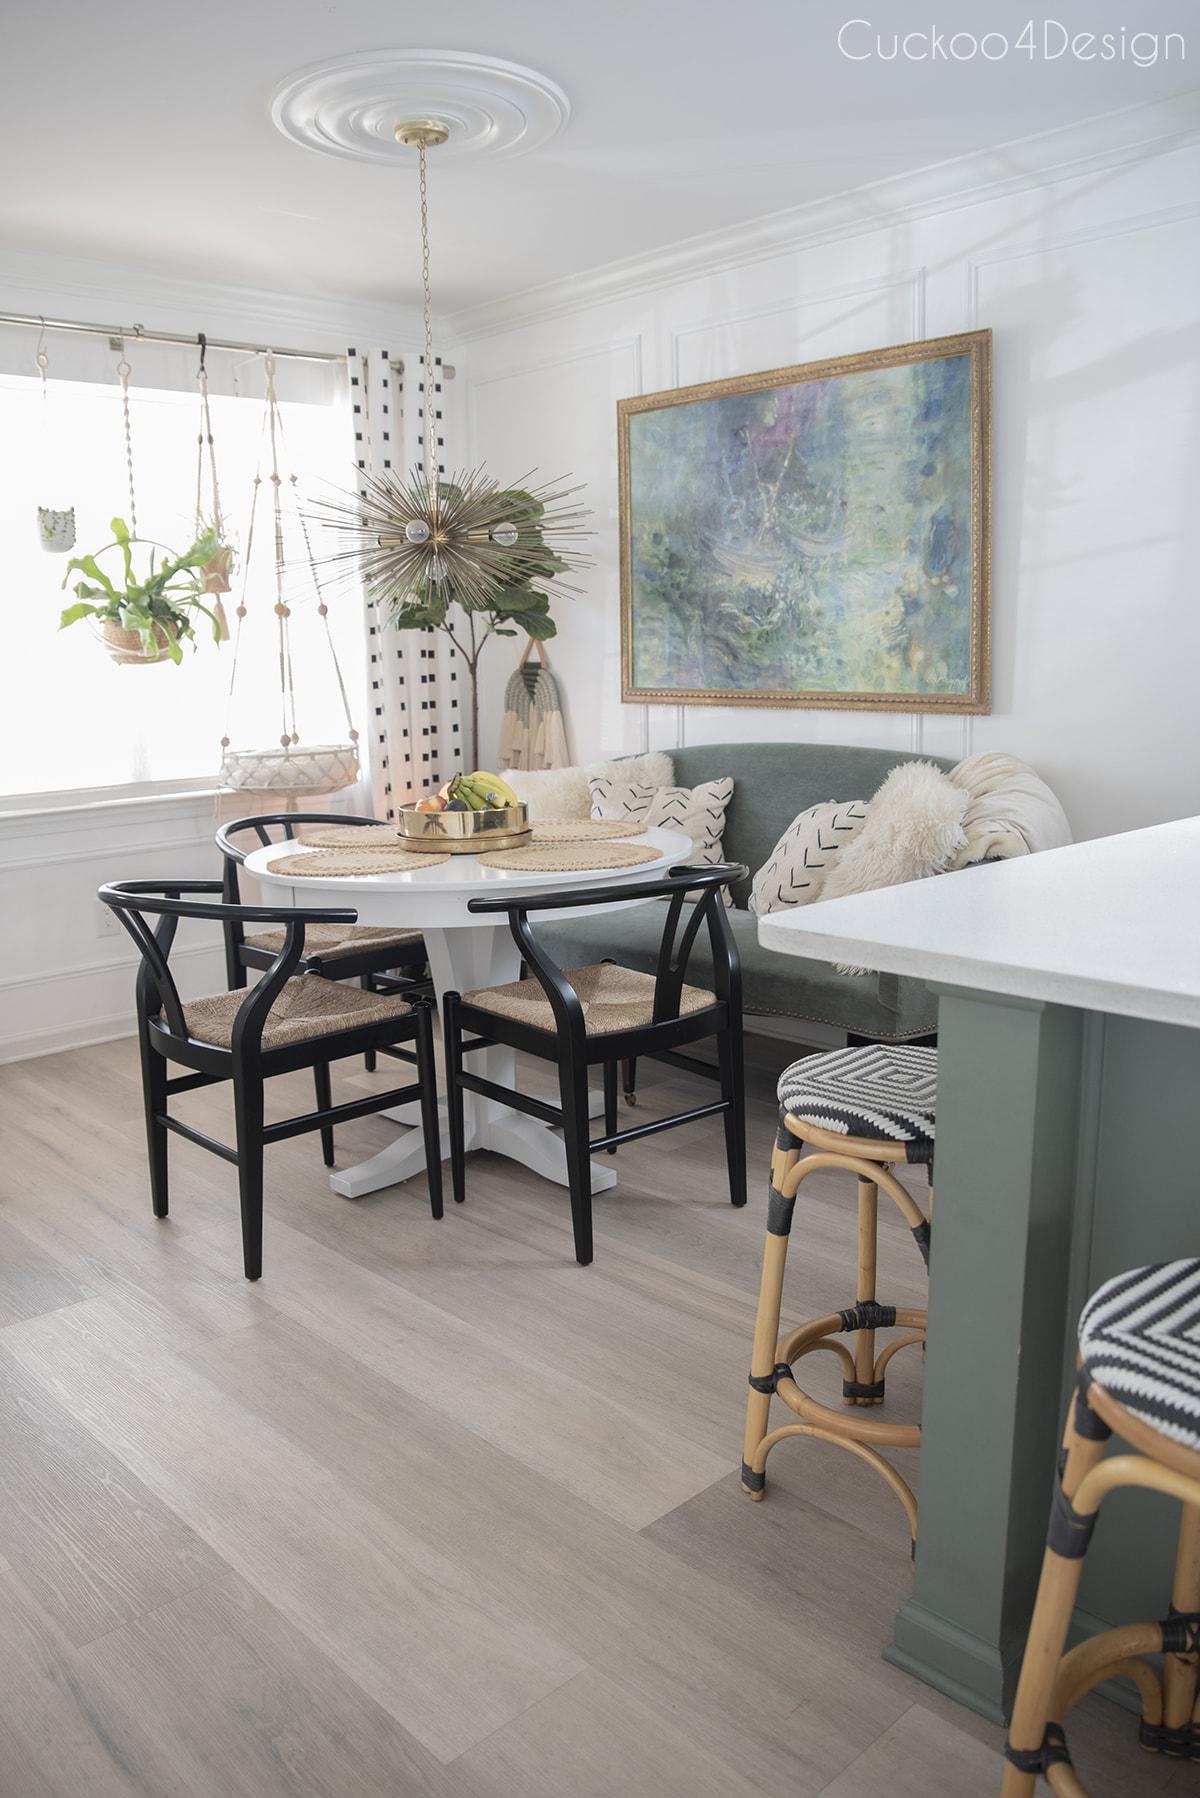
I love it when the natural light streams in through the windows and you can see how beautiful our new Karndean vinyl plank floor is. We’ve had it for several years and still love it. It was installed a couple of years after cutting the kitchen half wall down.
The entire room feels so much bigger now.
My next idea: an appliance makeover!
I gave our old white appliances a makeover to match our green lower kitchen cabinets. Can you believe that no paint was involved this time? You have to see how I accomplished the colored stove makeover and old dishwasher transformation with the help of vinyl car wrap.
There is another winter storm on the way? One last big snowstorm would be nice. I’m serious! I’m hoping for snow, NOT rain. Especially since we have friends coming in 2 weeks from now to come skiing. I’m keeping my fingers crossed.
Talk to you on Friday, ok?
Tschüß,


you are a brave woman!!!!! way to go, rockstar!
Haha, thanks Cassie!
I love you! Stay strong! Awesome!
I will stay strong 😉 thanks
Can’t wait to see your countertops. I wish that is what I was talking about in my post. I am finally switching my blog to a self-hosted site! I have been so limited by wordpress.com that it is time to bite the bullet and just do it! xo Kristin
Well, now I have to call you a brave woman. I’m scared to do what you are doing. I’m always afraid of switching to a self-hosted site.
O M G you Rock!!! this is awesome 🙂
LOL thank you Emma!
YOU ARE WONDER-WOMAN!
The 6 INCH RAISED SHELF “WALL”, IS THE ONLY THING IN MY ALMOST PERFECT HOME I TRULY HATE! IT’S A NIGHTMARE MAGNET FOR EVERYONE TO PLACE GLASSES, ETC. AND THEN THE ITEMS FALL, BREAK, AND RED WINE FLIES ALL OVER THE ROOM!!!
I was describing to my husband how I thought it would be a “simple” fix and POW there was your POST!
Hopefully we will be able to lower the stupid shelf to the counter height (it has a granite top that matches the granite counter tops) reuse the granite top, and seam it to the counter top. Well it’s a plan?
Glad I found you by way of Cassie!
I love all I have seen going back into your older posts….
Yes, this wall was a nightmare. Good luck with your wall 😉
Holy moly ~ you’re my hero, way to go Julia!!
Thanks Pam!
Wow, you just jump right in….with company coming, you amaze me! You have wonder woman beat, hands down!
Wonder woman? I have to tell my husband that, maybe he can start calling me that 😉
Das ist ja wieder ne geile Nummer!;)
Wenn schon was umgestalten, dann aber richtig! Selbst ist die Frau, high five;)
Ich kann den Blick, von deinem hubby;)
Den bekomm ich auch immer!
Und weisst du was, ich bin auch dabei meine Küche grade neu zu machen, neben all dem anderen kram hier.
Bin mal auf deine Ergebnisse gespannt;)
Ganz viele liebe Grüße…
Also bin ich nicht die einzige Frau die solche Blicke bekommt, Gott sei Dank 😉
Ich freu mich auch Deine Küchenergebnisse zu sehen,
I’m a new-ish reader to your blog. And I am so jealous of you taking down that little wall in your kitchen! Can’t wait to see what you have planned! I have a similar little wall – that I despise! 🙂 hmmmm…
Hmm, maybe you should crab a circular saw too 😉
WOW you go girl! I would be so scared to tackle this on my own!
I was scared but also way too excited.
I applaud you for doing this yourself! Way to go!!
Thanks Brandi 😉
I’m getting so excited…hardly can wait until Friday! And by the way…your last line made me totally LOL! XO, Aimee
Haha! I’m making good progress 😉
HOLY COW!! You are AWESOME!!!
🙂 Thanks 🙂
Yay for demo work and making progress!! 🙂
Yes, love seeing your kitchen progress too 🙂
WOW! Look at your go, your rock! I remember using a saw to cut out a similar wall in our last house and I was NOT prepared for the dust. We had it everywhere, and just when I thought we got it all..there was more. I am so excited to see where this is all going.
Yes, the dust is horrible. I thought that I cleaned it all but it keeps coming back.
You go girl! Totally want to do this myself. Thanks for sharing.
I have a similar wall that I am trying to cut down just like you did. I can’t get the contractors to call me back to do it for me so, I’m attempting to do the job myself. I’m scared and excited! Any chance you could give me a few more details how you did this? Like, the tools you used? Thanks!
Hi Lisa, I only used the circular saw that I show in the photos but in some cases a reciprocating saw might work better. Before you start, make sure you know where your electrical outlets are and where the cable runs to. You have to also make sure that the electricity is turned off in the kitchen. Then run an extension cord from another outlet that works, so you can use your saw. Mark your line that you want to cut with a level and start sawing the wall off. Good luck and cheers to girl power 😉
Love your kitchen! I am wondering how many inches your overhang is above your stools? Hoping to find that someone finds less than 12 inches a usable overhang…..
Ha yes I do find it usable and I have 9 inches instead of 12 because we didn’t have room. Good luck!
This is incredible!! Love the result!!! We are hoping to do some DIY for our sad new kitchen…new to us but poorly taken care of. And I want to get rid of the breakfast bar that had 3 outlets on it and make an island with some of it!! Thank you for the inspiration!
Hi Stephanie, you should definitely do it too. It really changed how we used our kitchen completely. Good luck!
I have a question for you! We are doing the exact same thing in our kitchen. Once you cut down the wall and remove those top 2x4s from the top, you don’t have to put them back at the new height prior to the countertop going on? Did you have to add any extra support for the counter top since it hangs over now? Thank you!!
Hi Lauren, I didn’t have to add any extra support. I determined that with the help of my countertop company. It depends on the overhang of the countertop and they should be able to tell you what you need when you figure out how much overhang you want. I hope that helps.