

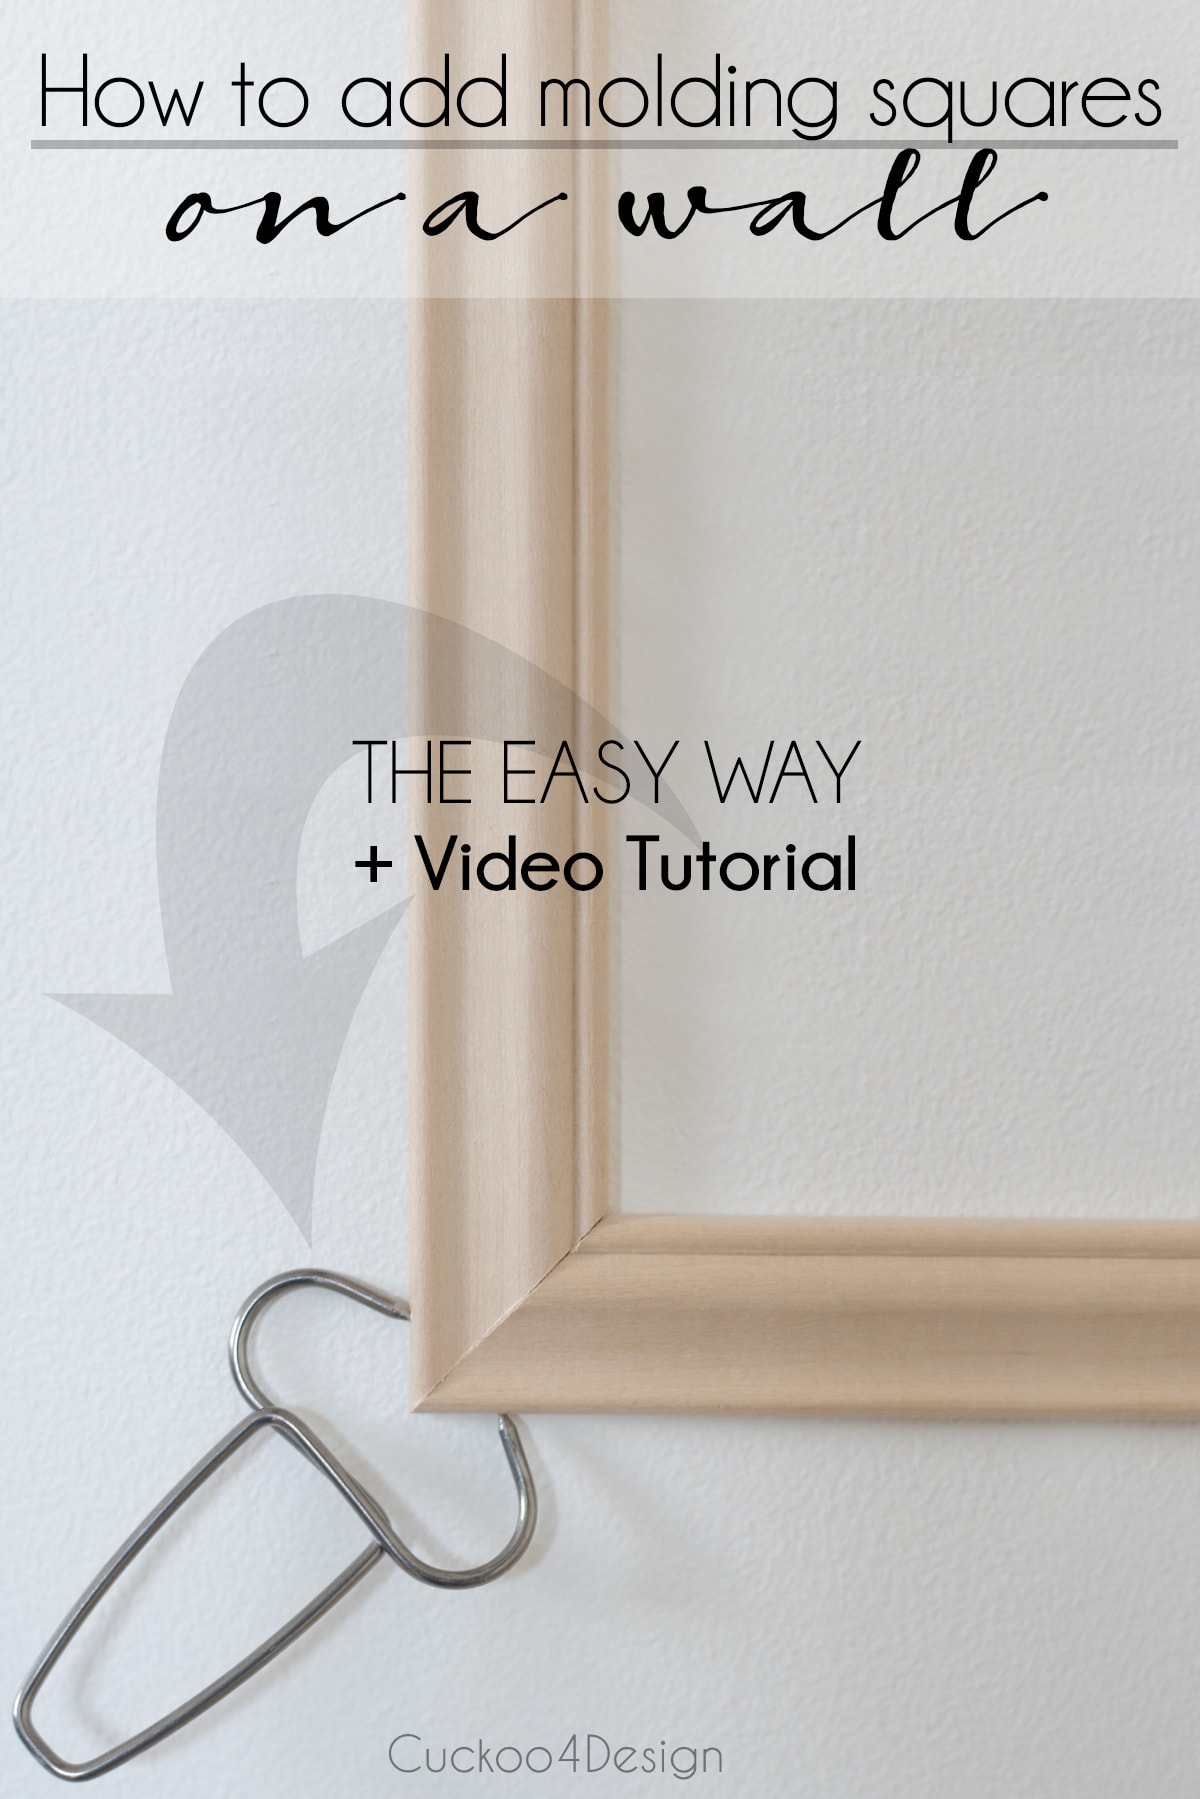
How to install wall molding the easy way
I was really stalling to write this post and make the video about how to install wall molding because it’s been done so many times already. You guys saw the moulding in my new dining and kitchen makeover where I also shared my favorite tips for painting kitchen cabinets. The reason I think it is valuable to you guys the way I did it, is that I’m using a little tool that makes it so much easier to hang. I promise that anyone can hang picture frame wall moulding… Trust me!
I am a little confused as to write wall moulding or wall molding but since all the big home improvement stores call it wall moulding, I decided to write it their way I’ve seen it both ways on the internet and in stores.
How to install wall molding the easy way
This post may contain affiliate links from which I will earn a commission at no extra cost to you. View my full disclosure policy.
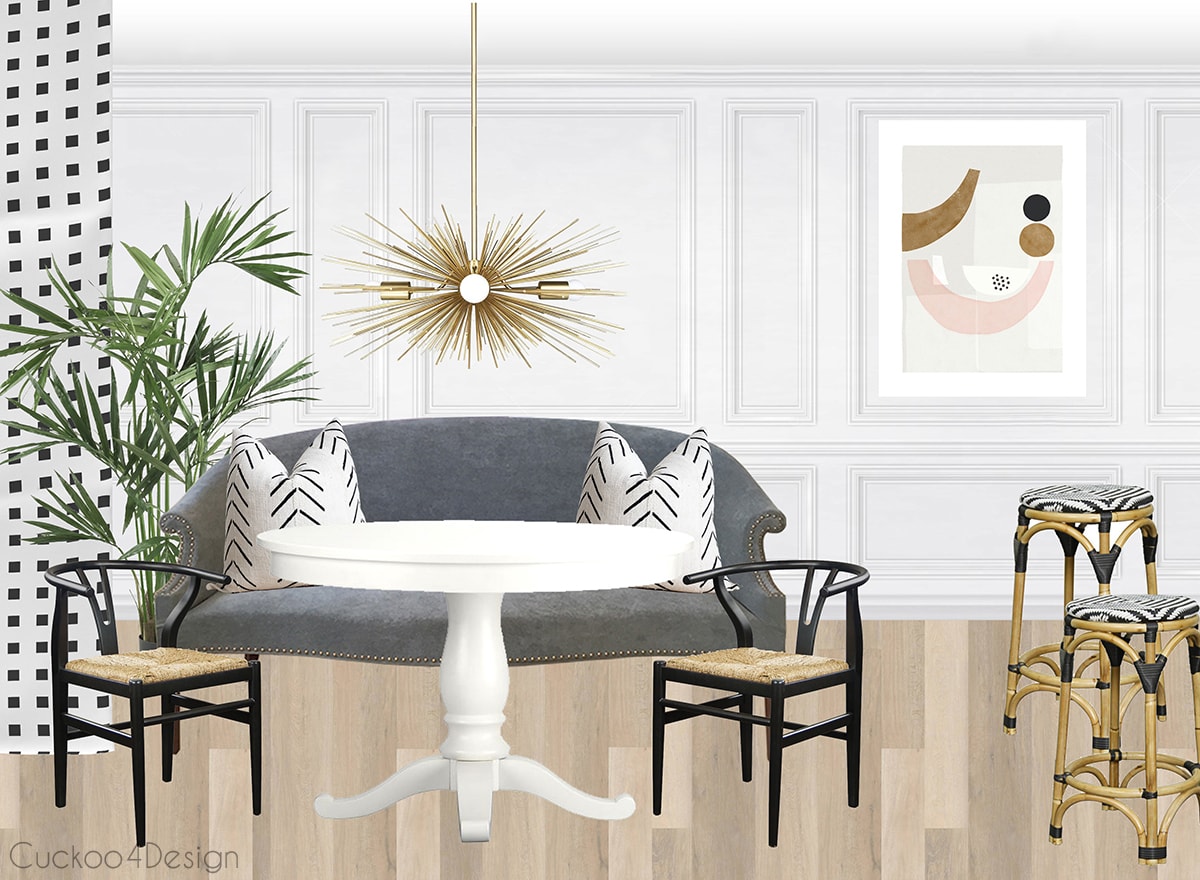
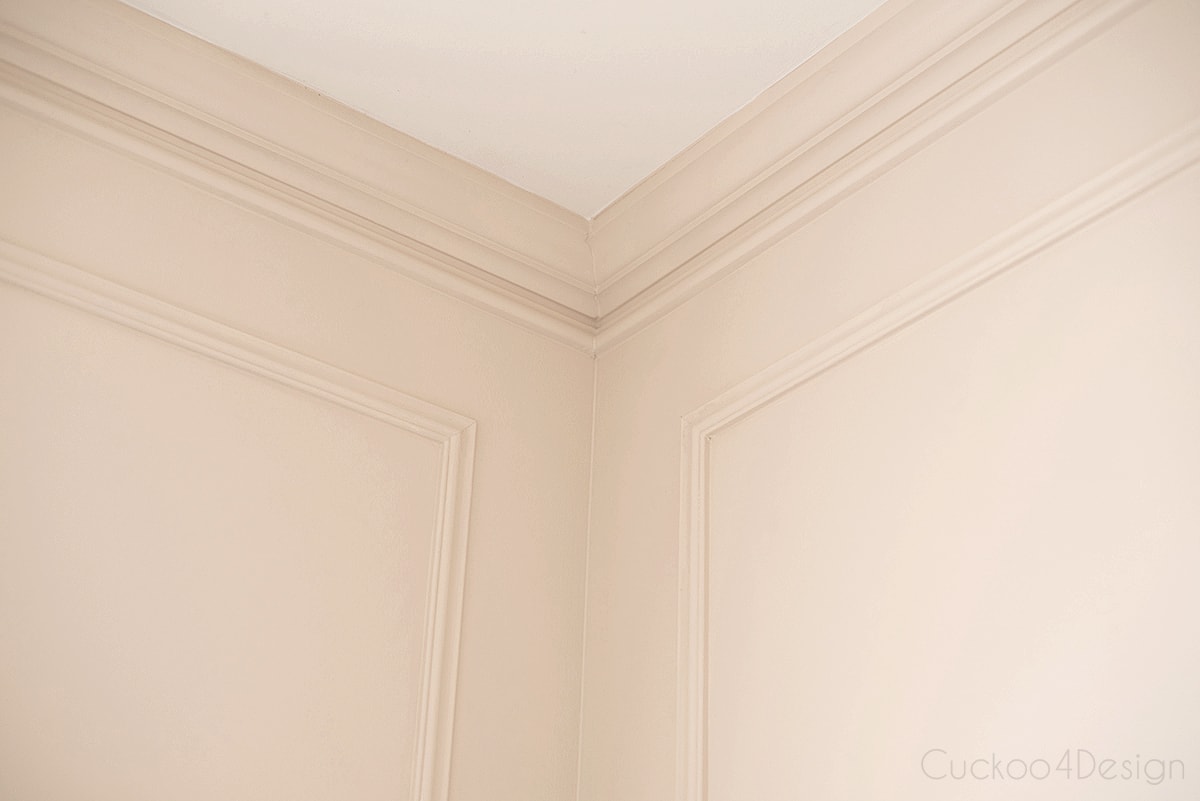
I originally wanted to add picture frame moulding divided by a chair rail but since my kitchen counter starts at the right of the room, I thought it would be just too much. I’m glad that I went for the simpler look of just having large picture frame wall moulding instead.
I love both looks but for our room, this was just the right way with the counter.

Here is a sneak peek at the moulding in my upcoming bathroom makeover:
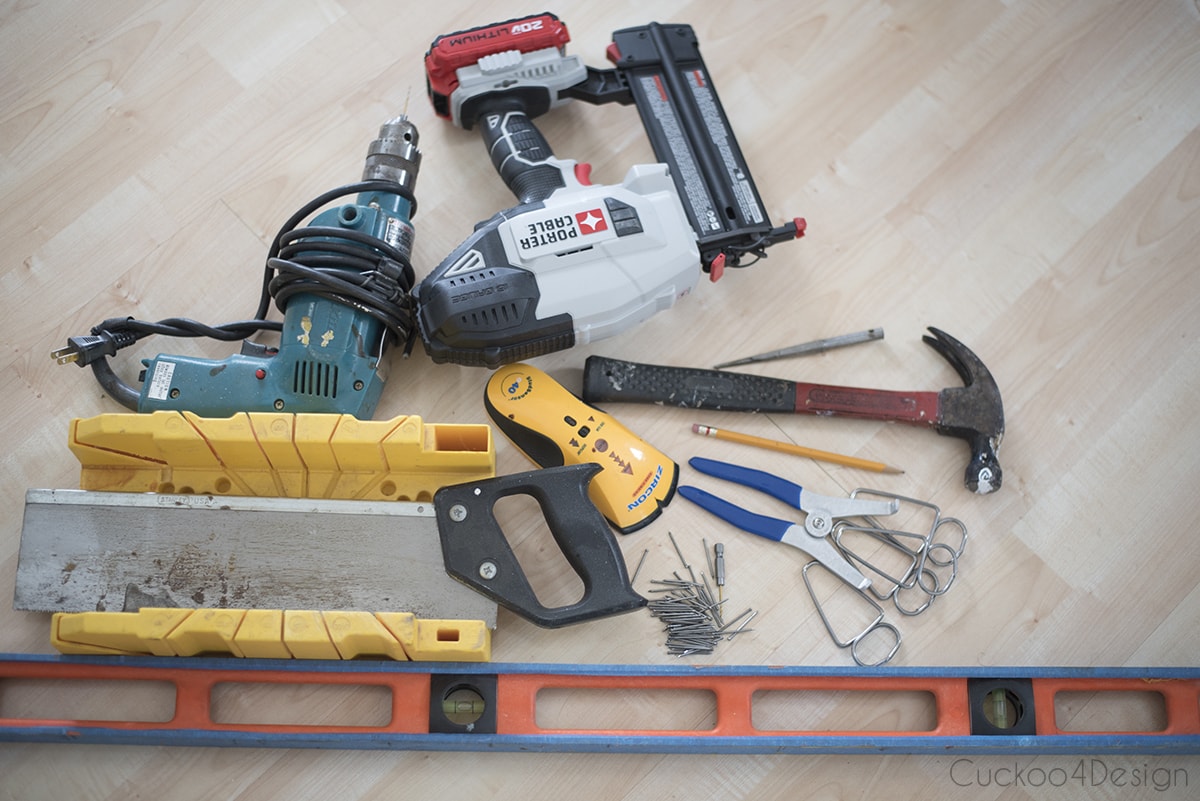
materials and tools needed
- molding of your choice ( I used this one HERE)
- measuring tape
- pencil
- level (HERE)
- liquid nails or other adhesive like wood glue depending on what your molding is made of (HERE)
- stud finder
- miter clamps (HERE)
- drywall mud or wood filler
- paintable caulk
- primer (HERE)
- final coats of paint ( I used Ultra White by Valspar)
- miter box and saw HERE (electric or miter box and saw HERE)
- nail gun with nails and I have this one HERE (or drill, drill bit, hammer, nail set HERE, and finishing nails, and the size is usually recommended on the label for your specific molding)
Video tutorial
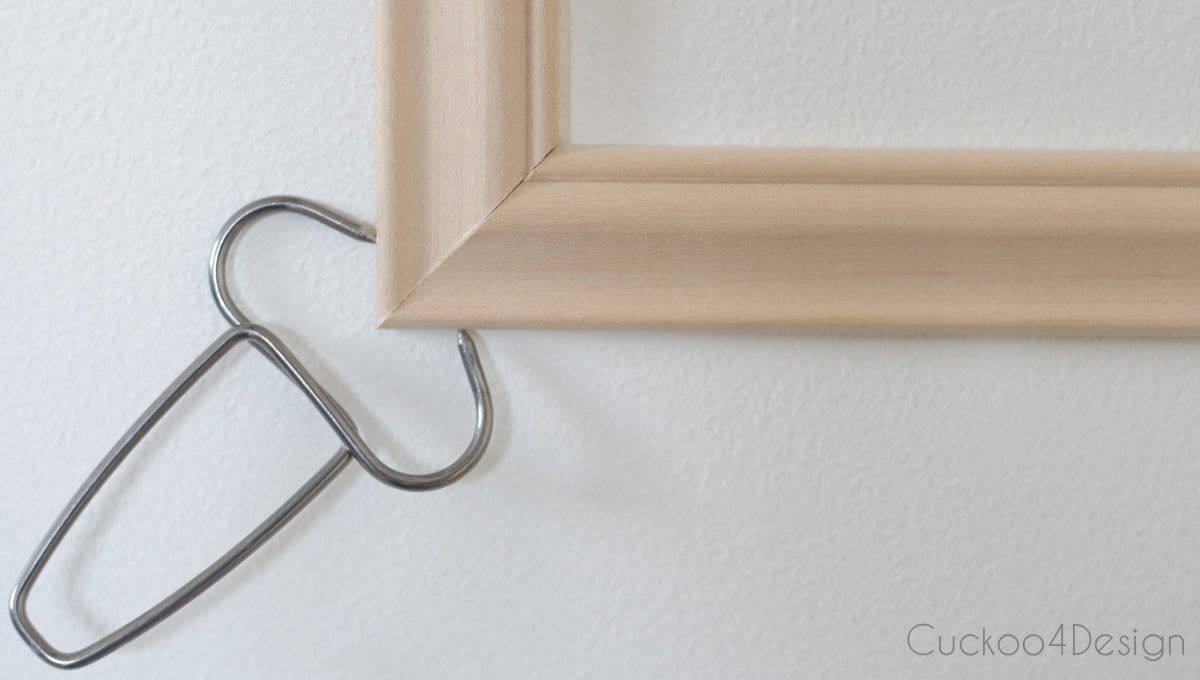
I made a detailed video for you, so you can see how I hang the molding. It is pretty long because I tried to cover everything including using a drill instead of the cordless nail gun. If you don’t want to see the entire video and only the part where I use the molding clamp then jump to about the time section 10:22 within the video by dragging the slider with your cursor.
If the video doesn’t load for some reason then you can also watch it on my YouTube channel instead.
Oh, and little Walter is helping me in the video too. He is a silly little guy!
Written tutorial
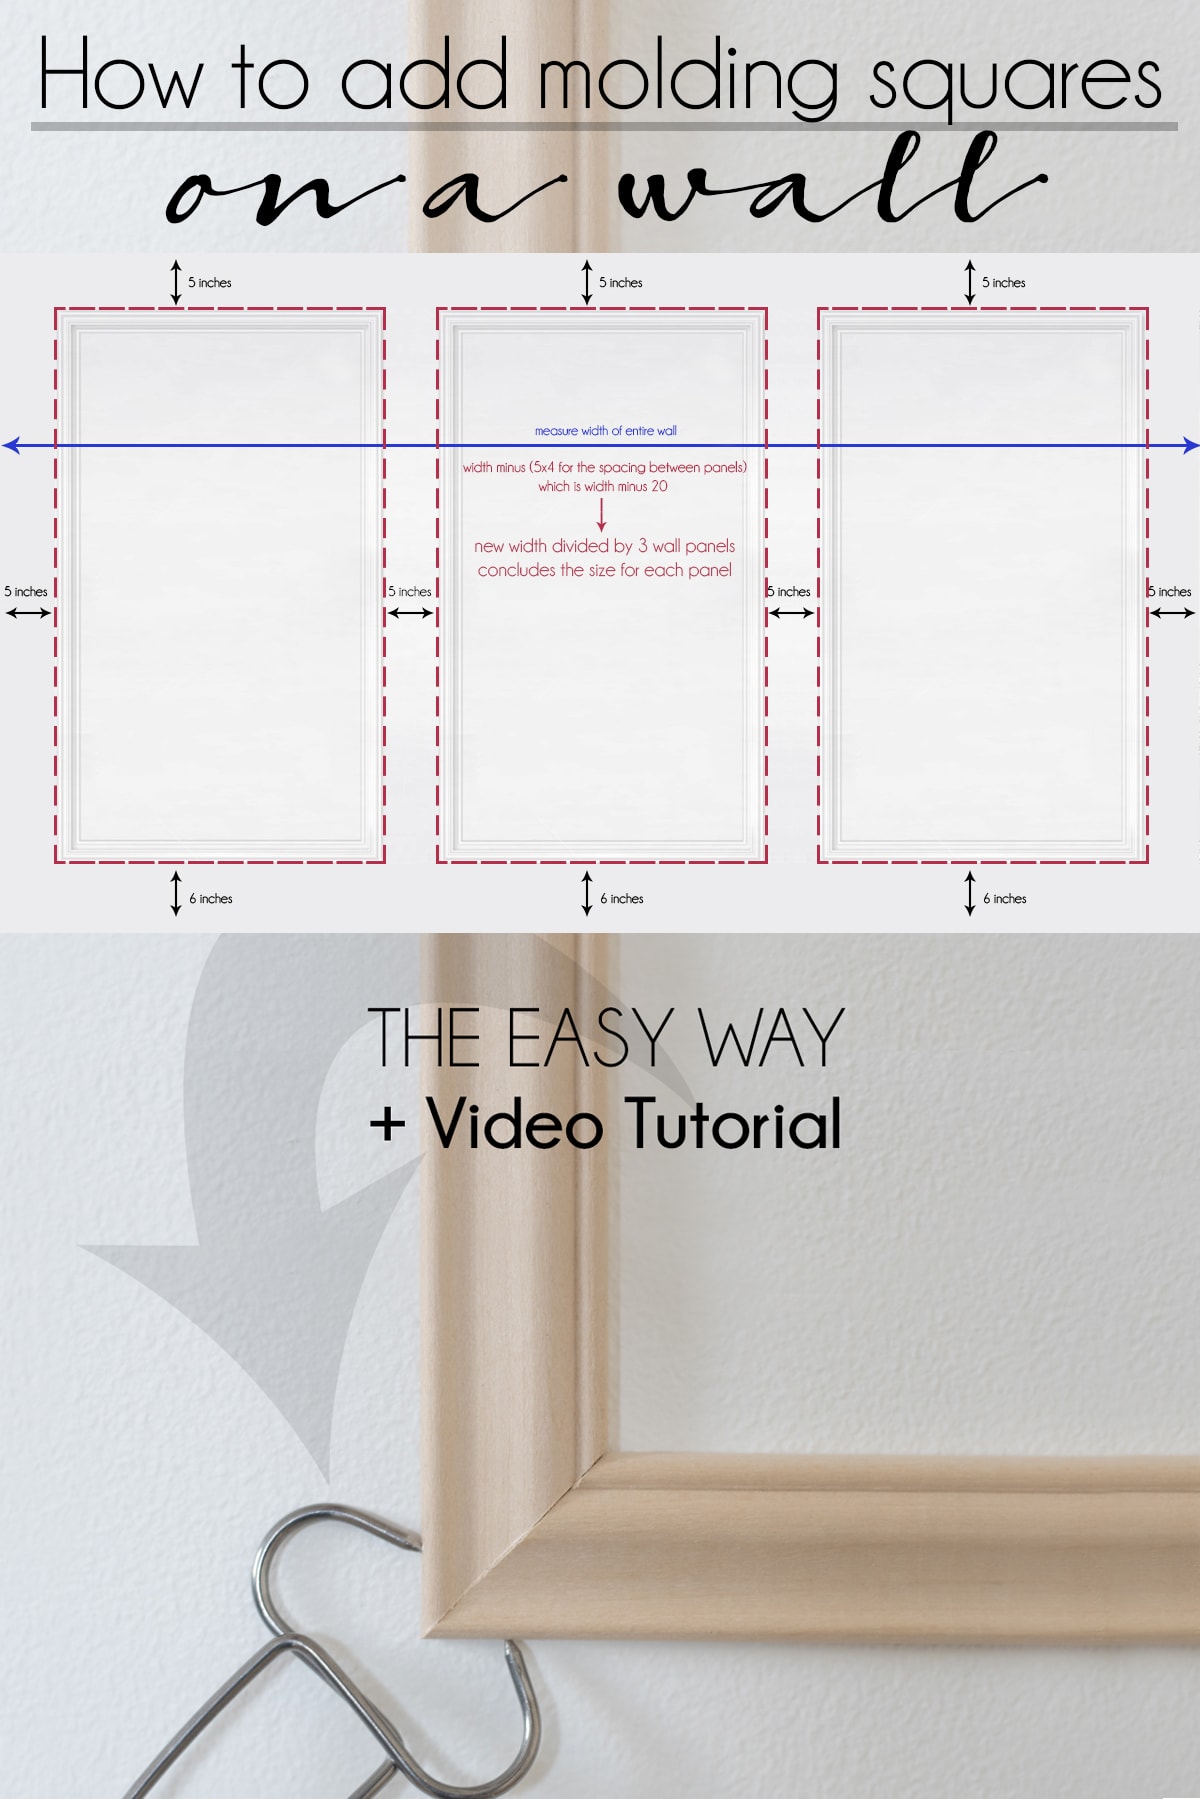
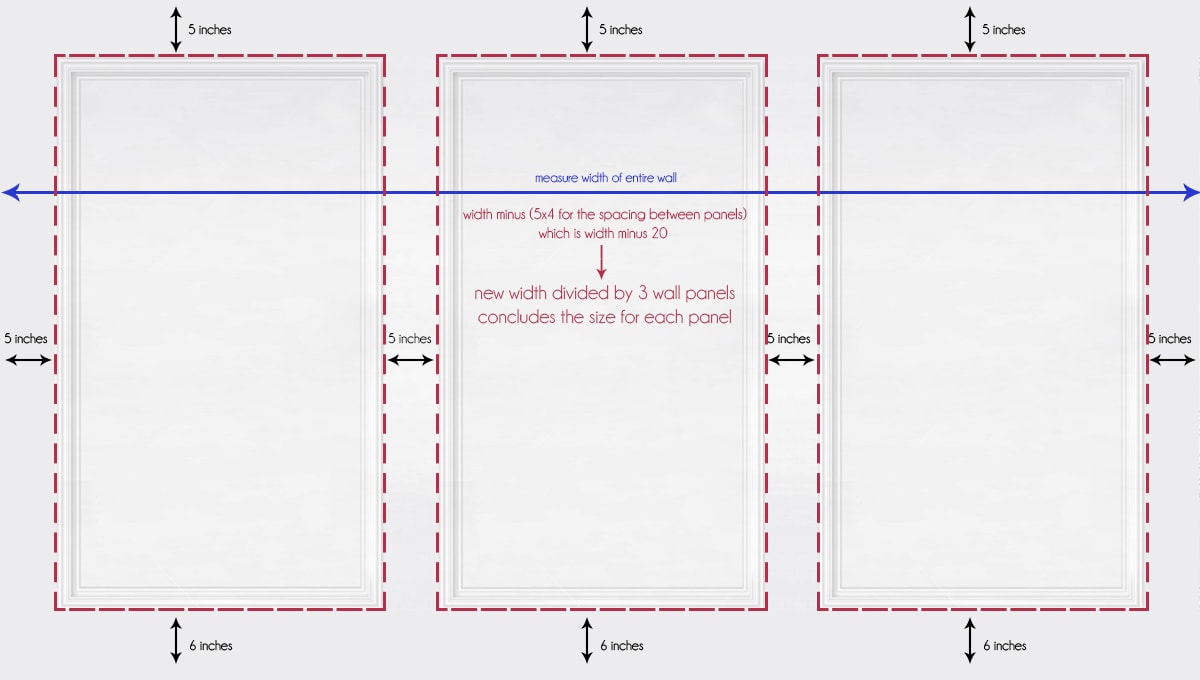
How to figure out the layout and measurements
Below is how I figured out the panels for my large wall and the wall on the opposite side of the room. I like the rule of threes which worked great for my walls but if you have an even larger space then you might have to do more.
Step-by-step instructions on How to install wall molding
- pick the moulding you want, I used this one HERE
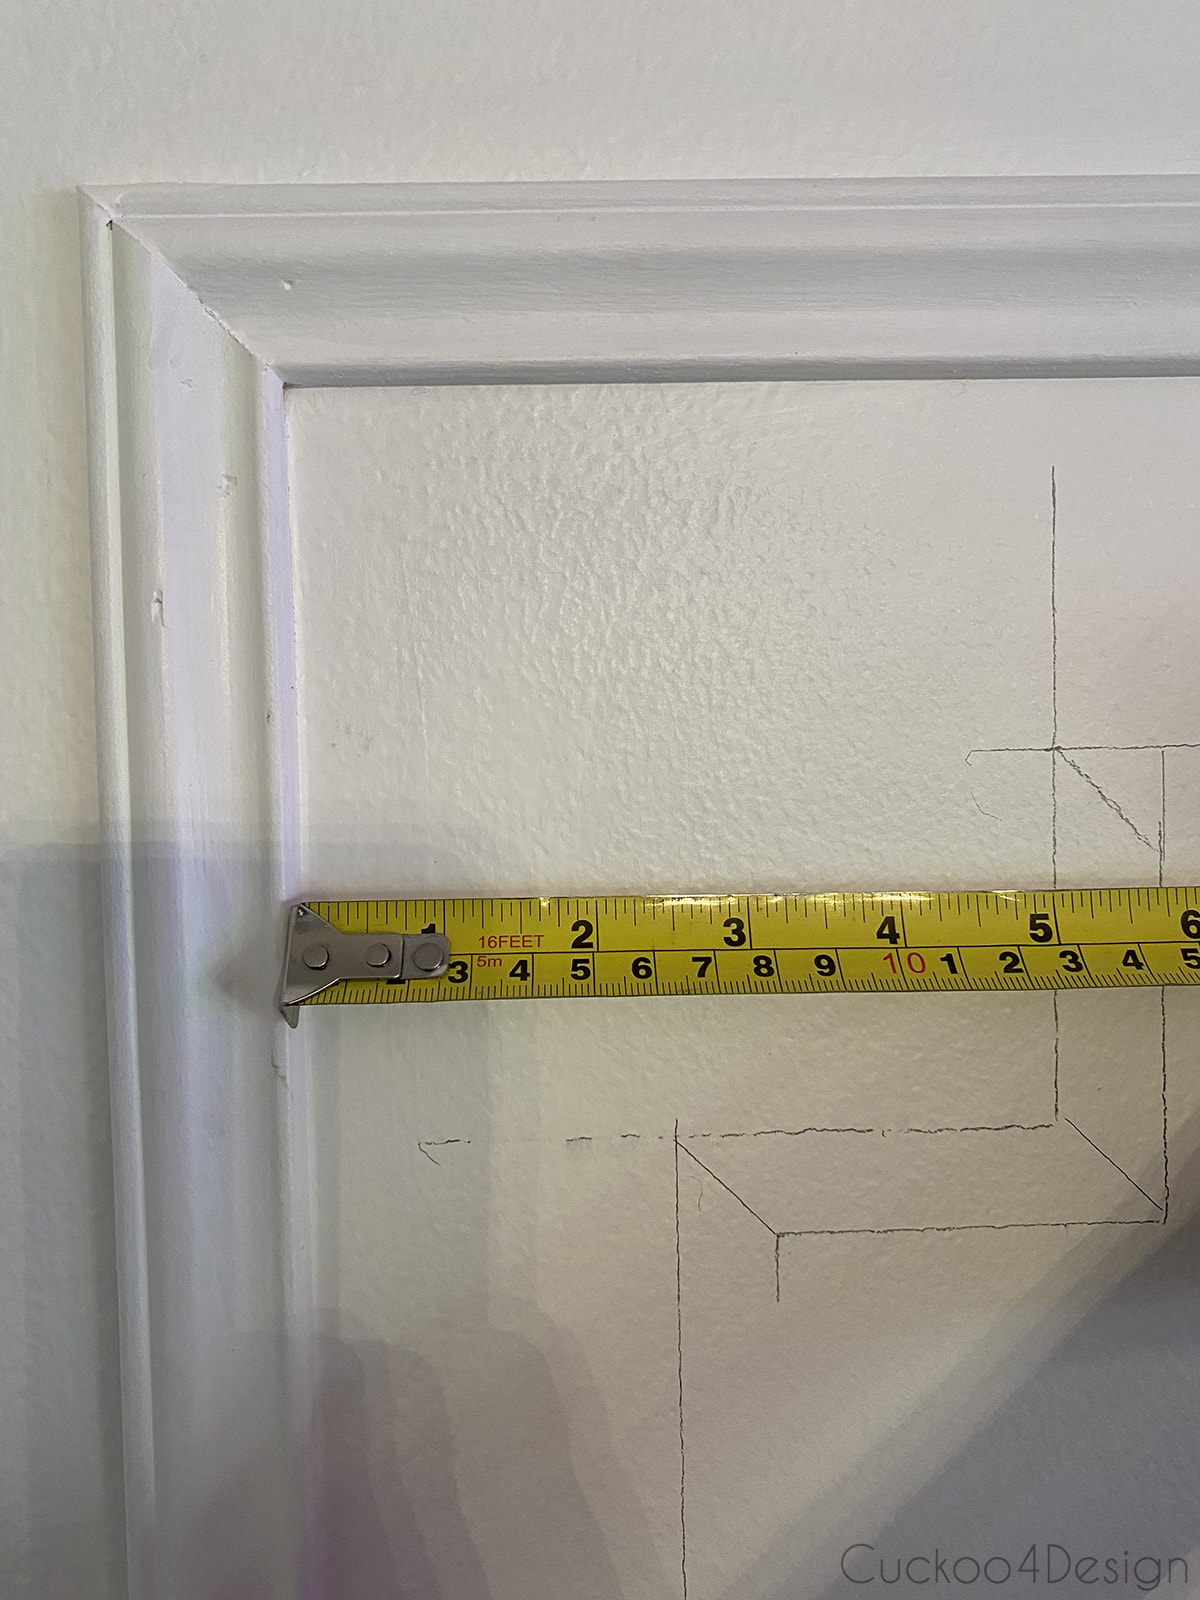
- measure and mark walls with measuring tape and level
- figure out which way you want your moulding profile to face
- cut moulding according to size in 45 degrees angles to make a perfect 90 degrees corner
- attach the first piece to the wall where you marked it and attach it with only one nail so you can still swivel and adjust it to match the other corner (use a stud finder to find studs in the wall and nail the molding into studs as much as possible, if there are no studs then keep nailing in molding in alternating directions)
- use liquid nails where corners meet
- clamp the corner (jump to part 10:22 in my movie to see this part)
- clamp and attach all 4 corners… I decided not to glue the moulding to the wall because I don’t want a lot of wall damage should I ever change my mind and take the moulding down. If you are sure that you will keep it forever then adding glue to the entire moulding piece is probably a good idea.
- caulk moulding edges to fill gaps, don’t use caulk for nail holes
- fill nail holes with drywall mud or wood filler and sand when dry
- prime moulding
- paint moulding
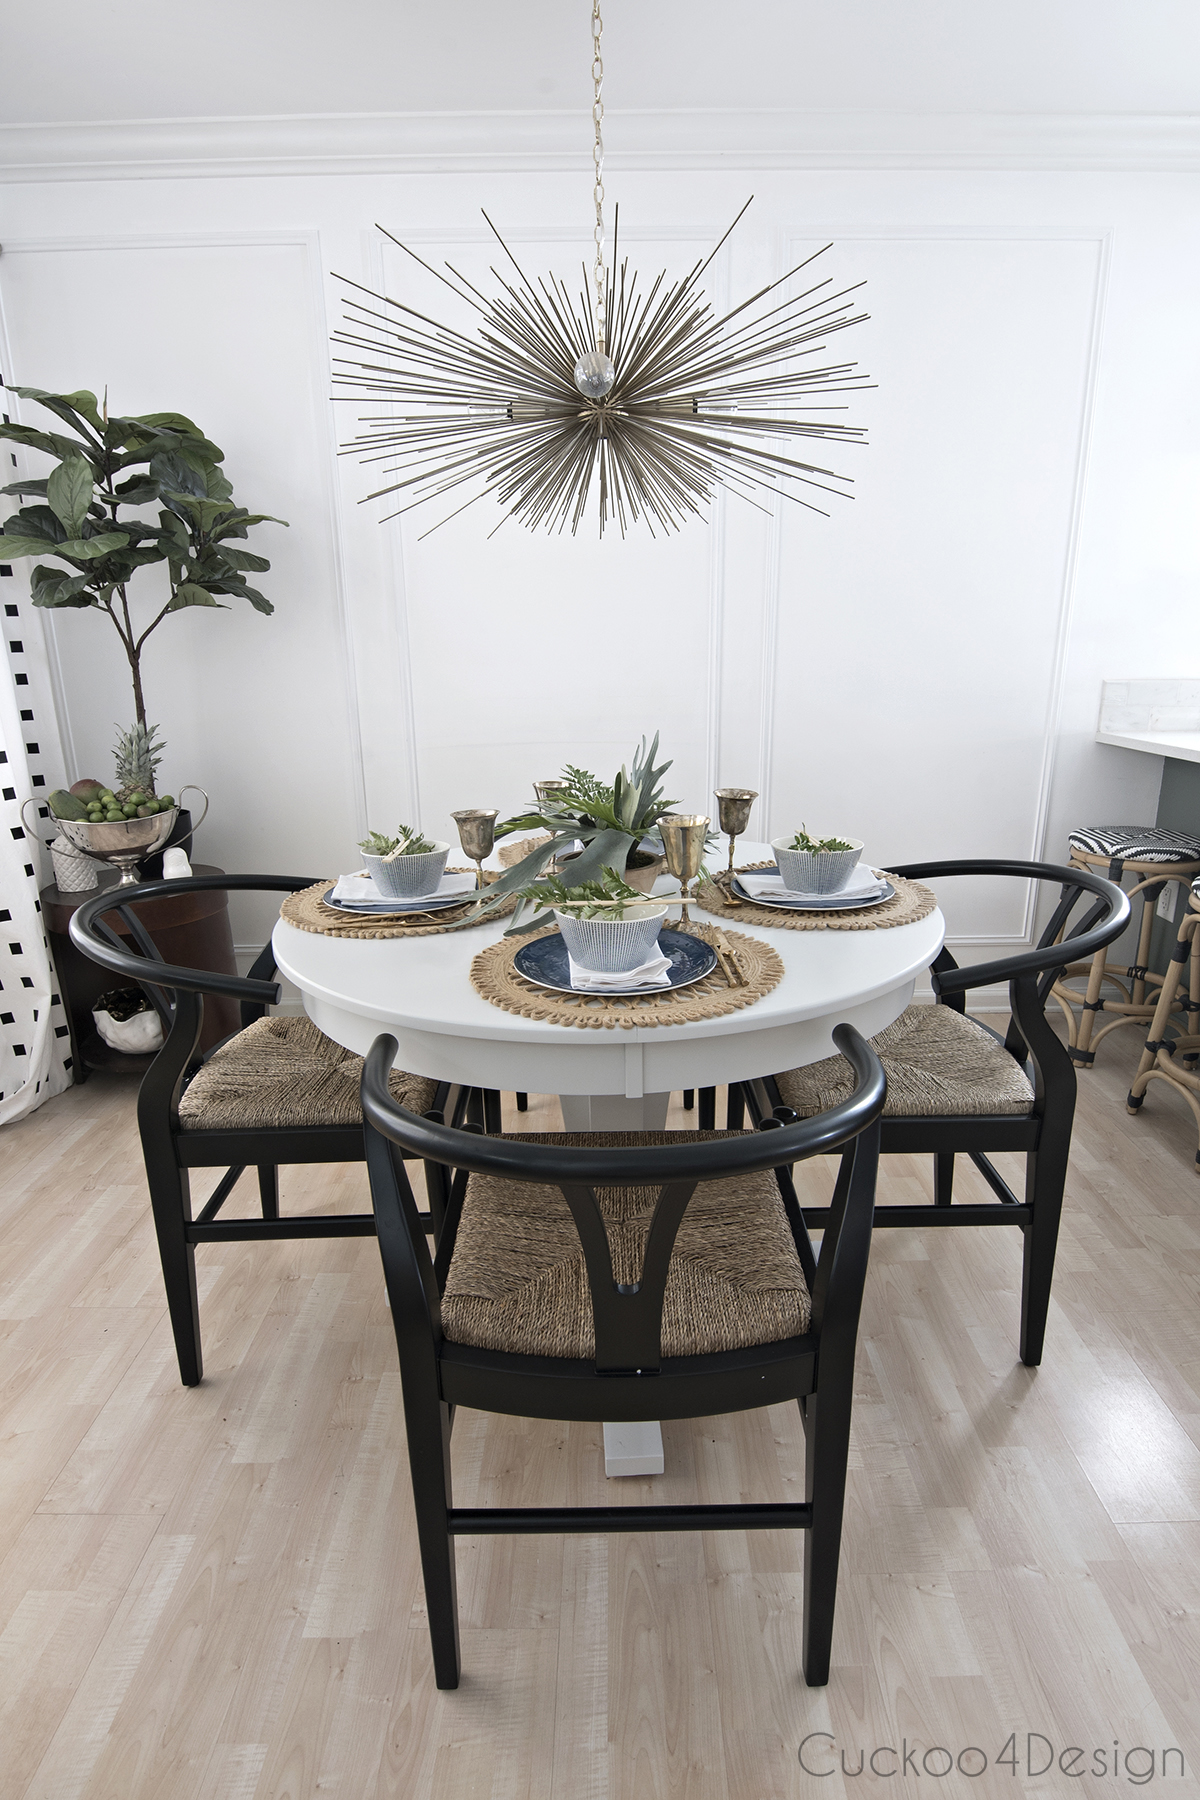
And DONE!
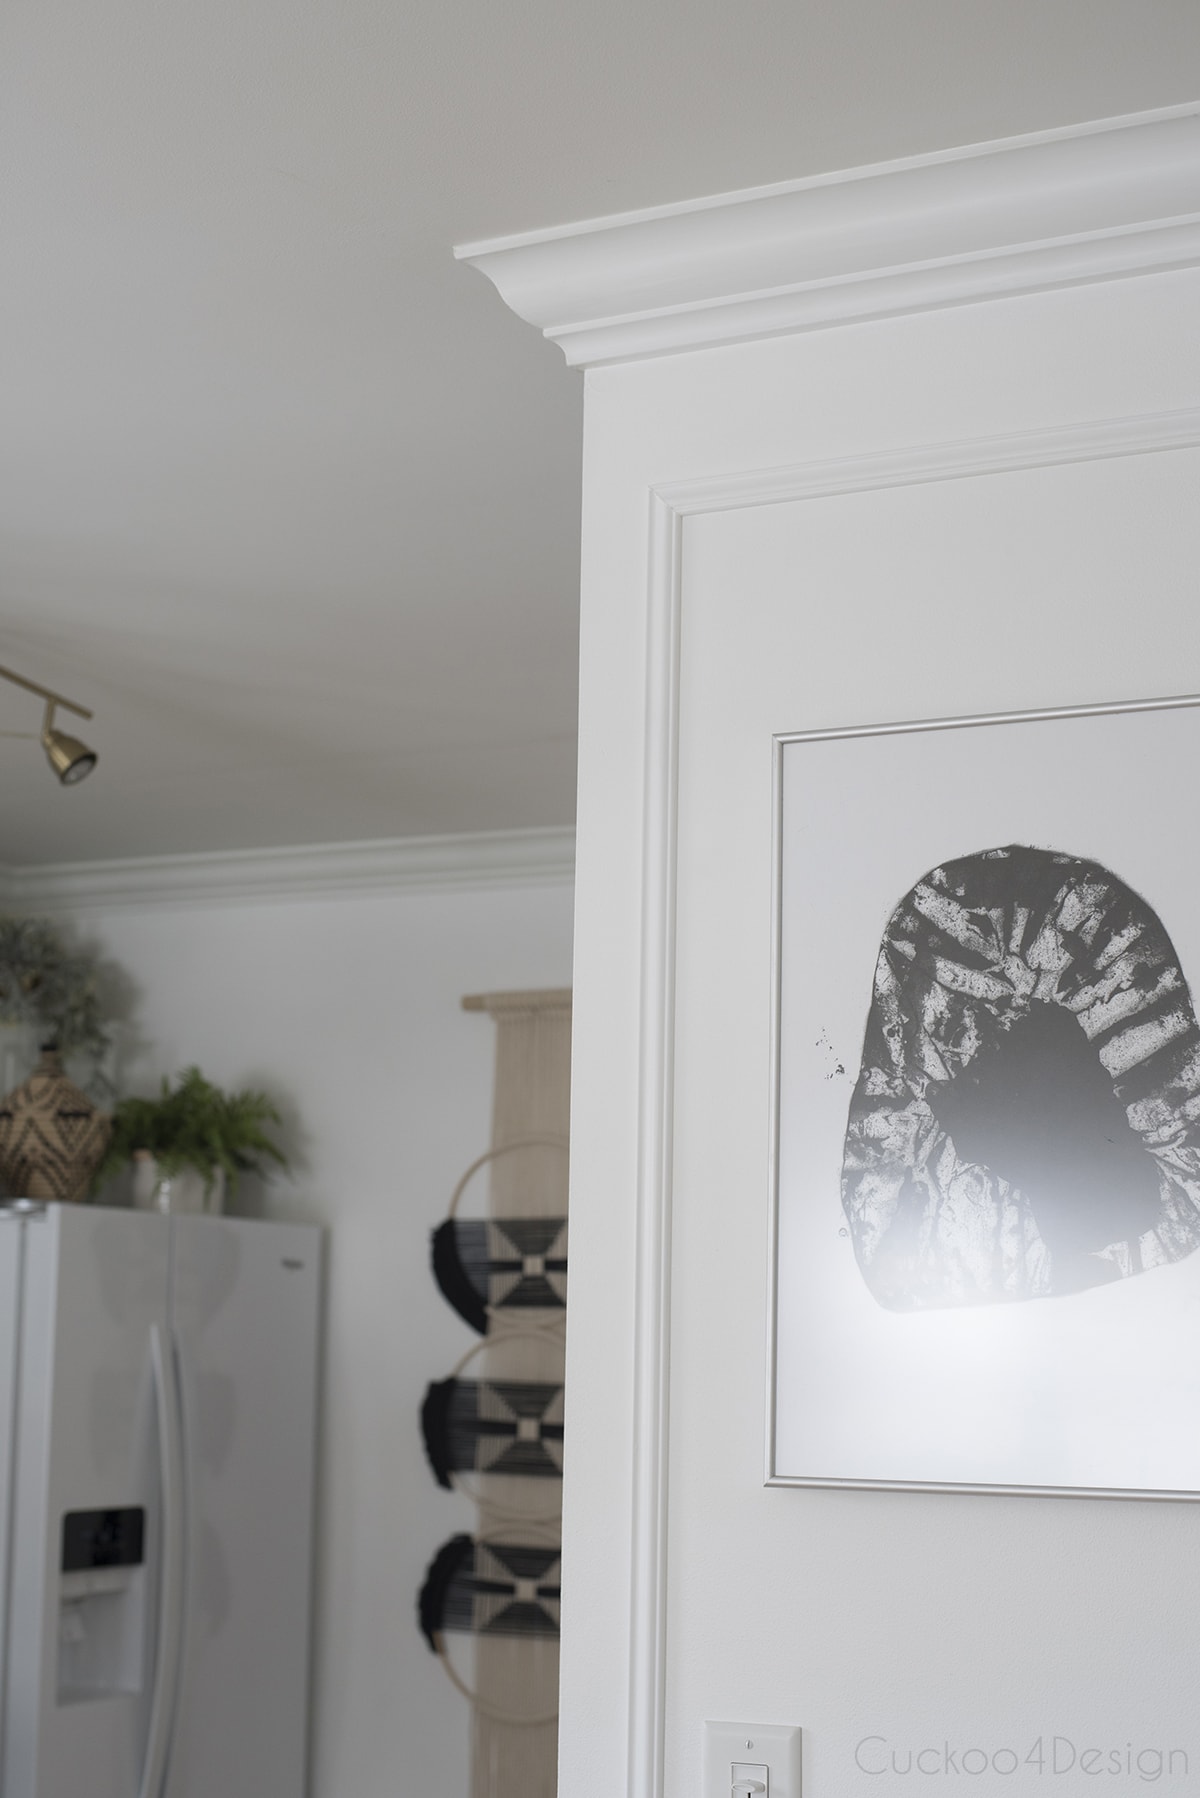
I still need to finish running the molding into the hallway and possibly the kitchen:

Pin this project to Pinterest below:
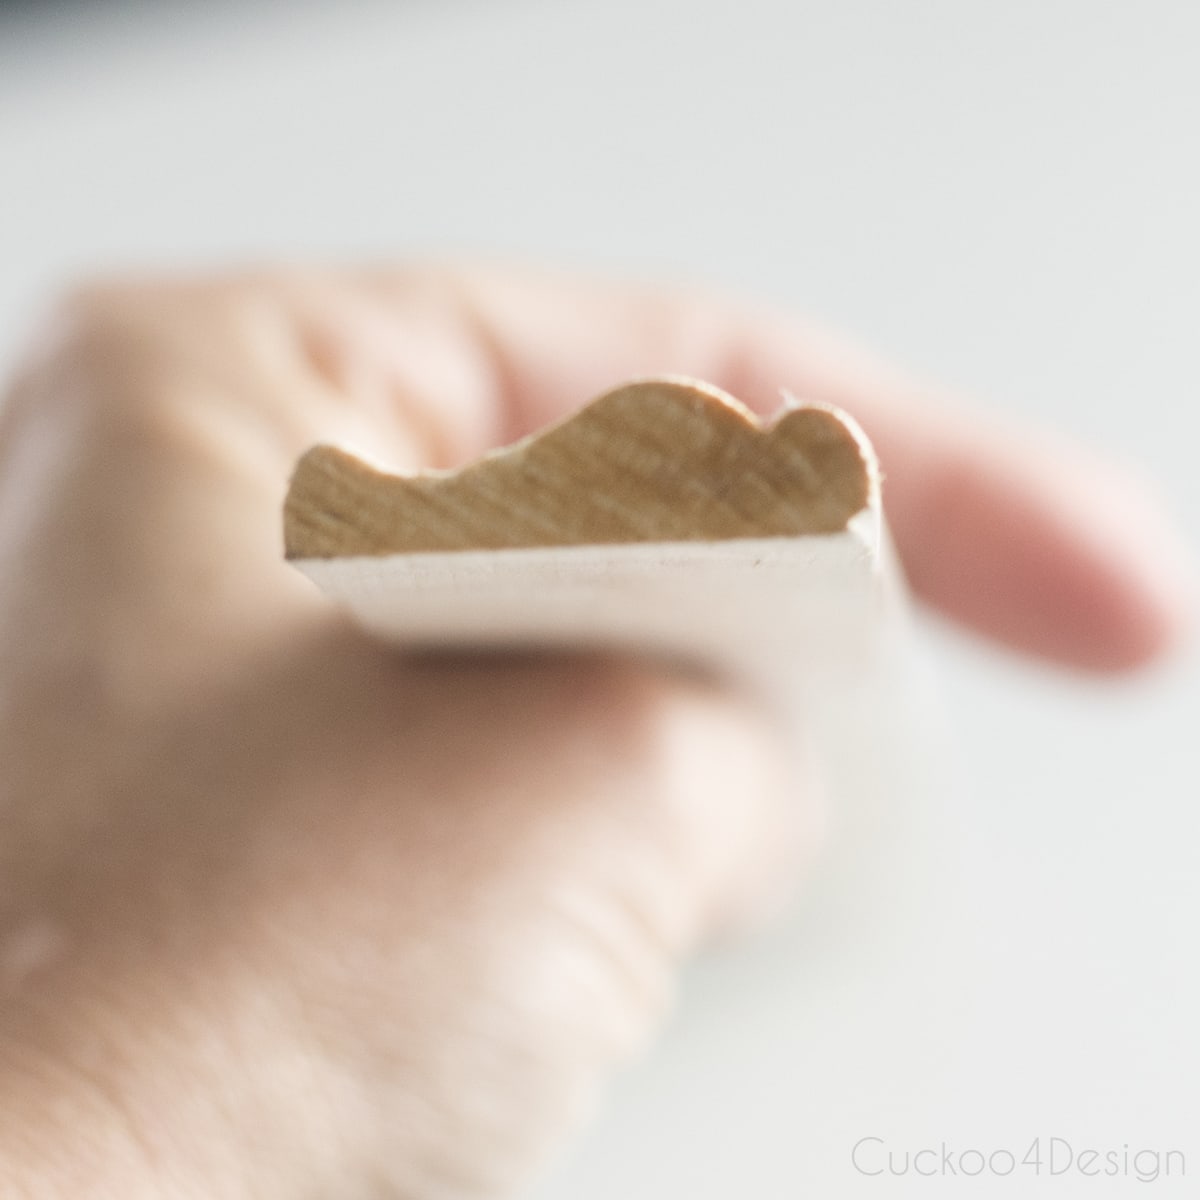
Adding more intricate detail to your wall molding
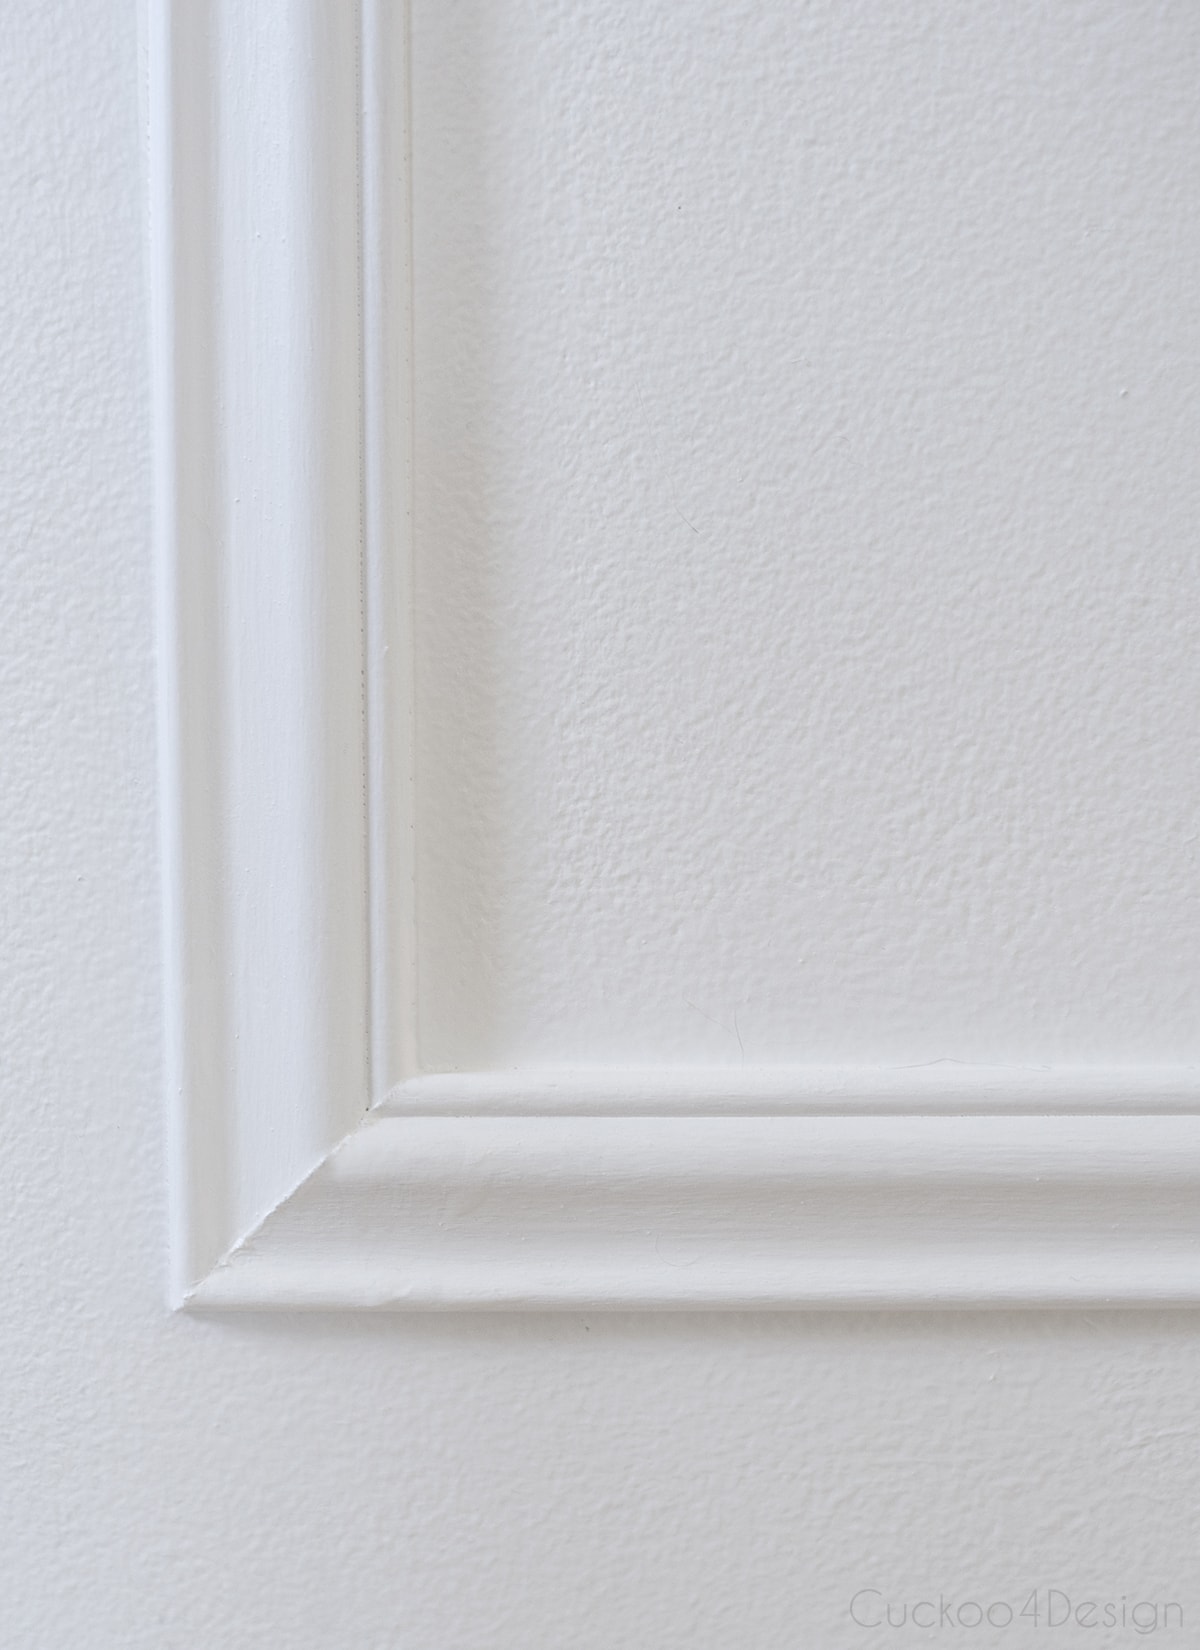
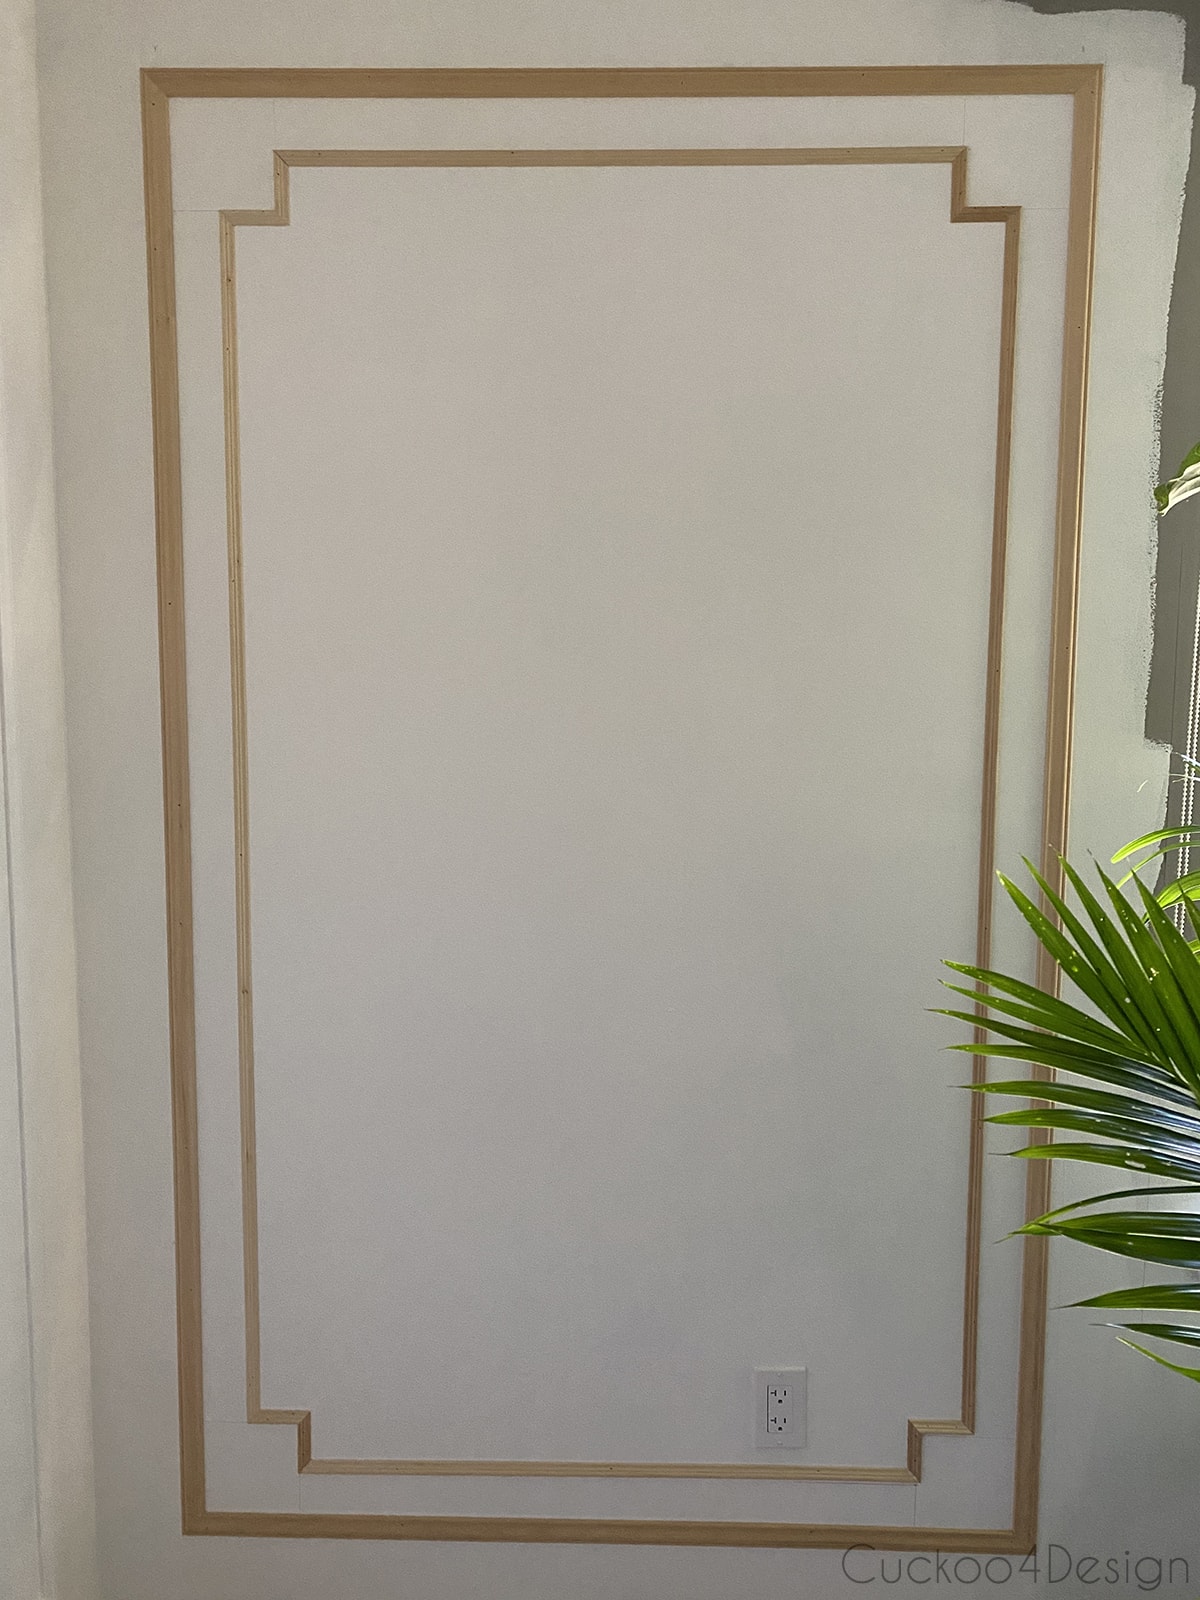
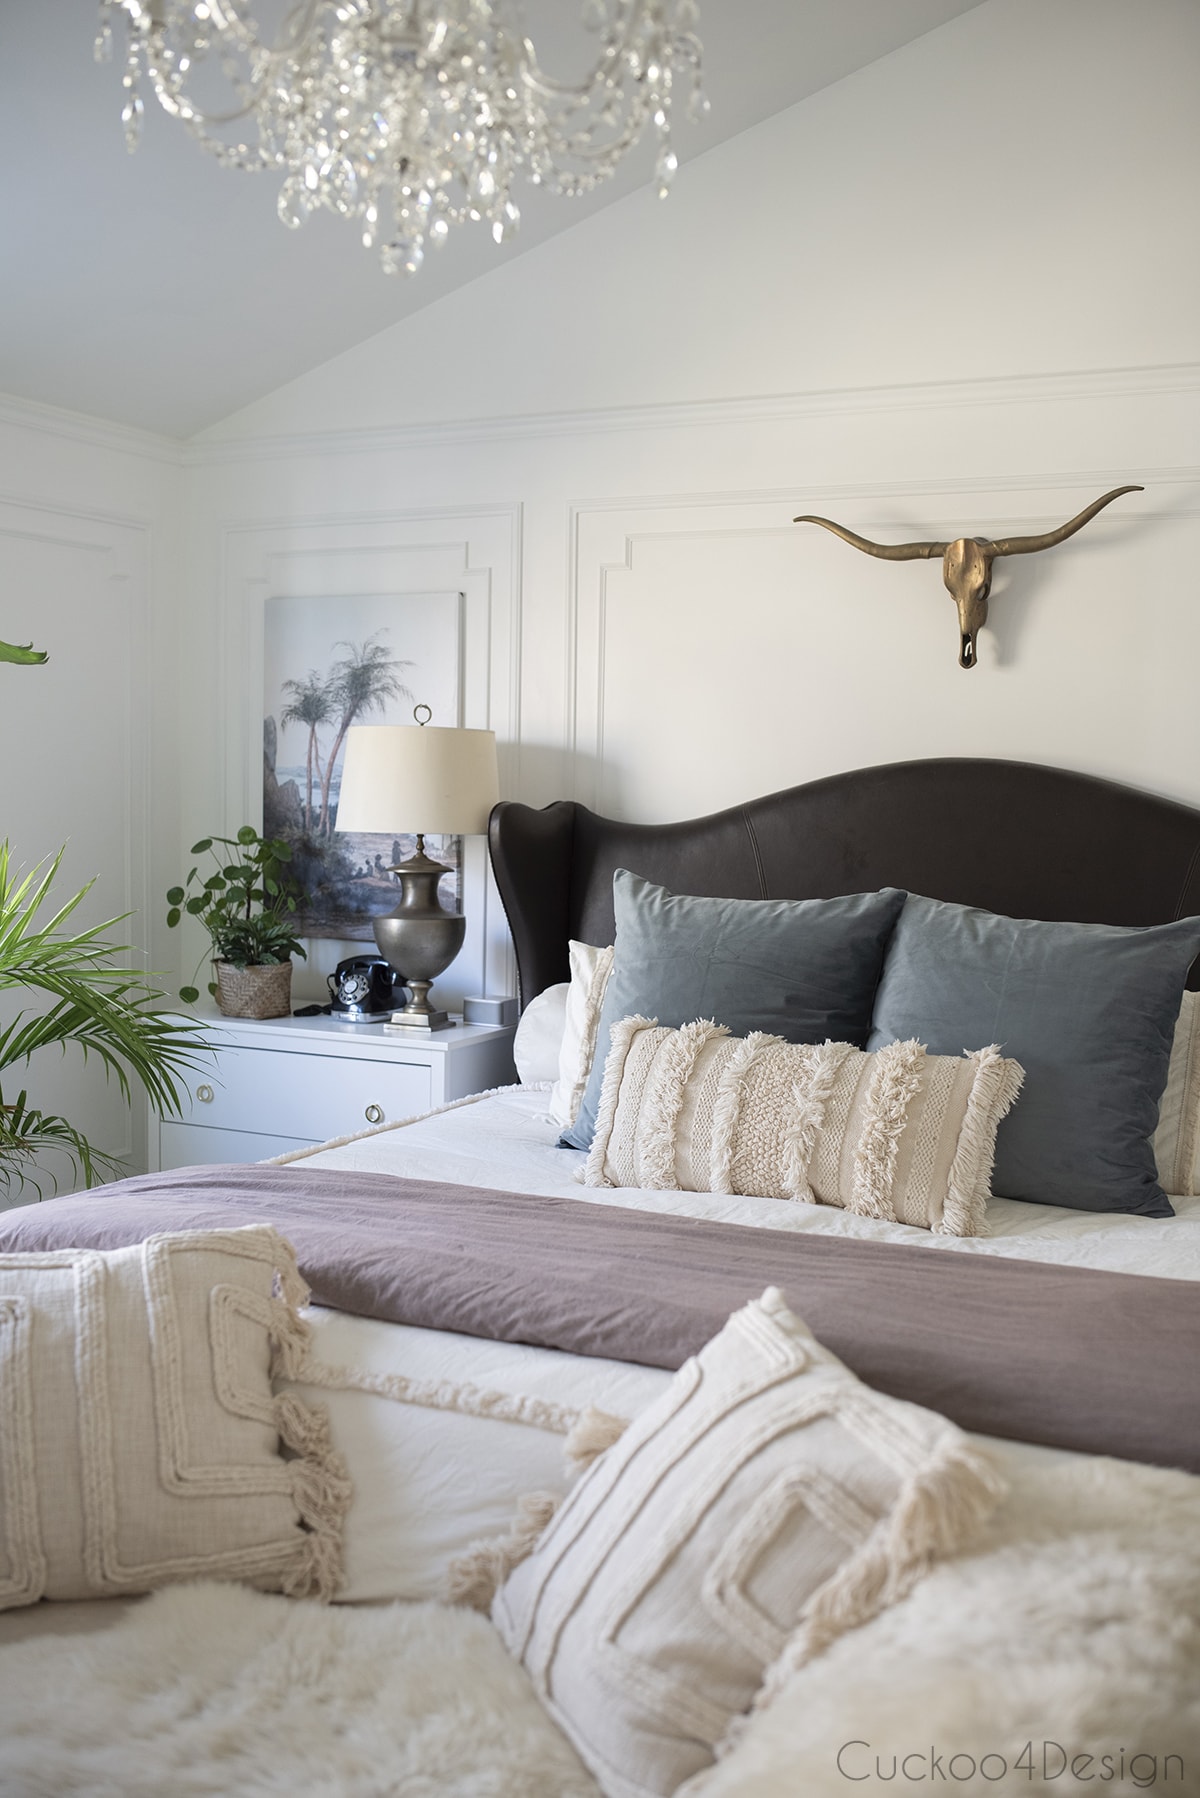
Update: I recently added some of the same wall moldings to our bedroom but also added another detail to the inside of the frames as you can see below.
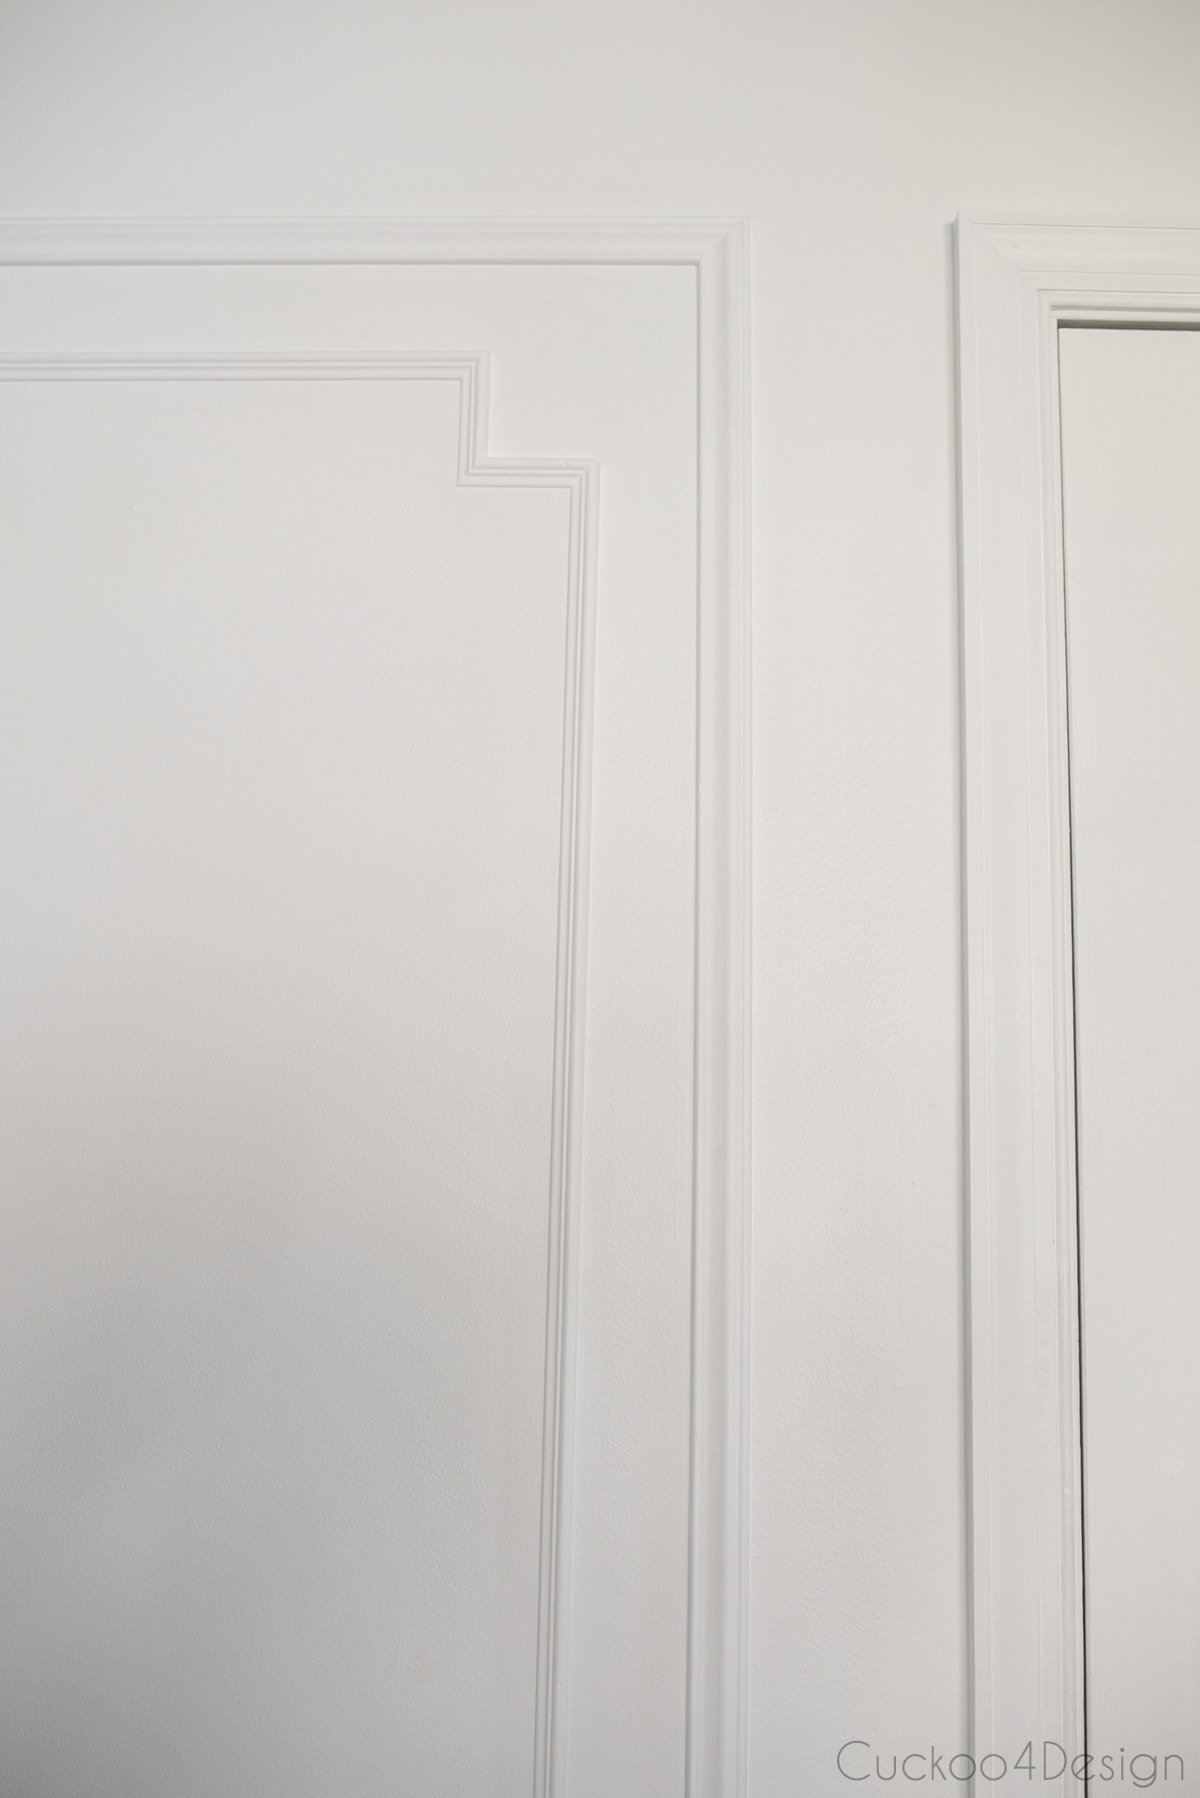
So here is what I did:
I determined the sizes first on paper.
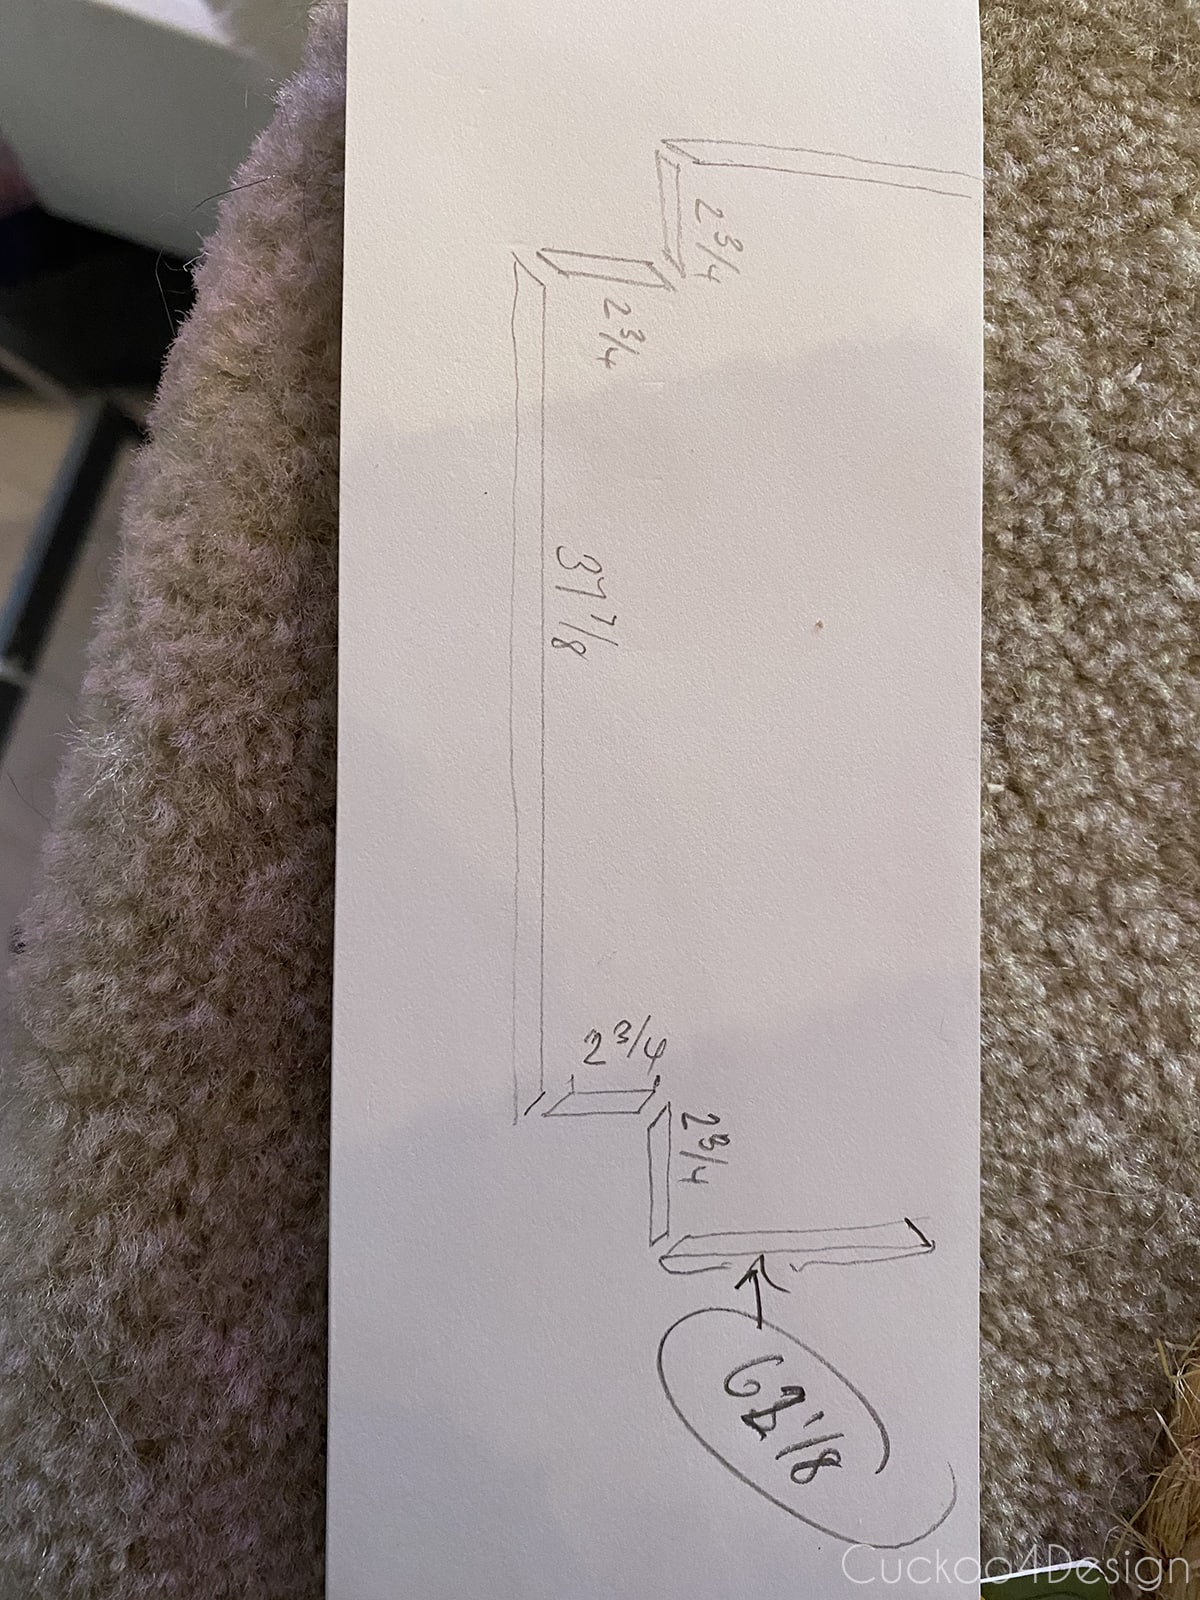
I can’t find the photo but I made a cardboard square of 5 inches that I held and traced to the inside of the molding frame squares to determine where the inside frame details should be.

I cut all the small pieces by clamping wood to the miter saw so they would all be the same size. Then I pre-glued the corners which made hanging easier in the end. It wasn’t a strong hold but enough so I could hang them with my nail gun and secure the hold.
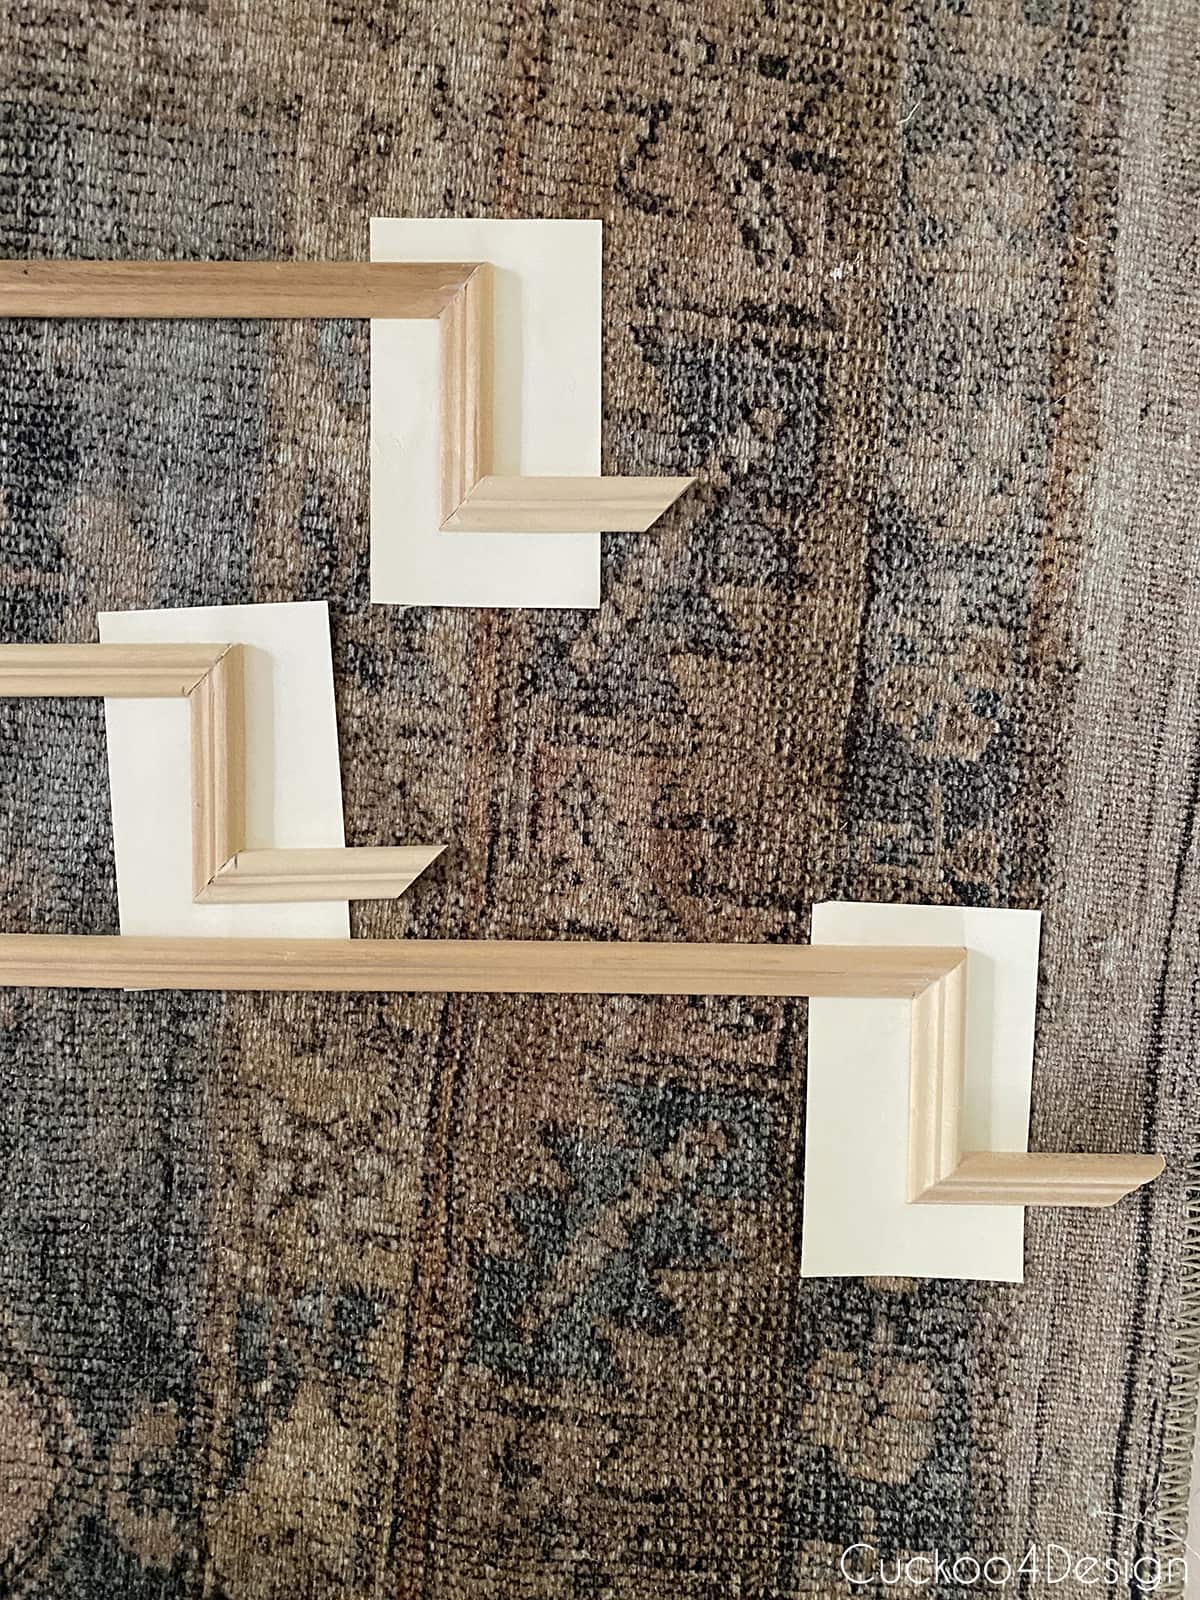
Here are the squares before priming them.
And here it is finished:
Where to buy prefabricated wall molding
Also if you really don’t feel like nailing trim to your walls the way I did then you could also consider adding a wallpaper that looks like picture frame moulding:

Or add prefabricated panels but neither gives you the freedom to space them out the way you want for your specific space:

I can’t wait to show you how the same type of moulding looks in my bathroom but first, we will be working on replacing our flooring in our dining room, kitchen, living room, and powder room this week. I can’t wait to have that major project behind me. It’s causing me sleepless nights.
Since then we added new Karndean vinyl plank flooring that has added so much to the space. We love this affordable floor so much.
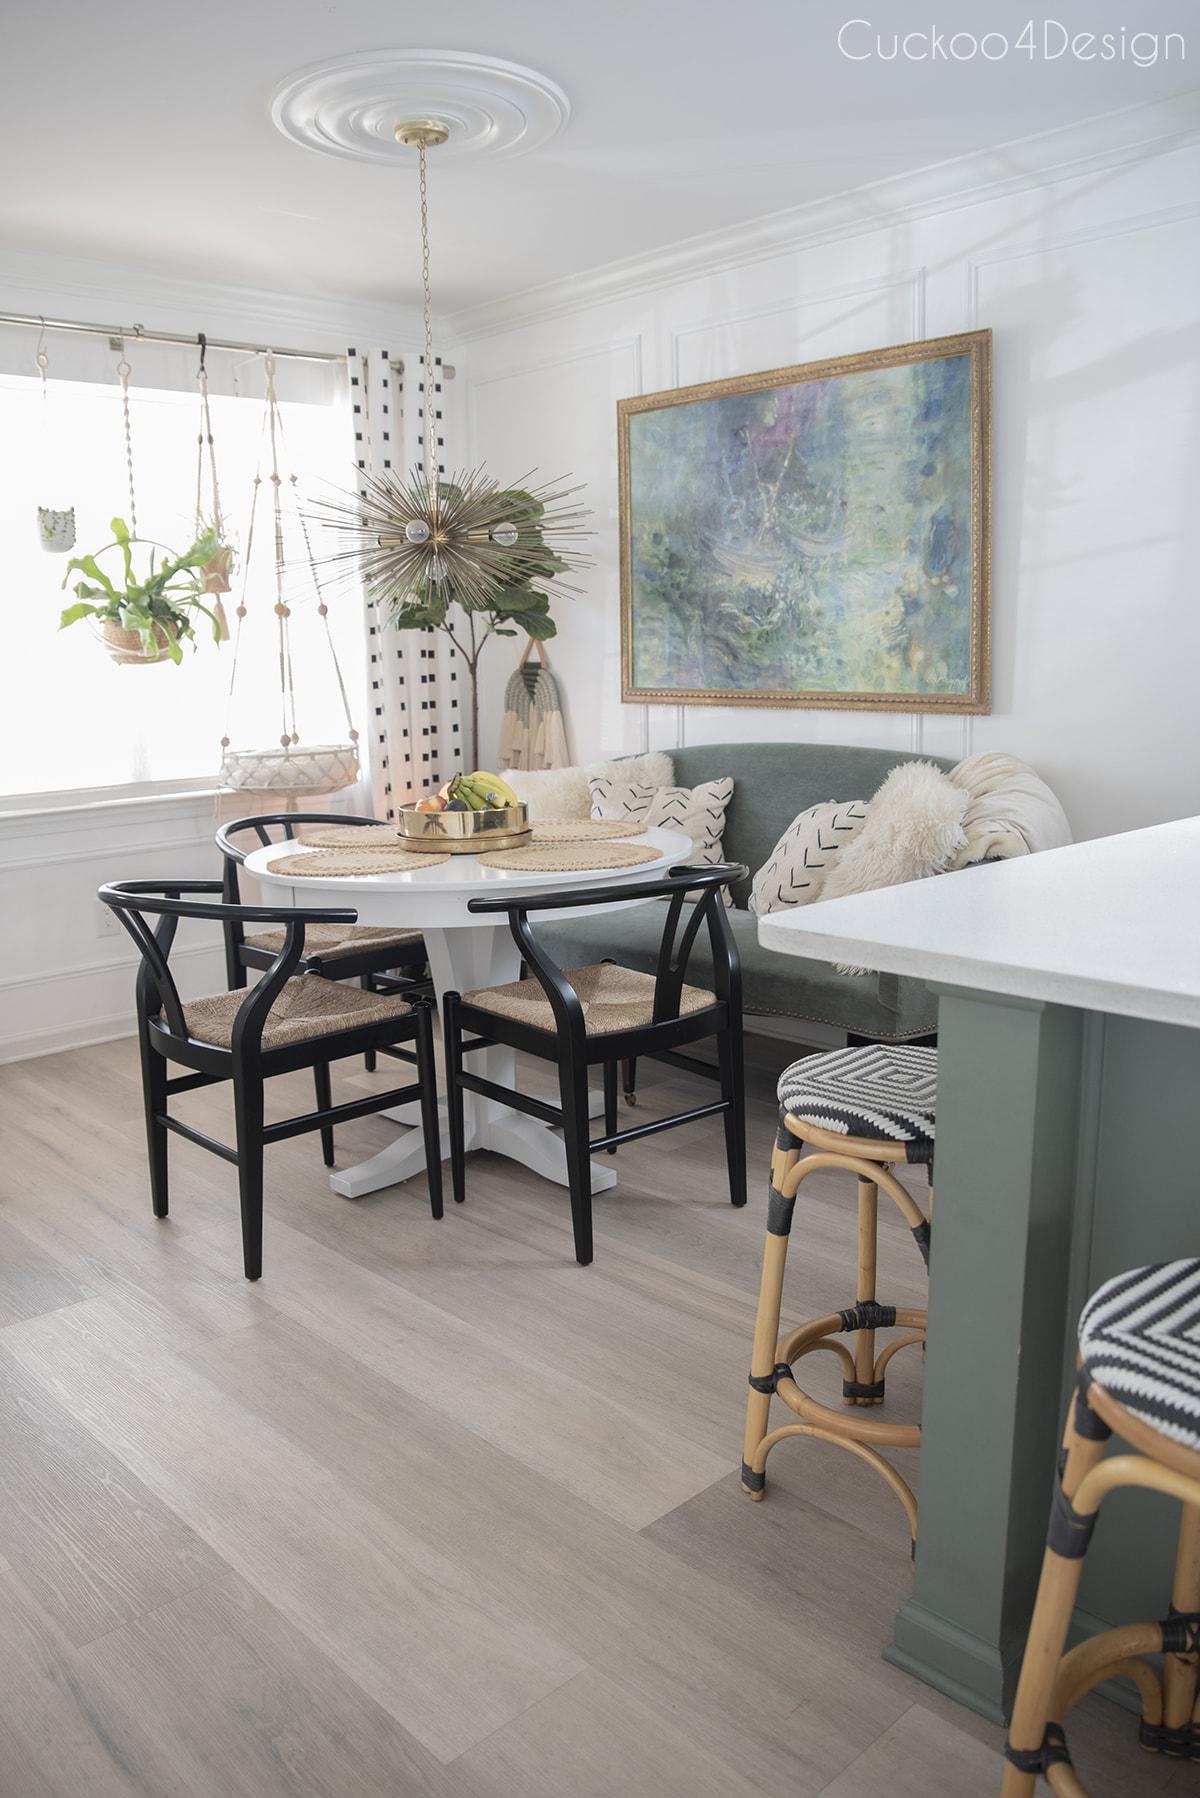
Pictured in the above photo, also check out how I made the modern macrame wall hanging, DIY hanging cat bed using macrame cord, embroidery hoop plant hanger, painted lower green cabinets, why I chose solar roller shades and black and white curtain DIY.
UPDATE: The dining room has changed a lot since. I recently added different chairs to the dining room and wrote a tutorial about how to repair a rush seat.
I also added a DIY pendant light above the dining table that I made from jute yarn and an old lampshade.

Have a good week my friends and I will post again when that major project is behind me.
Tschüß,

such a great tutorial! i cannot wait to see that bathroom all done- it is looking SOOOOOO good!
What a great tool! Thanks so much for sharing. I’m pinning this to my board for my next molding project. Thanks for stopping by the blog friend and it’s so much fun to be on the spring tour with you.
Happy day!
karianne
You stated you nailed to wall. I can understand the width hitting a stud But how did you adhere the sides of the frame on the wall. I can’t believe you have studs at the exact spot you needed. And nails into dry wall become loose or move.
Could you explain
Hi Robert, great question. Nope I don’t have studs in the exact locations needed. In those areas I added two nails into opposite directions, almost like an x-shape. It keeps the molding in place even in drywall. Whenever there is a stud, I nail it into the stud of course. I have had it for several years with no issues. Worked perfectly!
Thanks for the detailed guide! I never thought installing wall molding could be this straightforward. Your tips on measuring and cutting were super helpful. Can’t wait to try this in my living room!
Thanks for the detailed guide! Can’t wait to see how it turns out in my house!