Turning my dark stained cherry wood desk into light wood
I’m really excited to show you guys my newly made-over cherry wood desk. I went from a very dark stain to a wood-bleached and very light wood look. It is very similar to the wood bleach dresser makeover that I just shared with you the other week. The only difference this time is that I used lime wax after the bleaching to take out the pinkish tone of the cherry wood.
I know that some of you are literally crying because you didn’t want me to change the desk. Yes, it was pretty but I was ready for a change. Check out the before below. Remember my old hallway with the crosses?
I’ve said before that I was even looking on Facebook marketplace for a different desk. This Queen Anne style secretary desk isn’t necessarily what I would pick again if I shopped for a desk right now. It’s too traditional for what my taste is right now but I couldn’t find one that was the right size. The one I have is the perfect size for where I need it.
So I once again decided to just work with what I have. It’s been motto even more during the stay-at-home order. Since there are so many desks for sale just like mine on Facebook marketplace, I wanted to just give it a different look and I feel the light color makes it a little bit more trendy and modern if that’s even possible for such a traditional desk.
I do have a good mix of modern and traditional things in my home already thanks to all the treasures from my great-grandparents, grandparents, and parents. I’m not a minimalist, even though I love how modern homes look like that are. I like surrounding myself with collected items that I love.
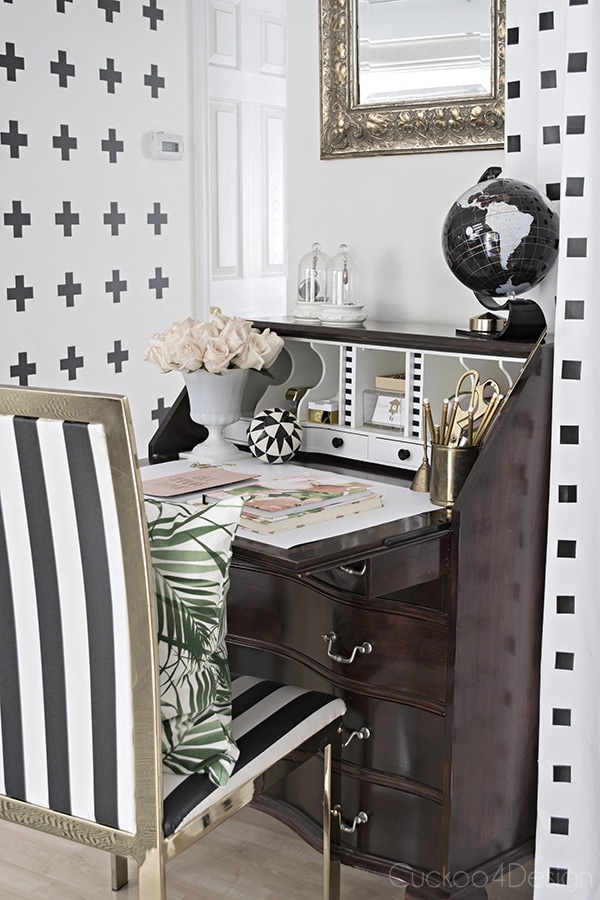

Turning my dark stained cherry wood desk into light wood
This post may contain affiliate links from which I will earn a commission at no extra cost to you. View my full disclosure policy.
Cherry wood in its natural unfinished state has a light color with pink tones and over time changes to a warm brown that looks orangey to me. Check out this blog post to see the difference in cherry wood over time.
When I purchased the desk in 2011 at an auction for $25, it was definitely in that orange-brown category. I redid it in a dark stain and loved it like that for many years. What drove me crazy about it was that dust shows up so much more on dark furniture and I felt like I couldn’t keep it clean. I also didn’t like the glossy polyurethane anymore that I had chosen and showed fingerprints everywhere.
Supplies needed for entire desk makeover:
- protective mask and glasses
- rags
- white vinegar
- bucket
- two-part wood bleaching kit (I used 2 kits)
- different sanders (Dremmel, Riobi detail sander, palm sander), different grades of sandpaper from 80 to 220 grit to fit the sanders, and very fine steel wool
- spray gun or paintbrush
- tack clothes
- paint stripper
- Q-tips and old toothbrush
- lime wax
- wax brush
- clean white rags
- rubber gloves
- sponges
- plastic bowl and spoon

Removing the dark stain from the cherry wood desk
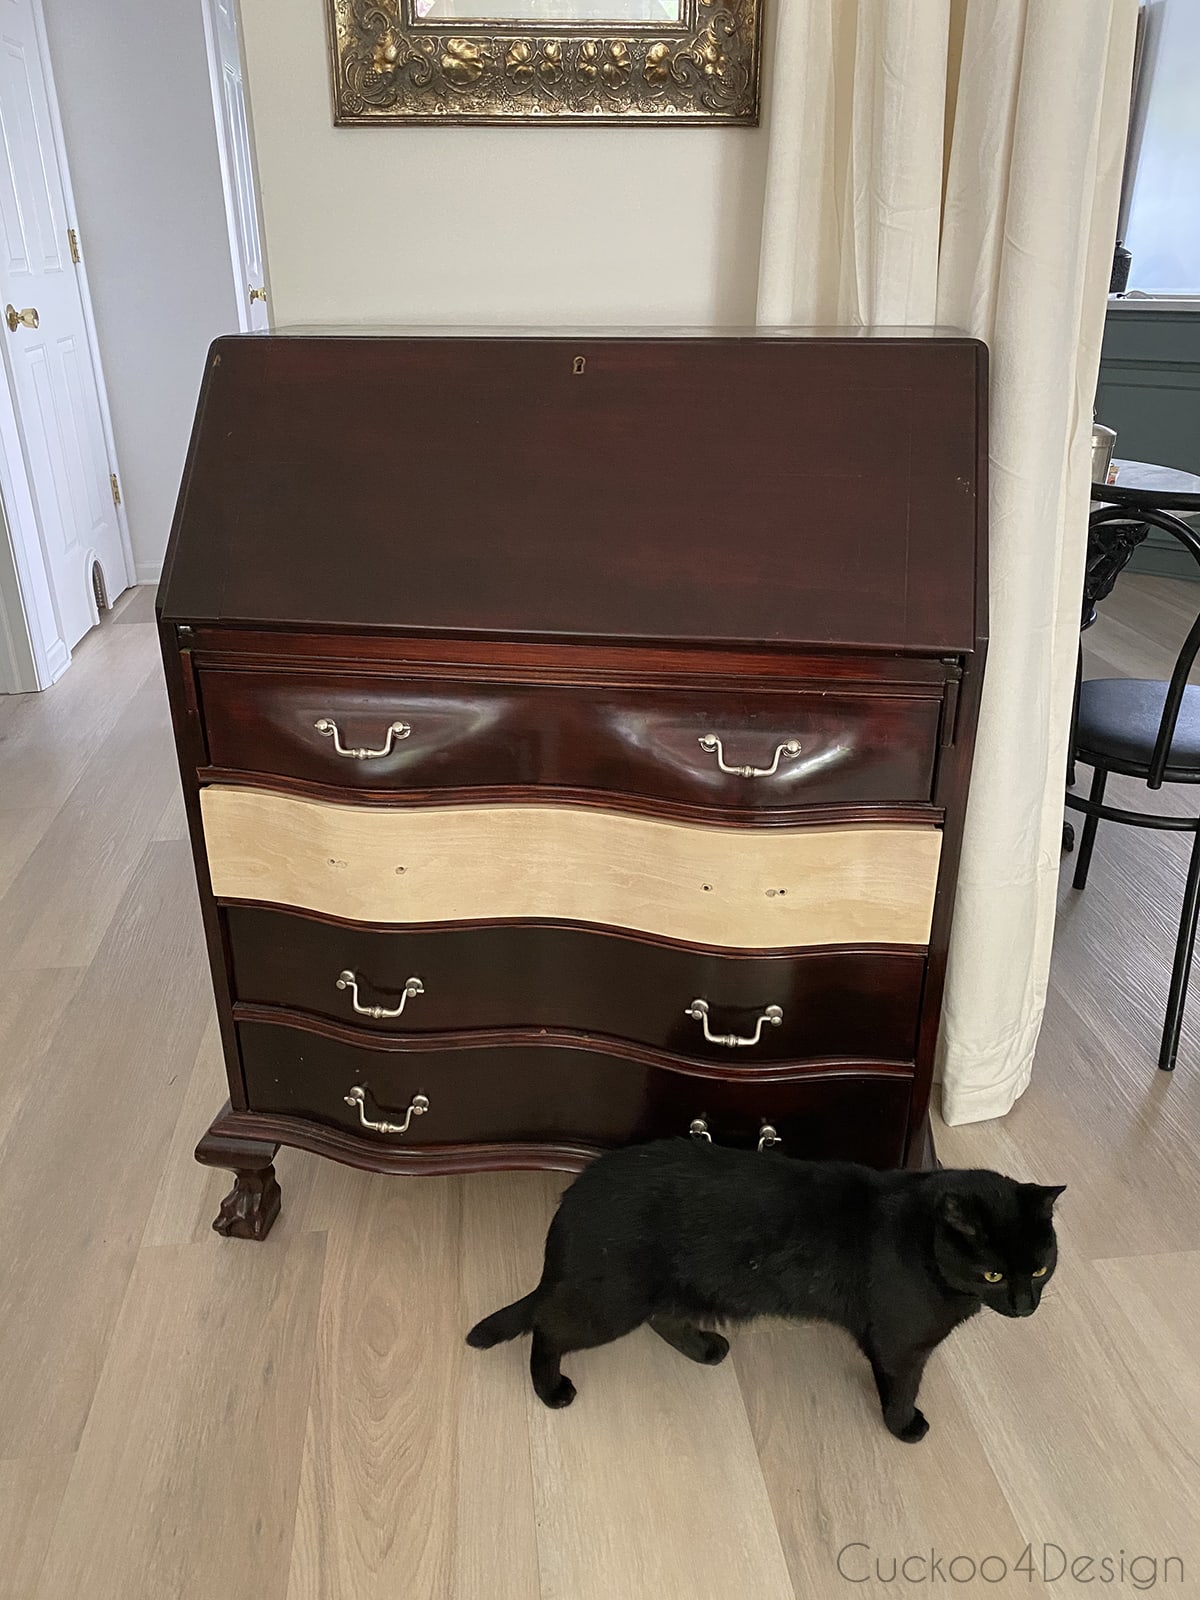
Before I started, I removed all the drawers, the back, and all the hardware. The drop front is a little bit tricky but not too bad.
After finishing my wood-bleached dresser I immediately thought I could do something different to my desk. I love experimenting with this kind of stuff and after some more research started out by sanding one of the drawers to see how the wood looked underneath.
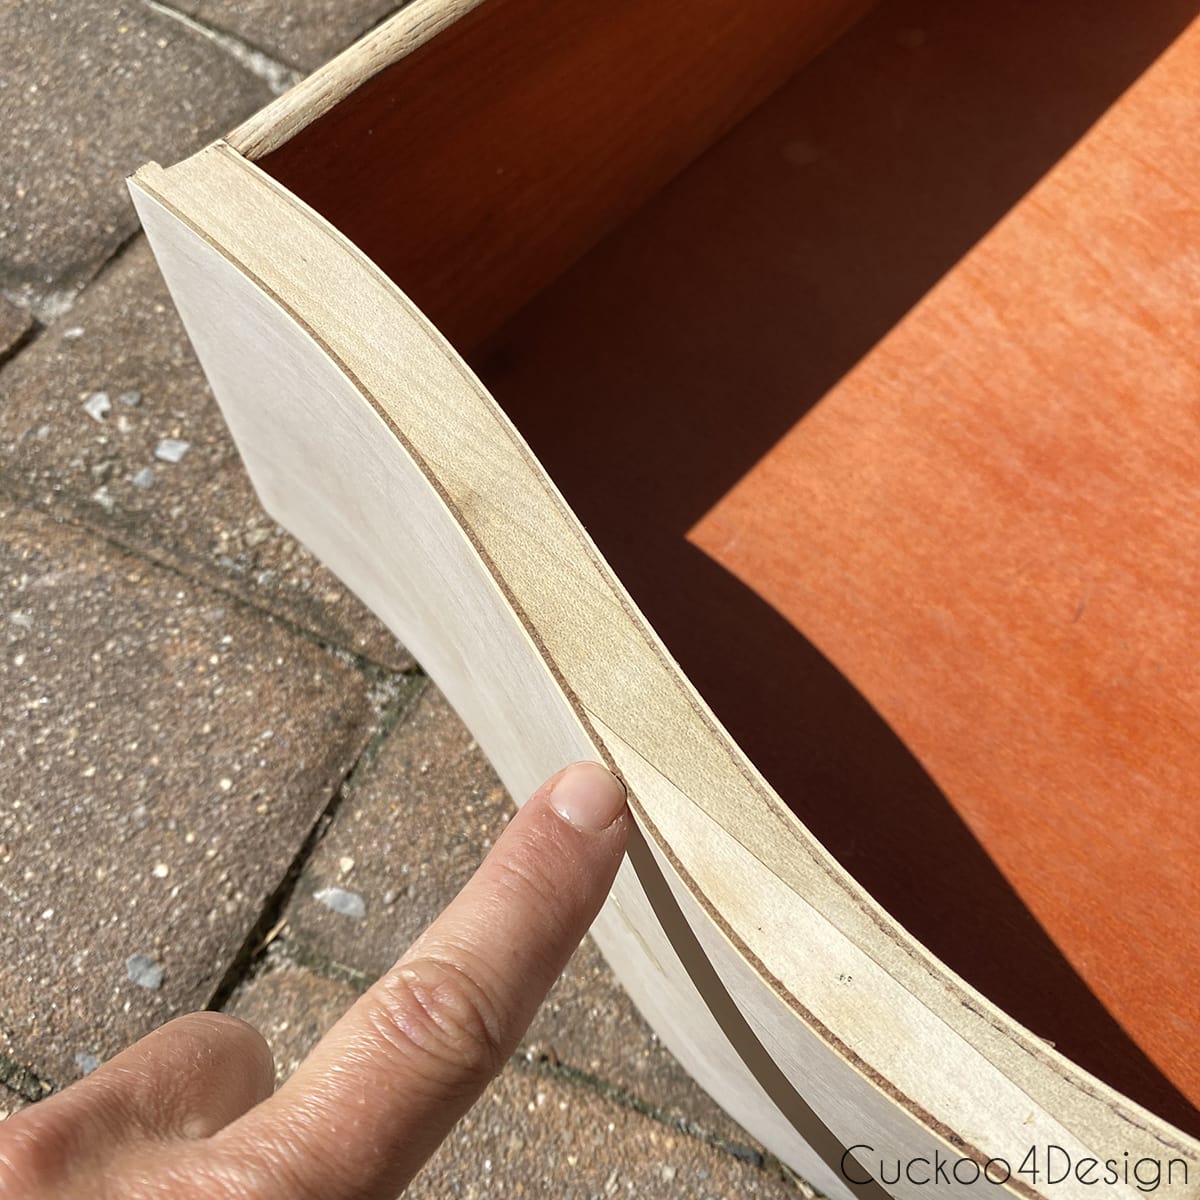
Just like my dresser, the drawers actually had a veneer on them. I’m assuming that this isn’t an all-over solid cherry desk. The drawer sides actually appear to be oak or some other heavily-grained wood. You can also still see the old orange-brown wood in the inside of the drawer. I left that alone.
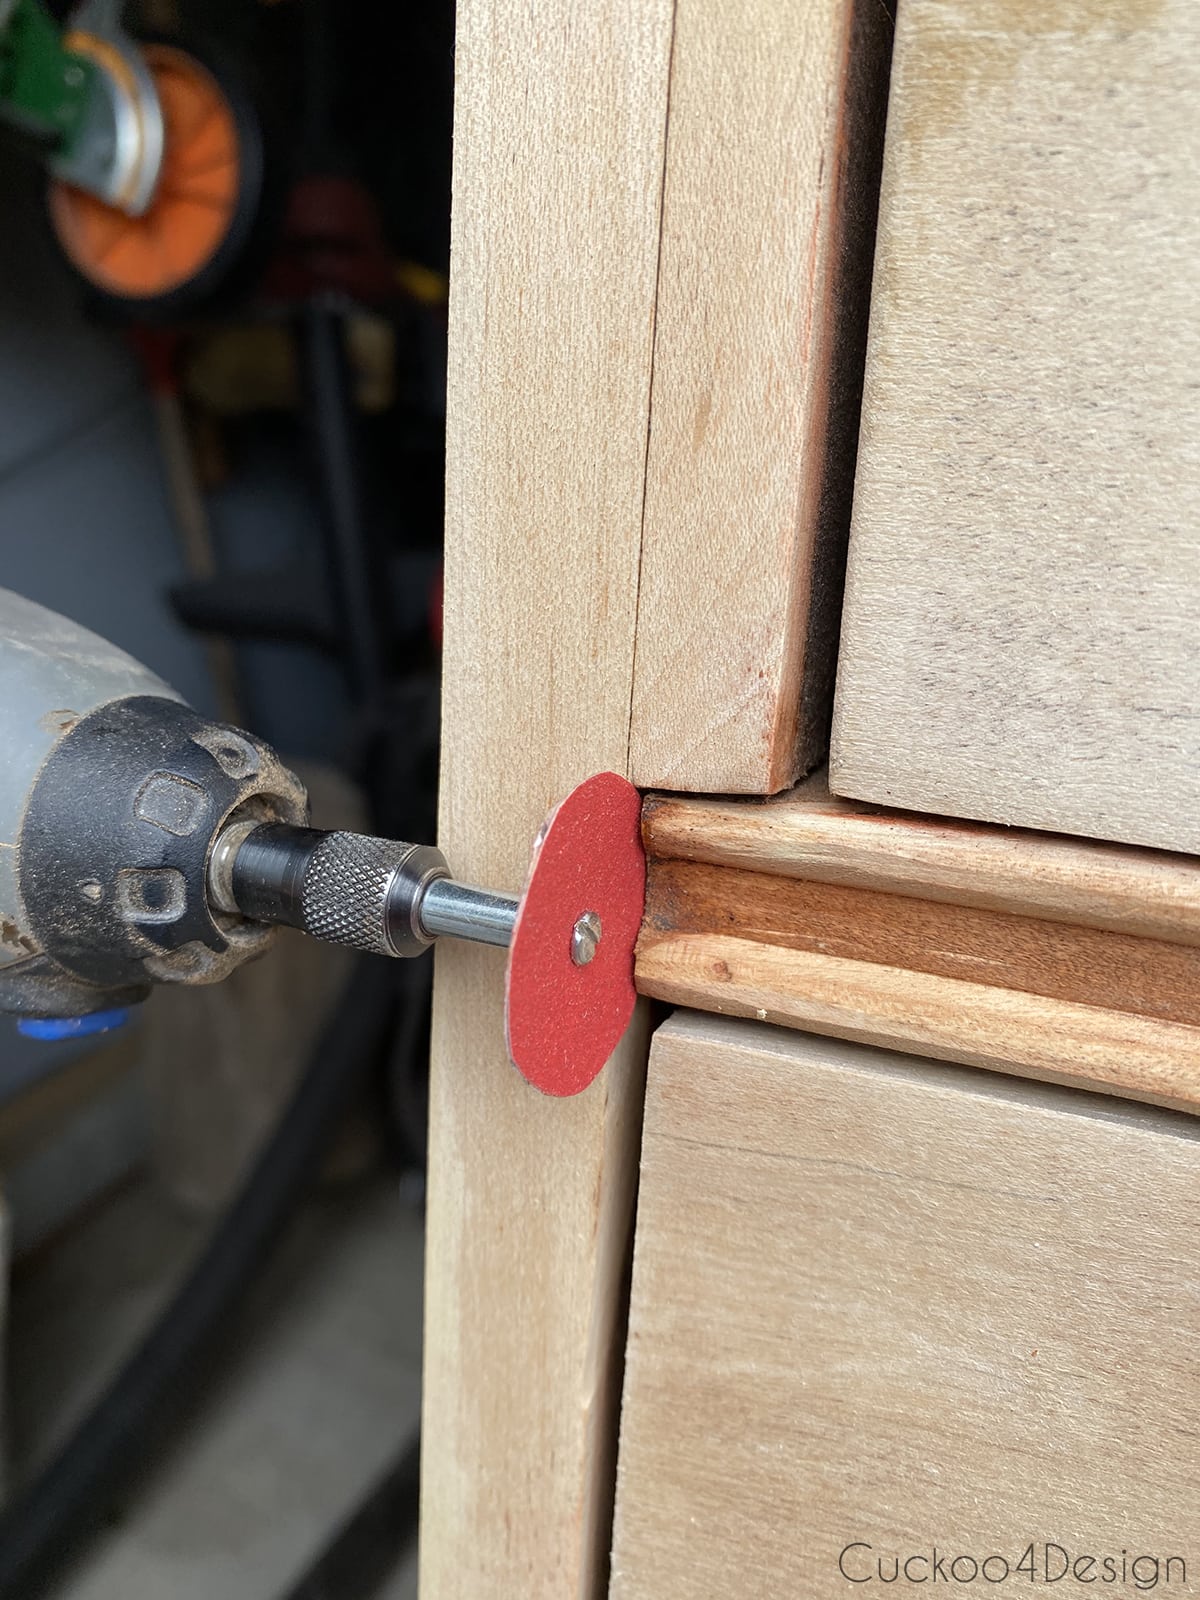
I removed the stain from the desk using my palm sander, orbital sander, detail sander, and Dremel. I didn’t use rough sandpaper (mostly 120 and 180 grit) though because I was afraid of taking too much off, especially since the drawers had veneer on them and I wasn’t sure what else I would run into. The sanding went fairly quickly.
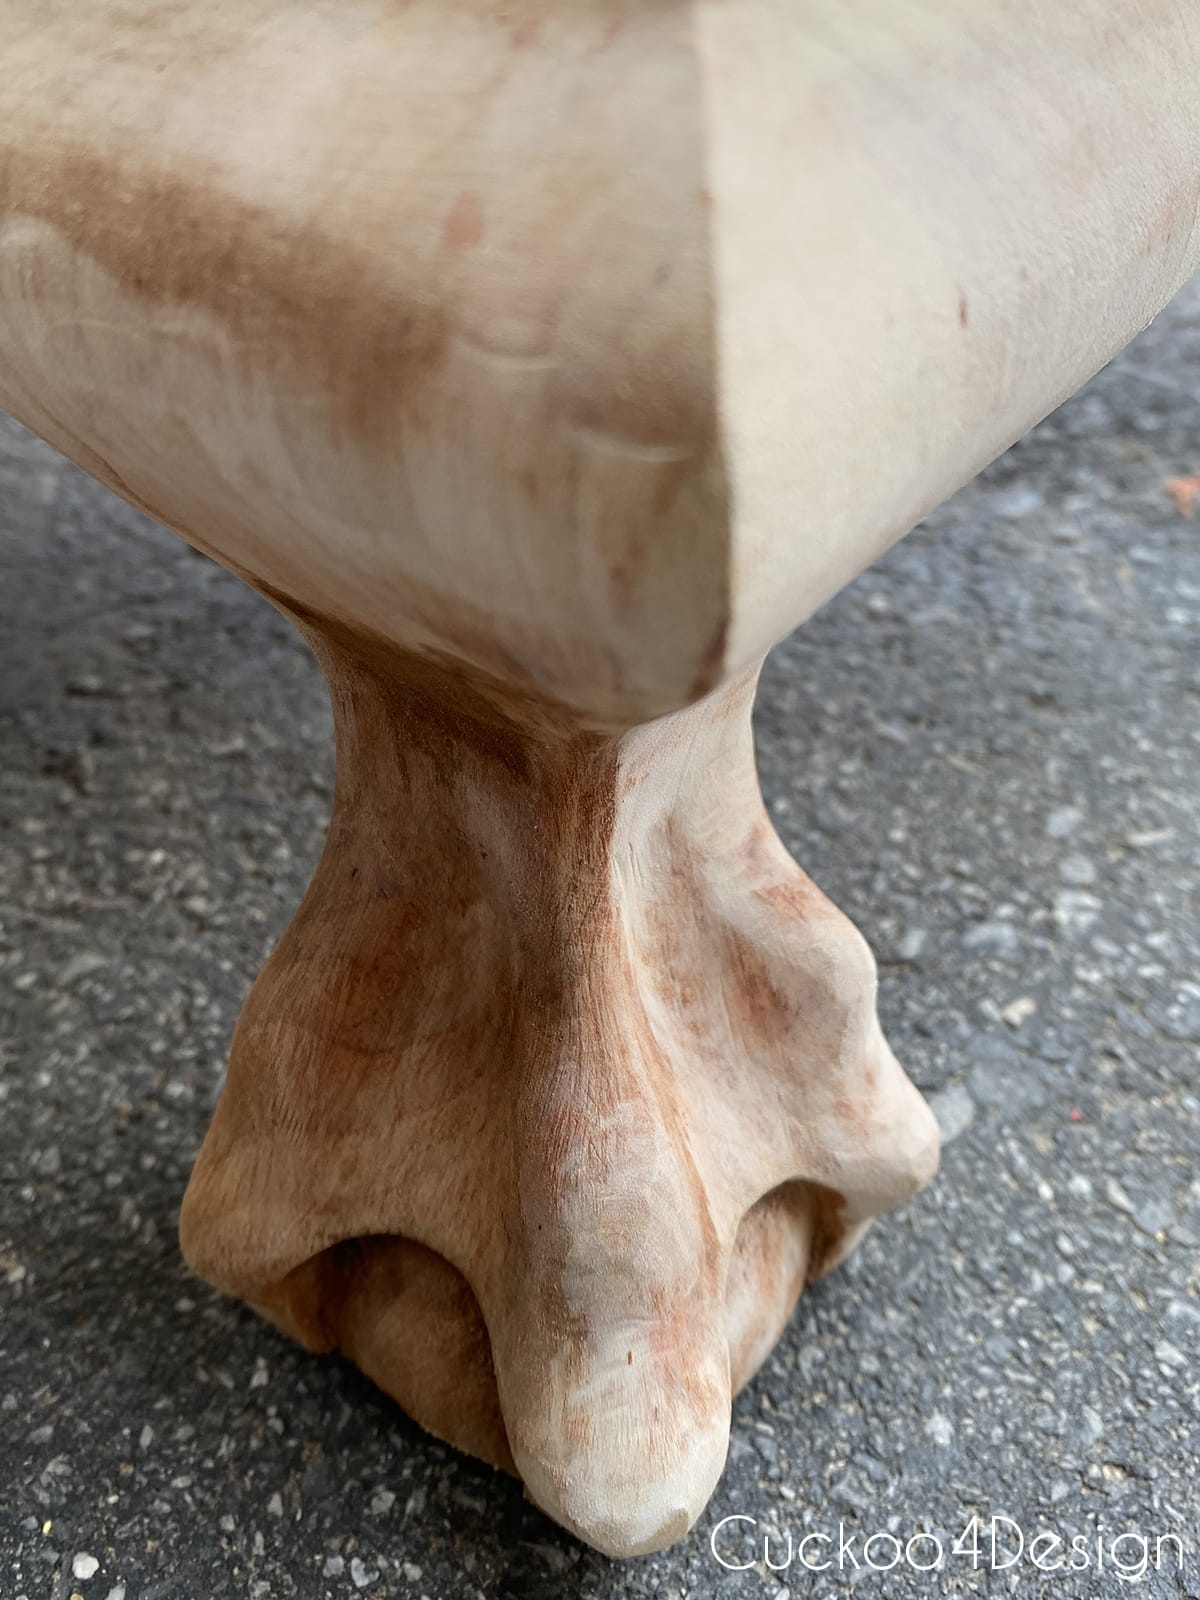
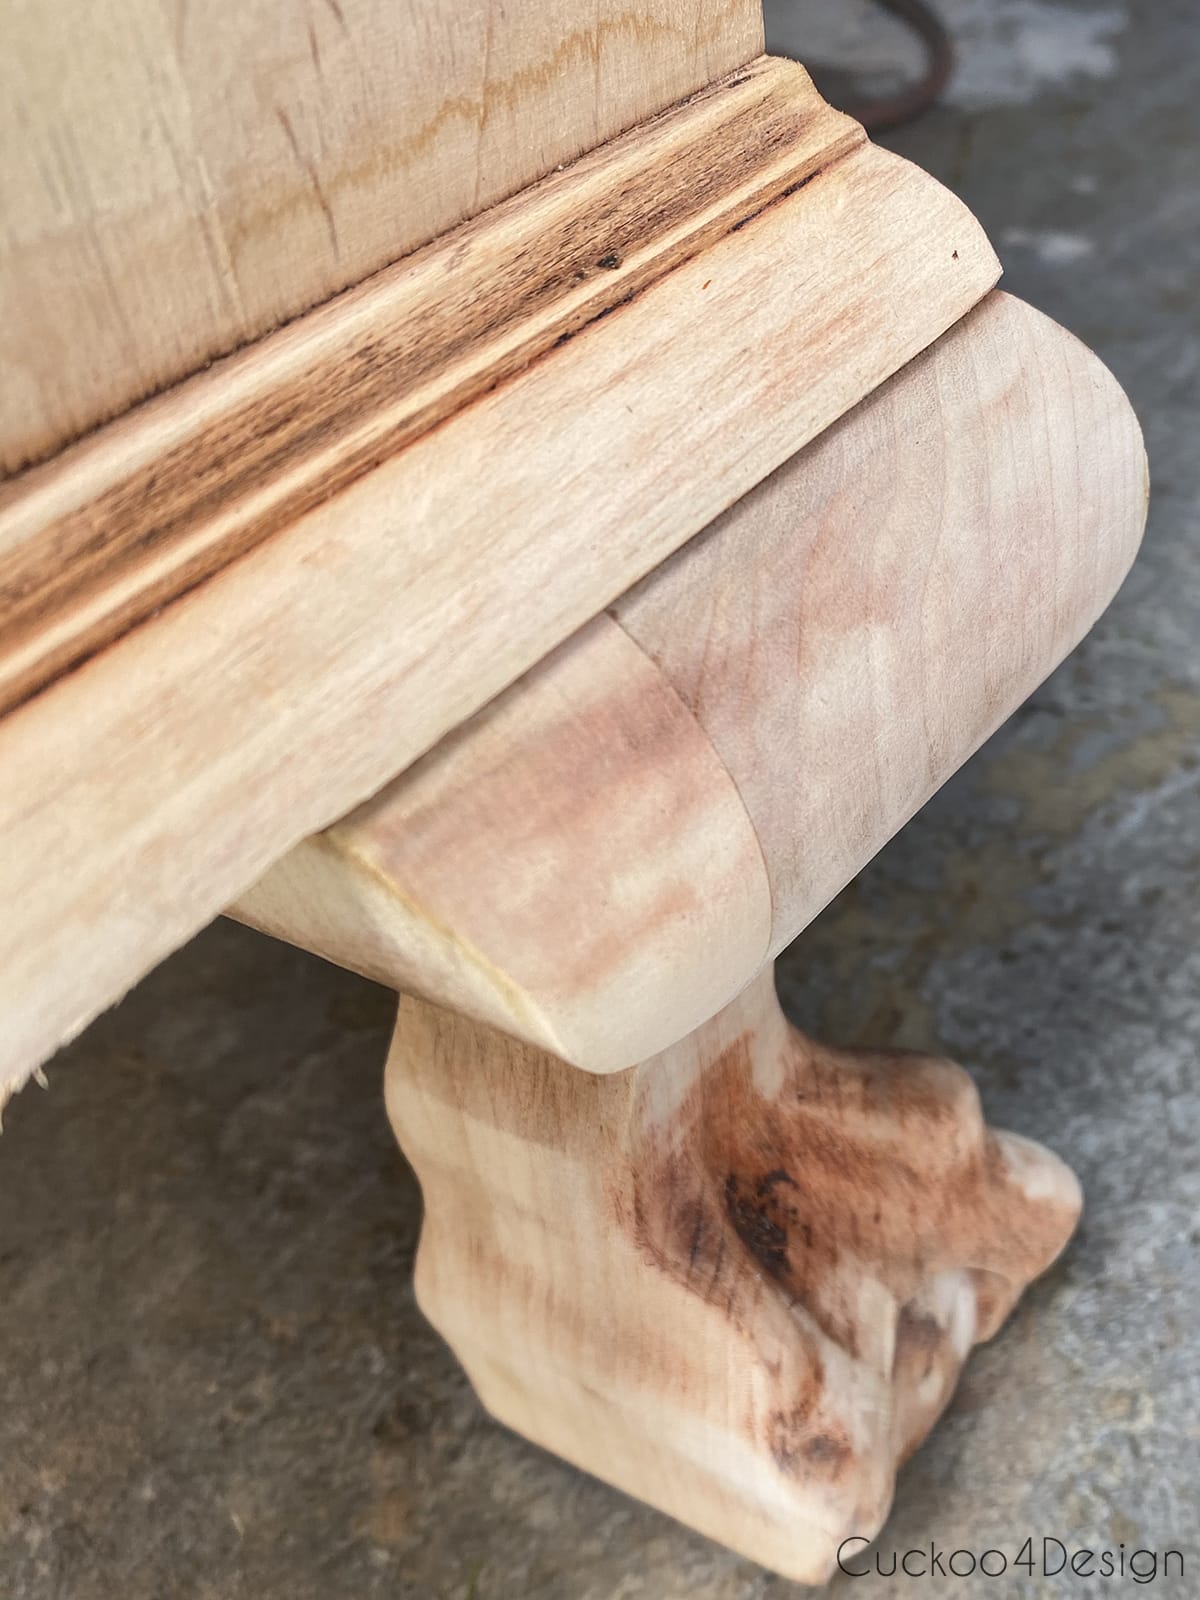
The only area where I actually used paint stripper (make sure to wear your rubber gloves and protective mask and glasses) was around the claw feet. I kept repeating the stripper application and just scrubbing and wiping away the stain with an old toothbrush and rags. In the end, I used fine steel wool and the Dremel in some areas.
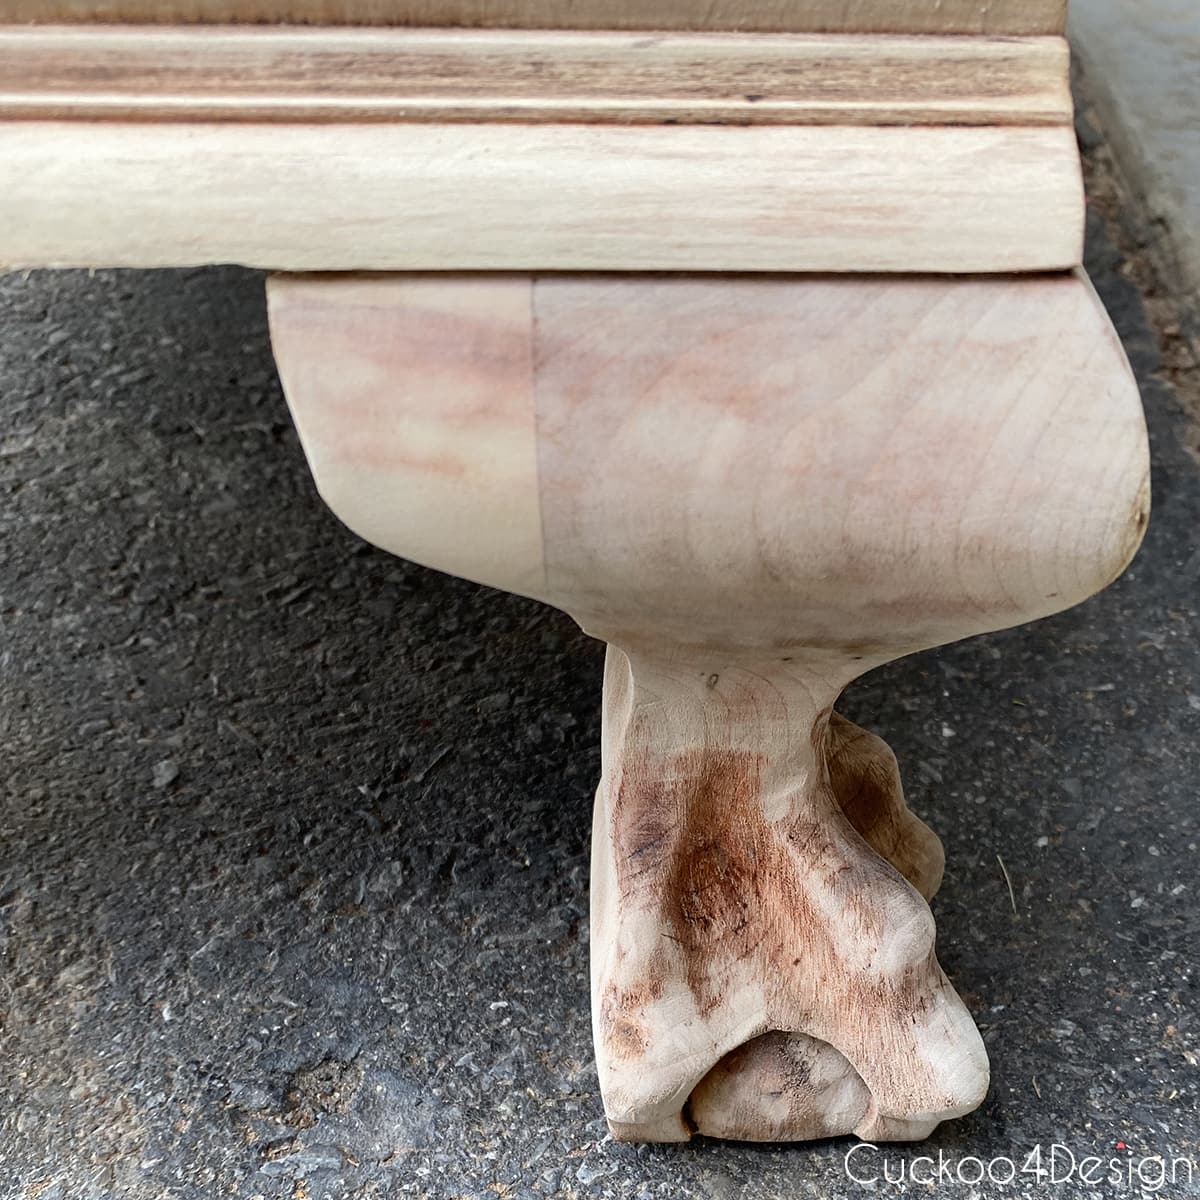
The claw feet and body of the desk are definitely cherry wood since you can see the pink undertones everywhere.
The claw feet were the hardest part and I took my time.
Wood bleaching cherry wood
When I was done with removing the stain, it was time to try out the wood bleaching kit again. Please make sure to read my dresser makeover (HERE) as well to read more about using this kit.
As mentioned in Bob Villa’s blog post that I referenced in the other tutorial, cherry wood doesn’t take wood bleach as well as other woods. I still wanted to try though. It definitely lightened the wood more! What it didn’t do is take out the pink tint of the wood.
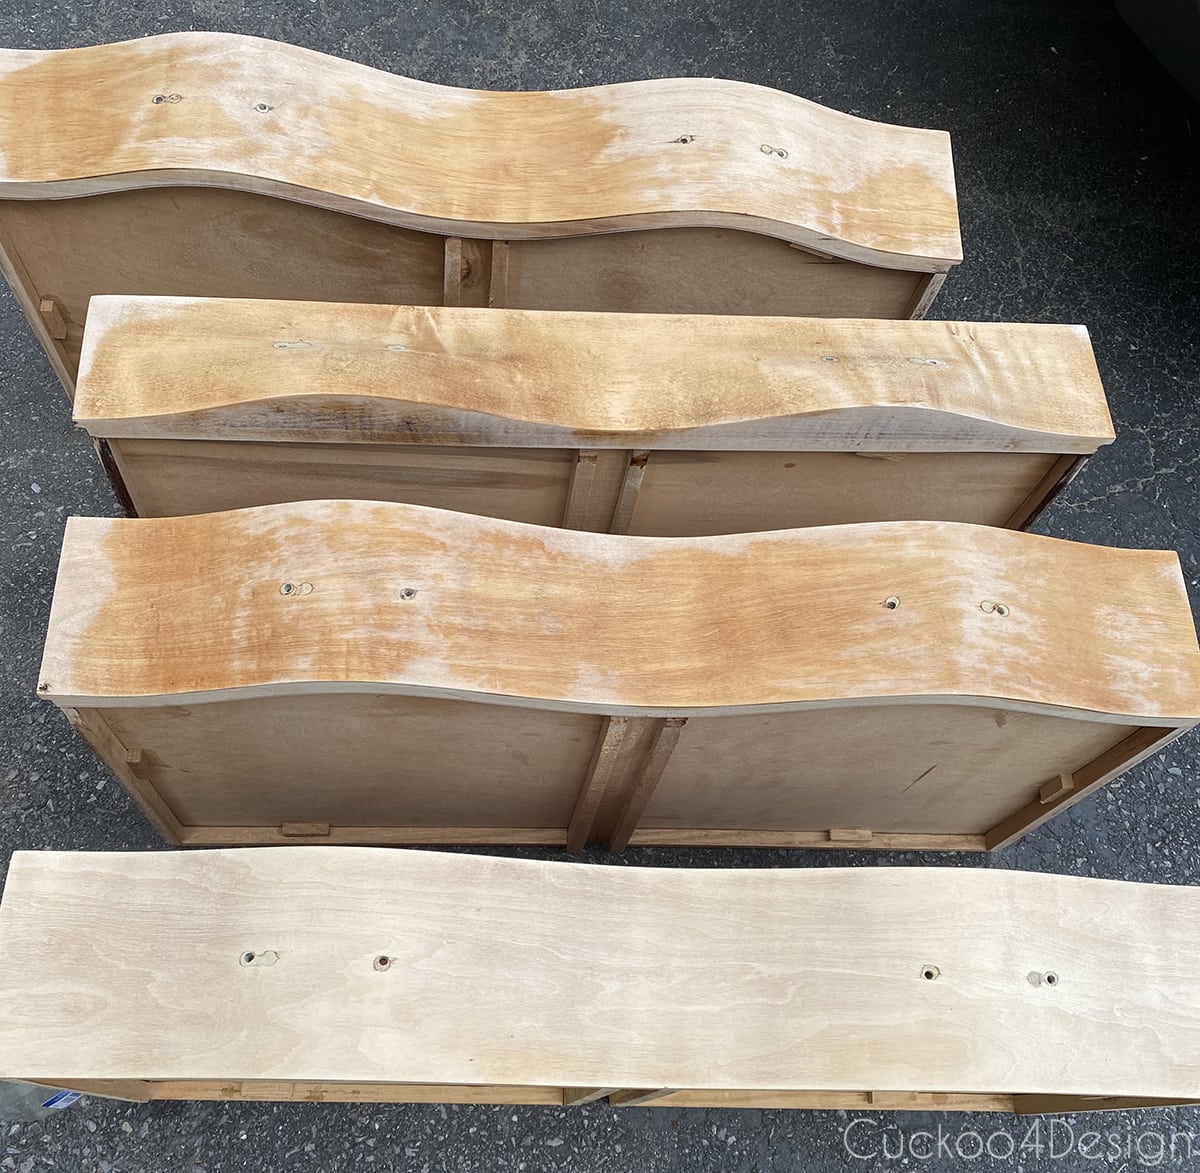
Below you can see how the bleach bubbled and reacted after applying part B of the bleach.
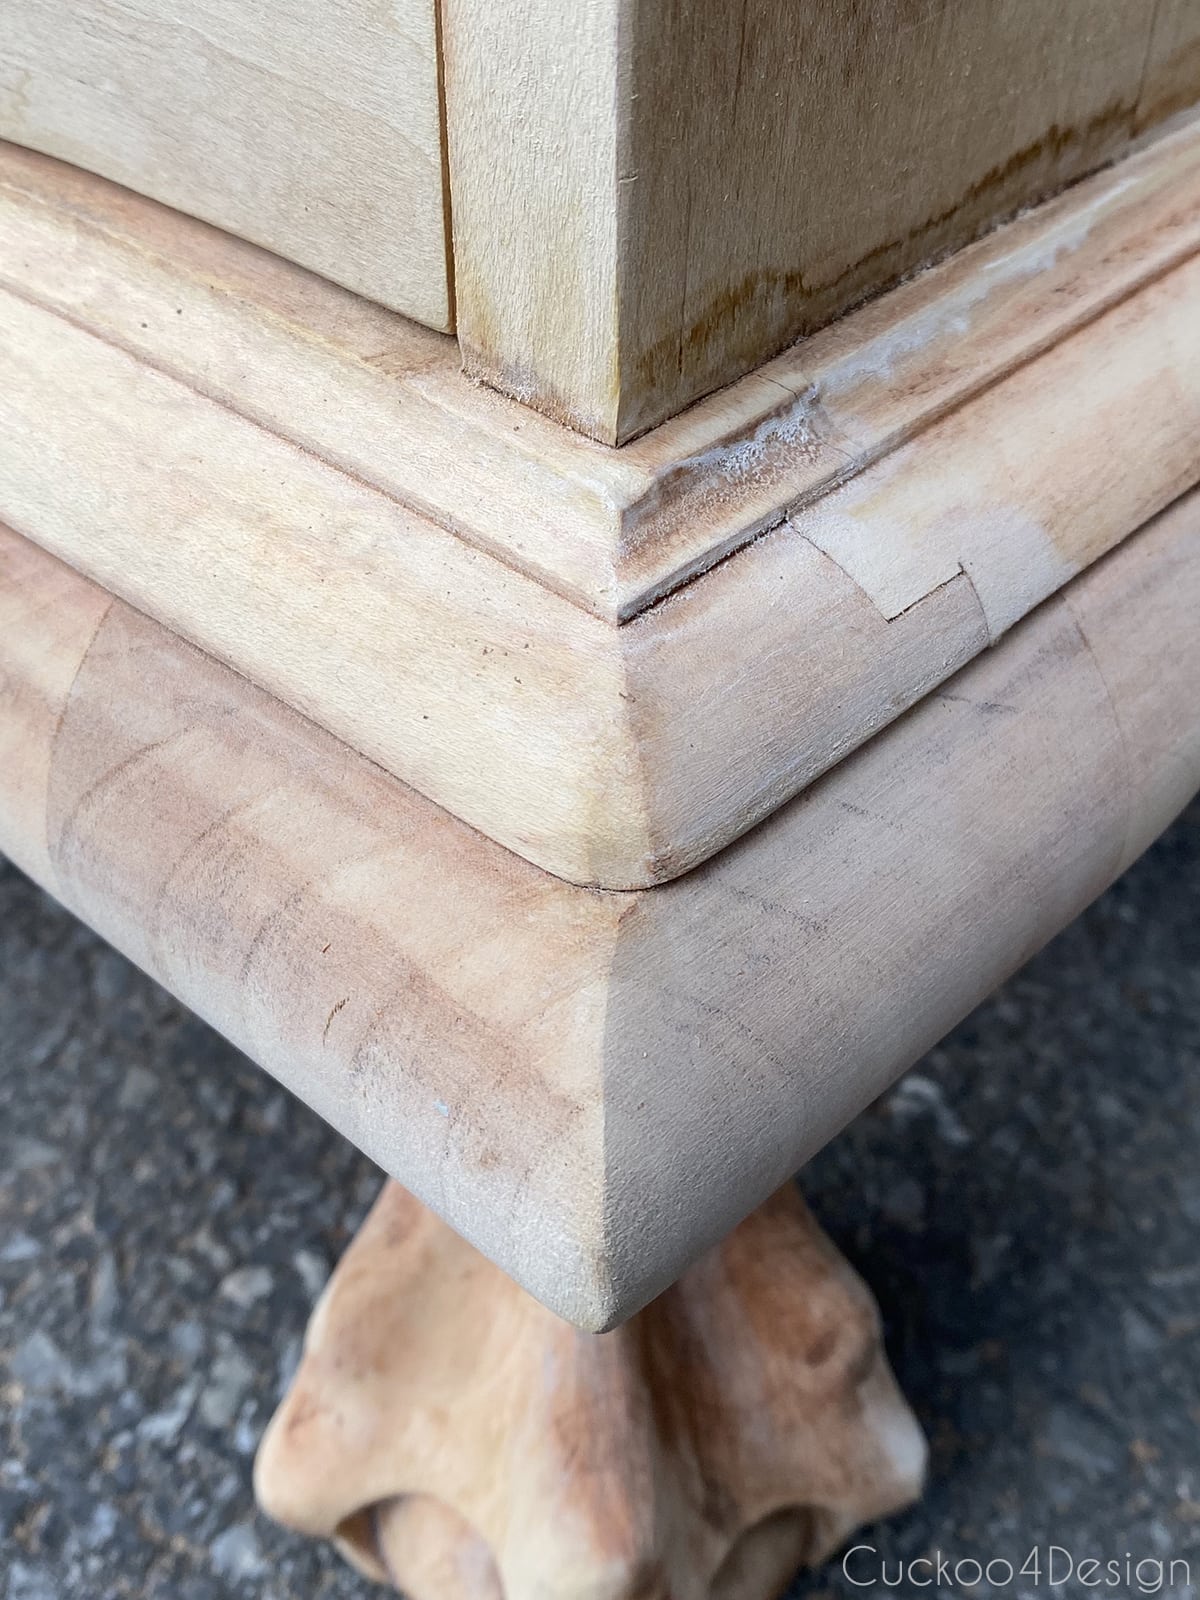
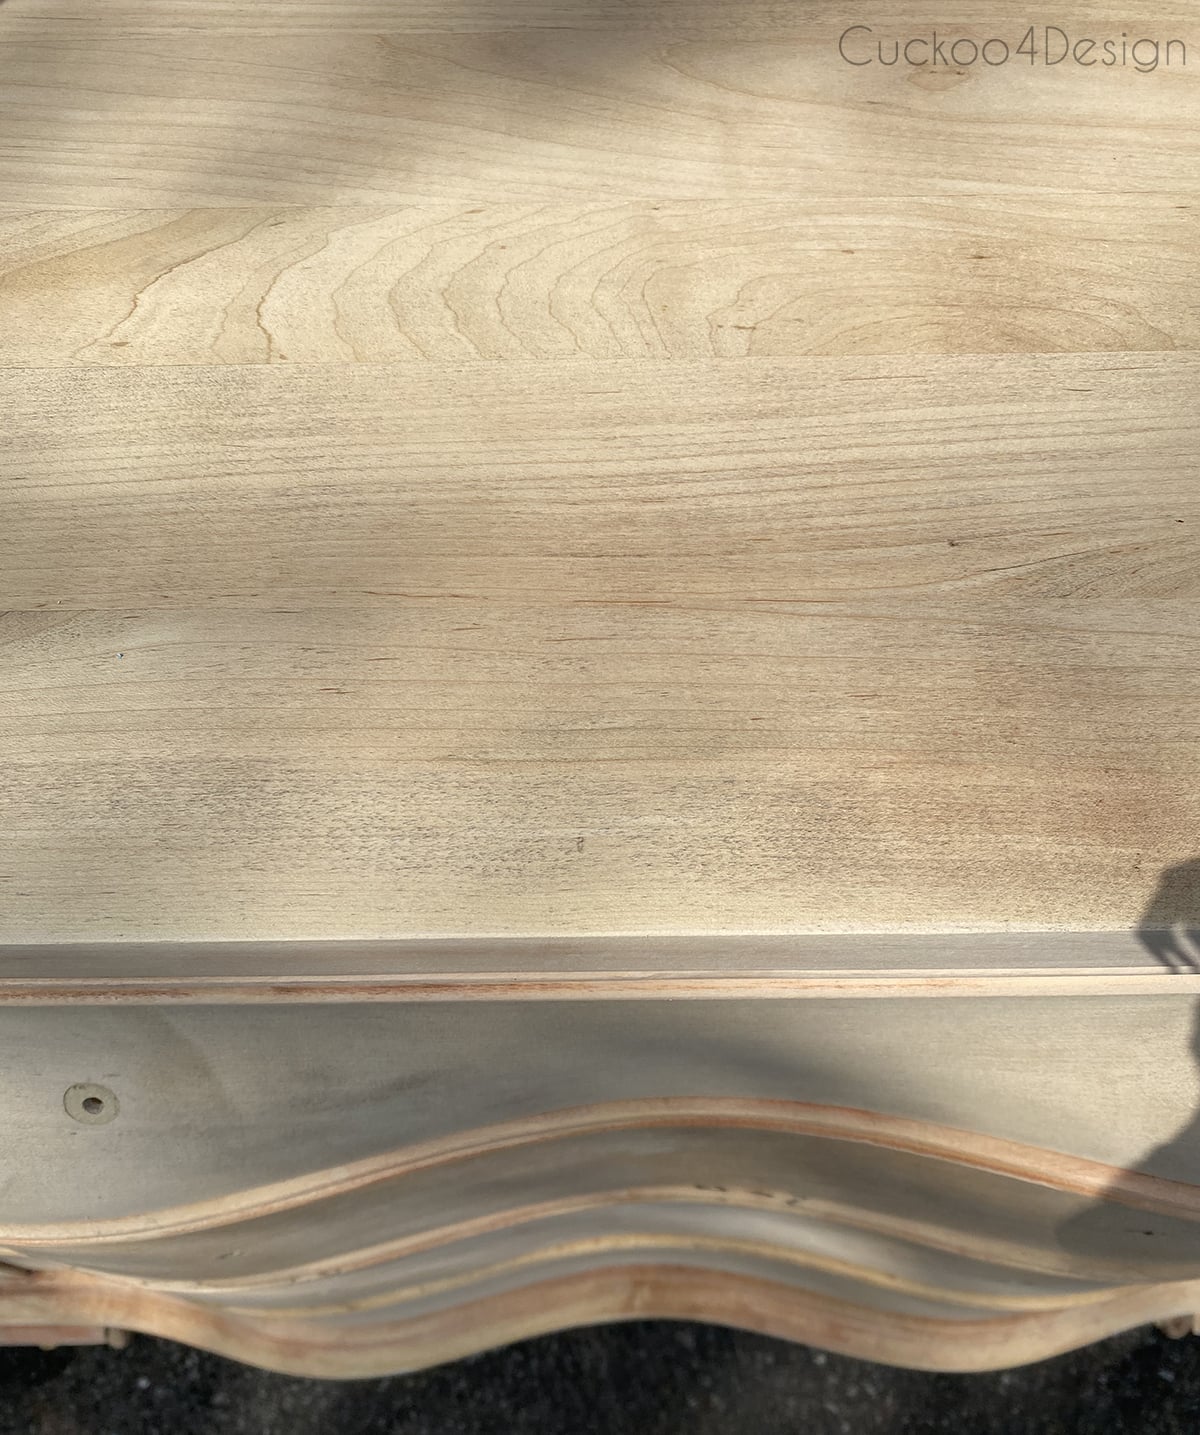
You can especially see the different tint at the bottom of the desk. above and below are photos of the desk after 3 applications of bleach.
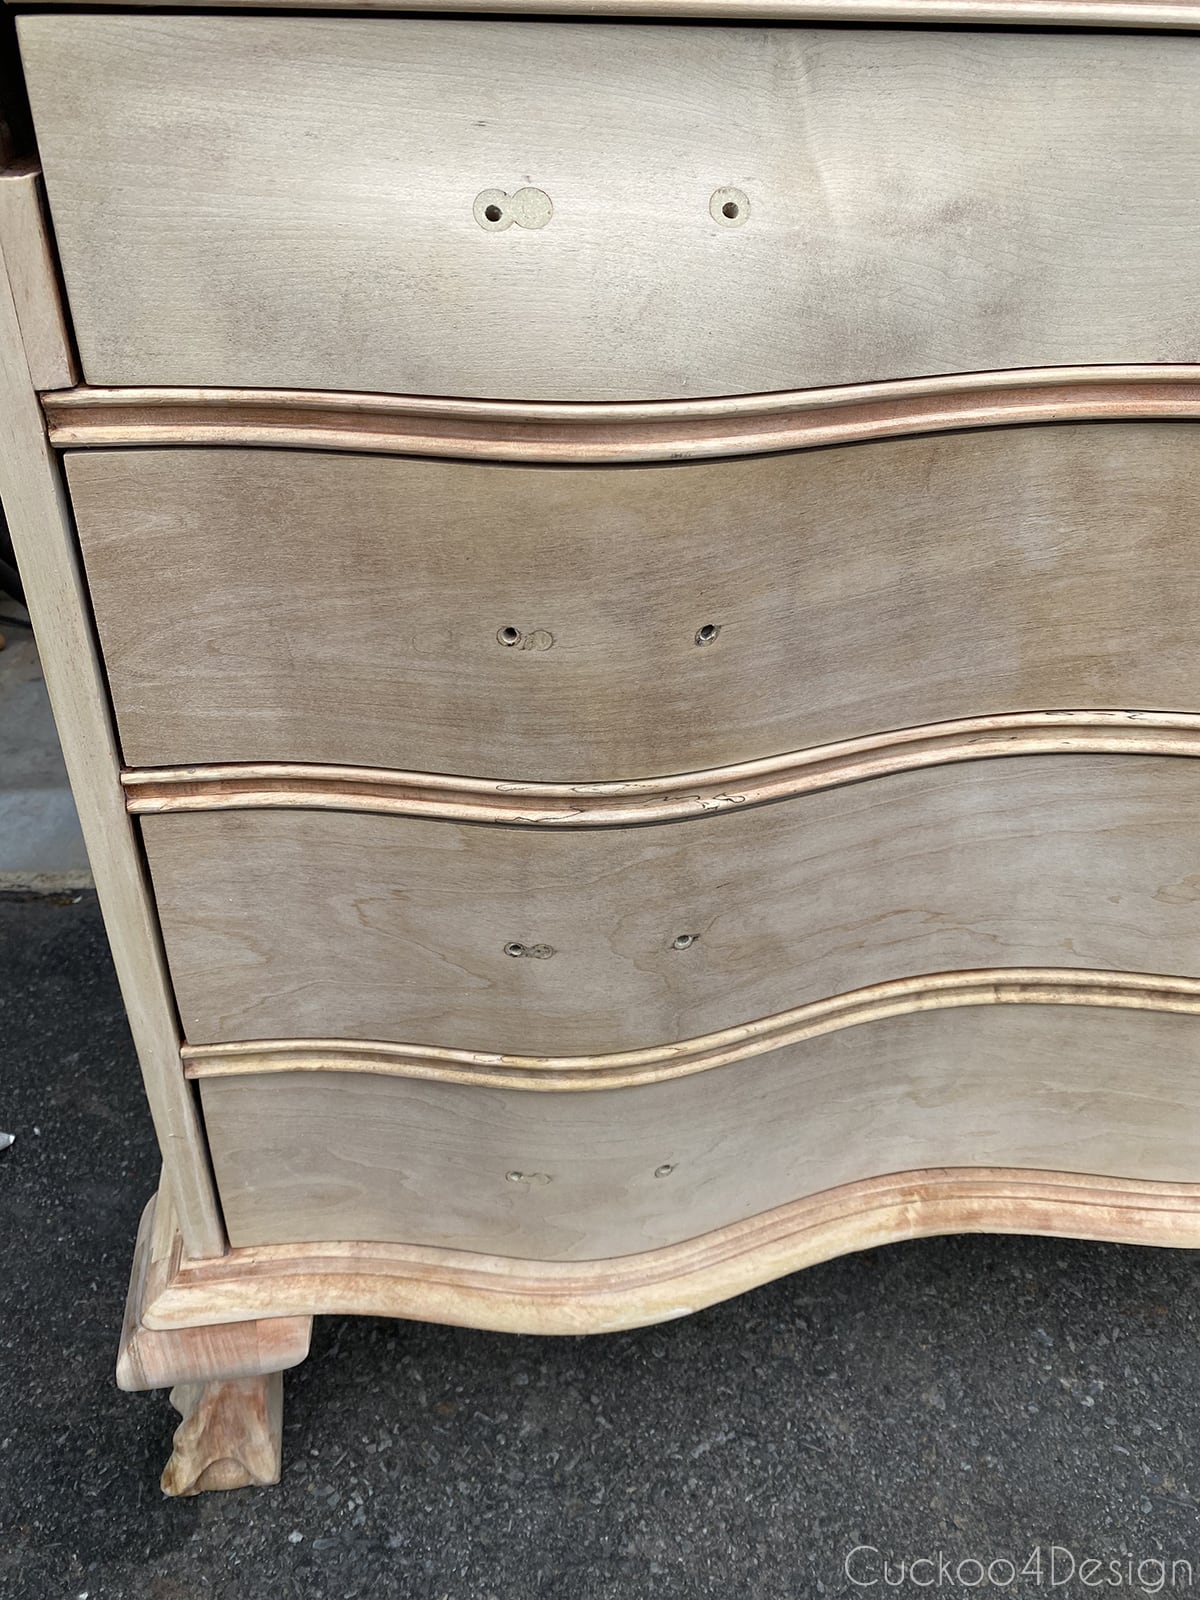
After I was finished with the bleaching, neutralized the wood again like last time with a 50/50 vinegar and water solution.
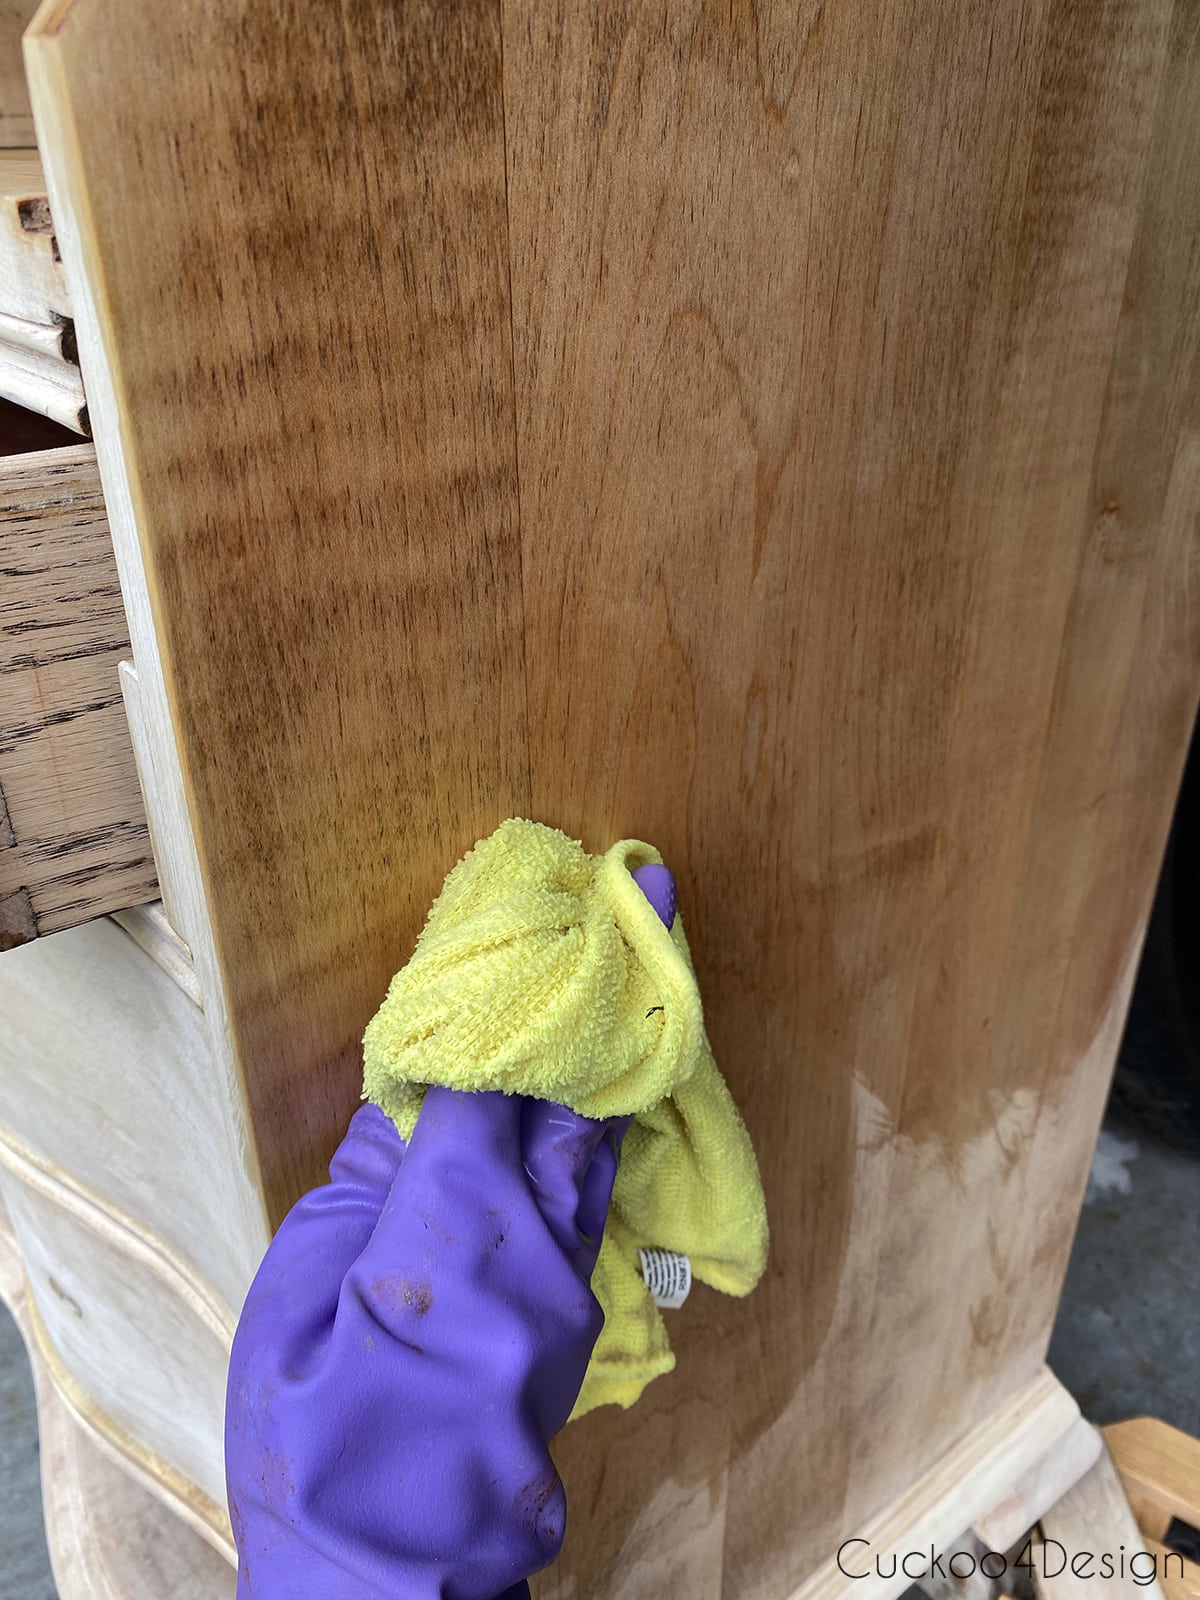
This made me realize that the wood was still somewhat that warm orangey-brown tone. It was lighter but definitely still there.
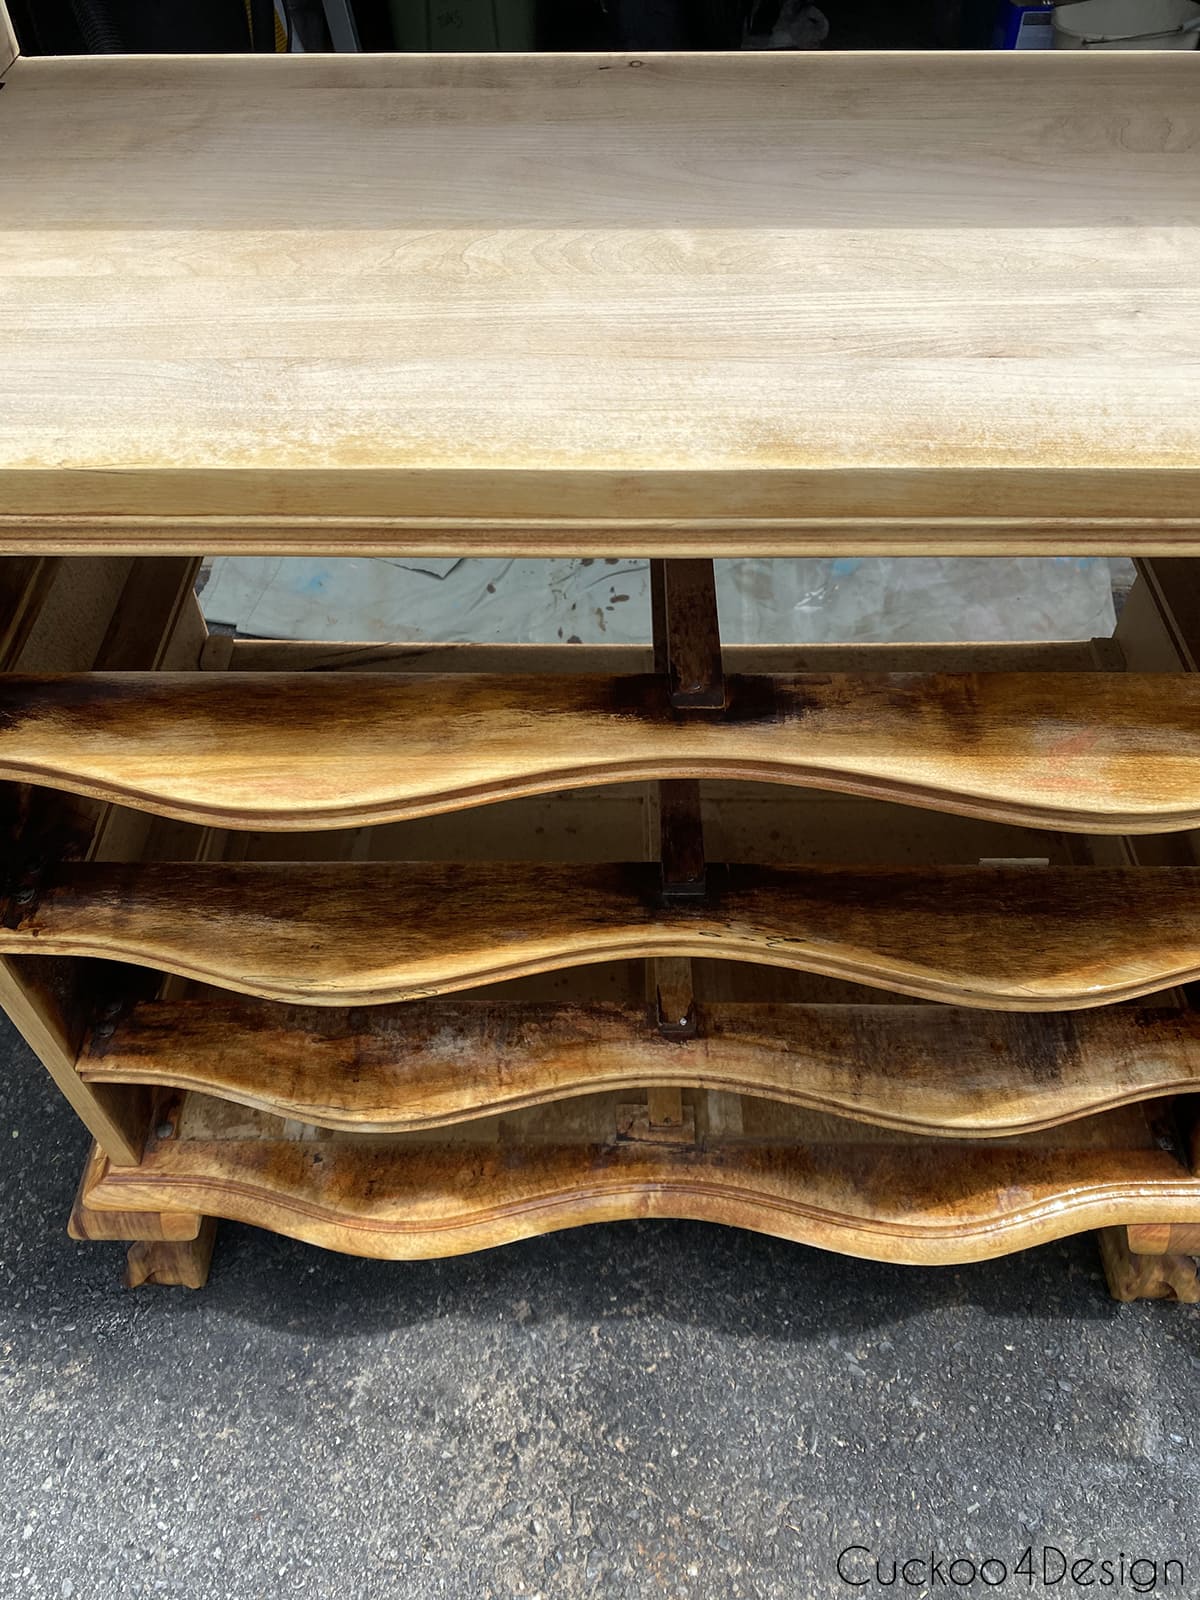
These here are all photos of the desk when wet from the vinegar and water solution. And I figured that is what it would also look like with a varnish on top.
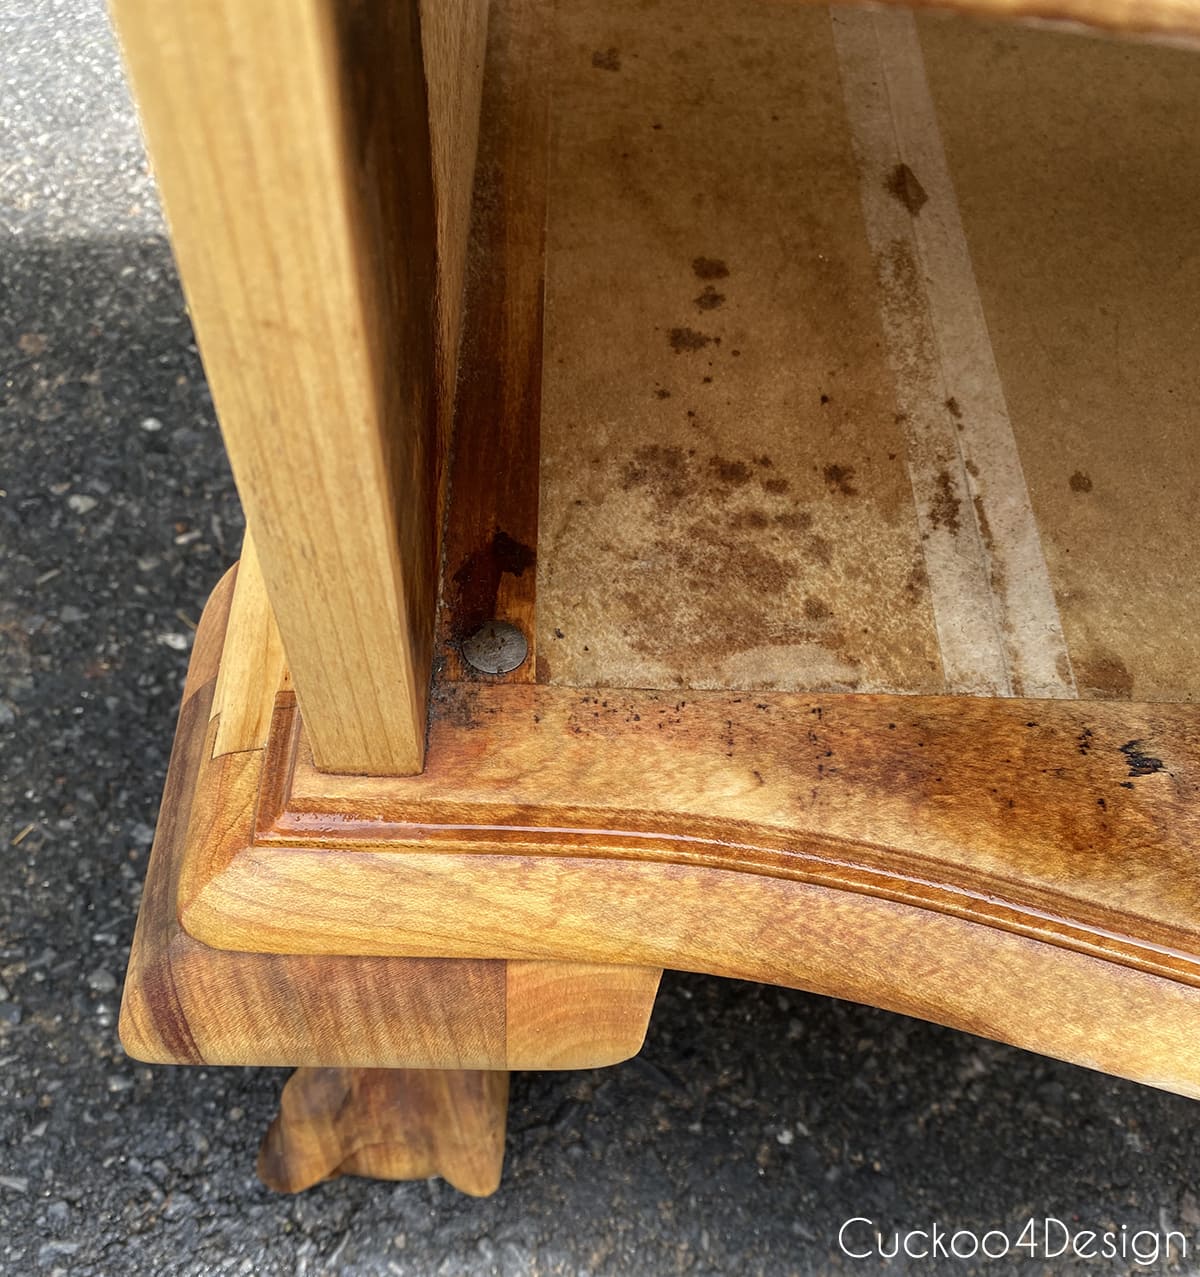
At that point, I was sure that I would try the liming wax of the raw wood.
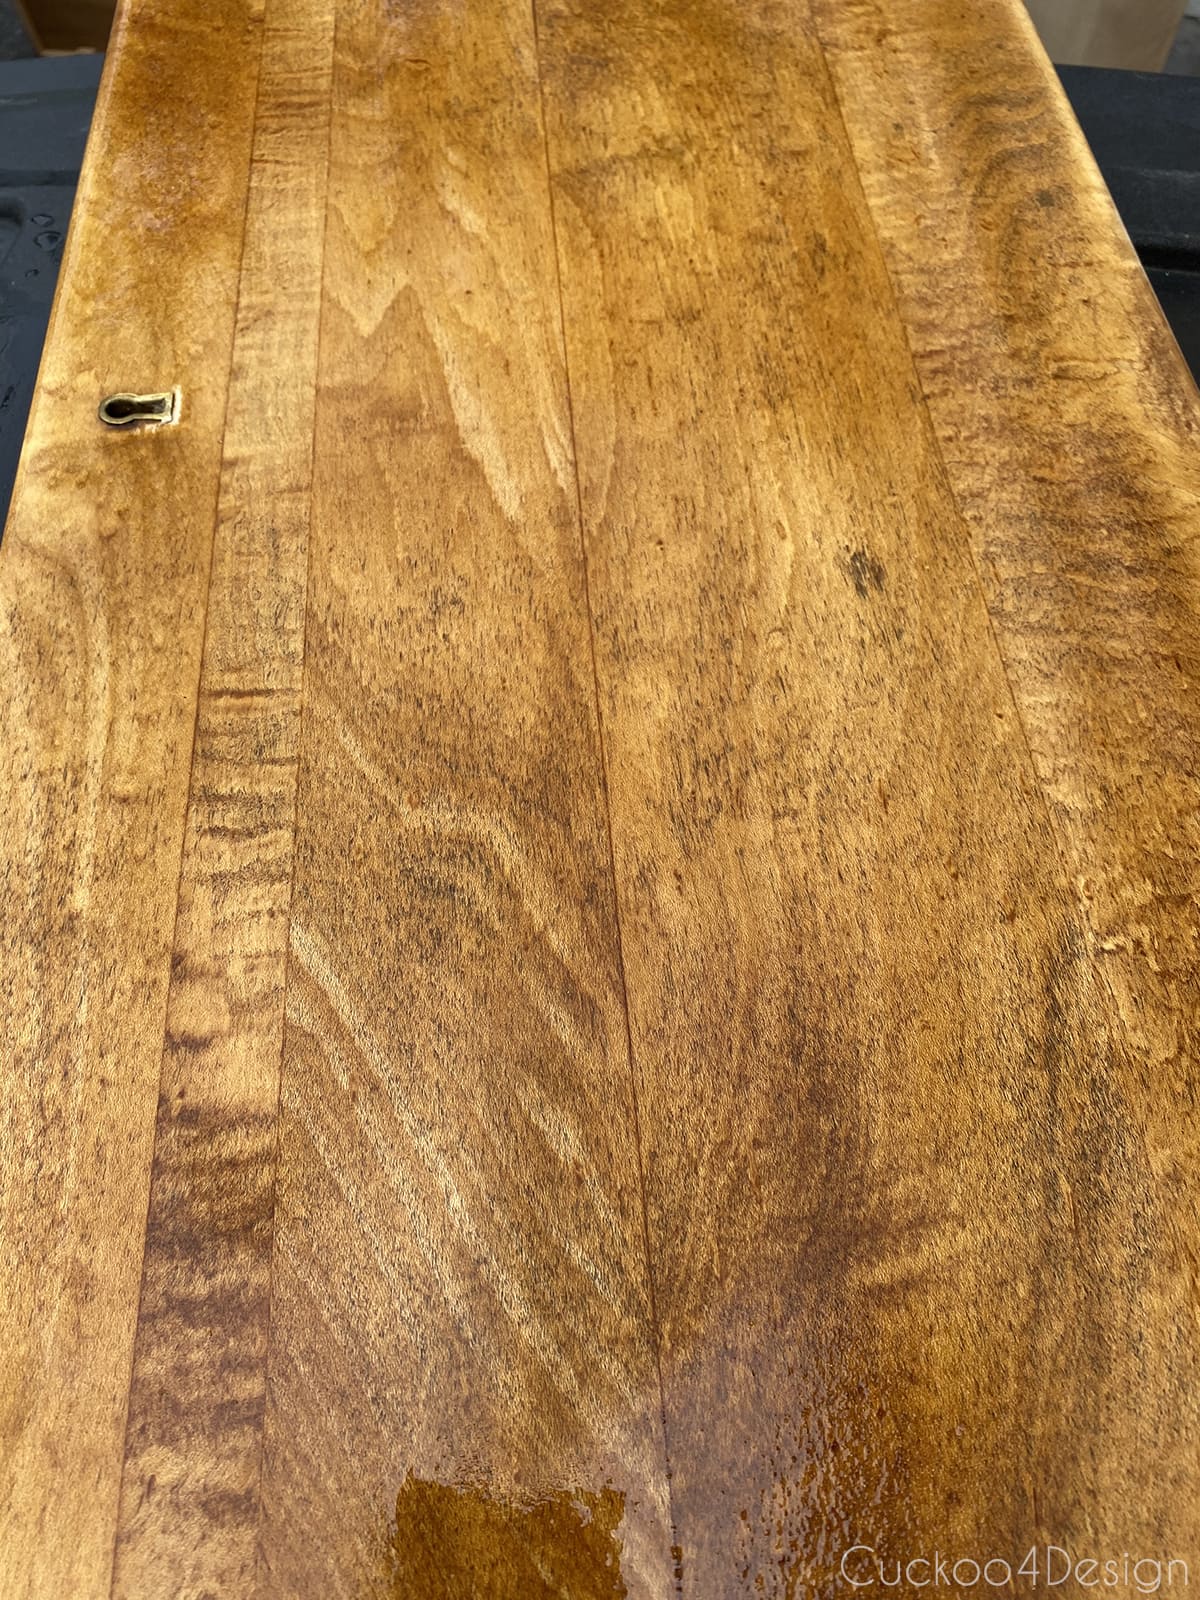
Applying the lime wax to cover the pink tint.
Just like the dresser makeover I didn’t condition or stain the wood because I wanted to keep it as light as possible.
I also decided to make a mixture of mineral spirits and lime wax so I could brush it on easier.
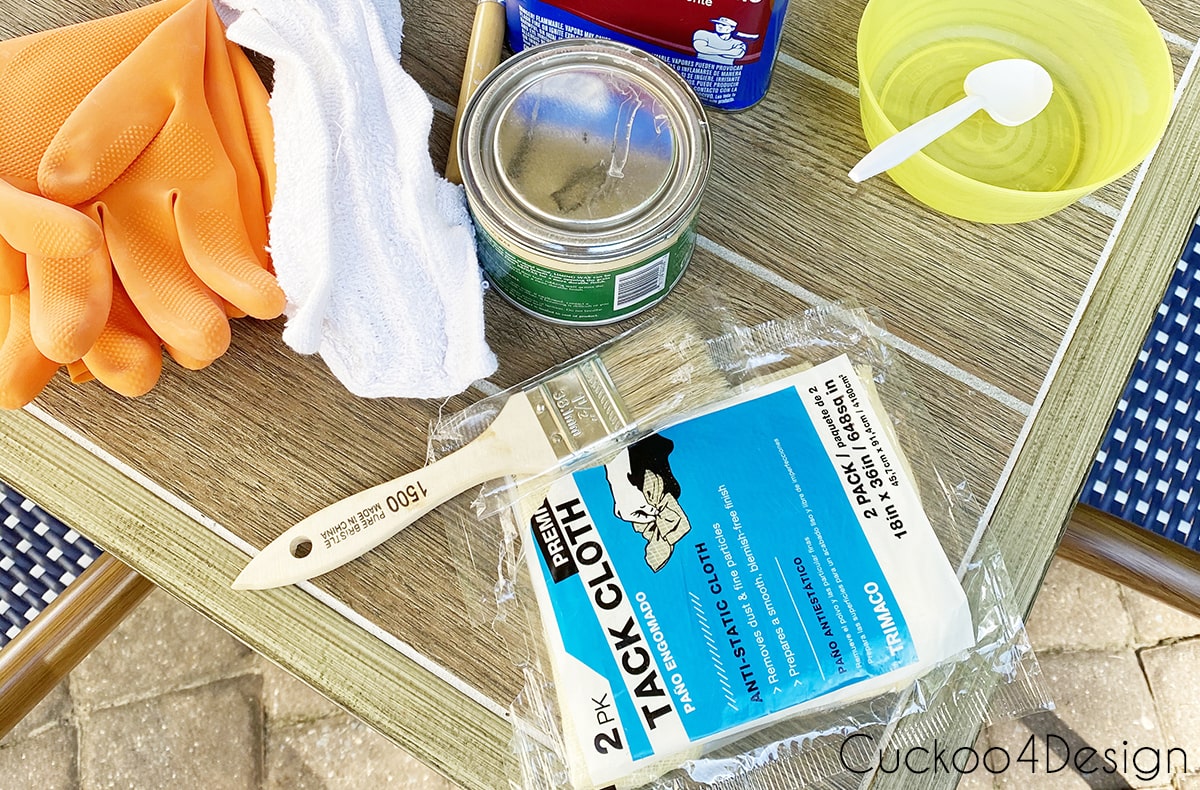
When mixing the mineral spirits and lime wax in the plastic bowl, you don’t really need to follow a recipe since it works in every consistency. The less wax mixed in, the thinner the layer obviously.
I brushed the wax mixture on with a wax brush and buffed it off with the clean rags.
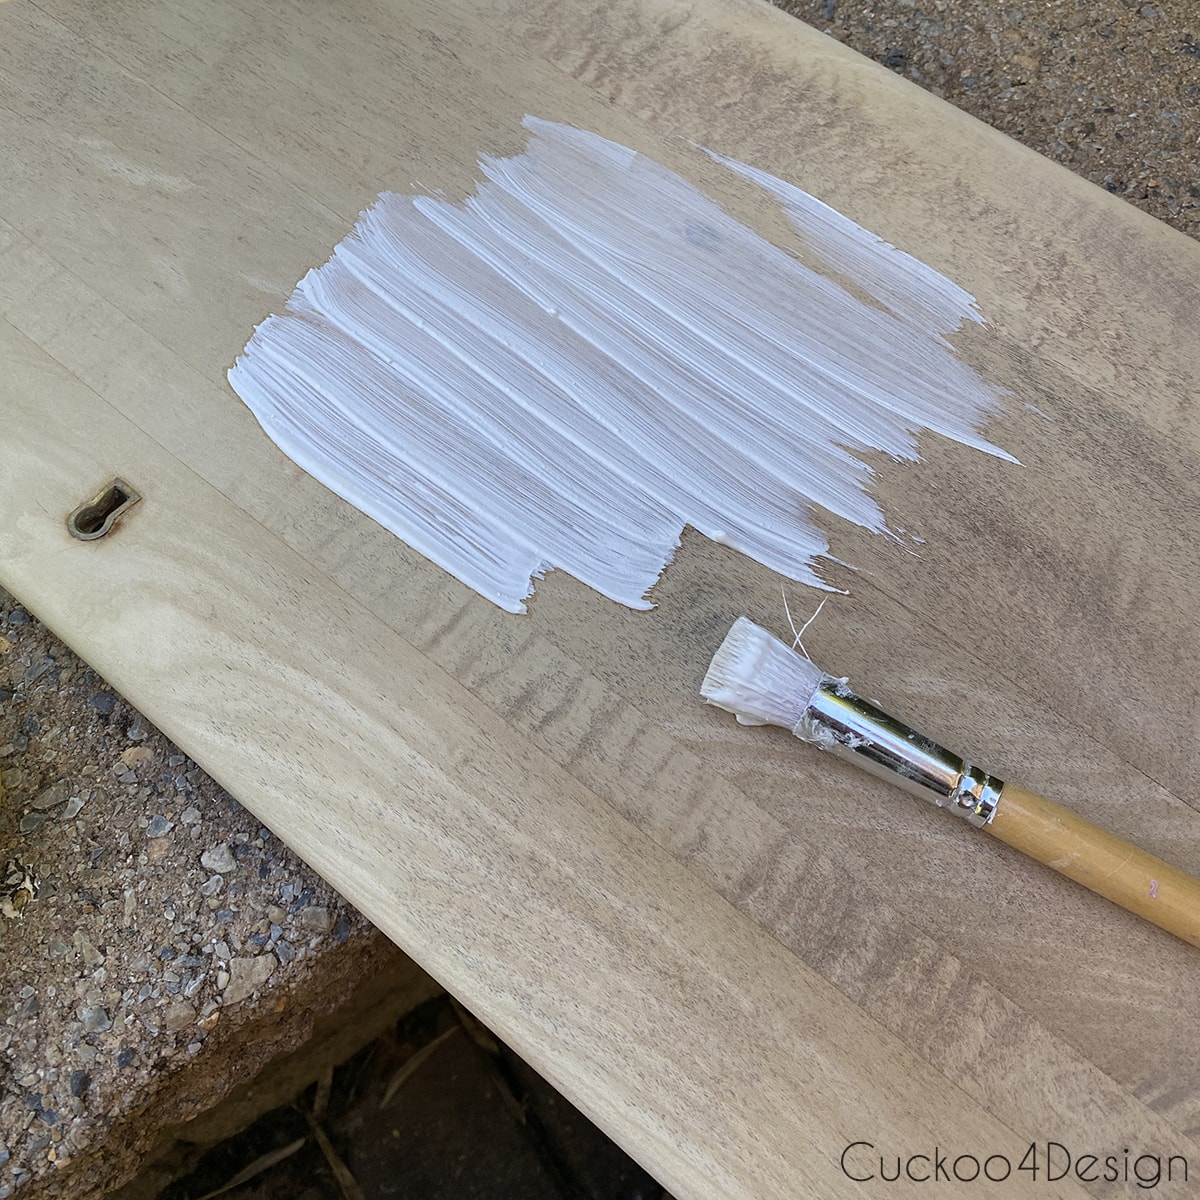
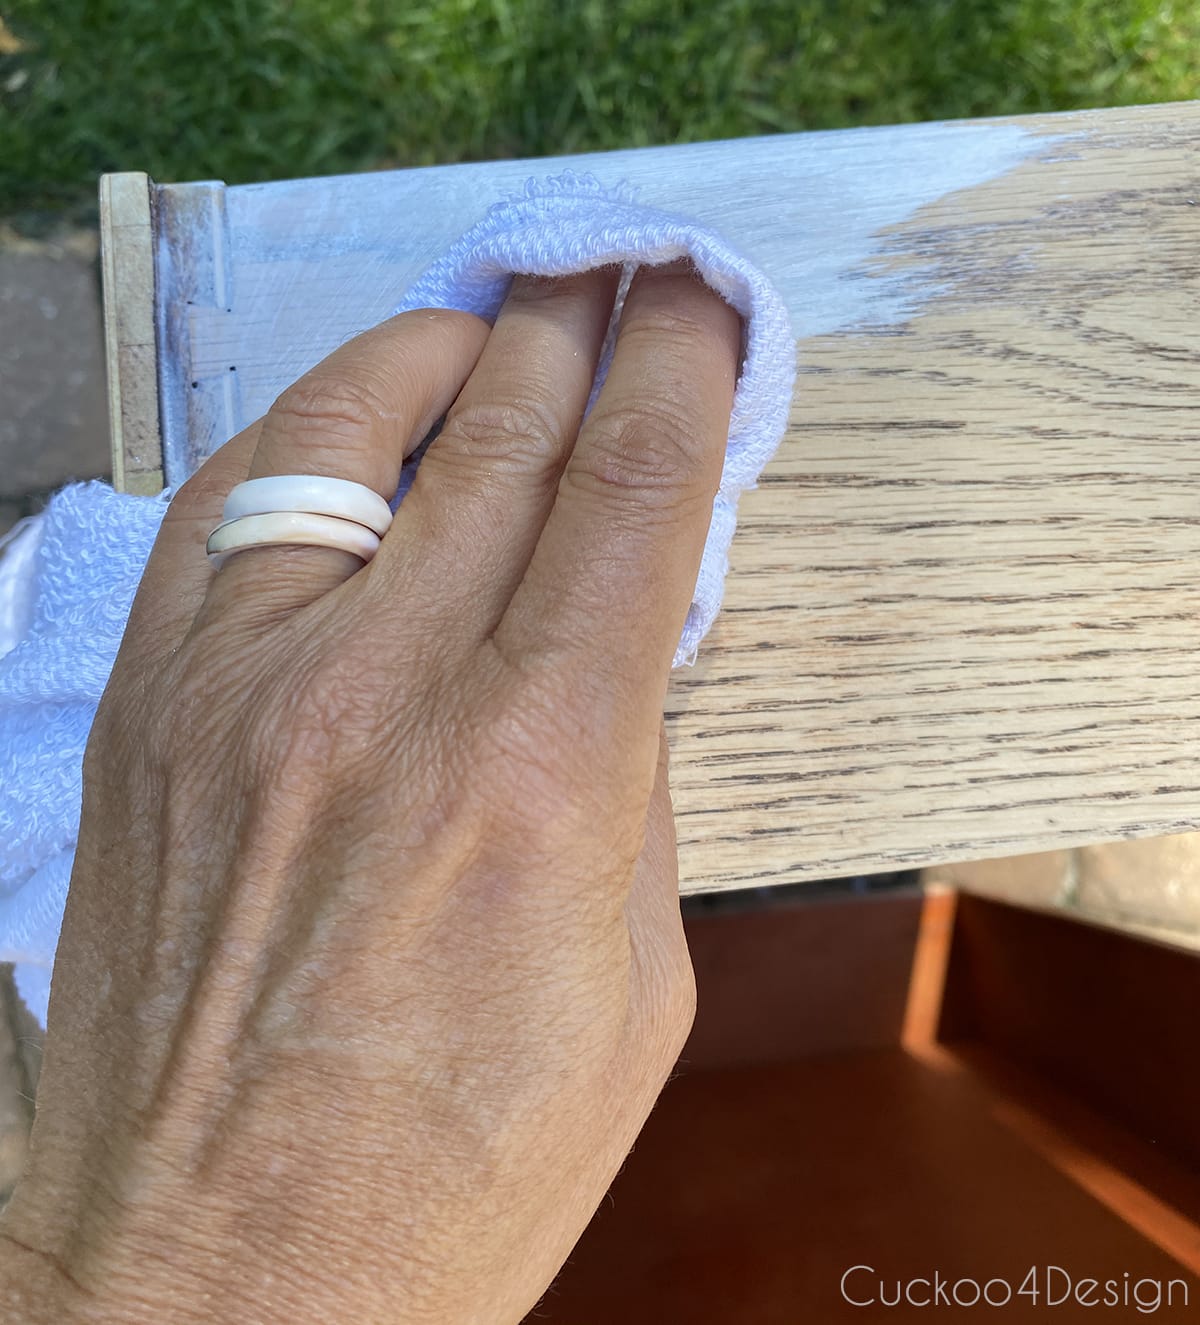
It’s a super easy process and not much to it.
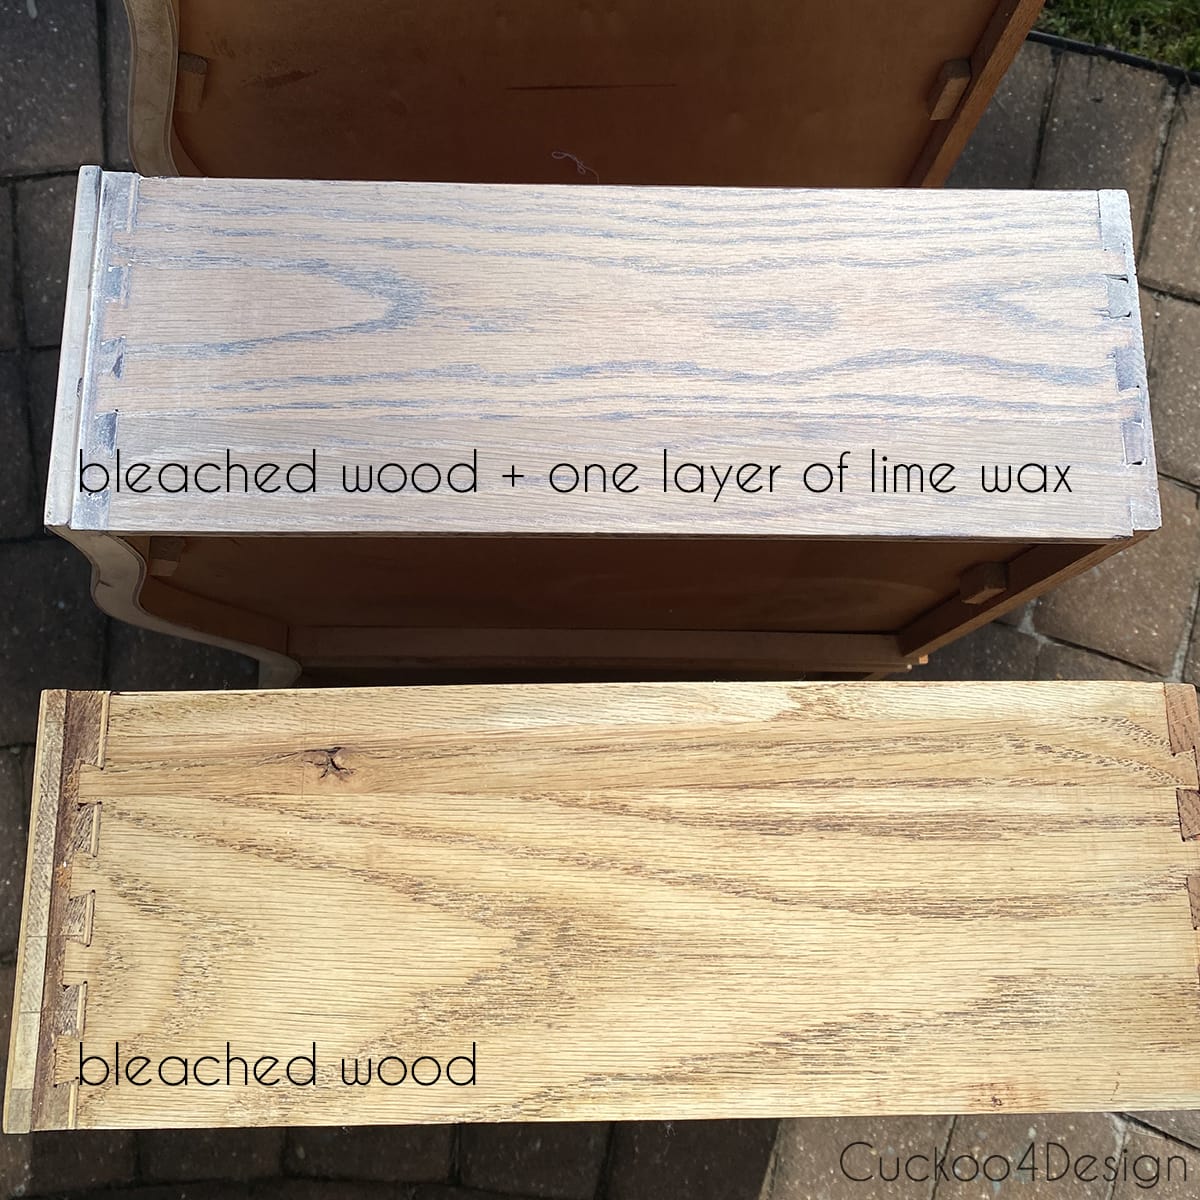
Below I want to show you how the drawers looked with and without the lime wax applied.
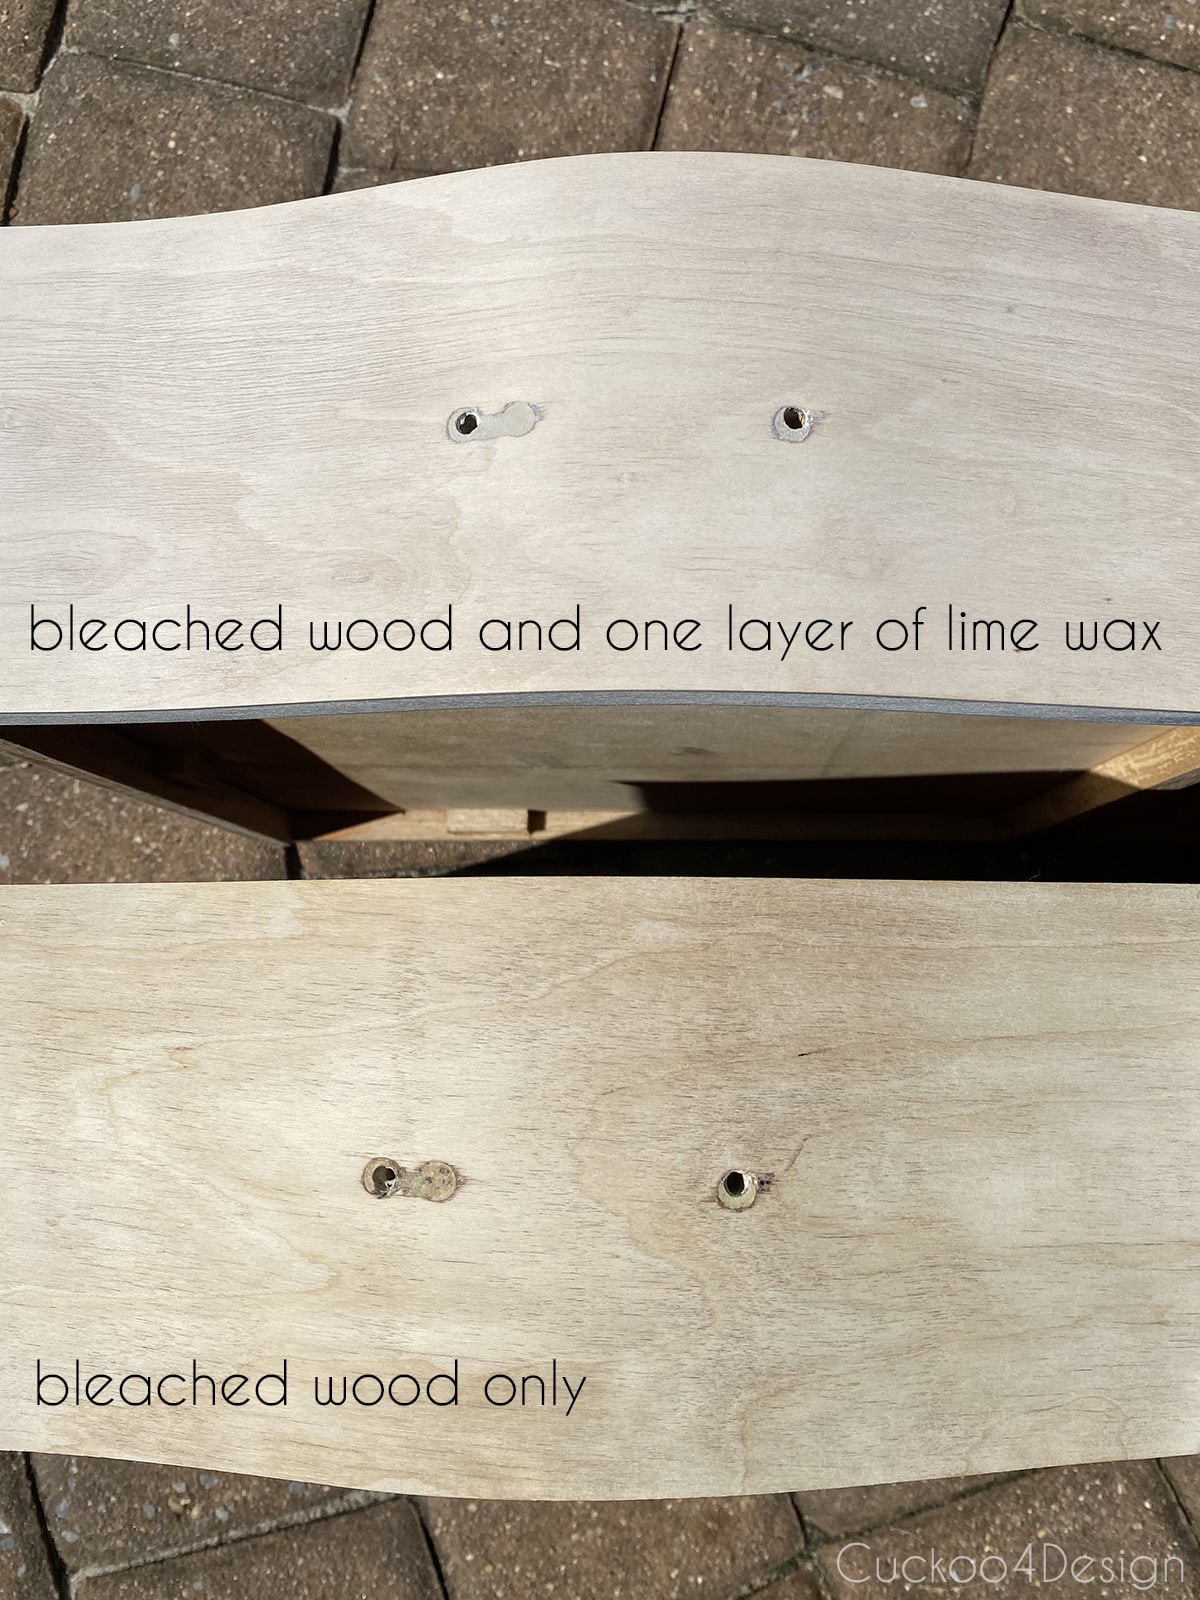
And here the sides of the drawers which I think could be oak. Definitely a big difference.
The rest of the desk I actually did inside although the wax is really smelly until cured. But it was just too hot outside.
You can especially see on the claw feet that the wax made a big difference.
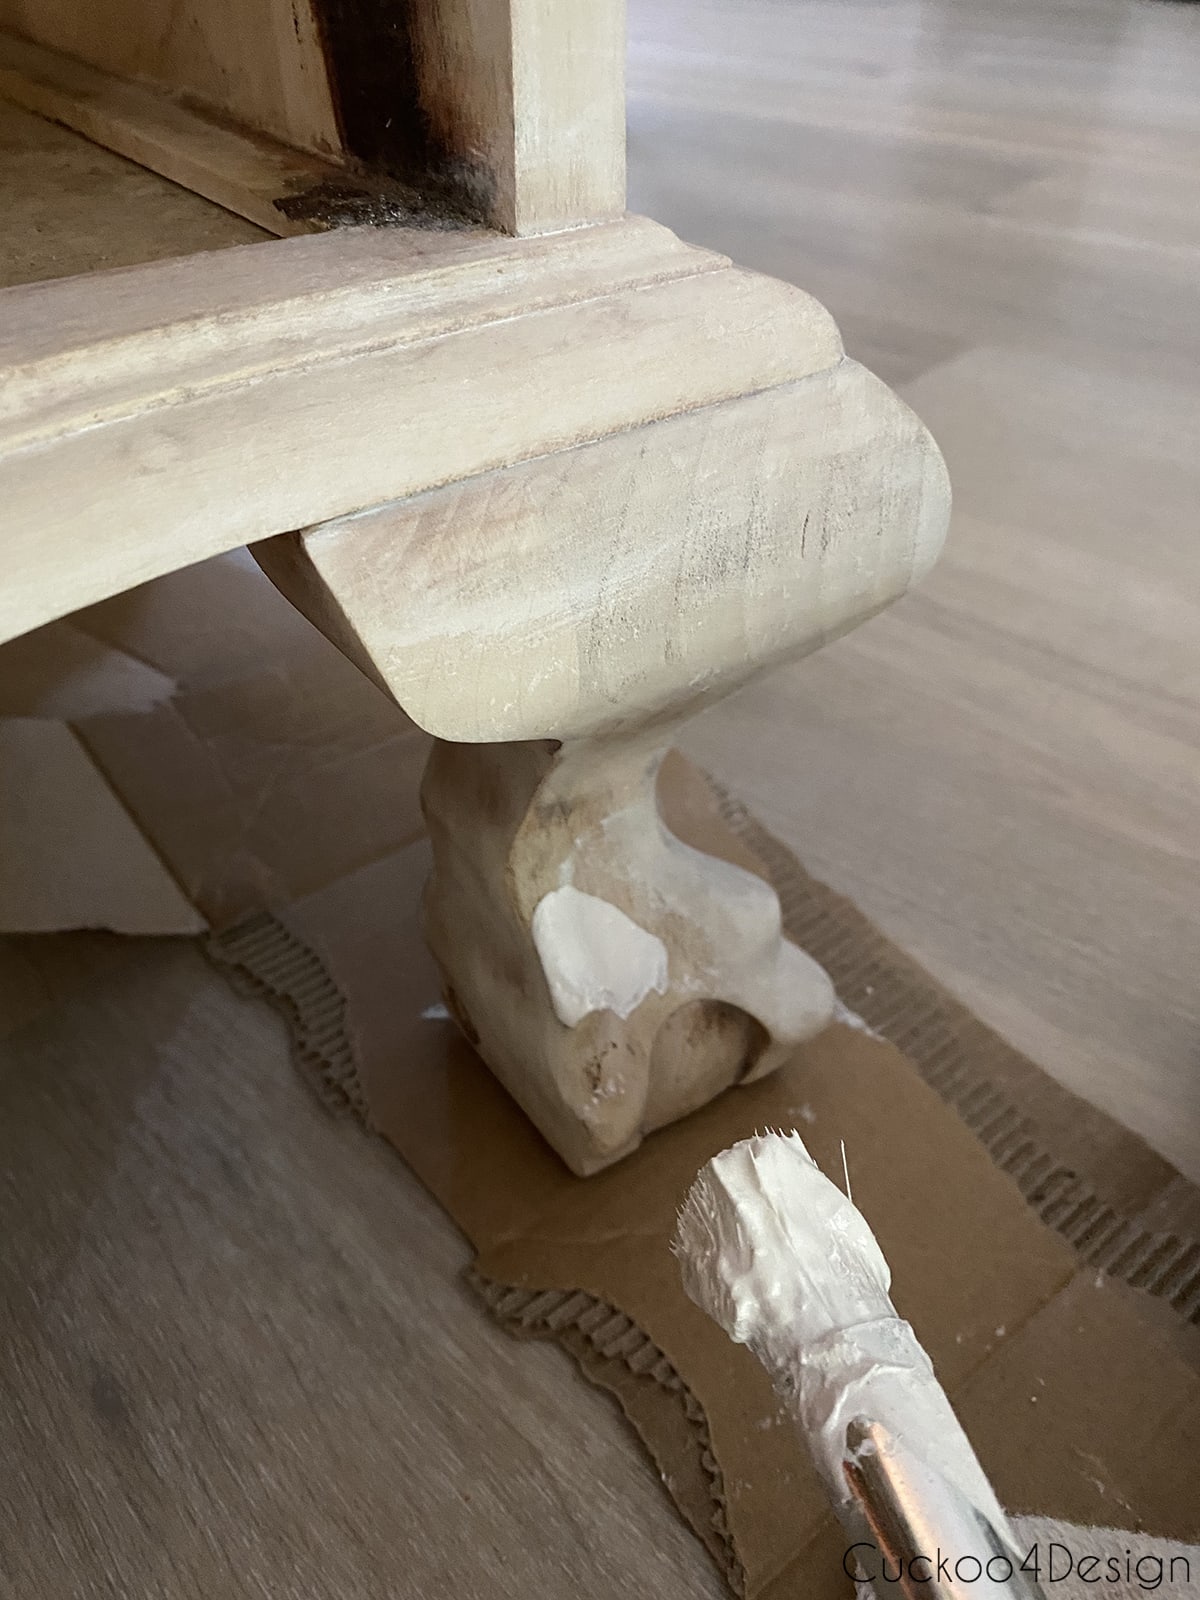
Here is the desk after the one and only layer of lime wax before I added the protective coat and back.
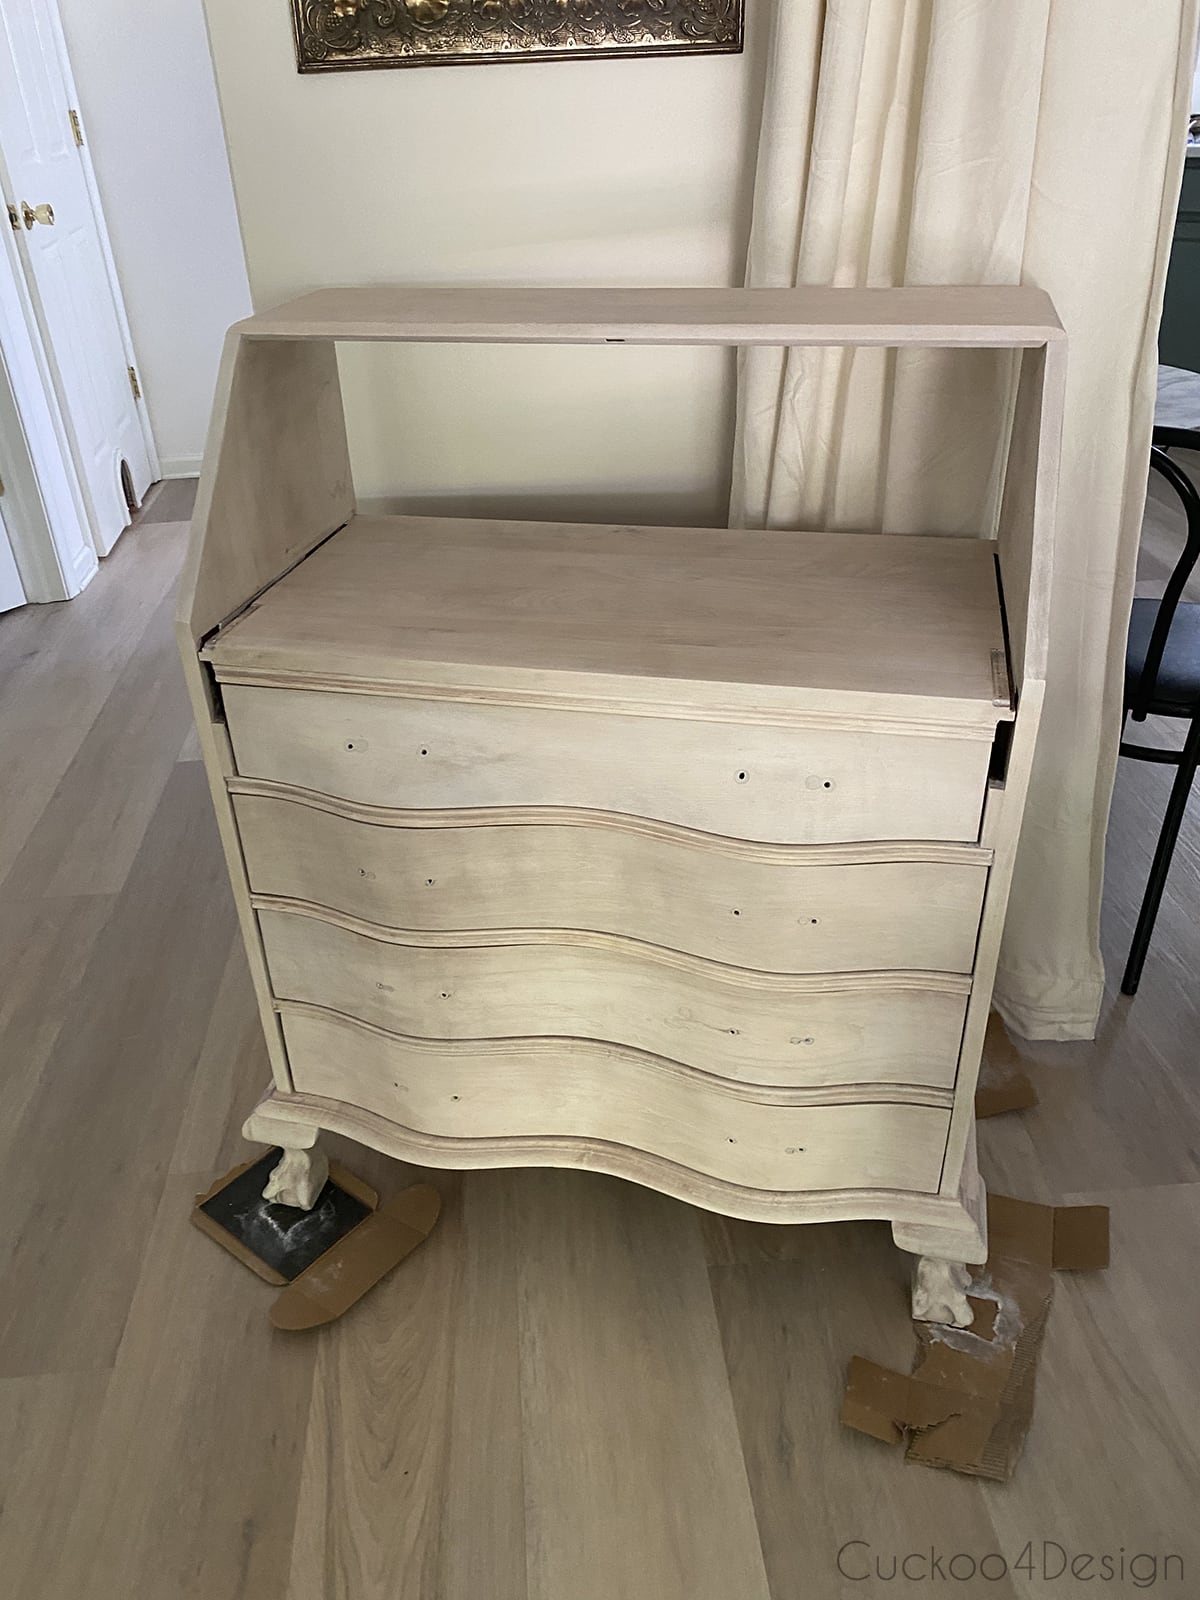
(By the way, I painted the back panel of the desk the same color as my walls. It is in such bad shape and you can only see the color in some areas. It matches perfectly.)
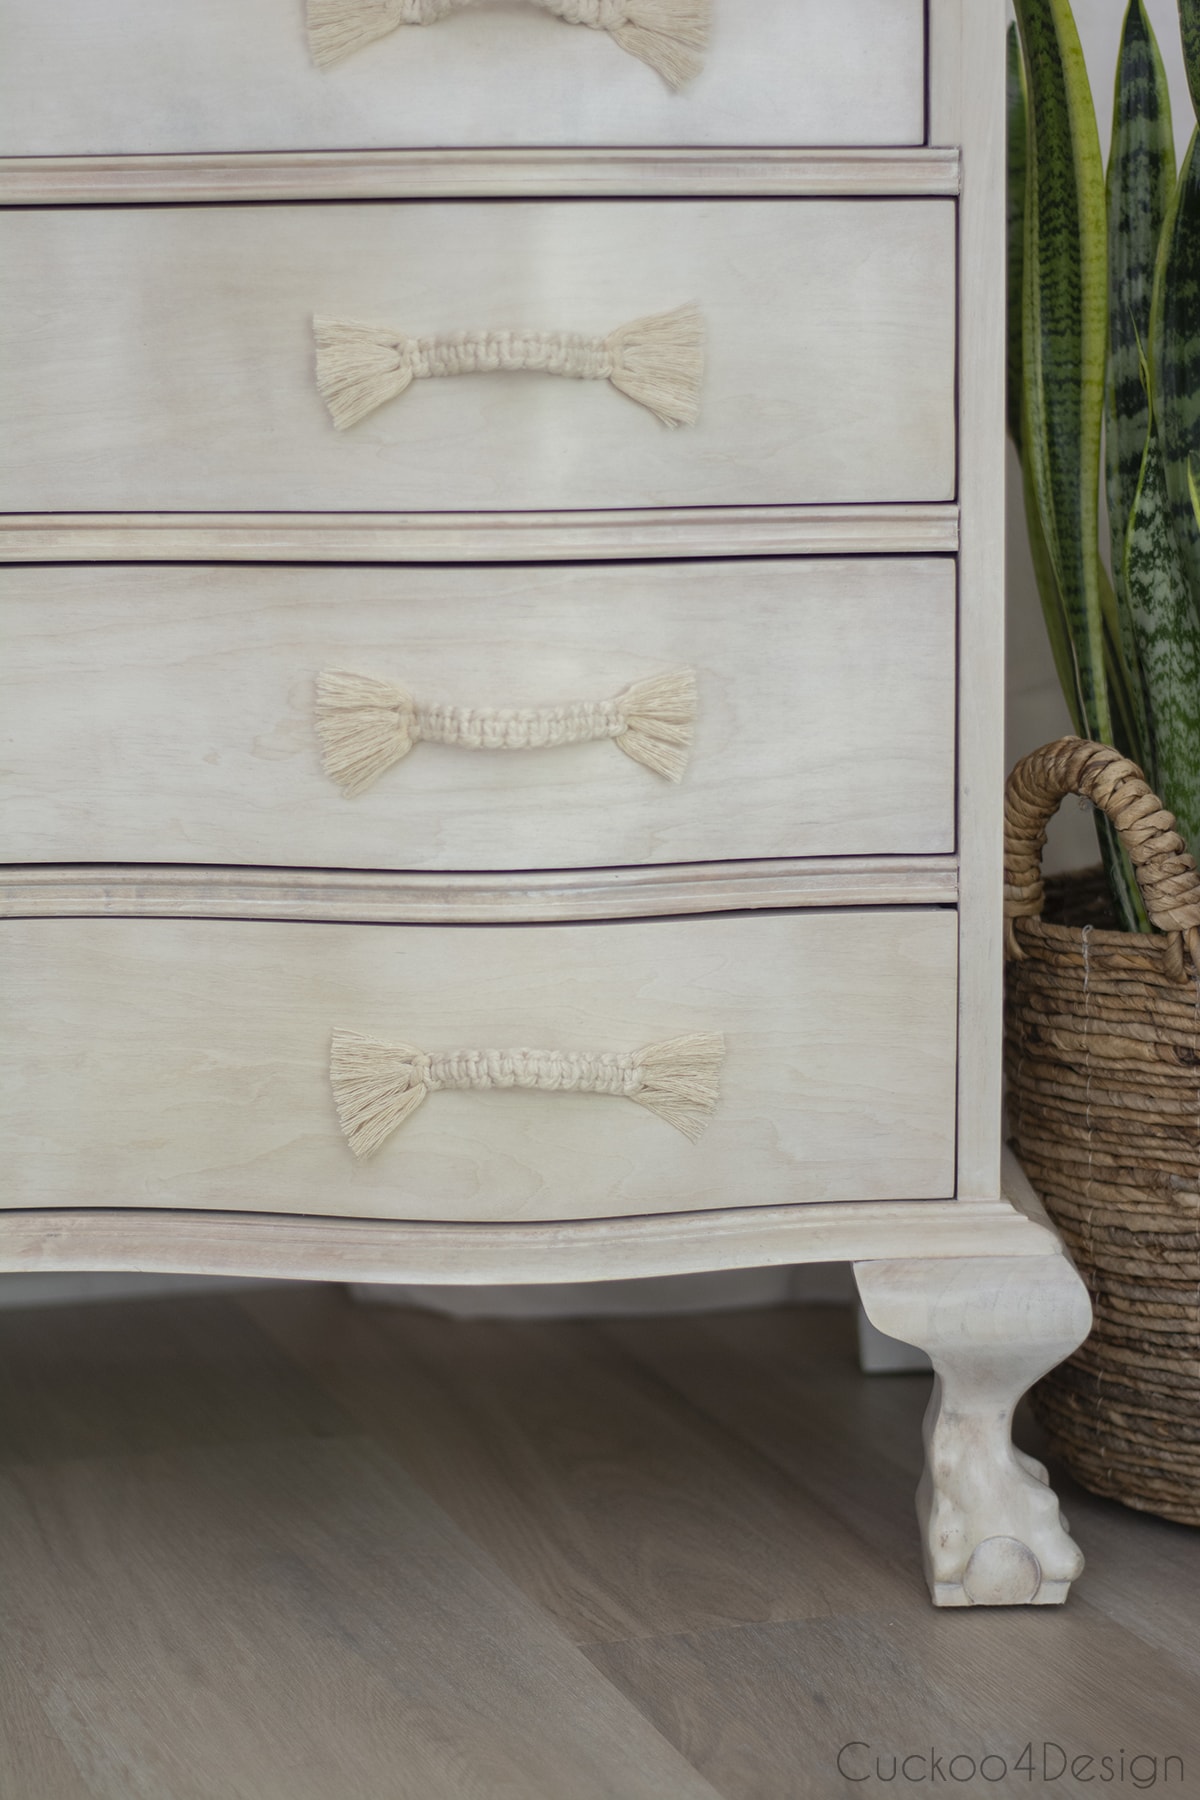
I put it all together again with the hardware and applied the drawer pulls I made. More about that later.

Finished bleached and lime waxed desk

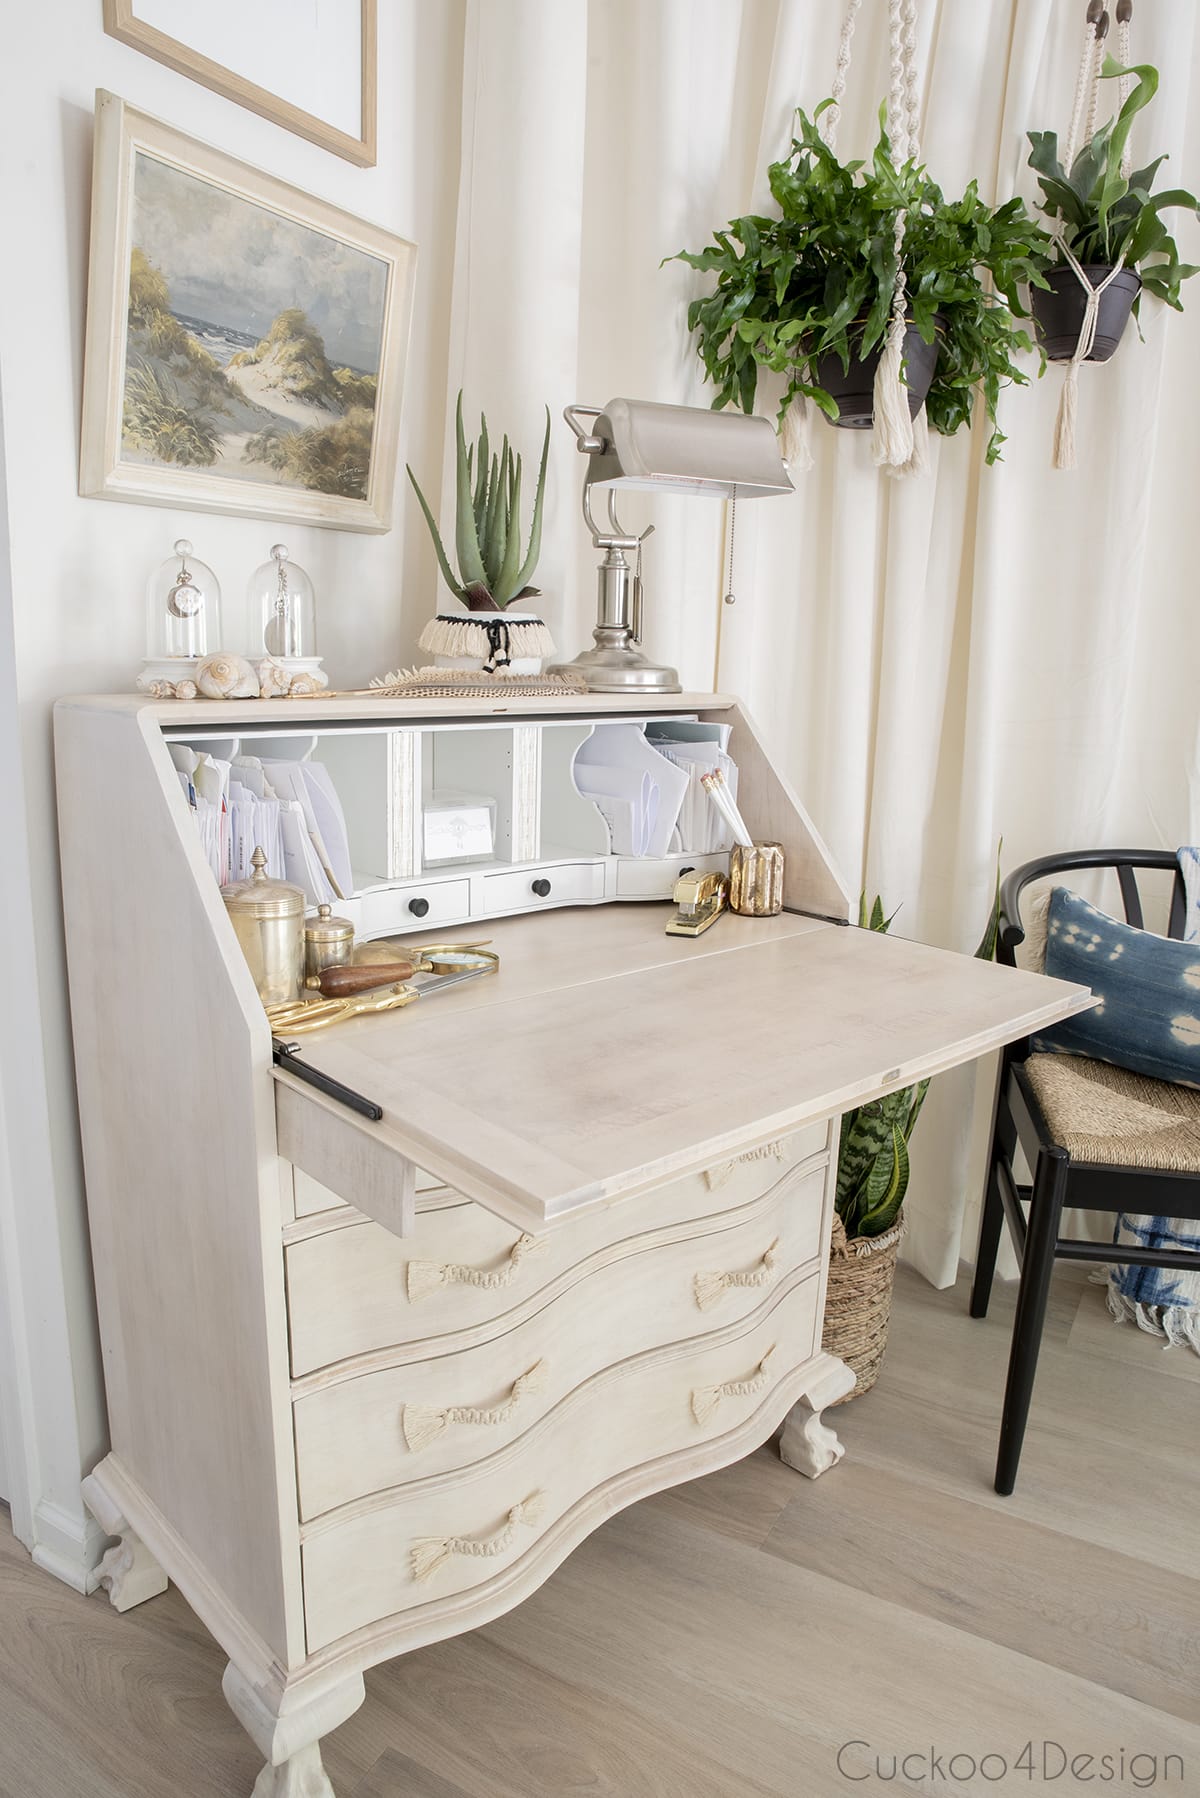
I love how the desk looks with the rest of the living room so much better than before.

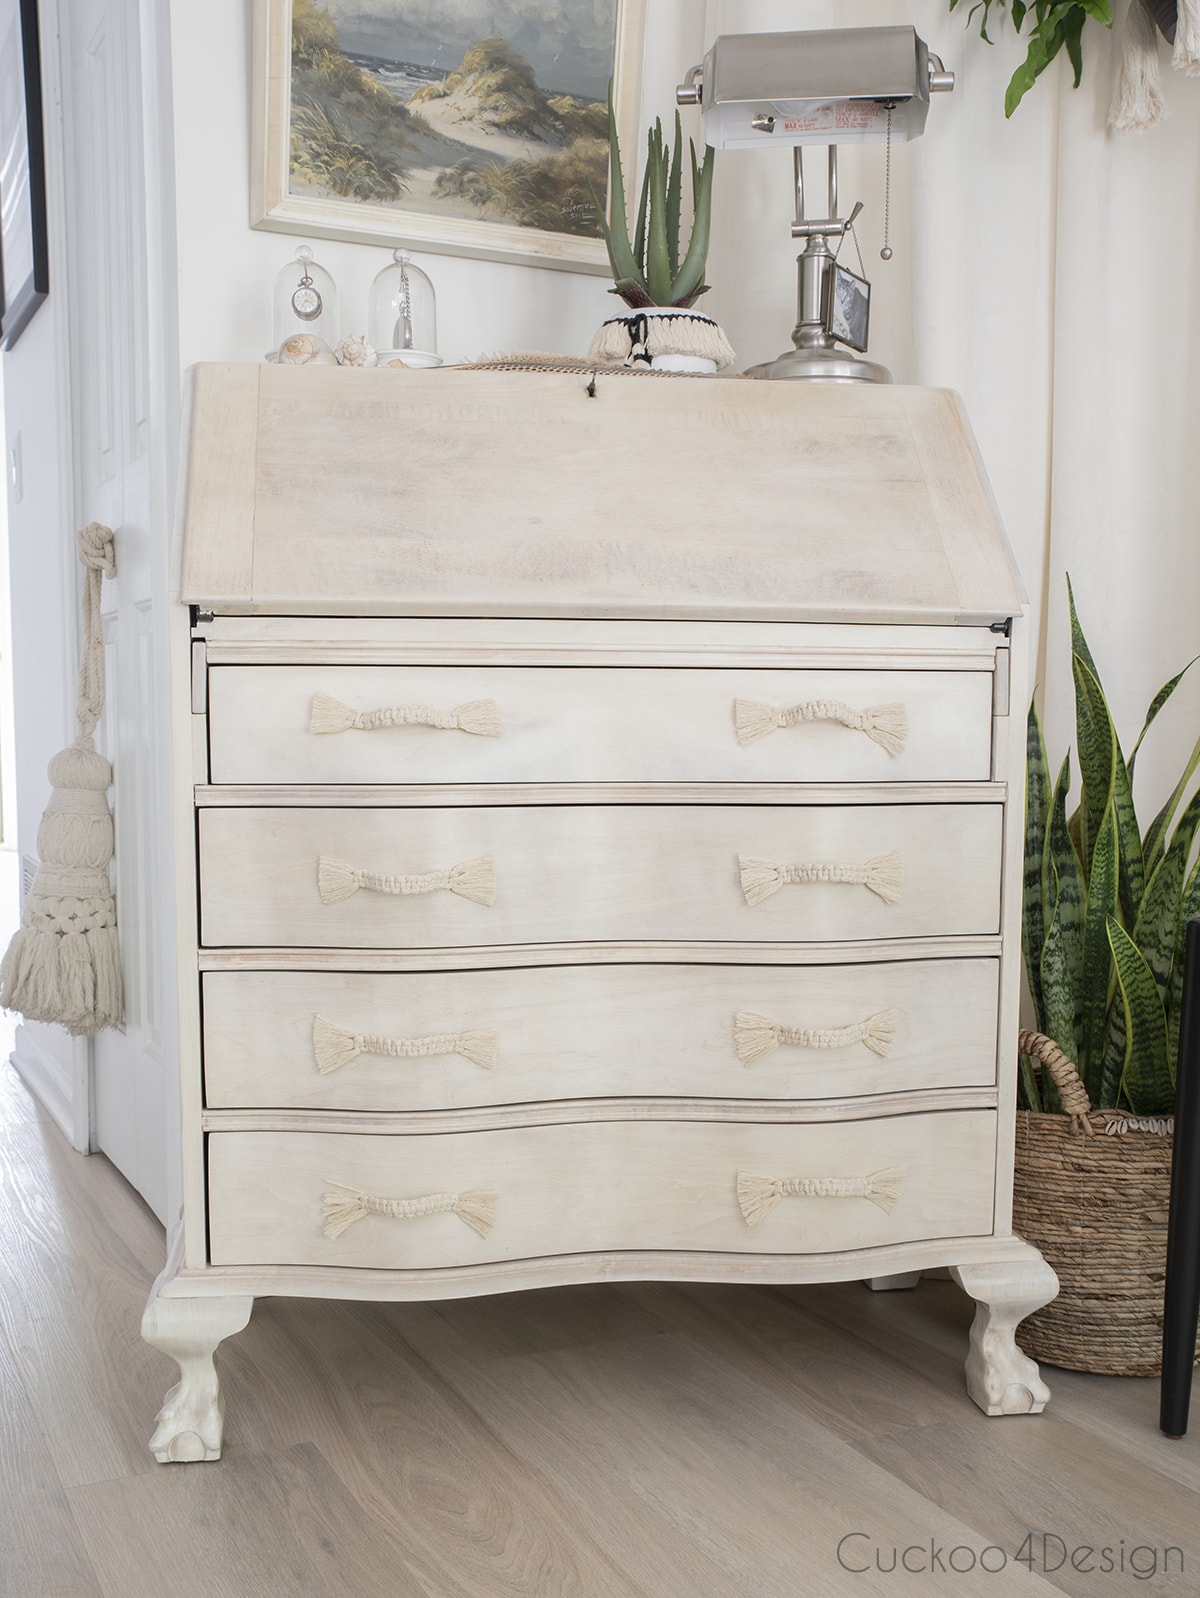
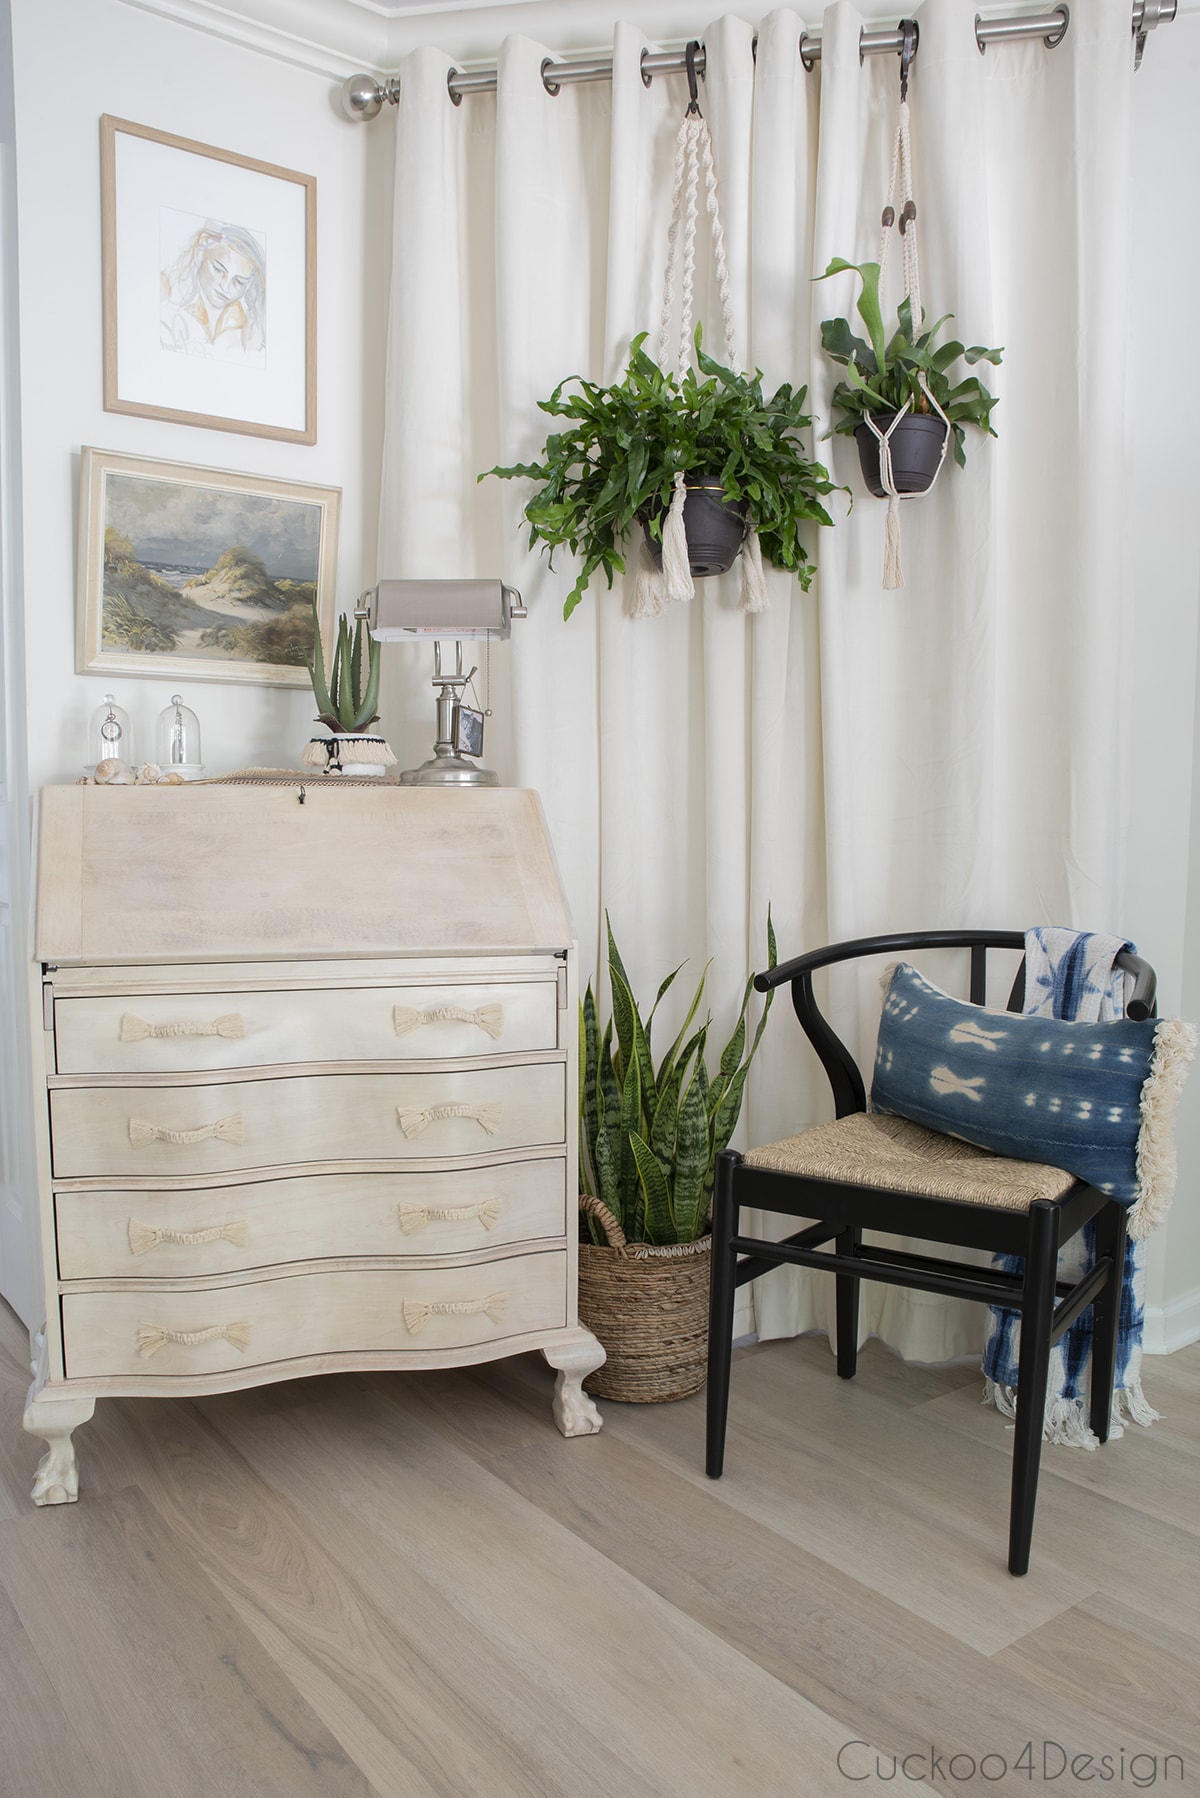
The feather quill on the desk is from January 23rd, 1909, and belonged to my great-grandparents. They signed their wedding certificate on that day with that quill. Isn’t it cool to have such a treasure? I also have several antique pocket watches from them in the domes on top of the desk.

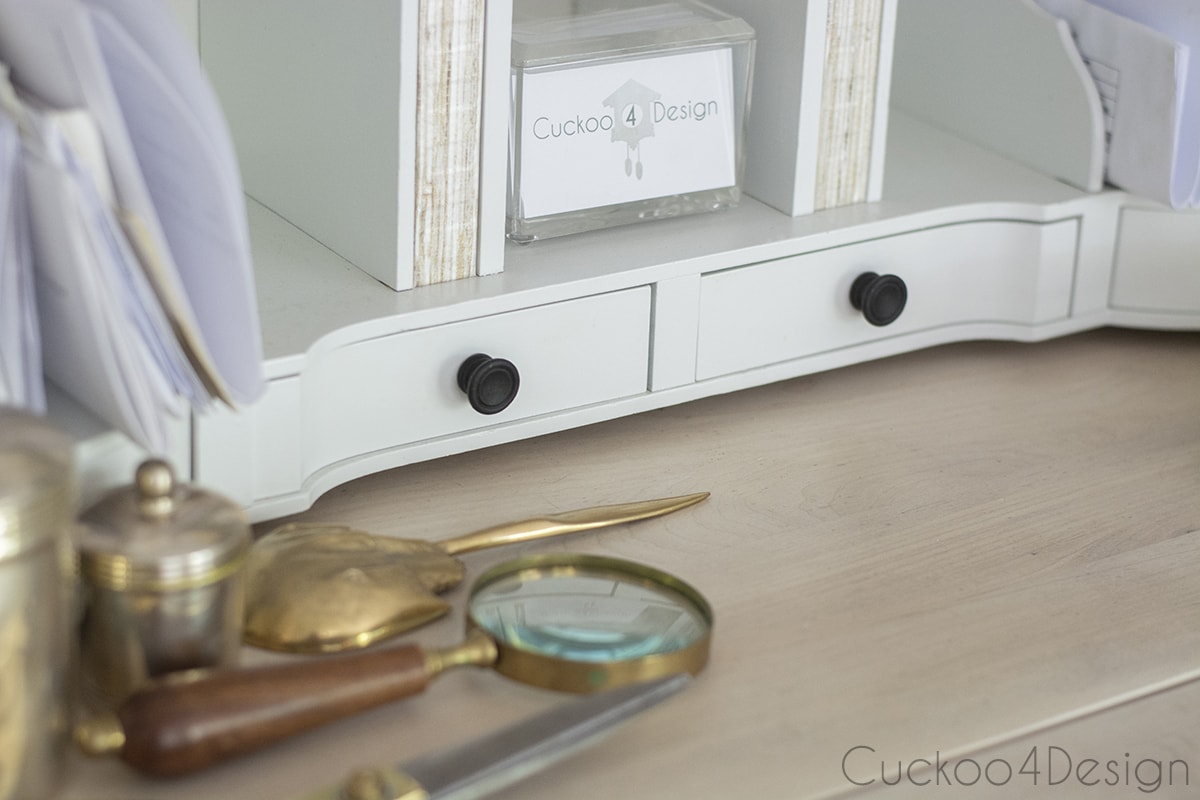
I used some of the faux grasscloth wallpaper on the slide-out cubby slots that I had leftover from the mirror makeover.
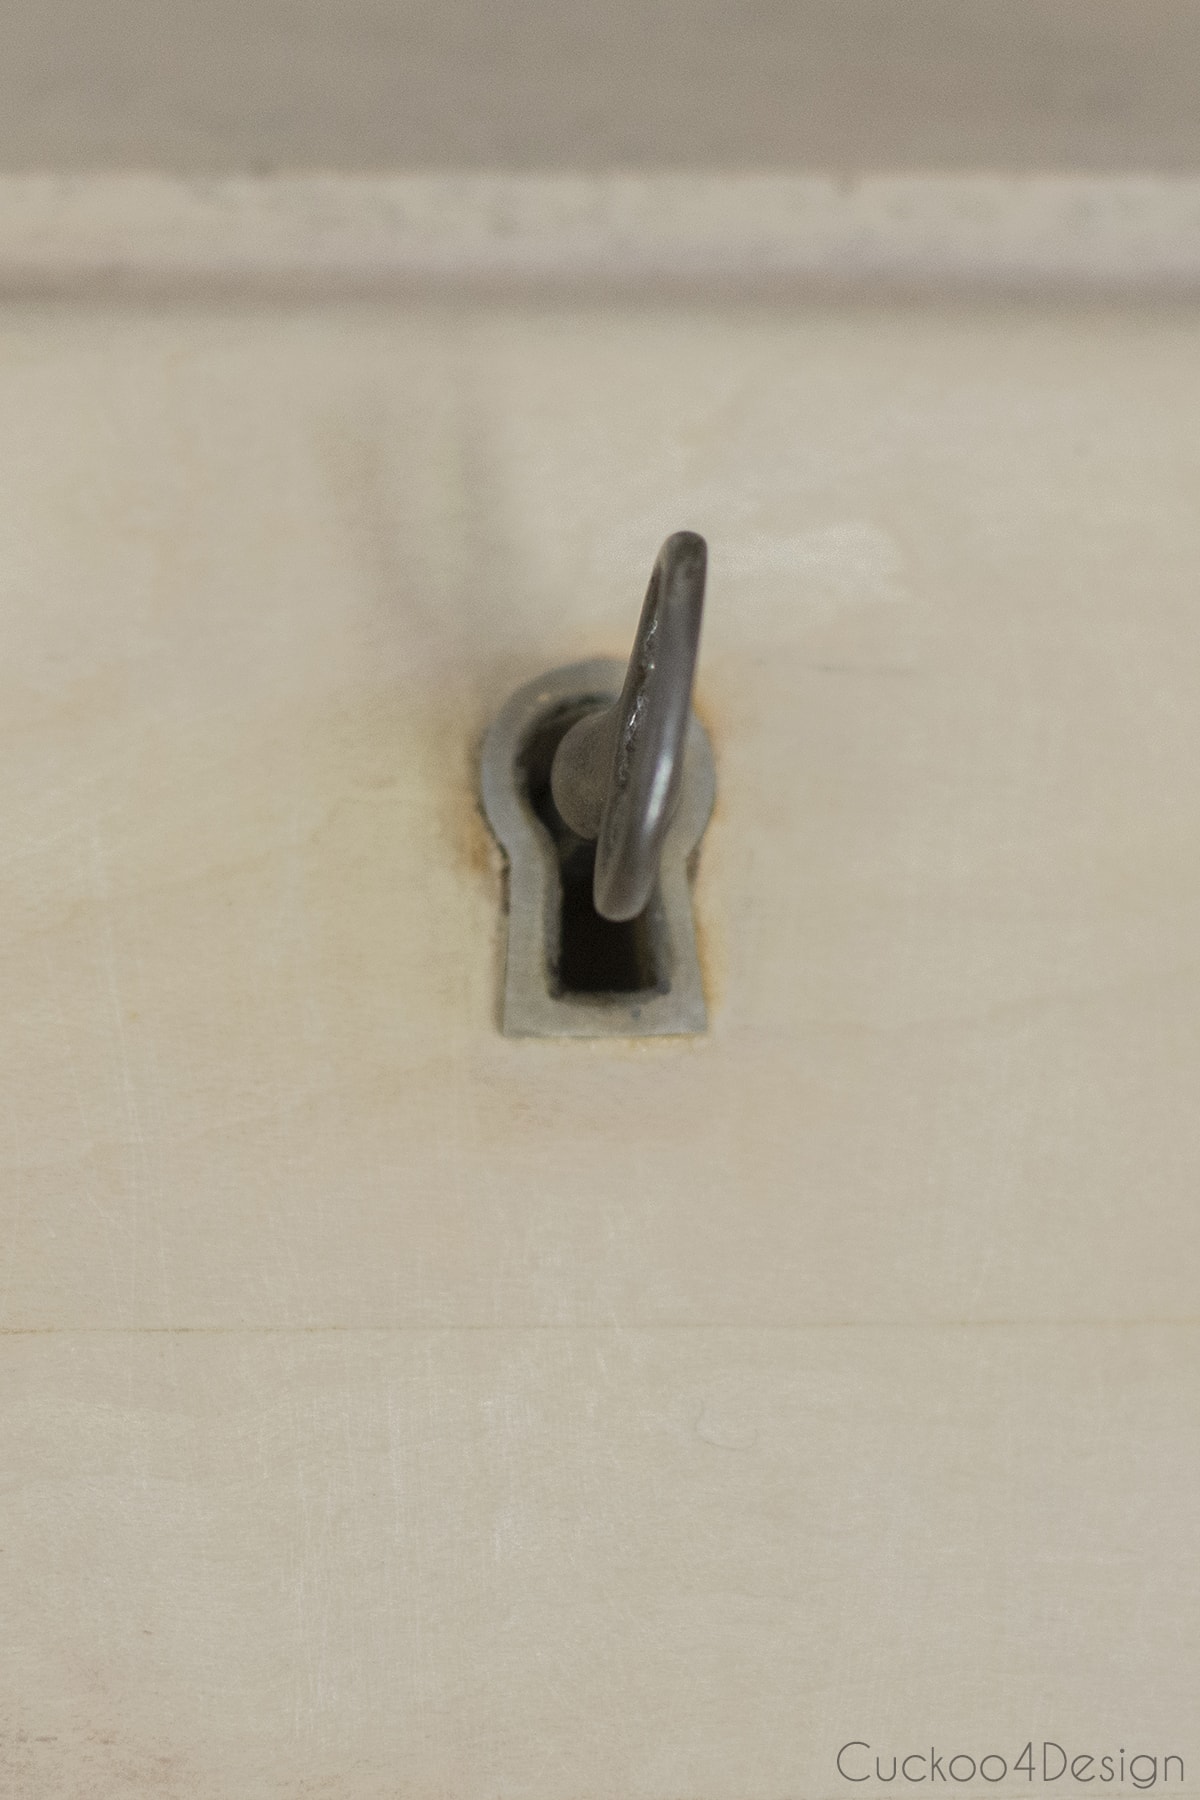
I love that I have a functioning key for the desk.
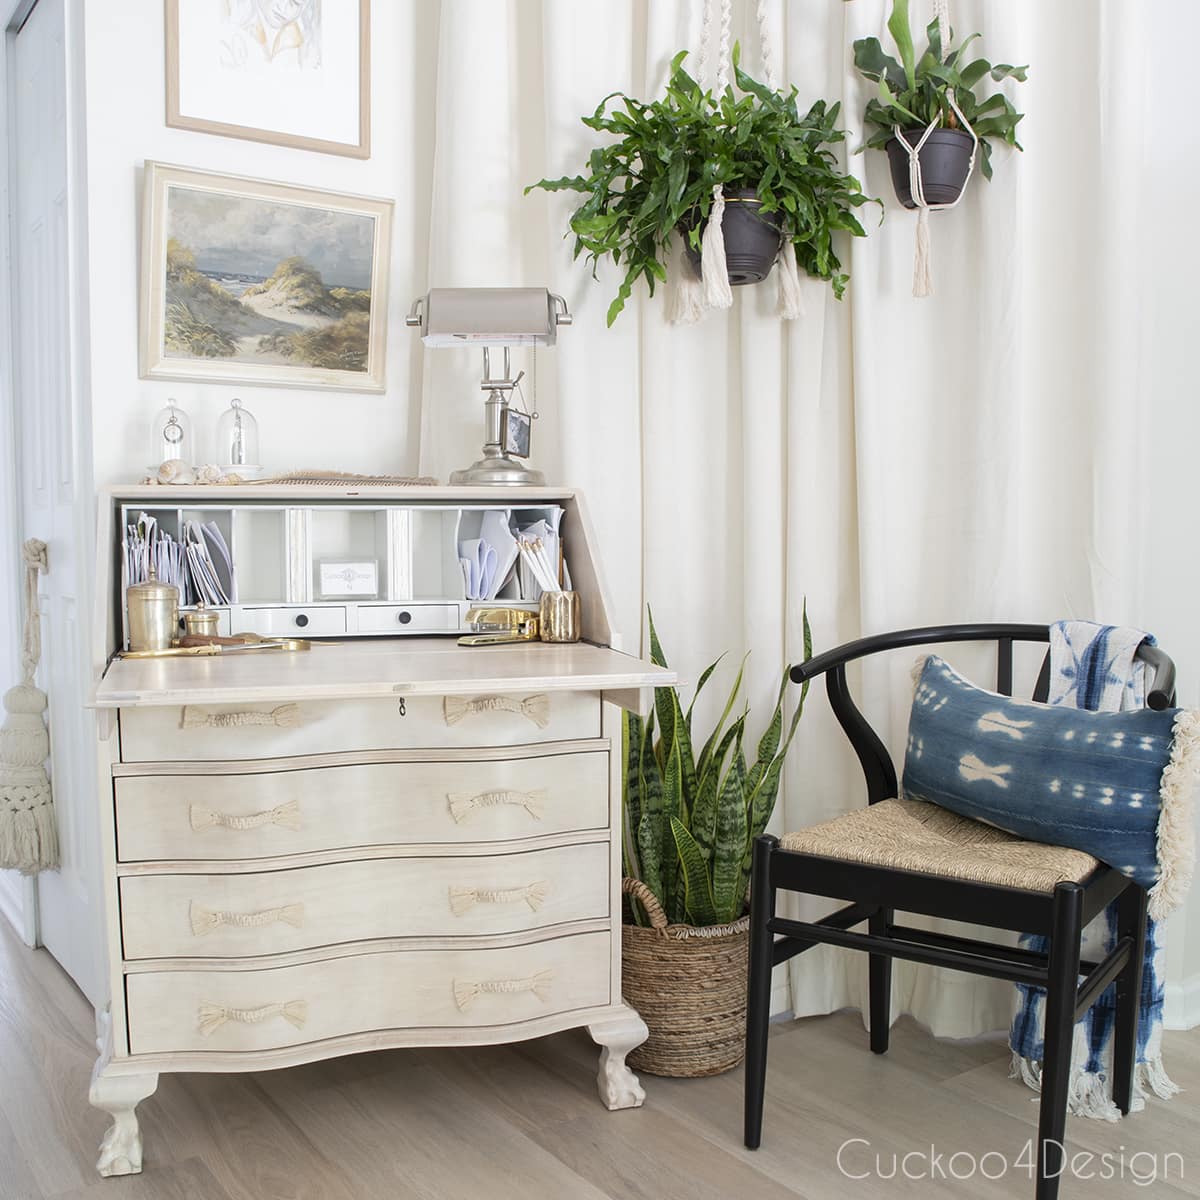
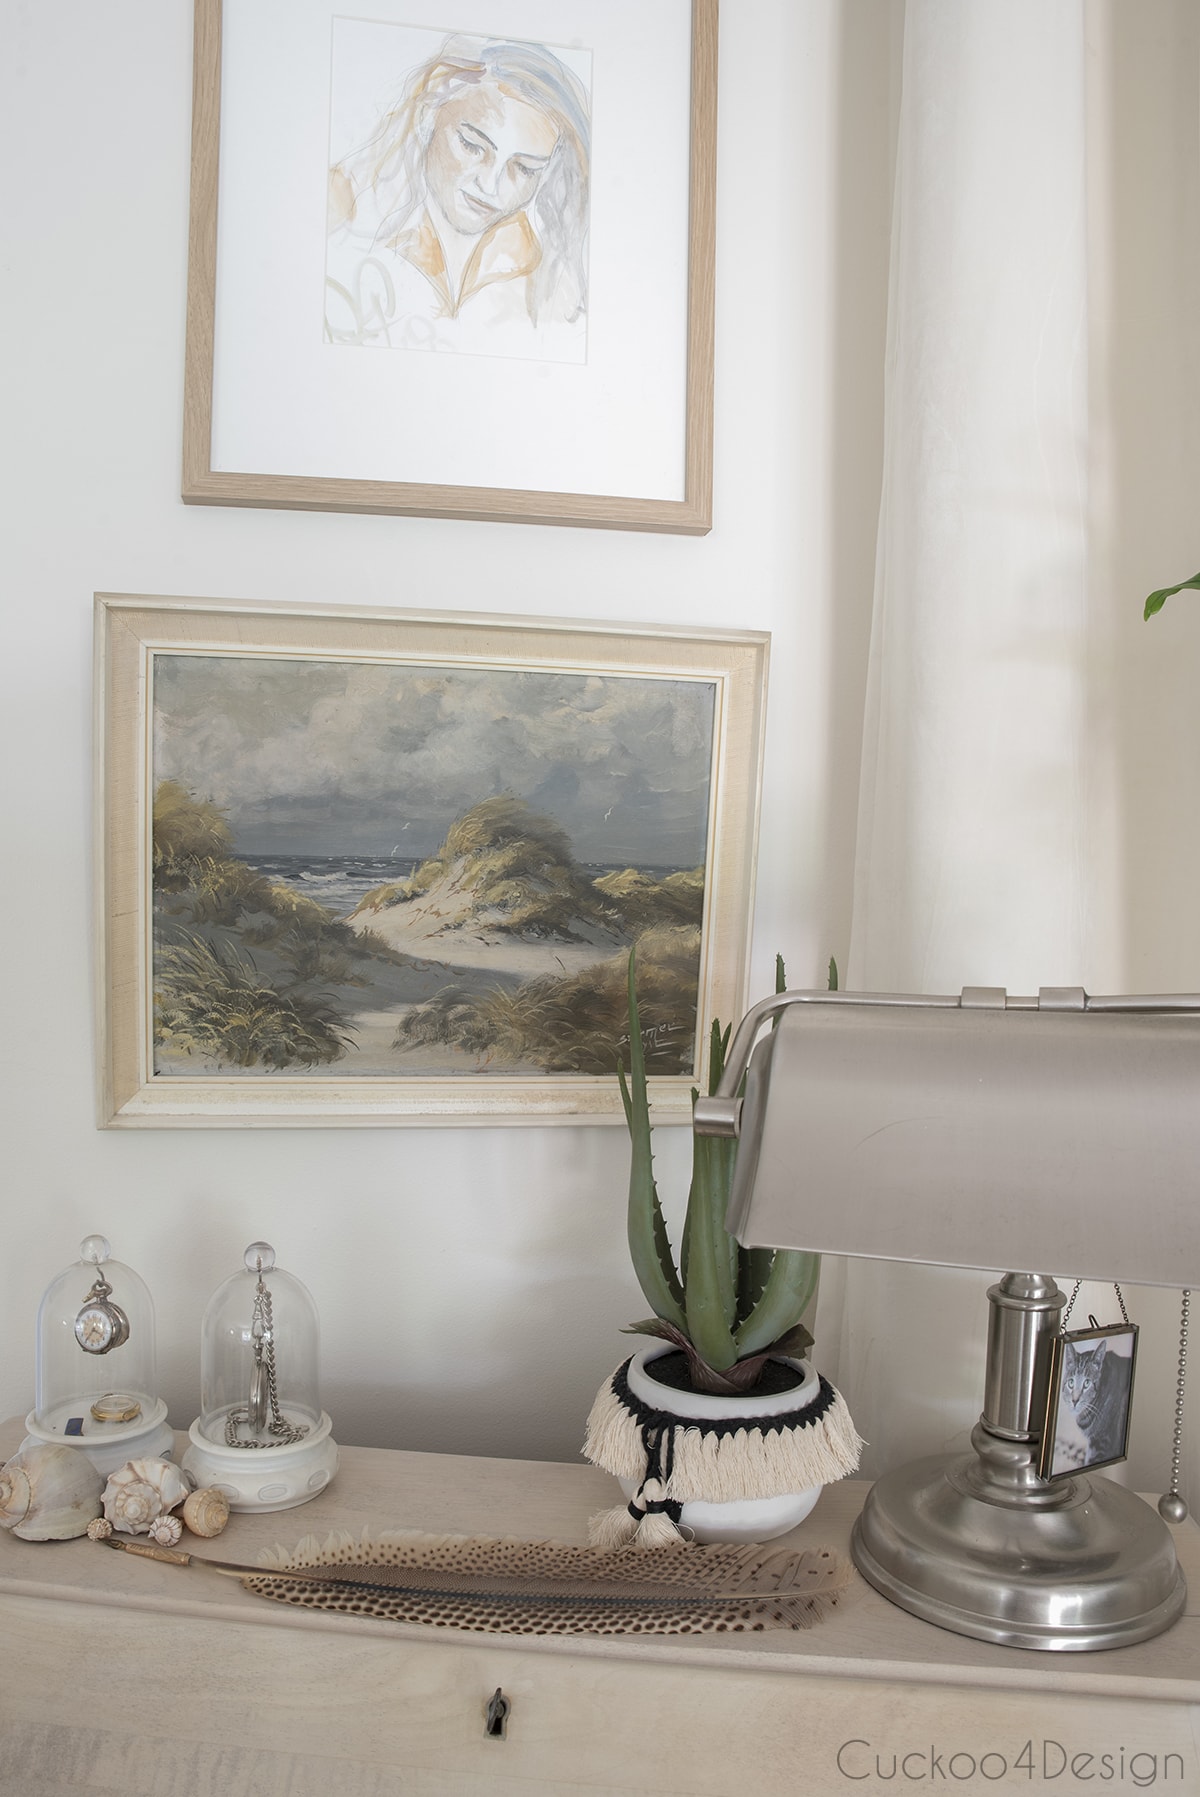
The painting is of a beach in Sylt Germany and belonged to my grandmother. It used to sit on one of my nightstands and I decided to bring it down here now because not many people got to see it up there. Not sure where I will put the Jugendstil mirror that was hanging there before which my grandmother bought me and that I also love very much.
The sketch above the beach painting is from my art school days. My friend sketched it of me and I found it the other day while digging for another piece of art. I love how the colors go with everything else in the room. My friend ended up killing himself after graduating and I’m honored to have it hanging here in the living room now.

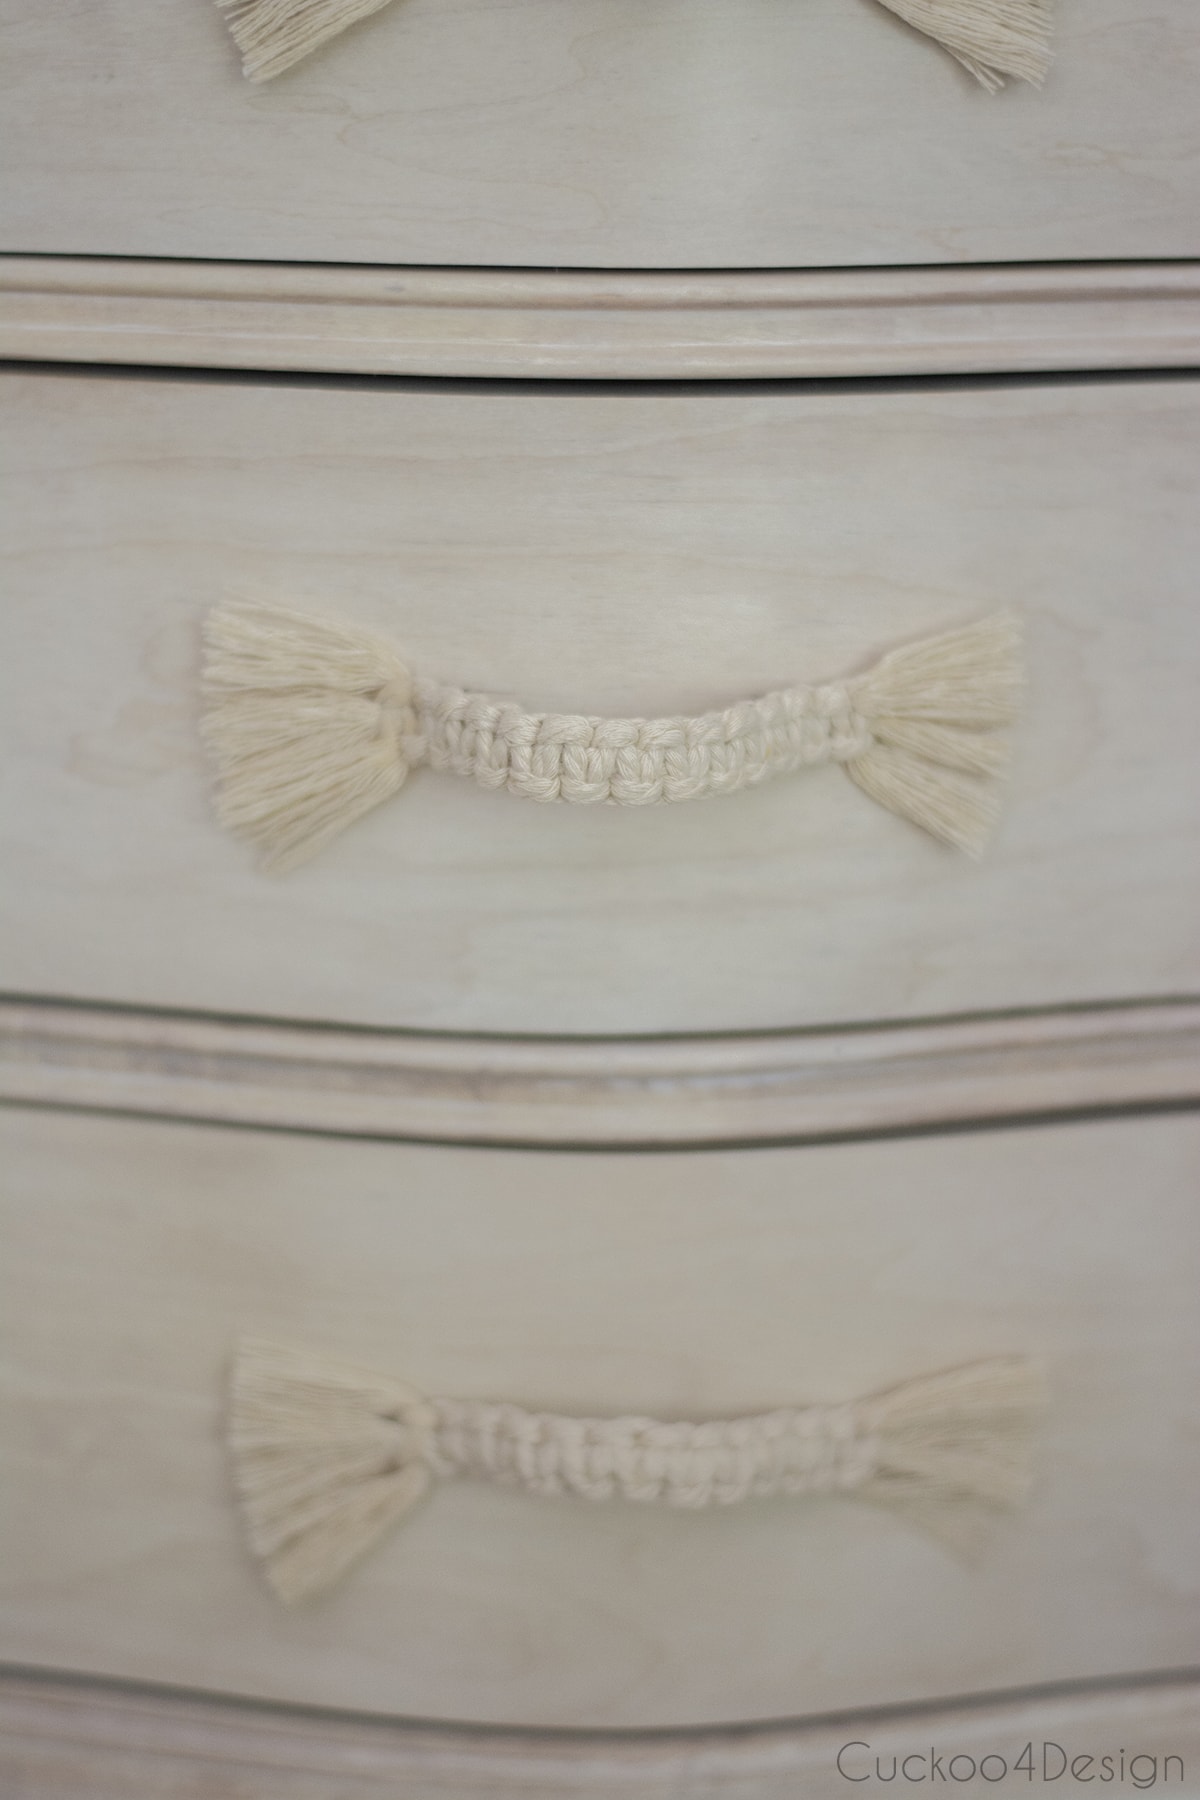
Here are the DIY boho drawer pulls I made from macrame yarn scraps for the desk which I wrote in another blog post about. Or you could also use my DIY leather drawer pulls.
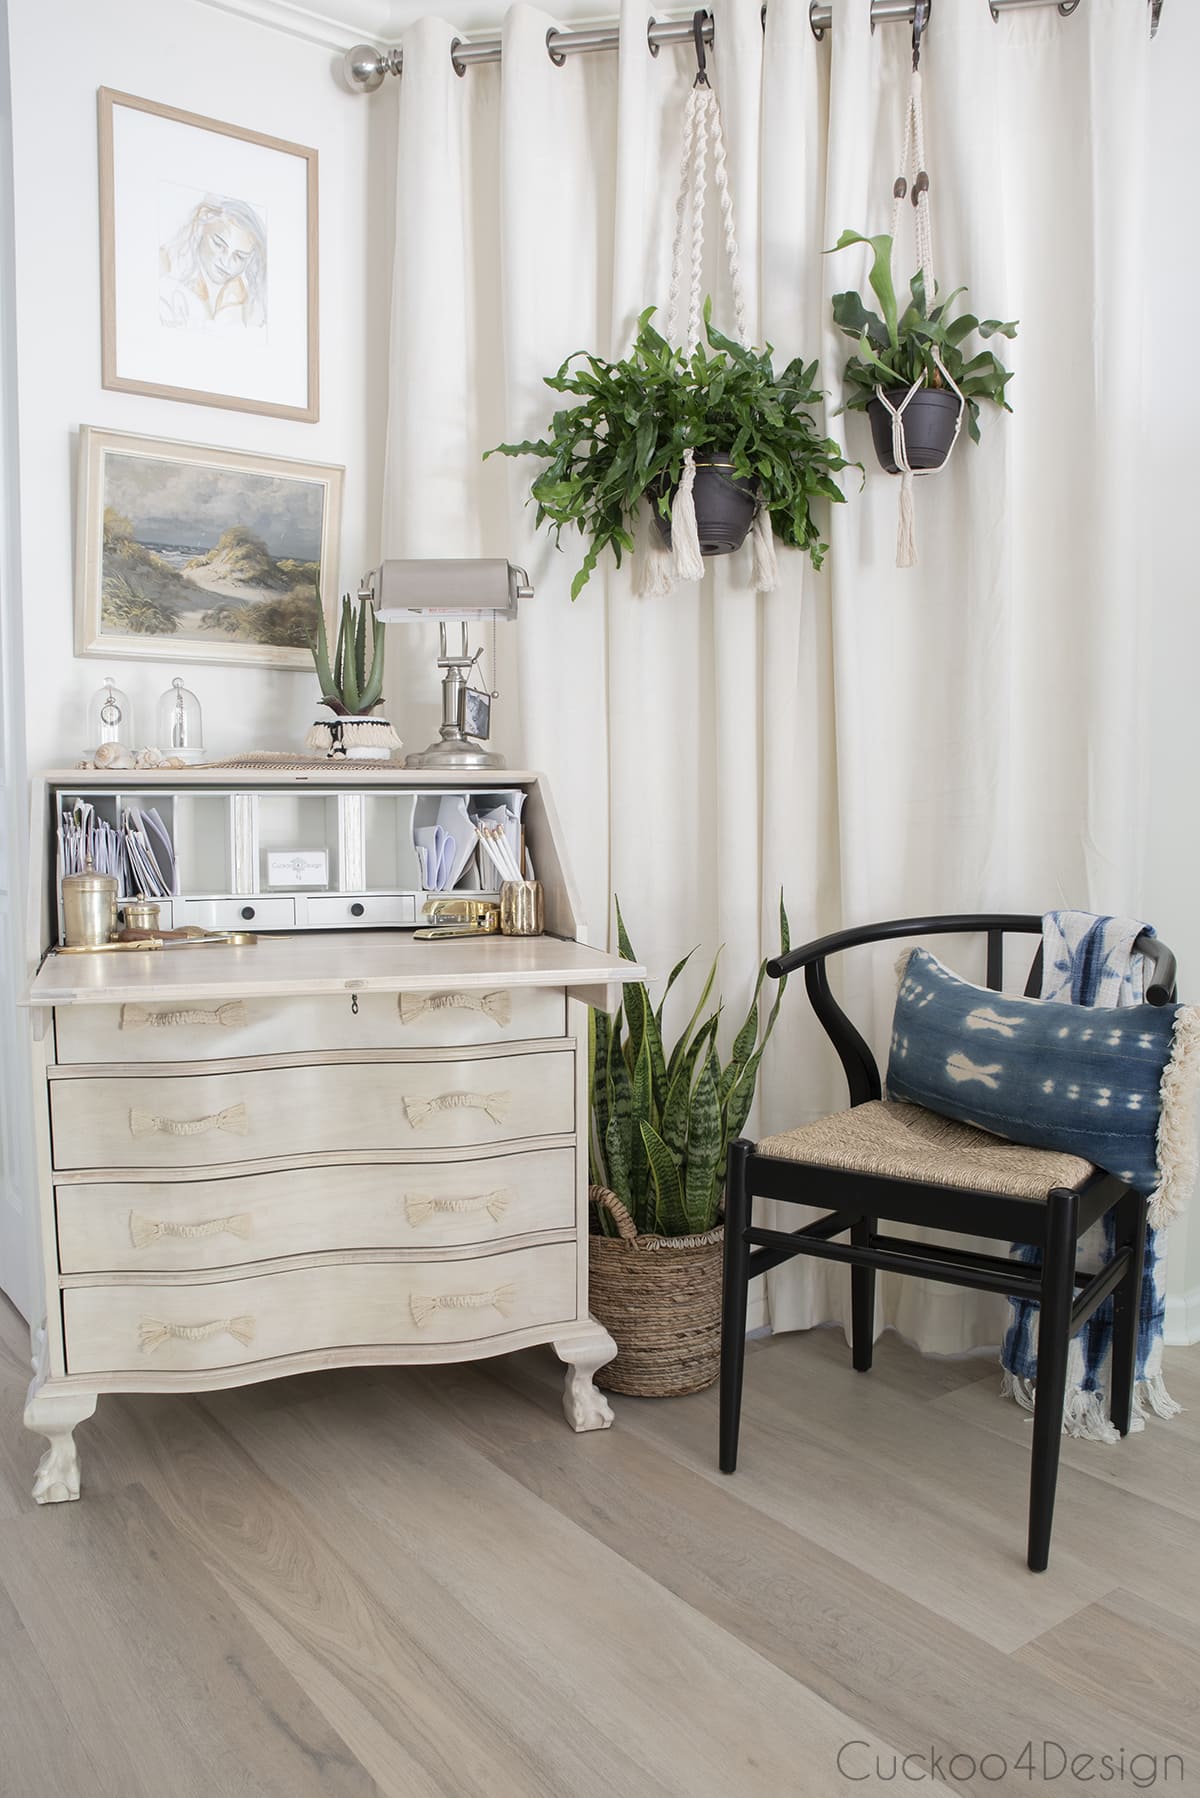
The inside cubbies are remaining painted white and I decided to also keep the black knobs since the chair is also black and I have other black accents in the room. The chair is an extra dining room chair that I need for the table sometimes.
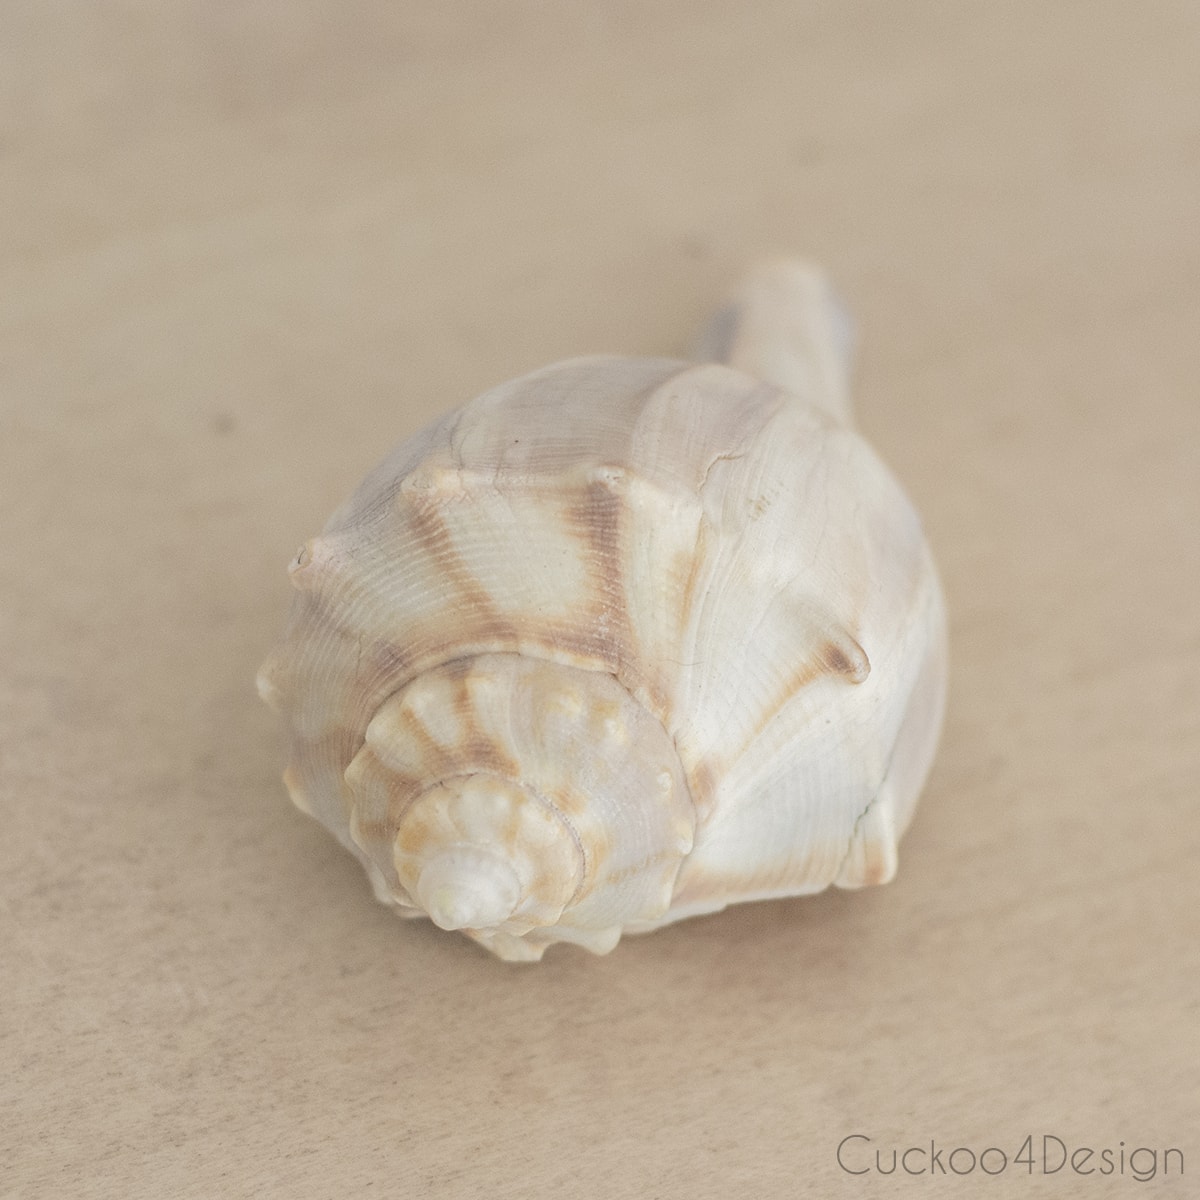
My favorite seashells kind of look like the wood of the desk now. My favorite thing to do at the beach is to go for long walks and collect shells.
Since this post is so long already I wrote a separate blog post about how I made the boho drawer pulls. I think they are probably the easiest and cheapest drawer pulls ever. So check them out!
Tschüß,


This looks amazing! Love your style…your place looks great!
Thank you so much Lori
I might be in the minority here but I absolutely love the bleached look of this desk. I do love cherry wood, but there is something very pretty and light with the bleached wood. Makes me want to try it witha couple of pieces I have in my living room, but I think they are pretty much all veneer and I don’t have the headvy duty sanding tools.
Thanks Susan, you should give it a try. It wasn’t all that bad. I’m sure you could do it to the veneer too
I expected leather drawer pulls but I should have known they would be macrame! Looking forward to your post and video on how to make. I have my grandmothers very traditional dresser and want different pulls but you are right they are pricey and I can’t find the right size. Desk looks beautiful.
Thank you! I tried the leather drawer pulls and I thought they were too pink for the desk. I wish the photos showed more how pretty the wood grain actually still is.
This is CRAZY COOL!!! I love love love it, Julia! You are a hard worker, too! 😉
Thanks Cassie, I’m glad I tackled and finished
I love the bleached color! You are so very talented and I am envious! I am so sorry about your friend, I had 2 best friends who killed themselves years ago and it is so sad. It breaks my heart that some people see no other solution to whatever is going on in their lives. Thats a lovely way to honor him by displaying his artwork.
Thanks Donna. He actually tried 3 times. It makes me very sad that nobody was able to stop him.
Julia the desk is gorgeous! You are truly an artist, every diy you apply your talents to, amazes me. Your website is so refreshingly different. I love your mix of old & new…the paintings and quill are lovely.
I’m sorry about your friend, how wonderful that you have such a special remembrance of him.
Thanks Kathie. That is such a sweet compliment! I hope I am teaching my kids to mix old and new and to treasure our heirlooms too
I LOVE the desk! I agree the style was too old fashioned for your decor, but with the beaching and lime waxing, it’s perfect. You did a fantastic job! I’m inspired to try something similar but I’m a little intimidated by the bleaching part. But the end result looks so worth it.
Thanks Michelle! Don’t be intimidated by the bleaching it really sounds scarier than it is. It’s not bad at all and quite satisfying to see.
love love it. I have one, looks over whelming with the bookcase on top, but Im gonna try it . so glad I didn’t paint it
Thanks Marian and good luck!
You did an amazing job, Julia. Totally amazeballs!
Well, thanks so much Heather.
You did an amazing job. I can appreciate the work as I did something similar to a coffee table with beautifully carved legs and it took a lot of patience to scrub off the stain. How’s the poly holding up on top of the wax? WIth the coffee table, I ended up white washing it with chalk paint for that same concern.
Thanks so much! The polycrylic is holding up really well.
Hi, beautiful desk. Since I’m not familiar with this process, can it be restained before the poly coat?
Sorry but I’m not sure.
Great job! Unfortunately, I prefer the original (as you bought it) only because it looks like birch to me, which is a much less expensive (although harder) wood.
Did your desk darken again over time or does bleaching keep that from happening?
It stayed the same light color as you see in my post. It’s been 5 years and still looks the same.
Very helpful to know – thanks for answering!!
Good luck
Hi there — I loved this much and am following the steps on a beautiful dining set I picked up antiquing. I was about to put the water-based poly over the liming wax but got all in my head about it not working (everything I have read says never poly over wax!). Anyways, I just wanted to follow up and see how this has held up over time! Any issues? I would really appreciate it. Thanks!
Hi Heather, to be honest… just leave the wax as is. I’ve tried that too and it holds up great.
Julia, I love your desk redo!! I have a cherry large desk and bookcases I would like to do. Approximately how long did it take you to do the desk?
Hi Julie, oh gosh that’s always a tough question. Had it not been for the claw feet, it would have gone much faster. It took me about 3 days where I snuck into the garage whenever I had time. Good luck!
This turned out so beautiful! I am looking to purchase a natural cherry wood round table. I was wanting to try to match some chairs I purchased that are more of a natural wood with a golden look. Is there any way to achieve more of a golden/natural look? I want to get rid of the pink. Thank you for any advice.
Hi Stacey! Getting rid of the pink tone is always hard. What helped for me was the lime wash. In its base form, limewash is off-white but alkali-resistant pigments can add a tint to it, so maybe if you go with a colored golden natural limewash?
This is so pretty! What did you use to protect it please?
It is just the white wash wax