How to install a marble subway tile backsplash
As promised I’m going to share how I installed my marble subway tile backsplash today. This post is part of our slowly progressing kitchen makeover. Previously I cut down our kitchen half wall so we could add a large countertop island and also added a nice thick kitchen counter post to the front of the cabinets.
It was a somewhat bumpy road but I got it done. I’m very proud of myself that I have installed it all by myself and it turned out fantastic.
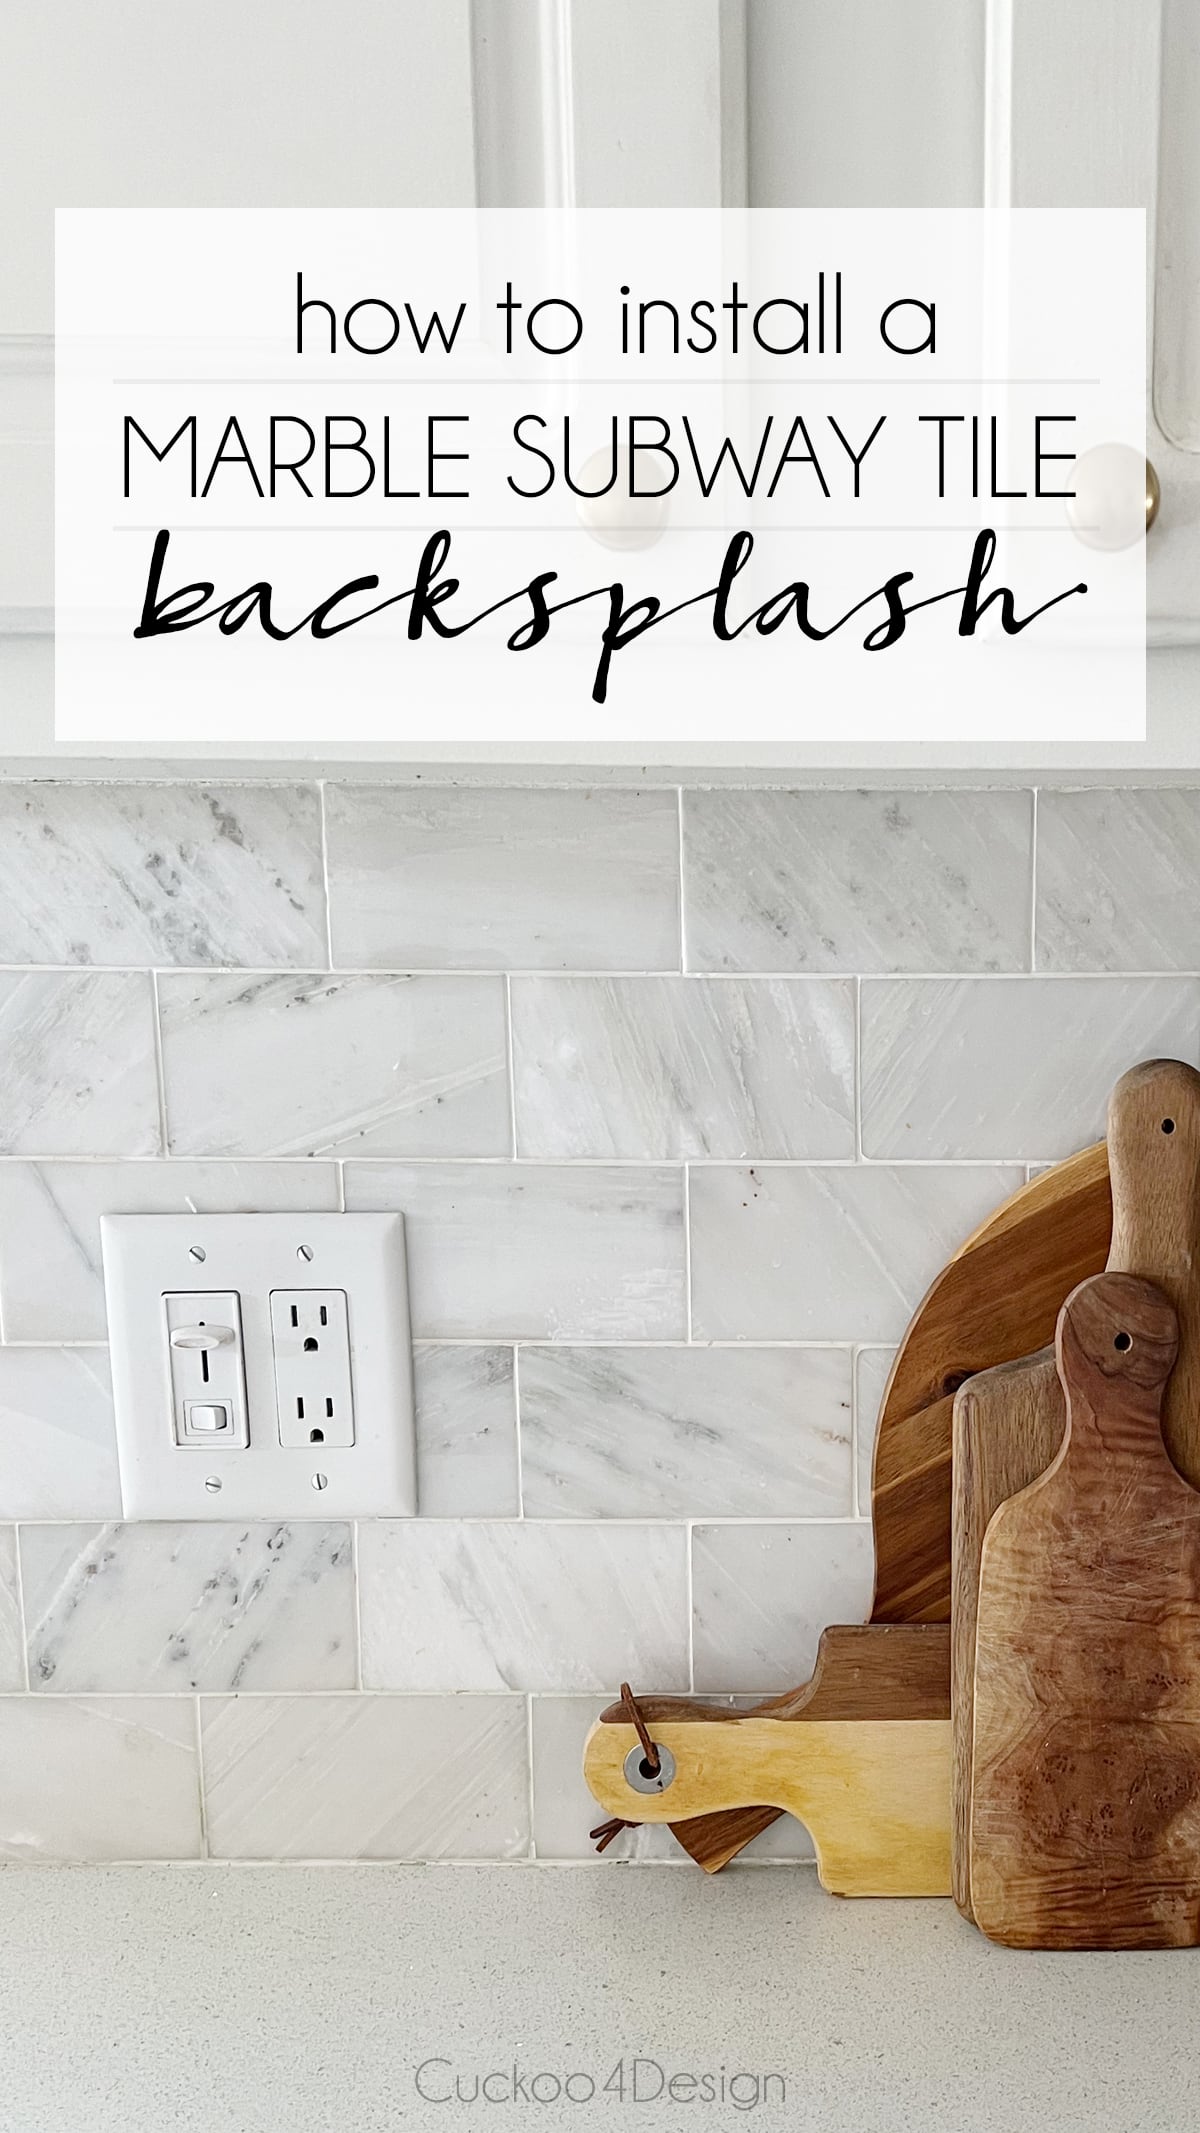
How to install a marble subway tile backsplash
This post may contain affiliate links from which I will earn a commission at no extra cost to you. View my full disclosure policy.
I’m not going to lie, I watched a ton of youtube videos on how to apply a tiled backsplash. There are lots of knowledgeable handymen out there with awesome video tutorials but I hope I gathered enough information for you in this post that you don’t need to do your own research.
A tile calculator helped me so much to figure out the square footage and how many marble tiles I would need for the project. It’s also always better to buy too many which you can return later than having not enough and them being sold out.
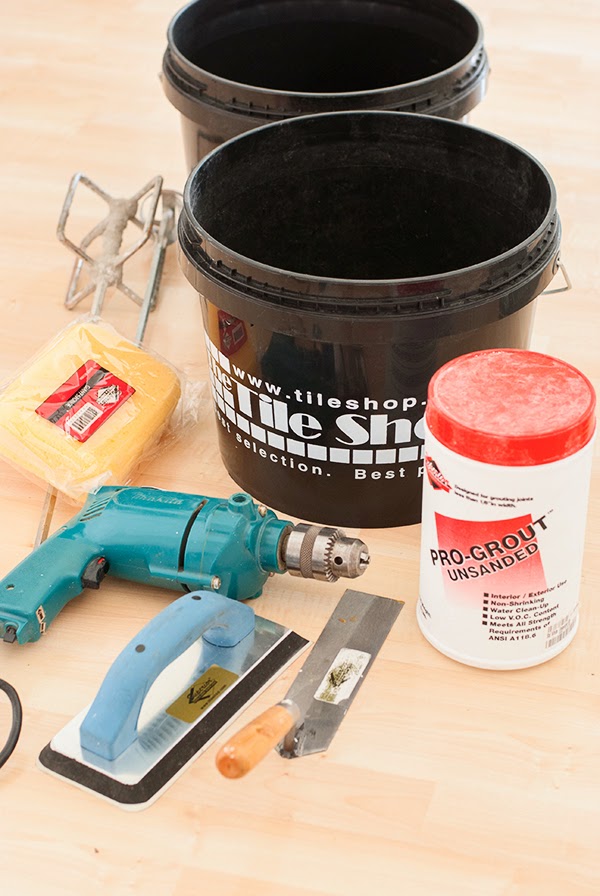
supplies and tools used:
- honed or polished marble subway tile (I used Hampton Carrara Polished 3″ x 6″ subway tiles or HERE)
- tile wet saw
- I used 1/8-inch tile spacers
- tile caulk
- unsanded grout (I used bright white since my cabinets and walls are bright white)
- grout sealer
- electrical receptacle box extension ring
- pencil
- ruler
- level
- thinset
- bucket
- grout sponge
- grout float
- notched thinset trowel
- drill and mixing paddle
- rubber mallet
- eye protection goggles
What is the difference between honed and polished marble?
When marble is polished, it creates an extremely smooth surface that allows to reflect light.
Honed marble is the opposite and has a dull finish that doesn’t reflect light.
Honed marble tends to be more durable because if it gets scratched, the scratches won’t show as easily as they do on shiny polished marble. Polished marble can be honed but it’s best to have a professional do this job since it isn’t an easy job.
So why did I pick polished marble subway tile for my backsplash if honed is more durable?
Well, it was available at the time and I figured that a backsplash doesn’t get much wear and tear. Update: We’ve had it for 7 years now and it still looks great. It was a good choice for us in the end.
I chose a marble countertop for our powder room and in that case, I picked honed marble.
marble subway tile backsplash installation instructions
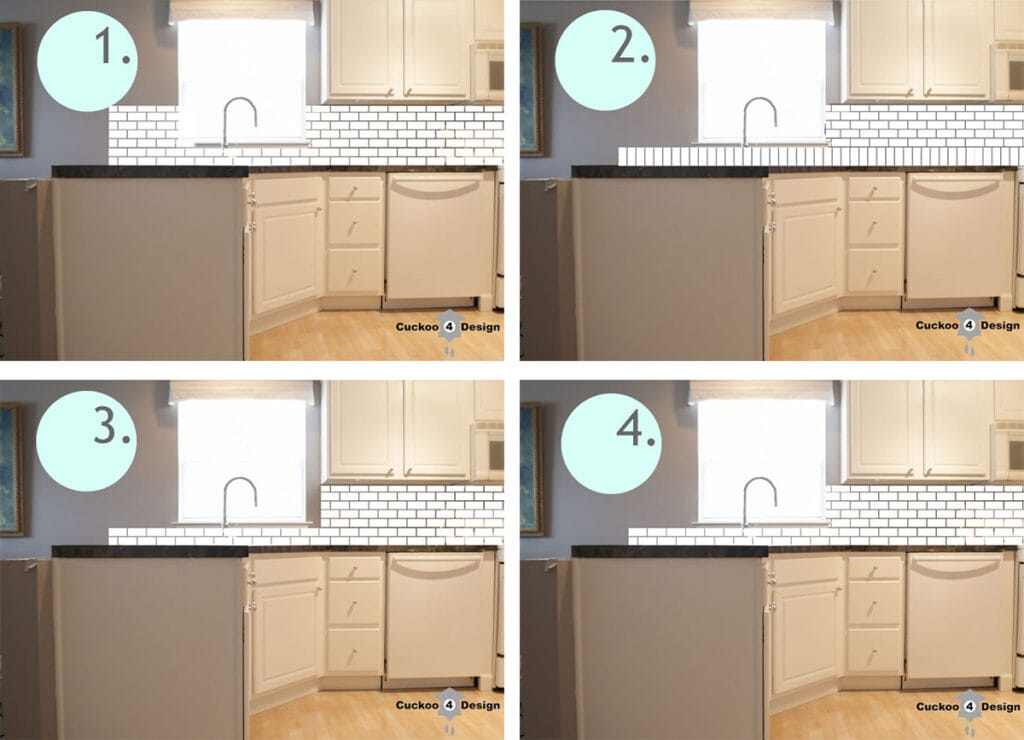
Before getting started, I had to decide which on how I wanted to lay the tile and how I wanted to end it to the left of the window. Below you can see 4 different options.
While most of the time you see option number 1 done in similar kitchens, I decided on option number 4.
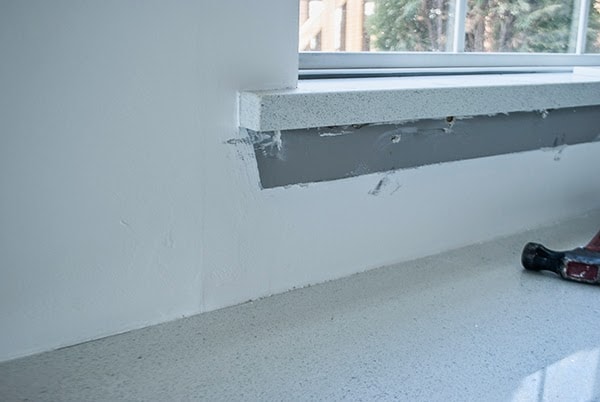
Then it was time to remove the molding under the window that I installed last year when I was convinced that I didn’t need a backsplash. Haha, what was I thinking!?!?! I’m glad I waited though.
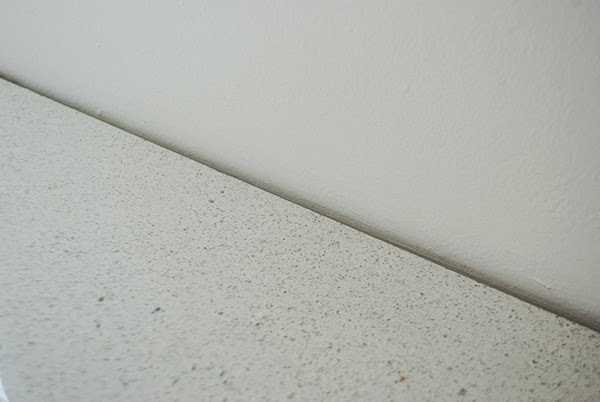
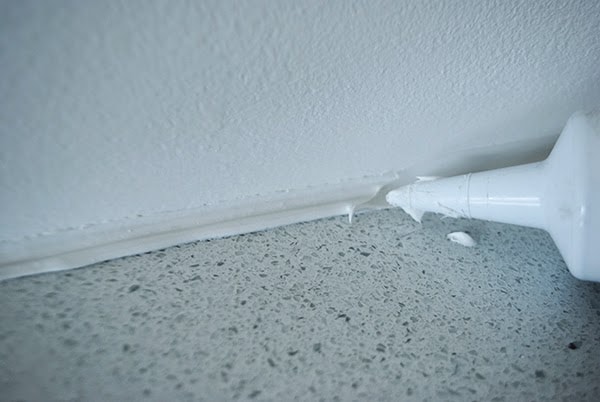
Then I caulked the gap between the wall and the countertop. There was a pretty big gap!
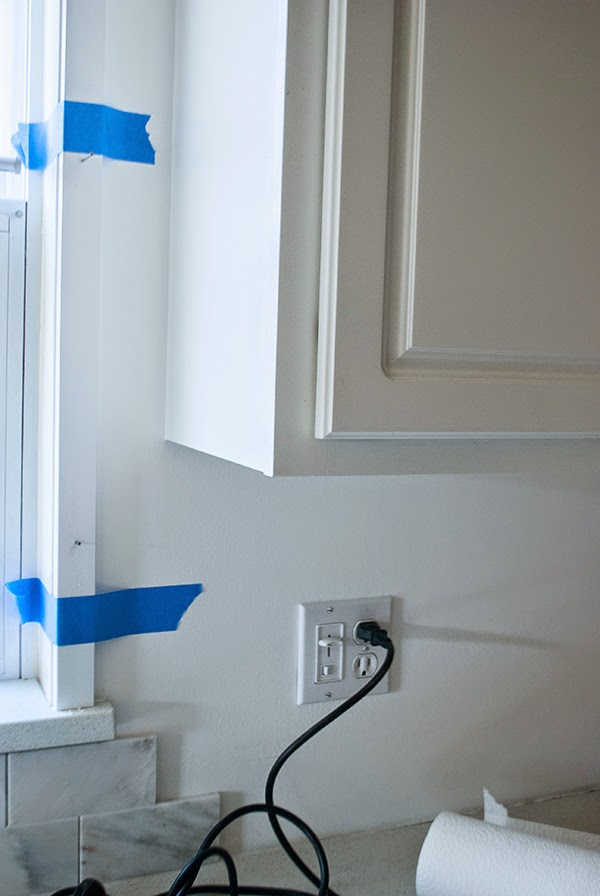
I installed some molding around the upper part of the window.
Those tiles are only leaning against the wall by the way to try it out.
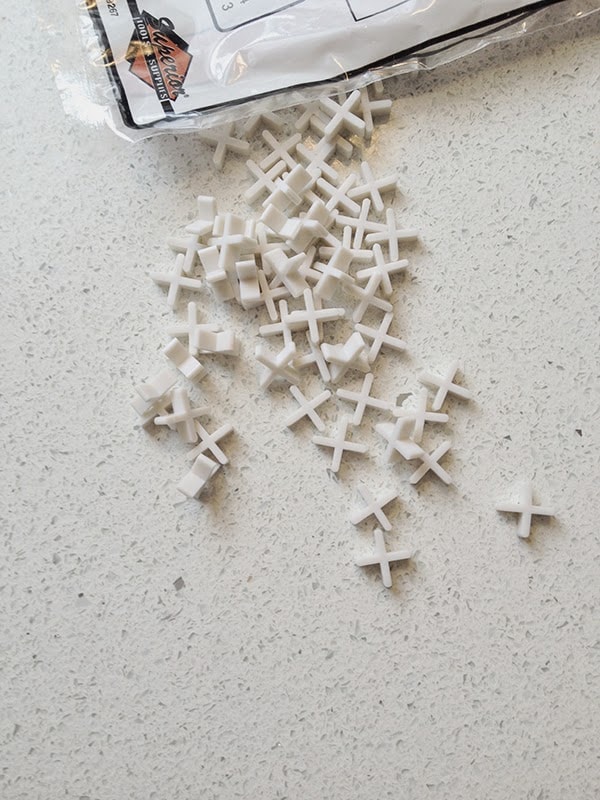
Below are some of the 1/8-inch tile spacers that I used.
Usually, you find the center of the area you want to tile and tile out from there but since the edge of my counter is so “in your face” I wanted to start from there. I had tried it out first too by dry laying the tile, which is certainly recommended. The left side is more visible in my kitchen and I wanted to end the tile in a less visible tile by the fridge and behind the coffee maker.
This way you can also figure out if you need to move everything a bit to avoid awkward cuts around outlets and molding.
Use the level to draw a line for where you are beginning to lay the tile.

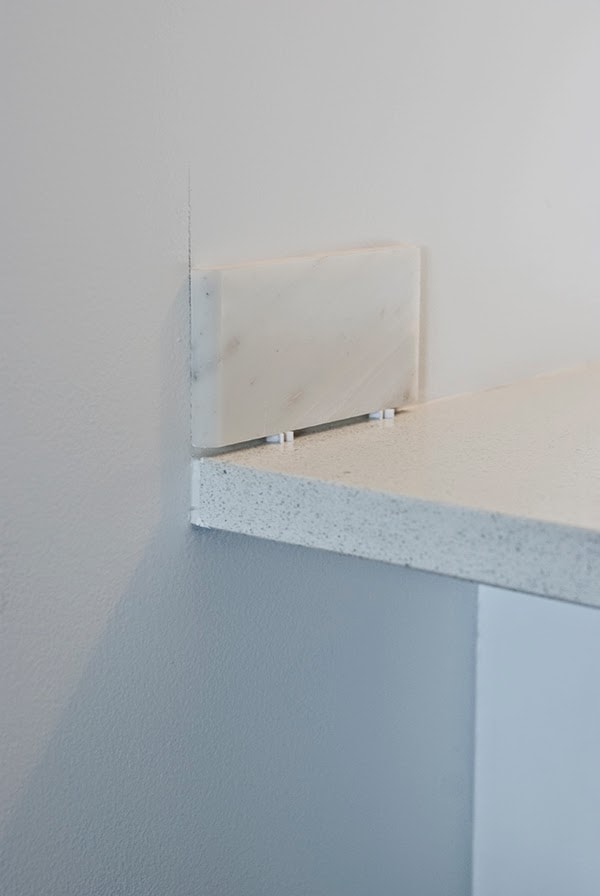
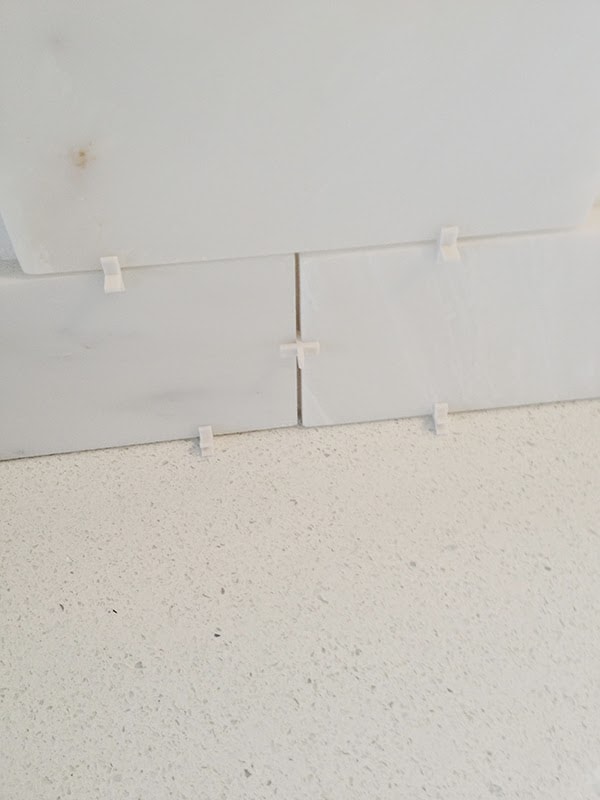
I spread the mixed tile adhesive on the wall with my adhesive spreader and in tight spaces, and put it right on the back of my tile.
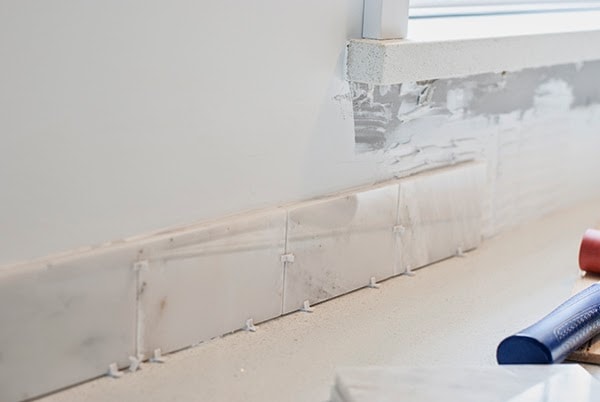
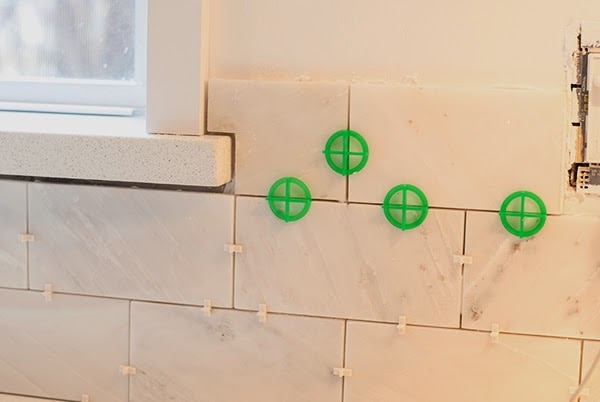
I had to buy more tile spacers along the way and those large green ones were all I could find, but they worked great. It just shows that you can easily use both types.
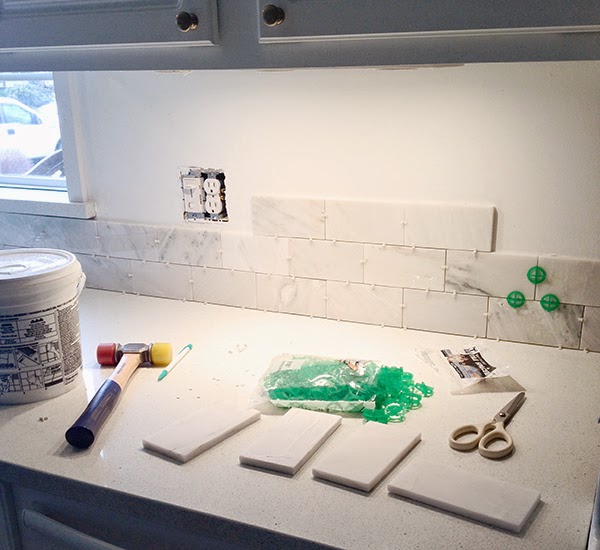
I had to cut around the window. Which was actually not that bad.
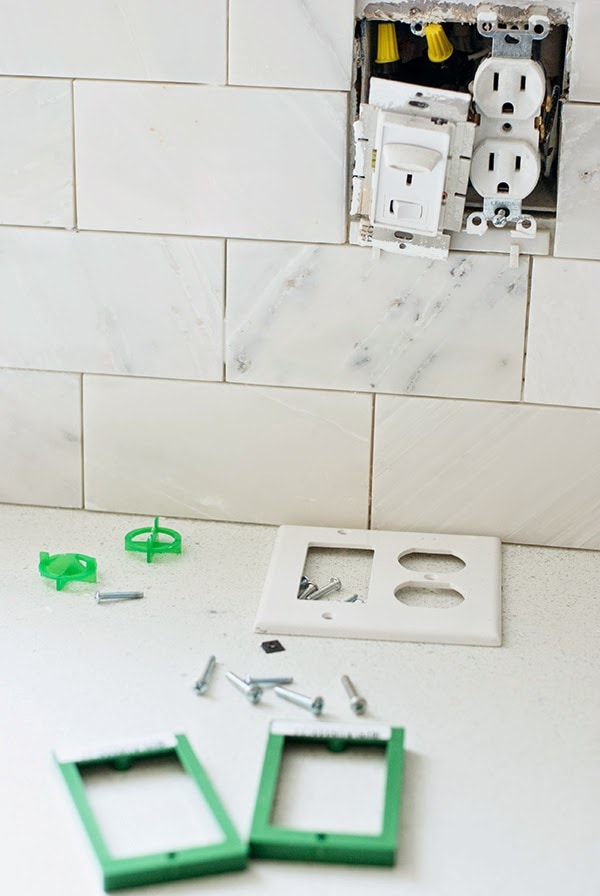
Don’t forget to turn off your electrical outlet when working on and around it!
The outlets and light switches were a little harder to cut around. I also had to use receptacle box extension pieces for the outlets to make them flush with the wall again. The reason for this is that the existing outlets are flush with the drywall and when you add the tile to the wall, you can’t screw the faceplates back on because the outlets are set too far back. When you add the extension pieces to the outlet box, you can easily screw the faceplate back onto the outlet.

I added a piece of wood (or I should call it leftover molding) under the stove section to support the tiles while drying. I simply nailed it in the wall and it didn’t have to be super sturdy either but it did the job. (After I was done I removed it again.)
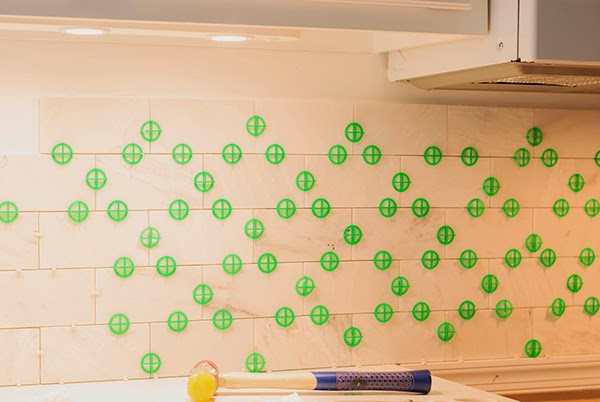

The rest went pretty smoothly. I also used a rubber mallet to tap the tiles into place.
Occasionally I needed some painter’s tape to keep tiles in place.
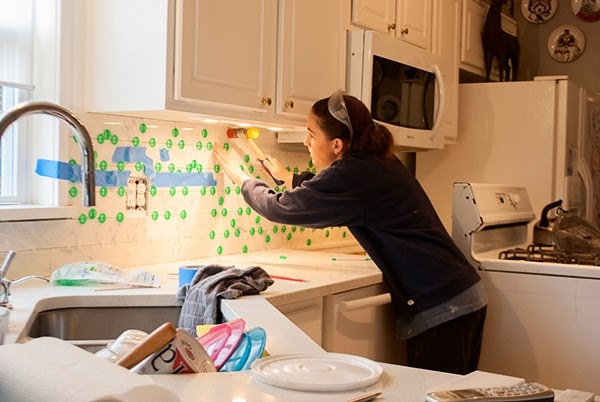
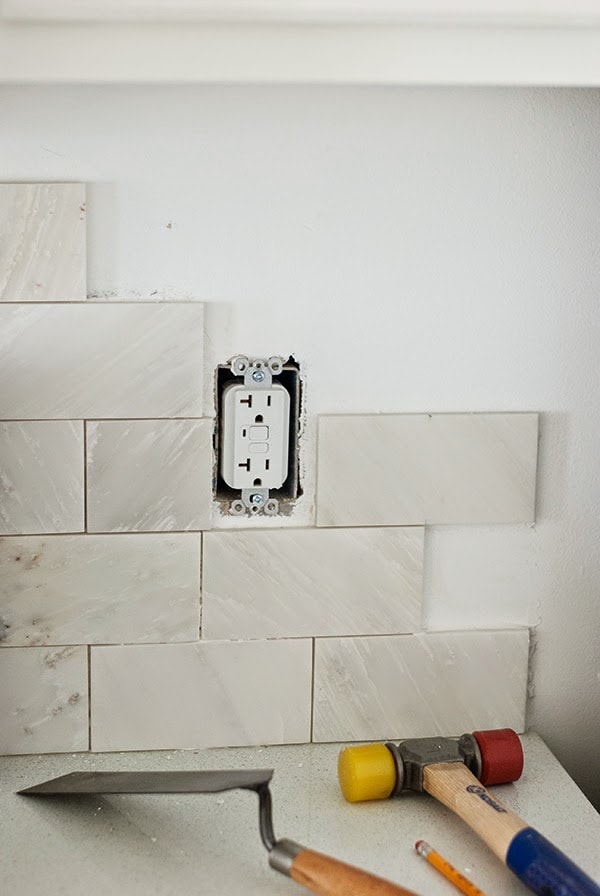
And back to cutting the tiles. I used a wet tile saw. This photo was actually taken two days after I started the project.
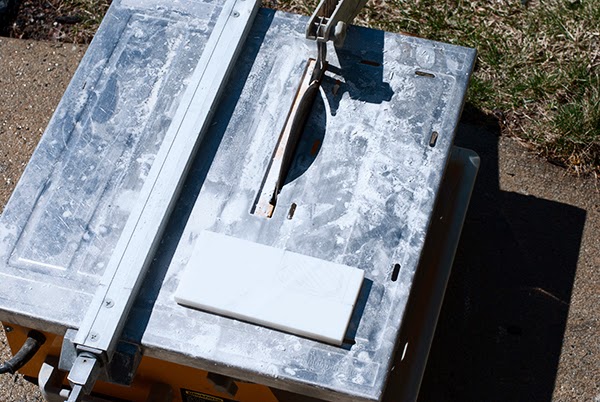

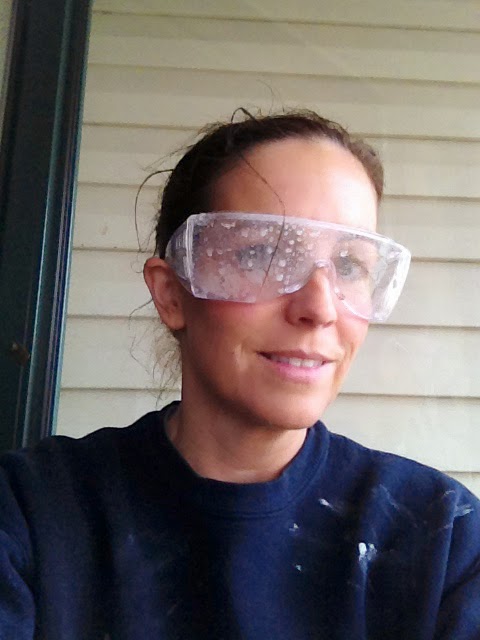
I actually couldn’t take any photos of me cutting the tile on the first day because this is what I looked like.
Not only was the water splashing everywhere from the saw. Nope, it was also pouring rain. I wasn’t going to carry my camera out there and have it get ruined.
After the tile adhesive was set for 24 hours, it was time to do some grouting.
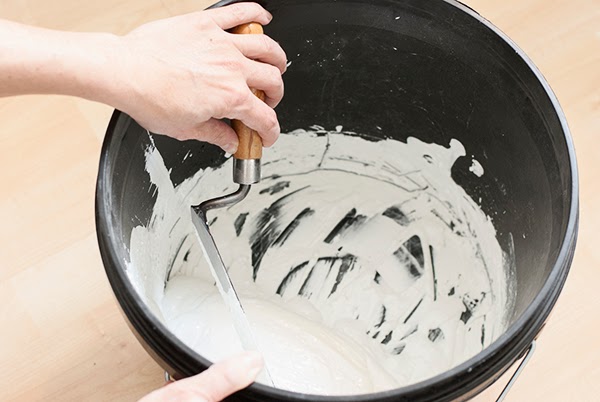
I mixed the grout according to the package and then applied it to my backsplash.
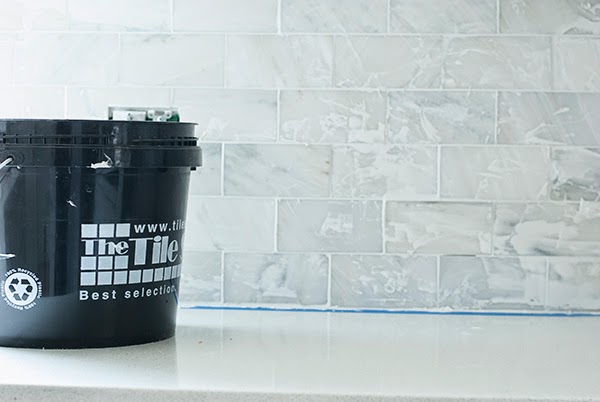
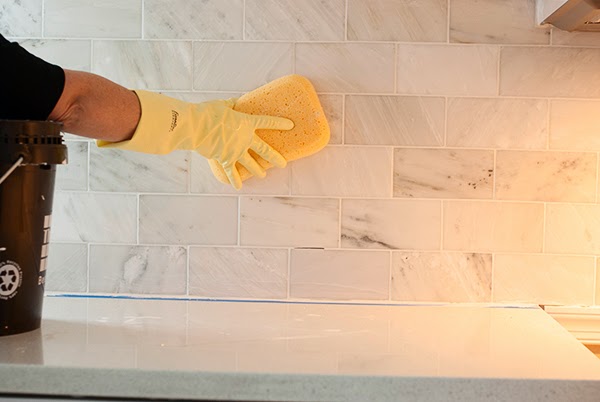
You need to wipe the access and after letting it set for a little you can wipe and buff the wall tile with a haze remover.
When the grout has dried for a couple of days, apply the grout sealer according to the manufacturer’s instructions. For that job, I use a small artist’s brush and I tried really hard to not apply too much all over the tile and keep it within the grout lines.
One more thing…I actually bought an old stove on craigslist for our kitchen. It was a total nightmare. People on Craigslist are just so shady and untrustworthy. That’s all I got to say. I’m still so so angry. I might write a post about it some other day. (Update: I gave our old stove a makeover to turn it into a high-end looking colored stove)
In case you are wondering why I didn’t buy stainless steel appliances. Well first of all we have a very tight budget. And second, I don’t even really love the look and taking care of the fingerprints on the appliances. They aren’t easy to take care of.
The tips that I have learned along the way while installing the marble subway backsplash
- Lay your tile out ahead of time so you can come up with a plan.
- Work in small sections at a time, don’t just spread the adhesive all over the place because it might dry before you can add the tile
- Don’t forget to seal the grout!
- Make sure you have enough tile ahead of time (A tile calculator helps a lot!)
- Practice cutting a spare tile with the wet tile saw ahead of your project.
- Make a template out of cardboard for difficult cuts. It helped me a lot.
- Store some extra tile for emergencies!!! This is my number 1 tip for sure. Our microwave above the sotve broke and we couldn’t find the same size no matter how hard we looked. We ended up with a gap that had to be filled with tile and I was so glad to have had extra tile in storage at home.
photos of finished backsplash
Our kitchen makeover has not been a giant before and after but has progressed slowly over time. It’s definitely not how it is on other blogs or on TV where there is a brand new kitchen suddenly in a matter of a couple of weeks.
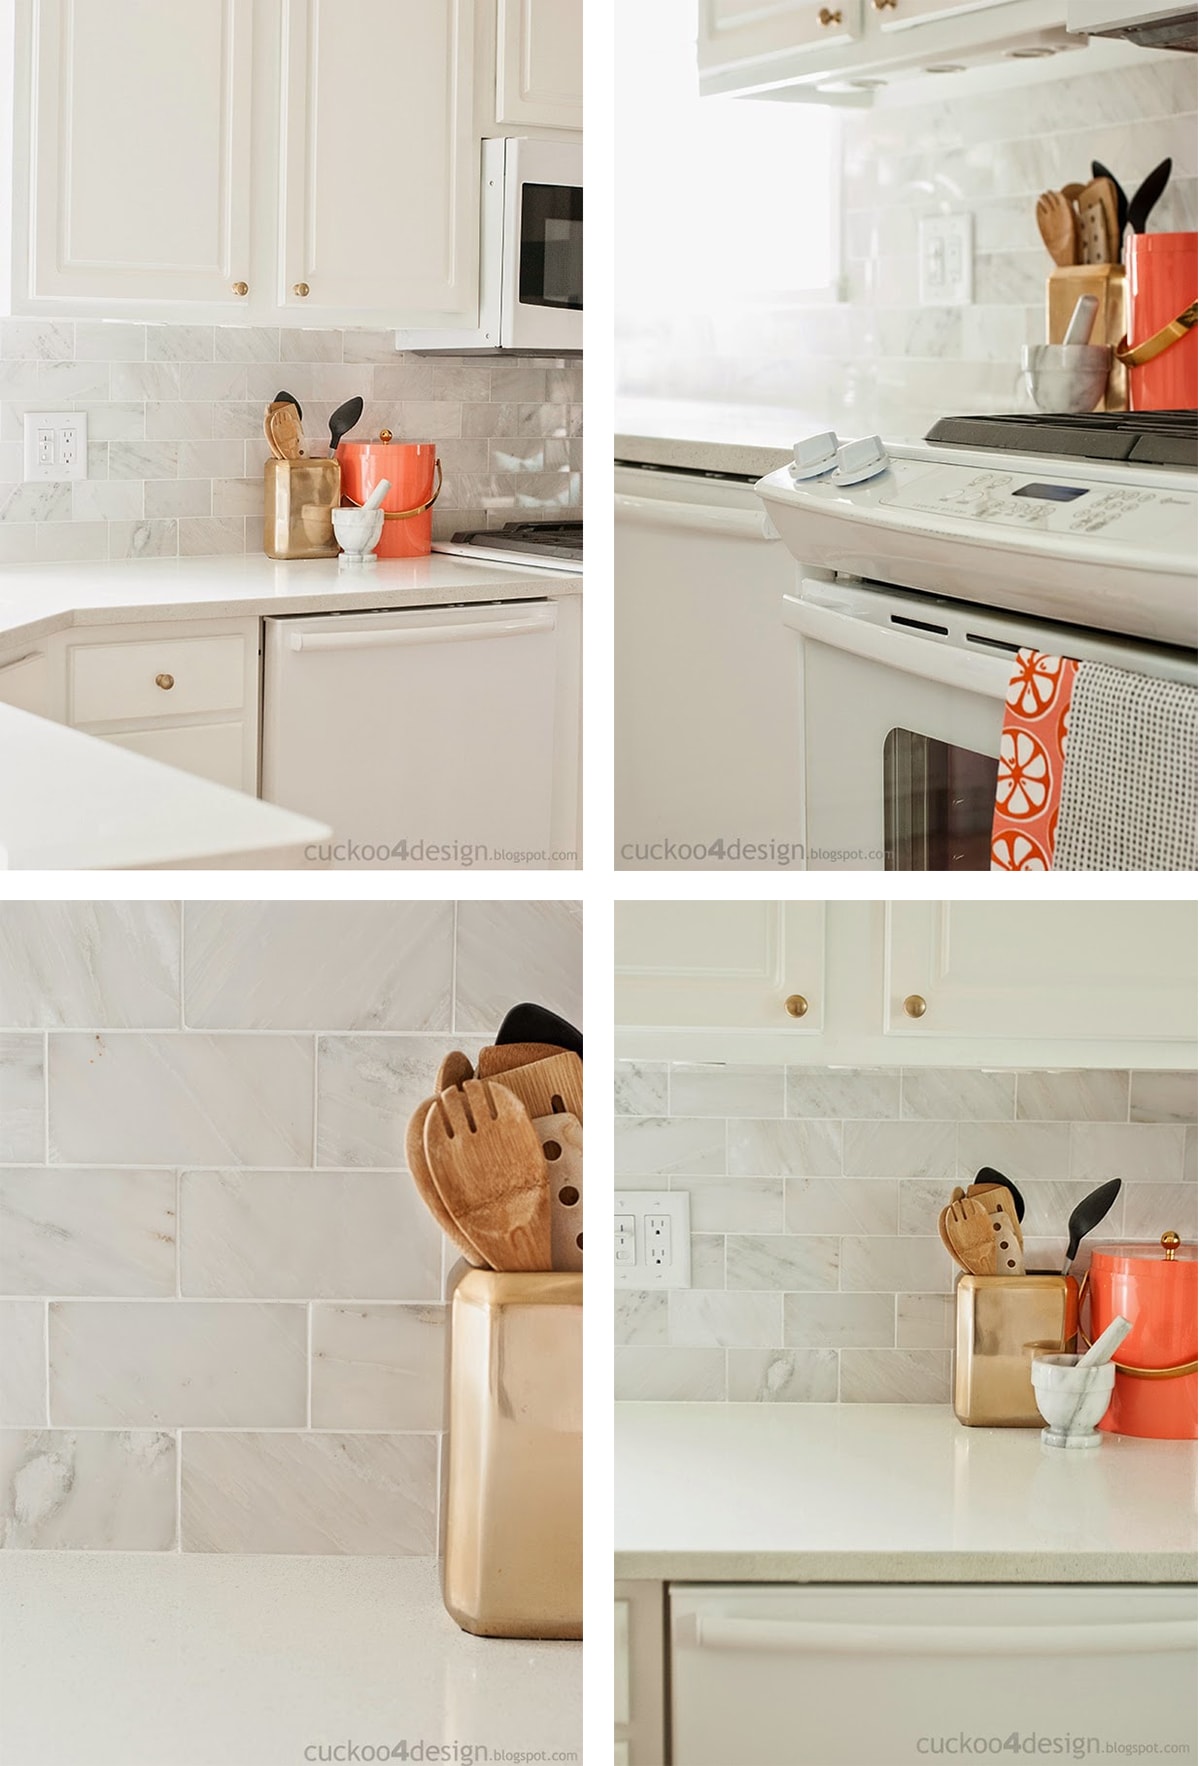
Below you can see the white marble backsplash right after I finished it with our mostly white kitchen. Carrara marble has such a beautiful classic look. I don’t think I will get tired of it any time soon.
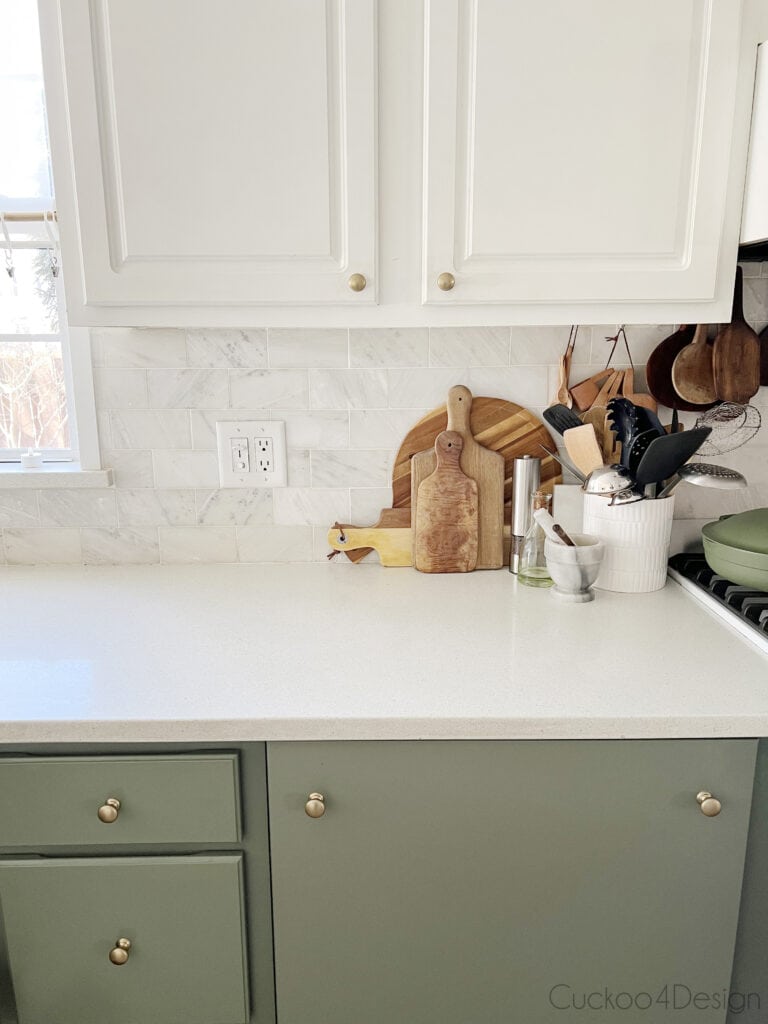
Since then things have progressed again and I have updated the floor with vinyl planks, painted the cabinets green, and as I mentioned earlier, gave our dishwasher and stove a makeover as well.
Also, check out my stylish high-quality DIY wooden drawer pulls I made for the above-mentioned makeovers. Such a great way to update your cabinet hardware without spending much money.
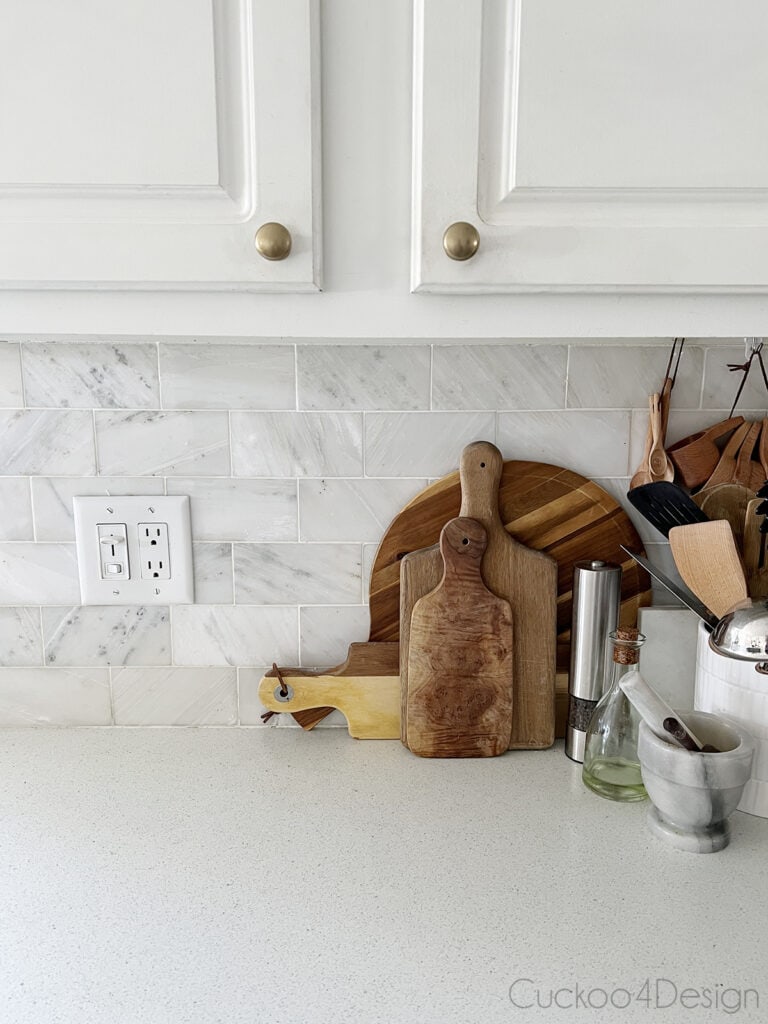
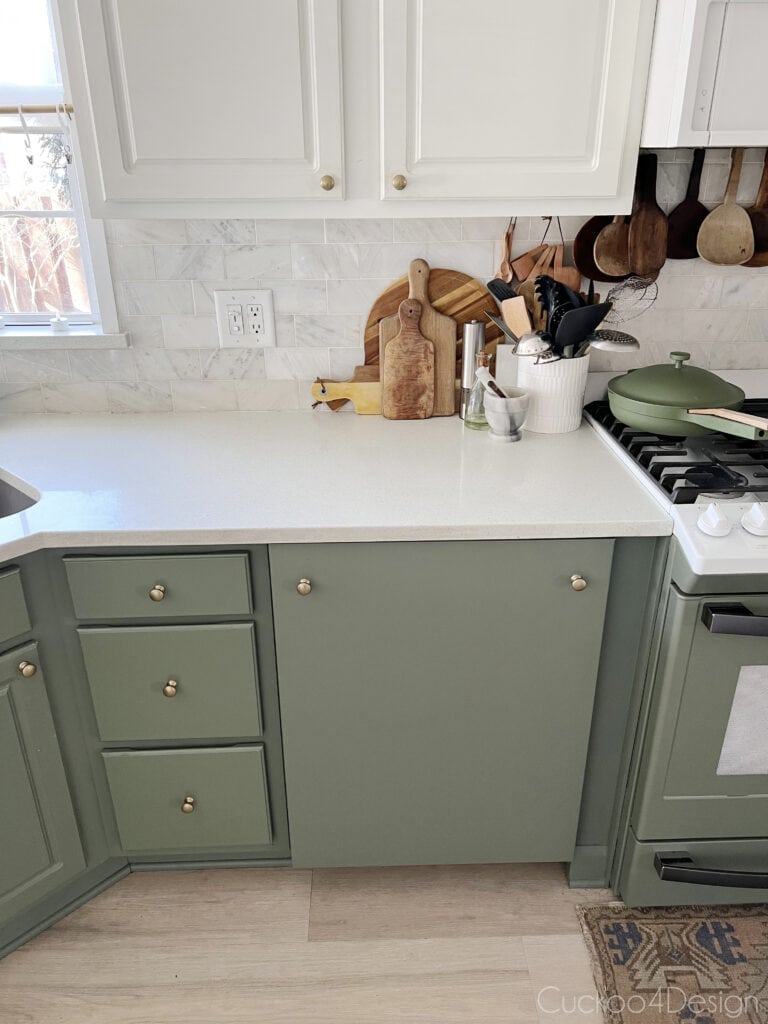
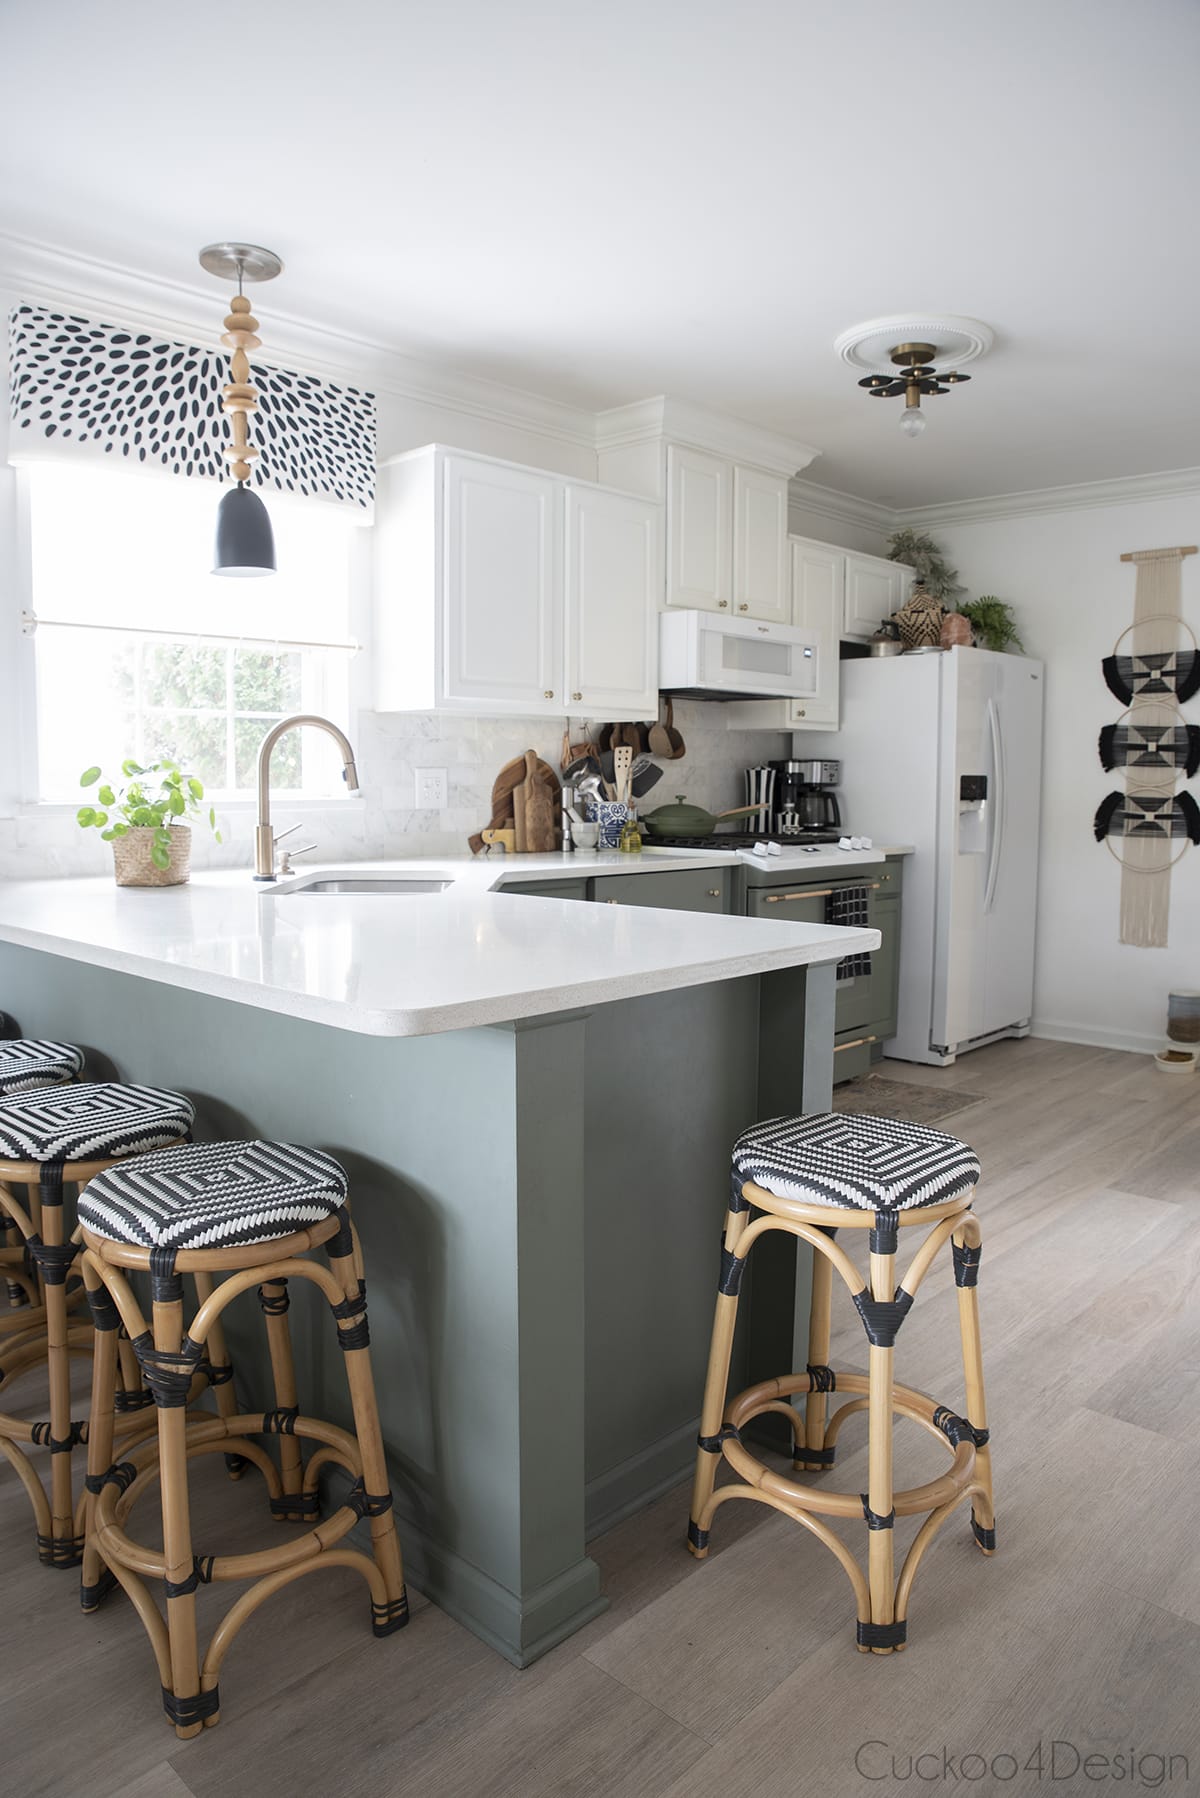
Can you believe that this is what our kitchen used to look like years ago? The transformation was a slow process but I had a vision and stayed focused on that. One of the things I’d still like to do is run all the cabinets to the ceiling. But even without that detail, we are super happy with our kitchen at this point.

I also recently wrote a blog post about updating a kitchen without replacing the cabinets. I’m sure you can find an idea to use for your kitchen remodel.
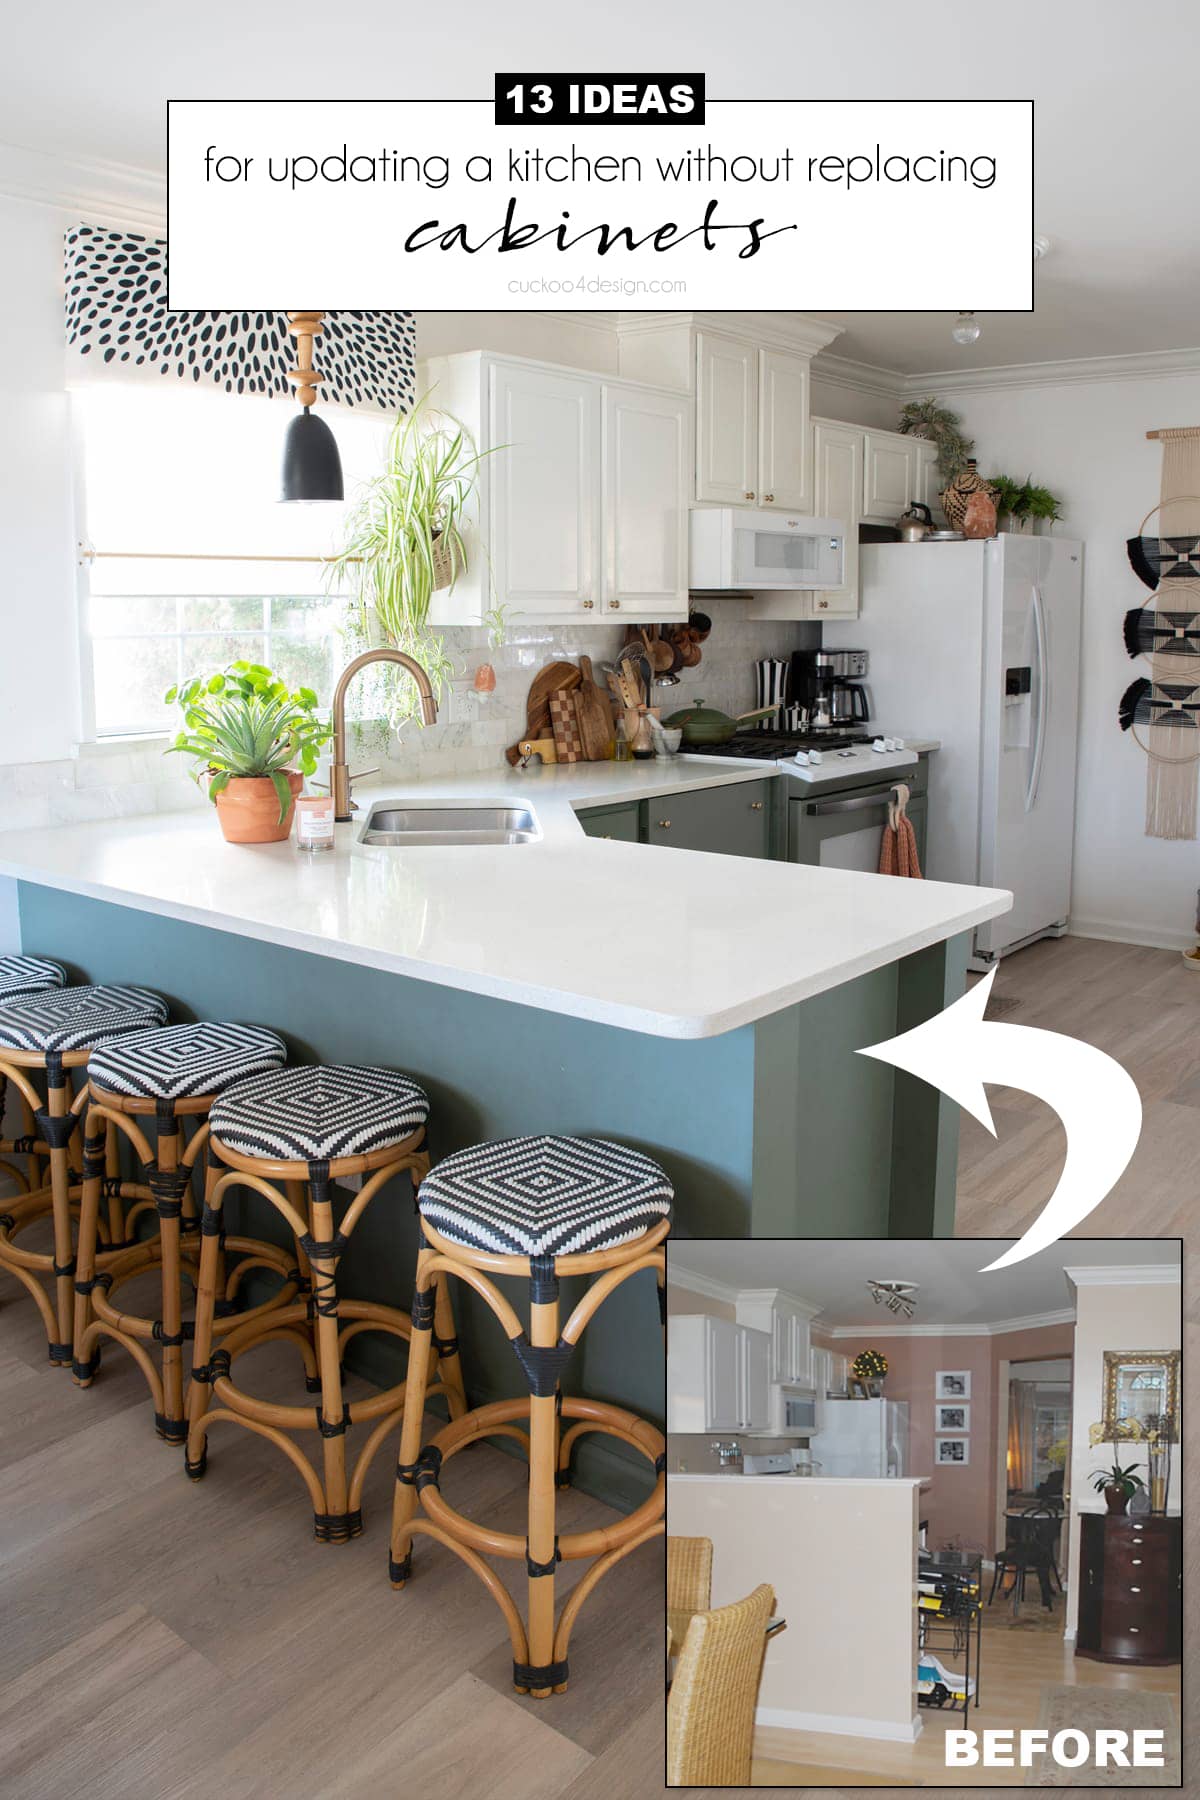
So what do you think? Are you going to tackle a project like this any time soon?
You might also want to check out my installation and review of cheap peel and stick floor tiles which could also be used as a backsplash.
Tschüß,


fabulous job! it looks so gorgeous! i am so glad we sorta did it together! 🙂
You make it look easy!
I’m impressed you were all woman power on this! It looks so good!
Wow… super impressed that you did it all on your own. I’m not sure I could have pulled that off! Looks amazing!
I think you are doing my dream kitchen. The tile is beautiful.
You rocked that tile water! So impressed with how professional it looks!
Kelly @ View Along the Way
It looks great Julia! You’re a rock star!
You did a great job….looks lovely!
Stunning! I love the tile you chose. Grrr…now I’m re thinking installing a back splash in my kitchen. PS,don’t even get me started on “those” craigslist people.
Wow, you did a great job. How much are those cutters? I don’t have enough space to do such, but I sure love every tiny detail of you kitchen. Did you have any uh oh’s while cutting the tiles? And I agree with you about all white. I don’t want any stainless steel in my kitchen, it is small enough without all the extra off color of it. And the fingerprints show so bad. Now Steve told me it was the quality of the stainless that does the finger prints, but I still don’t want it either. My coffee maker is white and stainless and that is even too much for me.
Do love it and your bravery to even attempt to do it!
BEAUTIFUL JOB!!
Looks amazing! Love the white appliances. Makes me think that mine aren’t so bad after all!
Love it!
I love your process. So clean and easy to follow. You make tiling look easy 🙂 I am paying close attention as I will be tiling the back wall in my master bath in a month or two…
This is so great! I can’t wait to work on my kitchen this summer – totally going to refer to this post when I do my backsplash!!!
You did such a great job…it’s perfect in your kitchen! 🙂
I have yet to do a tile project myself (my hubs did all of the tiling in our last house) but you make it look easy! I’ve been debating doing the powder room floor – would make such a difference!
Were the green spacers easier to use than the other ones? Ours kept falling out when I was tiling the accent wall,which made me a little bit crazy…more the sound of them falling on the floor, it drove me nuts! I’m also on a self imposed Craigslist ban after some local sellers started beating and robbing people in our area when the buyer would come to pick up their purchase!
It looks so good! Way to go, girl!
Looks great! Yup, I’m looking on doing some tile work in the near future, too. For the bathrooms and the kitchen, too!
You make tiling look so easy! Sorry to hear about your stove. Craigslist is becoming very shady and I’ve stopped using it. Hopefully Karma will repay the sellers a visit in the future 🙂
You did so, so good! I would be terrified to take on this project. My old house is all kinds of crooked!
Angela @ Number Fifty-Three
I love it! You are so clever.
I have been looking for tiles like that for my kitchen splashback but can’t seem to find any like that in Australia. I also love the white on white!
Thanks Natalie!
you make this look easy! beautiful job.
Great job Julia! This project has been on my to-do list forever but it seems like some other “idea” always gets in the way. When I finally get to it I’m planning to use the exact tile you chose 🙂 It’s looks so bright and airy. Love it.
I’m just impressed that you took this job on, I haven’t been brave enough to try tiling yet. It is so beautiful!
Your backsplash looks amazing Julia!
I’m so sorry about Craigslist 🙁 I’ve learned it can be either really awesome or really awful. But it all looks great 🙂
It looks amazing Julia!!! I really love the tile you used!!
So beautiful! If we end up not moving I’m definitely going to give this a try, I’m so tired of my old backsplash and it’s definitely not “me” anymore.
That tile is just so gorgeous. Wow and wow.
It looks great! I’m so impressed that you did it all by yourself! I think you should have left those green spacers up, though, for a cheery pop of color 😉
You did such an awesome job Julia. I want subway tile soooo bad, but I am waaay to intimidated to give it a try. If you mess up by even an inch those grout lines are not forgiving. You made it look super easy though:)
Look at you go! I’m really impressed. I’m still too scared to attempt tile. I’ve hired it out every time 🙁 I’m ashamed.
You look like a pro! I would be scared to use the tile saw. (Was it yours or did you rent it?)
The tile is beautiful, Julia! You did a wonderful job.
The marble is amazing – and I’m impressed with your mad tiling skills!
Incredible Julia. The marble is so beautiful! Pinned and I am hugely jealous of your gorgeous countertops too!!
This turned out gorgeous and I am beyond impressed that you did it all.by.yourself!! Way to go Julia!! The backsplash is on our to do list and I really love this tile! Thanks for the tutorial!!
Thank you Cindy
Hi Julia, really really beautiful work. Your backsplash an inspiration! I’m DIY-ing my kitchen and have selected a similar tile from The Tile Shop and am now trying to decide on a grout color. There are three whites from The Tile Shop in the “unsanded” category – brilliant white, standard white, and antique white. Do you by chance happen to remember which one you went with? I love the way it works with the marble.
Hi Kathryn, sorry for my delayed response but I was away.
I’m actually not sure at all. I left it up to them and I don’t have the bag anymore. It’s definitely not the antique white. That’s for sure.
Sorry! Maybe they can tell you!?!?
Love your kitchen! I am also starting a marble backsplash and wondered if you sealed the marble before grouting? Some websites recommend and other don’t mention it. What’s your thoughts
Hi Erin, no I didn’t seal them. We’ve had them for several years now and they look great.
Hi – your kitchen looks great! How did you end up finishing the exposed tile edges? (Where you started applying the tile)
I just ended the exposed edges with a same-sized tile that had a rounded edge. Hope that helps.
Bit of advise for some people, when you center the wall – dont always start with the edge of the tile at the center…you may end up with a tiny cut either side, work it out first and if needs be have the center of the tile at the center of the wall.