

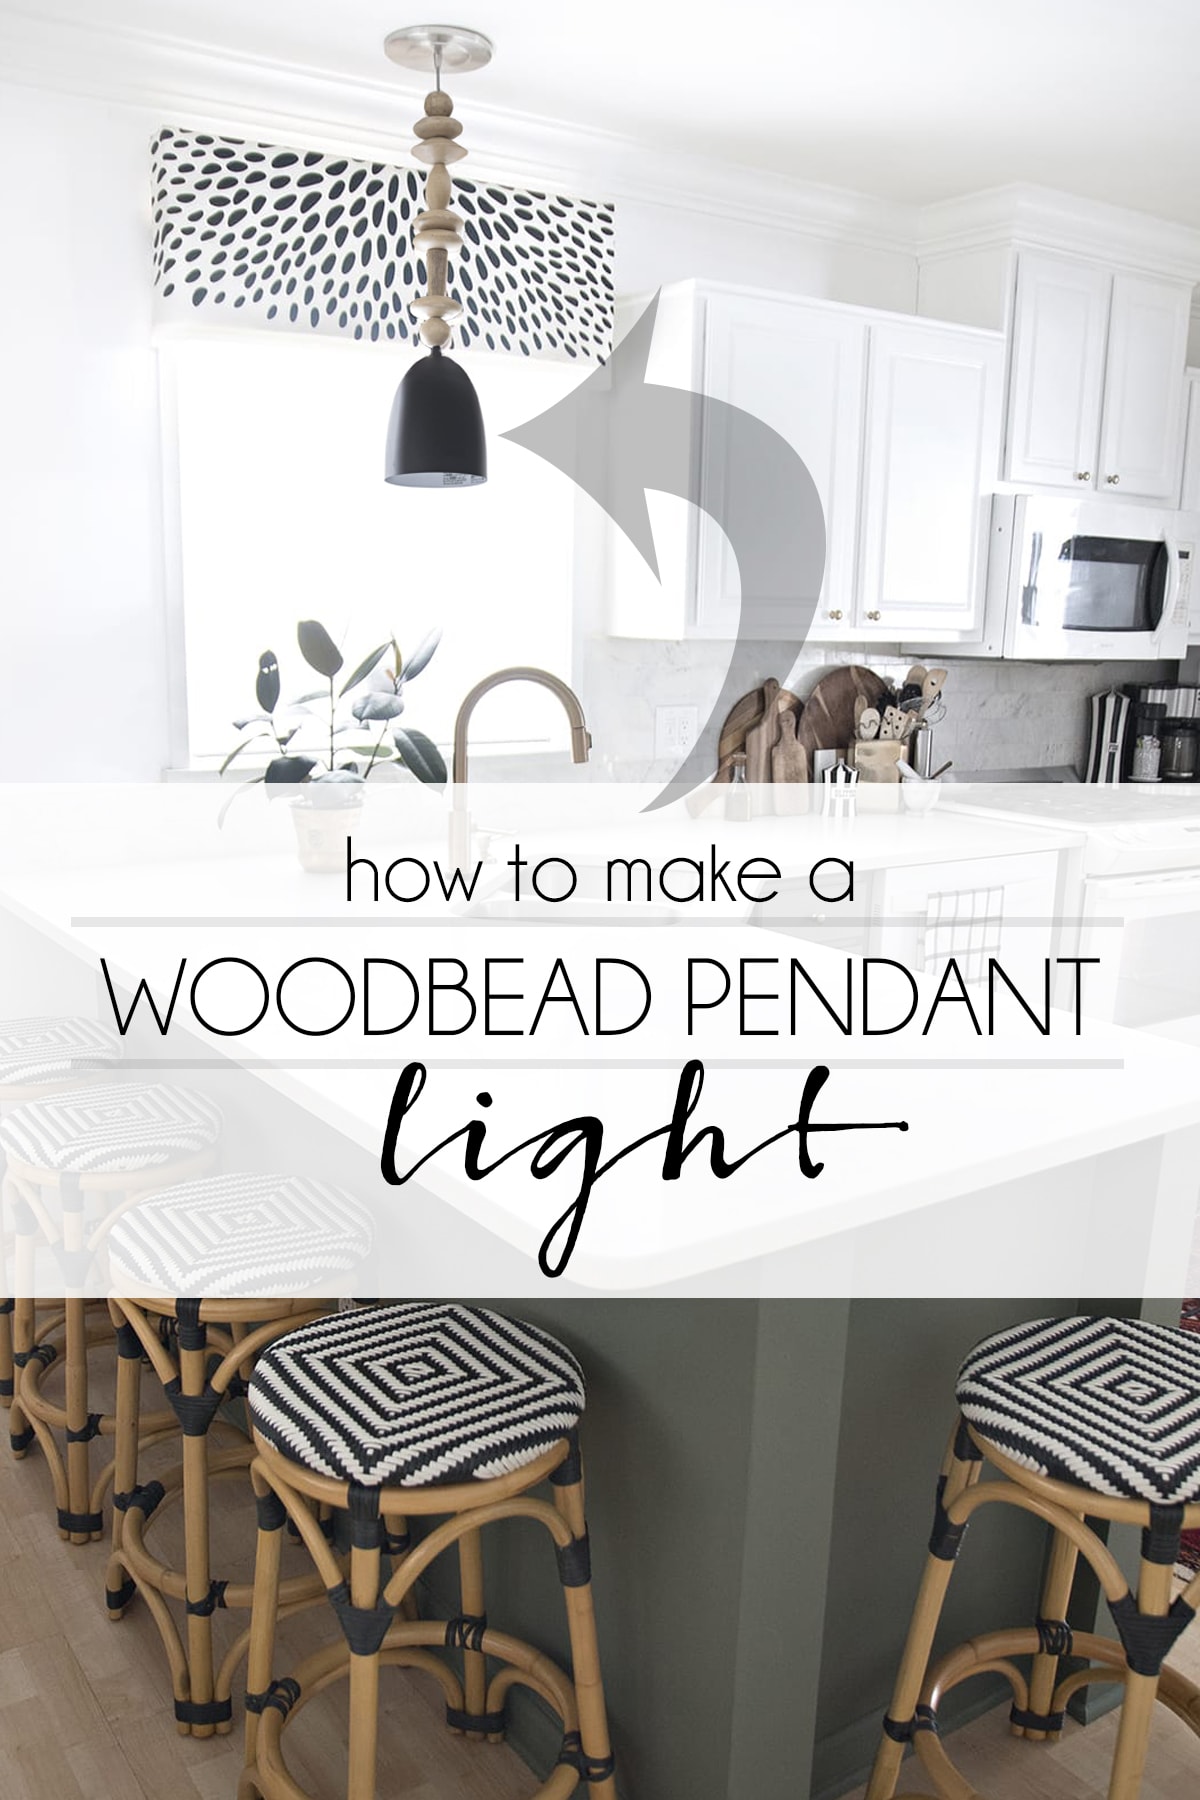
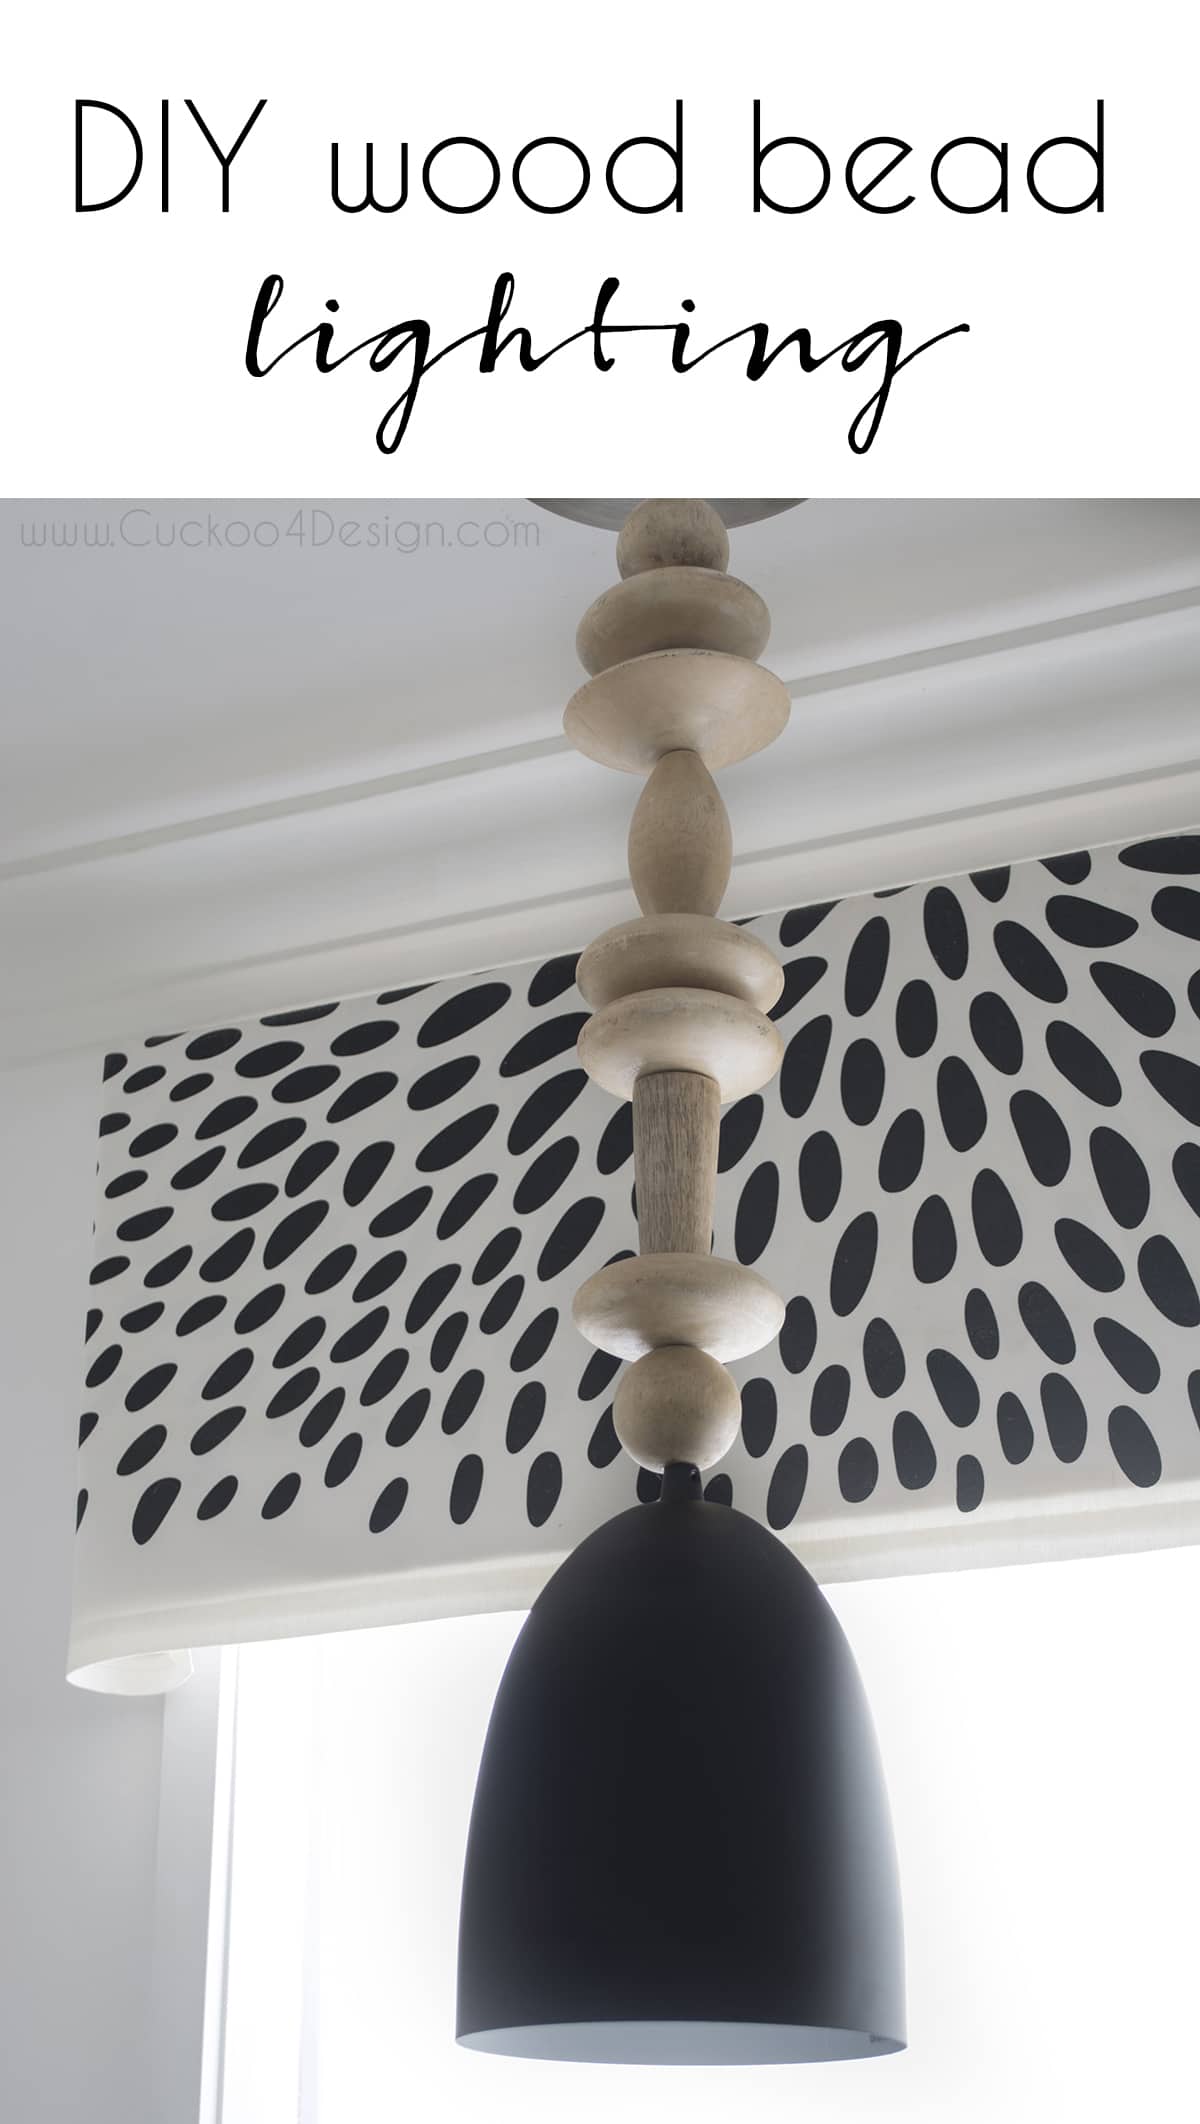
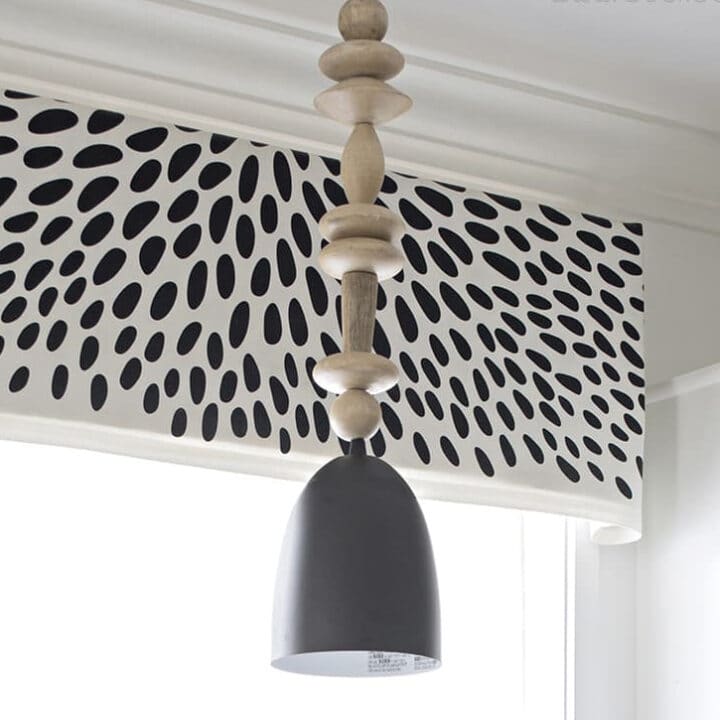
DIY wood bead pendant light
So I promised that I was going to talk about the wood bead pendant light from my fall tour on Monday. I love the warmth from the wood that it adds to our white kitchen.
This is such a simple project that spruces up a cheap metal pendant light. Since the light over our kitchen sink is a can light, I needed an extra step and use a can-light converter kit which you can skip if you have a regular ceiling light.
My wood bead pendant light inspiration
This post may contain affiliate links from which I will earn a commission at no extra cost to you. View my full disclosure policy.
Here are some handmade examples from Etsy that inspired me and that I originally wanted for our bathroom. I love their organic beauty and they could each be a statement piece in any room. Unfortunately, they aren’t for sale anymore.
These types of wood bead pendant lights go well with every decor, from farmhouse to contemporary industrial, modern, and boho.
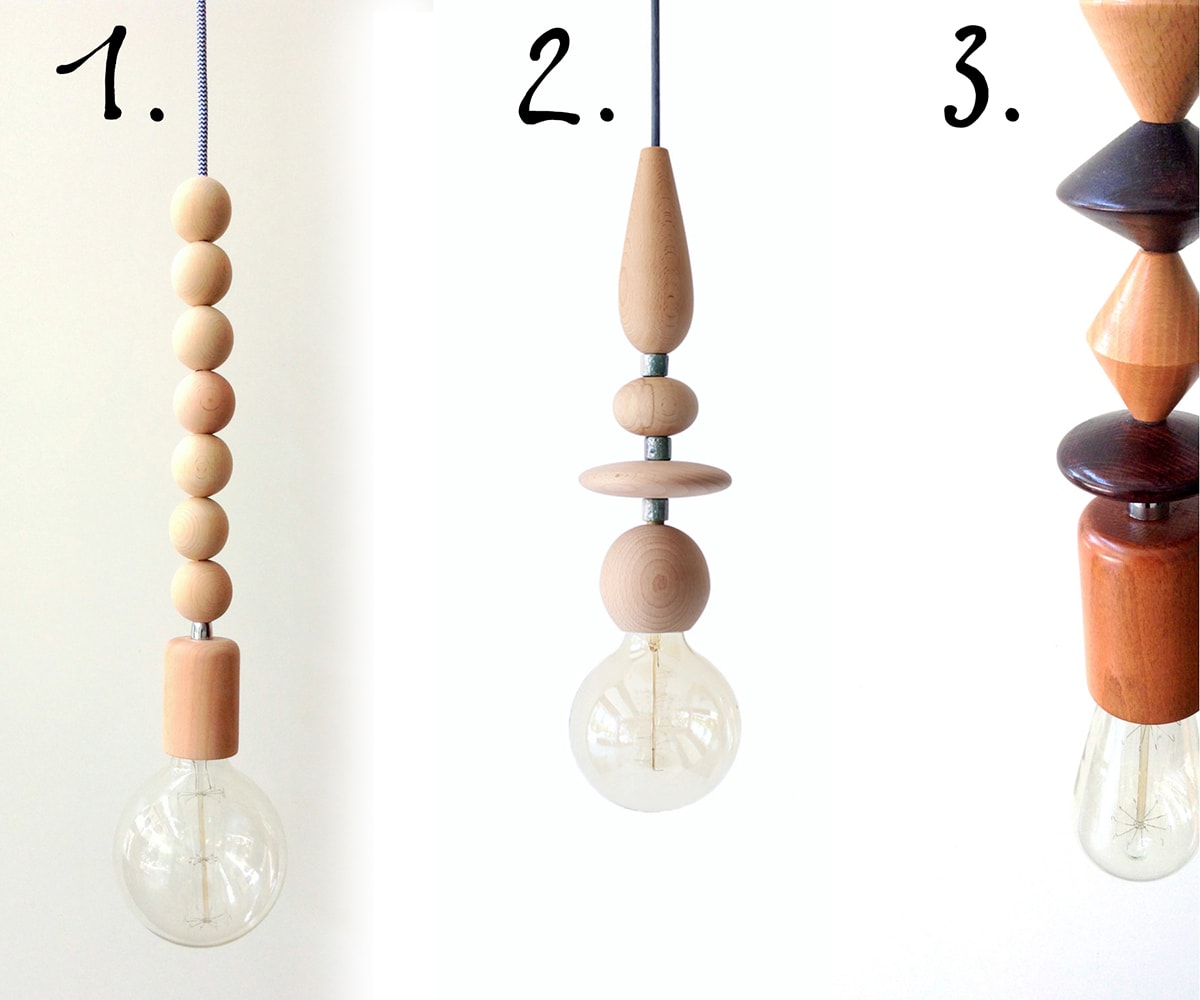
The pendants pictured in the original design aren’t available anymore.
I have become so obsessed with the thought of having a wood bead pendant light fixture like this in my house. I have been incorporating more and more natural elements into our decor and I have always had a soft spot for light wood tones, note my light-colored wood flooring which I have had since 2000 and still love.
You all know my turquoise-colored pendant which we had over our kitchen sink for a while now. Don’t get me wrong, I still like it, it was just time for a change. This turquoise light is a lampshade attached to a can light converter because we have a can light over our kitchen sink as I mentioned earlier.
How to make a wood bead pendant light
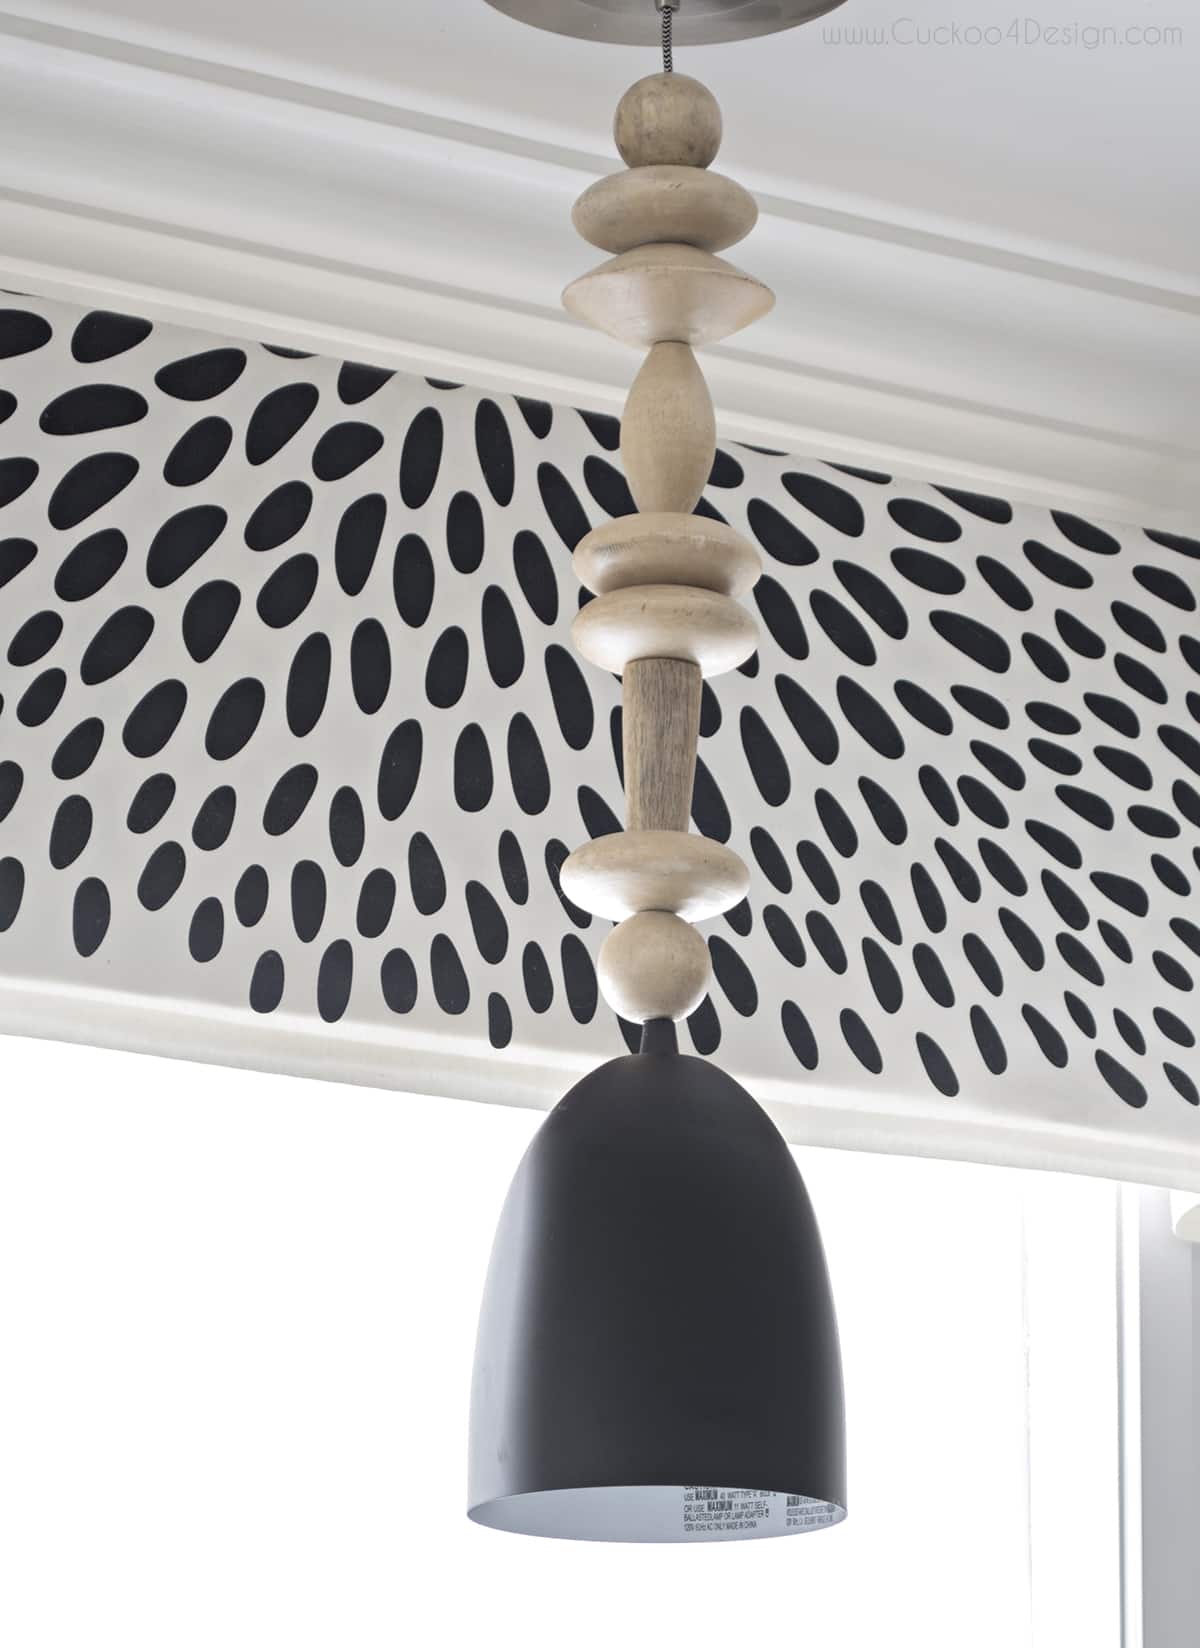
This is not a beaded chandelier, it’s simply a pendant with large wooden beads threaded onto the electrical cord. Let me show you.
Materials used for wood bead pendant light
- pendant of your choice
- can light conversion kit (if you have a can light as I do)
- pliers
- electrical tape
- screwdriver
- wire cutter
- electrical tape
- wire connectors

Similar black pendant lights that could be used for this tutorial
Wood bead pendant light instructions
DIYing a light might not be for everyone, I get that. Some of you might just say “I’m just buying it. I don’t need the hassle.” That reasoning sometimes applies to me too depending on the project. In this case, I’m glad I just made it myself because it is so simple.
I had looked for wood beads for a while and bought some small ones on Etsy which didn’t work out. Fast forward a couple of weeks to a trip to Pottery Barn when I came to a screeching halt at a bin with some strands of giant beads on major sale (not available anymore). I literally grabbed them and ran to the register.
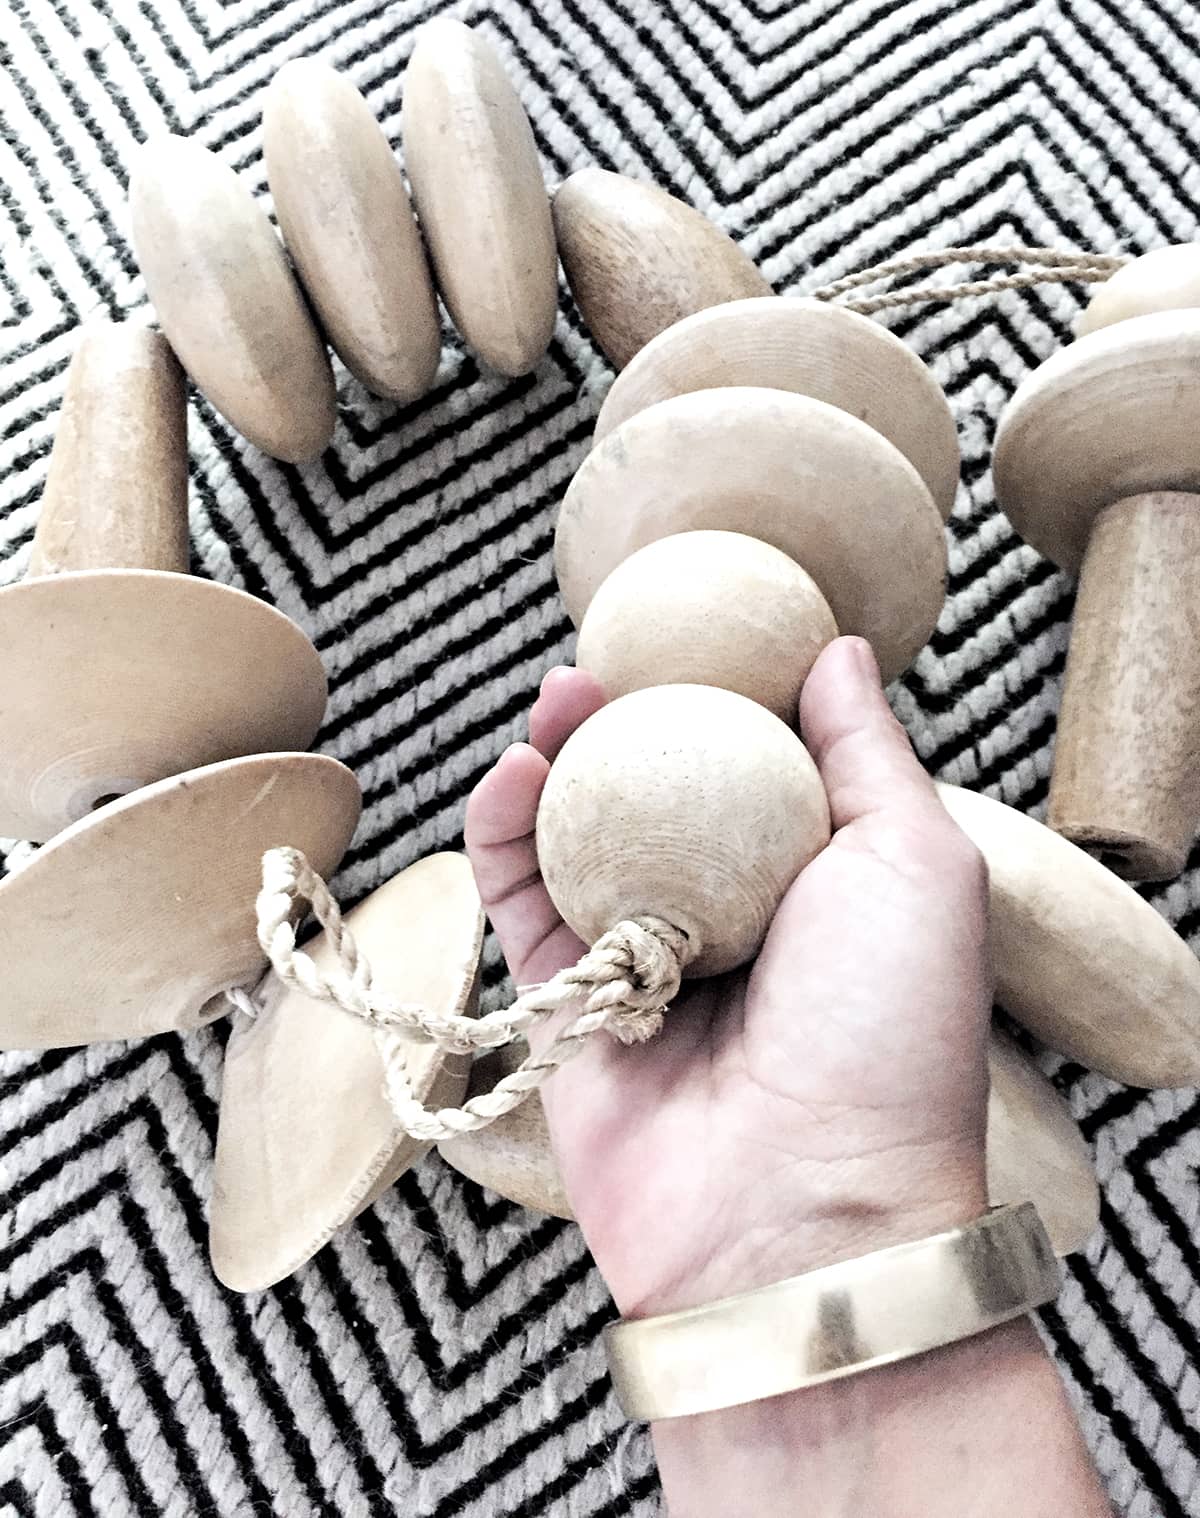
And now I just couldn’t wait to make my own wood bead pendant light.
When I was at our local Target and saw the below Threshold pendants on sale for $12.98, I knew that I just had to give this DIY idea a try with that cheap pendant light.
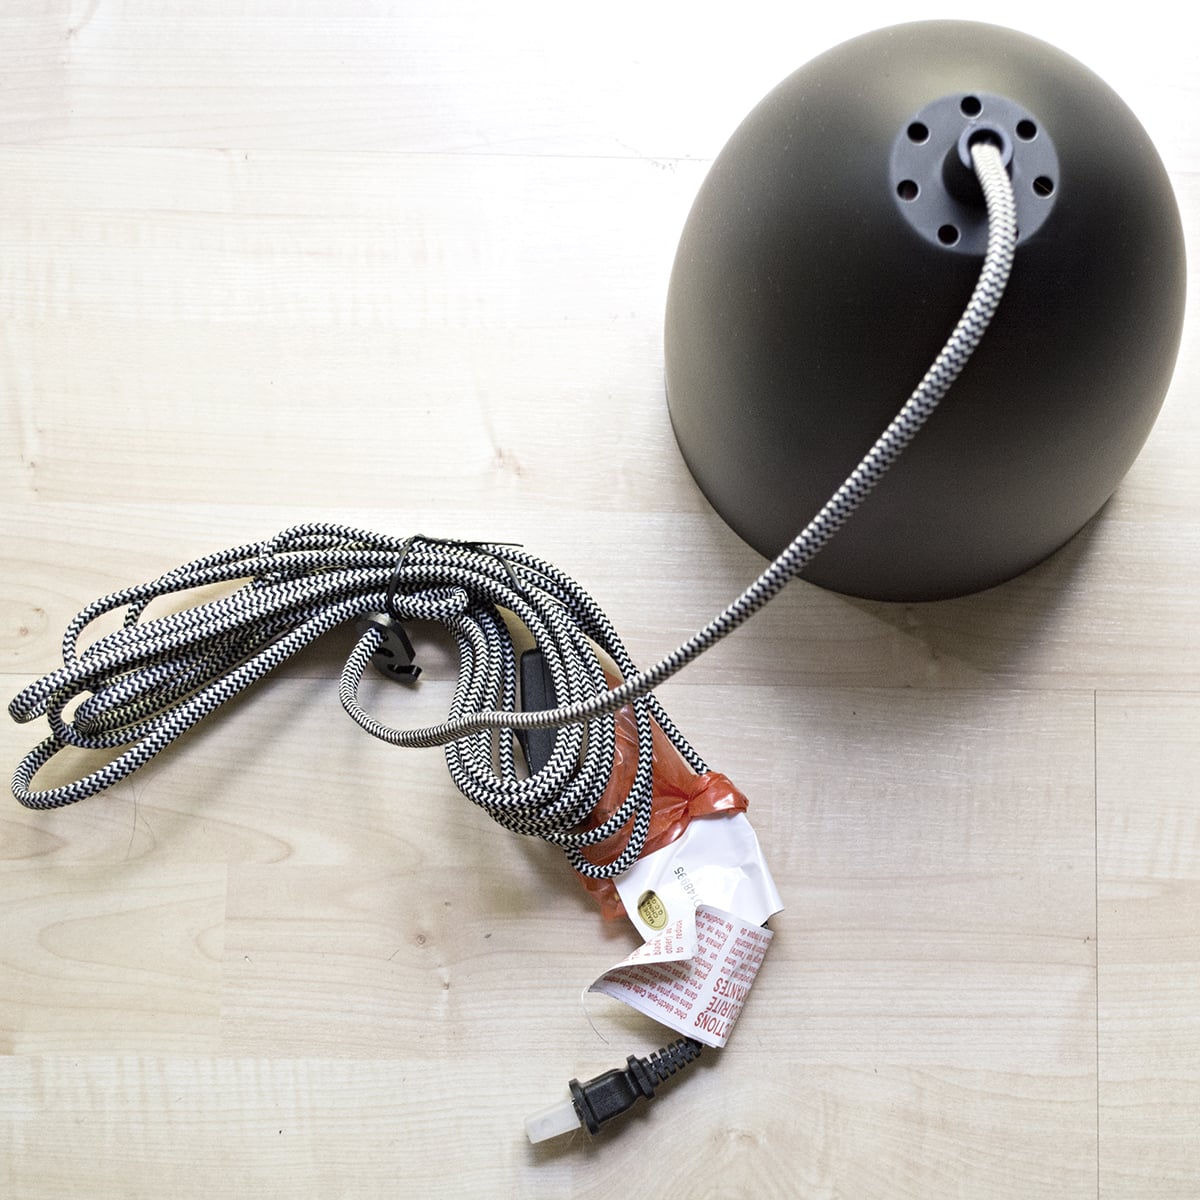
As you can see the problem was that they were plug-in pendants. Not my favorite thing. Our kitchen pendant was a light that converts a can light to a pendant though as I mentioned already. So I had to be brave, take some risks again, and cut some electrical cords.
Step-by-step instructions if you need a standard pendant light
This entire tutorial is obviously a lot easier if you don’t need to change lighting kits to something else as I did. It is much simpler!
- Unscrew the mounting bracket and cover.
- Remove the electrical wire from the mounting parts.
- Measure how long you want your pendant light to be.
- Thread your beads onto the electrical wire so they rest on the pendant head according to the length measurements.
- When you stacked them to your desired length and in a configuration that looks pleasing, attach the mounting parts again to the wire.
- Install your light on the ceiling. (Don’t forget to turn the power off and make sure you attach the correct wires together. More tips on that are below.)
Step-by-step instructions if you need a can light converter pendant light
If you have similar issues as I do then let me show you what I did.
(No matter what type of pendant light or conversion kit you use, you have to take it apart to put the beads on)
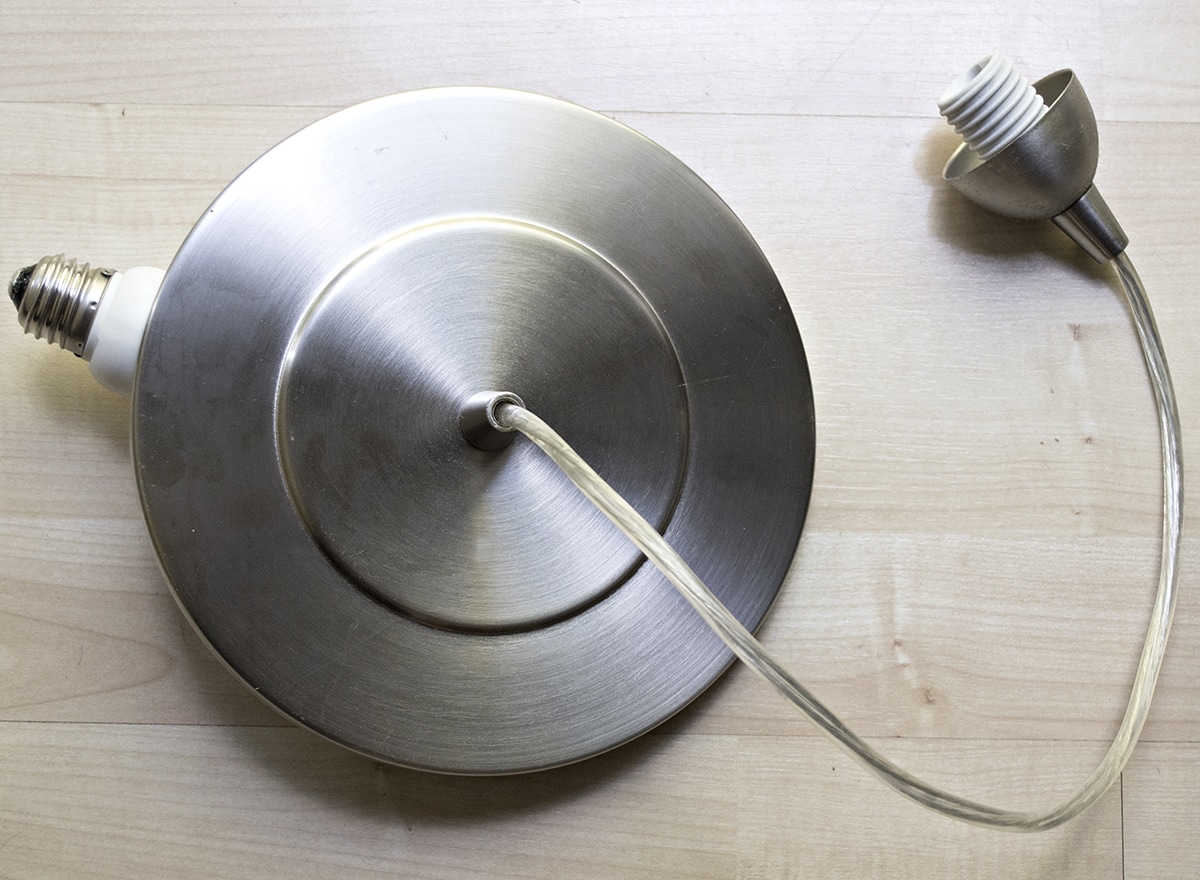
The one part screws in like a light bulb and is pretty cool if you ask me. This way you don’t need to remove the canned light in the ceiling and can just screw the pedant light into the light bulb socket instead.
So I took it all apart. With the goal to connect my pendant light electrical cord to the can light converter bulb socket.
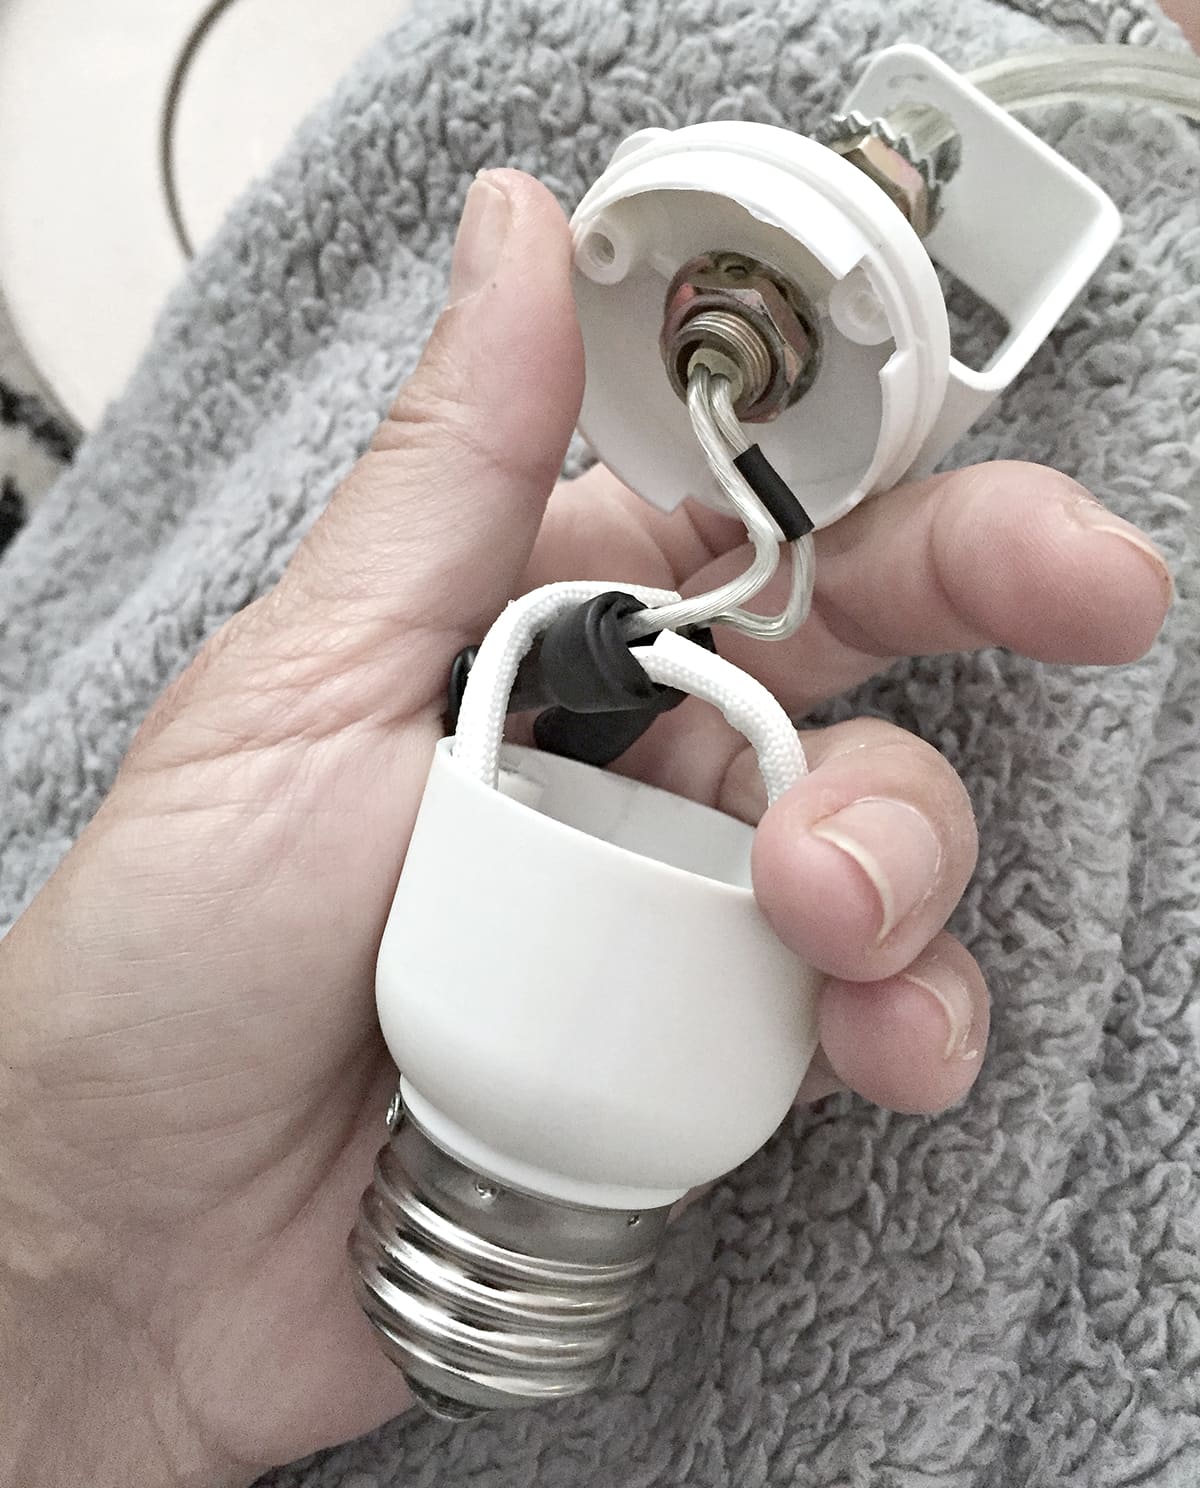
It was pretty easy to take apart. I cut the plug off the pendants and exposed the copper wire. This is the step where you need to thread your beads on before putting the wiring together.
And then it was time to put the conversion kit and pendant together.
The pendant light from Target had the black and white cover on the electrical cord which I threaded through the can converter and then connected the electrical wire to the existing can light converter wires.
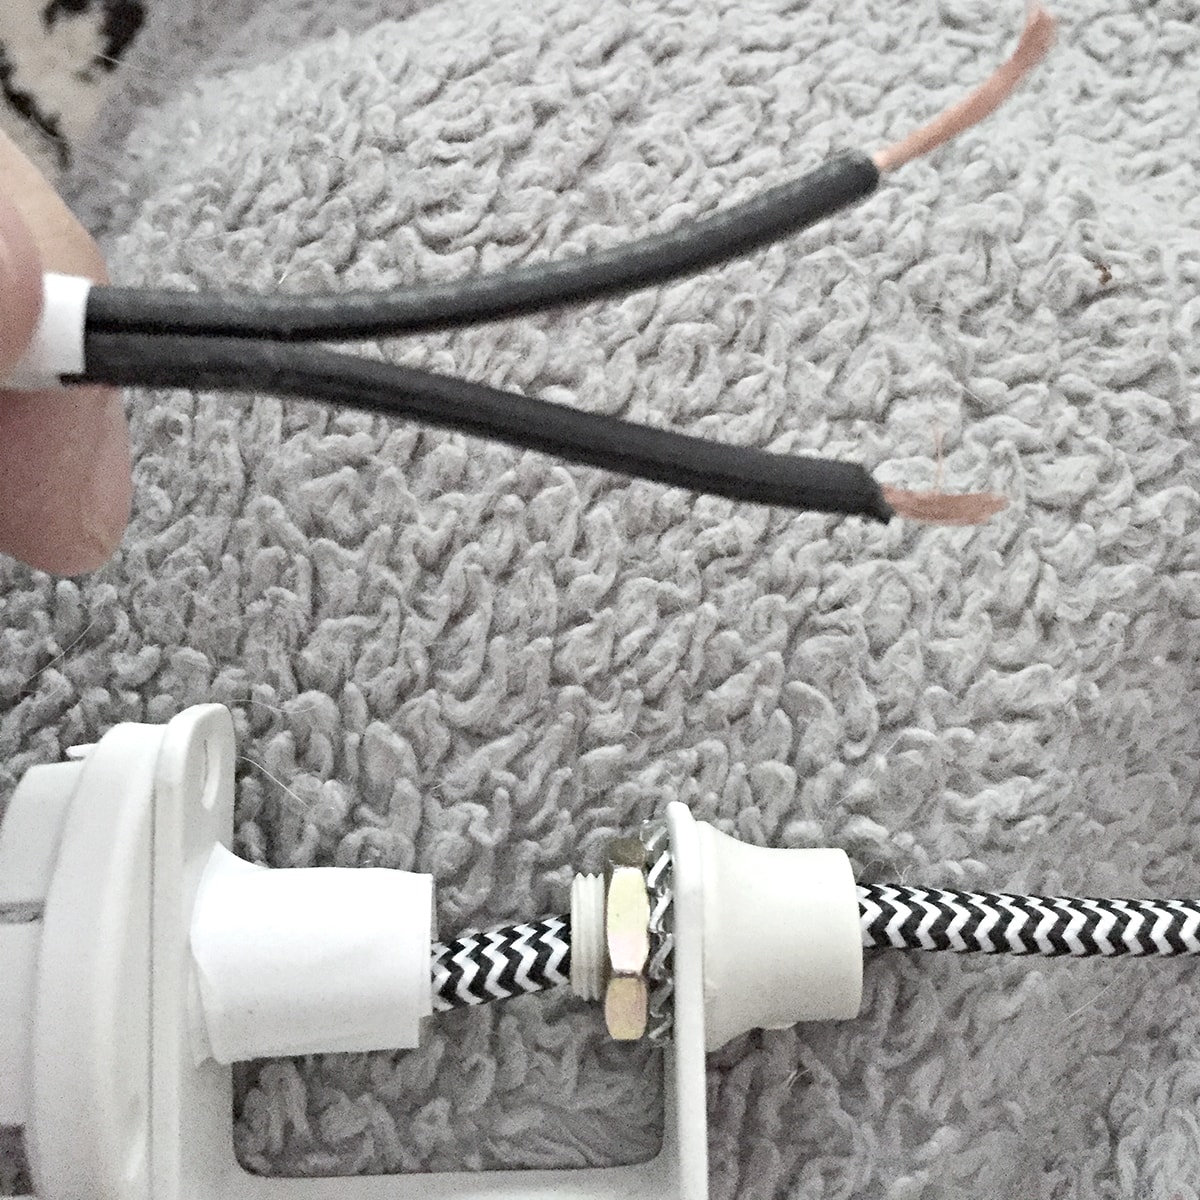
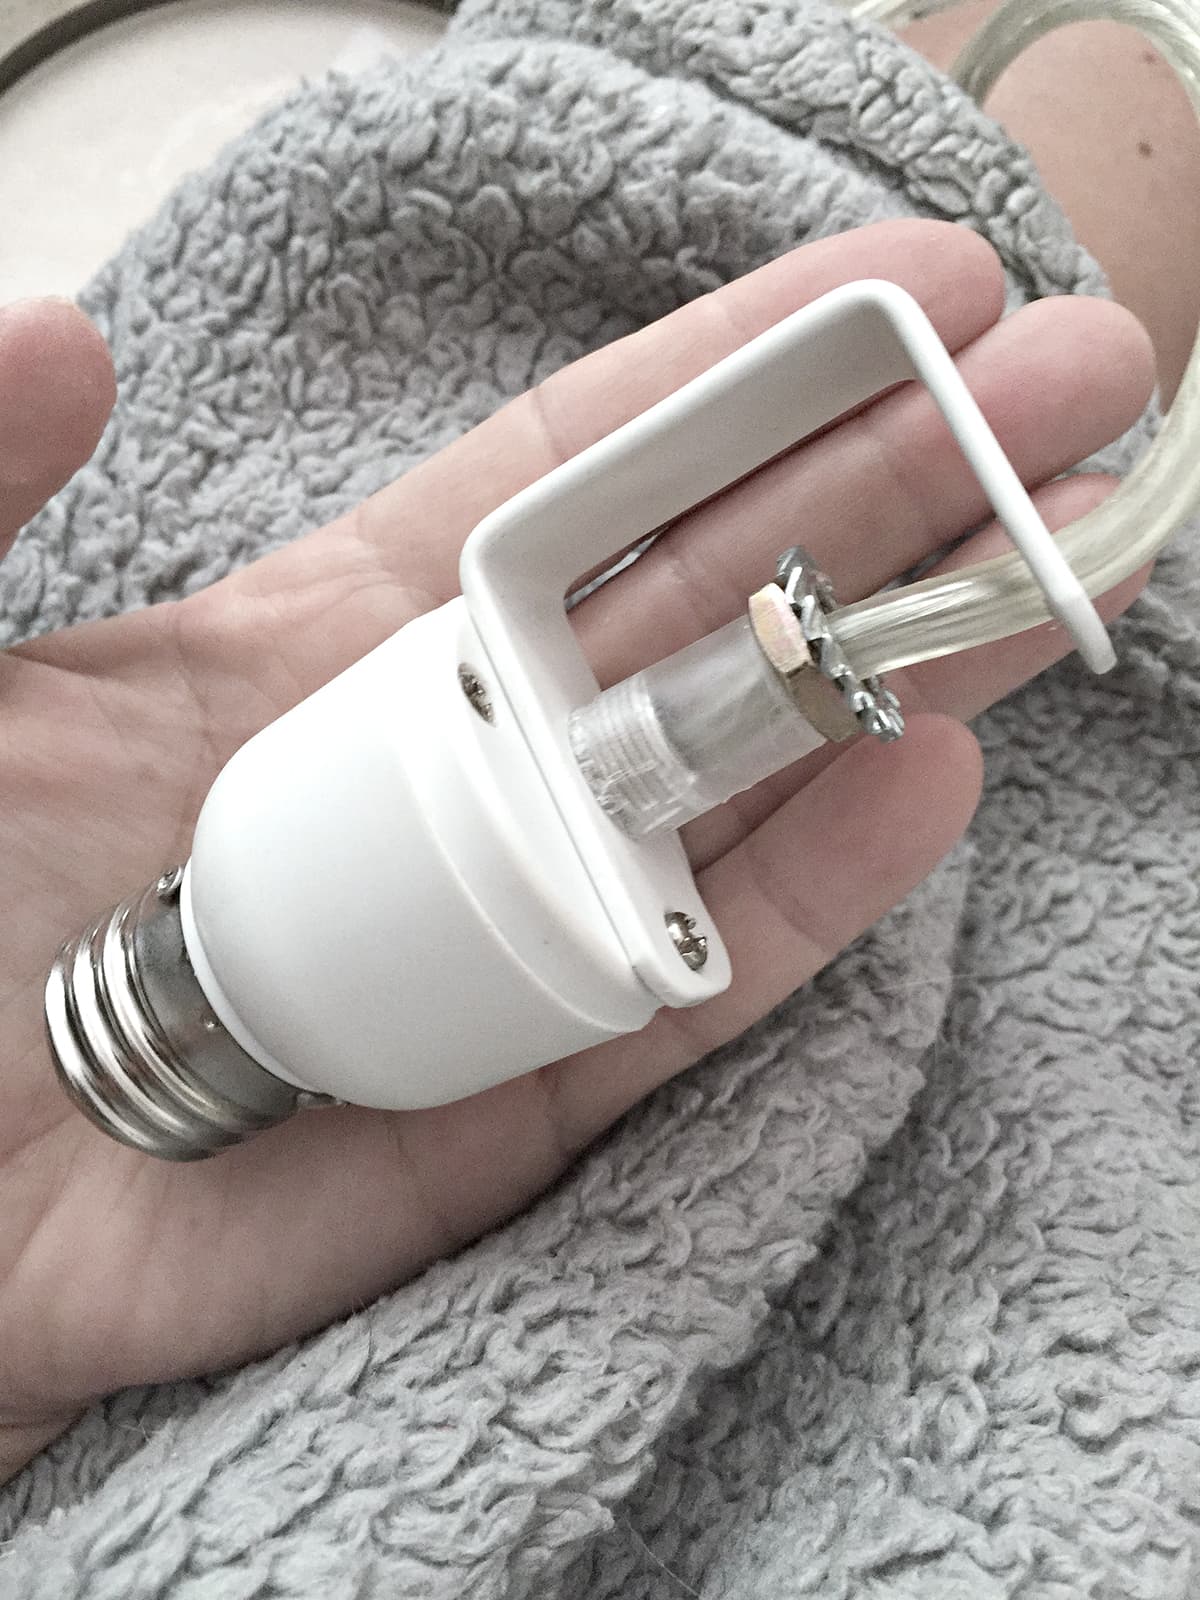
And then put the entire thing together by matching the right wires together. See the tips below to match the wires. Connect the wires with wire connectors and then wrapping the connections in electrical tape.
Screw your bulb socket into the can light and attach the cover plate. And done!
My #1 DIY lighting wiring tip
These wiring tips come in handy when installing the light or if you need to convert a pendant the way I did.
Make sure the two correct wires are put together, meaning HOT and neutral. These posts about color-coding of electrical wiring and about what the ribbed lead power cord is are very informative.
neutral = white wire
black = hot wire
But do you notice in the below photo they are both black? Hmmmmm! The conversion kit was colored black and white but the pendant light was not. The pendant wire was all black with one wire smooth and the other wire ribbed.
Ribbed wire = neutral
smooth wire = hot
Here is the tip: Connect the ribbed wire to your white wire because they are both neutral.
And connect the smooth wire to the black wire which is hot.
Either use electrical tape or wire connectors to secure the connections. Don’t forget this step!
When installing a light fixture make sure you turn the electricity off!
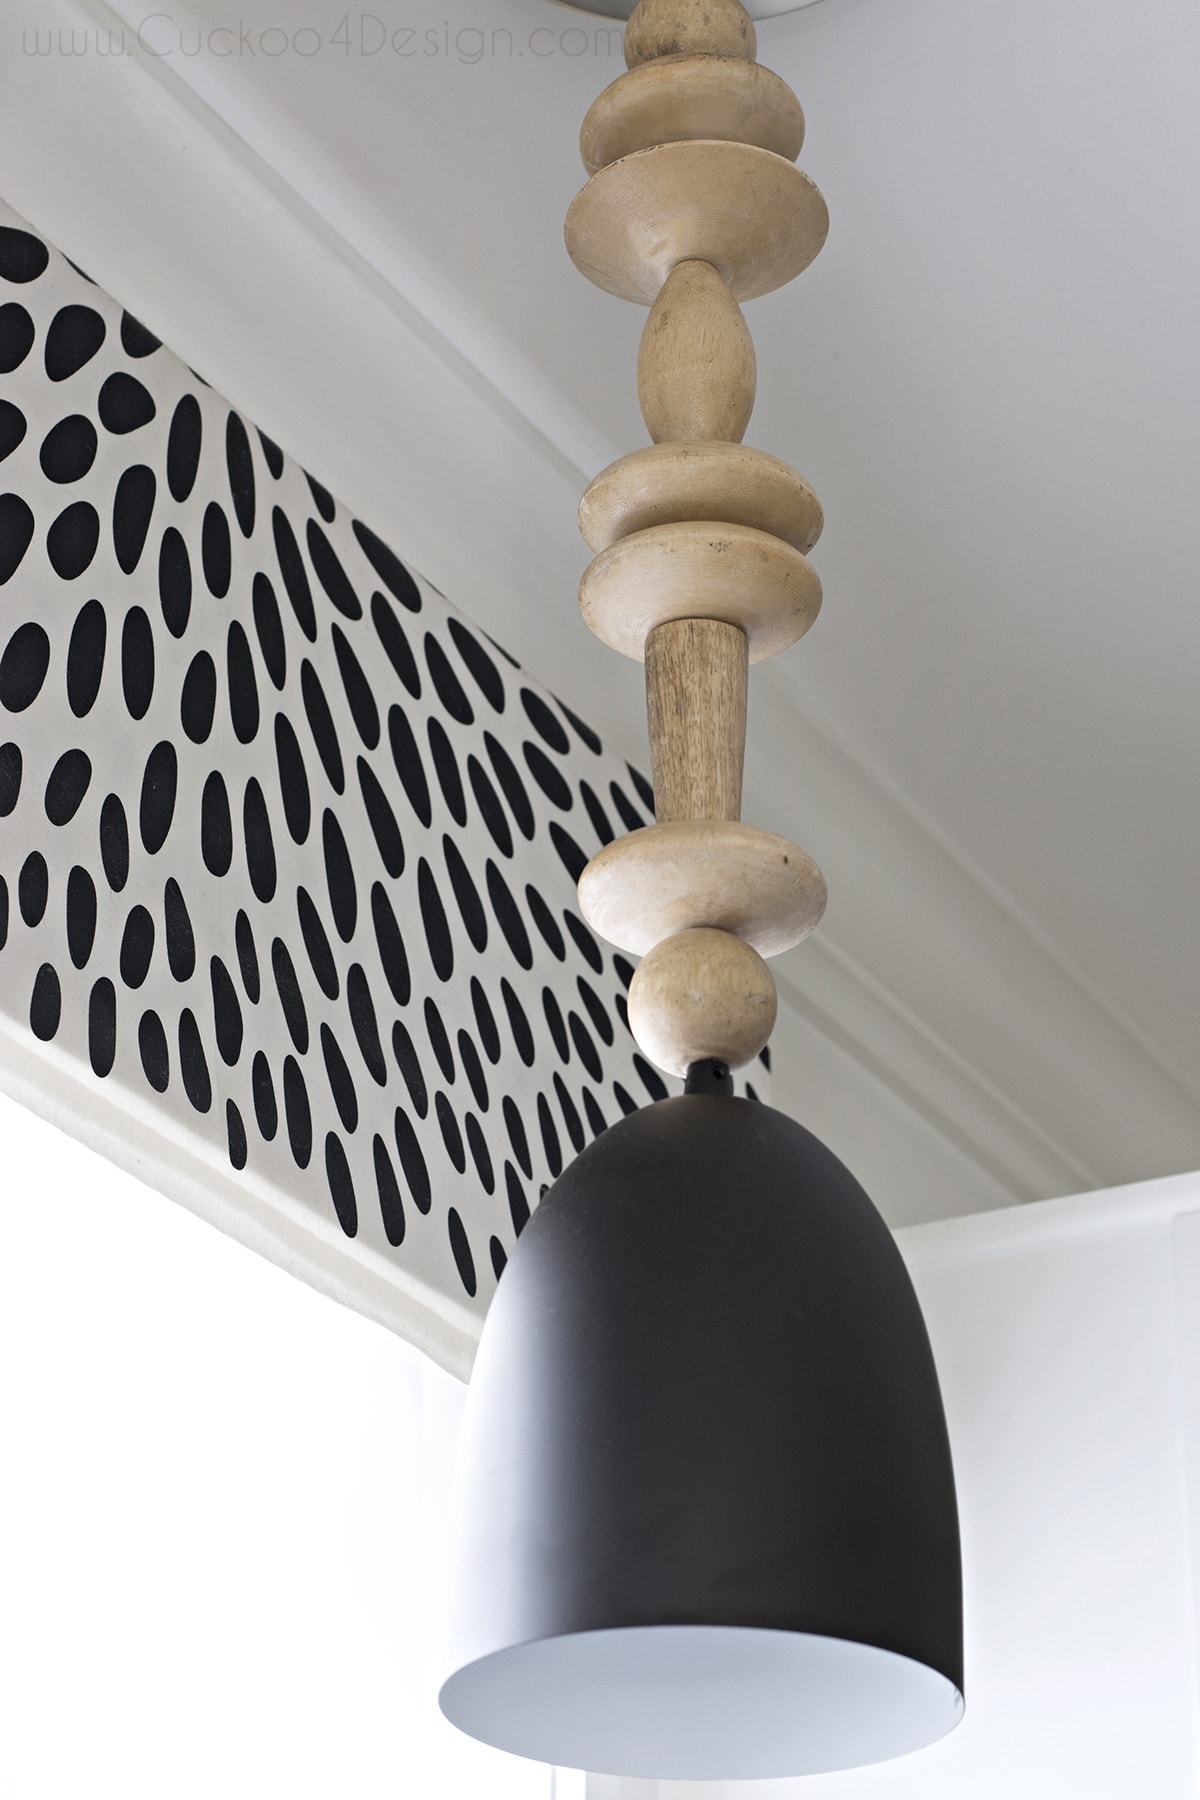
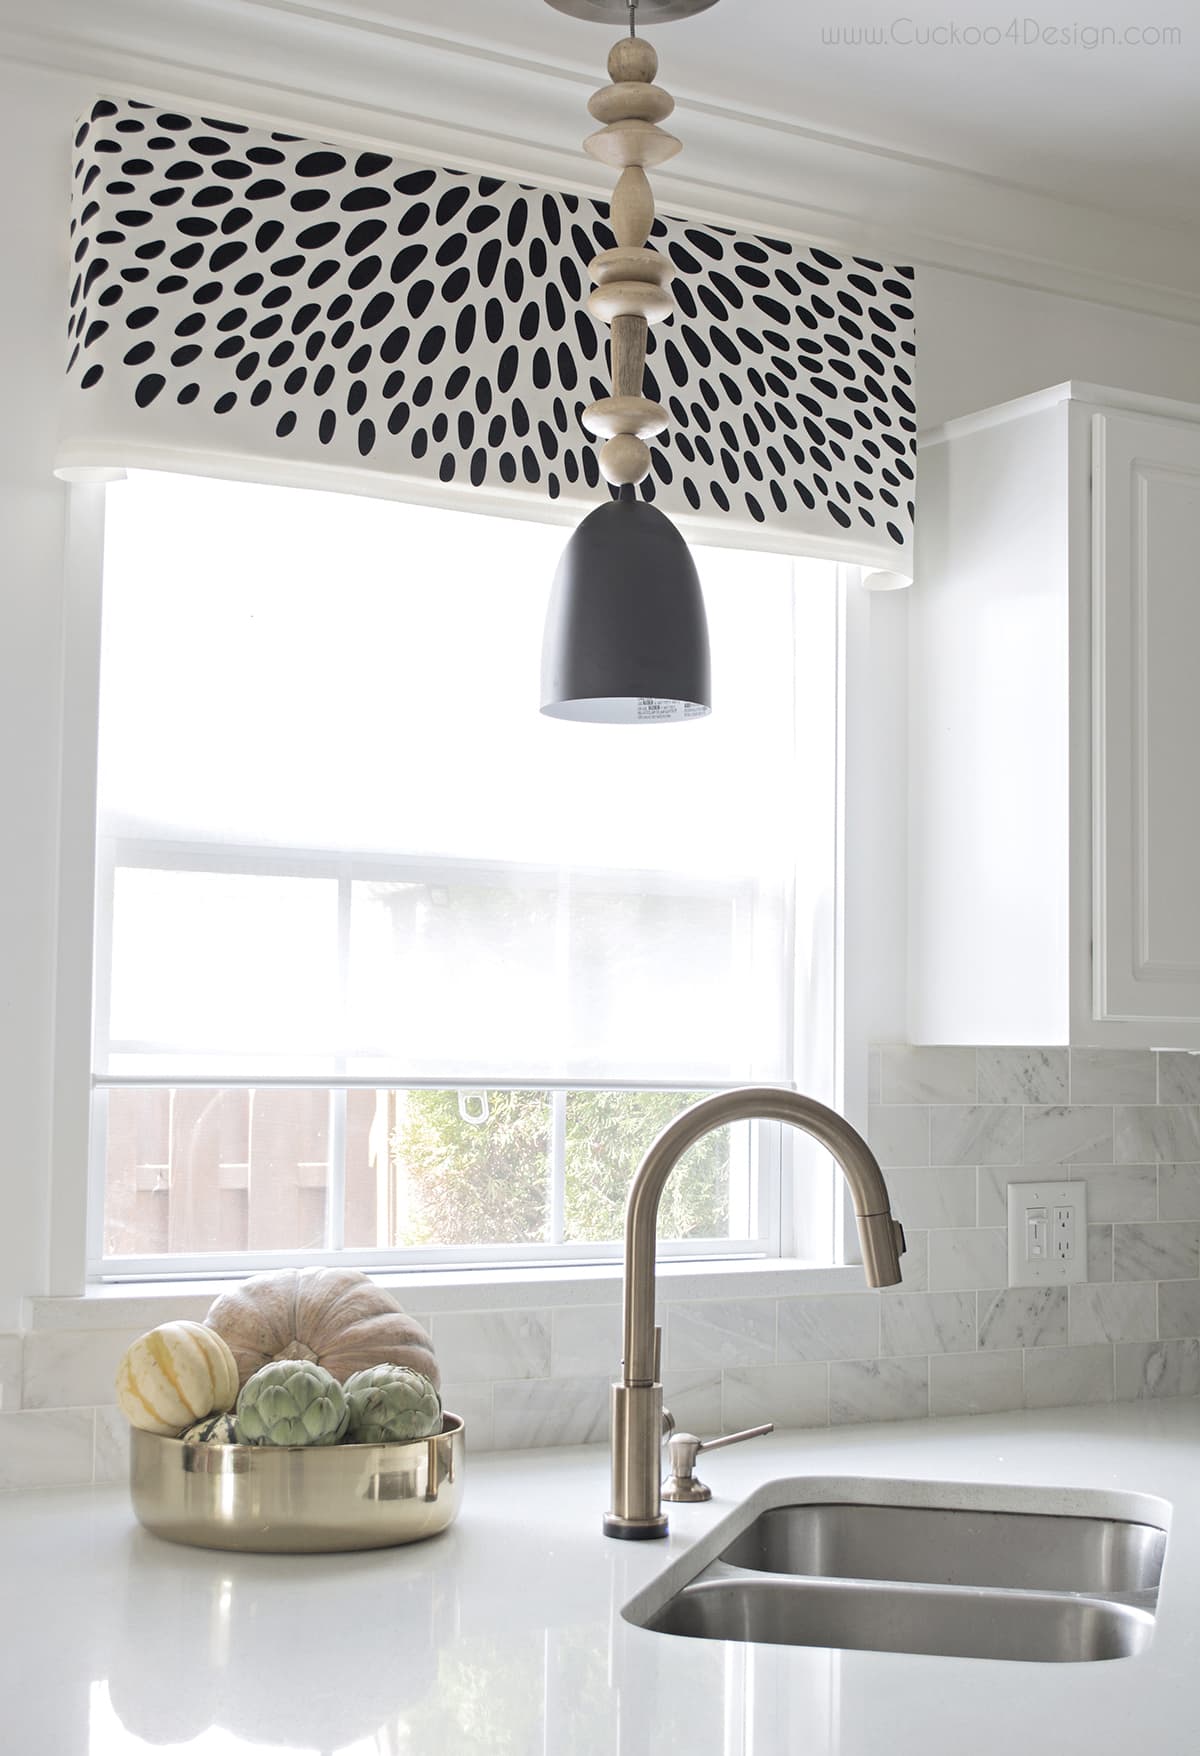
Finished DIY wood bead pendant light hanging in our kitchen

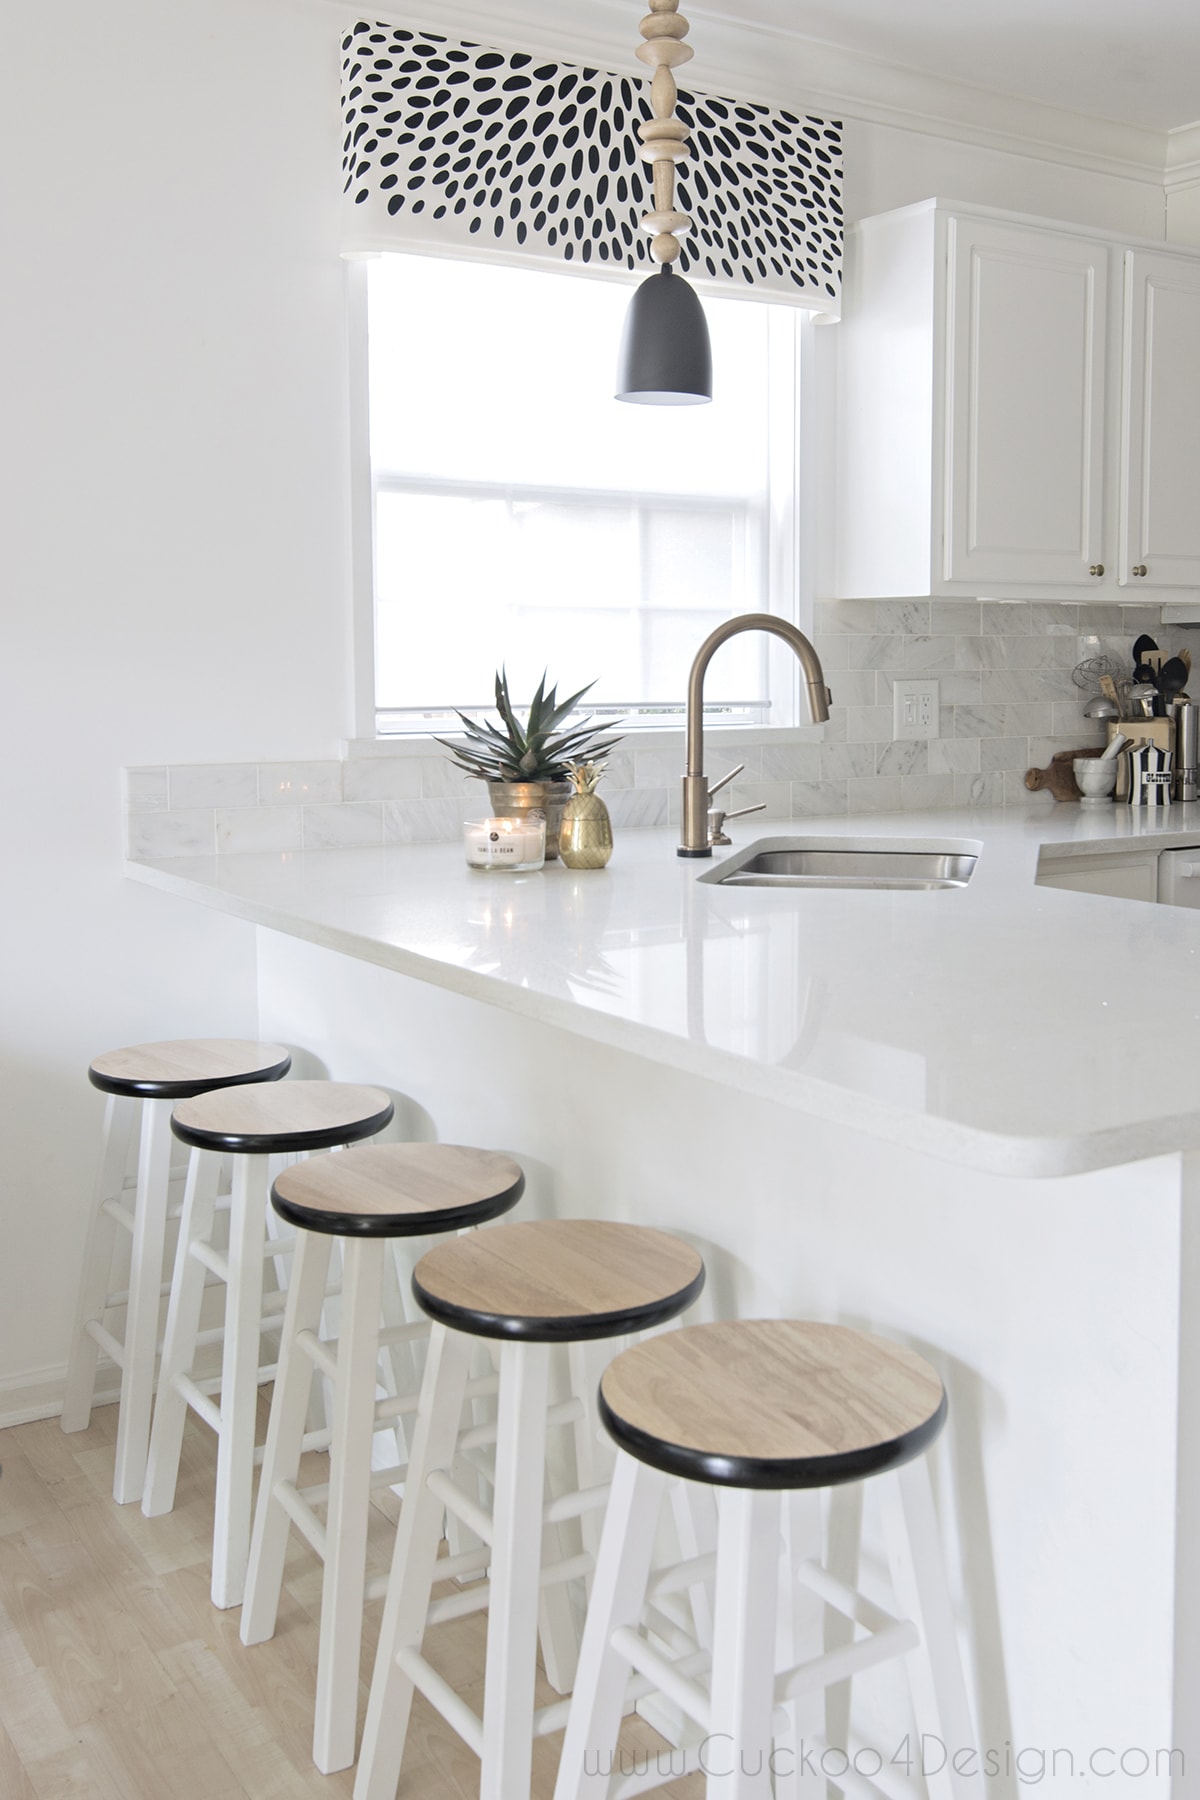
I used plain wooden stools and painted them. Check out the counter stool makeover tutorial.
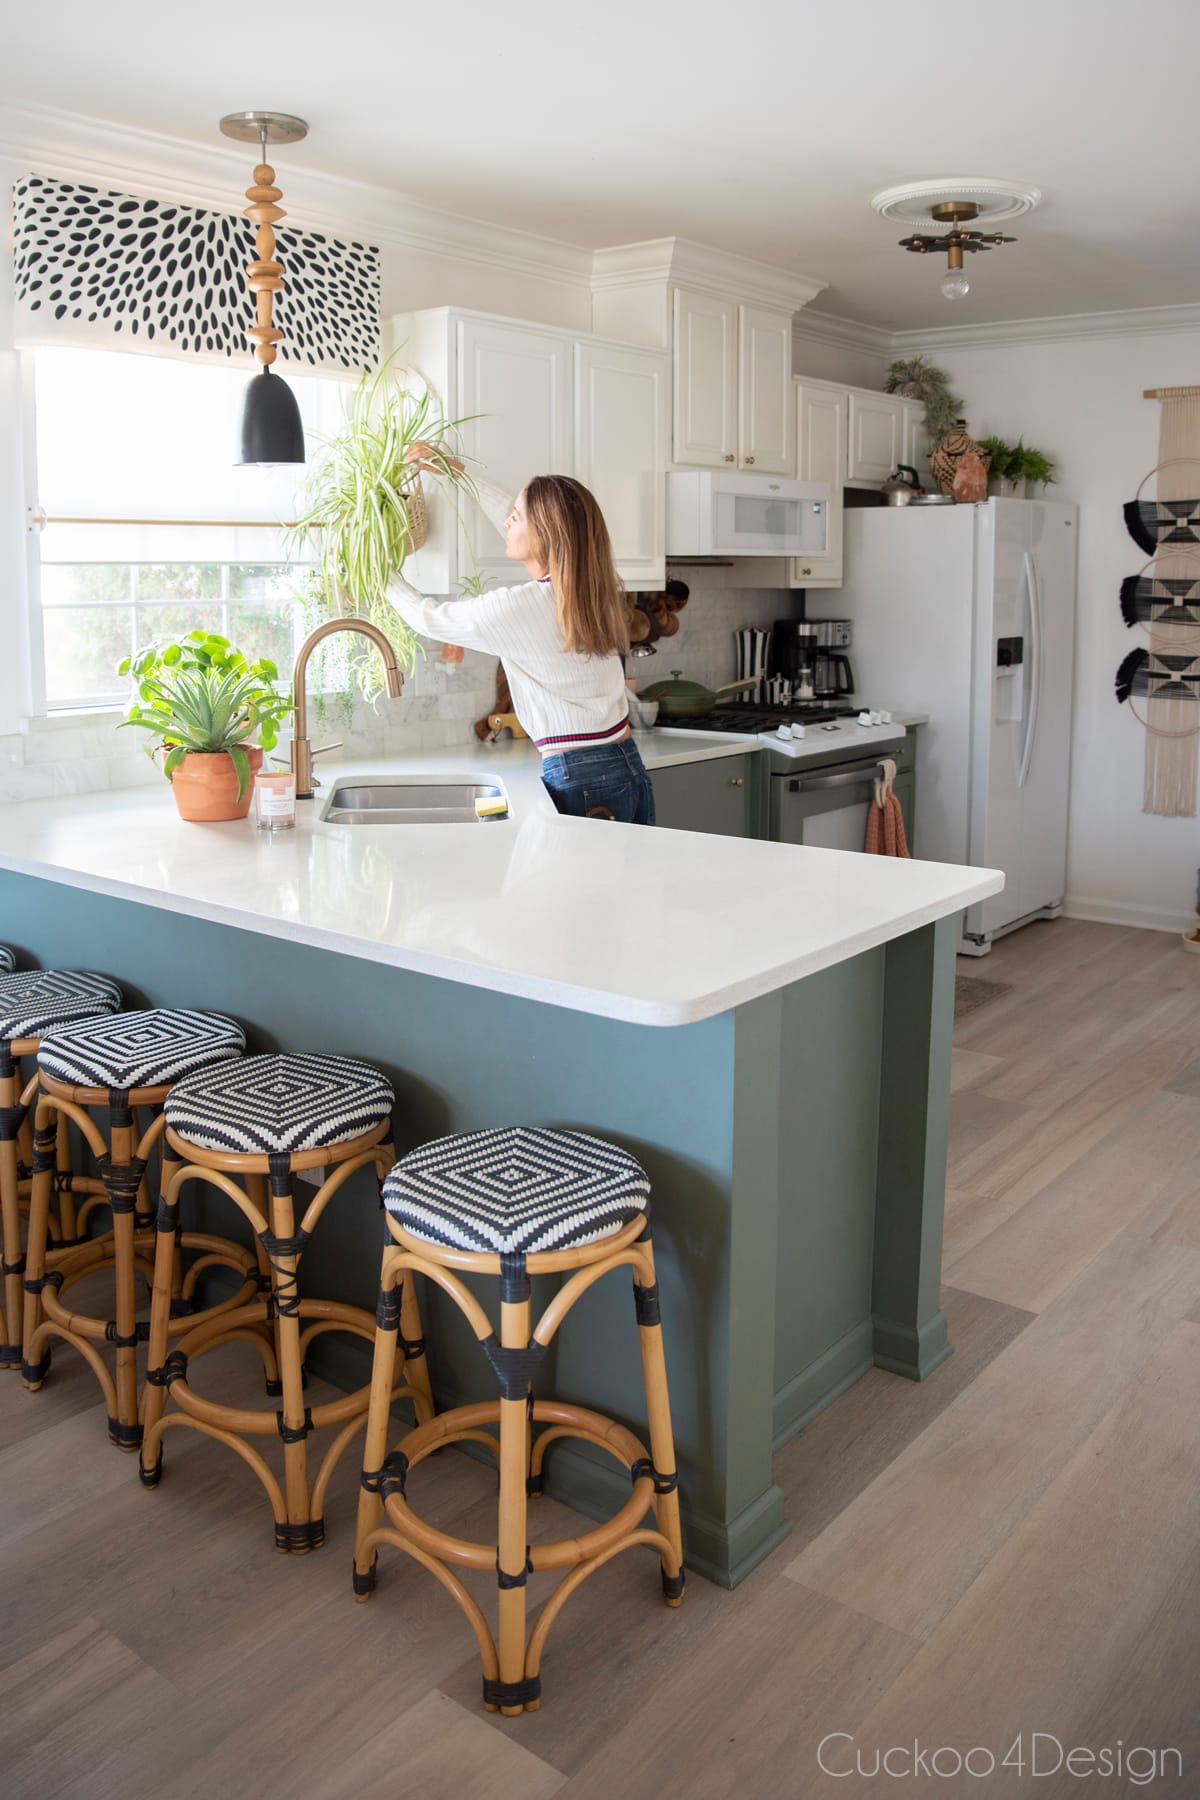
And here is a current photo of our kitchen years later. I still love the wood bead pendant light but changed the rest of the kitchen a bit with my green kitchen cabinets, new counter stools, new Karndean vinyl plank flooring, vinyl-wrapped appliances, a DIY utensil rack, and a macrame towel holder.
I don’t know what it is but I’m obsessed with the bead details on the pendant light.
Other DIY lighting-related blog posts
- How to make crystal vanity light shades from a spout cover
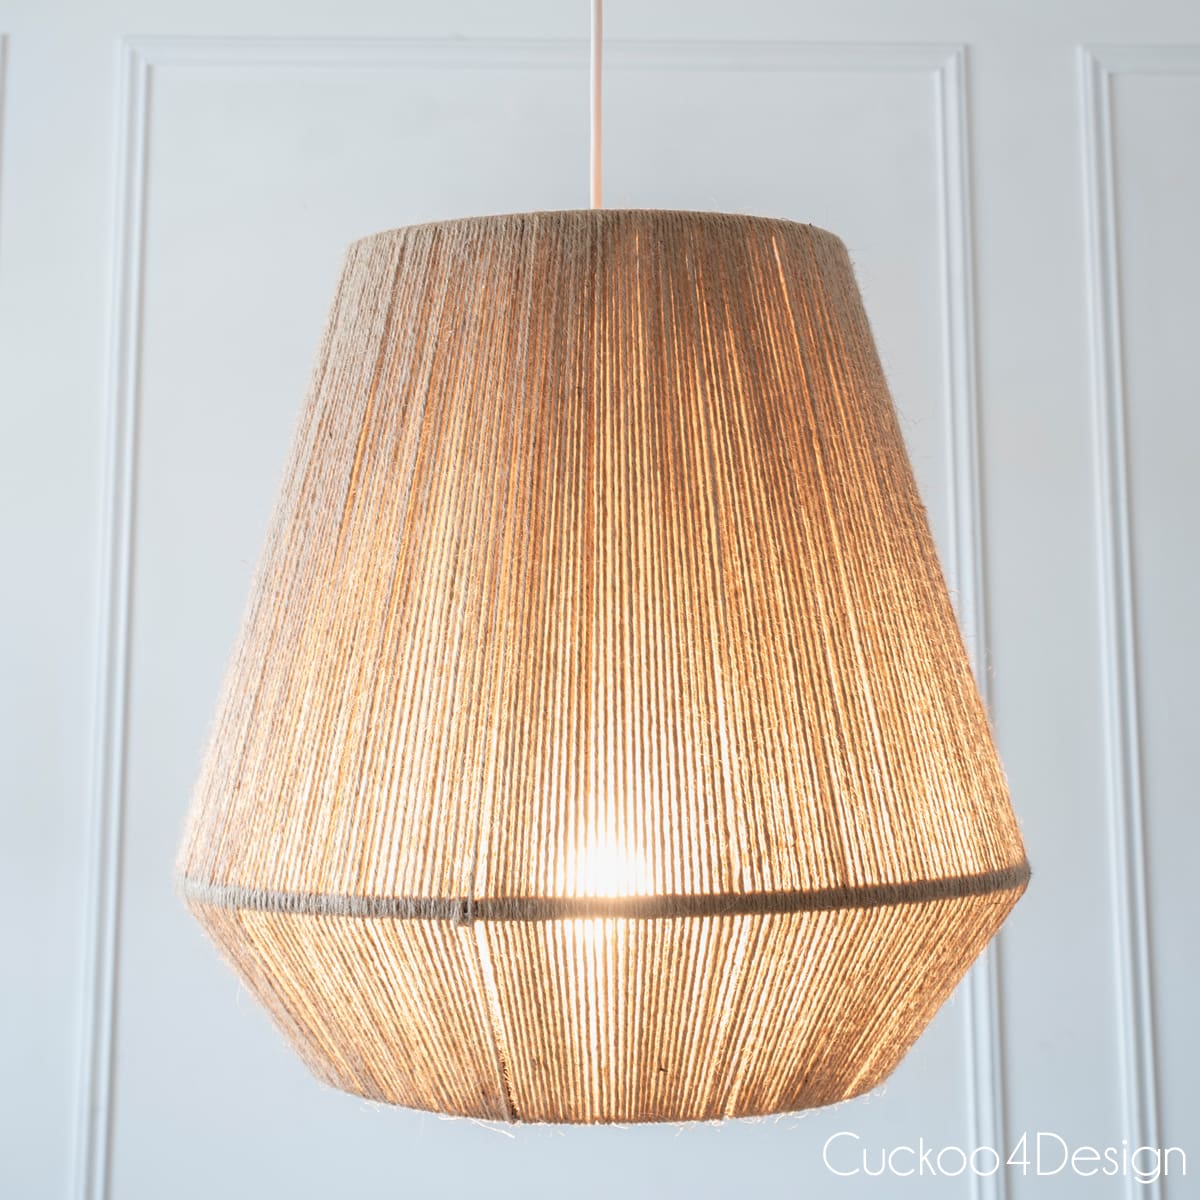
- cheap DIY pendant light tutorial using jute yarn

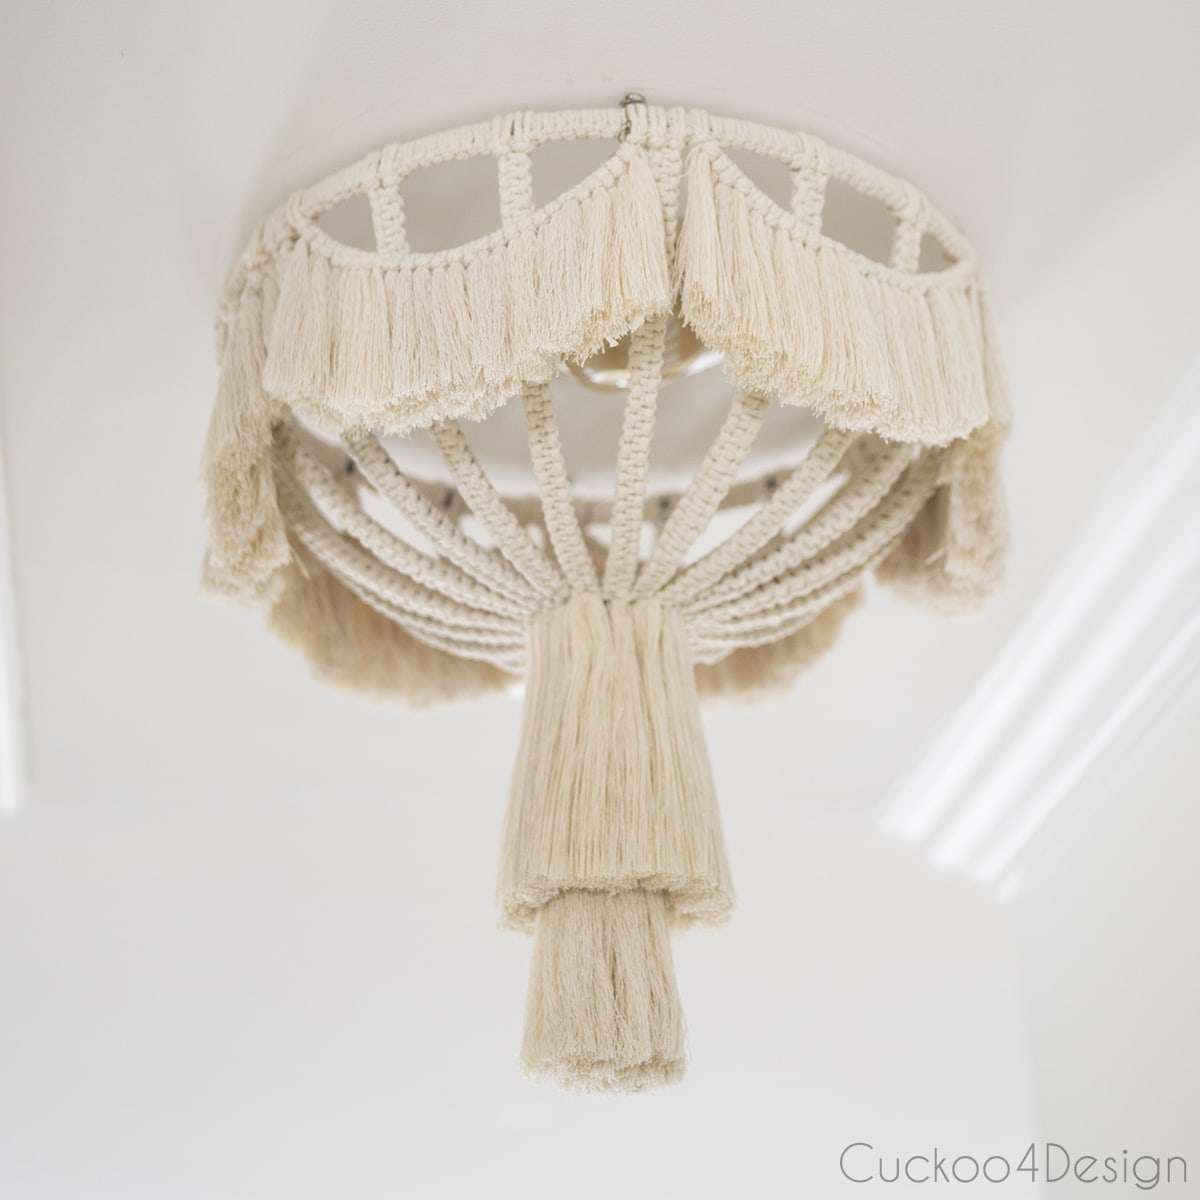
- stylish DIY macrame chandelier made from a planter basket
- DIY flush mount macrame light fixture
- ugly thrift store find lamp makeover
- Renter-friendly chandelier makeover tutorial
Tschüß,

DIY wood bead pendant light
Materials
- pendant of your choice
- can light conversion kit (if you have a can light as I do)
- electrical tape
- electrical tape
- wire connectors
Tools
- screwdriver
- wire cutter
- pliers
Instructions
- Unscrew the mounting bracket and cover from the electrical cord.
- Remove the electrical wire from the mounting parts.
- Measure how long you want your pendant light to be.
- Thread your beads onto the electrical wire so they rest on the pendant head according to the length measurements.
- When you stacked them to your desired length and in a configuration that looks pleasing, attach the mounting parts again to the wire.
- Install your light on the ceiling. (Don't forget to turn the power off and make sure you attach the correct wires together. More tips on that are below.)
Notes
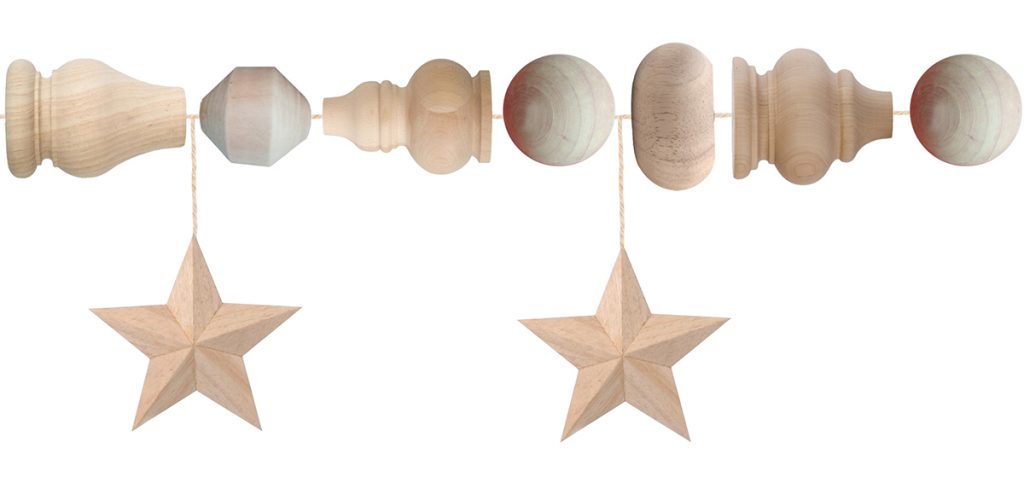
- If you can't find large wooden beads, think outside the box and consider using wooden furniture legs or a wooden bead back massager. You can take the massager apart and use the beads for your project.
- When installing a light fixture make sure you turn the electricity off!
- Make sure the two correct wires are put together, meaning HOT and neutral.
neutral = white wire
black = hot wire
ribbed wire = neutral
smooth wire = hot
Connect the ribbed wire to your white wire because they are both neutral. And connect the smooth wire to the black wire which is hot. - hire a professional if you aren't comfortable installing a pendant light yourself
this is incredible! i love this pendant SOOO much!
Thank you Cassie. I’m so happy that I finally found he right beads
I love it and what a great tutorial too.
Thanks so much Marty
I think this might be my favorite project of yours from the year (but, I still love that front porch!). I seriously am in love with this.
Oh wow thanks Ashley
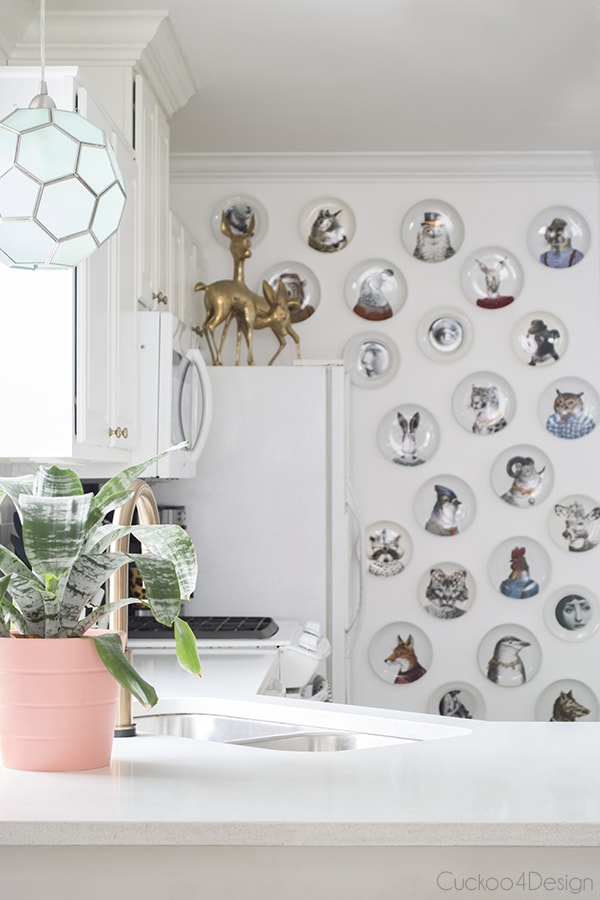
I love the two deer on top of your fridge. In your professional decorating opinion, what do you think of brass accents with white cabinets with nickle knobs? I can’t change out my knobs right now, but I’d love to add some warmer colors to the kitchen… without clashing. How matchy do you think the knobs with the decor needs to be? I think your knobs are more on the brass side (I looked up your kitchen pics, but it was kinda hard to tell). I agree with your idea to add warmer wood tones – it looks gorgeous!
It doesn’t have to be match match at all. I love mixing metals. Gold and silver is perfect in my book. Did you see my living room from the fall tour? Lots of silver and gold live happily together.
Ok, I took your advice and put up gold-ish framed pictures on the wall… next to nickle knobs. And I LOVE IT!! Thanks for taking the time to always reply to my comments. And thank you for keeping up this beautiful and inspiring blog 🙂
Love it!! THanks for the detailed instructions.
Thanks so much Tamara!
WOW! These are beautiful. And with all those detailed instructions I feel like I could actually do that myself.
🙂 Danke Esther! You could totally do that 😉
Julia, I think you should market that pendant. I absolutely love it. There’s something about the black and light wood that is just so good on the eyes.
Wow what a beautiful pendant. I just love those oversize wooden beads. What a great look in your kitchen.
I love it! Wonderful! And the bathroom idea is so nice!
Thanks Miranda
Man, I love this thing! It’s so perfect in your kitchen!
So pretty! Do you remember how much you paid for the strand of beads?
Thanks
Shonee
I paid $25 Shone. Did you find more at your local Pottery Barn?