Simple wooden bar stool makeover tutorial
Today I want to share my wooden bar counter stool makeover that I mentioned to you last Friday which involves new stools for our kitchen. My dream stool is still the acrylic ghost stool and also the Timber & Ore Bar Stool but the prices make it impossible right now to buy that dream. Our budget is almost 0! We just need way too many other things like a new microwave, a new stove, vet visits (Ugh! Old cats aren’t cheap!), and tickets to Germany. The list is never ending but you get my point, right?
Simple wooden bar stool or counter stool makeover
This post may contain affiliate links from which I will earn a commission at no extra cost to you. View my full disclosure policy.
Since we wanted to use our counter though, I decided to go with the most affordable option possible. I settled for the cheapest stools I could find. These types of wooden stools are often found used for even cheaper on Facebook Marketplace or at thrift stores. They are so common. So check there first but I didn’t get that lucky and I also didn’t want to wait until I finally found some.
For me, once again, Target was the answer with their cheap, but “oh so plain and boring” Landon 24″ counter height stool. At $15 each it was the most affordable I could find. Unfortunately, they aren’t available anymore.
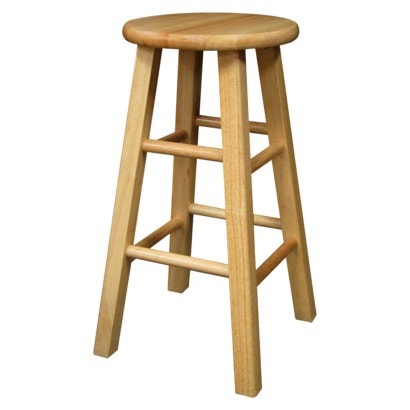
Similar stools:
And come on say it! It’s so boooooring. Yawn!
What I didn’t mind is the light-colored wood since I have always loved my light wood floors. I’ve had the maple-colored flooring since 2000 and didn’t regret or get tired of them once. Do you know what the best part is about light-colored flooring is? Take a guess? DO IT! (Oh, I’m kind of bossy today…sorry! My friends would tell me that I have the TONE again. They laugh at me when I say “do it.”) Well, my favorite part is that it doesn’t show dirt and dust as much as darker floors do. My neighbor can’t stand trying to keep her dark floors clean. I don’t really have that problem even with 4 cats but I wouldn’t recommend lying on my floors because you’ll look like a used Swiffer pad when you get up, haha! It’s tricky like that 🙂
Now back to my stools.
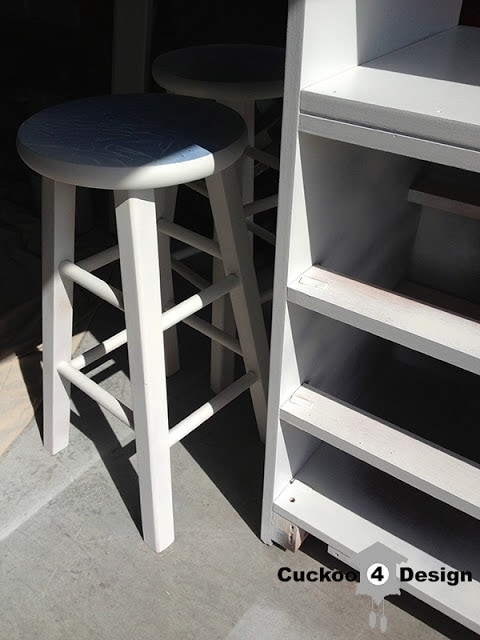
I couldn’t live with the plain look of them and decided to whip out the good old spray paint. My hubby actually sanded them down for me, yay! He can do it if he tries!
Materials used for this DIY bar stool makeover
- Kilz spray primer
- Rustoleum white semi-gloss spray paint
- Krylon Blue Ocean Breeze
- tack clothes
- craft knife
- painter’s tape
- TSP cleaner or Krud Kutter
- clean rag
- sandpaper
- cutting mat or cardboard
- large trash bags (or painter’s tarp)
Instructions on how to paint wooden bar stools
- Lightly sand the stool’s legs and side edge. Don’t sand the top because it will remain natural wood.
- Spray some degreaser (TSP cleaner or Krud Kutter) on the stool’s legs and wipe it off with a clean rag.
- Take the painter’s tape and tape it on the seating surface of the counter stool/bar stool. Let the tape simply hang over the sides.
- Turn the stool over and place it on a cutting mat.
- Take the craft knife and cut out the shape of the seat by tightly running the craft knife around the edge of the round seat. This will cut a perfect circle out of the painter’s tape on the seating area.
- Before priming, take a tack cloth and clean any dust, hair, or random debris from the legs and stool seat sides.
- Shake your spray primer can really well and give the entire stool a coat of spray primer. Let it dry.
- When the primer is dry, run your fingers over the surface and inspect if you need to lightly sand off any texture.
- Check for missed spots and add more primer if needed.
- Shake your white spray paint can really well and give the chair two coats of spray primer while letting it dry according to the manufacturer’s specifications in between coats.
- Tape off the legs and leave the seat edges exposed. I like sticking the legs into a large trash bag and just taping the bag to the underside of the seats. (You can still use the trashbags after you are done painting. If you are using a tarp then the plastic is wasted which I don’t like doing.)
- Shake your accent color spray paint can (I used turquoise and black the second time) really well and give the seat edge two coats of paint while letting it dry according to the manufacturer’s specifications in between coats.
- Remove painter’s tape and plastic and you are done.
If you like the look of my wooden bar stool makeover but don’t want to paint the entire stool then you can buy them pre-painted white already. Check out the natural and white wooden bar stools below. All you’d have to do is add the colored detail for an updated modern look.
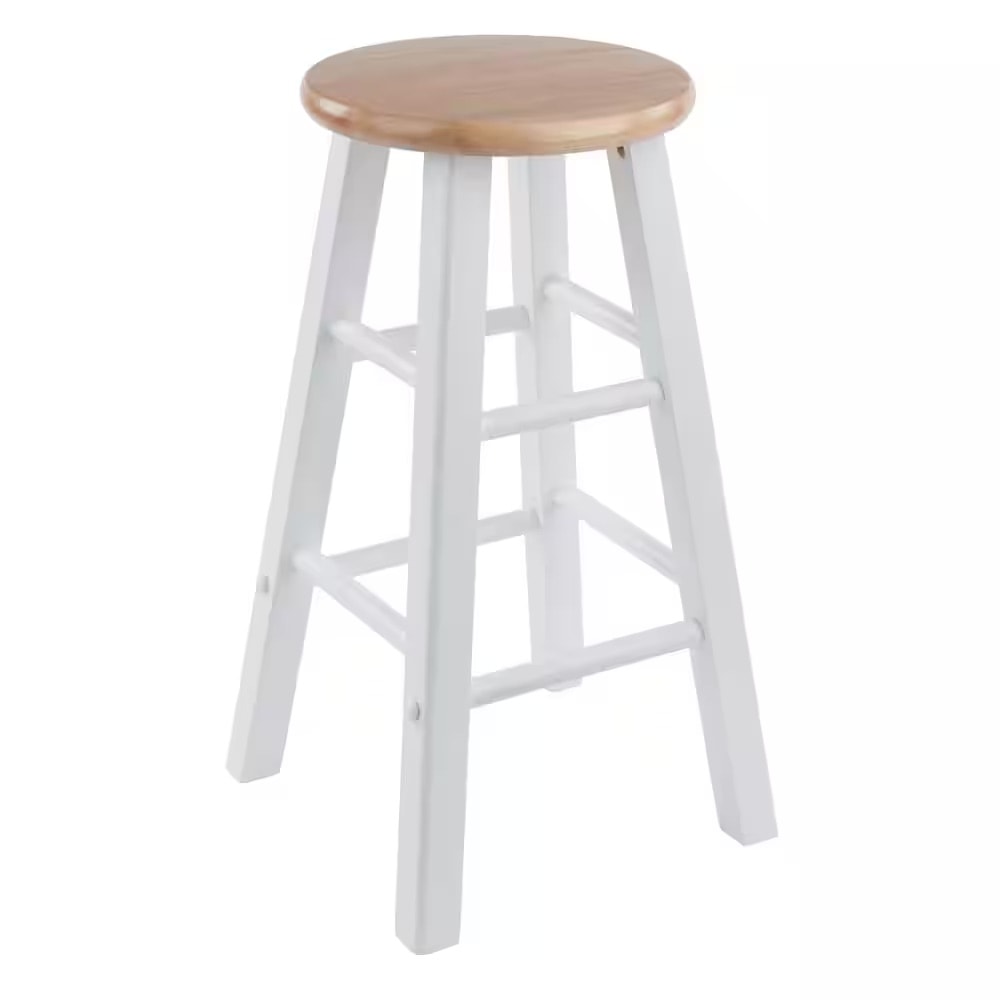
Photos of finished wooden bar stool makeover
And I couldn’t be happier with the outcome. (In case you are wondering, I’m still not done with the tile backsplash but don’t tell anybody, ok?)
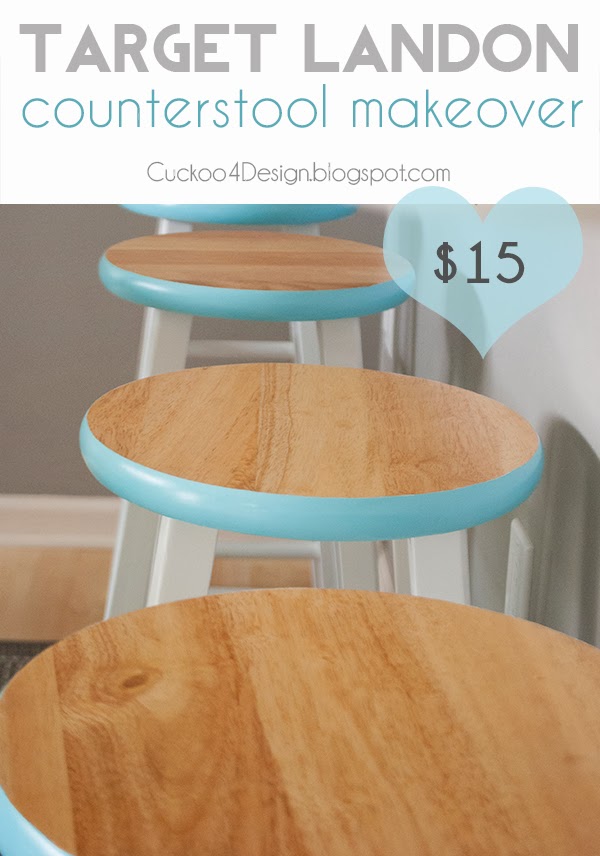
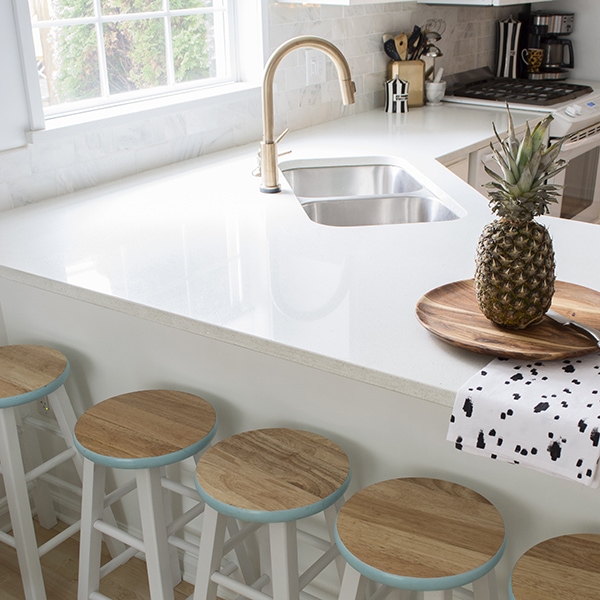
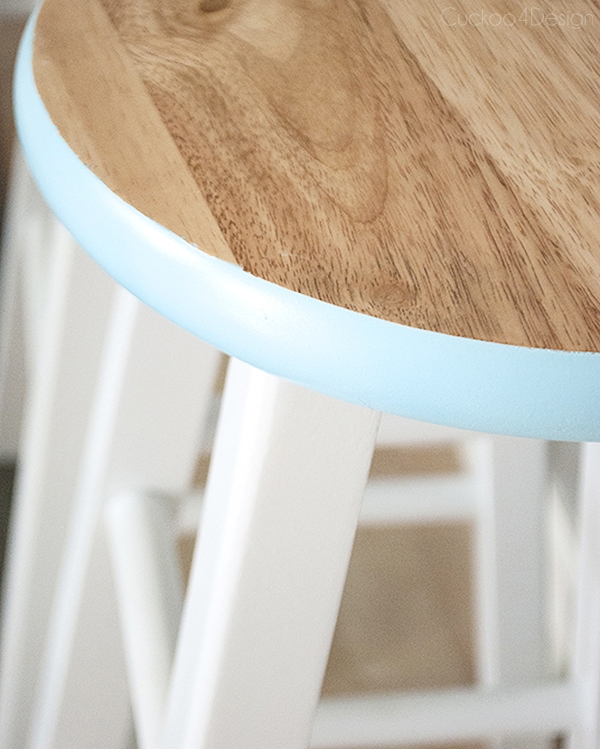
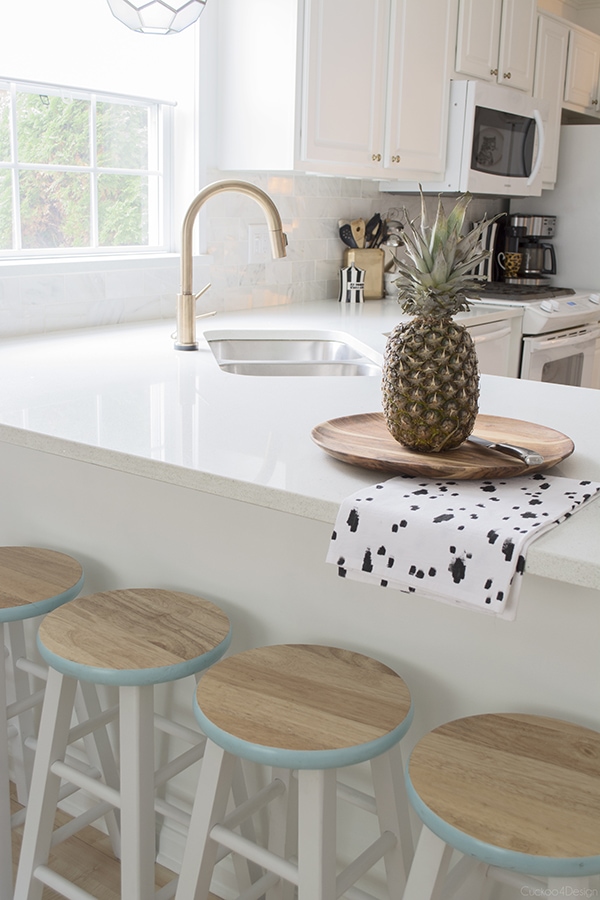
I love our new and cheap counter stools or should I say barstools??
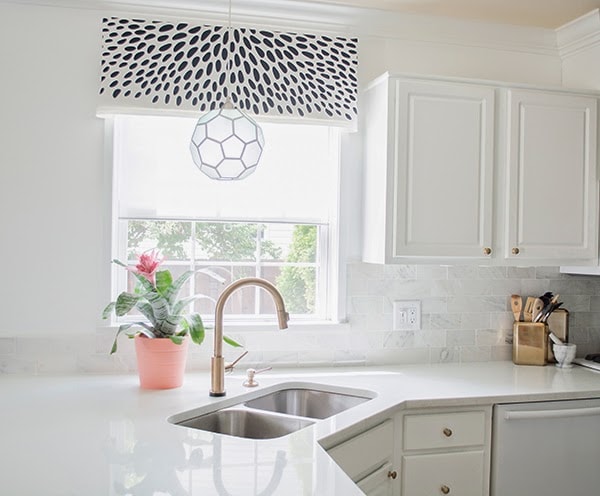
The honeycomb light fixture doesn’t look as green on the photos as it actually is. The stools and light coordinate perfectly in my book.

And then recently I had the itch to change them up a bit to match my home decor with the same tutorial by changing the turquoise trim to black.
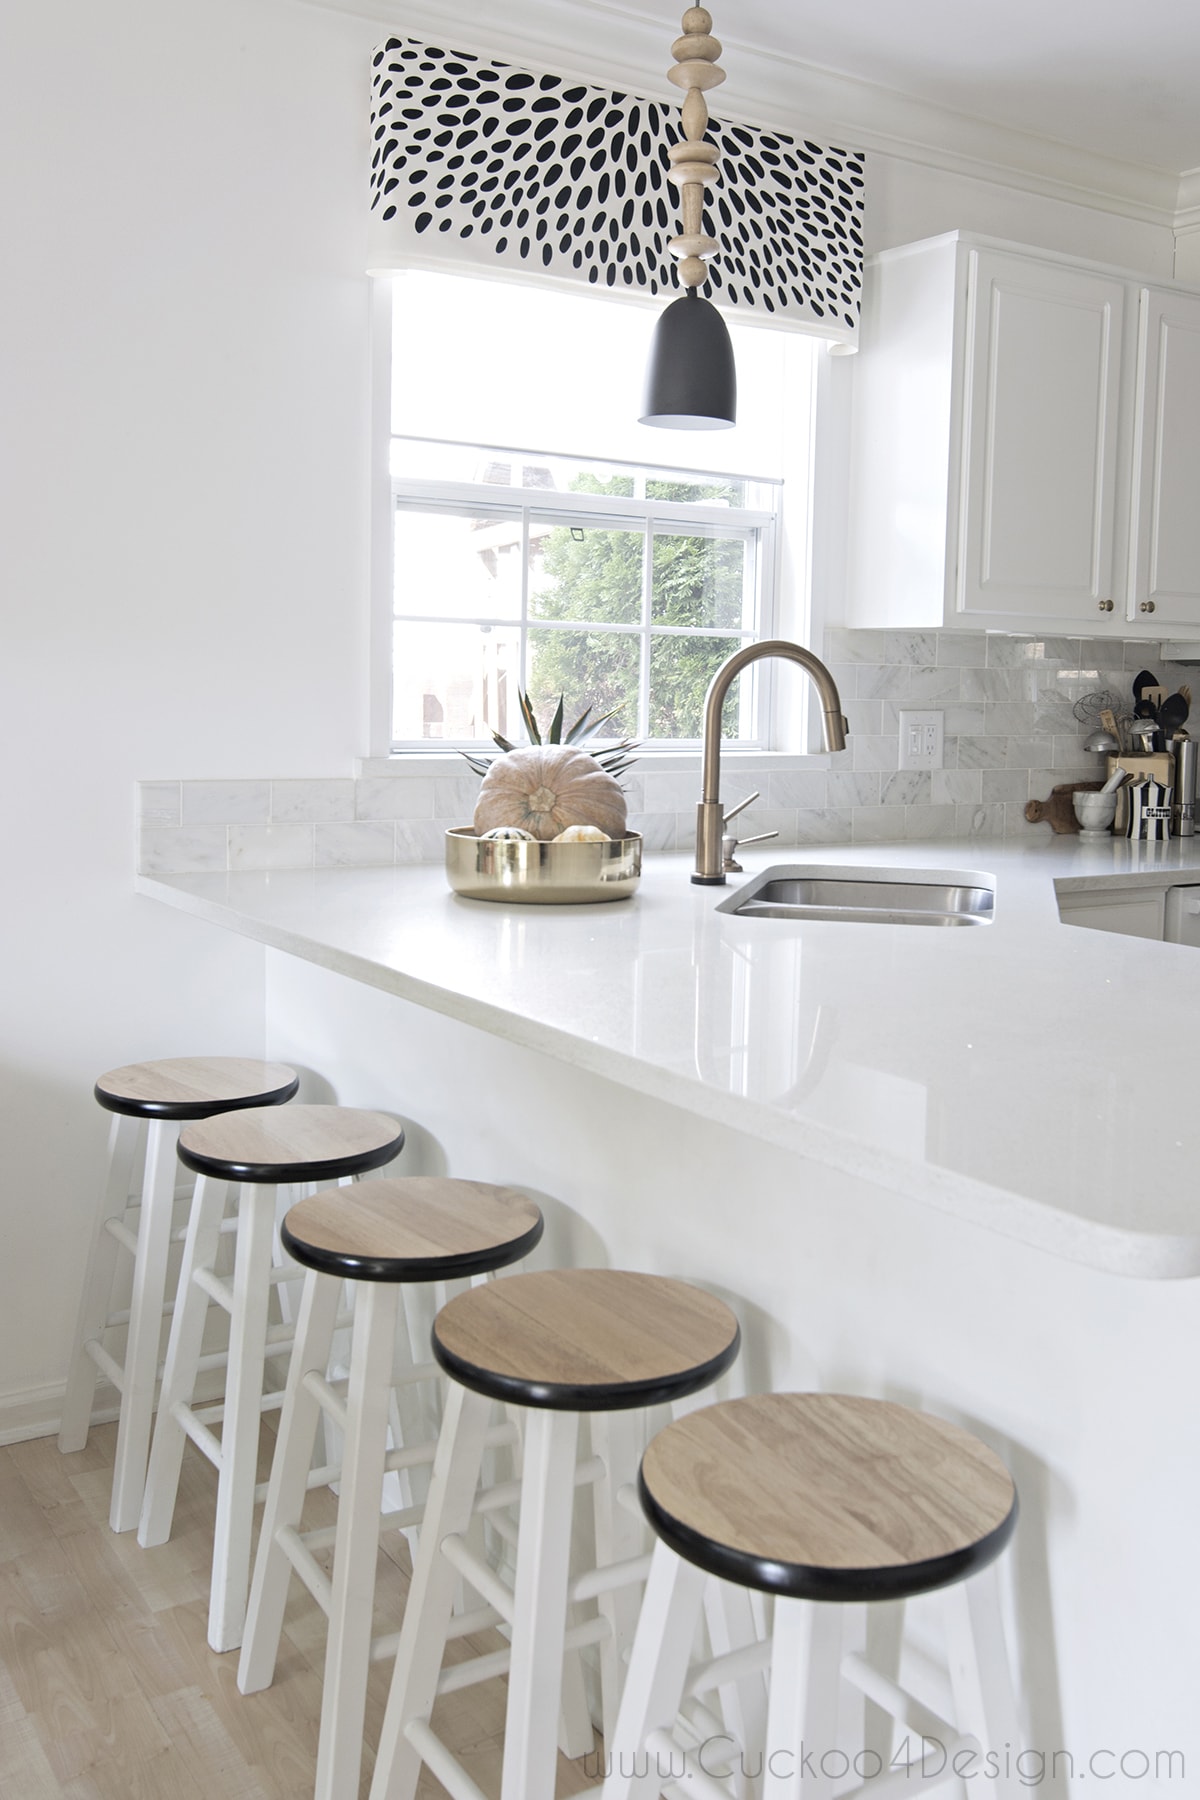
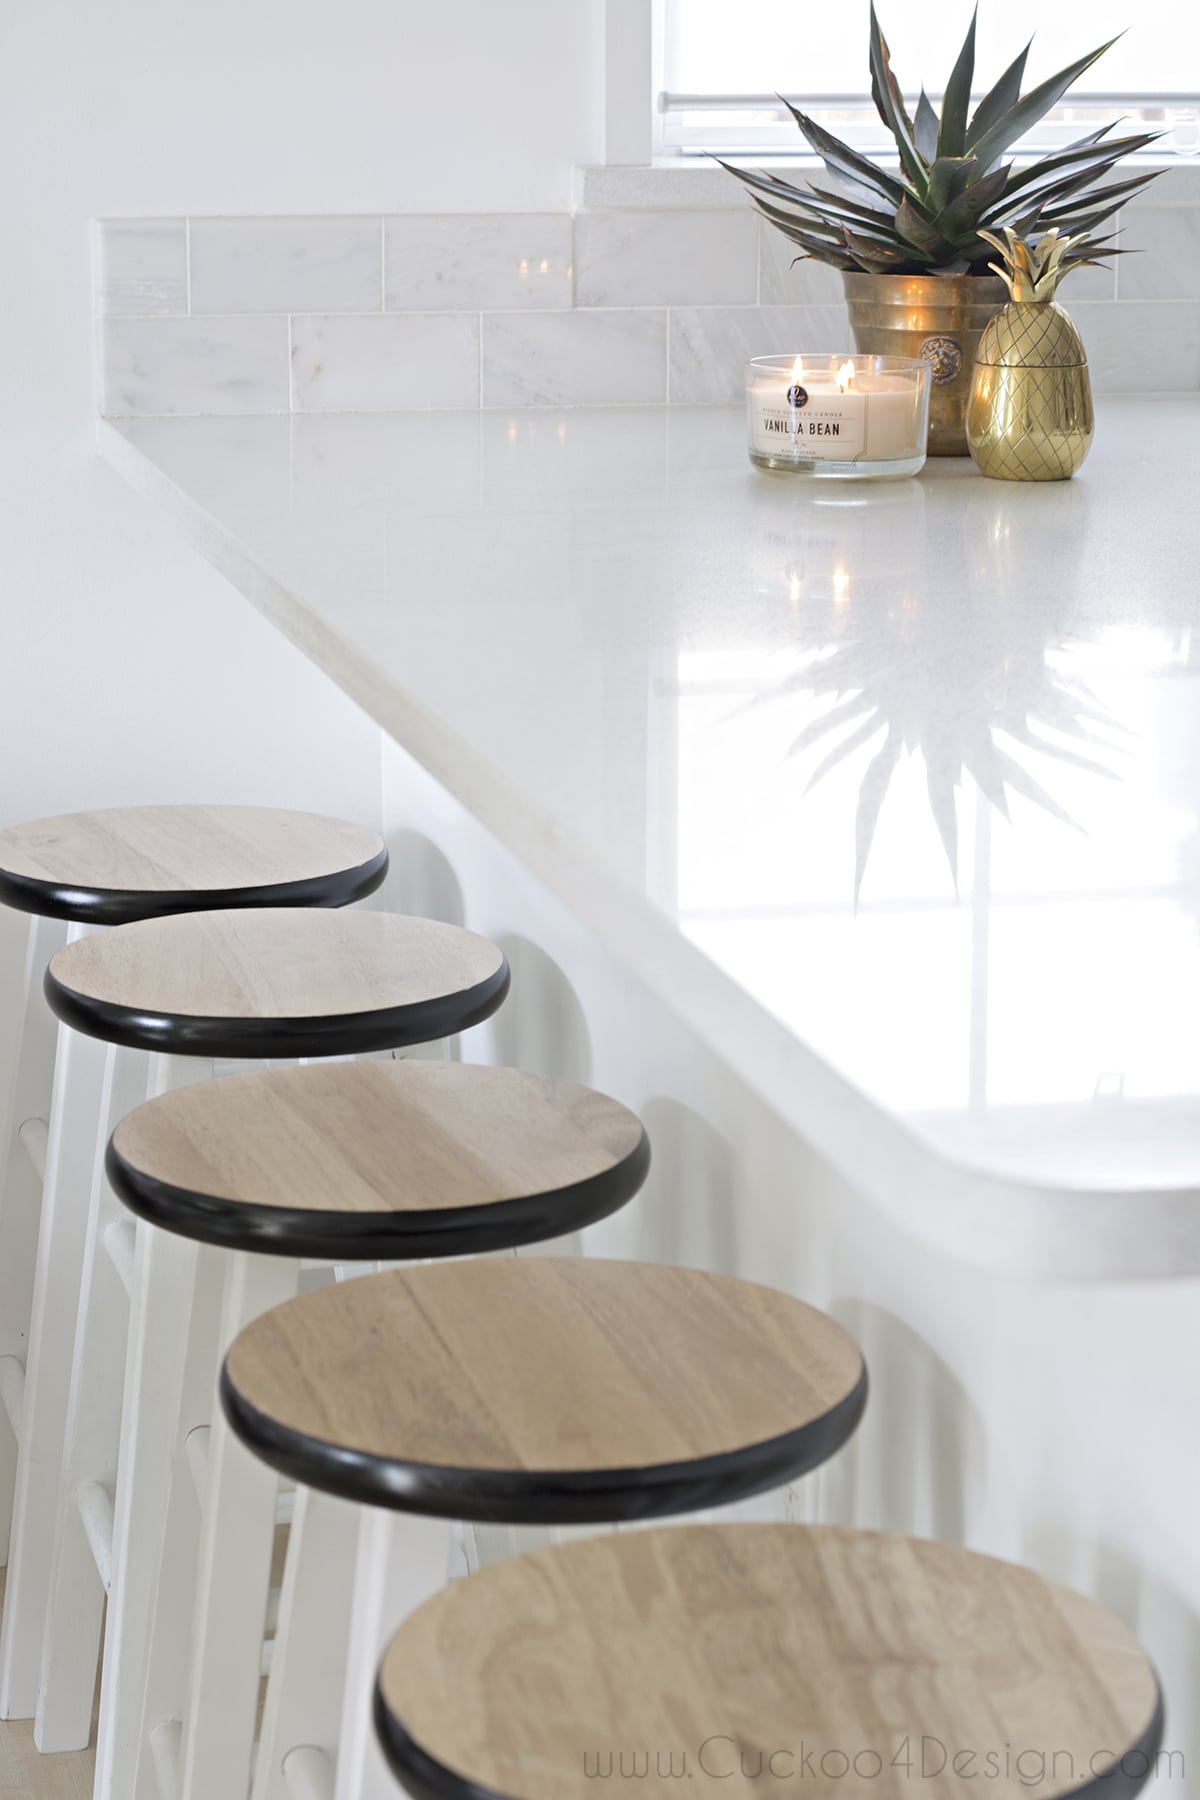
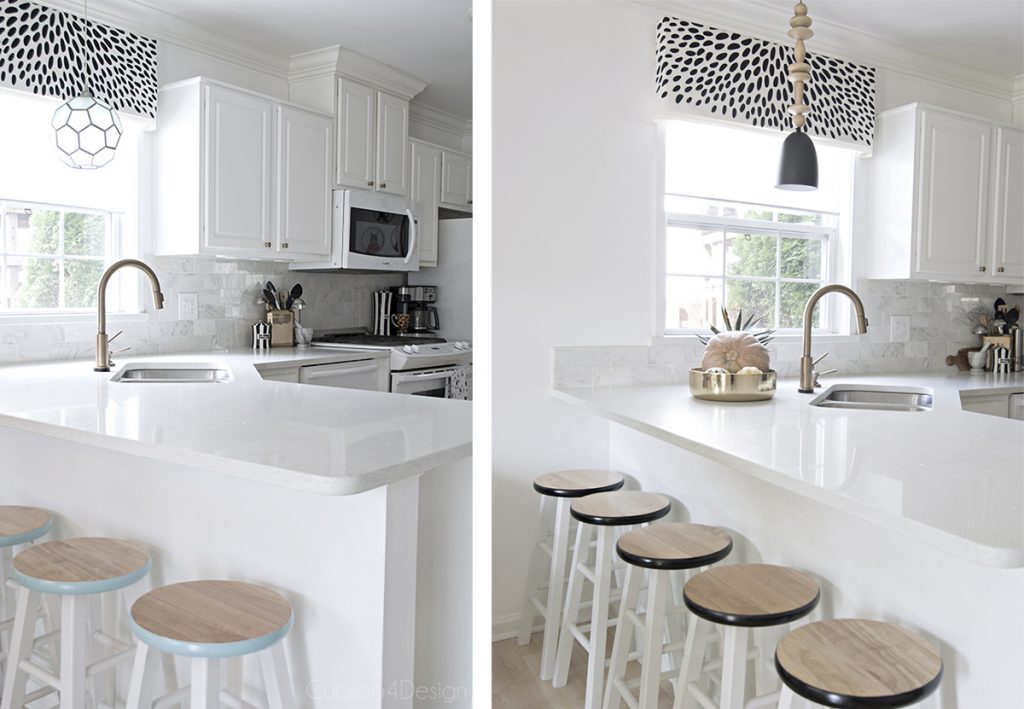
What do you think? Do you like the DIY bar stools as much as I do? Which ones do you like better? The turquoise detail or the black detail.
Since this post, a lot has changed in the kitchen.
More budget DIY projects for your kitchen
Below is a photo of how our kitchen currently looks.
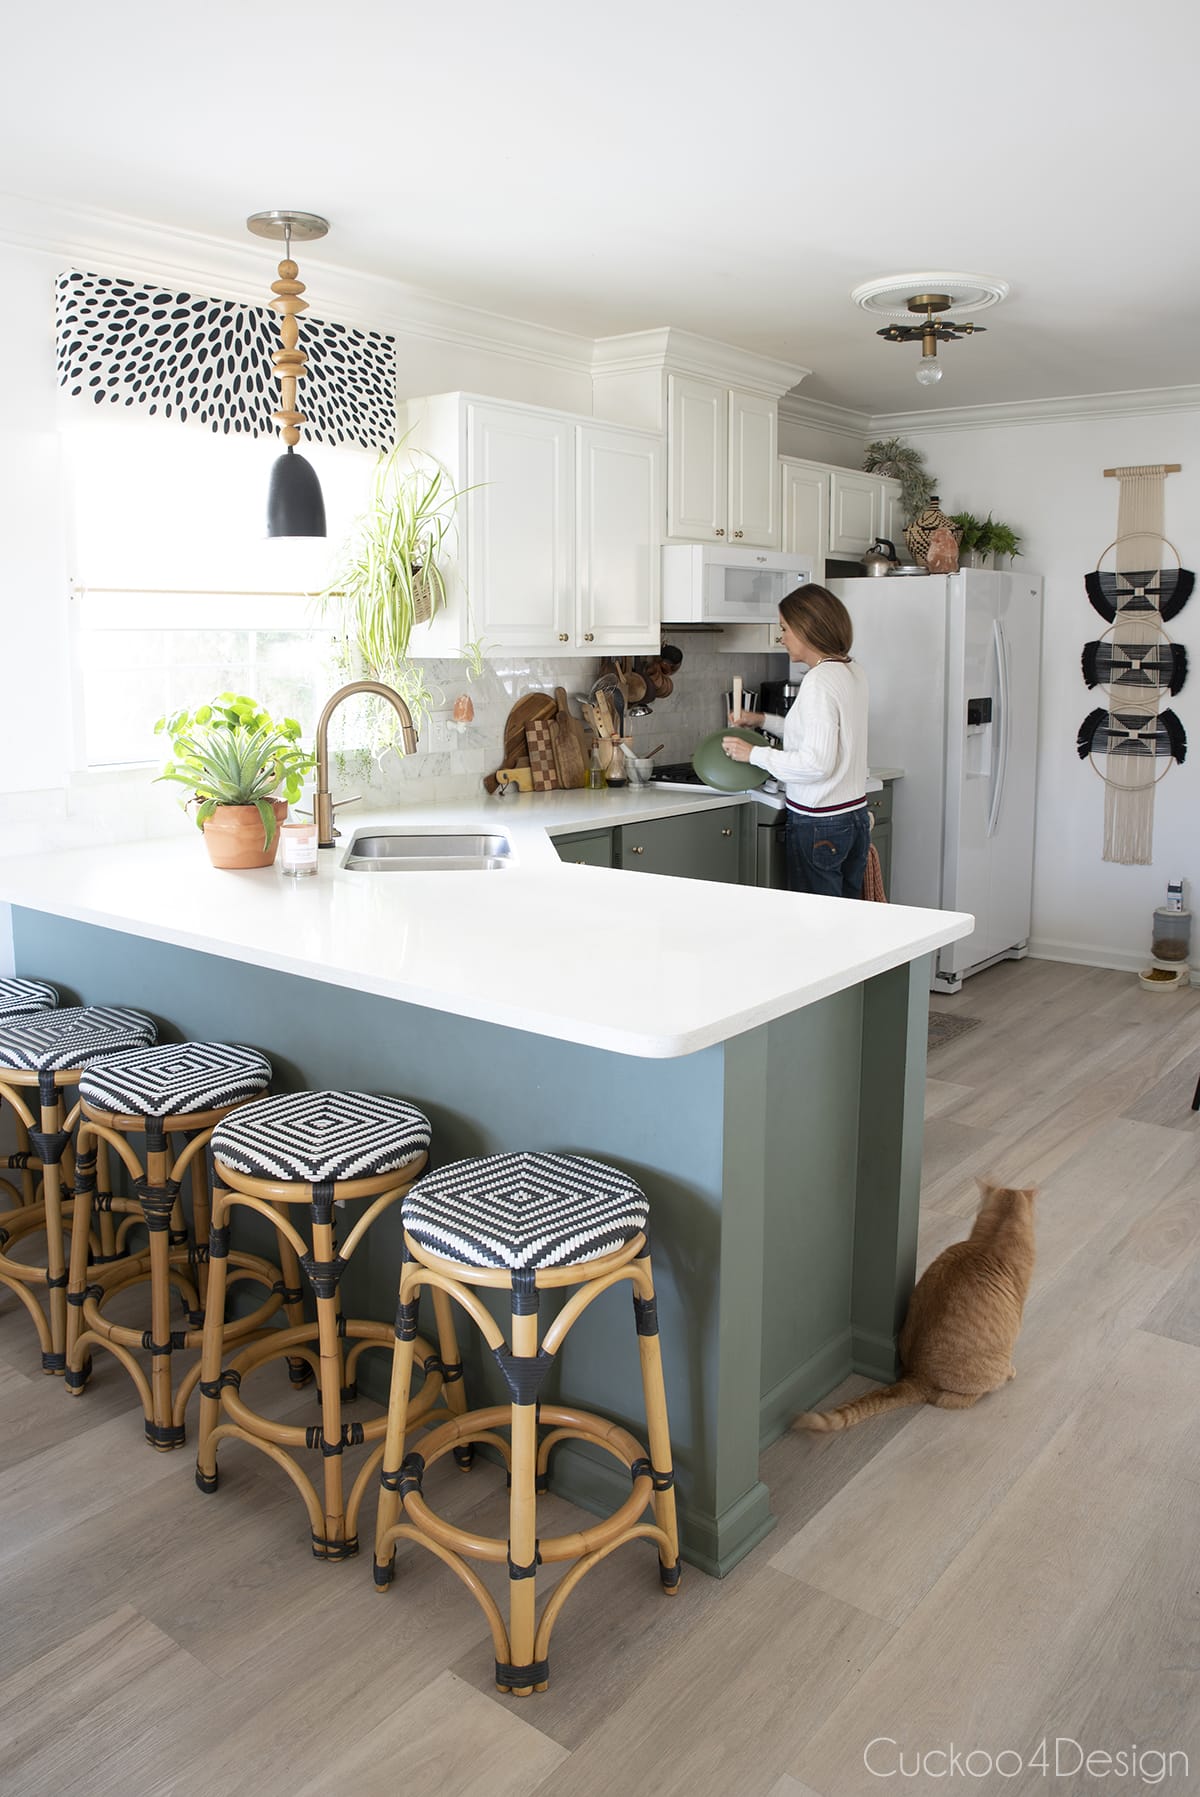
Let me tell you all the DIY projects that went into the current look of our kitchen.
- fixing our peeling laminate cabinets
- DIY wood bead pendant light
- Karndean vinyl plank flooring installation
- vinyl-wrapped appliances tutorial
- DIY utensil rack tutorial
- DIY macrame towel holder
- How to install a marble subway tile backsplash
- Adding a kitchen island post to your existing cabinetry
- DIY drawer pulls using dowel rods and copper plumbing tees
- DIY crockpot makeover
Tschüß,

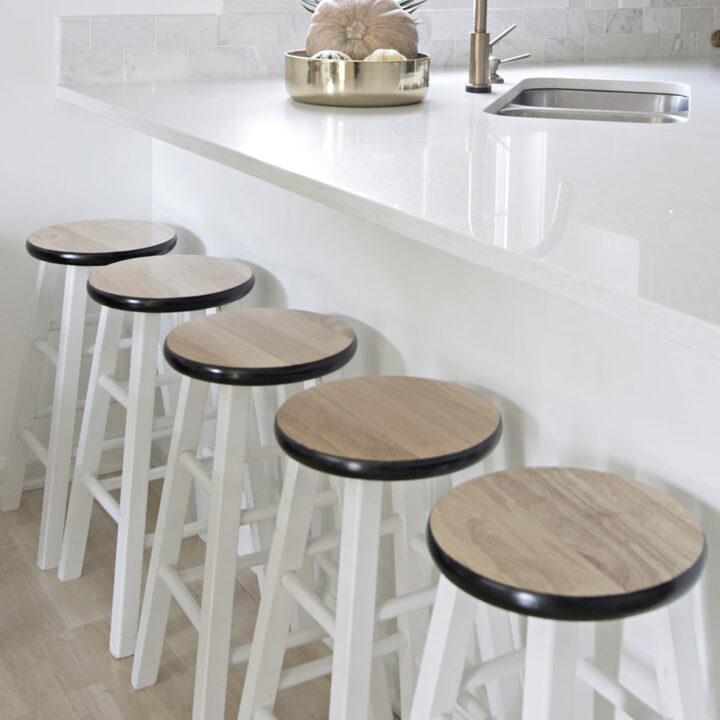
Wooden bar stool makeover tutorial
This is a simple and affordable wooden bar stool makeover that you can use in your kitchen or basement bar to add a custom look on a budget.
Instructions
- Lightly sand the stool's legs and side edge. Don't sand the top because it will remain natural wood.
- Spray some degreaser (TSP cleaner or Krud Kutter) on the stool's legs and wipe it off with a clean rag.
- Take the painter's tape and tape it on the seating surface of the counter stool/bar stool. Let the tape simply hang over the sides.
- Turn the stool over and place it on a cutting mat.
- Take the craft knife and cut out the shape of the seat by tightly running the craft knife around the edge of the round seat. This will cut a perfect circle out of the painter's tape on the seating area.
- Before priming, take a tack cloth and clean any dust, hair, or random debris from the legs and stool seat sides.
- Shake your spray primer can really well and give the entire stool a coat of spray primer. Let it dry.
- When the primer is dry, run your fingers over the surface and inspect if you need to lightly sand off any texture.
- Check for missed spots and add more primer if needed.
- Shake your white spray paint can really well and give the chair two coats of spray primer while letting it dry according to the manufacturer's specifications in between coats.
- Tape off the legs and leave the seat edges exposed. I like sticking the legs into a large trash bag and just taping the bag to the underside of the seats. (You can still use the trashbags after you are done painting. If you are using a tarp then the plastic is wasted which I don't like doing.)
- Shake your accent color spray paint can (I used turquoise and black the second time) really well and give the seat edge two coats of paint while letting it dry according to the manufacturer's specifications in between coats.
- Remove painter's tape and plastic and you are done.
Notes
If you like the look of my wooden bar stool makeover but don't want to paint the entire stool then you can buy them pre-painted white already.


I love them–they are absolutely perfect for your kitchen! Such a complement to the honeycomb light above the sink 🙂
Thanks Sara!
Those are so pretty! I have the same stools, but I have left natural for the time being while I decide how to paint them. I love your idea. How will the paint wear, I wonder.
So far so good on the paint wear. I’ve had them like this for a week now. I’m sure it would be a different story had I painted the top of the stool.
My favorite type of post…cheap and adorable! I’m in need of new bar stools as well, so I will have to keep this in mind. Love it.
Thanks Ashley!
This comment has been removed by a blog administrator.
LOVE how these turned out- so you! what a great vision you had for them!
Hallo Julia,
Germany – twelve points!
They look perfect, what a great idea, Glückwunsch!
Grüße, Katrin
Hallo Karin und vielen Dank!
so cute! I love them! the pop of blue is perfect for your kitchen
Wow! What a quick and easy transformation that really packs a punch! I love these, especially the teal around the top!
Thank you so much Megan!
These look great and these stools are found in so many homes so I know tons of people can be inspired to jazz up their less-than fabulous stools Julia style!
I really like the stools. They fun and the colors are light and airy. I love the pendant, too.
Perfect idea for a custom look, and the accent color is such a fun detail! Awesome photos, too!
They turned out SO great Julia! I love how they look with the other details in the kitchen. And yay for Germany! 😀
Hi Julia! I love them! They look awesome. I love that you’ve added the blue accent. I adore them with the rest of your kitchen! Great job.
🙂 🙂 🙂
I WON! WOW!
I will be so excited when my Jonathan Alder Ear Bud arrives….
WOW WOW WOW
The stools might now have cost a million, but they look it! They are perfect! They look great in the space and the light compliments it beautifully!!!
Thanks again….A wonderful way to start the day!
Love it! Very sweet. I have the same bar stools and recently did a little makeover myself. It’s neat seeing someone do something different with the same piece of furniture : ]
Love this transformation Julia!!! Your edge work is so crisp, it looks photoshopped! Nice work girl! And I LOVE the light blue with the white and wood!!
Your new stools look great! I love the band of blue and how perfectly the color ties in with your honeycomb pendant 🙂
I love that you kept the tops as they were! They look great with the pop of blue and contrasting white. You made it work! Love that. Jesse @ Scout & Nimble
Oh, they look great! I especially love the colored border 🙂
Love, Midsommarflicka
Love, Love them Julia, the way you matched them to your honeycomb light fixture is really nice! a very nice accent color! and they don’t look as if they cost only$15, they go well in your kitchen WOW! great job Julia! (now, I want to spray paint mine too!) YAY! I’m following you now through bloglovin’, glad you joined! 🙂 (btw, we had dark brown wood floors installed all through our entire main floor back in October and it’s really hard to keep them clean with a 22 month old running around and 2 dogs that enjoy playing outside) 😉
very nice! I love how they tie into the honeycomb light!
WOW, thank you guys for all the awesome comments. If you aren’t a non-reply-blogger than I already replied to you per email. And thank you sooooooo much for all the other comments. You guys make this world go ROUND for me 😉
Love what you did with the stools…perfect. I love the combination of paint and just the wood top…gorgeous. Looks lovely in the kitchen.
I love this! That little turquoise trim is so simple yet effective. I have some boring bar stools like this that I got off Craigslist when I moved in purely for function. Maybe a trim around the edges is just what they need! Thanks for the inspiration my dear!
These look fantastic! What a great project.
I love them! The blue is such a nice little touch.
I saw your bar stools over at Home Talk but I wanted to pop over to see the full post and tell you how much I adore them. I wish I had a spot in my house for bar stools. Yours look great!!
I love it! So simple, but so pretty!
Sweet colors! Totally on board the saving money and just making them your own. Cute! I love the transformation, HOWEVER, now you’ve got me eyeing my stools, which are rather boring as well! I will pin this and let you know if I copy your idea! 🙂
I have those stools… wish you lived closer and could fix up mine (and the rest of my apartment)!! Have a nice time with your dad – tell him I say hi! =)
Thank you Claudia and I will tell him you said hello. And I totally would fix up yours 😉
these are some great designs and i use them in my kitchen also thanks for thisWood floors installed
Ah, I love these. Please tell me how you taped off the top!? I cannot figure out how to tape off a circle for painting. Help!
I was wondering the same thing! Did this ever get answered, I’d love to know!
Hi sorry for the delayed response,
I taped the entire top of the stool, turned it upside down and cut around the edge of the stool (while it sat on a cutting mat) with a craft knife. Keep the blade really tight against the wood. When you turn the stool around again, it’s a perfect circle and you only have to press down the edges again before spray painting it.
Hope that helps.
Wow,It’s nice
thanks for this information,this is good information
kitchen counter stools
Oh my goodness! I love, love, love your bar stools!
Like your other comments, I would love to know if you have tips for getting such a crisp edge on the circle seats. Please help us other DIYer with suggestions on how to tape a curve for such crisp results. Thanks.
Oh, and my email is [email protected]
I LOVE the kitchen paint color!! What is it??
That’s my old color and it’s Rocky Bluffs by Valspar. Now it is white!
Like so many others just wondering how you achieved such a crisp line on the top?
Hi Donna,
I tried to answer this a couple days ago and just noticed it never went through. I’m so sorry.
I taped the entire top of the stool, turned it upside down and cut around the edge of the stool (while it sat on a cutting mat) with a craft knife. Keep the blade really tight against the wood. When you turn the stool around again, it’s a perfect circle and you only have to press down the edges again before spray painting it.
Hope that helps.
I love these and your whole kitchen too! This caught my eye on Pinterest because my son’s name is Landon. 🙂 Definitely re-pinning!
Thank you!
Love the stools! Can you explain how you did the ring around the top? Thanks!
Nevermind! Just saw your reply to Donna!
Ok good, I’m glad it answered your question. Thanks for the visit.
Viele dank (is that how it’s said/spelled?!). Just discovered your blog. You are so talented, and I appreciate this tutorial!
Thank you and yes Vielen Dank is right 😉
This is a great way to add a little style to a basic bar stool and also add a little pop of color to the room! 🙂
Thank you!
Amazing how something so simple can make such an impact,
Thanks, small changes go a long way.