

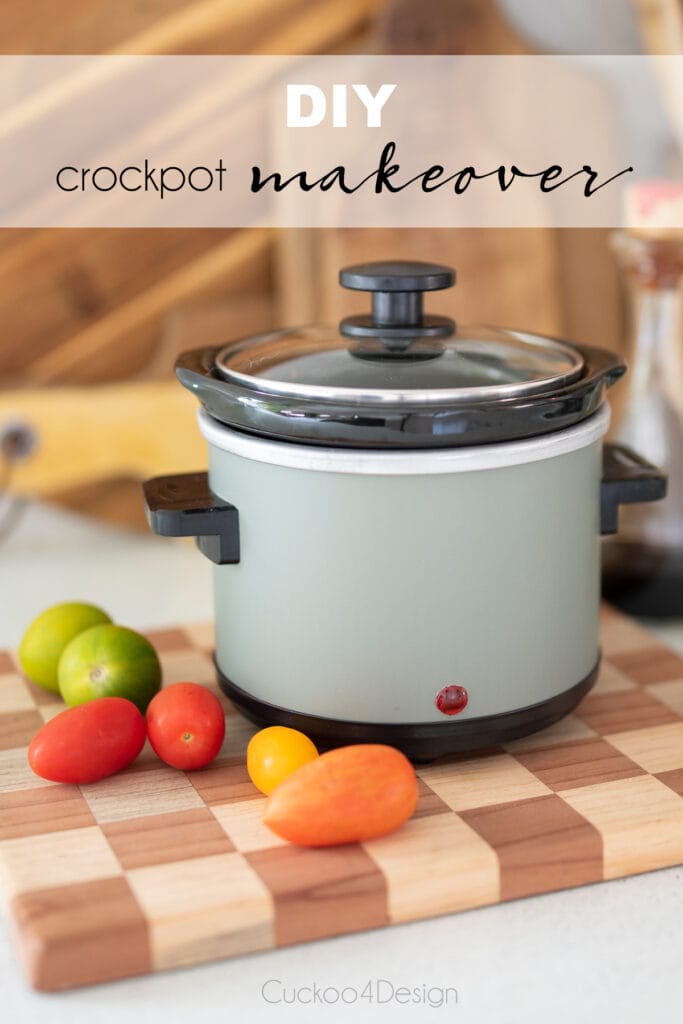
Easy crockpot makeover without using paint
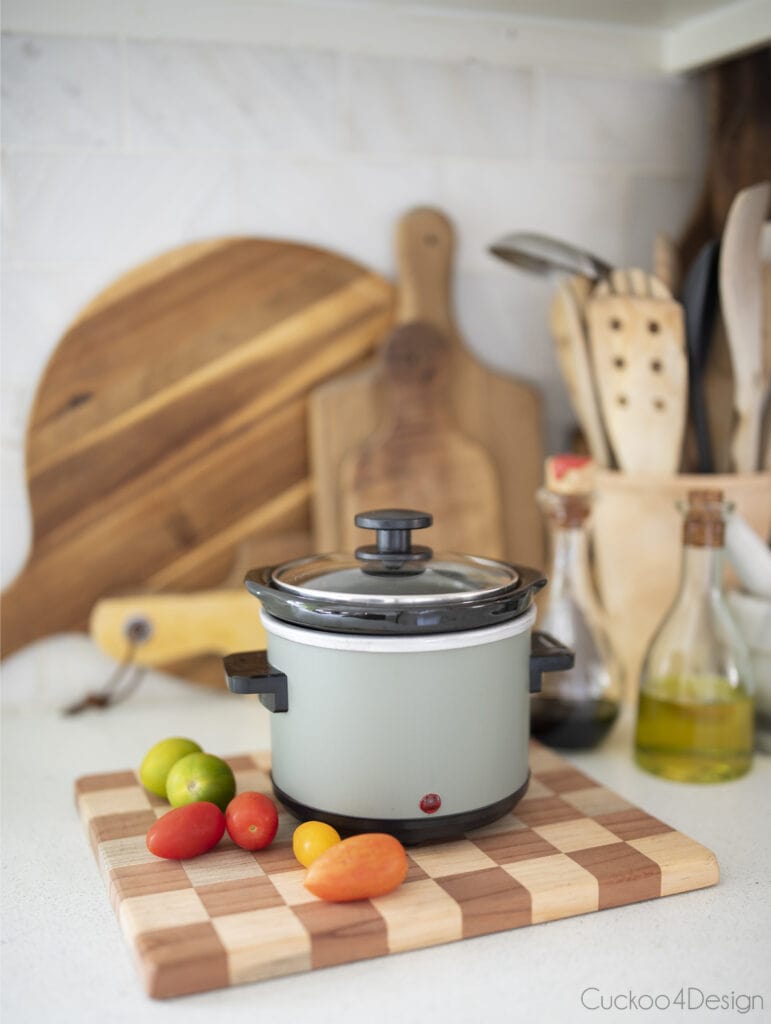
I had some vinyl car wrap leftover from my wrapped appliances project and decided to use it for a small crockpot makeover. The old red color is ok but the green is much better and makes the crockpot blend in with the rest of the kitchen instead of sticking out like a sore thumb.
I’ve seen others use chalkboard paint to paint their crock-pots and then use a piece of chalk on them to write what’s cooking on the outside which is cute for any party. However, I didn’t want to use paint in case I change my mind. The vinyl is easily removed and I can have the red color back.
A vinyl car wrap can withstand heat and is definitely a better option than using standard vinyl.
How to give your crockpot a makeover without using paint
This post may contain affiliate links from which I will earn a commission at no extra cost to you. View my full disclosure policy.
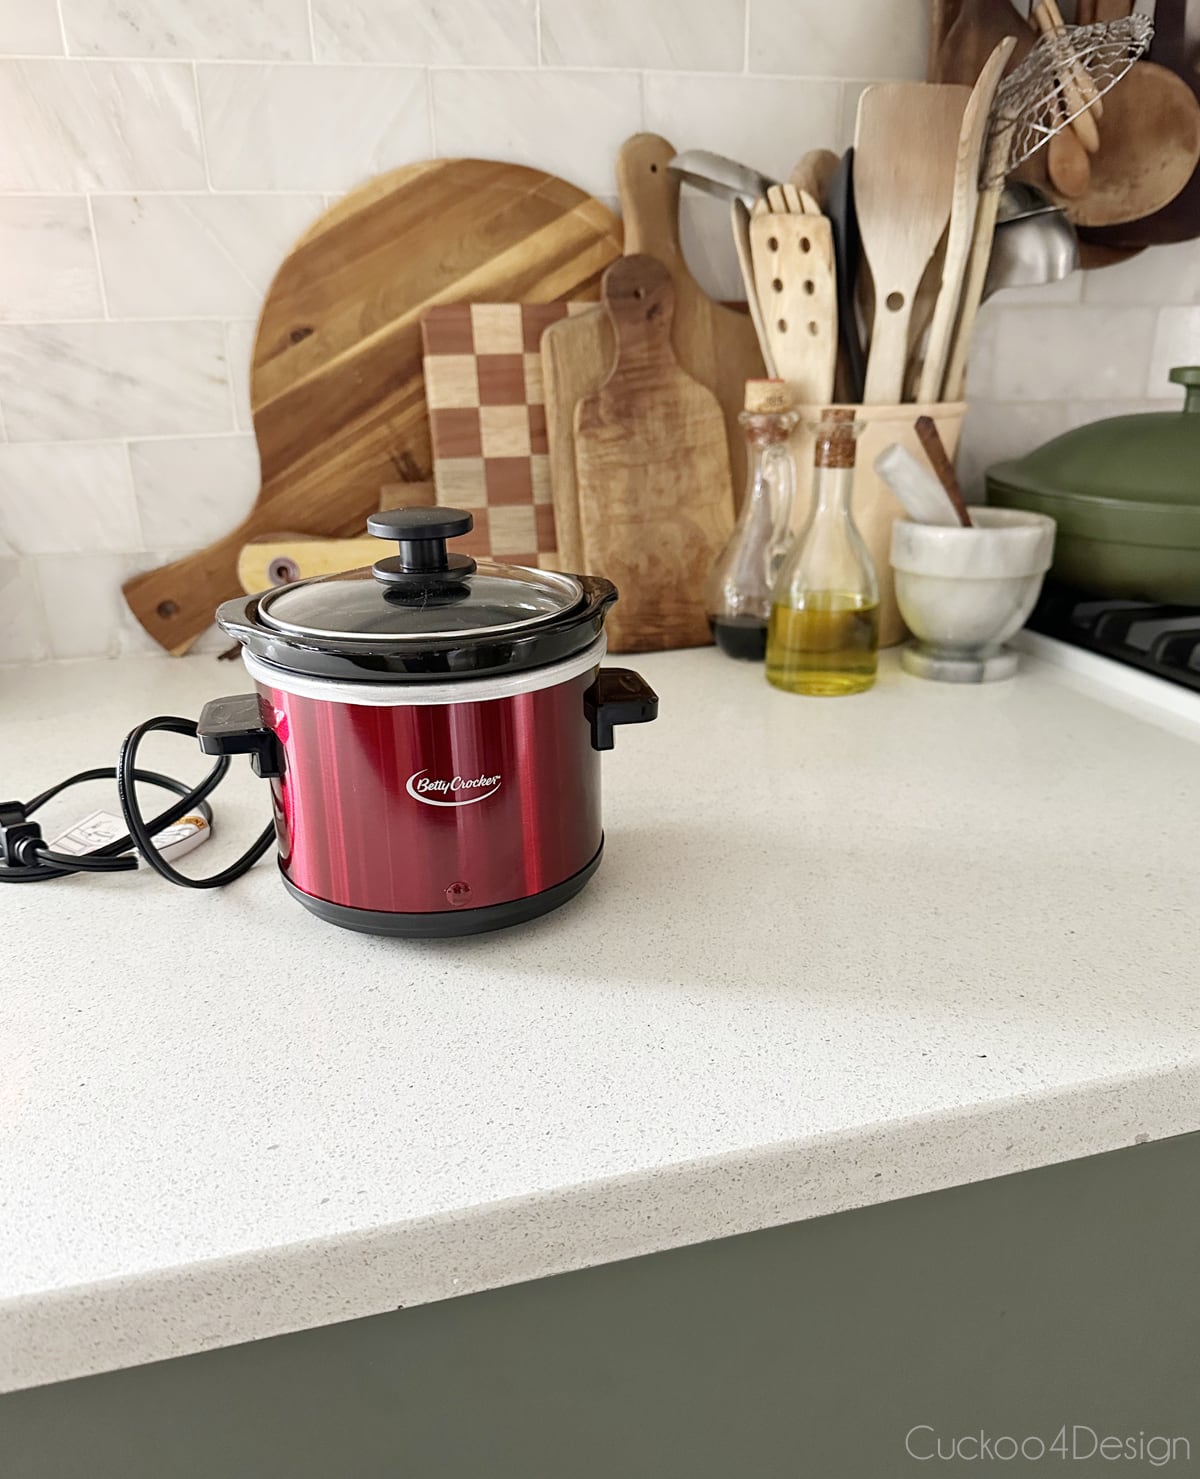
Here is my red little crockpot that I use for hot dips, cheese, and melted chocolate before the makeover. As I already said, I wasn’t thrilled with the shiny red.
Materials needed for this crockpot makeover
I bought my wrap from a local shop, but you can easily find it online, and of course, Amazon sells a variety as well. I bought some gold vinyl wrap when I worked on my appliances that I never returned, and I might use it for another old crockpot that we have. Let’s see!
- vinyl car wrap
- blow dryer
- craft knife
- scissors
- screwdriver
- pliers
- cleaning alcohol (Isopropyl Alcohol)
- clean rag
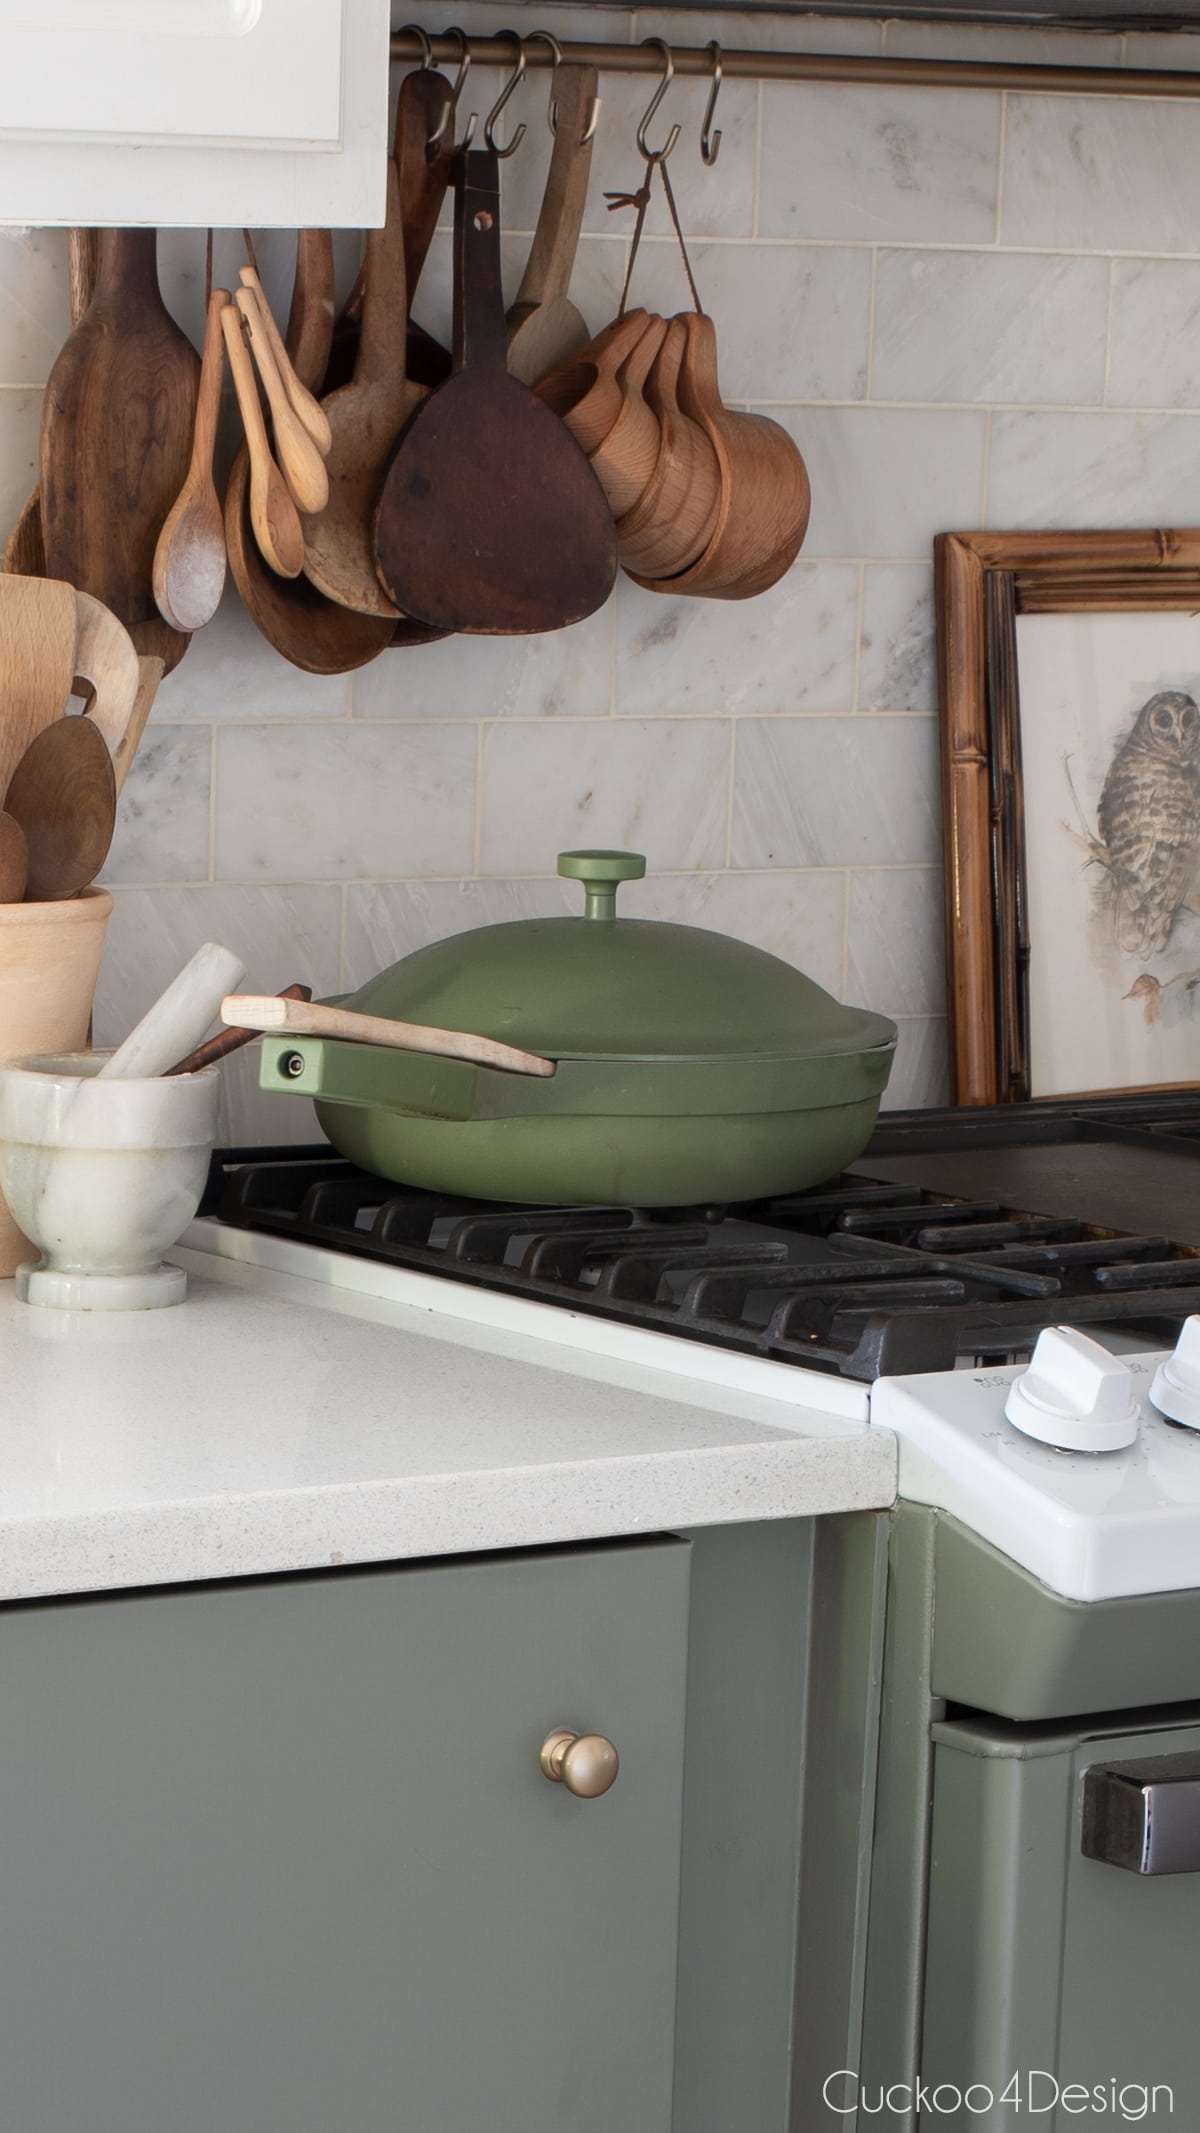
Below is a photo of a crockpot inspiration. I love that green crockpot. Looks so pretty and functional.

Let’s get to my little makeover though…
Step-by-step crockpot makeover instructions
Since I already made a video to show you how I wrapped my dishwasher in a vinyl wrap, I didn’t find it necessary to make another video for this crockpot makeover because it’s basically the same thing just on a much smaller scale. This is probably a good way to practice first before moving on to a much larger project. Below you can see the video and if it doesn’t load then you can head over to my YouTube Channel instead to watch the tutorial.
Step 1: Disassemble the crockpot
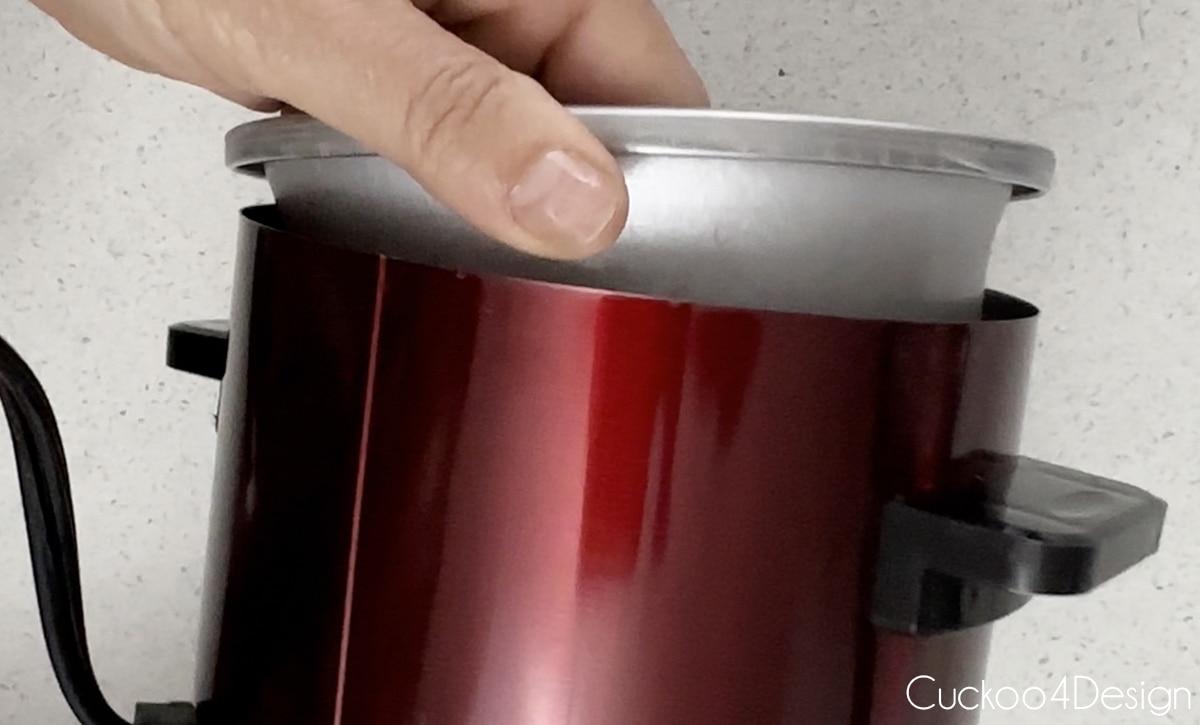
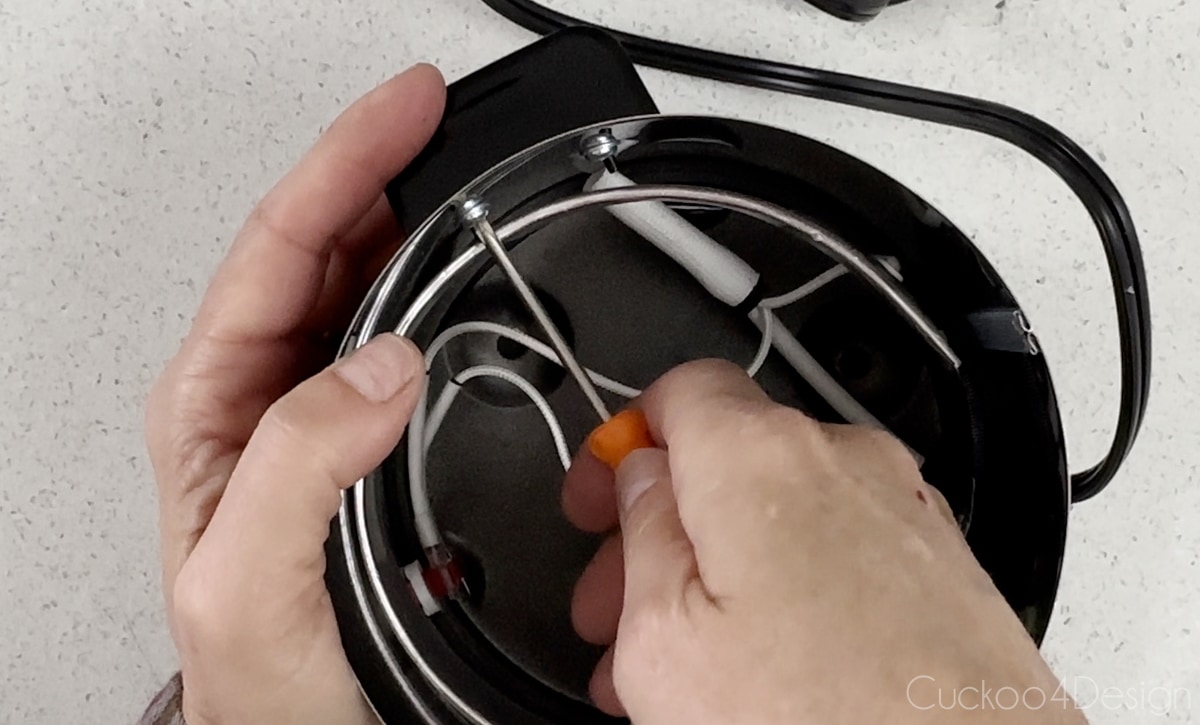
I’m not sure if most crockpots are built this way but mine has a screw that goes all the way through from the metal insert to the bottom of the pot. It basically holds most of the parts in place.

Unscrew that screw and remove it. You can now lift the metal insert out a bit. It won’t come out all the way because the heating element is still attached to the bottom of the metal insert.
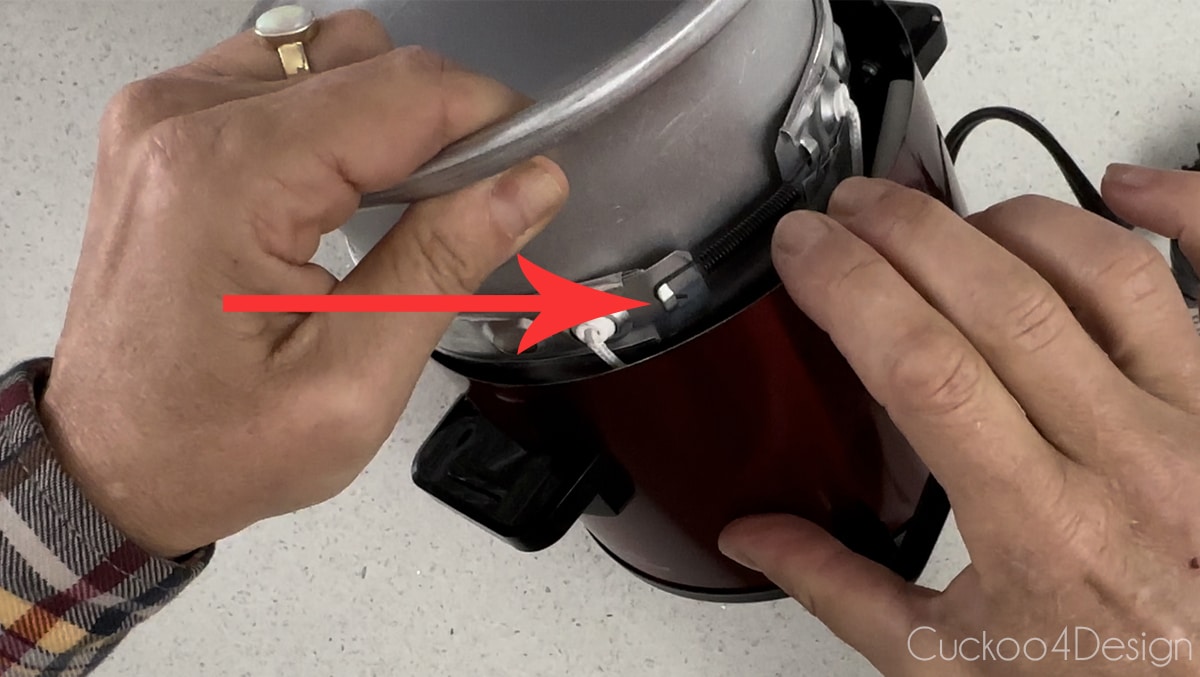
Below is a view of the heating element that is wrapped around the metal crock pot insert. There is a spring that keeps the heating element in place. Simply unhook that spring and you can remove the metal insert.
The handles are kept in place with screws.
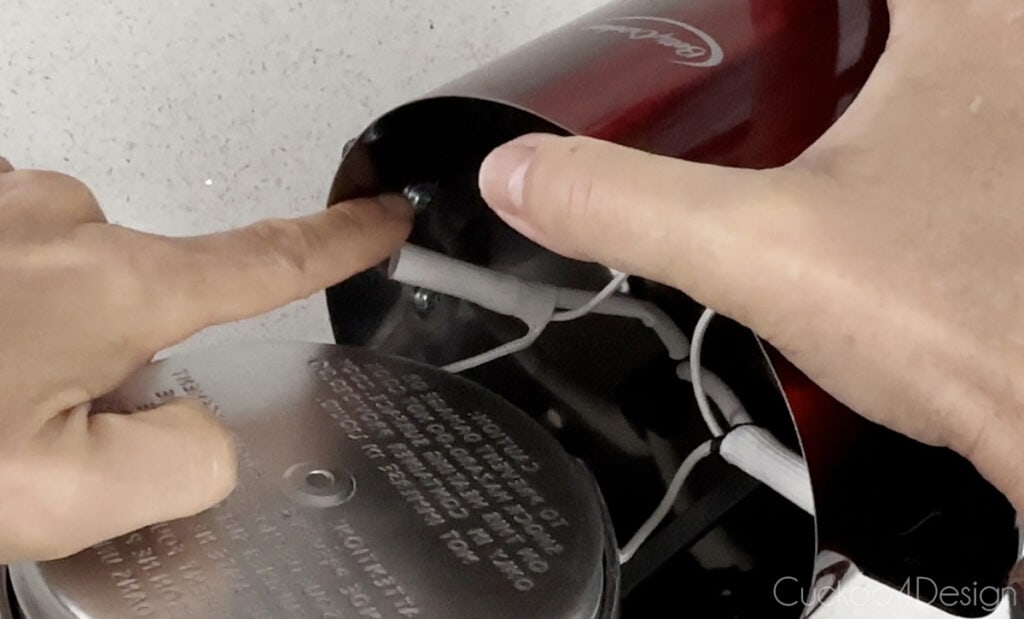
Remove those 4 screws with a screwdriver and remove the handles.
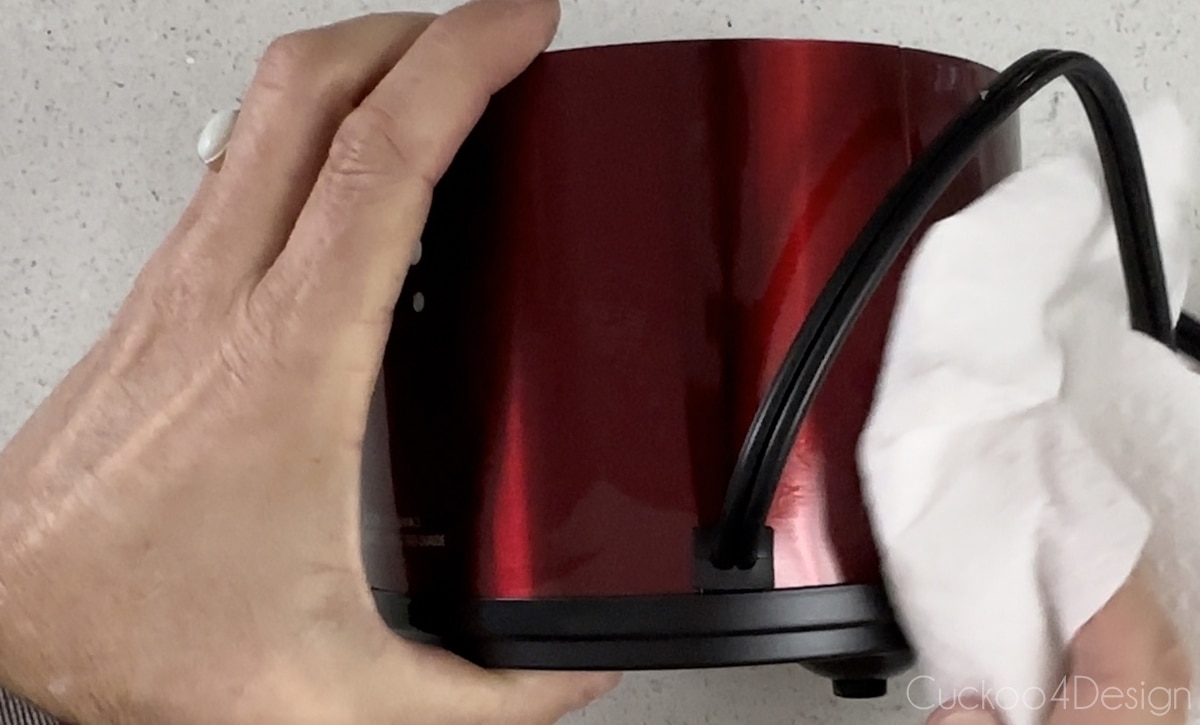
Step 2: Clean the crockpot shell
Now you have to clean the slow cooker shell with some cleaning alcohol on a clean rag. Let that dry all the way.
Step 3: Cut vinyl to size
Cut a vinyl strip slightly bigger than your crockpot’s height and circumference. Then nudge out/cut out the area of the electrical cord, which is the starting point.

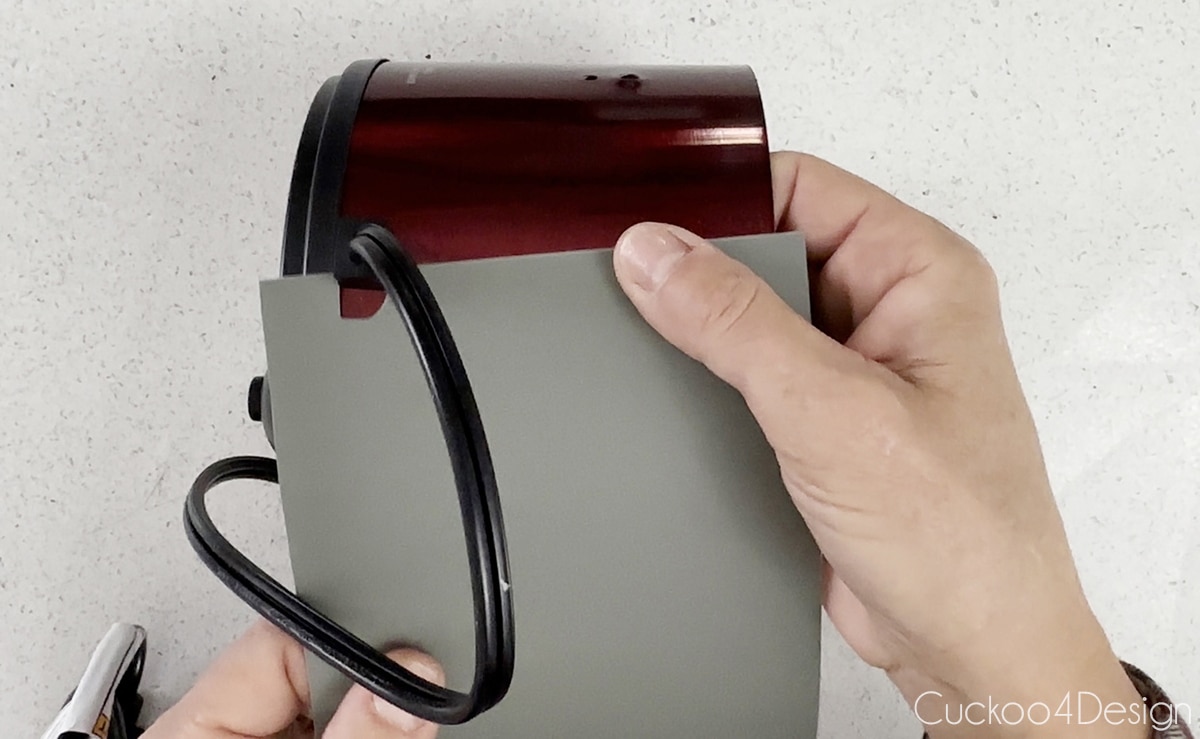
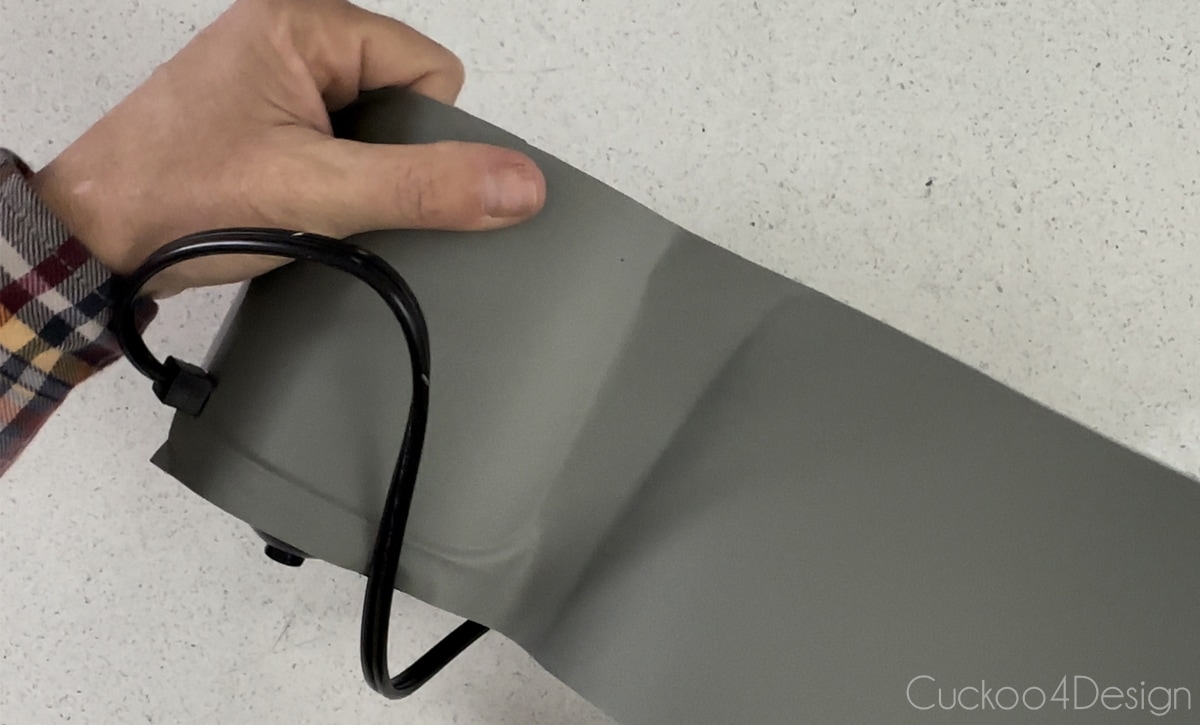
Step 4: Apply vinyl to the crockpot
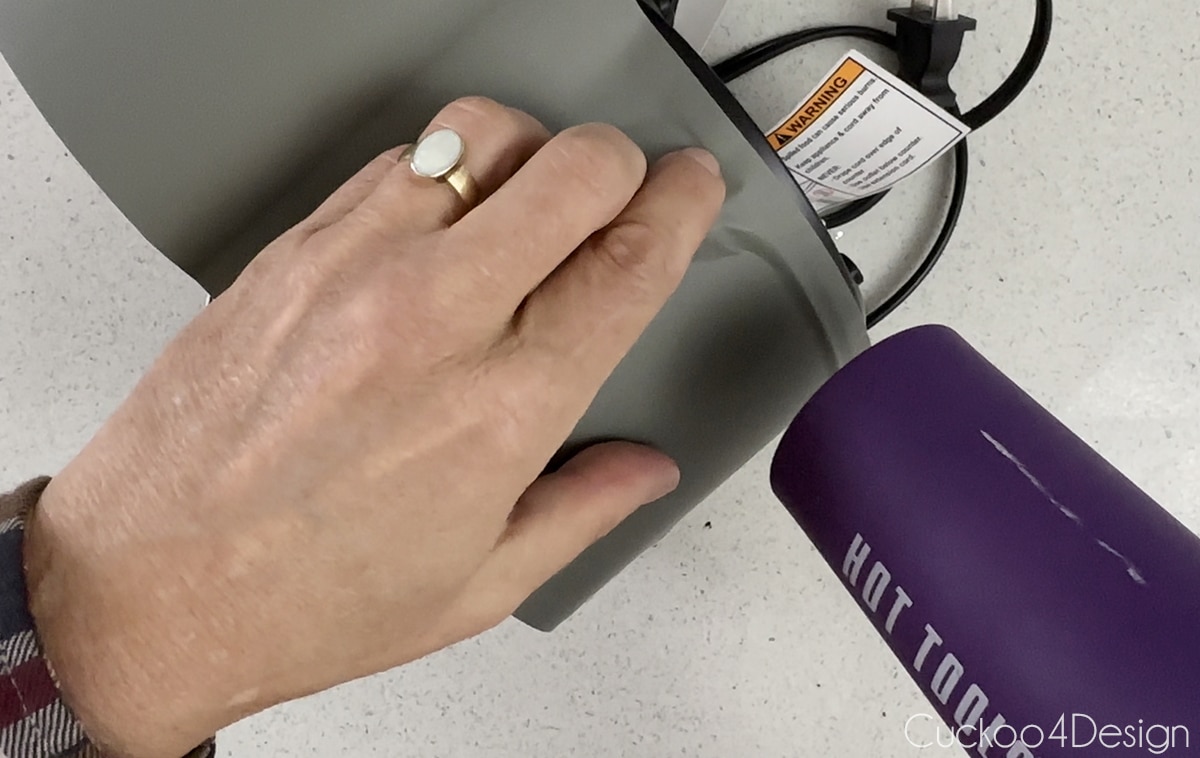
Remove the vinyl backing a couple of inches and align the vinyl around the cord. This is your starting point.
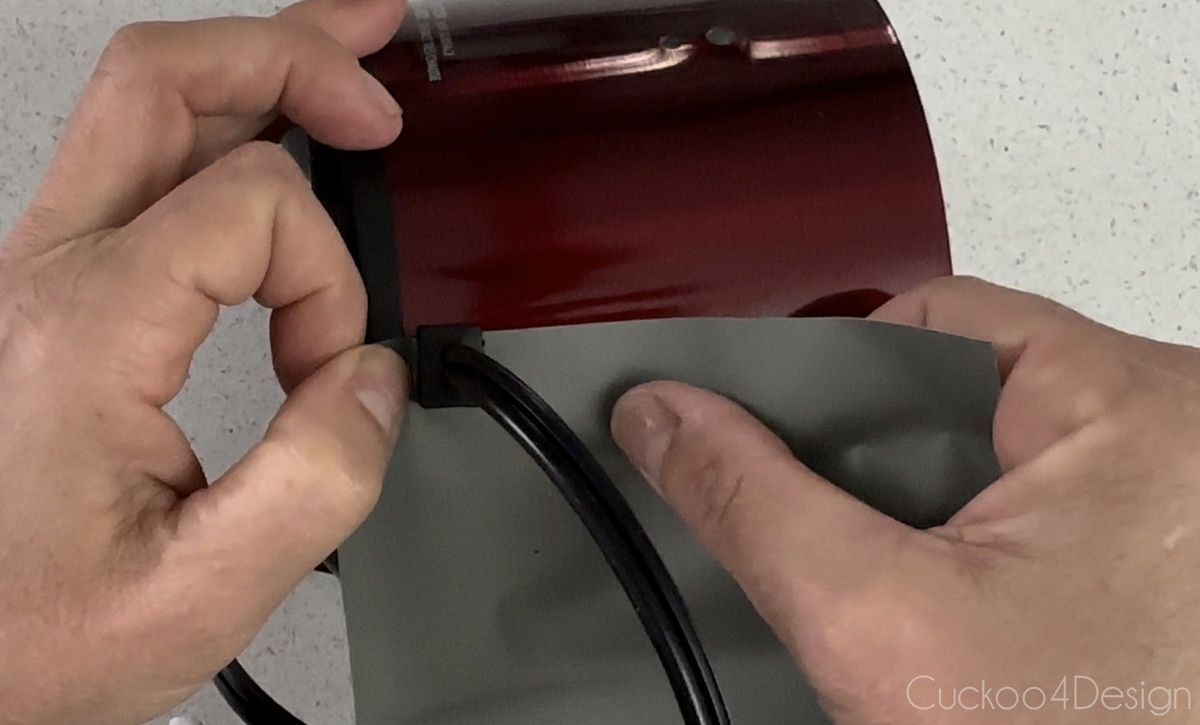
Now keep smoothing out your vinyl and keep going by also pulling the backing away at the same time. Usually, you should use gloves and a felt edge vinyl squeegee for such an application but since my surface was so small, my clean hands worked just fine to remove any bubbles and wrinkles.

Step 5: Use a blow dryer to set the vinyl in place and rub out any bubbles
Car vinyl needs heat to set it in place. This is where the blow dryer comes into place. When you apply heat over the surface, you will notice more wrinkles and bubbles in some places. Make sure to smooth those out. Your hands can get hot and you might need gloves after all.
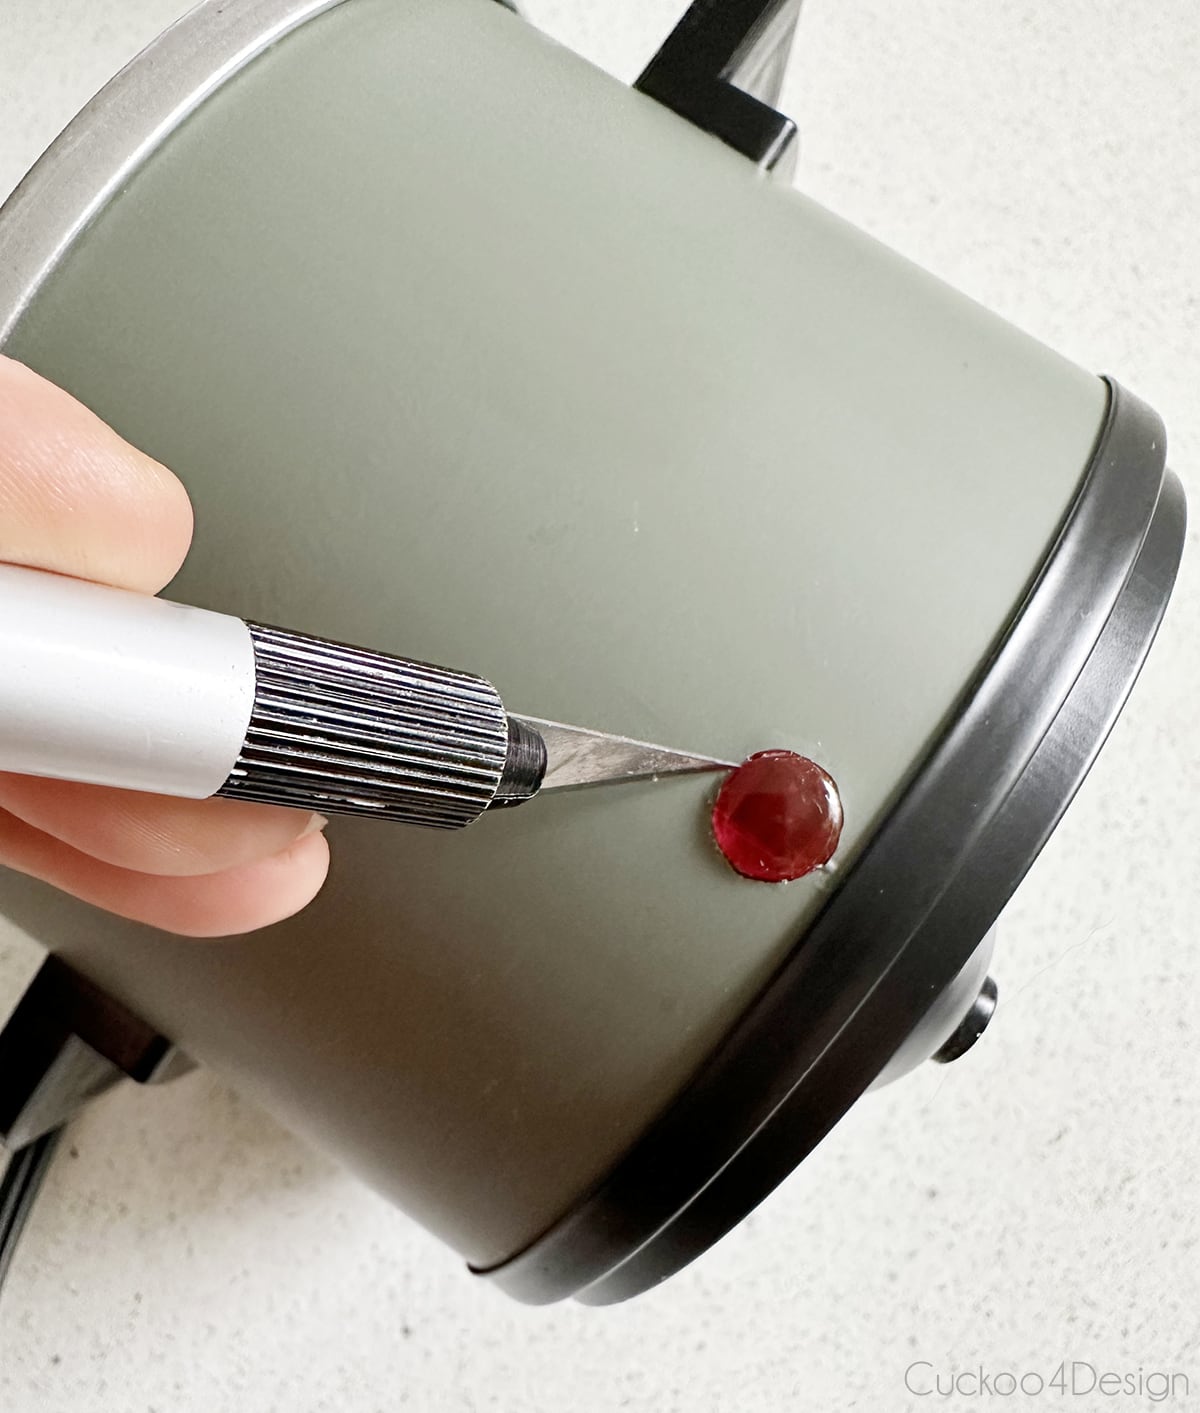
Step 6: Cut out vinyl around the indicator light and edges
Use your sharp craft knife to cut the edges and the vinyl around the indicator light.
Step 7: Reassemble crockpot
Now reverse the steps that you took to disassemble the crockpot to put it back together by screwing the handles back on, putting the heating element back in place with the spring, and screwing the metal insert back into place.
And you are done!
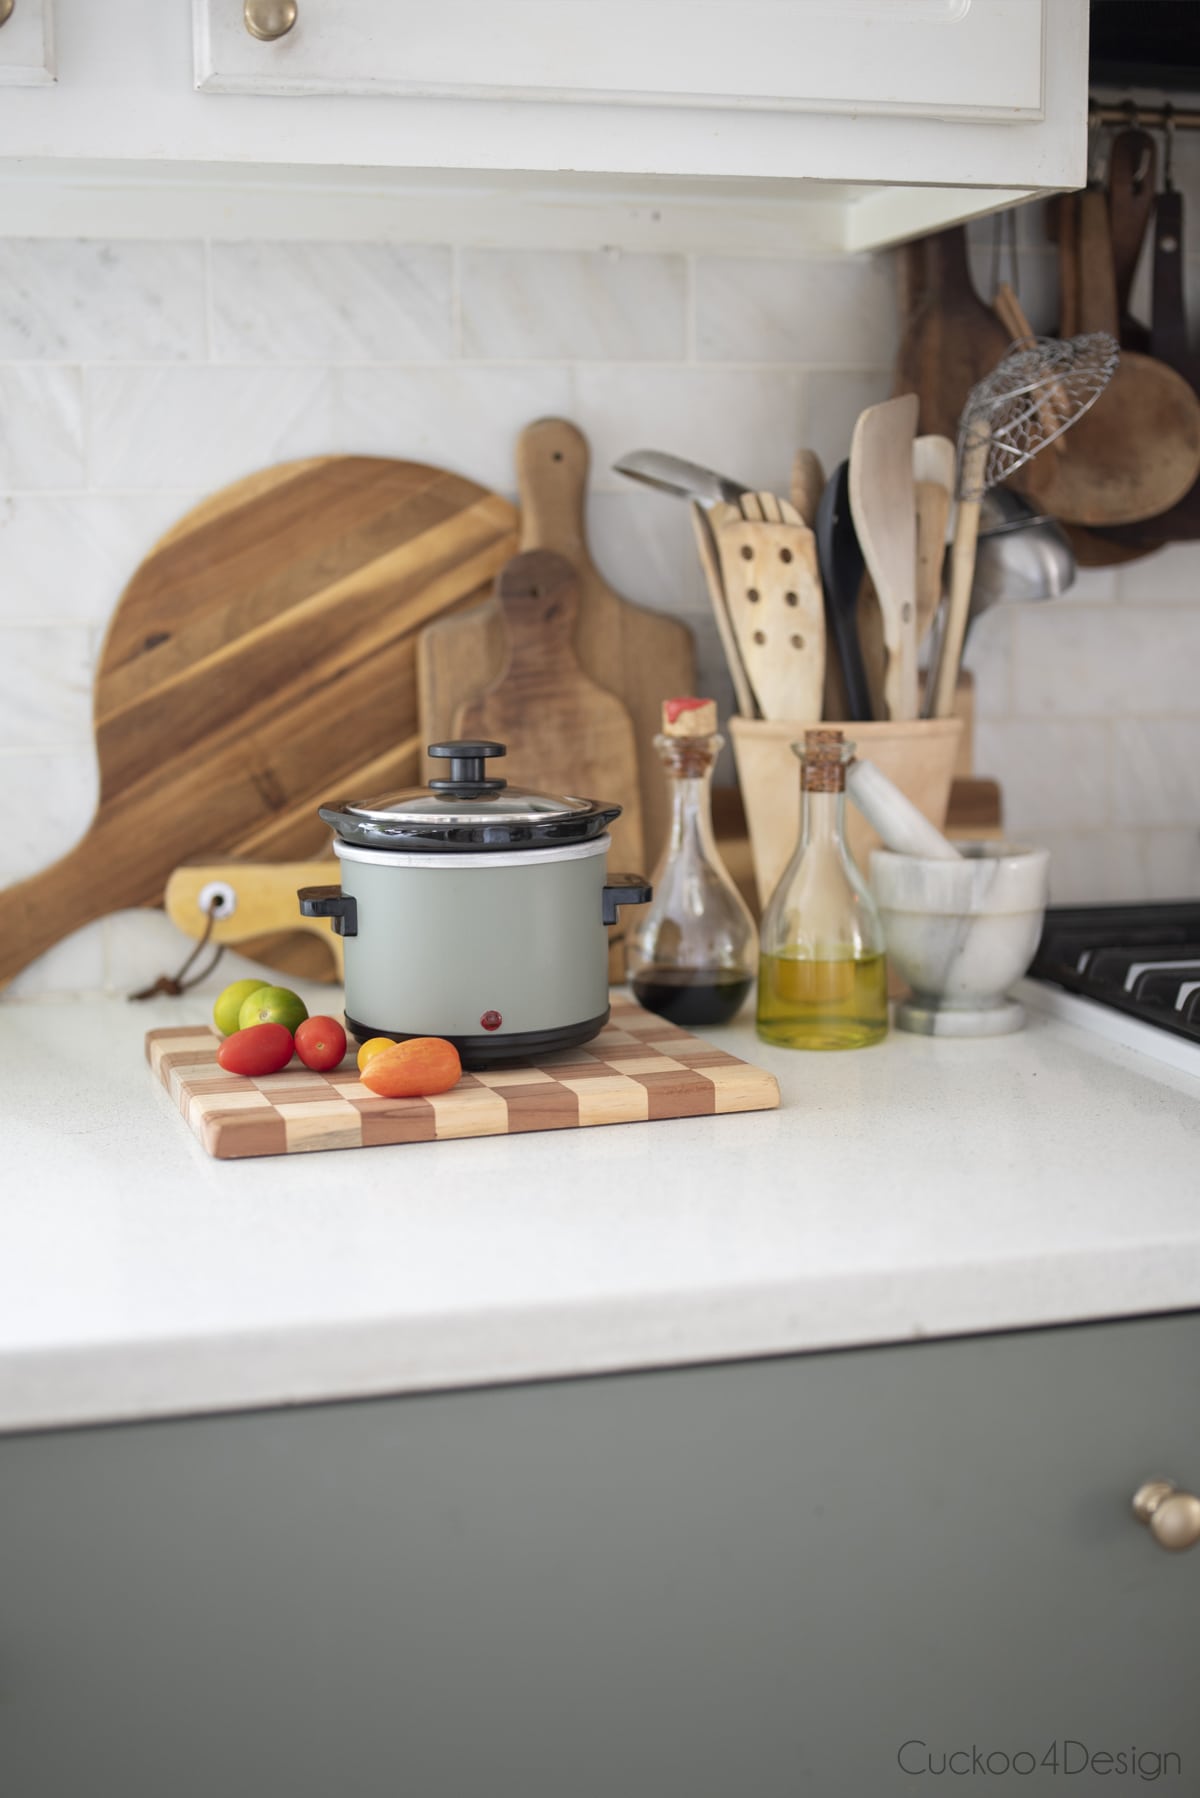
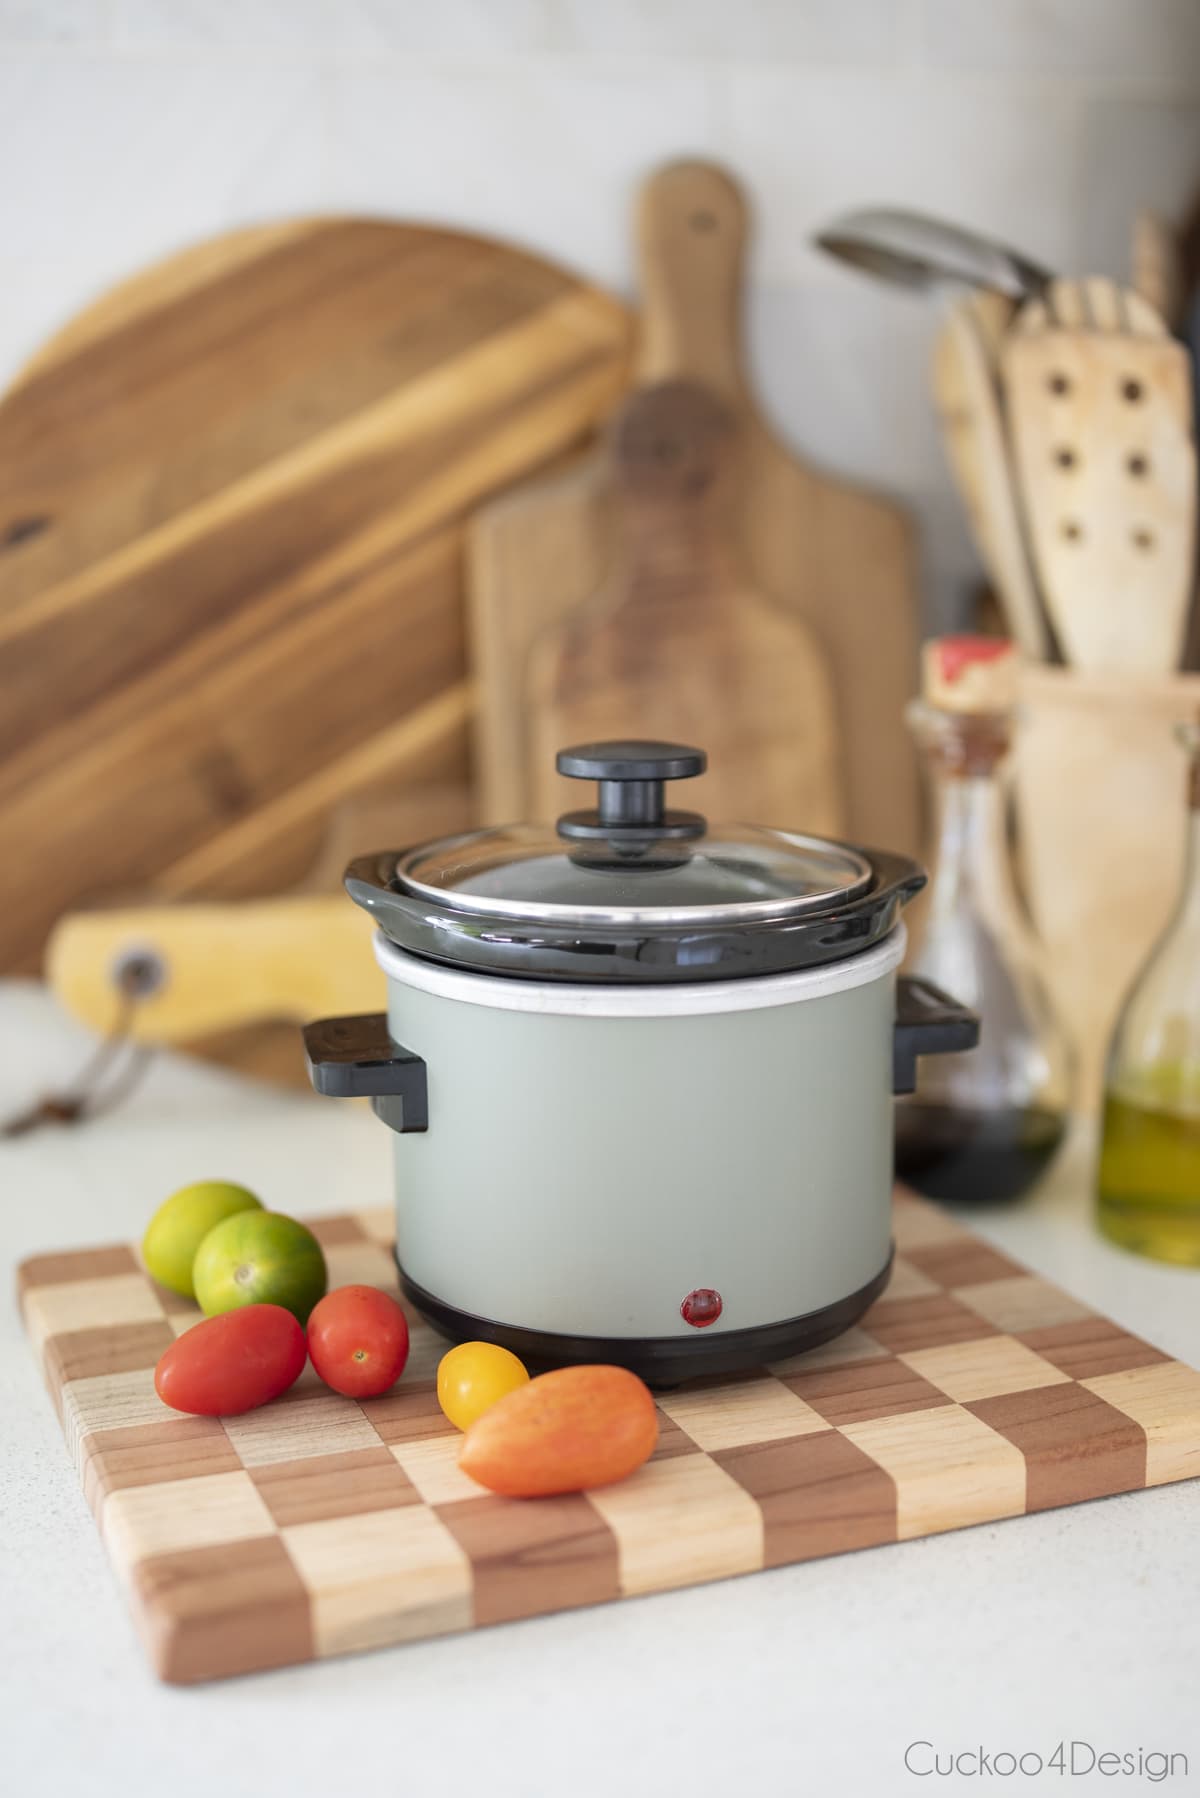
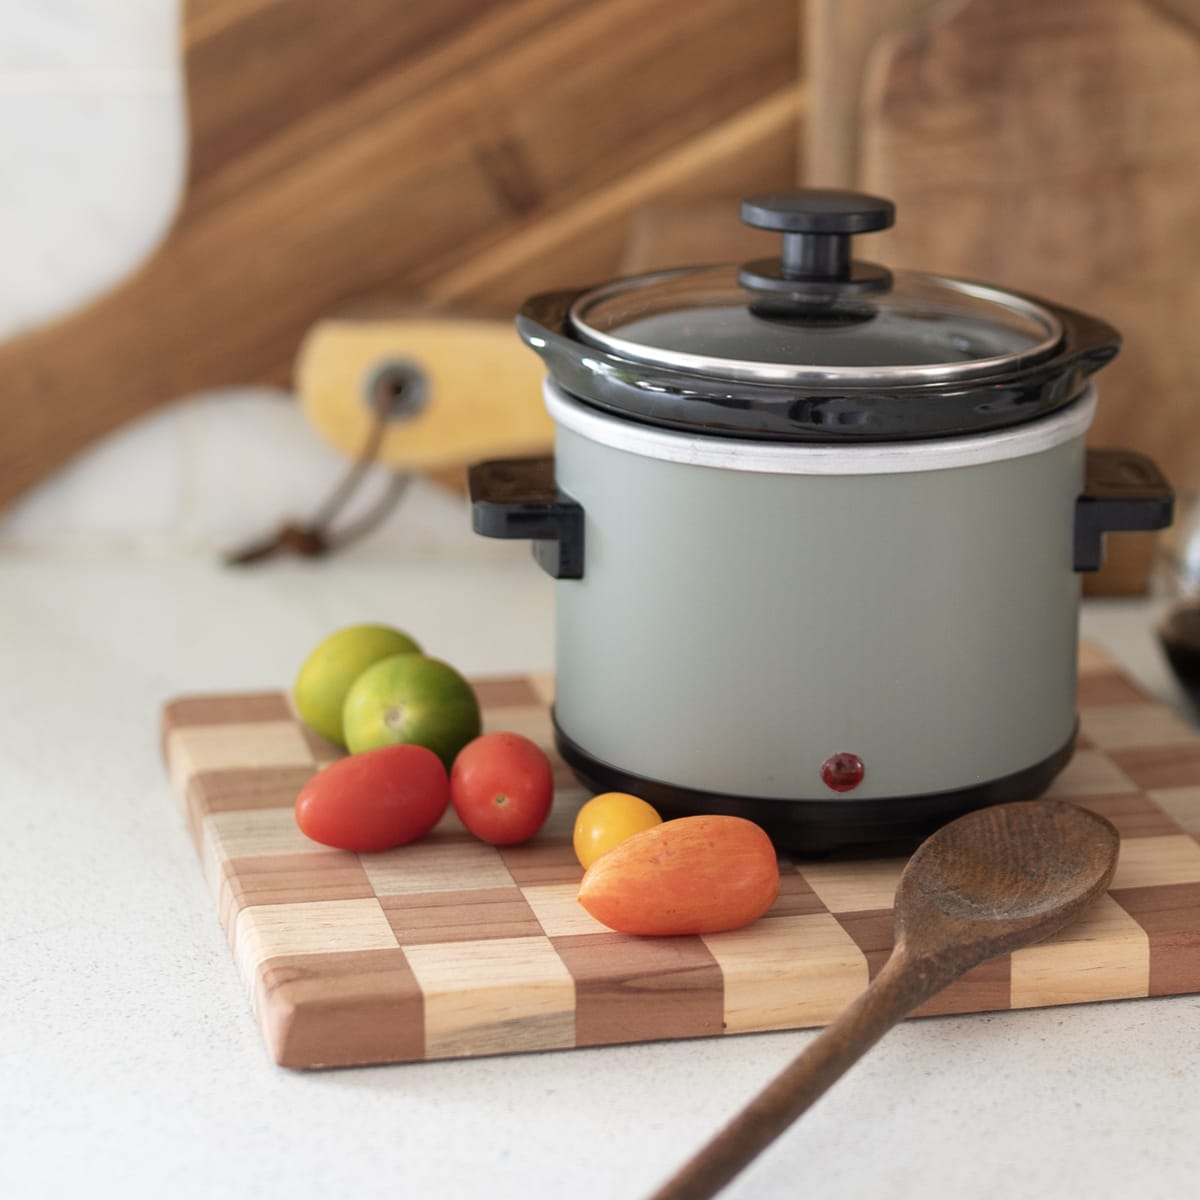
Photos of finished crockpotmakeover
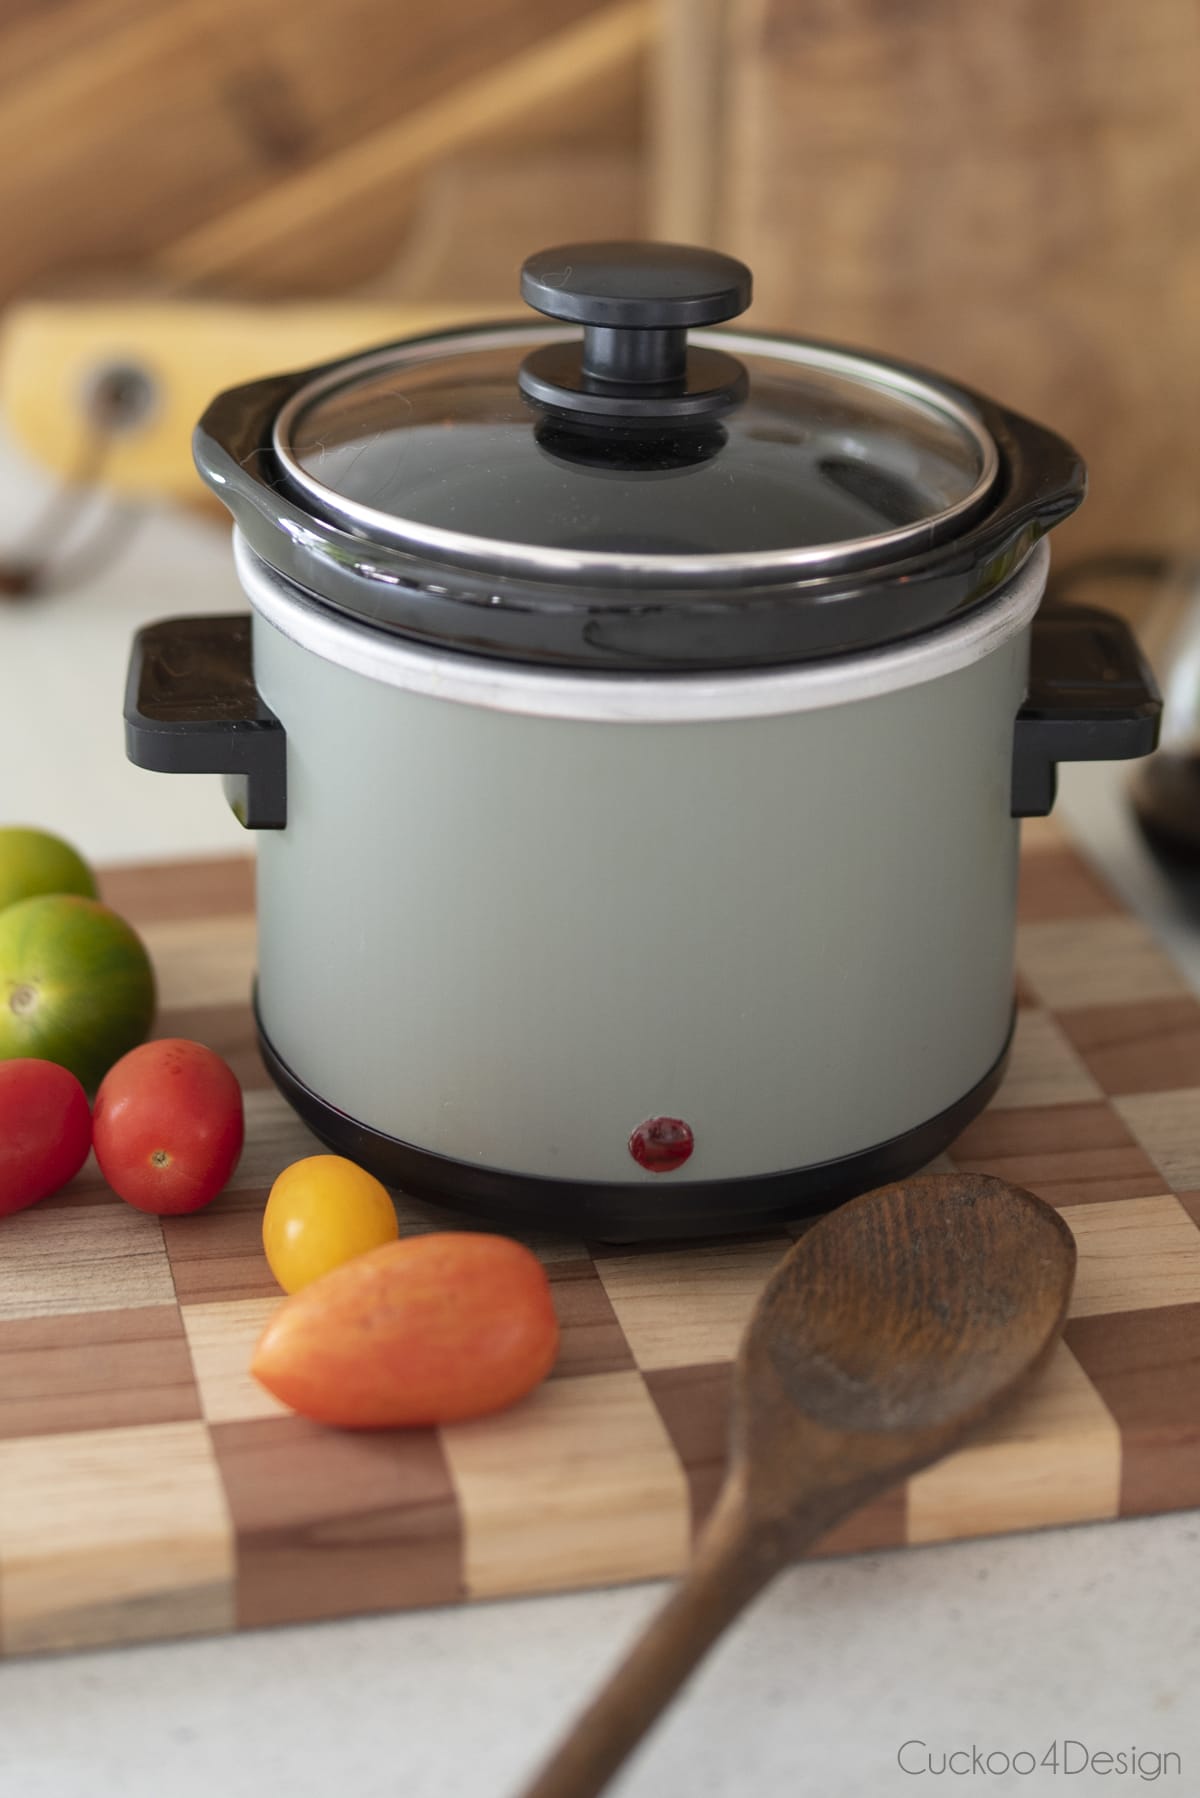
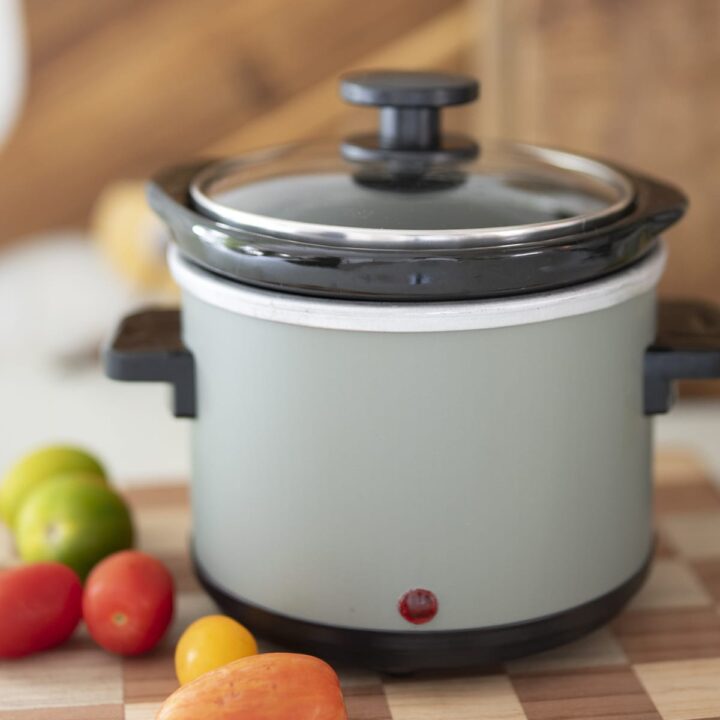
I love how it turned out and how easy it was. For me, it cost nothing since I had everything but even if you don’t have the vinyl it won’t be expensive.
You might even have an older and much uglier crockpot which would make this transformation even better. Mine wasn’t ugly but I truly didn’t like the red in my kitchen and the green is a much better fit. Don’t you think so?
Here are some more photos…
Save this project to your Pinterest Board!
More kitchen-related tutorials
- macrame towel holder for our dishtowels

- DIY kitchen utensil rack for above the stove

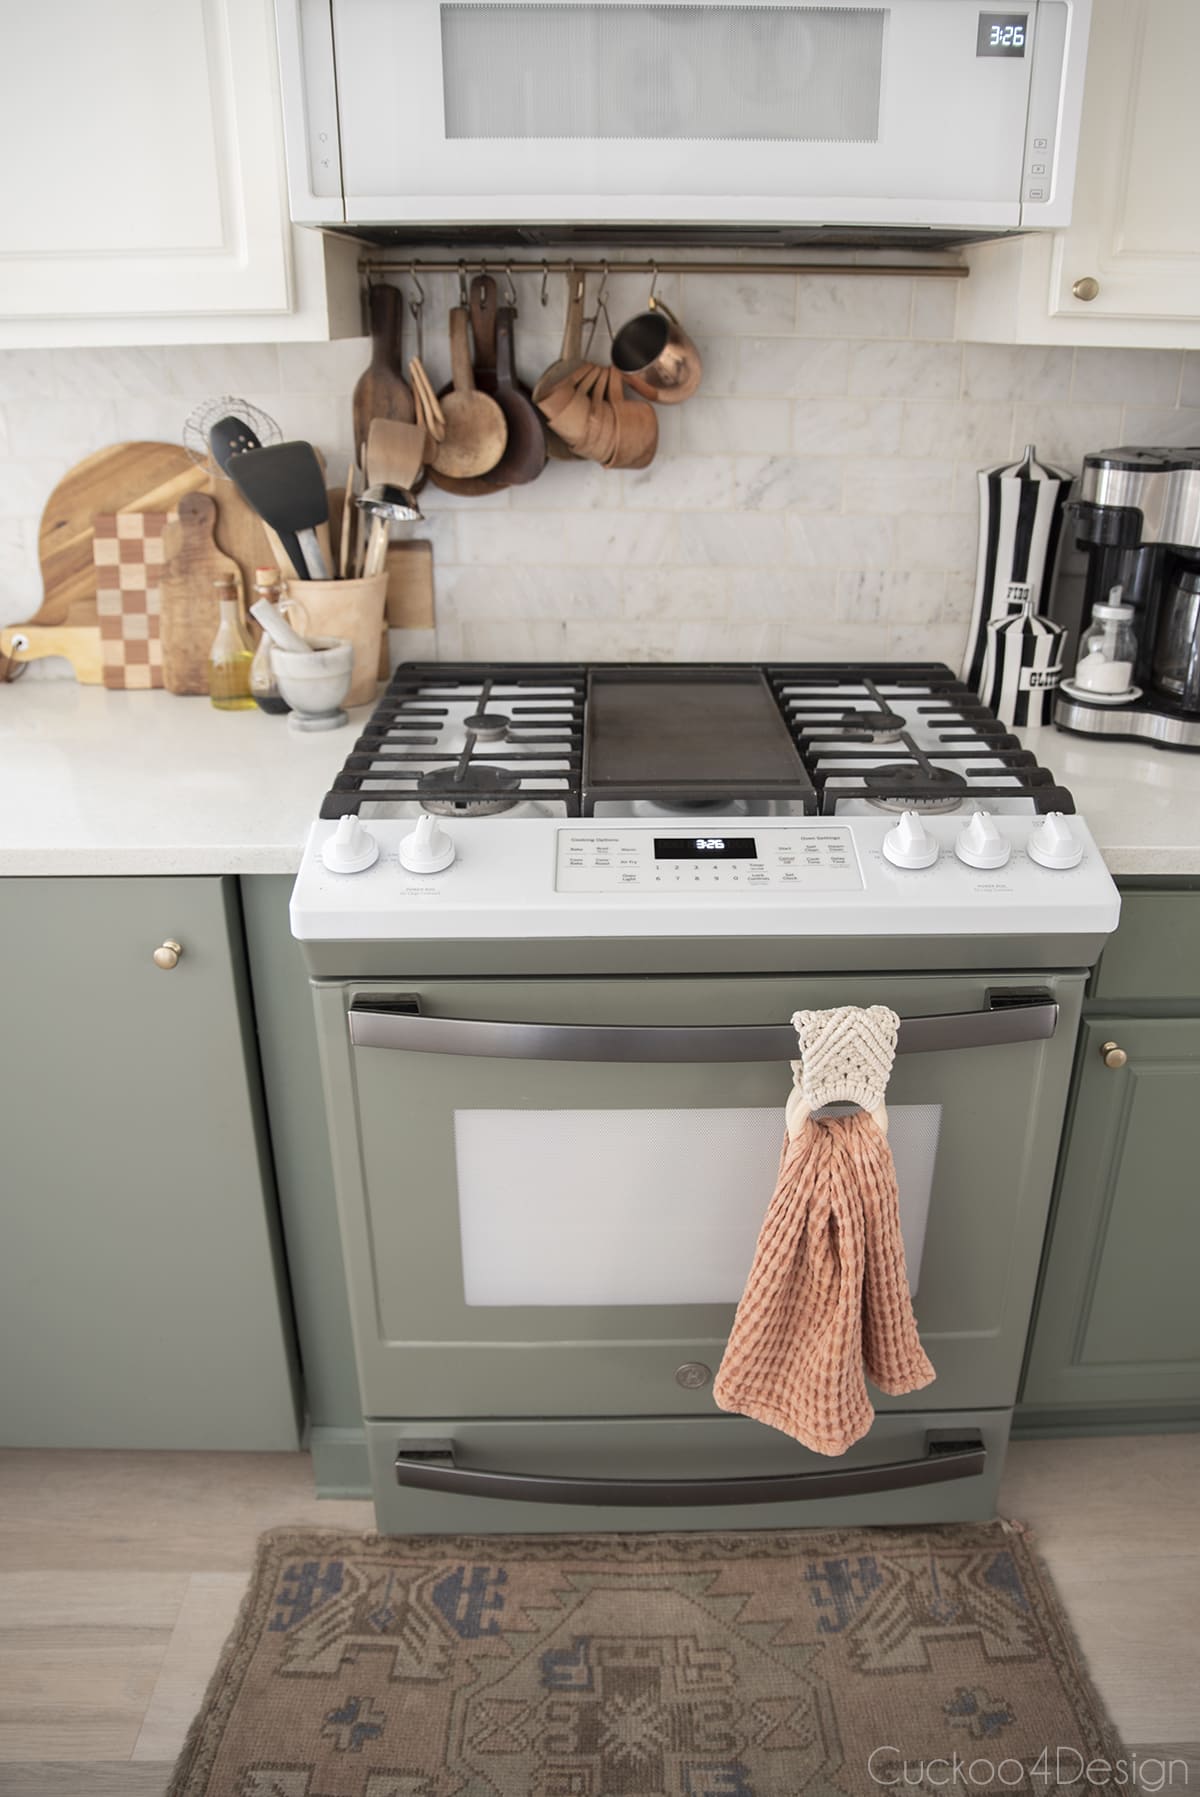
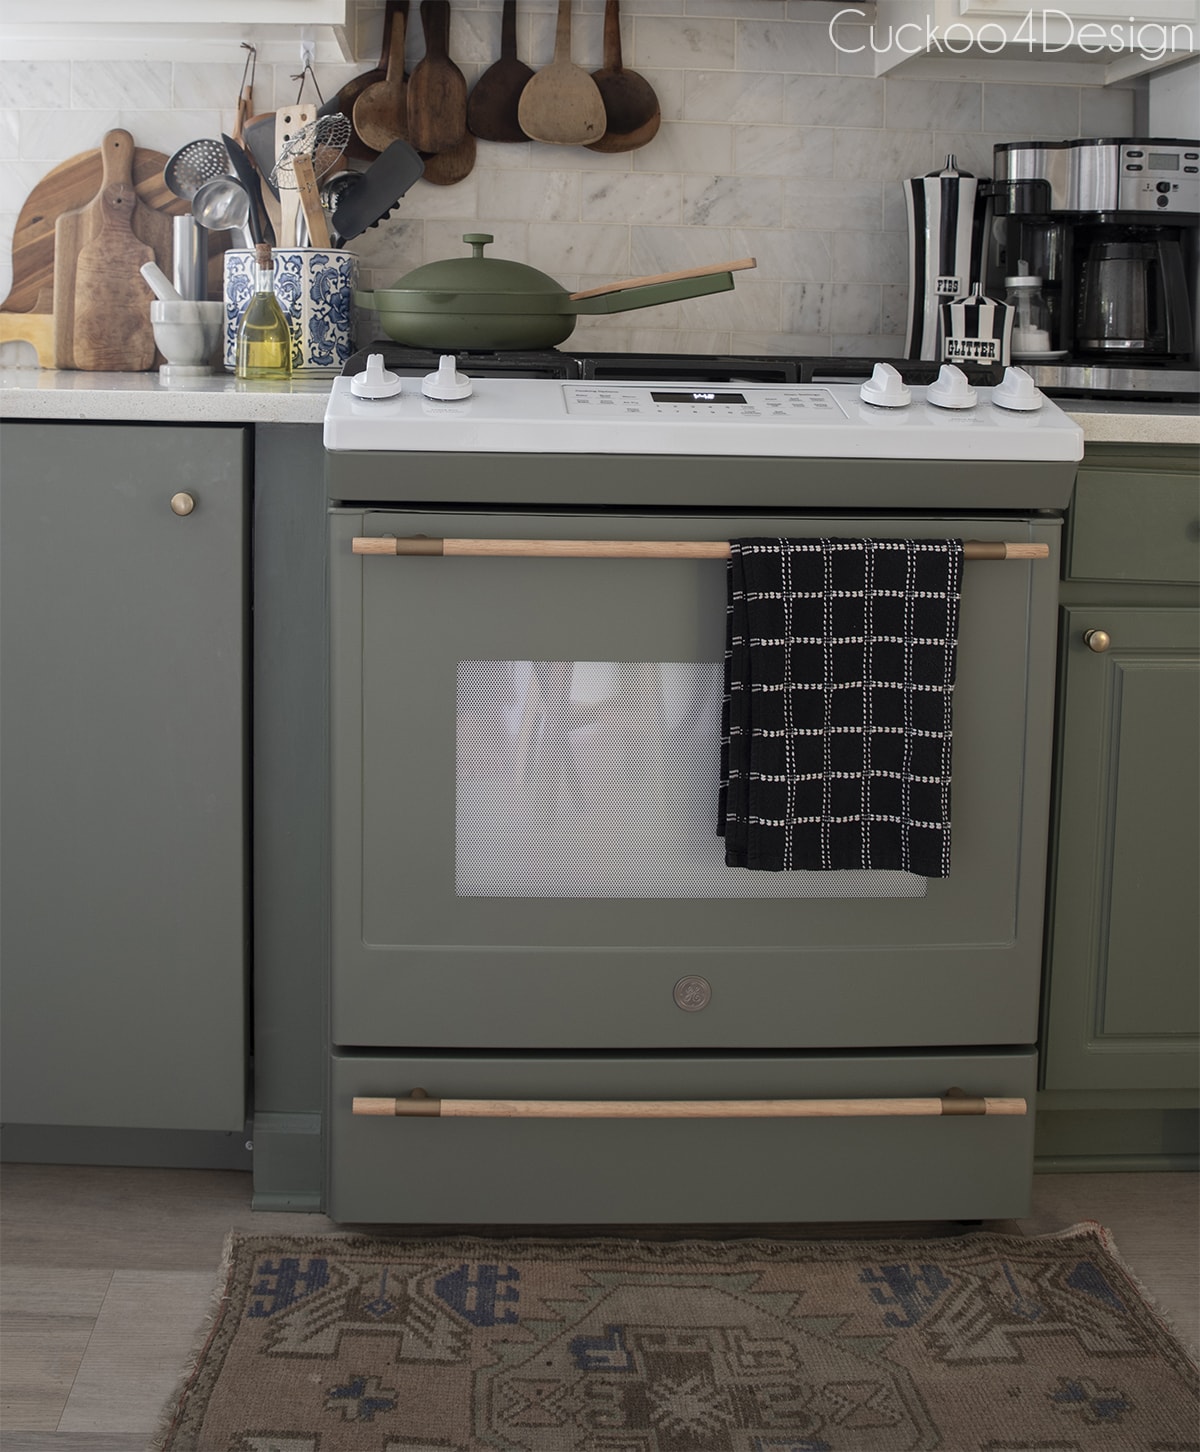
- DIY stove makeover to match our cabinets

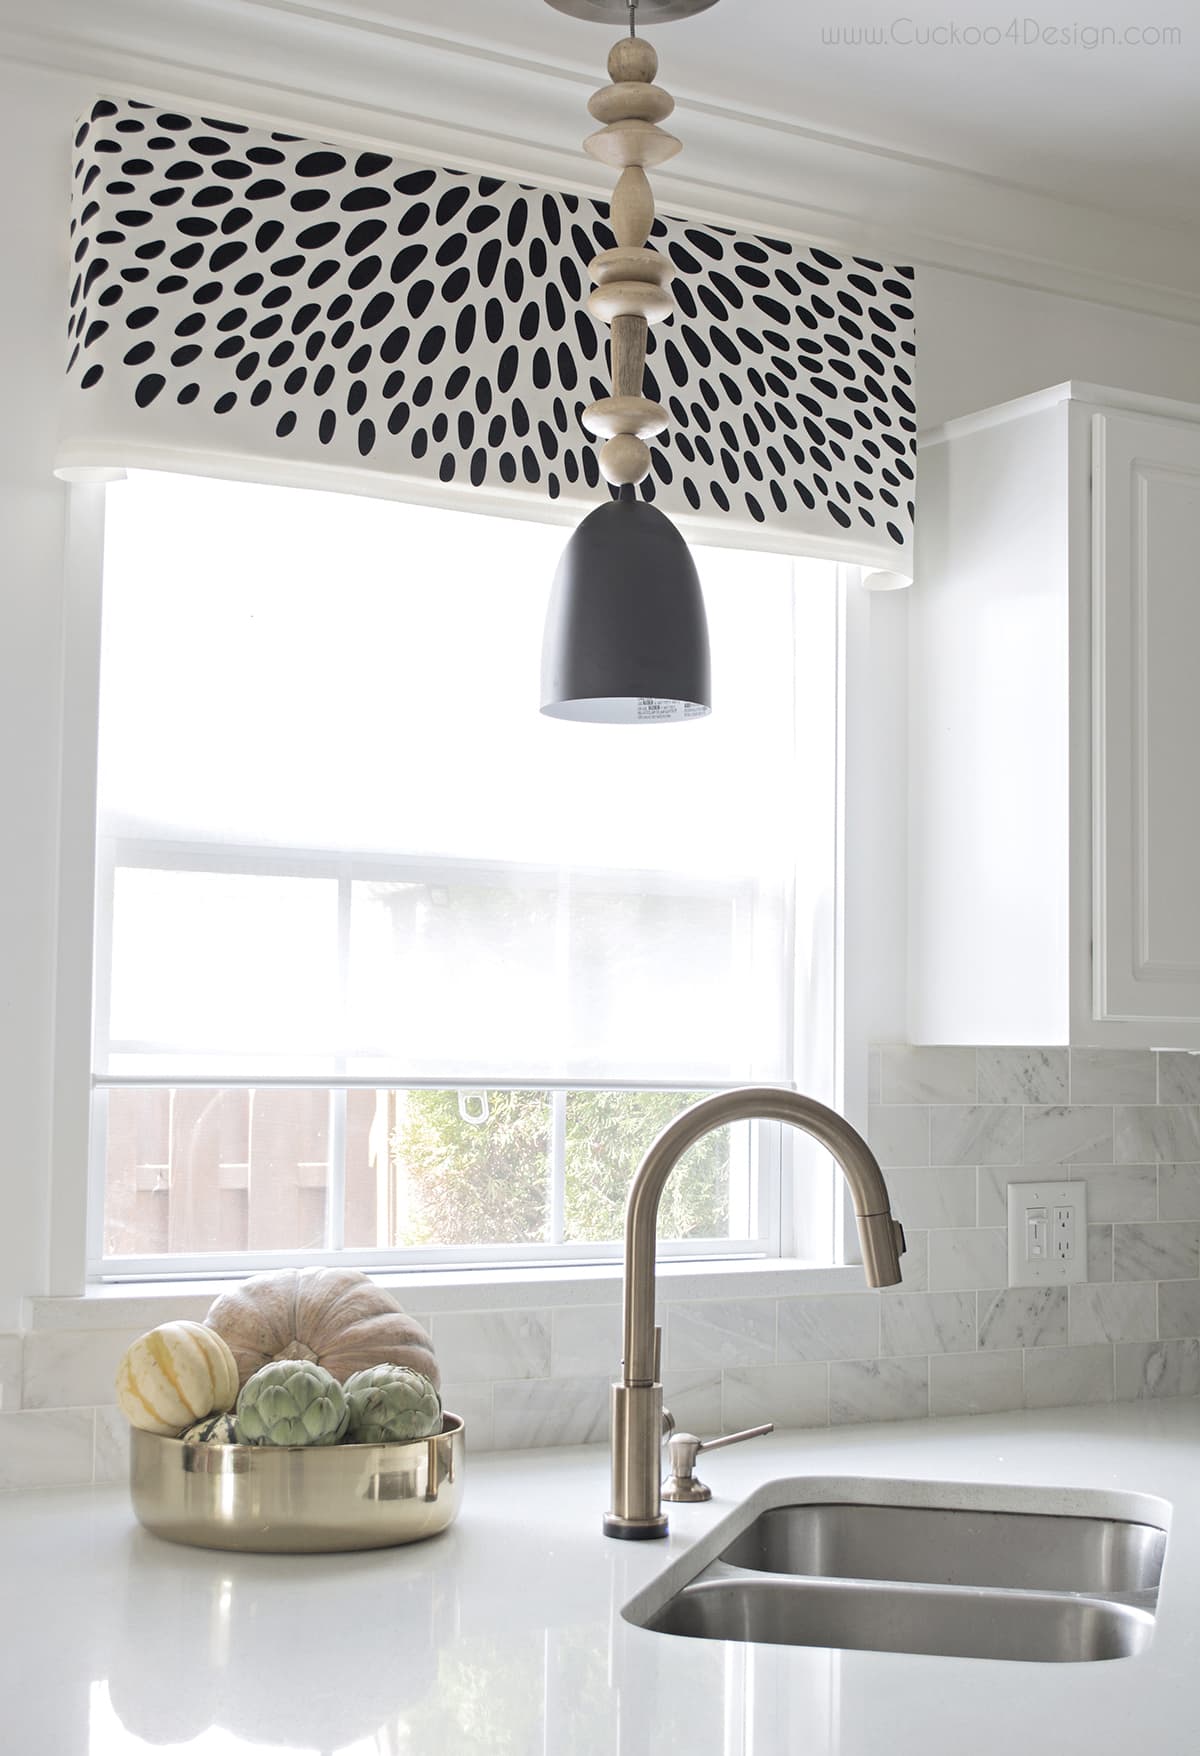
- DIY wood bead pendant light tutorial for our kitchen

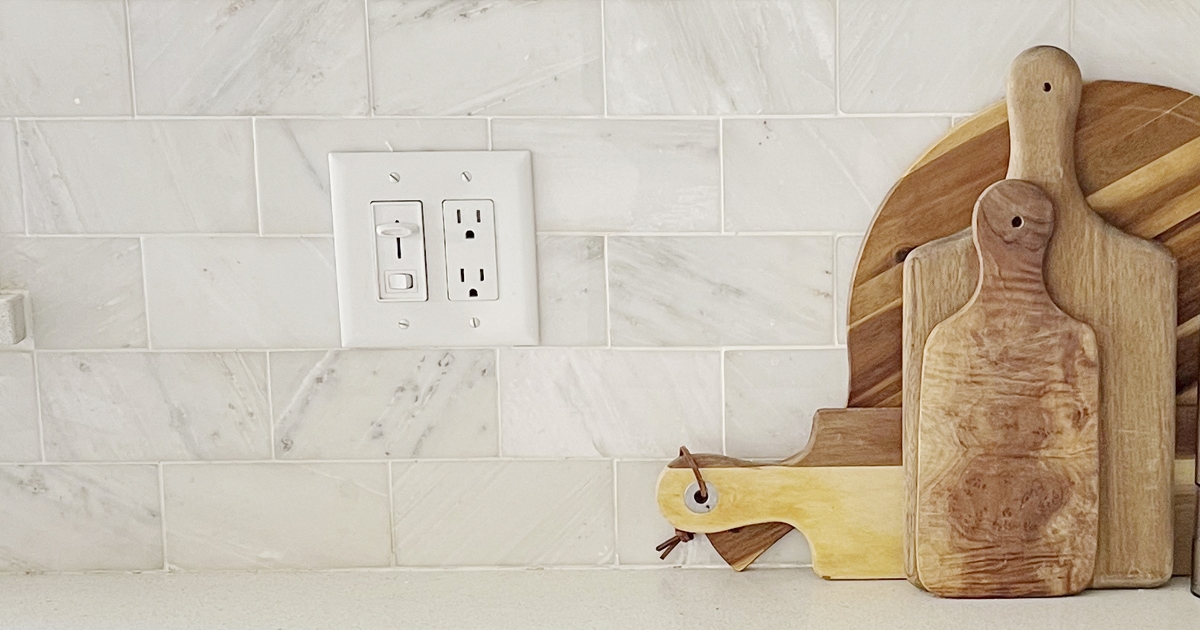
- How to install a marble backsplash

- DIY wooden drawer pulls using dowel rods and copper plumbing tees

Tschüß,

Easy crockpot makeover
This crockpot makeover is super easy! Just use vinyl wrap instead of paint for a durable and affordable new look to match your kitchen decor.
Materials
- vinyl car wrap
- cleaning alcohol (Isopropyl Alcohol)
- clean rag
Tools
- pliers
- blow dryer
- craft knife
- scissors
- screwdriver
Instructions
- Disassemble the crockpot
Unscrew the center screw that holds all the parts together and remove it. You can now lift the metal insert out a bit. It won't come out all the way because the heating element is still attached to the bottom of the metal insert.

The heating element is wrapped around the metal crock pot insert. There is a spring that keeps the heating element in place. Simply unhook that spring and you can remove the metal insert.
The handles are kept in place with screws. Remove those 4 screws with a screwdriver and remove the handles. - Clean the crockpot shell
Now you have to clean the slow cooker shell with some cleaning alcohol on a clean rag. Let that dry all the way. - Cut vinyl to size
Cut a strip of vinyl slightly bigger that the height and circumference of your crockpot. Then nudge out/cut out the area of the electrical cord which is the starting point.
- Apply vinyl to the crockpot
Remove the vinyl backing a couple of inches and align the vinyl around the cord. This is your starting point.
Now keep smoothing out your vinyl and keep going by also pulling the backing away at the same time. Usually, you should use gloves and a felt edge vinyl squeegee for such an application but since my surface was so small, my clean hands worked just fine to remove any bubbles and wrinkles. - Use a blow dryer to set the vinyl in place and rub out any bubbles
Car vinyl needs heat to set it in place. This is where the blow dryer comes into place. When you apply heat over the surface, you will notice more wrinkles and bubbles in some places. Make sure to smooth those out. Your hands can get hot and you might need gloves after all.
- Cut out vinyl around the indicator light and edges
Use your sharp craft knife to cut the edges and the vinyl around the indicator light.
- Reassemble crockpot
Now reverse the steps that you took to disassemble the crockpot to put it back together by screwing the handles back on, putting the heating element back in place with the spring, and screwing the metal insert back into place. And you are done!

Notes
A vinyl car wrap can withstand heat and is definitely a better option than using standard vinyl or paint.
My goodness! Another cute project that I never would have thought of! Looks great!
I’m so glad you like it, Donna. Thanks!