How to make crystal vanity light shades from a spout cover
I’m a sucker for sparkly things. I just love crystals and have a few dangling around my house. I guess it’s probably a girlie thing. Since crystal lighting is rather expensive, I decided to make my own crystal vanity light shades with some unusual material from the plumbing aisle.
What are your thoughts on affordable vanity lighting? I have to say that it is very, very hard to find lights that are pretty and don’t break the bank, right? When I browse the aisles at home improvement stores, I’m always so disappointed with the selections. Most of them are ugly. And if they aren’t ugly then they are way too expensive., especially the crystal vanity lighting.
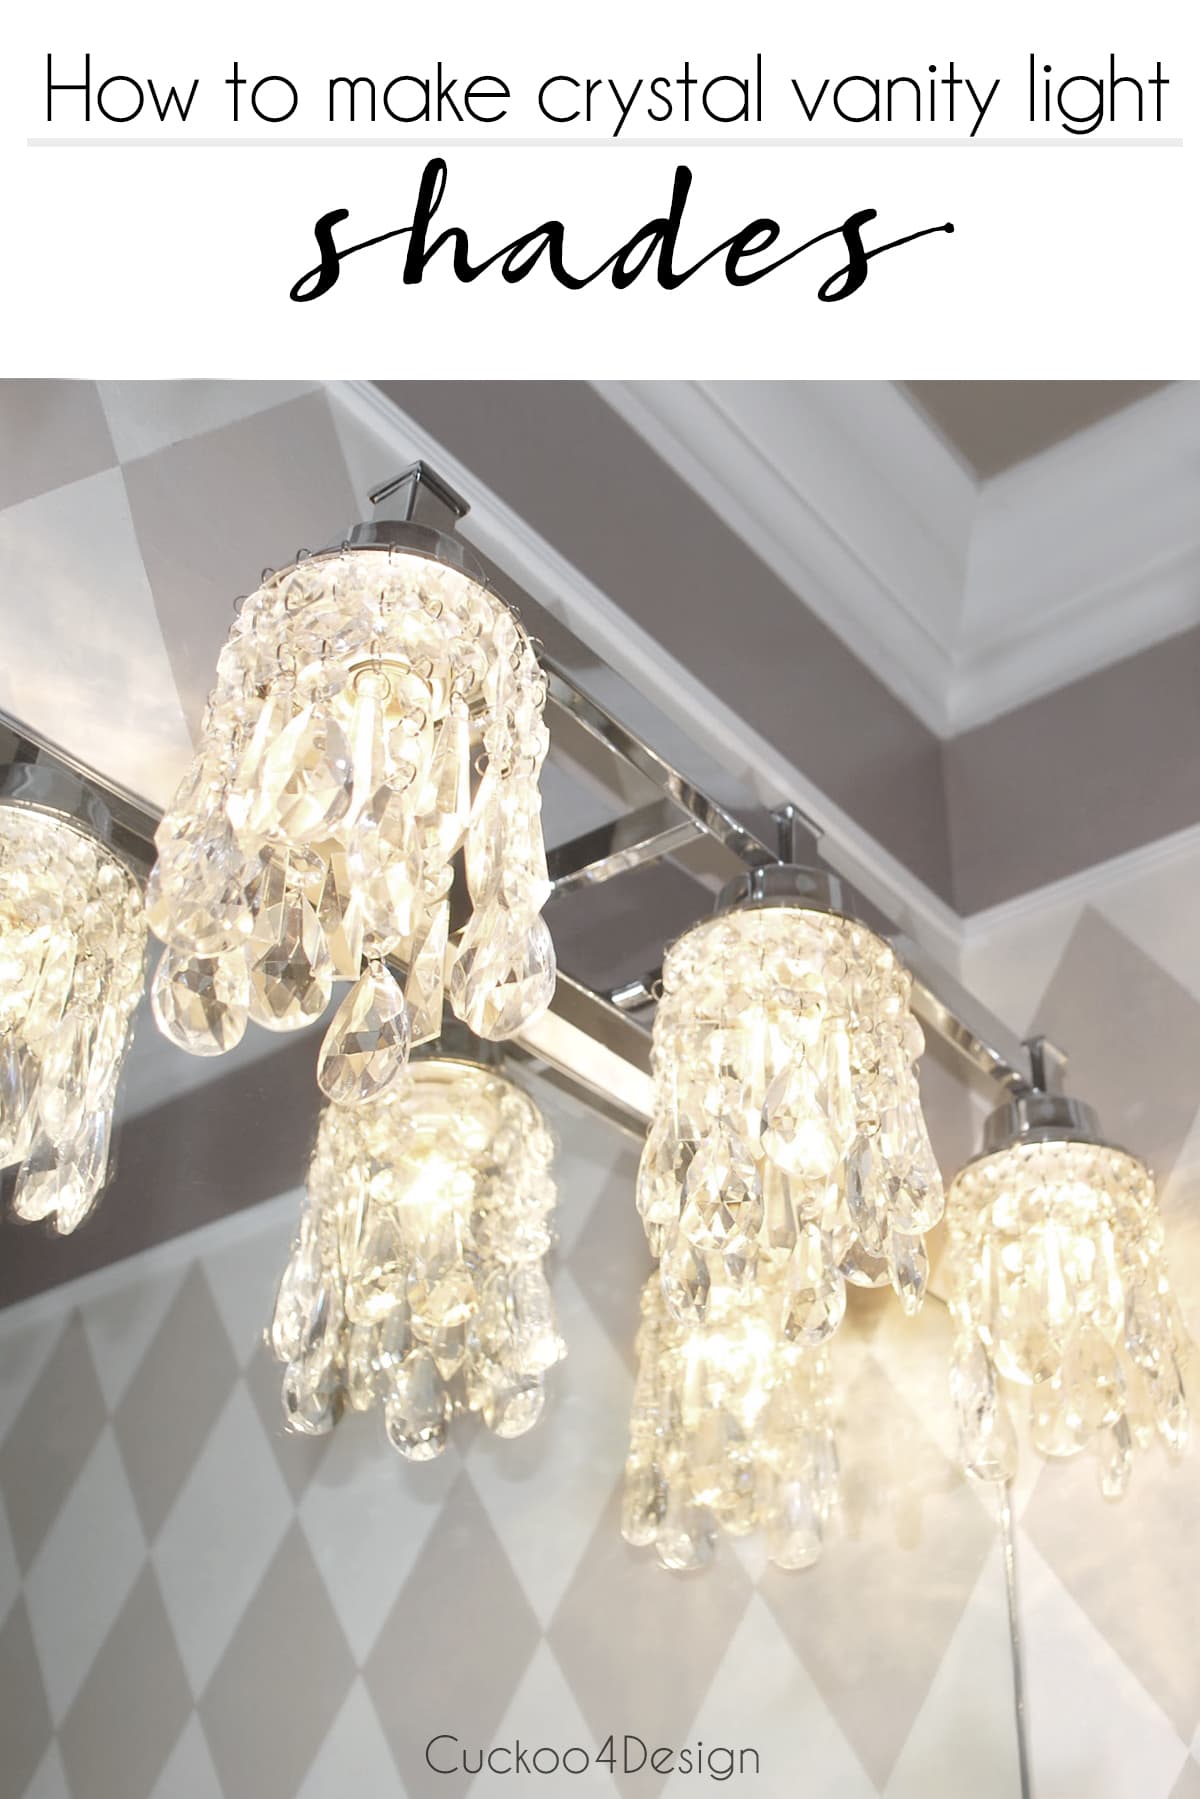
DIY crystal vanity light shades
This post may contain affiliate links from which I will earn a commission at no extra cost to you. View my full disclosure policy.
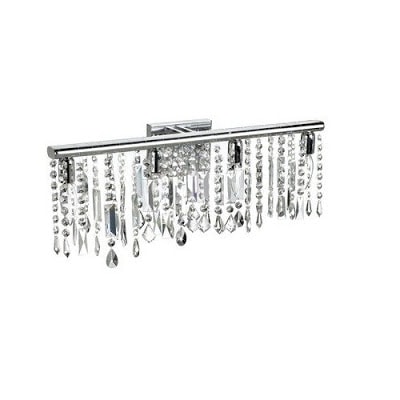
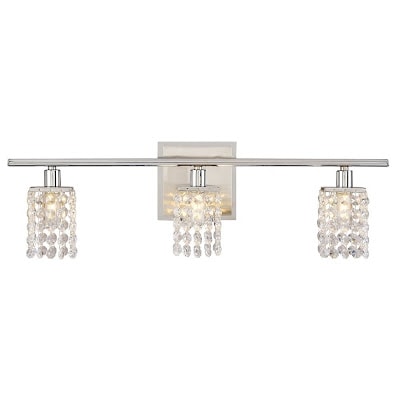
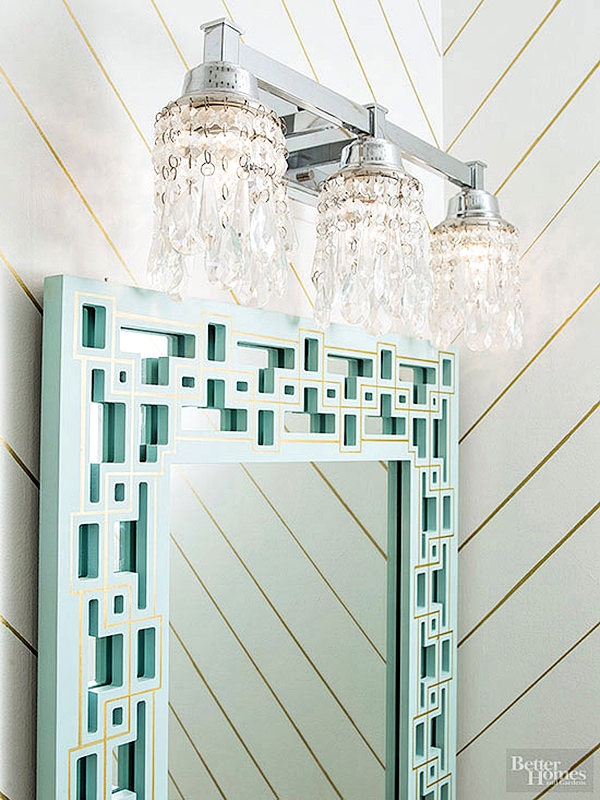
The two following crystal vanity lights inspired this vanity light shade DIY
Crystal vanity light shades instructions
A couple of years ago after Christmas, I had bought a huge amount of crystal ornaments at 50% off at Target. They ended up being 50 cents each if I remember correctly, which is a good price. I just knew that I was going to use them somewhere one day.
I also bought a cheap chrome vanity light to use in our powder room but hated the shades that they usually come with and knew it needed something new.
After that, I searched through the whole store to find something that matched the fixtures finish and would work over the light bulb as a shade. I ended up in the plumbing section and found a spout cover.
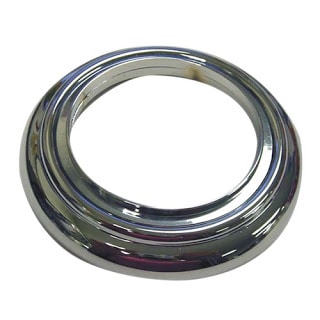
It looks like chrome but is actually plastic, which made it a lot easier to drill the holes for the crystals.
I spread the ornaments around the spout cover to determine the spacing of the holes. I actually ended up alternating 2 styles of crystals, to change it up a little.
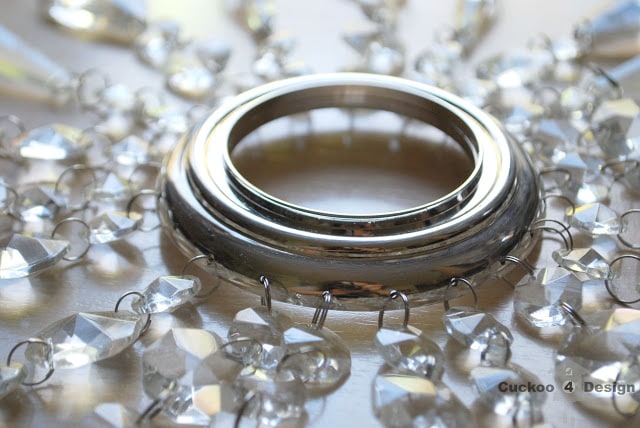
When I knew the spacing of the crystals, it was time to mark the tiny holes for drilling with a sharpie. The little holes are for threading the crystal’s ring hook on as you can see in the photos.
And after drilling all the holes all you need to do is to attach the crystals.
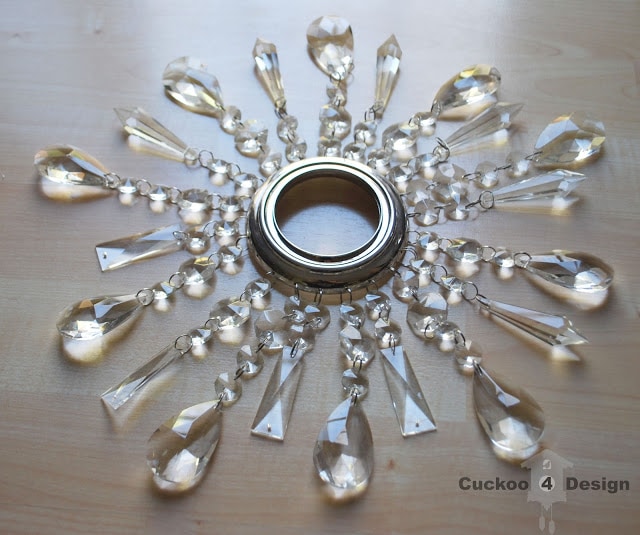
You can see that on this shade I had to use 4 slightly different crystals because I didn’t have enough. But you can’t tell when the shades are hanging up. I just put that section in the back.
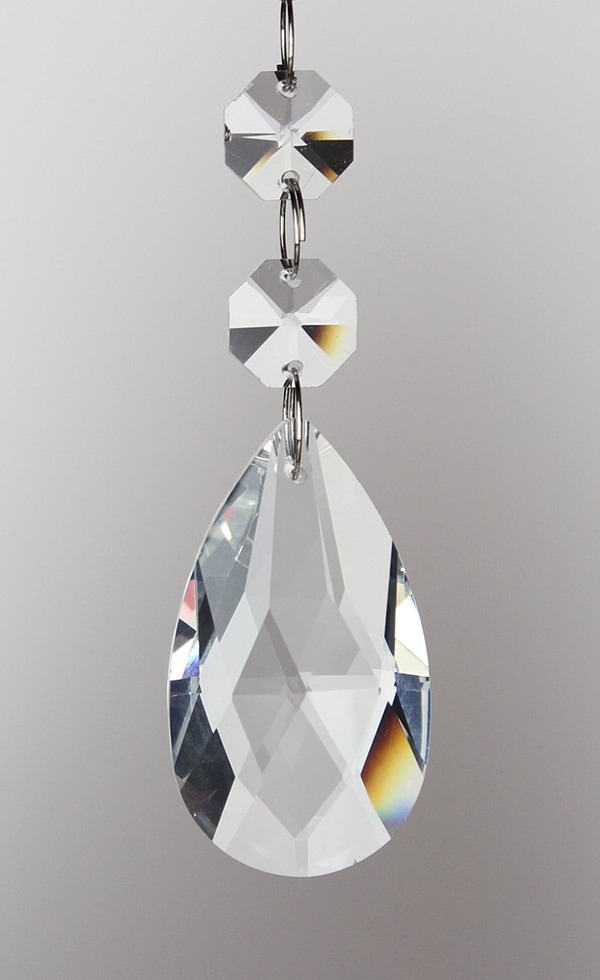
I used 20 crystals per shade. If you can’t get cheap Christmas ornaments like me, there are plenty of websites that sell crystals. And if you use fewer crystals per shade it’s even cheaper. These ones HERE are pretty affordable!
There was only one problem, the spout cover hole was a little too big for the part that screws under the shade to keep it in place. I had to come up with something to hold it in place when the little thing that screws on behind the shade is attached. So I went the very cheap and not-so-pretty route. But I can’t see it anyway when it is all in place.
I took a metal coffee can and traced two circles on it, using the spout cover and the thing that screws the lampshade on (sorry I don’t know what it is called) as a template to ensure the right size.
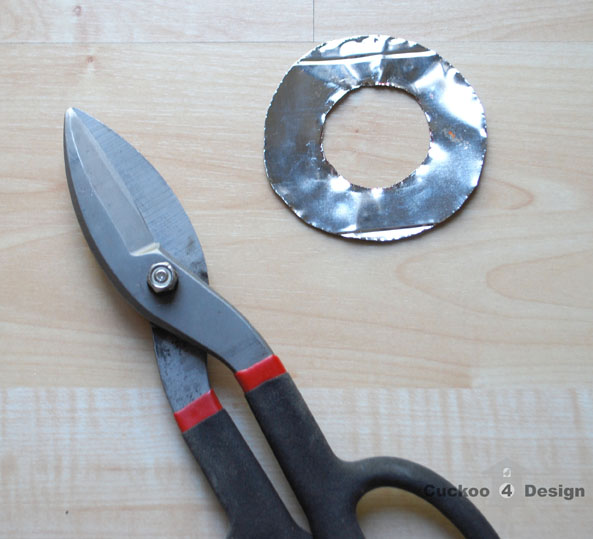
I cut 3 circles out of a coffee can with tin snips that fit inside the spout cover. Now when you screw the shade on, it stays safely in place. Yay!
Finished crystal vanity shades
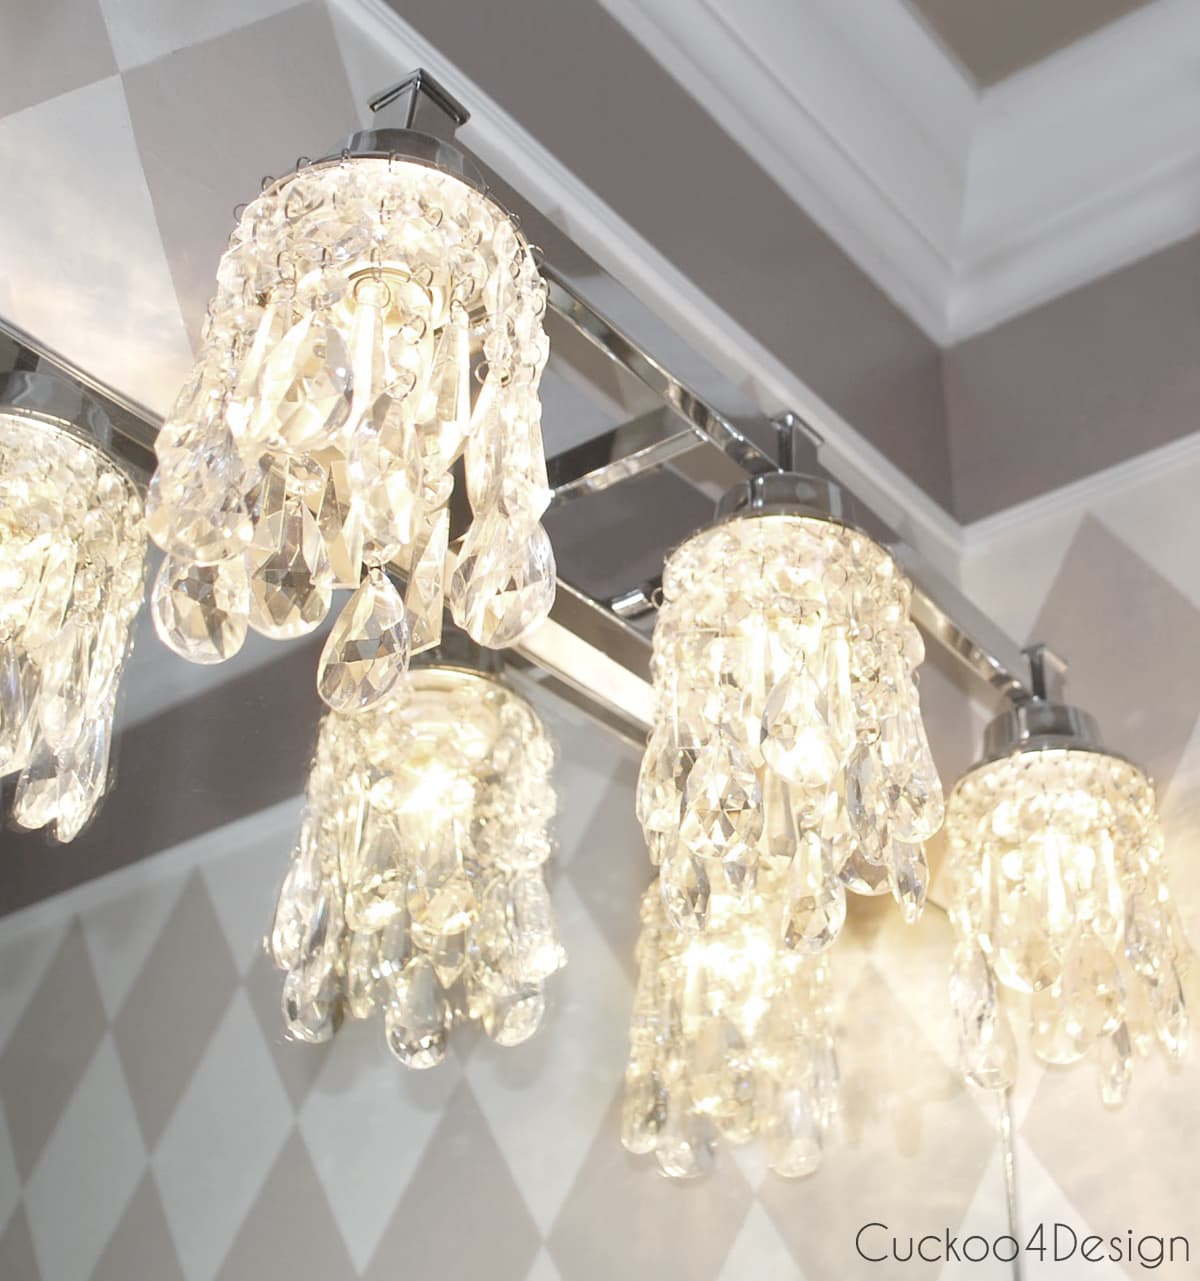
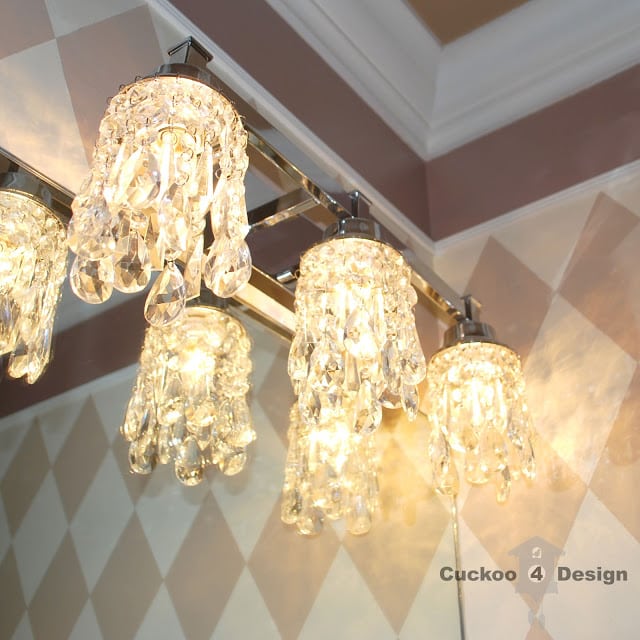
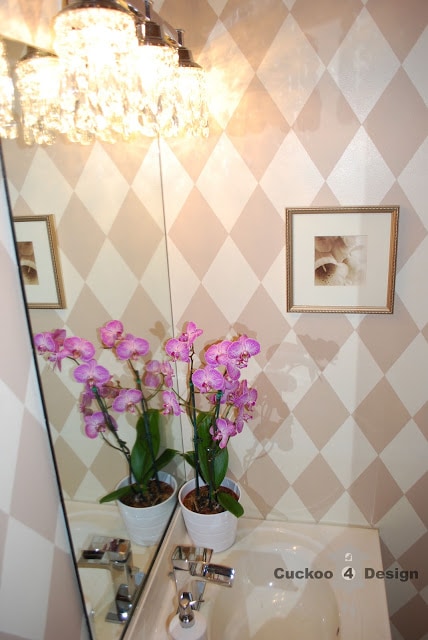
Costs
This light ended up costing me $35 for fixture + $30 for crystals + $2.99 x 3 for spout covers = $73.97 (plus tax). This is way cheaper than the above-mentioned designer vanity fixtures. I’m very happy with it.
Another project for this powder room besides repainting it will be a new vanity top. I have had a piece of white marble in the garage that I want to make a vanity top out of. I have to find out how to cut it and polish it. It would look so pretty with a vessel sink and my waterfall faucet. Don’t you think so?
Reader suggestions and photos
I love it when people who find my blog posts show me how their copied projects turned out and what they maybe did differently or other tools they used.
Below is a wonderful example:
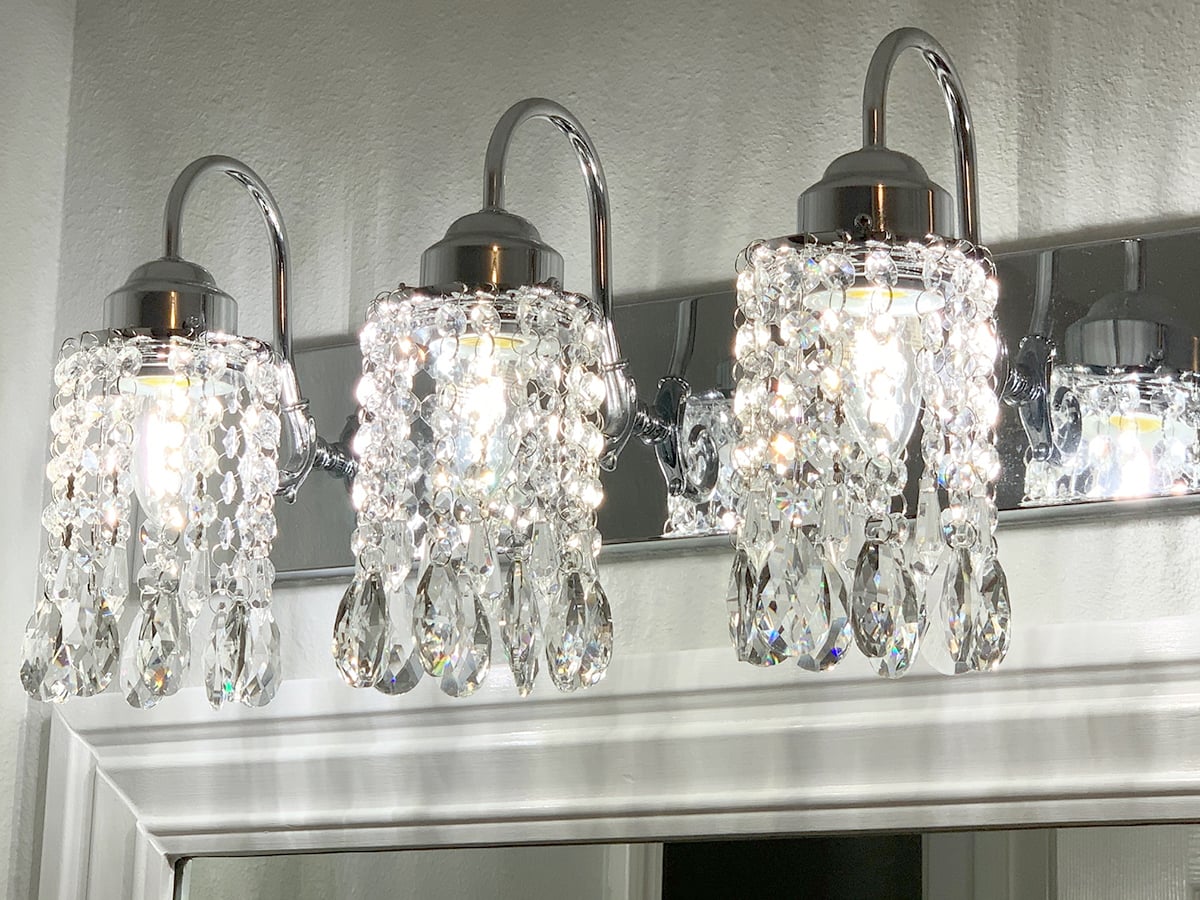
Instead of cutting apart a coffee can, she used 2-inch thrust washers and punched the holes with a hole punch instead of a drill bit like I did.
UPDATE: The bathroom has gotten two entire overhauls already:
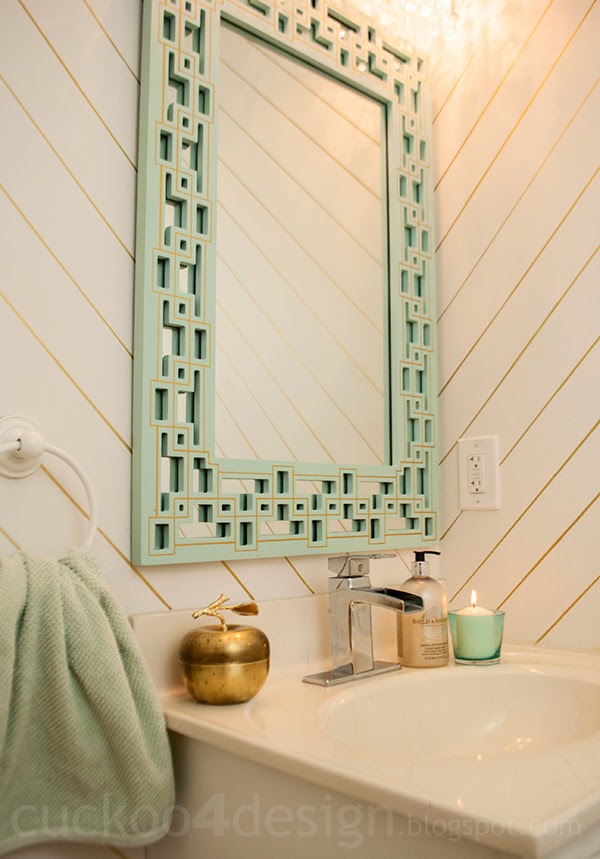
First, it changed to a mint, white, and gold color scheme with the same shades. Check out the super cheap bathroom makeover.
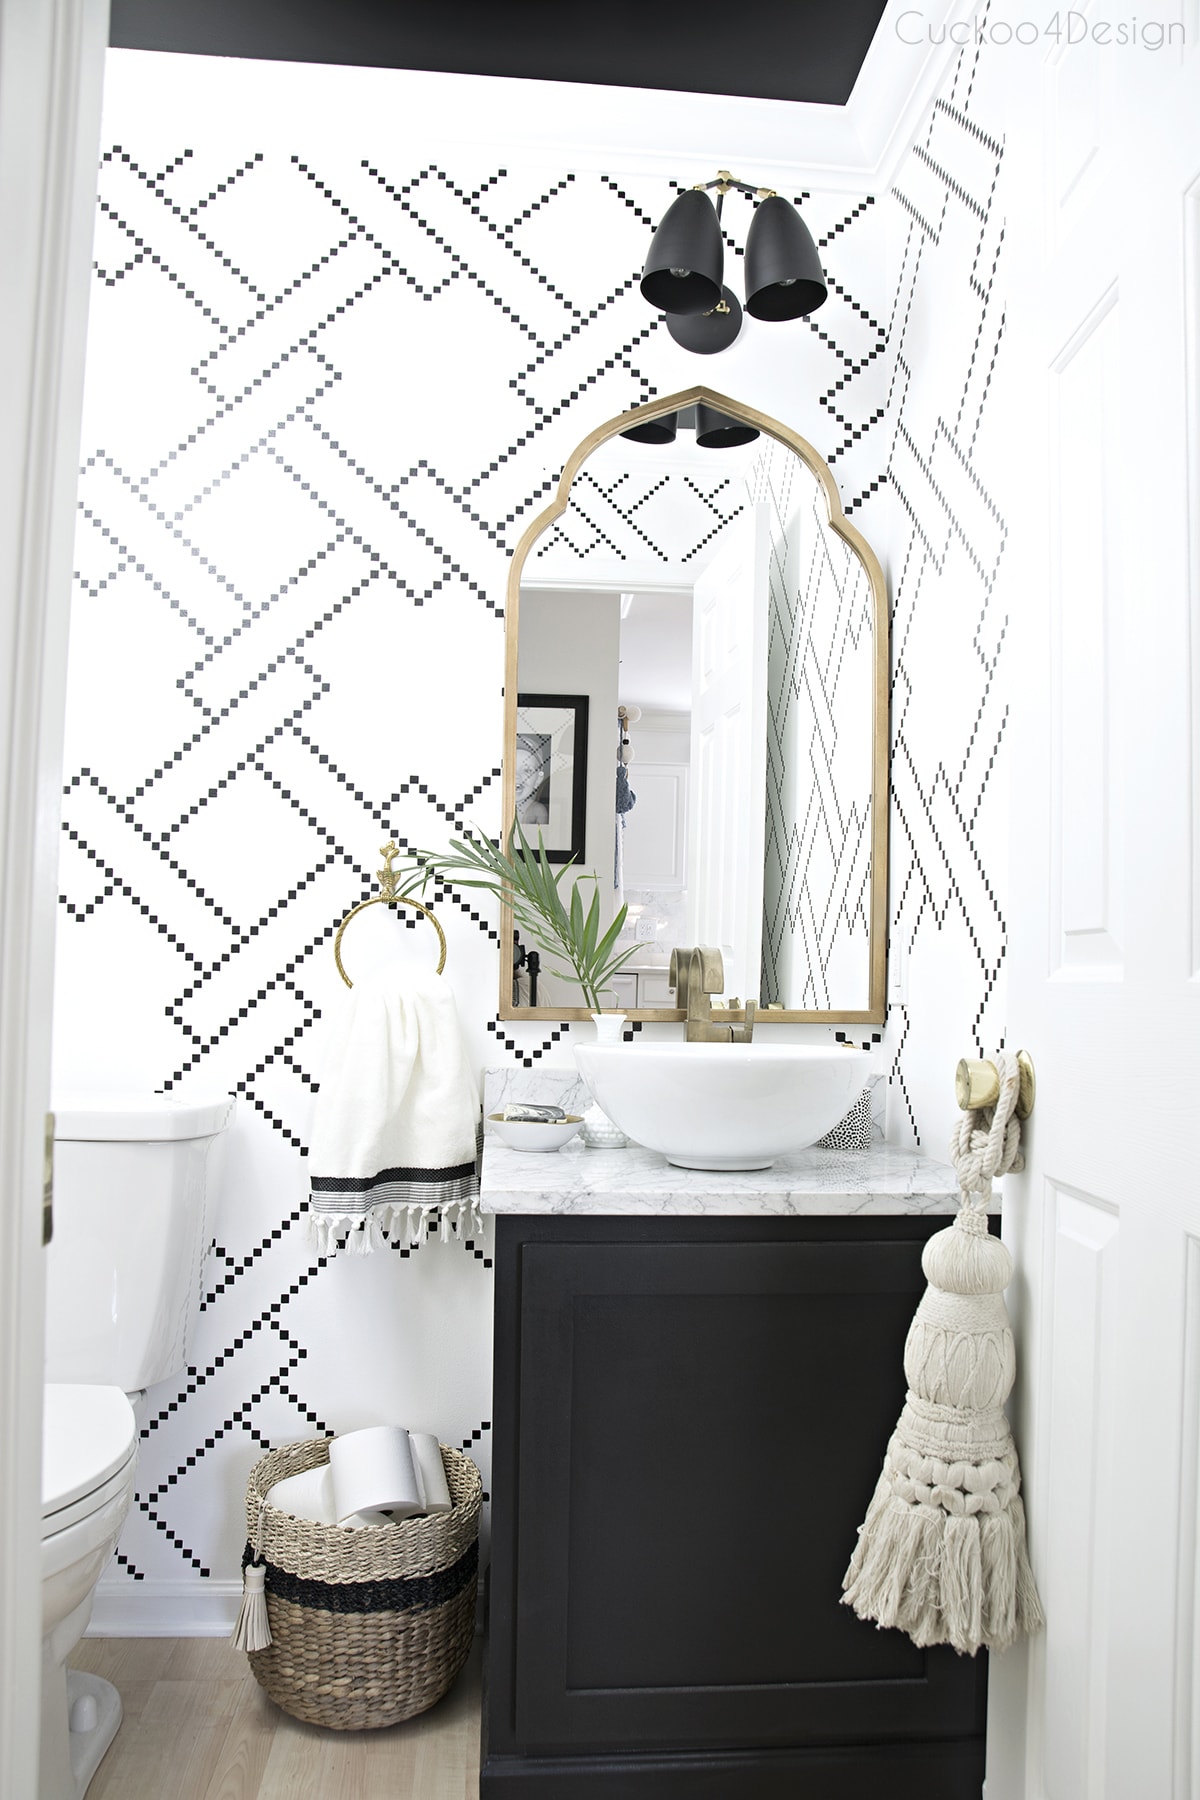
And after that, I changed it to a black, white, and gold powder room.
Other crystal light shades in our home
Here are some more areas in my house with lots of crystals in them.
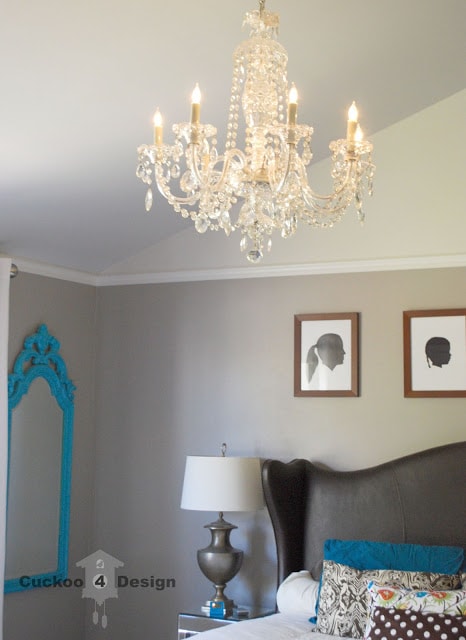
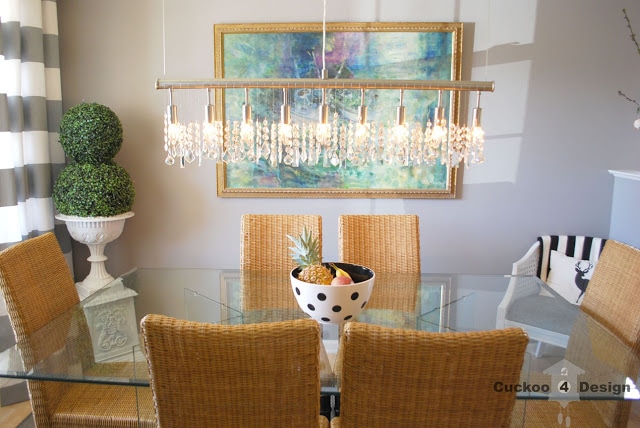
My former dining room designer chandelier replica from Germany for $80 which is now hanging in our bar.
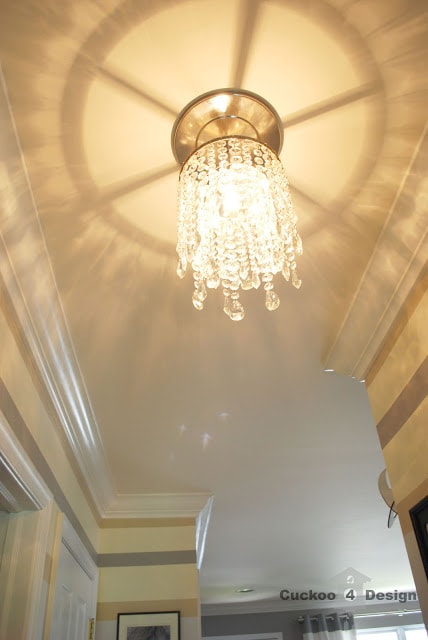
My above hallway light is a very cheap “recessed to Pendant Light Conversion Kit” fixture from Lowes and shade from a $30 lamp that I had bought at Homegoods several years back. I’m so in love with that tiny chandelier.
I think you get the point: I’M OBSESSED WITH CRYSTALS! Especially when the sun shines into the house and makes them sparkle and reflect onto the walls.
Other DIY lighting-related blog posts
- renter-friendly chandelier makeover tutorial
- cheap DIY pendant light tutorial using jute yarn
- Stylish DIY macrame chandelier made From planter basket
- DIY flush mount macrame light fixture
- Ugly thrift store find lamp makeover
- DIY wood bead pendant light
Guten Tag fellow webbers and thanks for stopping by!
Tschüß


great idea!
Love, love, love you blog! I can’t wait to see what you post next!
This is a great DIY Julia! I’m so impressed – it looks stunning and really professional 🙂 xxAnna (My Design Ethos)
I love your chandelier in your bedroom. Did you get them at Lowes? I’m also obsessed with crystals and blings. I’m thinking of replacing our ceiling fan in our master bedroom with chandelier, but I’m still looking for a cheaper one.
Thanks for reading my blog. I bought the chandelier 13 years ago at a local lighting store. My friend just bought 2 similar chandeliers at Overstock. Maybe you can find one there.
This blog is very valuable. I’m so impressed to see your blog information. It looks stunning and really professional 🙂 How to make crystal shades for a vanity light. luxury crystal lighting
Thank you so much for sharing good ideas….
Yay! Finally found a DIY on crystal vanity lighting! Thank you. Looking to do it on the cheap and you delivered. So pretty!
hey! I’m wanting to do this however.. ornaments aren’t really in season right now. do you have any other ideas on what I should use? would a crystal garland work? thanks! I don’t know how this works so you could email me? [email protected]
Also put molding around the mirror, painted white would look like custom
shower base
-:we are happy to read your post , its a very nice and more informative…
Great blog!!!We can install crystal chandelier light and add elegance to any space. But have you ever wondered about the history of these lighting fixtures? I really enjoyed your blog .
This is amazing and looks gorgeous! No one would ever guess it didn’t cost a fortune!
Susan
I also wanted to bling up my vanity light and that is how I came across your blog. You have taken all of the work out of this project for me and I am so grateful to you. It was very clever of you to find the spout covers, I have already purchased mine and they are genius. Many Thanks.
This is so pretty and what a great idea!! Pinned 🙂
These are gorgeous and I can’t wait til I can make one!
Thanks Kim
I am not certain on exactly what the fixture looked like before you added the crystal drops and I am unsure exactly still how you did it. Sorry! I am in a fix I love crystal too I have a horrible chrome hollywood light fixture that I am trying to figure out how to “redo” into something I can “live with”! I was trying to think of some sort of little lamp shades maybe with crystals hanging off but they would have to fit around the light bulb since those lights come out off the wall. Any ideas or suggestions on the one you did would be helpful. Thanks
The bathroom fixture was just one of the standard fixtures you could pick at any home improvement store.You could buy the little shades that snap onto light bulbs and are made for chandeliers and hang the crystals from them. That’s the only thing I could think of.
Hi Julia,
I love all of your crystal confections. Your use of the plumbing cover is inspirational for several projects for me. I wanted to know, since you have so many crystal fixtures, if you have a quick cleaning tip? Everything I have found shows dusting with a dry paintbrush or using glass cleaner on a cloth and go around every crystal. Ugh!
Thanks,
Kim
Thanks so much Kim. My mom actually brought me a spray from Germany that you soak the chandelier with and let the dirt drip of onto a towel. It works pretty great.