DIY flush mount macrame light fixture
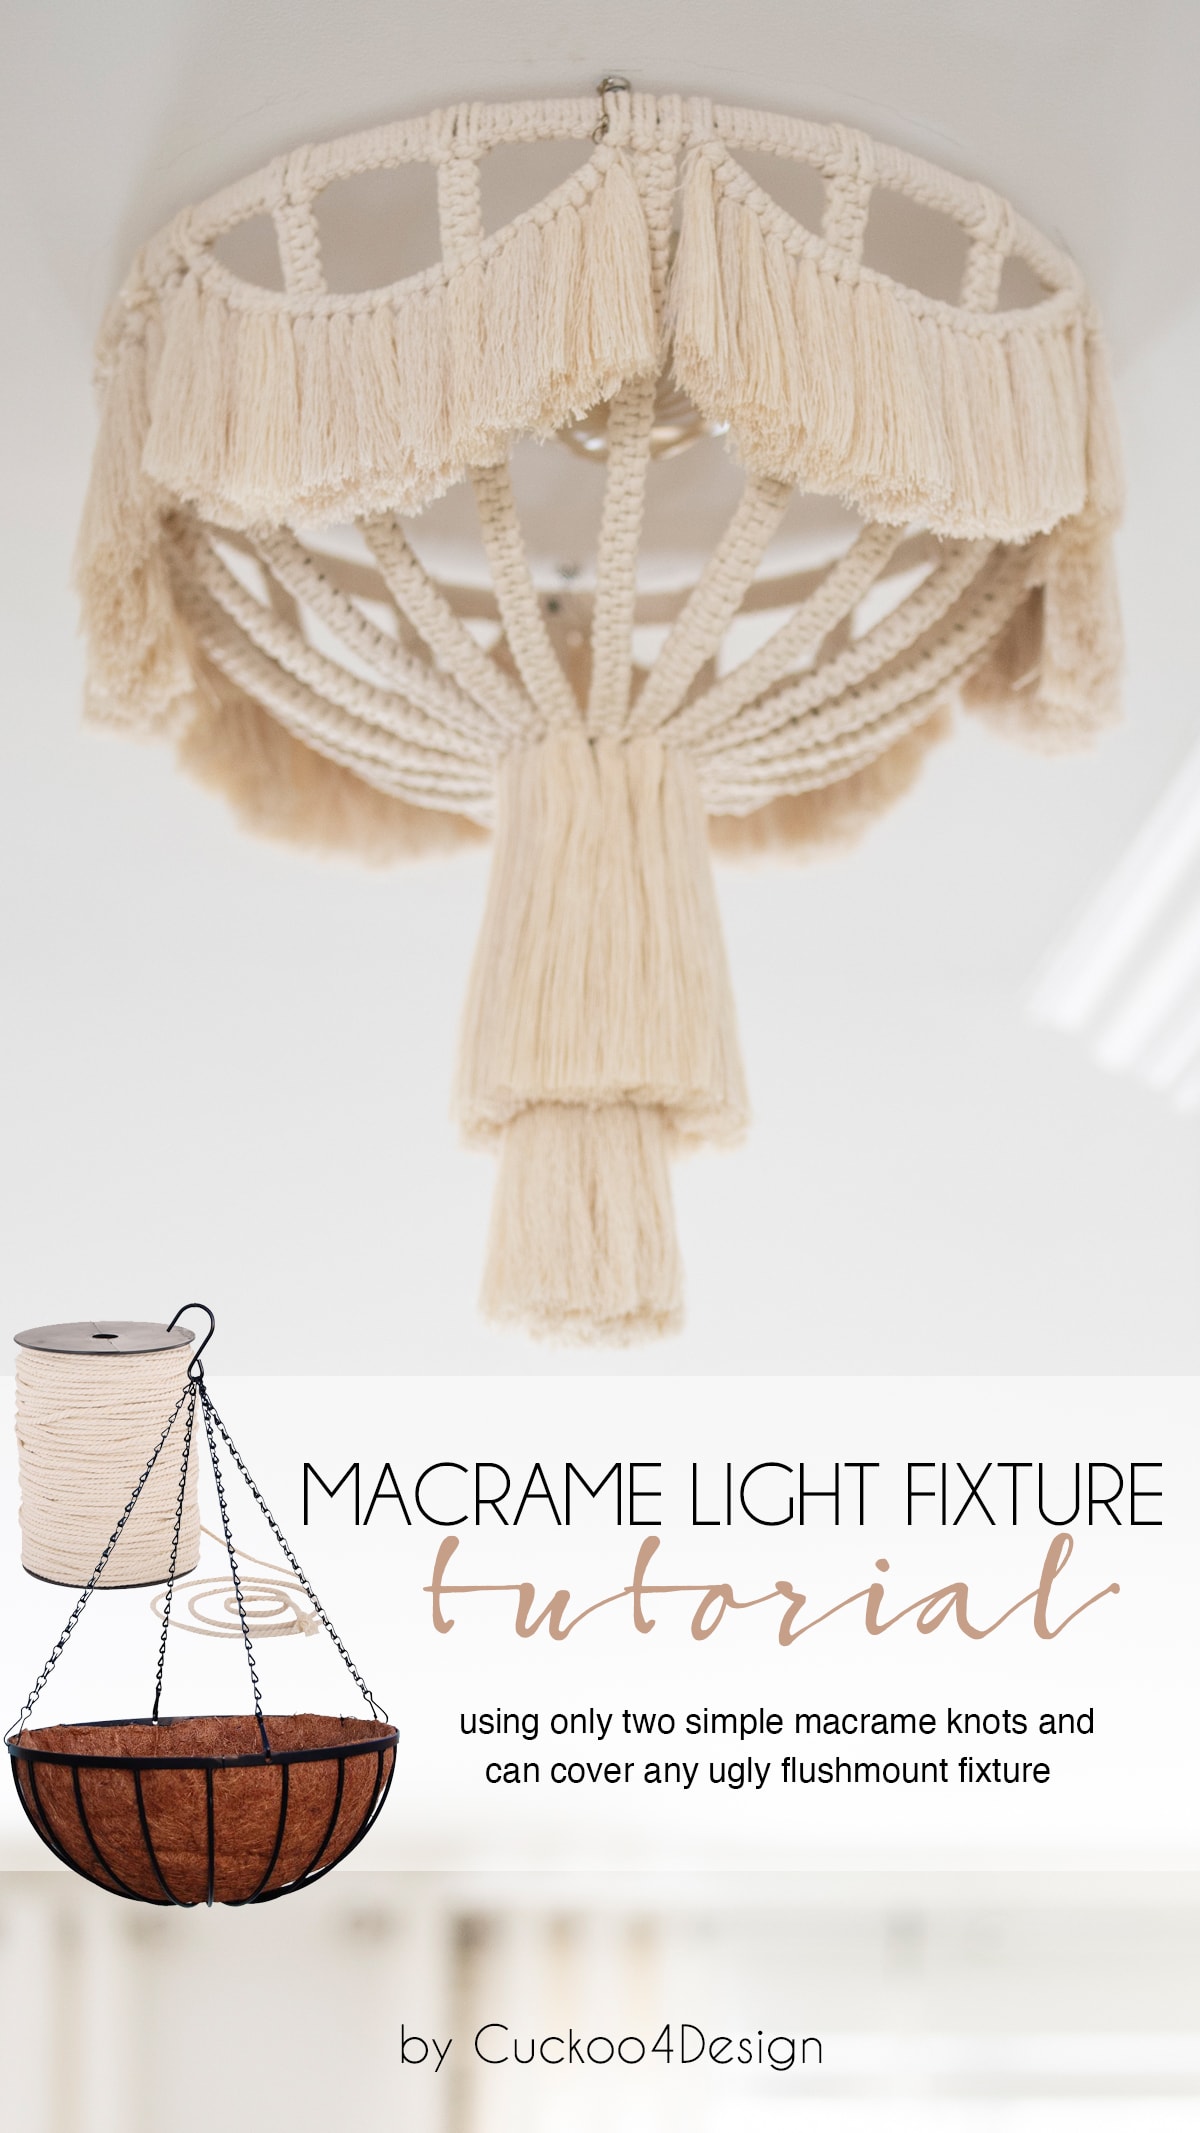
This macrame light fixture tutorial kind of happened by accident as I hinted in my last post. I wanted to make a macrame cat bed and had purchased all of the materials used in today’s post to make a cat bed. I guess you could still plop a pillow into this light fixture and hang it like the cat bed. It would look cute too.
Anyways, as I was working on today’s project I started thinking pretty early on how I suddenly wanted to use it as a flush mount light fixture instead. The staggered and structured look of it is my favorite. This also gave me the idea to turn this light fixture into a macrame chandelier which I will share in a different post yet. I just couldn’t make up my mind whether I wanted to use it as a flush mount light or a chandelier. It took me weeks to decide. Sometimes it’s just better to let something marinate in your thoughts for a while before making a move and in this case, I’m glad I did wait because I love where it ended up.
So let’s get to it…

DIY flush mount macrame light fixture
This post may contain affiliate links from which I will earn a commission at no extra cost to you. View my full disclosure policy.
Materials needed to make this macrame light fixture
- macrame cord
- metal hanging basket (I bought the 18-inch one but you could buy the smaller 16-inch one or even go larger if you’d like)
- sharp craft scissors
- comb
- fabric stiffener
- hair straightening iron
- nail
The reason I bought this particular wire basket is that it doesn’t have metal loops at the top to hang the chain from. If you bought a metal basket with little loops then you have to take metal snippers and cut them off.
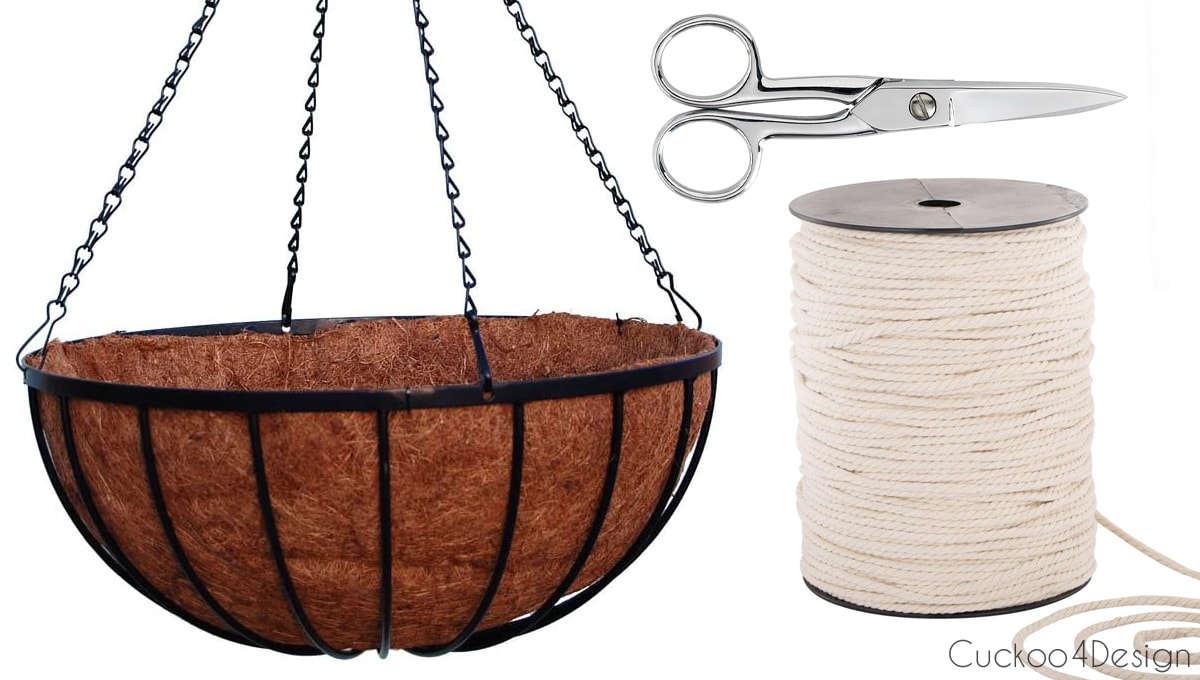
Macrame Light Fixture Instructions
Below you can see my macrame light fixture video. Use the triangle on the image to turn on the video or if you are having trouble with that then you can also watch it on my YouTube channel. If you are watching from a phone or iPad then please hold the device sideways for better viewing:
Wrapping the top part of the hanging basket with macrame yarn
First, you have to remove the moss from the wire hanging basket. Mine was simply attached with a bunch of plastic straps that you could easily snip off.
I didn’t write down the length of the piece I used to wrap the top of the basket (45 feet should be enough) because it was a long scrap piece I had. You can even use small scrap pieces of yarn, but you need to make sure that they always end and start at one of the metal sections that run down to the center, so you can later hide the ends under one of the Square Knots. This is all better visible in my video, to be honest.
I used Vertical Lark’s Head Knots to wrap the top part and it is the same method that I used to wrap the metal hoops in my macrame cat bed tutorial as well. That tutorial has a nice slow layout of the knots with photos or you can see it in my above video as well. Make sure to do these knots nice and tight so non of the black metal shows.
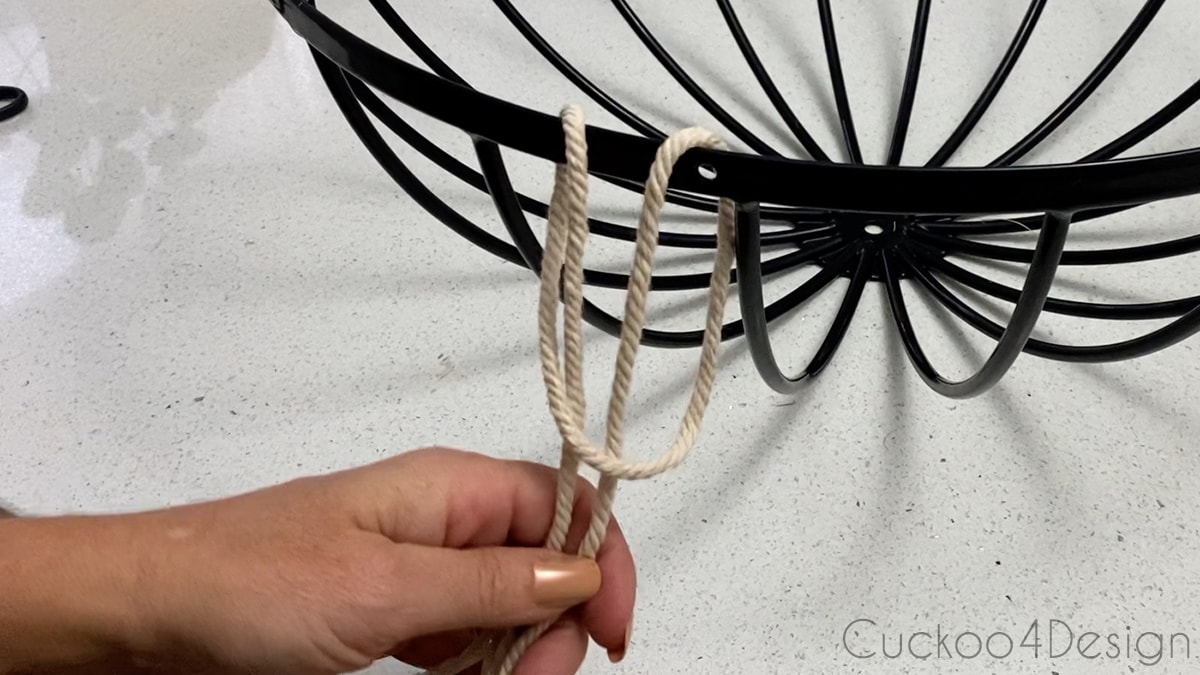
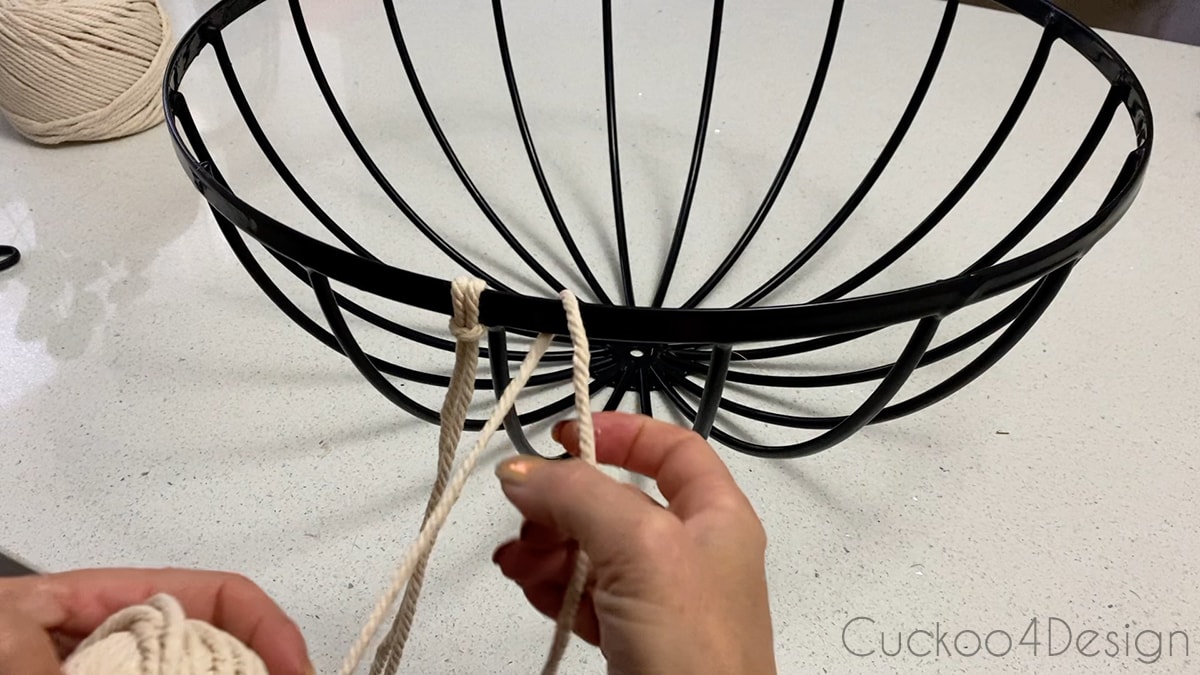
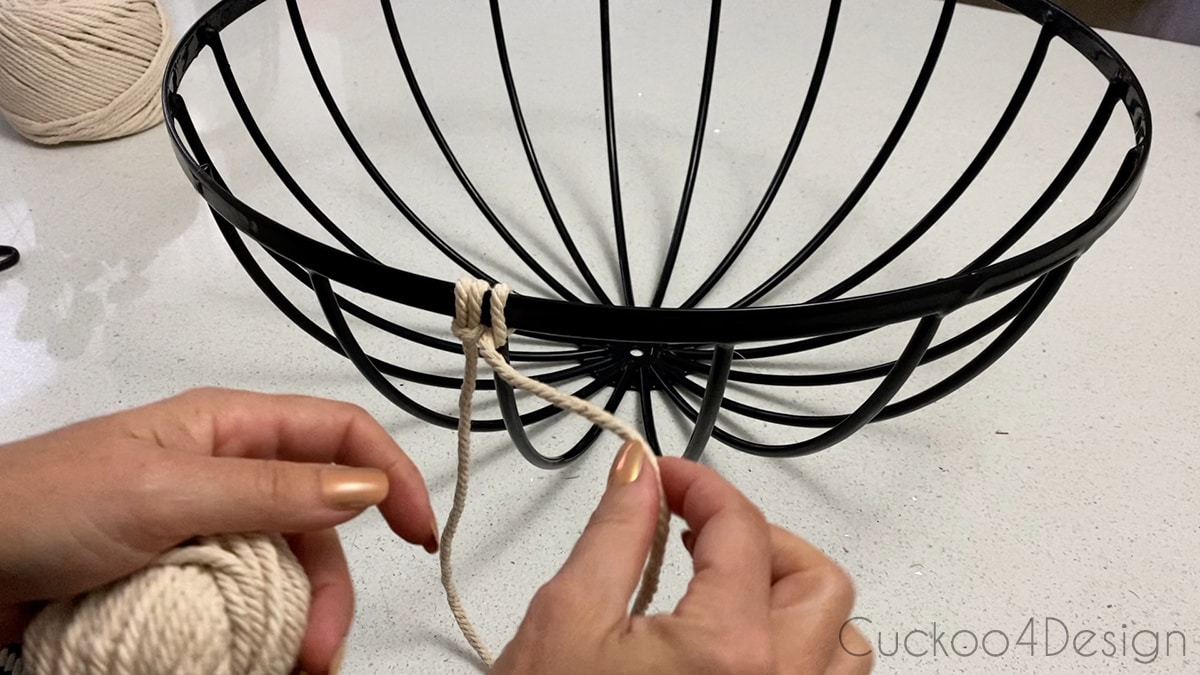
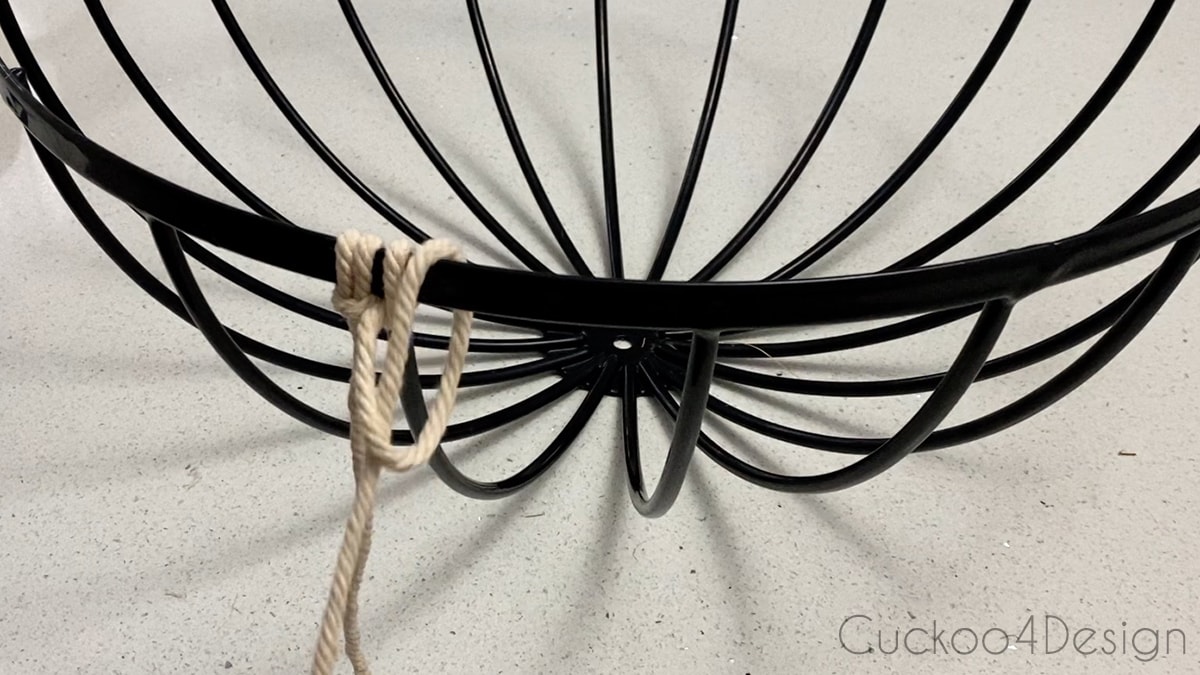
Keep repeating these looped Vertical Lark’s Head Knots all the way around the perimeter of the metal basket structure.
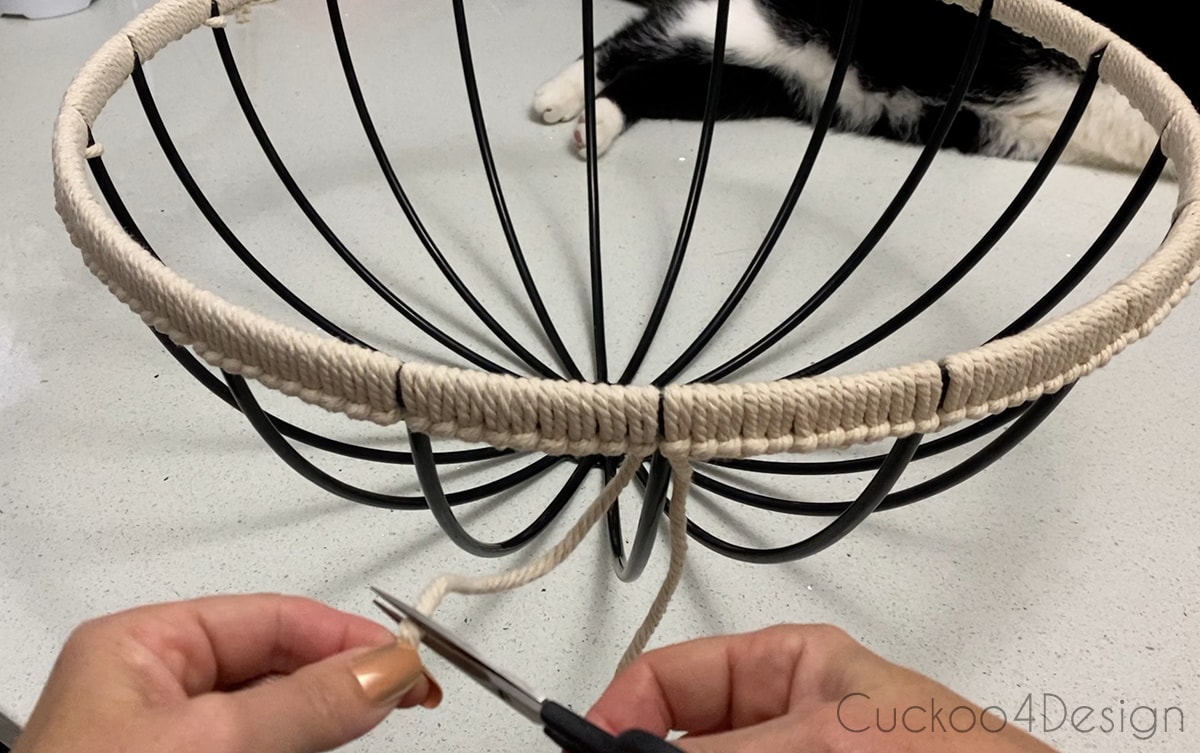
Wrapping the metal sections that run from top to bottom of the basket
For that part I used square knots again which I use in a lot of my tutorials.
I needed 220-inch pieces times 4 per metal section and my basket has 18 metal sections running from top to bottom, so I needed 72 pieces of macrame yarn at 220-inches long.
Below you can see the short beginning and end pieces of macrame strings hanging down from wrapping the top. Next is how you can hide them under the rows of square knots. You just need to make sure they remain close to the metal strand.
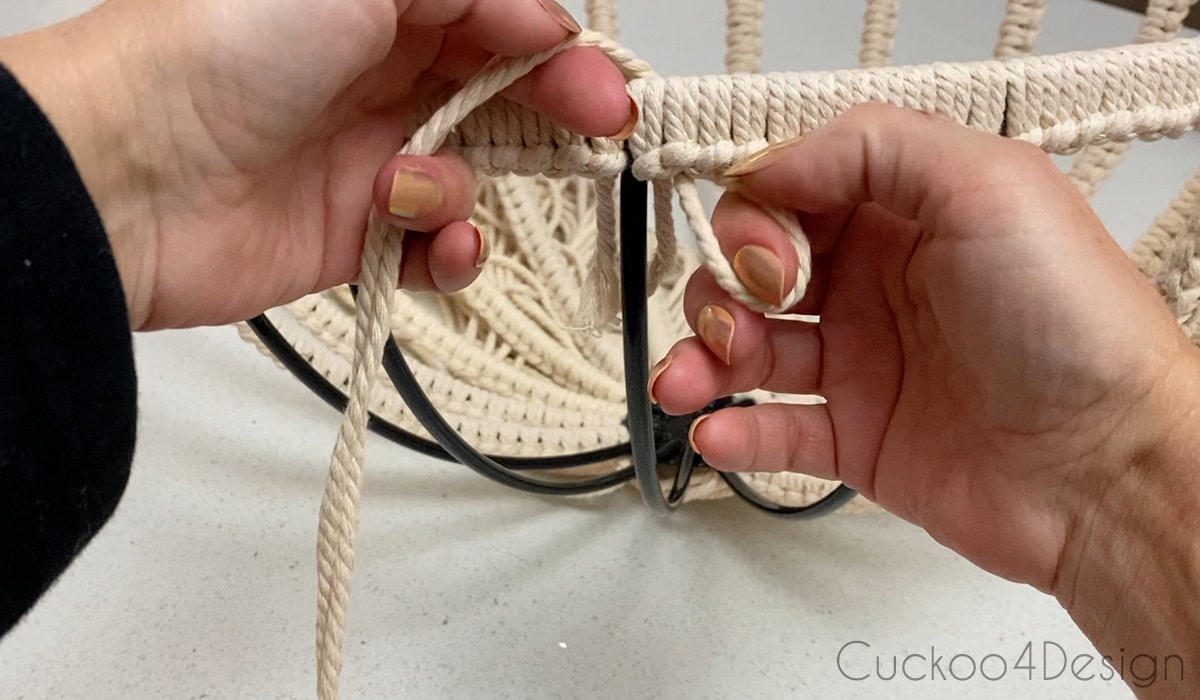
Fold one of those 220-inch strands in half and loop them onto the basket top with a Lark’s Head knot to the right side of a metal strand. And repeat that with another strand to the left side of the metal strand.
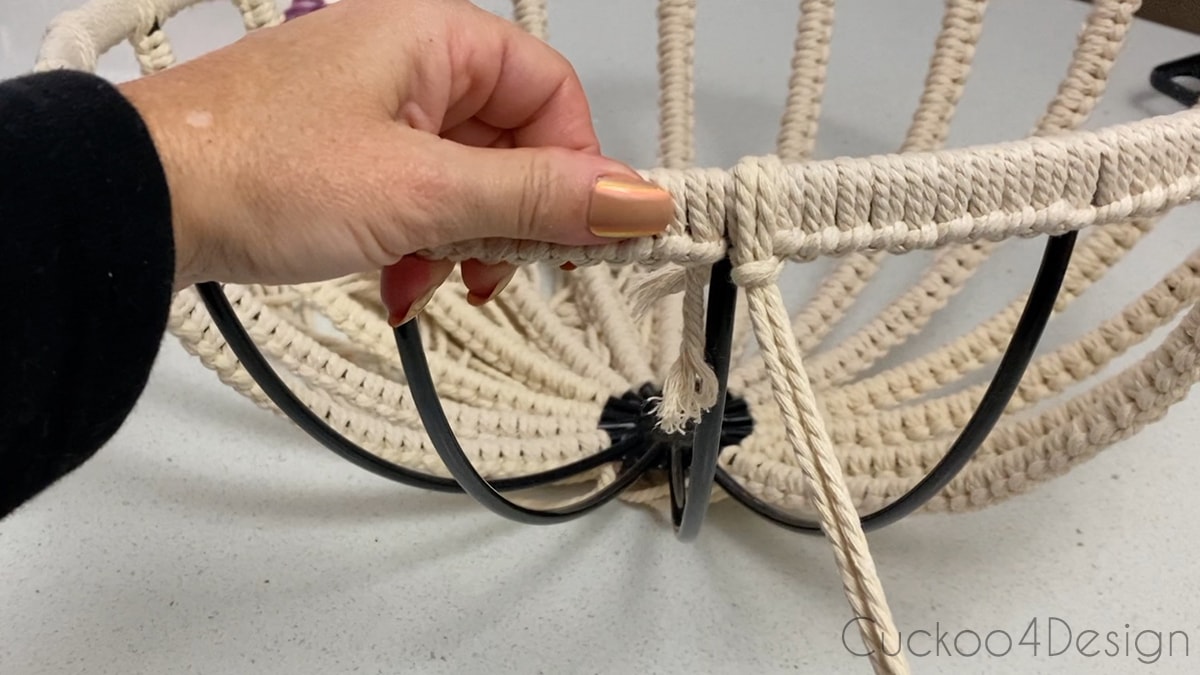
This gives you the 4 strands of macrame yarn needed for Square Knots.
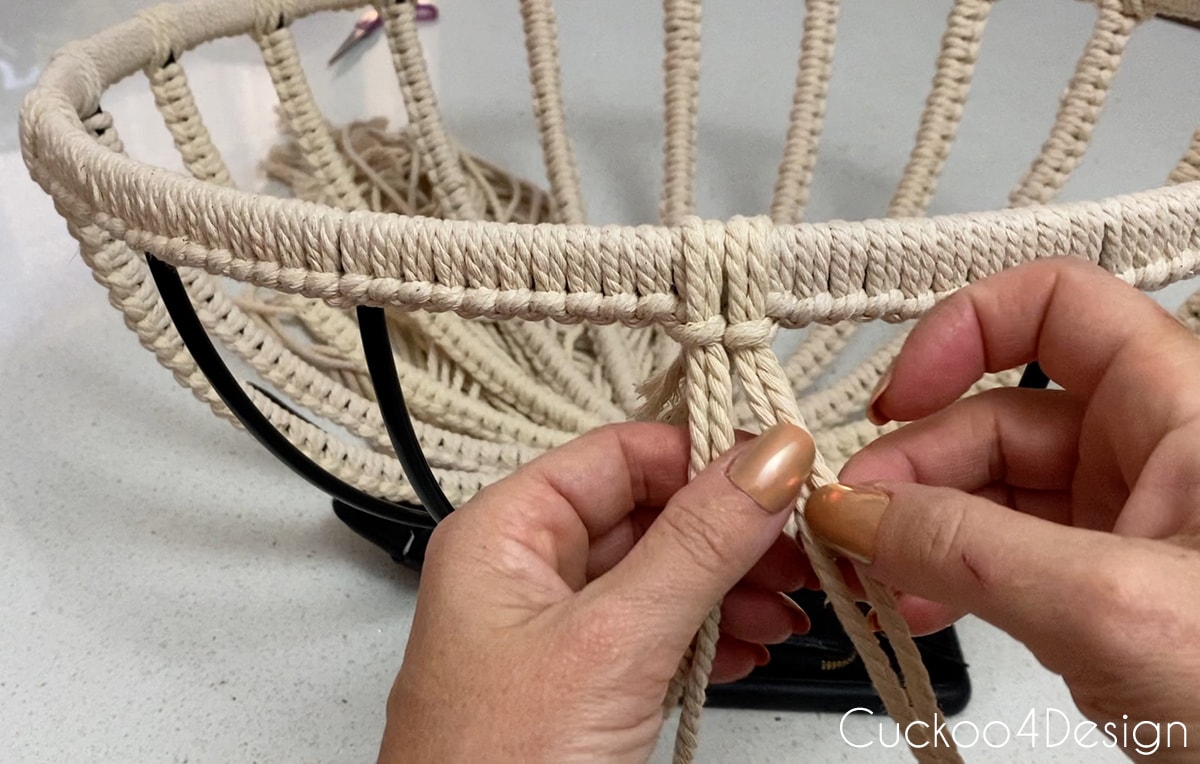
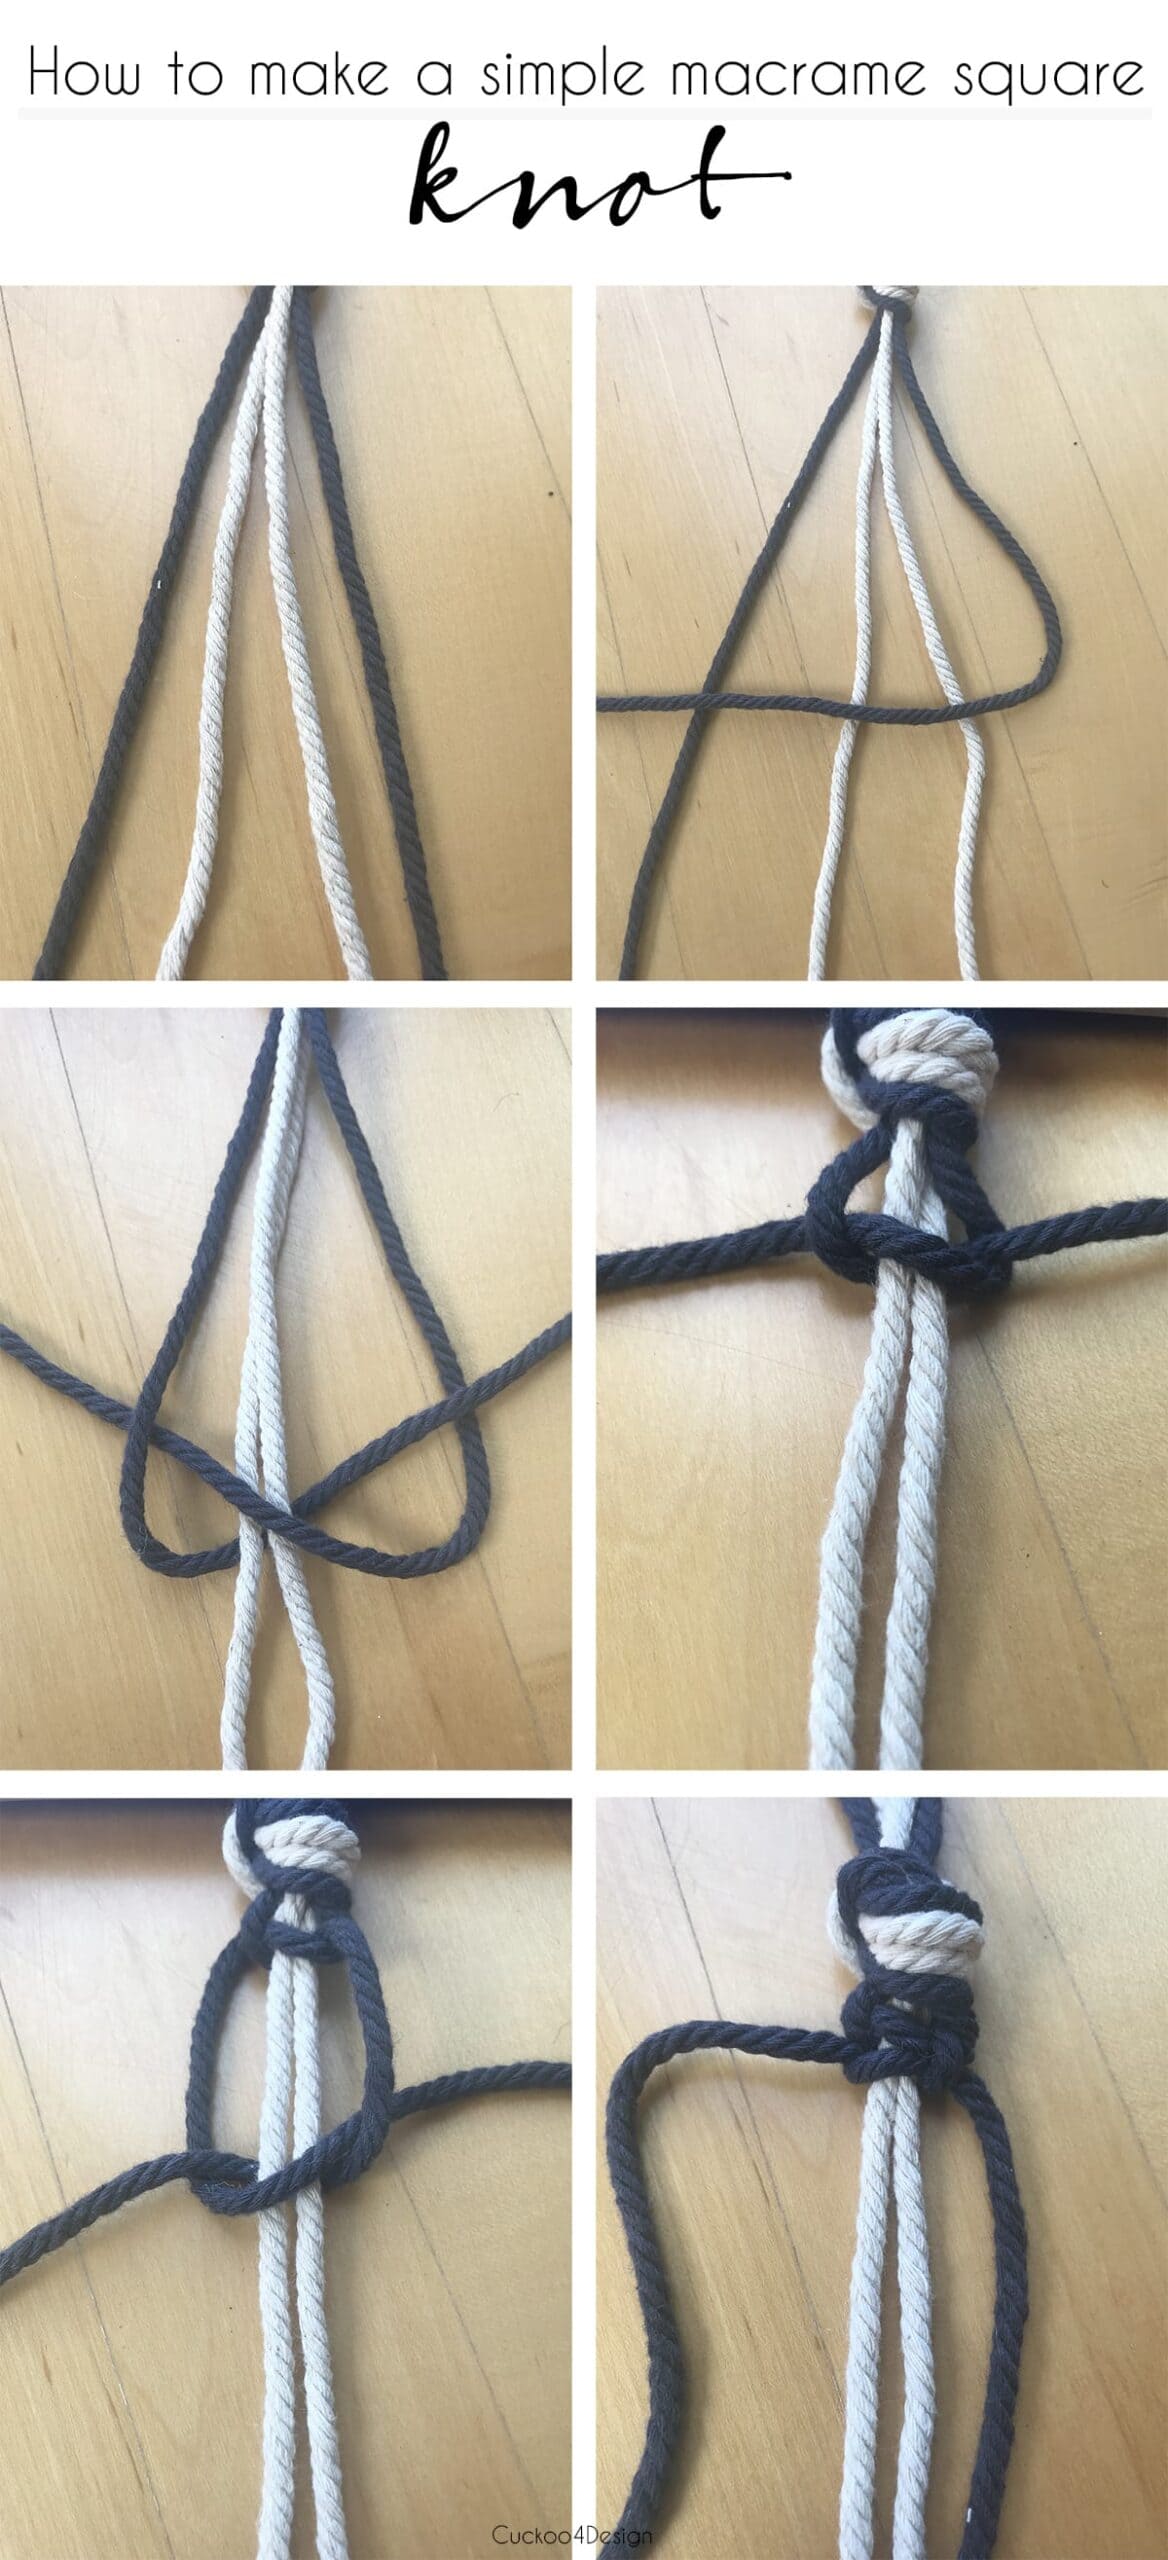
Let me show you again how the square knot is made if you are new around here. The below light colors strands would be the one that you keep in front of the metal strand/rod going down and the dark ones are the outer two yarn strands that do the wrapping and knotting. This way you can hide the black metal well. They also hide the end yarn pieces from wrapping the top of the baskets.
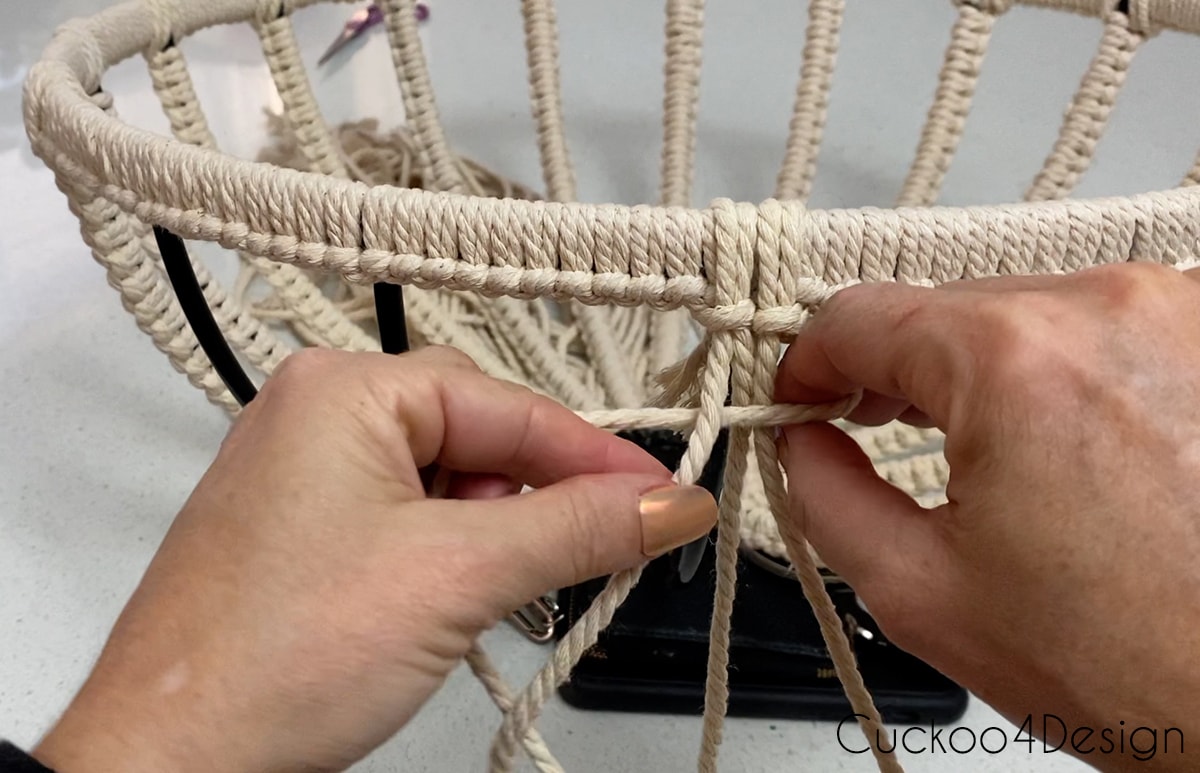
Below you can see nicely how the short end yarn pieces will be hidden under the knots.
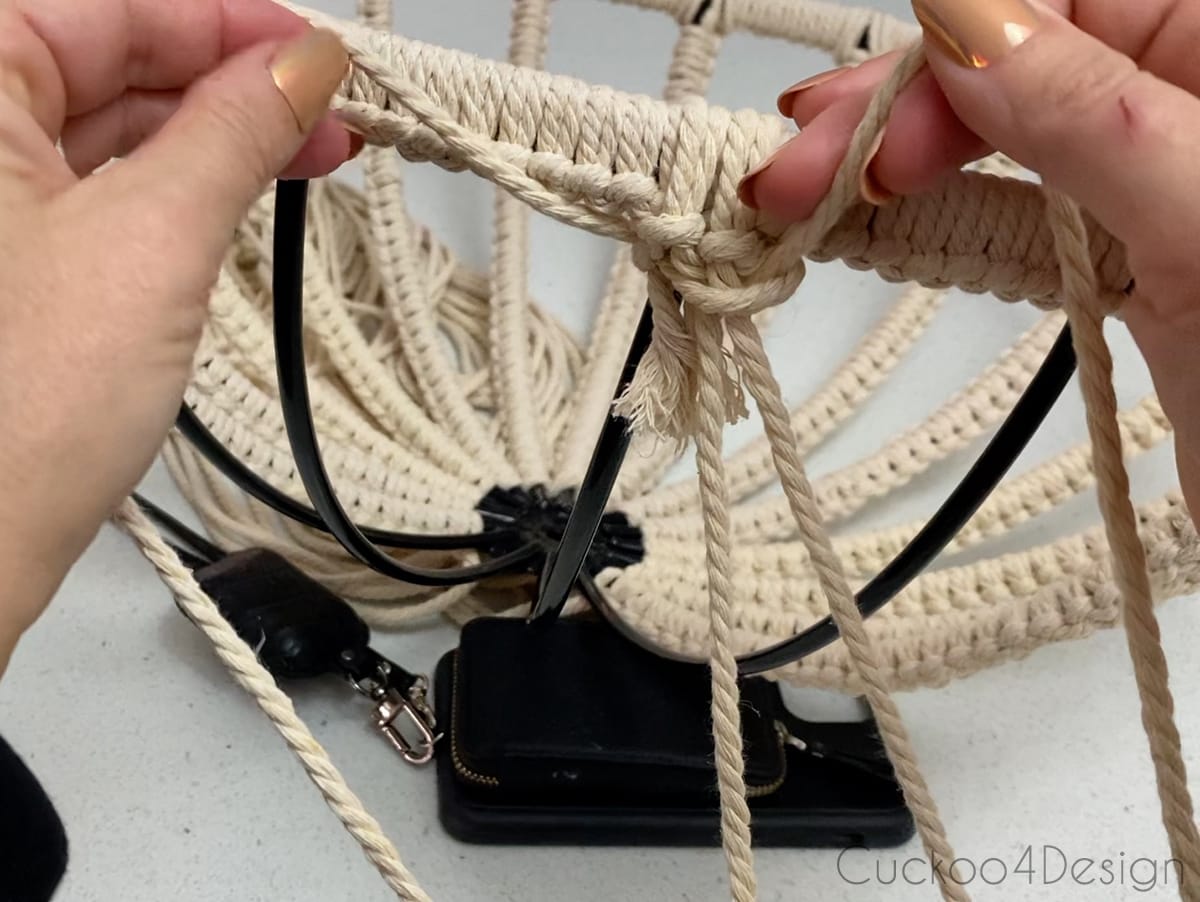
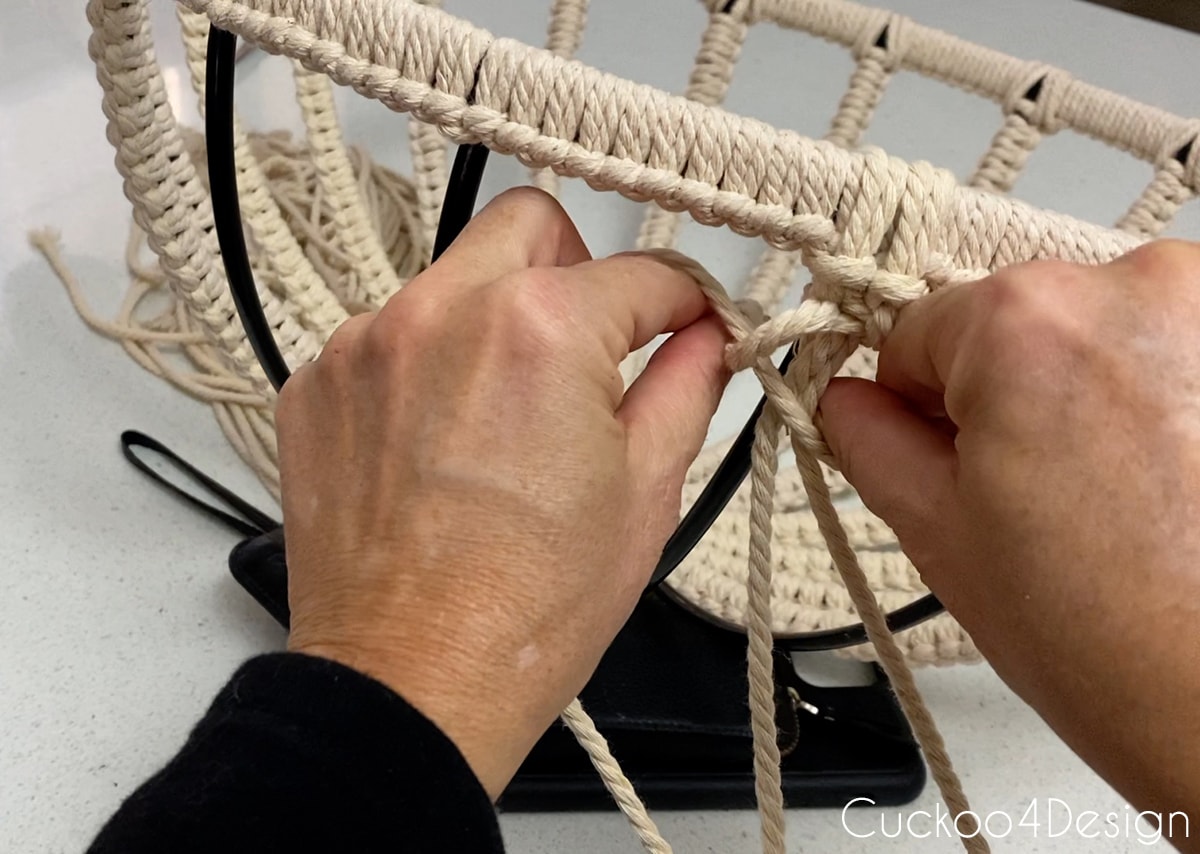
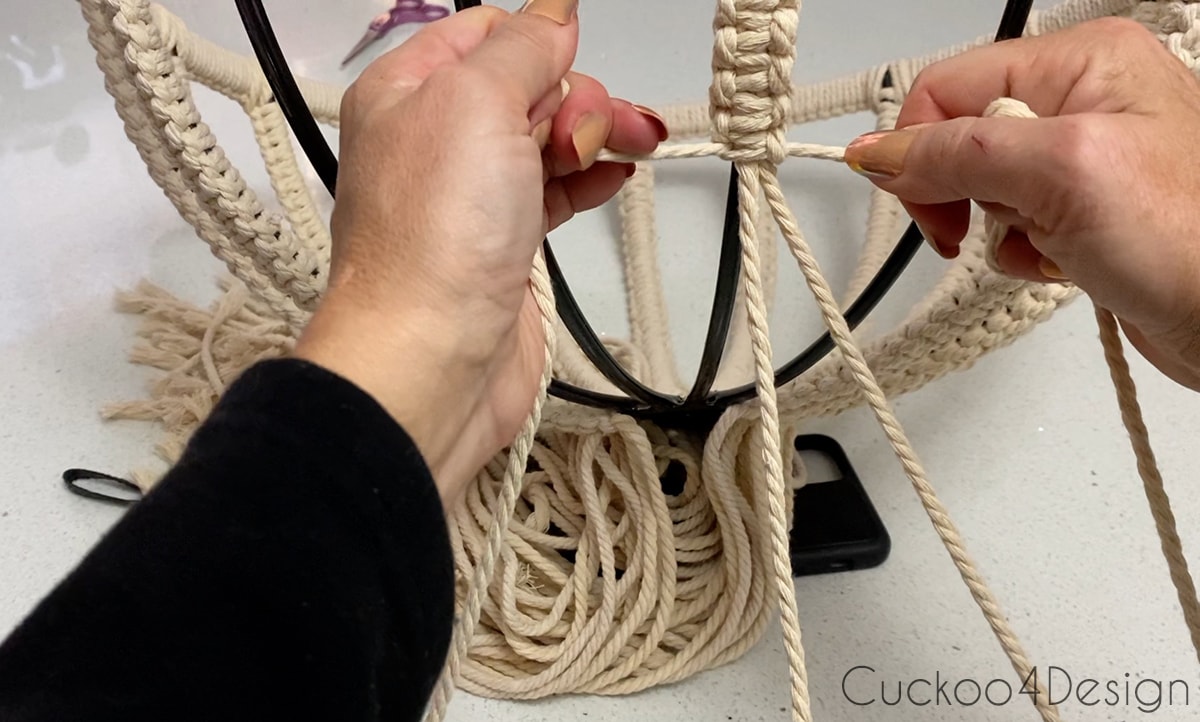
Keep repeating the Square Knots all the way to the bottom of the metal basket. When I came to the bottom part, turned the basket around. This part can get a little bit more challenging to maneuver because the area is a little tight.You’ll get the hang of it.
Let the left over macrame yarn hang at the bottom because that is what will form the tassel at the end.
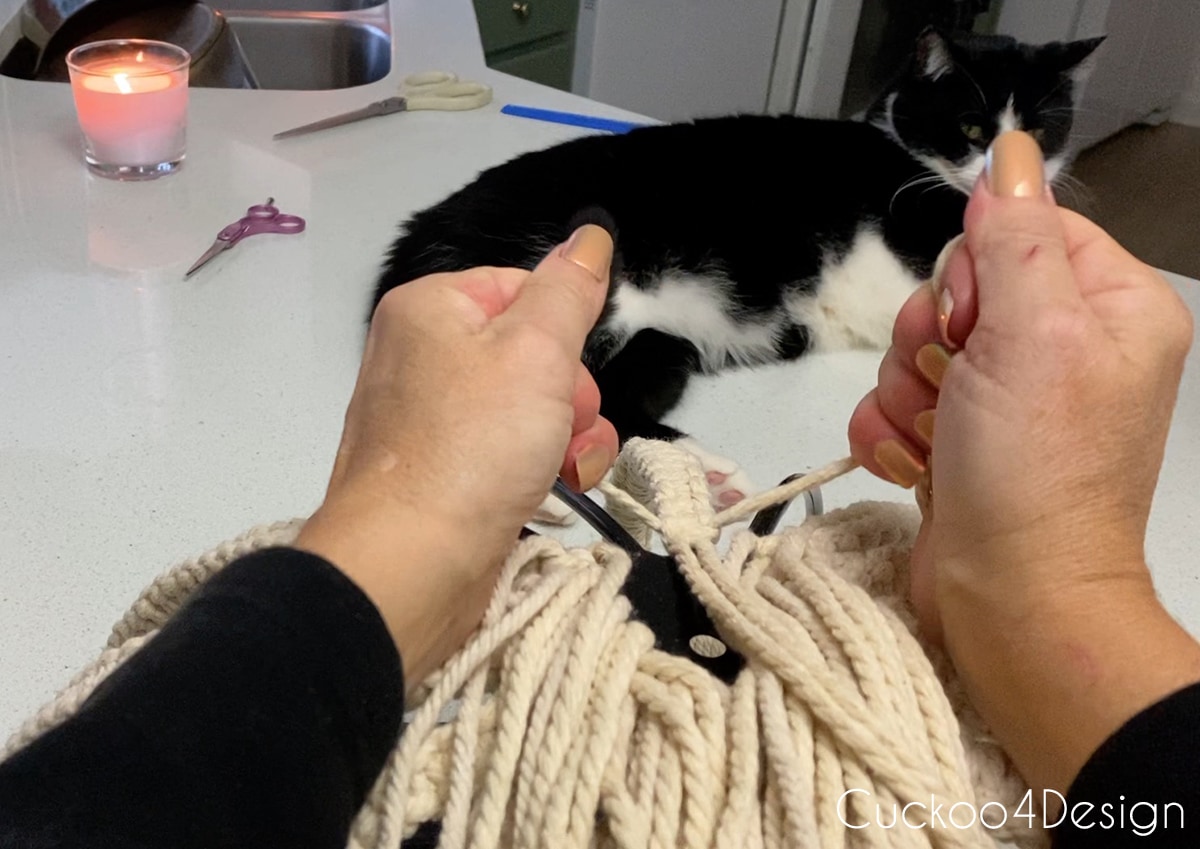
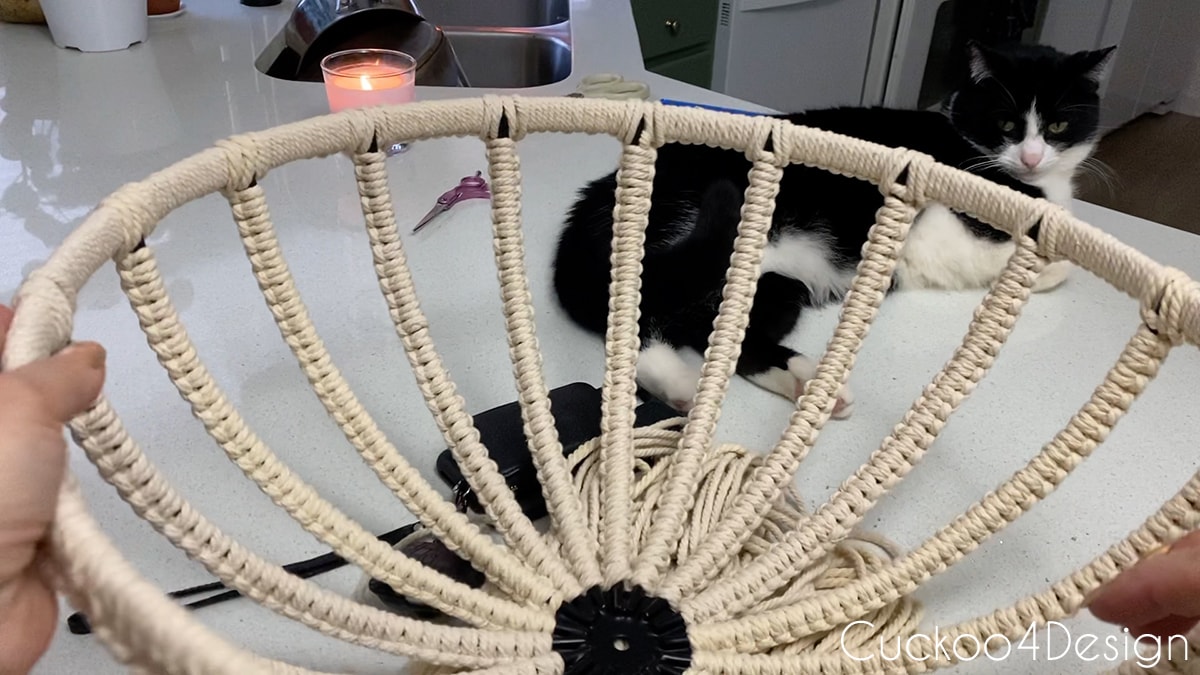
Below it the metal basket with all sections wrapped in square knots.
Creating the fringed and draped sections of the macrame light fixture
I cut 6 pieces of macrame yarn at 24 inches long for the swag parts and cut a pile of 10-inch pieces of yarn from the mountains of scrap pieces that I have left from other projects. Those small pieces will create the fringe.
Remember how you start the vertical Lark’s Head Knots and Lark’s Head Knot above? This is how you will also attach the 24-inch pieces of yarn. See below…
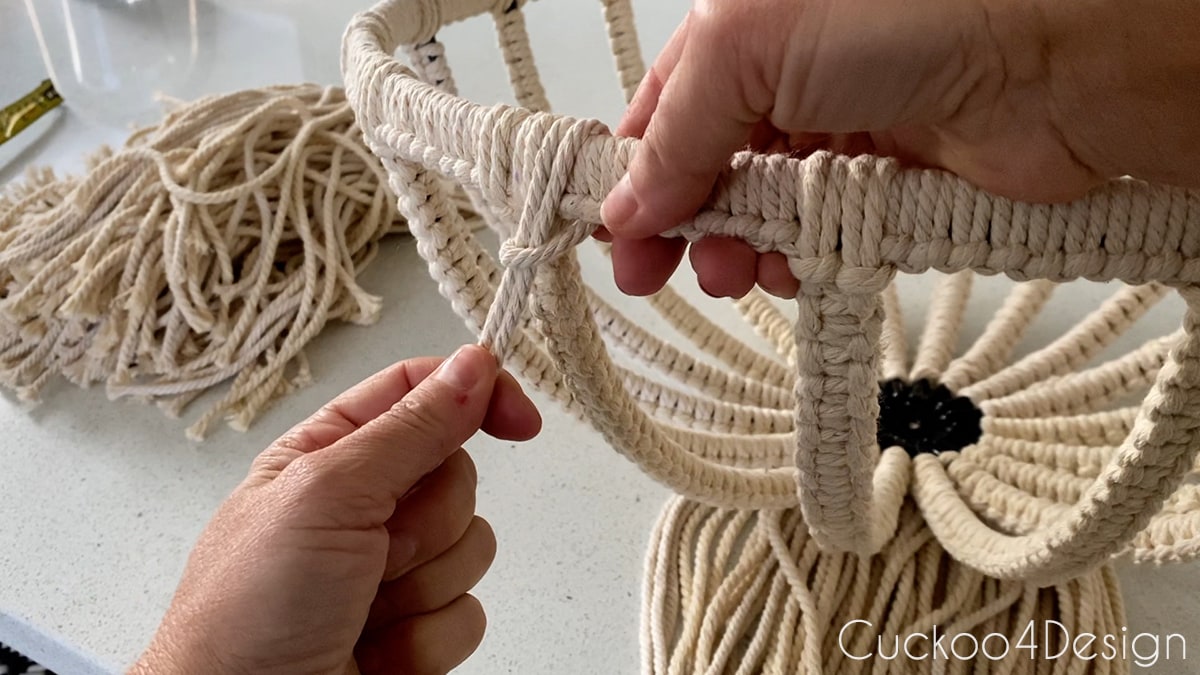
Then I skipped two of the metal strands wrapped in Square Knots and attached the yarn to the basket top with another Vertical Lark’s Head Knot. The swag section of the strand that hangs down is about 10 inches long.
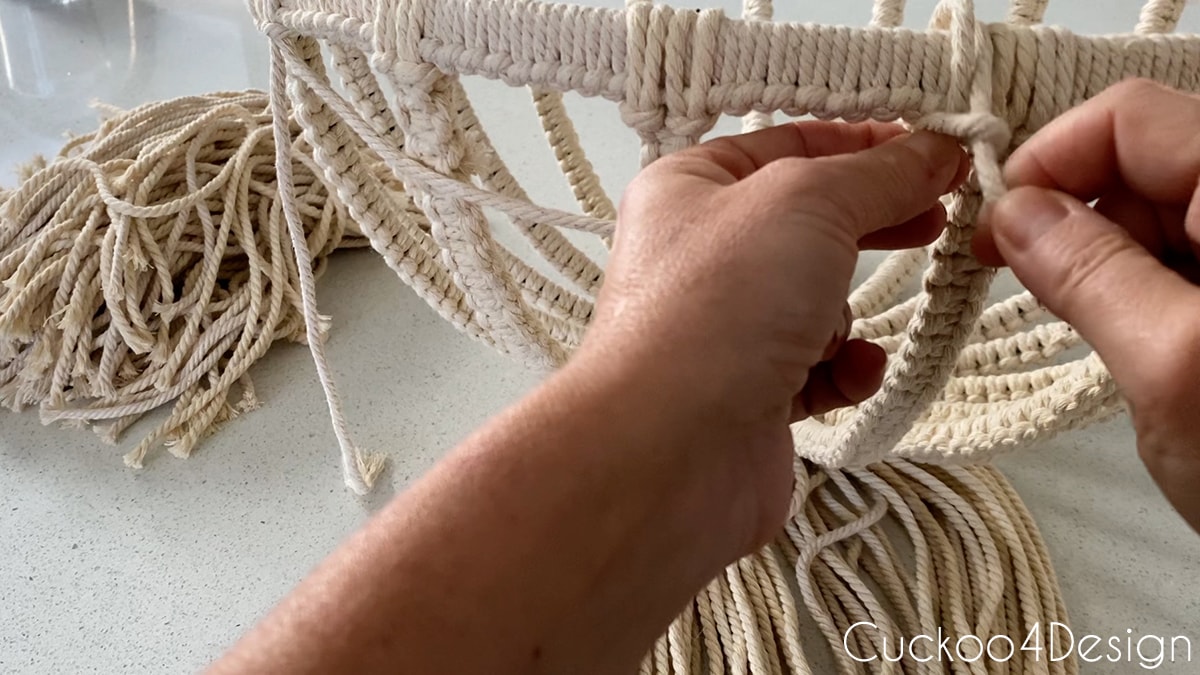
Next fold the 10-inch scrap pieces in half and loop it on the the draped macrame piece with more Lark’s Head Knots.
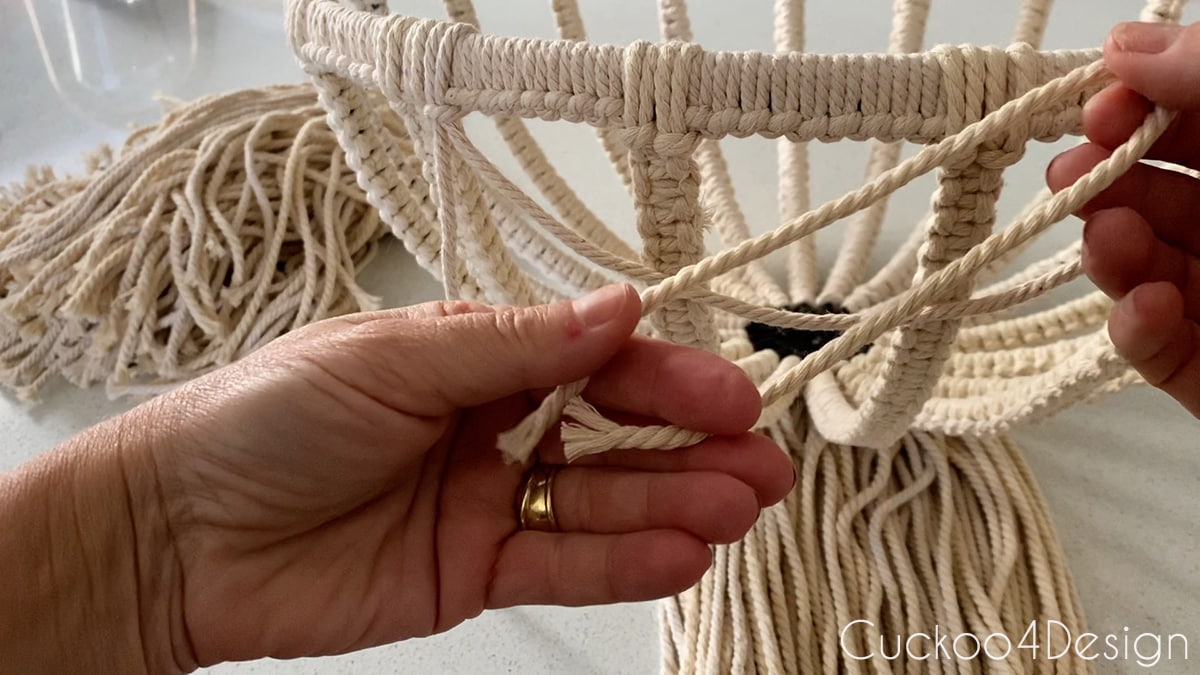
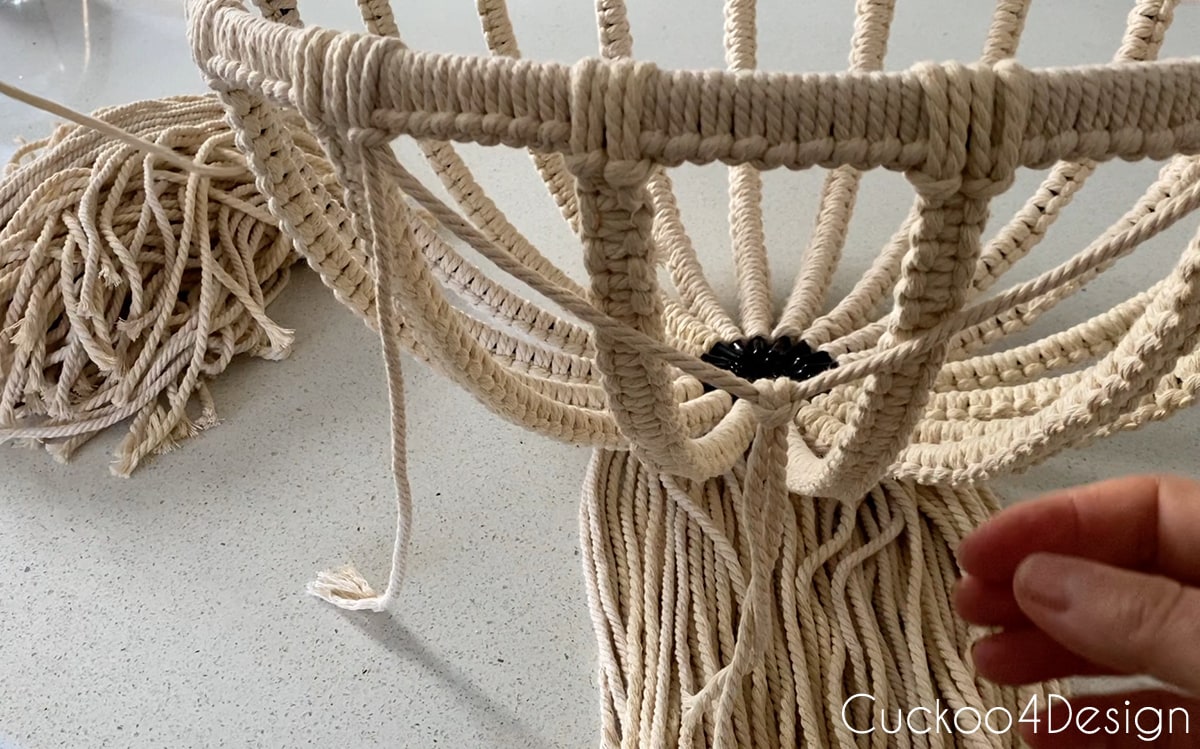
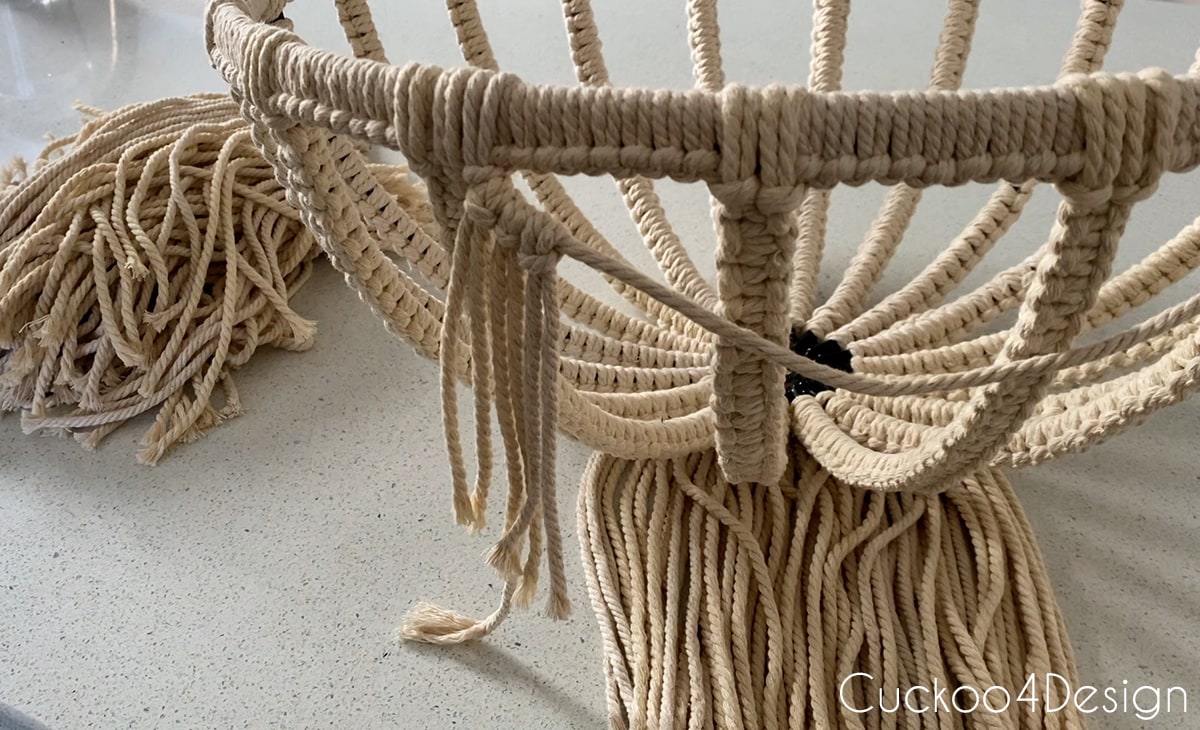
Keep repeating this to fill the entire draped strand.
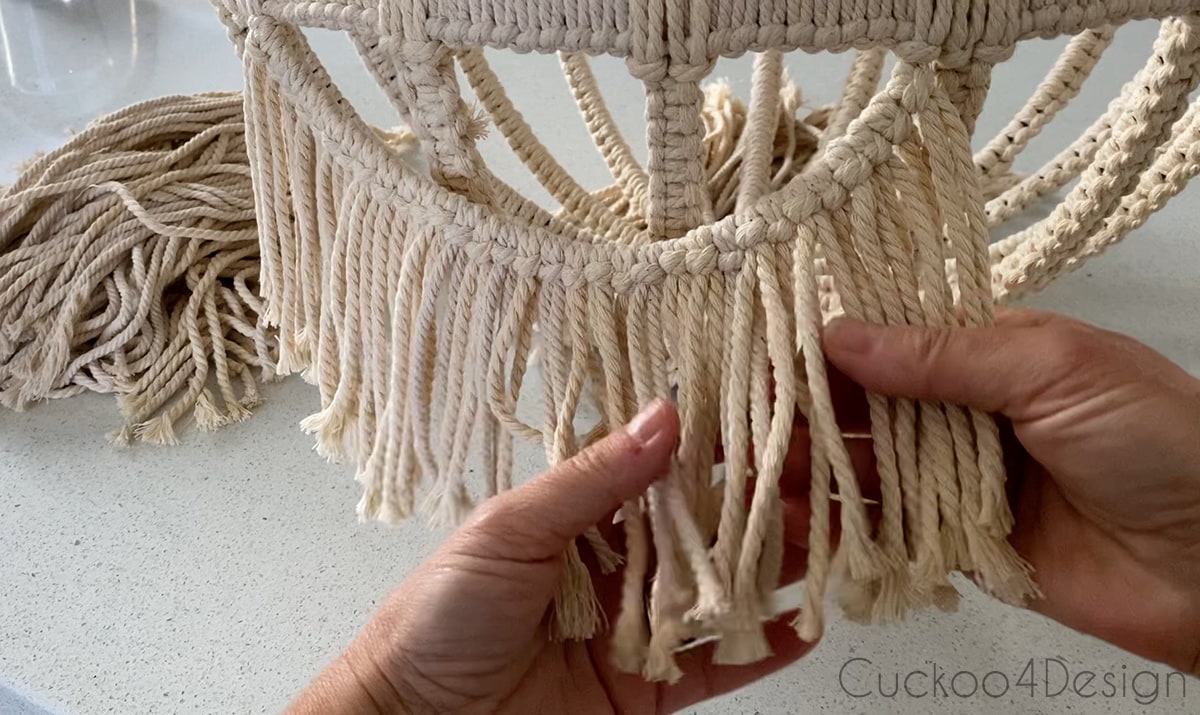
I love the look of unraveled macrame yarn because it creates a contrast to the twisted standard macrame yarn texture. This is definitely just optional and if you don’t want to go through the work of opening up and combing all the yarn then just leave it. It still looks pretty. This counts for the tassel portion of the project too. That part makes the project definitely more time-consuming.
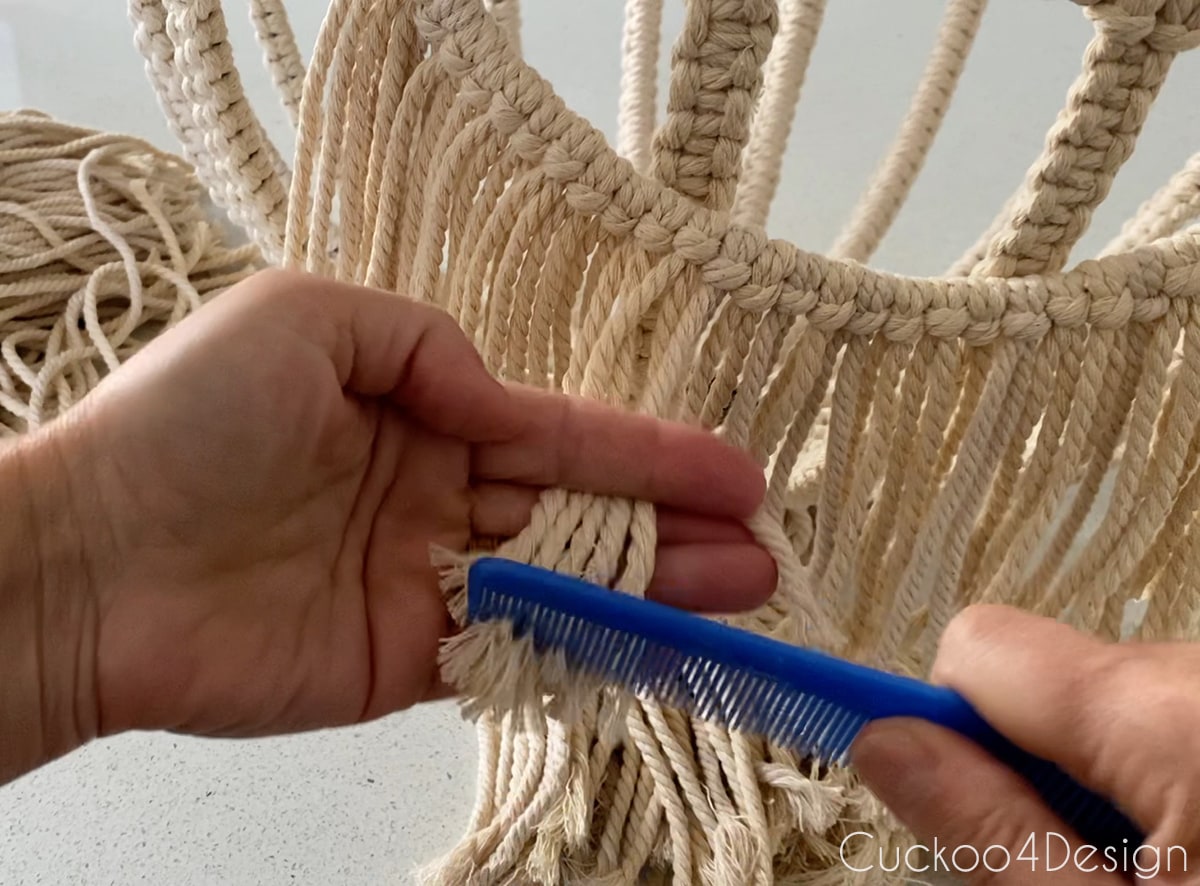
Below you can see one of the draped swags with all the macrame yarn unraveled and combed before trimming it.
Repeat this all the way around the macrame light fixture with more fringe-filled swags.
After this, I decided to hang the macrame light fixture from a curtain rod with some macrame yarn simply knotted to it so I could see where to trim the pieces. I cut mine to a length of 4 inches.
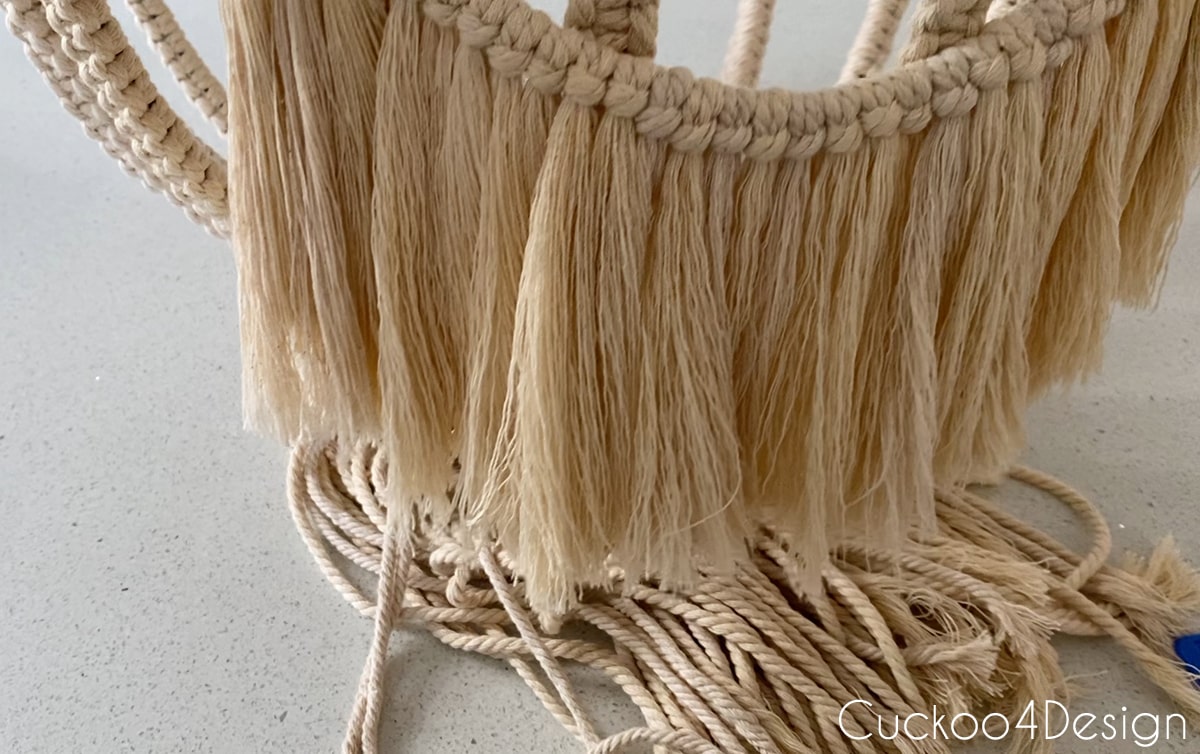
Next I opened the bottom strands hanging from the fixture. This part is time-consuming and you can just leave it be if you’d prefer that. For this part, I find that spraying on fabric stiffener and drying that with a straightening iron until it is dry helps the strands hand nice, straight, and stiff. It is a tad bit more difficult to untangle and straighten those long pieces.
Creating this macrame light fixture goes much faster if you skip the steps of unraveling the macrame yarn.
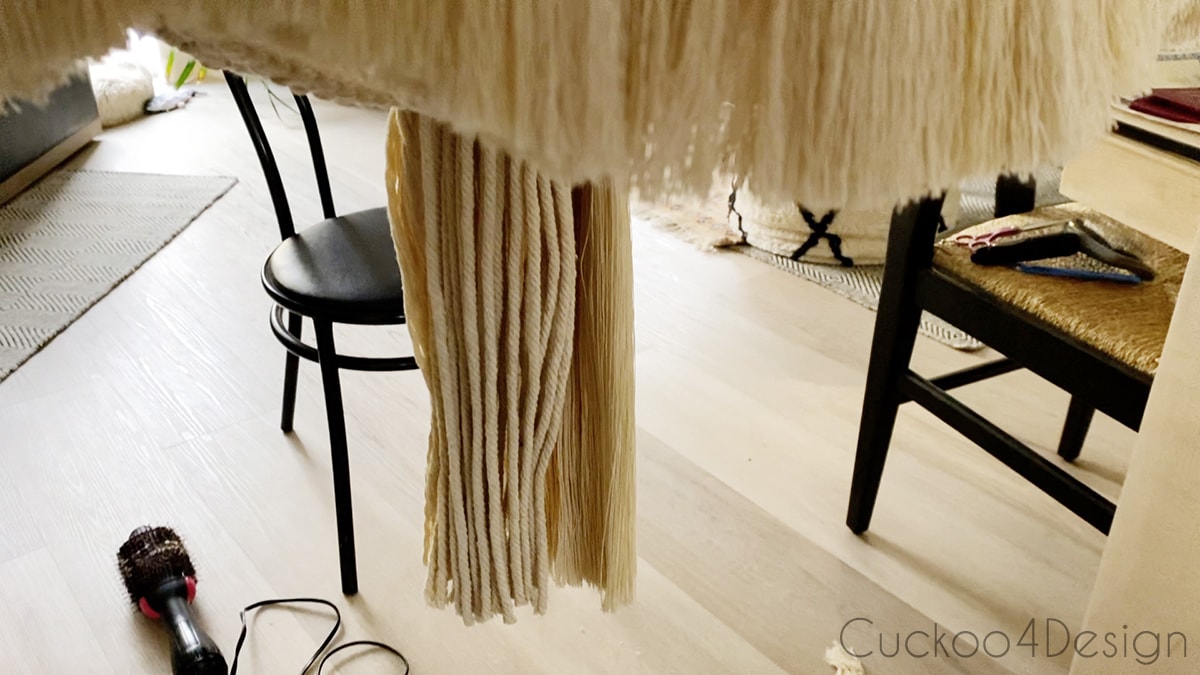
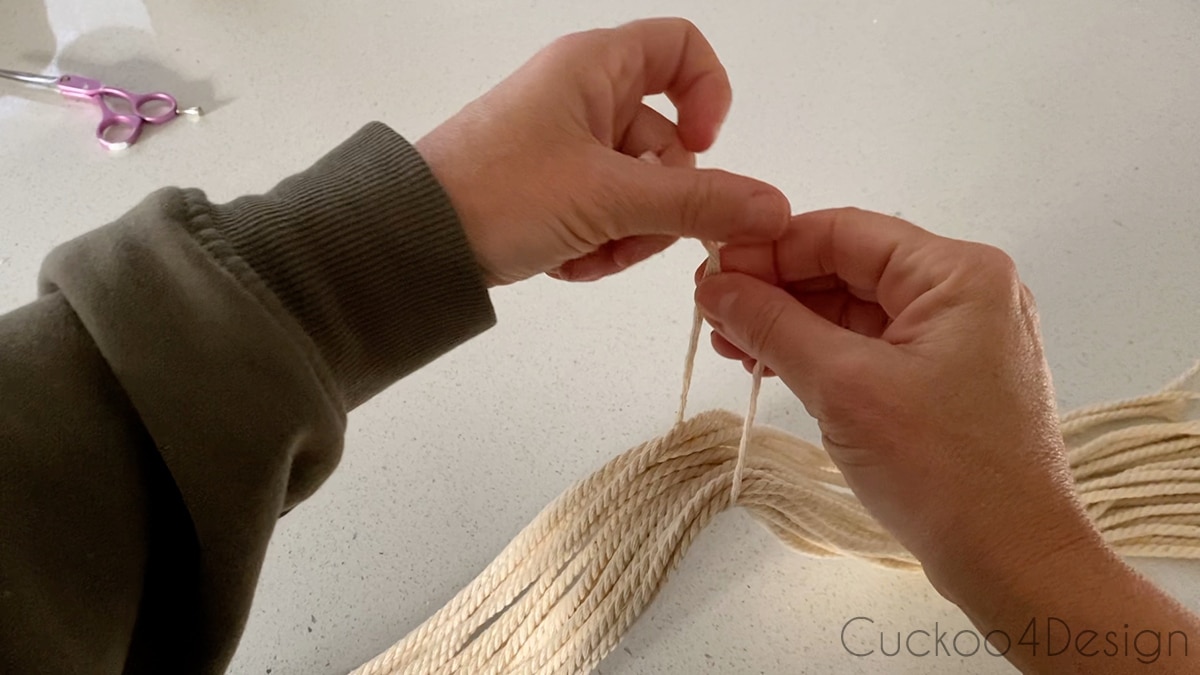
I wanted to do a stacked tassel at the bottom, so I cut 22 pieces of macrame yarn at 27 inches long and tied that off at the center with a small piece of yarn as shown below.
(Check out my stacked tassel tutorial as well)
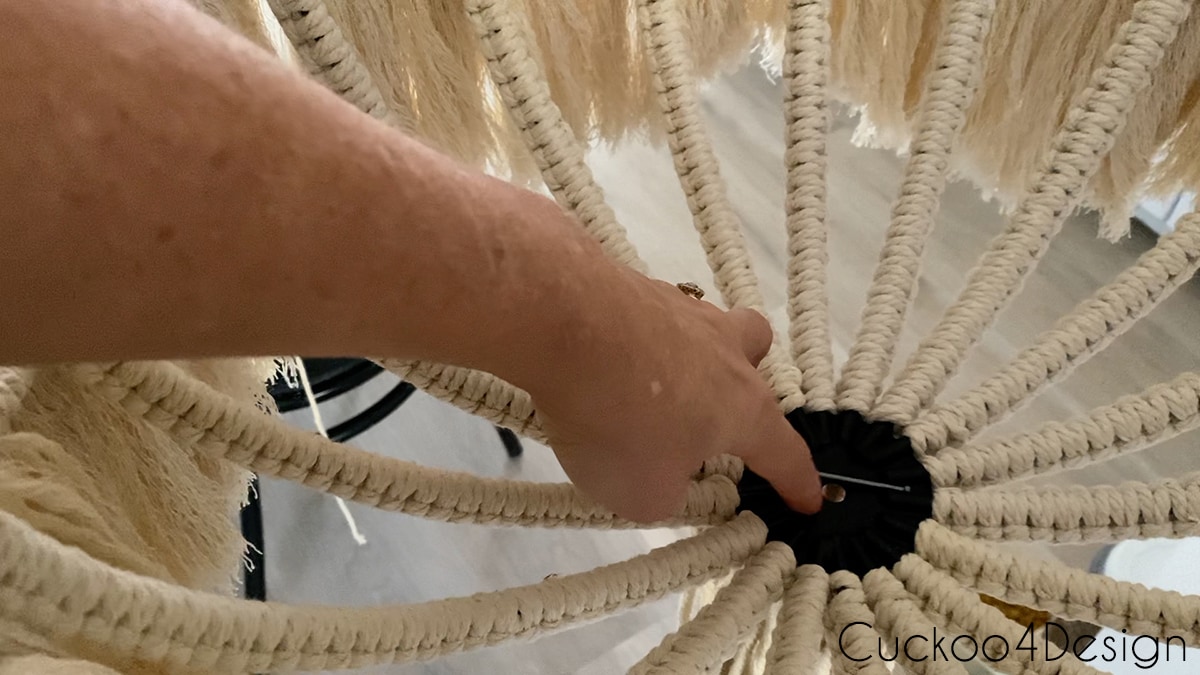
After that you need to thread the tied off tassel string through the first tassel and wire basket center and either tie a fat knot or tie the string to a nail/stick so the second tassel can’t fall through the center. (see below)
You can either leave the string as is again to contrast the top fringe of the stacked tassel or open it the way I did.
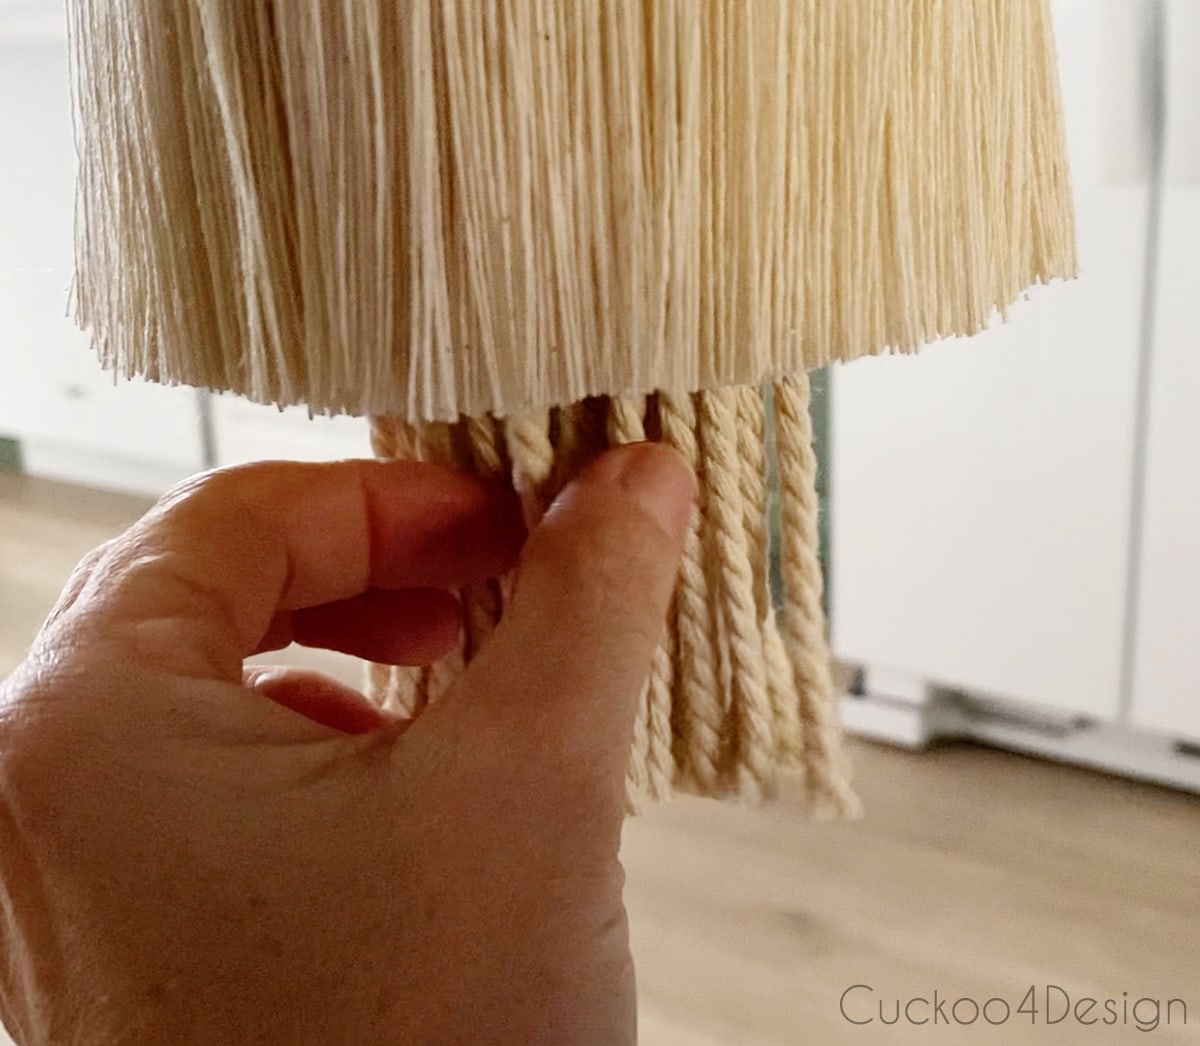
Here are my measurements of what I trimmed the tassels to. Longer would also look good depending on where you want the fixture to hang.
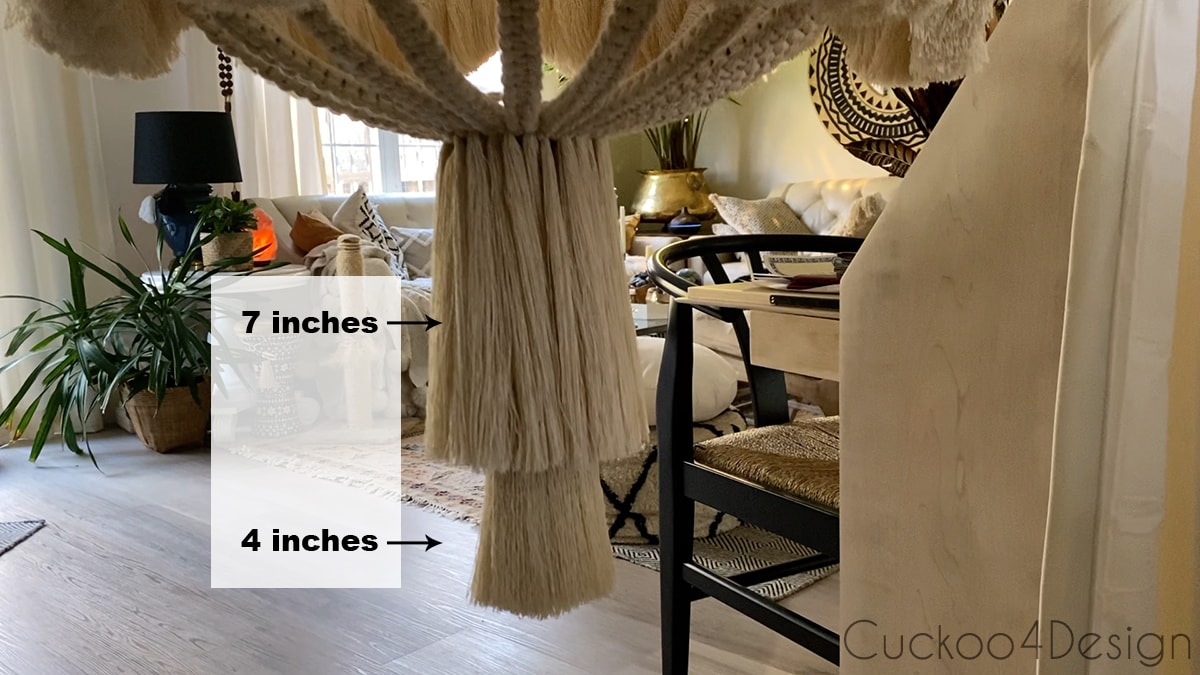
That’s it! Now all you need to do is find a spot for this pretty boho flush mount light and hang. It can cover a variety of ugly standard ceiling lights like boob lights and recessed lighting.
How to hang the macrame light fixture
Materials needed for hanging
- drywall anchors and screws
- #10 finishing washers
- wire (any strong bendable wire will do)
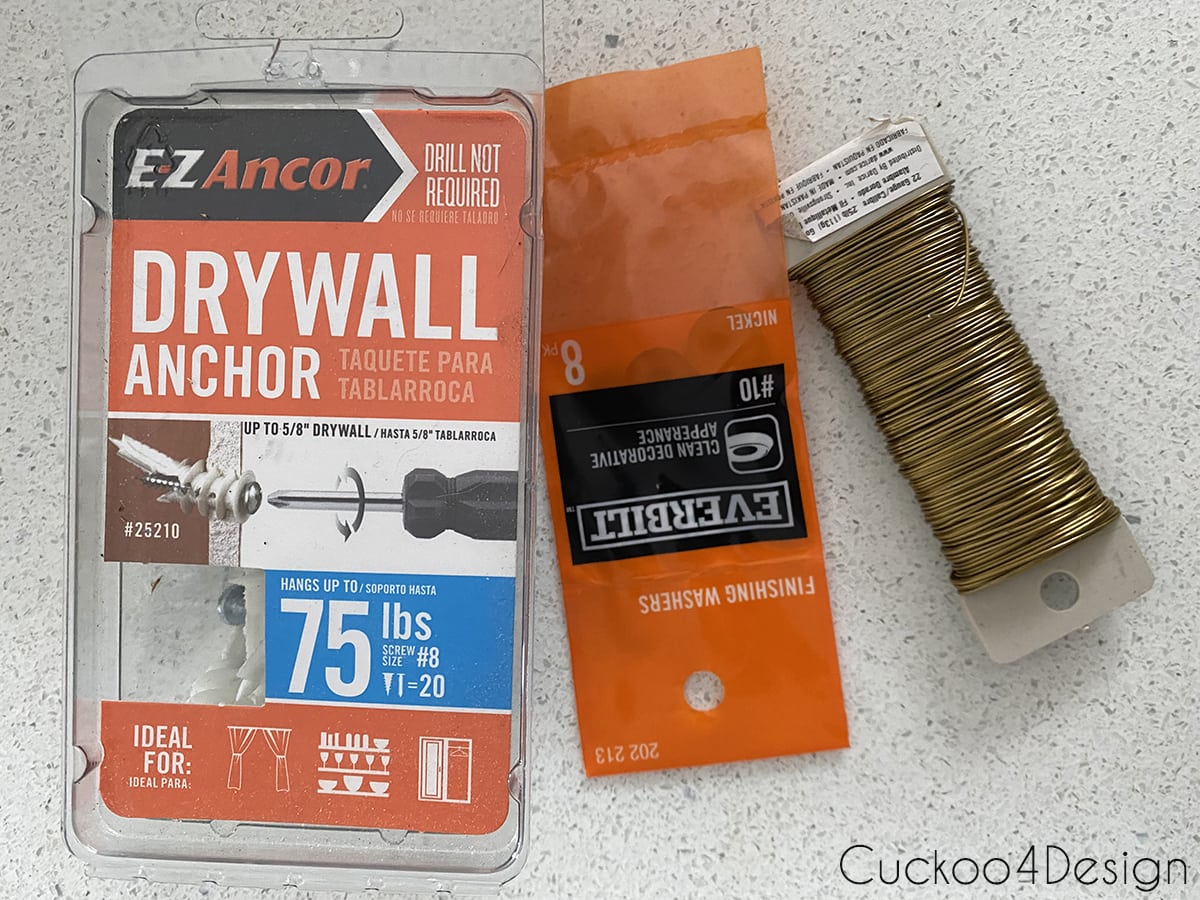
You might be wondering what we had hanging in this spot before I searched everywhere for a before photo but I couldn’t find one. I had a screw in pendant light converter with a glass Ikea shade which looked nice but it was hanging rather low and my husband kept banging things into the glass. I like the look and practicality now much better.
Start out by holding the macrame light fixture to the ceiling so you can lightly trace the inner and outer circumferences.
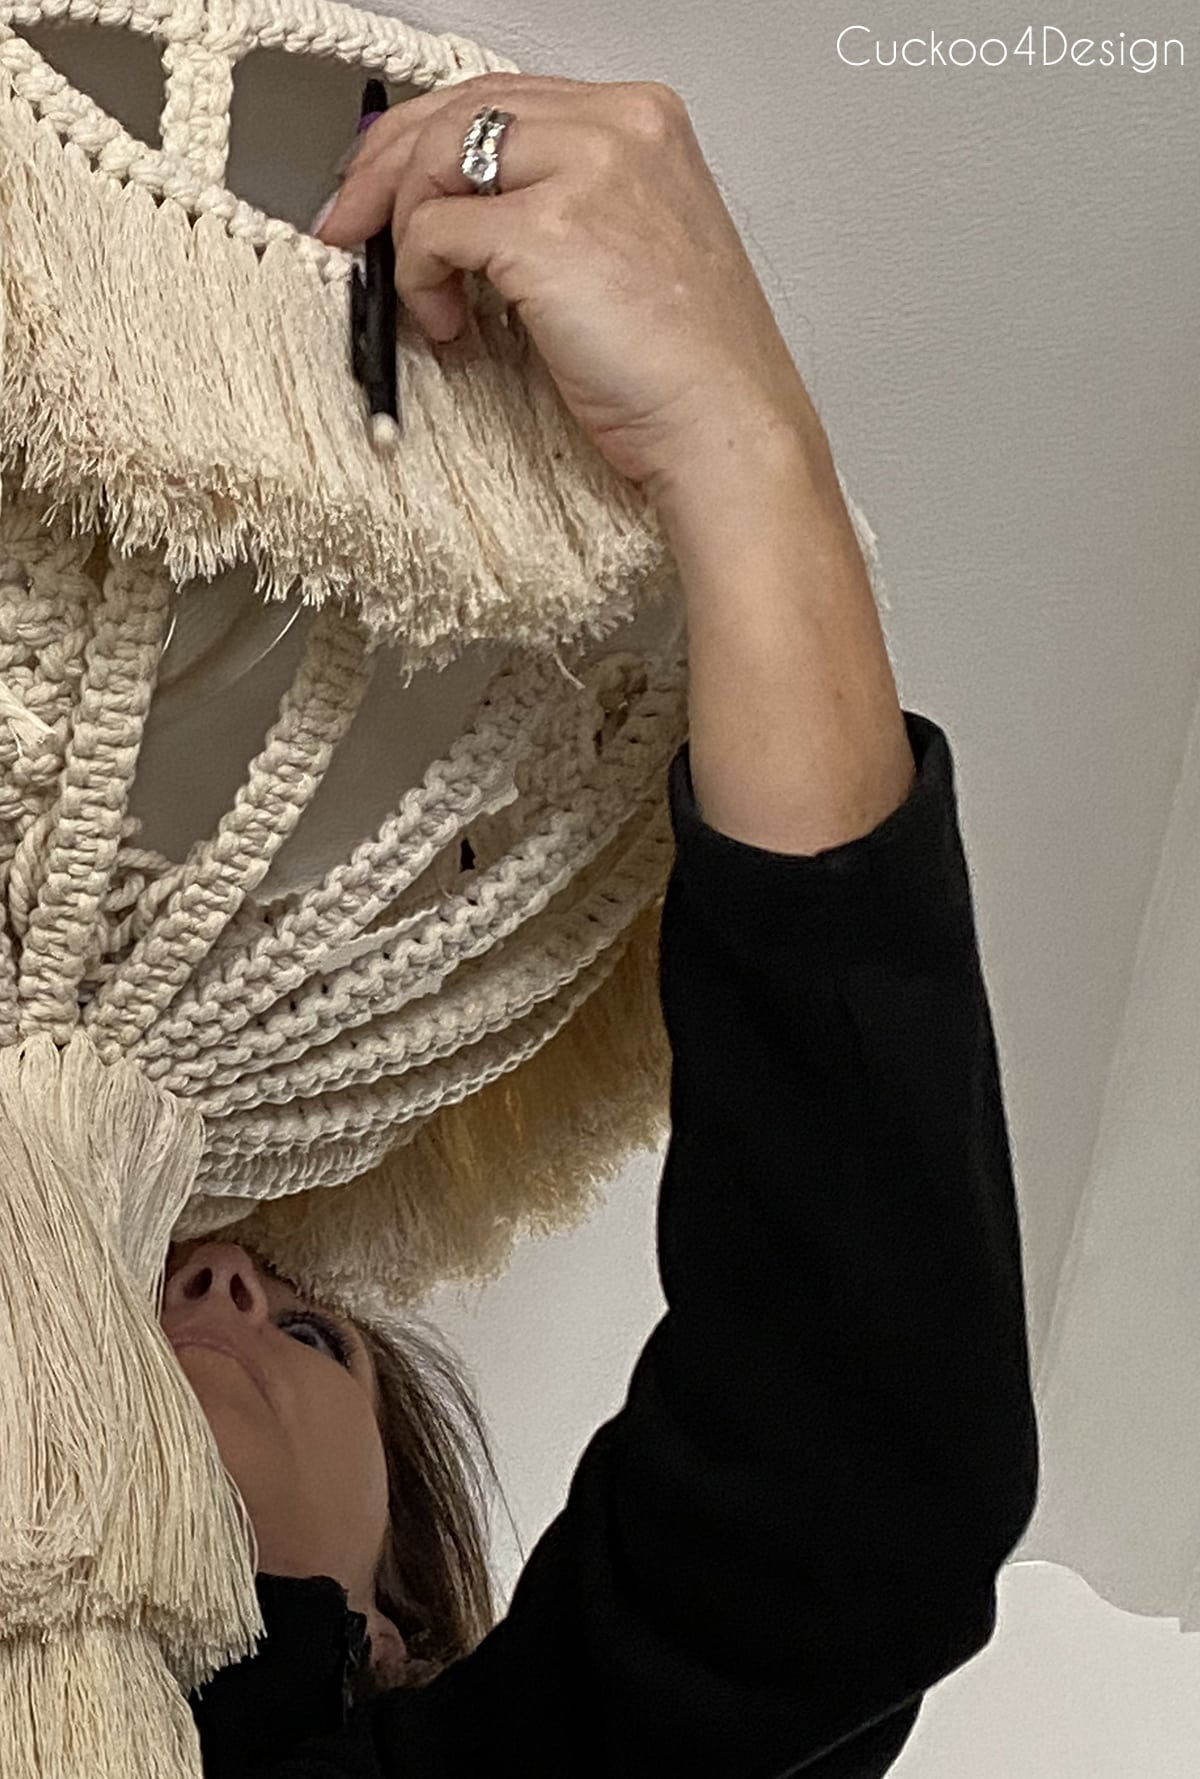
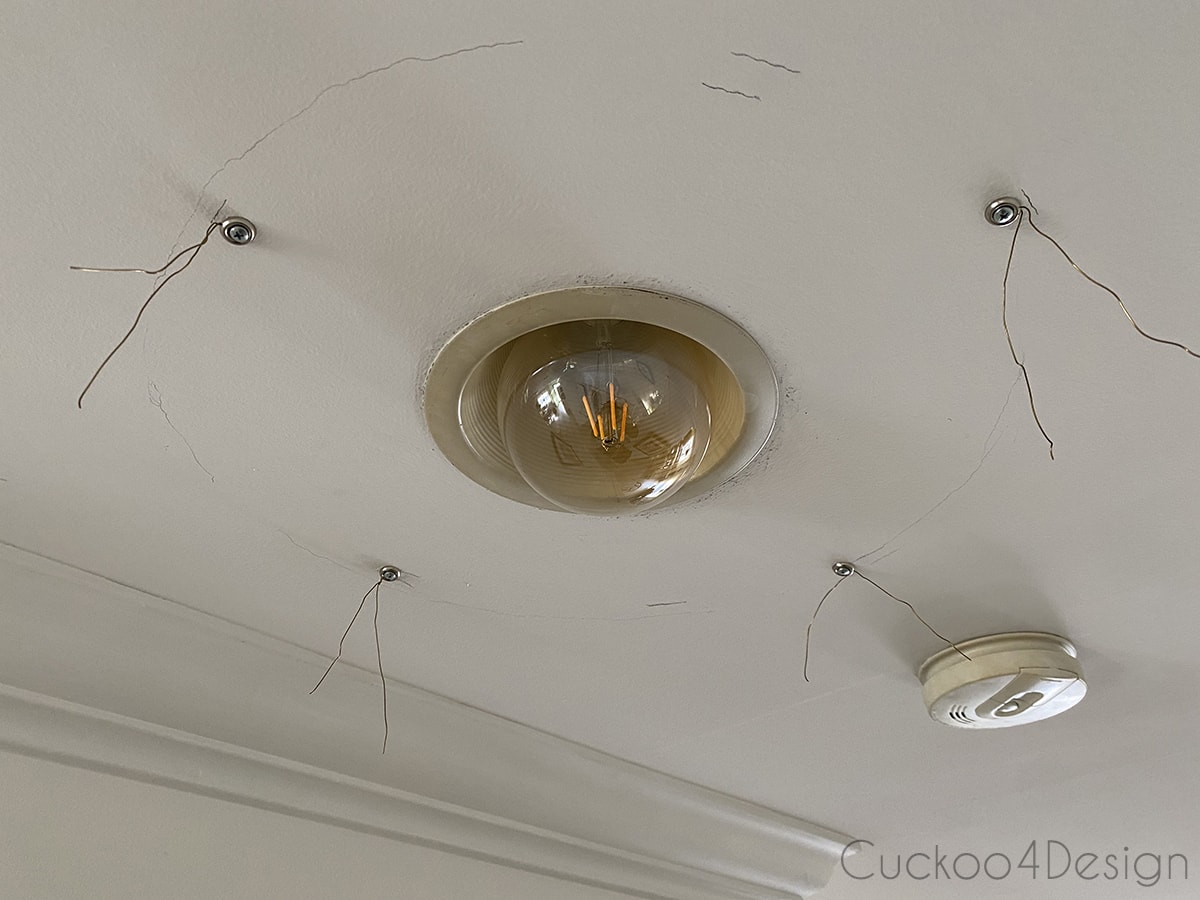
Below you can see the slight circle I drew from tracing the macrame light fixture on the ceiling. I did inside and outside perimeter because I wanted to place the screws more on the inside of the circle to avoid having the anchors and screws from showing.
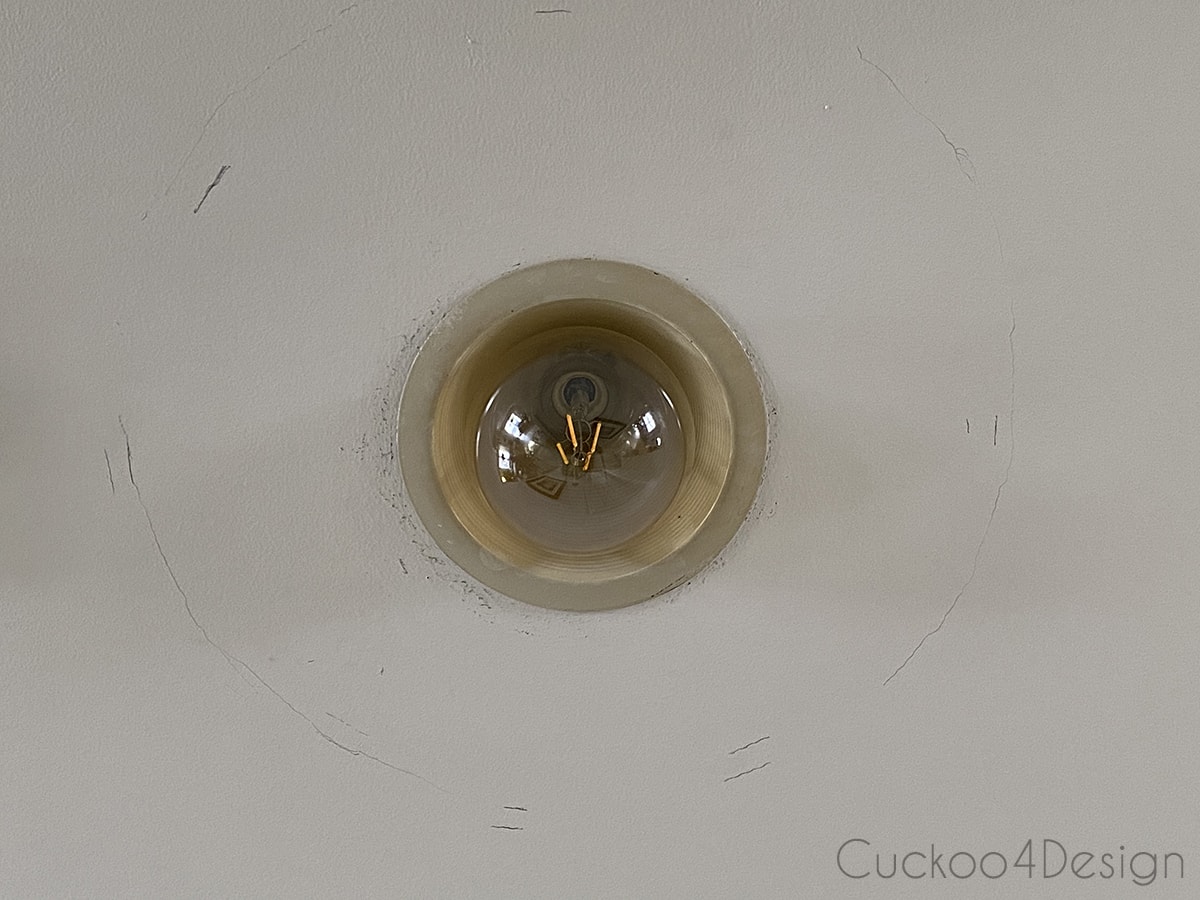
Originally, I had considered replacing the ugly recessed light with a converter and new cheap boob light but when the macrame light fixture was up on the ceiling I noticed that you couldn’t really tell what was under all the macrame and so it didn’t really matter anymore.
I wasn’t worried about messing up the ceiling because if and when I ever replace this light, I will just use a ceiling medallion to cover the holes up. It looks nice and that way I don’t have to patch and paint the ceiling. “I love painting ceilings,” said nobody ever. LOL, am I right? I definitely hate painting ceilings!
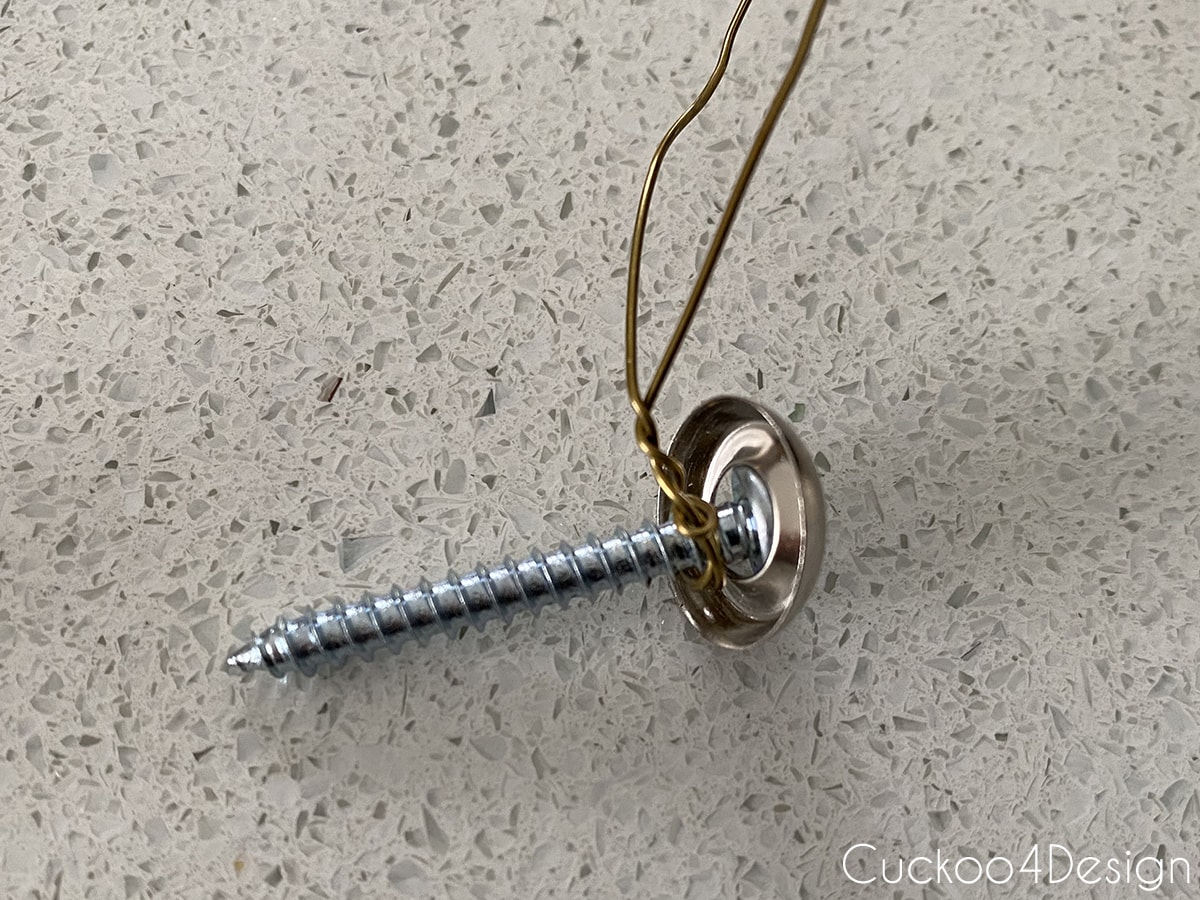
Thread the washer onto the screw and tightly twist a wire that was folded in half around the screw behind the washer the way you can see below.
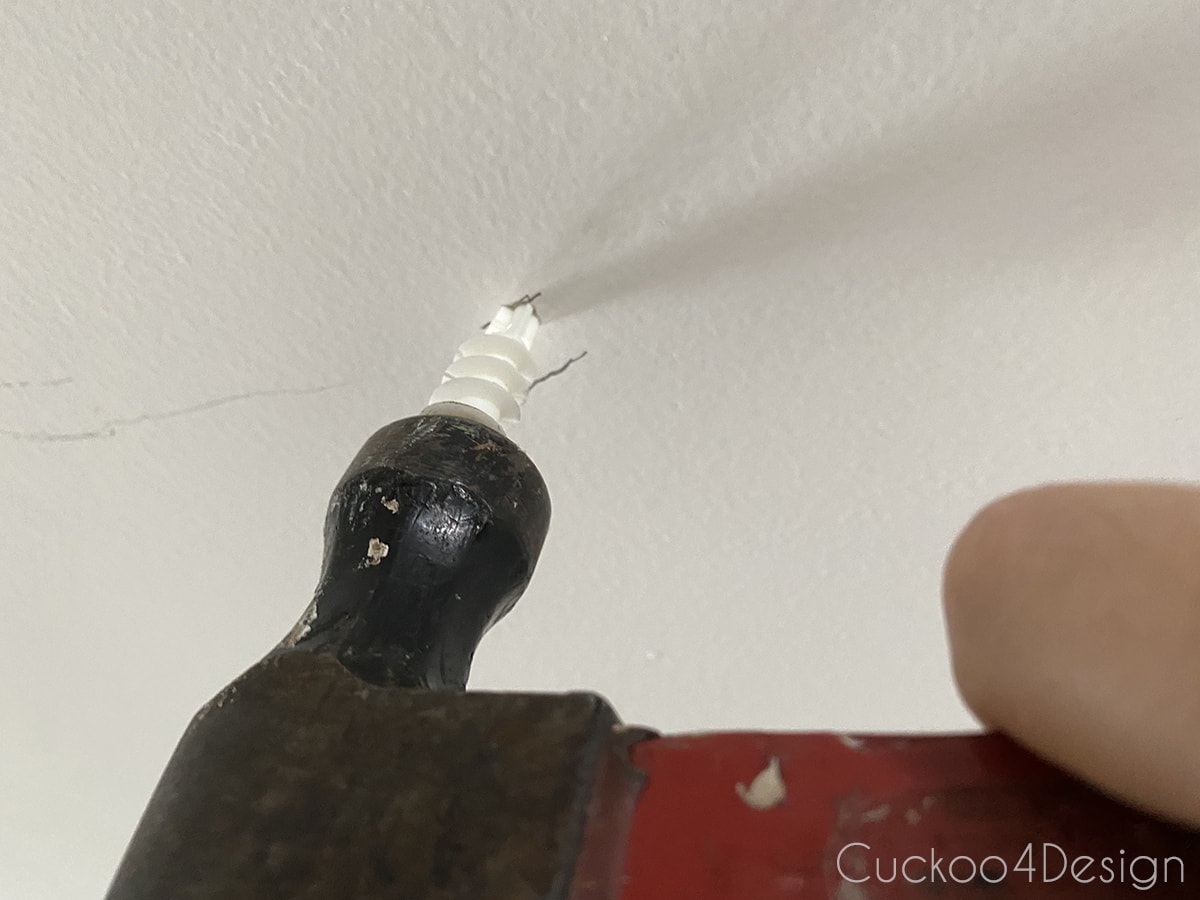
Hammer in the plastic anchor until you reach the spiral screw section and then screw the rest in with a screwdriver.
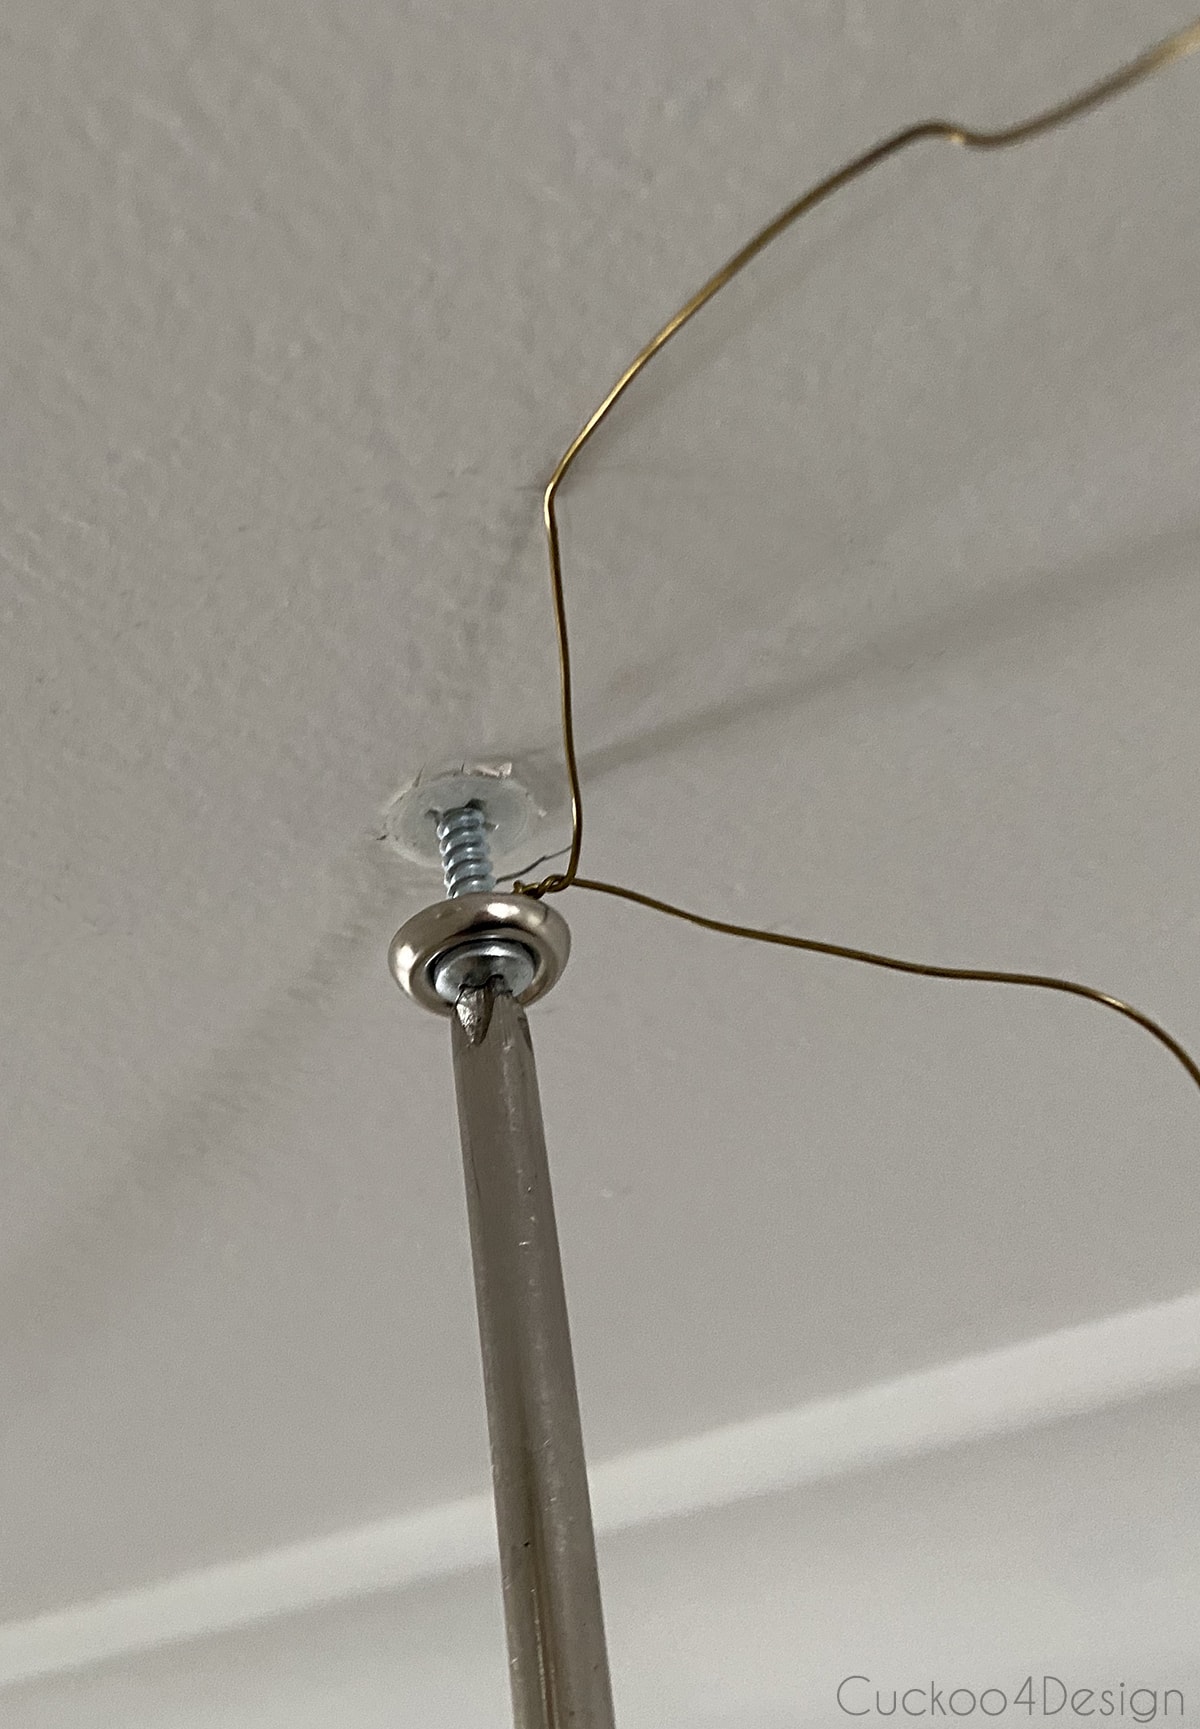
Next screw in the screw-wire-washer contraption you made earlier.
I decided to use 4 screw setups like this marked on the light fixture circle as pictured below.
Place the macrame light fixture against the ceiling so you can wrap the wire around the top.
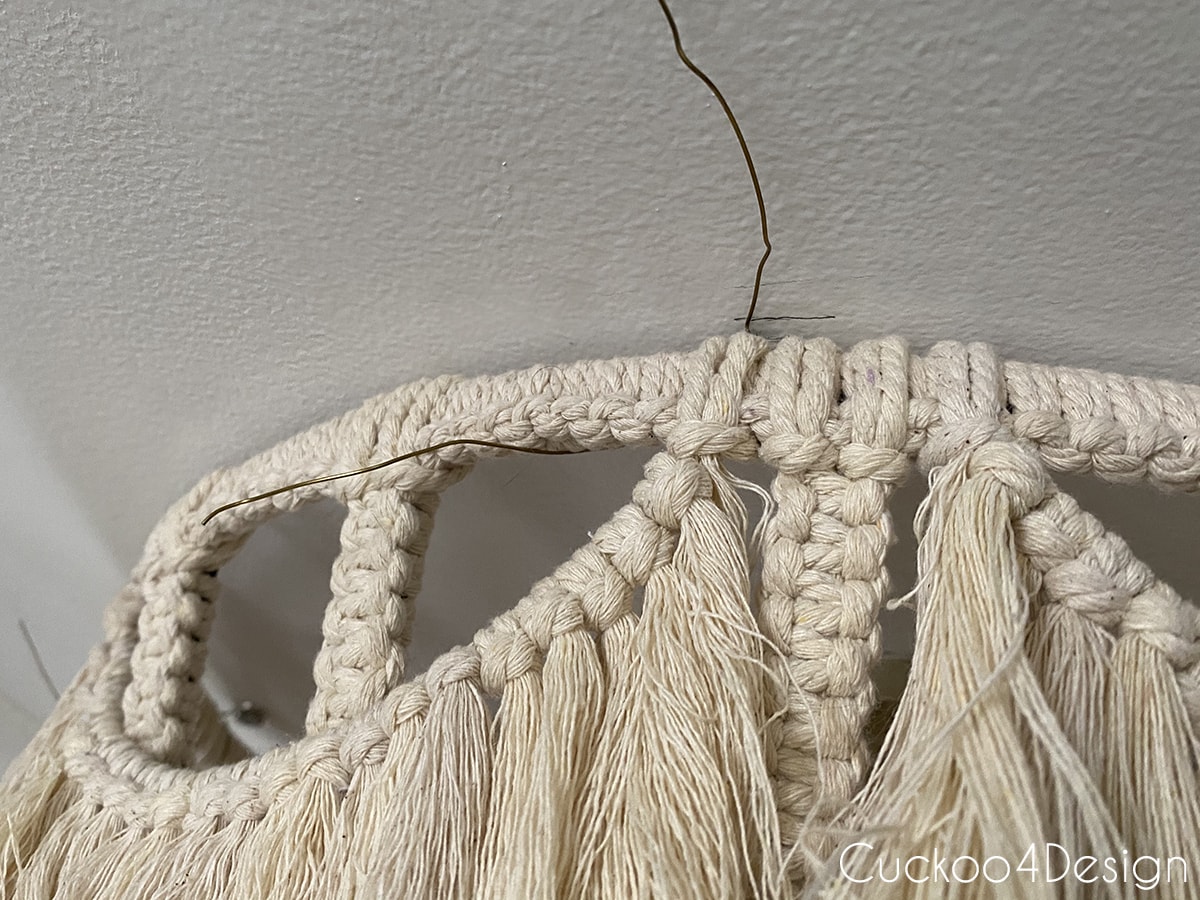
Next twist the wire tightly around the top of the macrame light fixture in all 4 screw sections and hide the wire behind the macrame lamp shade.
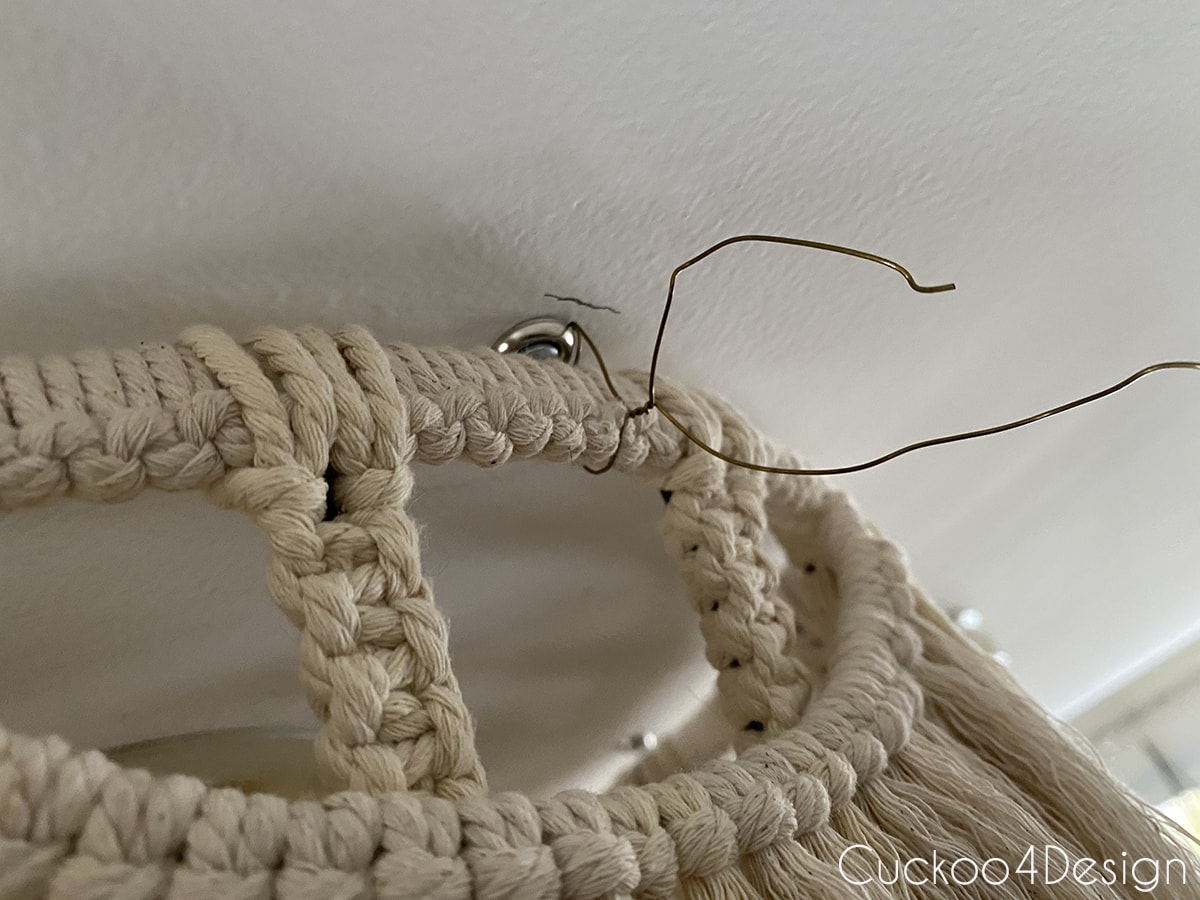
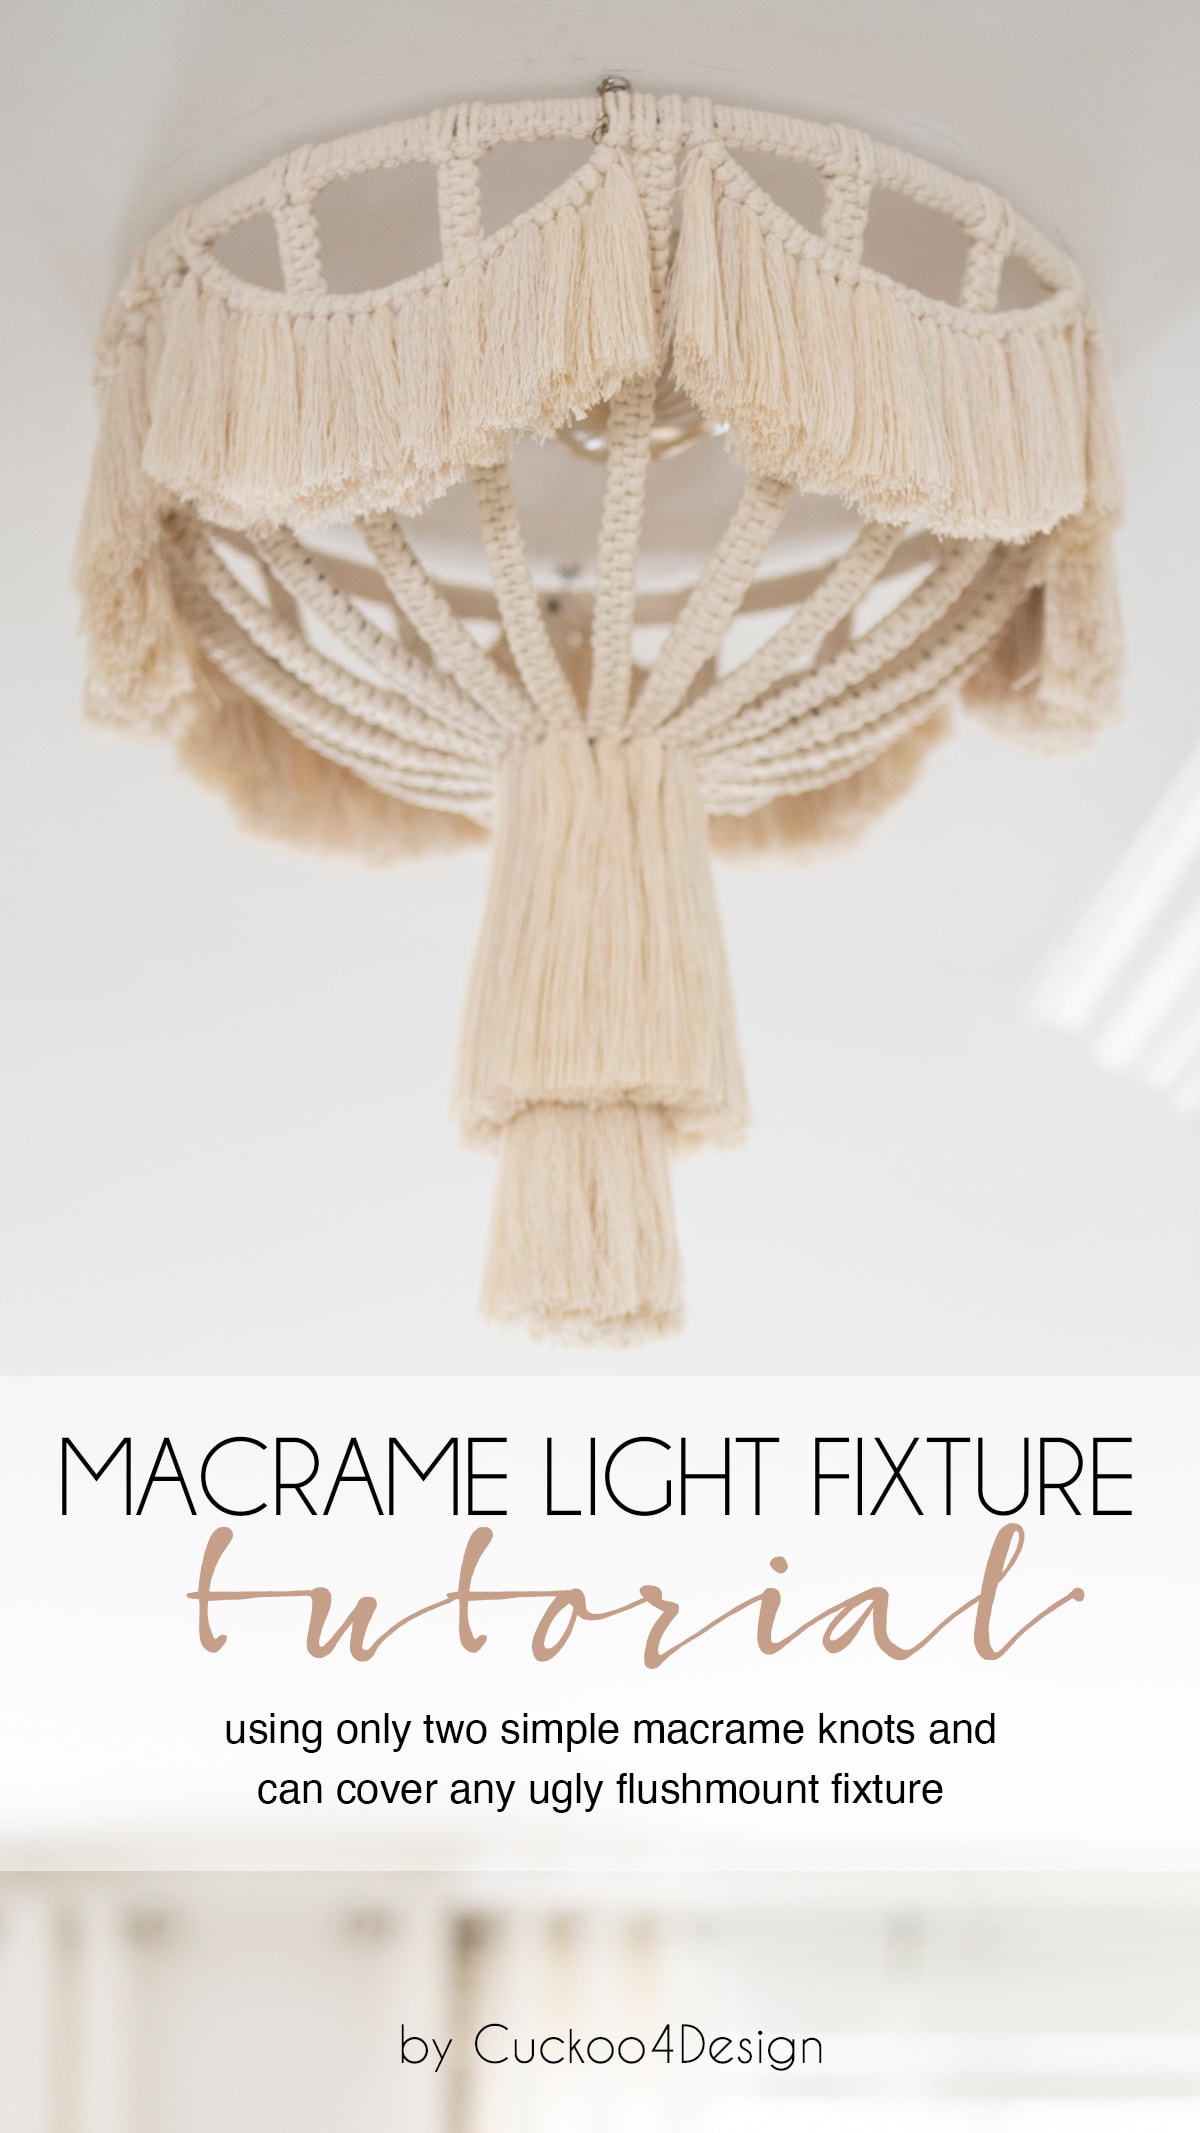
And voila, you have a pretty boho flush mount light fixture that barely cost you anything.
Finished and hanging macrame light fixture
I think there is a slight victorian vibe to the macrame light that goes happily with my great-grandmother’s portrait, don’t you think so?
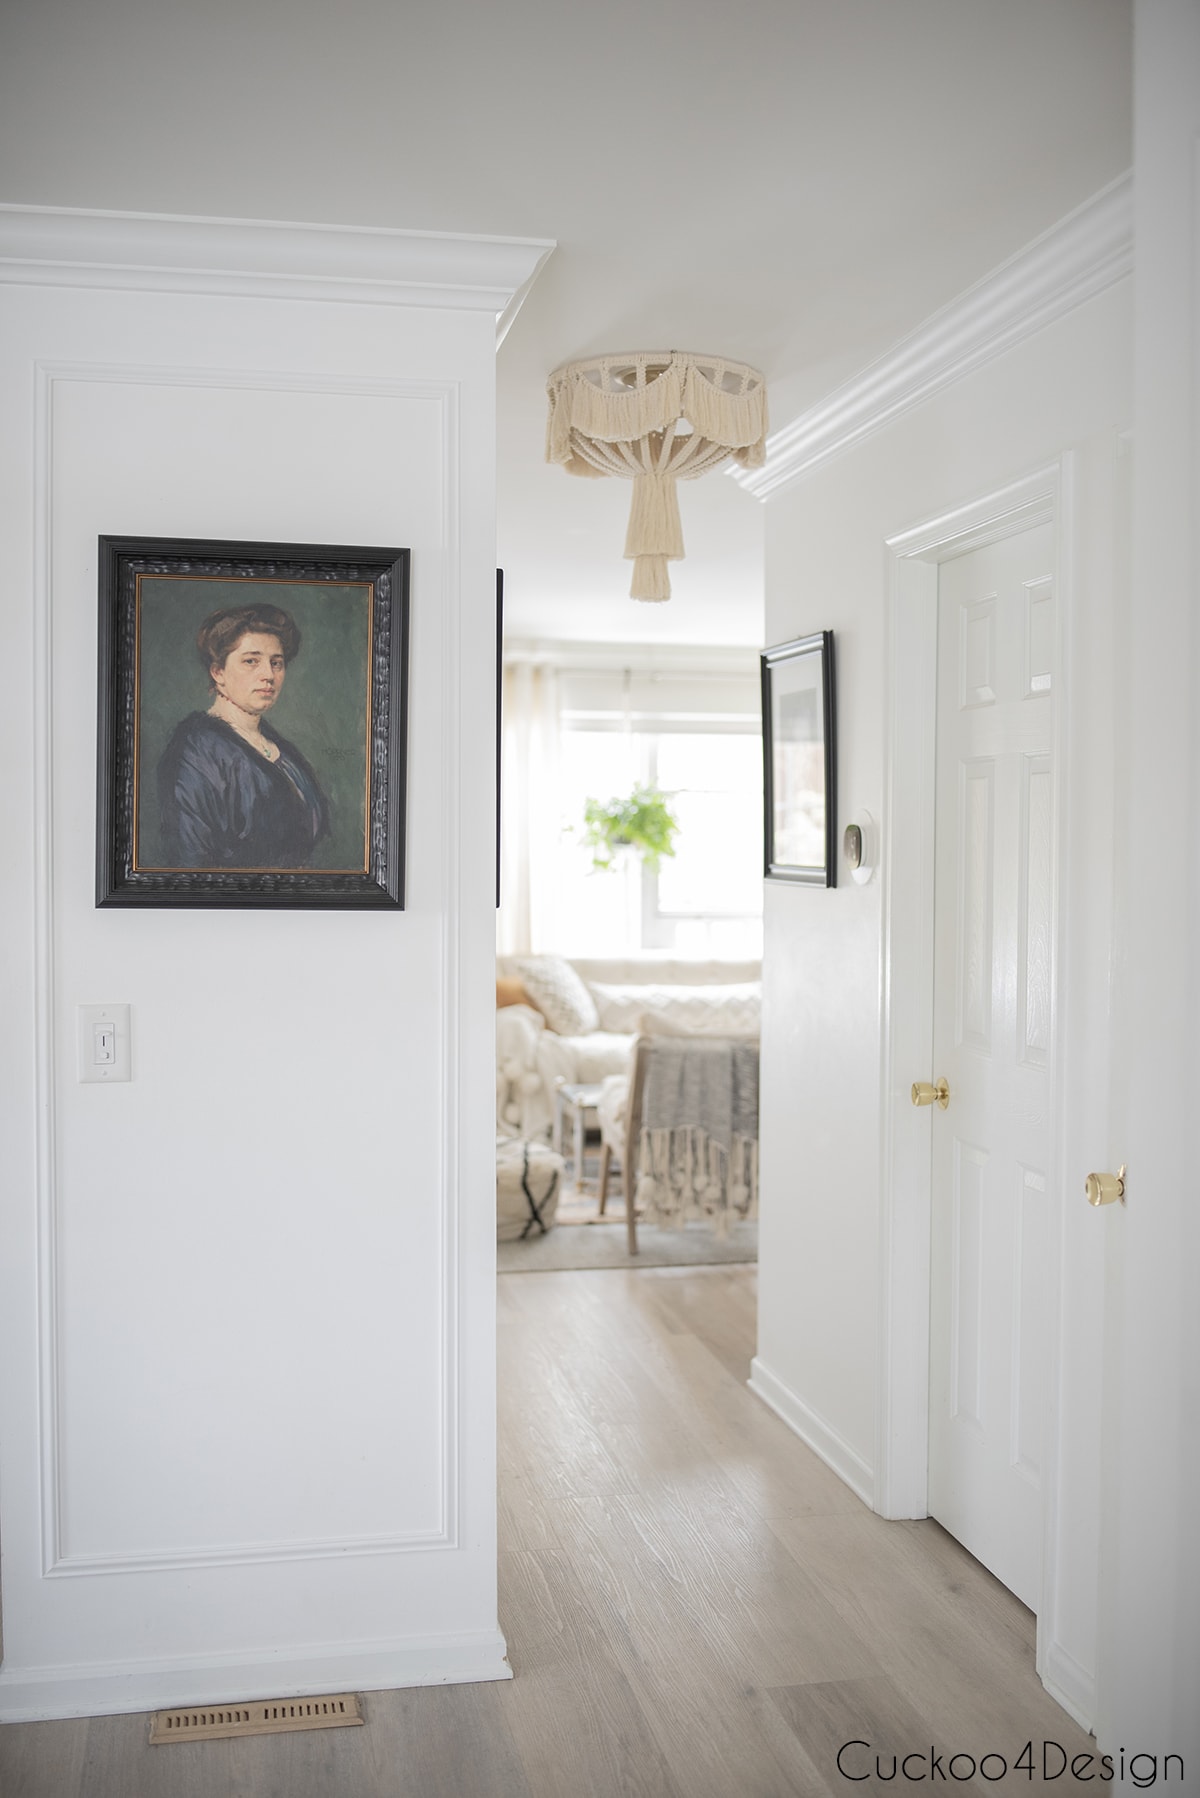
Sources: vinyl plank flooring | my great-grandmother’s replica painting | chairs | hanging macrame planter tutorial | curtains
And here is a close-up:
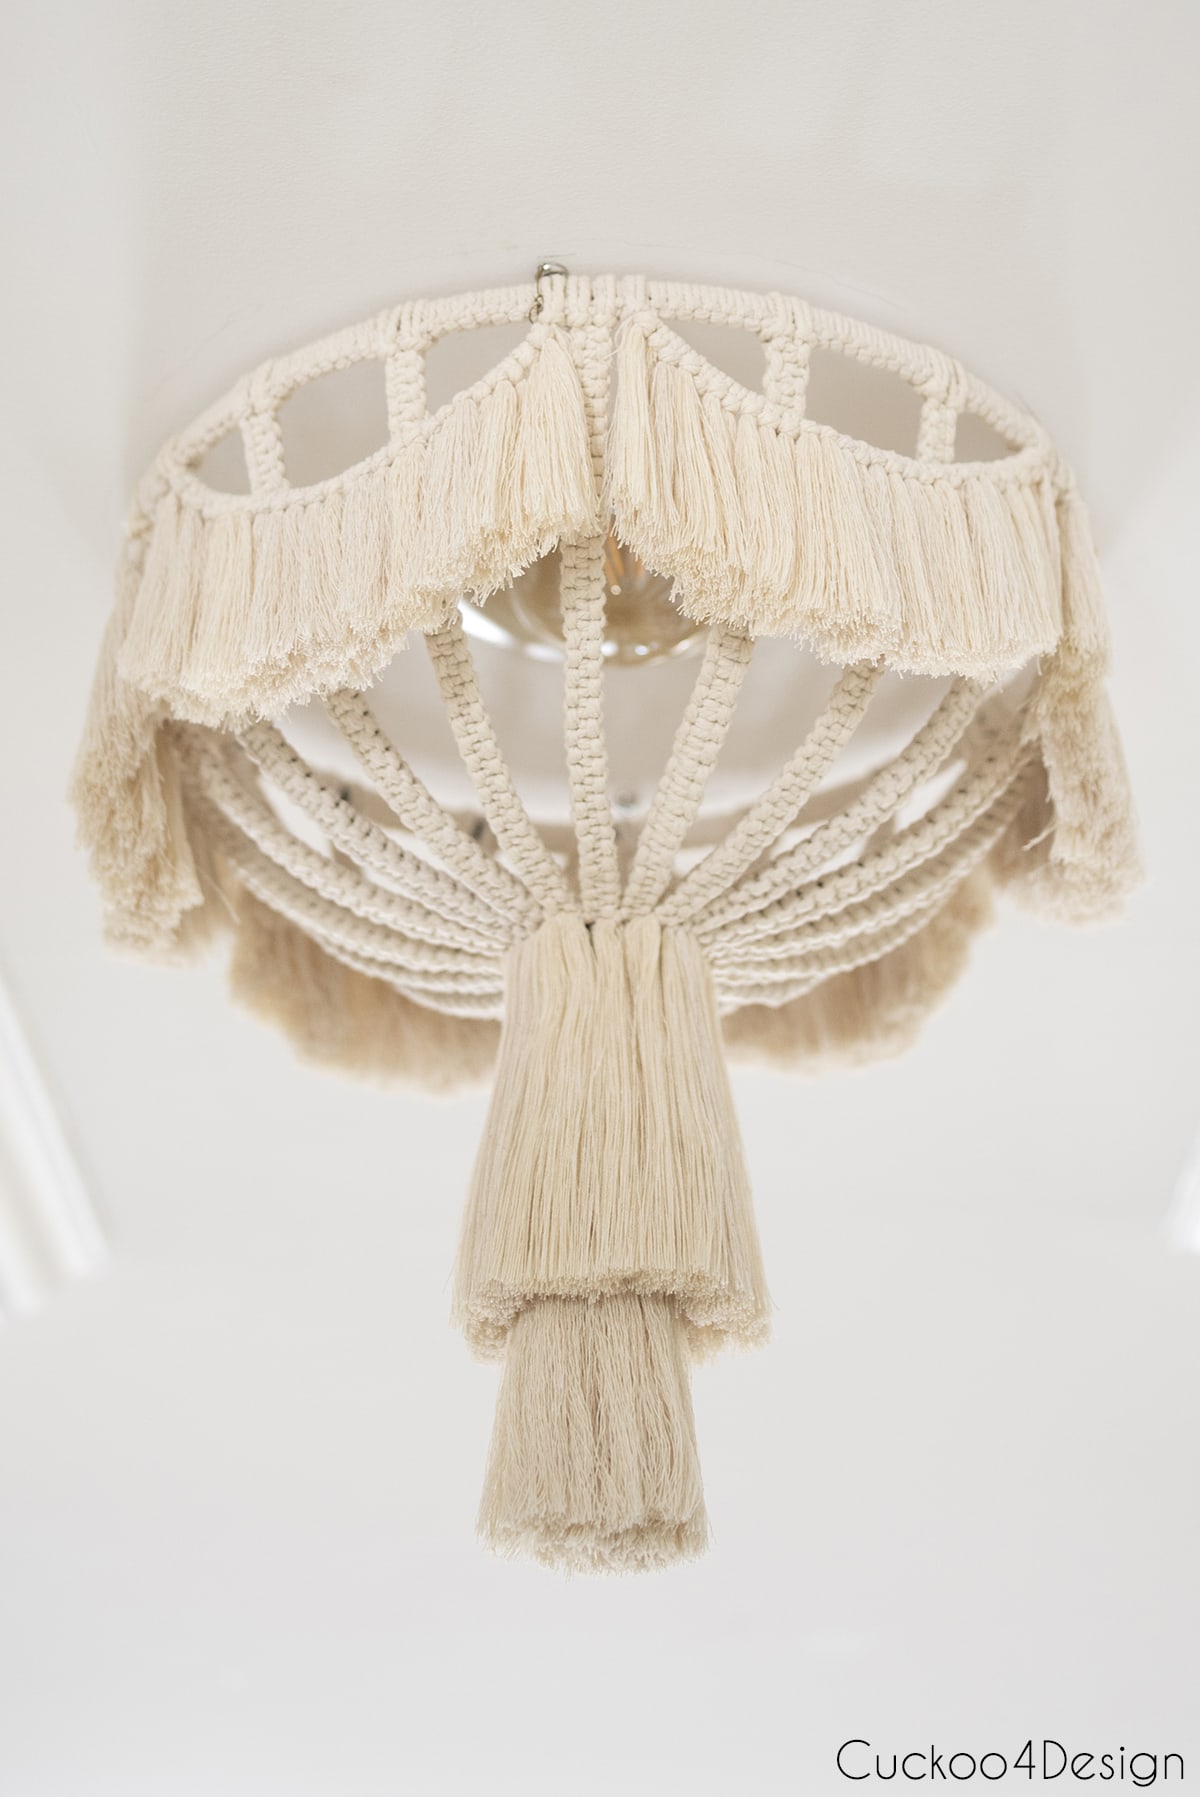
The shadows when the light is on are pretty awesome too:
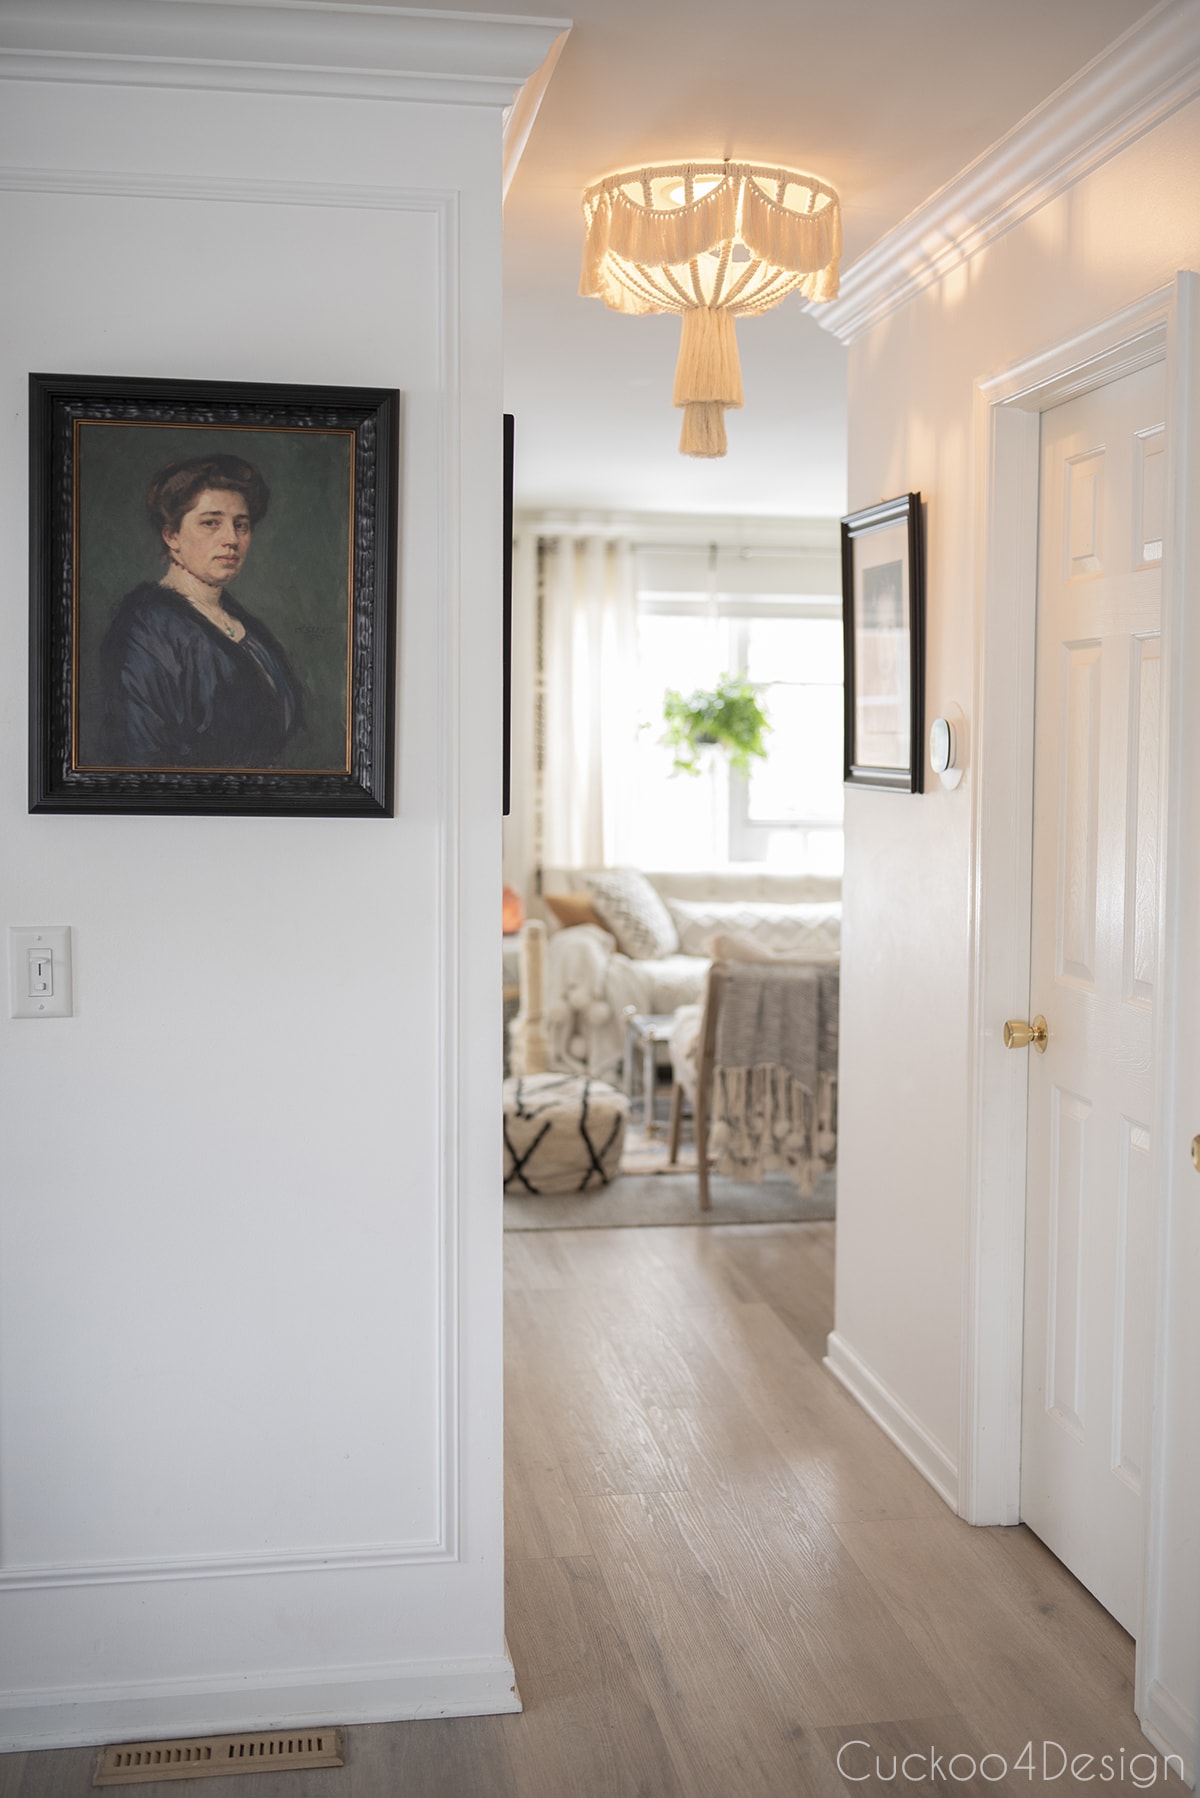
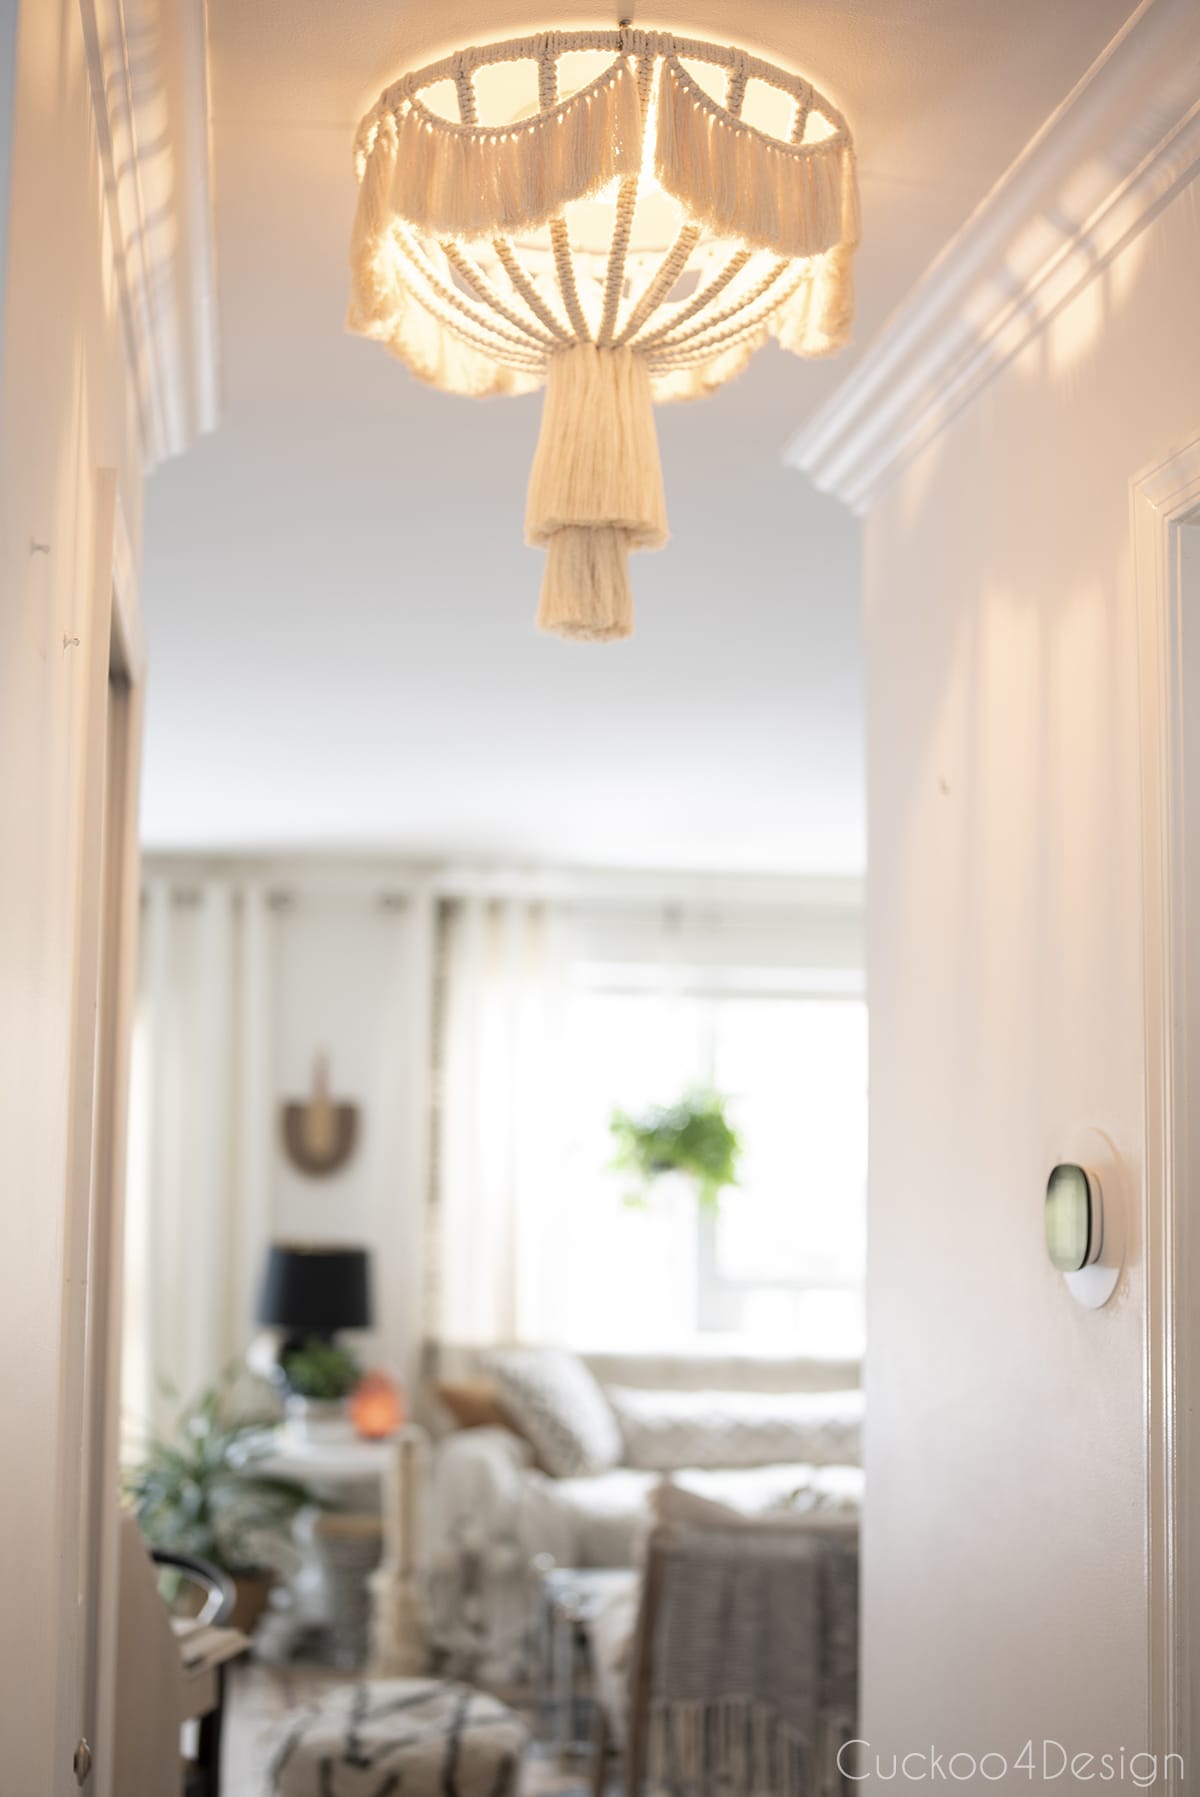
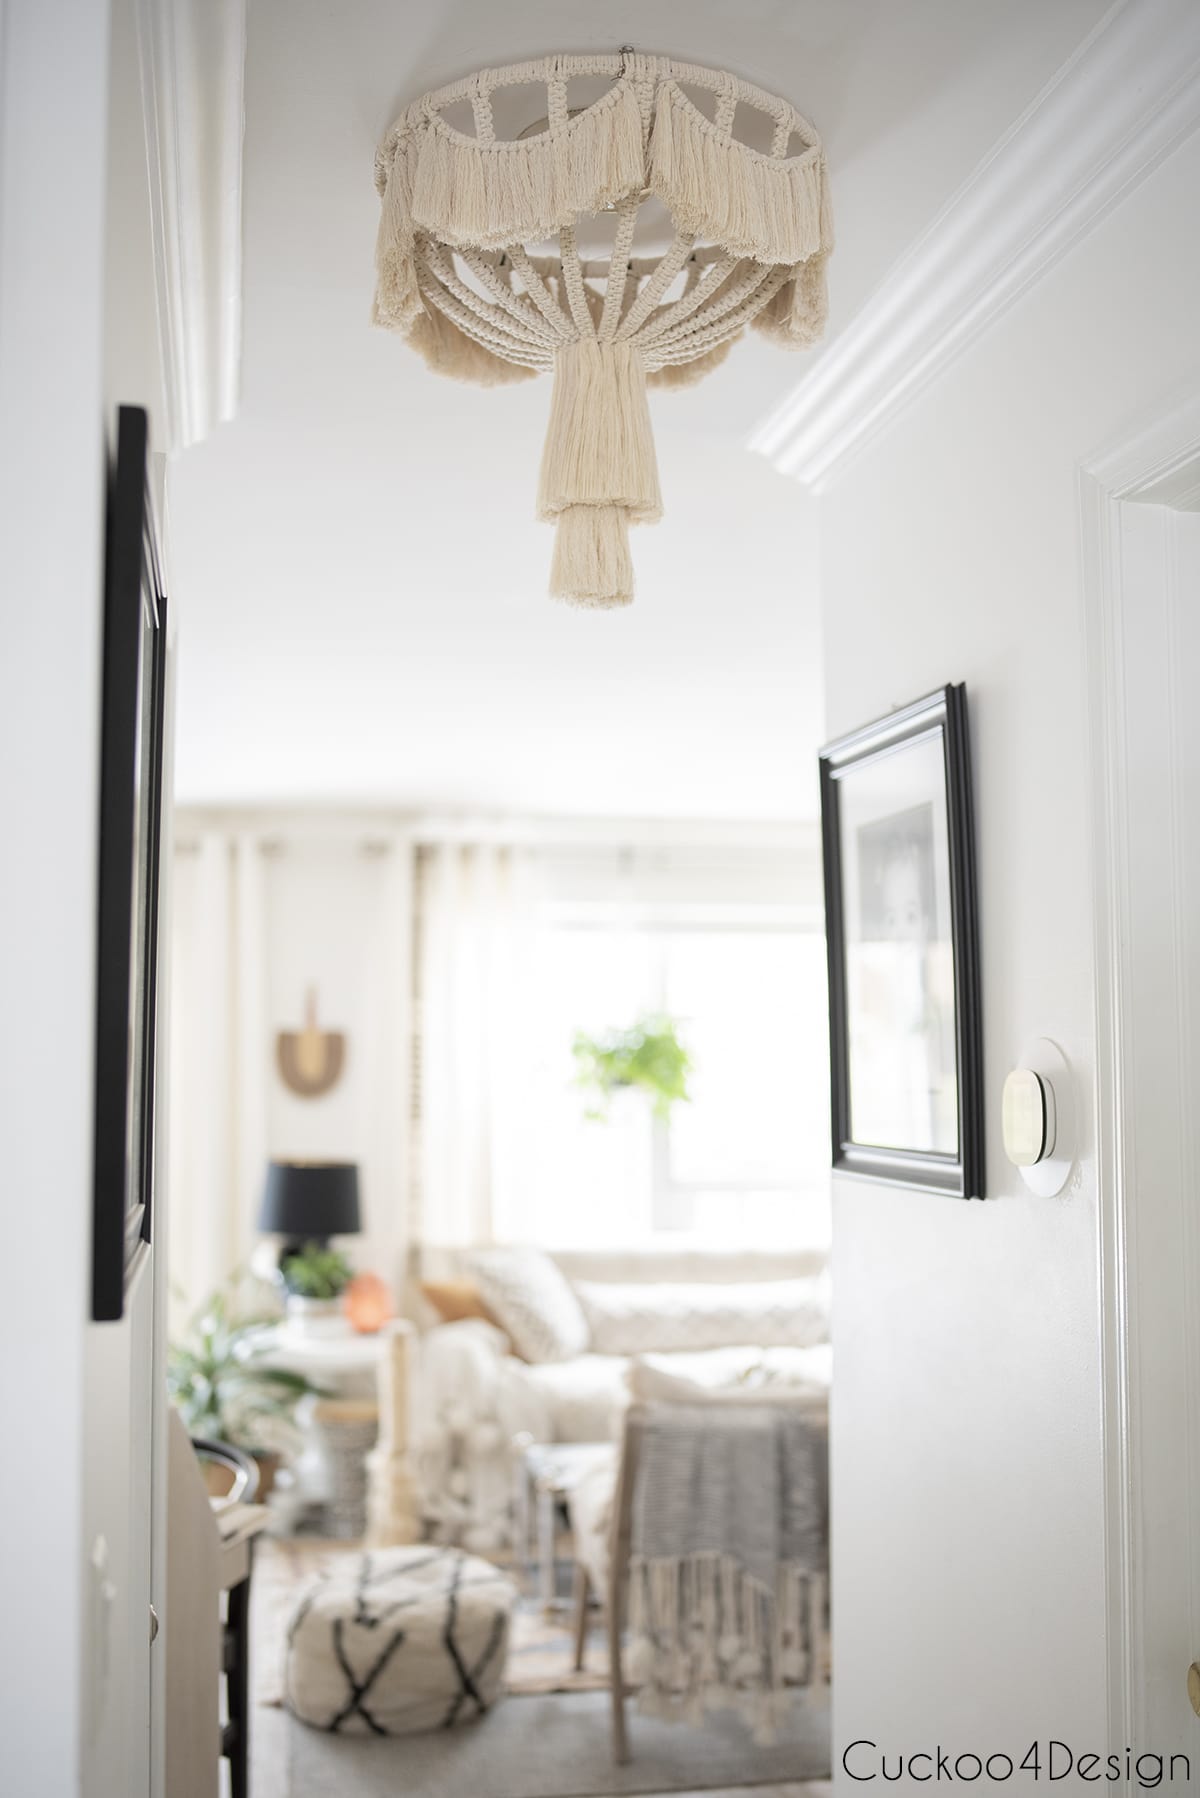
And if you don’t feel like making your own, there are some ready-made macrame light fixtures on Etsy that can be hung as a flush mount light as well:
More of my DIY lighting projects
- DIY macrame chandelier
- DIY wood bead pendant light
- DIY solar lantern using macrame yarn
- renter-friendly chandelier makeover tutorial
- cheap DIY pendant light tutorial using jute yarn
There are other things I want to make yet this year, like giving my nightstands a makeover and possibly adding wooden beams to my bedroom ceiling. For that to happen I want it to get warmer though first so I can partially work outside.
I also hurt my leg skiing and need that to heal in order to do more physical projects. There is always something, am I right?
Tschüß,


I love it. You have inspired me to do some macrame which I had not done since I was a kid.
Oh I so love hearing this Sarah. Have fun!
I love all of your macrame ideas they are so original and clever! Some, I would never have thought of, yet they come out so gorgeous.
Thank you so much Deborah. Yarn is such a versatile medium and so fun to work with.
Absolutely beautiful. Know exactly where I would put this.
Thanks Barb. You should make one! And I want to see photos
UMMMMMM this is seriously genius! Looks so freaking good and so expensive! You should sell them for beaucoup dollars!!!!
Haha, thanks! I don’t think anyone would pay lots of dollars anymore if they’d find out how easy it is to make.
Thank you for sharing! I’m new to macrame but plan on trying this project. Does the size of cord matter? I want mine to turn out like yours.
Hi Rachelle, I like using the 4mm cord that I linked to. Good luck!
I absolutely love the flush mount light cover. I can’t wait to make one to cover up the “boob” light fixture in our RV. I am confused about on thing. Your instruction on how much cord is needed for the top ring of the basket. It says 45 feet should be enough. Is this supposed to be 45 inches? 45 feet seems like an awful lot. I am using a 16″ basket. Thank you so much for sharing this tutorial. It is just what I have been looking for. Relatively new to macreme. I did make a large hanging table back in the 80’s. Oops, I am giving away my age! LOL
Hi Linda, yes it does sound like a lot at first. Hope it works out for you.
The more I think about and study this, 45 feet doesn’t sound so much. It just sorta floored me when I first read it.
Gorgeous macrame project, so innovative. One question: why not trace the ceiling circles BEFORE u add your macrame design? Seems it would be much easier to see planter edges without the yarn.
Hi Anna, yes you could do that but I didn’t know ahead of time that I was going to use it as a flush mount. I decided that after I made the chandelier first and that part was done already. Plus the macrame adds a bit to the diameter and there are ticker parts where the rods go down and it’s good to make sure that the screws don’t end up on those parts. Hope that makes sense 🙂
What a great idea for covering the boob light in my Boho bedroom. Thanks for sharing.
Thanks for reading and good luck if you make your own.
Having never done this in my life, I’m 8/18ths done the square knot part after just a few hours working this weekend! But who’s counting!
This will go in our newly minted teen’s room to complete a renovation upstairs. Our old bungalow has a dormered front bedroom so finding a light that has impact but isn’t very tall has been a challenge. Why are flushmount lights so universally ugly!? The planter is the perfect width and we can customize the tassel length at the bottom.
Your directions are so spot on easy to follow, and after seeing how quickly it was coming together my kiddo and I had the brilliant idea that we should macrame some of her metal bedframe! We’ll see how that goes…
Hi Julie, thanks so much for your comment. I’m glad you like it. And I agree, why are flushmount fixtures that are for sale so ugly? Good luck with the bedframe macrame too.