Adding more boho decor with wooden DIY light switch covers
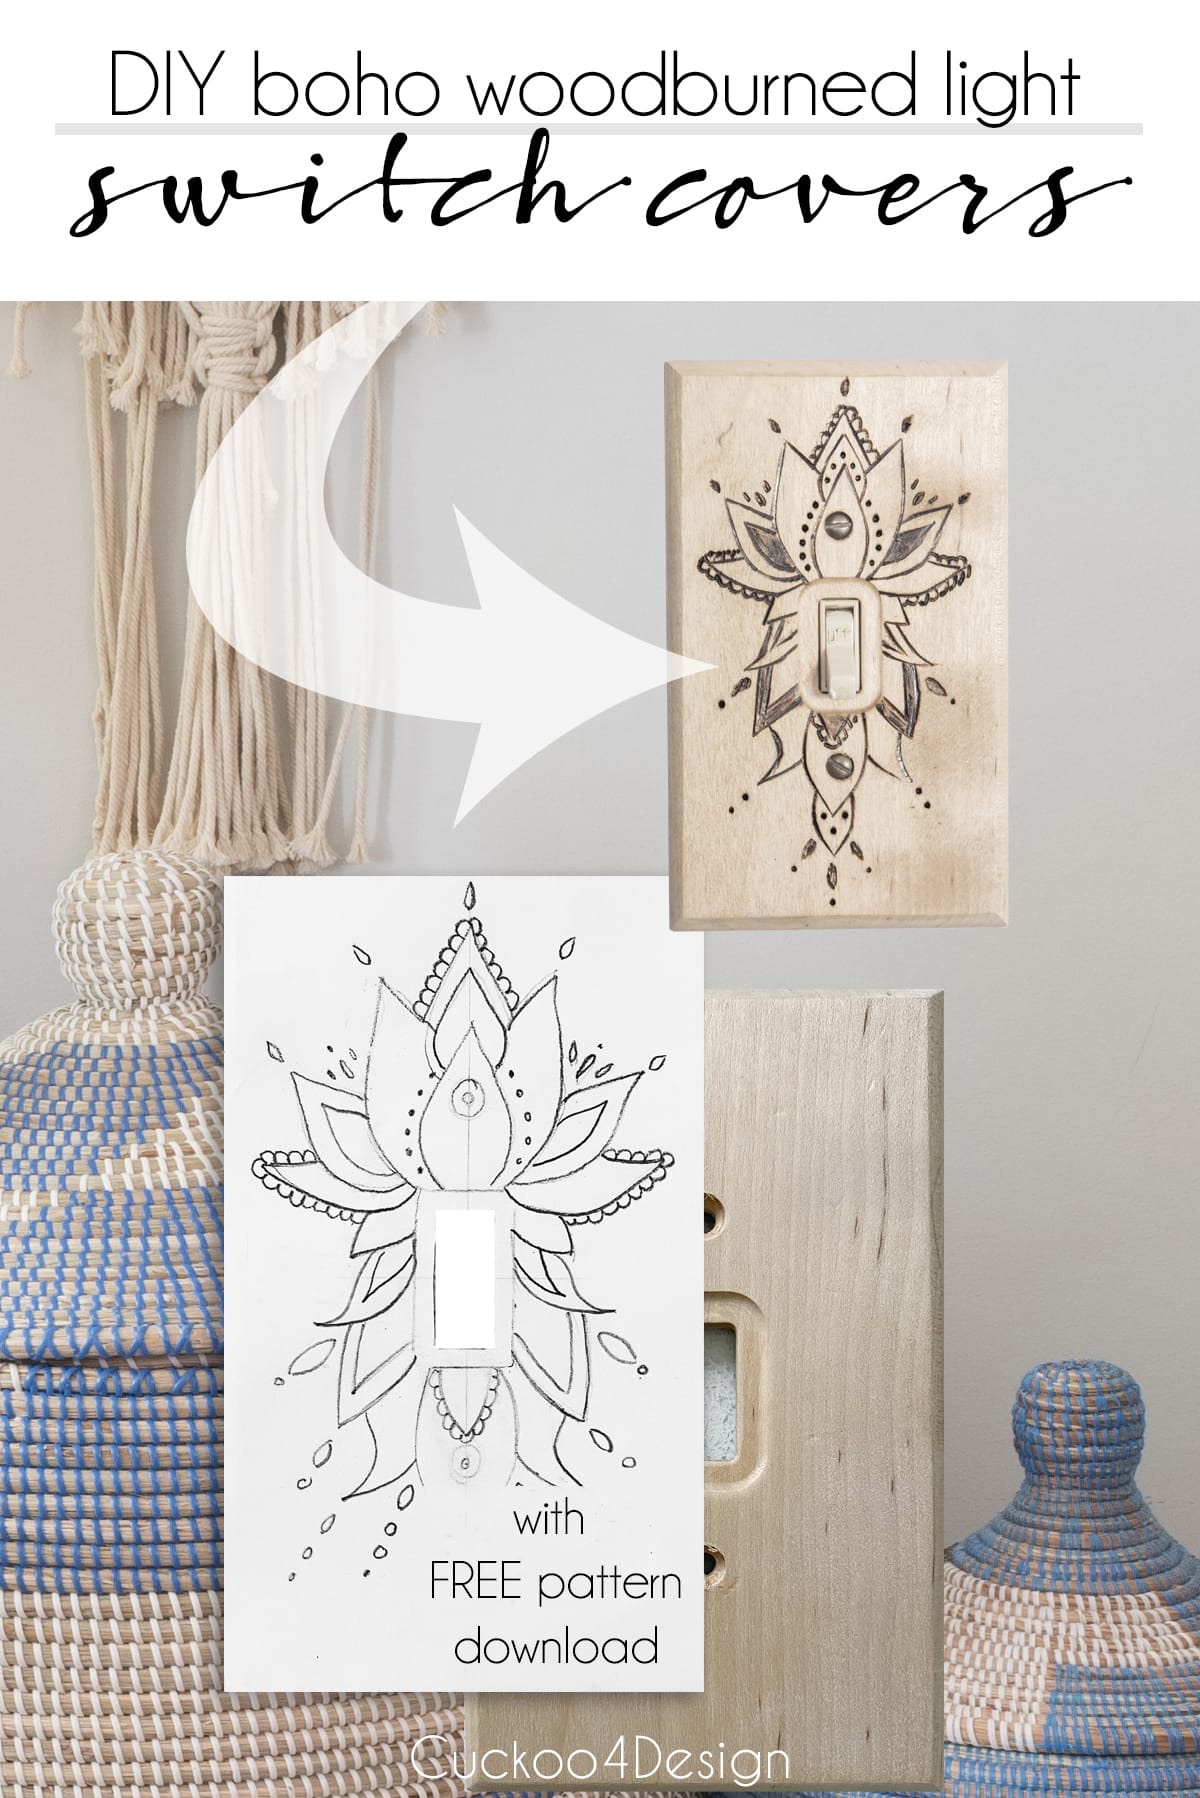
I couldn’t just stop at woodburning geometric wood wall art. You guys know me better than that! I had to keep on going. Well, updating your home on a budget can definitely be a challenge. Sometimes the slightest little changes can make a big impact though. My new boho light switch covers fit within that category. I really dislike old light switch cover plates and we had three left in our living room which bothered me immensely. So when I was woodburning the wall art a couple of weeks ago, I had the idea of making DIY light switch covers to finally make those cover plates prettier so they would match the rest of our home.
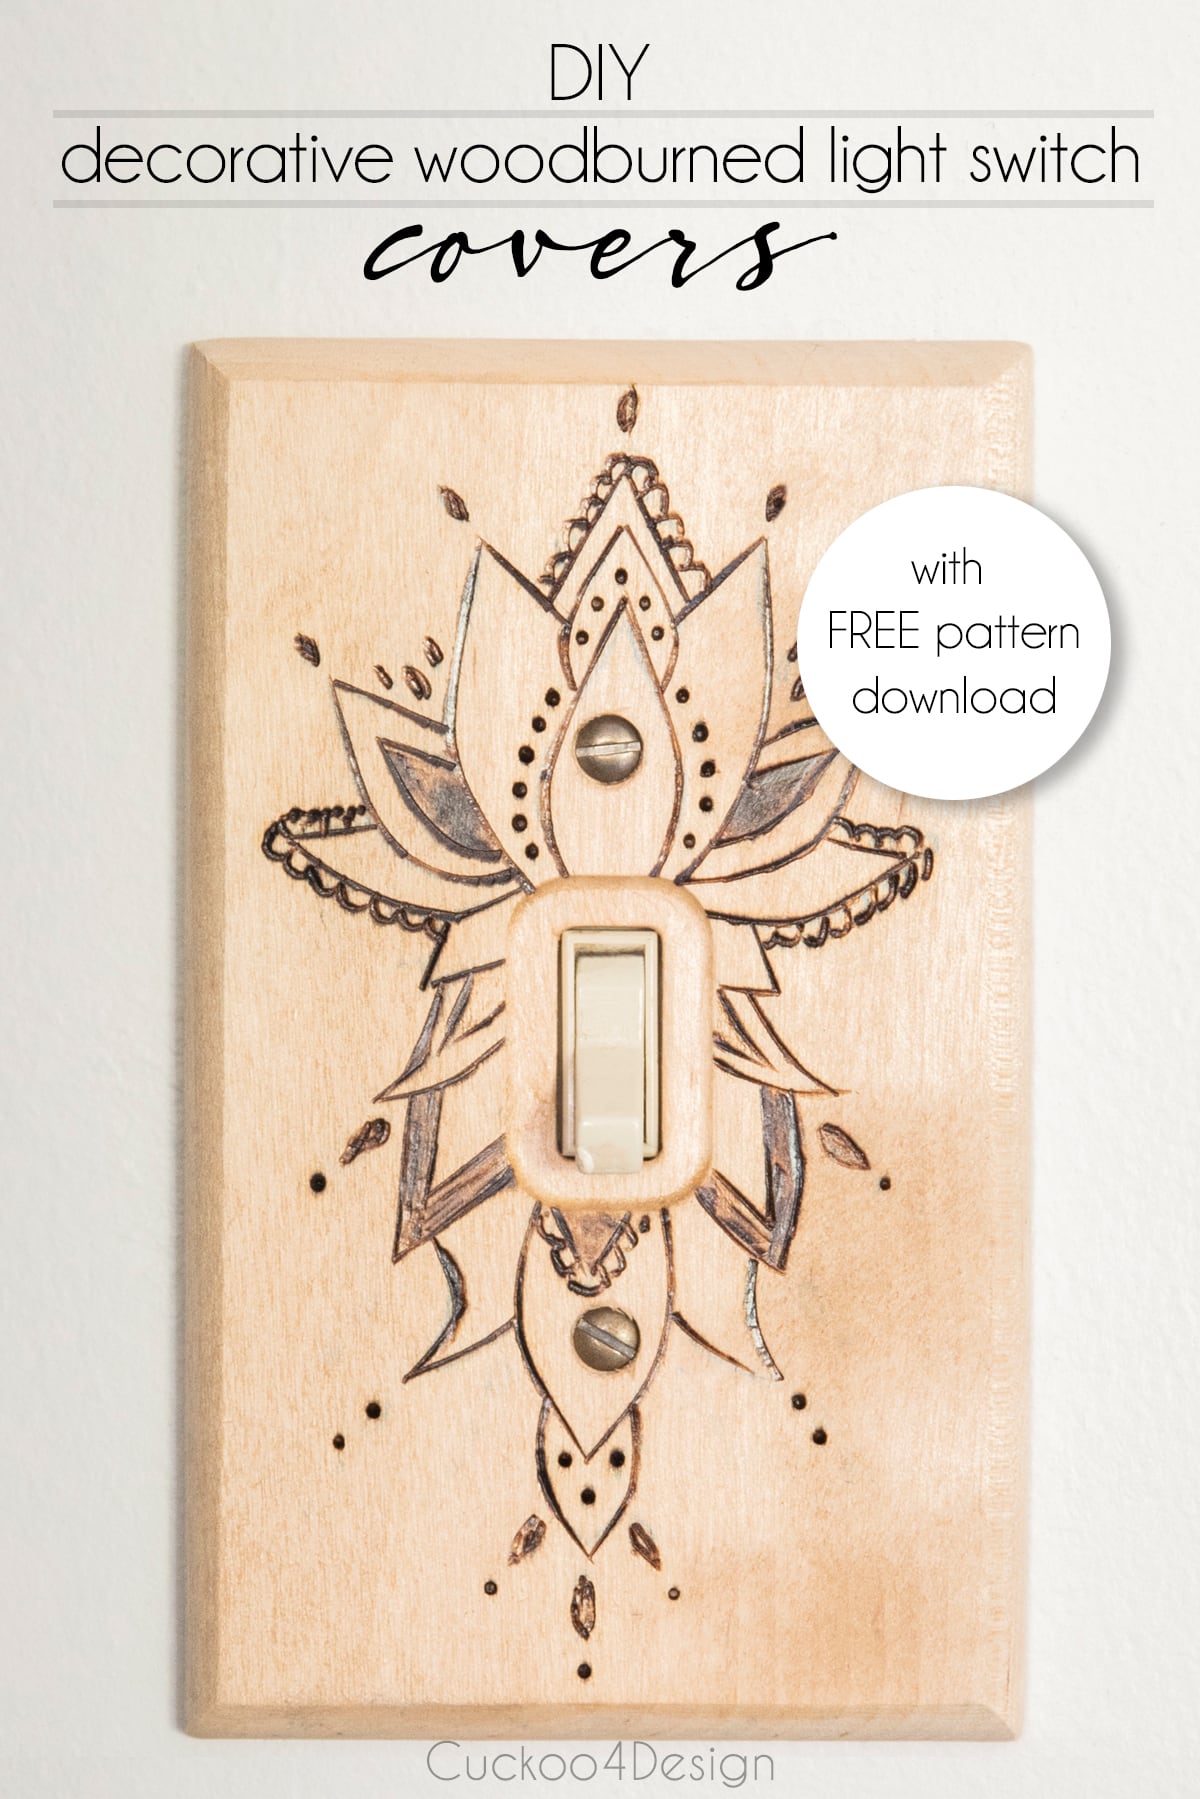
Boho DIY light switch covers
This post may contain affiliate links from which I will earn a commission at no extra cost to you. View my full disclosure policy.
I don’t mind that we have more modern covers in the rest of our home. I like mixing and matching just as I do with metals and other finishes. I think that having these new wooden light switch covers in our living room only is perfectly ok.
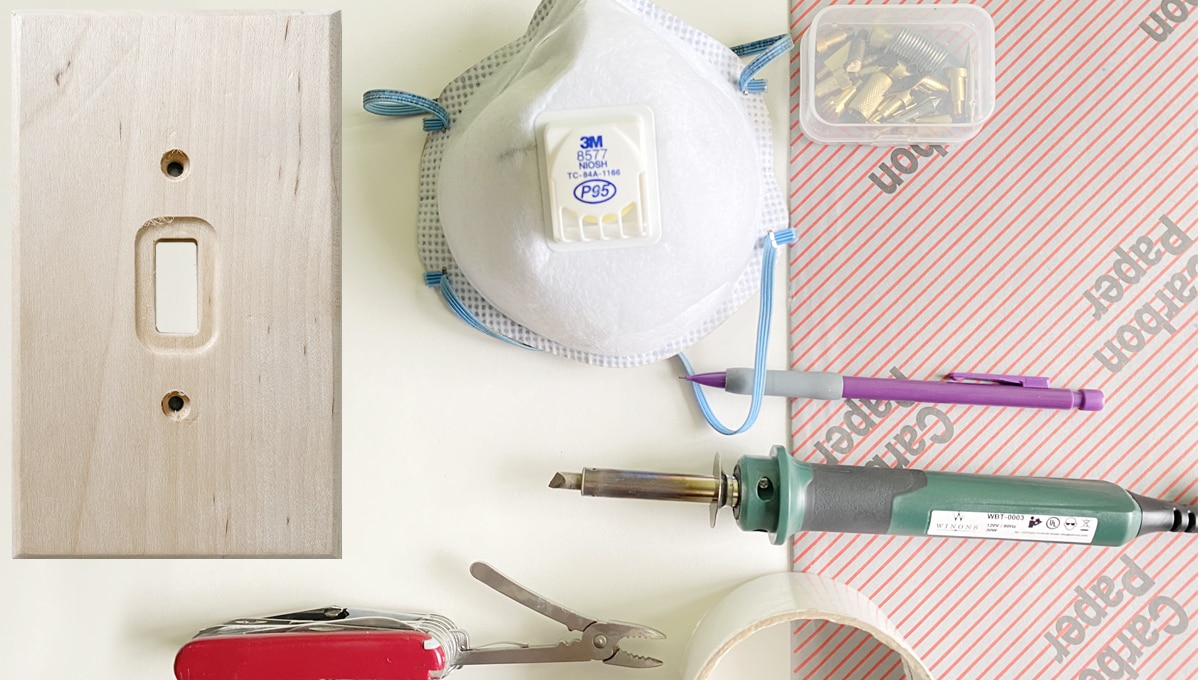
Materials needed
- unfinished wood light switch plate covers
- woodburning pattern (download mine HERE or doodle your own)
- wood burning kit/tool ( I have this one HERE)
- carbon paper for transferring pattern
- pencil
- tape
- pliers
- screwdriver to hang plate
- varnish and sponge brush optional (I used polycrylic)
- respirator masks to protect from burning fumes (optional, I guess you can use a scarf or a bandana as well)
Video tutorial
Use the triangle on the image to turn on the video. If you are on a cellphone or other device, turn it horizontally for better viewing. If it doesn’t load for you on my blog then you can head over to my YouTube channel to watch it instead.
Instructions for boho wooden DIY light switch covers
I have added lots of boho home decor details over the past couple of years and it can even be added with simple home hardware like decorative switch plates. To me, it’s all in the little details.
My DIY light switch covers are different from what you might have seen so far and they do not include wallpaper, scrapbook paper, wall paper, decoupage , washi tape, gold leaf, or polymer clay. Those have been around for years. I wanted to do something different.
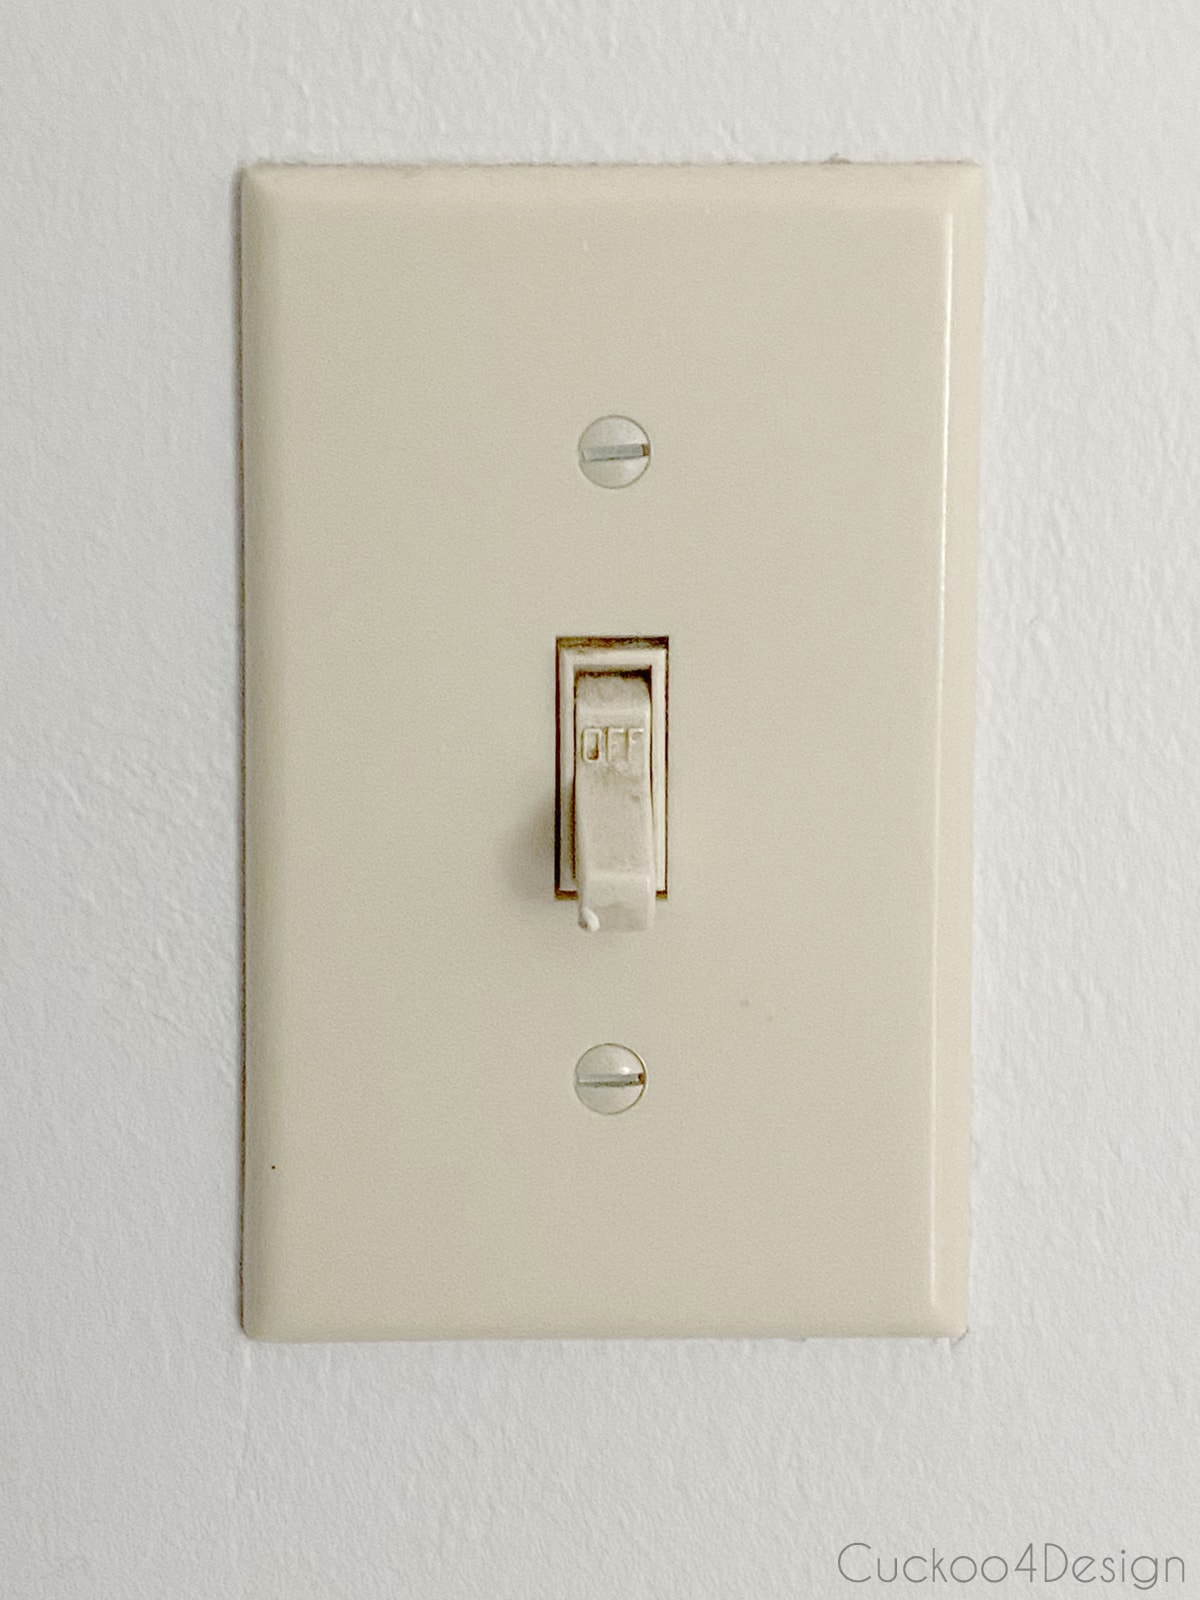
Below you can see what the old light switch cover looked like before. I mean most of us in older homes have them, right?
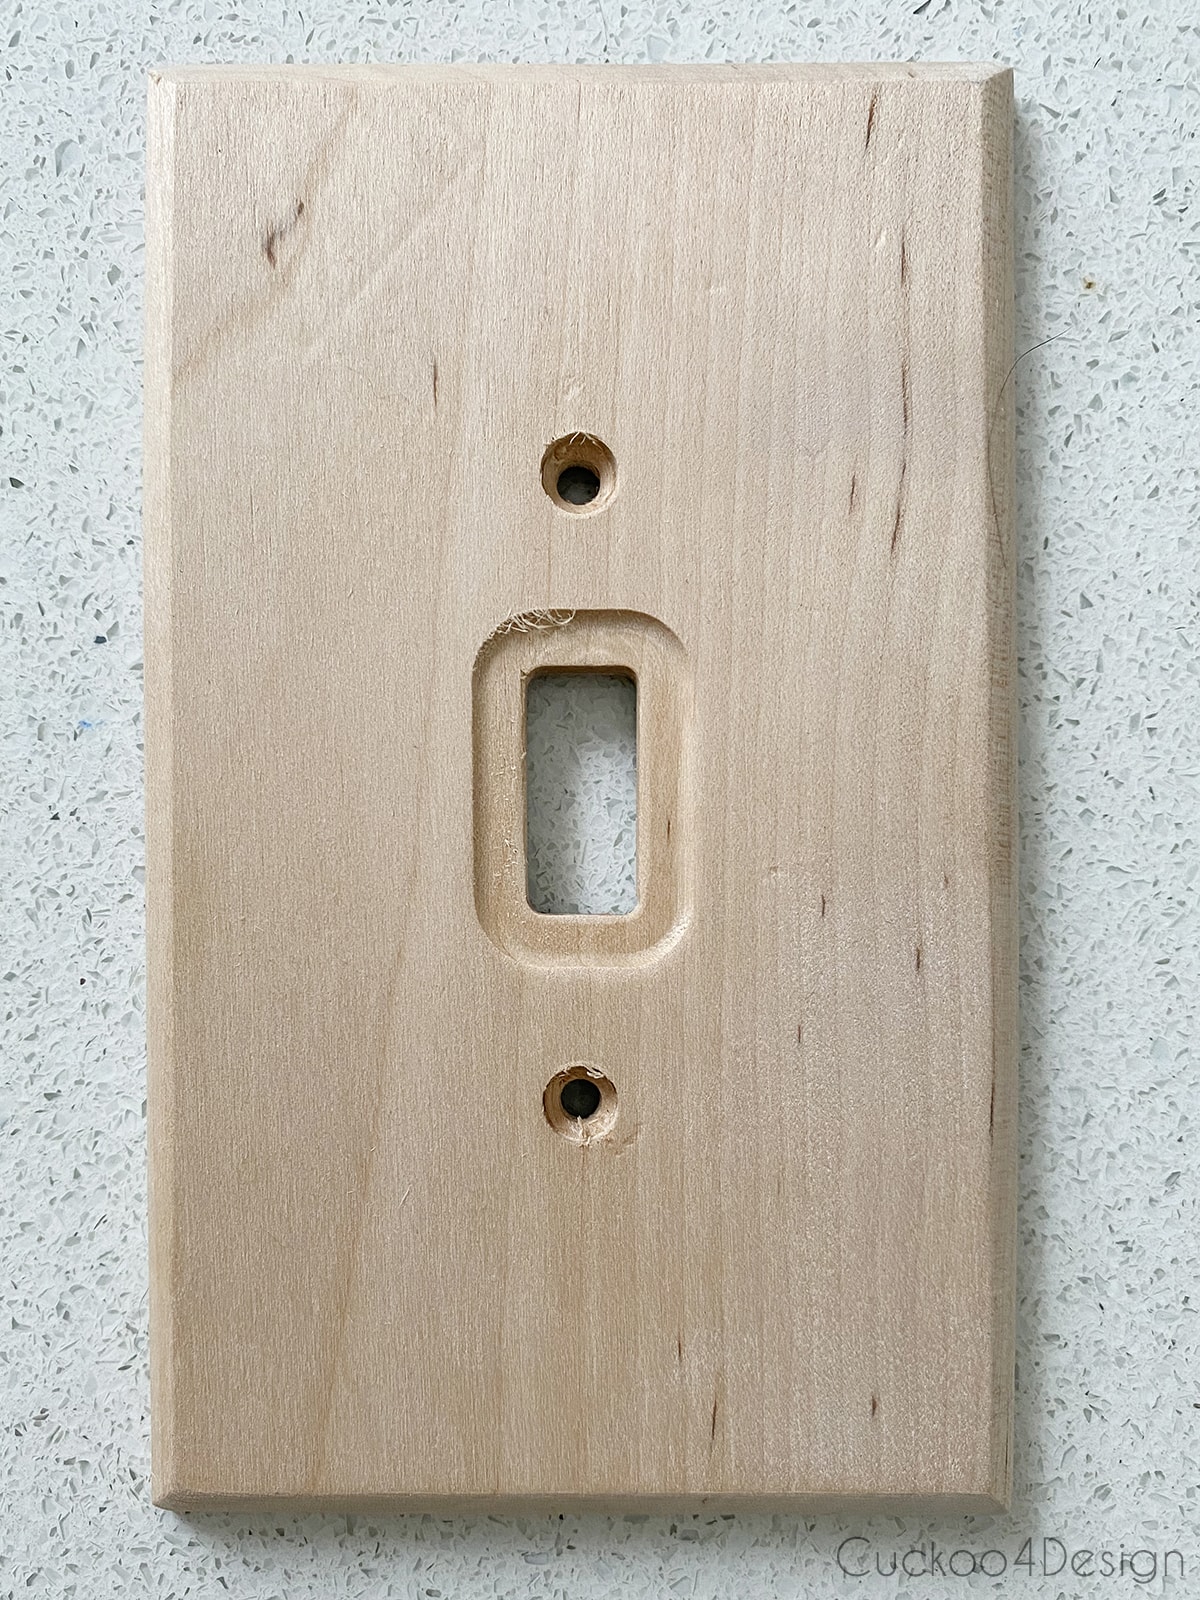
And here are the cheap unfinished wood light switch covers I bought.
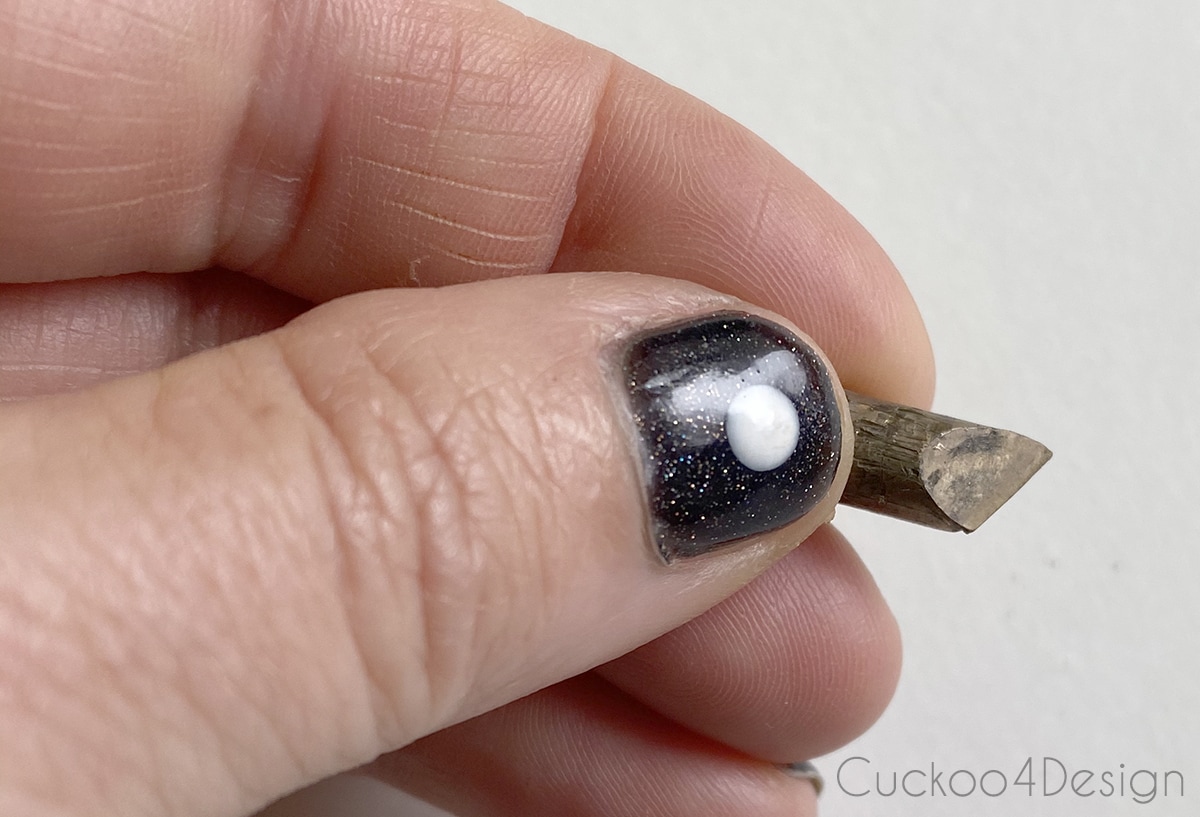
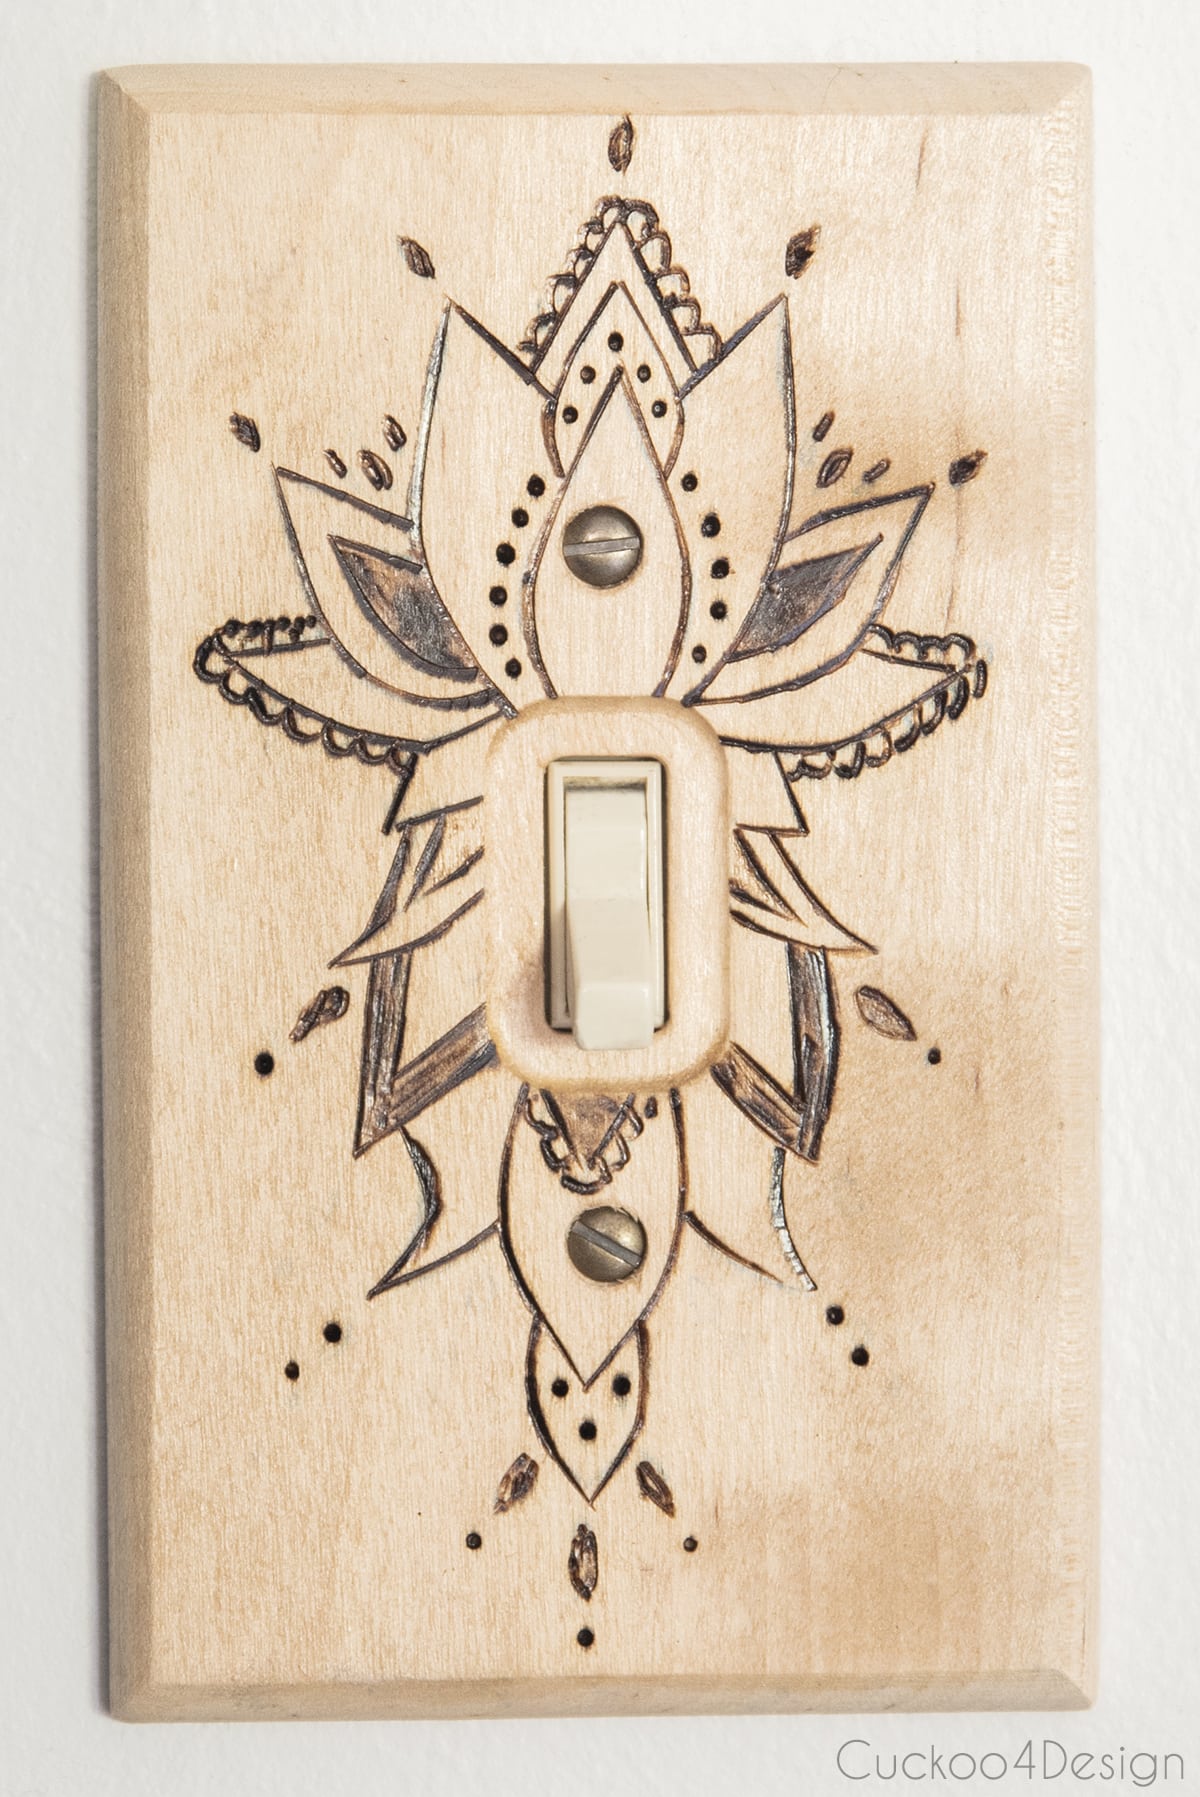
The slightly angled tip pictured below is my favorite for burning lines and was used for the majority of the switch covers. Except for the dots which I used a round pointy tip for.
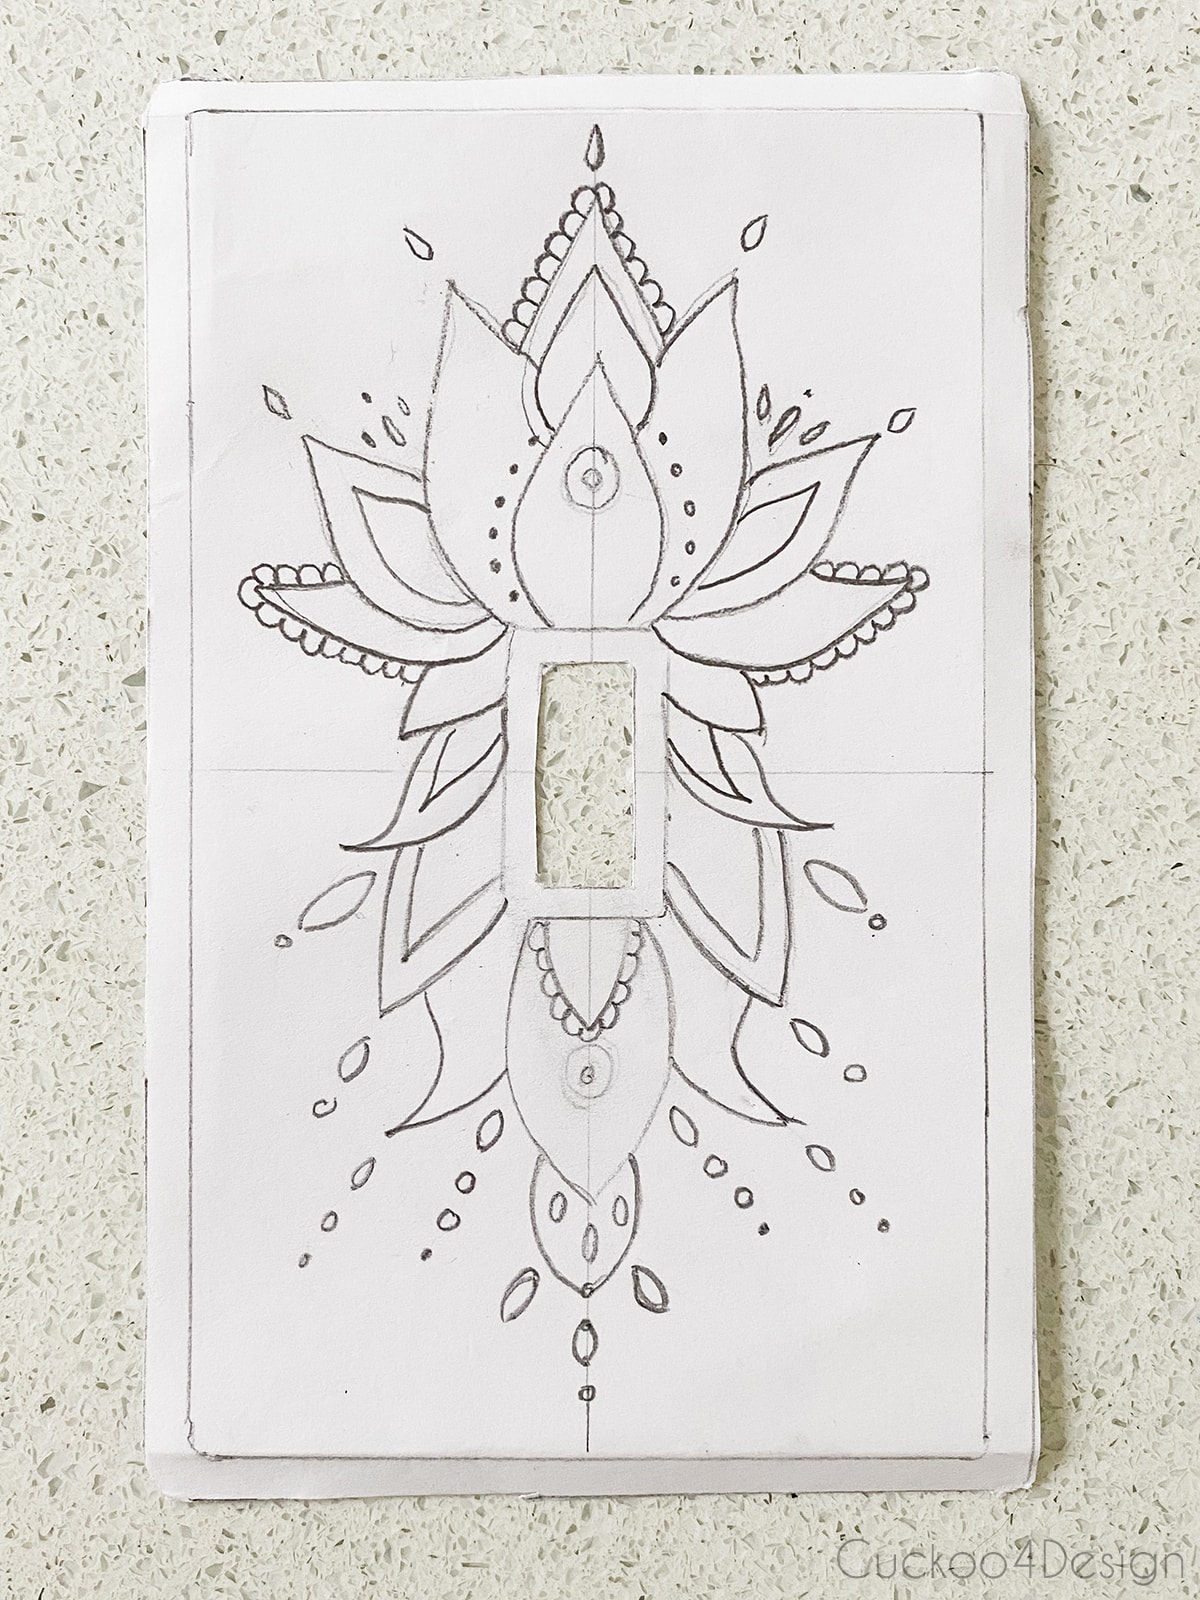
One day at my work, I doodled some patterns for the wooden switch plate. I tried a couple of times and the below version is what ended up being my favorite. If you like it then you can download my pattern. A new window will open with a PDF that you can save to your desktop so you can print it.
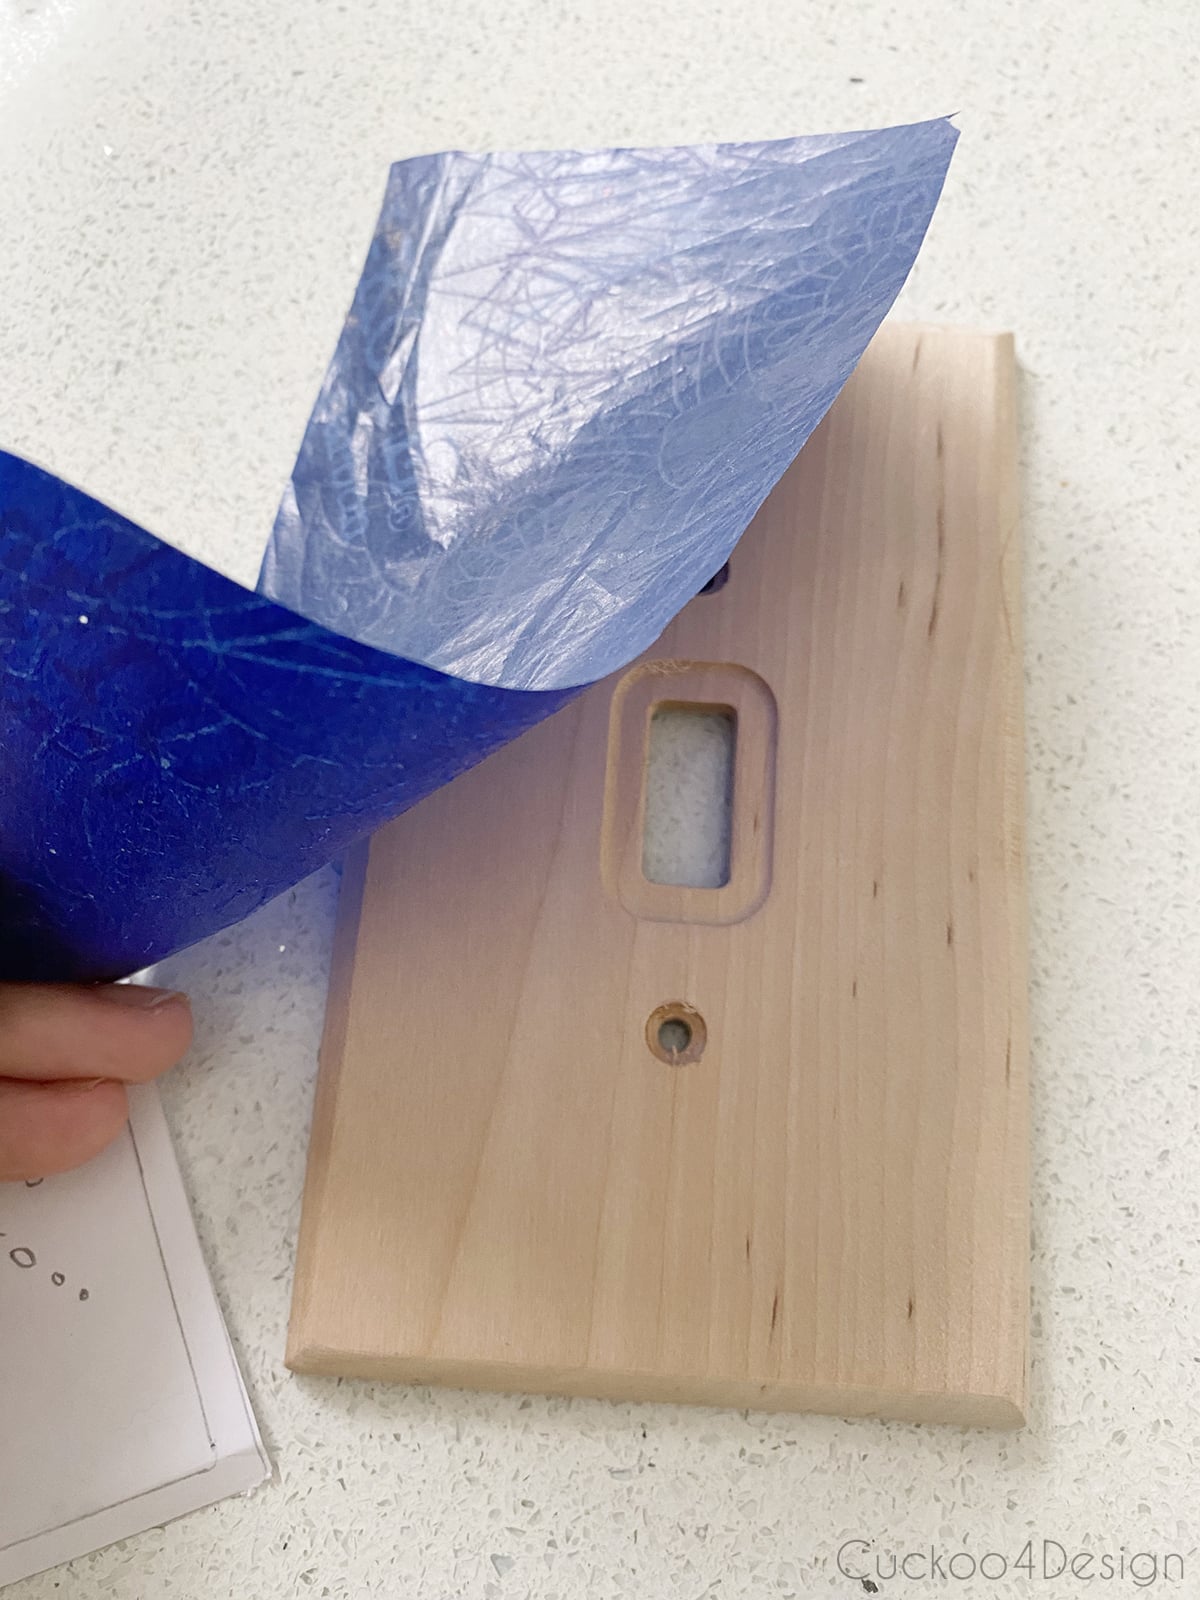
Cut a piece of transfer paper to fit the light switch cover. It’s a lot easier to tape it that way.
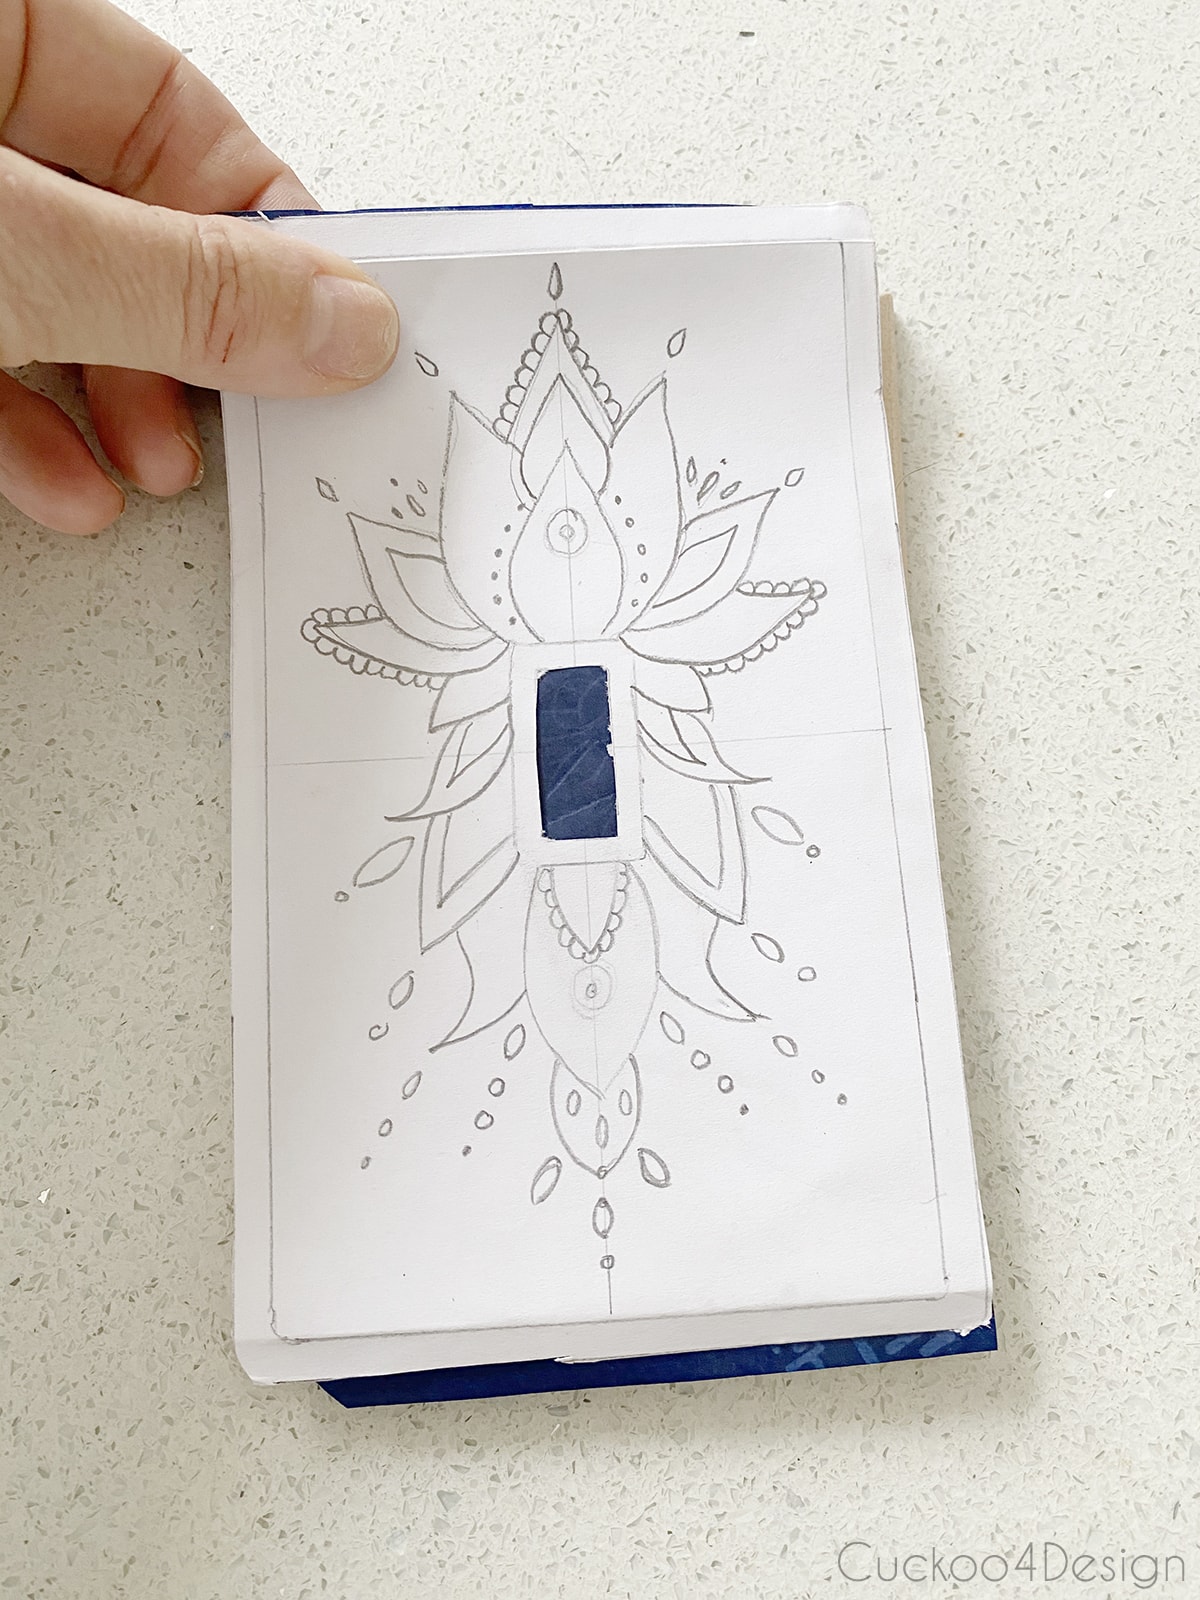
Cut your pattern to the right size to fit the cover.
Then tape the trimmed paper with the pattern to the transfer paper covered light switch plate.
To finish the plates you can add the polycrylic to protect the switch covers from dirty hands as I did with a sponge brush
The finished wooden DIY light switch cover
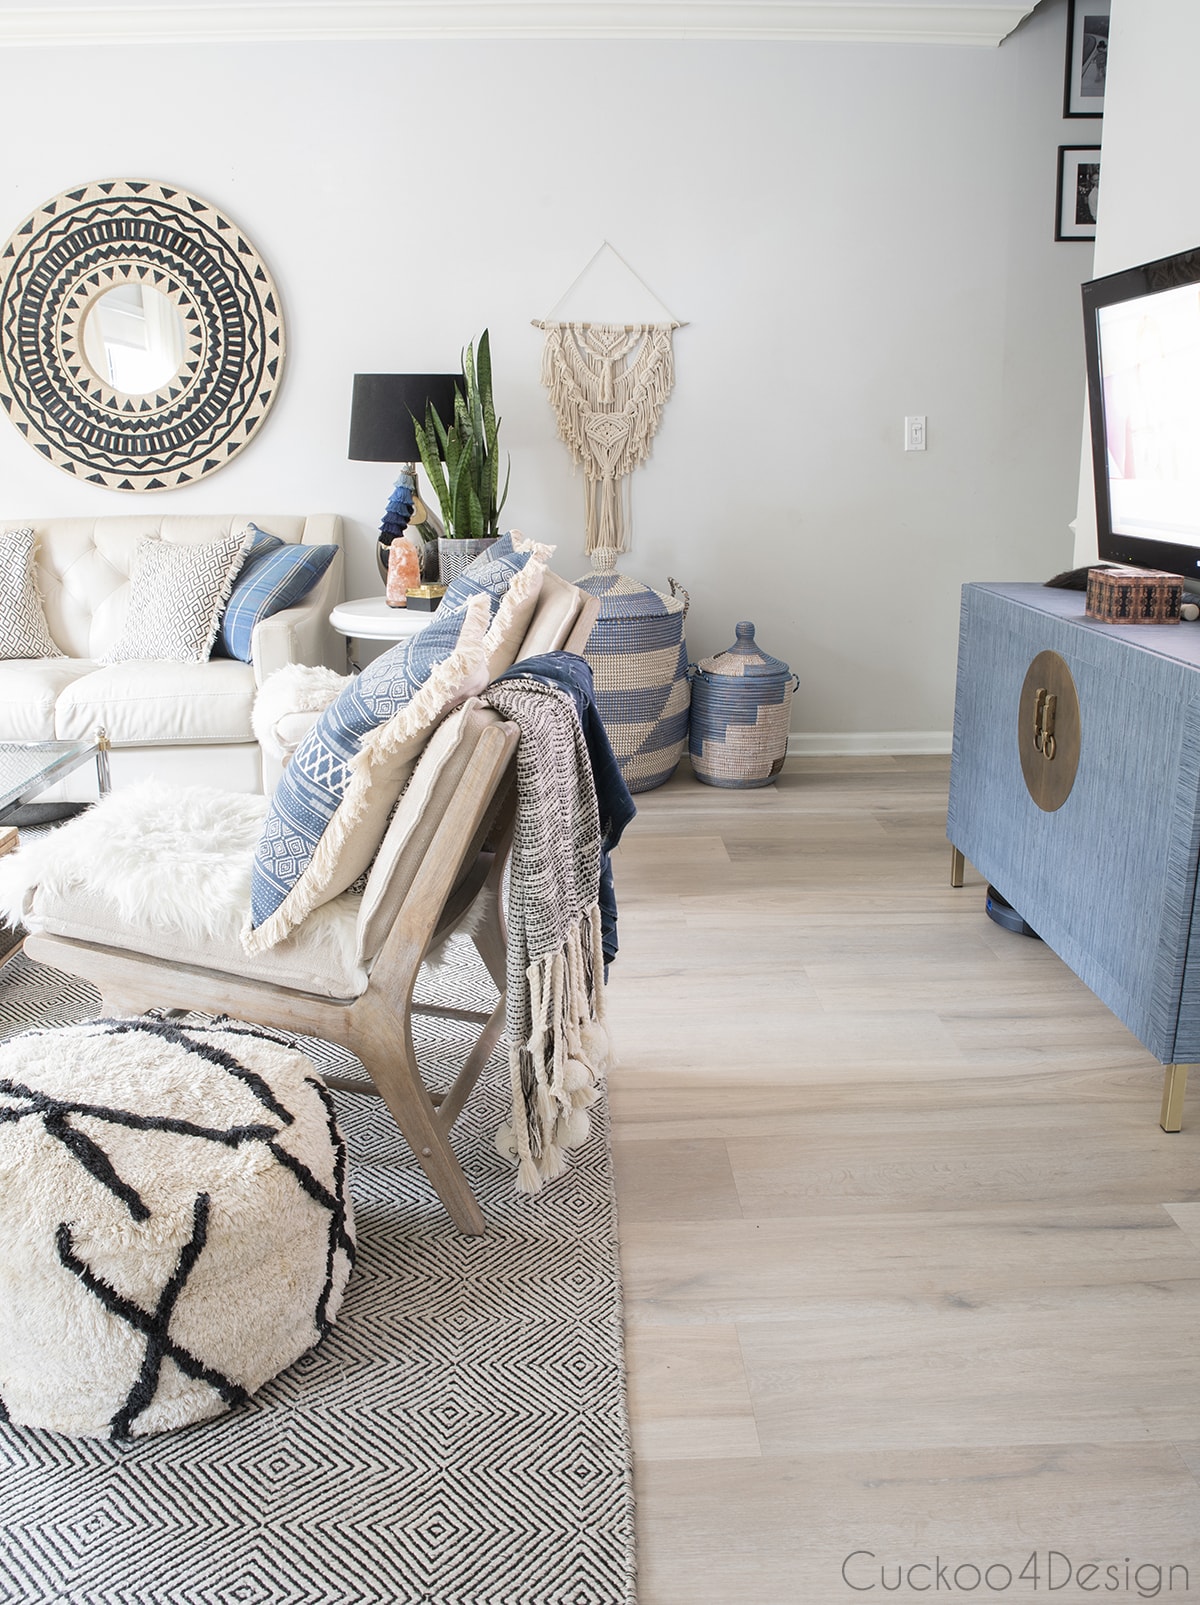
The following photos are a little photoshopped for full disclosure just to show you how nice the switch looks with the rest of the decor. You can see the actual white modern light switch cover plate to the right.
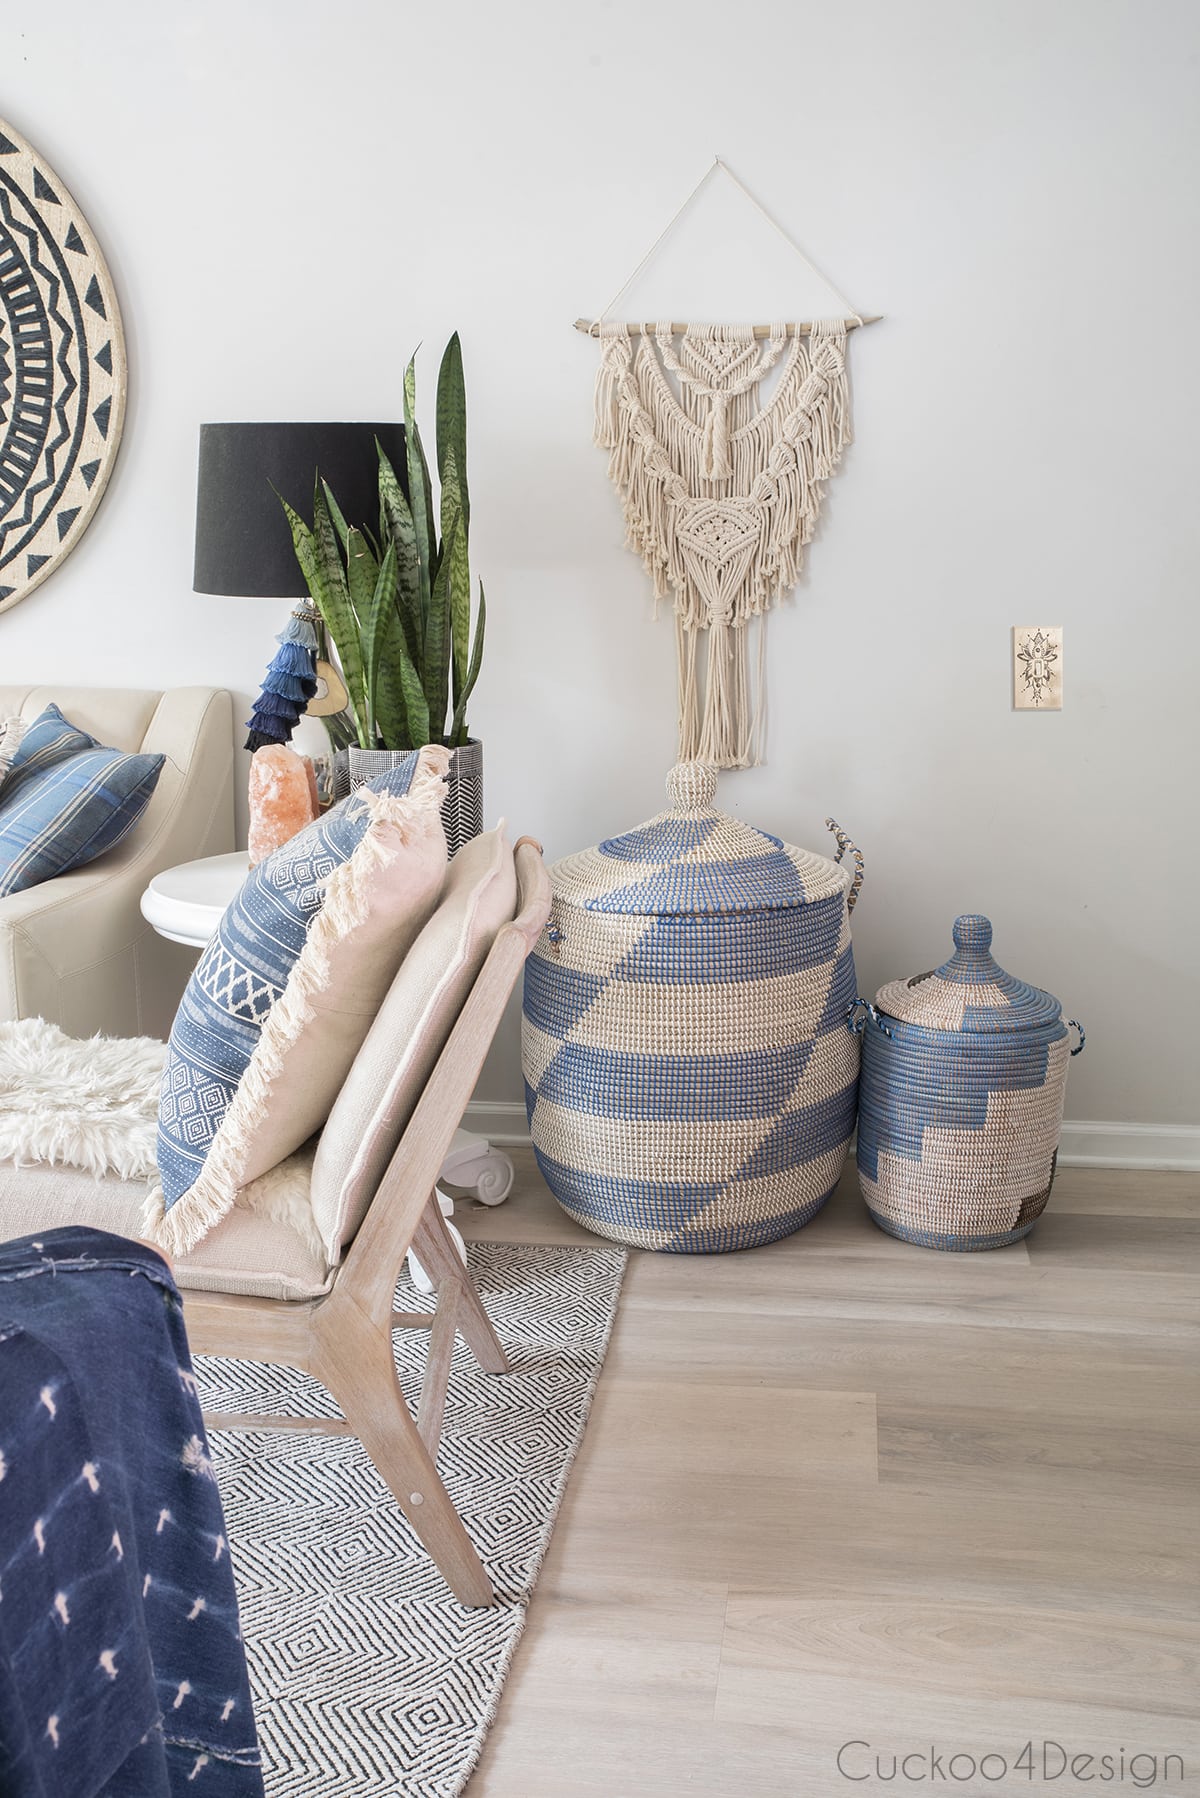
And in the below photo, I moved the new switch over a bit so you could see. I love it!
Here is the switch next to the TV over the blue faux grasscloth Ikea Besta dresser.
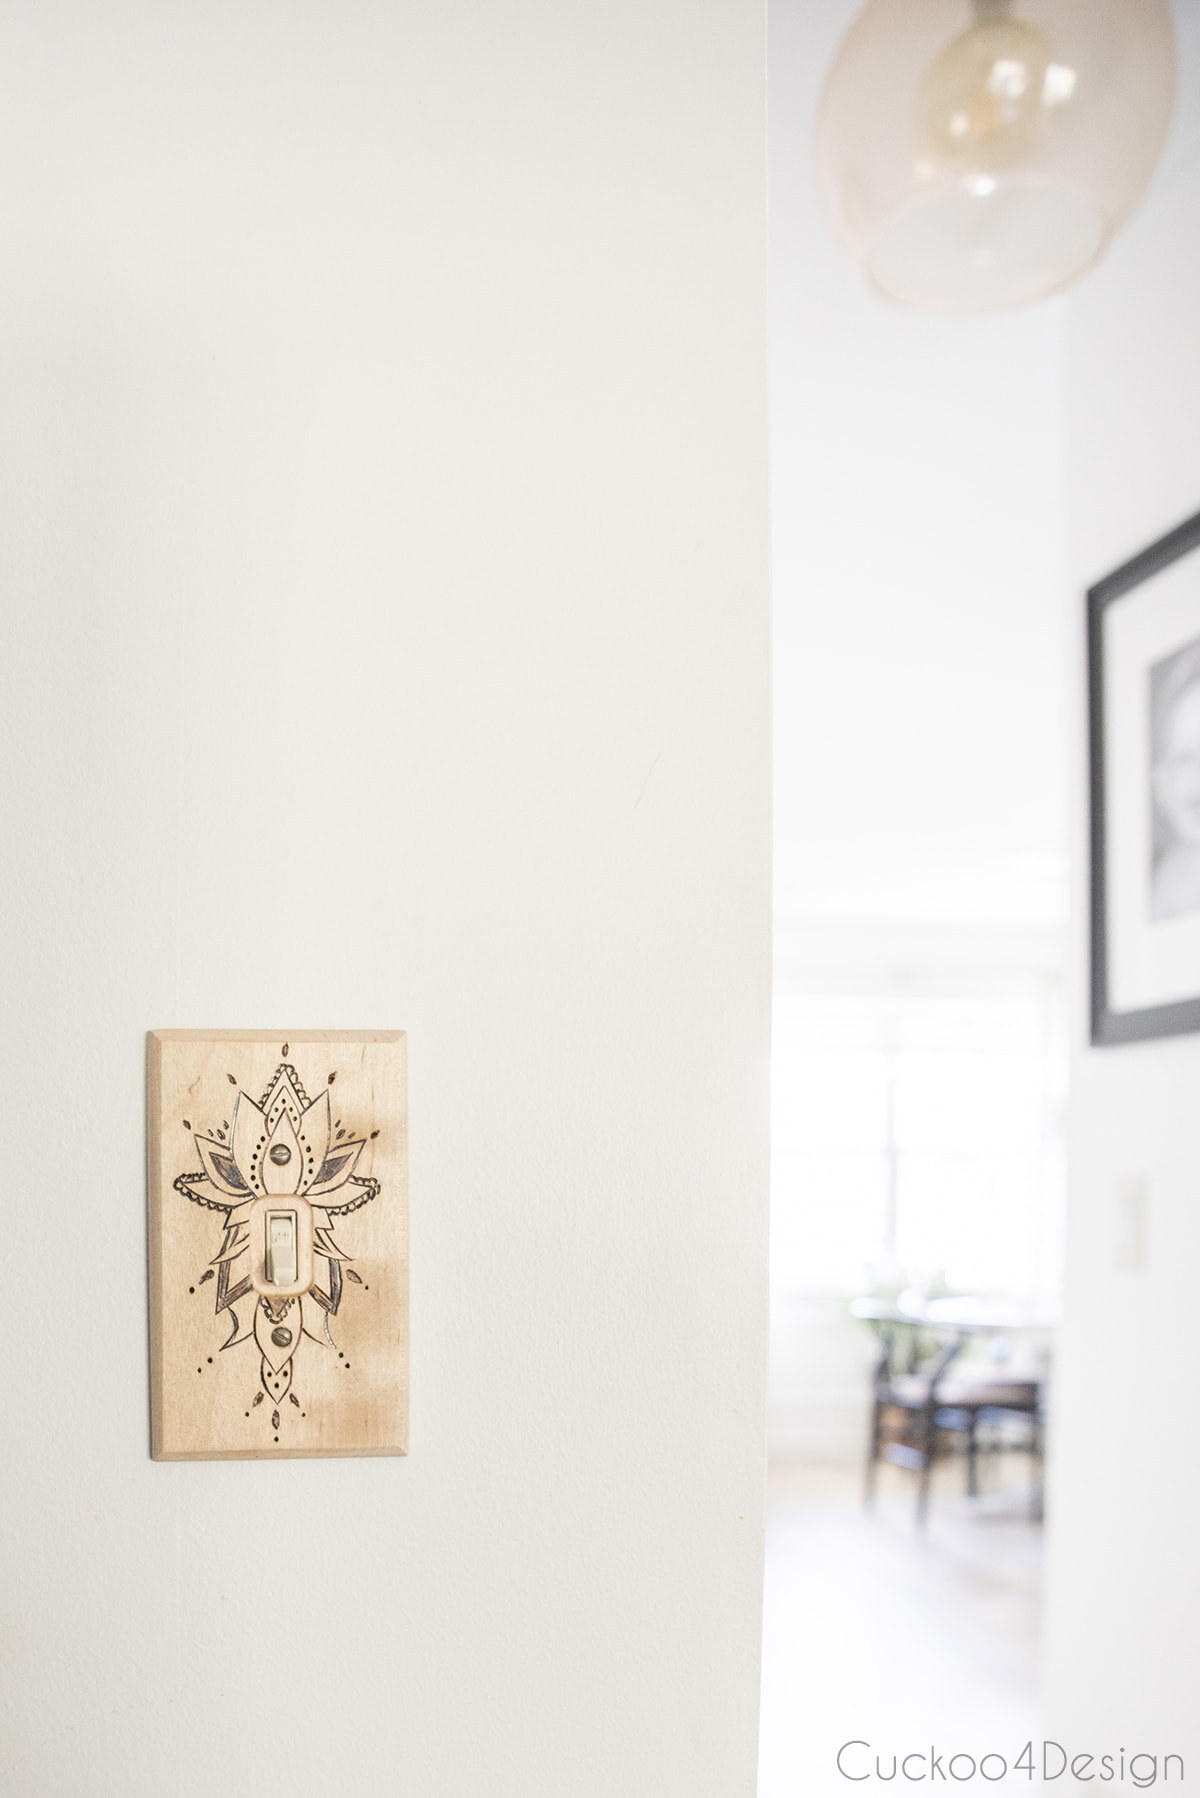
This darn switch by the TV is driving me crazy because I don’t know what it controls. I know that usually, those types of switches should be related to the closest outlet, so you can turn something off and on that is plugged in. Our switch doesn’t control the below outlet and we even had an electrician already look at it. He couldn’t figure it out either. So odd!
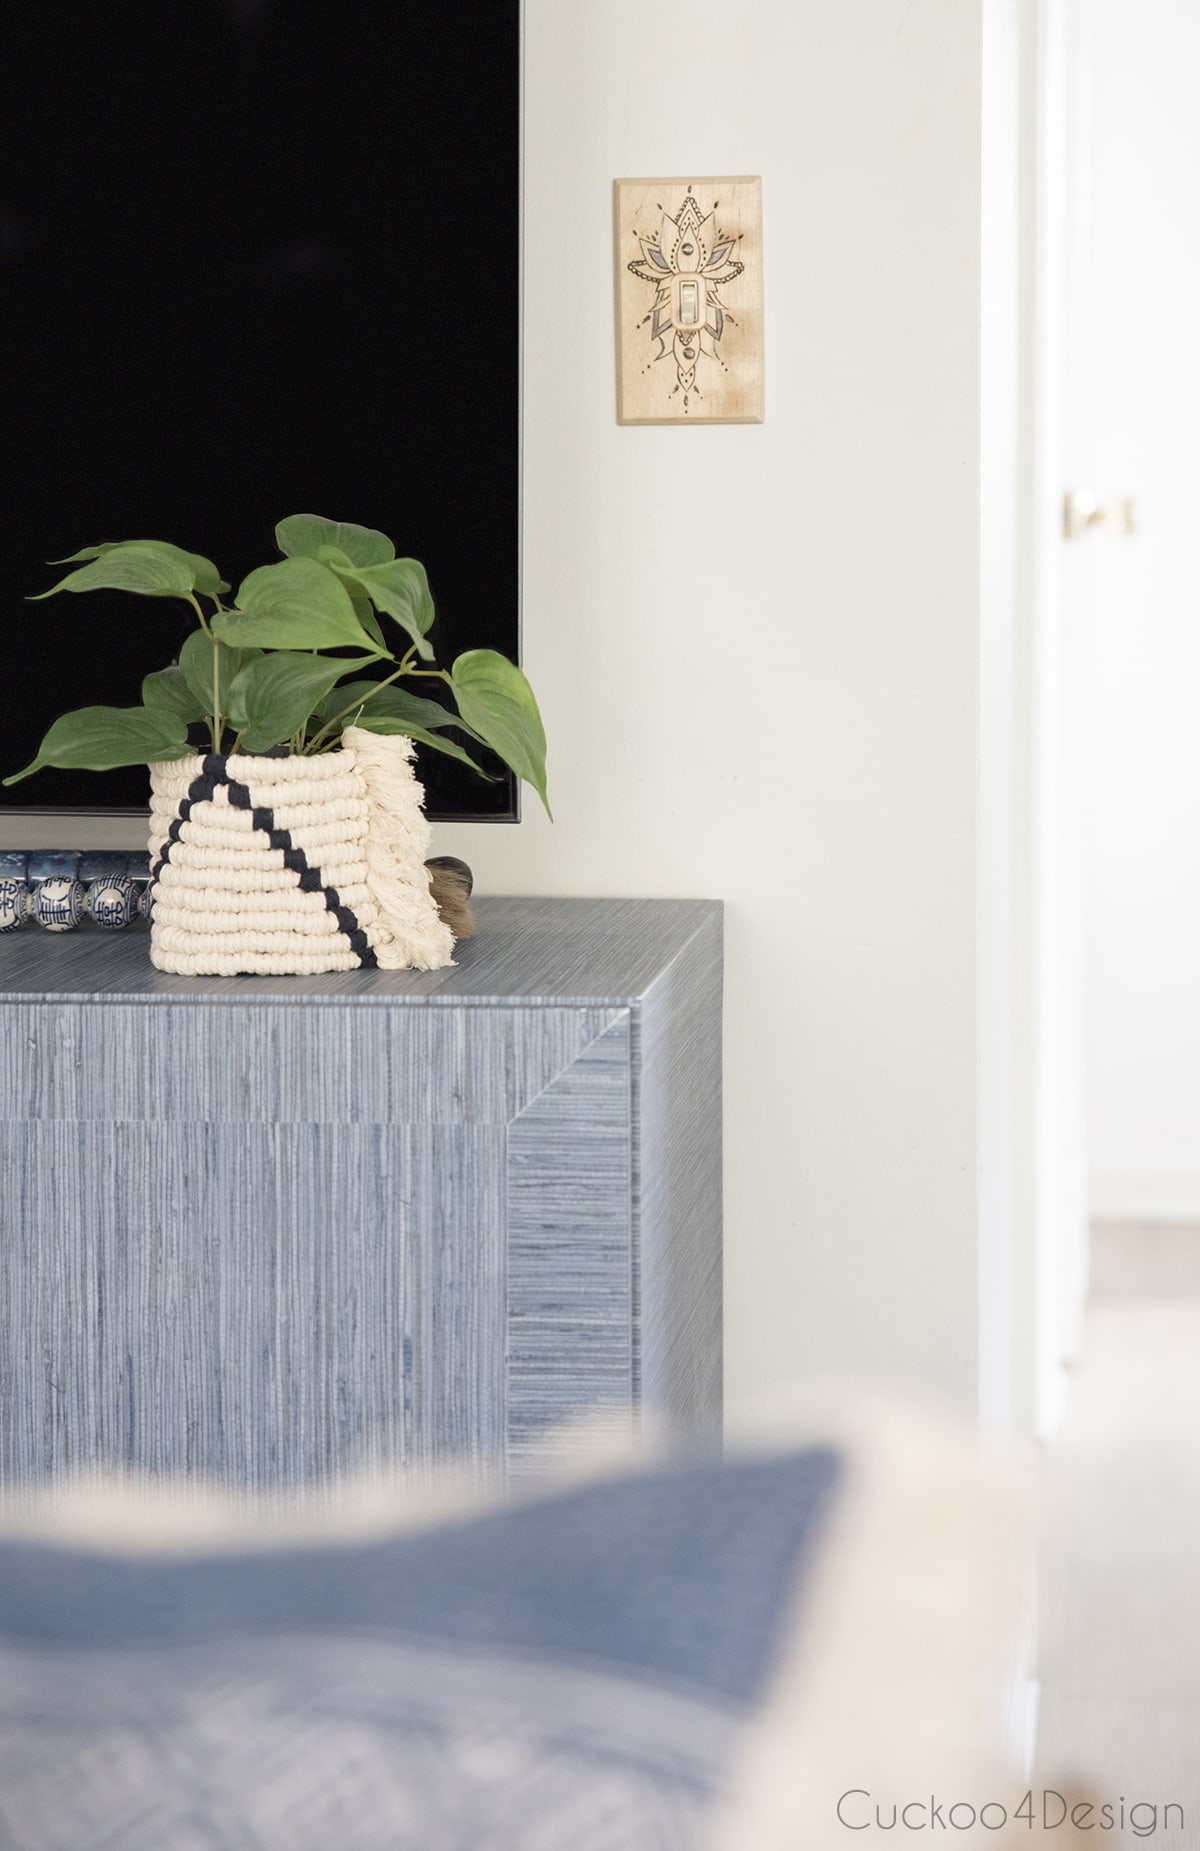
It looks so much better than the ugly dirty old switch cover.
While being stuck at home I went through some more things in my stash and decided to add all my shells from my seashell collection. Hey, the beach makes me happy! I have so many and it’s all free.
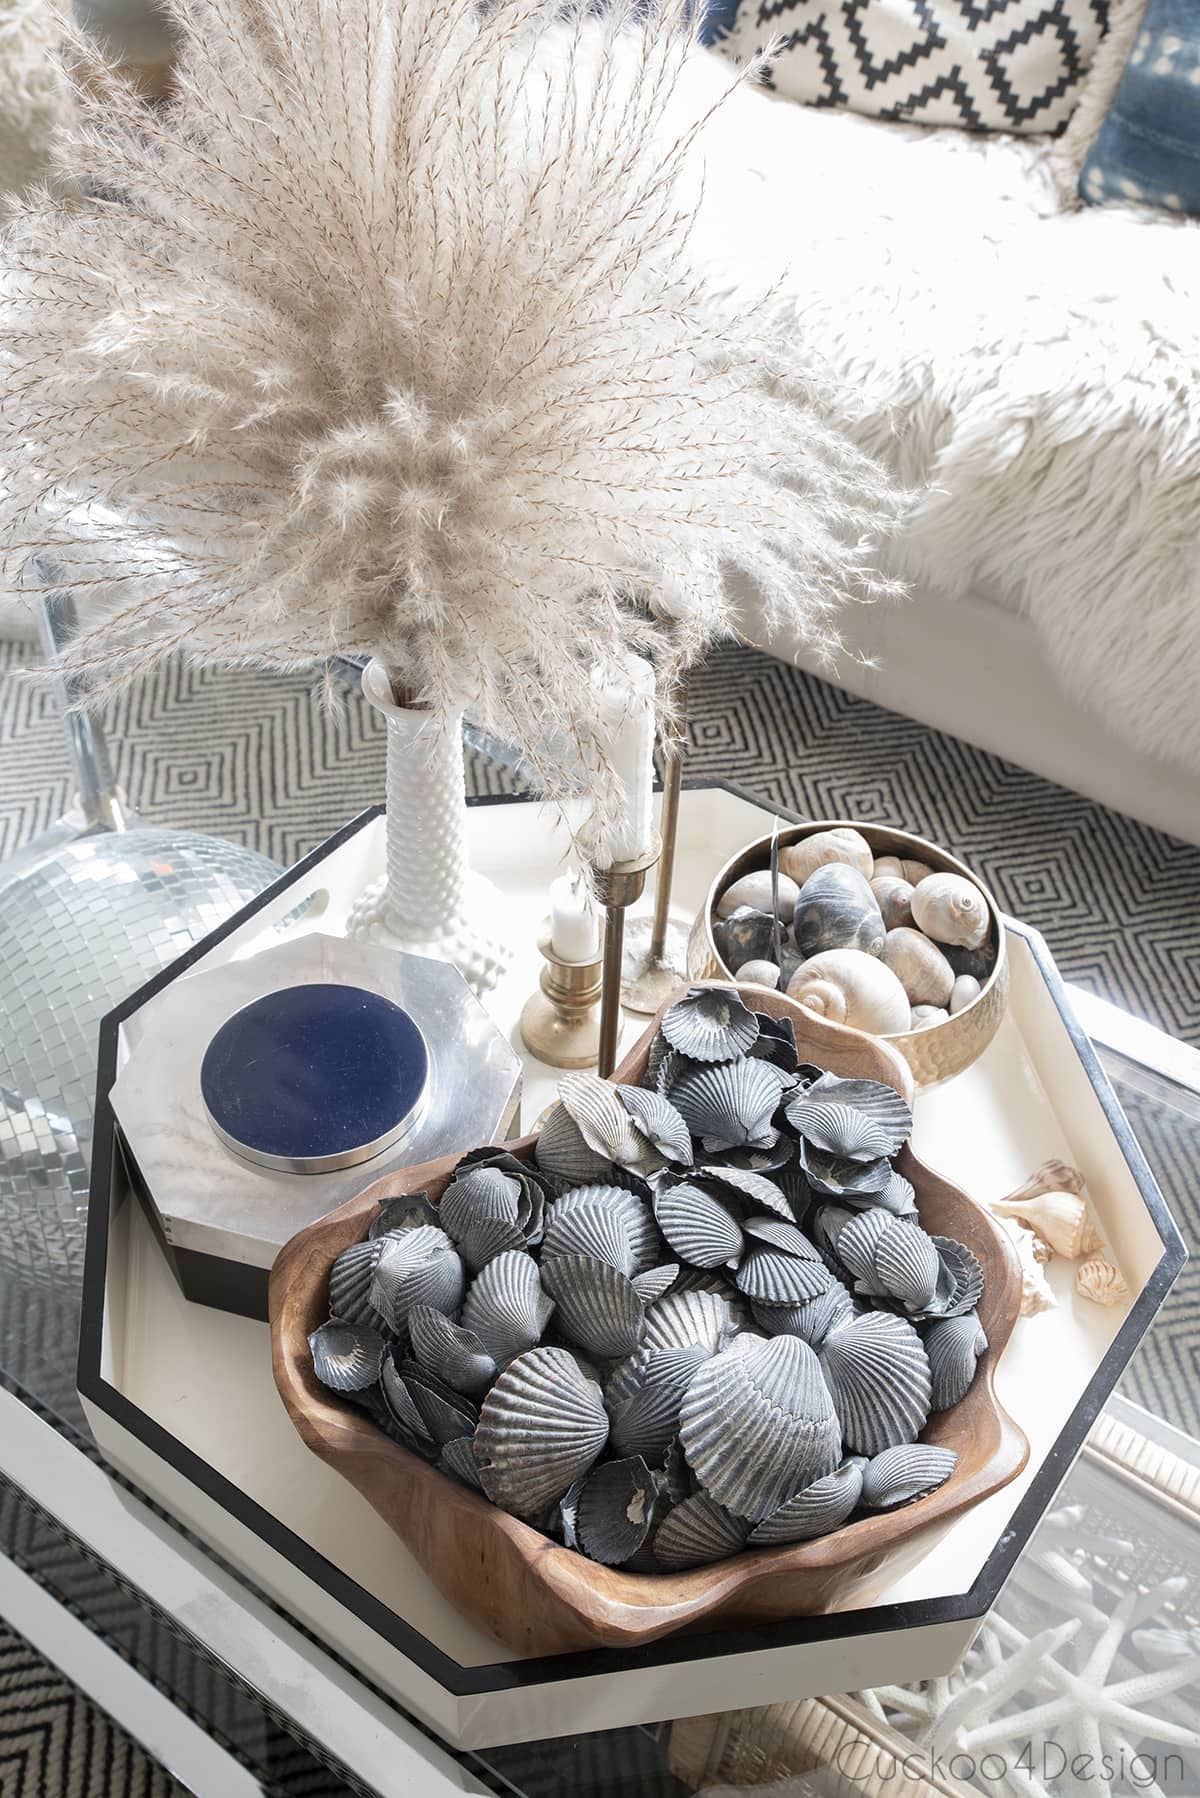
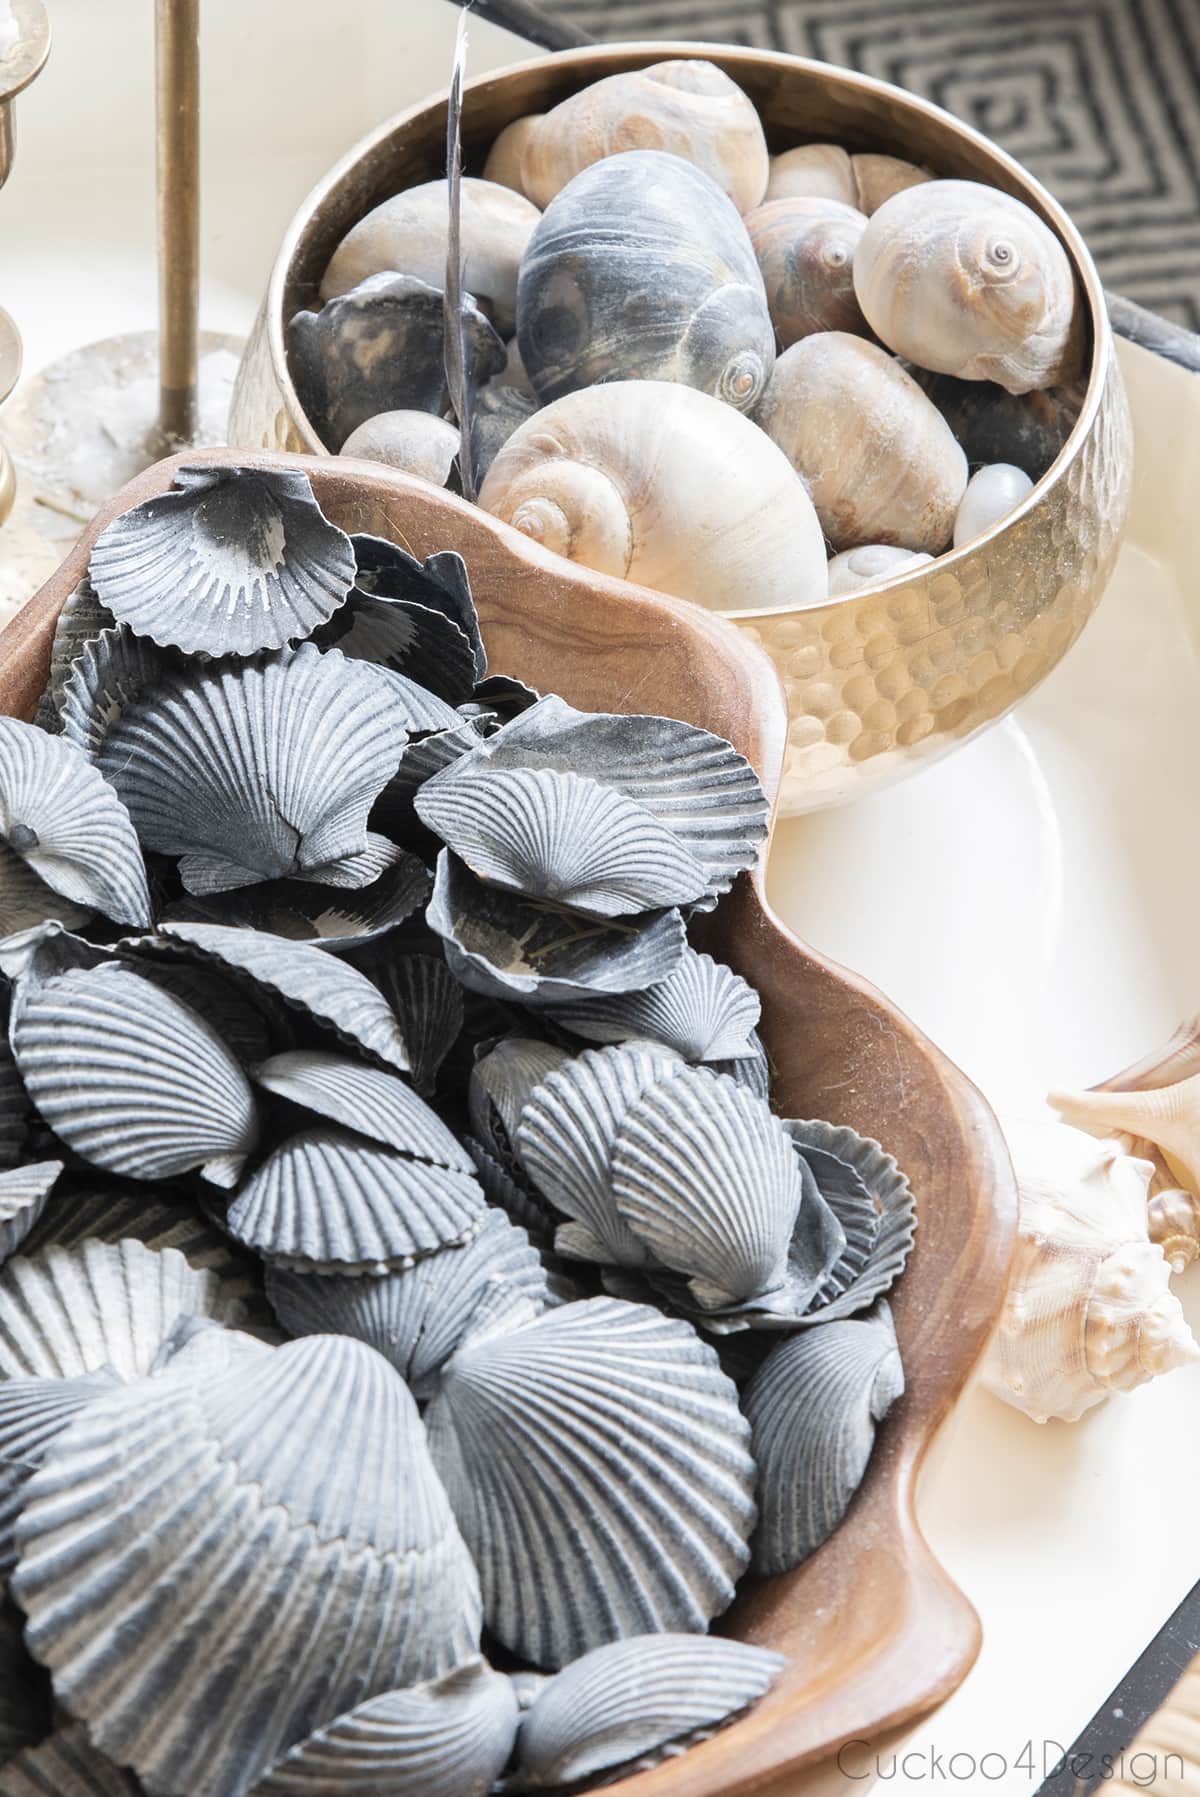
The black New Jersey seashells are my favorites and I adore the snail shells too.
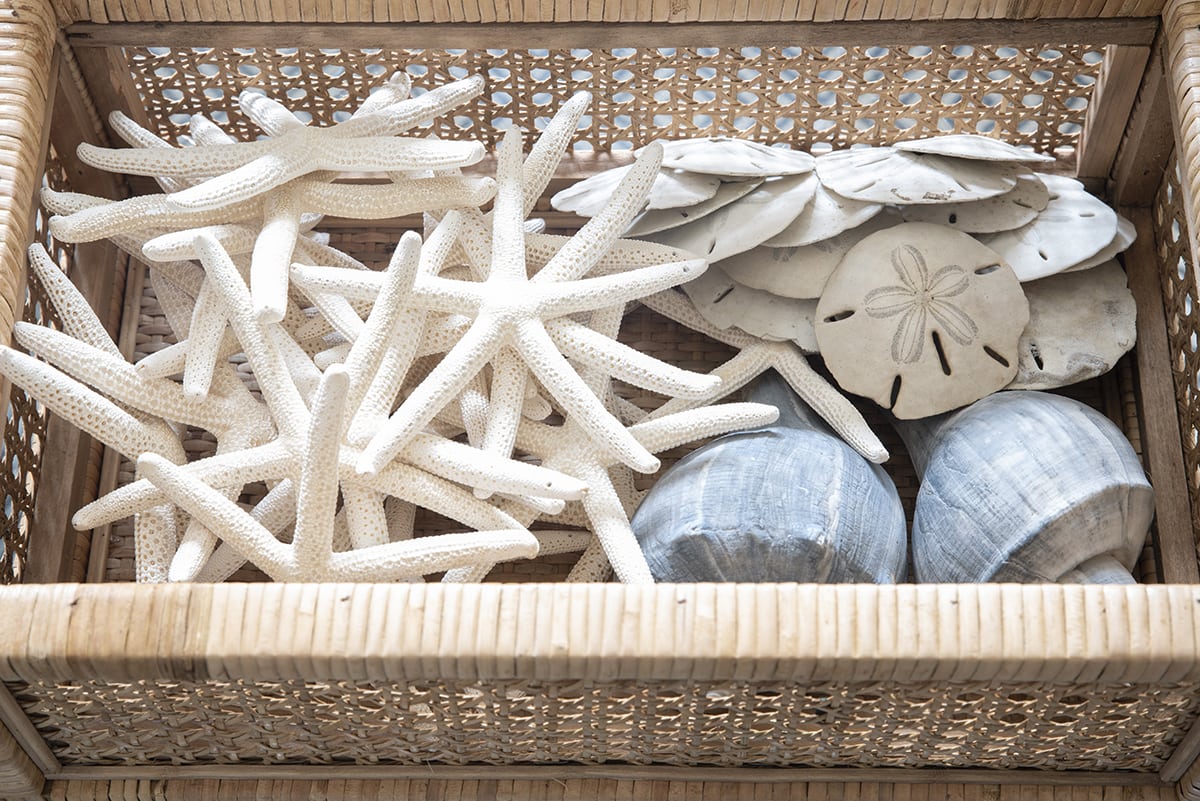
I also had a very lucky day of finding a ton of sand dollars one day at the shore and I had them stashed in a closed container. They are so fragile and difficult to display so putting them in a glass lid covered box was a perfect solution.
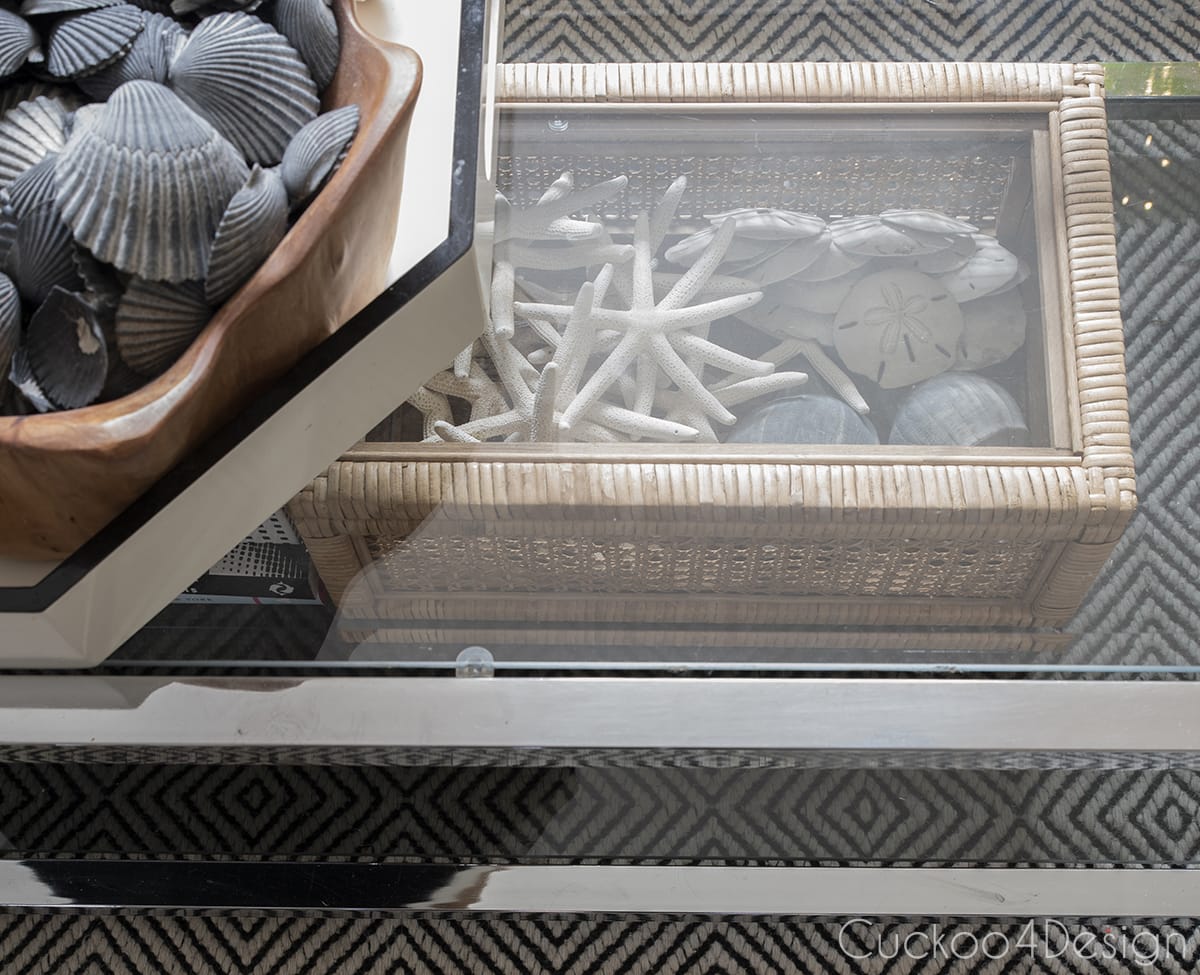
You can find the box HERE and the starfish HERE. They are the ones I had on our real large live tabletop Christmas tree last Christmas.
Check out my other boho DIY projects
- DIY flush mount macrame light fixture
- boho foraged dried floral Christmas tree
- simple boho fall decor
- stylish boho DIY pampas grass Christmas tree
- How to make long narrow wall art using combed macrame yarn and embroidery floss
- bleached cherry wood desk makeover
- How to make a trendy boho square knot bracelet
- Neutral boho Christmas tree with macrame, grasses and orange slices
- Affordable Boho Christmas Decor In Our Living Room
And that’s it for today!
Tschüß,


I love this idea! Looks fantastic!
Thanks so much Tammara! Hope you are well
julia, this is such a cool and unique idea! i happen to have several light switch plates i need to change out… they’re hideous! love this idea!
Thank you Cassie. I don’t mind that I have the modern ones in other areas and these here in the living room. I think it’s nice to switch them up a little.
We have one of those odd light switches too. It’s in the hall and we’ve lived here 9 years and still don’t know what it does.
That is so odd. I thought for sure an electrician could figure it out but nope! And it kind of also scares me 😉
I love it! So cool
Thank you Amanda!