How to make long narrow wall art using combed macrame yarn and embroidery floss
I have an odd obsession with the straight, exact, cut, and combed look of macrame which you can also see in my modern macrame wall hanging tutorial. In today’s post, you get plenty of that because I created a long narrow wall art tassel for an odd skinny wall that has looked empty for way too long. You can use this technique to create different pieces with varying widths and lengths.
This is definitely a copy-cat project and I got the inspiration for today’s piece from art pieces I have seen all over Pinterest created by Mexican artists who use a mix of fibers. Part of that mix are cotton and sansevieria fibers which are extracted from snake plants. This blog post shows how you can extract those fibers. I wasn’t going to kill a bunch of snake plants though and opted to just use combed macrame yarn again.
These types of pieces sell from around $1000 to $3000 (for example the Lomas Wall Hanging HERE) and I don’t have to tell you that I can’t afford that, right?

DIY long narrow wall art made from macrame yarn
This post may contain affiliate links from which I will earn a commission at no extra cost to you. View my full disclosure policy.
I am going to show you how you can vary the lengths and widths which creates a completely different look and no matter what measurements your narrow or big empty wall has, you can make your own combination.
Materials needed
- macrame yarn (I used THIS 4mm but you can use others too)
- colored or plain embroidery floss of your choosing
(color numbers I used: 407, 436, 977, 3779, 976, 3826, 402, 922, 21) - sharp scissors
- hair clips
- fabric stiffener or HERE
- styrofoam balls (I used 2.3 inch and 1.8 inch balls)
- skewer or drill bit to make holes into foam balls
- comb
- brush (I love THIS one for these types of projects)
- wood ring (I used a 3.7-inch wooden ring), a dowel rod or you could use a pretty towel bar like THIS, THIS, or THIS for example)


Video tutorial
Below I added my video tutorial. Use the triangle on the image to turn on the video. If you are on a cellphone or other device, turn it horizontally for better viewing. If for whatever reason it doesn’t play on my blog then you can also view it on my YouTube channel.
Step-by-step instructions for how to make this long narrow wall art with combed macrame yarn and embroidery floss
This is definitely a time-consuming project but in the end, you will have a stunning piece of fiber art. It was so worth it to me and I absolutely love the pieces I have created with this tutorial.
How to easily unravel and comb macrame yarn
Opening and combing macrame yarn is one of my favorites and I have done it so many times now that I developed a trusted method. I used opened macrame yarn for my giant macrame rope tassel garland, macrame light fixture, modern macrame wall hanging, macrame knot bracelet, and fringe earrings just to name a few. You might be wondering what it is about having the combed and straightened yarn but I love it. It is relaxing, almost like raking sand or combing my barbie’s hair when I was a kid. I know I’m odd. Don’t judge!
Most of the time I use fabric stiffener when I comb macrame yarn because it helps to stiffen the fibers and stops making them curl again after combing. None of the homemade fabric stiffener recipes have worked as well as the bought stiffener. Hopefully, I can find a DIY recipe one day that works just as well.
Sometimes I have used a hair straightening iron to make the yarn dry and completely straight. For this project, I have found it easier to skip that part. Let me show you…
Tips for using fabric stiffener on macrame yarn
As you can see in my comments, some people have complained that they couldn’t successfully comb the macrame yarn after applying the fabric stiffener the way I did. So here are some of my tips
- Using the right brush definitely makes a difference. The sheepskin fur brush I used makes a huge difference and I couldn’t have done the project without it. When you brush the strands of yarn use small sections and start working your way from the bottom up. If you start brushing from the top down, you will fail because everything ends up way too tangled.
- USE STARCH made for fabrics. Some of the people who complained received a type of glue like decoupage glue instead of true fabric stiffener/starch. You have to make sure it is starch! It is so important.
- Wait until the starch-dipped yarn is completely dry before you brush it.
- Most of all have patience. It takes time to make get all the strands combed and straightened and some of it is trial and error.

- Start by opening the macrame yarn ends (for the one piece of long narrow wall art tassel, I used 12 8-foot strands of 4mm macrame yarn that I unraveled).
- I like running my fingers through it fast to unravel it all but you have to make sure that the ends don’t just curl back together and tangle again.
- Now it is time to dip your macrame yarn into the fabric stiffener, this step isn’t a necessity but I find it so much easier to brush/comb the yarn when it is long and has been dipped and dried with fabric stiffener.
- I place my finger over the opening firmly when I pull out the yarn strand in order to squeeze out any excess fabric stiffener liquid.
- After that, I hang the wet strands of macrame yarn over a shower curtain rod and let them dry.
- Now it is time to start combing the macrame yarn strands.
- My favorite tool is to use this fur brush.
- The combed strands stay nicely in place with hair clips as you can see.
When it is time to hang the yarn, you have to decide whether you want to use a wooden ring or some type of rod like I mentioned in the materials list above. Simply fold the yarn in half over the ring or the rod.
Keep brushing and adding all the strands to it.

Tying off the head of the long combed macrame yarn

- Here you can see how thick my bunch of combed macrame yarn ended up being.
- I cut another piece of macrame yarn the exact same length as the combed yarn strands (I used 8′) and folded it in half.
- Then I looped it on with a Lark’s Head Knot as shown.
- Now you can push that piece of macrame yarn under the combed bunch of macrame yarn.
- Smooth everything out.
- Use a small unraveled piece of macrame yarn to tie the bunch of yarn together.
- Now it is time to add the embroidery floss which I did with the Gathering Knot Method. Place the yarn as pictured in a loop…
- …and keep wrapping the embroidery floss tightly around the macrame yarn bunch.
- Here you can see the wrapped embroidery floss with the loop at the bottom.
- Thread the embroidery floss end through the remaining loop.
- Pull the top end of the embroidery floss up so the bottom loop gets pulled with the end piece underneath the wrapped embroidery floss.
- Here you can see the two ends sticking out at the bottom and top.
- Trim those pieces as close as possible to the wrapped embroidery floss.
- Now you add additional colors of embroidery floss to your liking the same way as described above.
Inserting the foam balls into the long narrow wall art
When you are done with your row of colored embroidery floss it is time to add a foam ball.

- Use a skewer or drill bit to poke a large enough hole to fit two strands of macrame yarn through.
- You can take the skewer to help push the two center macrame yarn pieces you attached earlier with a Lark’s Head Knot under the unraveled macrame yarn through the foam ball hole.
- Here you can see the foam ball threaded onto the centerpiece of macrame yarn.
- Push the foam ball up on the macrame yarn and under the combed yarn as far as you can.
- Now smooth the yarn over the foam ball on all sides. You might need the help of a comb.
- Take another short piece of unraveled macrame yarn to tightly tie the yarn under the foam ball.
- Then I used the same Gathering Knot Method to wrap the macrame yarn again with more colored embroidery floss.
- You can add numerous variations in length and colors.
Here are the measurements for the combination of yarn, foam balls, and embroidery floss colors that I used for my long narrow wall art tassel.
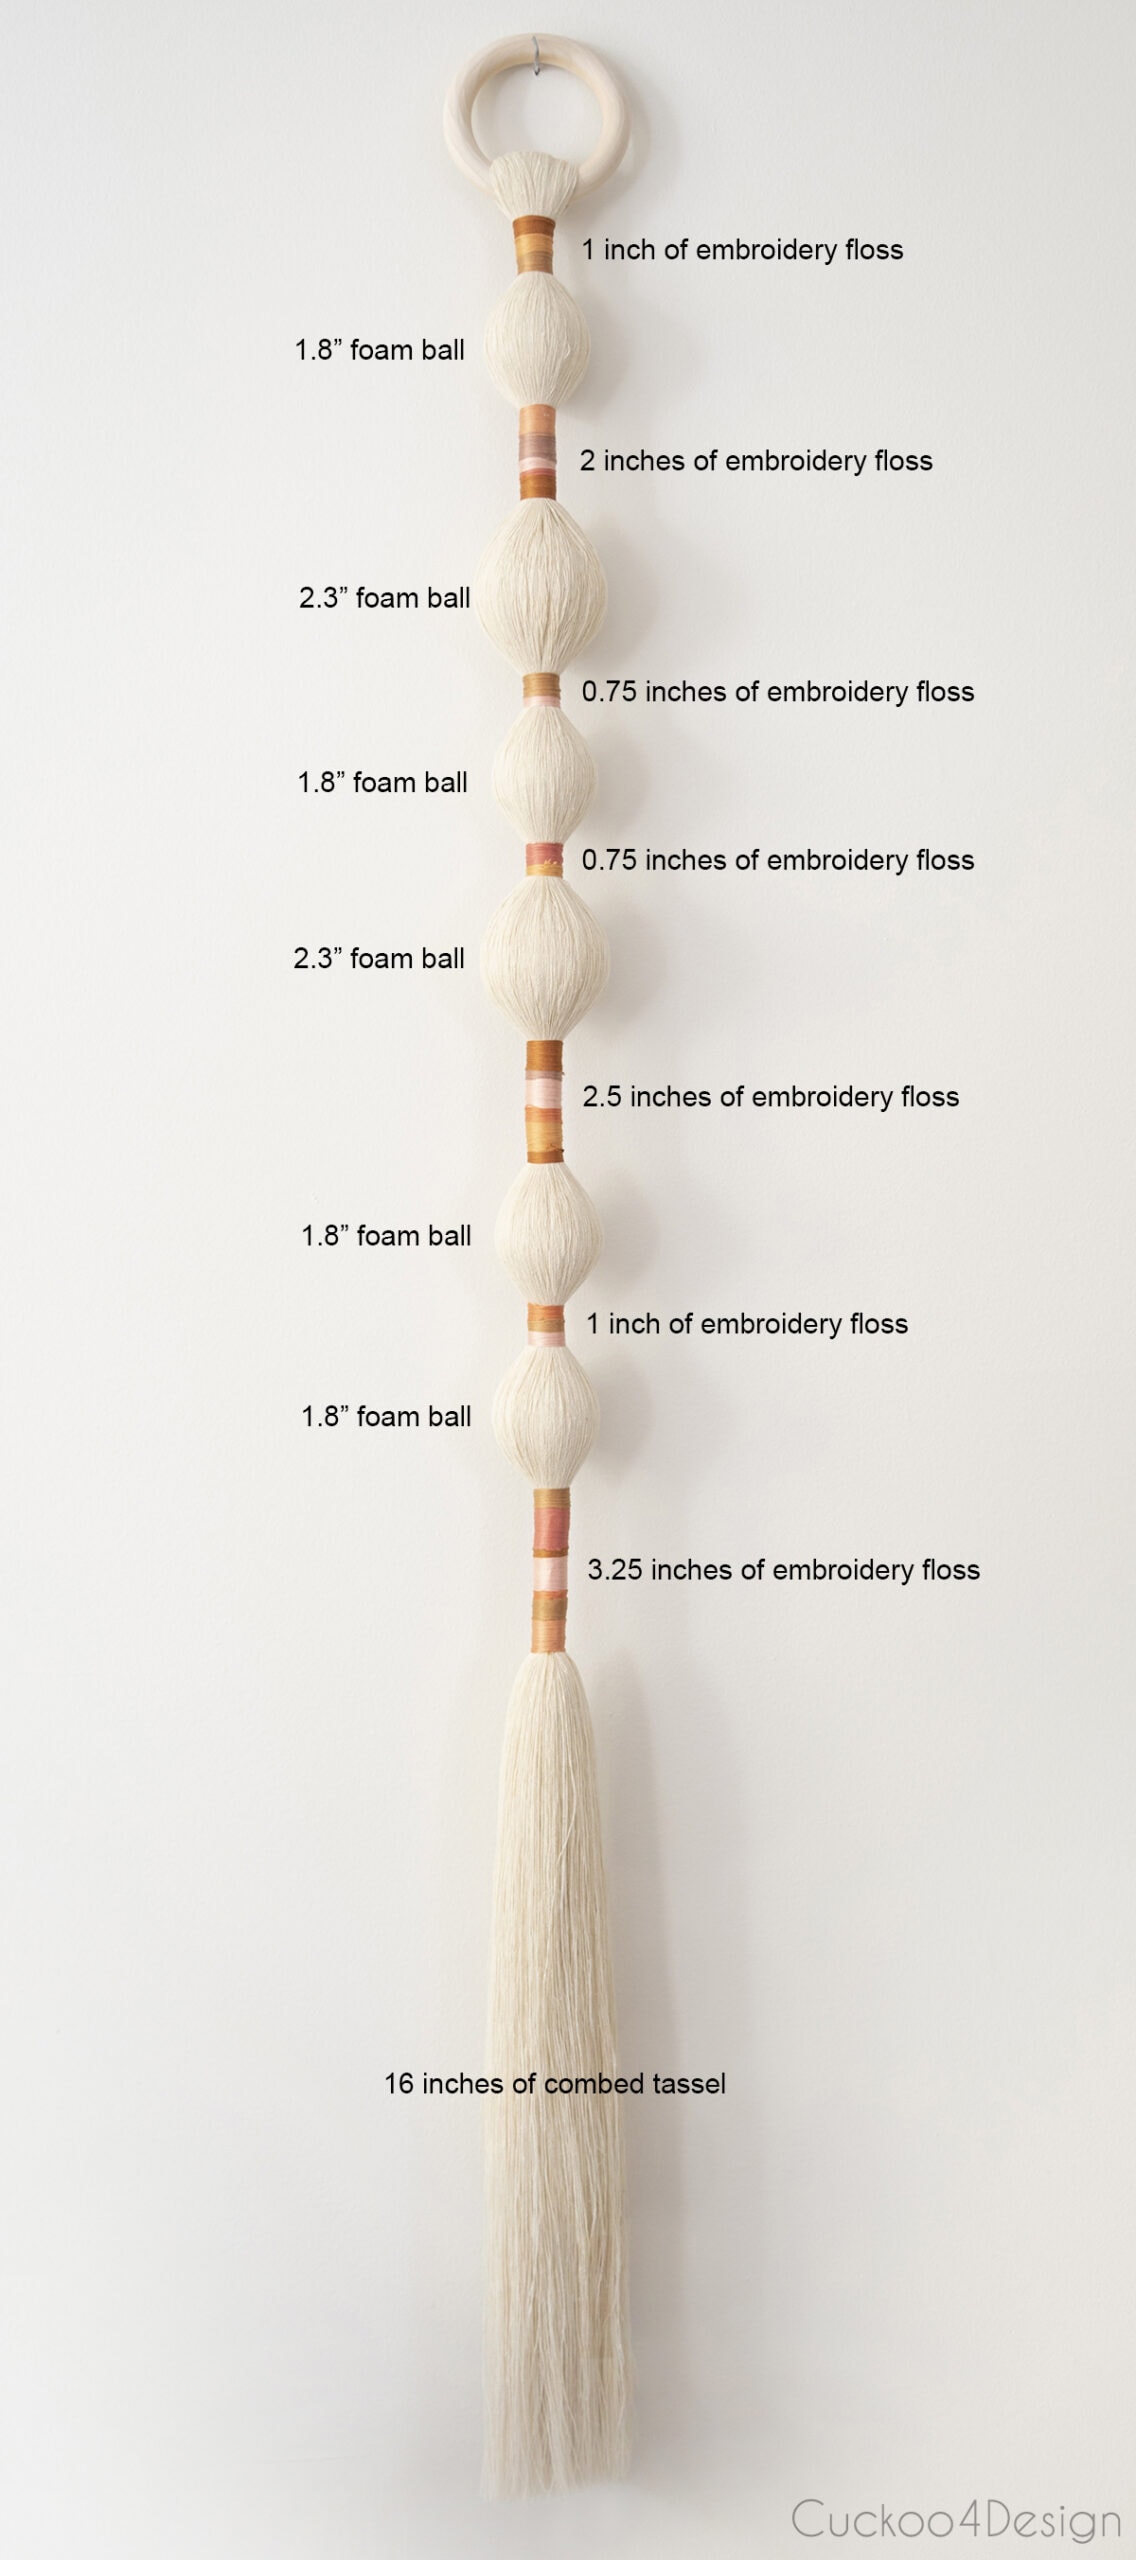
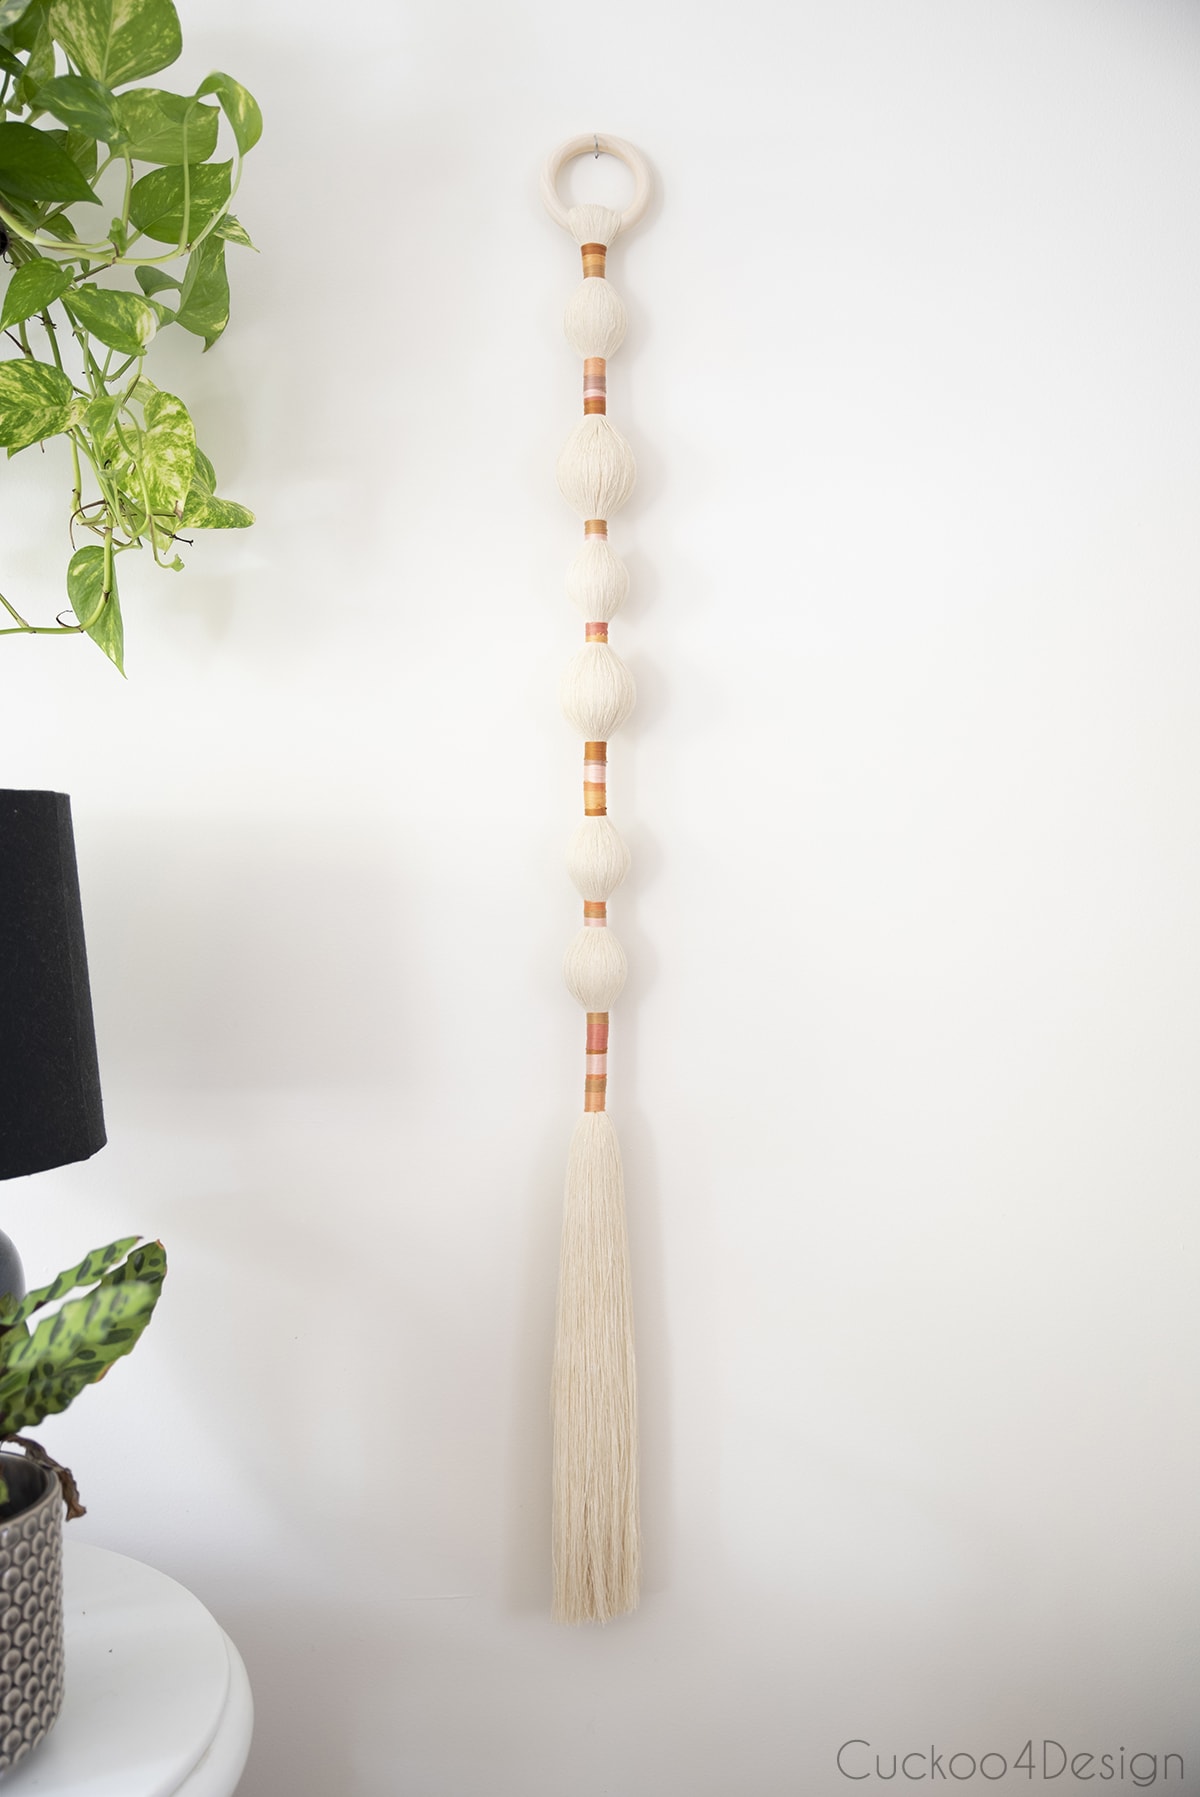
Photos of finished macrame yarn long narrow wall art and other different versions of it
I think a lot of us struggle with how to decorate a long skinny wall? Am I right?
Below you can see the odd narrow wall I talked about at the beginning of this post. I think this tassel is perfect for that spot and not only because it isn’t breakable.

I also love it hanging in our living room…

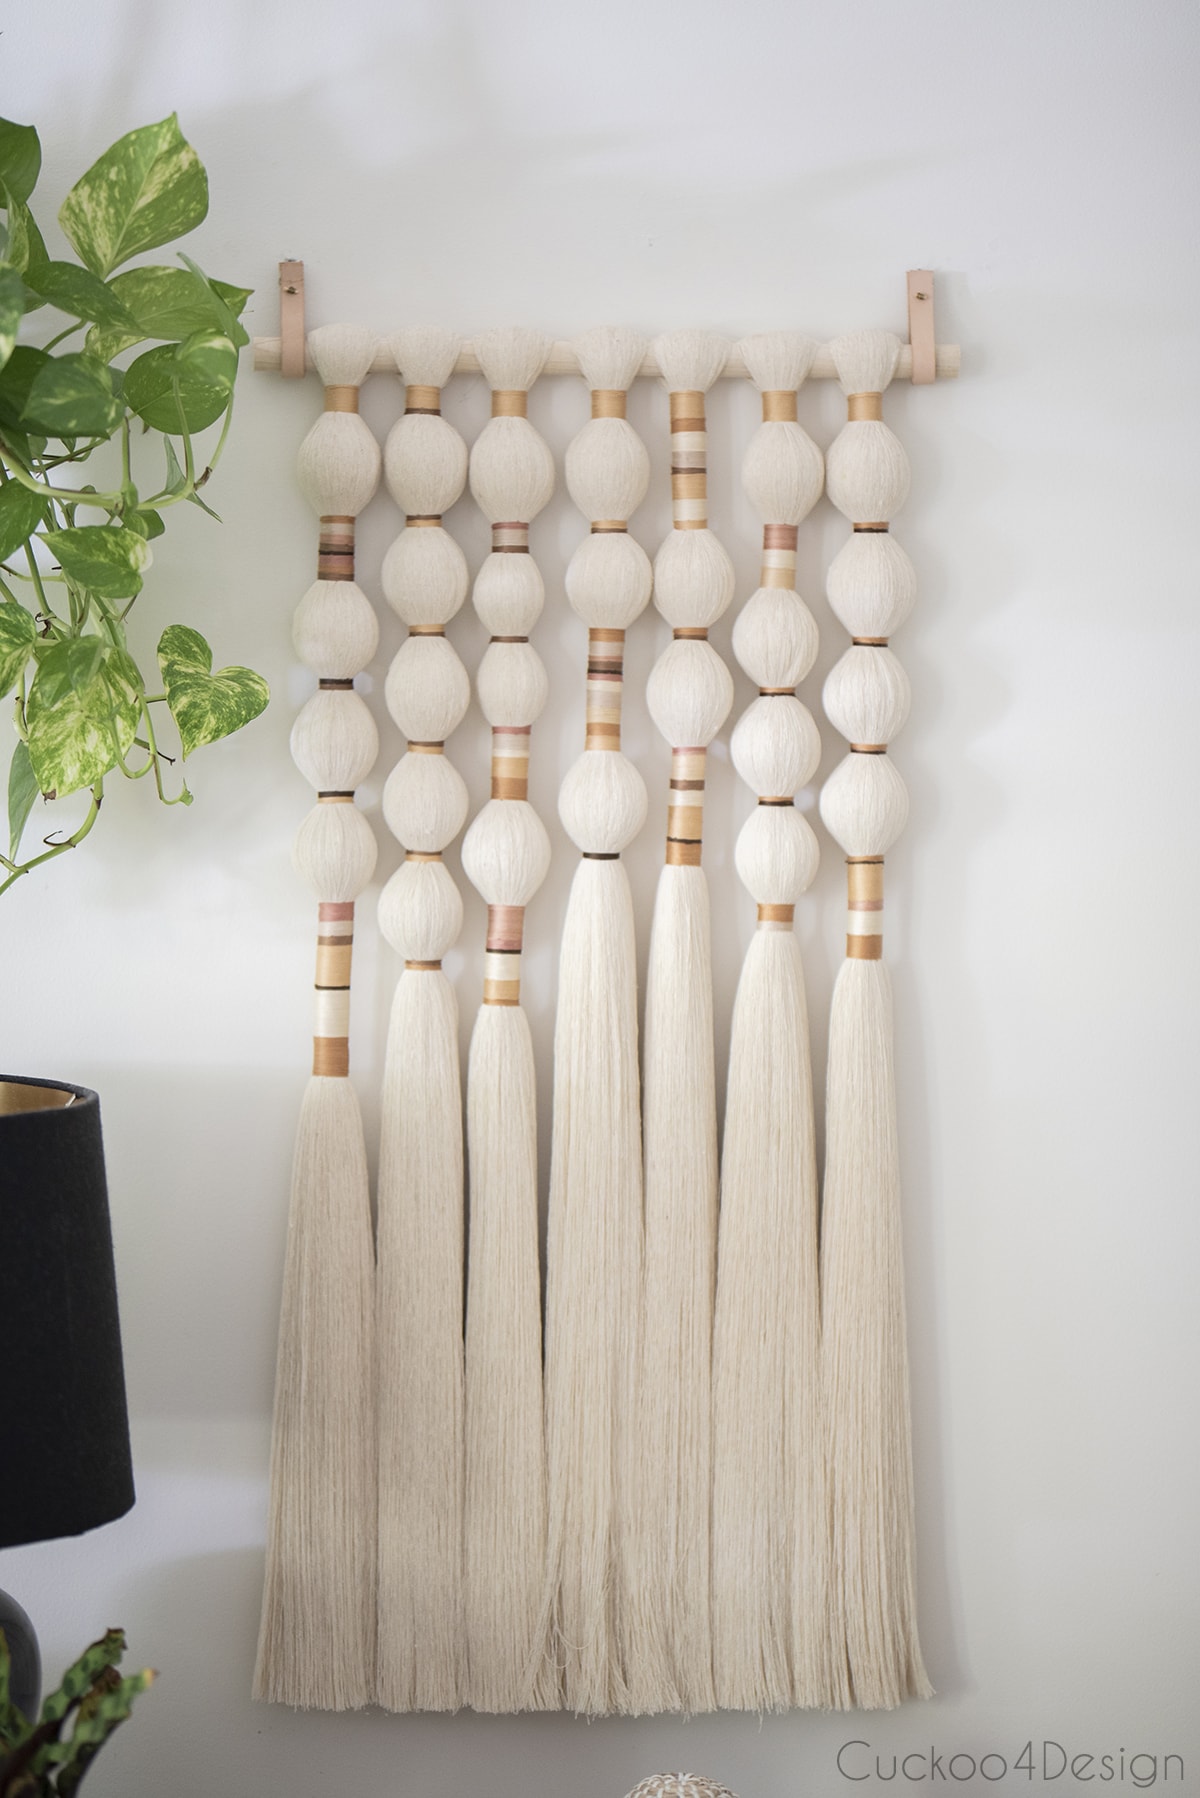
And here is how it would look if you slid different ball and embroidery floss combinations the way I showed you onto a dowel rod. I love it that way! I have a feeling that I will make many more.


The options for this are literally endless and I think it looks lovely either way.
UPDATE: I made the below piece for the living room. It took me a pretty long time but it was well worth it to me.
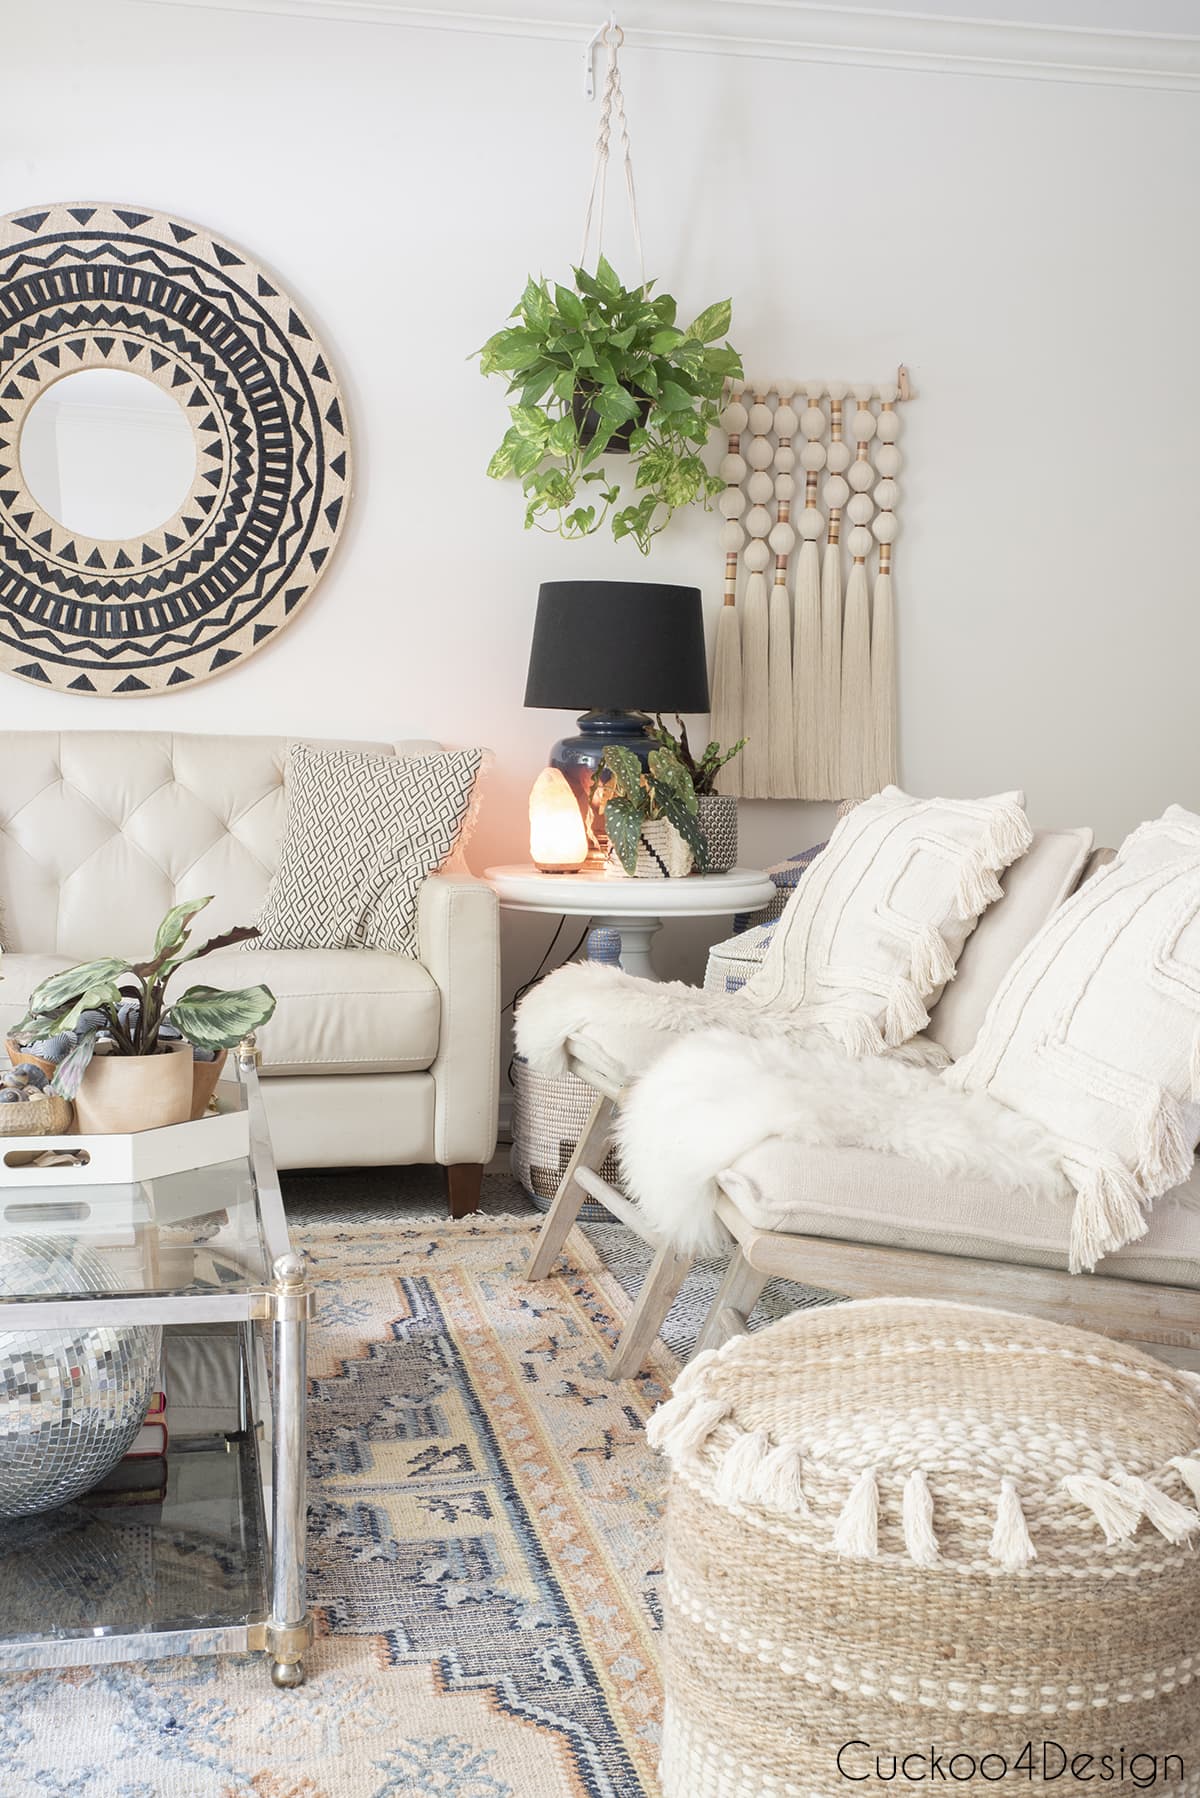
RELATED: You could also use this same tutorial to make a cascading chandelier by hanging these combed tassels from a metal ring.


Where to buy similar wall hangings
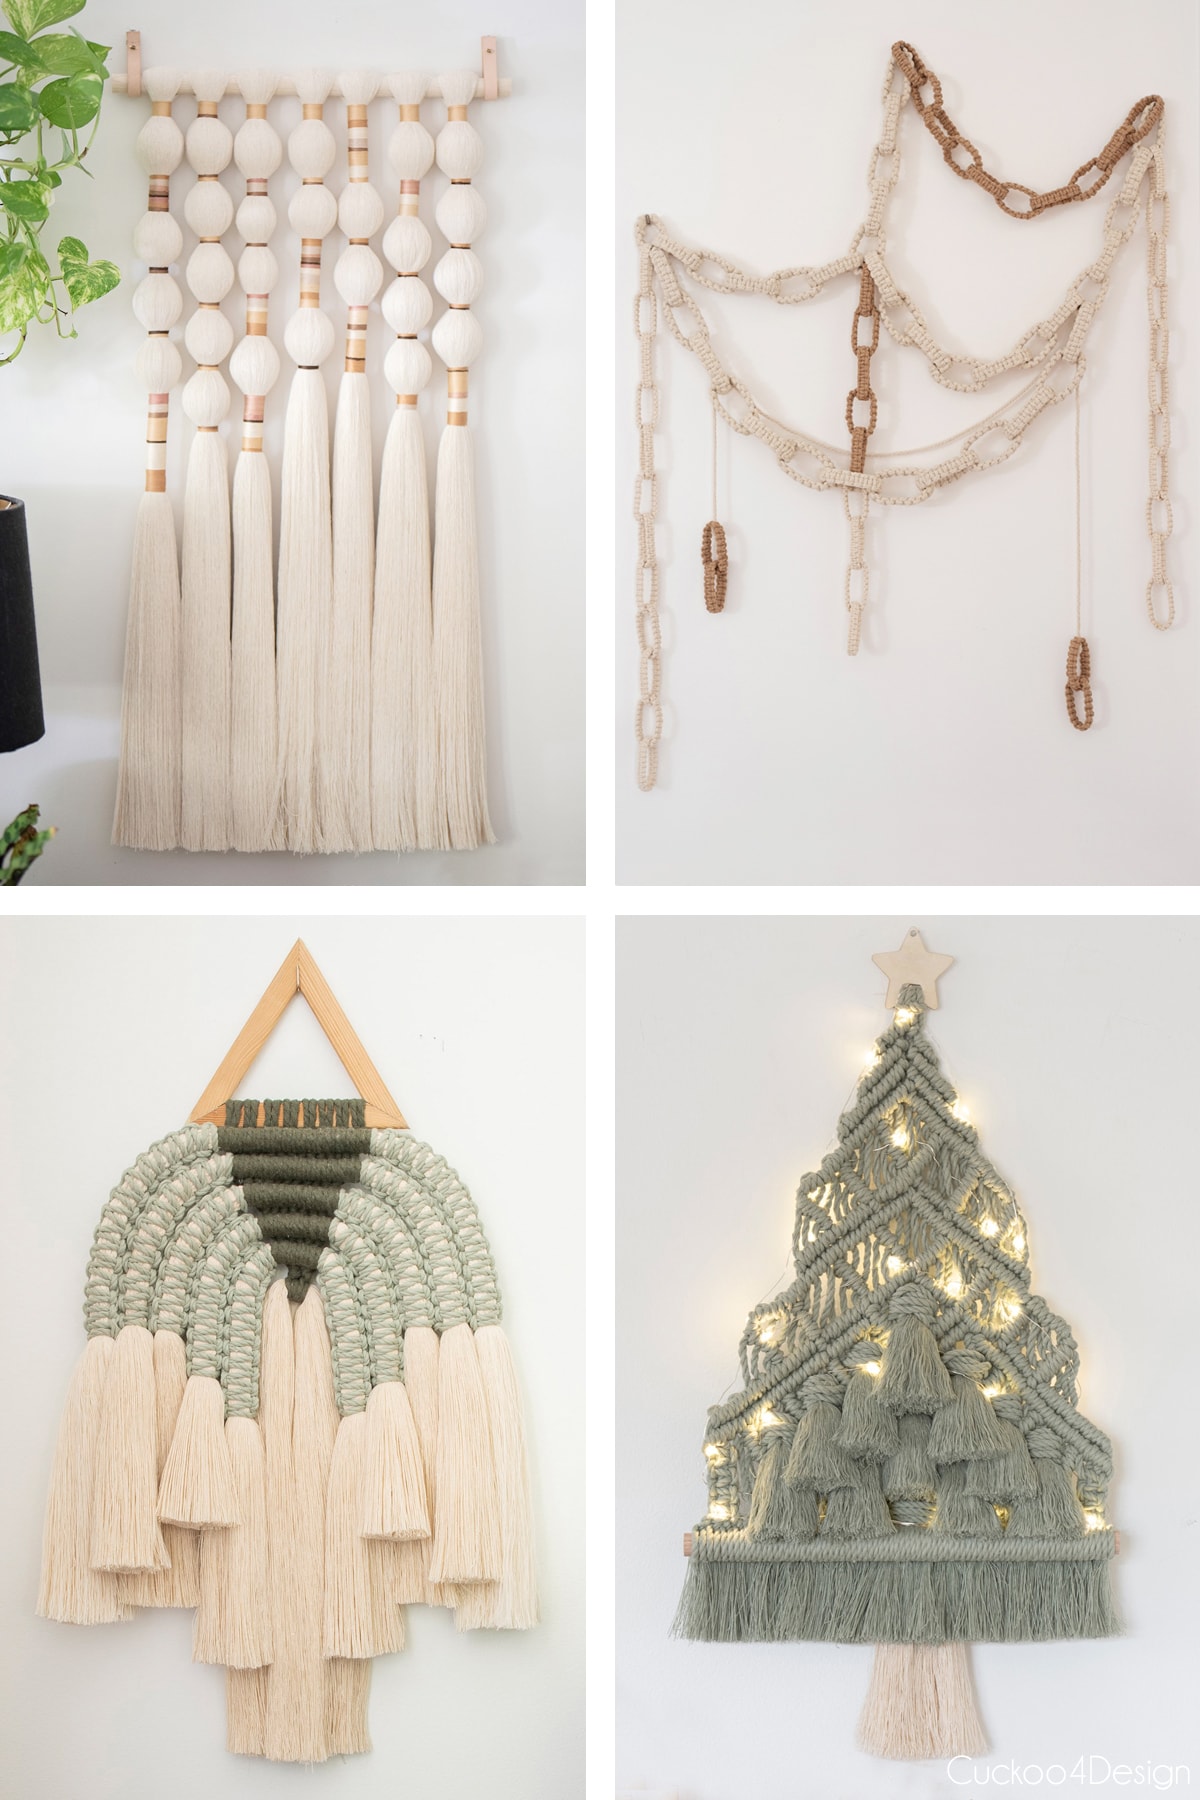
And for those of you who don’t feel like making your own, below are some other versions for sale. I feel like I showed everyone how to make these and suddenly they are popping up all over the place on Etsy. (images take you to the source)
if you love knock-off projects, then also check out my custom acrylic tray using gold spikes and Anthropology lampshade knockoff.
And if you are wondering about the kitties and the yarn, well they are actually leaving it alone and haven’t even been interested once.
Tschüß,


Absolutely awesome!!
Thanks so much Pat!
This is gorgeous! Not my style by any means but my future granddaughter in law would love something like this as well as one of my granddaughters. I’ve always loved these macrame hangings and used to have a few myself when that was my decorating style. I love the bubble look you have crated here and the thread looks awesome in the different colors. Nicely done!
Thanks so much, Shirley. I love that you can appreciate something even if it isn’t your own decorating style. I am the same way.
Funny you say that and thank you! I have a love for decorating and always have! My least favorite style is the mid century modern but I still like aspects of it. I would never decorate that way but if someone else has that style, I certainly would embrace it for them. Very few of us can be that way and I’m glad to hear you are one of them!
I’m wondering about creating a room divider using something like this. It’s an 11’ opening, so I’d have to really plan it out. But in my mind it would look divine! Any suggestions for where I could get inspiration and more info?
Kathy
Oh yes, that would look awesome! I’m not sure if there is more info anywhere but I think all you’d need is making it fit to the 11′. It would however involve a lot of combing 😉
Everybody needs a hobby. 😉
Kathy
Haha, yes!
I love this! Will you put the lengths of the dowel and the colors of the floss you used for the wall hanging next to your plant? I’m happy to buy via your links if they are available.
Hi! I threw most of the wrappers for the colors in the garbage already. I have to see if I can find more info.
Hello, thank you for sharing, did you keep track of how much macrame yarn you ended up using? I’m trying to figure out how much should I buy for my proyect
Hi Lydia, no I didn’t track the exact amount since I also used some of my leftovers. Sorry! What I usually do when I don’t know how much I need is to order several from Amazon and then just return the rest. Hope that helps.
Stunning! I have been thinking about making this myself but had no idea how to tackle it. Thank you!!
Oh, thanks so much! Glad you like it and hope you get to try making one.
Ok, I bought all the materials. I unraveled 12 strands and dipped them in stiffening solition. They are now dry. No comb or fur brush is brushing through this. What am I doing wrong? 😭
Did you get the same macrame yarn as I did? I never had a problem with it but I also only brush small sections at a time. And the fur brush does wonders.
I too am having the same problem. It is very frustrating. What am I doing wrong?
Hi there, I have since figured out that sometimes some of the stiffing solution sent out is more of a decoupage glue which makes the project fail. It happened to me for another project. It has to be starch and not a thick glue-like substance. Hope that helps.
I’ve been scowering the internet for a tutorial on how to make these. I used so many different search criteria. Don’t remember what I used to find you. Yay! So glad I did.
Wondering if it’s possible to buy the Sansevieria fiber all ready to go anywhere on the internet to make things faster and easier. This is another search I’ve come up empty on. I only get the plants as a result. Have you seen any out there?
So glad I found your site. So many new projects on my list now!!
Hi Renee, I’ve searched for the fiber too with no luck. I’d love to know what your Google search terms were that you used to find this tutorial. It’s always the hardest part when coming up with a tutorial because I have no clue what and how people search for things. Especially when they are something new that nobody has done before.
Thank you for this tutorial.
Glad you like it!
This is absolutely awesome. Thank you so much for sharing your wonderful job, you are very generous person. It is totally my style and I will be trying soon.
Thank you and good luck with your project.
Hi Julia,
This is gorgeous! You did an incredible job! Thank you for sharing this project with the rest of us!
Thanks Paolina! I’m glad you like it
Hi what did you use (those pink straps)to hang it on the wall
So naturally gorgeous. Thank you for taking the time to show us in detail, very nice of your and very much appreciated. I can’t imagine mine looking as good but will give it a go.
Thanks, Sheryl and good luck with your project.
Hello!
I’m so glad that I found your blog! I am wondering approximately how long it took you to brush each strand? I feel like it takes me FOREVER! Even with the stiffener they seems to still twist up again no matter what I do. Do you have any tips or tricks beyond what you have in your instructions? I think I may be missing someone 😂 Thanks for sharing your talent with everyone!!!!!
Hi there, you can try to use a hair straightener for all of it. Sorry it’s causing you issues.
I’ve discovered that wetting each cord with plain water helps the strands to separate beautifully – using mostly just my fingers (and sometimes a comb)! I haven’t combined all 12 cords yet but I’m thinking that I’ll re-wet the strands once I combine them to get them to all play nice. I’m using NOANTA 4mm cord that is 4-ply (from Amazon). It separates into 4 strands, and then each strand separates into 11 strings for a total of 44 strings per cord.
Hi Robin! That’s interesting because water hasn’t worked for me at all. It always tangled more for me. It is always trial and error and I love to hear what works for others.
I should have read the comments. Wasted a whole day pulling apart strands and dipping them in the stiffening solution just to have them stuck and impossible to get apart. I used your exact materials!!!! Errrrrr.
Hi Zane, if it is true starch that you received it shouldn’t happen. I know plenty of people who successfully recreated this wall hanging with my instructions. However the one time I reordered the stiffening spray they sent me a solution that was like decoupage glue and not a starch stiffener. This would make it impossible to brush the strands. So I’m not sure if that maybe happened to you as well.
Hi, did you use the 12-8ft strands for just the narrow piece?
Hi there! Yes just for one narrow piece. If you make a large one for the living room as I did with several narrow pieces stacked on a rod then you need a lot more.
I found large spools of cotton yarn that’s very thin ( not the kind that you crochet with) but very thin almost like thread. Would that work out the same instead of dealing with macrame ?
I think it could work yes. Good luck