

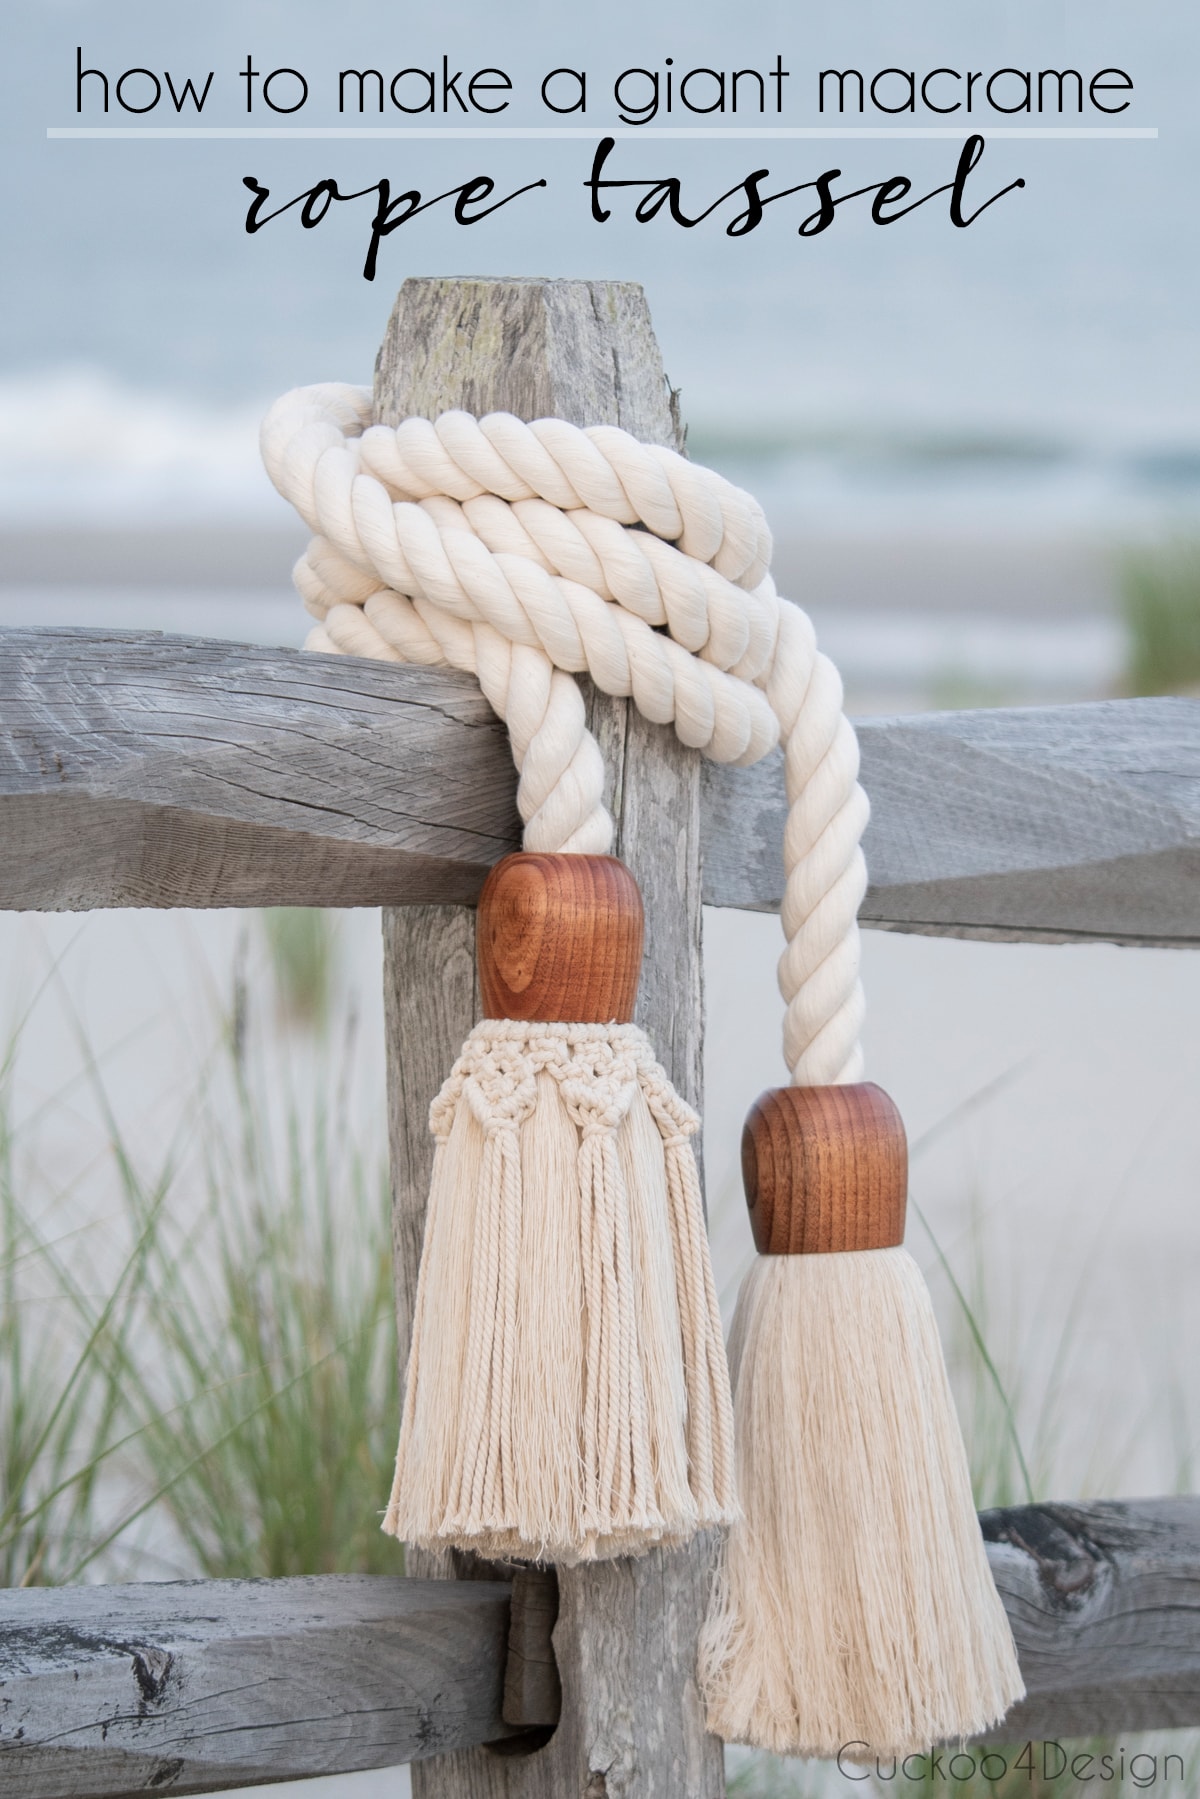
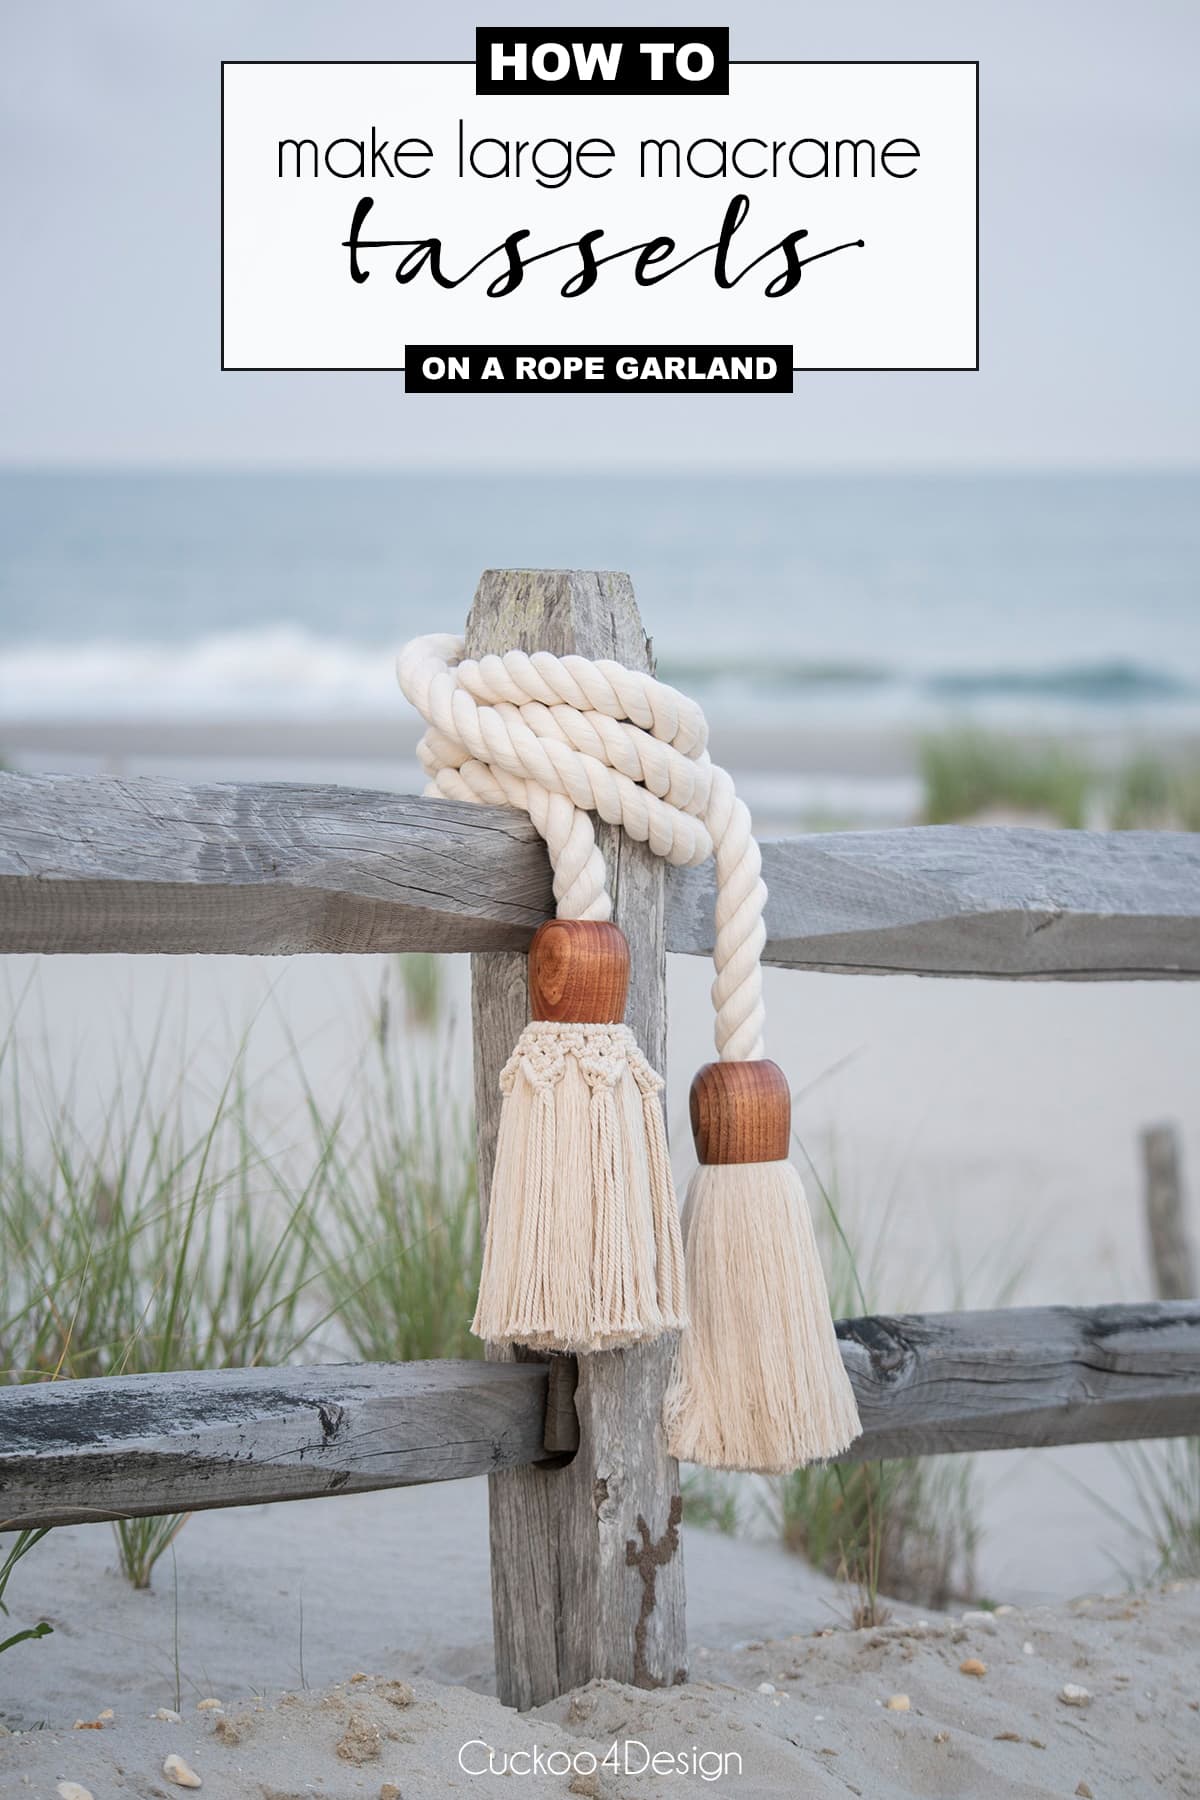
How to make a giant cotton rope garland with macrame tassels
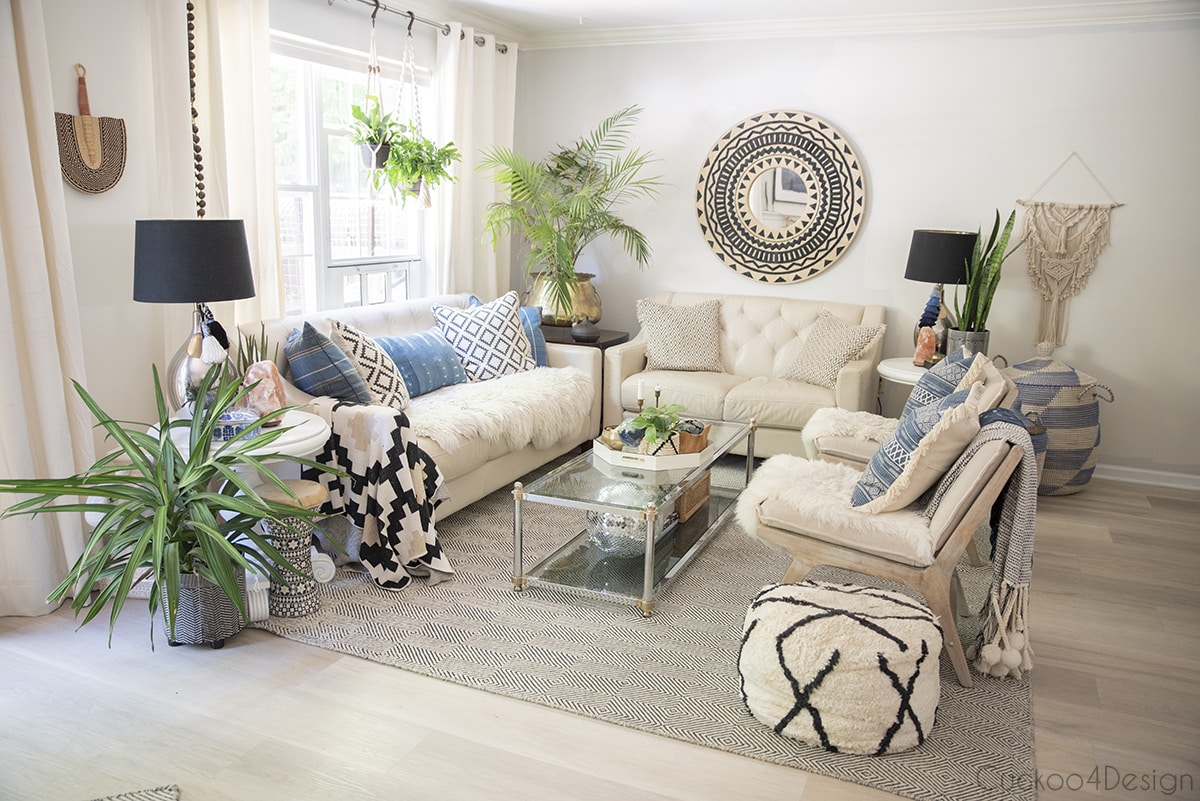
Man did I struggle with how to name this craft project again today. Is it a garland? A railing? Or just giant macrame tassels hanging on a thick white cotton rope garland? Well, it’s all the above and then some. Wouldn’t you agree? I thought I’d originally hang this giant rope garland with macrame tassels around my huge brass pot in the living room but since I’m at the beach right now, I couldn’t even see if it will fit. Haha! Guess I have to wait until I get home and maybe trim those tassels up a bit more.
How to make a giant cotton rope garland with macrame tassels
This post may contain affiliate links from which I will earn a commission at no extra cost to you. View my full disclosure policy.
Supplies needed
- 1.25″ thick cotton rope (I bought 10 feet of twisted cotton rope)
- macrame cord (make sure you buy macrame cotton rope as I did so the texture all looks the same)
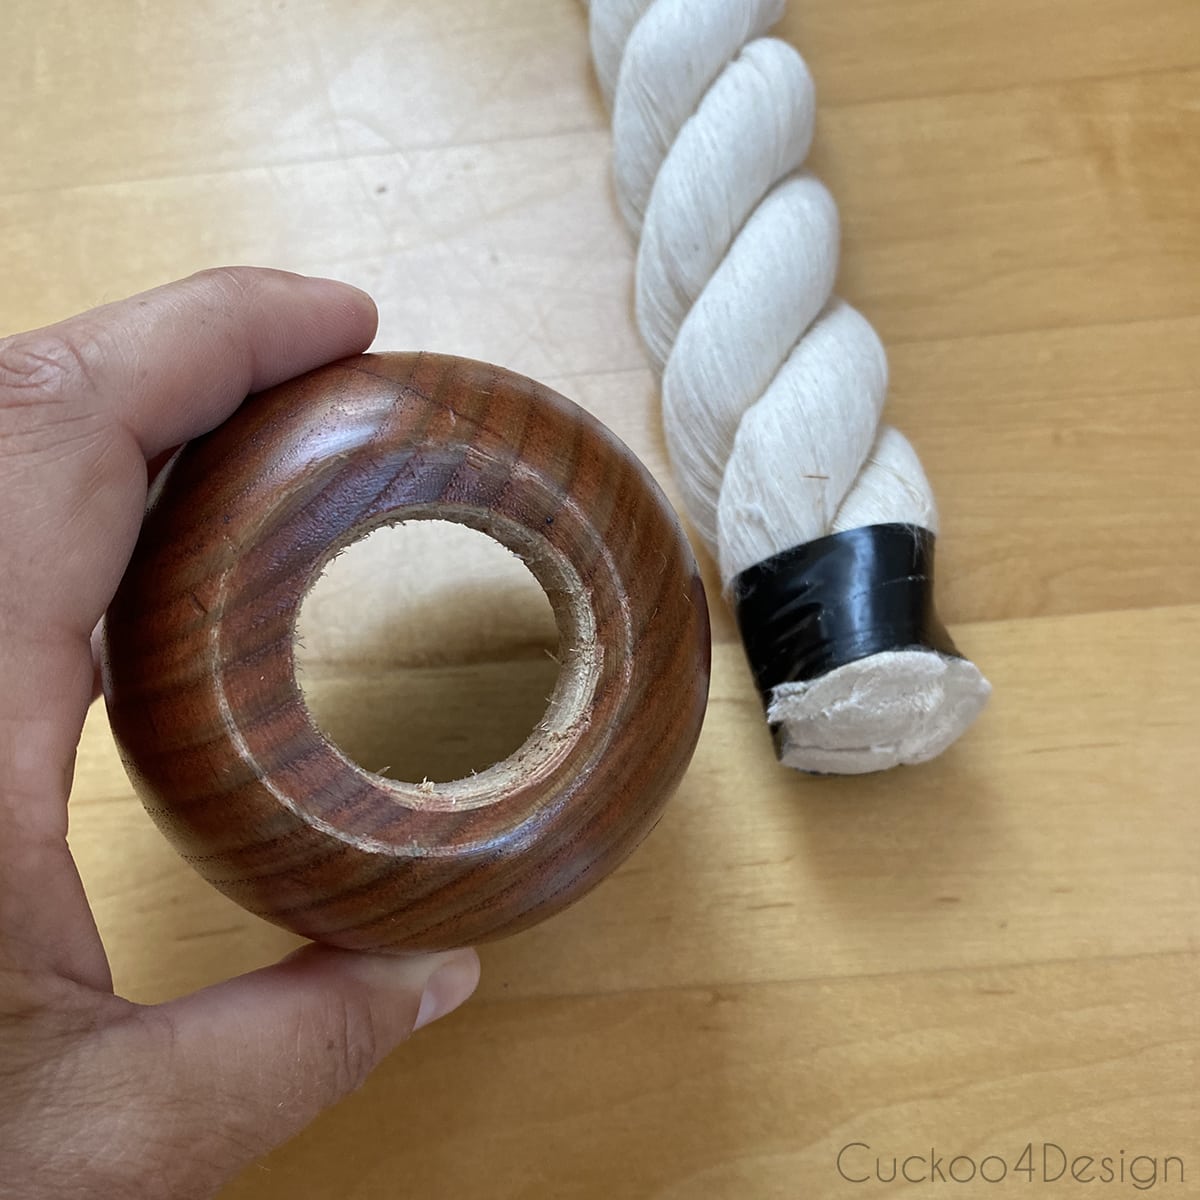
- 2 wooden cups
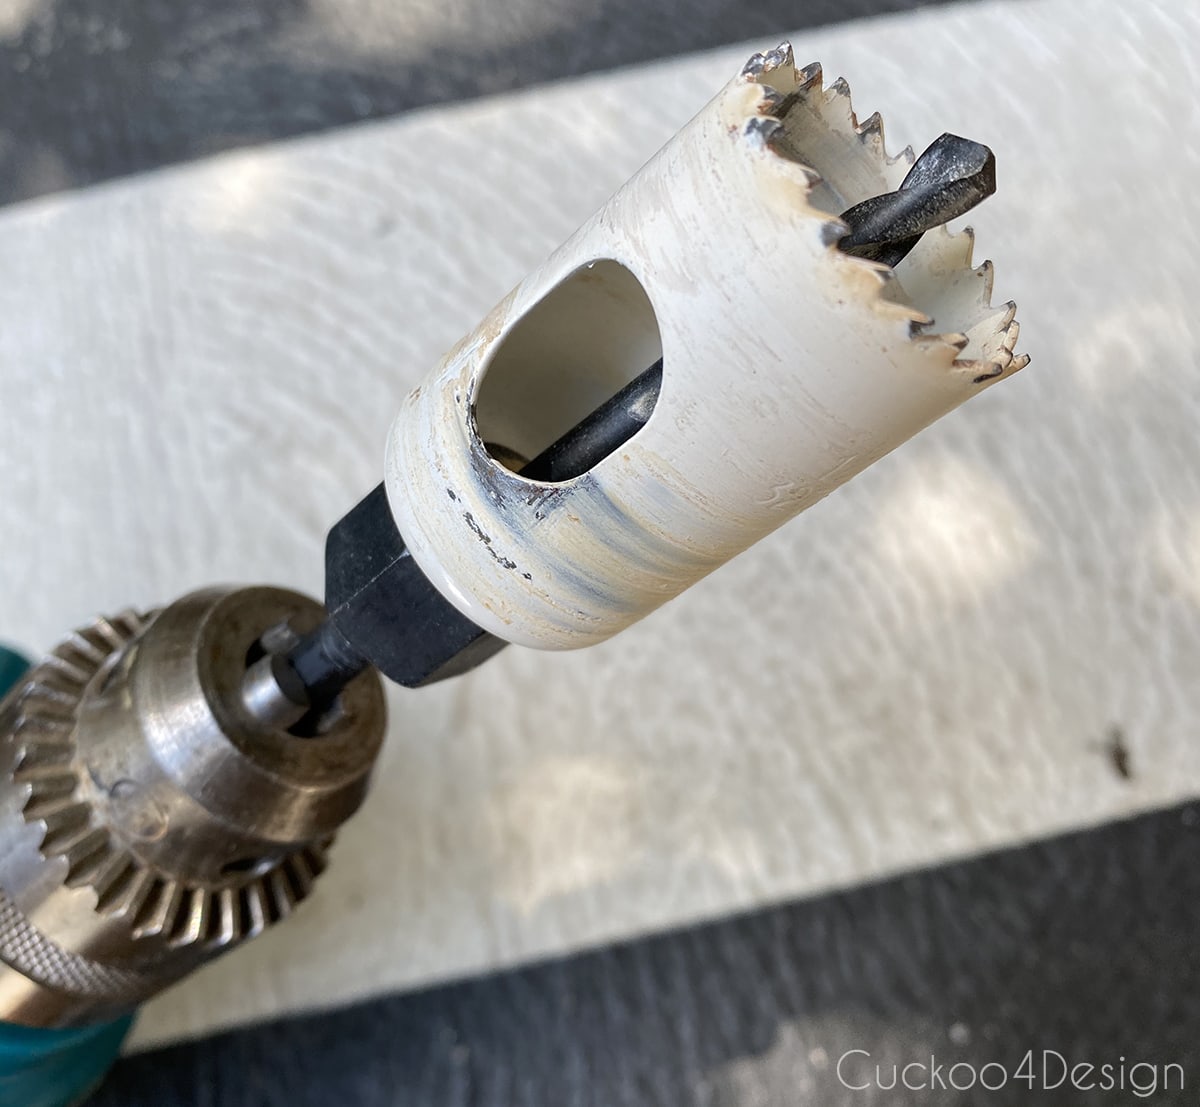
- 1-1/4-inch hole saw drill attachment
- fabric stiffener
- tape (electrical tape, duct tape or packaging tape)
- comb and brush
- sharp crafting scissors
- drill
Video tutorial
Use the triangle on the image to turn on video. If you are on a cellphone or other device, turn it horizontally for better viewing. and if you watching it on a different device than a computer, then hold it sideways for better viewing)
Instructions for making the huge macrame tassel
When I came up with this macrame tassel idea, I didn’t really know how I would accomplish the project that I saw in my head and I ran into some issues until I knew exactly how to do it. That’s why the one tassel is finished already in the below photos and I’m showing you what I exactly did with the second tassel.
Drilling the cup holes for the macrame tassel
TIP: You can actually skip the cotton rope too and just make the macrame tassels with the cups and macrame yarn. Just make sure you drill a small hole into the cups and add thin yarn instead of the thick rope. That way you have single tassels to hang somewhere without the heavy and thick cotton rope.
The hole saw drill bit is for drilling holes into the bottom of the wooden cups. You attach it to the drill as you do with any other drill bit.
When I drilled the holes into the cups, I actually ended up holding the cups between my feet standing. I had to put sneakers on to be able to get a good grip on the cup and stop it from spinning with the drill. You can put the cup into a vice too but I didn’t want to risk getting marks on the wood which is why I didn’t do that.
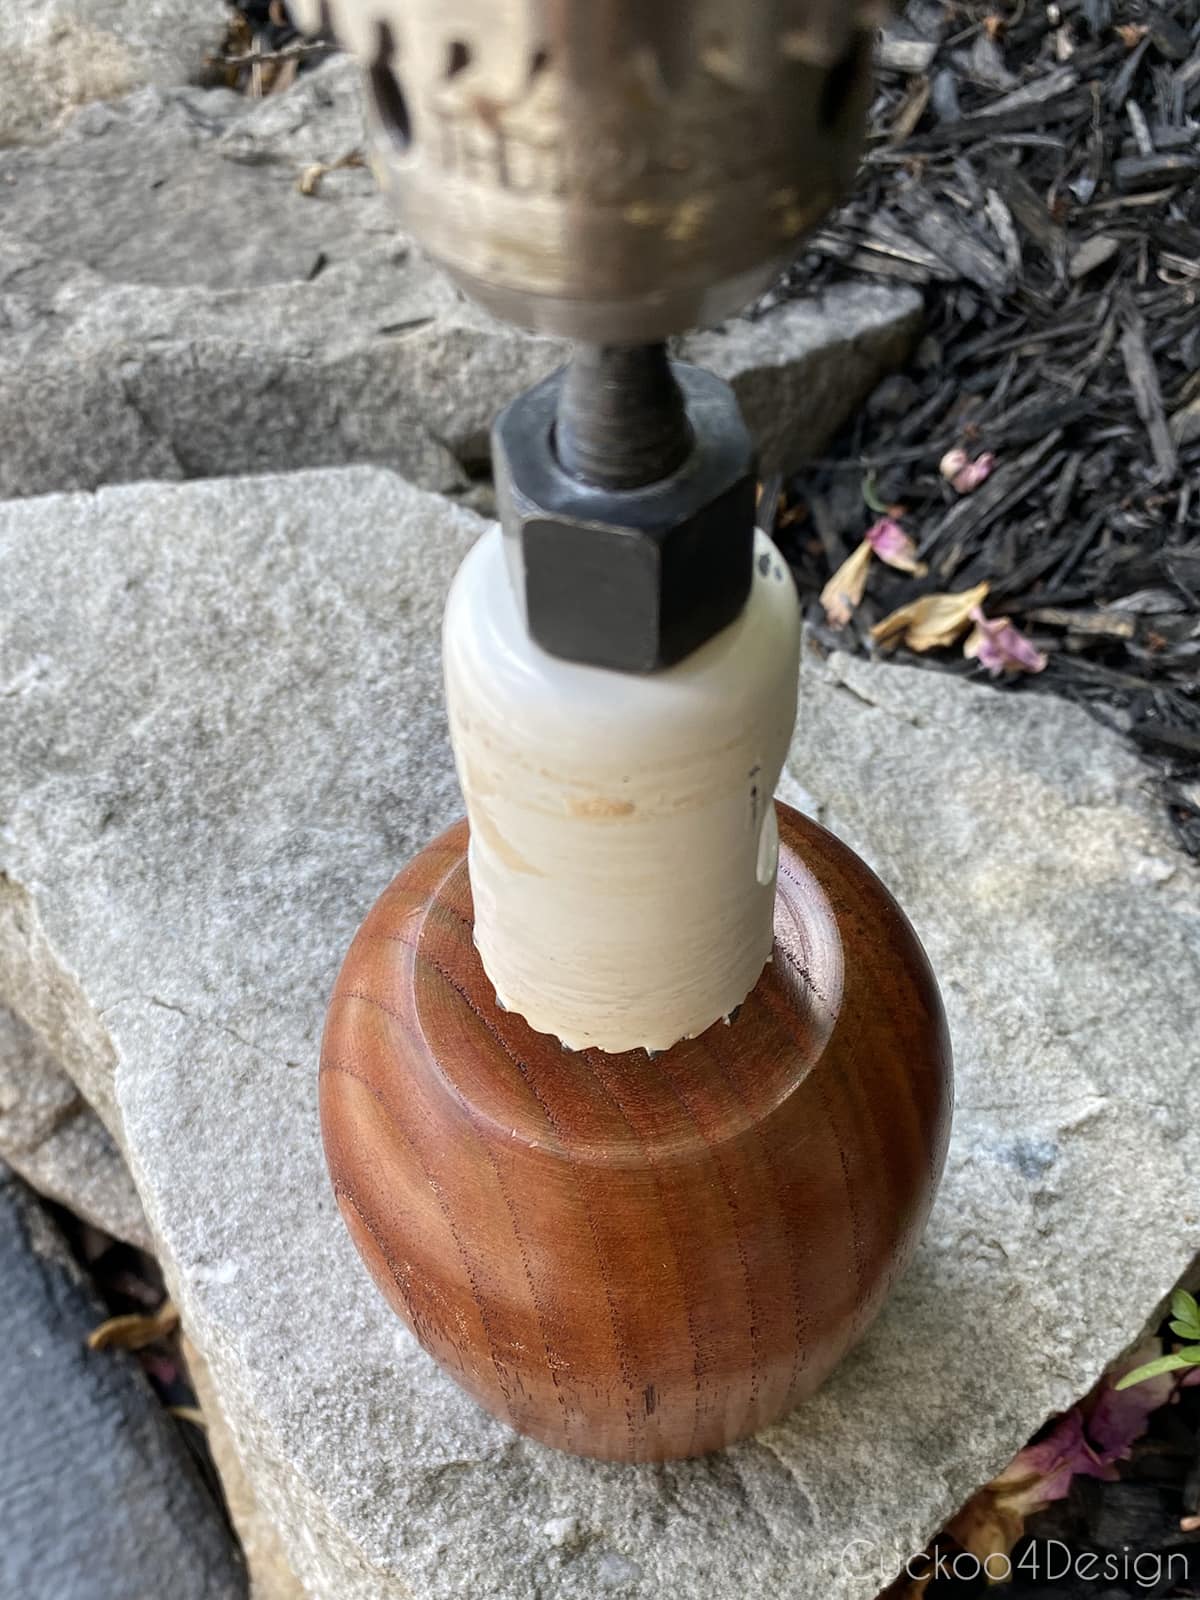
The holes accidentally ended up being slightly off-centered even though I started out with the center. In the end, it didn’t matter because you can’t tell at all.
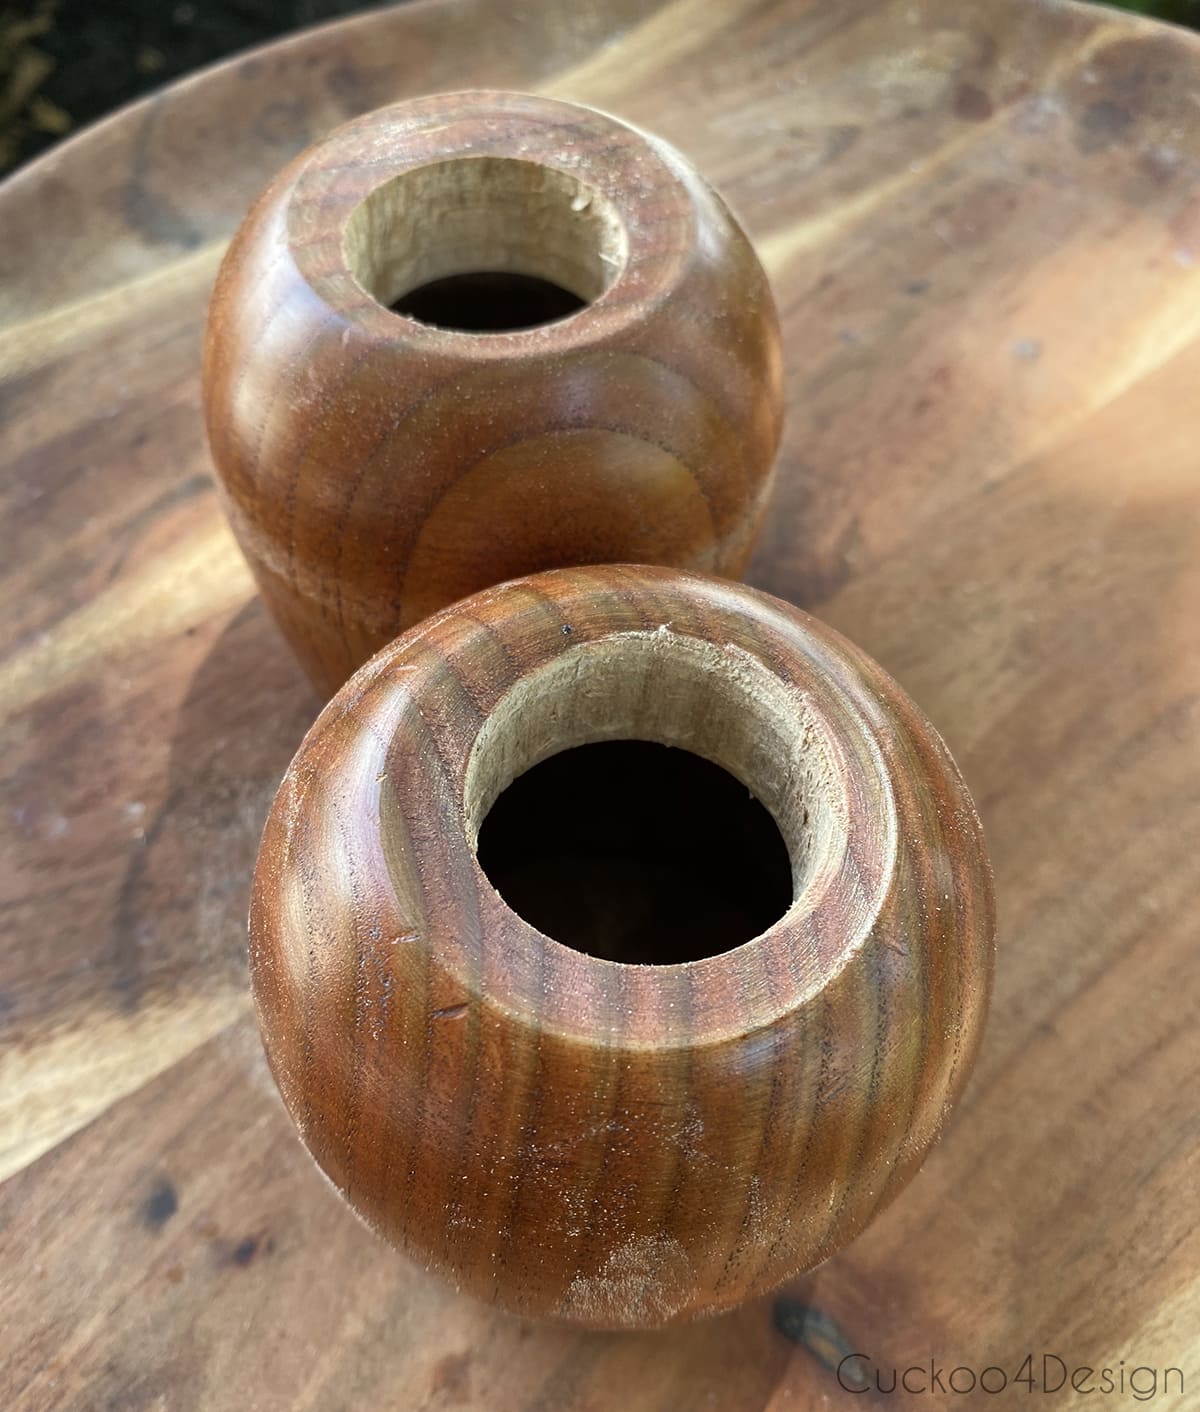
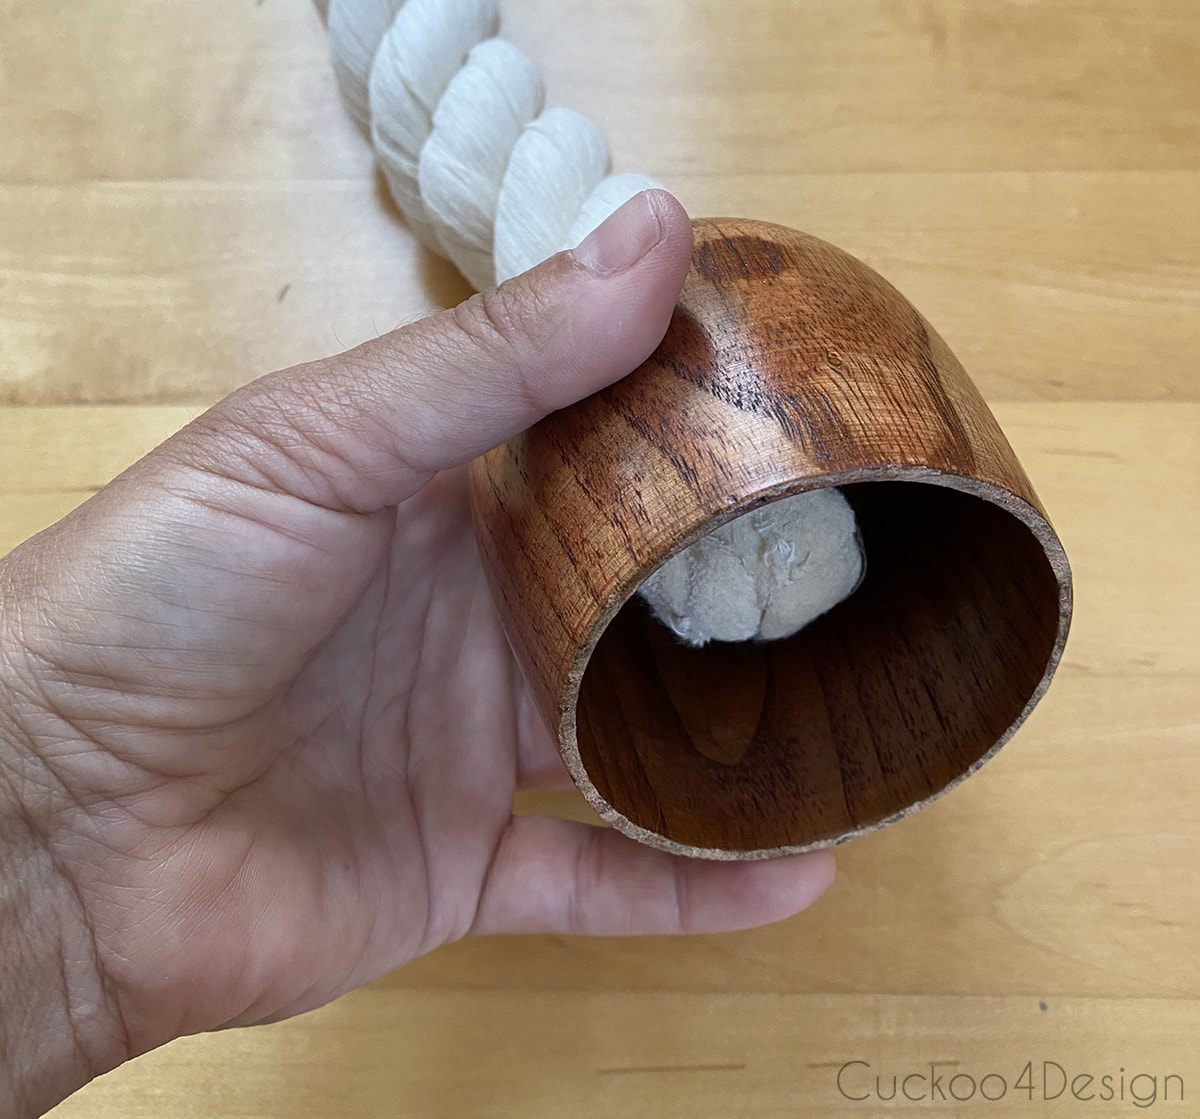
The thick twisted white cotton rope fits exactly through the 1.25″ hole. It’s a nice tight fit and you have to twist the cup around the rope to move it up. The cotton rope comes with electrical tape tied around the end to prevent it from unraveling. Make sure you leave that on until you are making the tassels to avoid issues.
Creating the large macrame tassels
Below you can see the one finished tassel and we’ll get to the macrame part further below.
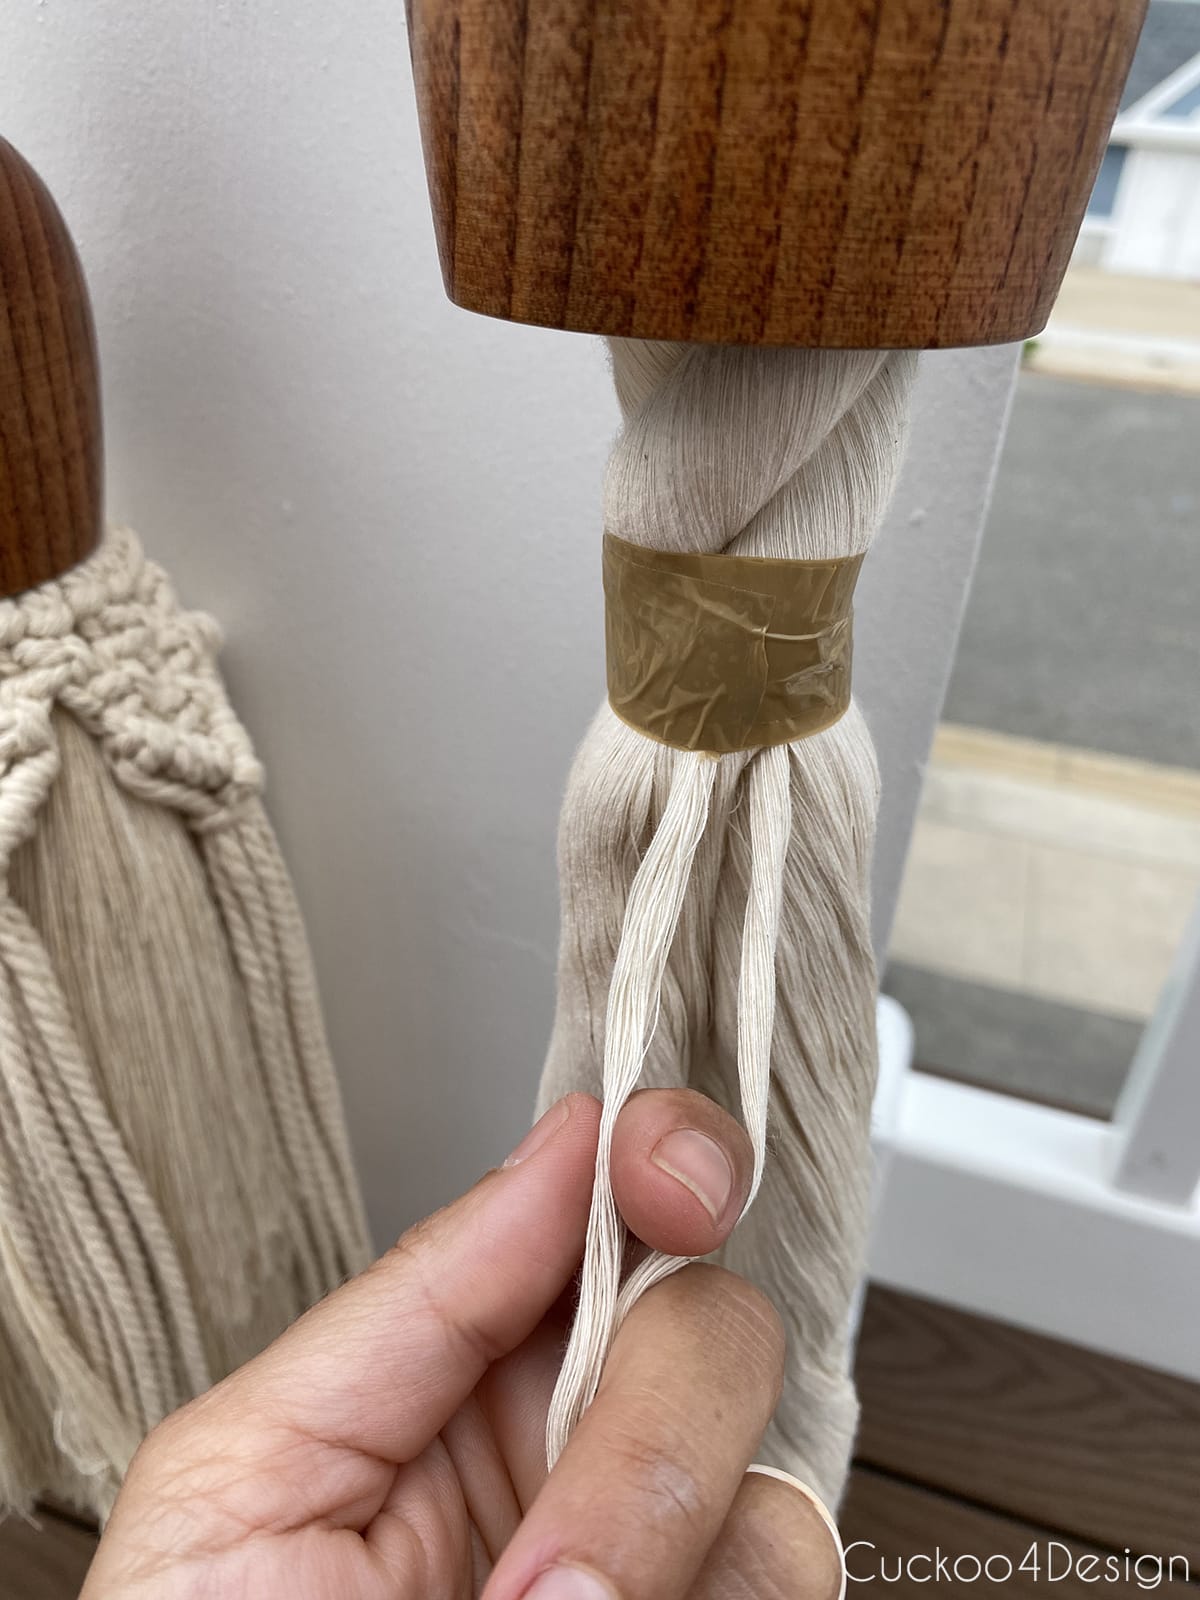
Move the wooden cup up higher than the desired tassel size. Then use some tape to tightly tape off the rope where the cup hole will be. Make sure that the tape is the same height as the cup bottom thickness which is about 1 inch. You’ll know what I mean once you pull the cup back down. I had some of the tape showing at the top and had to recut the tape to hide it.
My cotton rope length from one taped area to the other is about 10-11 inches.
Now it is time to open up the bottom part of the cotton rope by removing the black tape and unraveling the yarn all the way up to the part where you taped the rope.
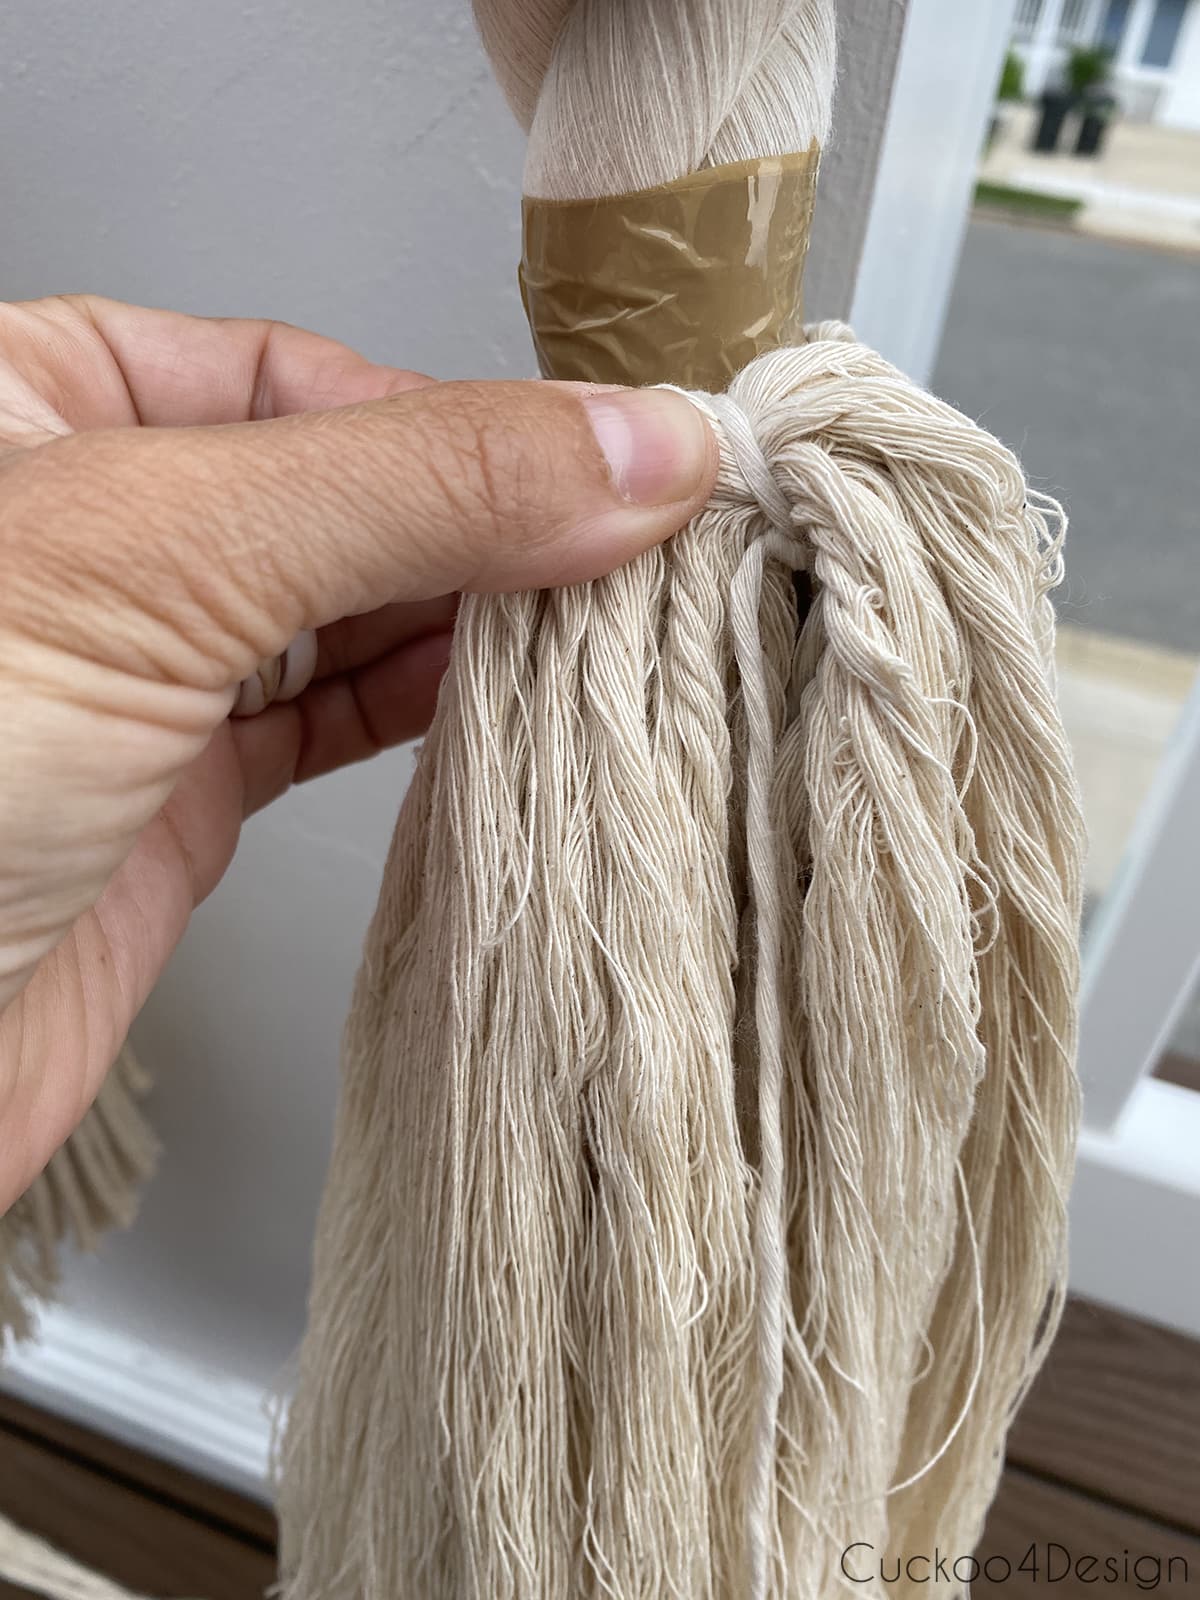
Then I sectioned off small parts of the rope and started tying knots at the bottom of the taped area.
You don’t have to make it look pretty. This will all be hidden by the wooden cup. The purpose of knotting the yarn is to avoid the rope from unraveling in the future should the tape fail and to create a ledge for the cup to rest on when pulled down.
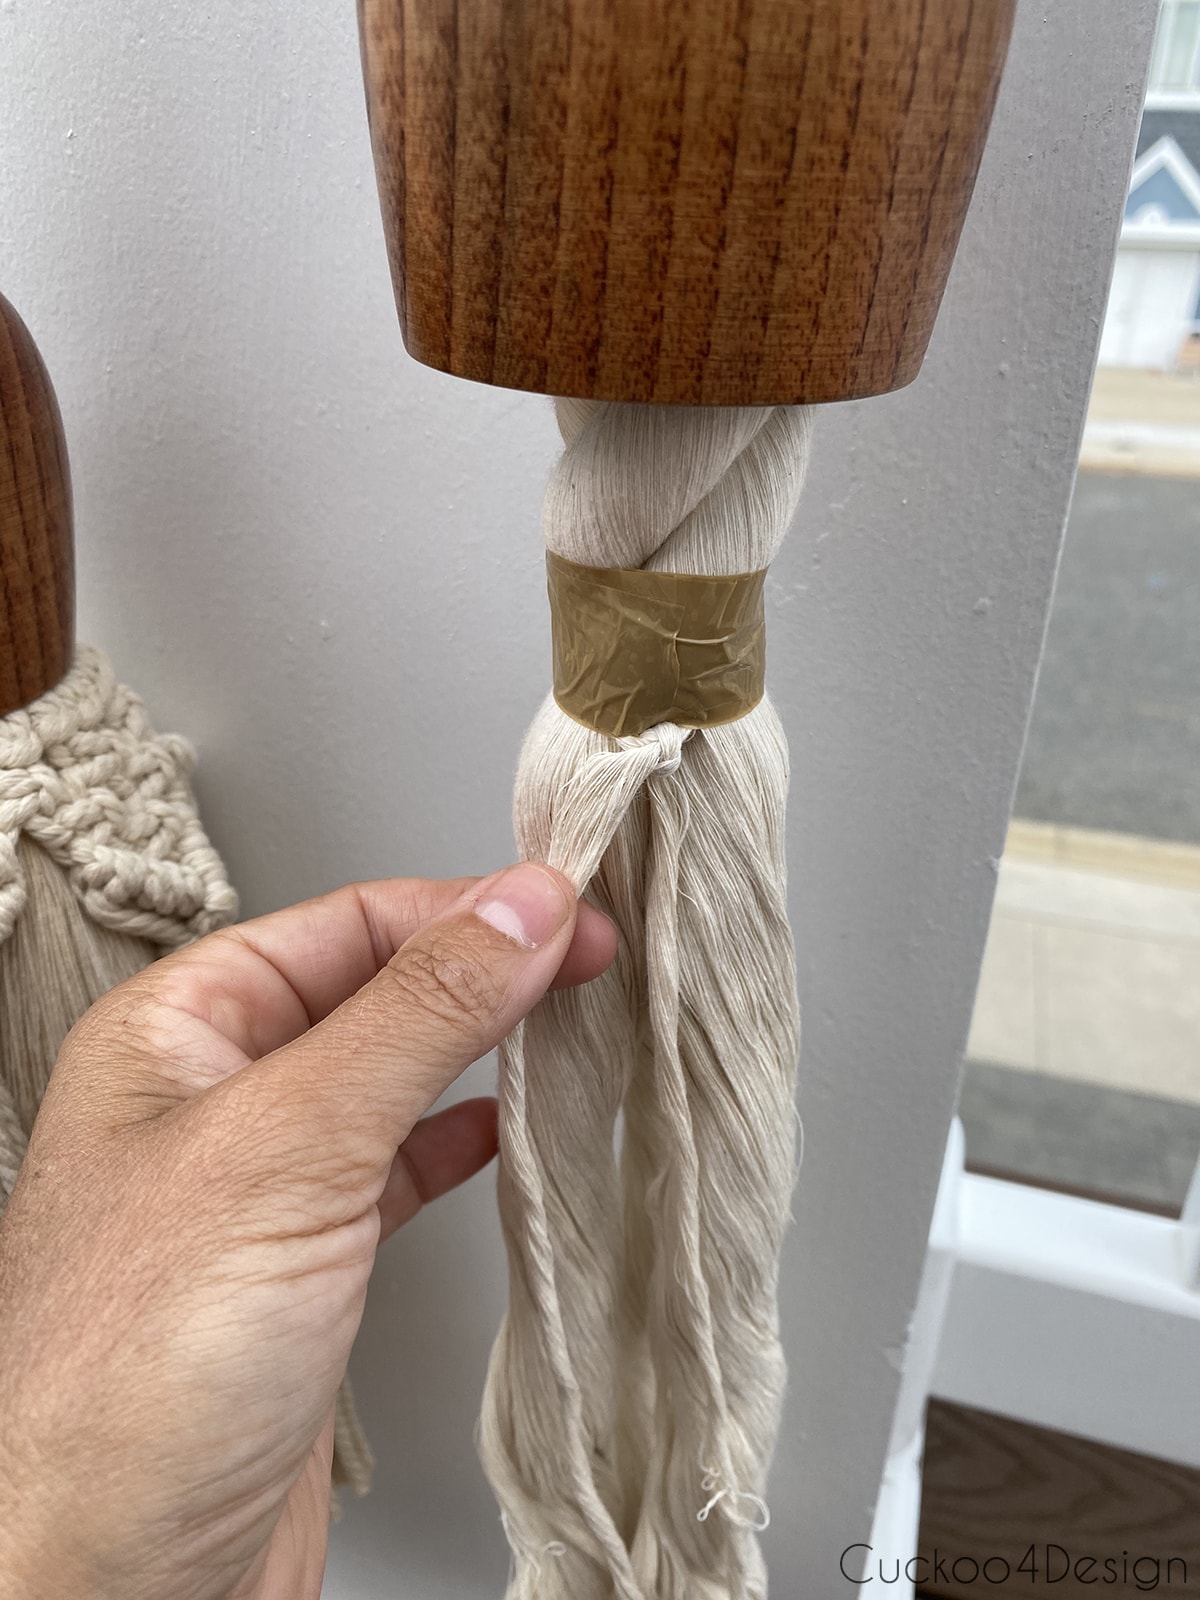
See below how I kept tying knots around the perimeter.
For the bottom fringe part of the tassel, I cut macrame yarn into 20-inch pieces. I ended up cutting way more than I even needed because I didn’t know how thick I wanted the tassels to be.
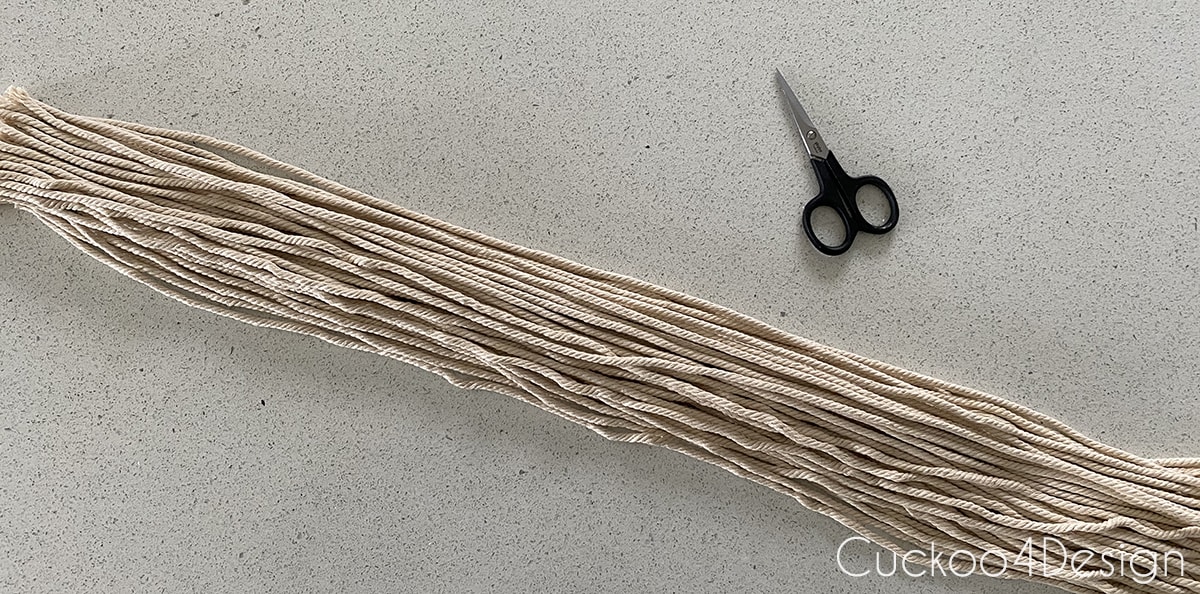
I unraveled all the yarn and straightened it ahead of time. This is the step that I suggest not to do ahead of time because it wasn’t easy to separate in the end. When I want to straighten the macrame yarn after unraveling, I dampen the macrame yarn with the fabric stiffener, comb it and dry and straighten everything with my hair straightening iron.
This can be a very timely and tedious process and if you don’t feel like doing it, you don’t have to. You can just leave the macrame yarn twisted and skip straightening it altogether.
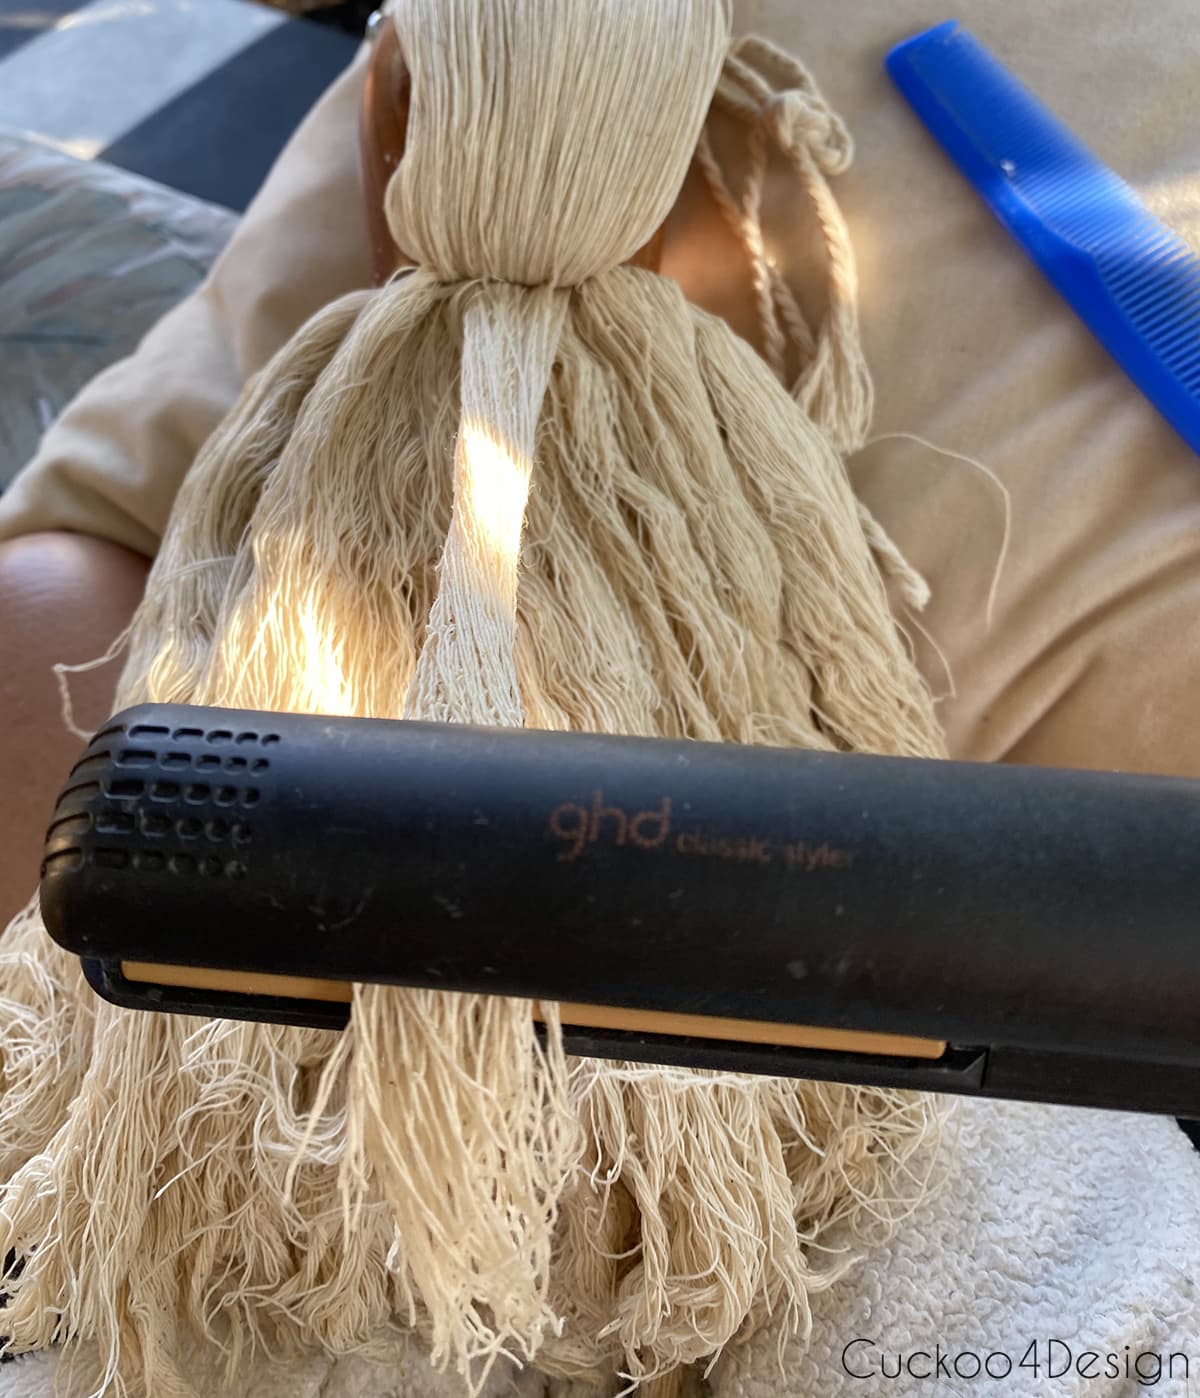
I like the look of the macrame yarn unraveled and straightened because it matches the yarn of the cotton rope. I love using the below brush (HERE) to comb large areas. It works really well.

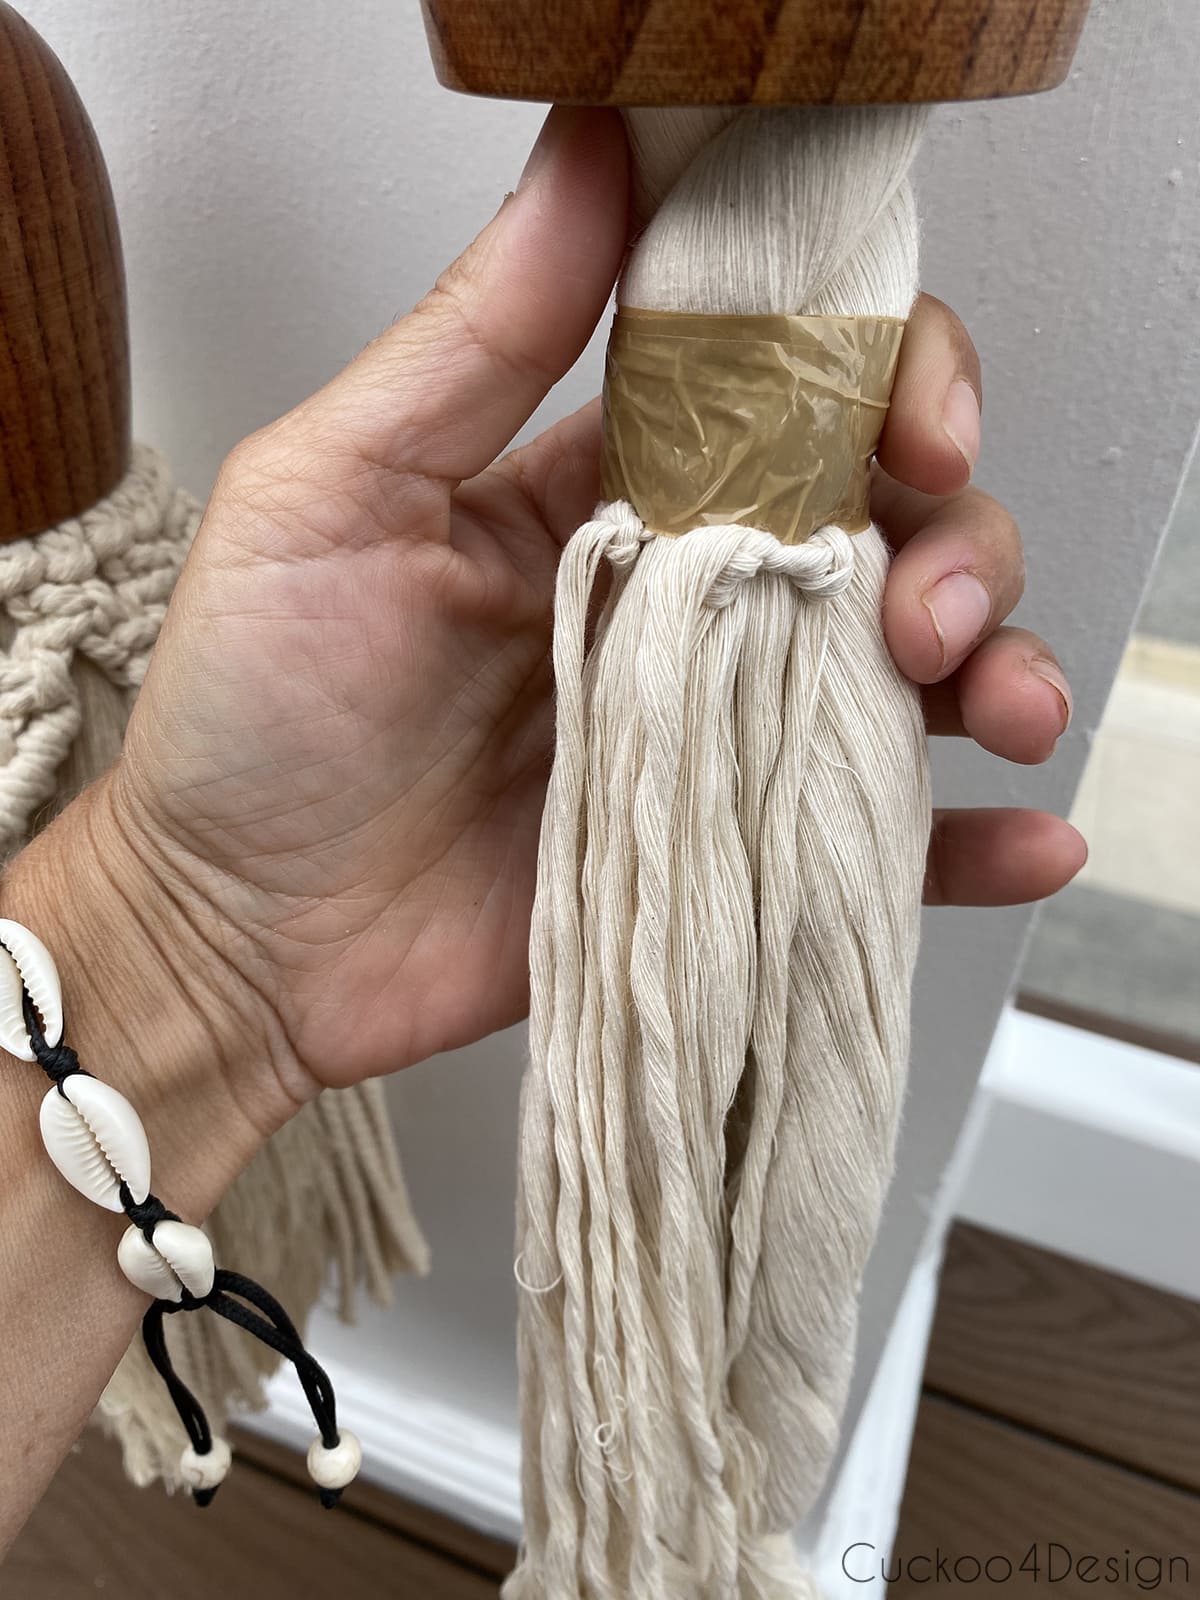
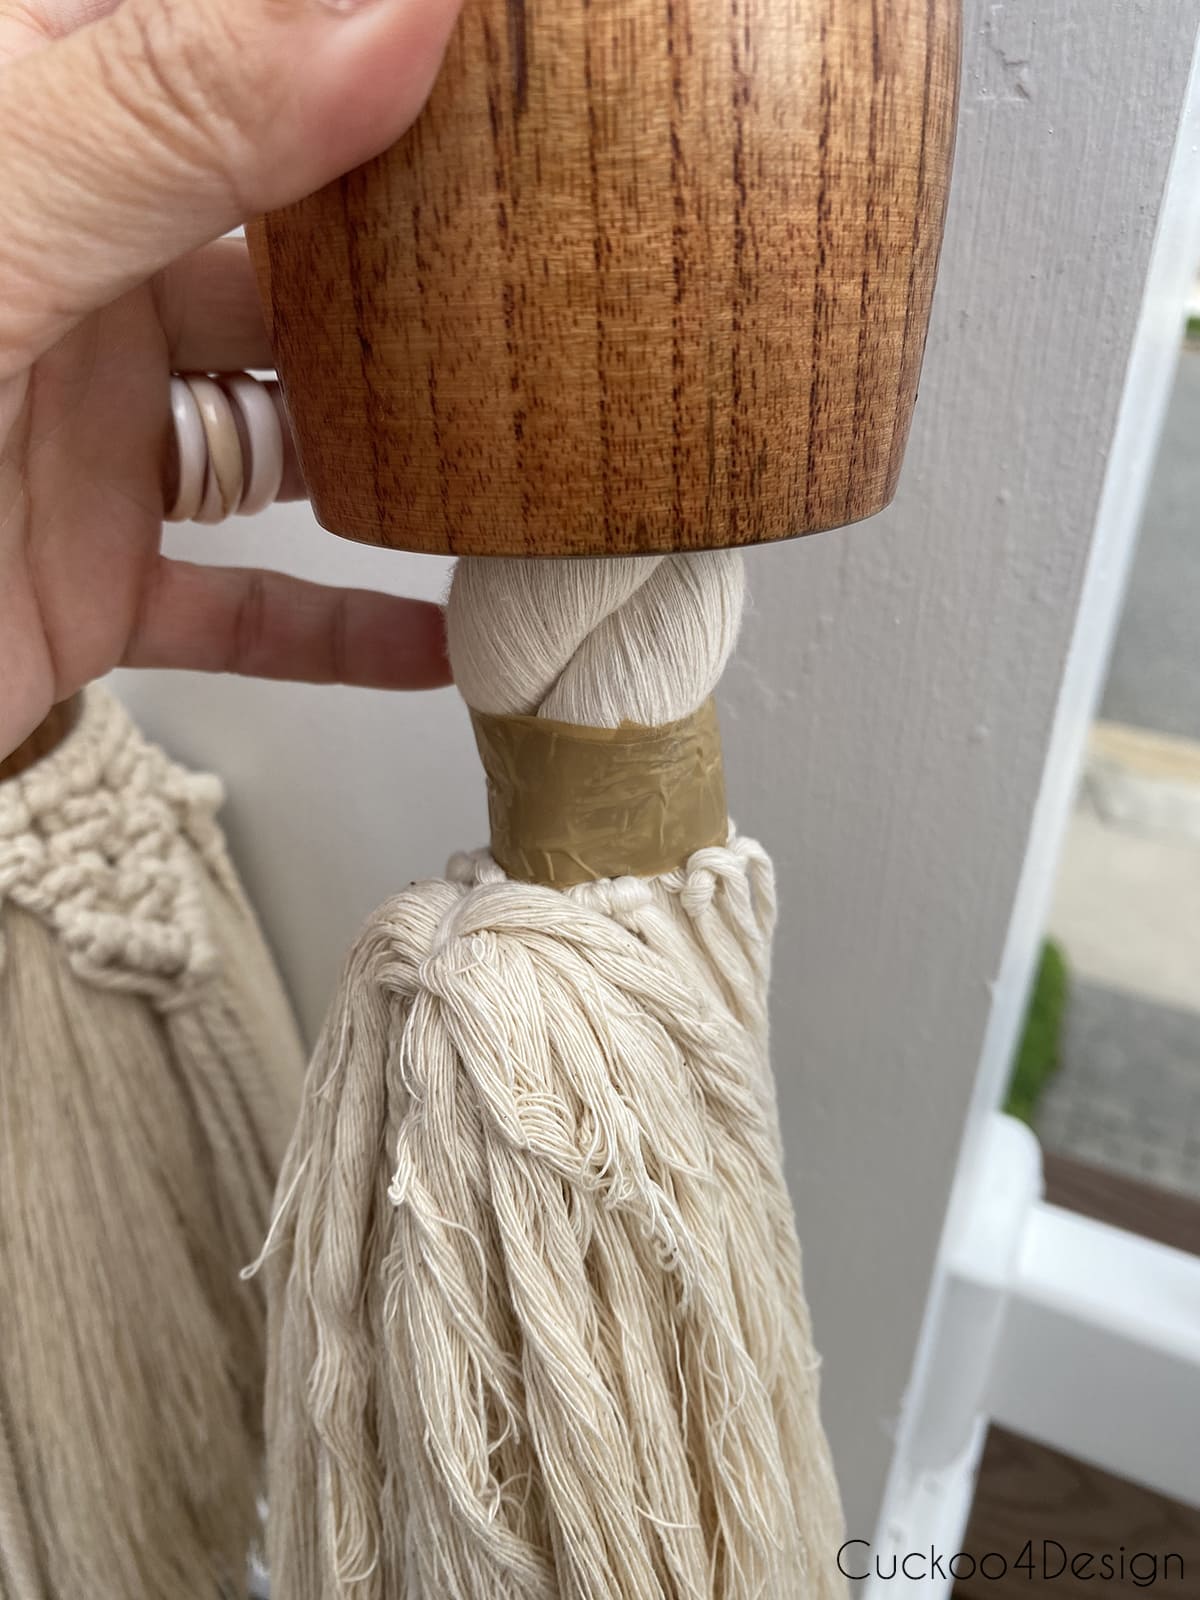
To form the bottom part of the tassel with the cut 20-inch pieces, I gathered a bunch of them, folded them in half, and tied them to the knotted ends at the bottom of the rope. Since I had unraveled the yarn ahead of time, I couldn’t tell anymore how many pieces I took. I’m guessing it was about 20 pieces.

Hide the knot under the bunch as shown below. Like I mentioned before, don’t worry if it looks messy because that part will be hidden by the wooden cups.
I repeated this 4 times all the way around the perimeter of the cotton rope to form a tassel. In the end, you want the cup to fit tightly around the entire knotted and bunched macrame yarn to get the tassel as tick as possible. I kept pulling it down to see and even added some more macrame yarn in some areas until it was really tight to get the cup over the yarn.
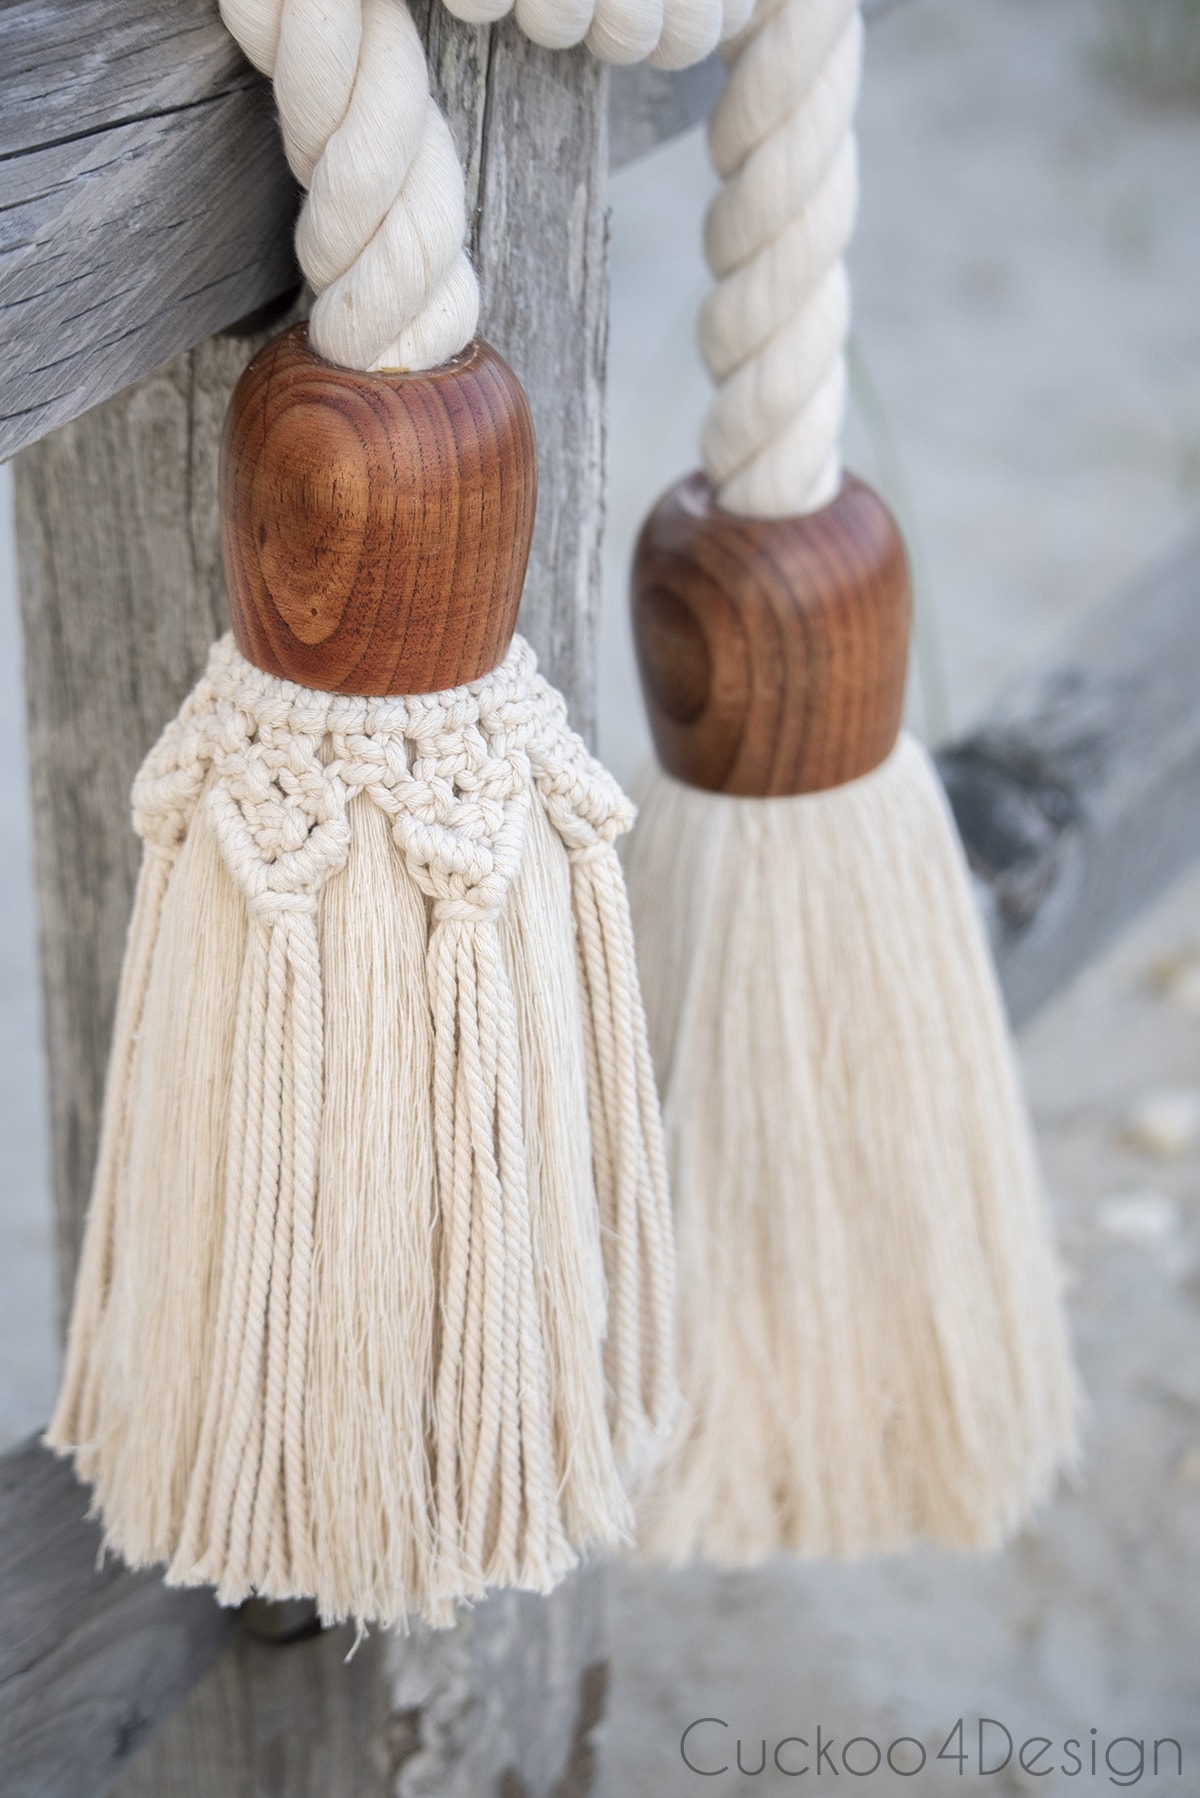
I wanted to show you that you don’t have to add the macrame detail and can leave the tassel plain. The macrame detail is actually my macrame garland tutorial without the wooden beads so the Square Knots can be uninterrupted. A Square Knot is a basic macrame knot and perfect for beginners.
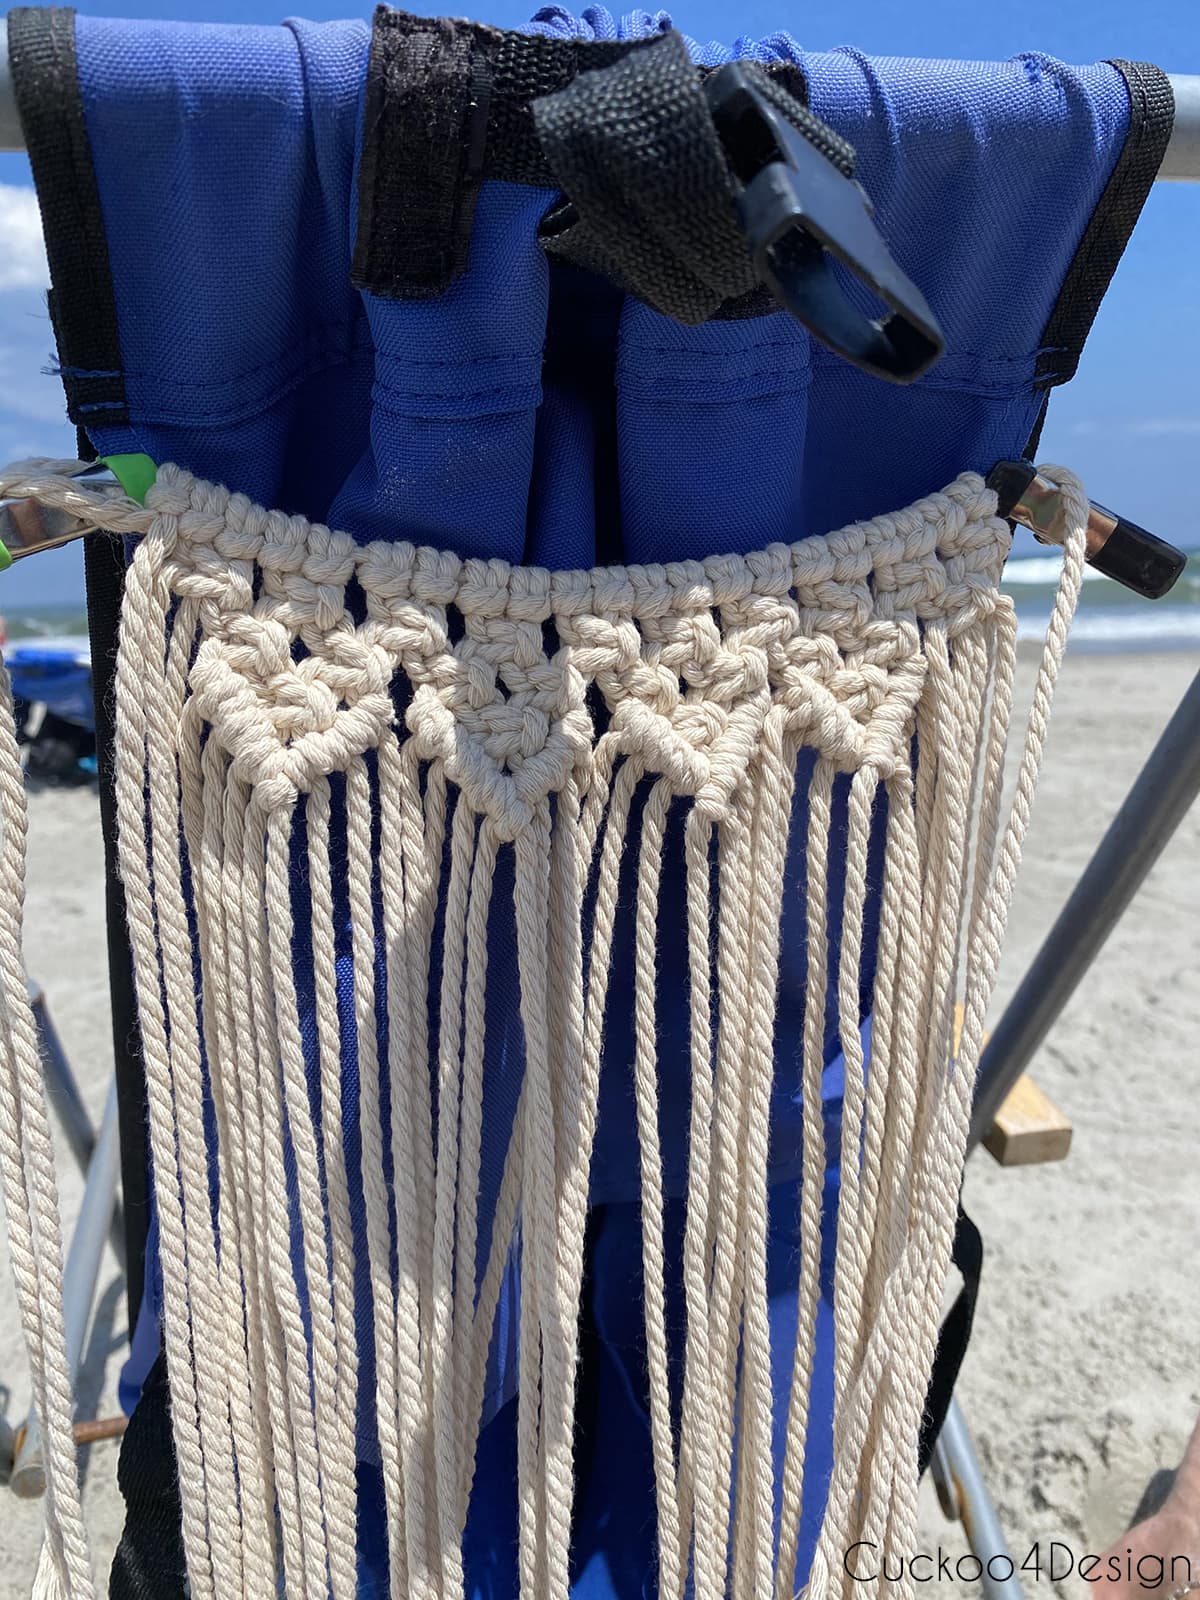
I just tied the garland around the top of the tassel. That’s it!
For my garland I used 24 pieces of macrame cut 6 times longer than the size of the tassel which is about 9 inches long. Then use that yarn to make a garland as shown in the video.
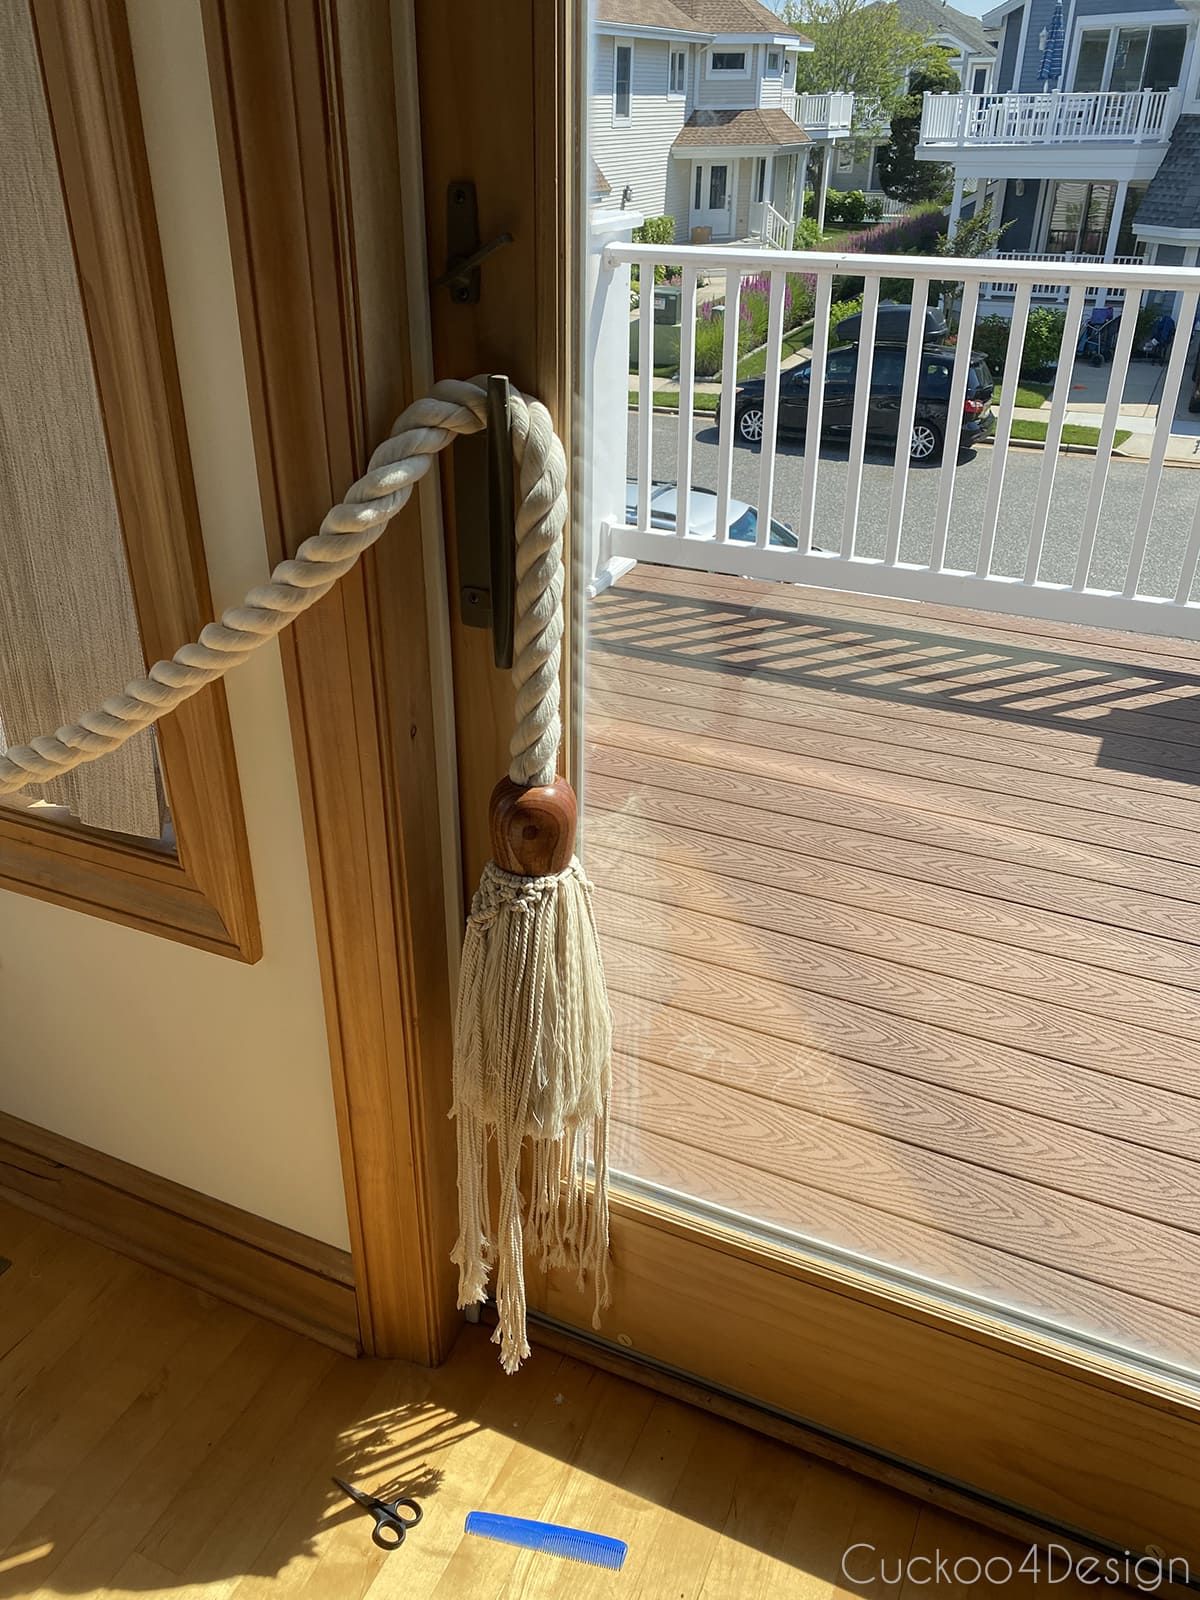
When working on the tassel bottom, I found different areas to just hang the cotton rope.
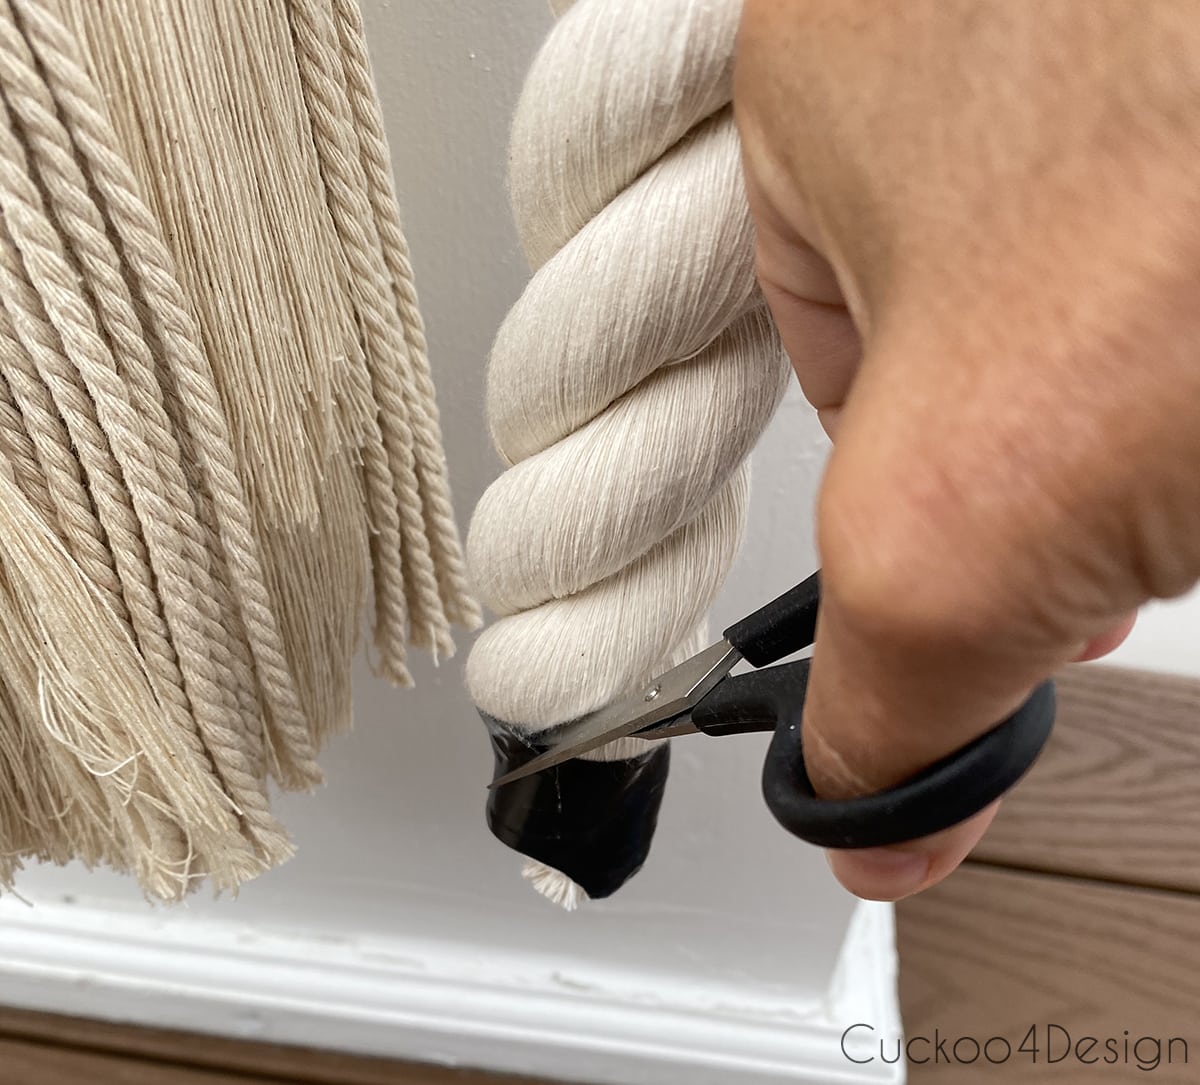
At the end of this project, you just have to comb and trim the tassels to the desired length. They would look great shorter too. It’s all preferential.
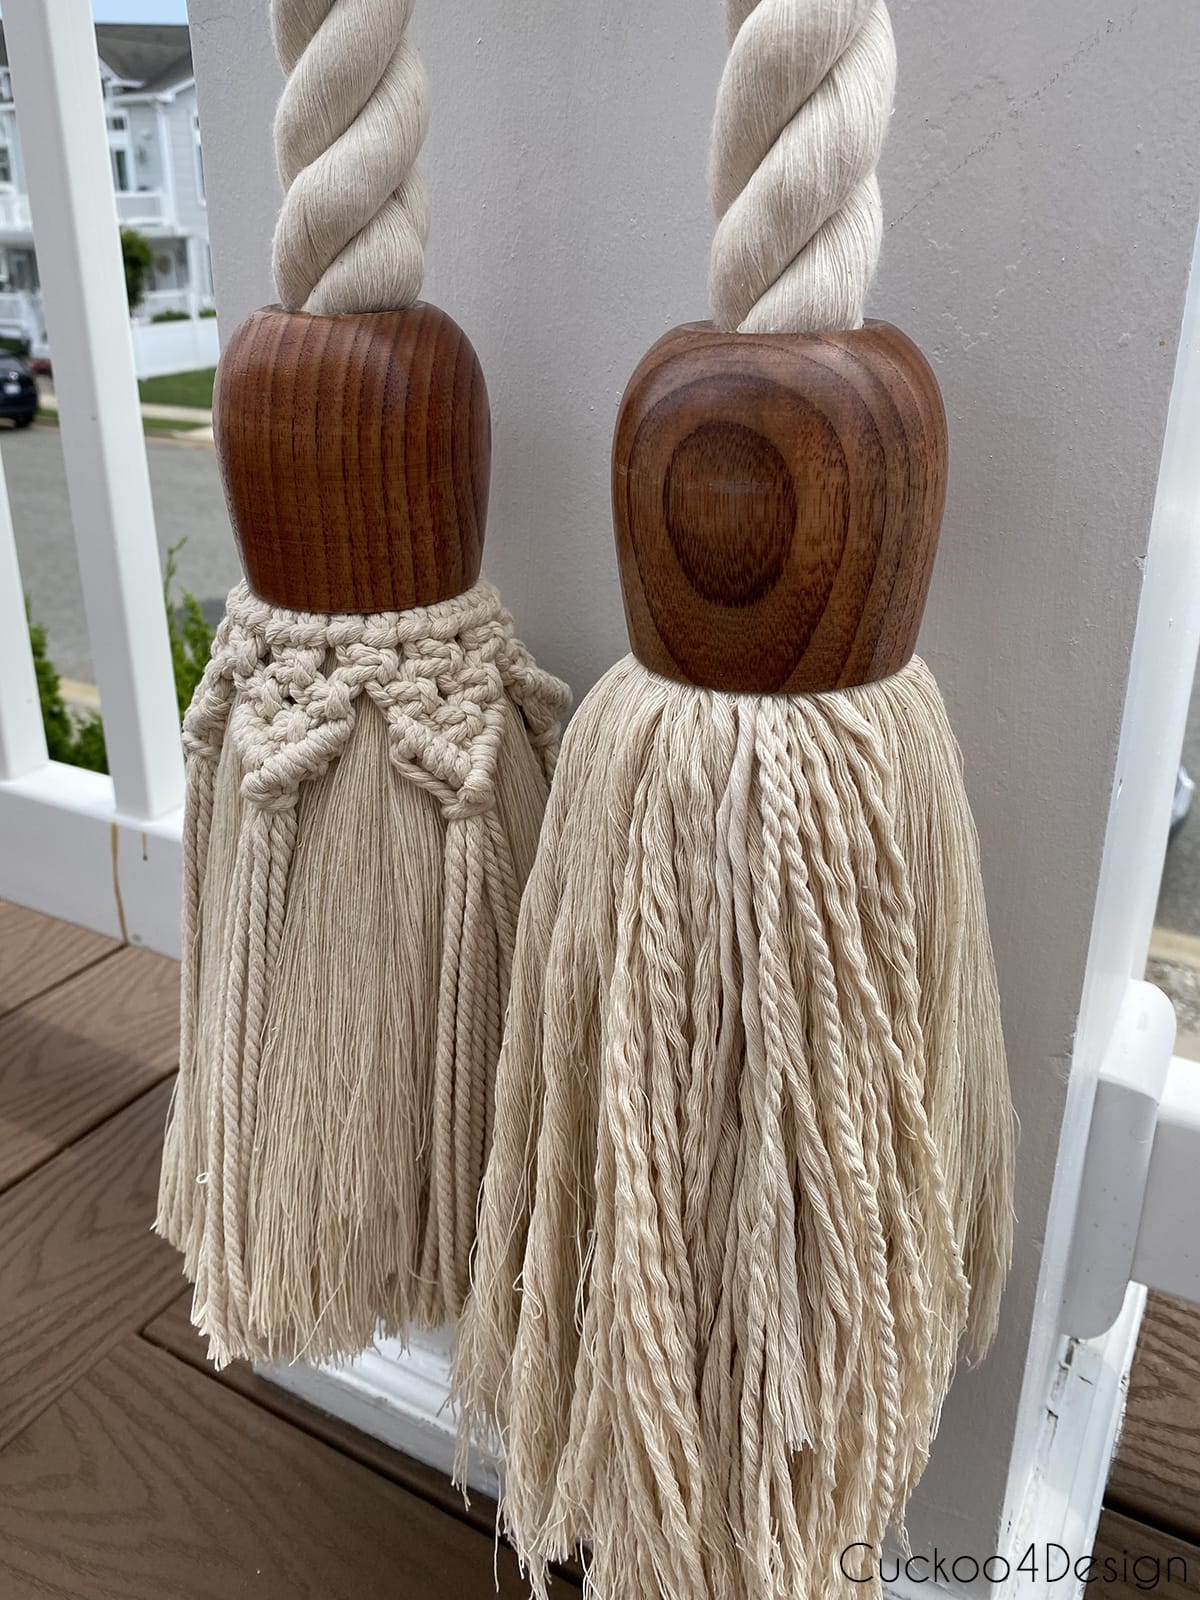
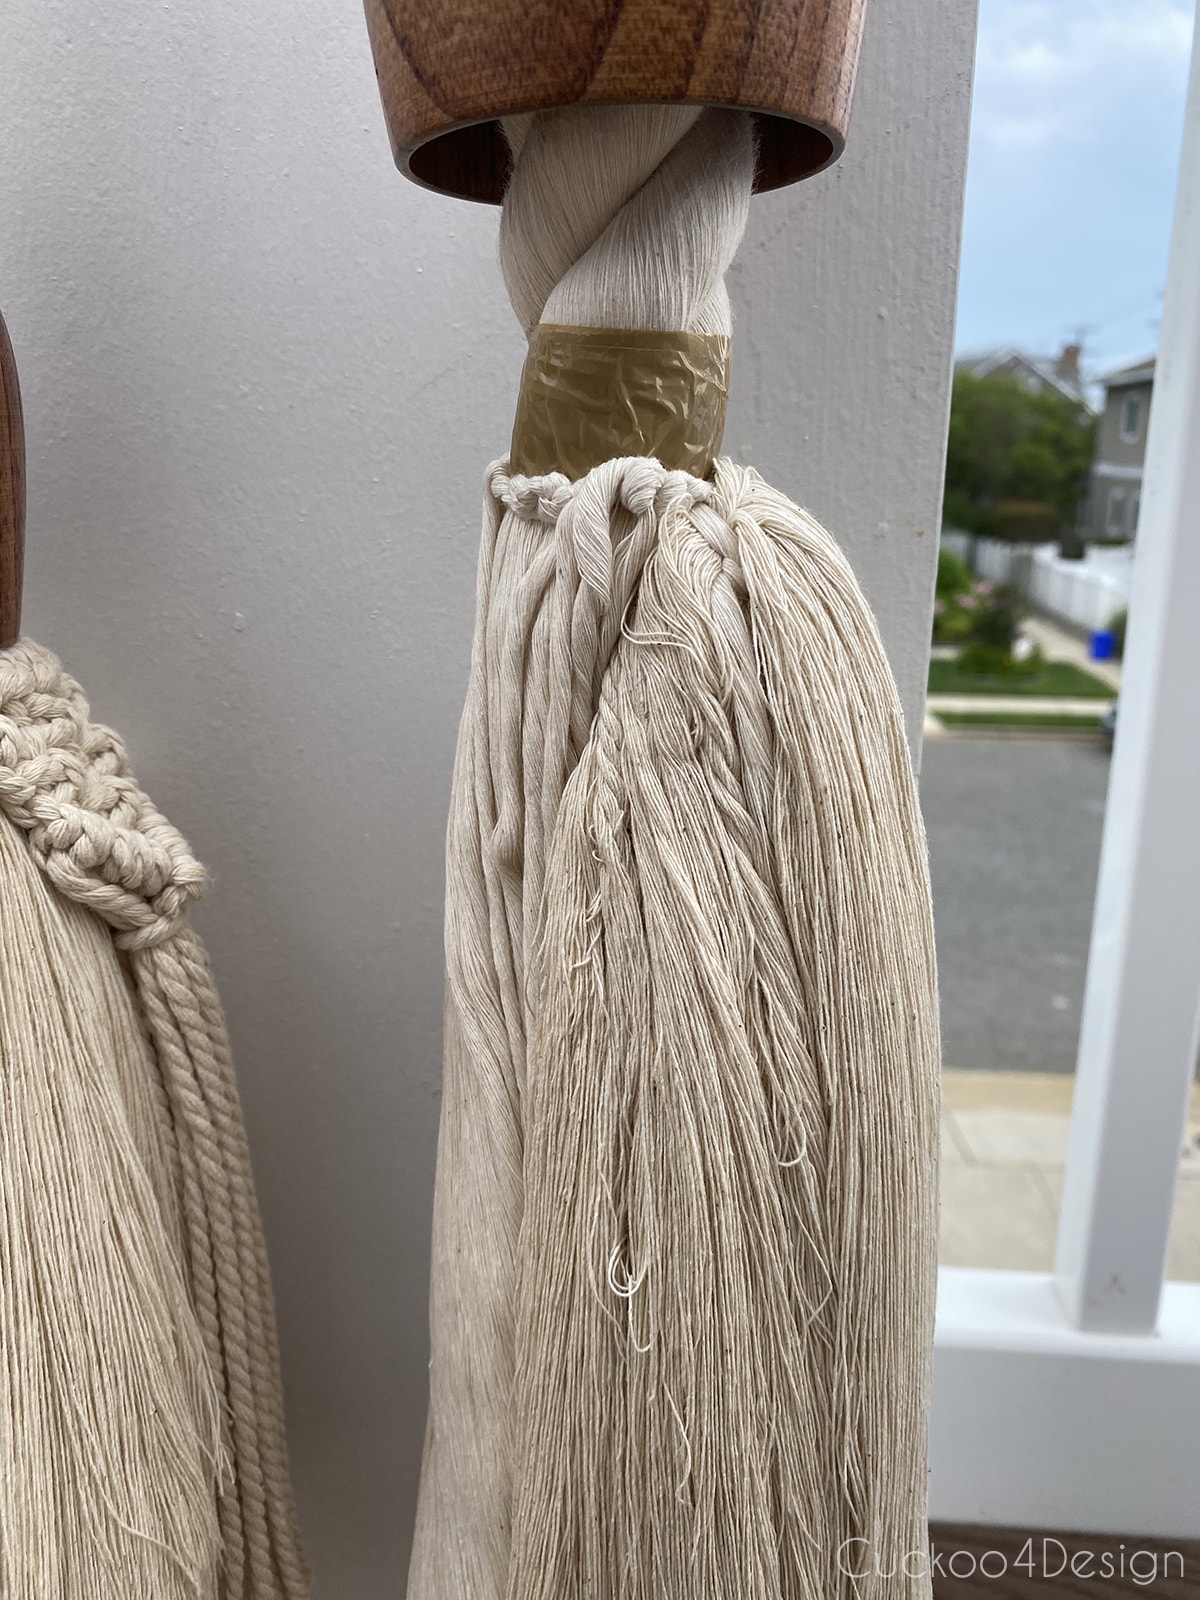
I even like the look of some of the yarn unraveled and straightened and some not as shown below.
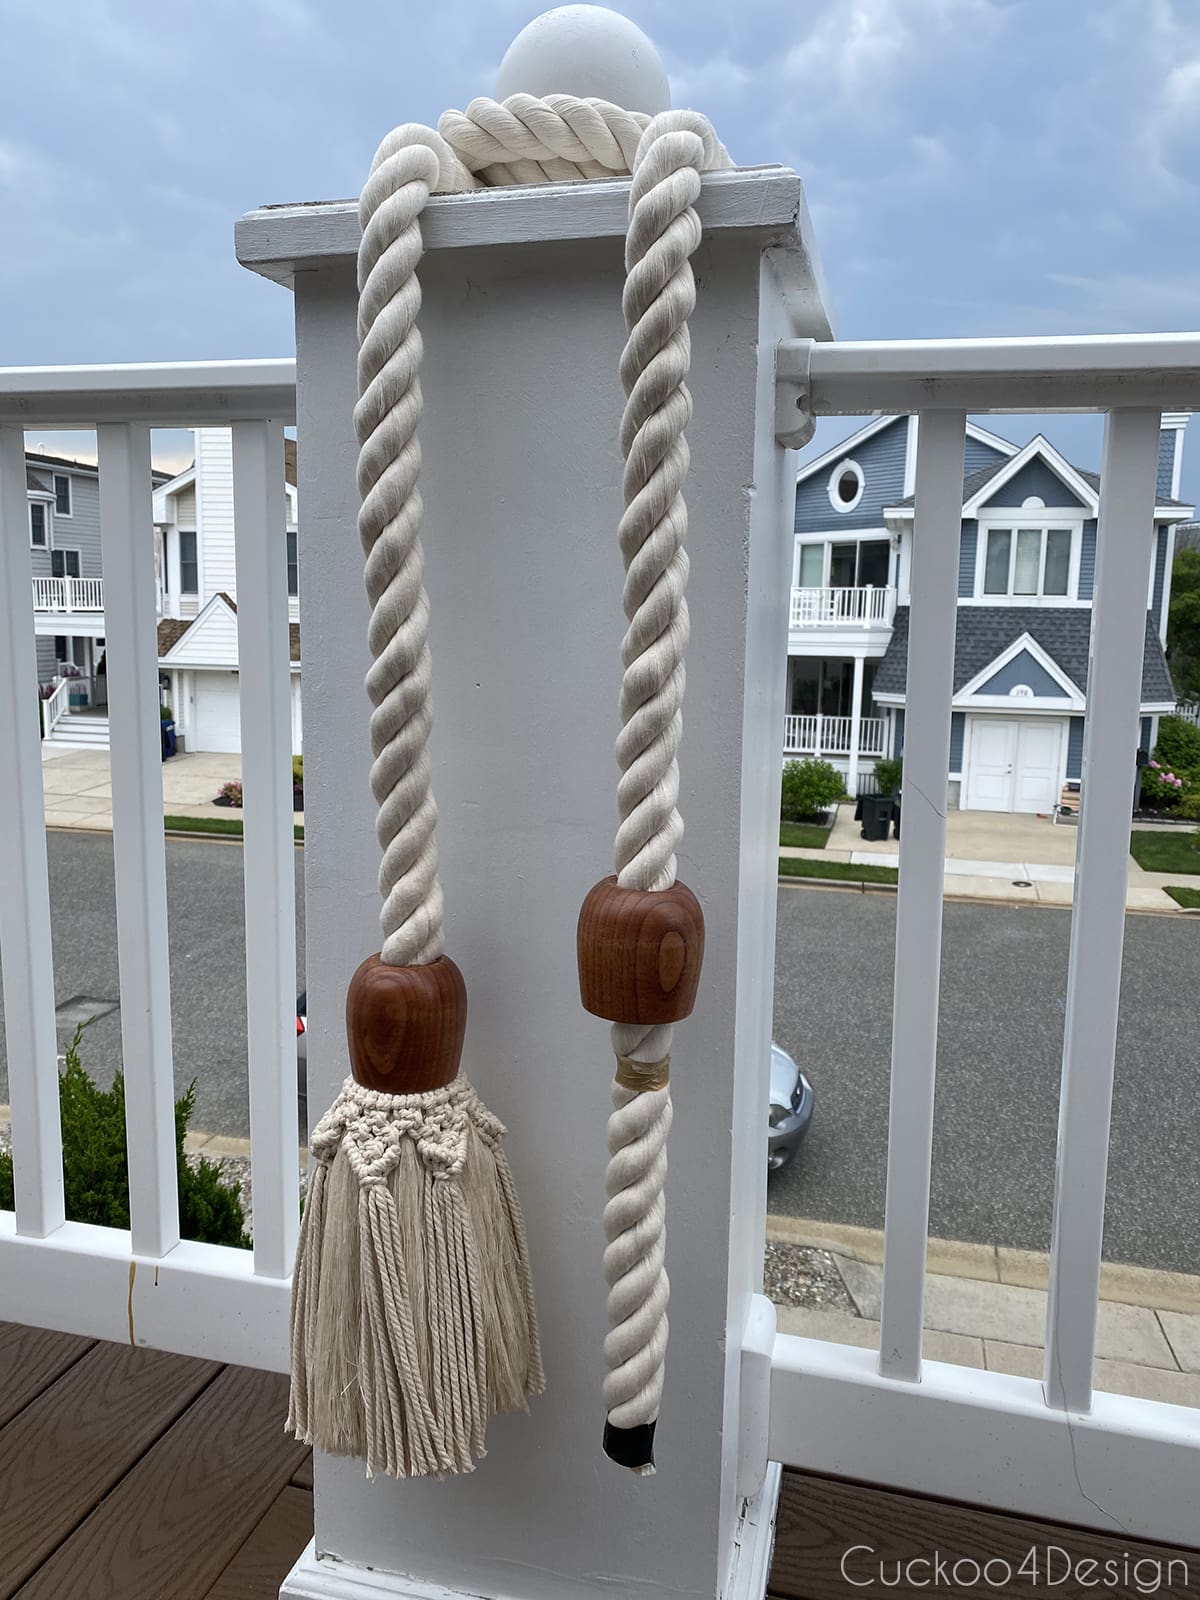
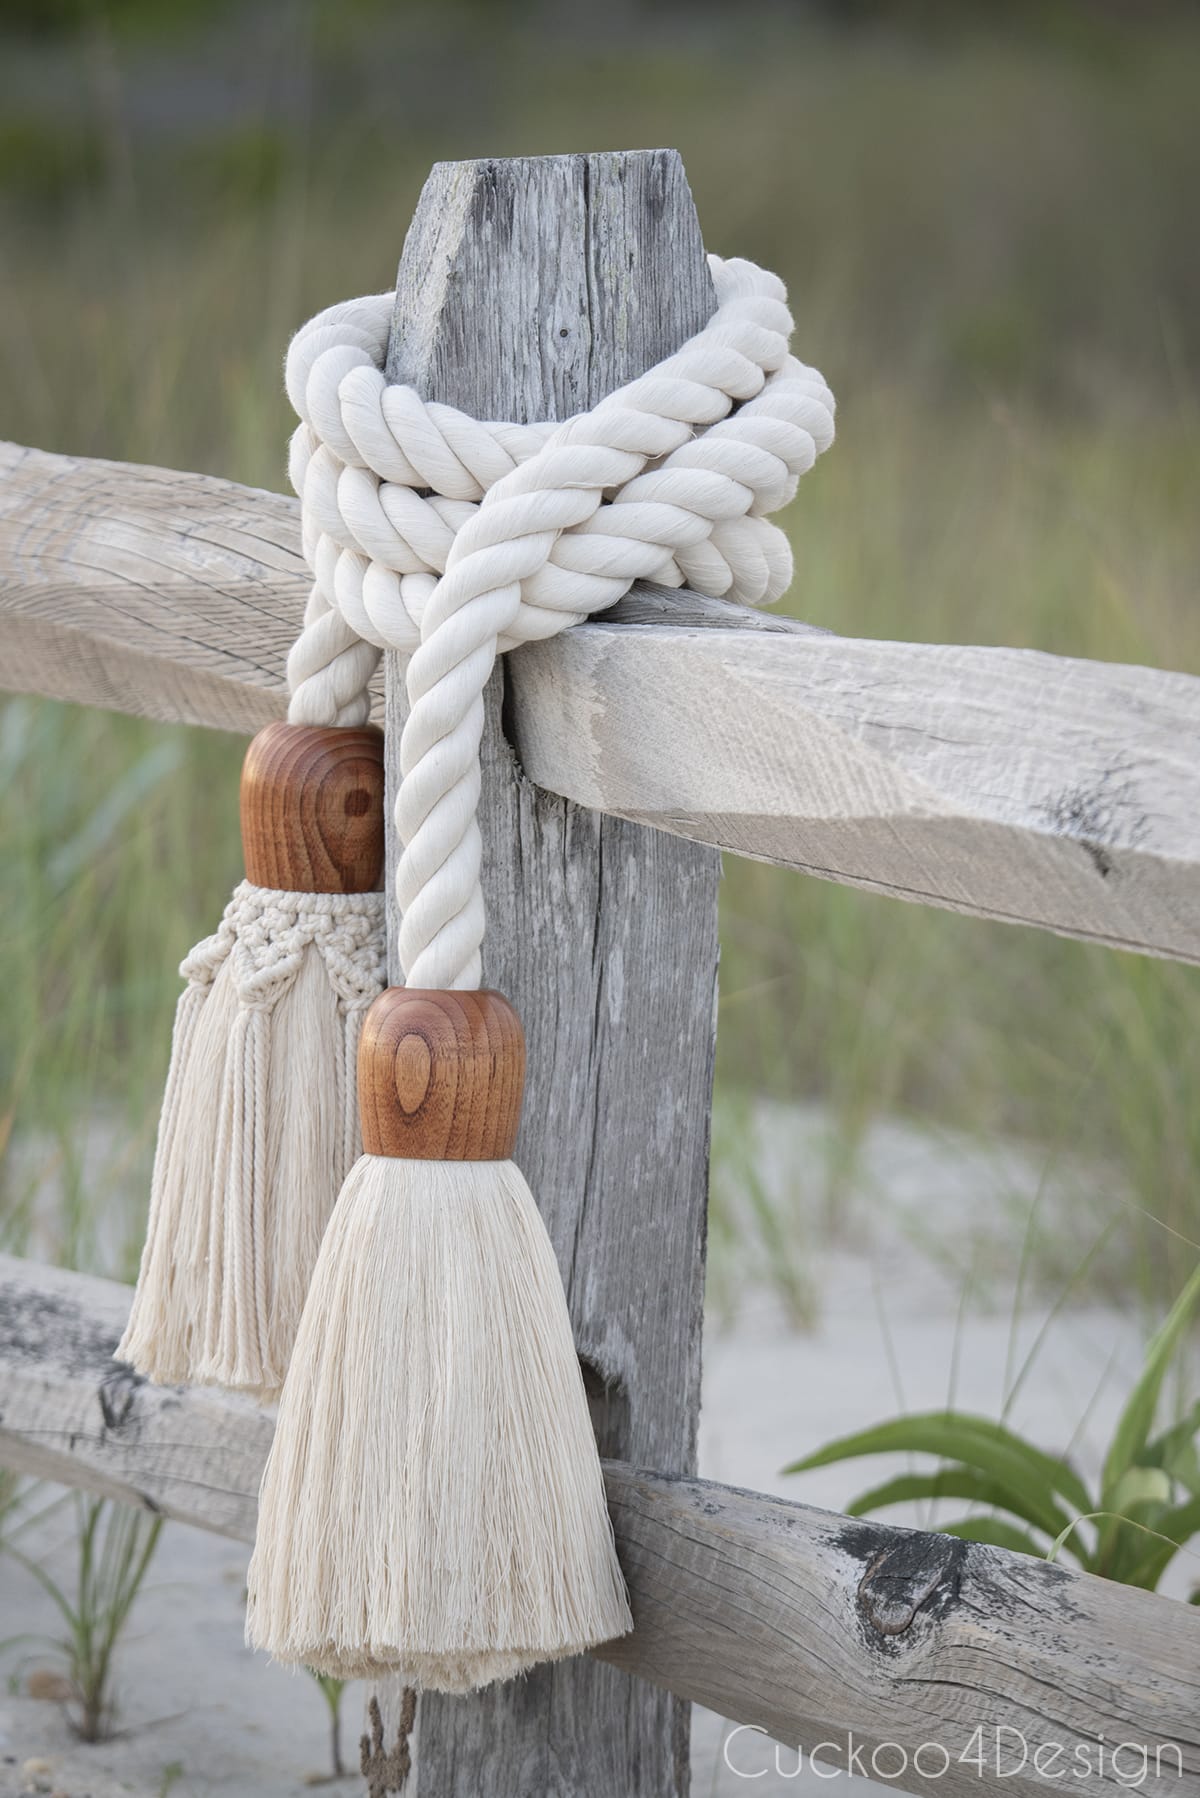
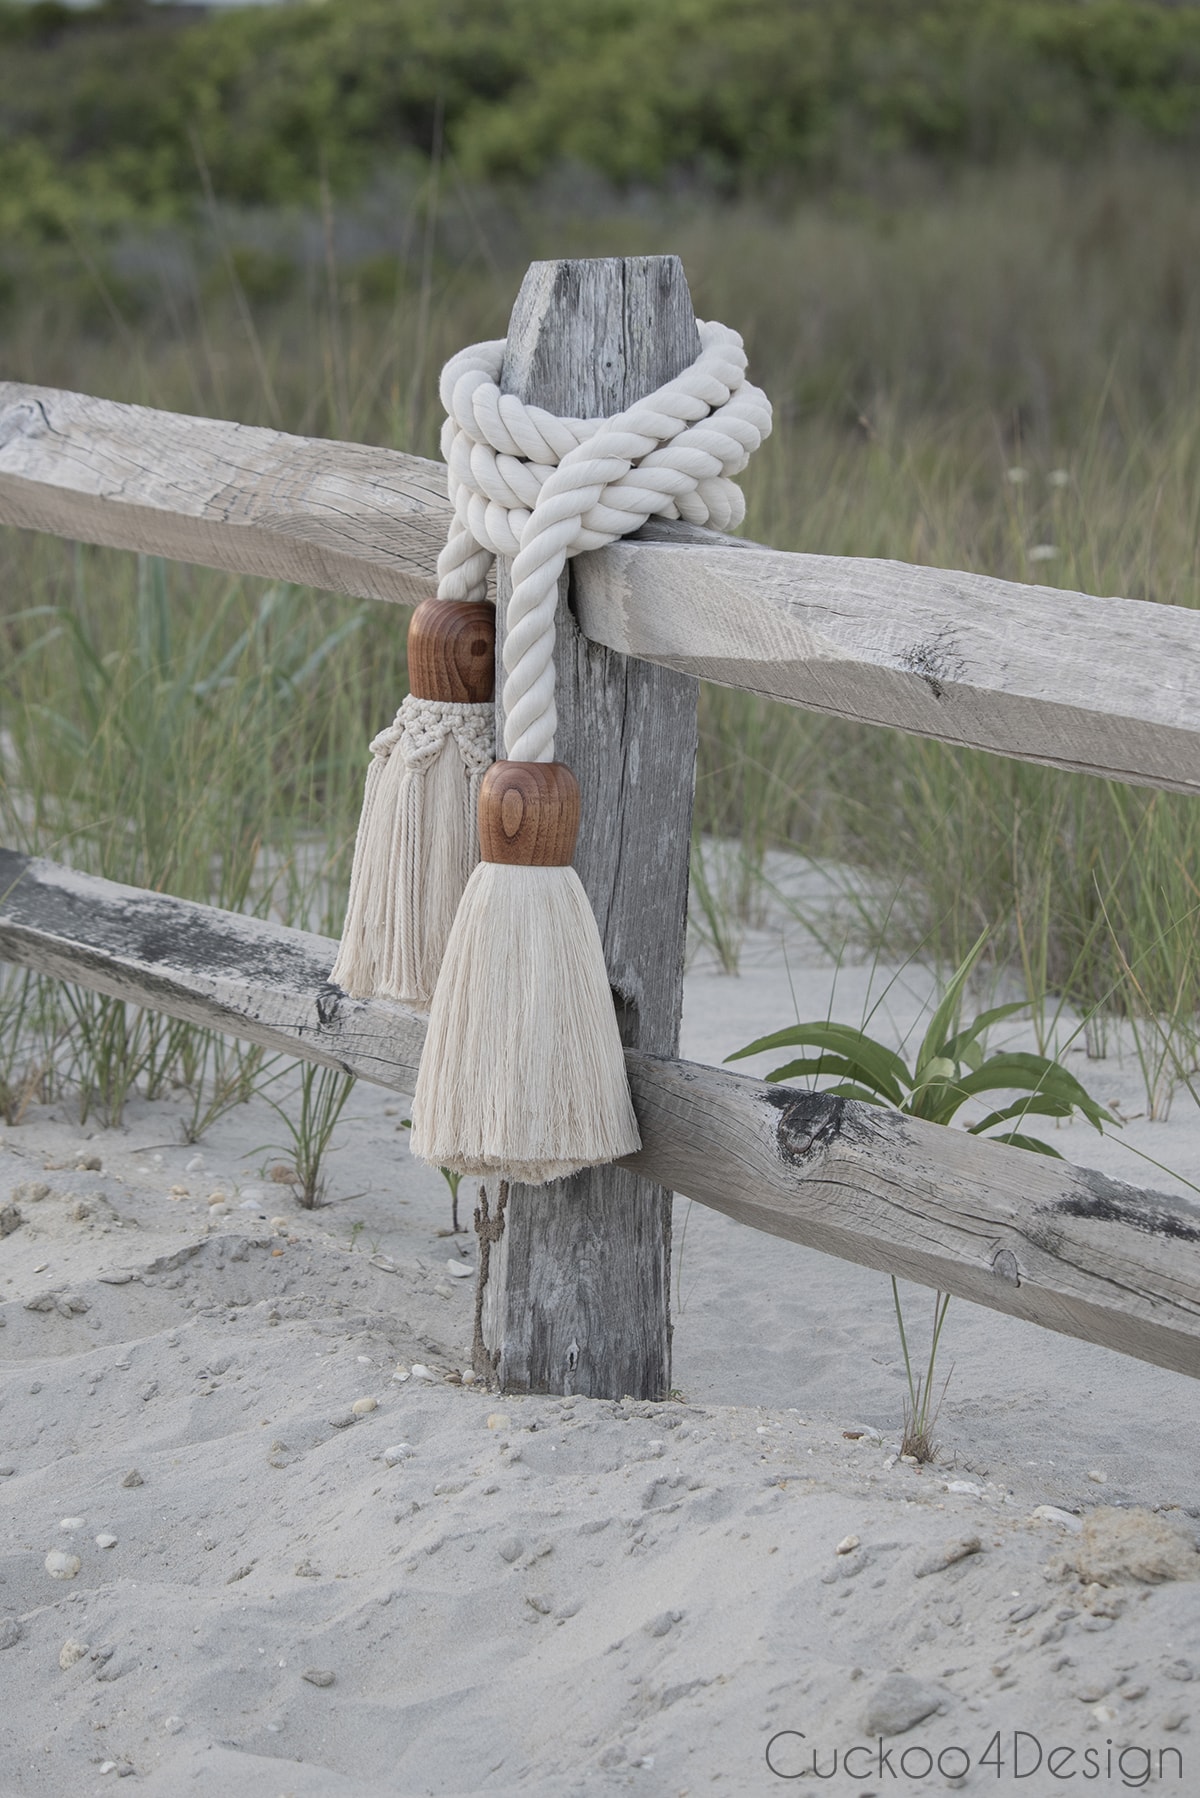
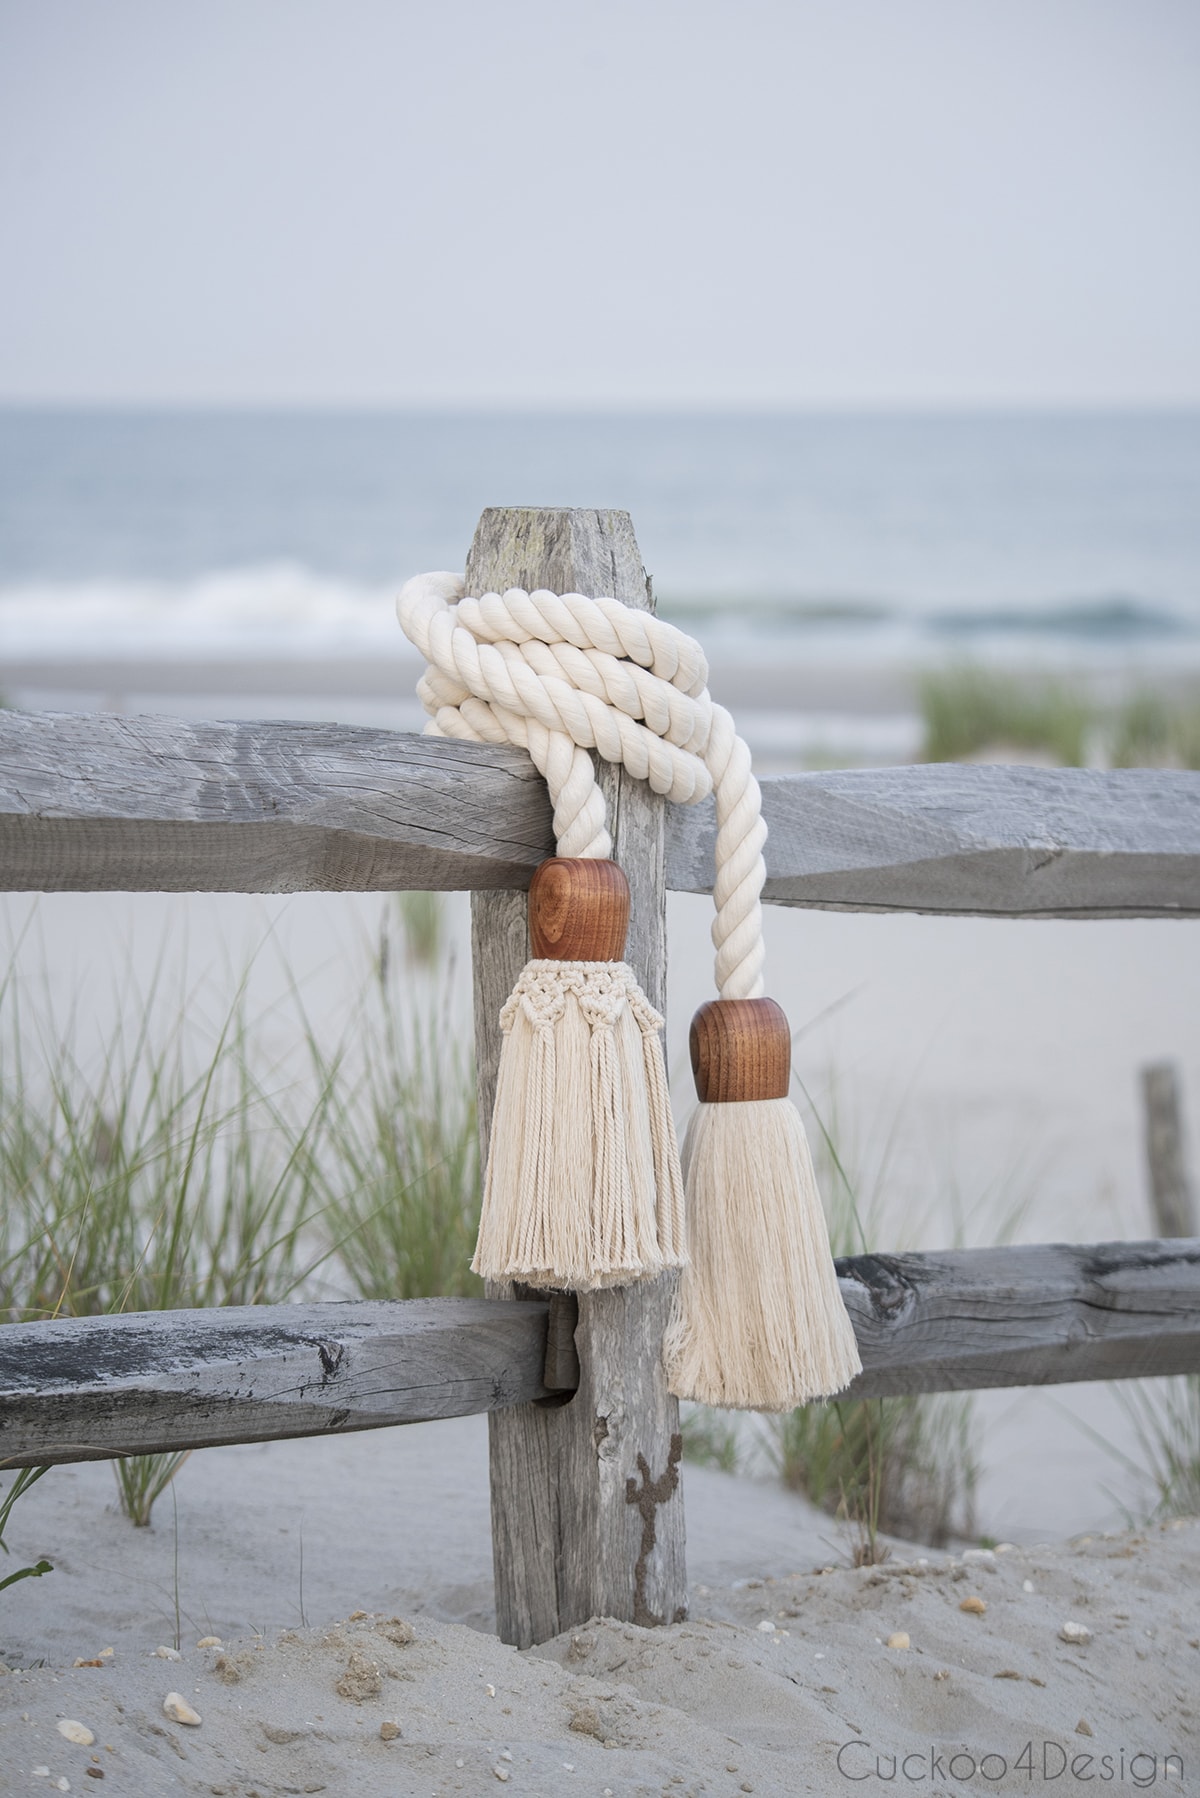
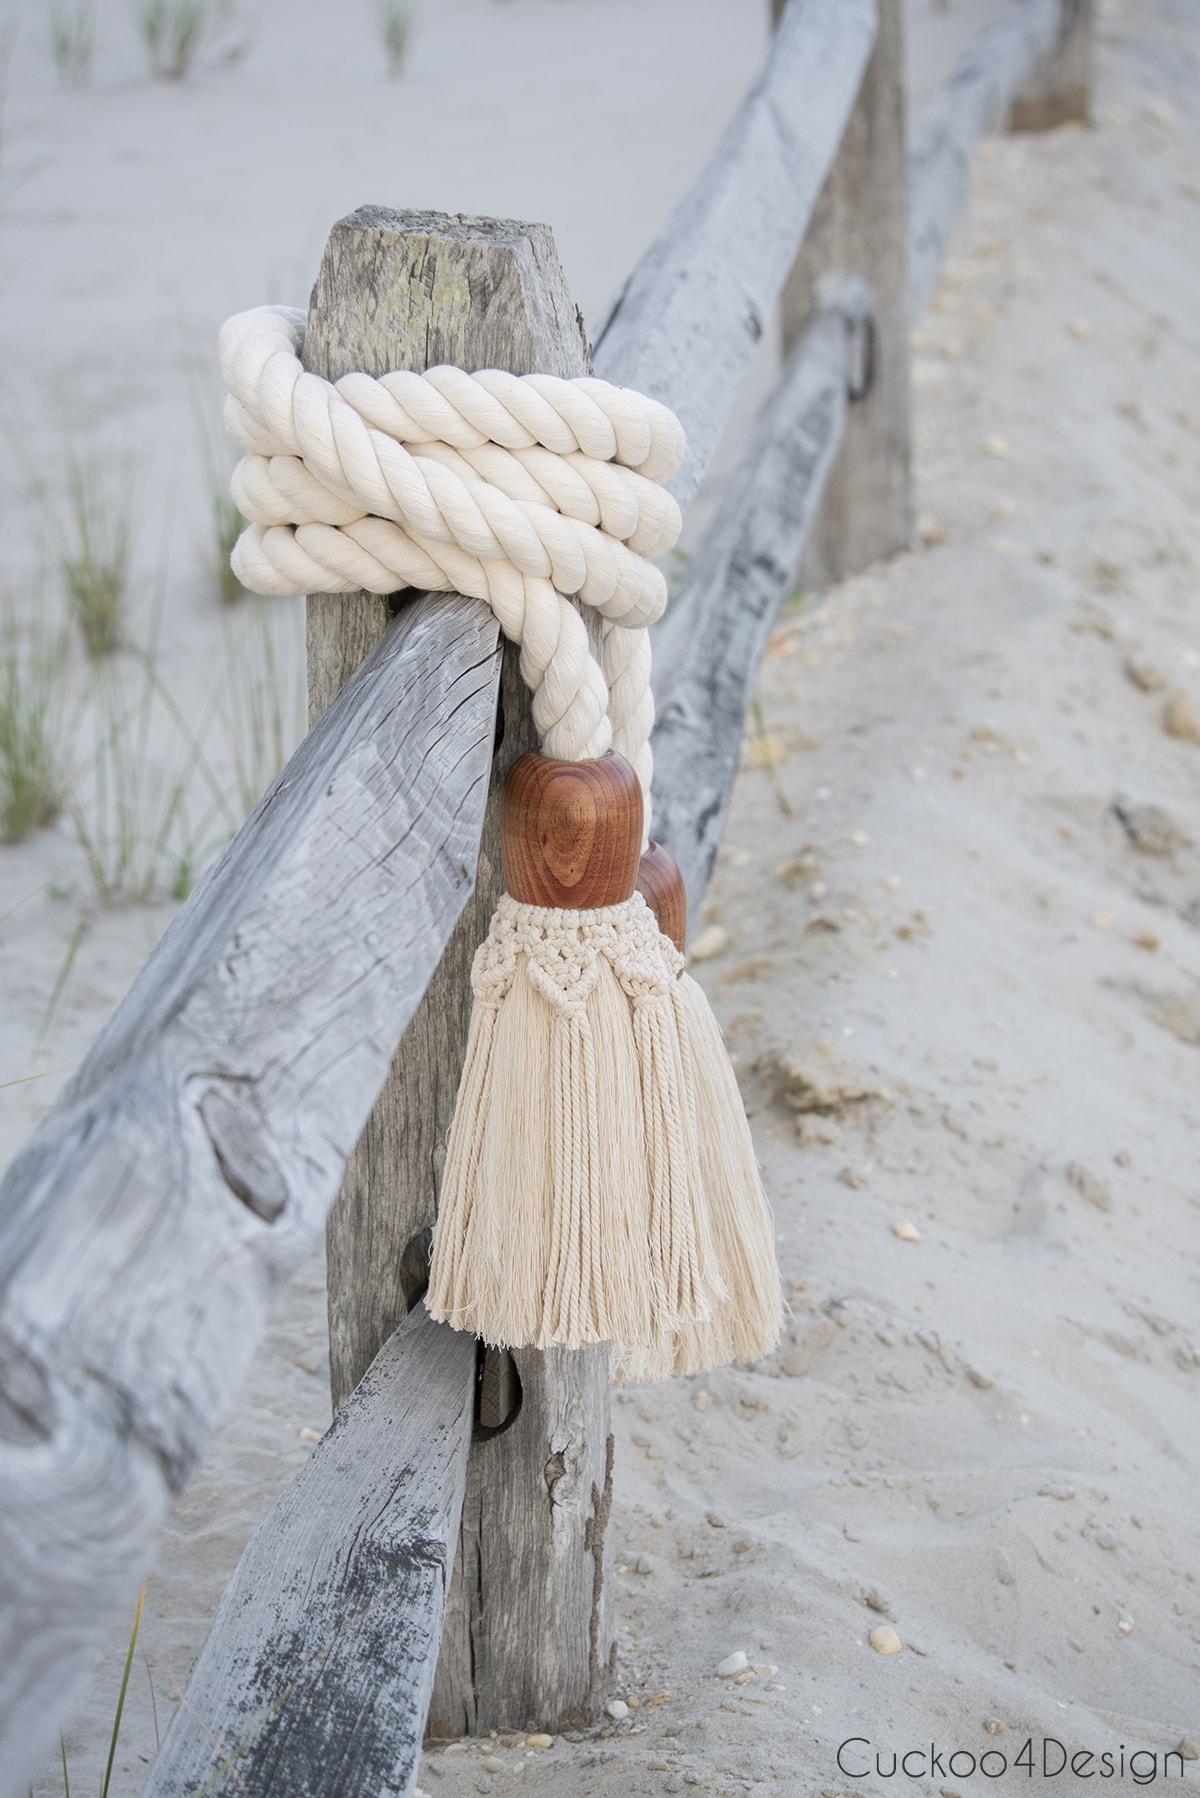
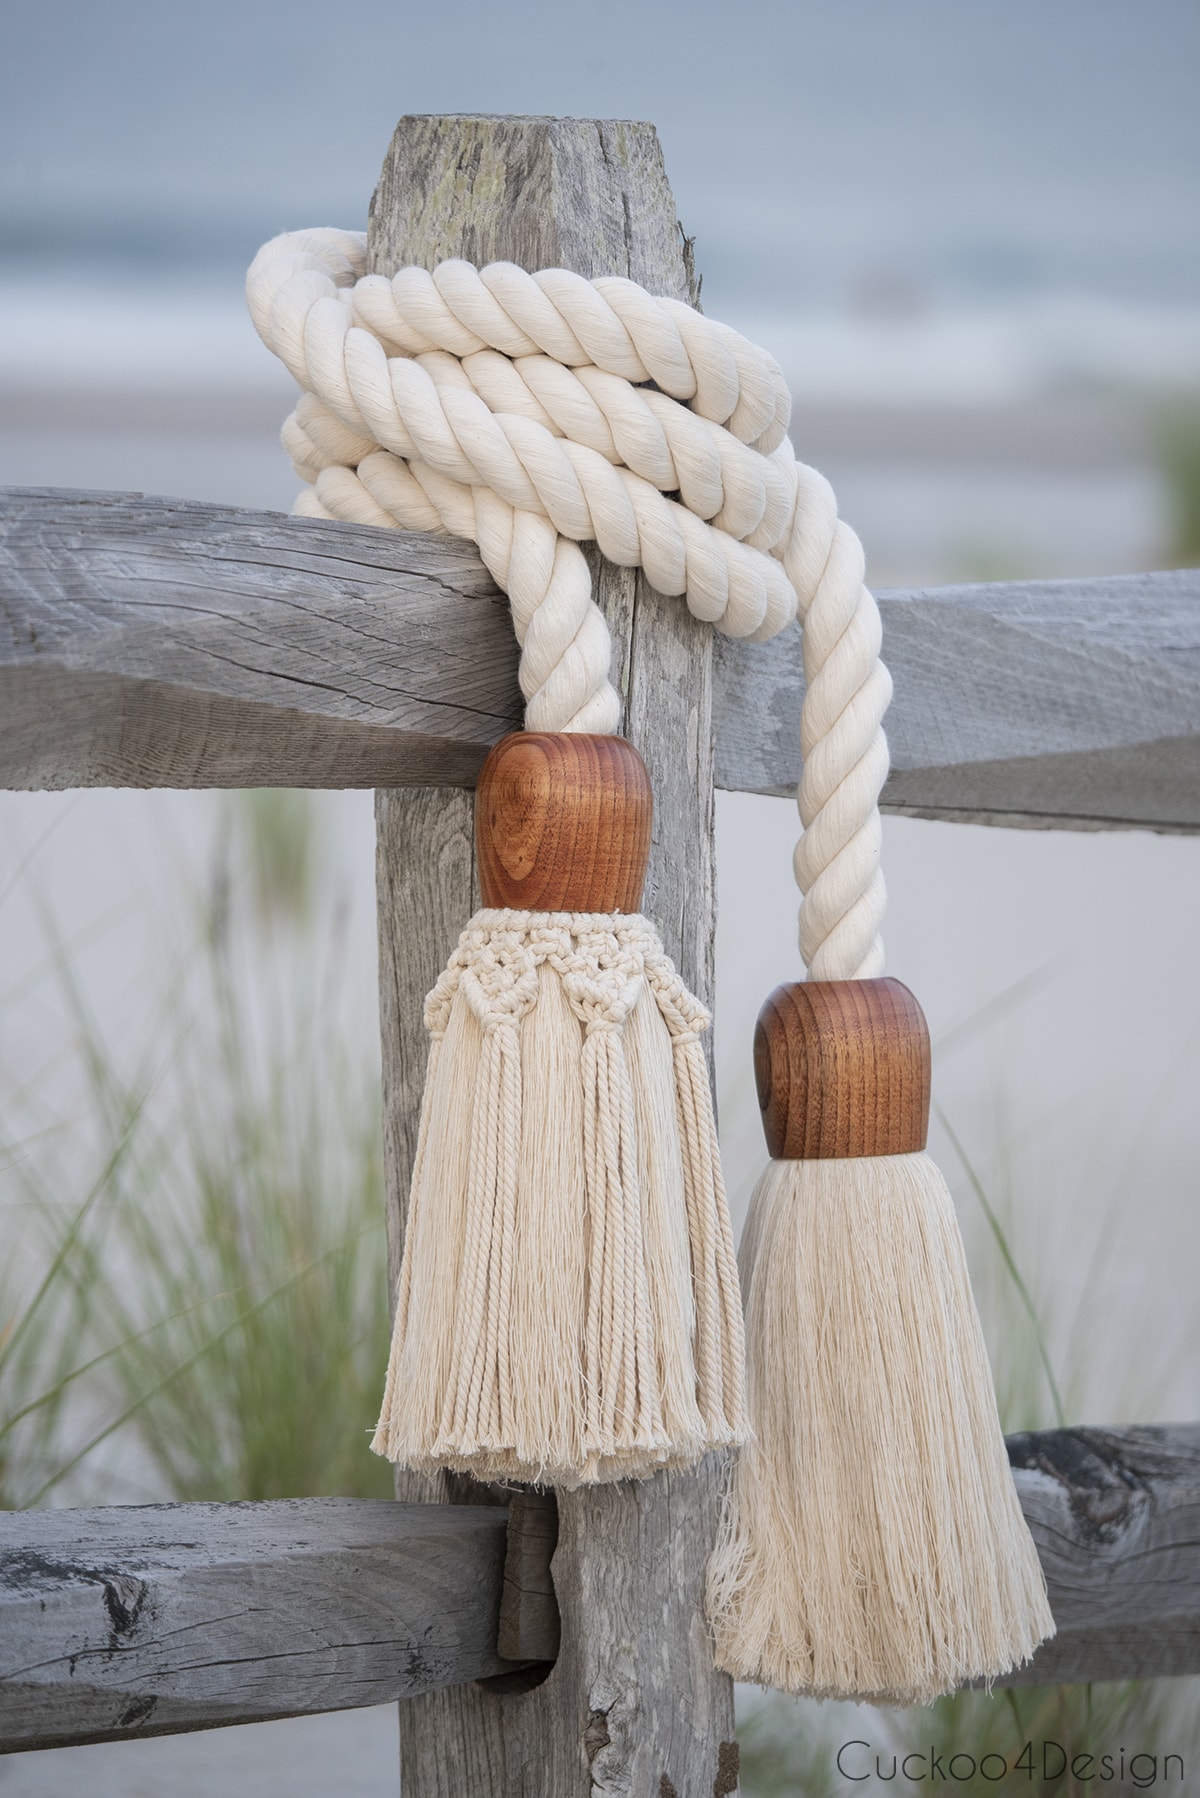
I left one of the tassels plain and the other with the added macrame garland tied around to show you the two different looks. My finished tassels are around 9 inches long.
Finished giant cotton rope macrame tassel garland
My daughter took some of the photos and even took one of me which doesn’t happen too often.
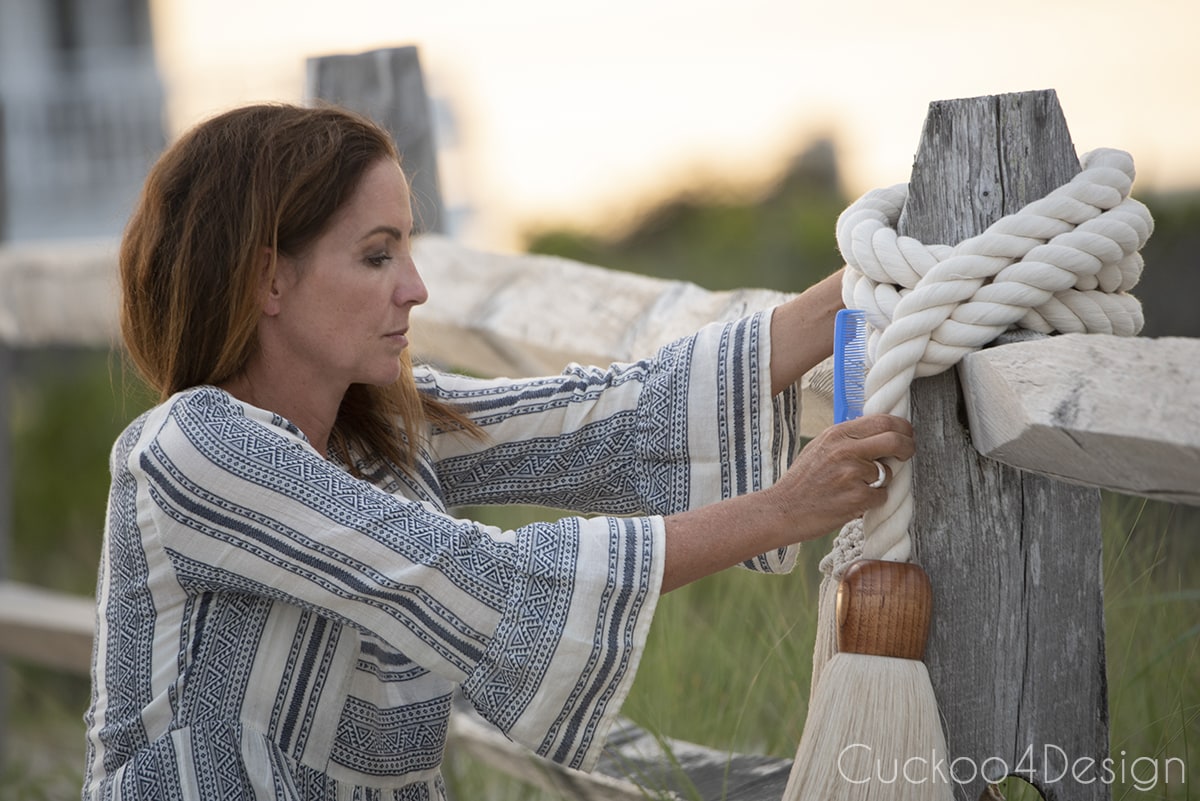
I love how the giant cotton rope garland and tassels look tied around the fence post in the dunes leading to the beach but I also know that I will find a spot in my home where I will love it just as much.
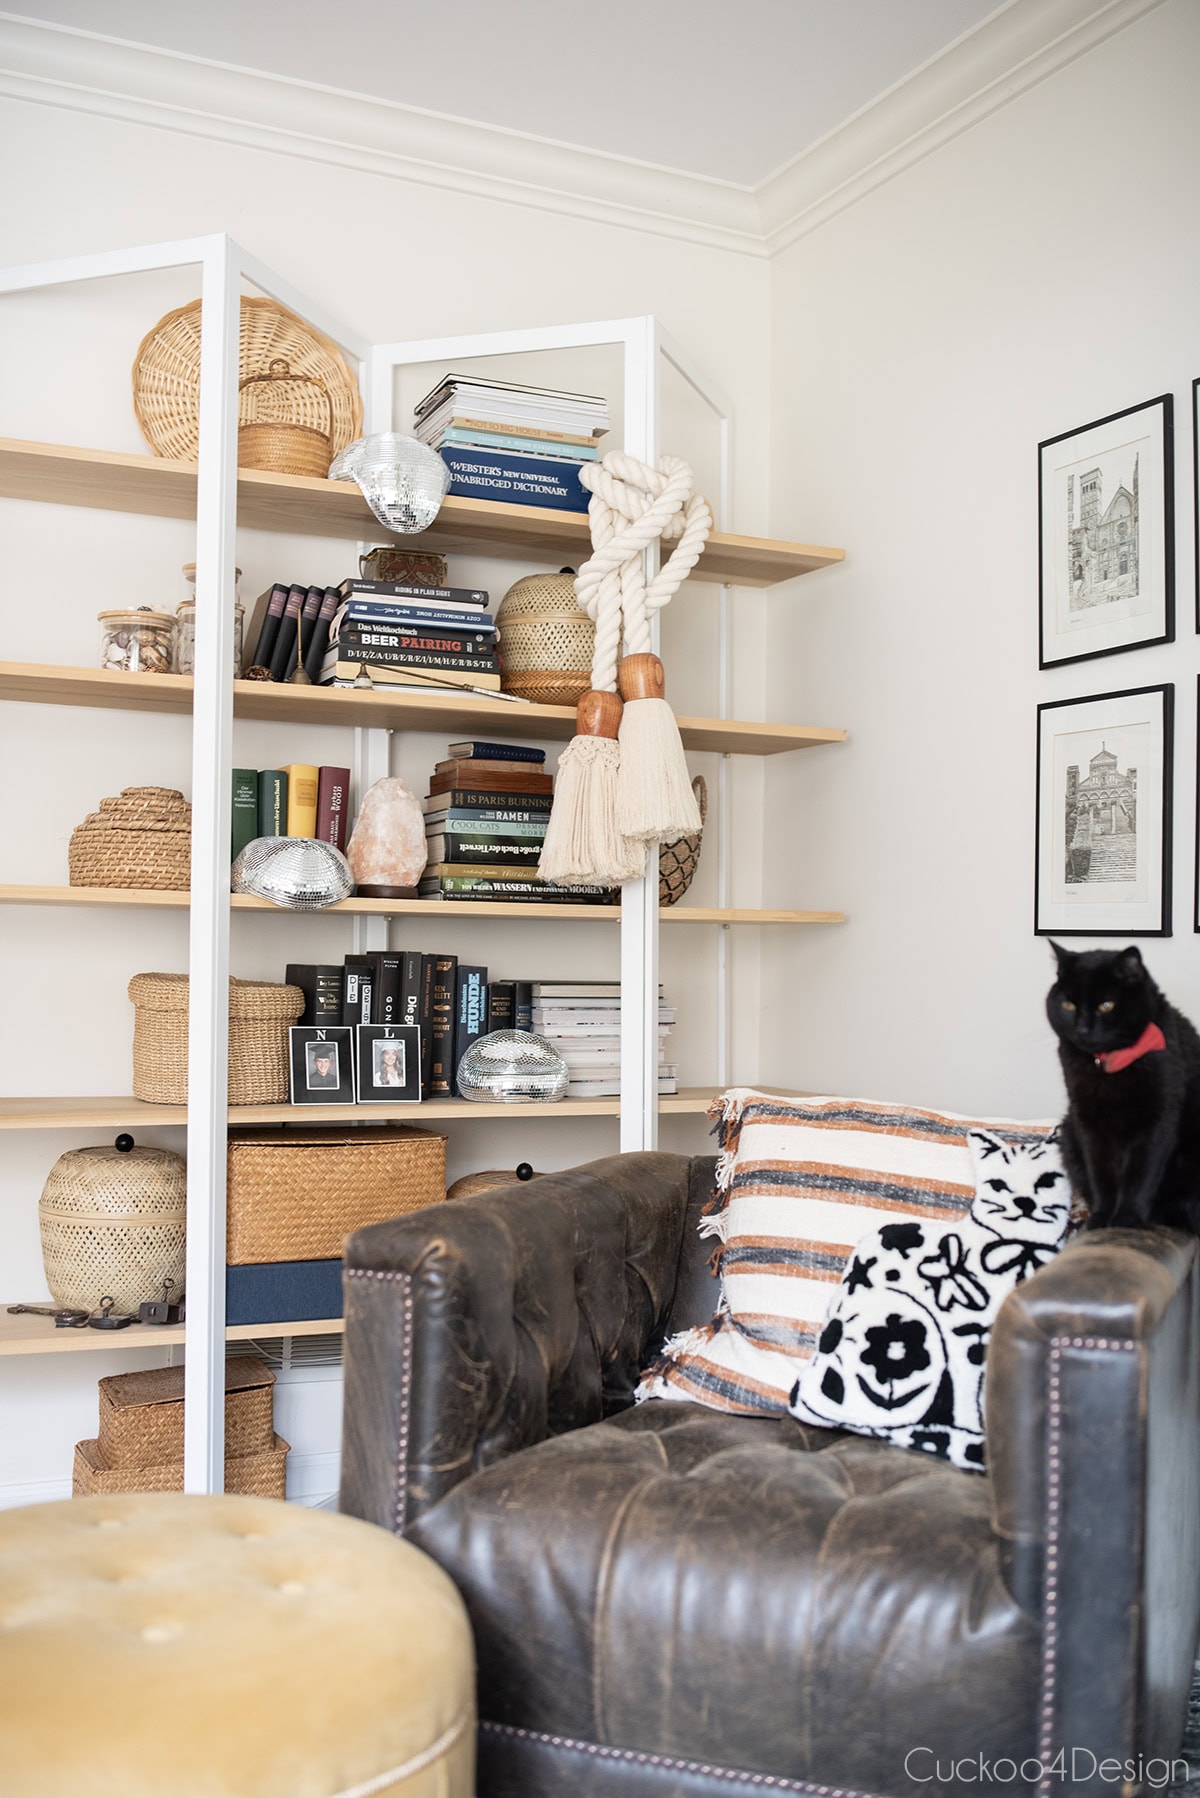
For now, the tassel ended up on my newly made-over shelf:
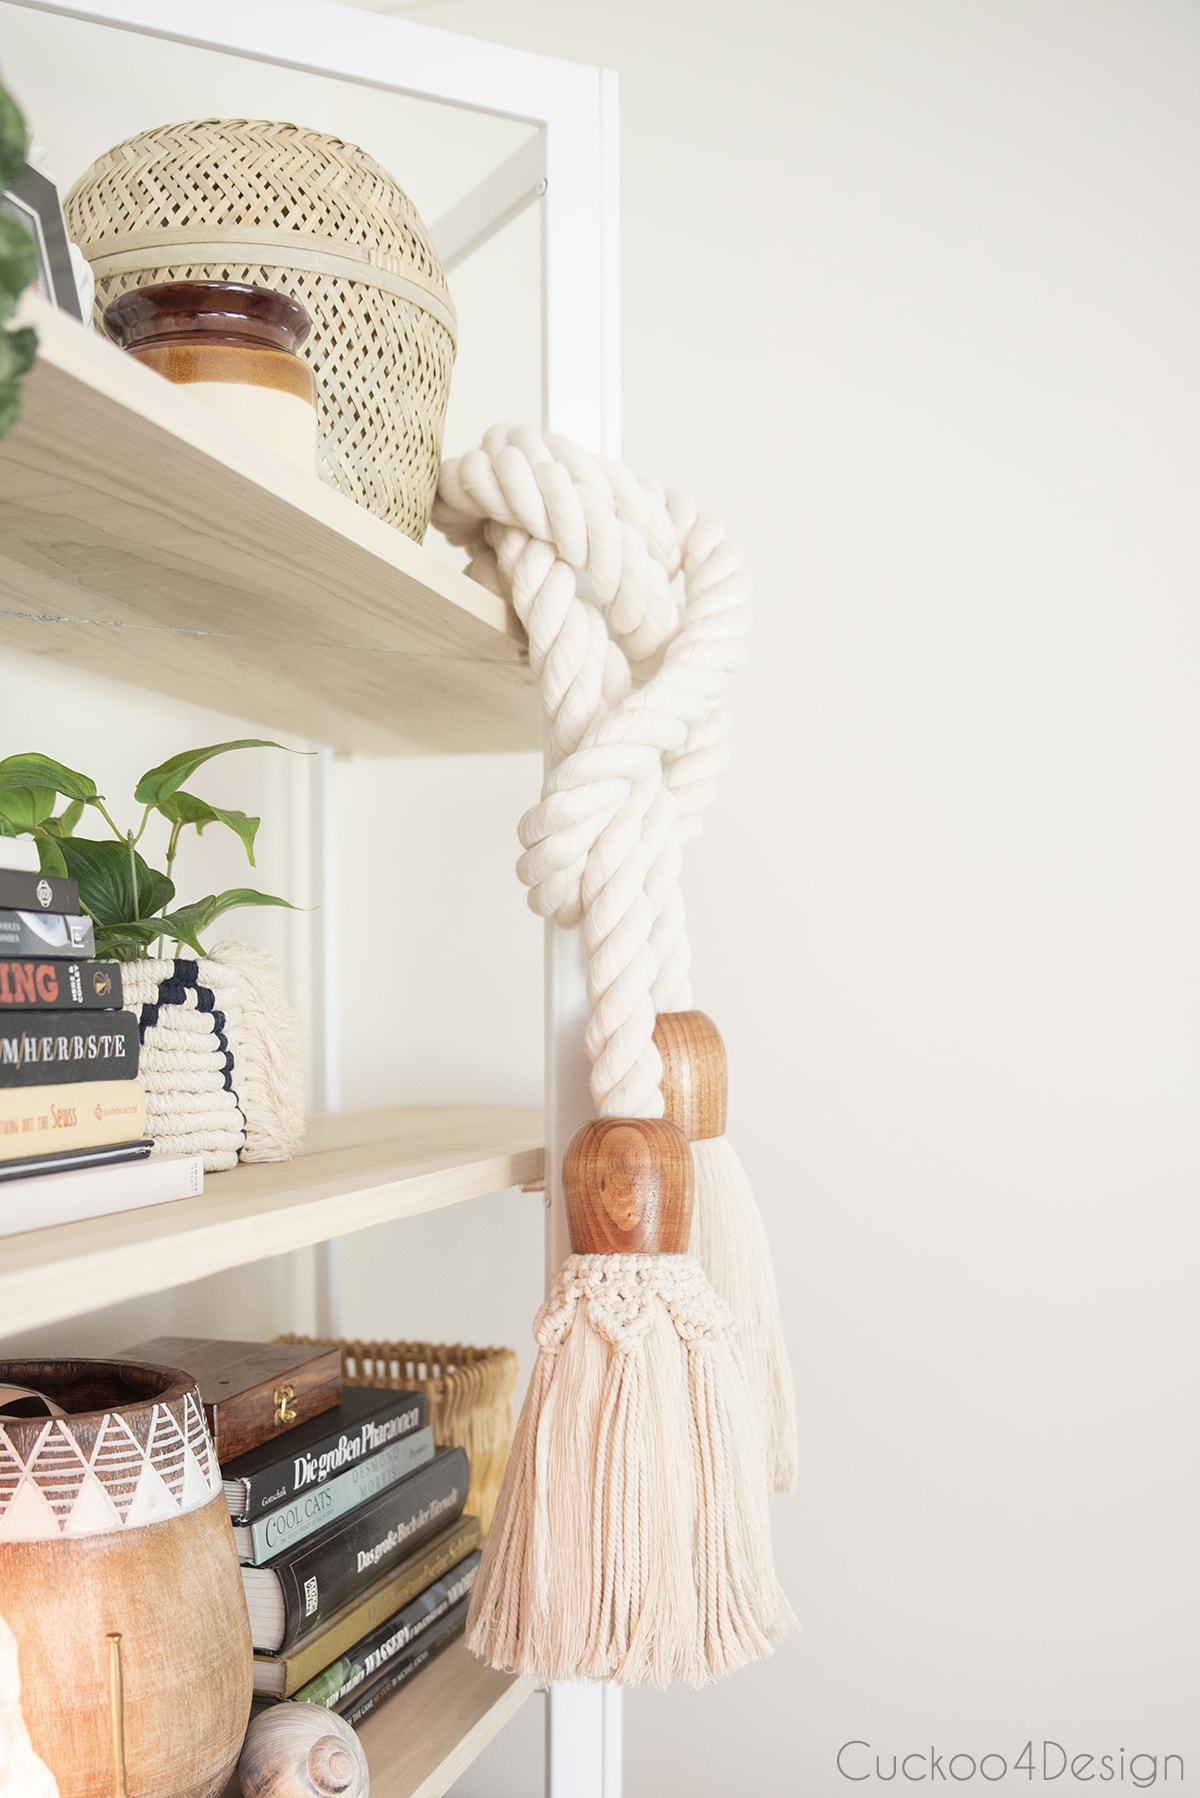
Years later, I still love it and have it hanging on the same shelf. I also made melted disco balls for the shelf, which you can see below. Check out my DIY melted disco ball tutorial.
RELATED: Another rope art DIY idea is my pipa knot wall hanging.
Where to buy a similar giant macrame tassel
Since I made this project a couple of years ago, I found an Etsy shop that copied my exact tutorial and is now selling this large macrame tassel. Just in case you don’t feel like making your own. It looks pretty darn close to mine. Clearly, mine was where they came up with the idea. (the image will take you to the shop)

Also, check out my other garland tutorials. I made a pampas grass garland, large wooden bead garland, and macrame garland and I love them all.
More of my stylish and unique tassel projects
I’m obsessed with tassels and they definitely don’t have any other purpose than looking pretty as a clothing or home accessory. Here are my favorites!
- how to make large tassels
- how to make a leather tassel
- how to make yarn tassels
- DIY tassel keychain
- DIY stacked tassel
- DIY tassel umbrella using durable outdoor yarn
- DIY tassel ottoman
- DIY tassel embellishments for a tassel sconce, lampshade, or basket
- How to make seashell tassels


Also, check out more of my macrame tutorials.
This thick cotton rope garland with macrame tassels fits right in. I love it so much and it would look really cool as a rope railing too with both tassels hanging down at the ends of the staircase.
I hope you enjoyed this project again today. I started turning off the ads inside my blog posts on the first two days after publishing for those of you who sign up for my email list. You can sign up HERE. I hope that makes it easier to read without ads everywhere.
Tschüß,

this is such a cool and unique project and i love how it looks styled at the beach!
Thanks Cassie! My favorite part is hanging it up at the beach and taking photos 😉
I love your rope tassels! So unique and beautiful!
Thank you Debbie
Gorgeous. I love your tassel rope.
Thanks Sandy! It was fun to make