

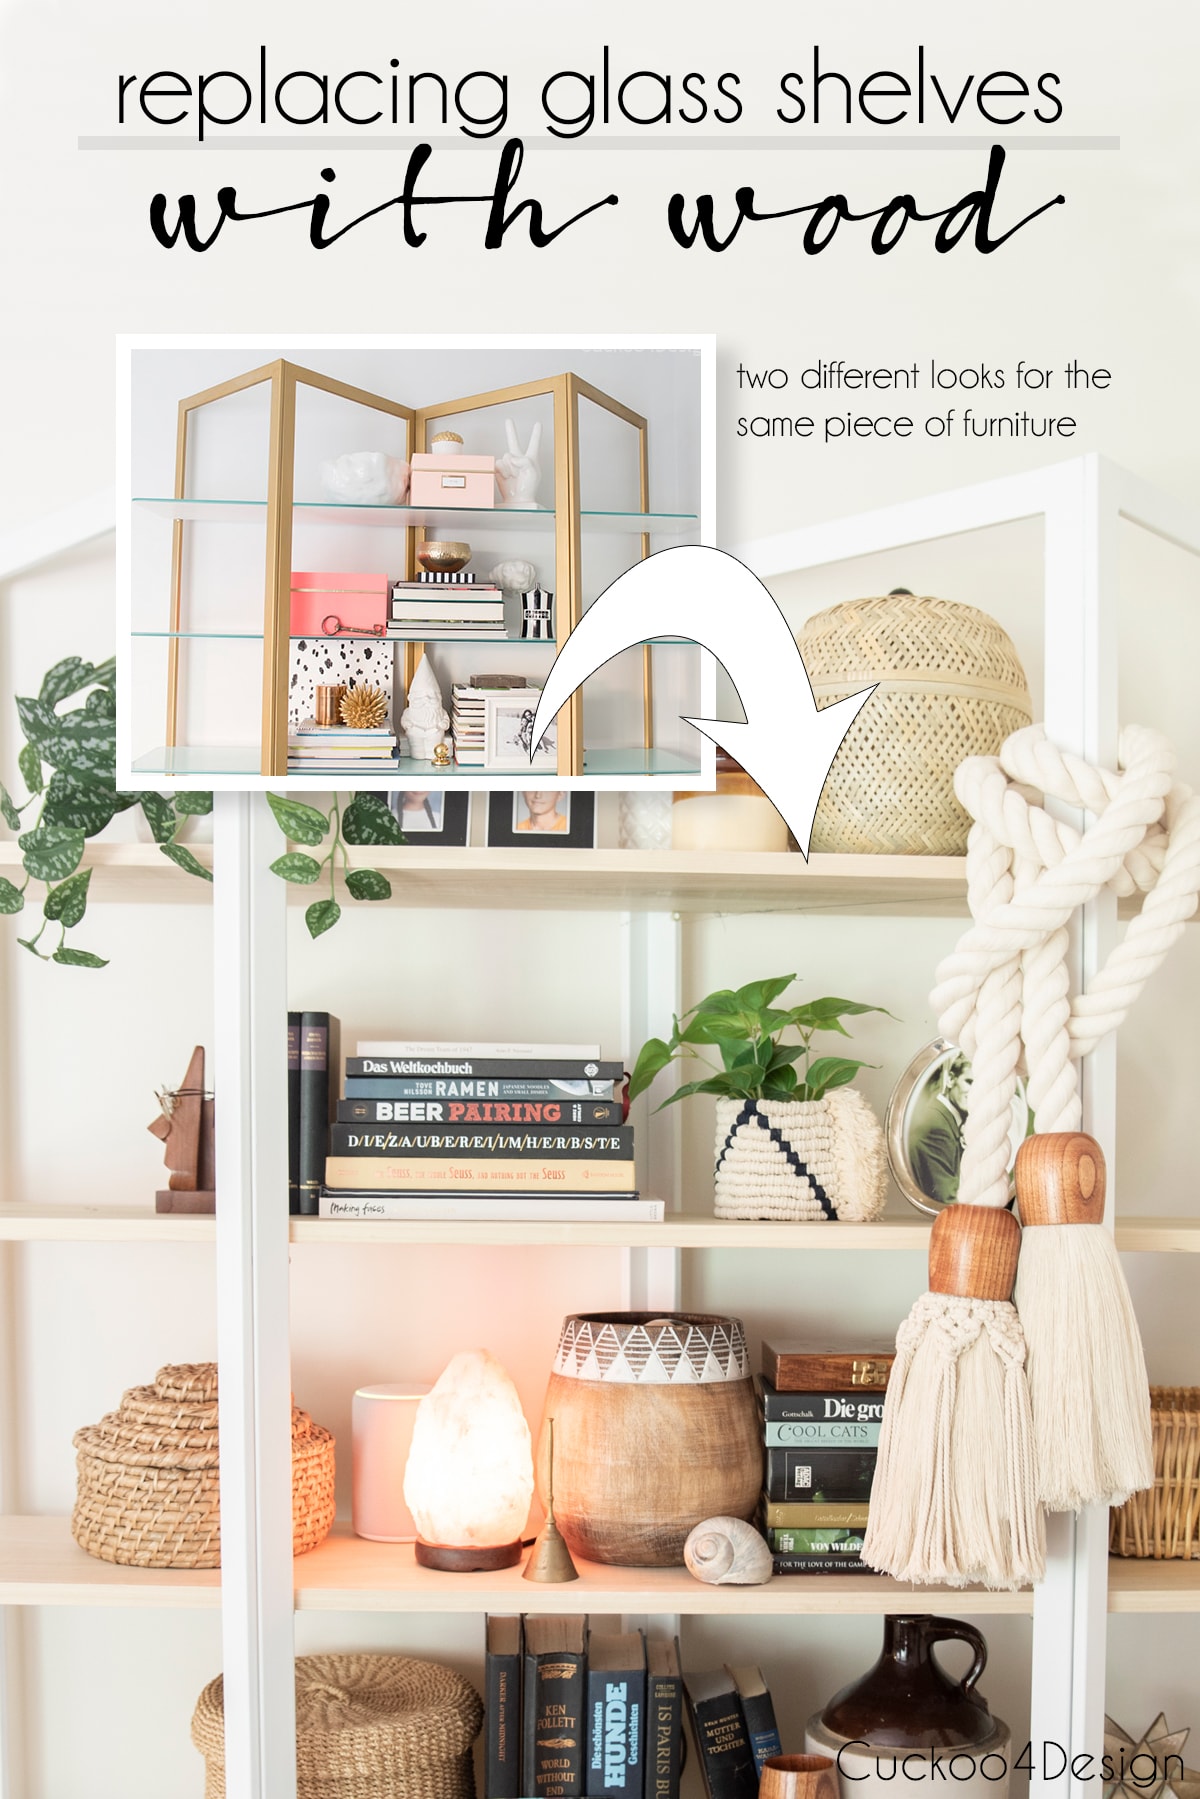
Replacing glass shelves with wood for a new look
On my list of things I wanted to change in our house without buying something new has been the brass shelf in the corner by the fireplace. I originally bought it for $35 at a local auction in 2013. Yup you heard that right. It is the perfect size for that corner and has served us well for all those years but I recently thought of replacing the glass shelves with wood.
When I bought the shelving unit, I discovered that it wasn’t solid brass but brass plated and the finish was wearing off in a lot of places as well as the glass being scratched and worn in places.
Replacing glass shelves with wood for a new look
This post may contain affiliate links from which I will earn a commission at no extra cost to you. View my full disclosure policy.
The old look and makeover
To give it a new look and make it look less worn and 80s, I gave it a little makeover in 2013 with some gold Rub’n Buff and painting the underside of the glass shelves white. This toned down the shiny chipping gold and hid the scratches on the glass while showing off the green-toned glass.

For the Rub’n Buff to stick, I had to prime the metal with Kilz spray primer. So I knew while scheming today’s little makeover that I could easily paint it again.

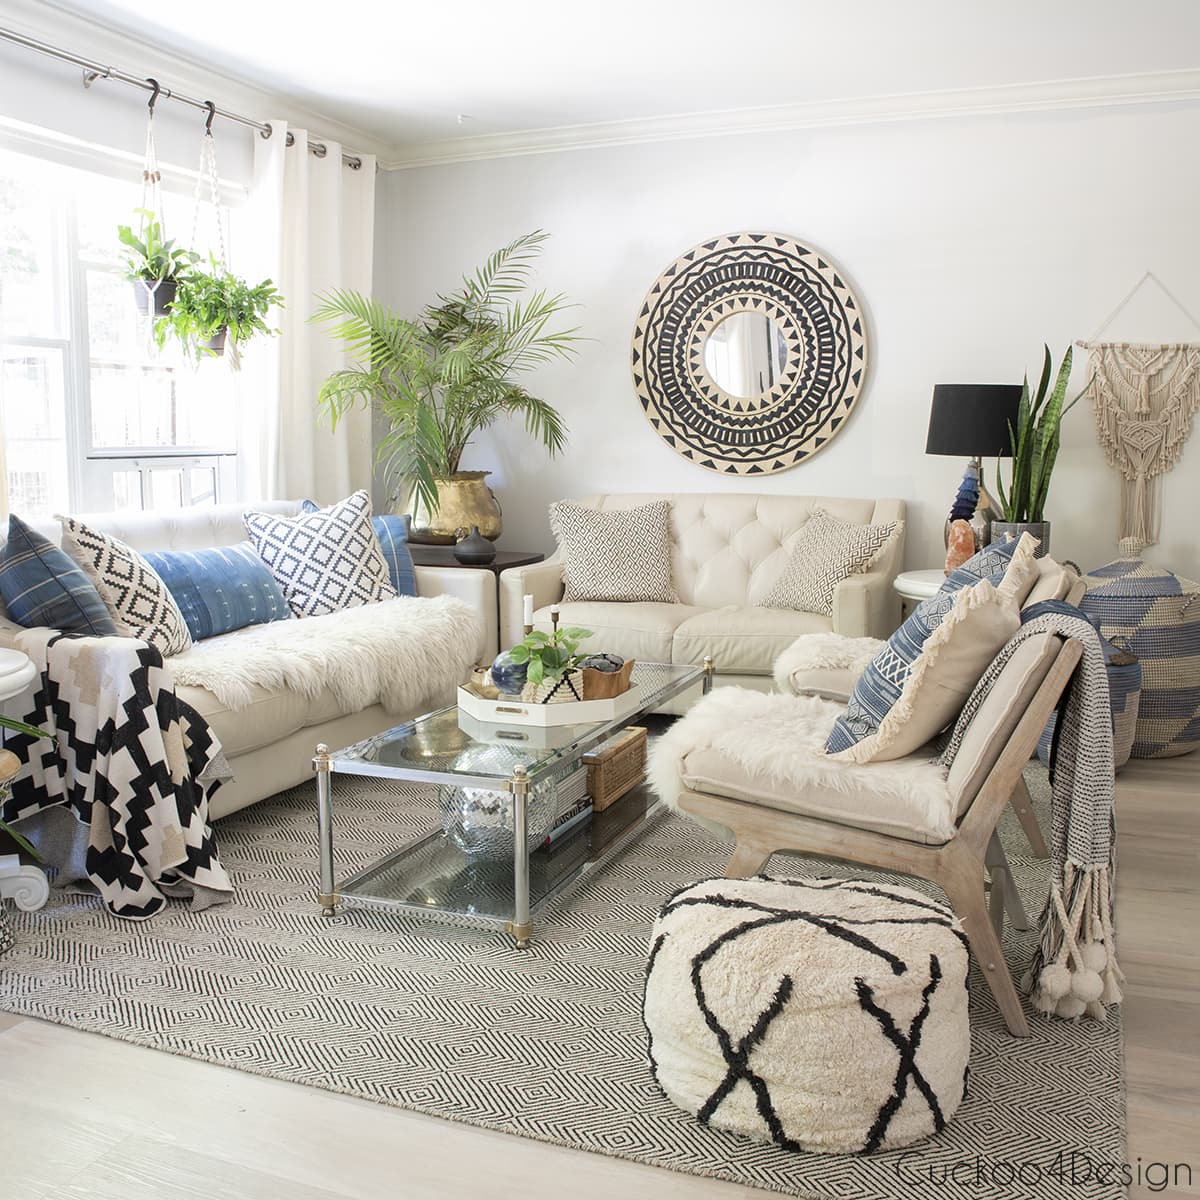
I loved the look of the mat gold finish with the green-tinted glass in combination with the more colorful decor I had years ago but I grew really tired of it with my recent changes. If you want to see some home tours of my colorful home then you can check out this old home tour or this tour. It also shows that I still have most of the pieces shown in the tour and that you don’t need to replace major pieces of furniture to create a completely different look in your home.
I’ve been craving a lot more wood which is probably a result of adding our new Karndean Texas White Ash flooring to the house. It adds warmth and coziness to our home.

I also know that this change isn’t everyone’s cup of tea and they might like the before better. I like both versions and I could go back to what it was before one day. I just like satisfying my need for change on a budget. I also feel like my taste of decor evolves with what I wear on a daily basis and this change fits right in with that reasoning as well.


Below is a very old blurry photo from before blogging to show you what this corner used to look like when our kids were little. The bottom baskets stored their toys. My son has a scar on his eyebrows from where he fell against one of the bottom shelves running. He needed stitches. You can also see the painting that I still have in our dining room on the right.

So let me just show you this simple little after.
All I did for this little makeover is head to Home Depot and have a guy cut poplar boards that are being sold by the foot into five 5-foot pieces. This wasn’t as cheap as I wanted it to be but since I only paid $35 for this shelving unit, to begin with, I felt it was ok to splurge on a little nicer wood. If I bought a new piece altogether I would still pay way more. The boards were actually 0.25 inches less depth than the glass. Unfortunately, I couldn’t find the 11.5″ needed anywhere but since the metal is accordion style I could just pull it out more and make it work tightly again with the quarter-inch less.
All materials used for this little shelf makeover
- poplar boards (or any other wood boards)
- Kilz spray primer
- paint of your choosing for metal part (I used Valspar Ultra White (7006-24) like the fireplace and the rest of my home) but you can use any color you’d like or leave it plain metal.
- brush (Purdy are my favorite)
Here is what I did
I used the spray primer to spray over the Rub’n Buff and then used a brush to simply brush on the latex paint. Kilz oil-based primer works great over most finishes and paints and is the perfect base primer for other paints and colors.
I mean it doesn’t get any more simple than this makeover because like I mentioned above I had the shelving cut by the Home Depot guy and I didn’t add any protective coating to the wood (yet) because I like the raw wood look with our floor. Let’s see how the wood wears and if I need to add something to protect it but it doesn’t get much wear. I did however sand the edges a bit because they were a tad bit rough.
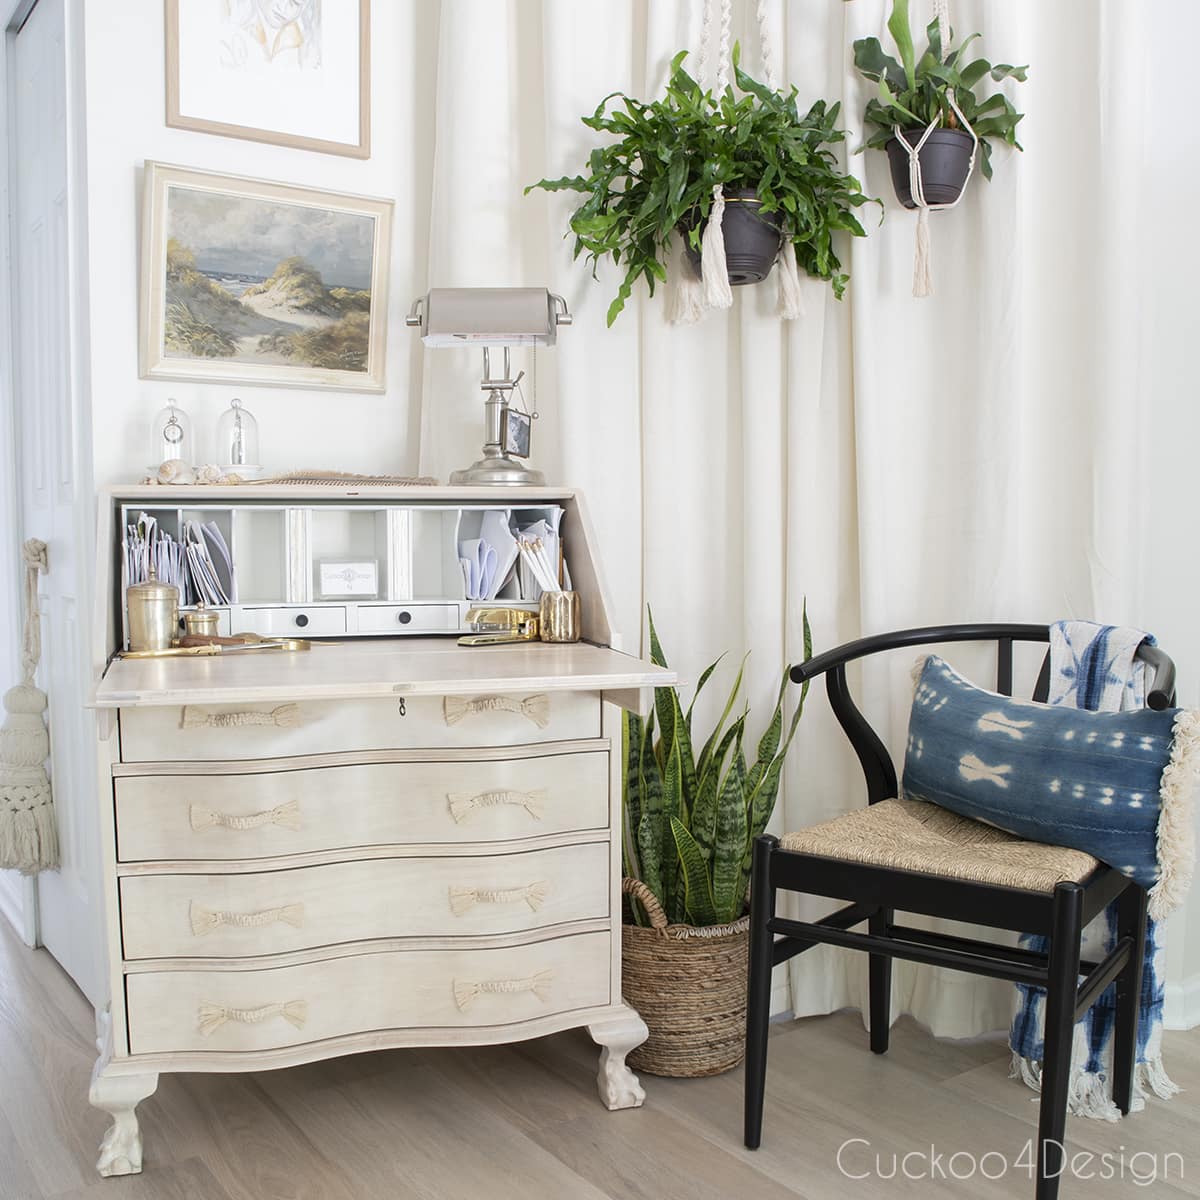
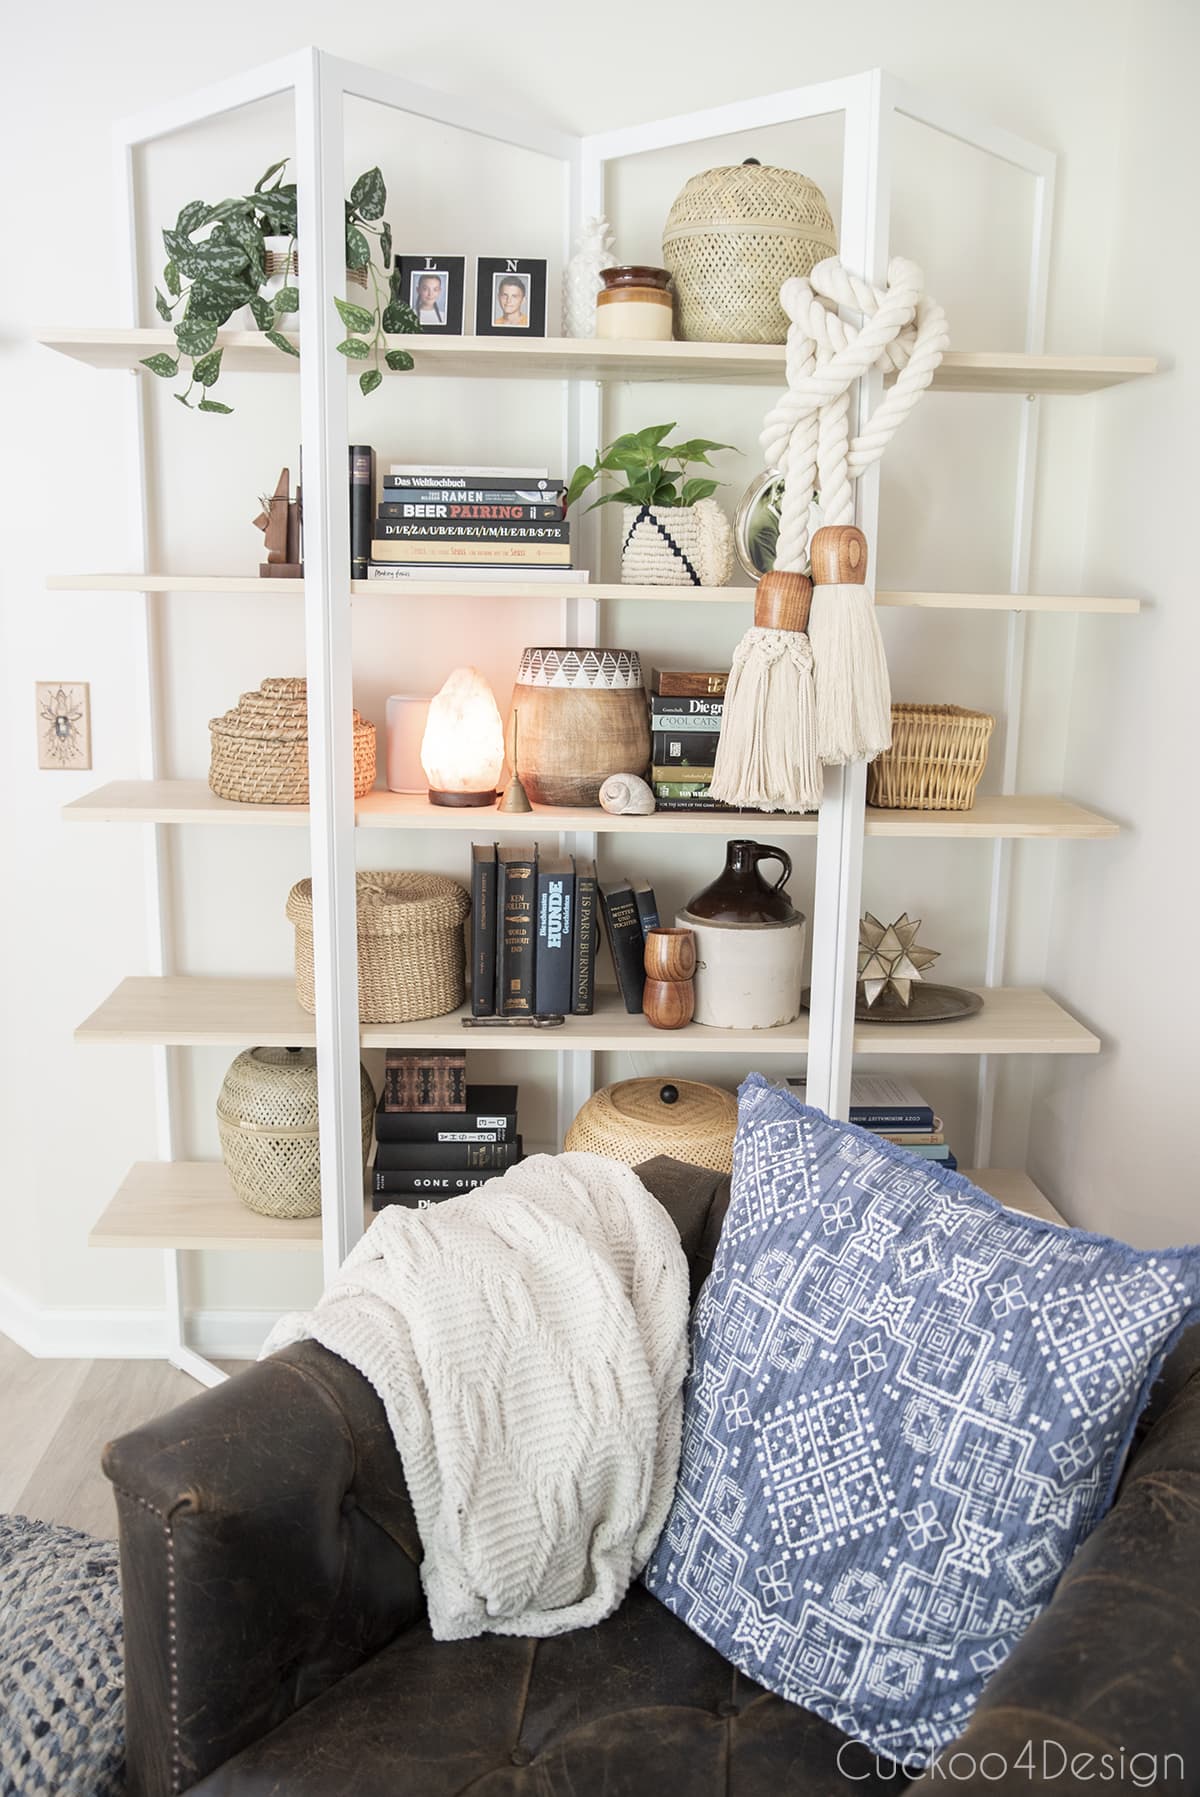
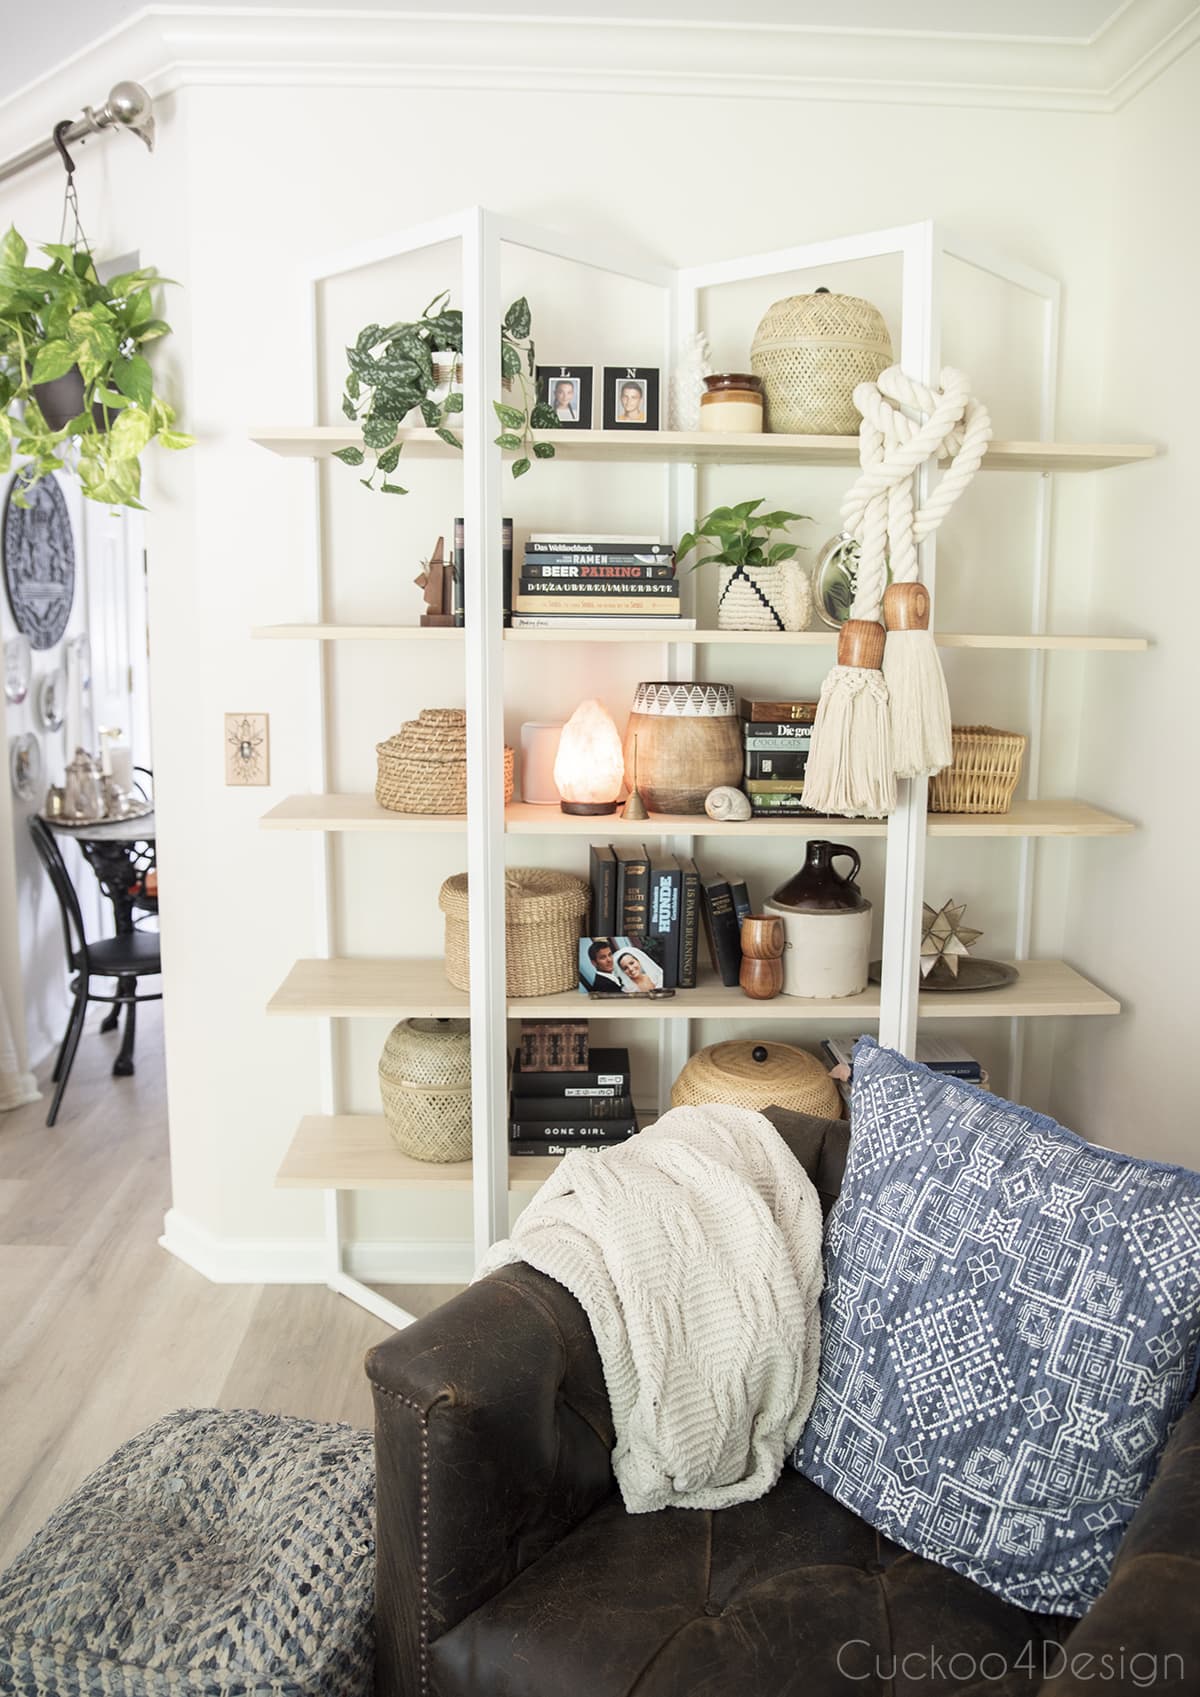
Here is the room view with my recent bleached cherry wood desk makeover if you missed it, to show you exactly the look again of the rest of the entire living room.

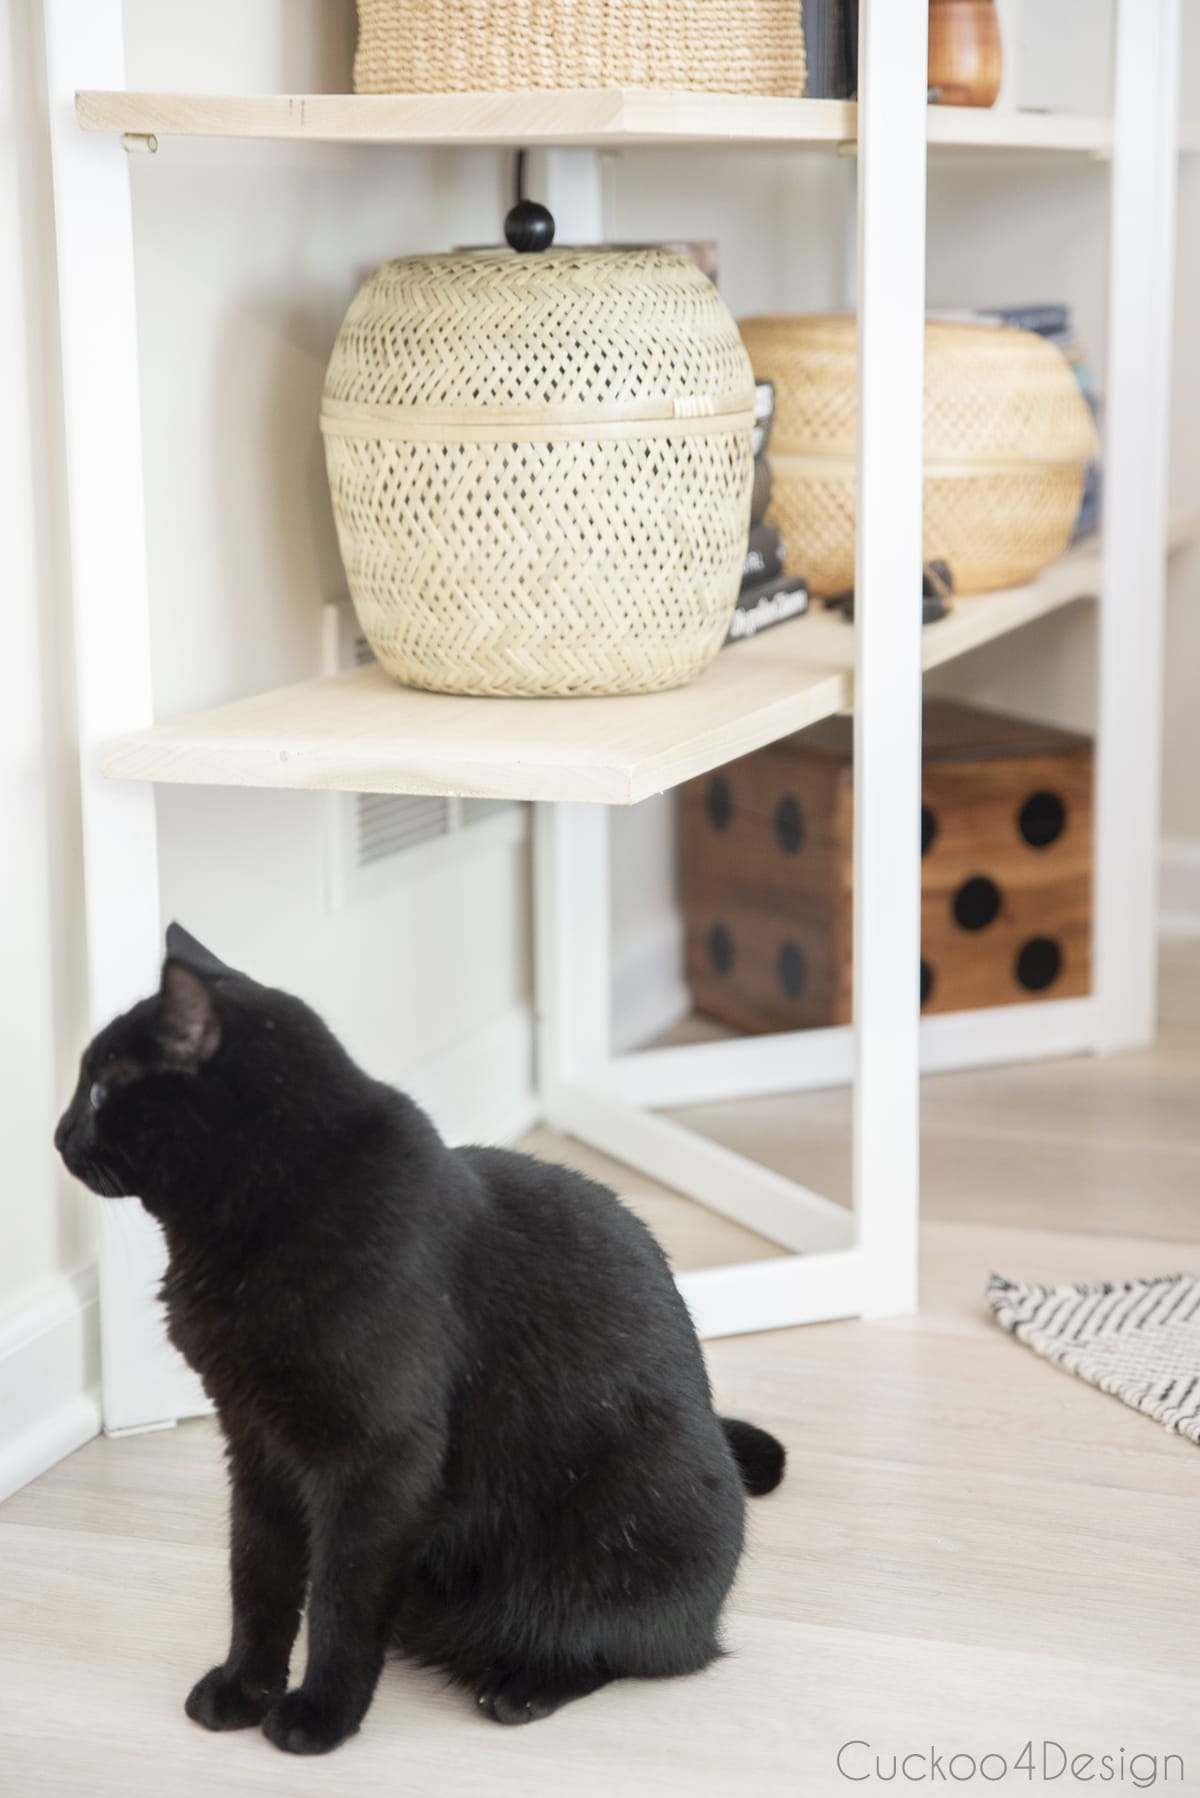
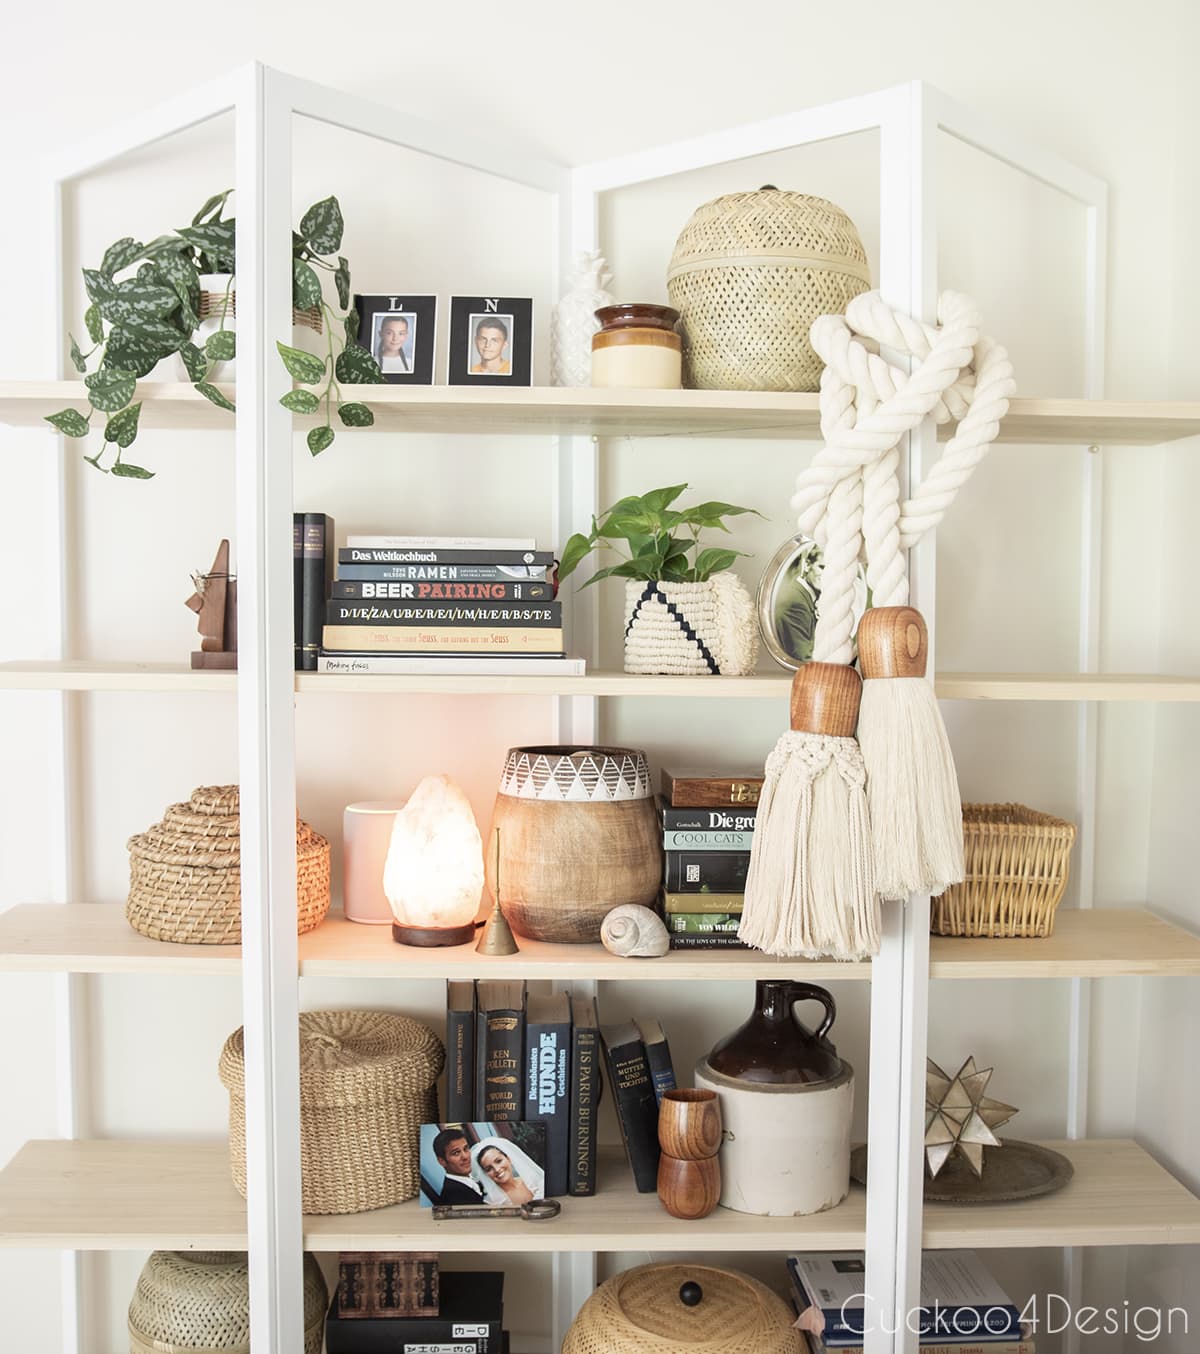
The new shelf look with wooden boards instead of glass

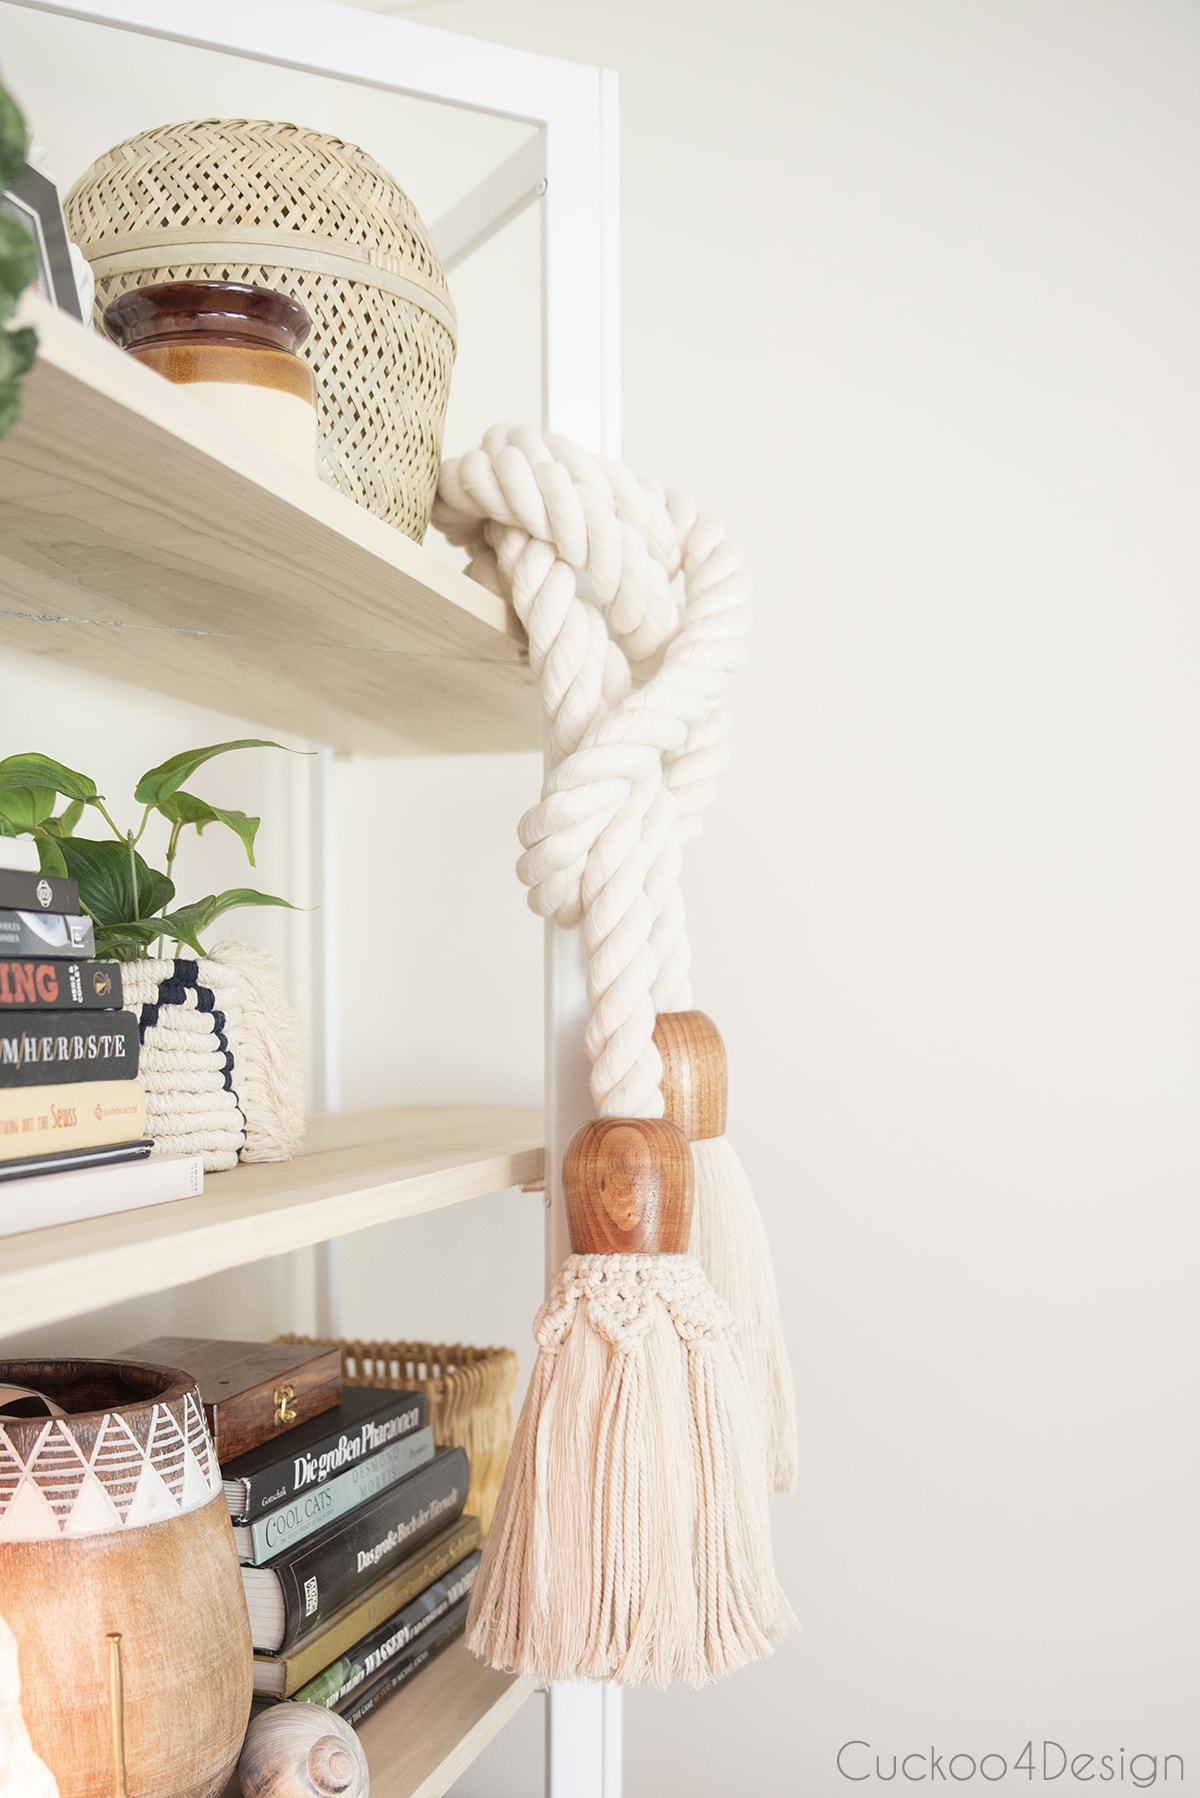
The giant rope garland with macrame tassels that I made ended up on the shelf for now because I love it there. You can also see the DIY macrame planter sleeve I made by the tassel.

I added a ton of storage baskets to the shelves because I love the look but most of all we are using them for extra kitchen storage since we only have a tiny pantry. The kitchen is right there and we are able to store things like rice, noodles, and tea in those baskets. I know it is unconventional but it works well for us.

The lidded baskets are from Ikea by the way.

I still want to get some more baskets and pottery to add to the shelves but I like it so far as well. Collecting these things over time is my favorite part.
I also bought the little antique moonshine jug on Facebook marketplace last week for $15 and love it.

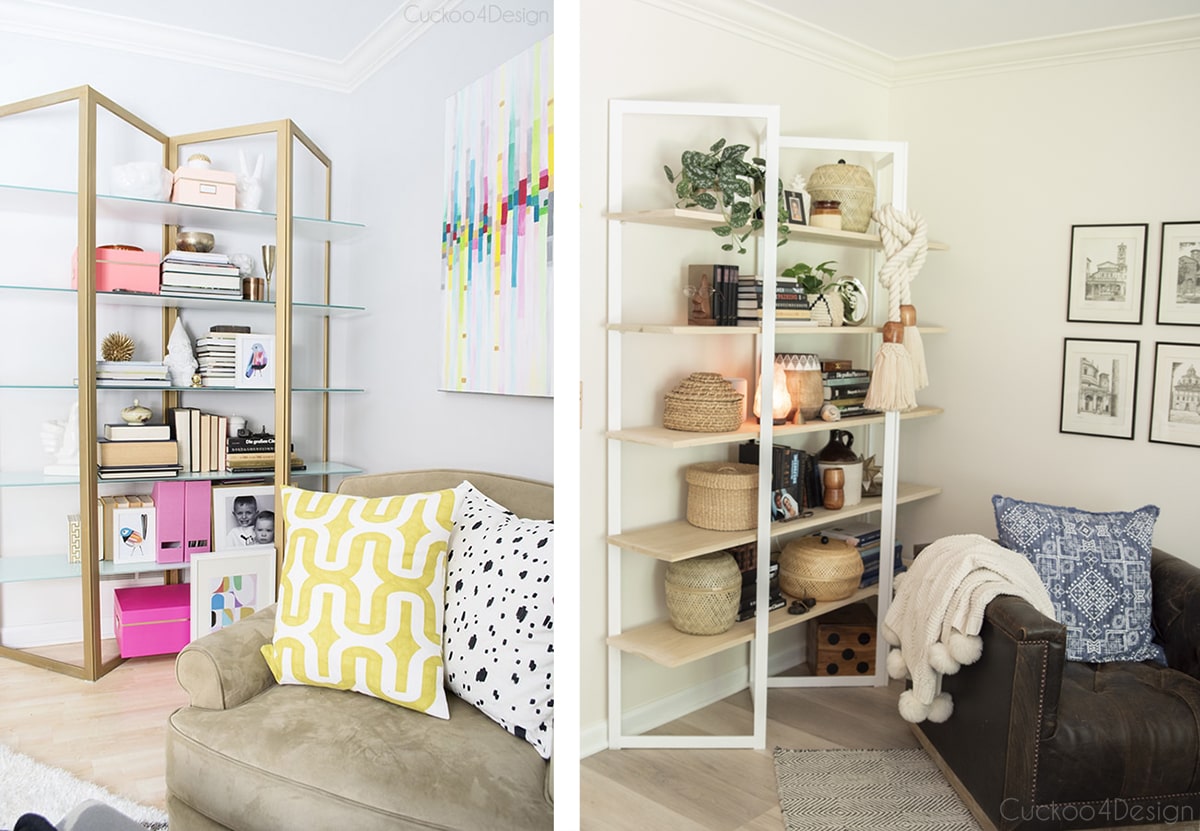
Here is a side-by-side to show again how much my style at home has changed. I’ve just been craving more cozy warmth. Nesting more during this messy and scary time of 2020 might have something to do with it.
Tschüß,

I love the white, it looks so nice. Perfect for your room.
Thanks Marty, I wanted the white to mirror my fireplace mantel.
The new finish blends in nicely with your updated decor. The side by side photos really show the difference between the two styles and actually… I love them both. You do nice work. 🙂
I personally like both looks. Yes, the white/wood look does compliment your current look. Its nice to change a current piece of furniture to suit the current look. Nice job!! I plan to try the bleach wood look from your previous blog….
Oh that’s awesome! Let me know how it turns out.
I agree with everyone! I love both looks! You have the Midas touch, everything you do is amazing!
Thank you so much Debbie
i LOVE the new look! i always love glass but it gets so dusty- these will be much easier to maintain!