

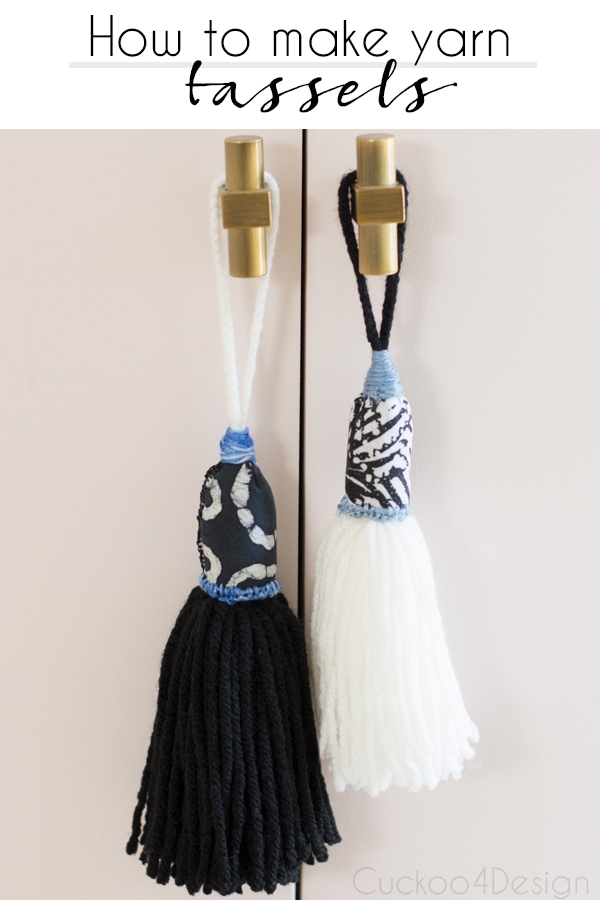
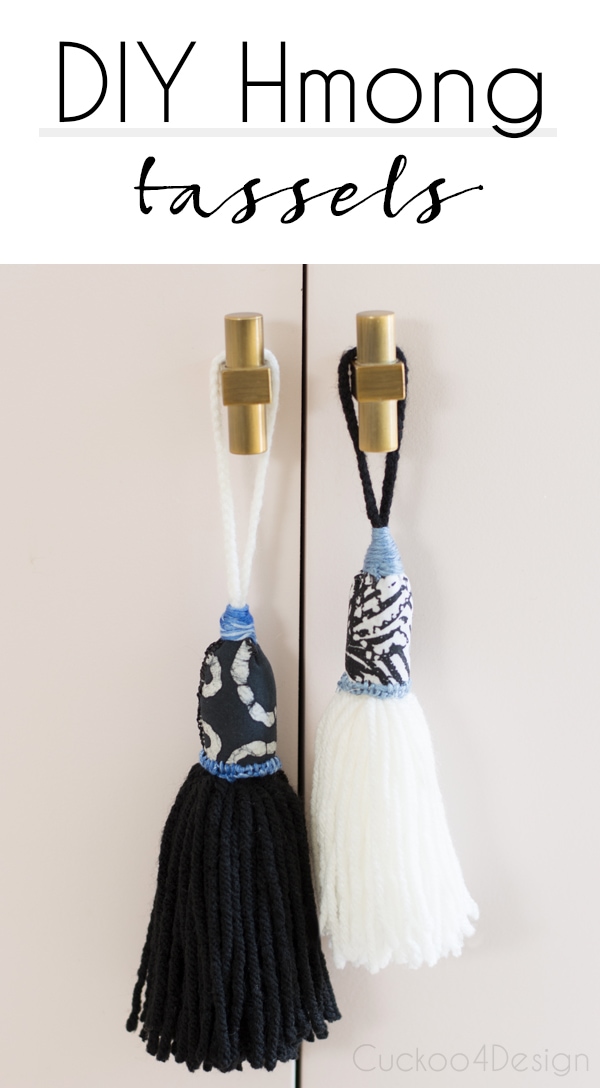
How to make yarn tassels with a unique twist
I have a tassel obsession that I frequently indulge in here on my blog with various tutorials and today I want to show you how to make yarn tassels with some added detail from quilting squares and embroidery floss inspired by Hmong tassels I found on Etsy.
I just wanted to add some interest and not just have the standard basic yarn tassels that you can find everywhere and I think I accomplished that.
How to make yarn tassels with a unique twist
This post may contain affiliate links from which I will earn a commission at no extra cost to you. View my full disclosure policy.
I’m not sure if you are wondering what Hmong tassels are but I know my daughter was wondering. So I told her that I came across them when I did my favorite tassel sources post. And I did some Hmong googling. Hmong is an ethnic group of people who live in China, Vietnam, Laos, and Thailand and they create really beautiful and colorful items with lots of tassels, pom-poms, and beads. Just google it and you won’t be disappointed.
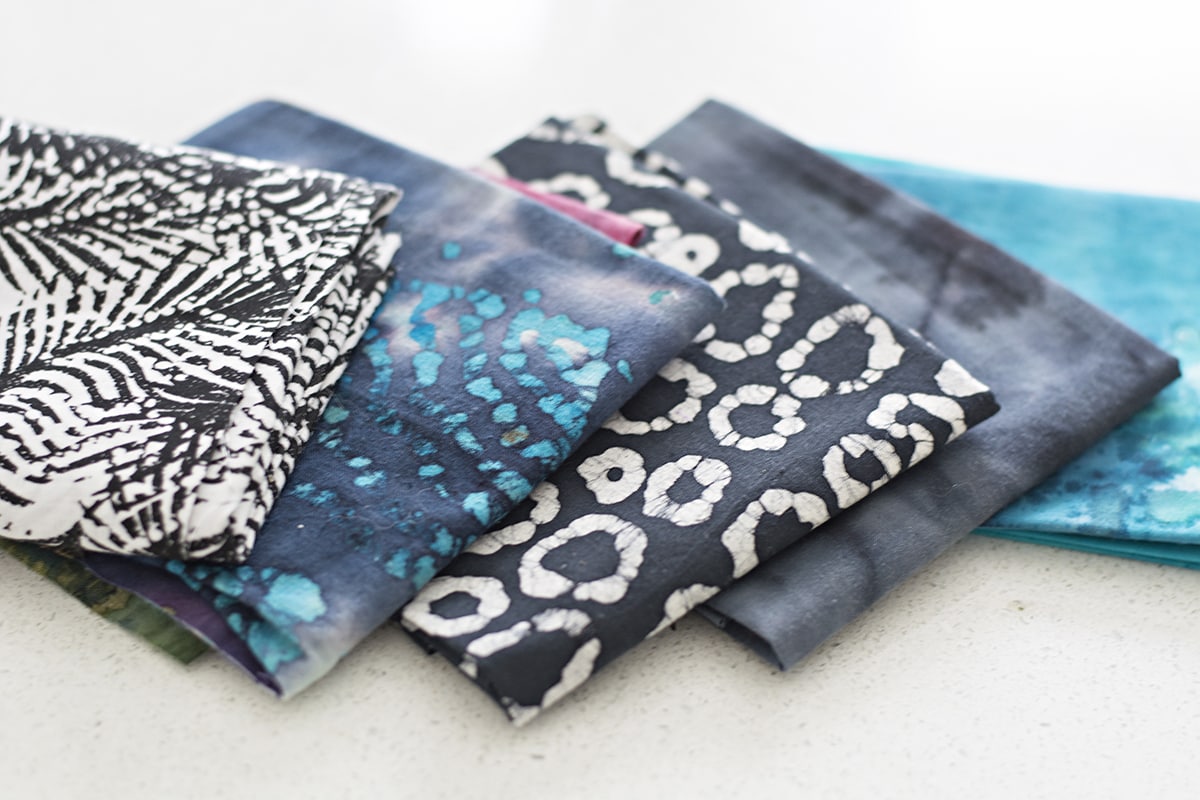
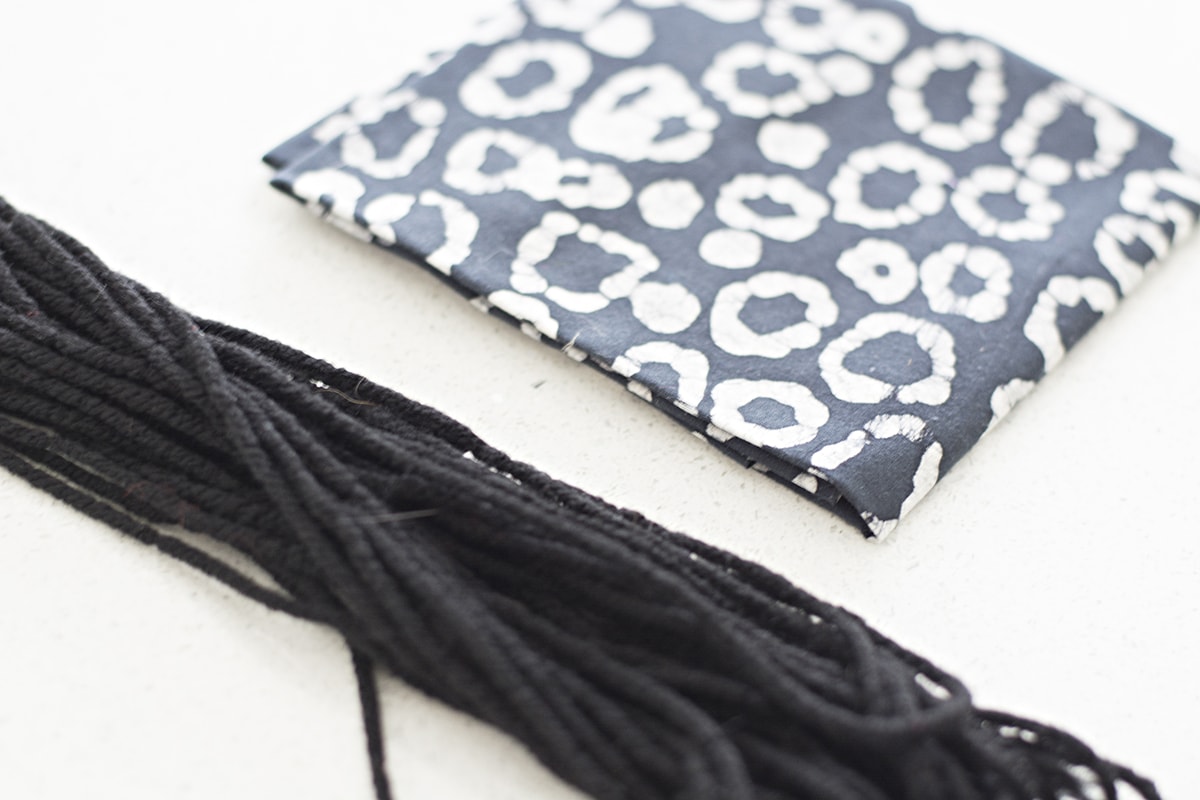
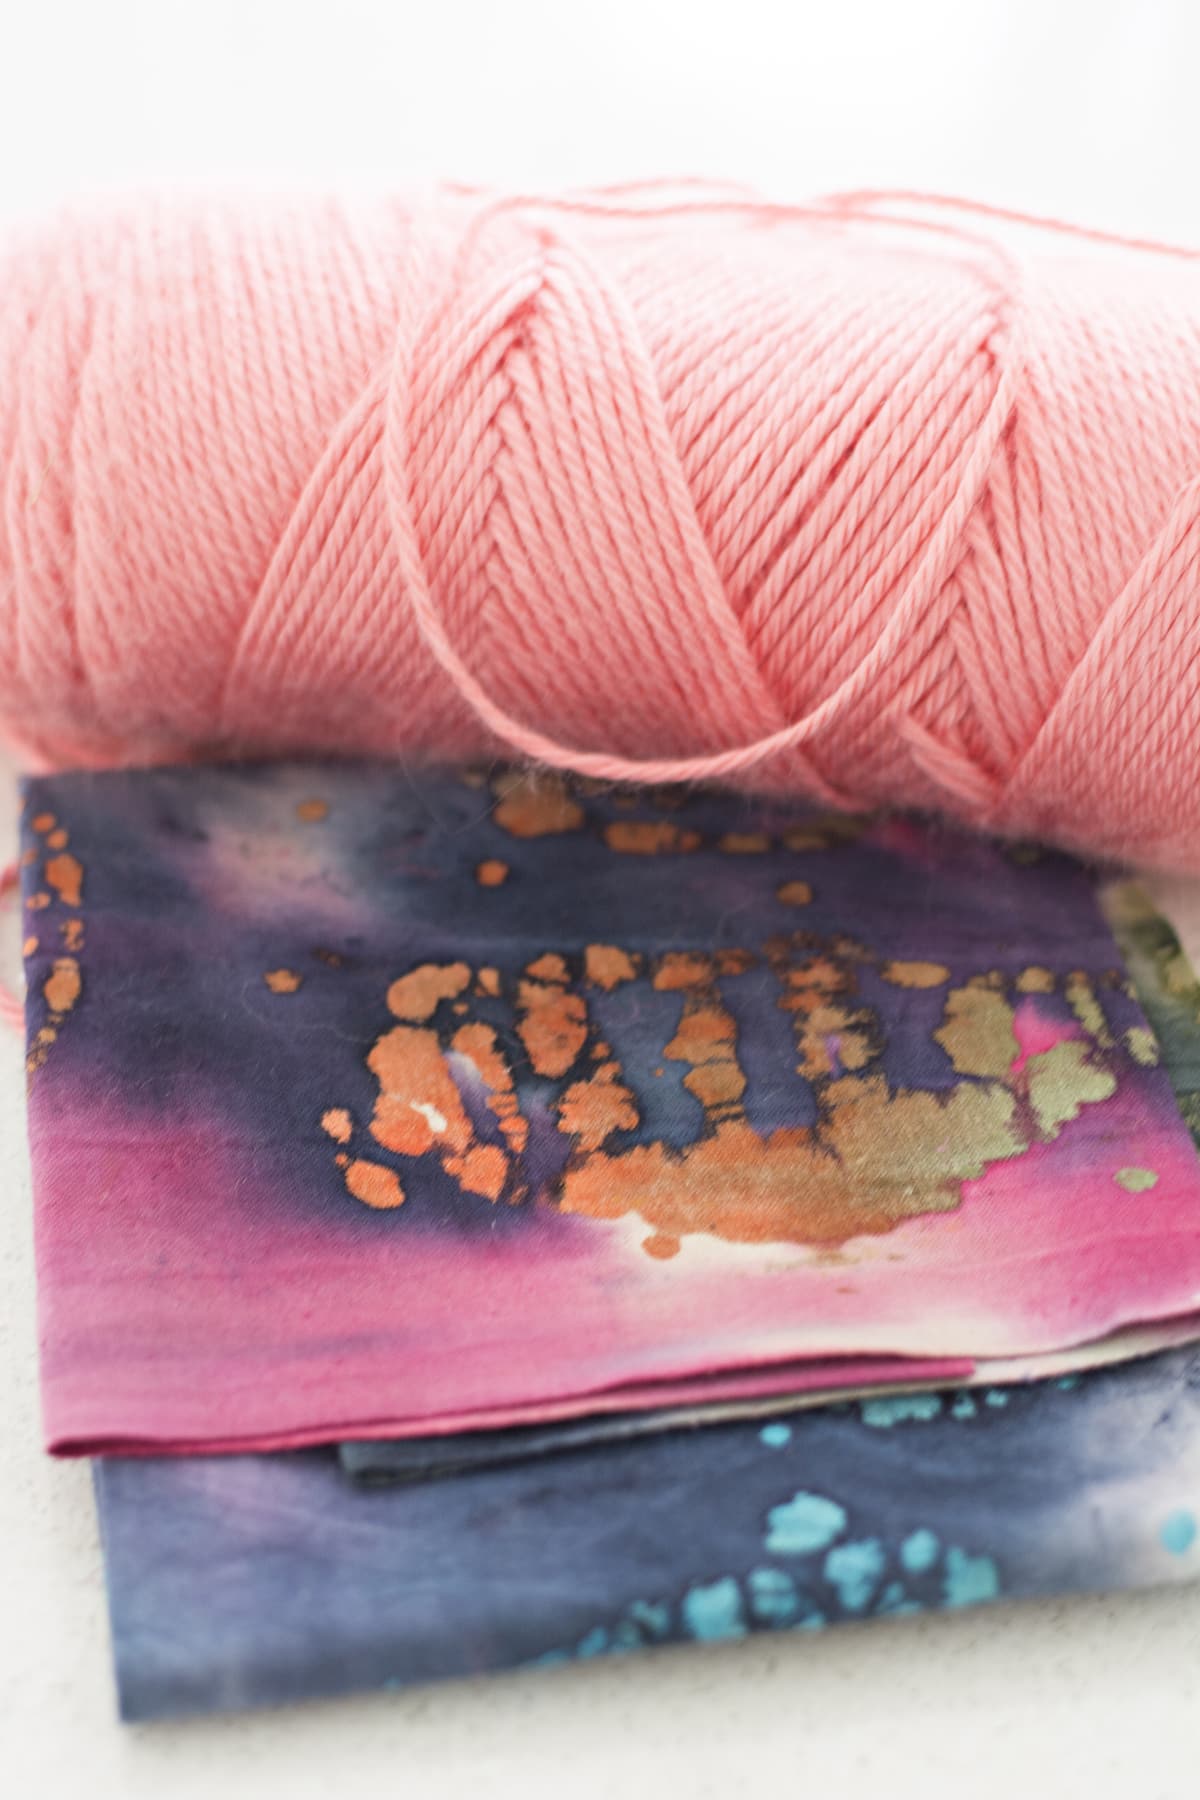
I had wool yarn left to make tassels from so I matched my quilting squares with the wool I had left.
Video tutorial
Below you can find my yarn tassel video tutorial. If for some reason it doesn’t load for you then you can watch my YouTube video on my YouTube Channel instead.
Step-by-step instructions on how to make yarn tassels
As I said, I saw the yarn Hmong tassels on Etsy and fell in love with them and thought about making them myself. The idea really started to bloom when I saw the variety of quilting squares at my local craft store.
Step 1: Start by making a basic tassel
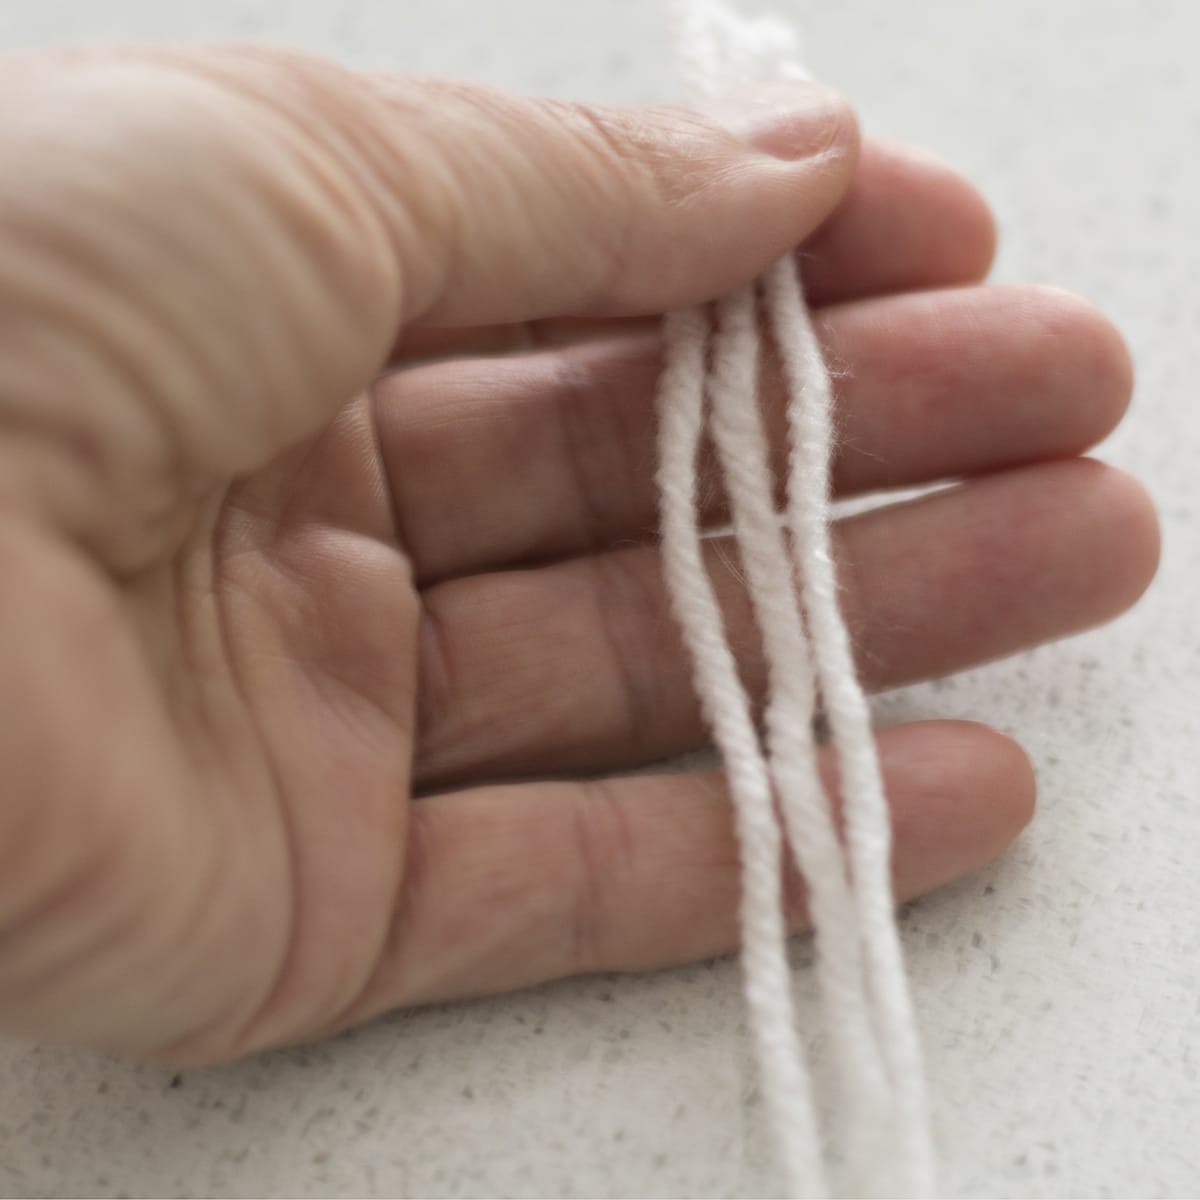
Gather wrapped yarn which you can do in several different ways.
I like wrapping the yarn around my hand. You can also use a piece of cardboard cut to the desired size of the tassel. Before looping the yarn around the cardboard, don’t forget to add a piece of yarn under the top of the cardboard first, which you will use later to hang the tassel. And cut the yarn at the bottom of the cardboard (opposite to the piece of yarn for hanging).
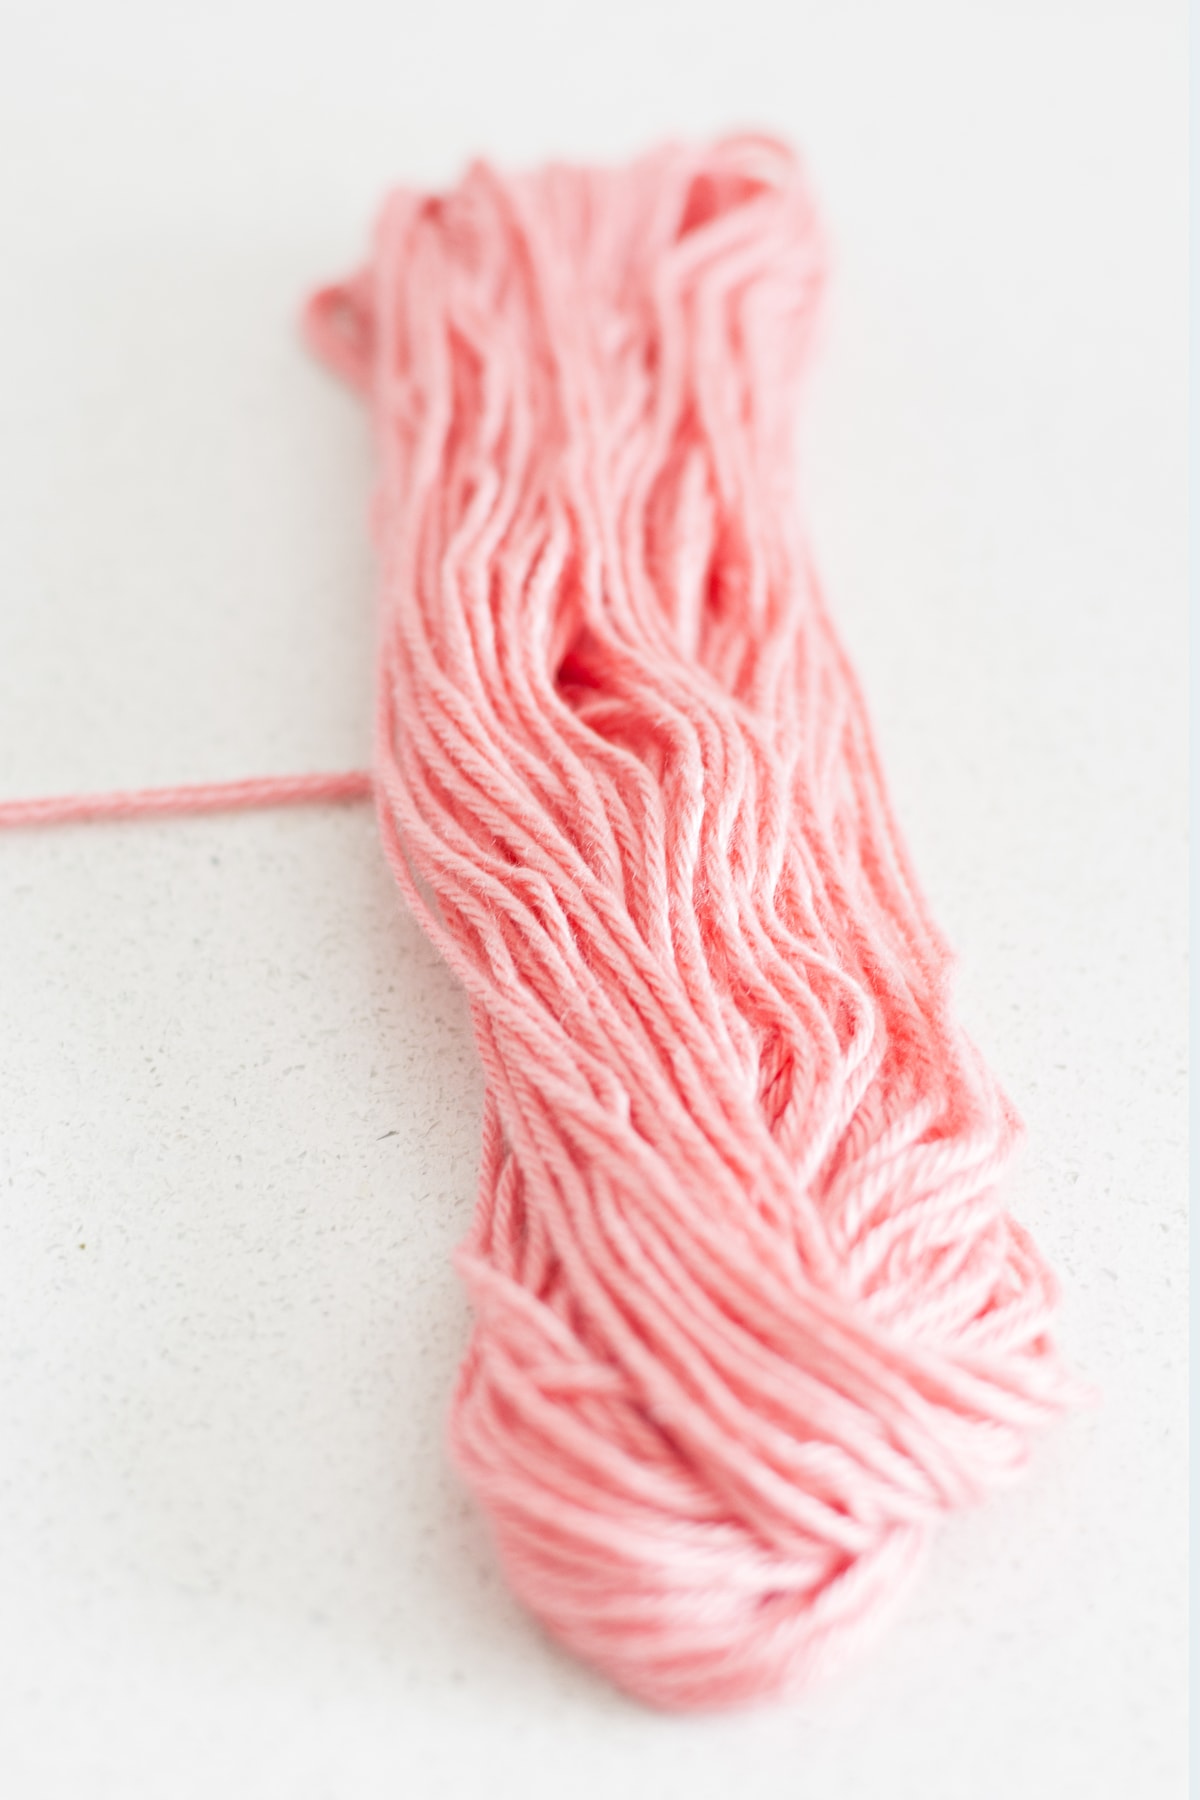
Here you can see the yarn that I gathered around my hand and laid out on a flat surface with the string for tying it on in half at the center.

Fold it in half …
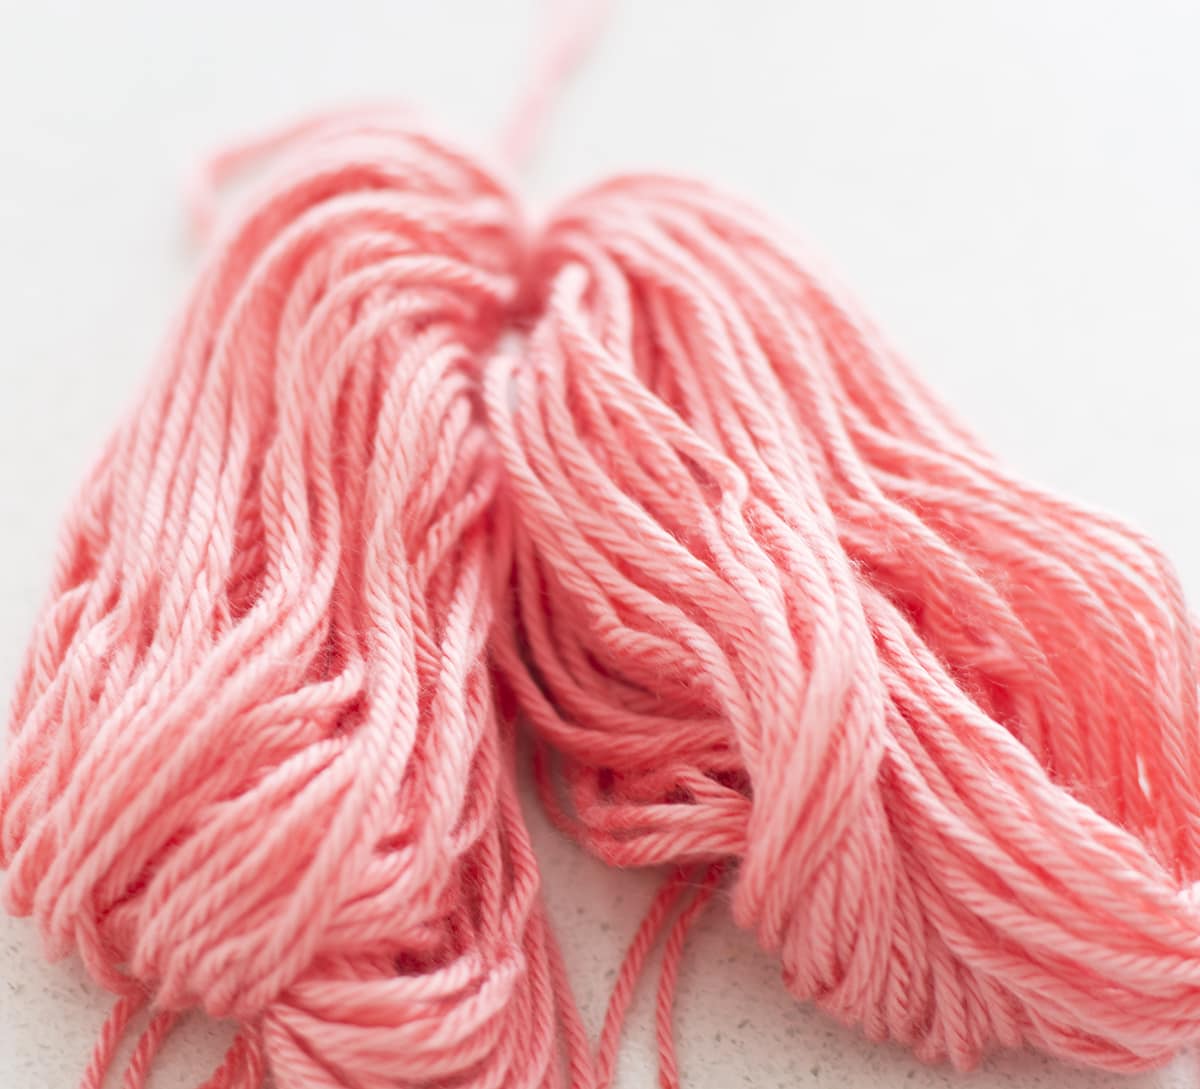
… and tie again with a tight knot to form the body of the tassel.
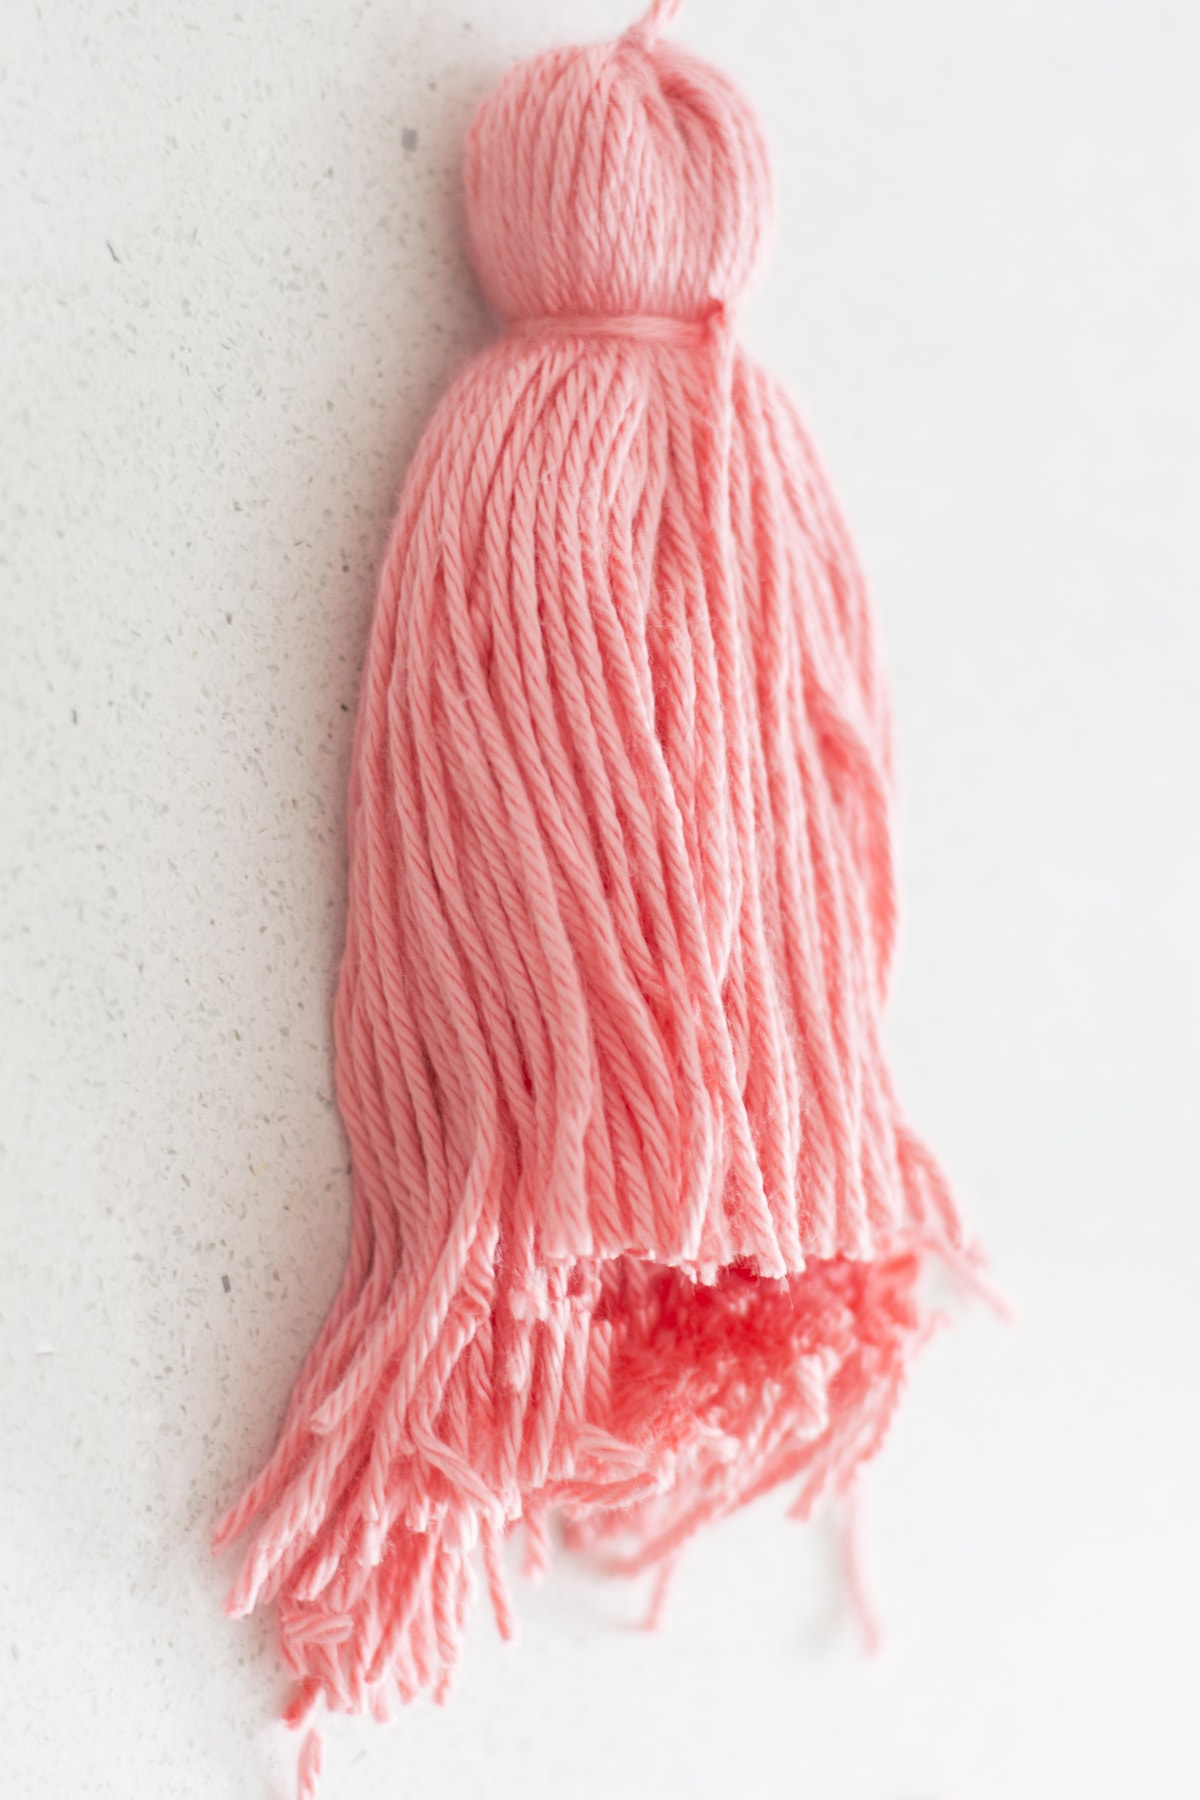
And you could end this tassel DIY right here because now you have simple yarn tassels. But like I said I didn’t want to stop here. I wanted to keep going and add a bit more detail and interest. Let me show you.
Step 2: Add the fabric detail to the top
Take your fabric and I double layered it before cutting.
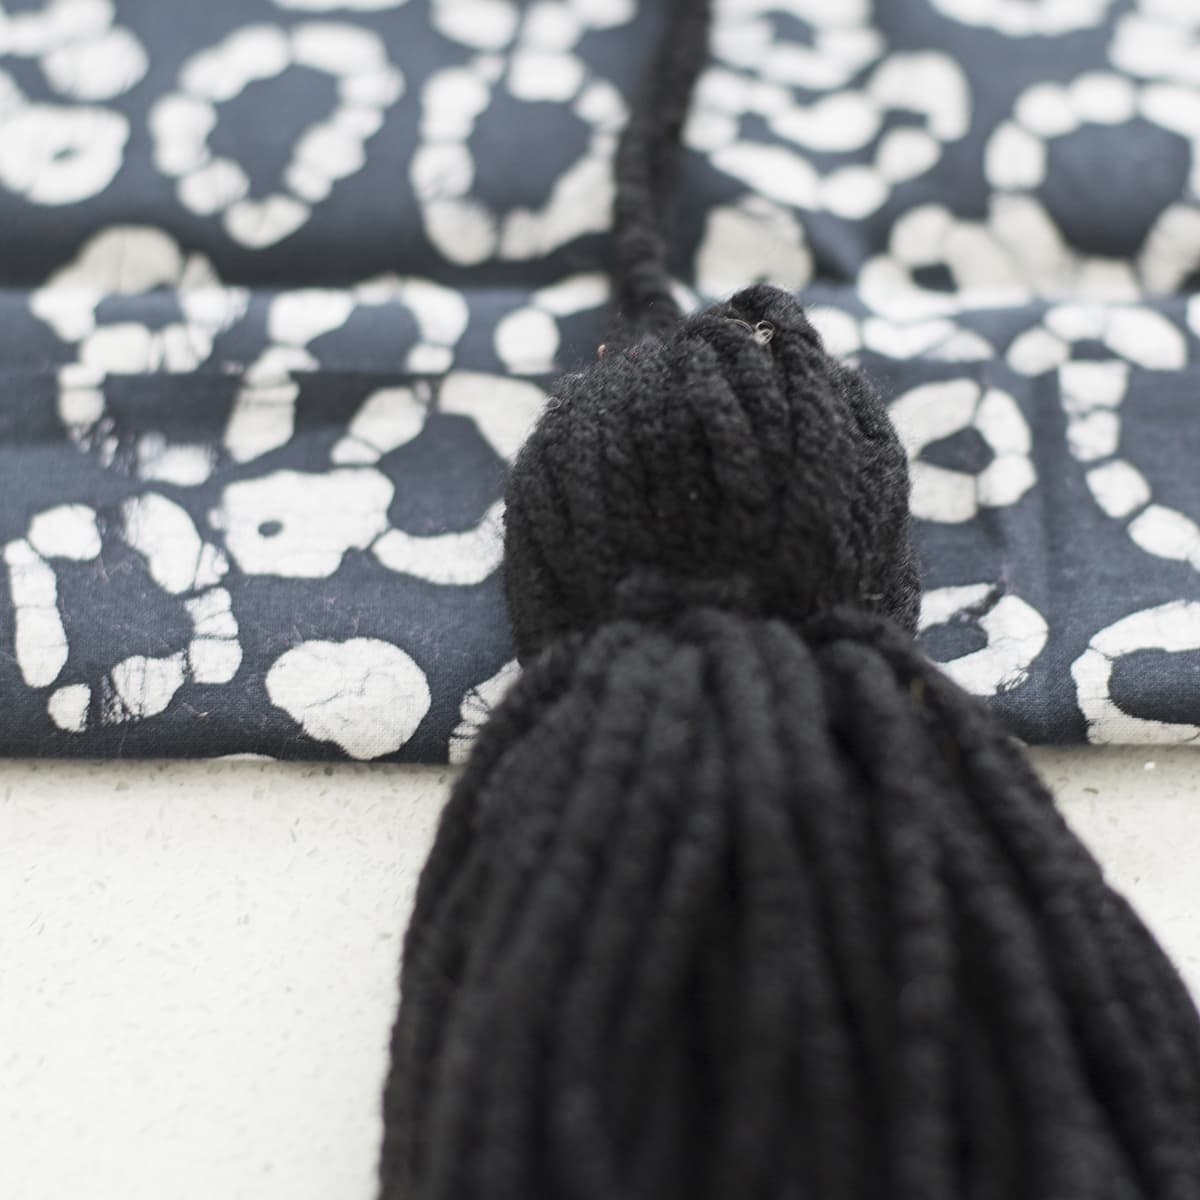
Then I wrapped the fabric around the tassel and tied it with a string to keep it in place for sewing.
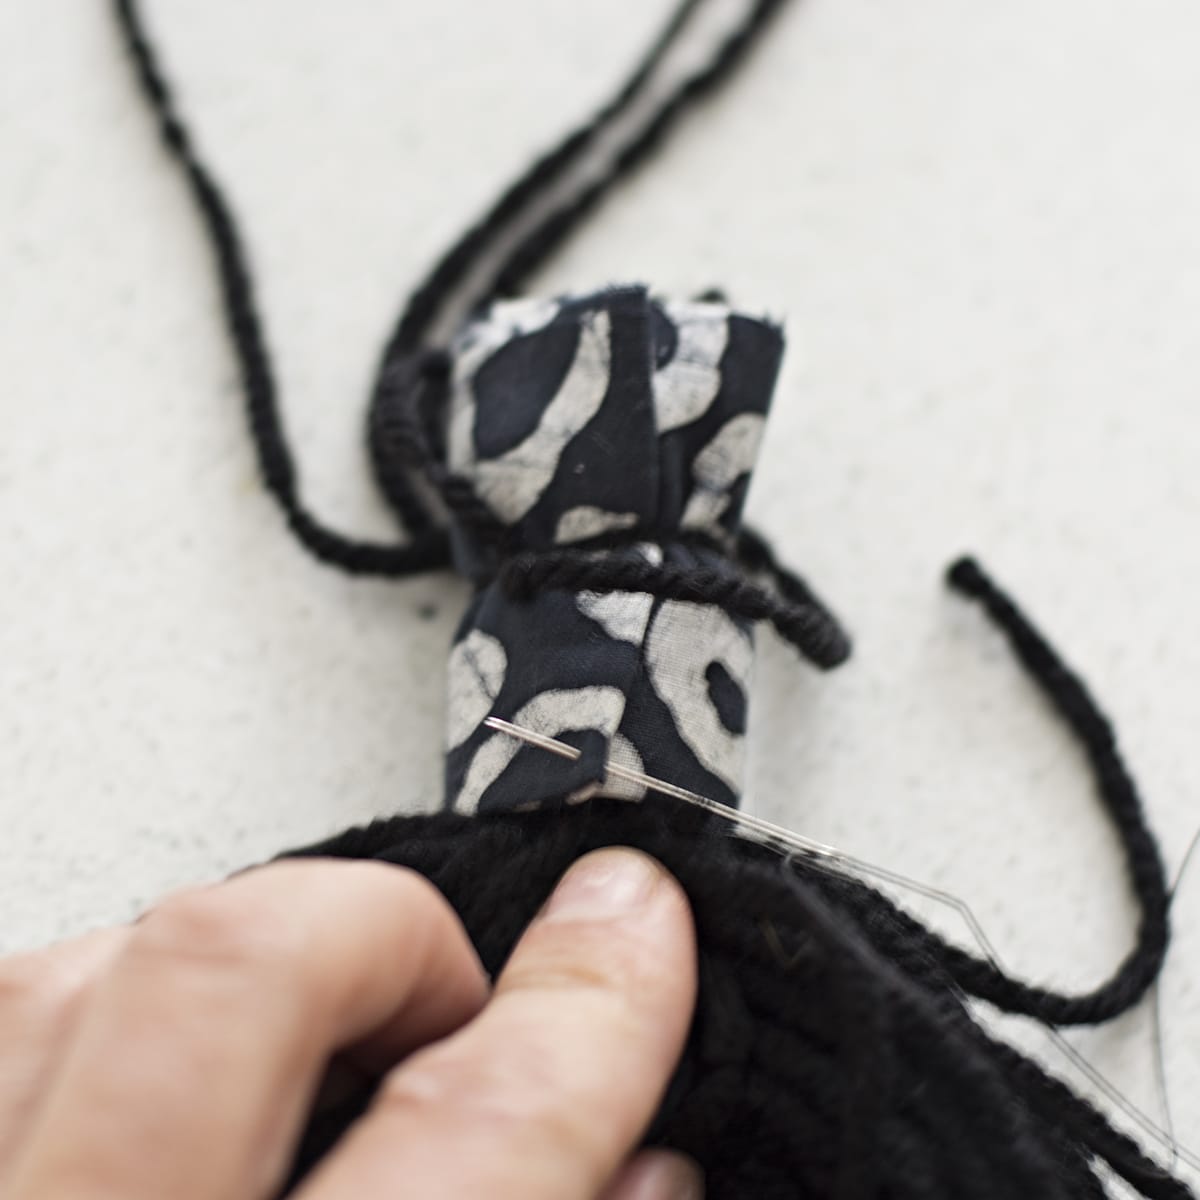
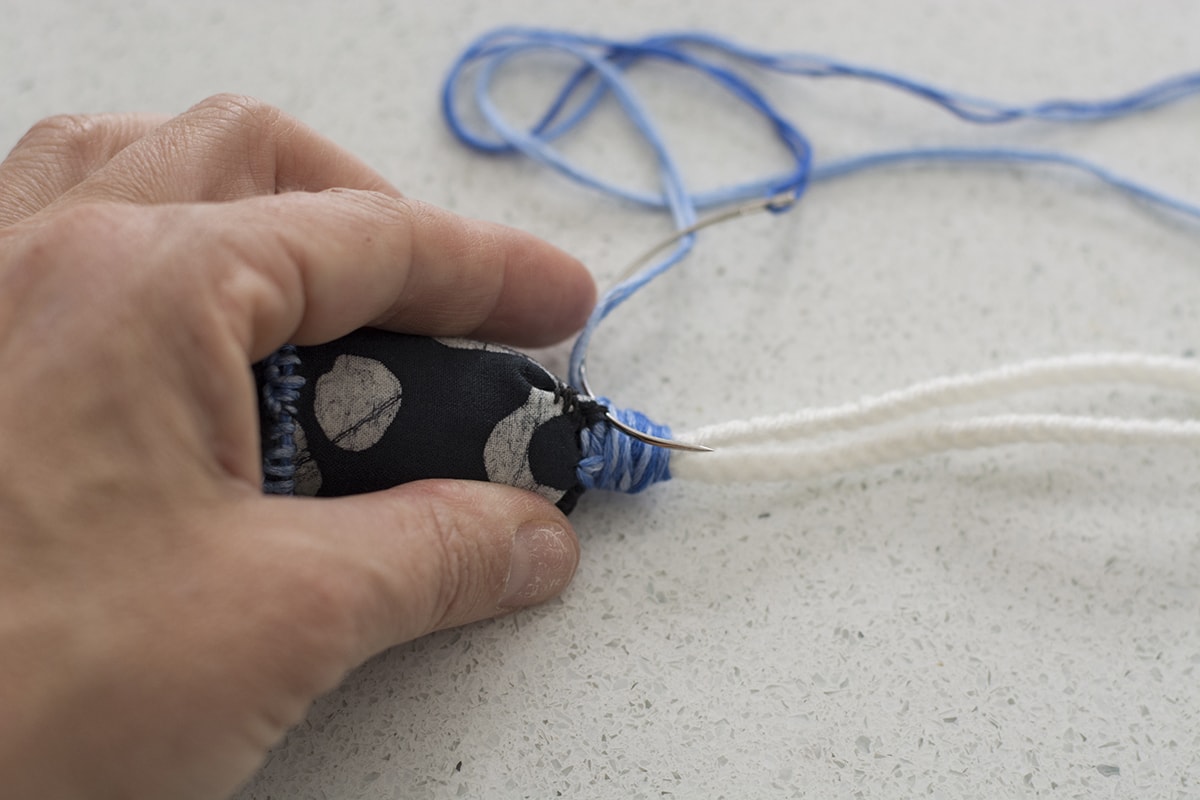
For the top hanging loop, I braided three string of wool …
And then knotted the loop to the top of the tassel…
The next step of the tutorial had a blurry photo (oops sorry) but I’m sure you get the story.
Sew side of the fabric – attach loop string and sew up the top of the fabric around the loop by hand
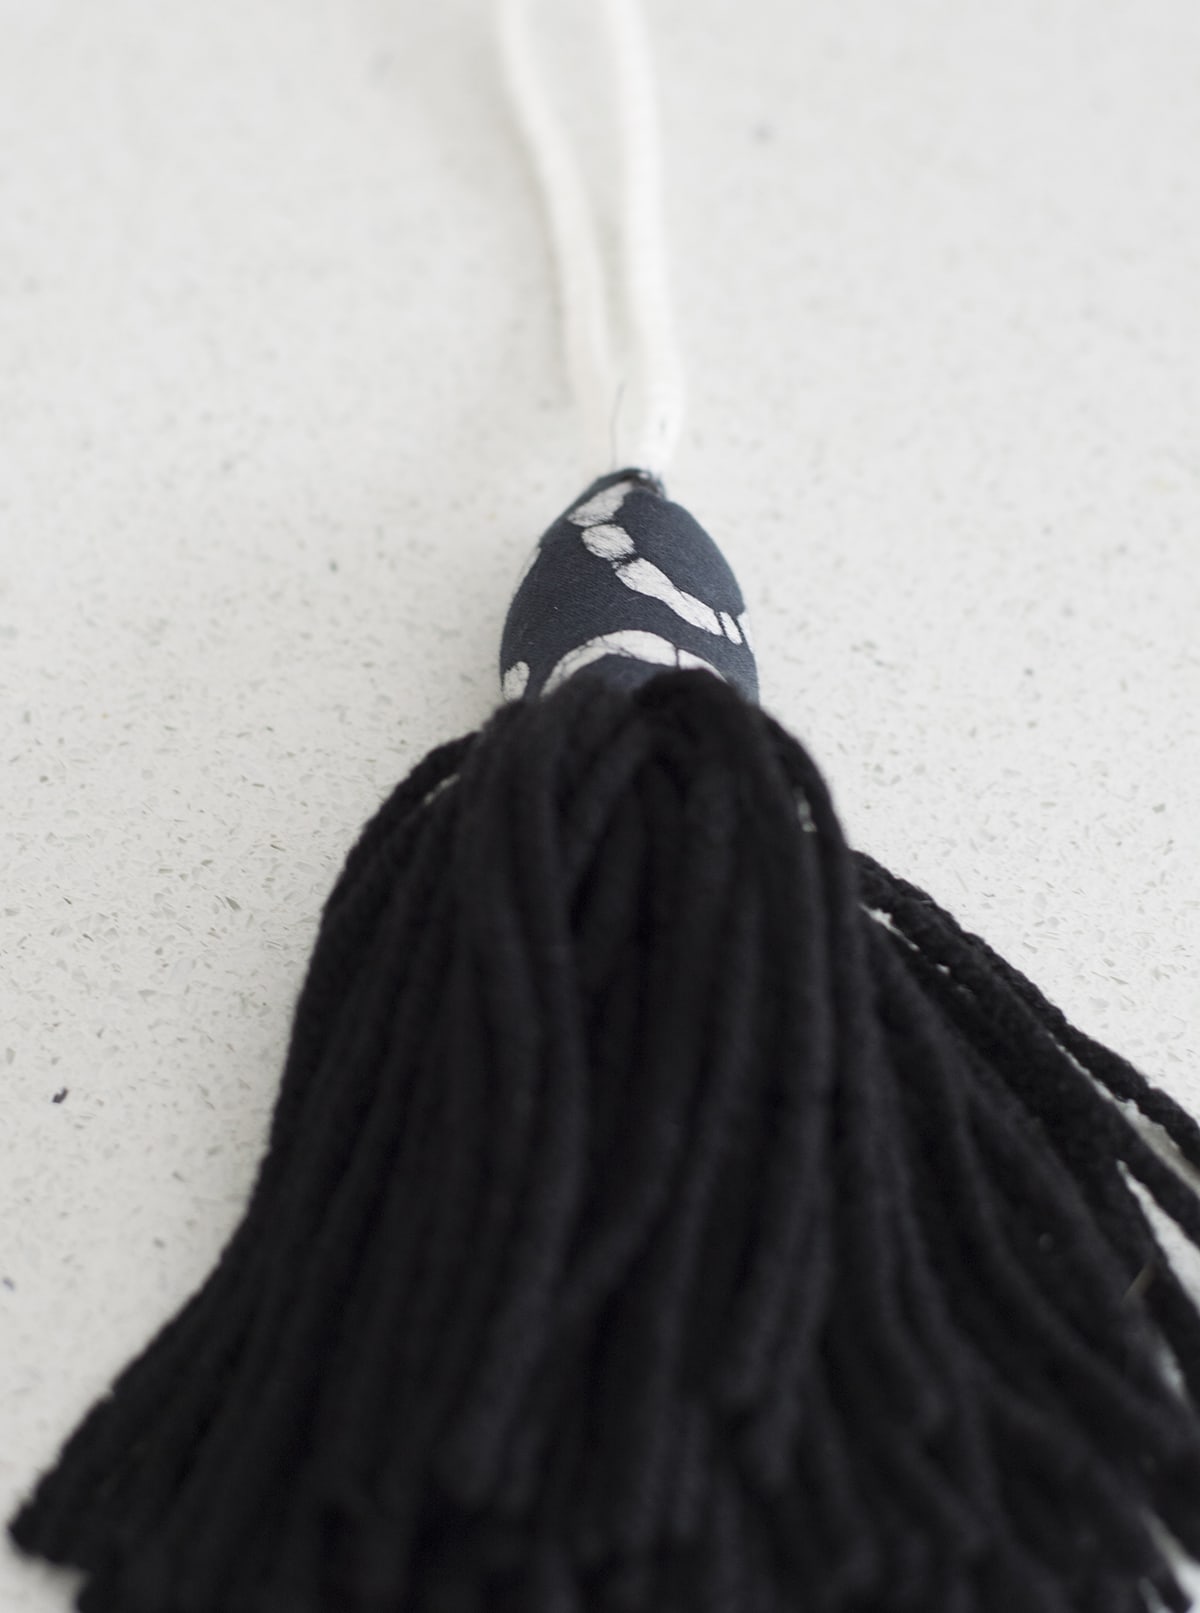
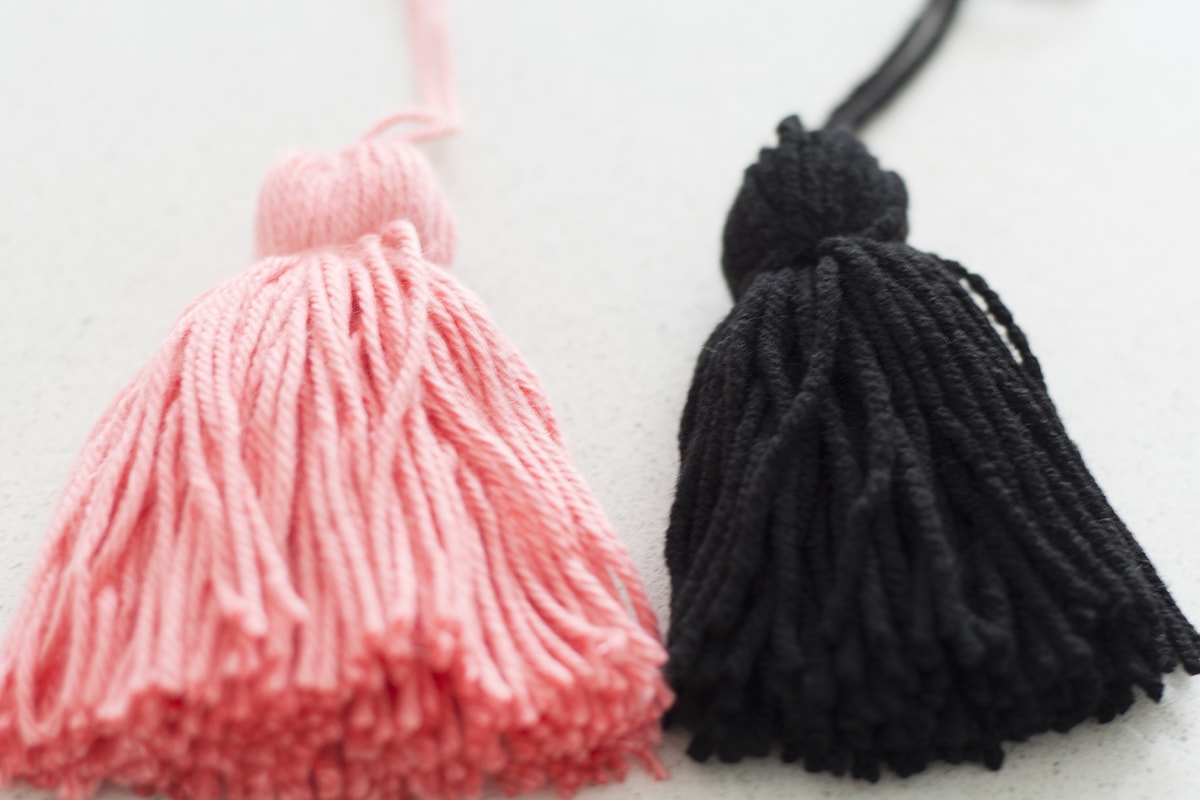
Step 3: Add colorful yarn detail to the fabric
Then I picked my little accent color embroidery floss.
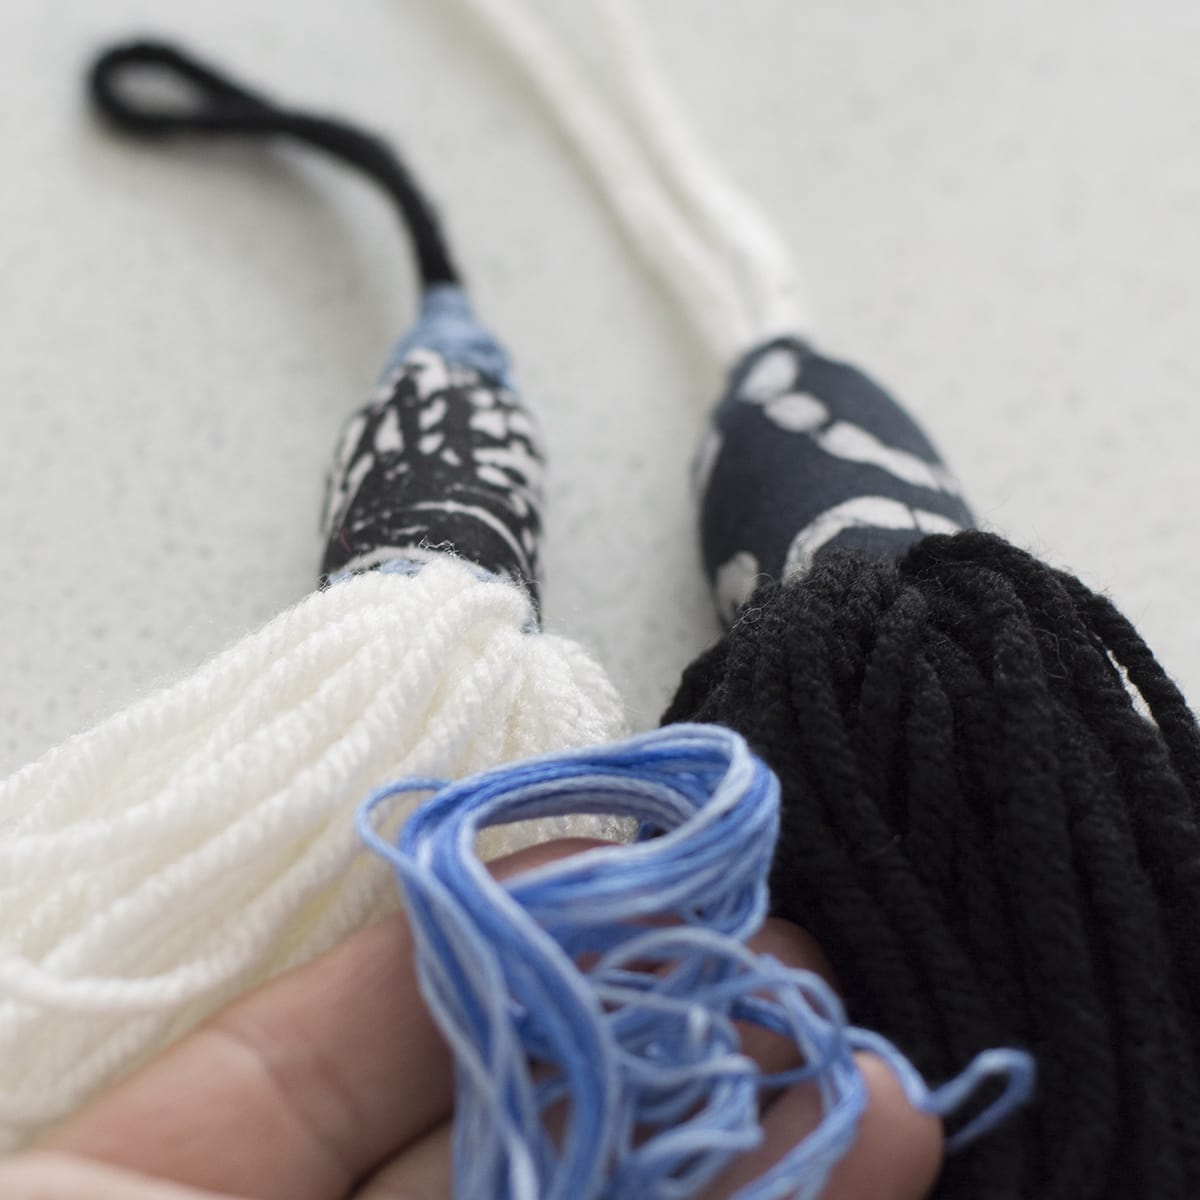
To match the rest of all my black, white and blue! I sewed a little border at the bottom and at the top of the tassel.
Take a piece of thread on a curved upholstery needle to stitch on the details the way you can see below and in my video tutorial.
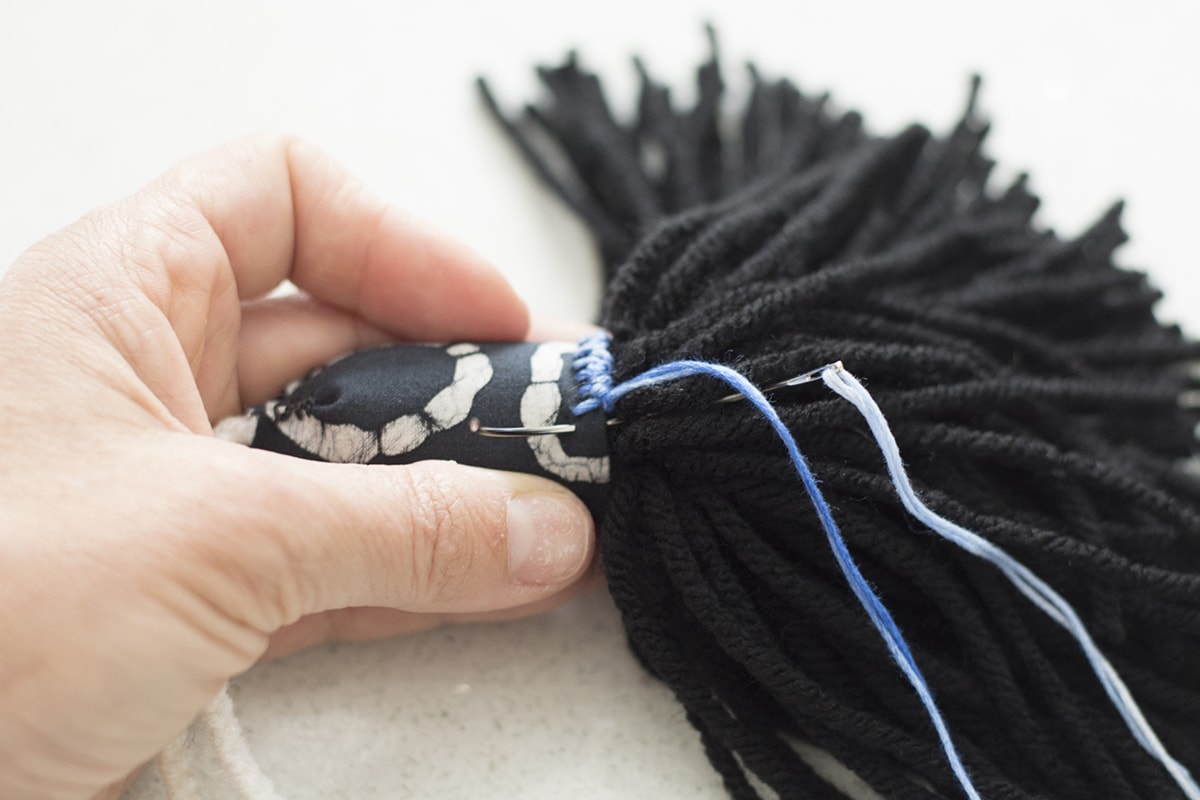
I also added the same colored detail to the top of the yarn tassel.
And that’s it!
Photos of finished yarn tassels
I have these yarn tassels hanging on my blush dresser. You could also hang them on a purse, shawls, scarves, pillows, ottomans, the corners of a throw blanket, as Christmas ornaments, or an outdoor umbrella like I did on our patio, but I added a wooden bead to the top.
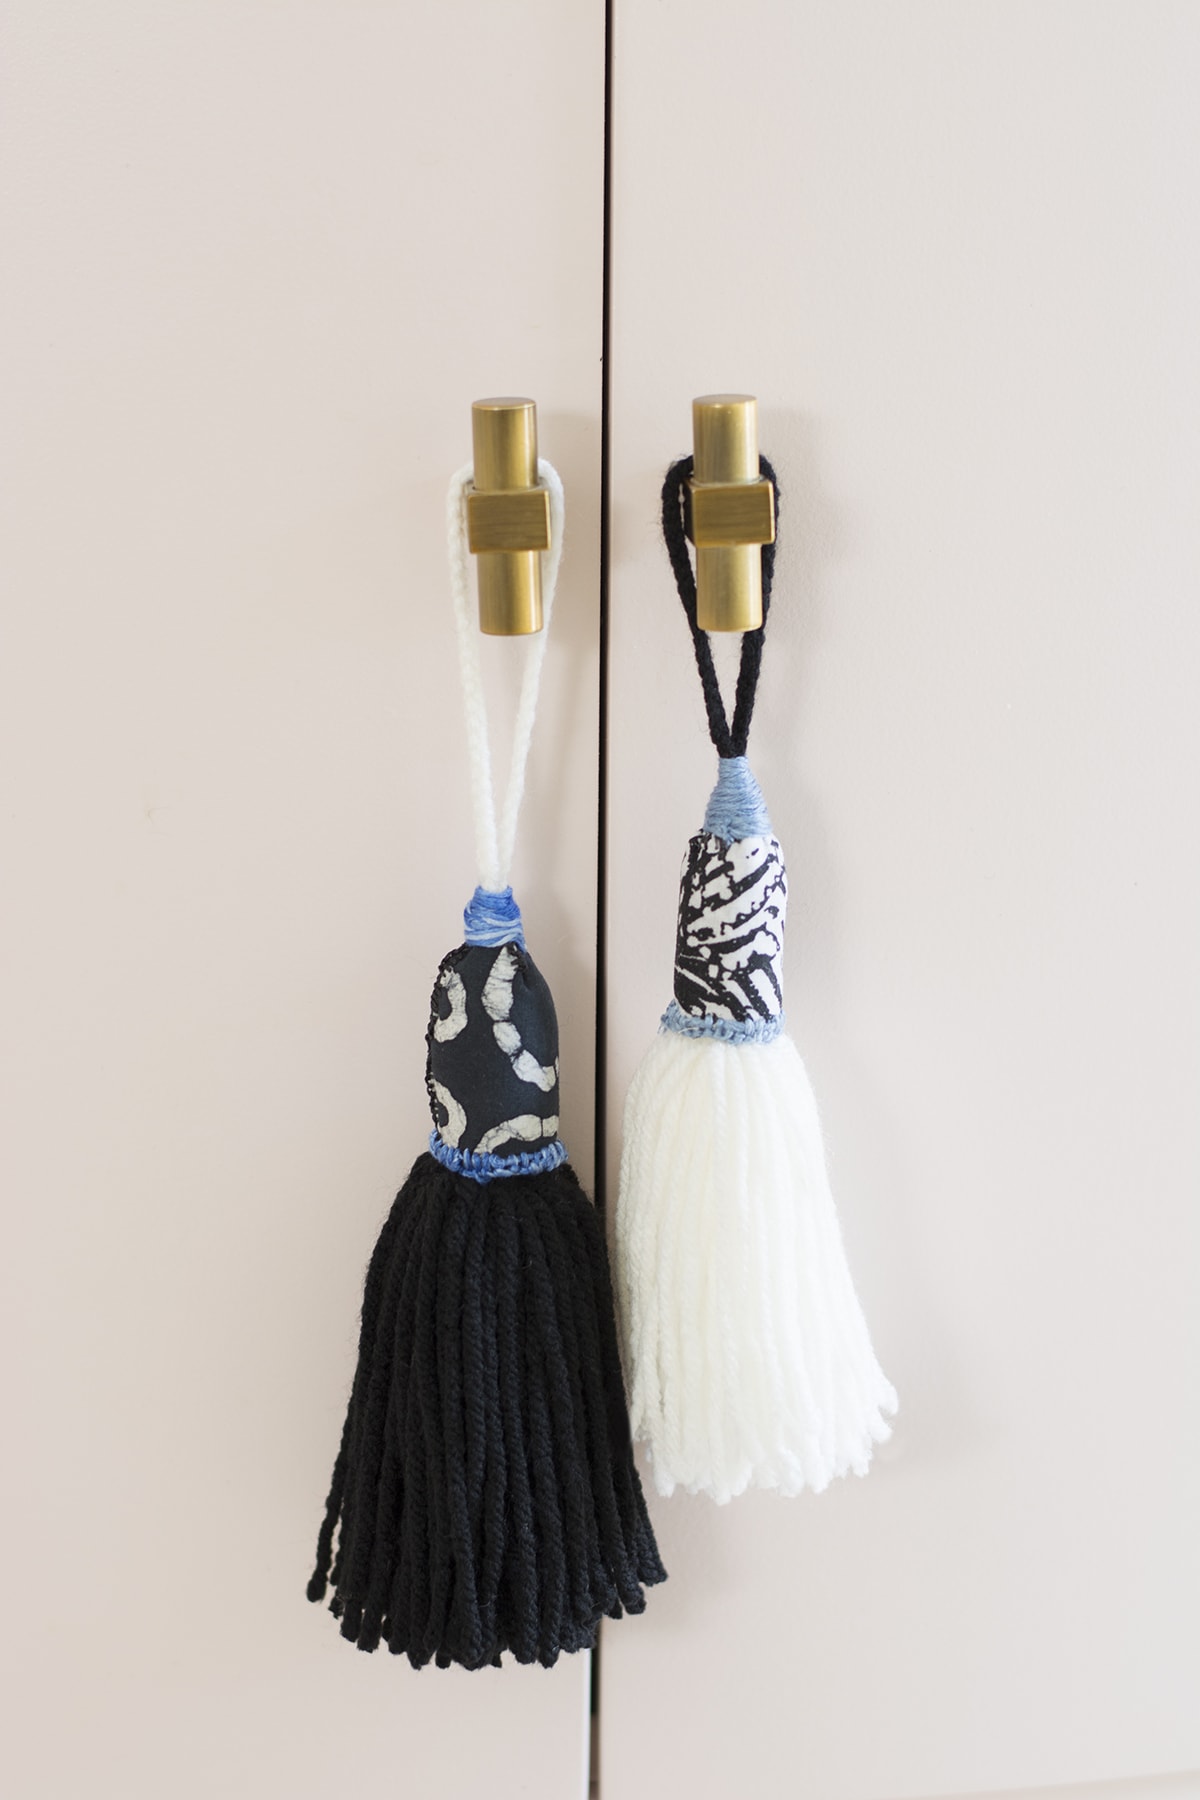
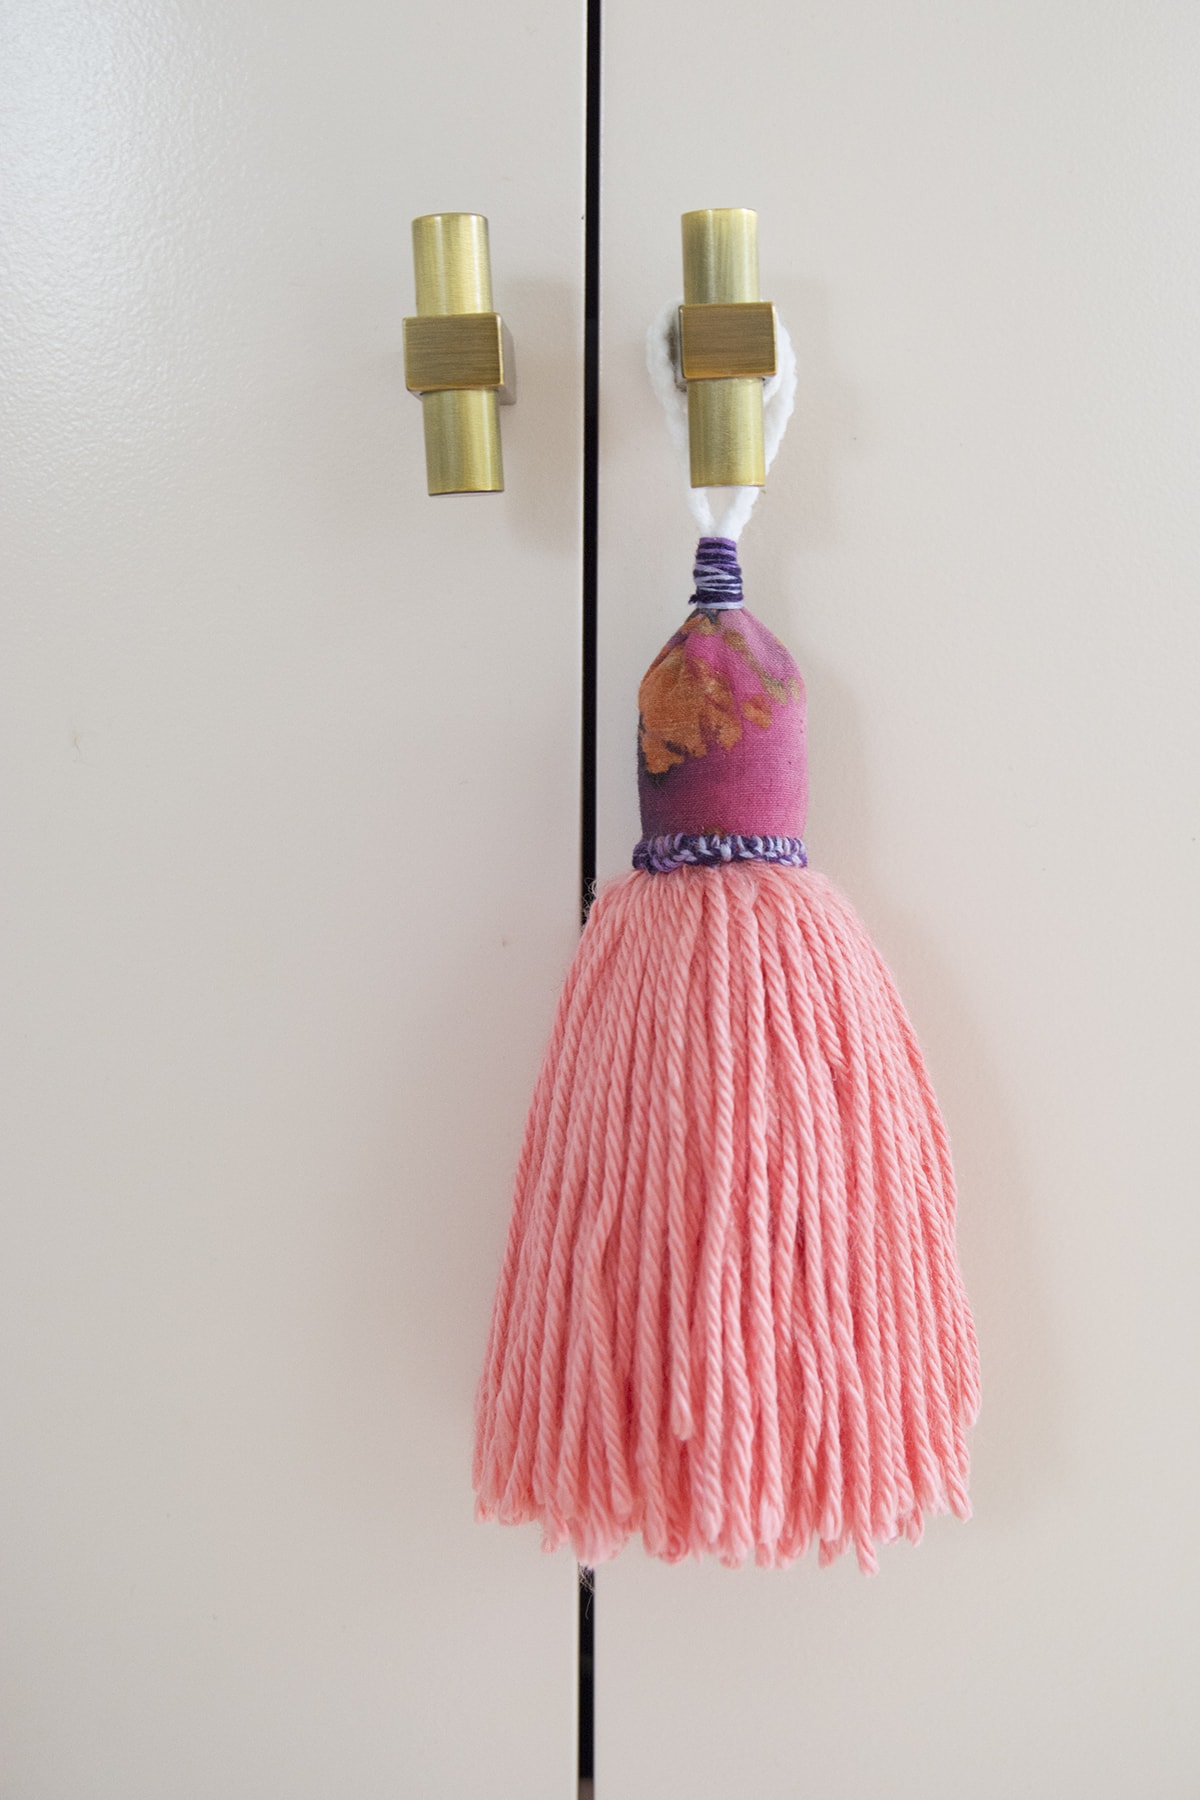
You can find the knobs on Etsy and my pink dresser makeover.
The possibilities are endless. You can make so many different combinations and have fun with it, and I love that they aren’t perfect and really look handmade. They are the perfect home decor accessory as you can see above.
I also used some of that same yarn to make fluffy thick pom poms. Check out my favorite 3 tricks for making pom poms.
Where to buy similar yarn tassels
DIYing isn’t everyone’s cup of tea, am I right? So if you don’t feel like making your own, I have some similar handmade options for sale on Etsy. Check them out!

More of my unique and stylish DIY tassel projects
As I said at the beginning of this post. I love making tassels and have quite a few unique projects for you to check out.
- how to make large tassels
- how to make a leather tassel (I used scraps from an old sofa for these)
- DIY stacked tassel
- rope macrame tassel
- DIY tassel keychain (keyring)
- DIY tassel ottoman
- tassel jewelry: DIY tassel fringe earrings and a matching Square Knot bracelet with tassels
- DIY tassel umbrella using durable synthetic yarn
- DIY tassel embellishments for a tassel sconce, lampshade, or basket
- How to make seashell tassels


Is this something you’d make yourself or are you someone who’d rather buy them?
Tschüß,

these are so awesome, julia! love the look! i think these are my fave of your tassels.
Thanks Cassie, I think I’m still going to make a huge one yet. They are fun to make while watching TV
These are fabulous. I love them.
Thanks so much Marty
Girl, you are just crazy talented. The End!
Haha wow, thanks so much June
Don’t your cats destroy these? Mine would.
Nope they actually don’t but our young cat does jump up at the yarn art I made and pulls out strings.
You are officially my “TASSEL QUEEN”! Love it Julia, and even if you show all your tutorials, I know that your designs are one of a kind! Seriously, You should be selling this stuff, I would love your giant upholstery ones in a heart beat!
Beautiful DIY! Looks so simple! Love this!
Really, really pretty!
I love these!!
Such a great idea girl! Pinning!!
Thanks so so much Ashley
These are absolutely gorgeous! I love the fabric tops.
Thank you so much Claire
These are really cool and I have so many batik fabric scraps at home that would be perfect!
Oh yay! That’s even better than having to buy them
Julia these are lovely! I’ve never thought of adding fun fabric to the top of them, now I need to!