a trick for re-stuffing a deflated bean bag or pouf
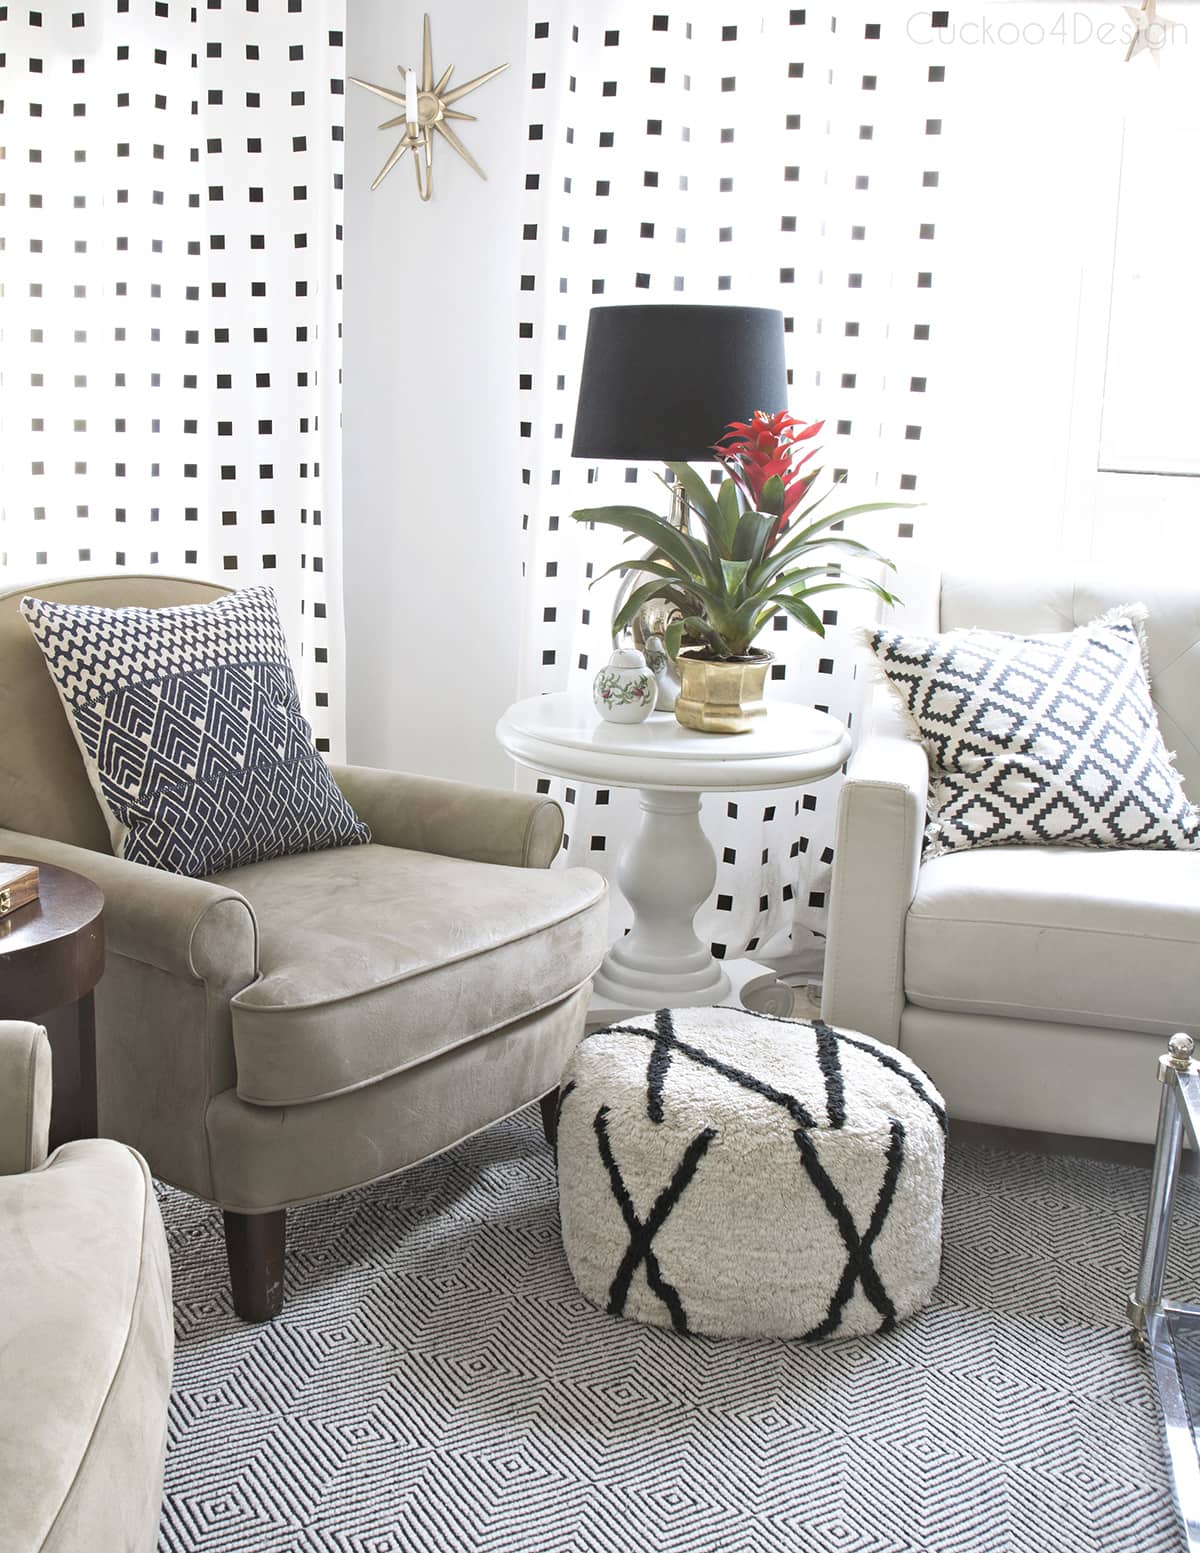
I have a confession to make you guys. Not everything in my house sometimes is what it appears in photos. My favorite Moroccan pouf that you see in all the photos has been hiding a little secret. I propped it up with a cooking pot for almost two years. It started with a small pot and ended up needing a full-sized pasta pot. Yikes! And we used it like that too.
I kept putting it on my to-do list to re-stuff the thing but just didn’t feel like tackling that uninspiring project. Yeah, I’d rather stencil a million squares on the wall. What’s wrong with me?!?! I’m still scratching my head about my priorities. Today I want to finally show you how to stuff a pouf or bean bag because I have a little trick, or let’s say I cheated.
How to stuff a pouf or bean bag the easiest way
This post may contain affiliate links from which I will earn a commission at no extra cost to you. View my full disclosure policy.
I can’t stand those pesky little styrofoam balls that are in poufs and bean bags. They are staticky, fly around, and attach themselves to everything. Cleaning them up is a nightmare.
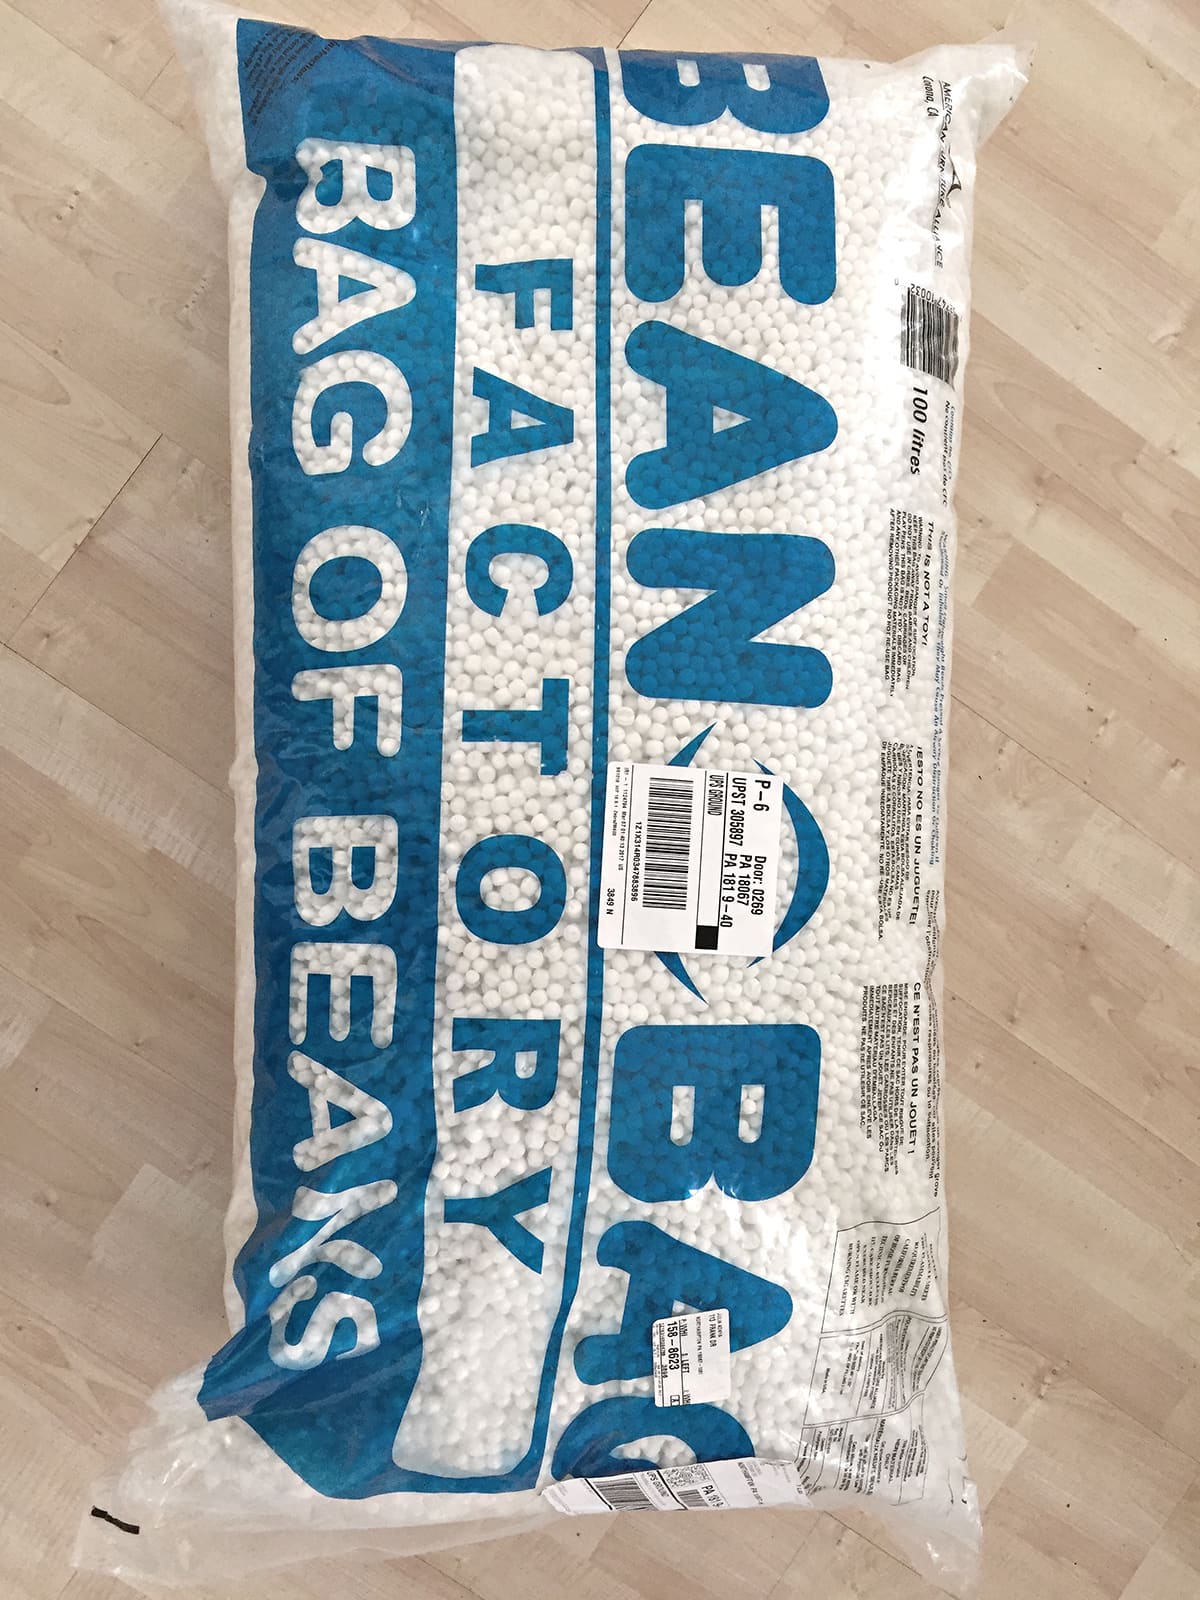
But one sleepless night I had a revelation about a trick for stuffing a deflated pouf without any hassle. So I went on Amazon and ordered a bag of beans. The amount is too much for the small pouf but I like the idea of having more for next time when I will need to refill it again because I know I will. And I also discovered that my daughter would like to include them in slime projects 😉 (also see how to organize your slime supplies)
Materials used to stuff the pouf
- a pouf or bean bag
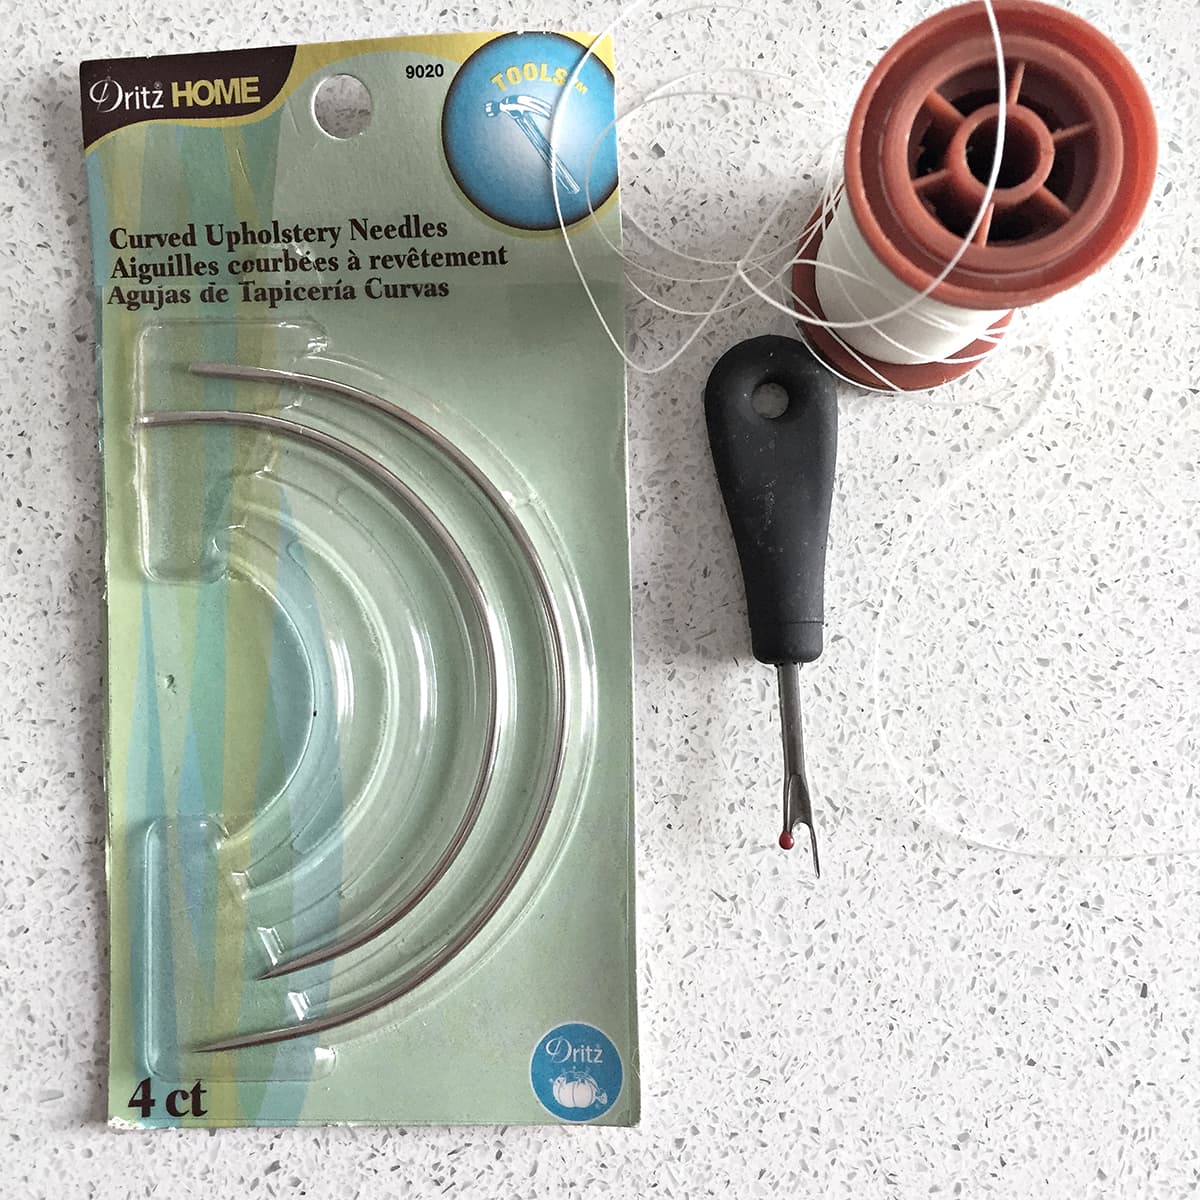
- upholstery thread
- curved upholstery needles
- seam ripper
- bean bag filling
- grocery bags
- sewing pins
- scissors
Instructions on how to stuff a pouf or bean bag
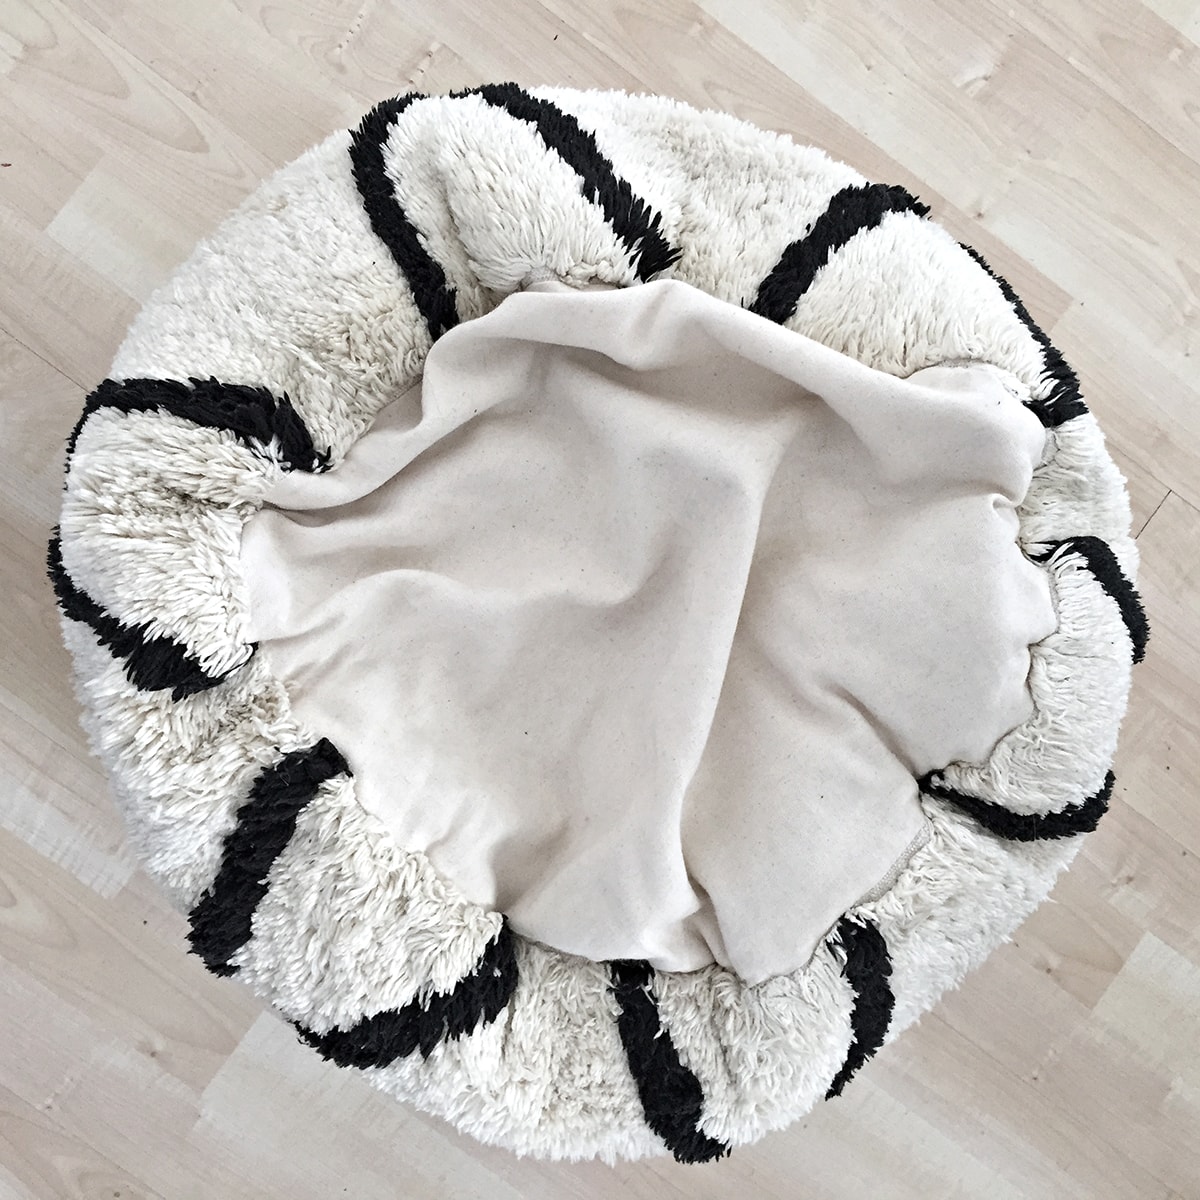
Let me show you my old pouf. I mean, look at this sad bag! How could I let it get to this point?
Some poufs or bean bags have a zipper for re-stuffing them but I wasn’t that lucky. It sure makes it easier if you don’t need to sew anything.
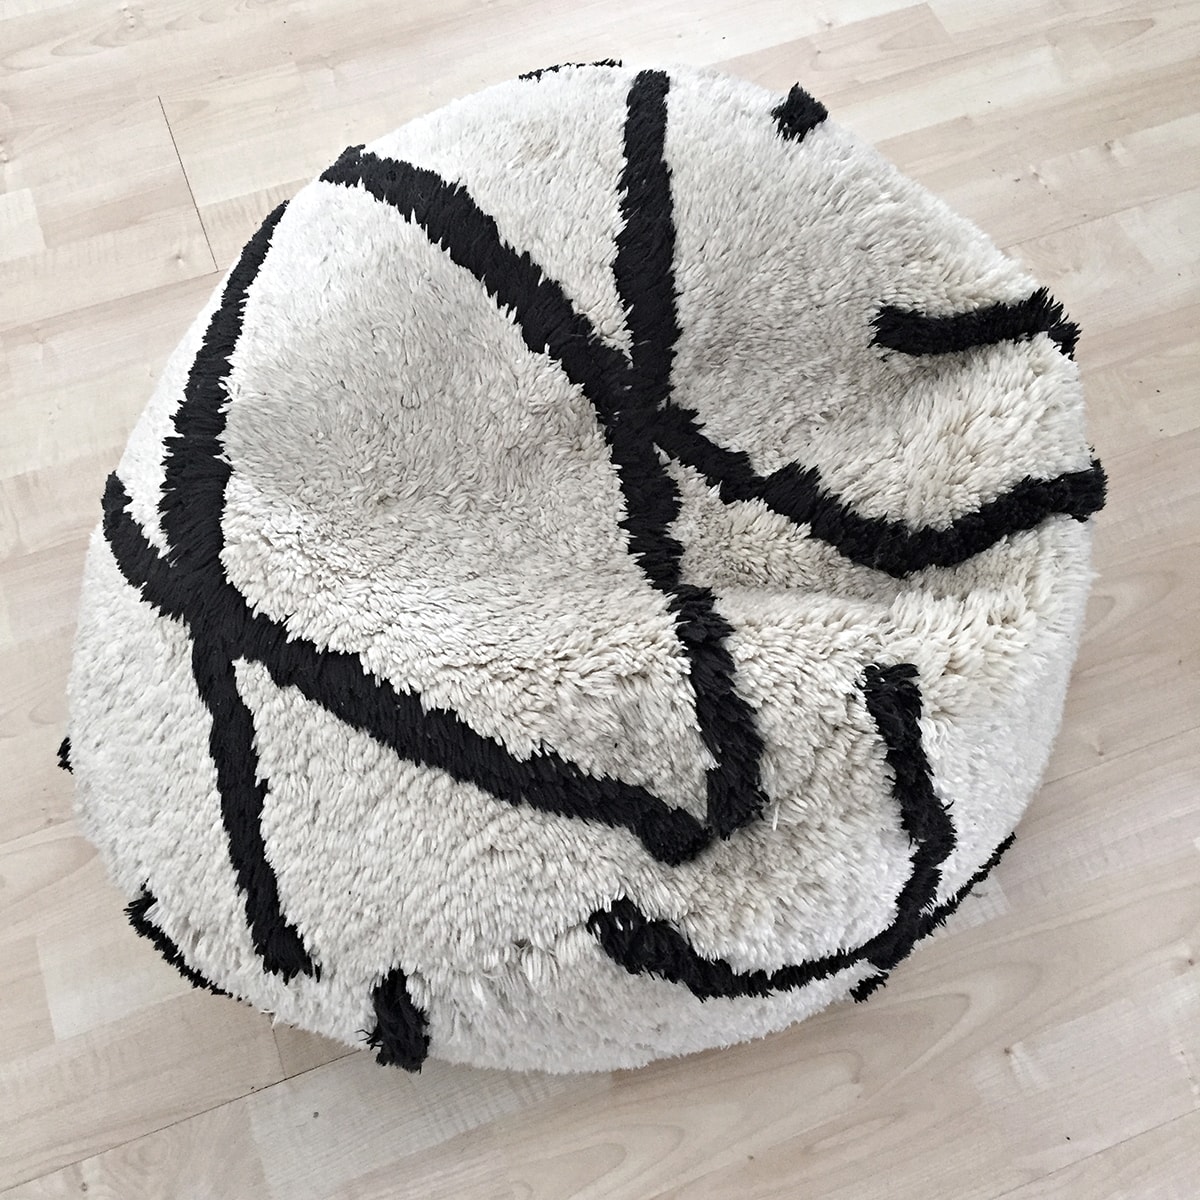
Let me show you my favorite method.
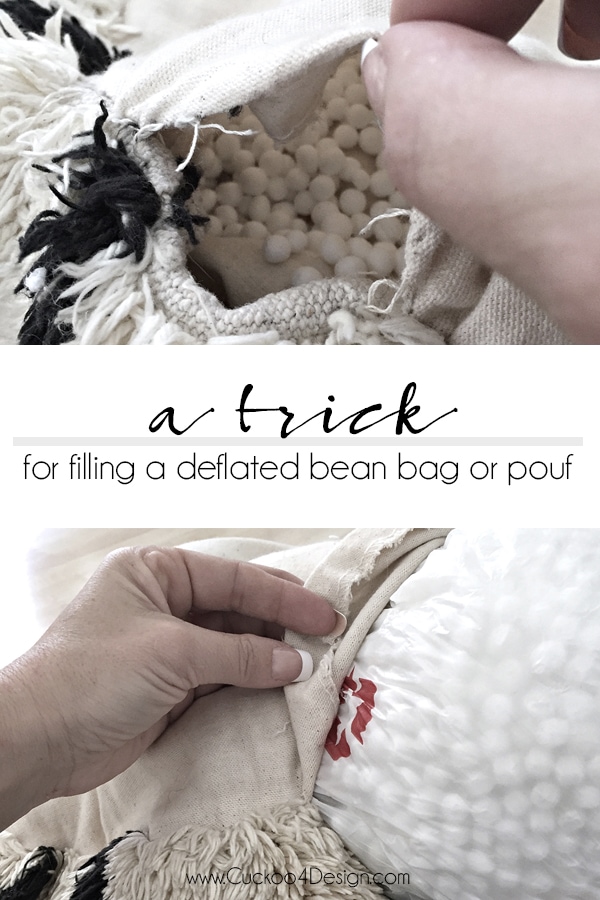
Step 1: Open the bag in one spot with the seam ripper
If you have never used a seam ripper, it has a blade in the curved center that cuts a seam so you can open something that was sewn together. Simply insert the one end that looks like a needle and push the tool ahead which cuts/rips the seam. (I tried to keep the hole small so I didn’t have to sew a lot later)
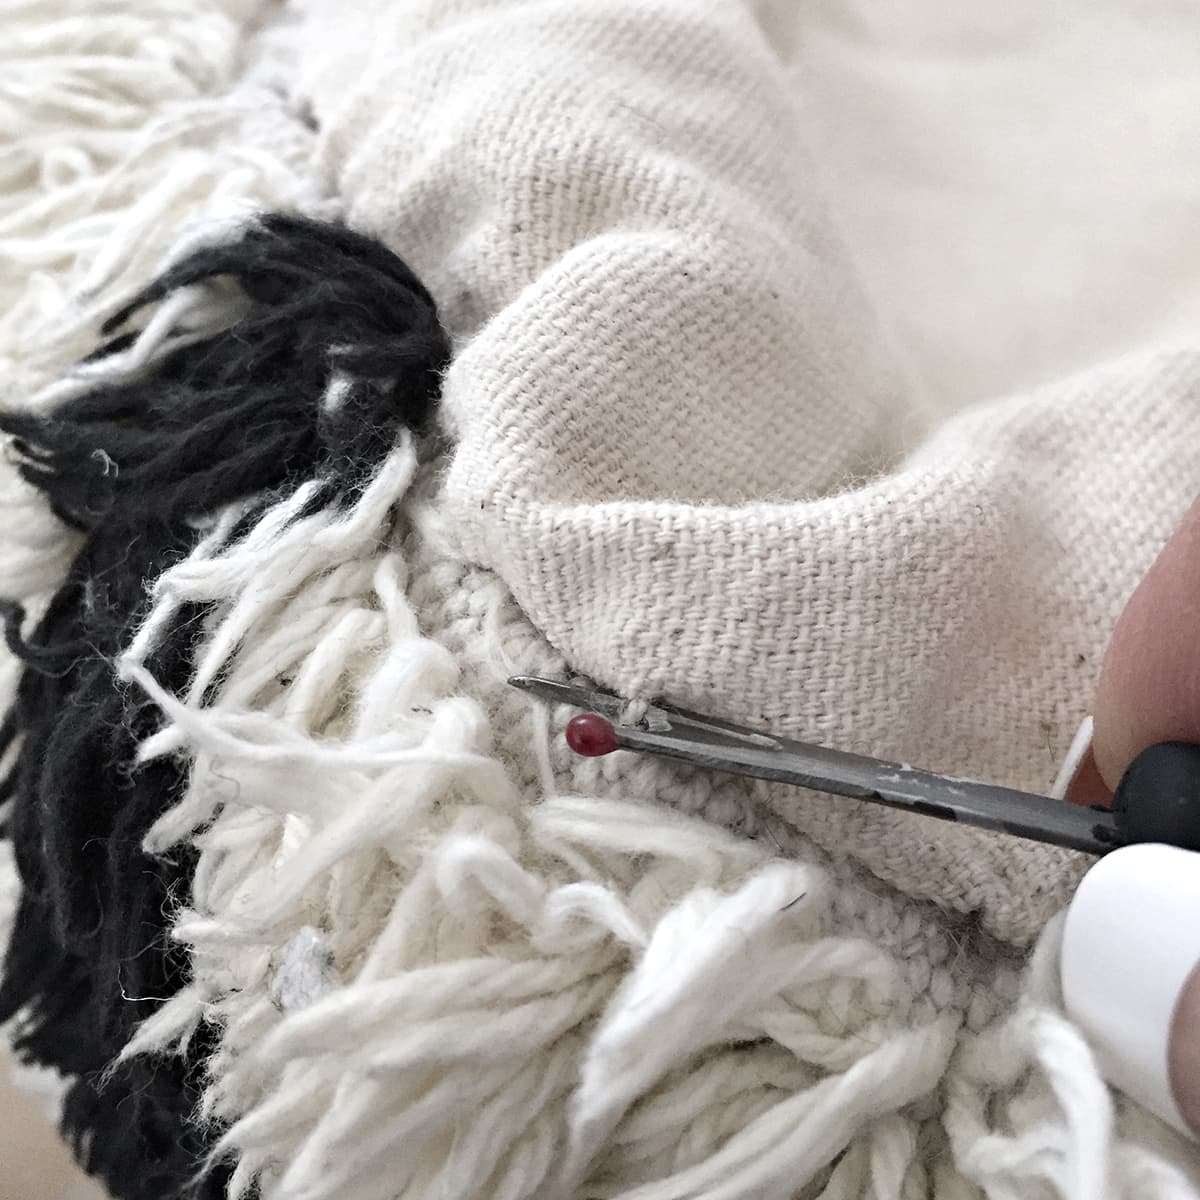
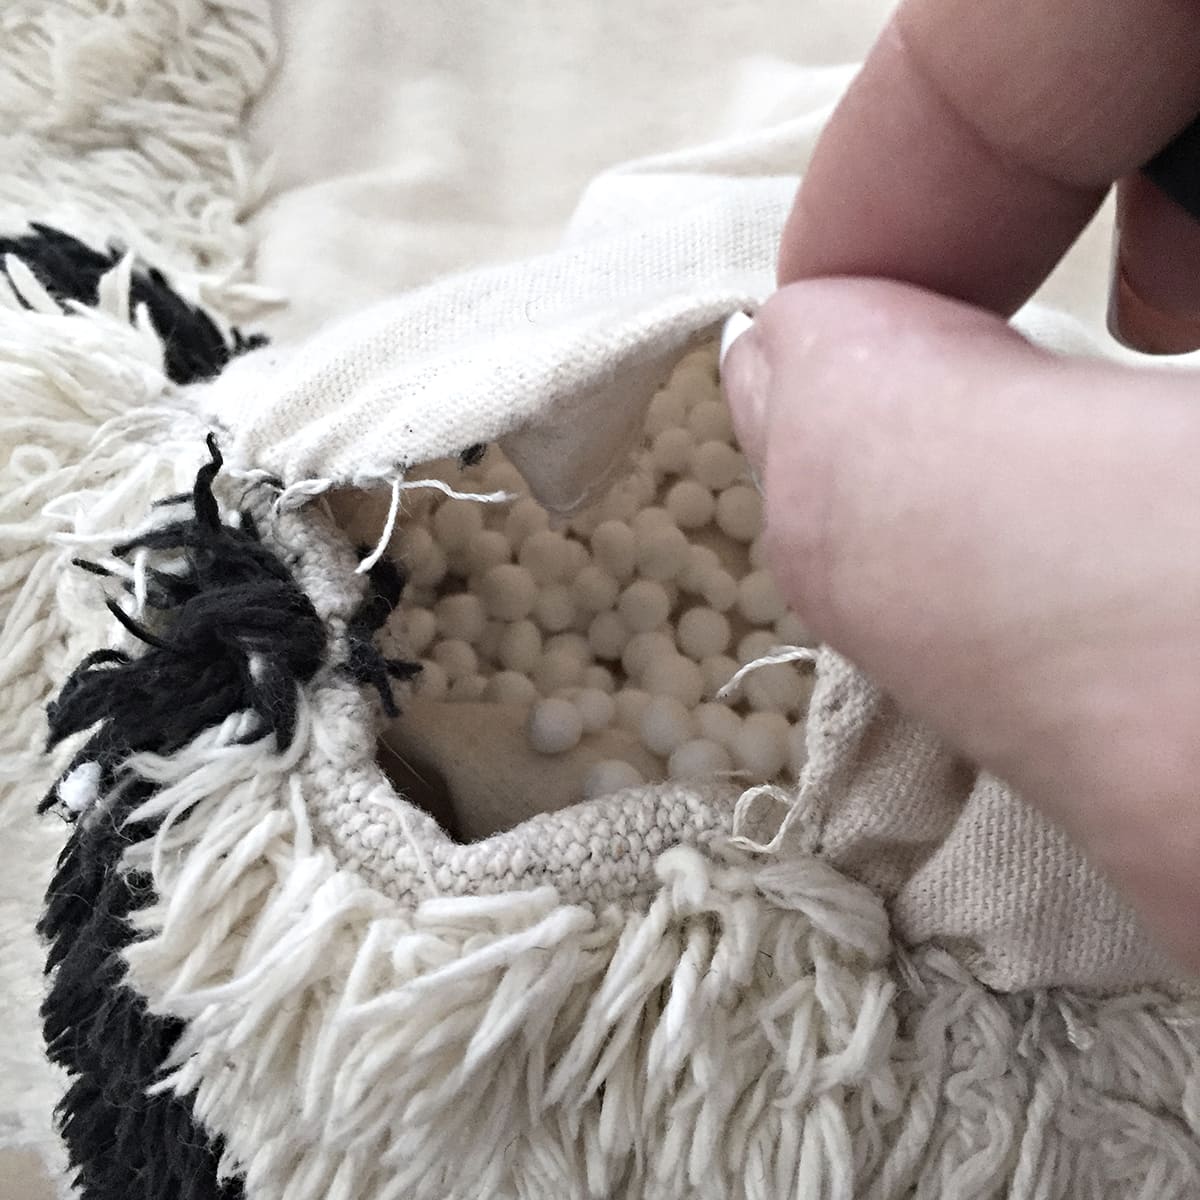
I ended up making a hole that was about three times as big as the one below where you can see the existing beans.
Step 2: Fill grocery bags with beans
I took a grocery bag and started filling it up with beans until it was almost full. Then knot the top of the grocery bag shut. (note: don’t fill it up too much because you still need to be able to squeeze the knotted bag through the bean bag hole)
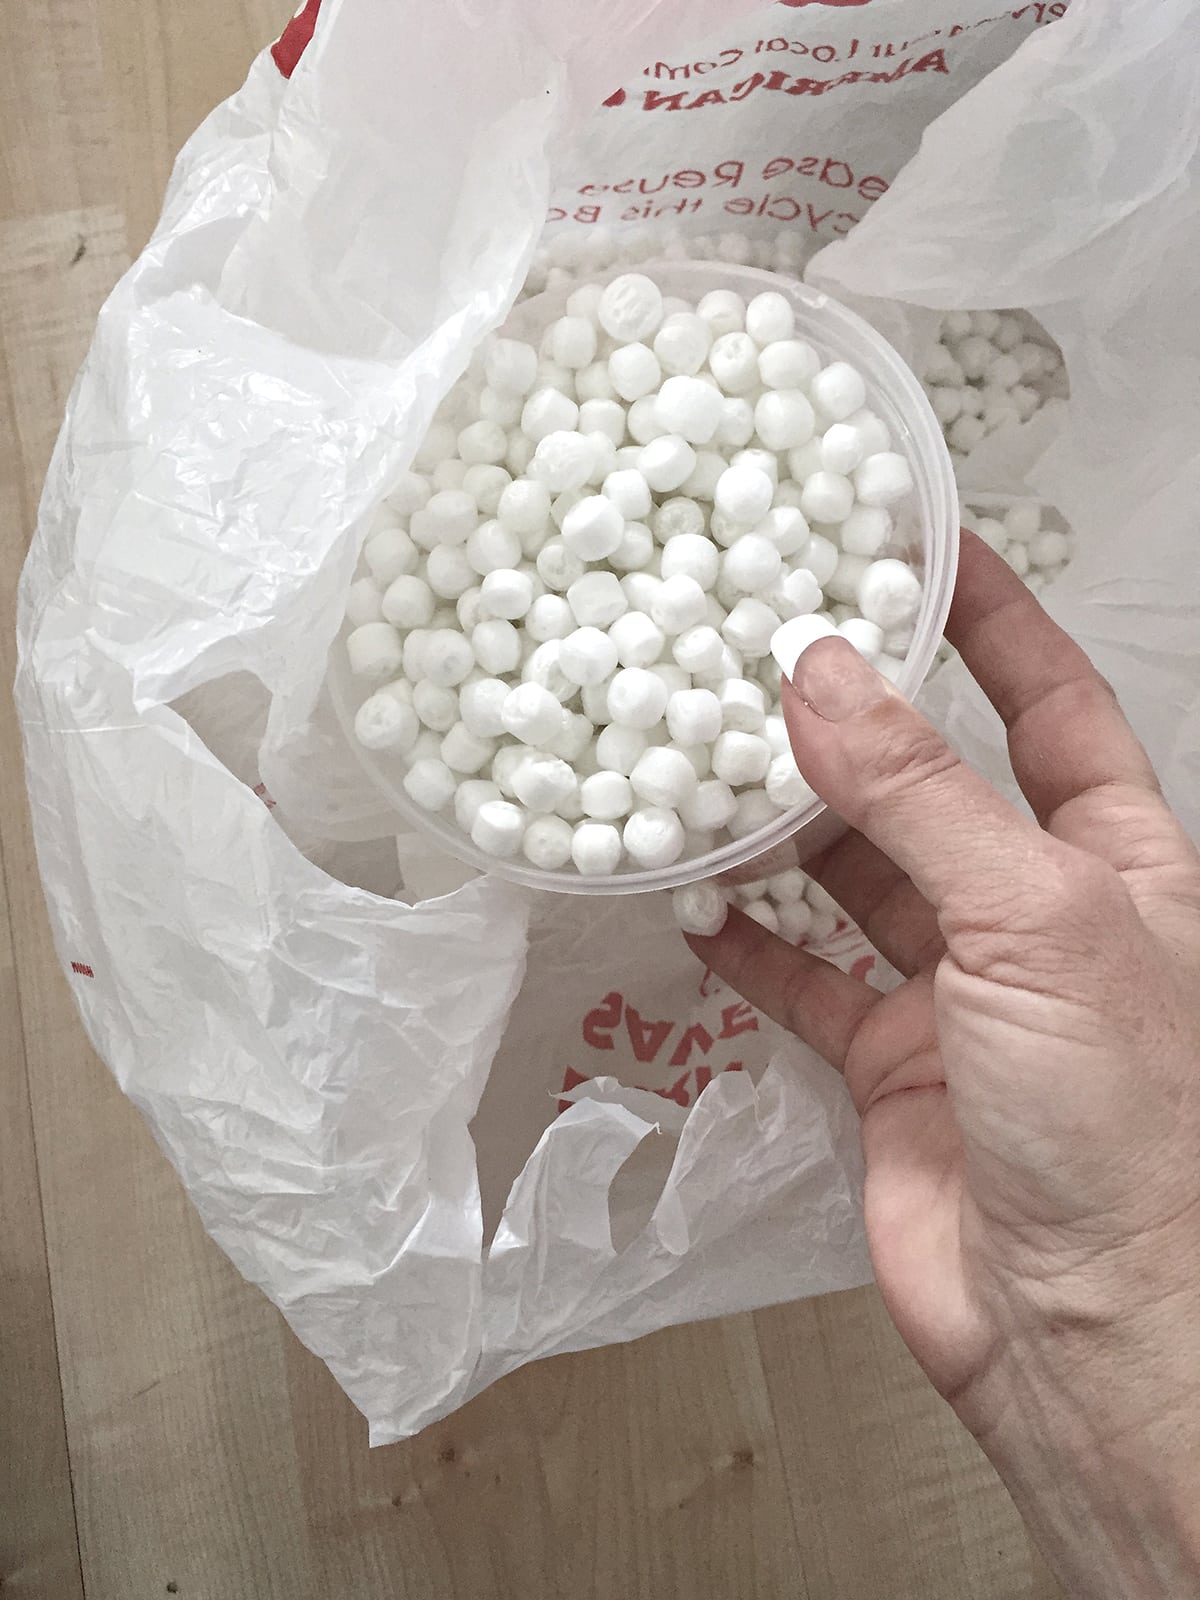
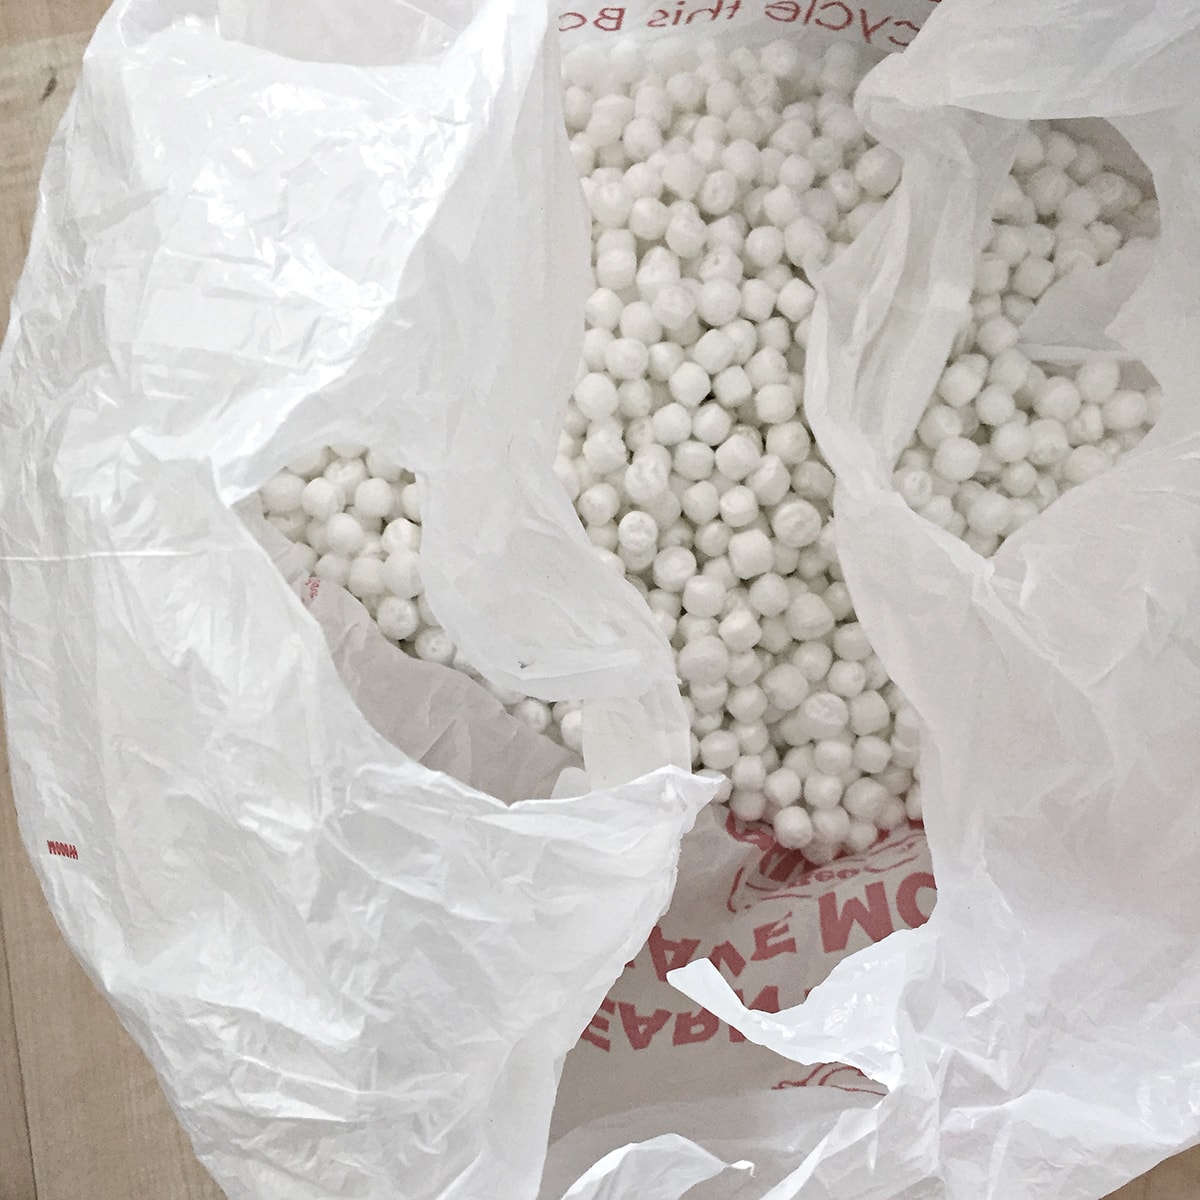
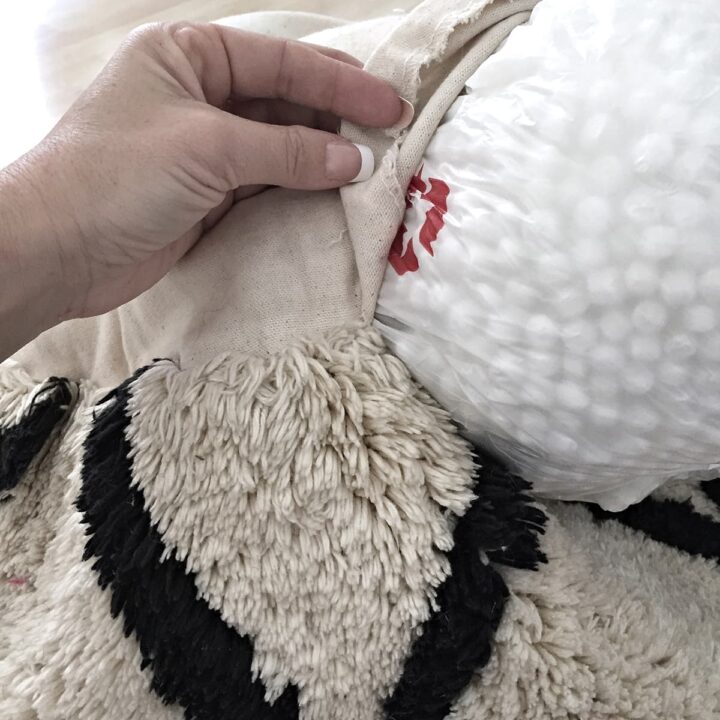
Step 3: Stuff the filled grocery bag into the bean bag hole
I have tried filling a pouf with beans and it was a complete mess. Now that you have the bean filling in a separate bag, it is much easier to get them into the pouf or bean bag. This is a great trick because you don’t have to struggle with styrofoam balls flying around and spilling out of the pouf again.
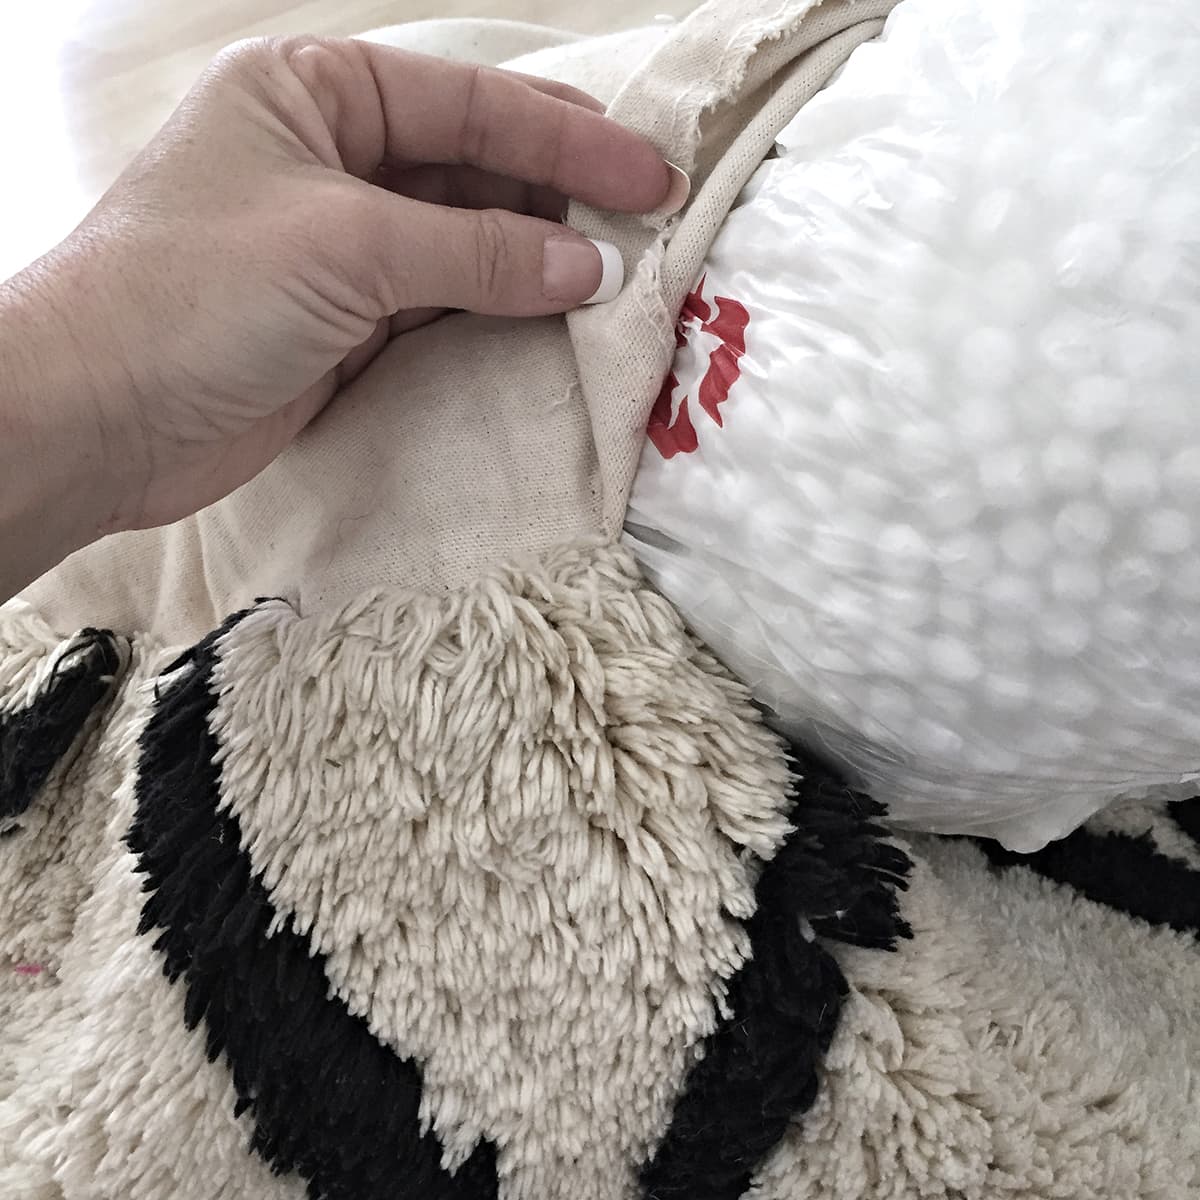
Step 4: Fill more grocery bags with beans and keep stuffing the pouf
Keep repeating this until you can’t fit any more filling in the pouf or bean bag. I ended up needing 4 stuffed grocery bags to make the pouf fully stuffed again. That’s how badly the pouf was deflated.
In some cases, for example, when stuffing a brand new pouf, you could even use the entire bag of filling without removing it from its original packaging bag.
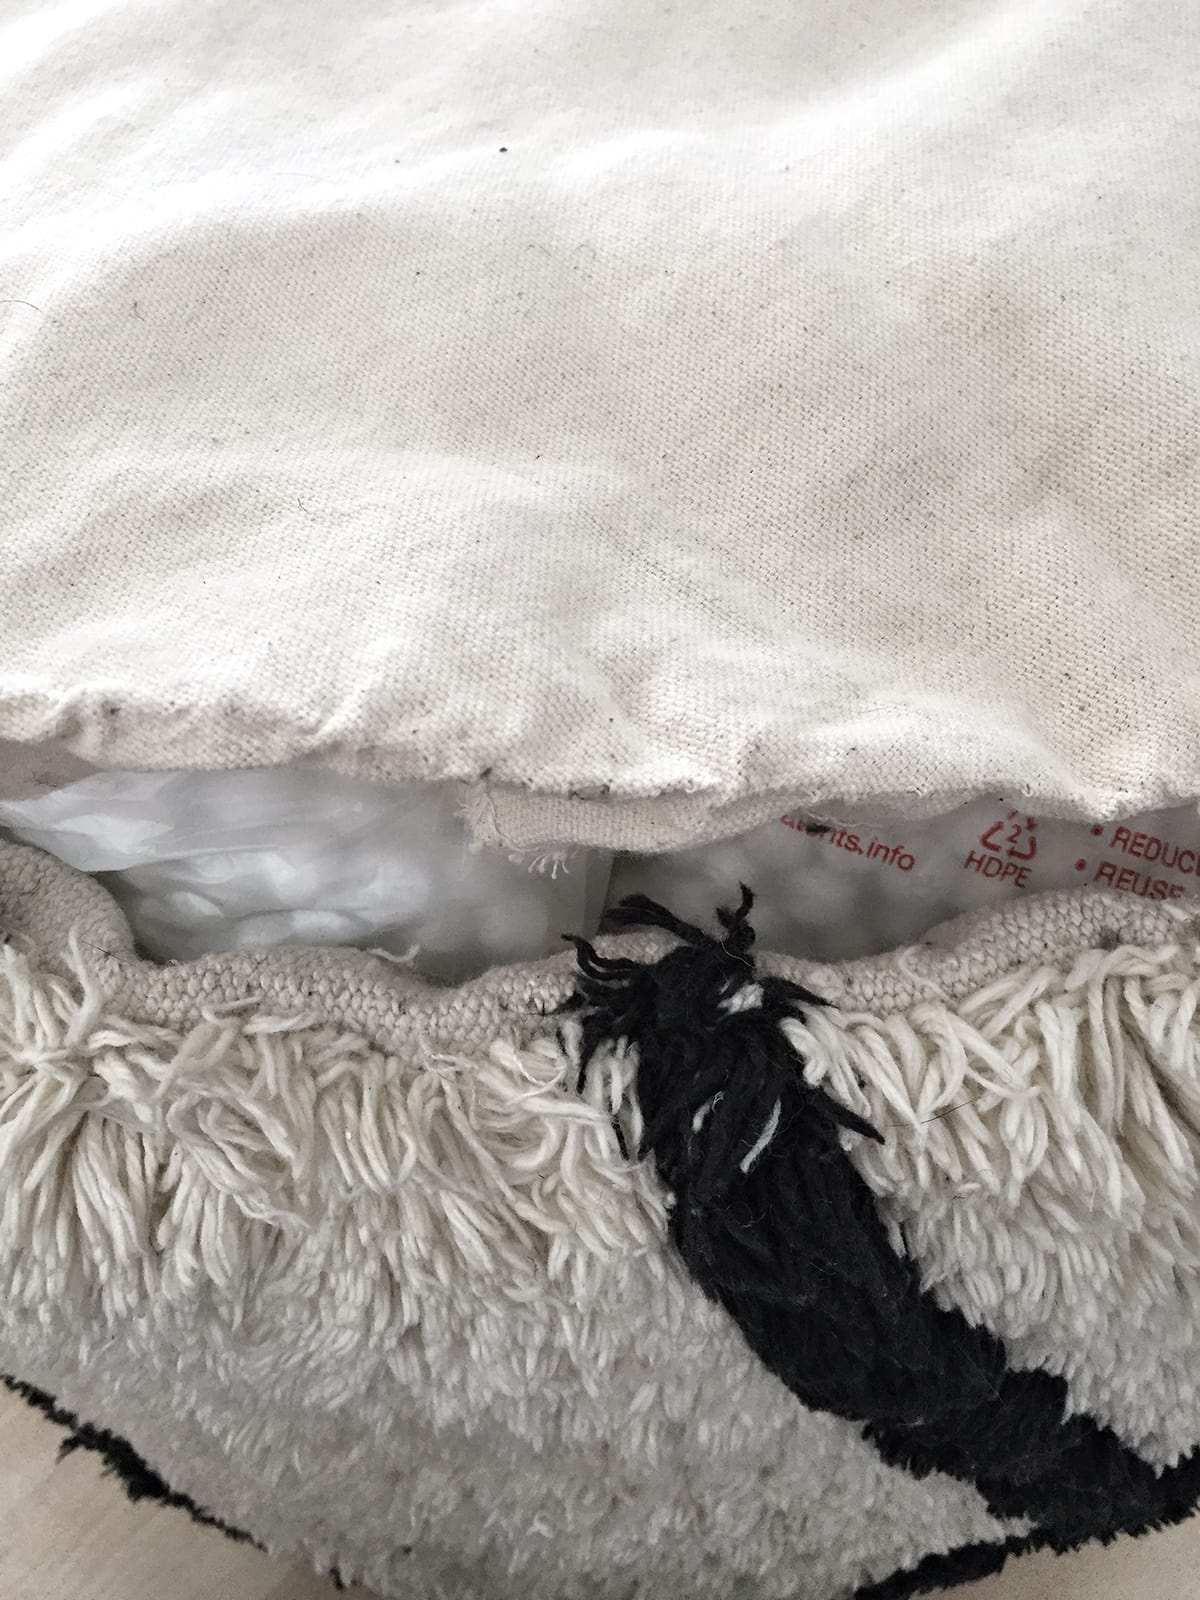
Step 5: Line up the seam and pin with needles
Then line up the seam again and help it keep in place with sewing pins.
Step 6: Sew the hole shut with a curved needle and thread
Thread a long strand of yarn through your curved needle and sew the pouf hole shut again. I am glad that I also didn’t have to struggle with little annoying balls while sewing it shut. The curved needle makes it a lot easier in my opinion to efficiently close the pouf.
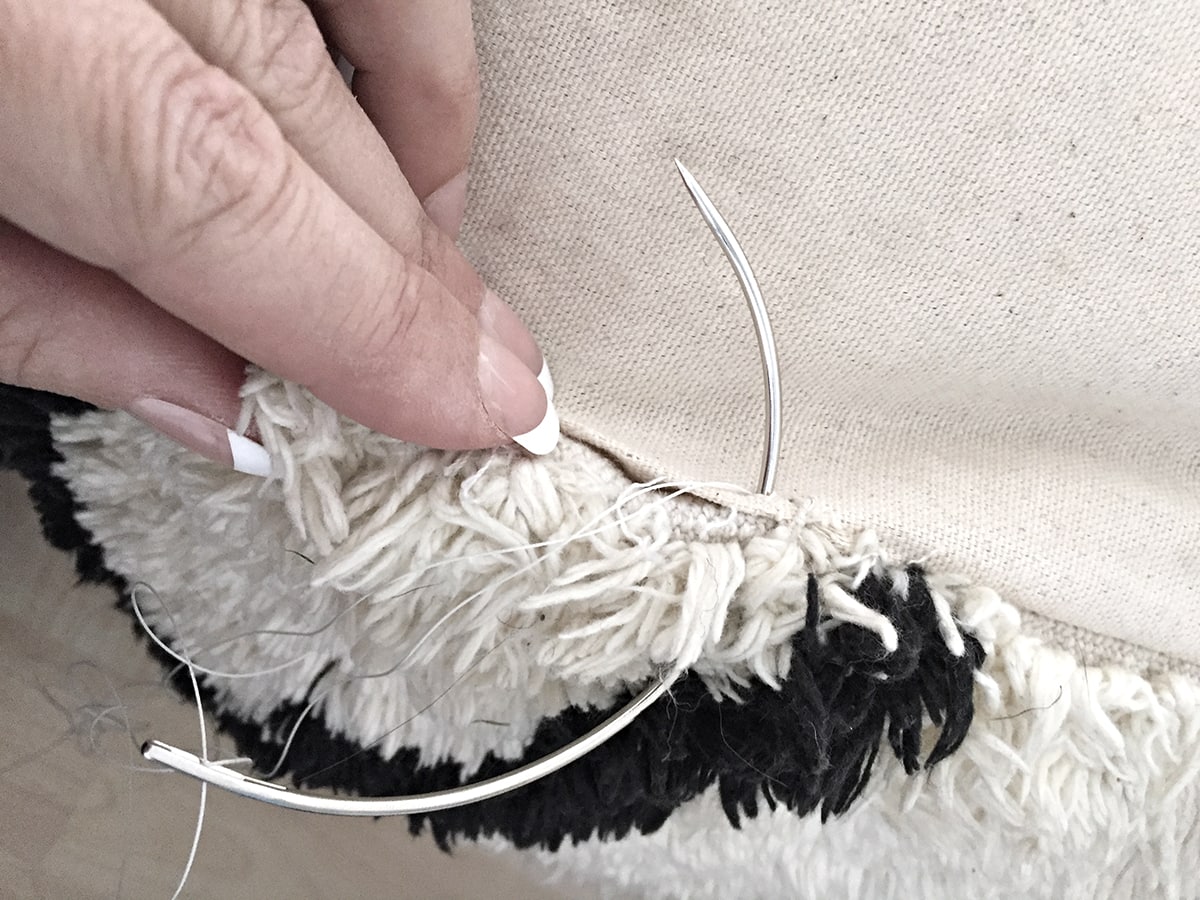
That’s it! The tutorial works the same with polyester stuffing too.
Tip: You can also use old unused clothing, fabric, other unused textiles, old duvets, and old towels instead of bean bag filling to stuff your pouf. See what you can find while doing a little decluttering of your closets. However, this will make your pouf heavy. I preferred a lighter-weighing pouf so my kids could easily carry it. So pick your type of stuffing according to your needs.
Photos of finished stuffed pouf
You can’t even tell the difference between the before and afters because the pasta pot did a wonderful job. However, I was tired of dragging a pot around when we used the pouf.
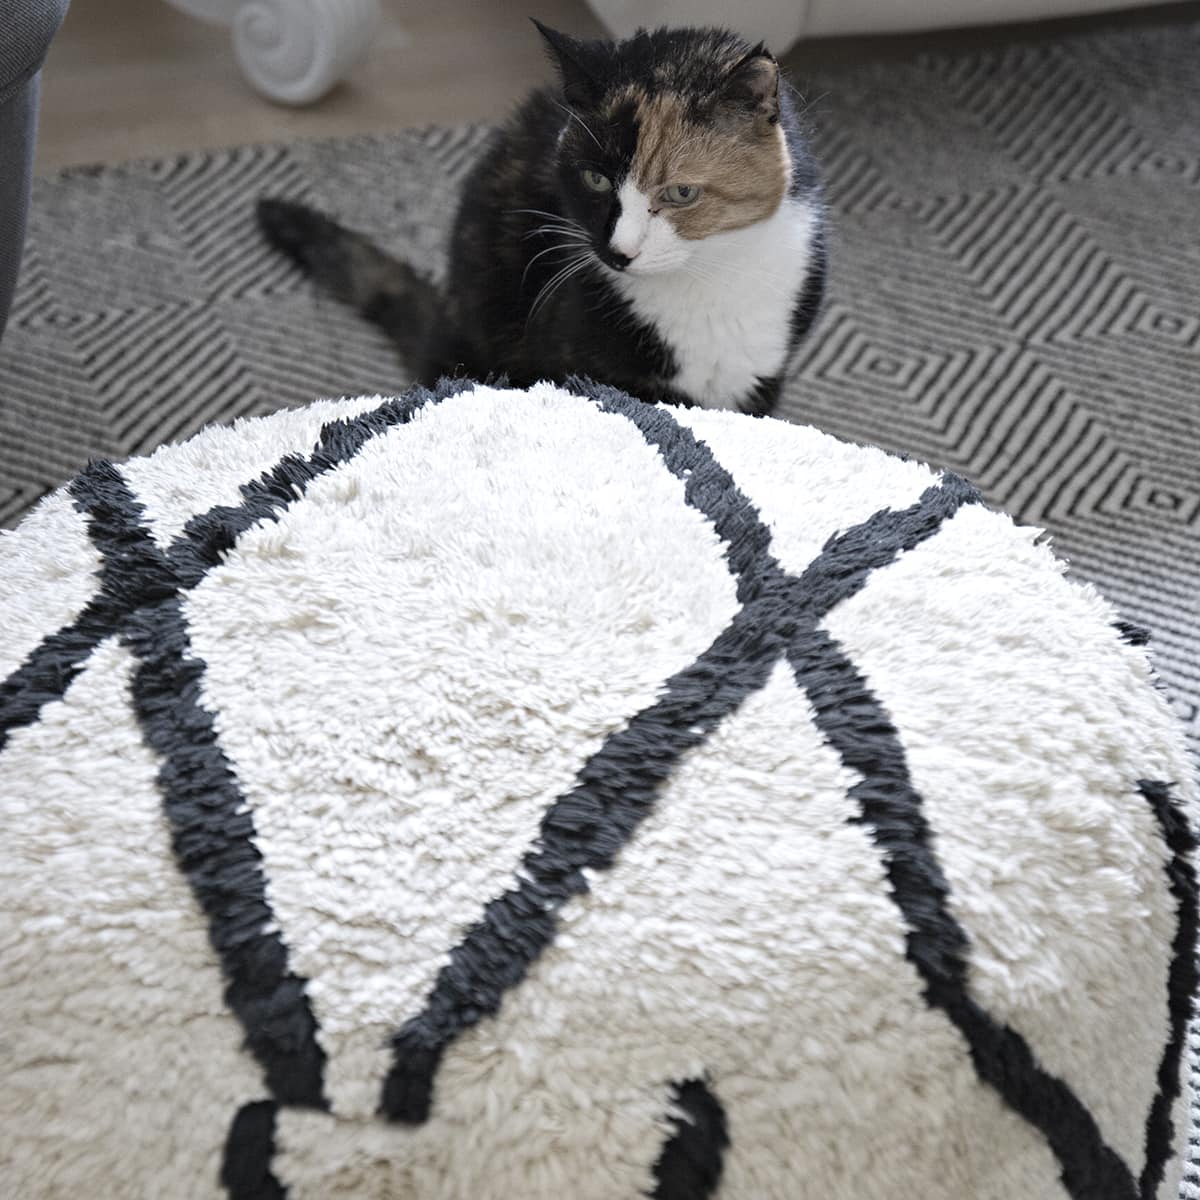

I’ve had many different looks in our living room and this little pouf has looked perfect in all of the versions.
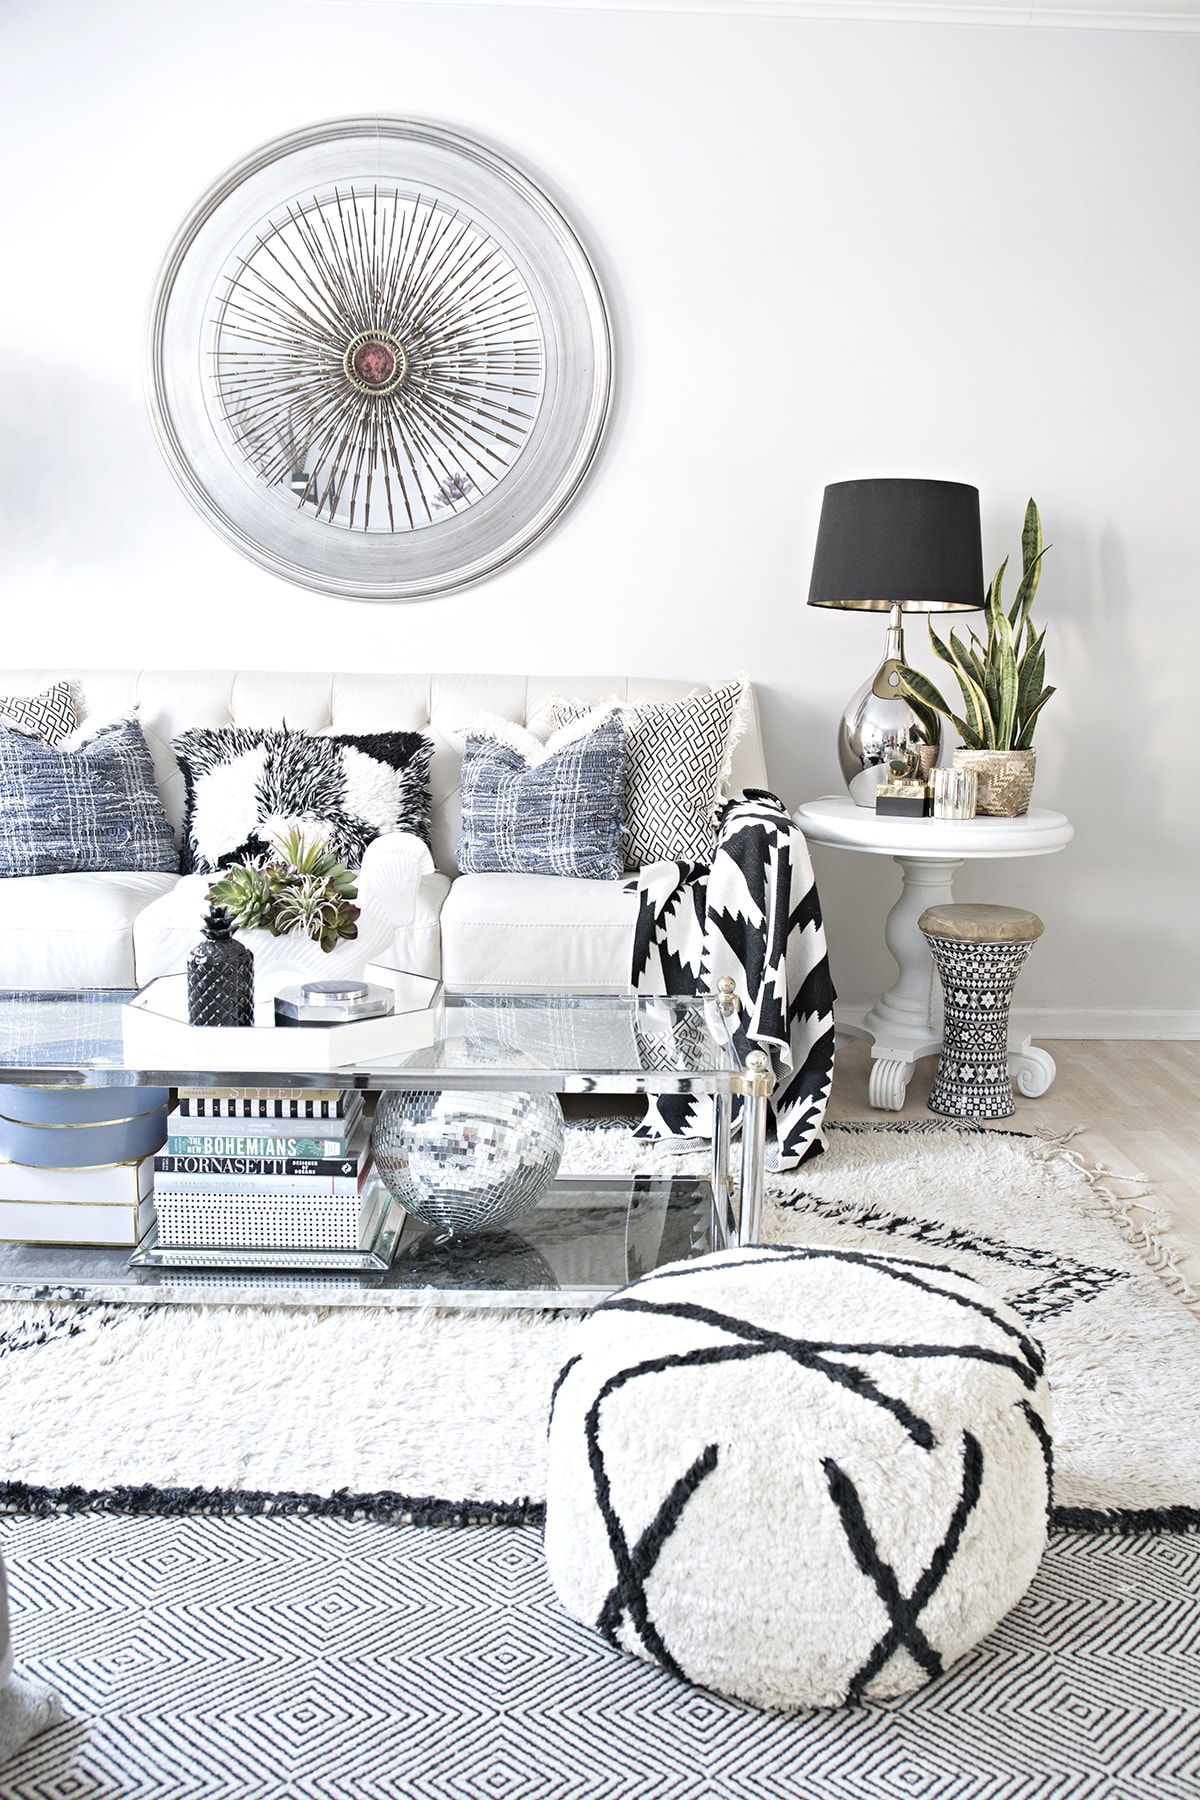
RELATED: You might also be interested in my favorite neutral sofas I have found. Unfortuntely the exact sofa we have isn’t available anymore but my round-up has many great similar options.
The pouf is still beautiful even years later. I love how it looks with our Christmas decor too.
Hope this helps someone out there who is tired of dealing with a deflated beanbag or pouf 😉 It really is an easy project and I have no clue why I waited for so long to finally tackle it.
Tschüß,

How to stuff a pouf or bean bag
Working with bean bag filling can be really annoying but I have a trick for re-stuffing or stuffing a pouf or bean bag that makes this project super easy. No more styrofoam beads flying around everywhere.
Materials
- empty or deflate pouf or bean bag
- upholstery thread
- bean bag filling
- grocery bags
Tools
- curved upholstery needles
- seam ripper
- scissors
- sewing pins
Instructions
- Open the bag in one spot with the seam ripper
If you have never used a seam ripper, it has a blade in the curved center that cuts a seam so you can open something that was sewn together. Simply insert the one end that looks like a needle and push the tool ahead which cuts/rips the seam. (I tried to keep the hole small so I didn't have to sew a lot later) - Fill grocery bags with beans
I took a grocery bag and started filling it up with beans until it was almost full. Then knot the top of the grocery bag shut. (note: don't fill it up too much because you still need to be able to squeeze the knotted bag through the bean bag hole) - Stuff the filled grocery bag into the bean bag hole
I have tried filling a pouf with beans and it was a complete mess. Now that you have the bean filling in a separate bag, it is much easier to get them into the pouf or bean bag. This is a great trick because you don't have to struggle with styrofoam balls flying around and spilling out of the pouf again. - Fill more grocery bags with beans and keep stuffing the pouf
Keep repeating this until you can't fit any more filling in the pouf or bean bag. I ended up needing 4 stuffed grocery bags to make the pouf fully stuffed again. That's how badly the pouf was deflated. In some cases, for example, when stuffing a brand new pouf, you could even use the entire bag of filling without removing it from its original packaging bag. - Line up the seam and pin with needles
Then line up the seam again and help it keep in place with sewing pins. - Sew the hole shut with a curved needle and thread
Thread a long strand of yarn through your curved needle and sew the pouf hole shut again. I am glad that I also didn't have to struggle with little annoying balls while sewing it shut. The curved needle makes it a lot easier in my opinion to efficiently close the pouf.
Notes
- Some pouf and bean bags come with zippers which makes stuffing them so much easier and faster but the trick with the stuffed grocery bags works just as well because you don't have the hassle of the stuffing flying around when trying to zip the pouf shut.
- You can also use old unused clothing, fabric, other unused textiles, old duvets, and old towels instead of bean bag filling to stuff your pouf. See what you can find while doing a little decluttering of your closets. However, this will make your pouf heavy.



Oh, so you put the bag inside! Thought there goes only the beans! Great DIY!
Yes I put the bags inside too. Ain’t nobody have time to remove the bag ????
this is one of those… why didn’t i think of that? … type of things! so smart!
Haha! Thanks!
Grocery bags – so smart! I get those balls everywhere!
They are so annoying
Thanks for sharing your secret. It’s nice to know I’m not the only one using pots for odd things.
Please do tell what odd things you use pots for 😉
pasta pot, that is hilarious! i did read that you can use plastic bags…maybe this is what they meant. i just thought you would be putting the actual bags in to create the poof, although how can that be. it looks like new!
b
Oh I’ve never read about the plastic bags anywhere I even checked on Pinterest first.
You are so clever. I love how the kitties always seem to get involved too, and your new one is darling.
they are always involved in everything 😉
The bag is a great idea because besides being pesky those silly beans are also staticky and stick to everything. Your right ain’t nobody got time for that!
They sure are pesky little things
Love these DIY’s! I must say I share your hatred of styrofoam balls, and really dig your revelation 🙂
Thanks so much. Styrofoam haters unite 😉
I never have any extra money, so I use the plastic shopping bags that end up with holes to stuff throw pillows. I used to use torn panty hose back in the day when I dressed for work. Just cut them up.
This is great! I totally need to do this for a pouf in my son’s room. It has been looking SO SAD lately ha! Thanks for sharing!
Hope it helps get the job done
Thank you for this post. I have this exact same problem with my favorite pouf. I could try buying a new pouf, but I know I’ll never find one I like as much as the one I have now. I’ve been wracking my brain trying to figure out a cost effective way to revive it. Your writeup is perfect!
Oh, I’m so glad I could help!
I did this today, and it was such an easy project! I happened to open up the pouf at the exact space where the pouf was factory filled with the beans, so I had a nifty little sleeve to stuff the bags into. I used shredded foam and compostable bags, and it filled up very nicely. Thanks for such great instructions!
Oh I’m glad it worked out so well for you! Thanks for the sweet comment.