Renter-friendly chandelier makeover tutorial
I’ve been talking about updating our existing chandelier for a while now. Today is finally the day that I have the actual chandelier makeover tutorial for you. I used simple materials to build cover-ups that you can easily slip over any existing chandelier to give it a new look.
I mentioned renter-friendly in the headline because there might be folks out there who would like to cover up a chandelier in their rental without removing it or using spray paint. So if you are here to learn how to cover up an ugly chandelier then search no more.
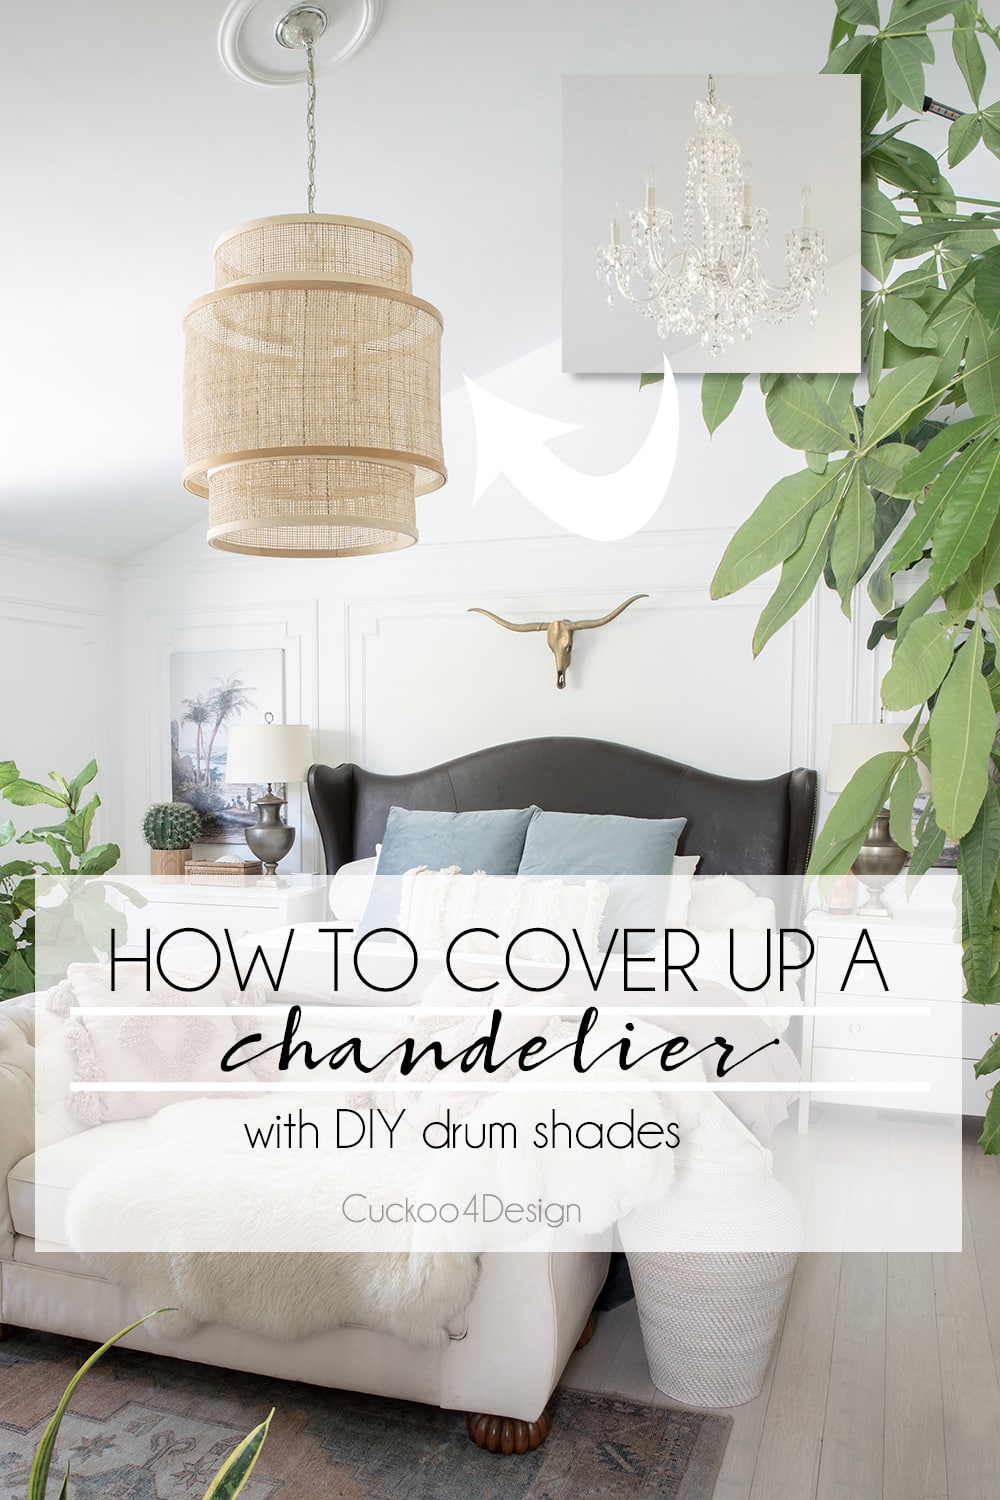
Crystal chandelier makeover tutorial
This post may contain affiliate links from which I will earn a commission at no extra cost to you.
View my full disclosure policy.
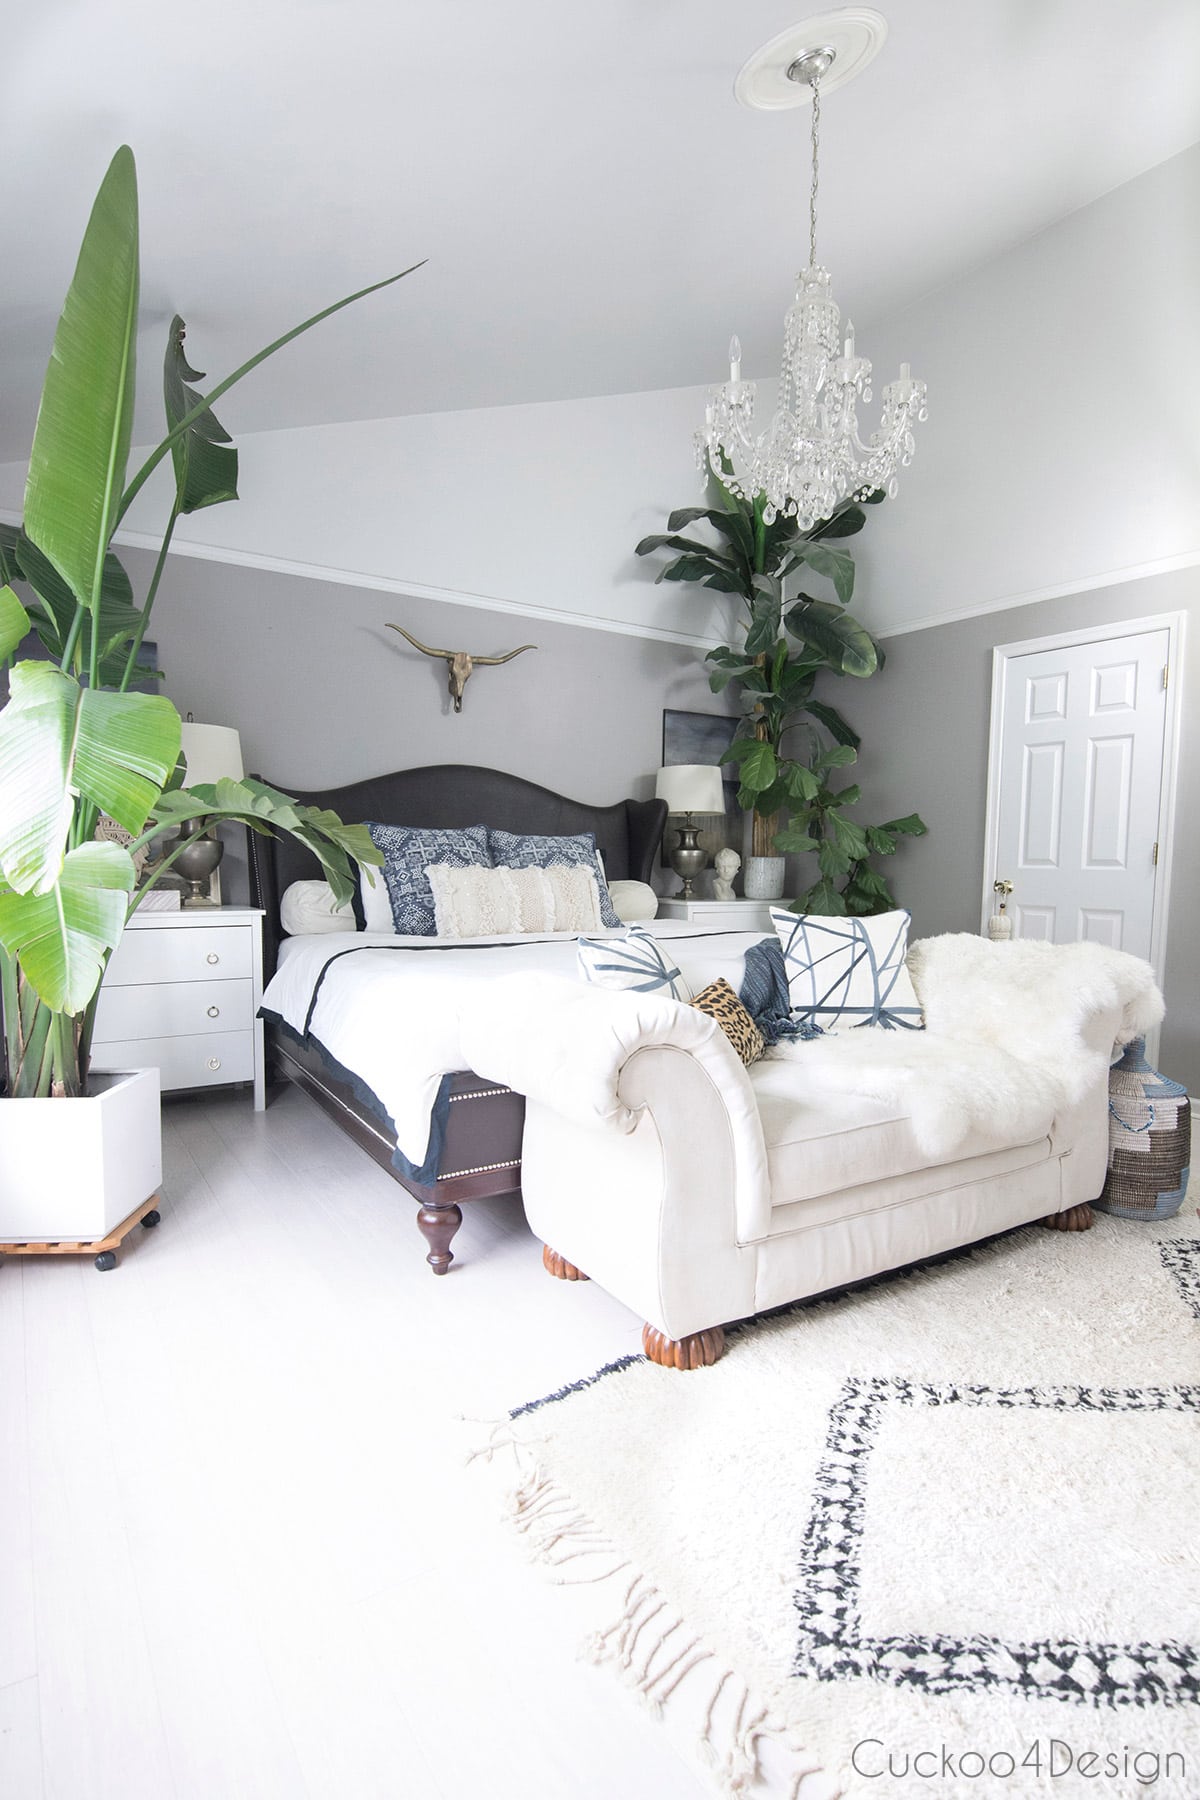
While my crystal chandelier isn’t ugly at all and I actually still like it, I do have to admit that it wasn’t a focal point anymore since switching the paint wall color from dark gray to white last year. See what I mean in the below photo? You can barely tell it is even there.
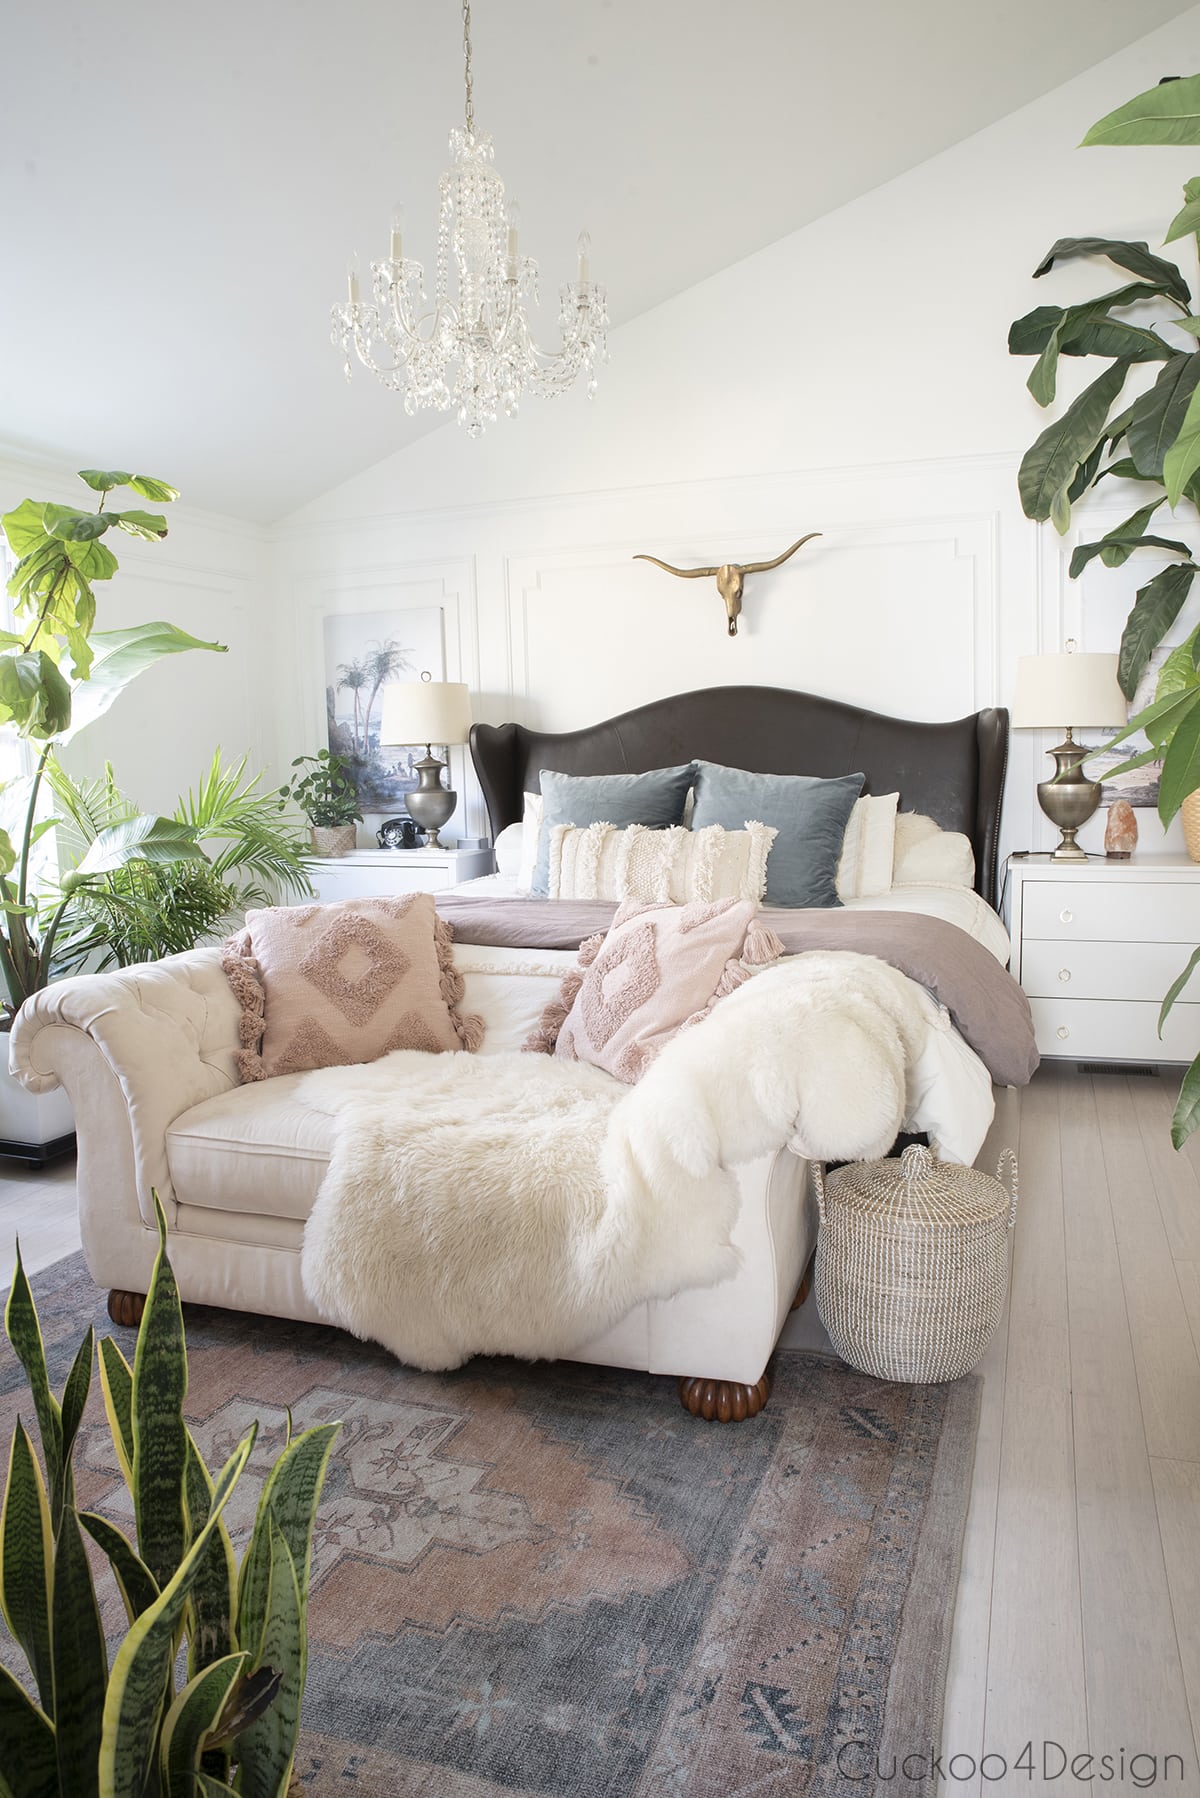
Since we aren’t renters, you might be wondering why I didn’t just remove the old chandelier and added a new one. I have several reasons why I didn’t which are:
- budget
- wanting to find a solution for others who might need to cover up an ugly chandelier or simply wanting to update an existing chandelier
- hanging a new chandelier on our cathedral ceilings is rather difficult
- emotional attachment because it was a house warming gift from my aunt who since passed
Chandeliers and pendants that inspired me
When I was working on my DIY pendant light tutorial using jute yarn, I mentioned that I was inspired by a Serena & Lily pendant. Well, there was another one that I loved with a different shape also using jute yarn. The one I’m talking about is the Chavette Chandelier which has tiered drum shades that are wrapped in jute. Obviously, I didn’t want to use the same materials again and found other tiered drum shade chandeliers to inspire me. Those other tiered drum shade chandeliers mostly use cane, wicker, or rattan.
With that said if you want to make a similar tiered drum shade chandelier as mine, to cover up an outdated chandelier or just as a new pendant then you can substitute the cane that I used with several other materials for a different look. I considered using sushi mats, bamboo shades (great for hiding a dark-colored chandelier like a brass chandelier or wrought iron chandelier), reed screen fencing, perforated aluminum sheets, woven seagrass mat, or even a jute rug. But the three last options might get a bit too heavy to hang.
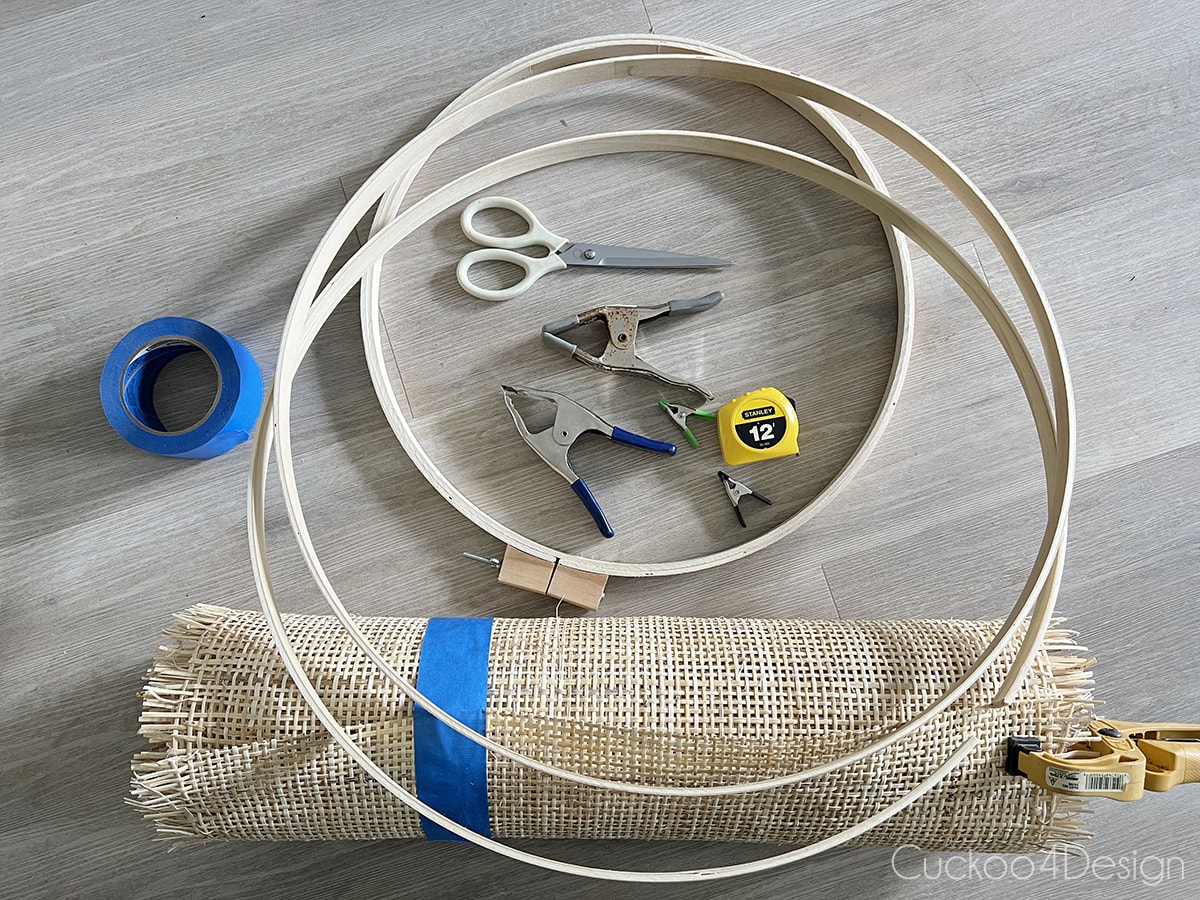
Materials used for the chandelier makeover
- measuring tape
- various embroidery hoops depending on the circumference of your chandelier (I used four 18-inch wooden quilting hoops and two 23-inch wooden quilting hoops)
- roll of square cane webbing or you could use hexagon weave cane webbing (I used a 24-inch by 7ft piece)
- metal wire
- small eye hooks
- drill
- scissors
- saw
- clamps
- tape
- small screw driver
- pliers
- pencil
- utility knife
- liquid nails or clear E6000 glue (both work)
- light bulbs that don’t get hot (I replaced my chandelier candle bulbs with mini LED night light bulbs)
- several wooden paint mixing sticks
TIP: You can use a circumference calculator to determine the hoop size and how much webbing you need.
Video tutorial
Below is my video tutorial so you get a better idea of what I did to create this chandelier makeover. If you are on a tablet or phone, hold your device horizontally for better viewing and if it doesn’t load then you can also watch it on my YouTube channel instead.
Step-by-step instructions
I was trying to use one roll of the cane webbing to keep the cost down. In the end, I think it would have been better to have the extra cost and make the center drum a bit taller. That wasn’t possible with just one roll.
building the different sized DIY drum shades
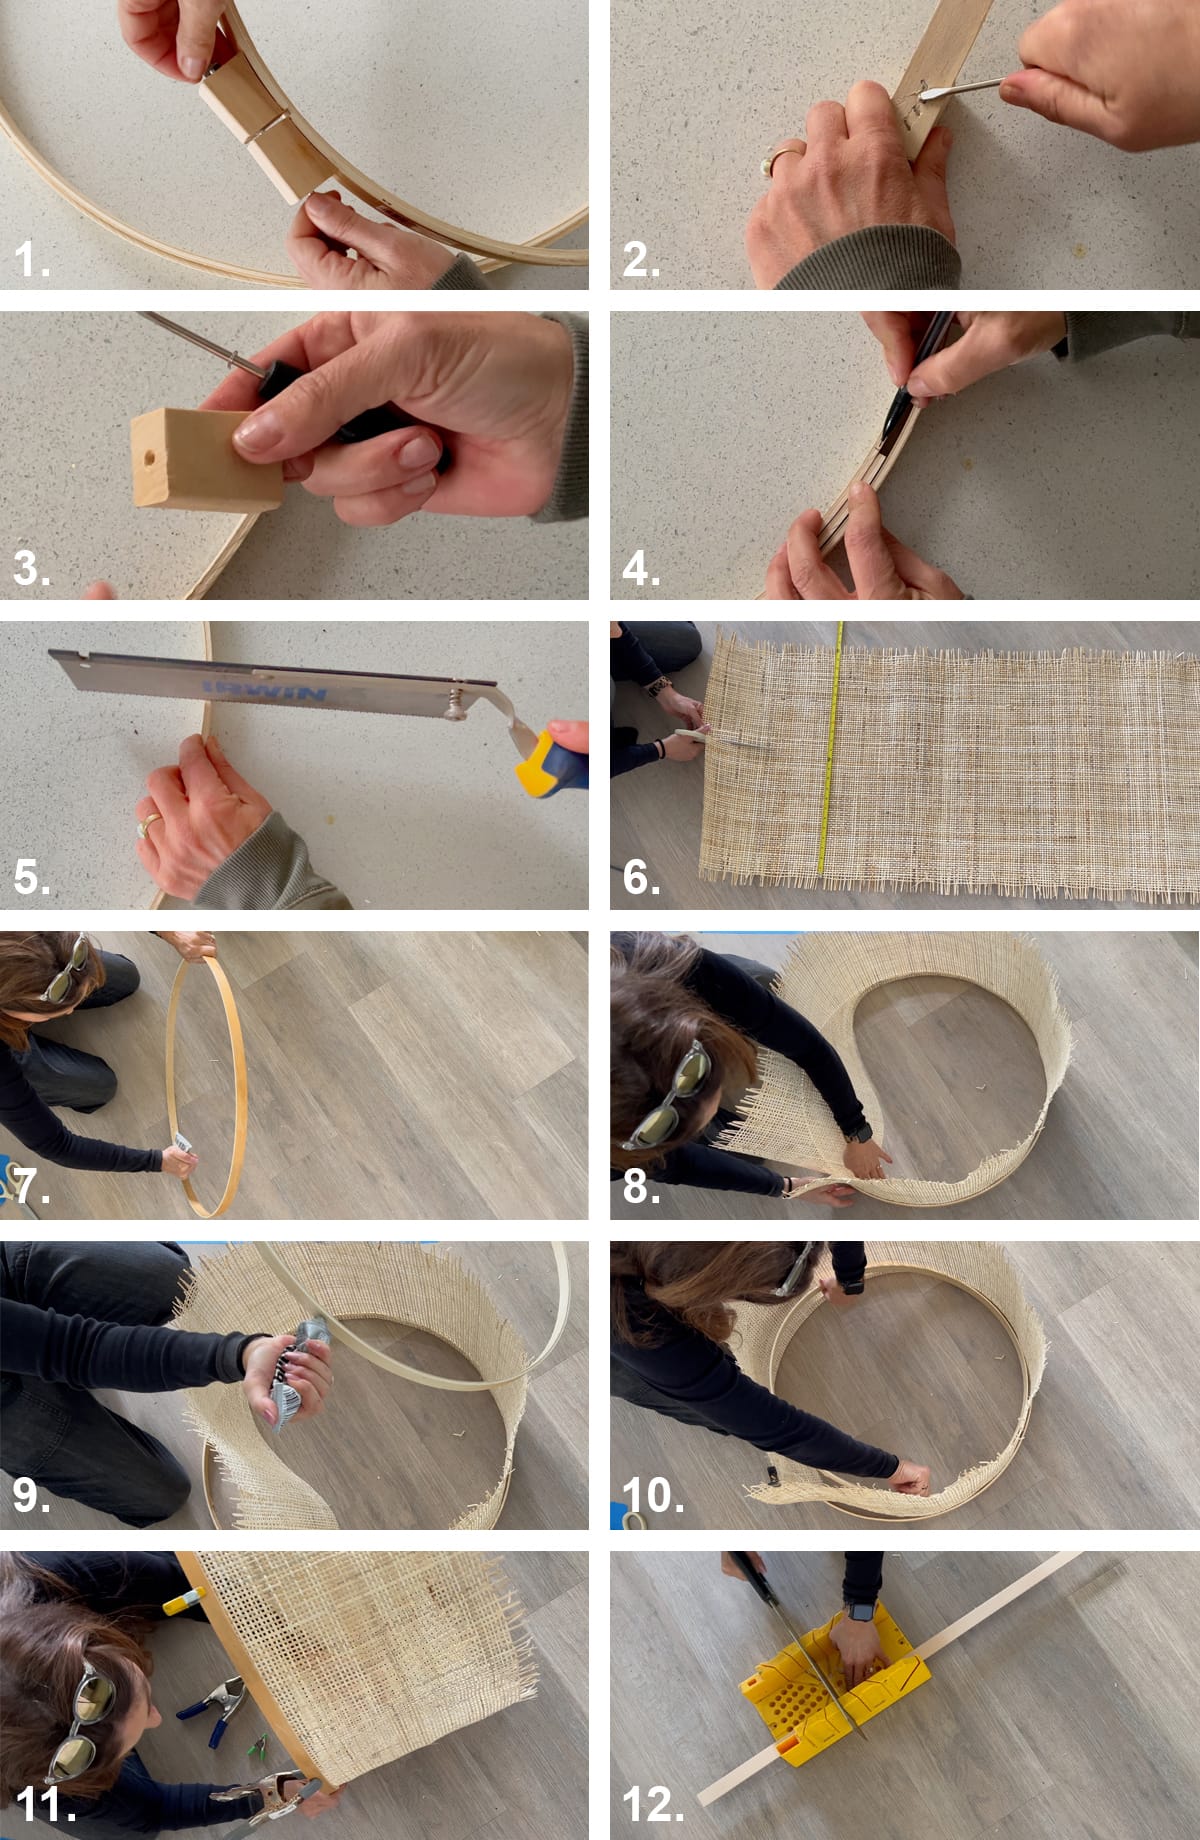
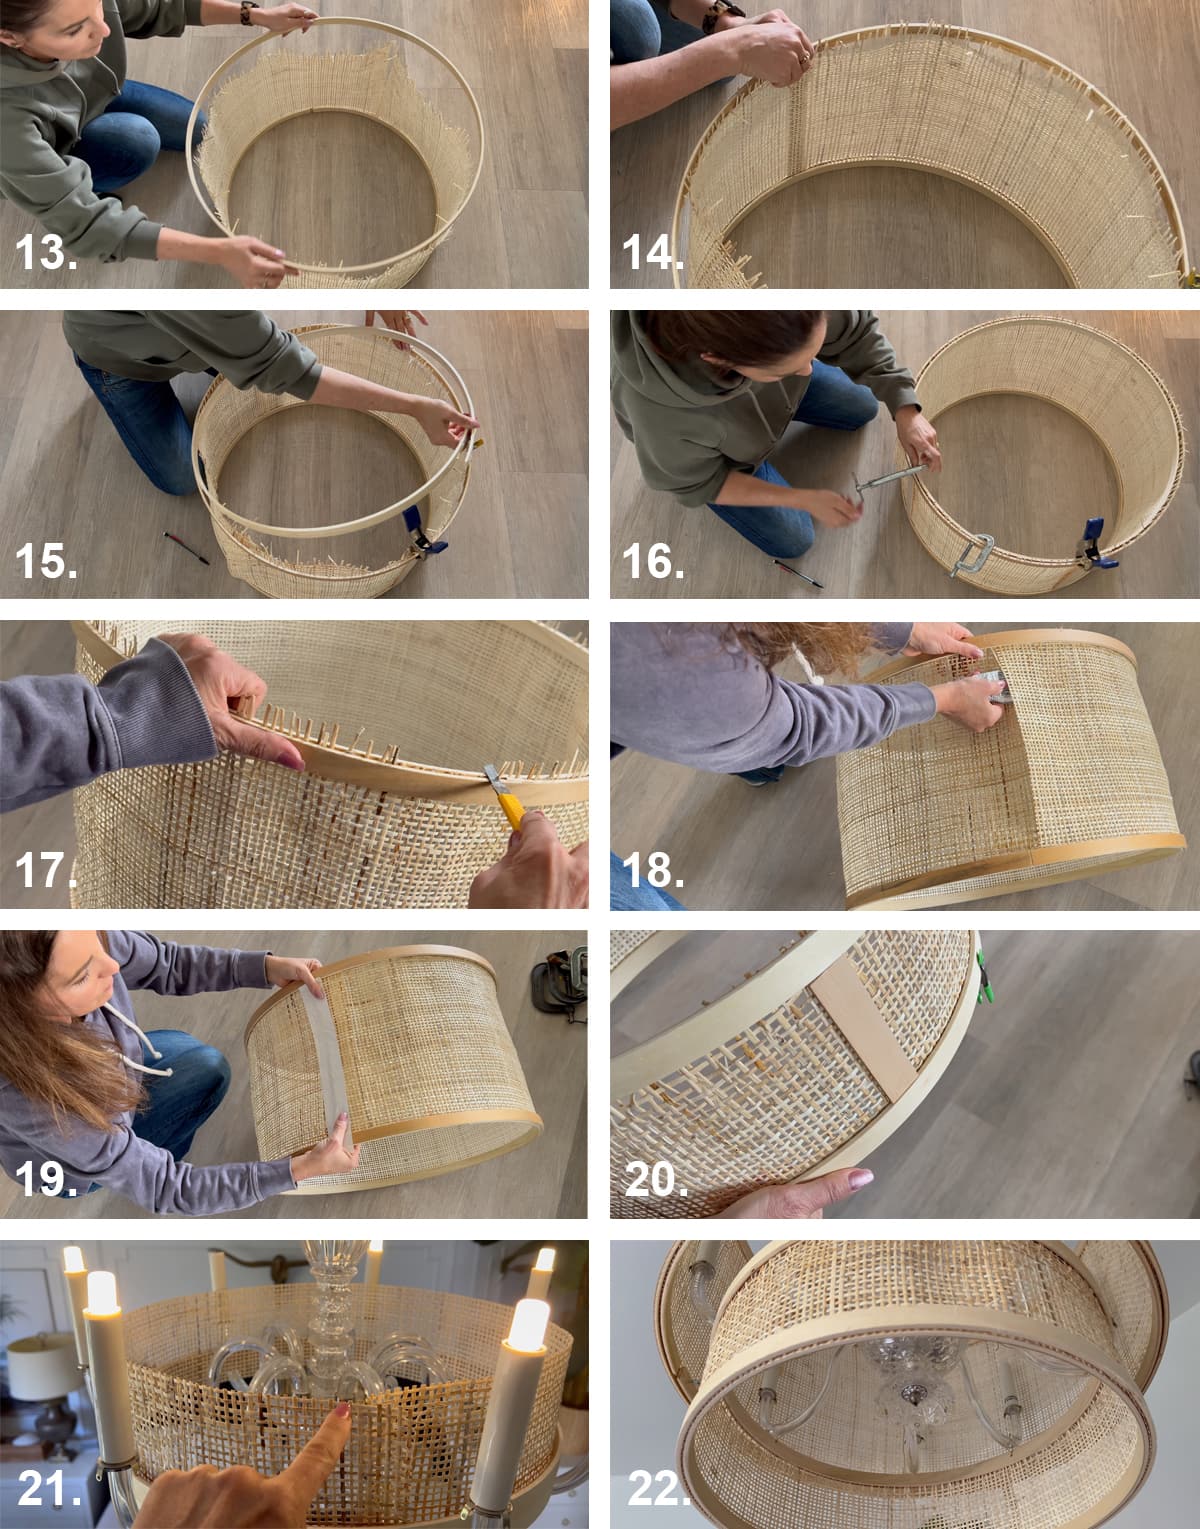
- Remove the screws from the outer part of the embroidery hoops.
- Use a small screw driver and pliers to remove the staples where the wood block is connected.
- When the staples are all removed from the hoops, the wooden block comes off the hoop.
- Place the former outer open hoop into the inside of the closed hoop which will make the hoop overlap. Mark the overlapping part with a pencil.
- Cut off the overlapping part with a saw so you can fit the open hoop snug into the inside of the closed hoop.
- Measure and cut your cane webbing for 3 drum shades. This will obviously depend on the size of the chandelier you want to cover up. For mine I cut 2 pieces at 5.5 inches high which are for the two smaller hoops/drum shades (18-inch hoops). And the larger piece at 13 inches high for the large center hoops/drum shades (23-inch hoops) of the prendant light.
- Apply glue to the inside of one of the hoops. I started out by making the large shade first. (It doesn’t matter which hoop you start with when making the drum shades, just make sure you pick the right cane webbing piece for the different hoop)
- Place the cane webbing inside the hoop and cut off the overlapping access with scissors. Make sure to leave about 2-inches overlapping that you can glue together later.
- Add glue to the outside of the open hoop.
- Place the open hoop inside the can webbing.
- Clamp the entire perimeter of the hoops so the cane webbing will get securely glued between the two hoops. Let that dry over night.
- Cut the wooden paint stir sticks to the desired height of the drum shade so you can use them as spacers for the shade.
- When the bottom hoops’ glue has dried, remove the clamps so you can start to work on the top part by adding glue to the inside of the second closed hoop and add it to the top of the shade.
- Now use the wooden paint stir sticks as spacers to make sure the top hoop is even placed around the shade.
- Apply glue to the open hoop and insert it inside the cane webbing.
- Clamp the hoops in place and let it all dry again.
- Use the utility knife to cut off the uneven pieces sticking out passed the hoops.
- Time to work on the seam! I applied some glue.
- Then follow that up with some duck tape that I clamped and let it all dry (I didn’t use a lot glue so the duct tape wouldn’t be glued to the cane by accident)
- Make one of the smaller drum shades with the 18-inch hoops and one of the 5.5 inch cane pieces the exact same way. I also cut some smaller spacers as shown.
- Since you can’t slide the smaller drum shade over the chandelier, I constructed and glued it on the chandelier. I was able to get the outside closed hoops over the arms. Originally I was worried this part wouldn’t work but it did. Depending on what kind of chandelier you want to cover up, you might not even need this second small drum shade.
- Time to hang and attach all the shades to the chandelier which I am explaining below.
hanging the DIY drum shades from the chandelier
There are several different ways to hang the different-sized drum shades from your existing chandelier and it obviously all depends on what you have. For me using a combination of eye-hooks and metal wire worked well. You could also use thin metal chains the way the Serena & Lilly chandelier is put together. There is a photo of the inside on their listing so you can see what I mean.
The big center drum shade is hanging from the center spine of the crystal chandelier with wires connected to eye hooks. I opted for screwing the eye hooks to the bottom ring and hanging it from there versus attaching the eye hooks to the top because the wire is hidden better that way.
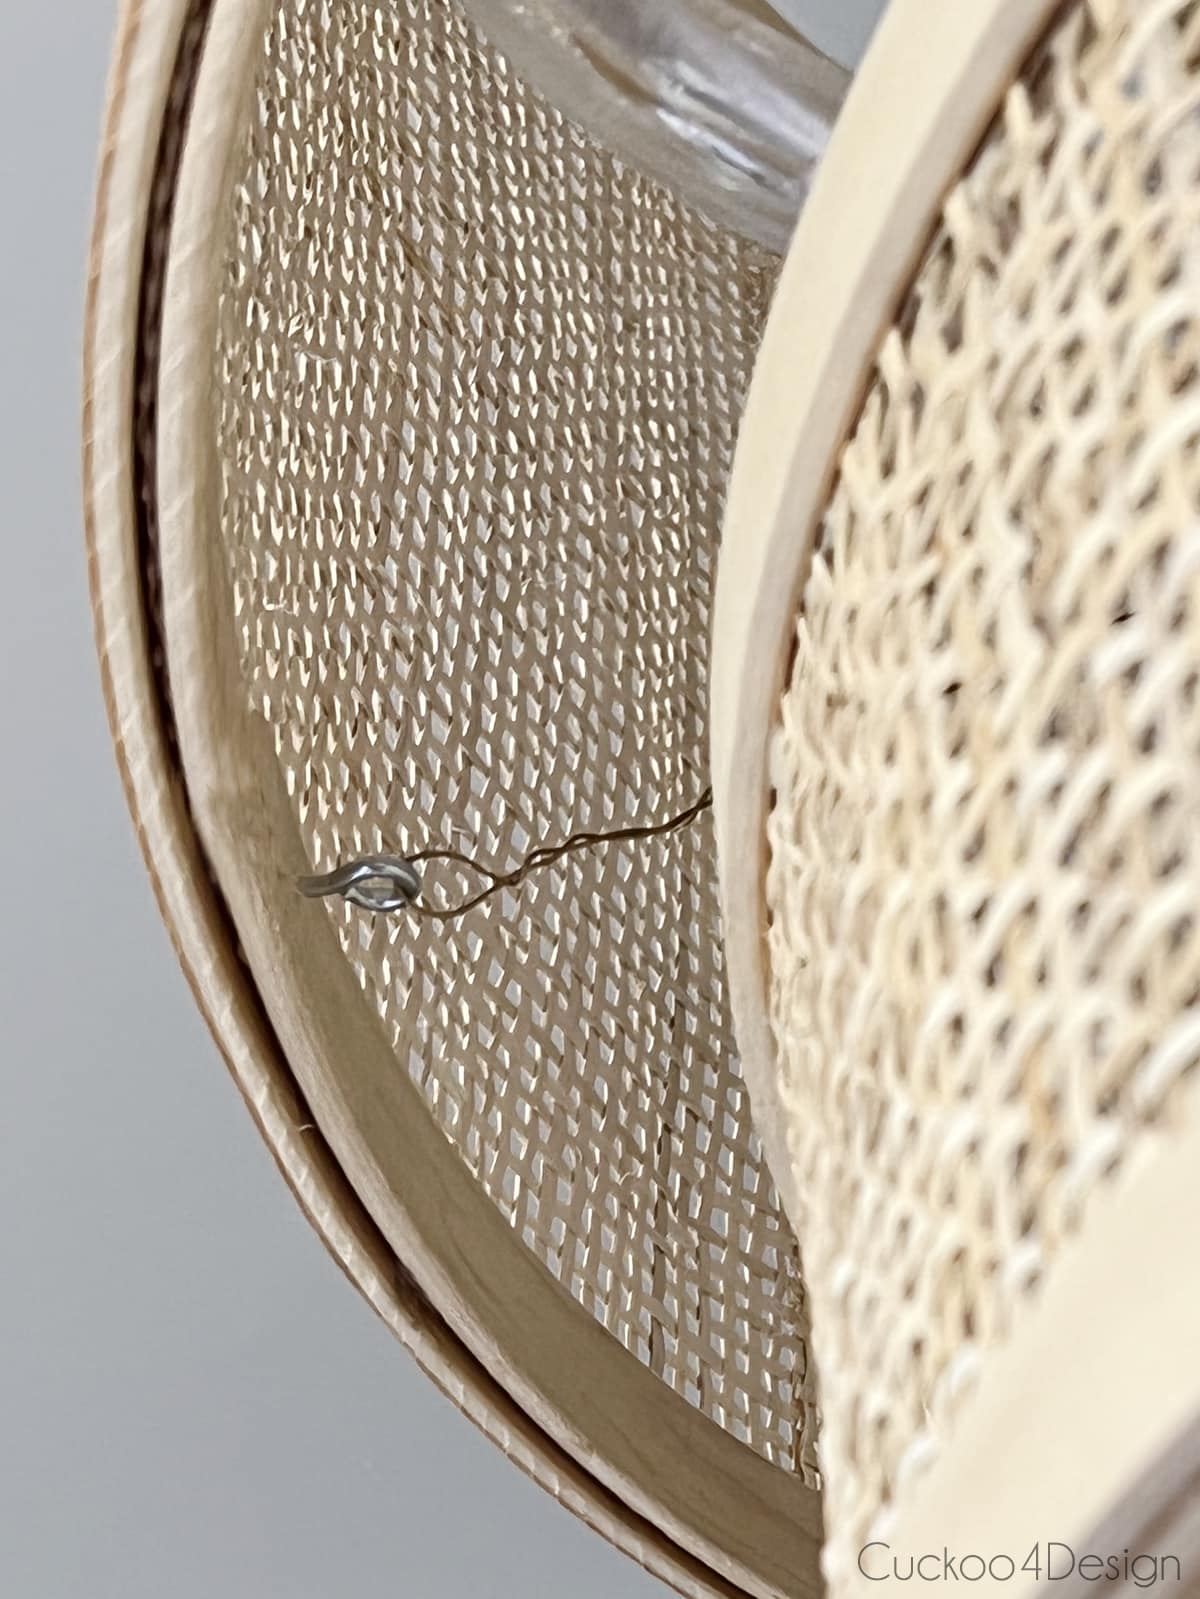
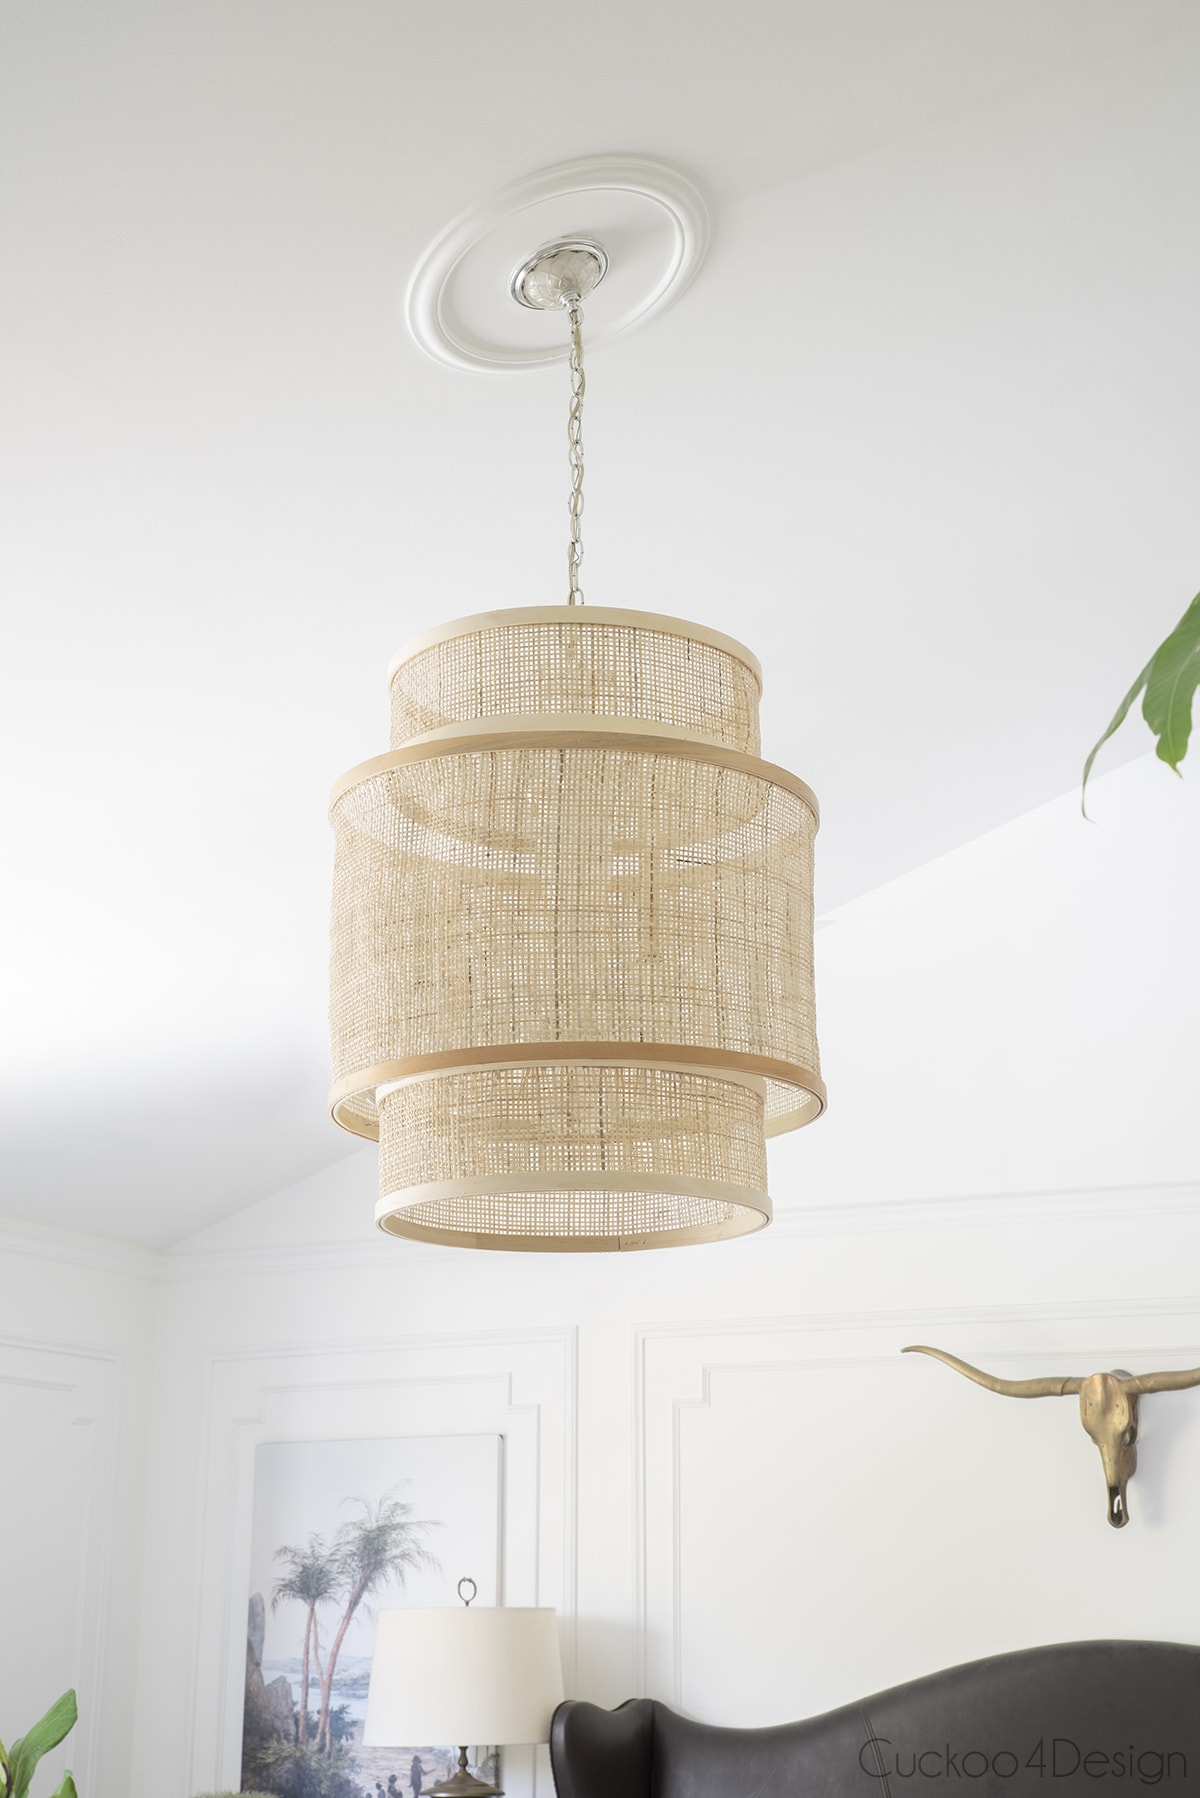
The bottom tired drum is hanging with wire from the bottom of the chandelier arms. You can see what I mean in the below closeup shot.
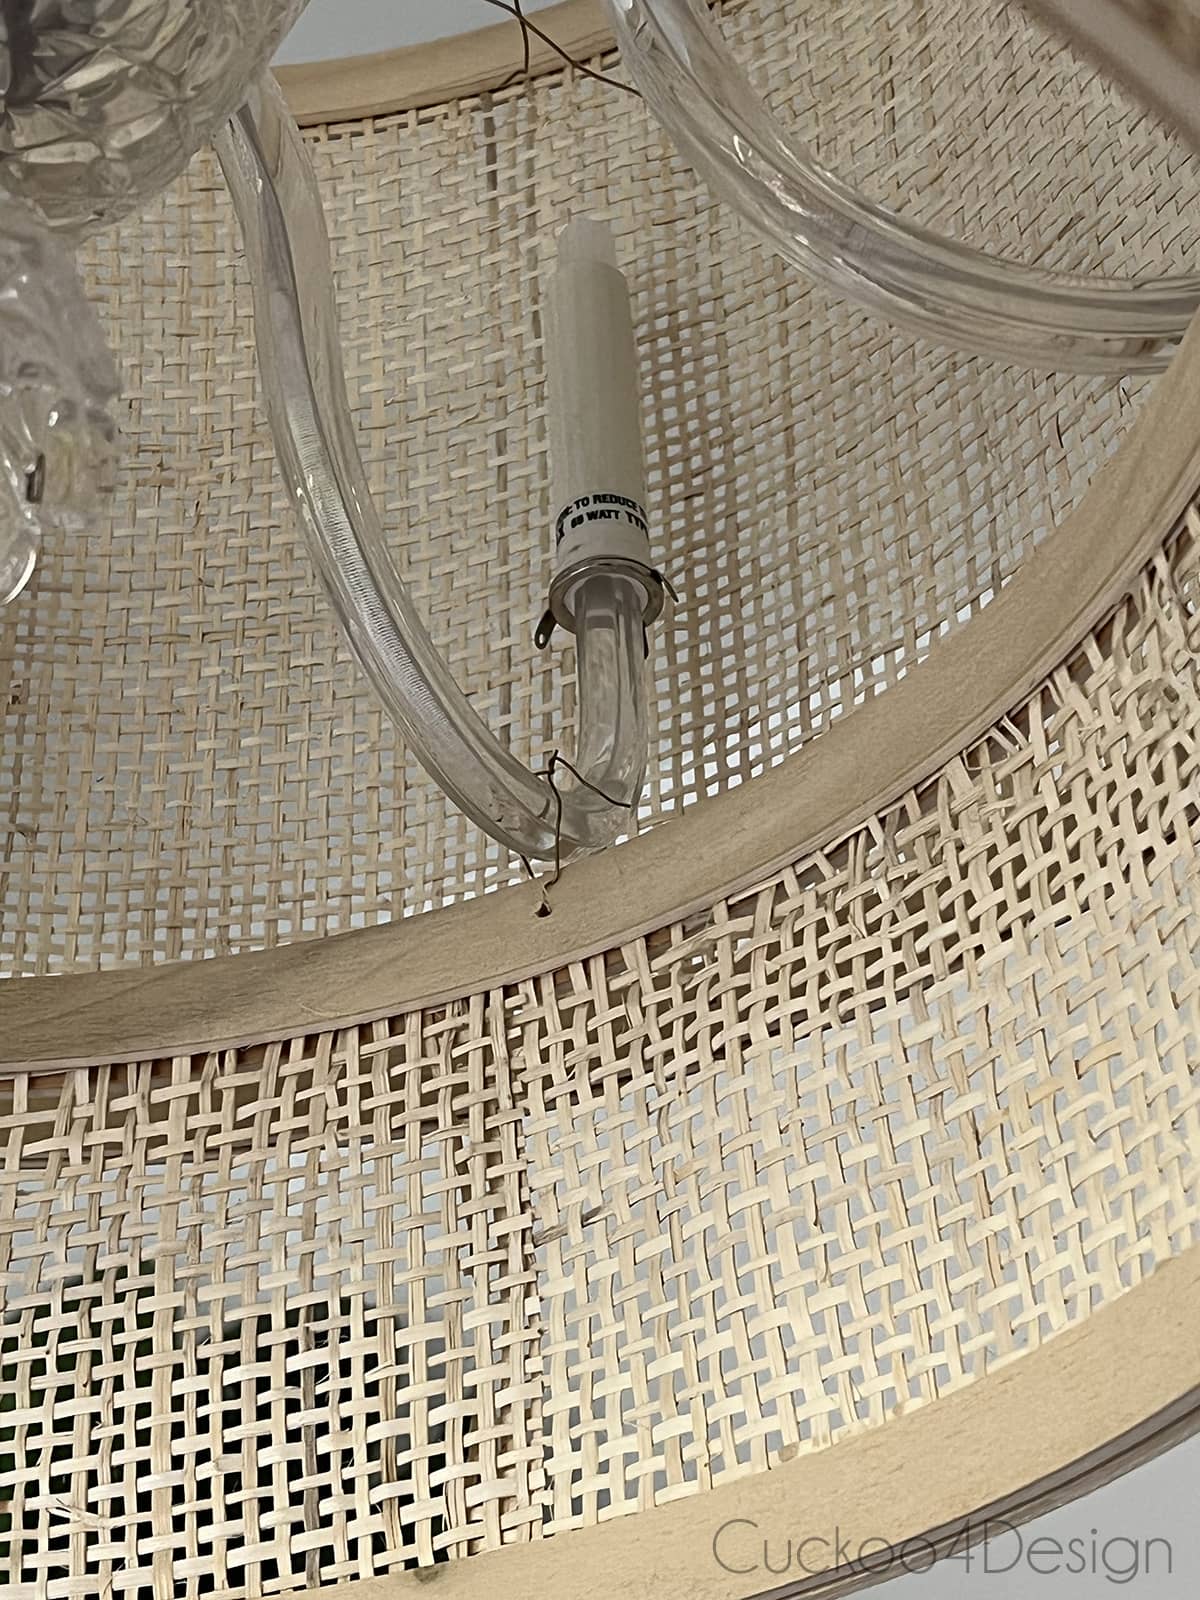
Below you can see the new shades a bit better and how it all looks and hangs from the chandelier. If you want to make these drum shades over a standard cheap lighting kit to create a new pendant then I would use thin metal chains connected to eye hooks like the inspiration chandelier.
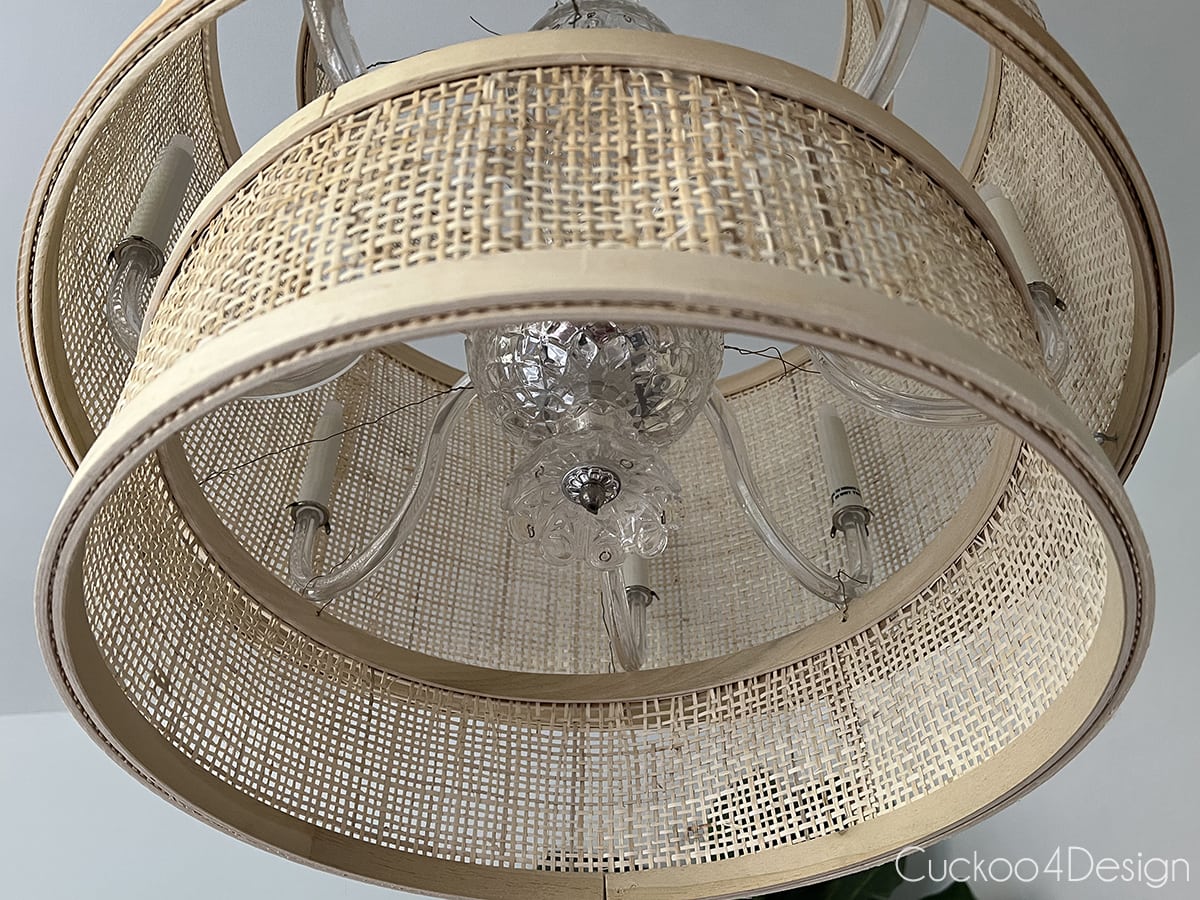
You could also add a cord cover but I opted not to since I don’t even own a ladder that reaches the top of the chandelier. Plus it looks great without one.
adding raffia fringe trim to the center drum shade
Now you could stop at this point or add some raffia fringe trim to the drum shades. I wanted to try the fringe trim to create some more interest while hiding the gaps a bit better. This also gives the chandelier makeover a bit more of a boho Bali look. I just want to live with the chandelier cover for a bit before possibly adding the trim. I started and tried but then I wasn’t sure what I wanted anymore. Let’s see!
If you want to hide the gaps a bit better then adding the raffia trim is definitely the way to go.
Below you can see a photoshop mockup of the added trim. I bought mine on Etsy.
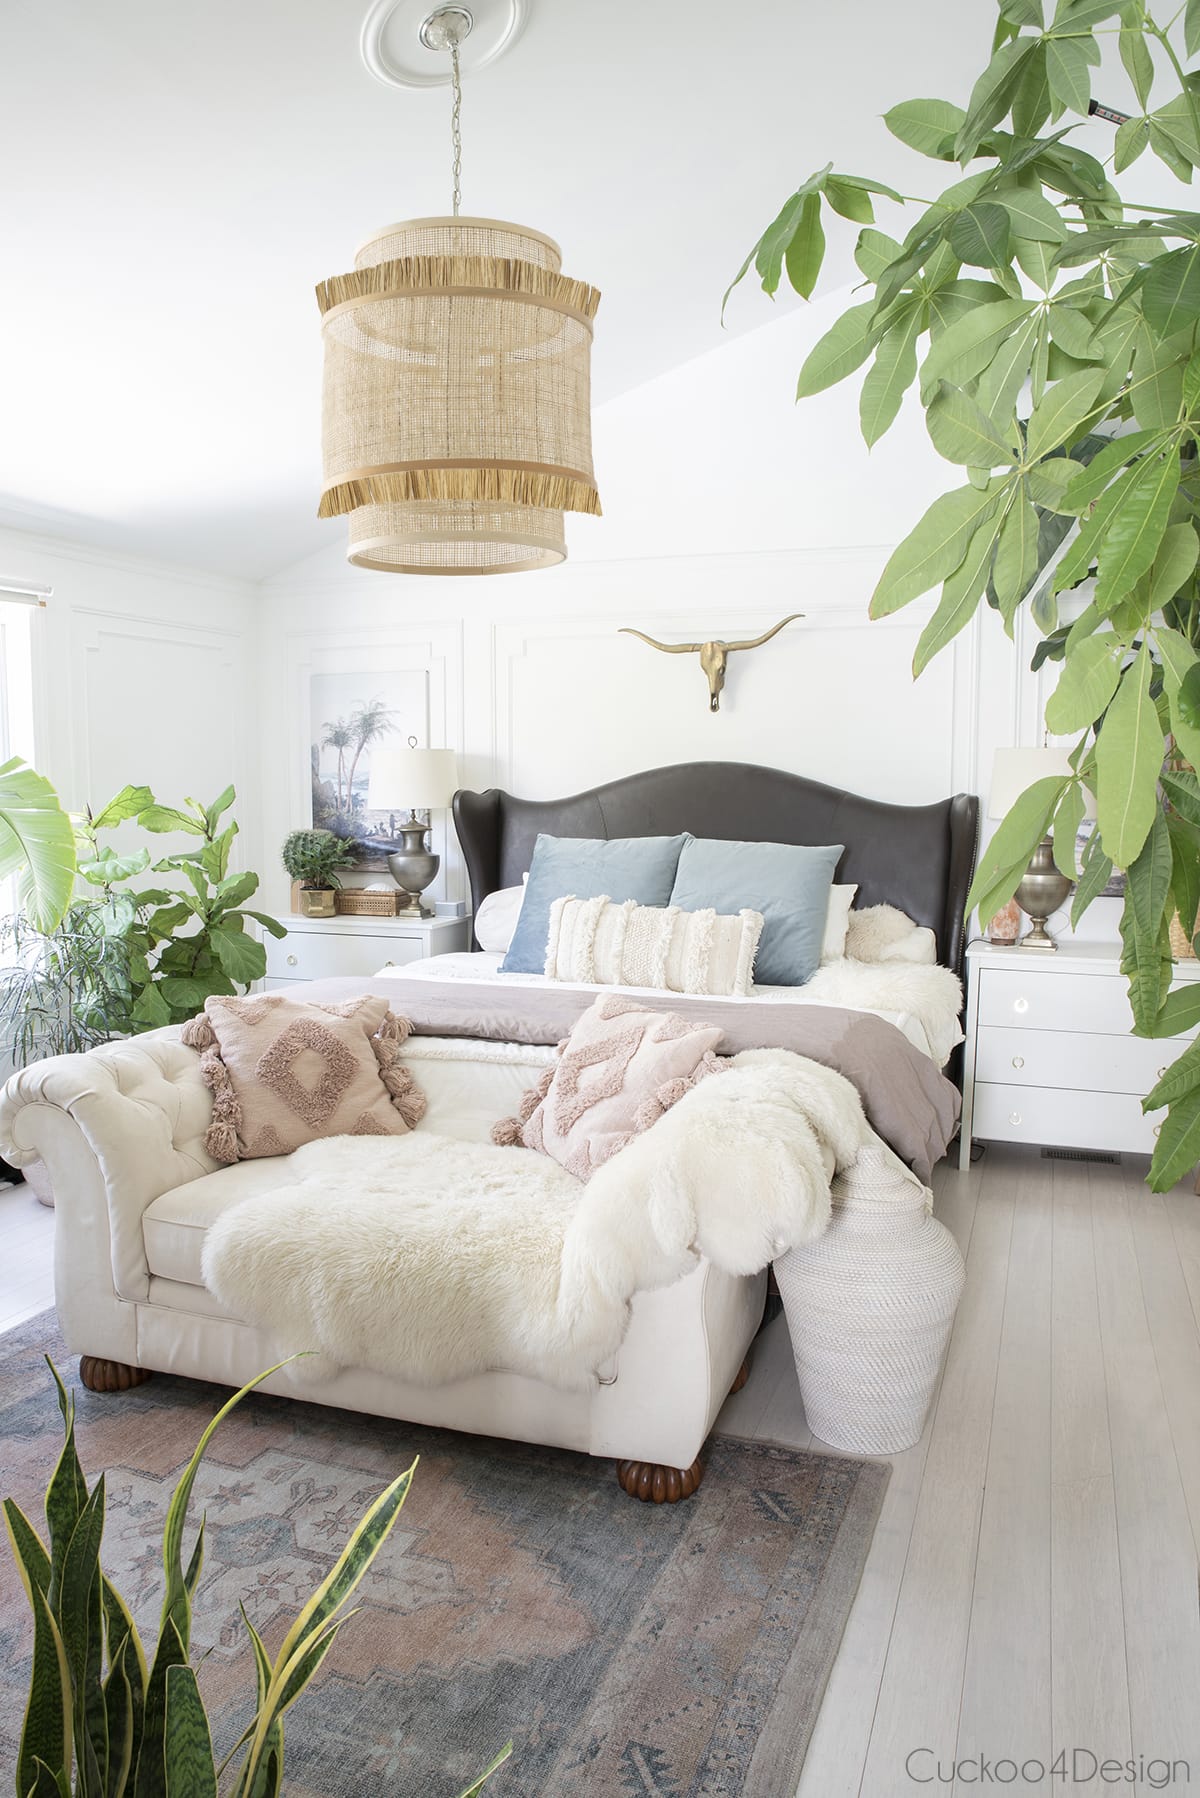
Photos of finished chandelier makeover
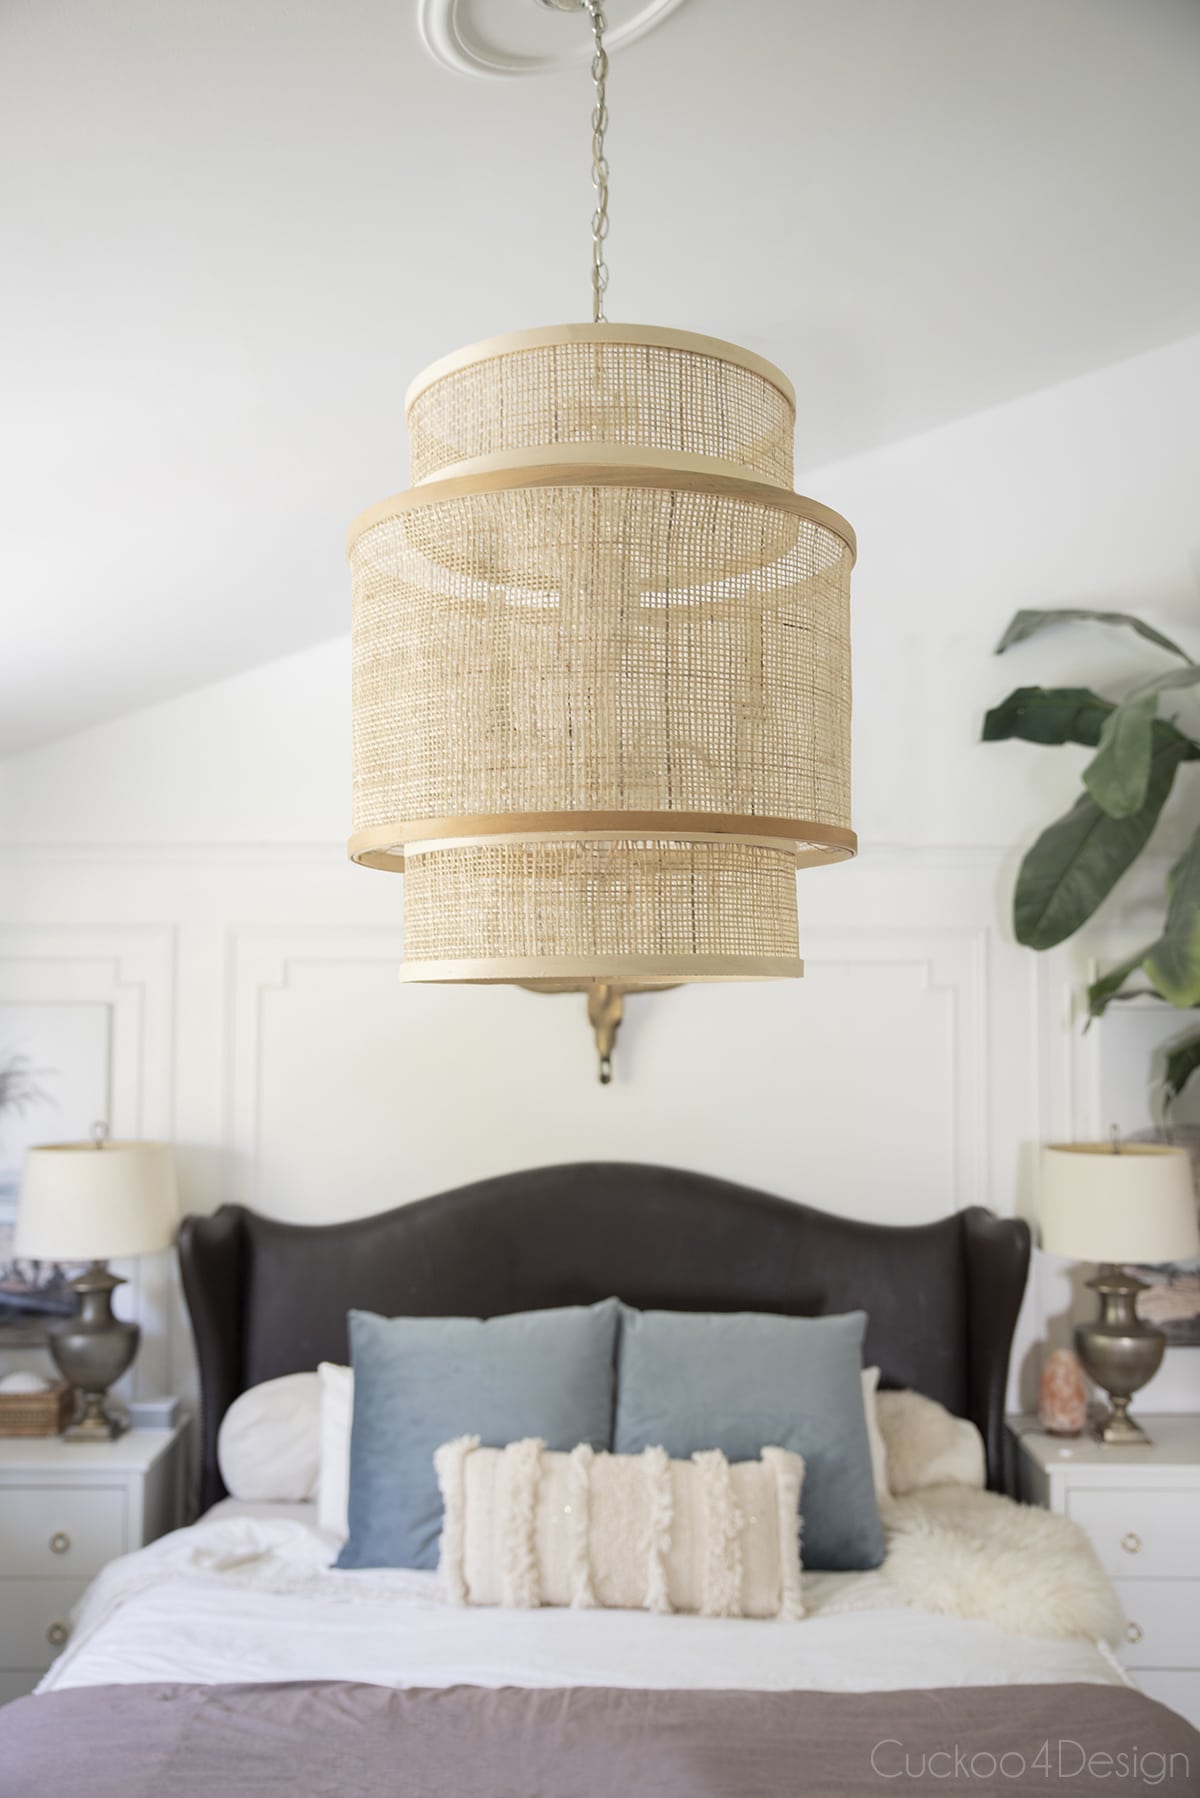
Having a more substantial light fixture in our bedroom makes a huge difference visually. Just look at the before and after.
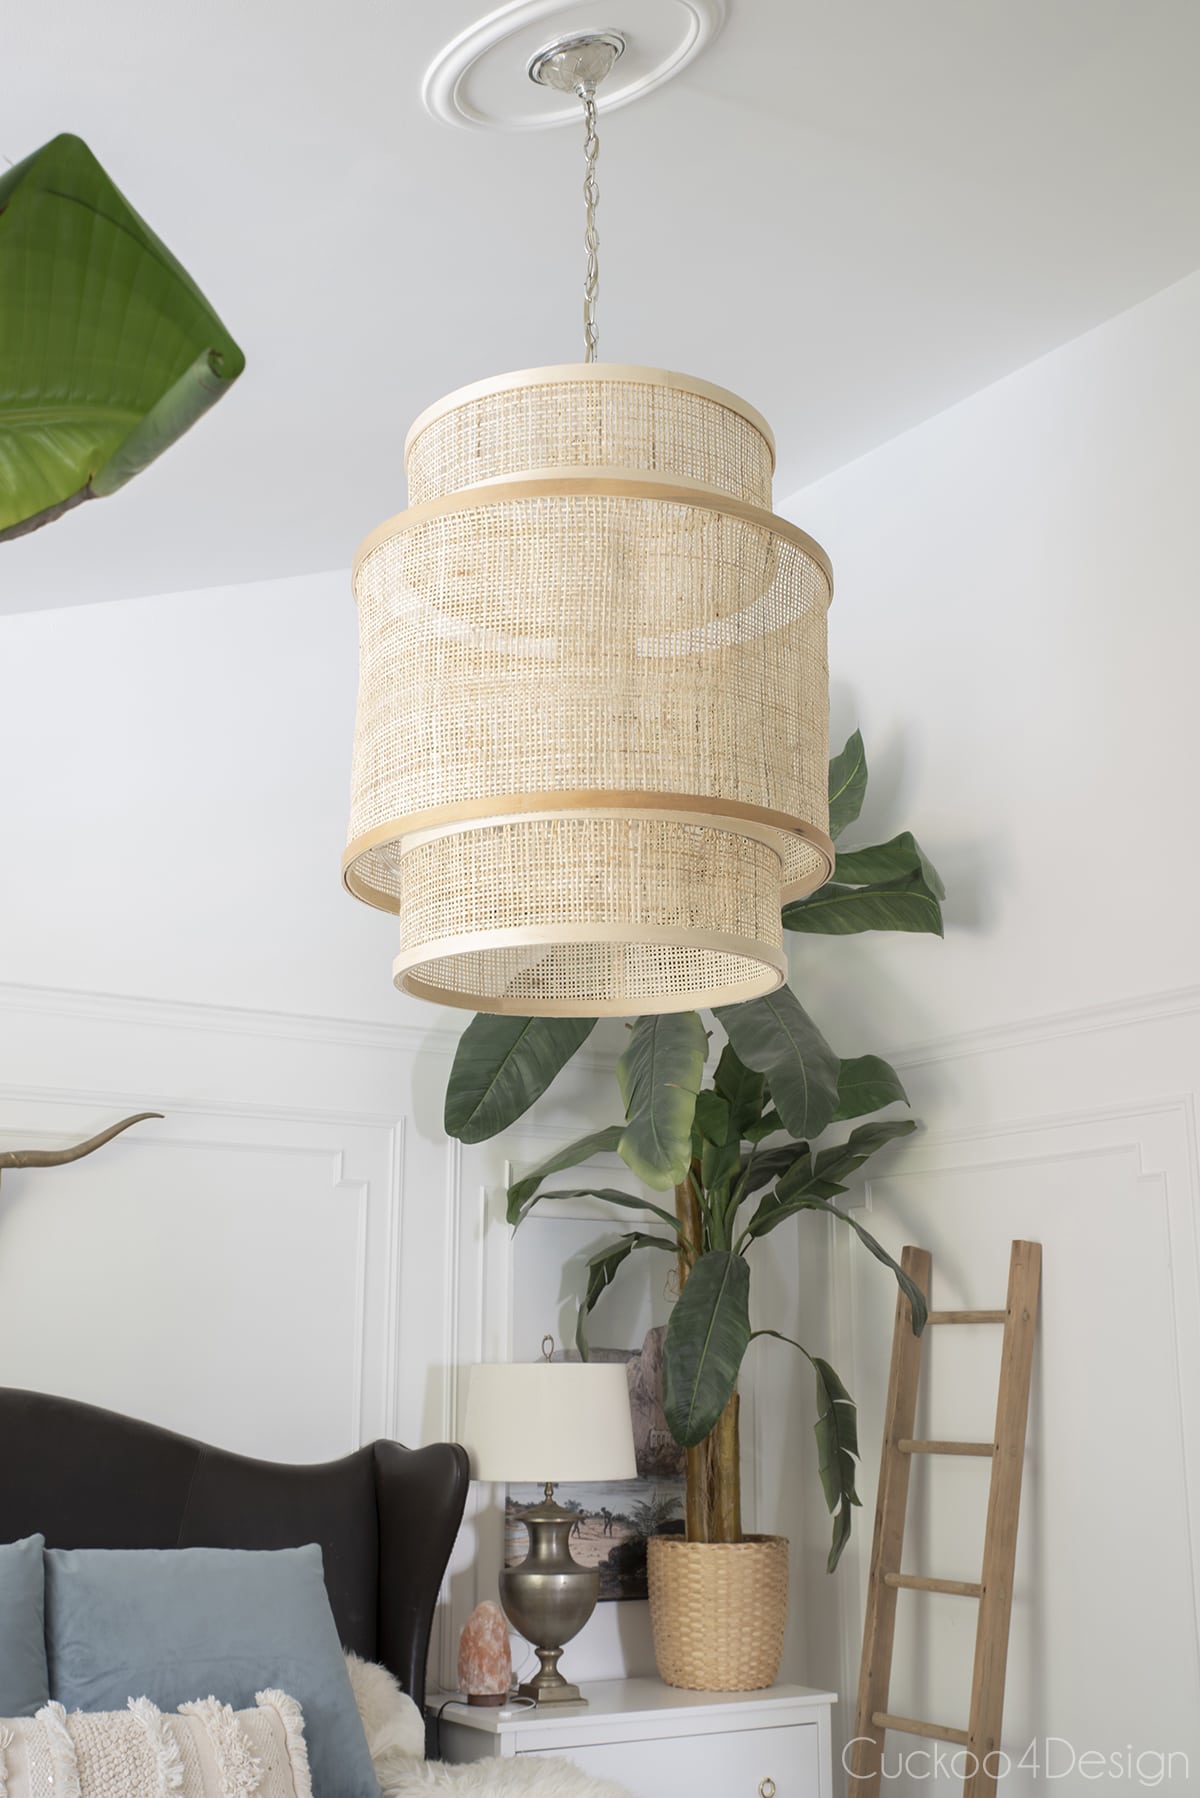
The entire chandelier is hidden very well but I totally don’t mind seeing a bit of the glass still shining through the cane webbing.
This fabulous chandelier makeover is just what our bedroom needed, don’t you agree. I’m so happy with the new look.
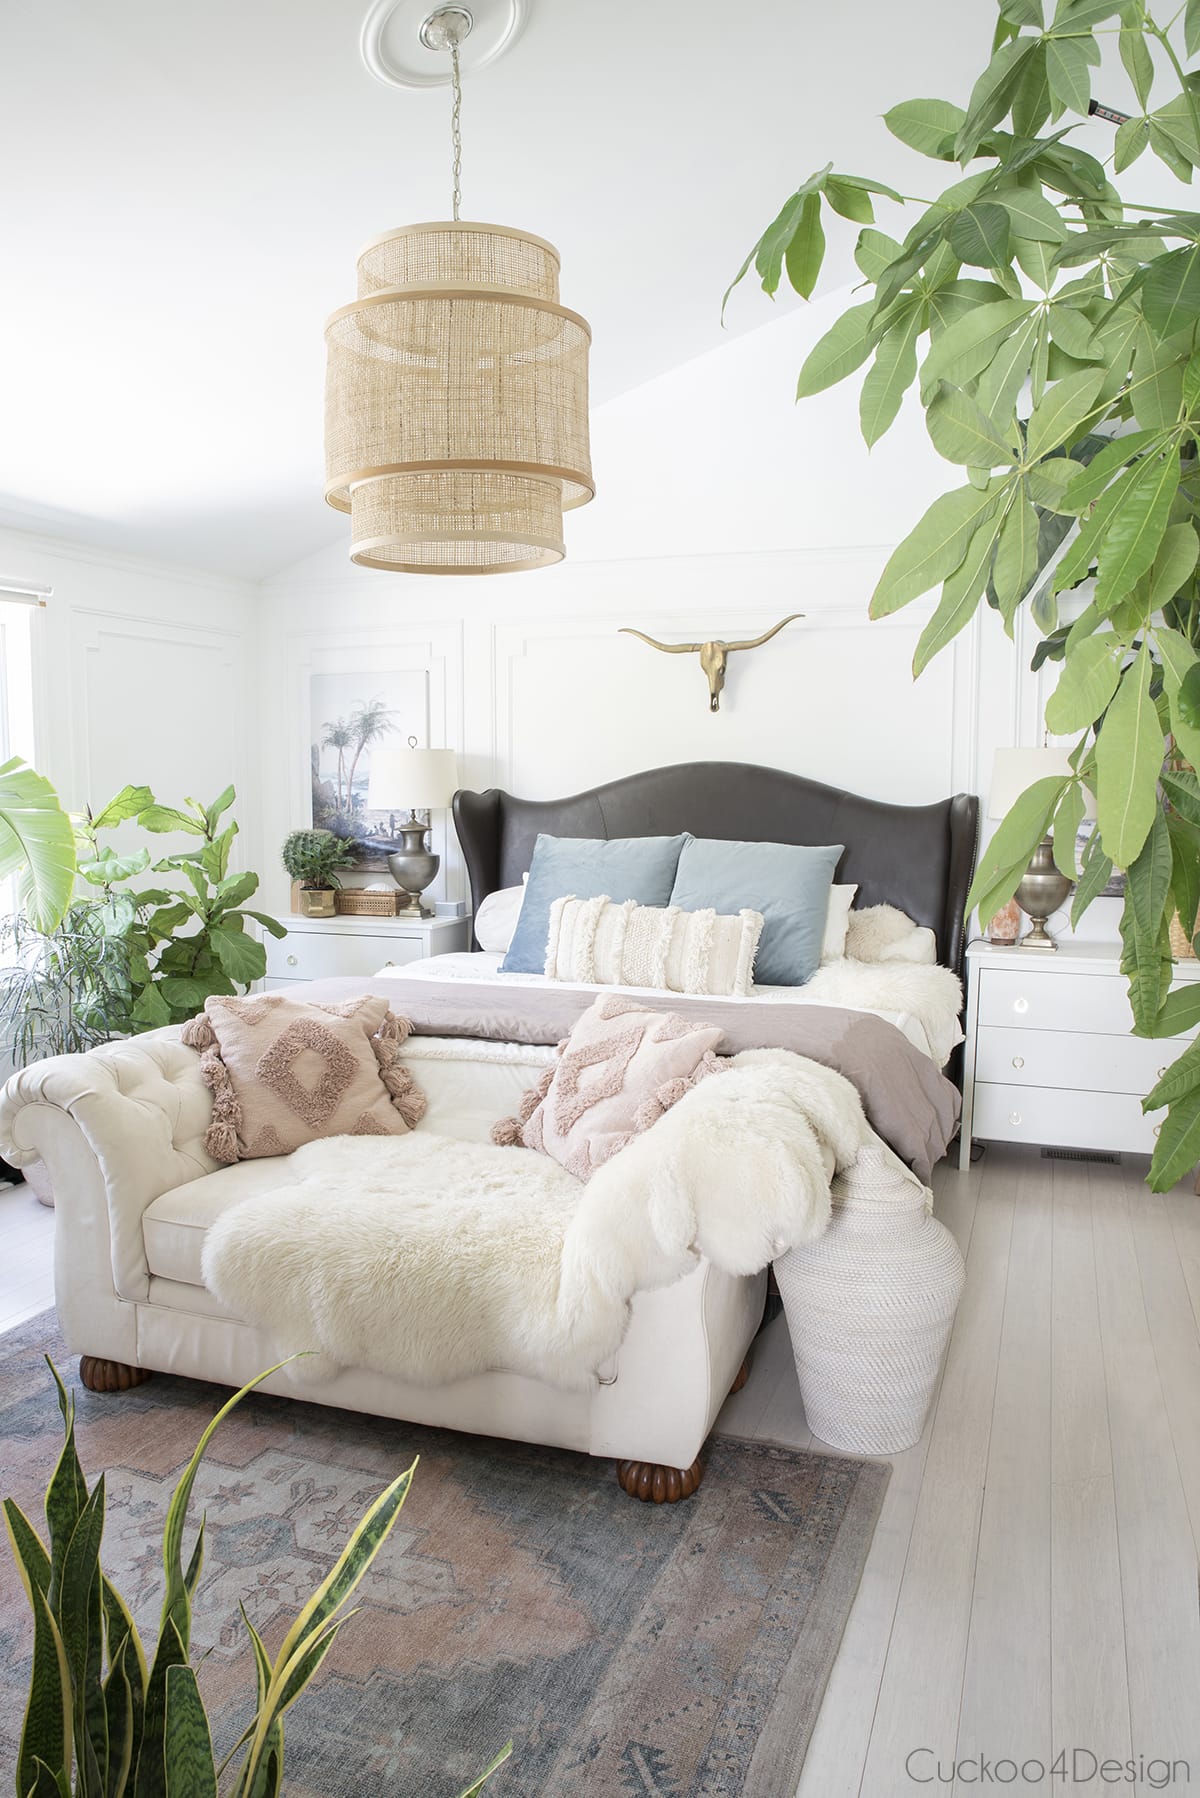
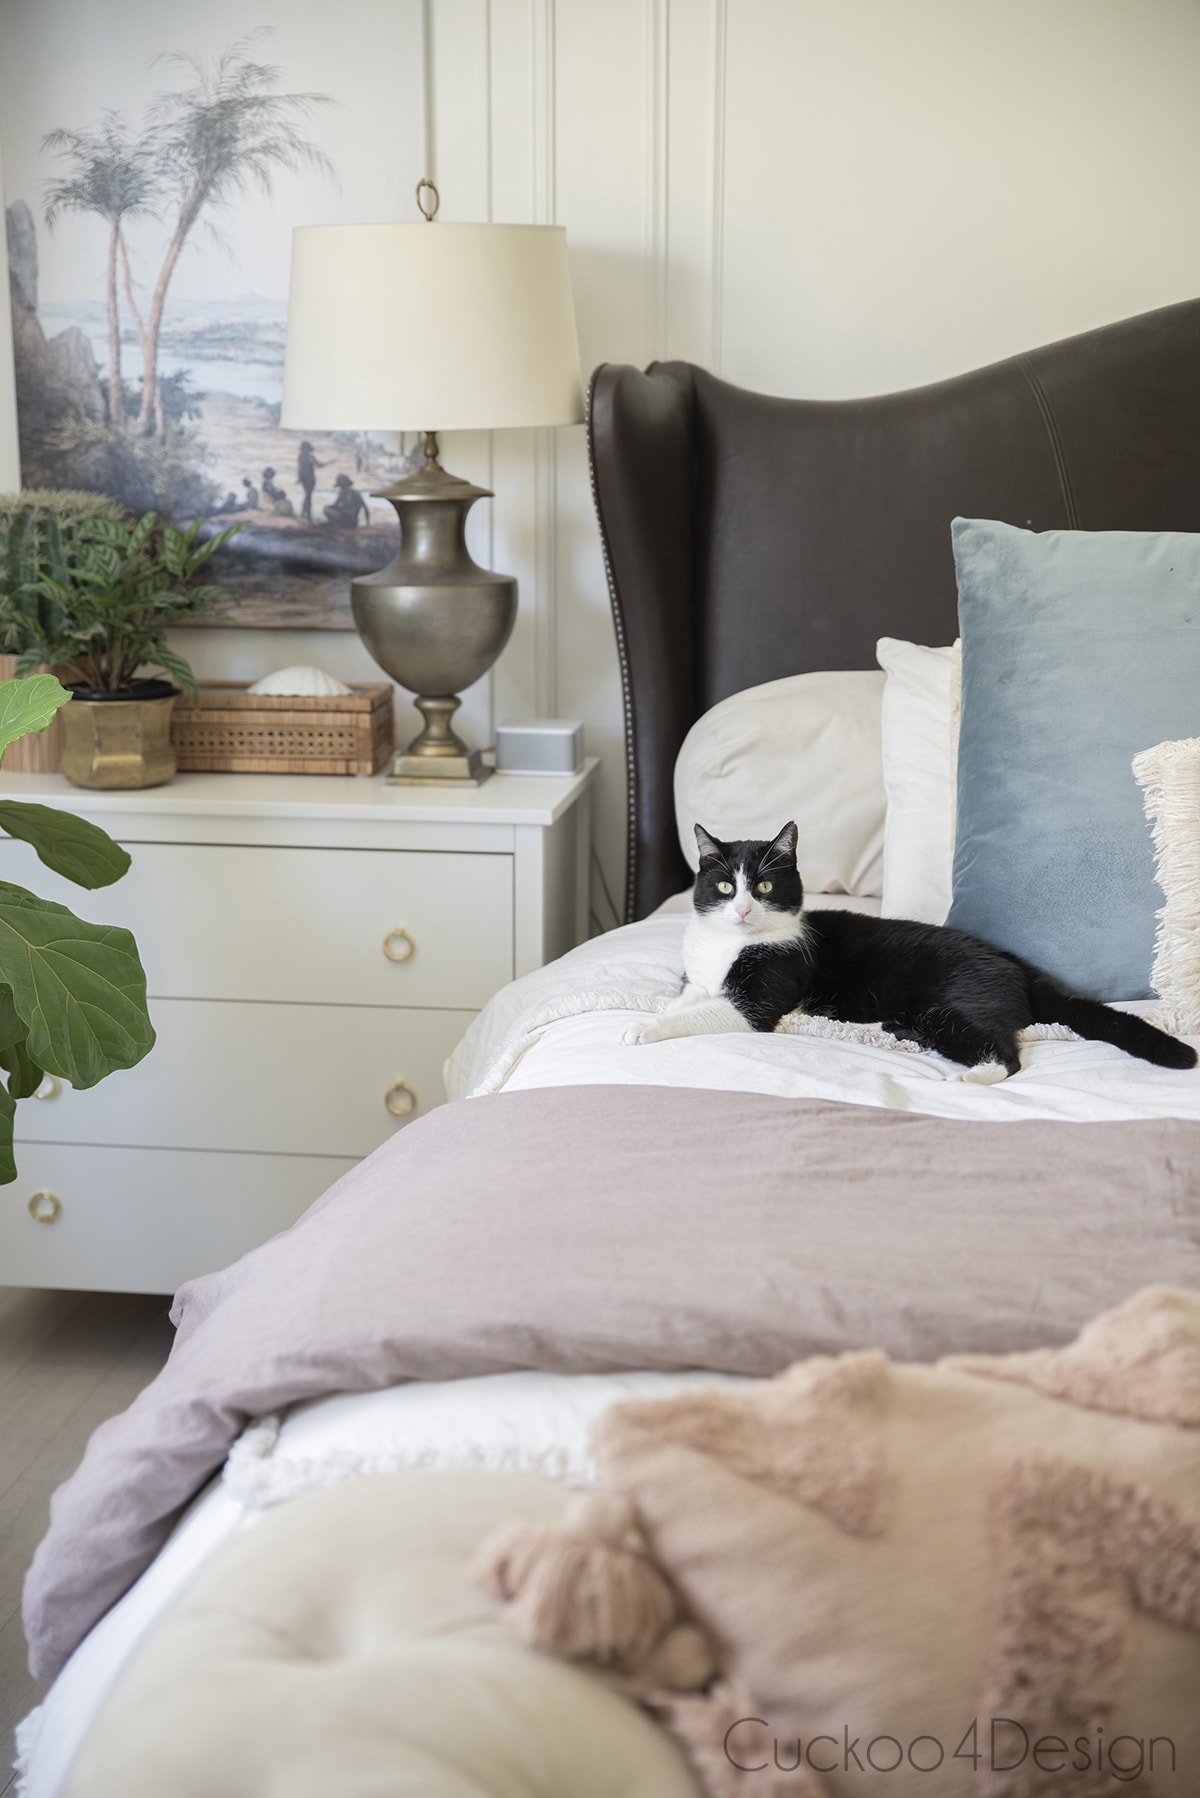
I had to include Willy on the bed of course. He is always so helpful when I make the bed. I think I had to straighten out the covers and pillows about 20 times because he kept running around like crazy on the bed. So cute!
If you are wondering why I have a ladder standing against the wall… Well, I use that in the winter to clip a plant light to it for some of my plants that are placed on that wall. I already moved those plants outside though.
And just to show you, I wanted to include an old photo of our bedroom. I did love that version too. Can you believe we’ve had this bed for 19 years and I still love it just as much as I did when we bought it?
RELATED: I also wrote a blog post about my favorite 15 cascading chandeliers which would all look stunning in a bedroom like this.
BEDROOM DECOR SOURCES: area rug | ivory comforter cover | mauve-brown comforter cover | ivory pillows on bed | blue euro shams | similar bed and HERE | similar basket | ivory textured lumbar pillow | similar lamps | chaise not available anymore and I can’t find a similar one | nightstands are from Ikea | chaise pillows | similar gold longhorn skull (mine is vintage from FB Marketplace)
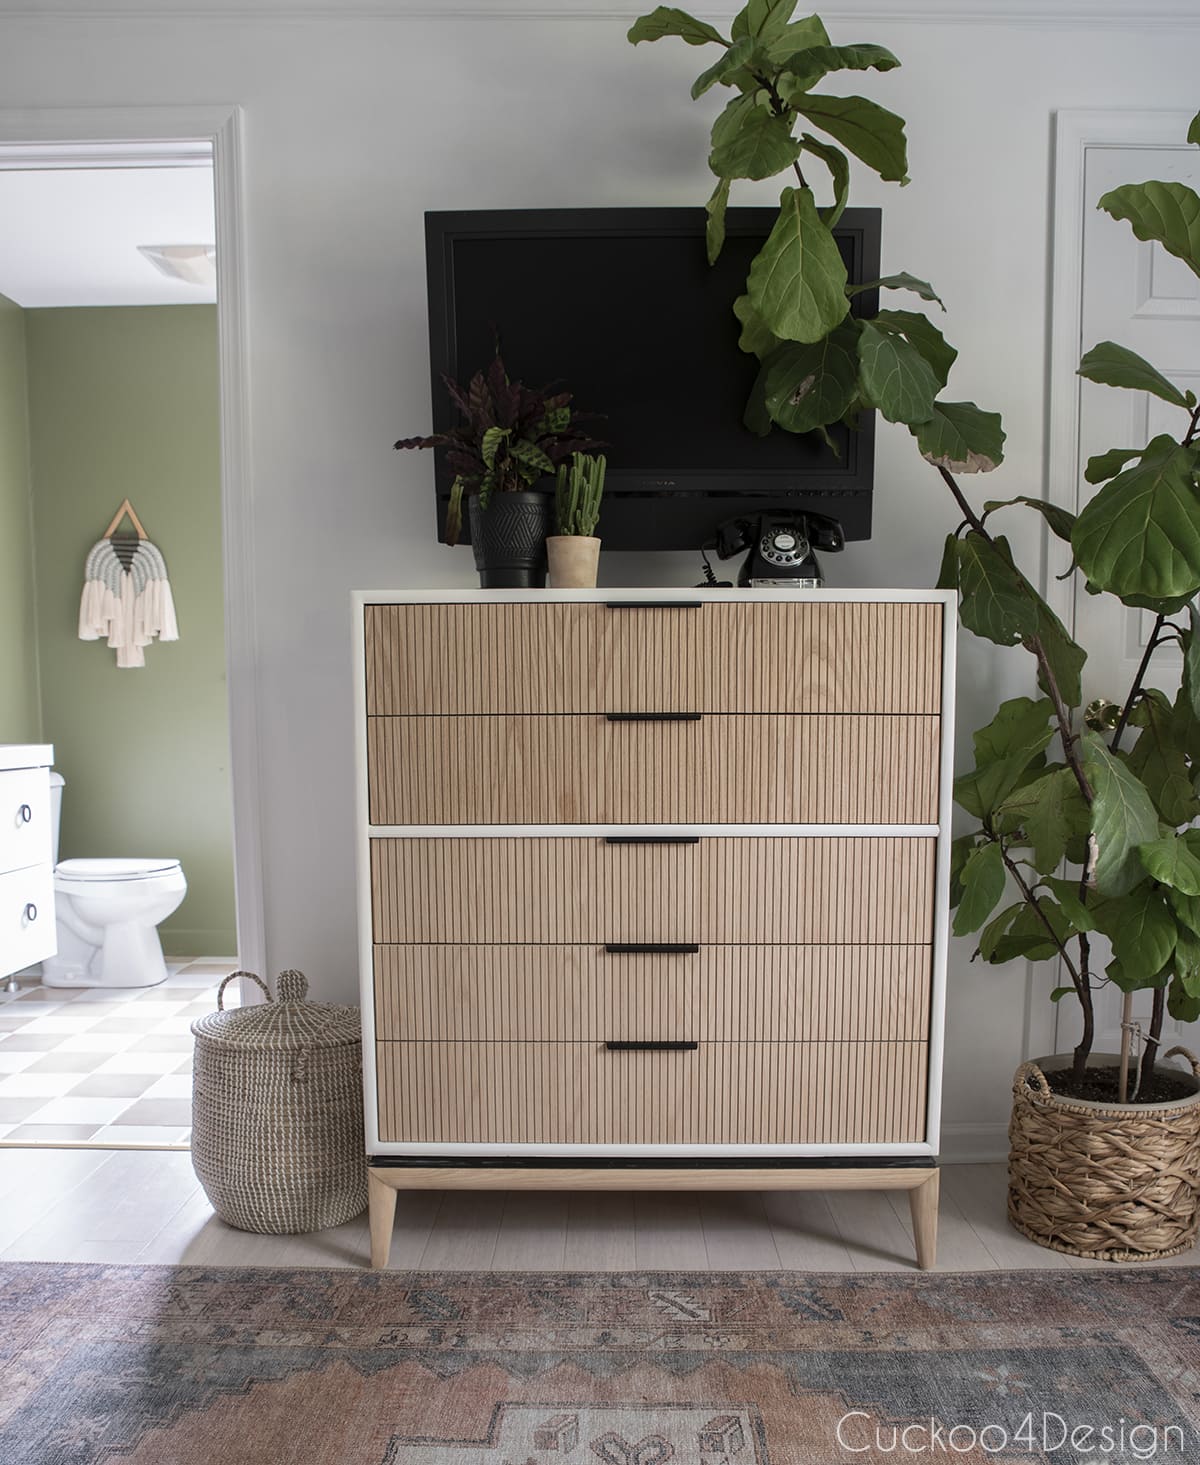
And across from our bed is still the super-easy fluted molding hack for my dresser makeover from. Still loving that view so much from the bed.
Other DIY lighting related blog posts
Gosh, am I glad I never added a ceiling fan because this thrifty makeover wouldn’t have been possible to do over a bulky moving fixture.
This easy chandelier makeover would definitely look pretty as a dining room chandelier as well. You can alter the shape of the chandelier by stacking the drum shades differently using my other inspiration pieces for reference.
Tschüß,


Beautiful makeover! Your ideas are amazing! I did a chandelier makeover when I renovated my daughter’s bedroom years ago. I used pink quartz pendant pieces for jewelry making, strands of rosary beads, and iridescent mother of pearl shell pieces purchased on Etsy. Since it was a brainstorm back then for me to remake her Home Depot chandelier with jewelry pieces and I wasn’t sure how it would come out in the end, I kept it very simple. Pink quartz chandeliers are available nowadays but very expensive. It’s posted on my Instagram @pisces2_21. One day, if I I have more time on my hands, I’ll try another chandelier makeover on a more grand scale. Love your blog!
It’s a beautiful chandelier. Checked it out! Love your garden so much and that amazing macrame chair you made for your sister. Stunning! Oh and thanks 🙂
Thank you so much! And thank you for following me on Instagram! Have a great day!
I’ll admit, I was skeptical before I saw the after pics. The chandelier is already so lovely. But somehow you managed to create something entirely different that is just as gorgeous as what you started with. I want one! 😁love love love it.
Thanks so much, Kristin! Glad you like it.
Julia, you hit it out of the park! I love it so much, it’s beautiful and so very ingenious. It gives the room an entirely new look.
Thank you so much Cristina, the other one was just barely visible which has bugged me for years.
This is exactly the idea I was hoping to find. I have a long 90’s chandelier in my foyer that I am hoping this will work! Thank you for sharing how you did this and wish me luck :)!
Oh I definitely wish you good luck! Glad you like it.
Thank you for sharing for this idea. When I punched in “how to hide a chandelier” into the search engine, I wasn’t expecting any helpful results but this article is thorough and step by step. I rent and have this hideous (probably 30+ years old) chandelier in my dining room that I cannot remove, but now I could finally cover up that ugly thing. The tools and materials mentioned here aren’t expensive either. I can’t wait to try this out.
Oh I’m glad you like it Janet. If you try it and it works out, send me a photo. I’d love to see!