

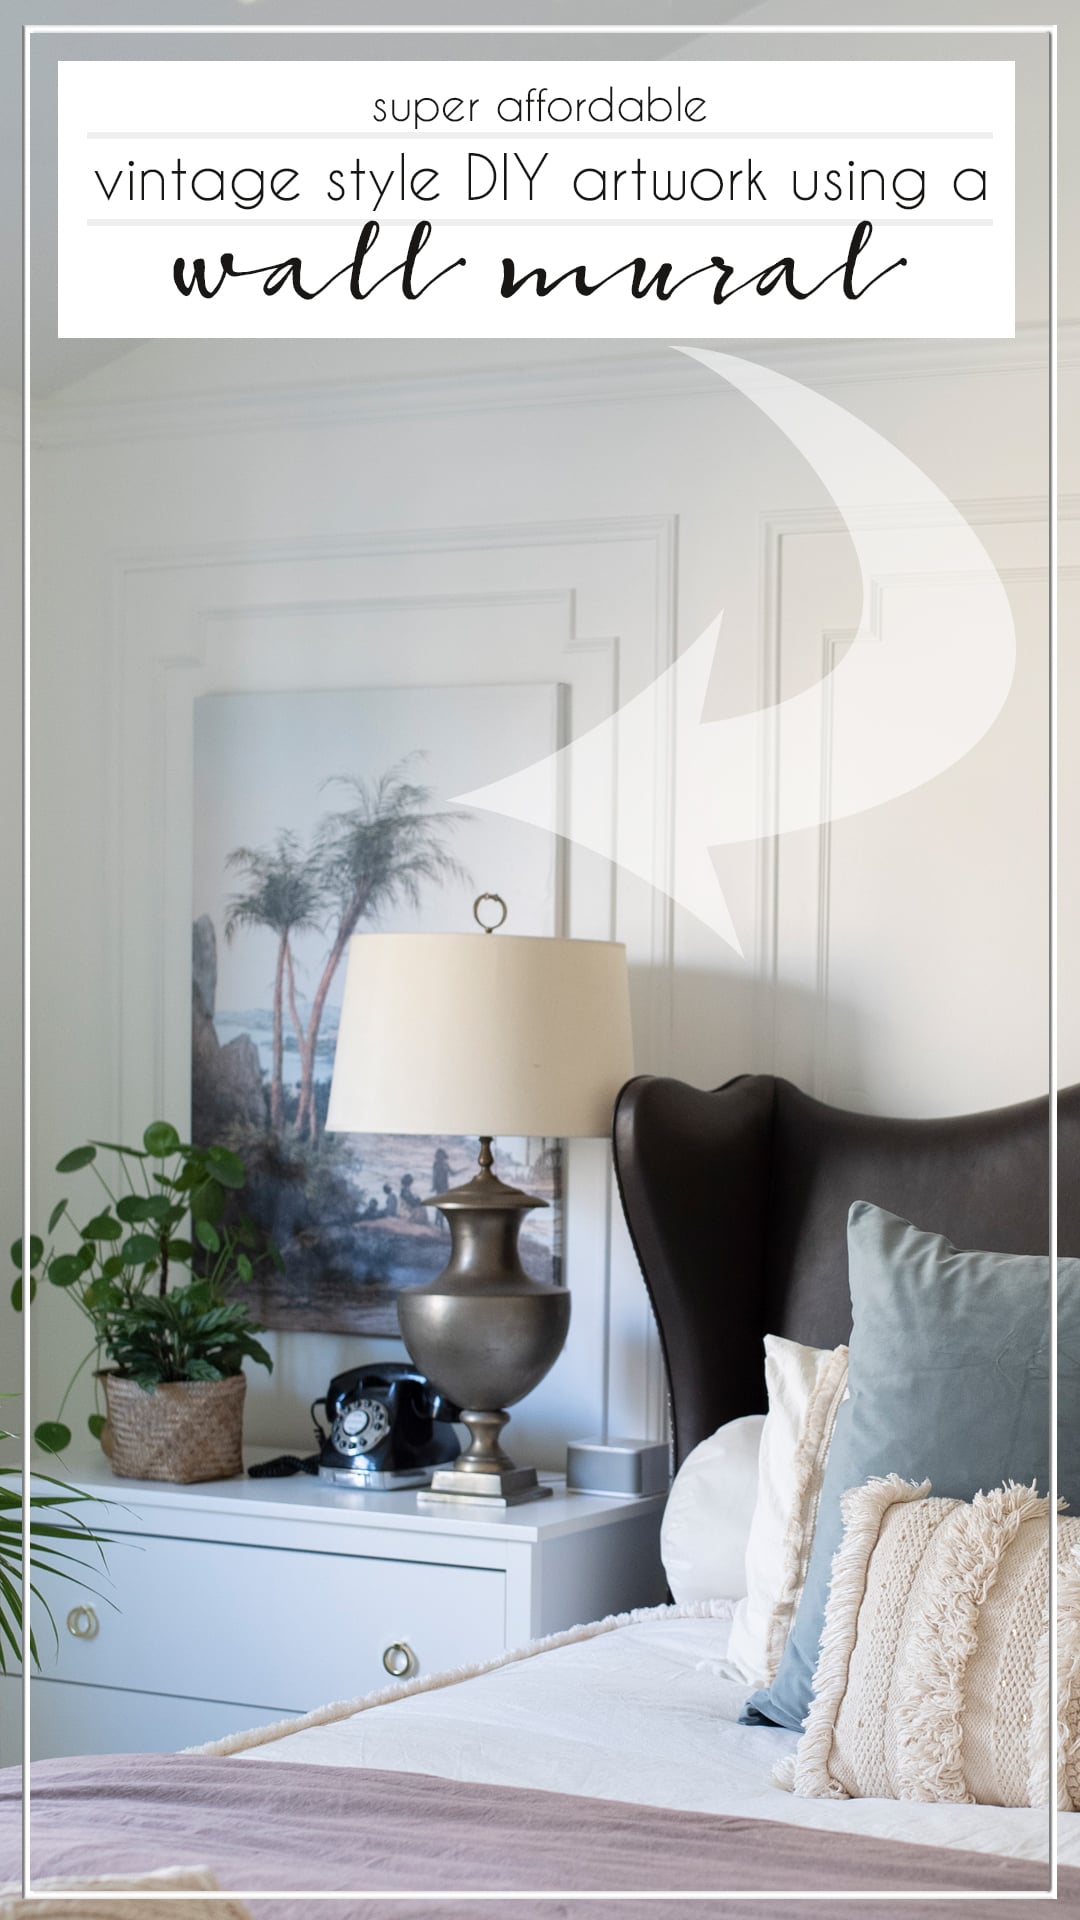
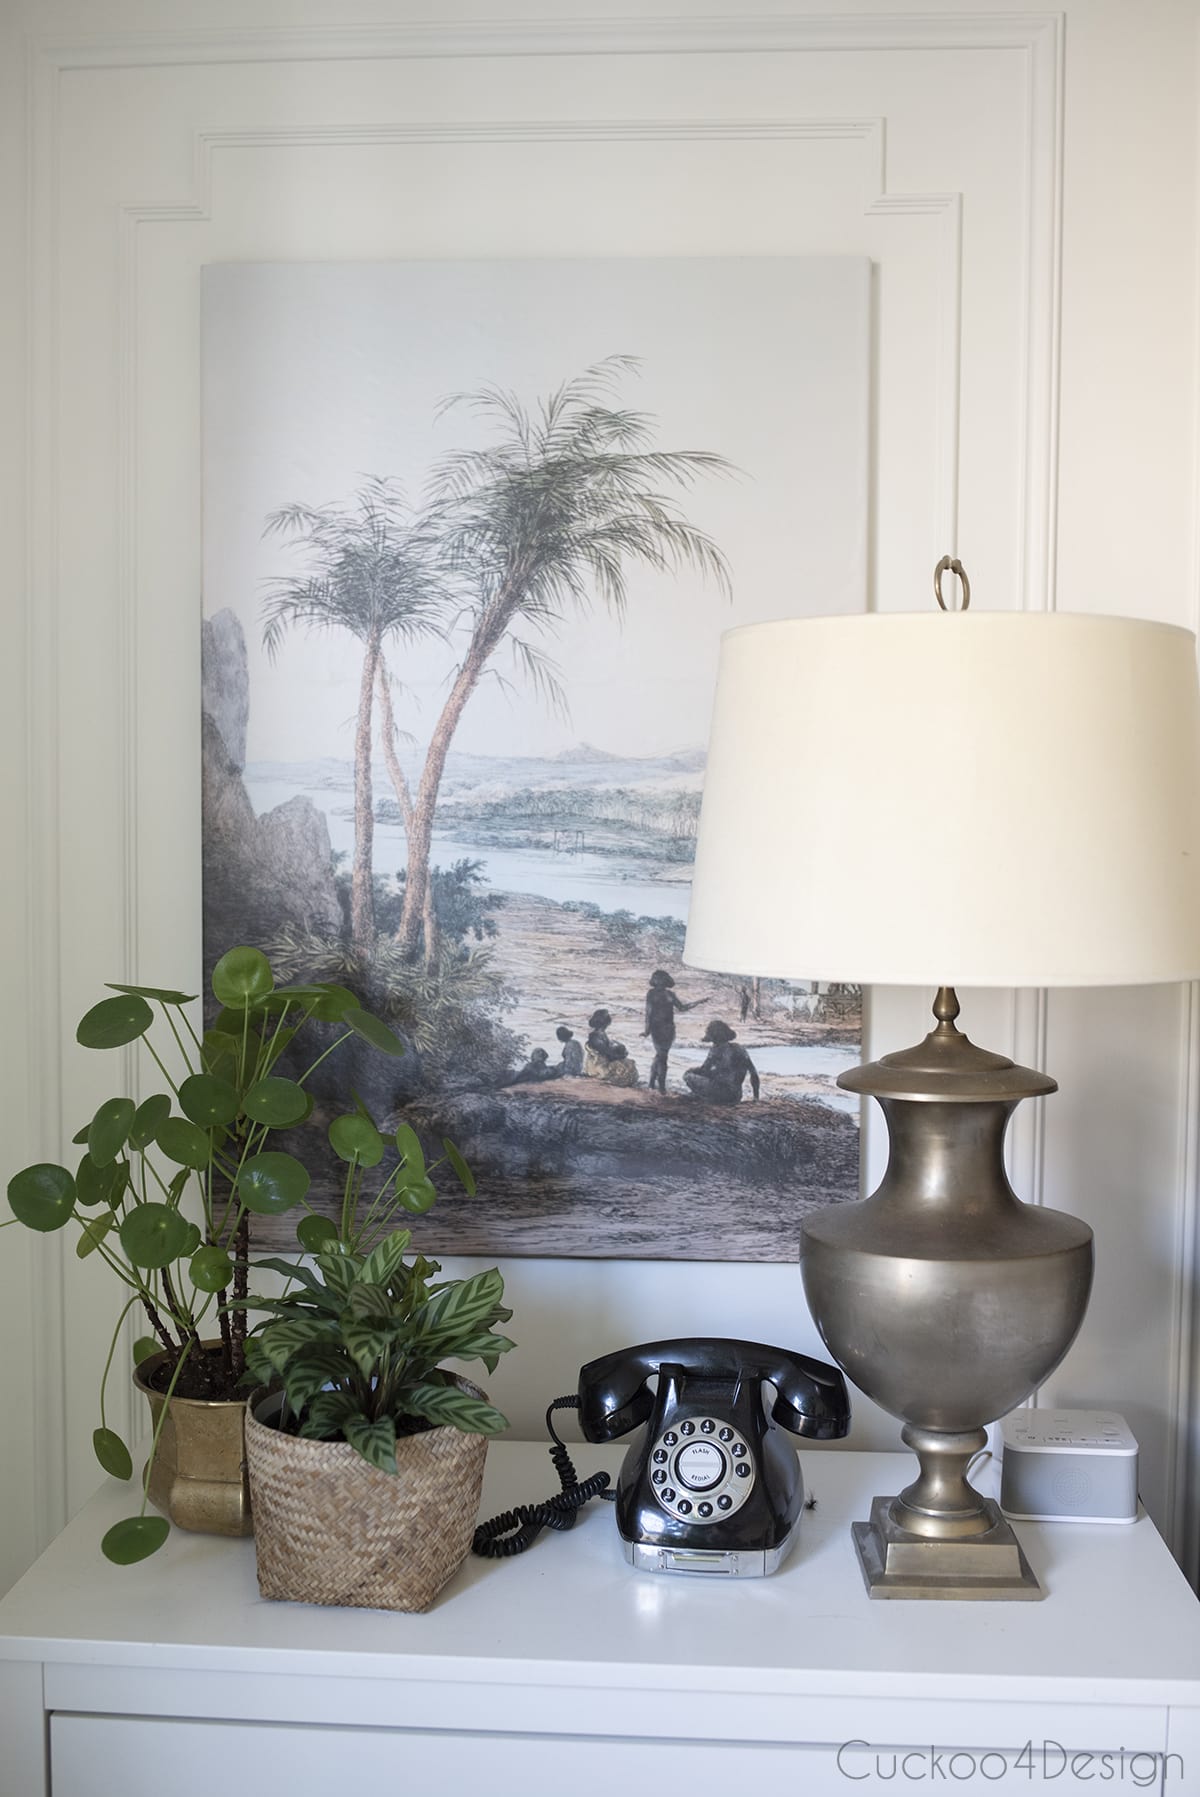
DIY wall mural art on canvas
You guys, I’ve had this DIY wall mural art done since before Christmas and am glad that I can finally share it with you. It’s part of my bedroom mini makeover and I just wanted to be happy with the bedding before I shared it all. I’m officially happy again with our bedroom and this super easy and affordable DIY artwork is definitely something that is doable for everyone. If you don’t like the image that I picked then you can pick from a lot of other beautiful wall mural art pieces too.
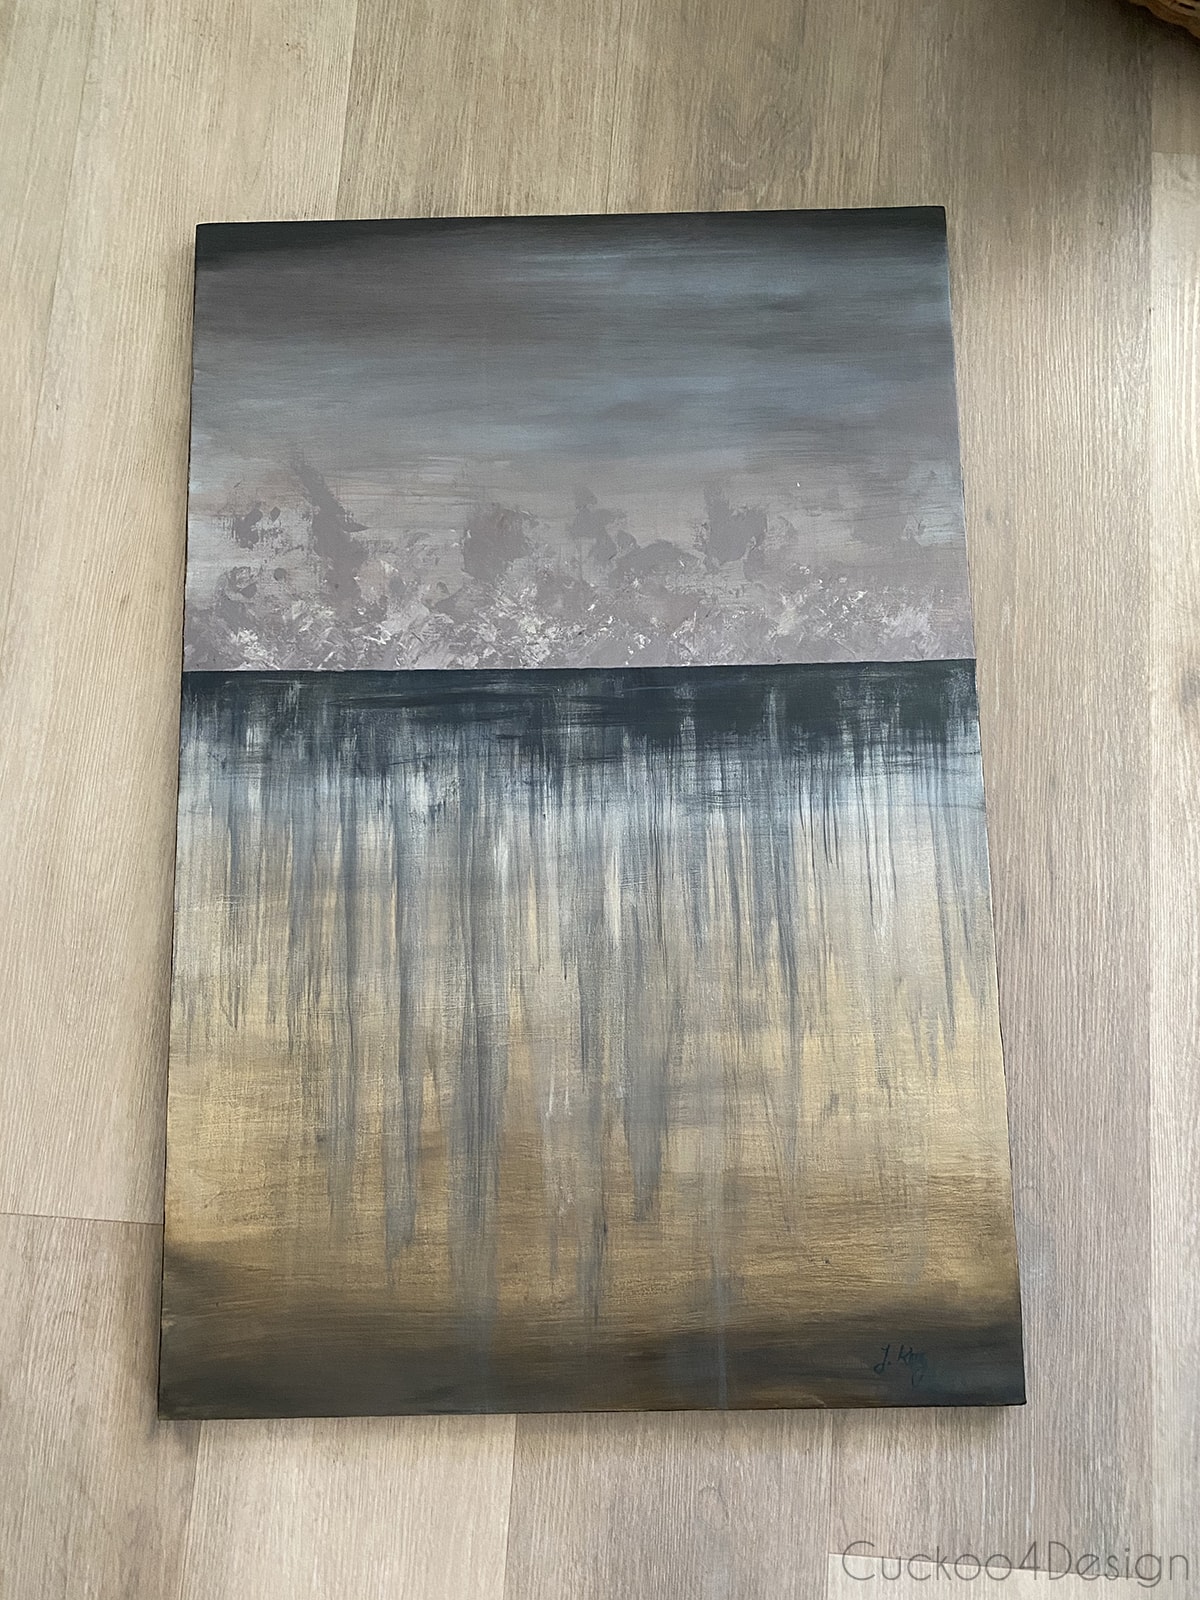
I have painted many pieces myself like the DIY abstract artwork or my easy abstract art tutorial but this time I just wanted something more traditional that doesn’t involve paint which makes it easier than anything else I have ever made for artwork.
DIY wall mural art on canvas
This post may contain affiliate links from which I will earn a commission at no extra cost to you. View my full disclosure policy.
Materials used:
- two 24″x36″canvases
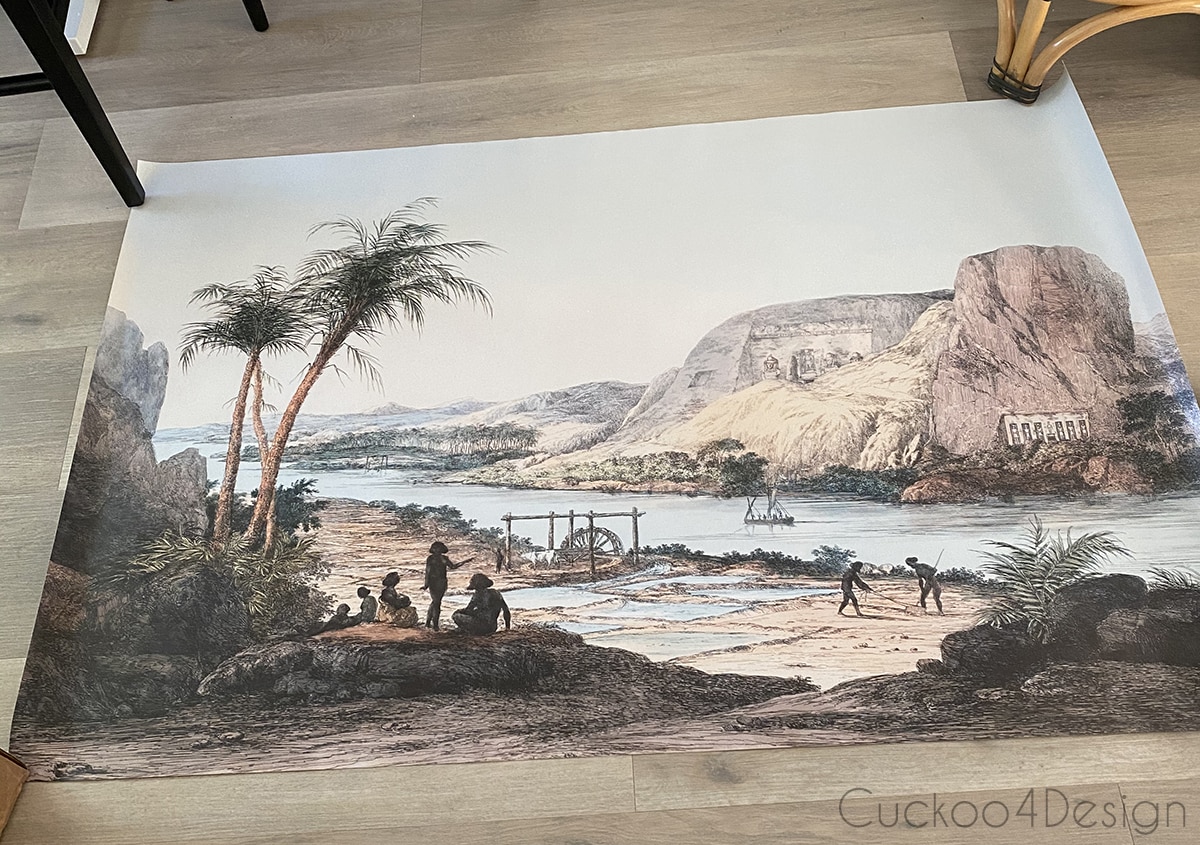
- 55”W × 35”H wall mural (make sure you check out the entire shop because there are many more that I would have loved)
- craft knife
- cutting mat or safe surface
- metal ruler
- staple gun

Here is what I did:
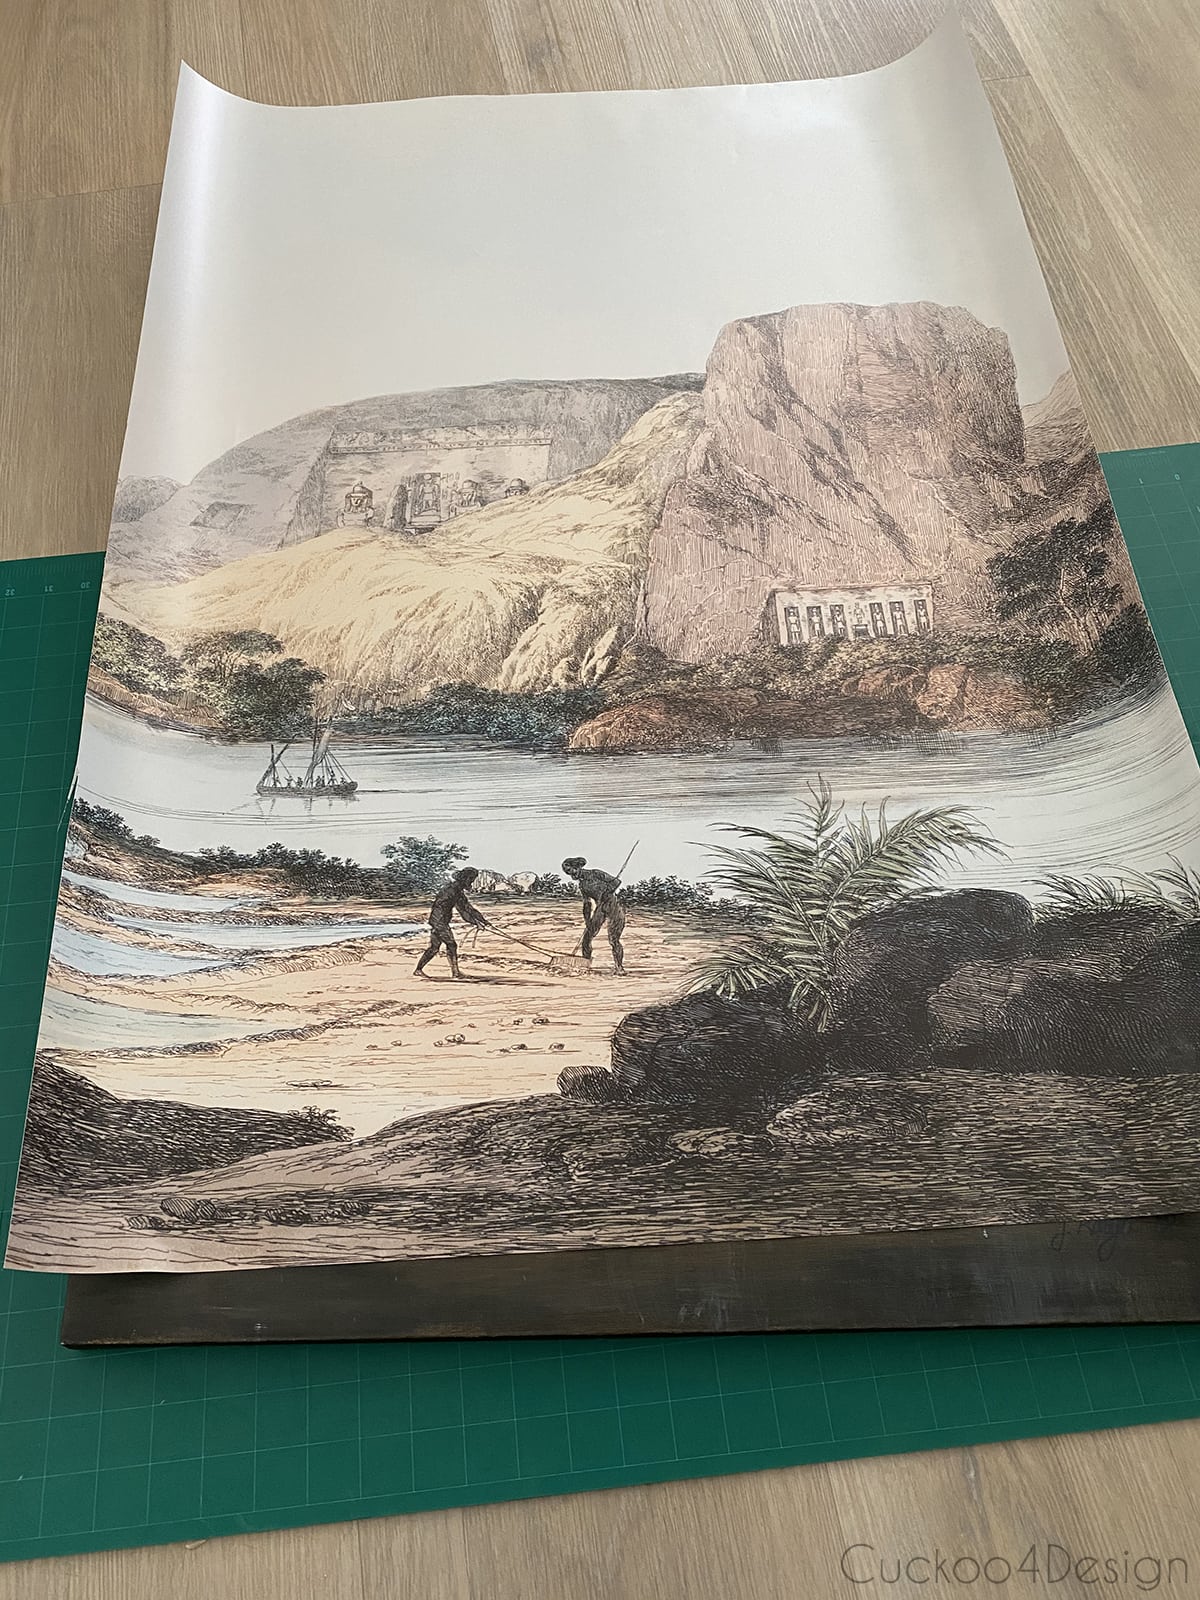
I rolled out the canvas and found the middle.
I made sure before hand that the mural halves would fit my original old artwork canvases that I painted years ago and wanted to change up a bit. but you can just buy two new ones. The nice thing is that the mural won’t ruin the old artwork and I could easily change it back to how it was before.
Placing the canvases on top of the mural enables you to see where you want to exactly cut the mural in half. As you can see I cut it by the water wheel.
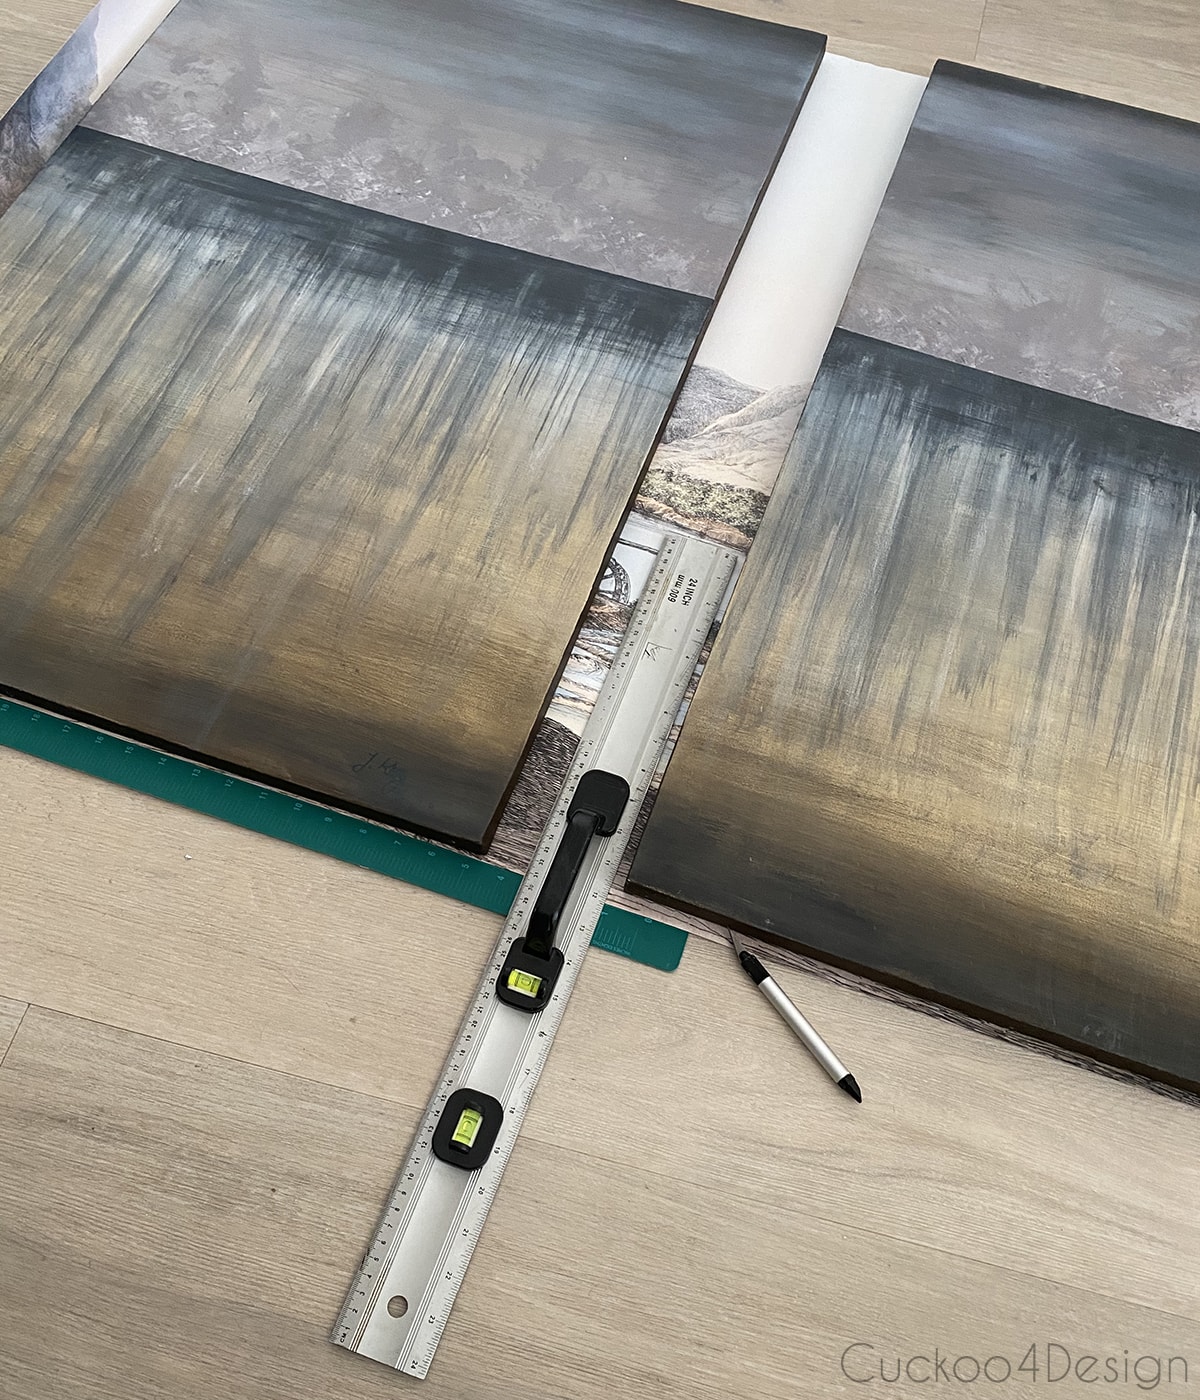
Don’t be afraid to cut it uneven because it will be hidden on the back.
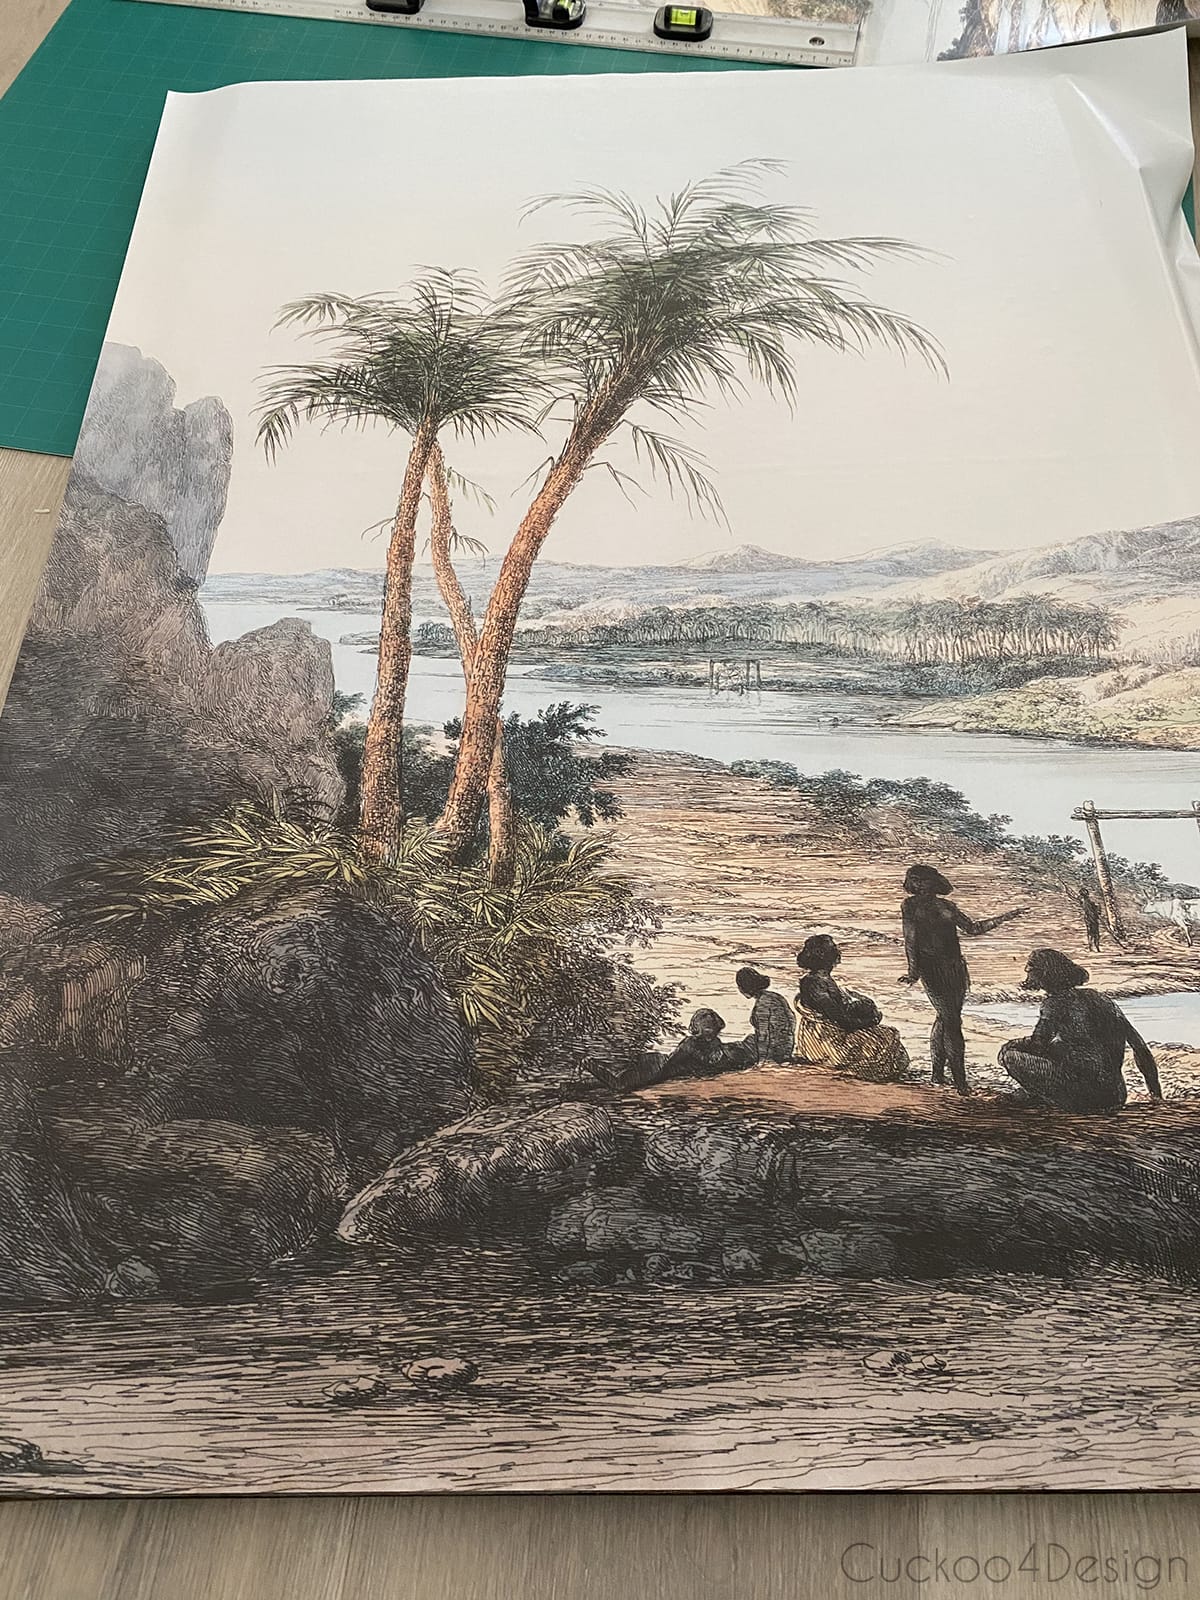
Below you can see the exact two pieces I ended up with for my artwork.


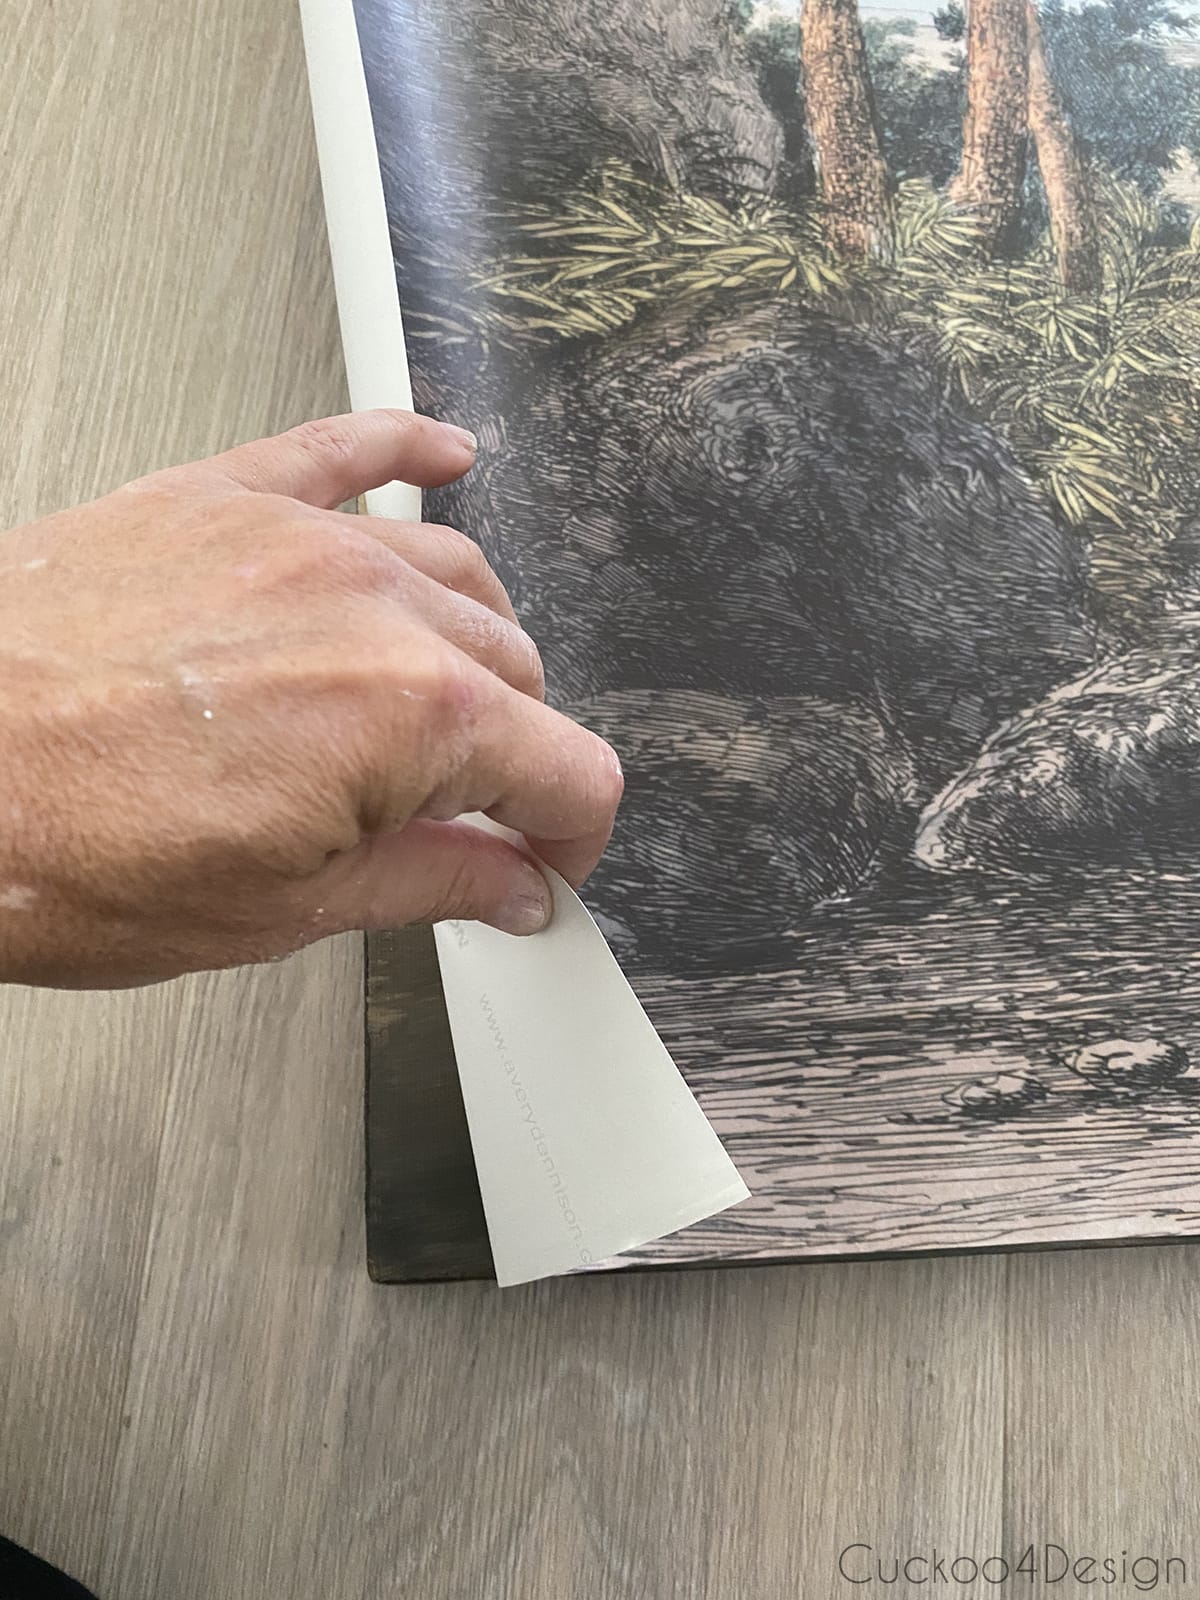
Place the halves on the canvases.
Peel the backing off the back starting in a corner. I started on the bottom half, stuck it to the canvas and worked my way up but smoothing the mural out on the canvas and removing the bubbles.
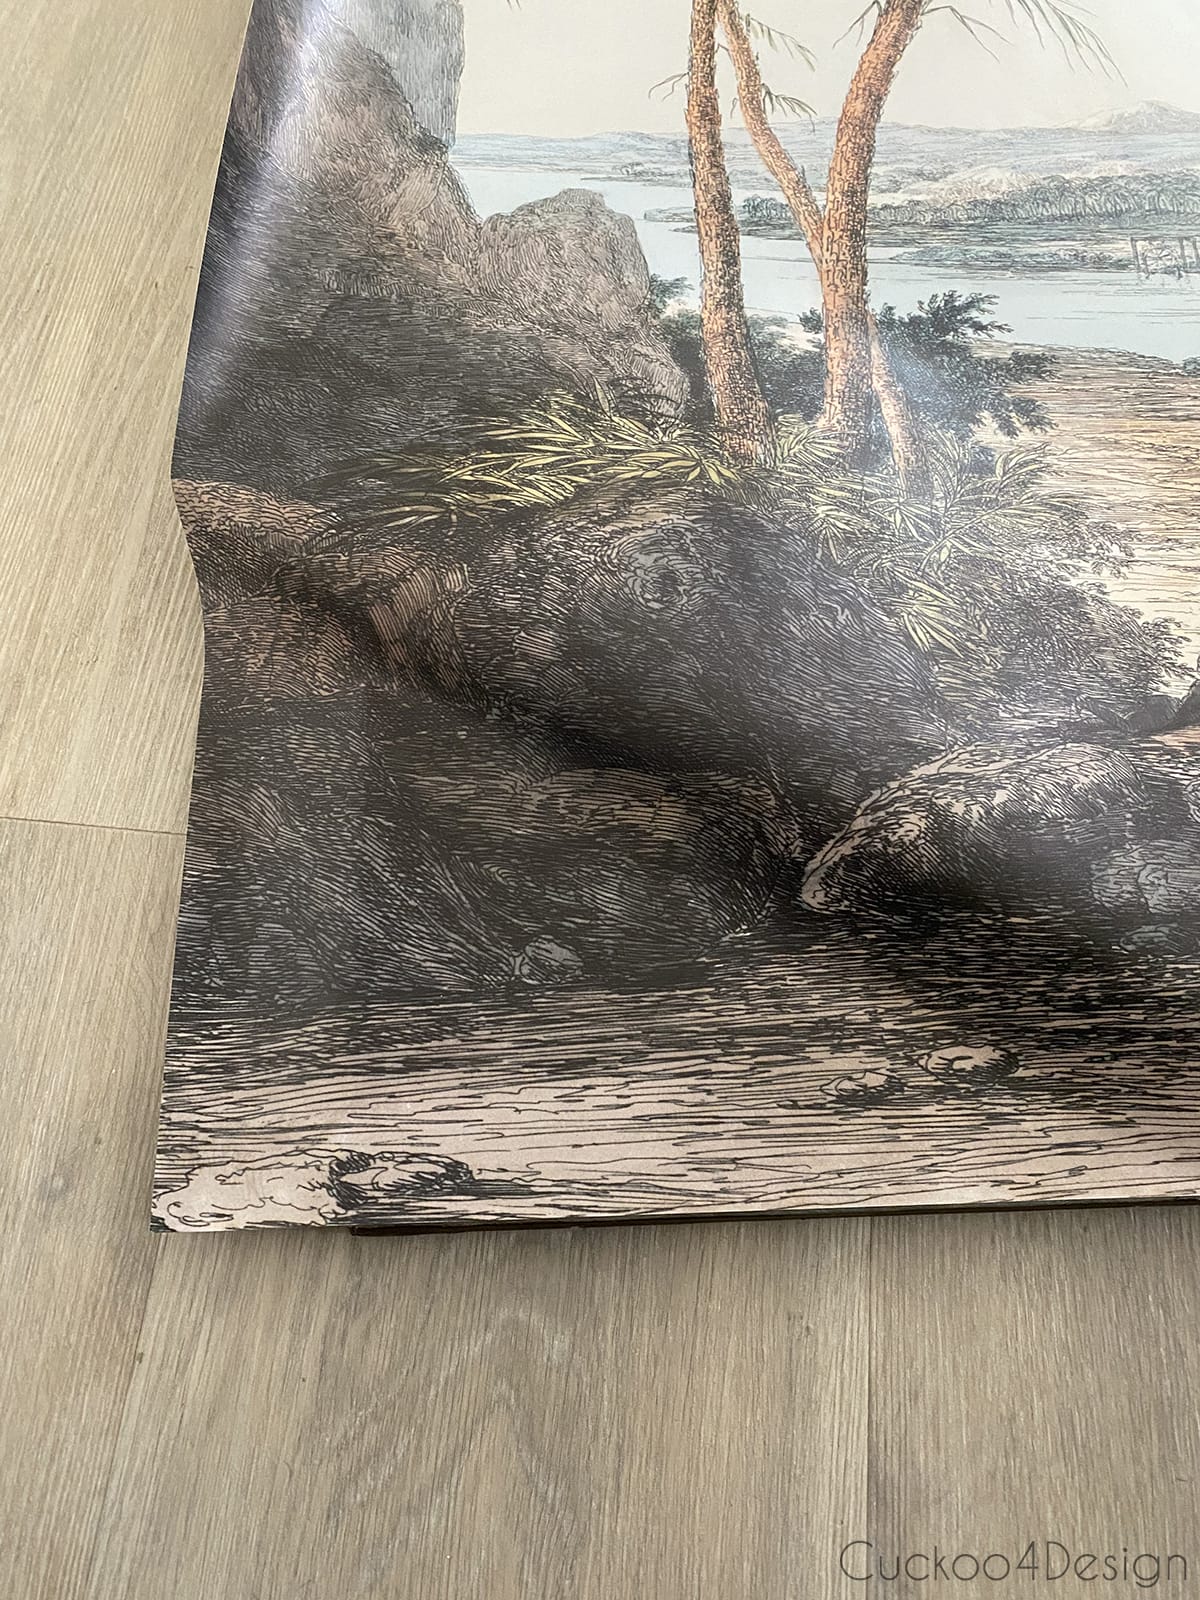
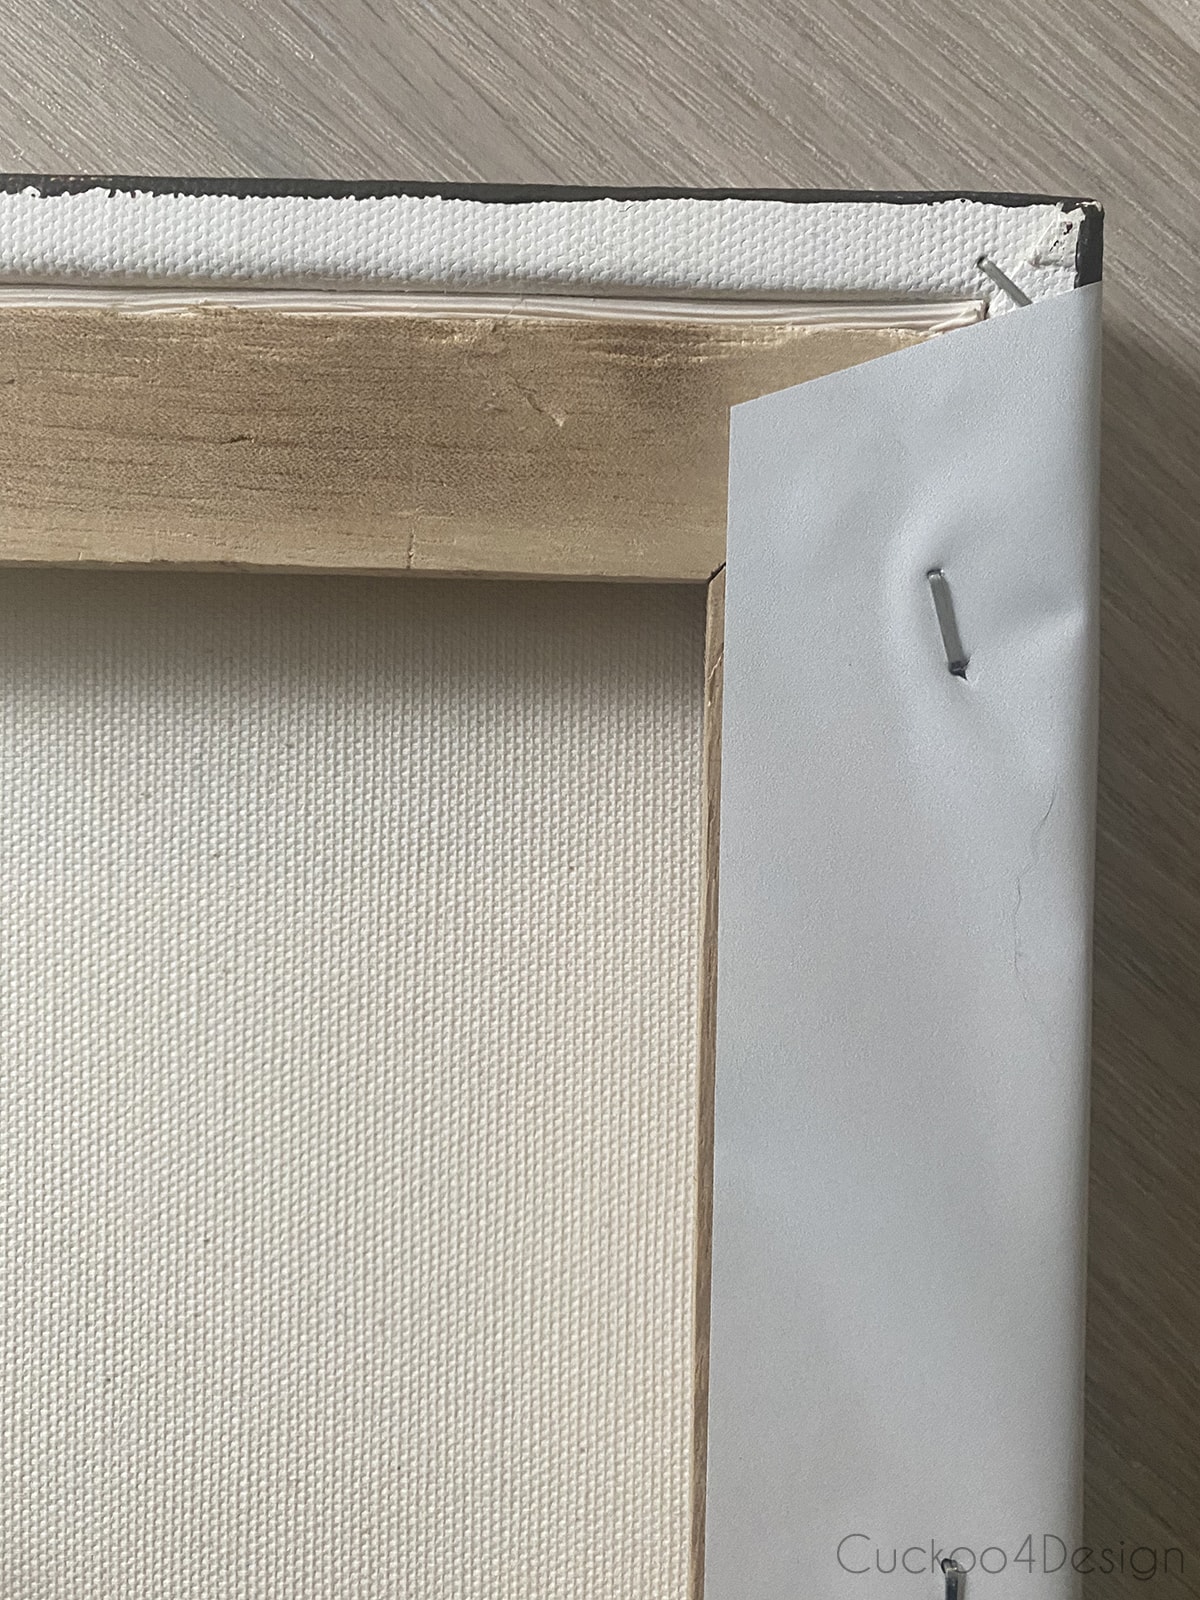
There wasn’t enough room to wrap the mural around all 4 sides, so I aligned the mural on the bottom edge of the canvases and only wrapped the sides and on the left and right of the canvas. The top needed to get slightly trimmed.
Then I turned the canvas around and stapled the mural to the canvas back. This was necessary because the glue backing of the canvas wasn’t strong enough to hold it all the way permanently. The staples really helped to keep everything in place.
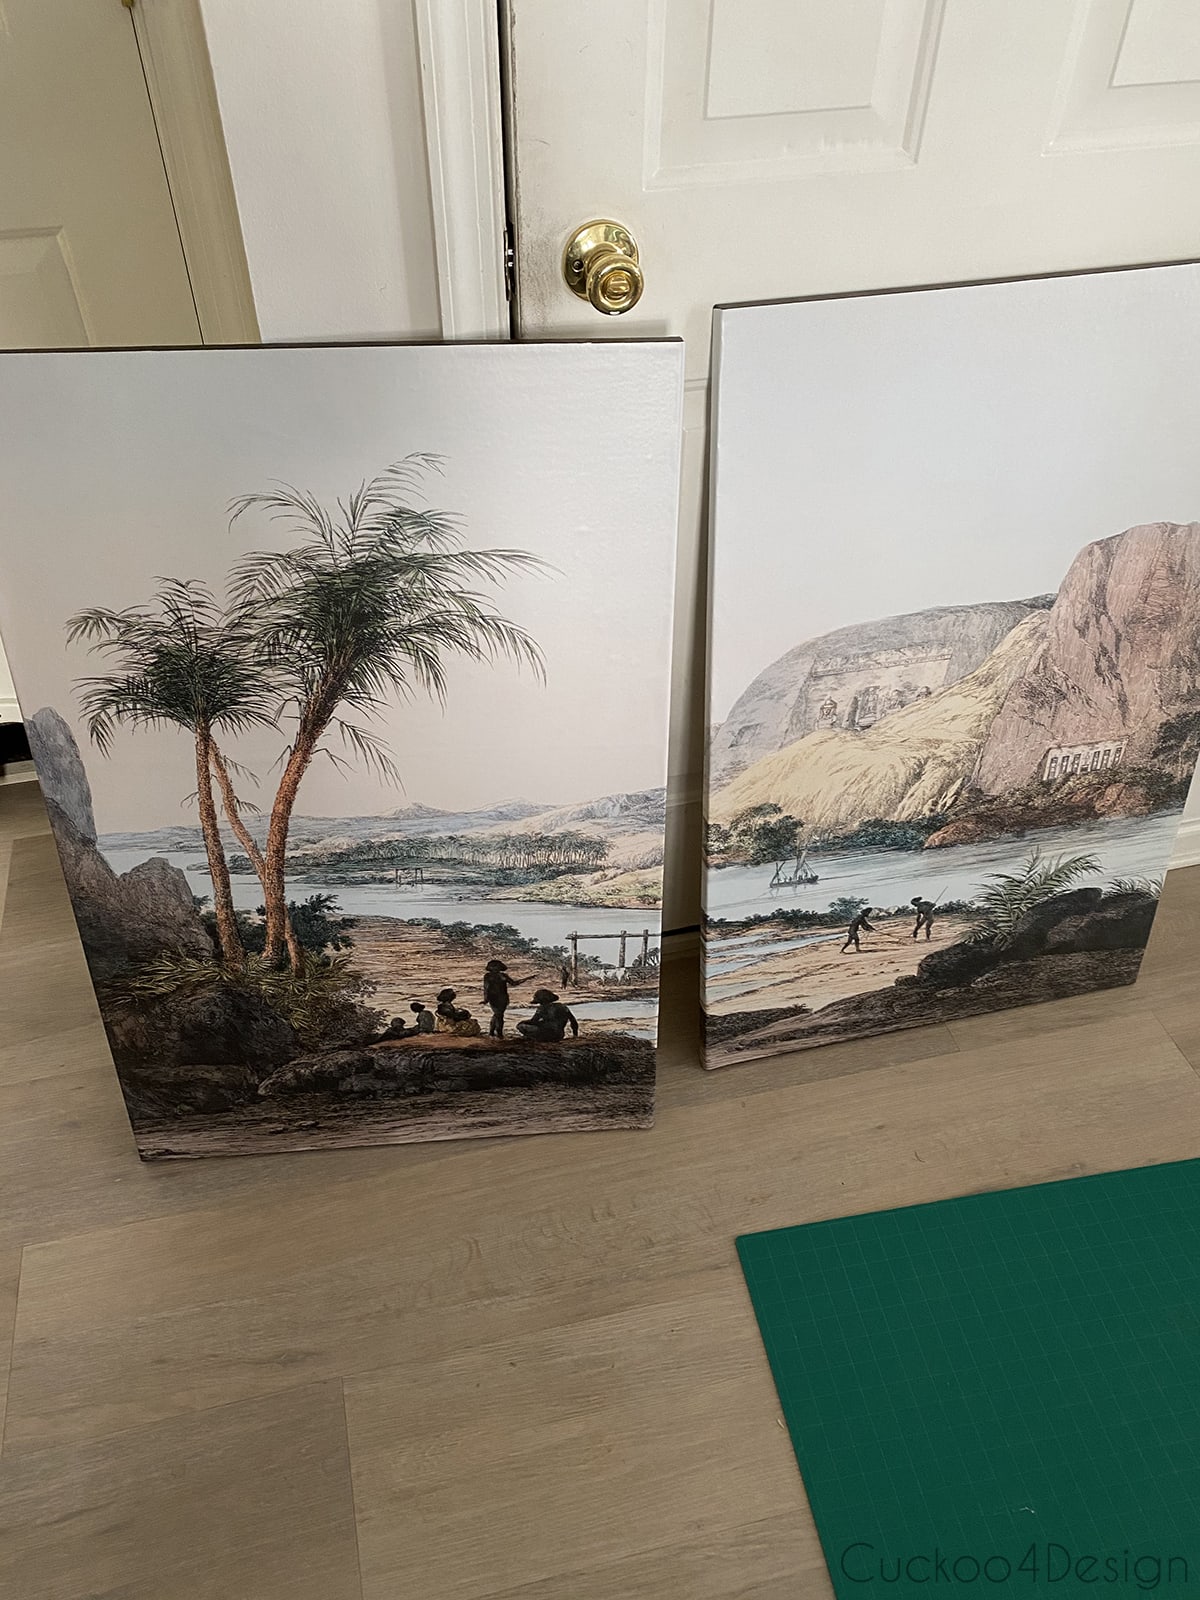
Here you can see the two finished canvases. (See the yucky dirty door? I recently painted it and some of the other downstairs doors because they were so disgusting)
Now let me show you the canvases in our bedroom that also got a little makeover before Christmas. I didn’t have the time to take the photos and show you. Crazy how slowly I have been moving along but I wanted to rather share some Christmas content than my bedroom.
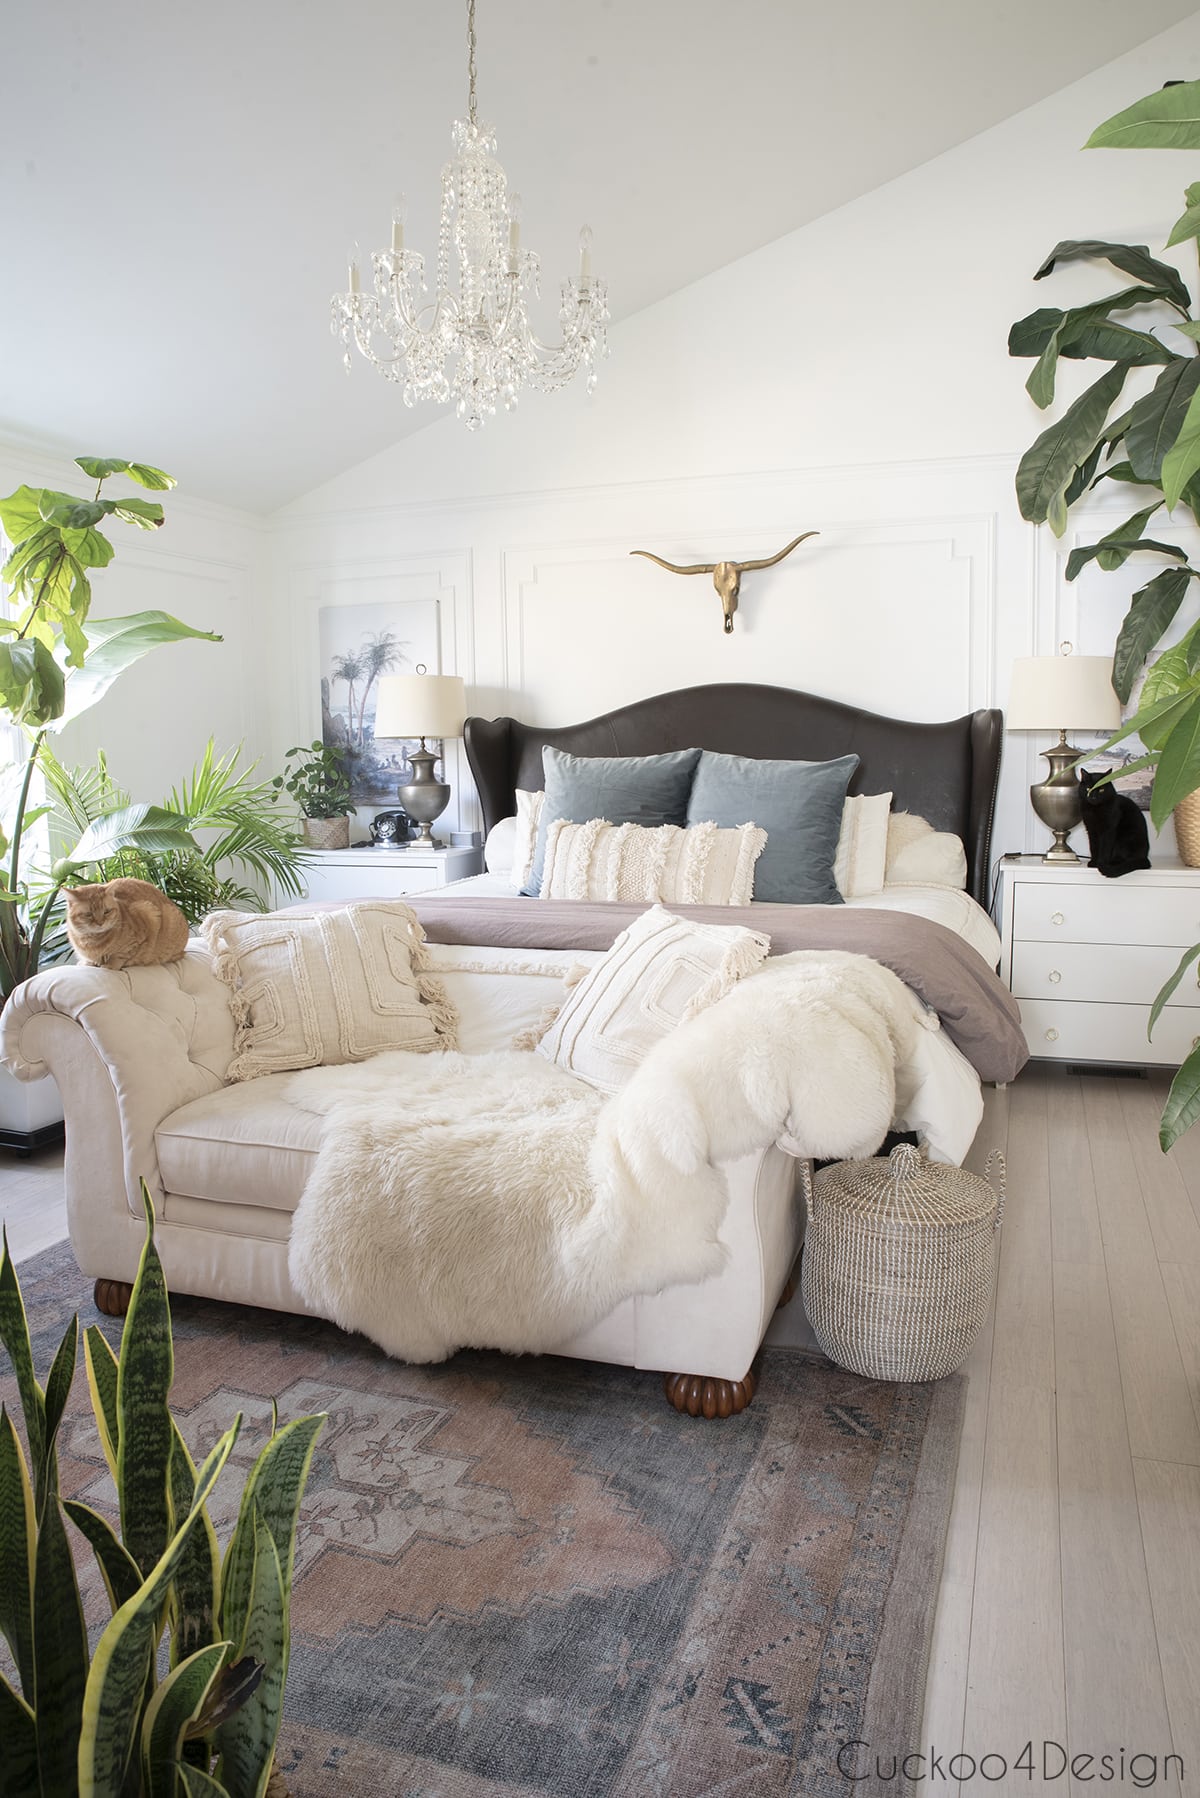
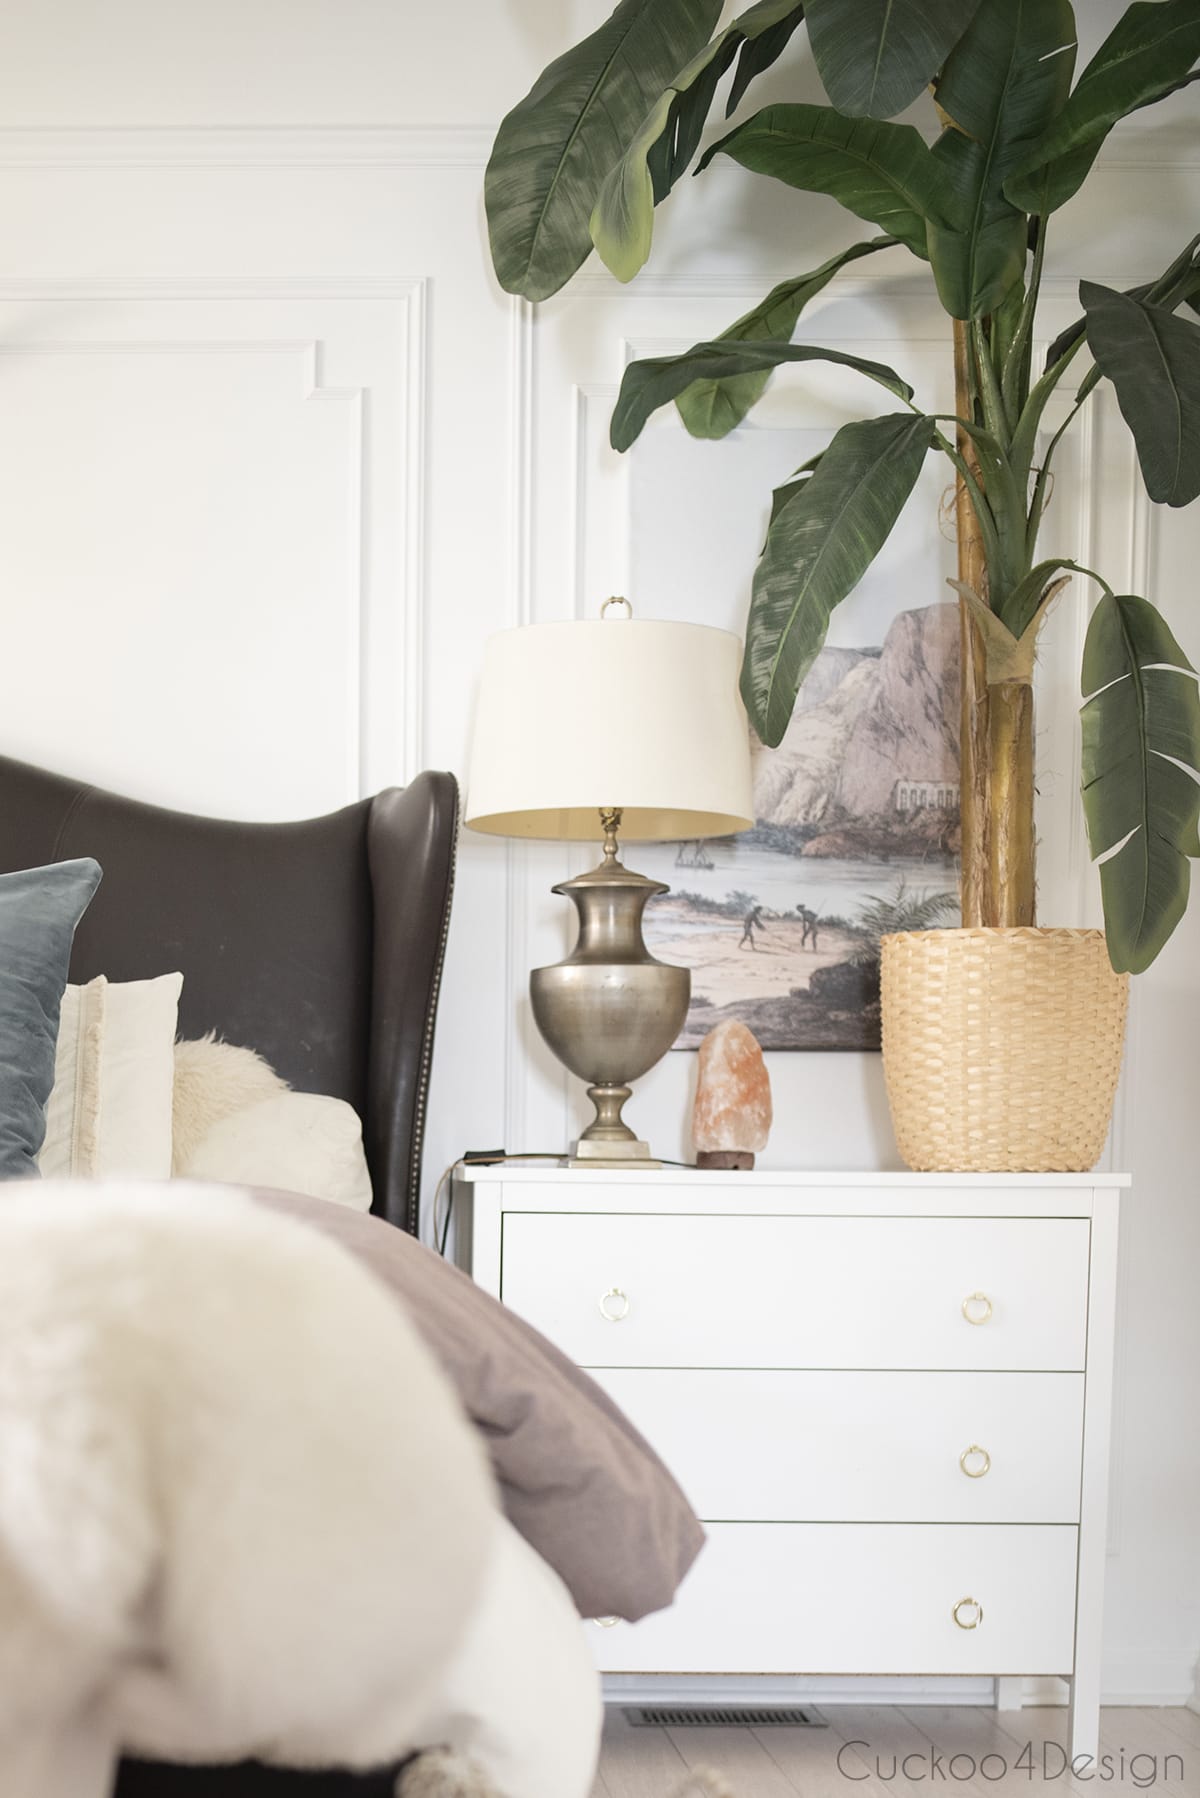
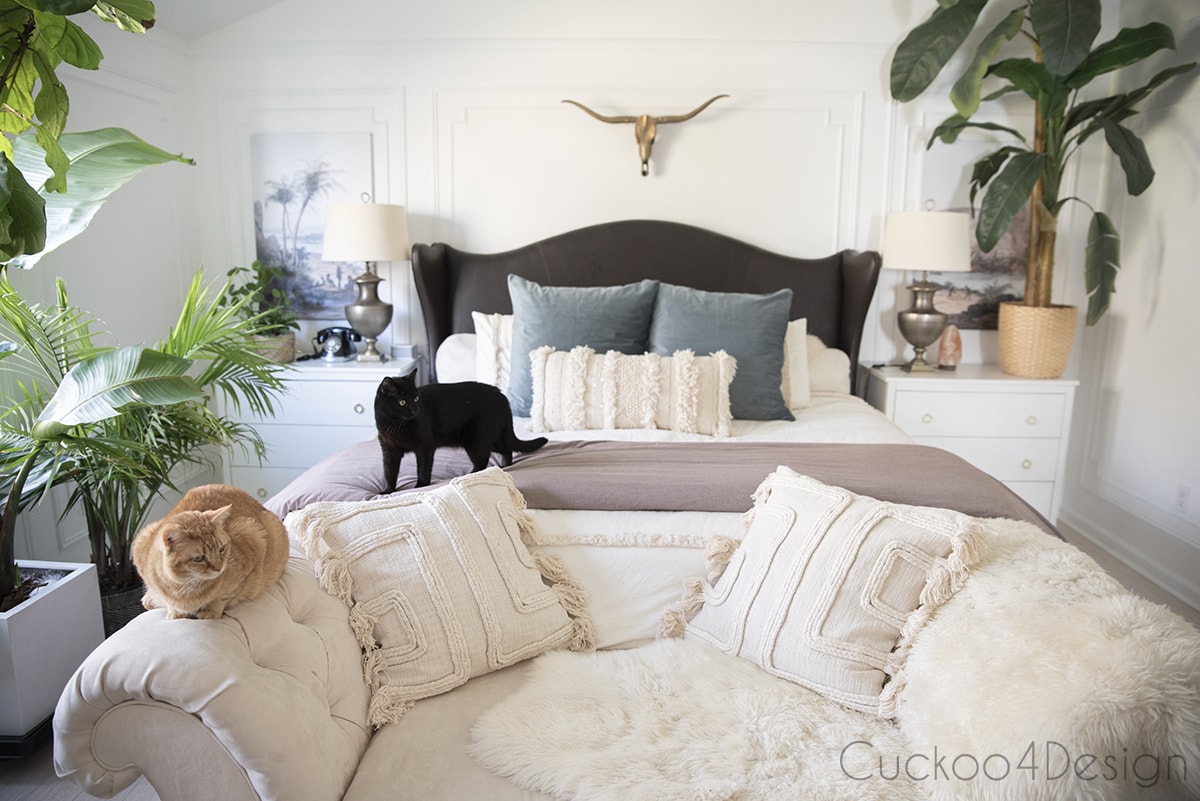
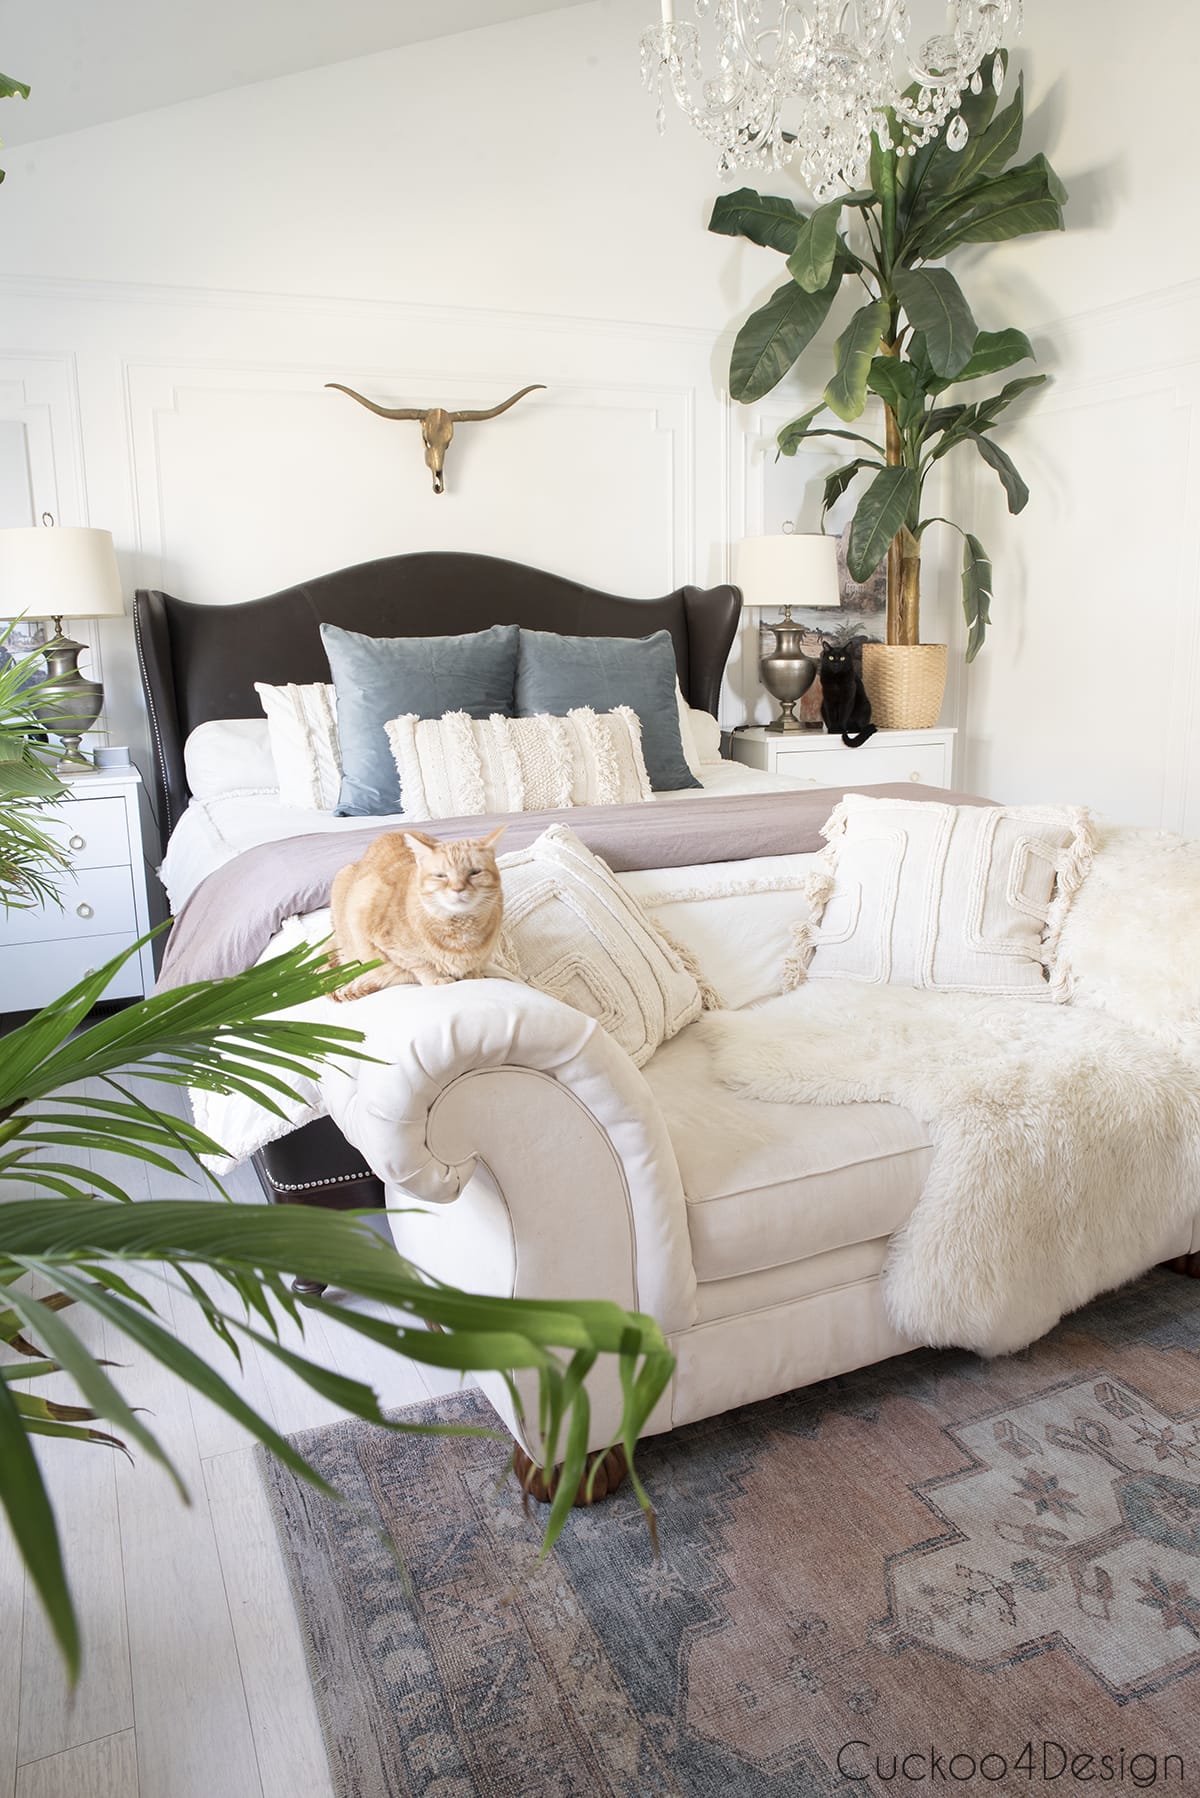
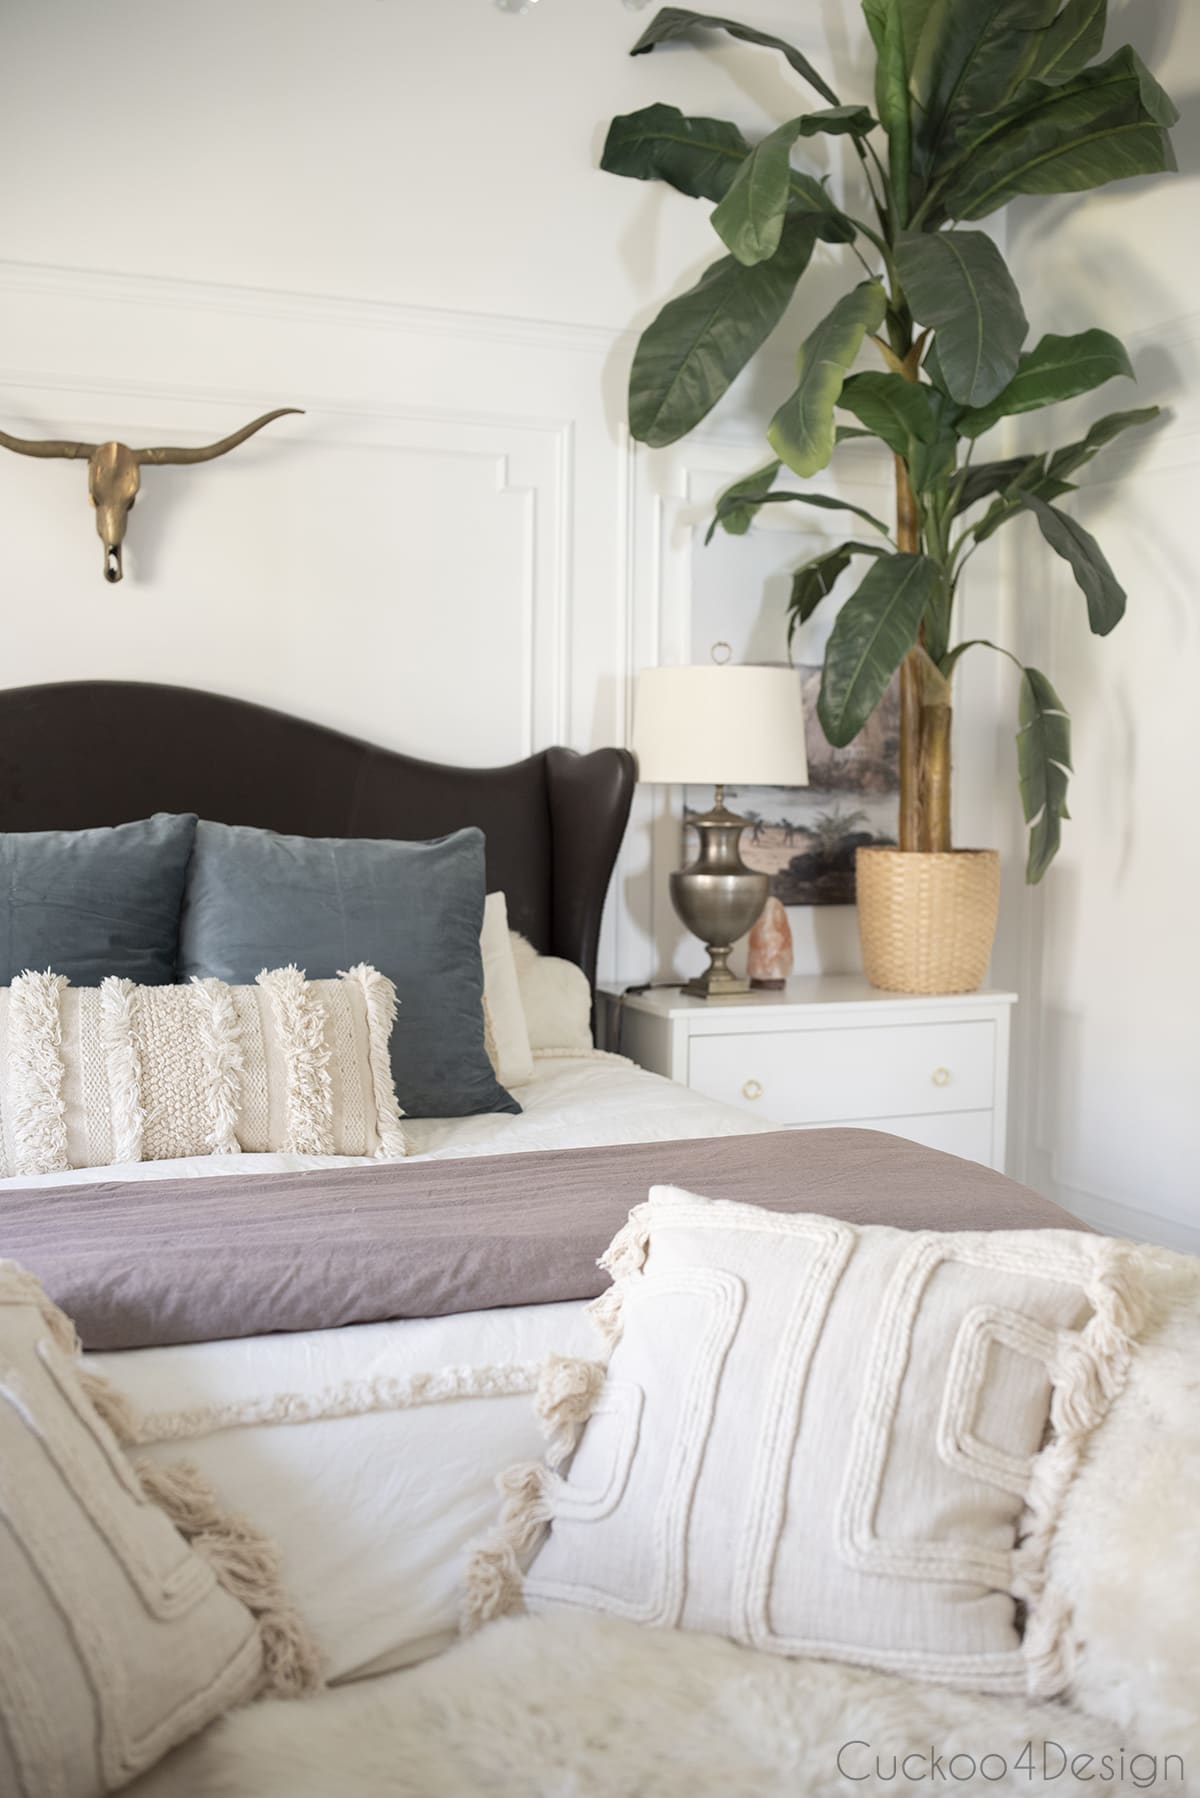
DIY wall mural art on canvas flanking the bed
Don’t get me wrong. I loved the bedroom how it was before but was ready for a change for several reasons. The gray paint was old and warn out and while you can’t see it in the photo it made the room really dark which was nice for making it more cozy but since I had collected even more plants over the summer, we needed more light to keep them happy.
Like I mentioned, I was also over my DIY artwork and ready for a change.
(see all of the old bedroom HERE)
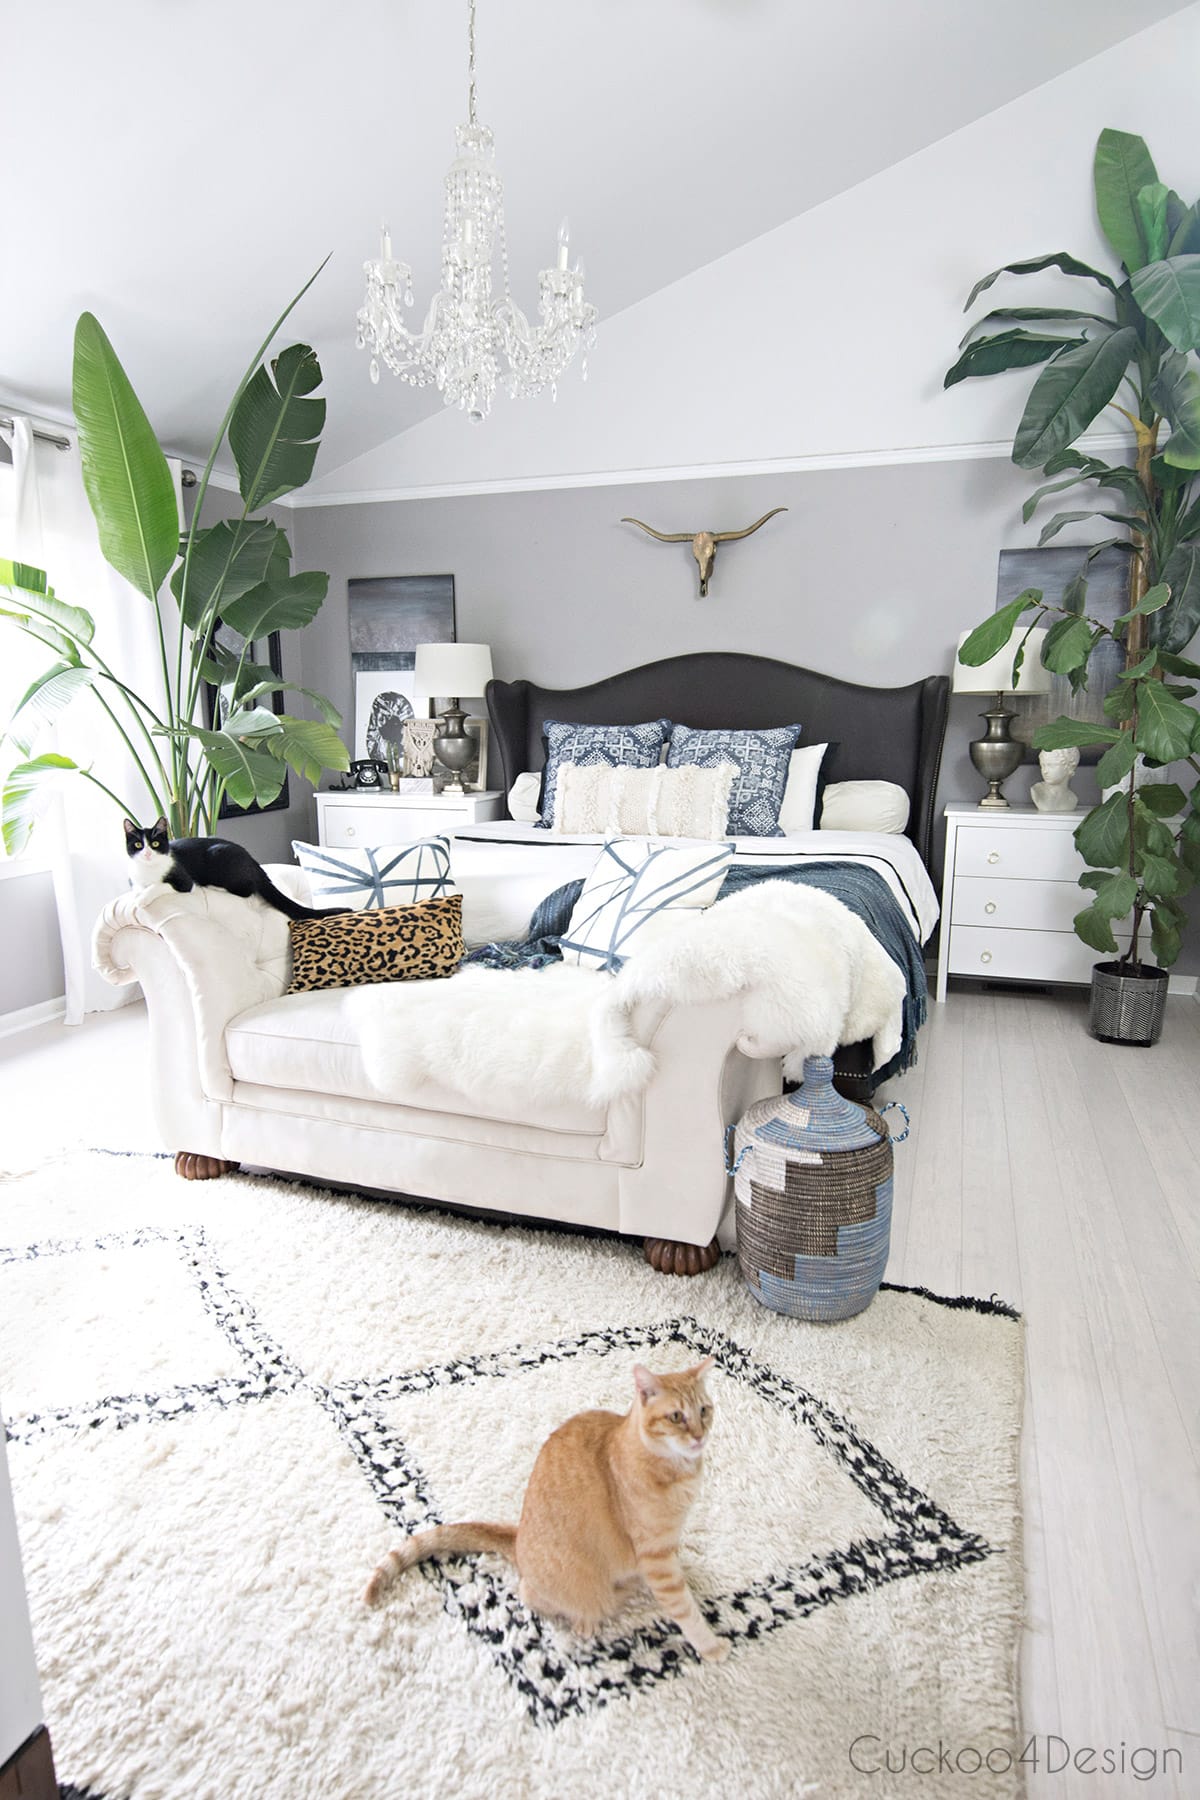
I was really struggling with keeping the beautiful Beni Ourain rug clean in front of the bed as well. So I added a rug that was much easier to keep clean.
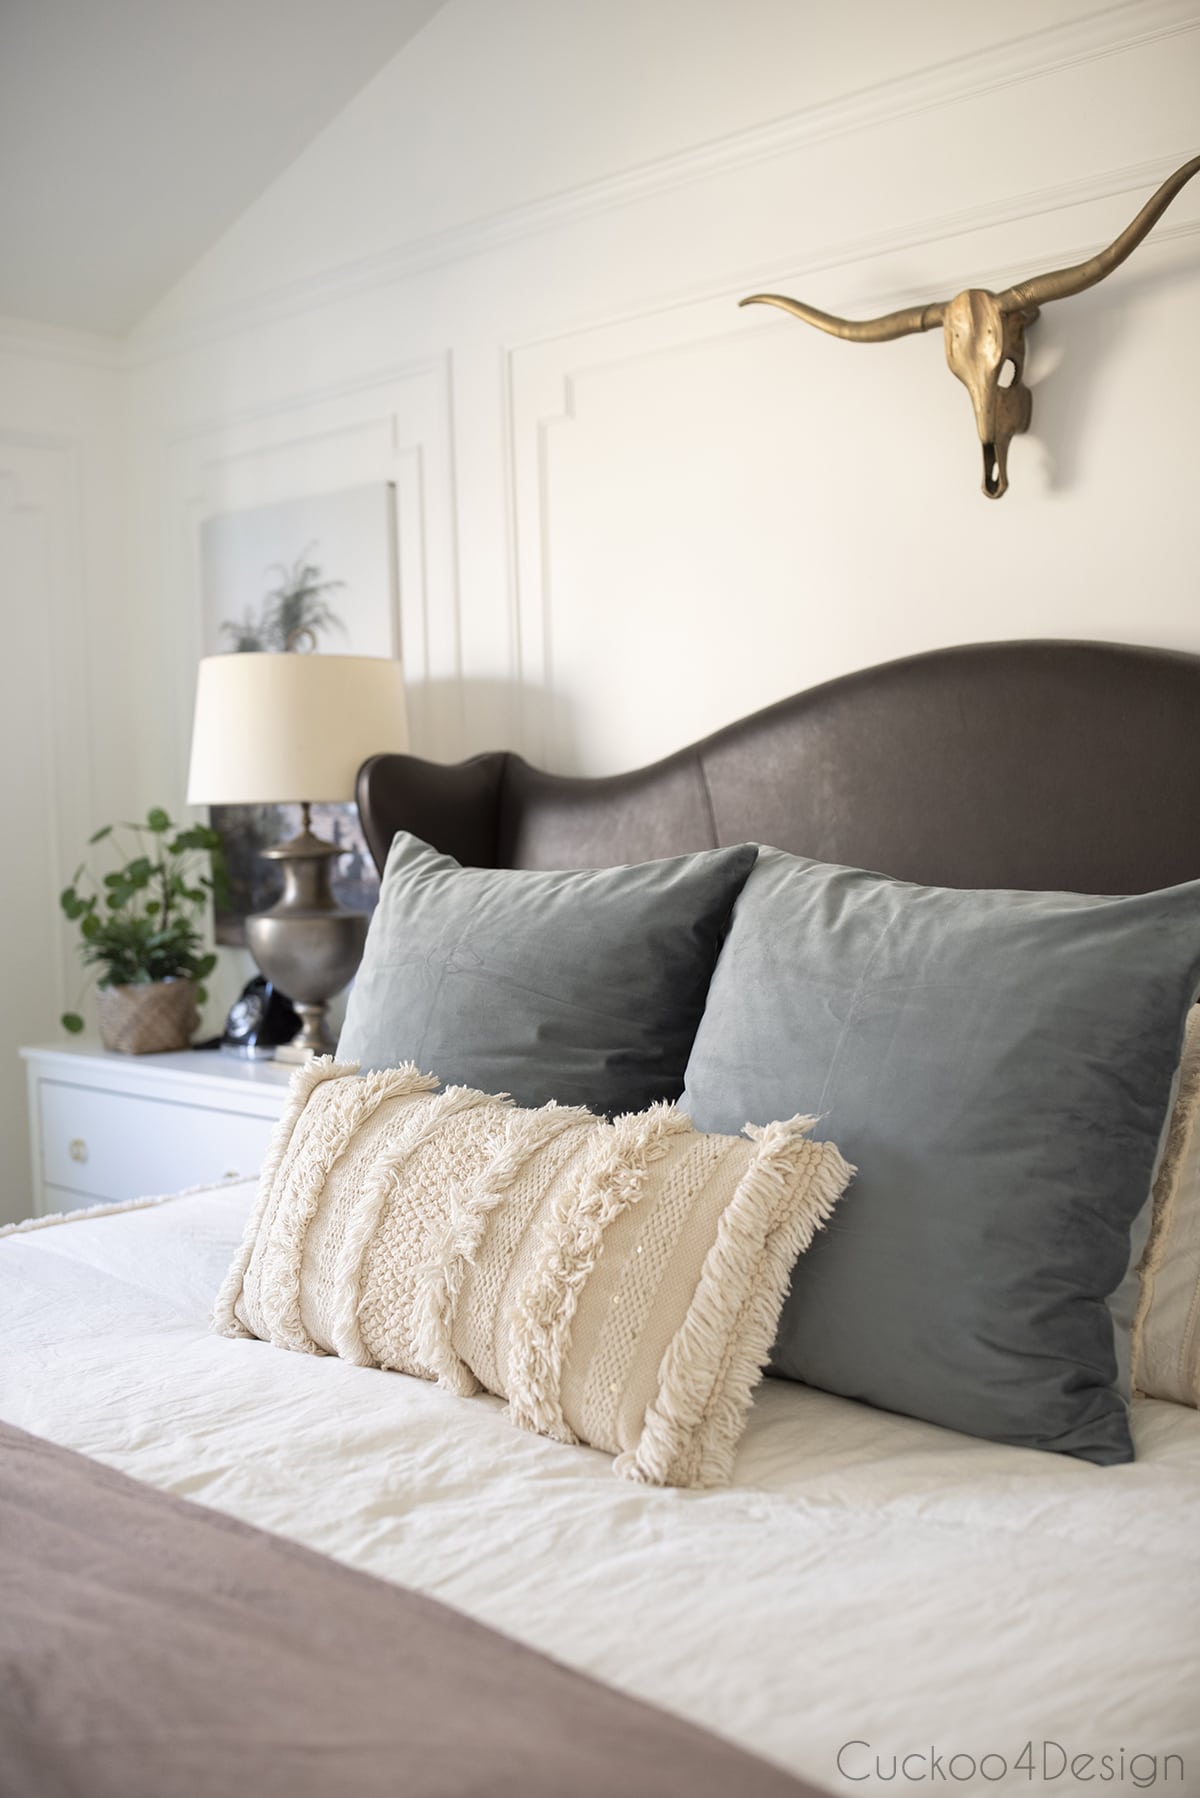
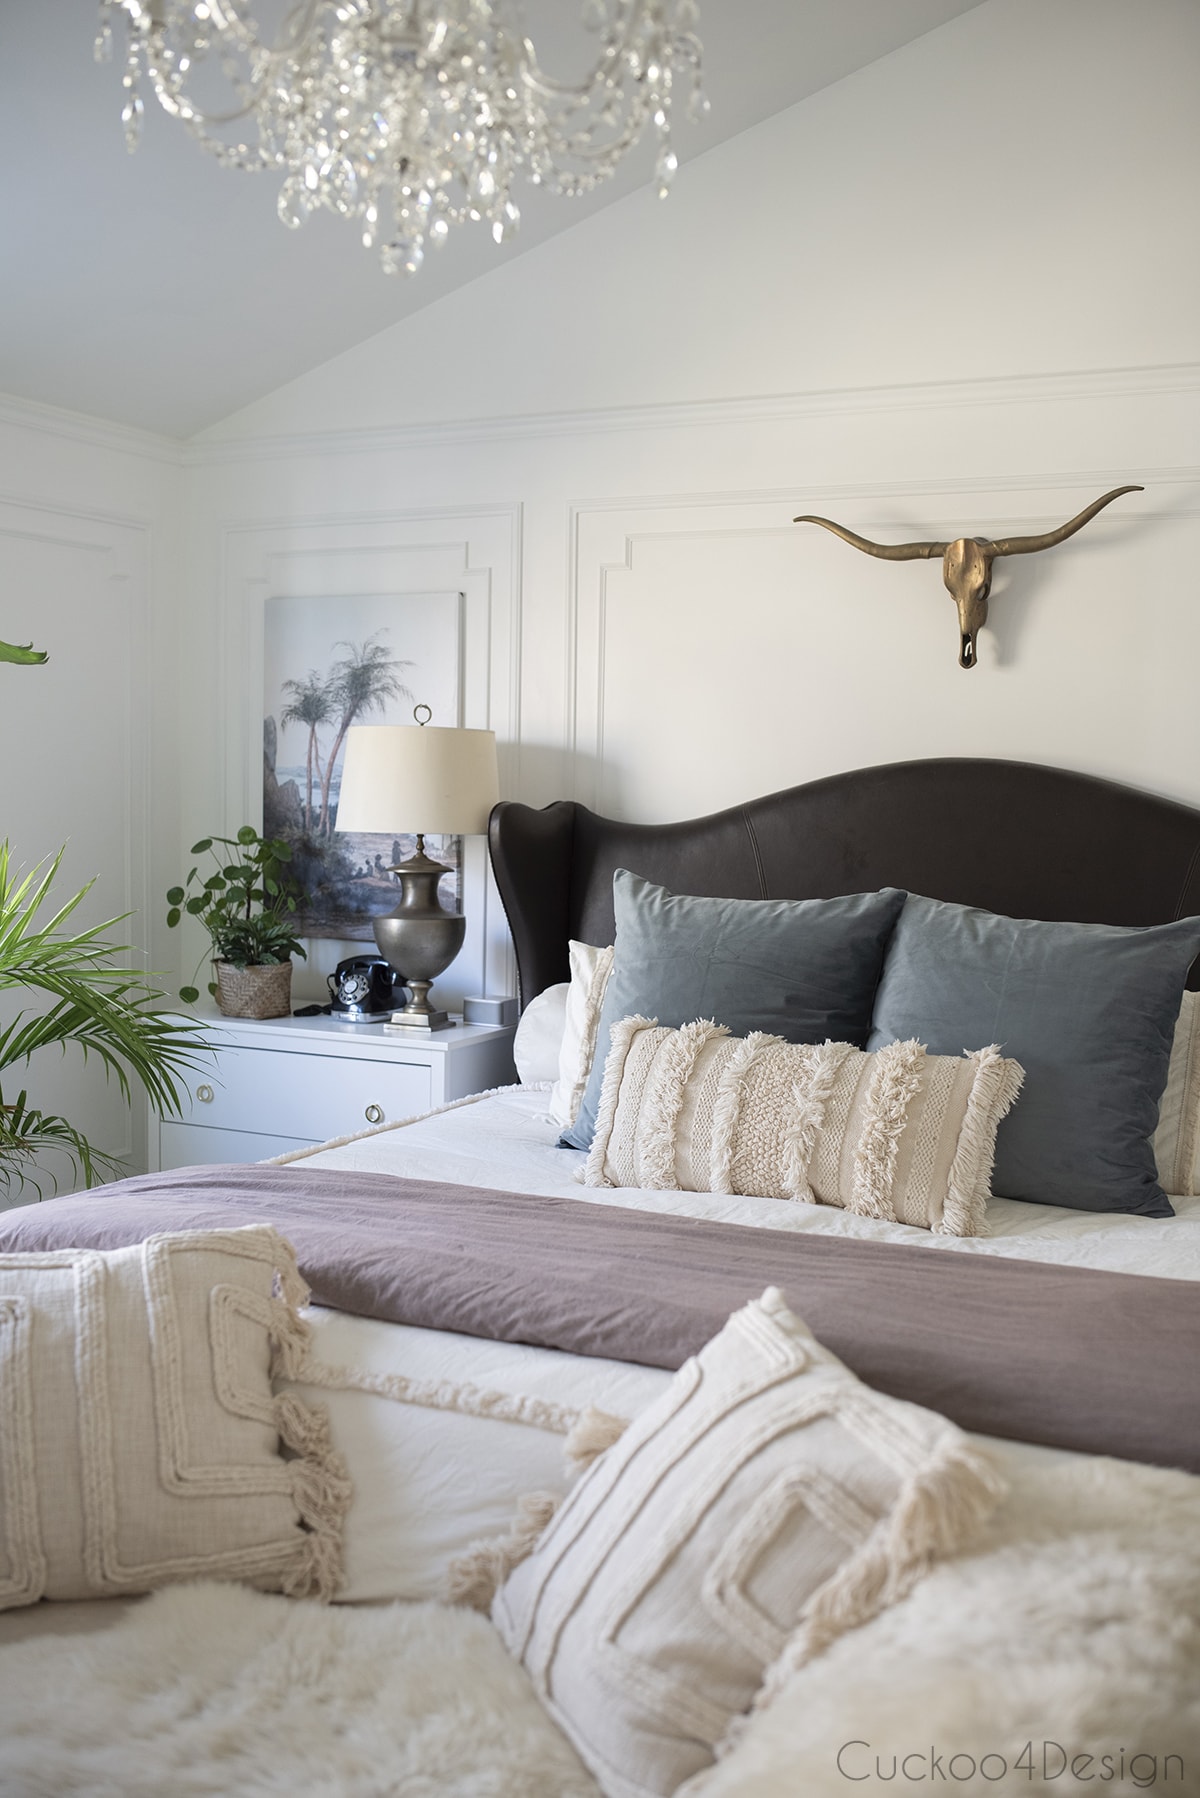
I also added more picture frame molding to the bedroom like I did to our dining room. Check out my tutorial! But this time I wanted to include an extra detail to the molding which you can see below. I also added some tips for that detail to my existing tutorial. As you can see the wall mural artwork is perfectly centered in picture frame molding squares and I love that planned subtle detail so much.
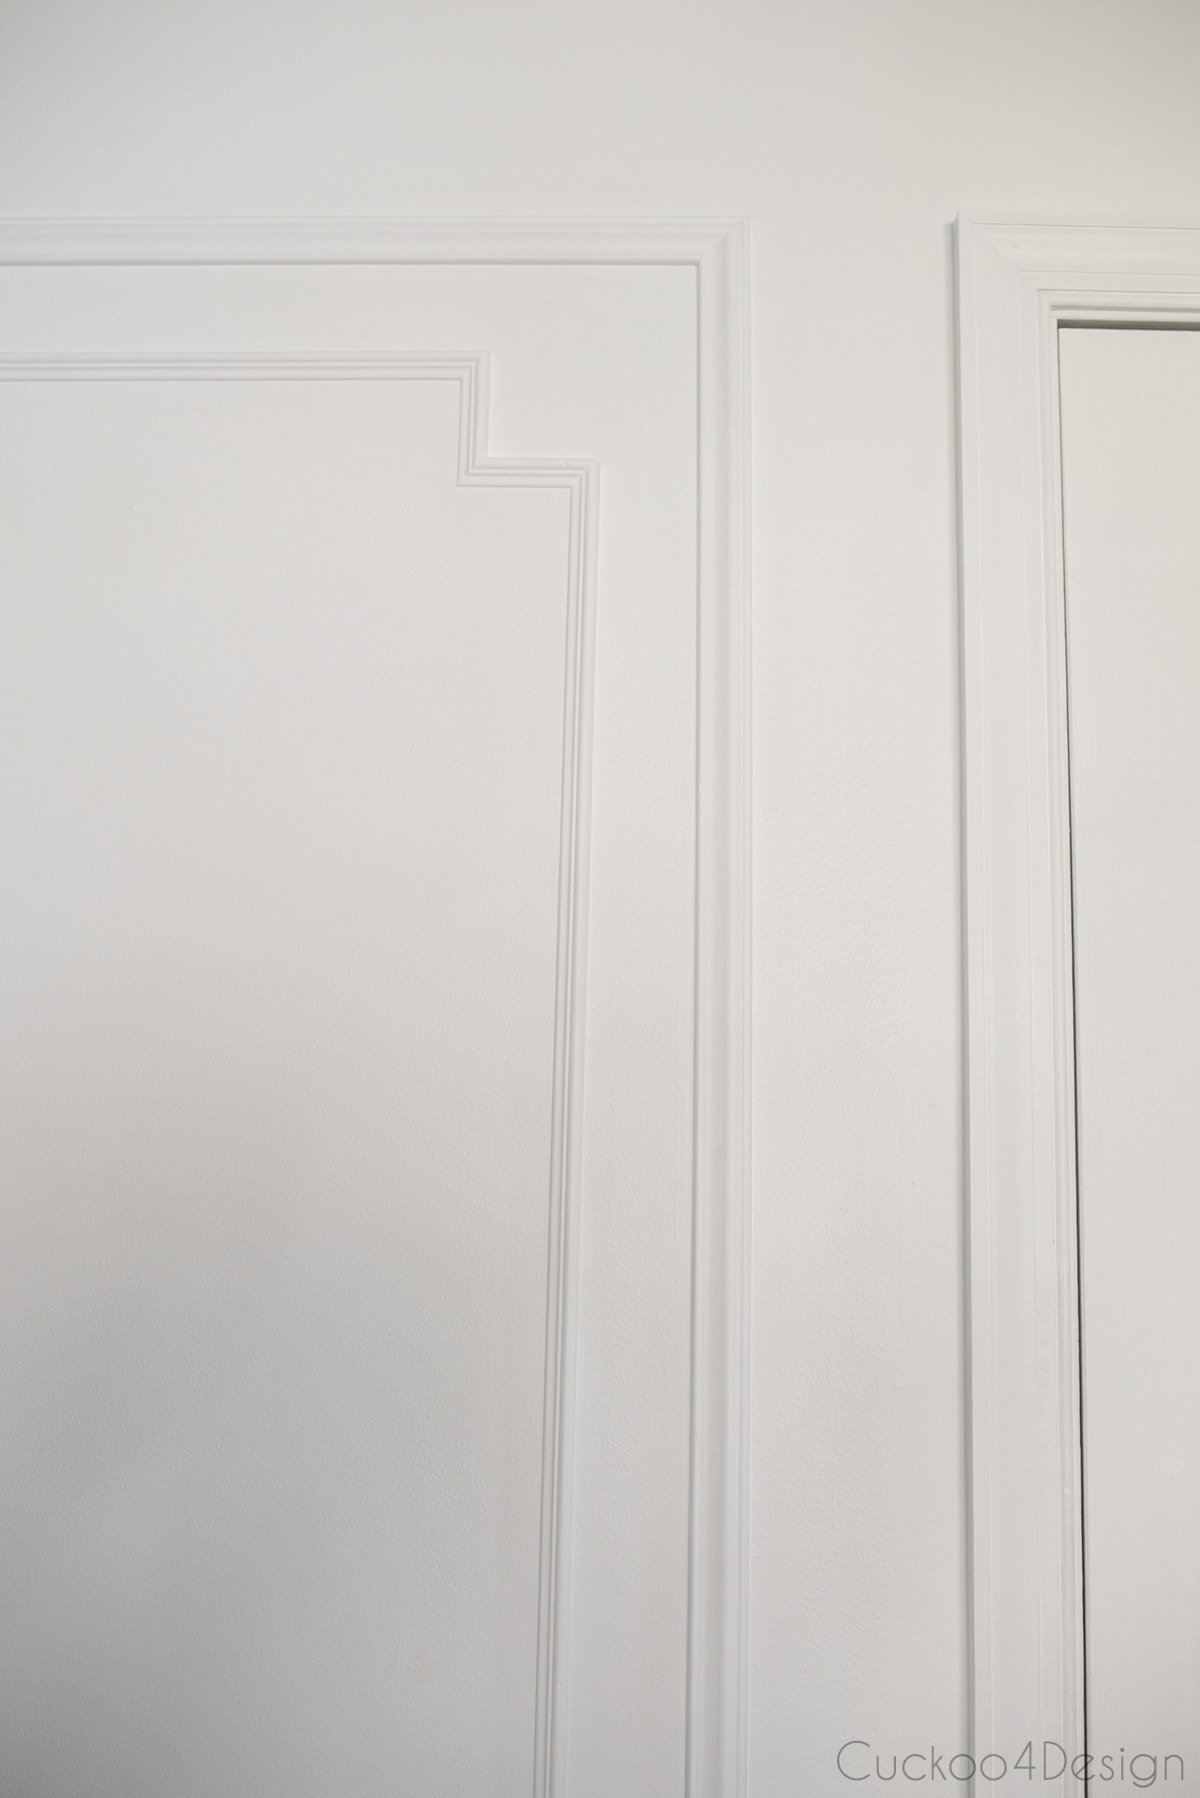
The molding definitely added some extra interest to the plain white.
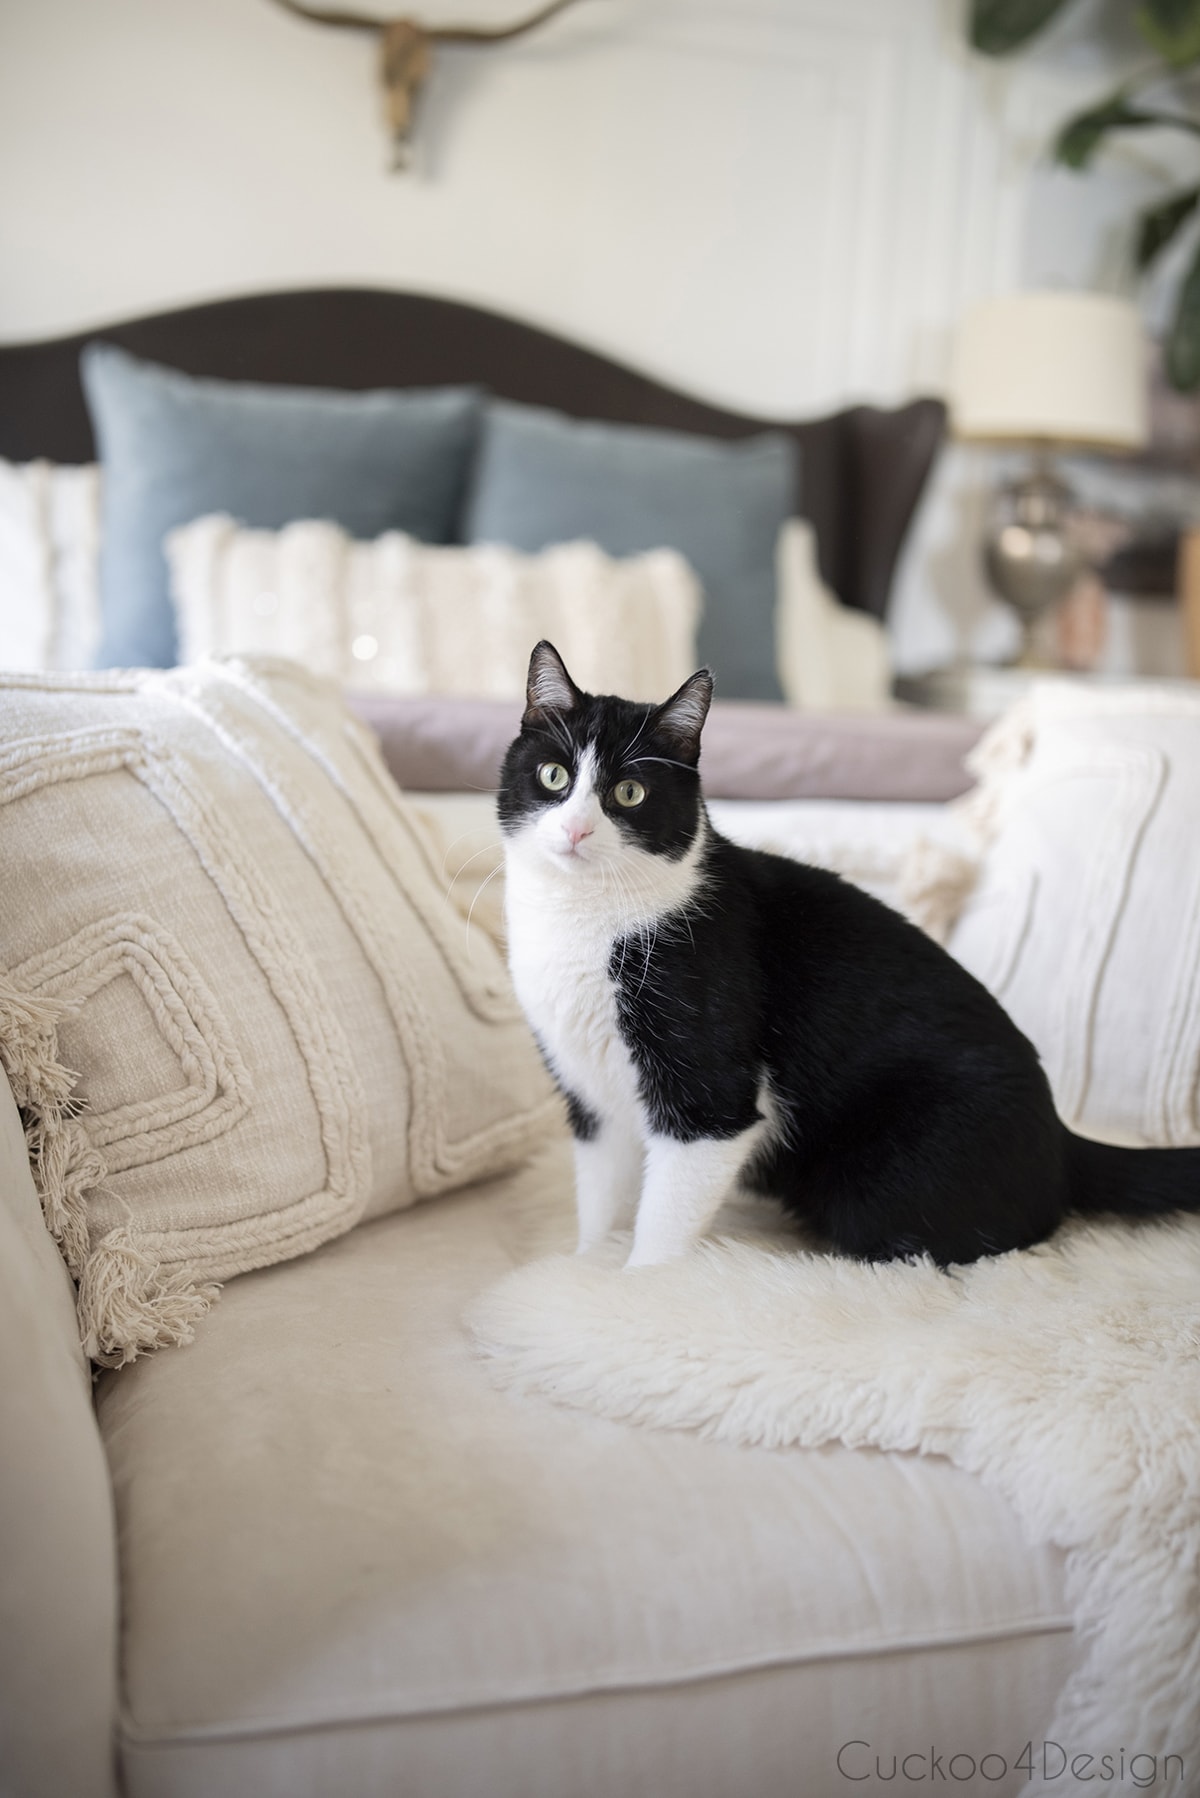
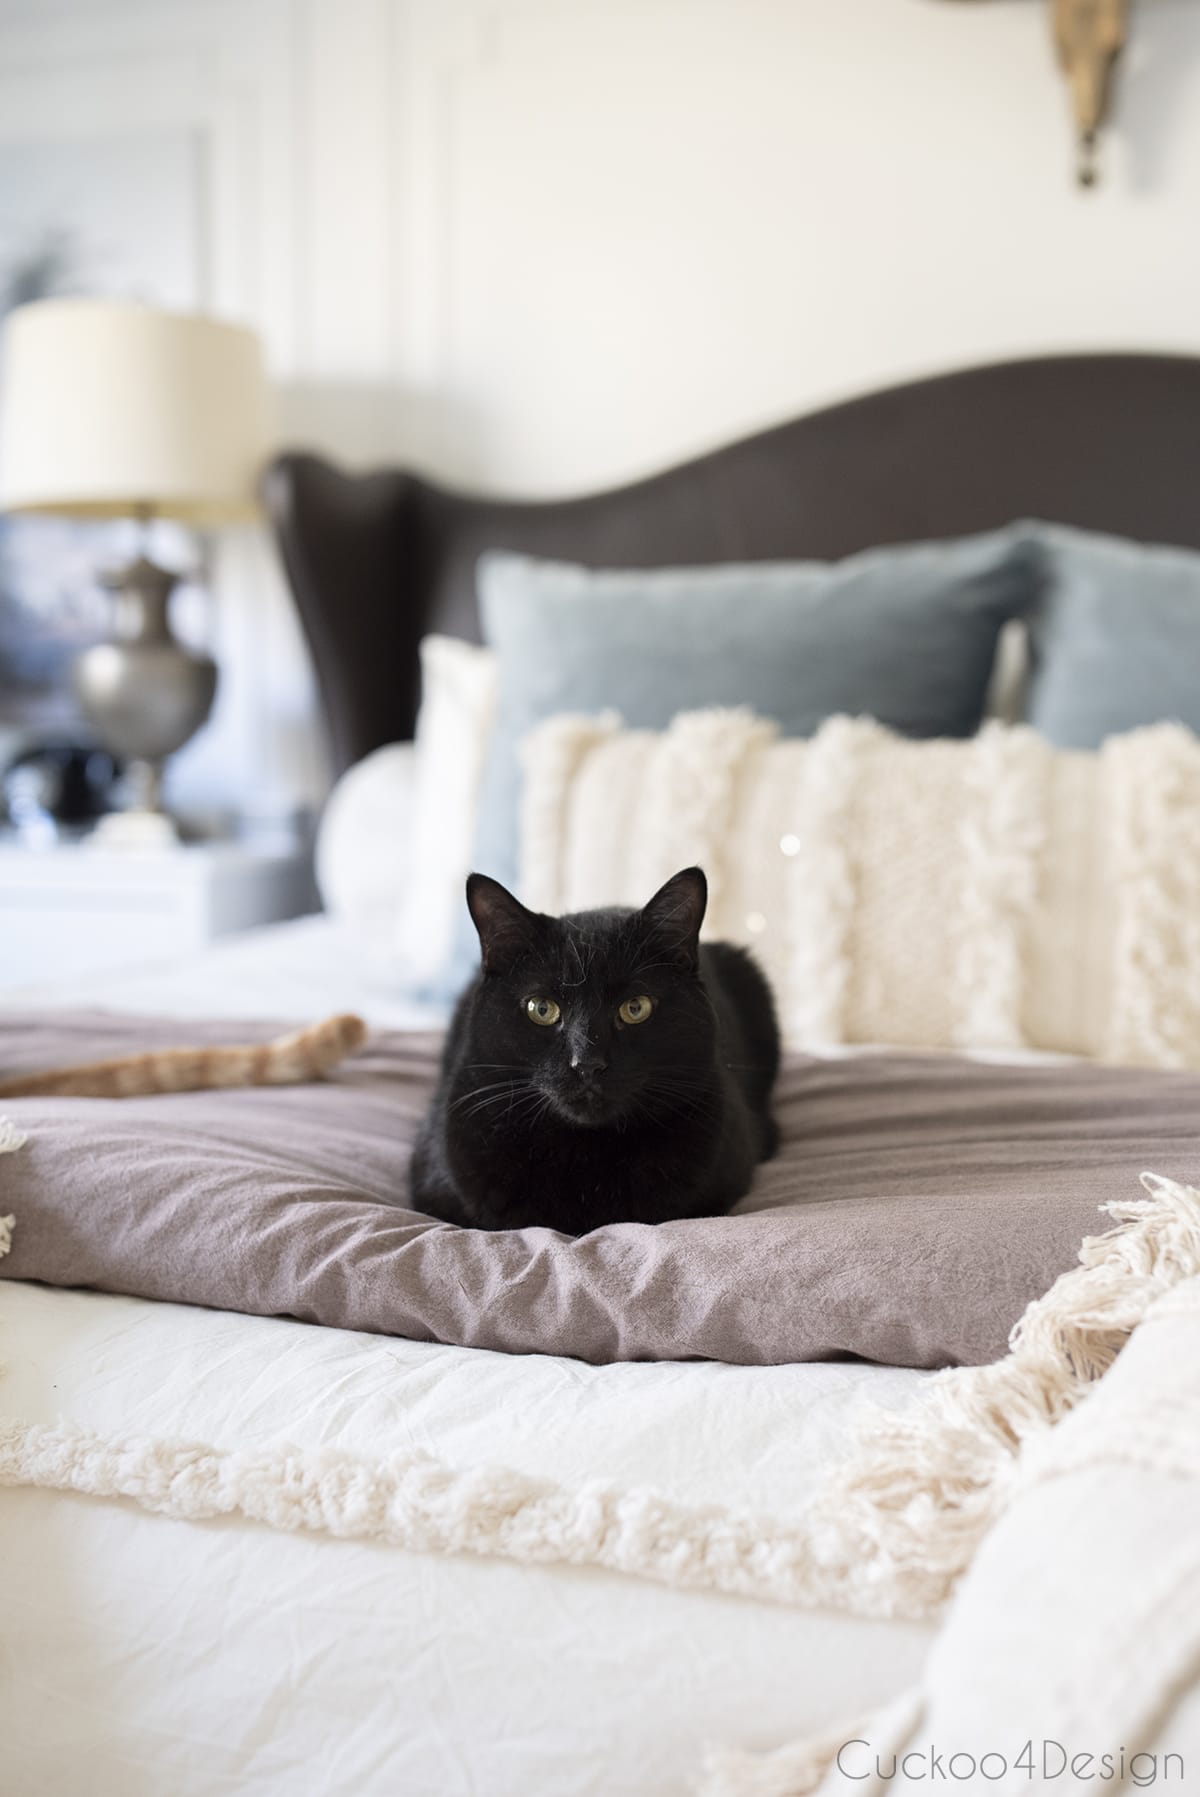
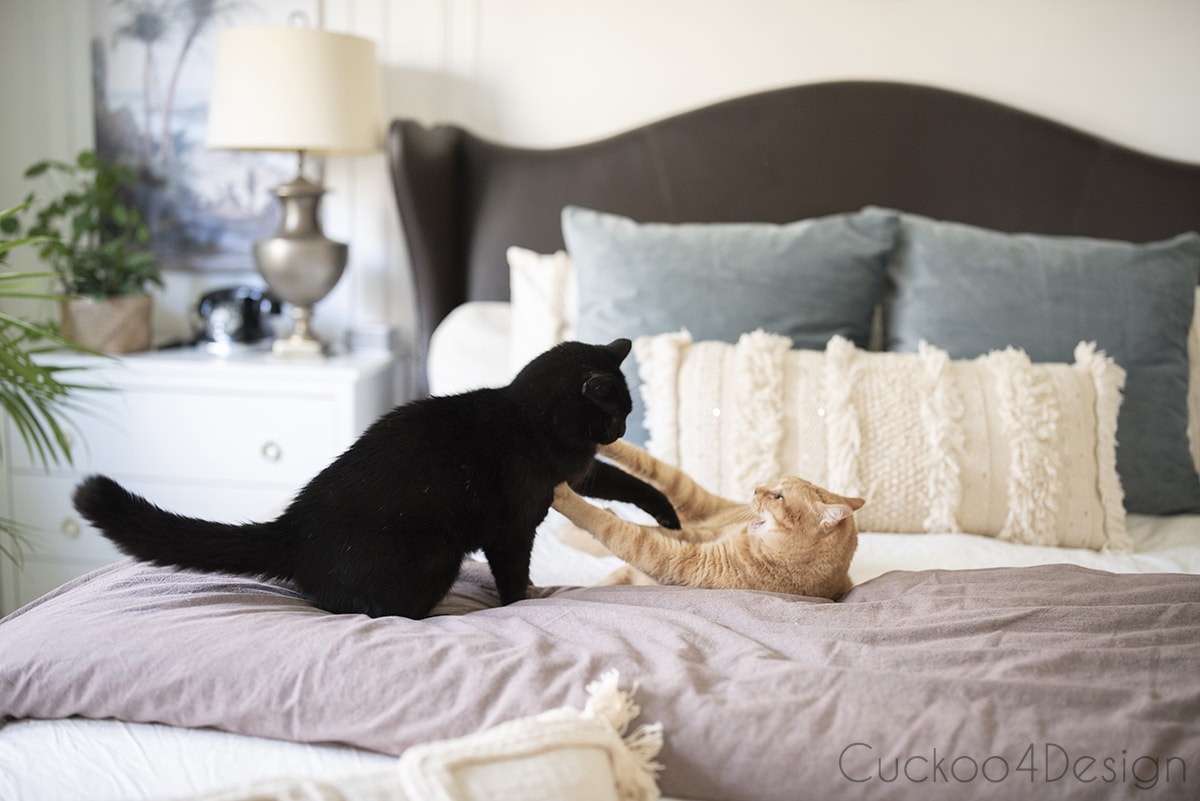
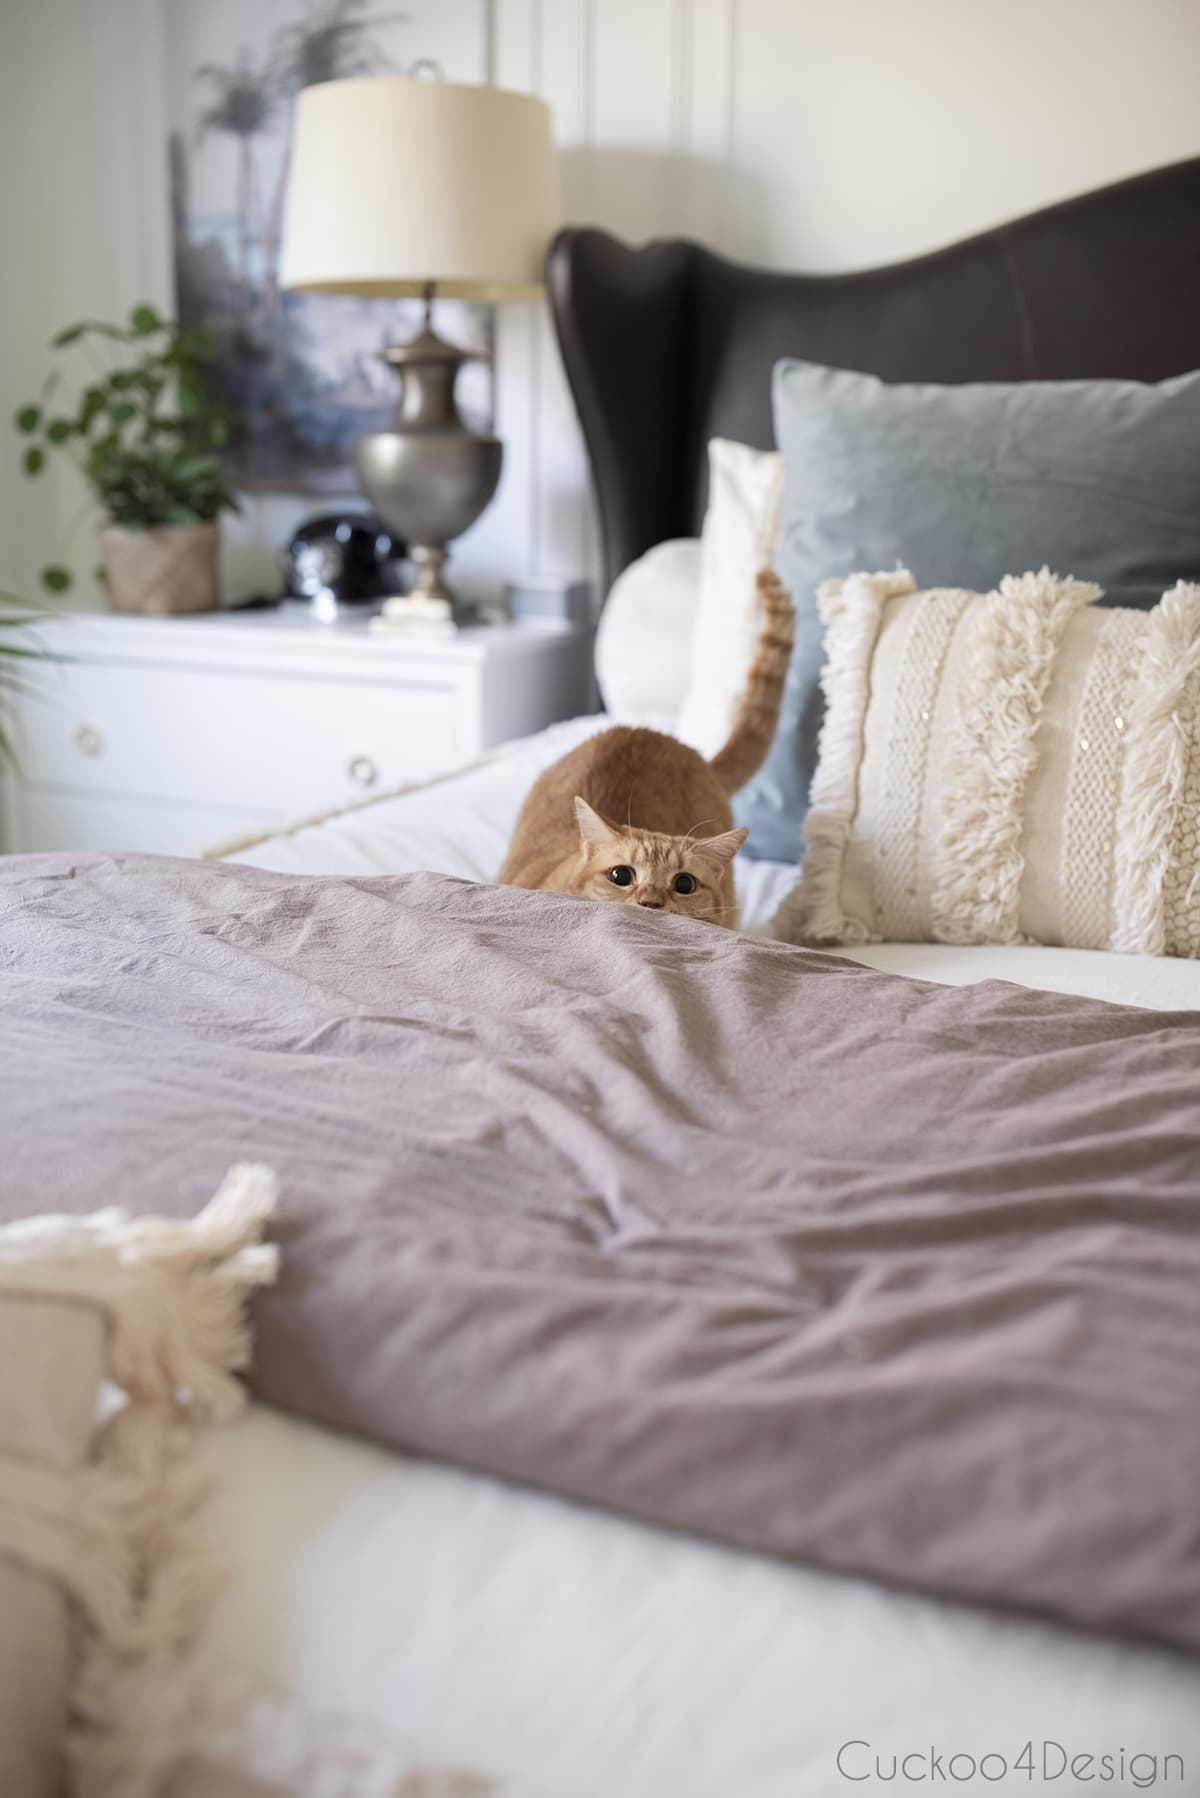
The cats thought it was a photo session solely for them. They are obsessed with a freshly made bed.
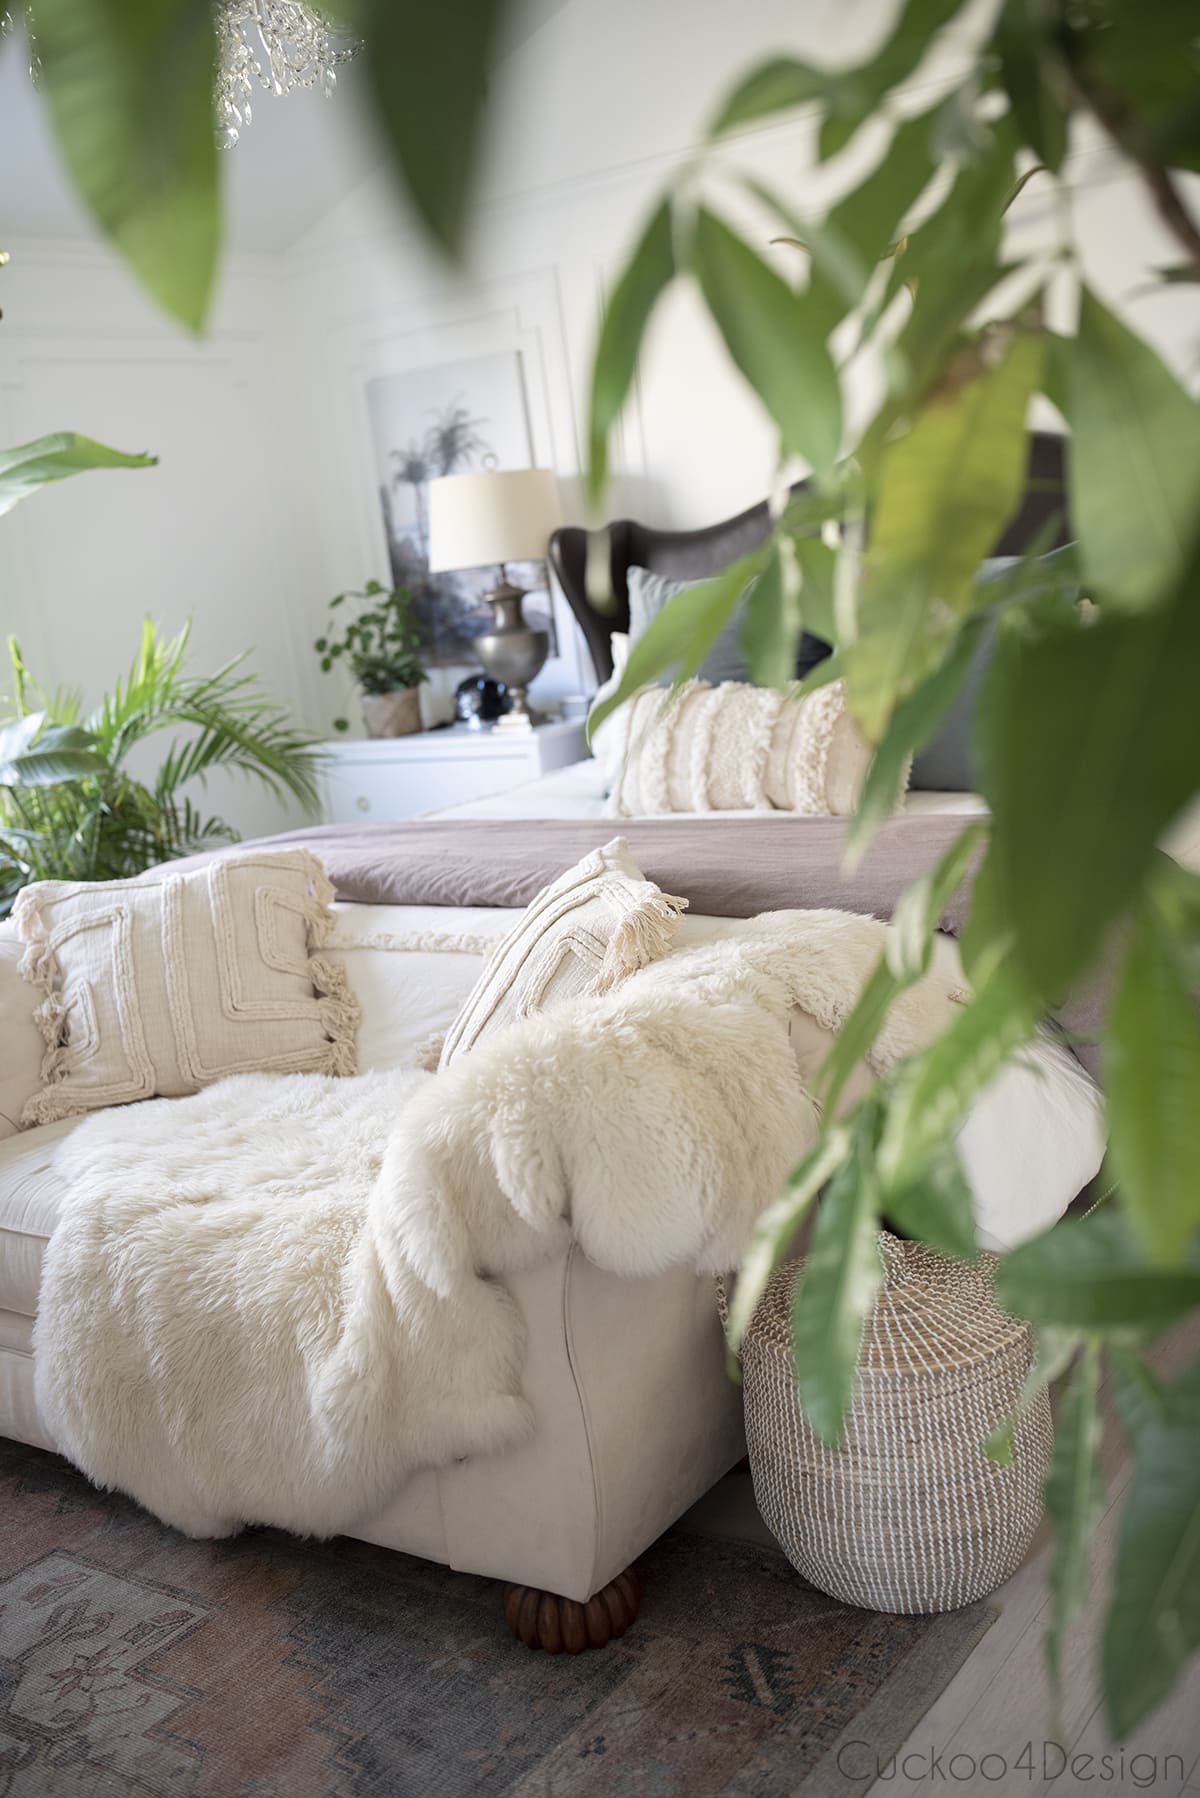

I’m still dreaming of adding wooden beams to the cathedral ceiling. Just not sure yet if I should buy faux ones somewhere or if I should make them. The beams would add more warmth and another beautiful architectural detail.
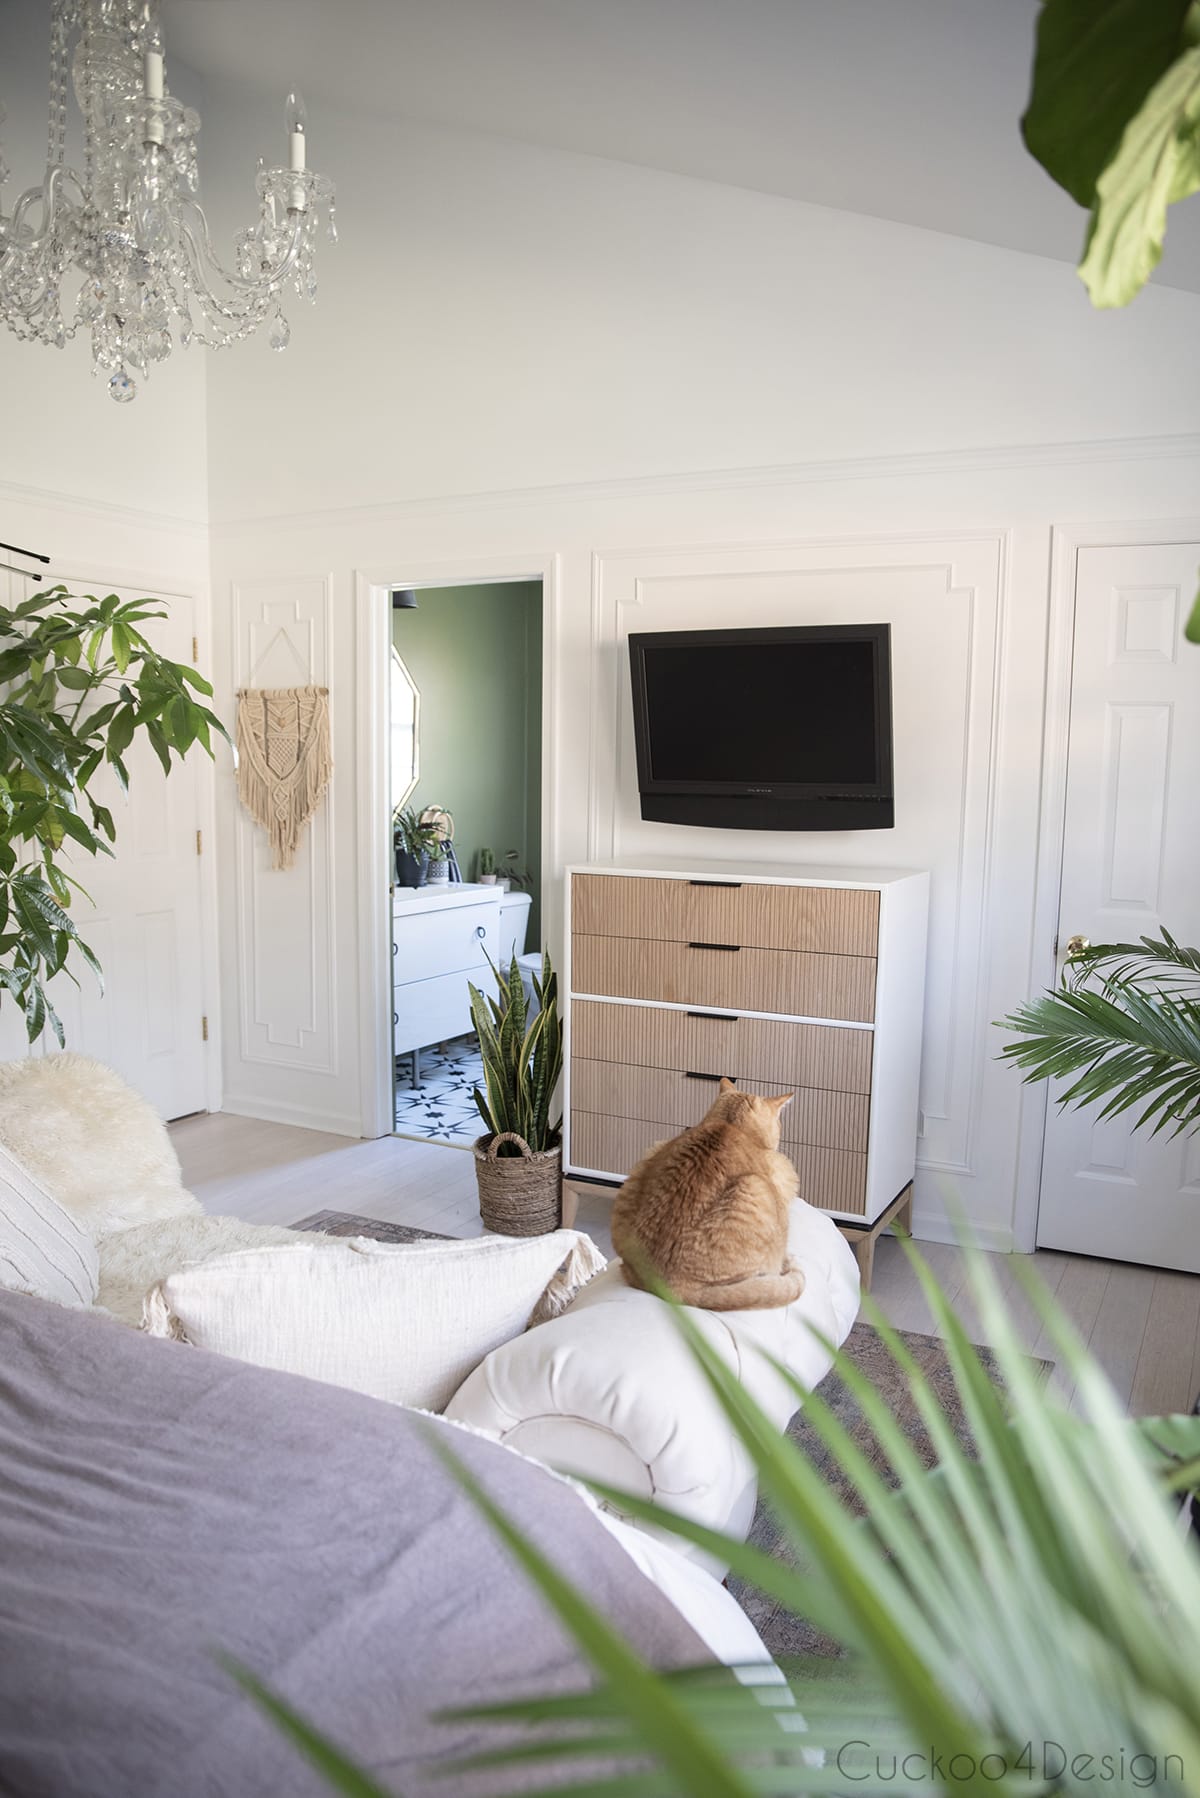
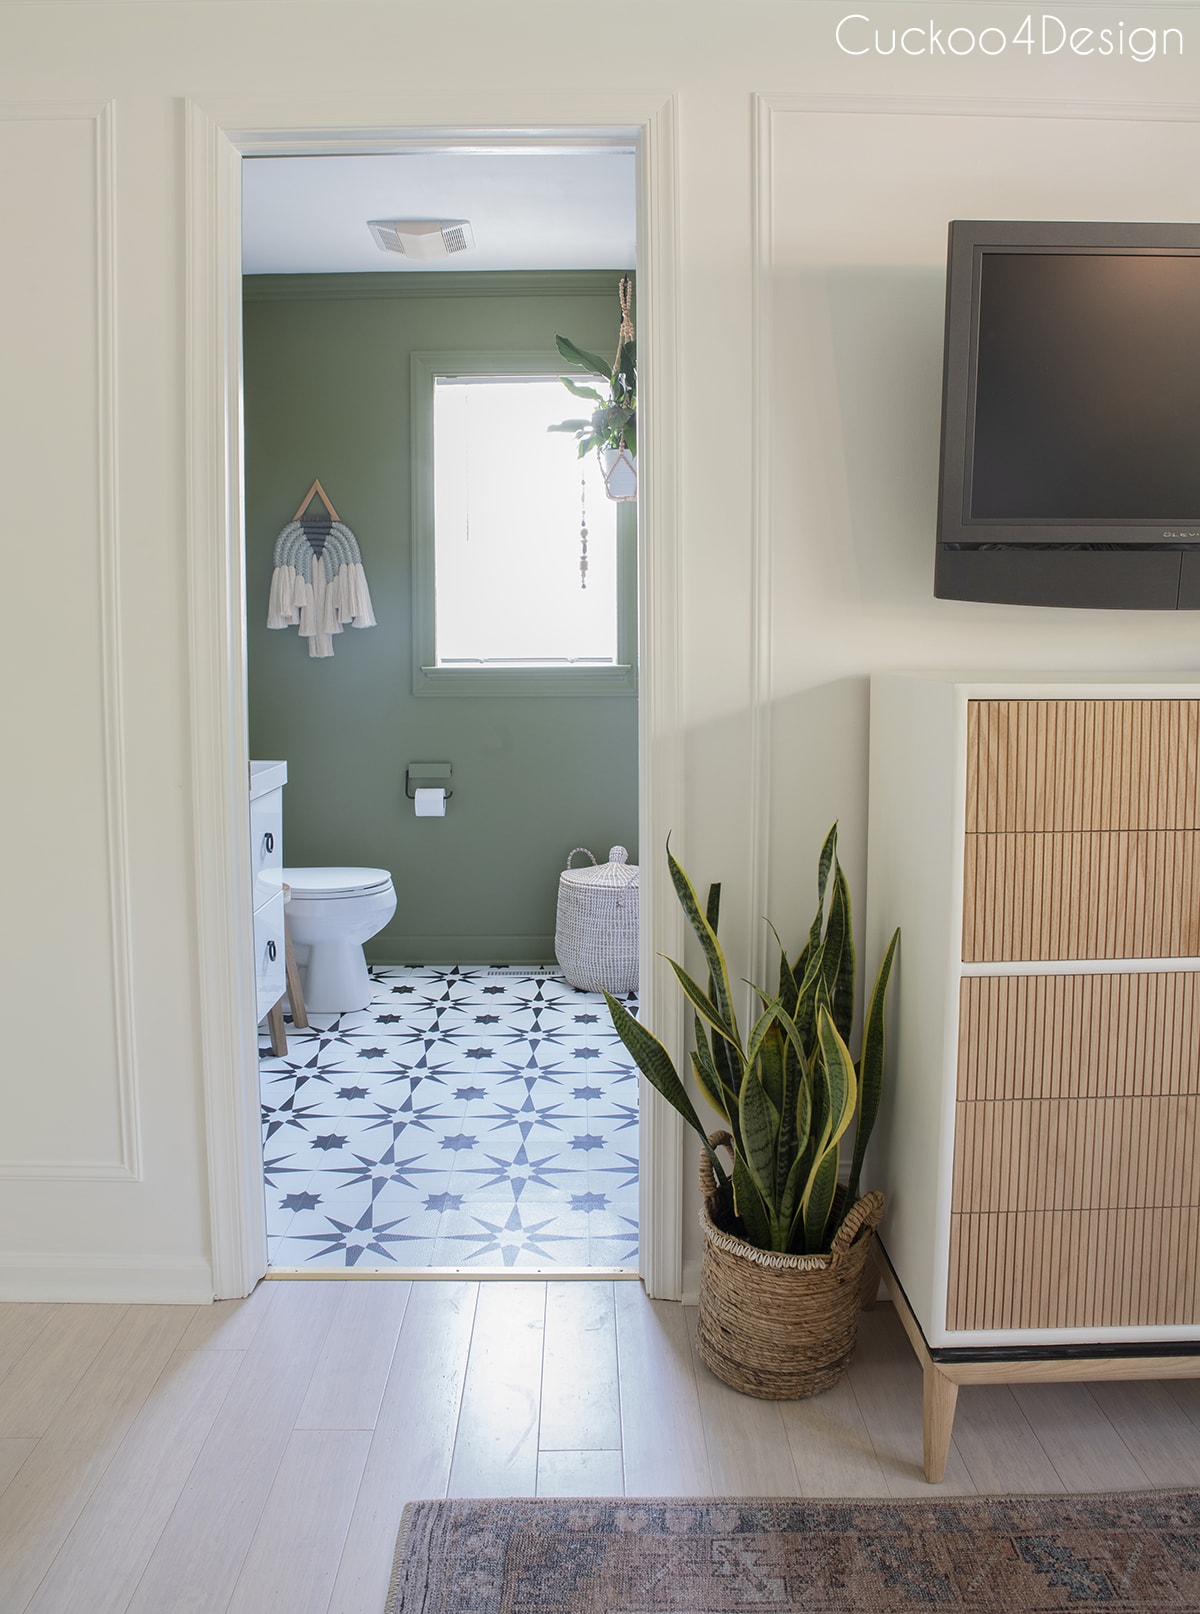
Also come see my budget bathroom makeover, modern green macrame wall hanging tutorial and fluted dresser makeover if you missed it.
The below photo was taken before I decided to add the extra molding detail to show you the difference.

So which one is your favorite pillow combo? 1, 2, 3 or 4?
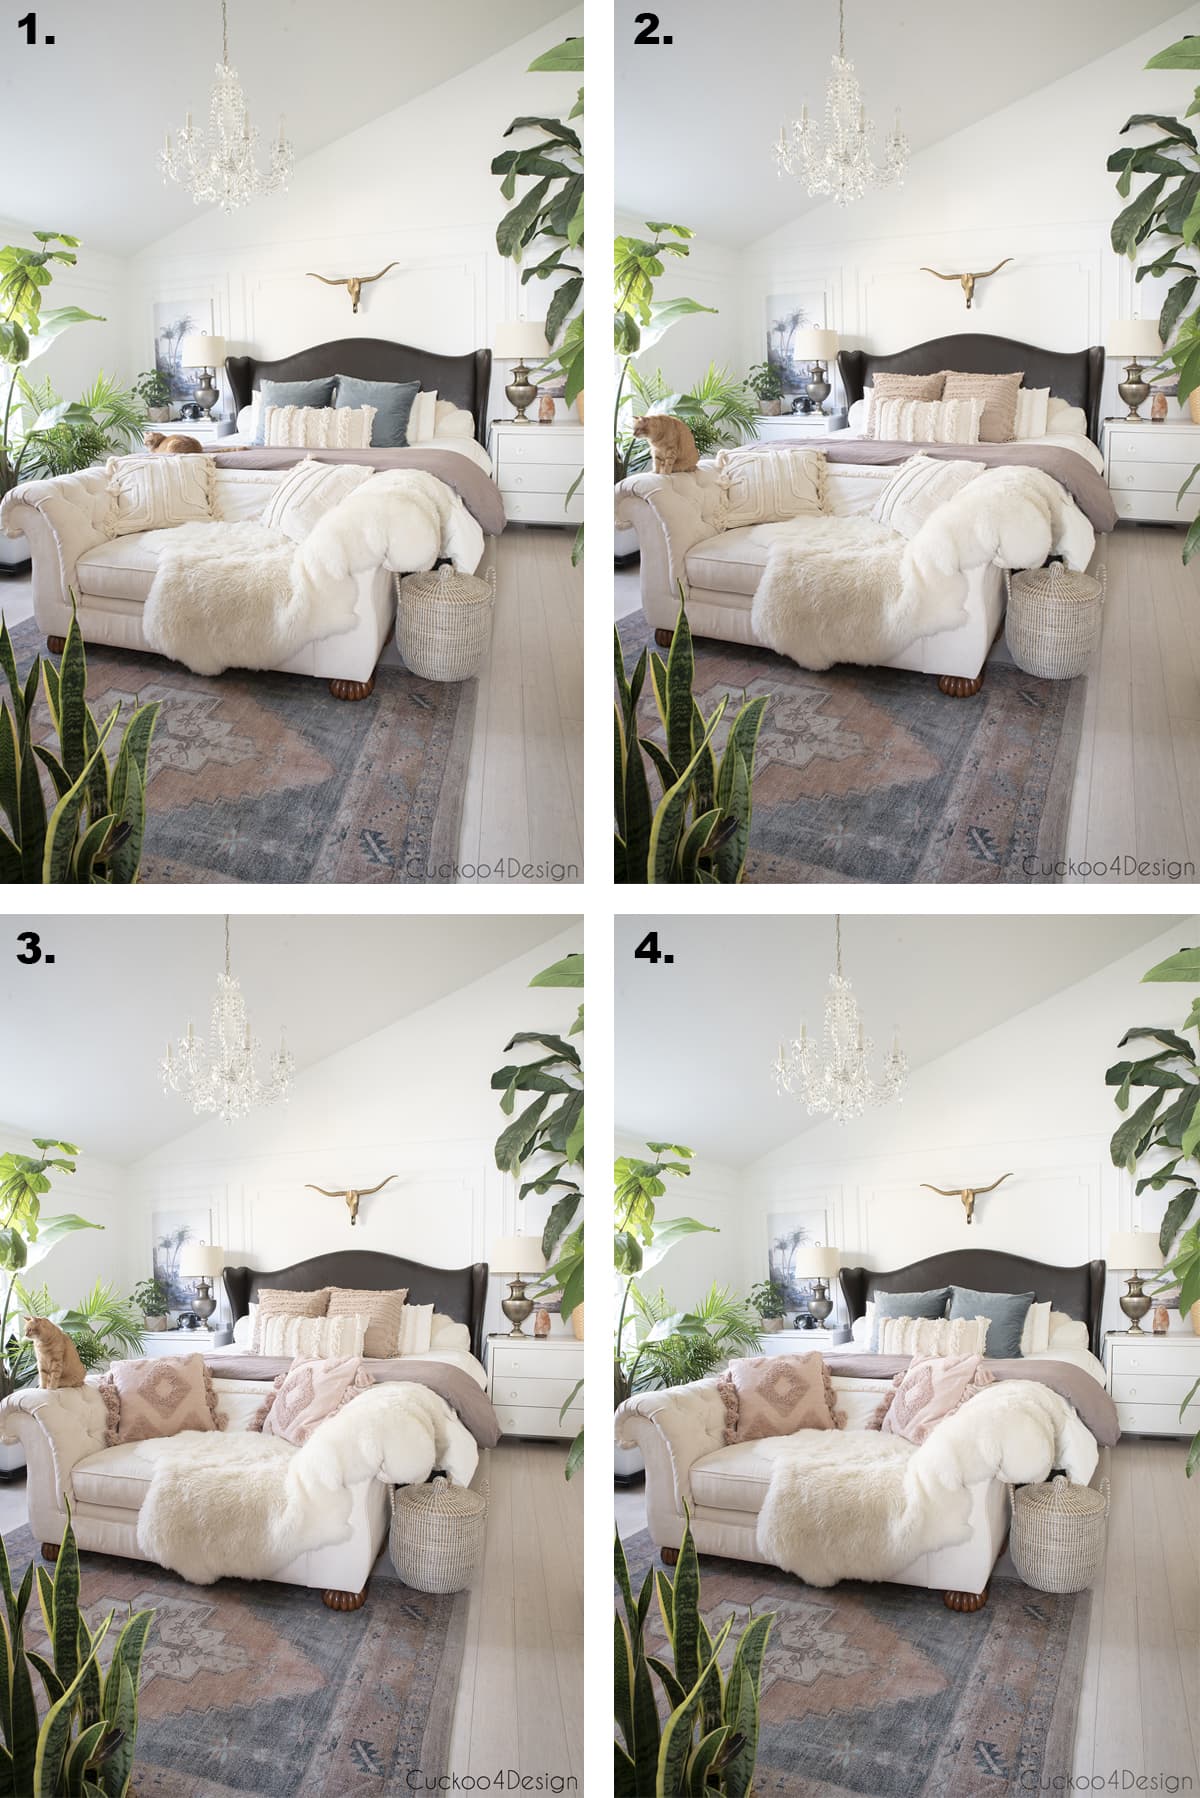
I think my favorite are 1. and 3. and I will be changing it up sometimes. I love buying just pillow covers because they are affordable and can be easily stored and changed out. My nightstand dressers actually hold all my stashed pillow covers. My daughter loves changing up her pillows too and often likes to shop my drawers.
I still have to share her room as well. It’s kind of empty but that is how she wants it.
Talk to you soon.
Tschüß,

I love your moulding and art and greenery. Just so fresh!
Thanks Deb! I definitely wanted it to feel fresh 🙂
Love it, and that molding is looking SO good!!!
Im so glad I finally tackled it and it was worth all the work.
Love this idea and your bedroom is lovely!!
Thanks so much Jen.