16 painting tips and tricks for kitchen cabinets
Today I want to share my favorite painting tips and tricks for kitchen cabinets with you. I’m not going to lie, painting your cabinets is a lot of work and you frequently run into issues which I also did this time but if you stick with it and use certain techniques and tricks then you can tackle your kitchen cabinet project with confidence and end up with a beautiful finish. Some of the tips I also mentioned in my painting tips and tricks post which you can see HERE.
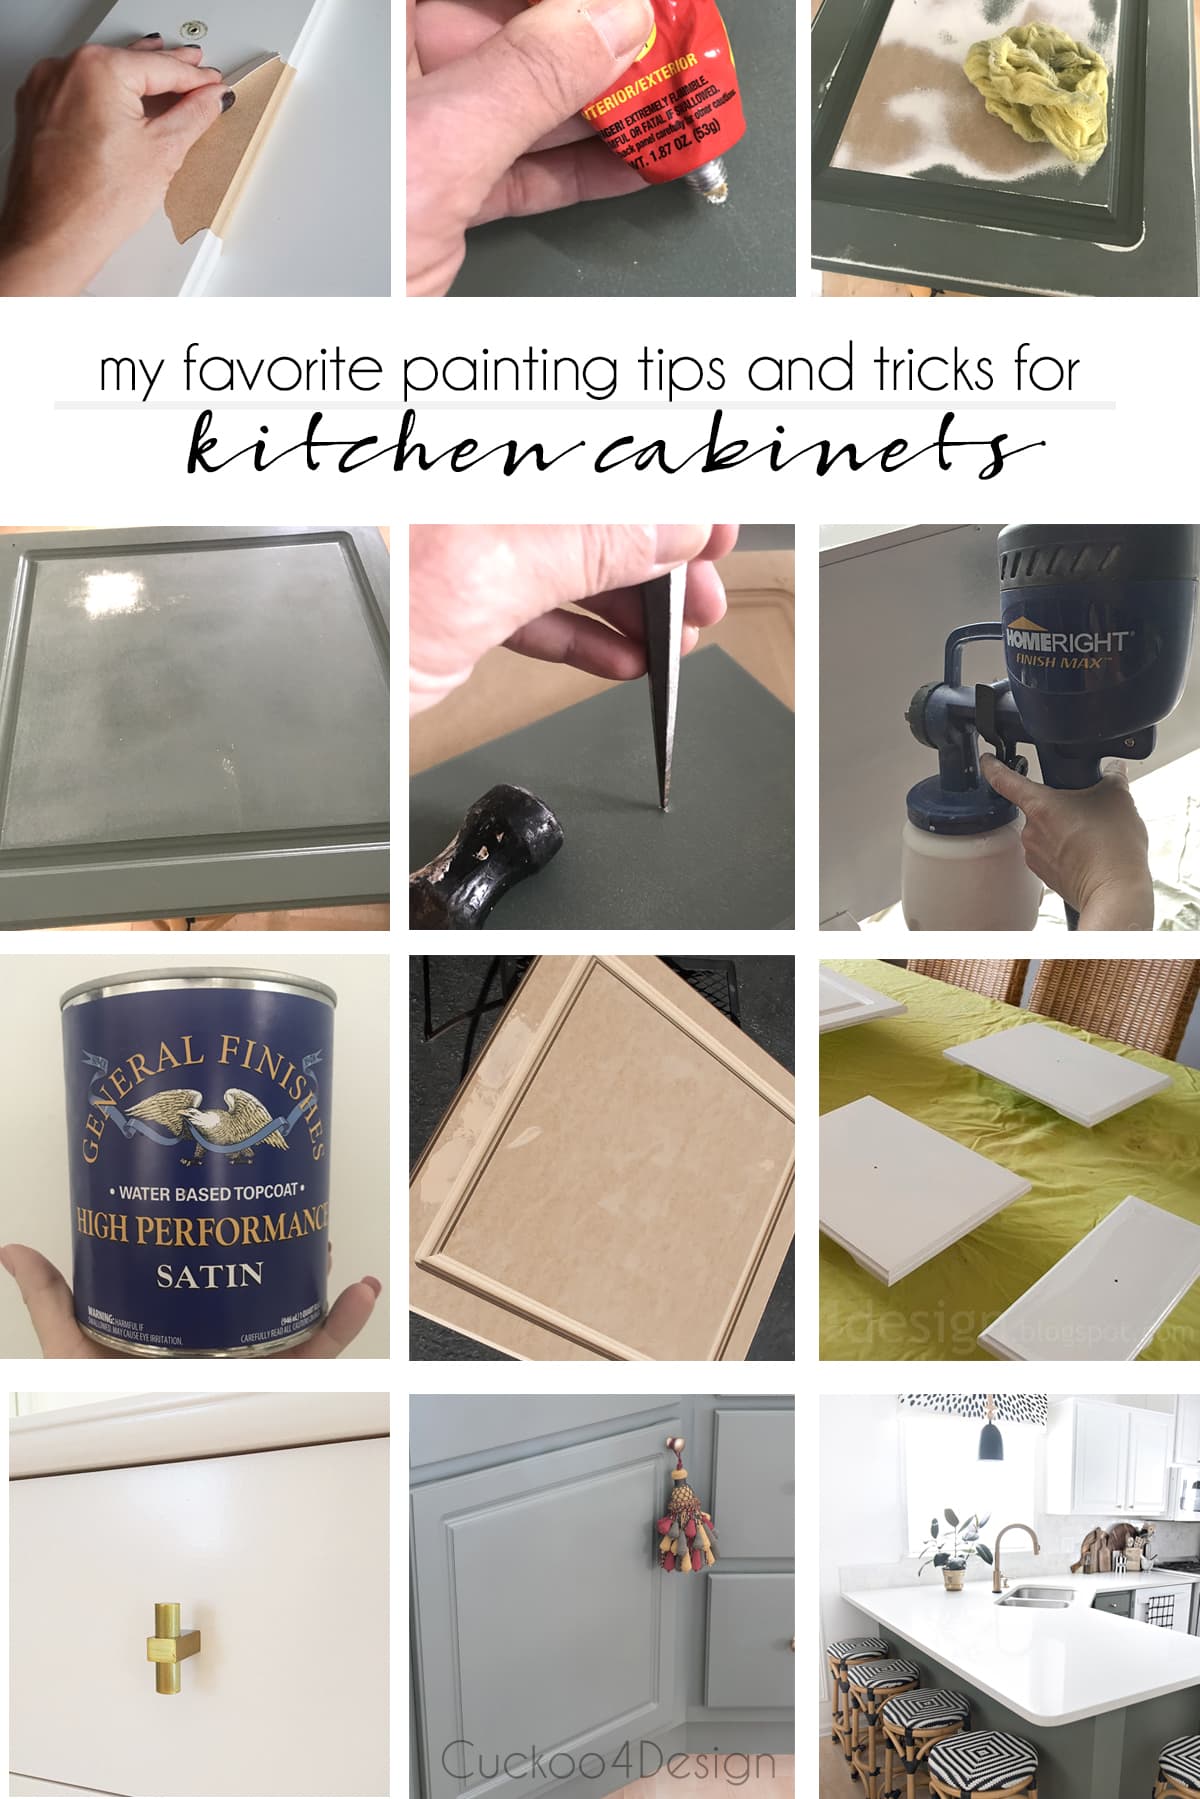
My painting tips and tricks for kitchen cabinets
This post may contain affiliate links from which I will earn a commission at no extra cost to you. View my full disclosure policy.
Beforehand let me tell you that I cheated during my project! I left the inside of the doors and cabinets white and did not paint them. It doesn’t bother me the least because the upper cabinets are still white and nobody really cares. Ha!
1. Make sure you know what material you are painting
This appears a no-brainer to some and maybe not to others. My cabinets were laminate and while painting over laminate has been done before, I think it was a better idea to peel the laminate off the cabinet doors and drawers first before priming and painting especially since it started to peel in some areas already. You can see my laminate peeling project when I painted my cabinets the first time by clicking HERE.
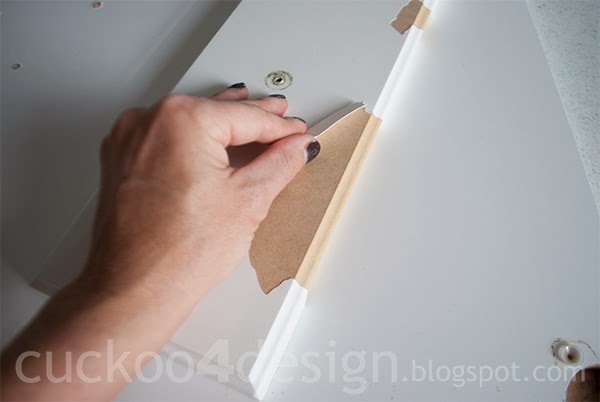
Peeling the laminate off the MDF drawers and doors also ensures that you aren’t painting over any grease.
If you are painting wood cabinets then you need to ensure that you are thoroughly cleaning their surface with a cleaner like Krud Kutter or TSP before sanding to ensure that all the grease is really gone.
2. Decide what paint you will use
I used standard latex paint which is known to not be as durable as an alkyd enamel paint. To be specific I used Valspar Ultra 4000 in eggshell which I also used for my pink dresser cabinet makeover.
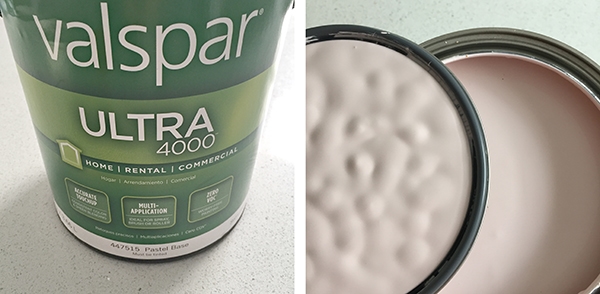
Why on earth would you do that you might ask? Well because I paint a lot which means I change it a lot and I can use the latex paint for a lot more than for what I can use specialty paint. I have now almost an entire gallon of paint left from my kitchen cabinet project and I’m thinking about using that color for my spare bathroom which I can because it is latex paint.
It is also a lot easier to repaint a latex paint.
Another reason for me using latex paint is that I can clean everything with water which makes it a lot easier for me to keep my equipment clean. I really dislike having to clean with paint thinner.
To get around the durability factor, I spray varnish on the paint at the end which I mention below. It makes the finish more durable. The varnish I use is also water-based and not oil-based.
If this doesn’t matter to you then you can just choose an alkyd enamel that is also self-leveling, like Sherwin-Williams ProClassic and Benjamin Moore ADVANCE. I do not recommend spraying a varnish over these types of paints.
This is entirely preferential and if you don’t care about what my issues are with using a specialty paint then you are probably better off just using alkyd enamel paints.
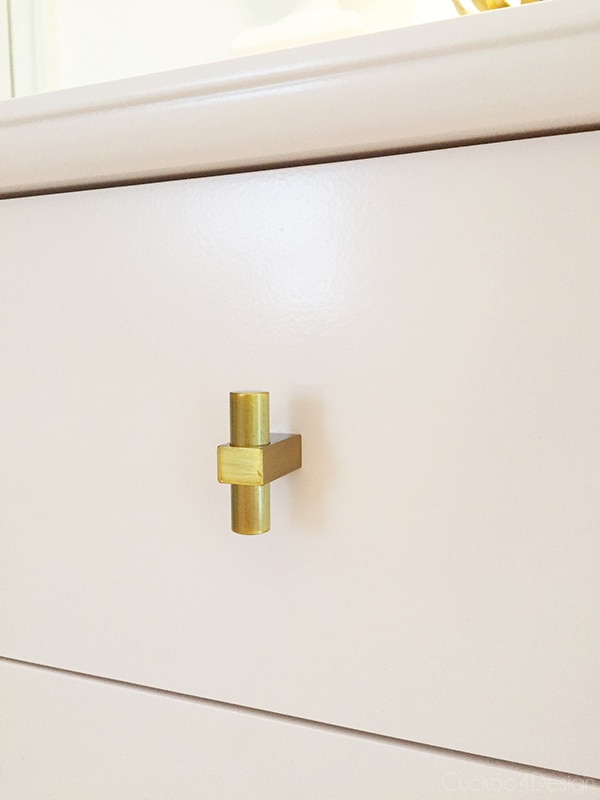
I painted my quartz pink sideboard 3 years ago and it has held up great using latex paint with water-based varnish (HERE). The only difference was that I also sprayed and not rolled the colored latex paint.
3. Number your drawers and doors
This step will save you a lot of time in the end when attaching the pieces again especially if you have a lot of them. Without this step, you might have trouble placing them in the right spot again.
Just use a small piece of painter’s tape with the coordinating number on the cabinet and on the door/drawer front.
4. If using new hardware, fill and sand holes
More about that in tip 6
5. If not using new hardware separate drawer and door knobs
Why? Because the drawer knobs tend to have longer screws than the cabinet doors and this will save you time again at the end.
6. Fixing imperfections in MDF doors and cabinets
Regular imperfections are easily patched and sanded with wood filler but what if you have a bump sticking outwards as I did? This can frequently happen in MDF!
How to fix screw pops and bumps in MDF
One of the drawer fronts had become loose in our kitchen and I wanted to attach it from the inside again with a screw that was barely long enough. And I’m saying barely because the screw popped a little mount of MDF material out into the drawer front surface. Oops! In my case, it was a bigger oops because the drawer was almost done already and this was a setback.
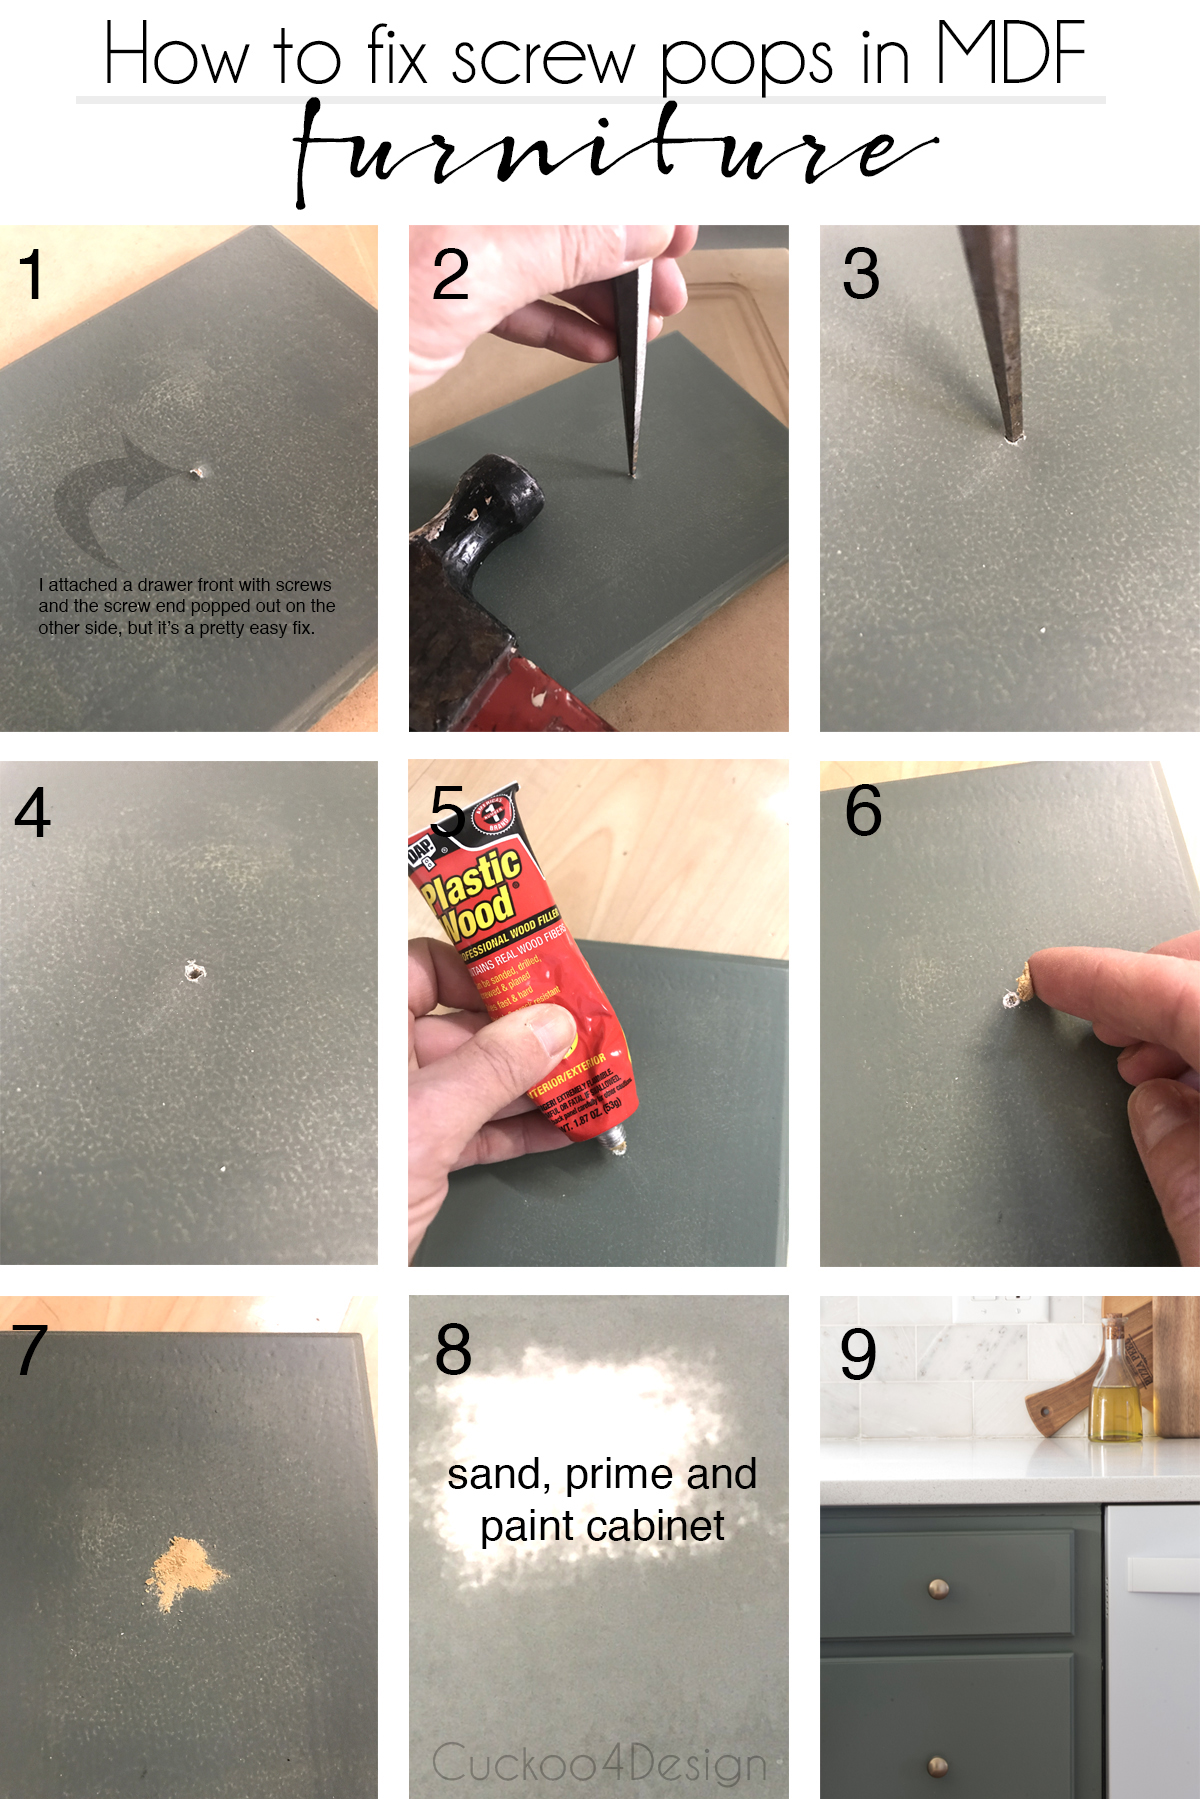
Materials used:
- wood filler (This stuff HERE is great for MDF repairs)
- smooth sanding block (HERE)
- nail setter (HERE)
- hammer (HERE)
How to:
- Here you can see the small protruded bump in the MDF.
- Place a nail setter on top of the bump.
- Hammer the pump back into the MDF board.
- Which leaves you with a deeper hole.
- Take your favorite wood-putty and put a dab on the hole.
- Either use your finger or a putty knife to spread the wood filler into the hole
- It’s even ok if it is a little lumpy because you’ll sand it all.
- Sand, prime and paint cabinet again.
- Next time when re-attaching the drawer front just use a slightly shorter screw that is wider than the one you used before to get the needed grip.
Done!
7. Replace damaged drawers and doors
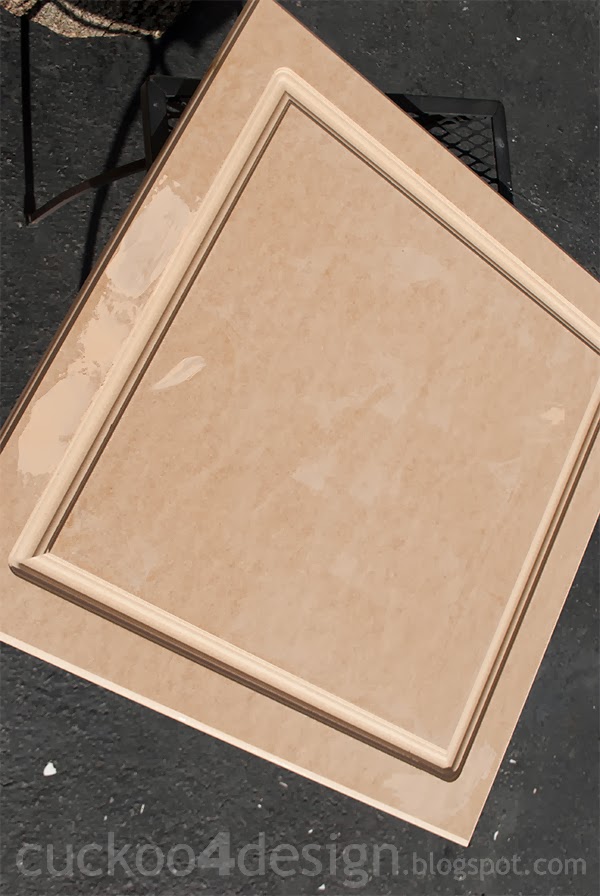
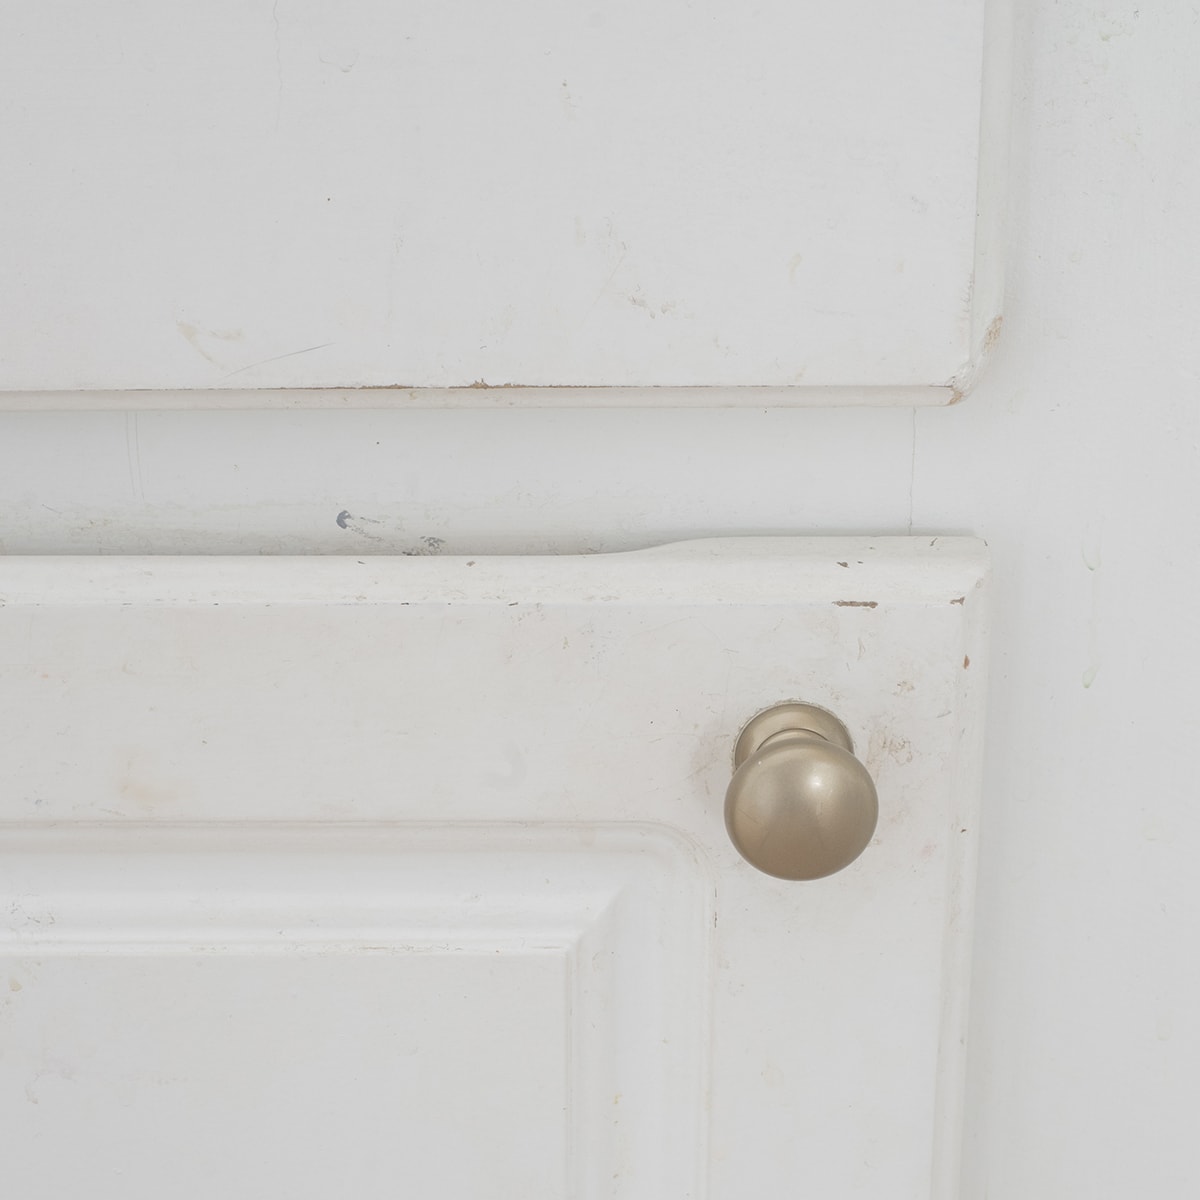
Wait didn’t I just say repair? Well, you see our false front drawer had fallen off so many times that it was beyond repair and I ordered a new MDF one from this shop HERE. They do custom orders too just contact the seller.
You can see that the right corner was smashed.
When I redid our vanity cabinet, I ordered a new MDF door from this shop HERE.
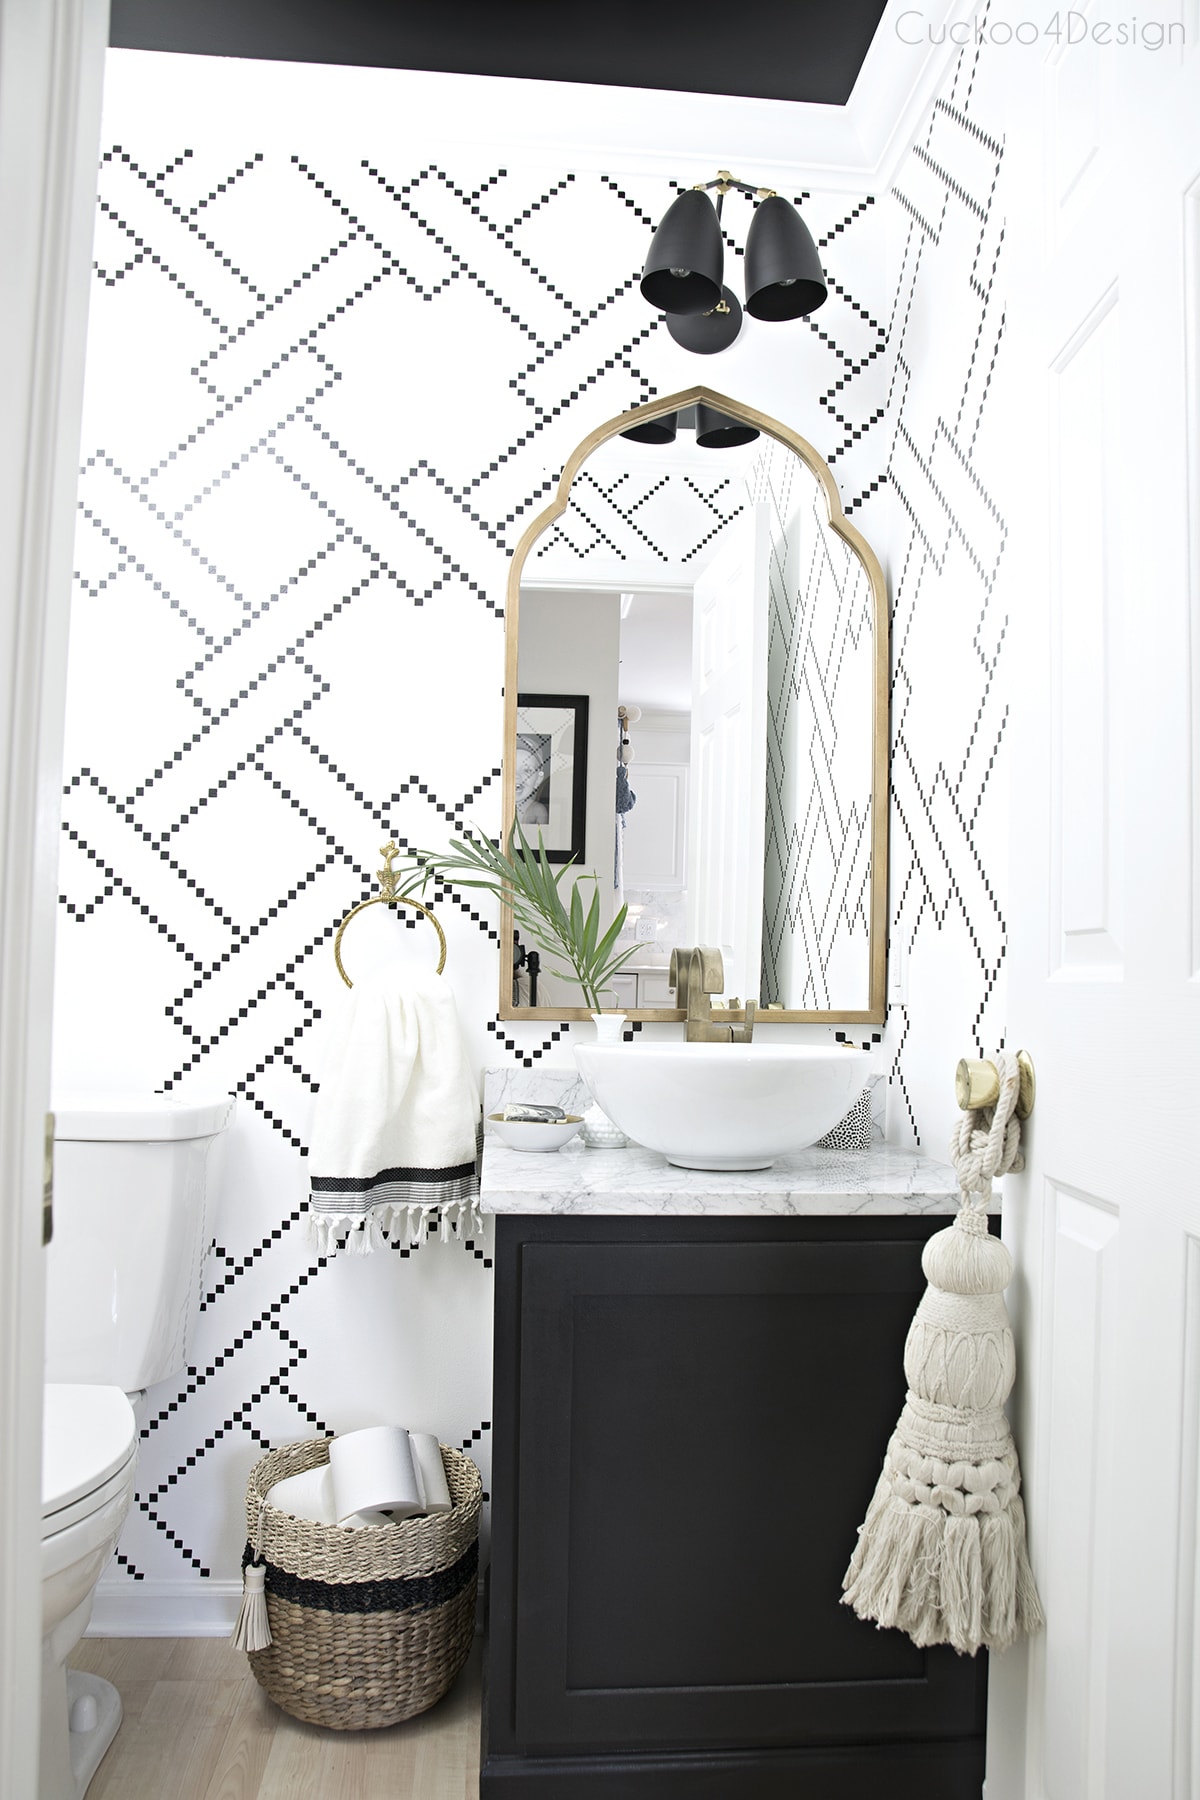
See more of the powder room makeover HERE.
I also redid my spare bathroom cabinets the same way as the kitchen cabinets which you can see below and more photos HERE:
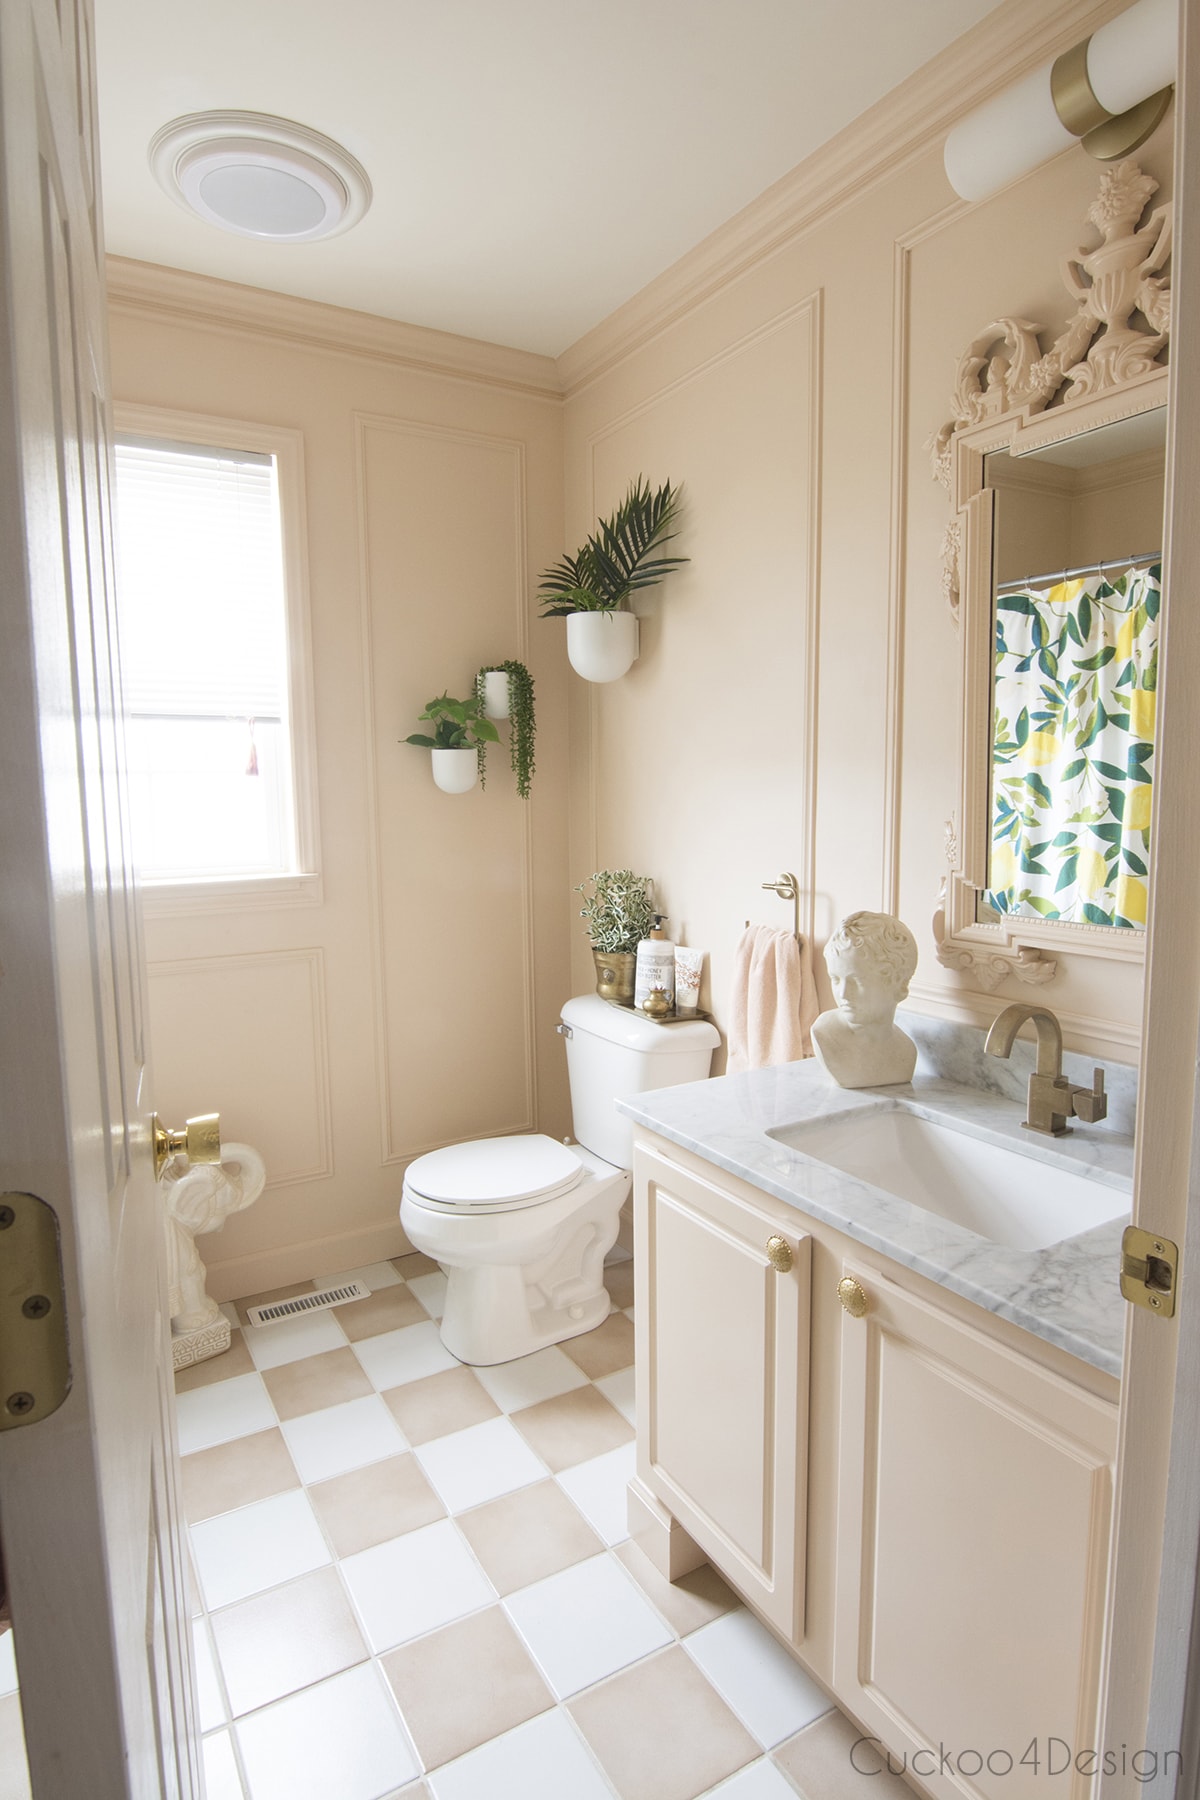
8. Tack Cloth is the most important item
I’ve mentioned before how I couldn’t tackle my paint projects without an abundance of tack cloths. These cloths pick up every single little dust spec and help me get a smooth finish.
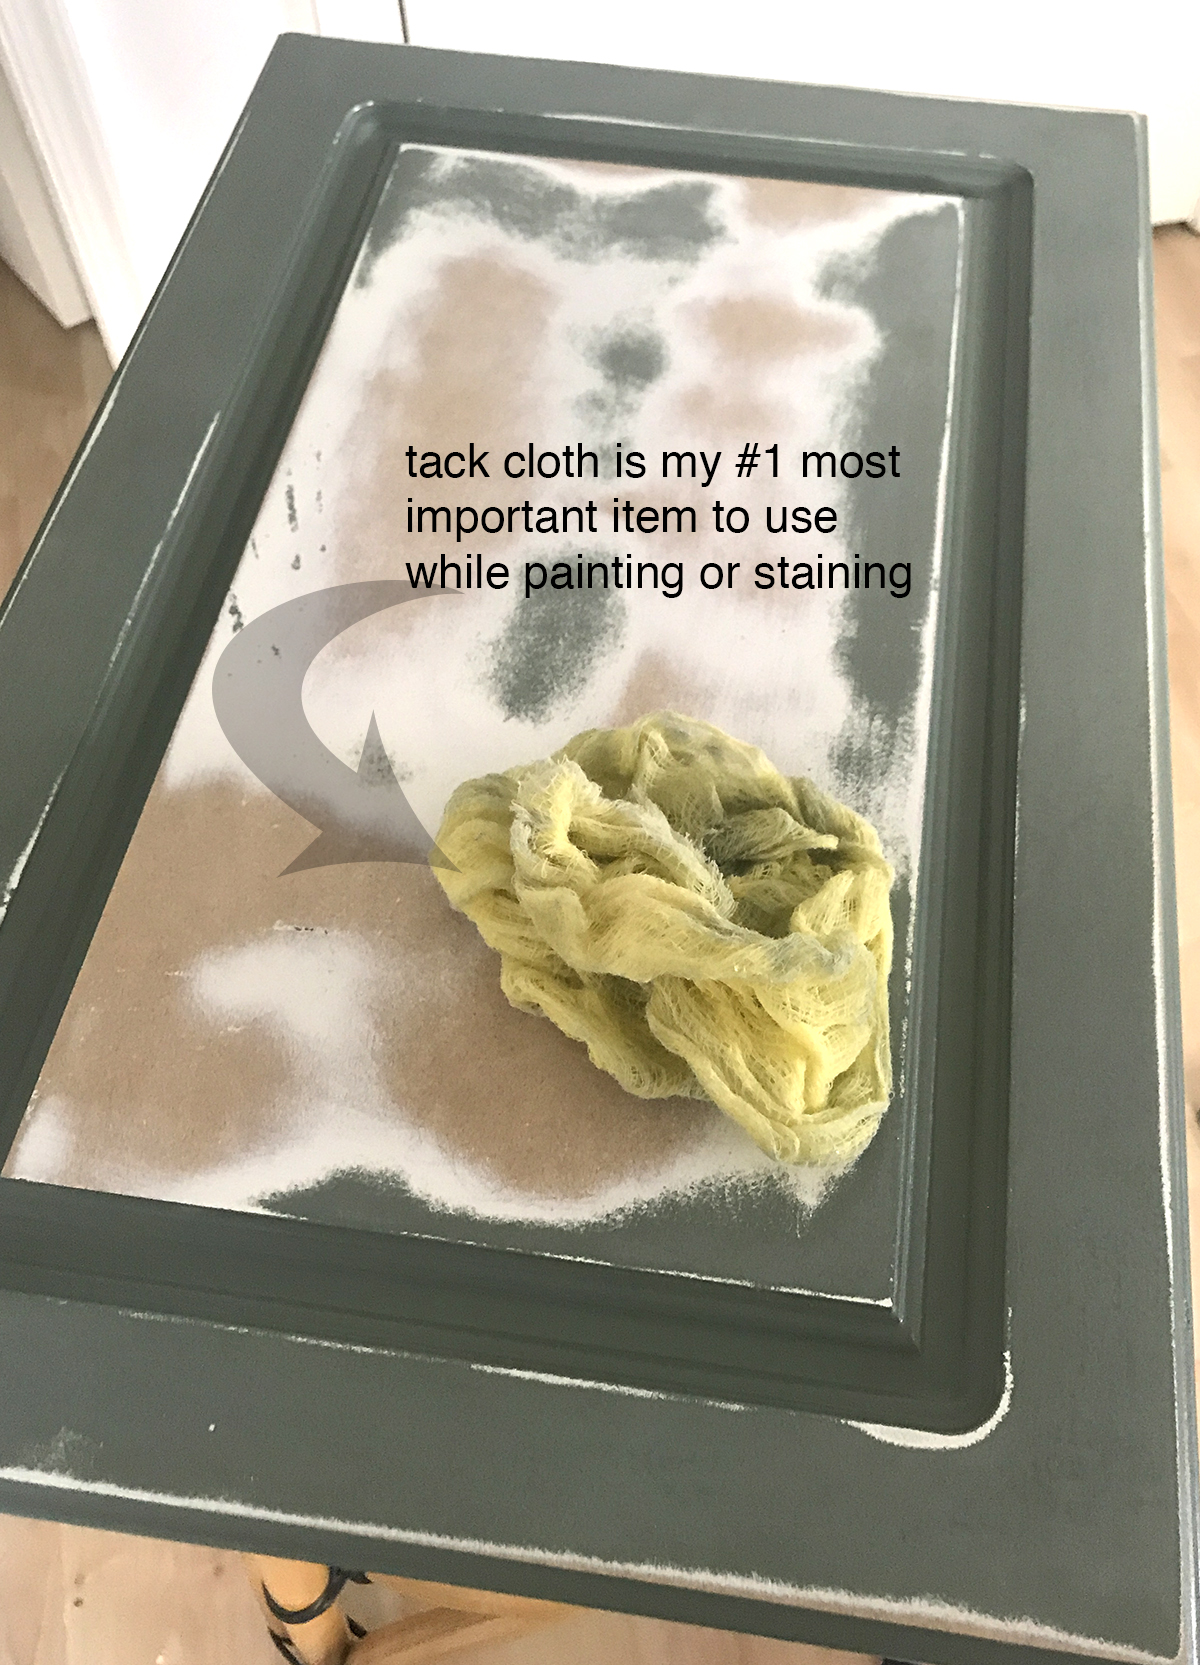
9. Spray your primer
I swear by using Kilz spray primer (HERE) because oil-based primers are messy and this way you don’t have to go through the hassle of cleaning your sprayer with chemicals and possibly ruining your sprayer because you didn’t do a good job.
Just shake the can really long and well before spraying. Make sure you apply thin layers.
TIP: When you are finished hold your can upside down and spray on a scrap piece until nothing comes out anymore. This ensures that the nozzle is emptied out and you can spray again without it getting clogged.
If you are painting your cabinets very dark, consider having your oil-based primer tinted to help with the coverage of the paint color. In that case, you have to roll the primer though. Or use a specialty sprayer since oil-based primer is very thick.
10. Roll or spray your color in thin layers
I painted my kitchen, the same way I painted my favorite pale pink sideboard which you can see. I used the same type of latex paint followed.
As I mentioned in my last post, the kitchen color is Valspar’s Lush Sage in eggshell.
I actually ended up rolling my paint on because it was below zero outside when it was time to paint the color. I like using the standard small foam rollers (HERE) or synthetic mohair rollers (HERE).
I gave THESE rollers a try too that I found at Lowes but hated them. Their description says that they give a paint sprayer-like finish which was pretty close and awesome however there are little black hairs that fall off after using it more than once and ended up all over my paint job. So don’t buy them.
Tip: I use a brush to paint the beveled detail in my cabinets. Rolling that area doesn’t really work well. Even if I spray, I use a brush for that detail first as well.
11. Sand lightly between layers
Some people, even me, forget this step or don’t think it is important but it is. The paint leaves little bumps here and there and sanding in between paint layers is the only way to eliminate them or to get rid of any dirt and dust that might have still made its way into your paint.
AND DON’T FORGET TO WIPE WITH A TACK CLOTH AGAIN!!!
12. Spray very thin layers of waterbased varnish with a sprayer
When I painted my sideboard dresser I sprayed the color and the varnish but this time I only sprayed the varnish with my favorite paint sprayer HERE.
I ended up carrying every drawer and door front into the house to dry after I sprayed a thin layer on because it was still pretty cold in the garage.
The tip to make sure it is a thin layer is so important and I once again had to learn the hard way. I had let someone borrow my sprayer and the nozzle wasn’t cleaned well which made the sprayer spit out uneven coats of varnish that were way too thick in some areas. This resulted in a crocodile skin or crackled finish on the varnish.
I was so upset when I had to resand and redo all the above steps. I stuck with it, cleaned my nozzle and finished the project.
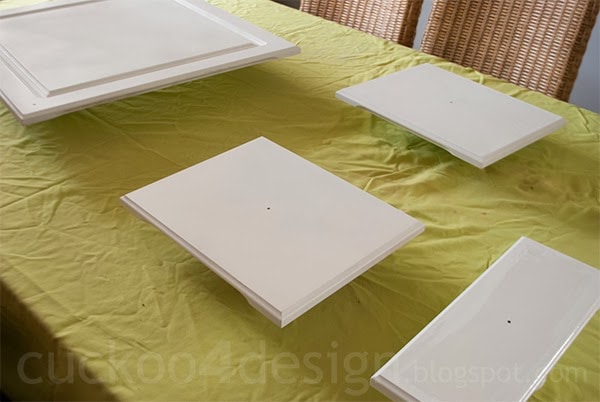
Tip: I place boxes or pieces of scrap wood under doors and drawers while drying.
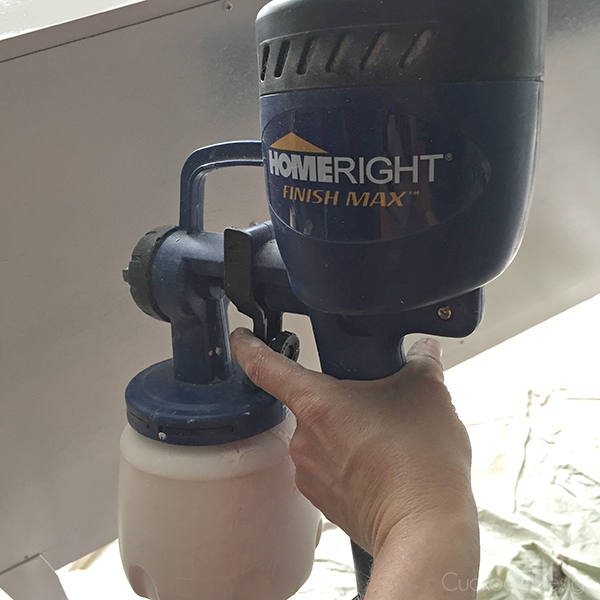
13. Make sure your paint sprayer is cleaned well
Well, like I said above. I could have avoided a major headache.
You should also make sure that your rollers are clean before using them.
14. When spraying and painting outside use a painting shelter/tent
I also learned this the hard way when I was sick of leaves and dust flying into my new wet and sticky paint jobs. This one HERE is a great one.
15. Don’t use polyurethane as varnish
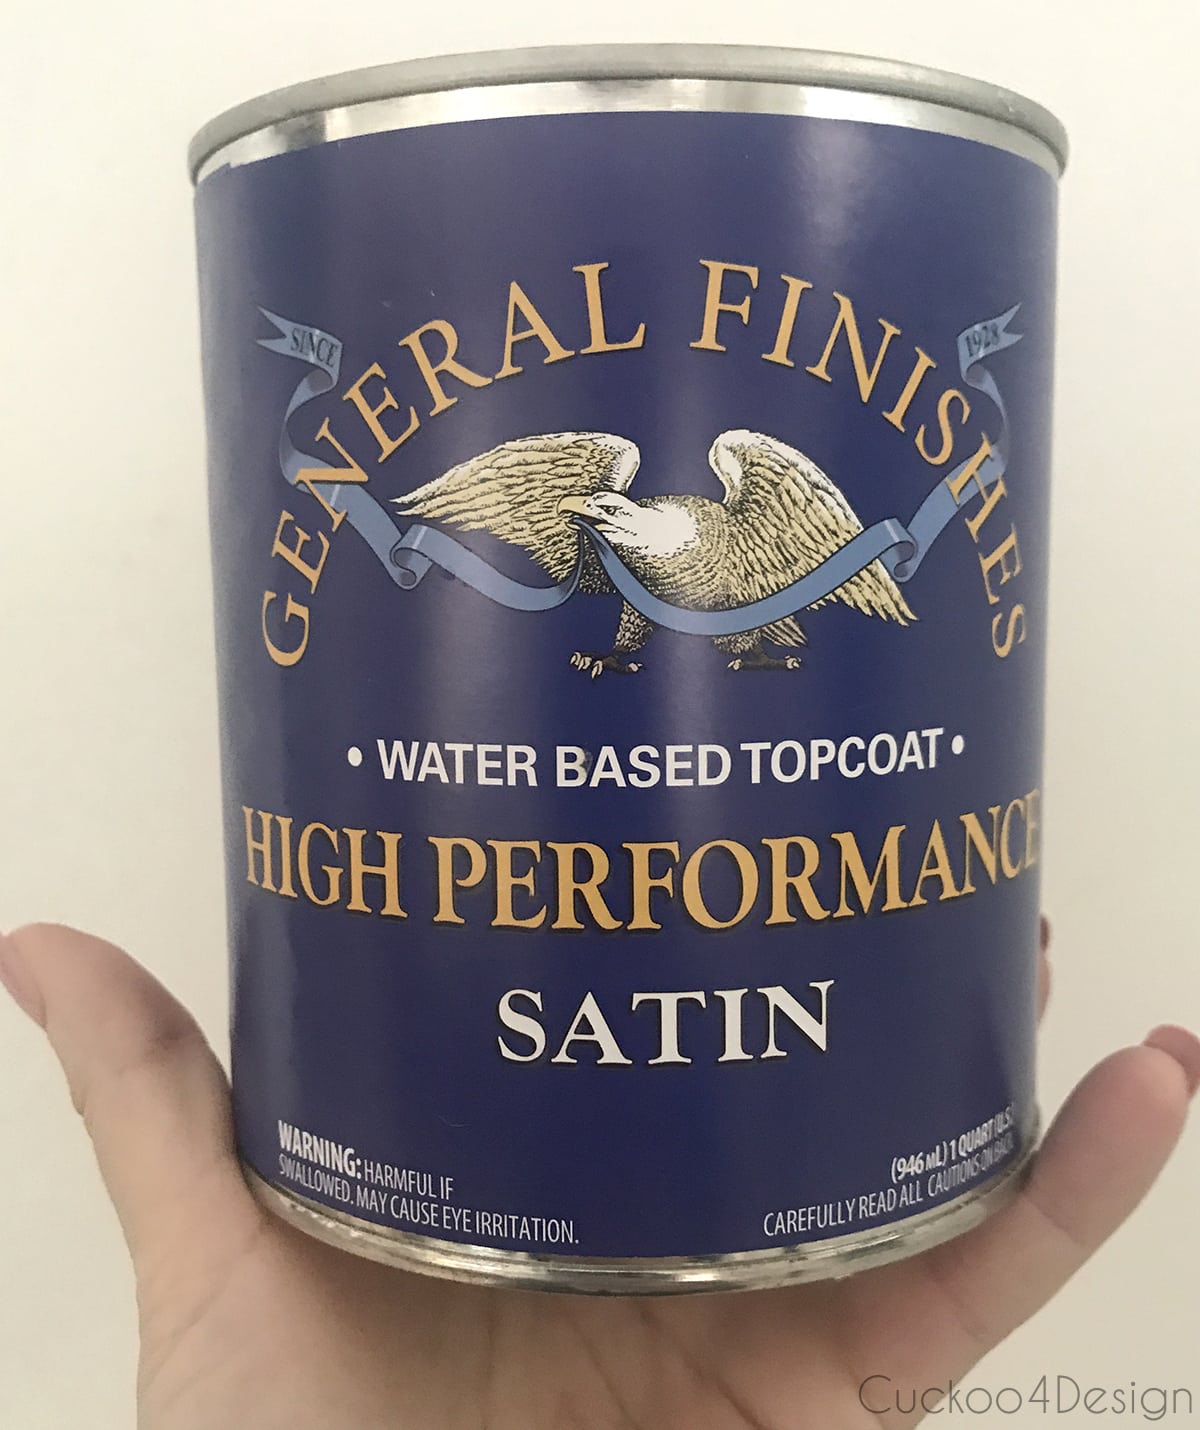
The reason for that is that it yellows over time. I like using waterbased topcoats. There is no smell, it sprays great and I love the finished result.
My favorite is this varnish HERE and HERE in either semi-gloss or satin. For the kitchen, I used the satin finish and for my sideboard, I used the semi-gloss.
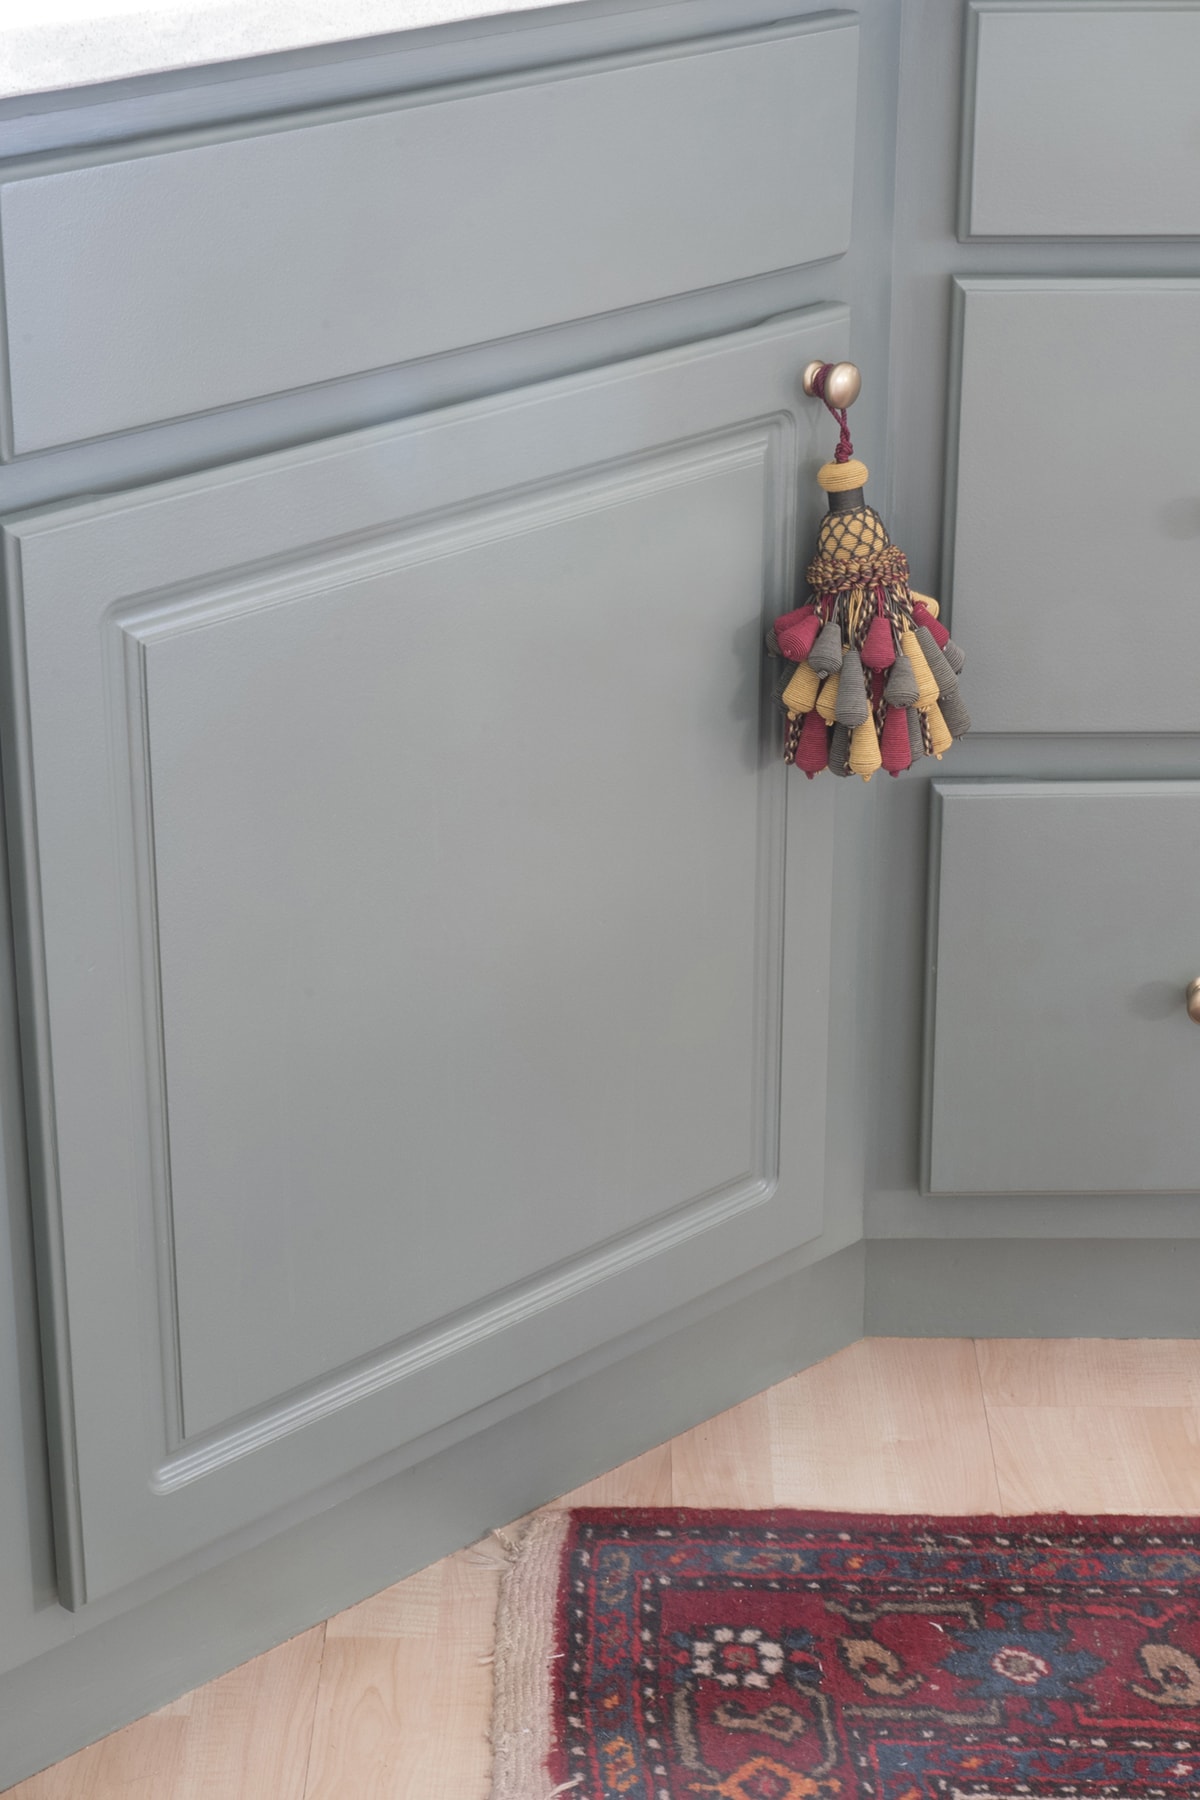
16. Attach the hinges to the doors first before hanging them on the cabinet
This helps tremendously and also prevents your newly painted pieces from getting scratched up already. You might also need a second set of hands to hang the doors again.
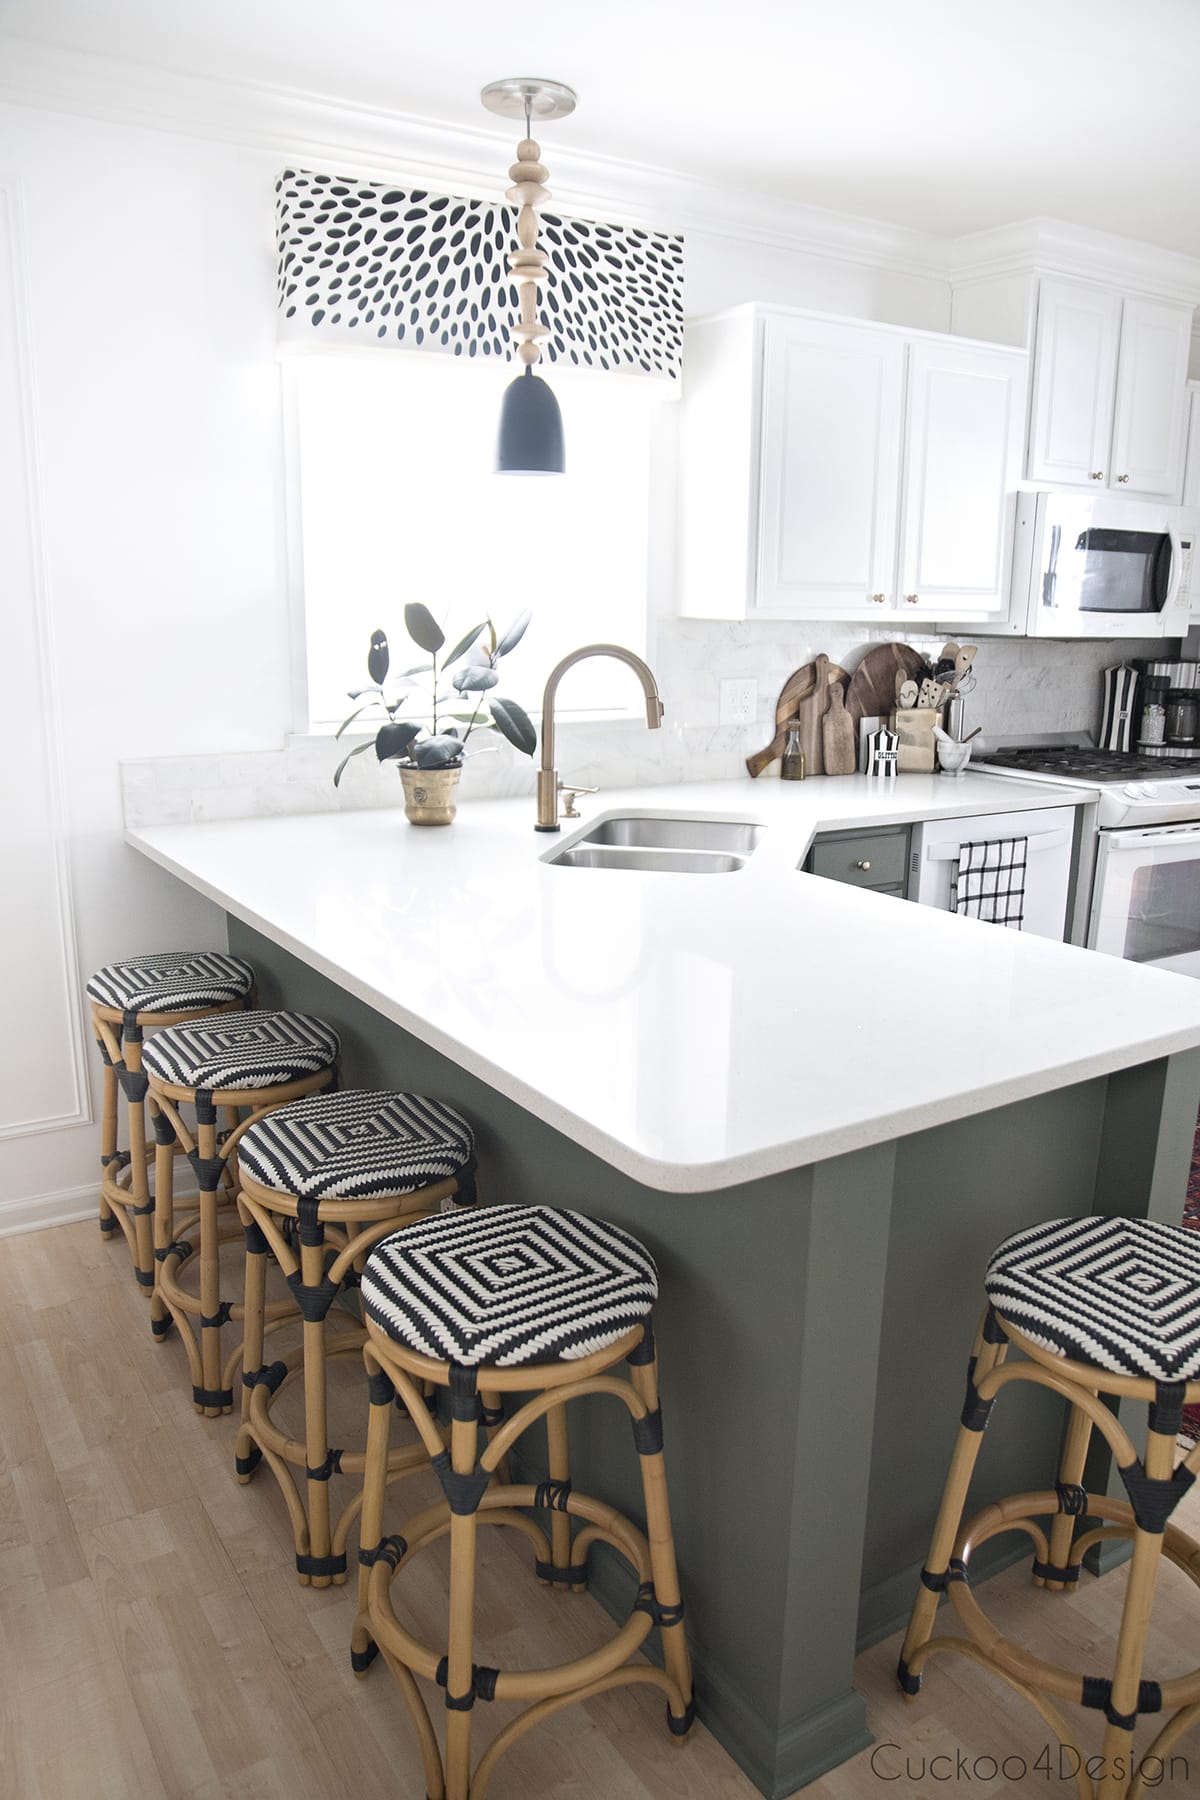
See more of the recent kitchen makeover HERE.
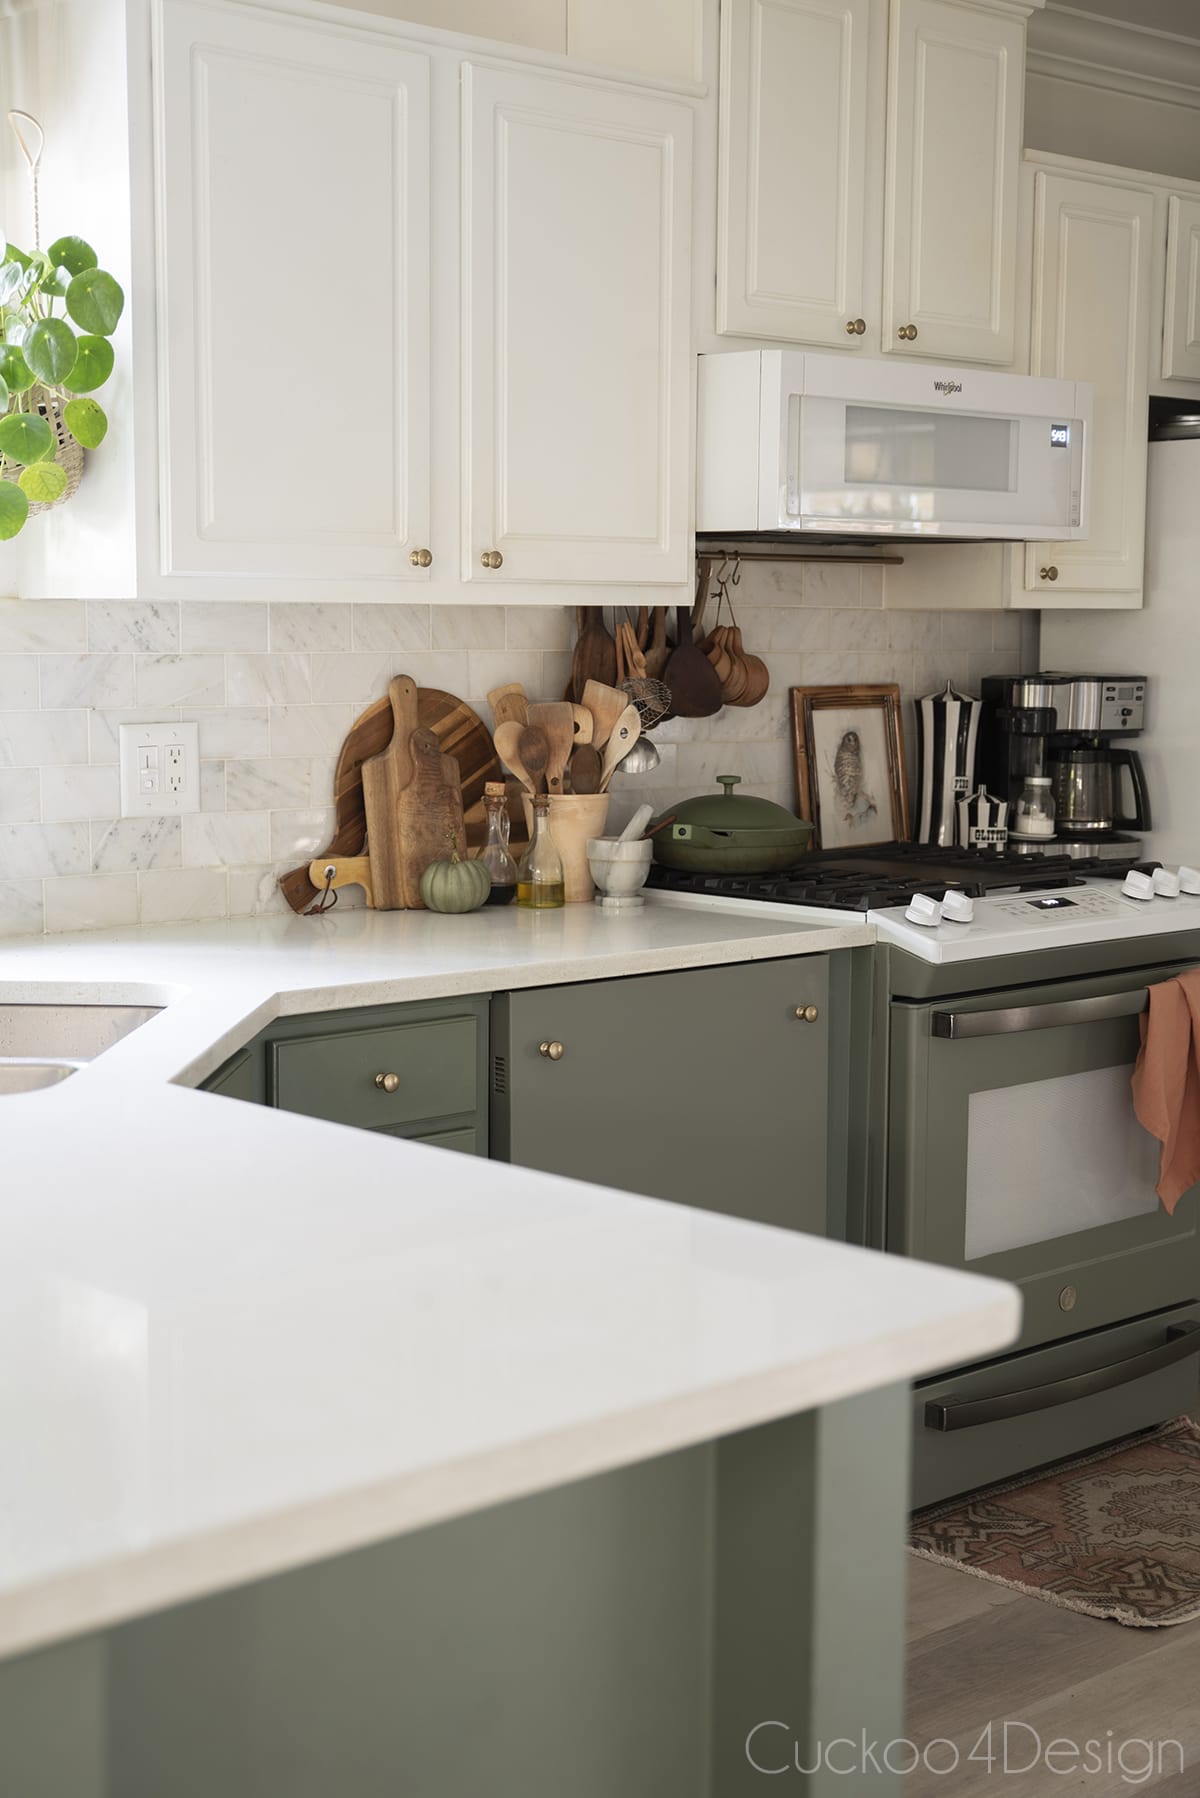
Also, remember to check my other painting tips post HERE with some helpful painting and cleaning tips.
Tools and materials I used for my kitchen cabinet project:
- small rollers and tray
- good paint brush for latex paint
- paint sprayer
- painters tape
- screwdriver
- nail setter and hammer
- wood filler
- grease cleaners like Krud Kutter or TSP
- various sanding blocks
- several tack cloths
- Kilz spray primer
- colored latex paint
- varnish
- new replacement drawer front
I hope you liked these tips and that they help you tackle your own kitchen cabinet project. As always, please ask questions and I can update this post with the answers.
No question is stupid and there might be others who have the same one and I just didn’t think of it.
Tschüß,


these are awesome tips- i love that topcoat!
I know you do 😉
You rock!
What a great job. I’d be totally insane 25% of the way through (or divorced).
Did you have a garage in which to work?
Haha, if we’d work together on these projects we’d be divorced too. And yes I have a tinny garage to work in and my husband complains that he has to remove his motorcycle when I paint 🙂
I recently became aware of your blog via Cuckoo 4 cats. What an informative post. Can’t wait to build an outdoor project/two. I signed up to your blog and eagerly look forward to new posts. Today’s post ’16 painting tips and tricks for kitchen cabinets’ was incredible. Of course, you are aware of all the information available via the internet. For me, this will be my go-to bible. The straight forward narrative, tips, photos, resources are and will be so helpful. I now feel ready to tackle painting my kitchen cabinets.
I’m having a fun time reviewing all posts. Keep up the good job. Thank you!
Well, thanks so much for reading Marilyn!
Thanks for posting your tips, Julia! Interesting to learn the info on reasons you use latex!
I looked through this very briefly and these are great tips. I do some of these also. It makes for a great job.
I just read your blog and found it very useful. They look great, you can always rely on CFS! Your kitchen furniture is lovely too
Excellent tips! Going to use some of them in my next project. Looking forward to more ideas!
Amazing tips! I love that you’re so thoughtful and detailed when it comes to painting the kitchen cabinets. Cabinets are the piece of furniture that can surely enhance the look of any kitchen and make it look brighter and more elegant. That’s precisely how your kitchen looks like after this painting project. Thanks for sharing this, it was much-needed!
I just found your blog the other day and I have been devouring it! You are fabulous — I love your style and your authenticity. I am going to tackle my laminate kitchen cupboards this summer I think. Love your tips — thank you!
Very well structured blog! I’m so glad you mentioned about knowing what material you are painting on. I’ve been working for the Handy Squad decorating for a while and I cannot stress the importance of knowing what material you are looking to paint. Good post! Luke
This is extremely helpful – I came from your other post about peeling laminate rather than painting over it and I plan to explore this further. My question is that seems doable for the doors/drawers but what about the cabinetry itself? Did you paint directly over laminate once you removed the doors/drawers? If so did you sand it down?
Hi Alyssa, my cabinet frame actually never had laminate on it. I’m not sure if that is a standard thing or if it’s like that just for ours. I guess, if they had laminate on them then I would have peeled that off as well. Hope that helps and good luck.