

10 Easy painting tips and tricks for a professional finish
Painting projects can feel overwhelming! Drips, streaks, and uneven edges can quickly ruin your hard work. Over the years, I’ve discovered the most effective painting tips and tricks through trial and error and countless DIY makeovers. These DIY painting tips make every project (from walls to furniture to cabinets) faster, easier, and more professional-looking. With the right techniques, you can achieve clean lines, smooth finishes, and a polished result without the stress.
Some of these tips are particularly helpful for cabinets—see my complete guide on painting kitchen cabinets for a step-by-step approach.
10 easy painting tips and tricks for a professional finish – DIY painting tips
As I mentioned on Friday, I have been working on a lot of painting projects. And it always amazes me how much of a difference a fresh coat of paint makes. It was about time in our powder room. You really don’t need a ton of money to make a room look clean and fresh, and actually also smell new again. Paint is magical.
I know Pinterest is filled with all these tips and tricks that everyone else claims are the best but it’s all also preferential. What might work for that person, might not work for the next and you have to pick and choose and maybe even come up with your own versions. I know I learned mostly from trial and error. A lot of the things might come naturally to me after doing them so so many times but for some of you who don’t do it as often as me, it might be new.
So here it goes.
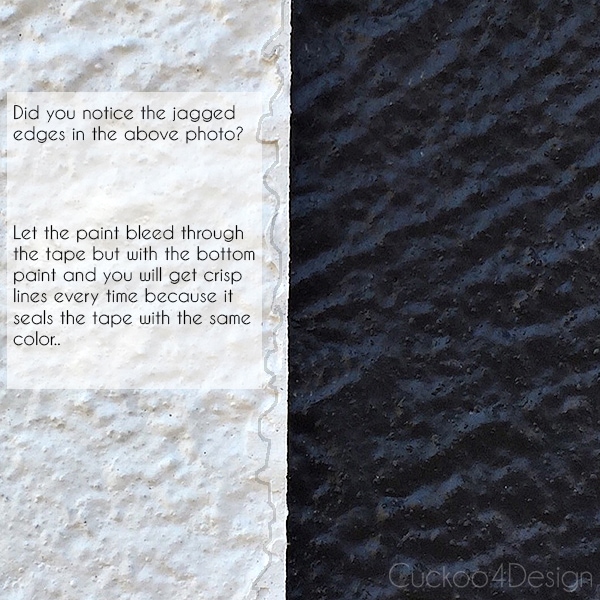
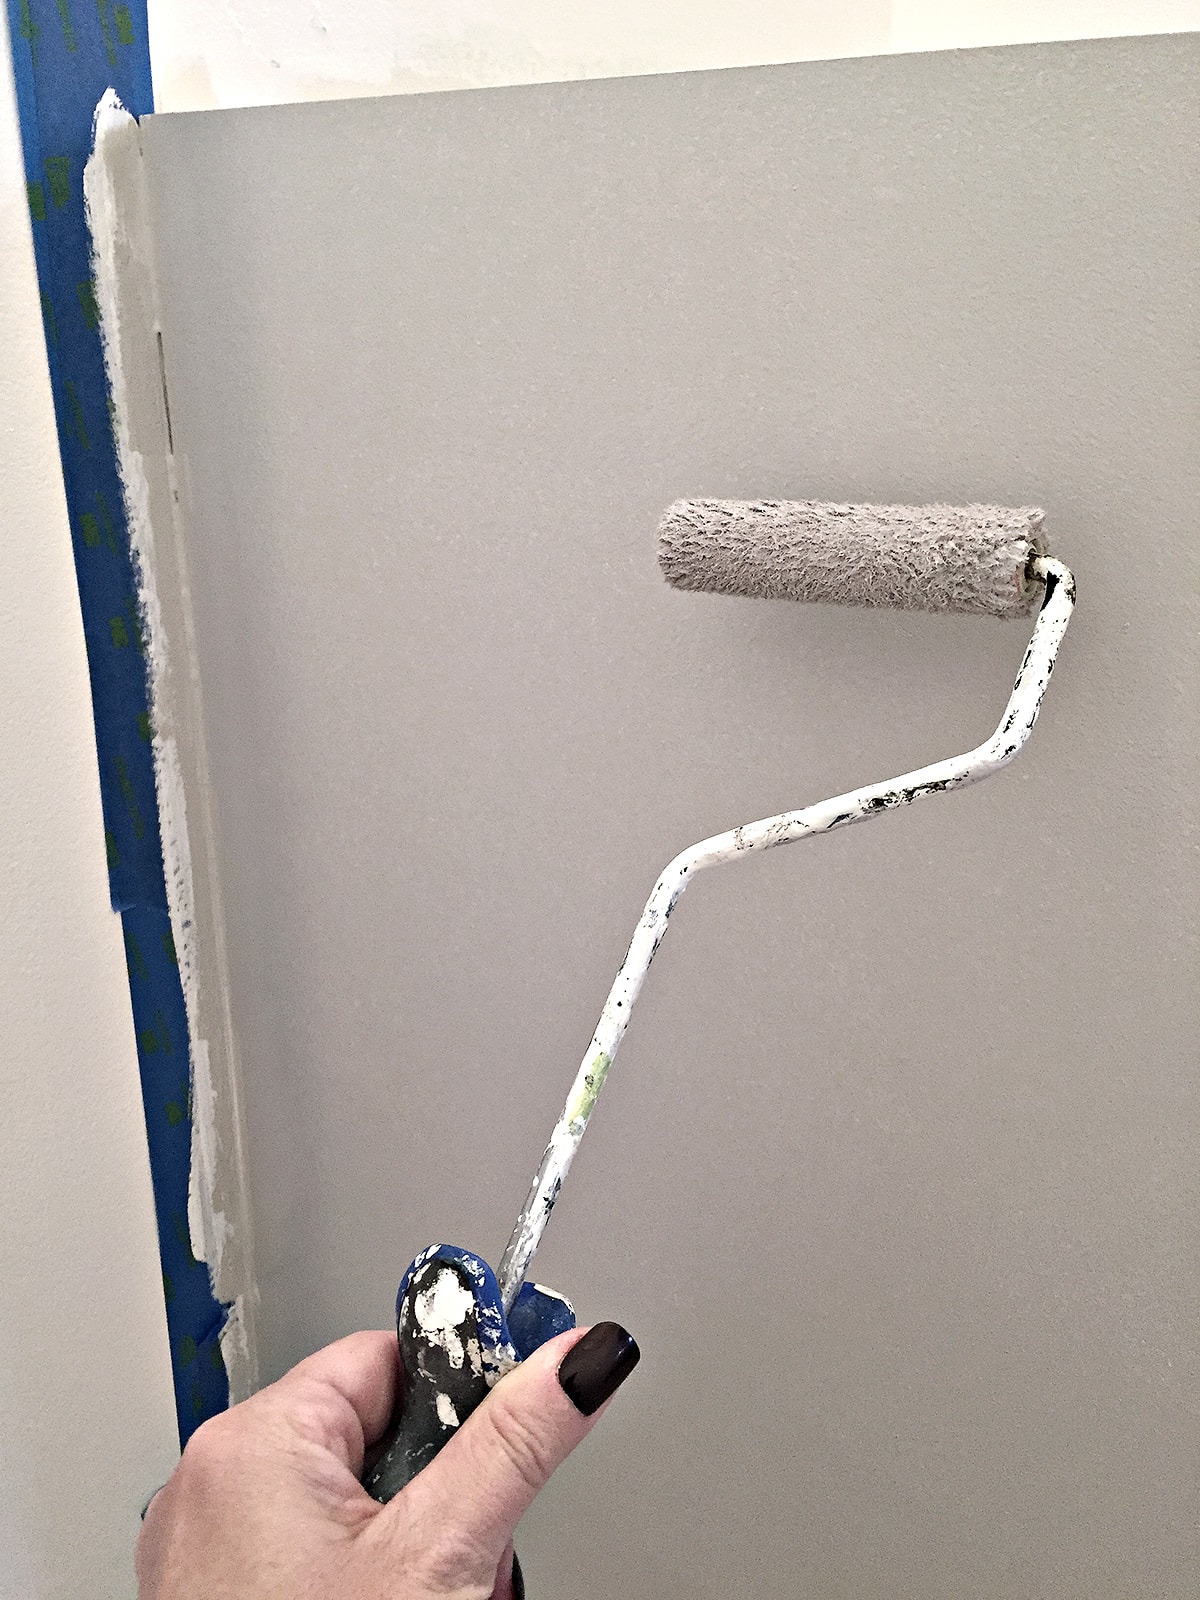
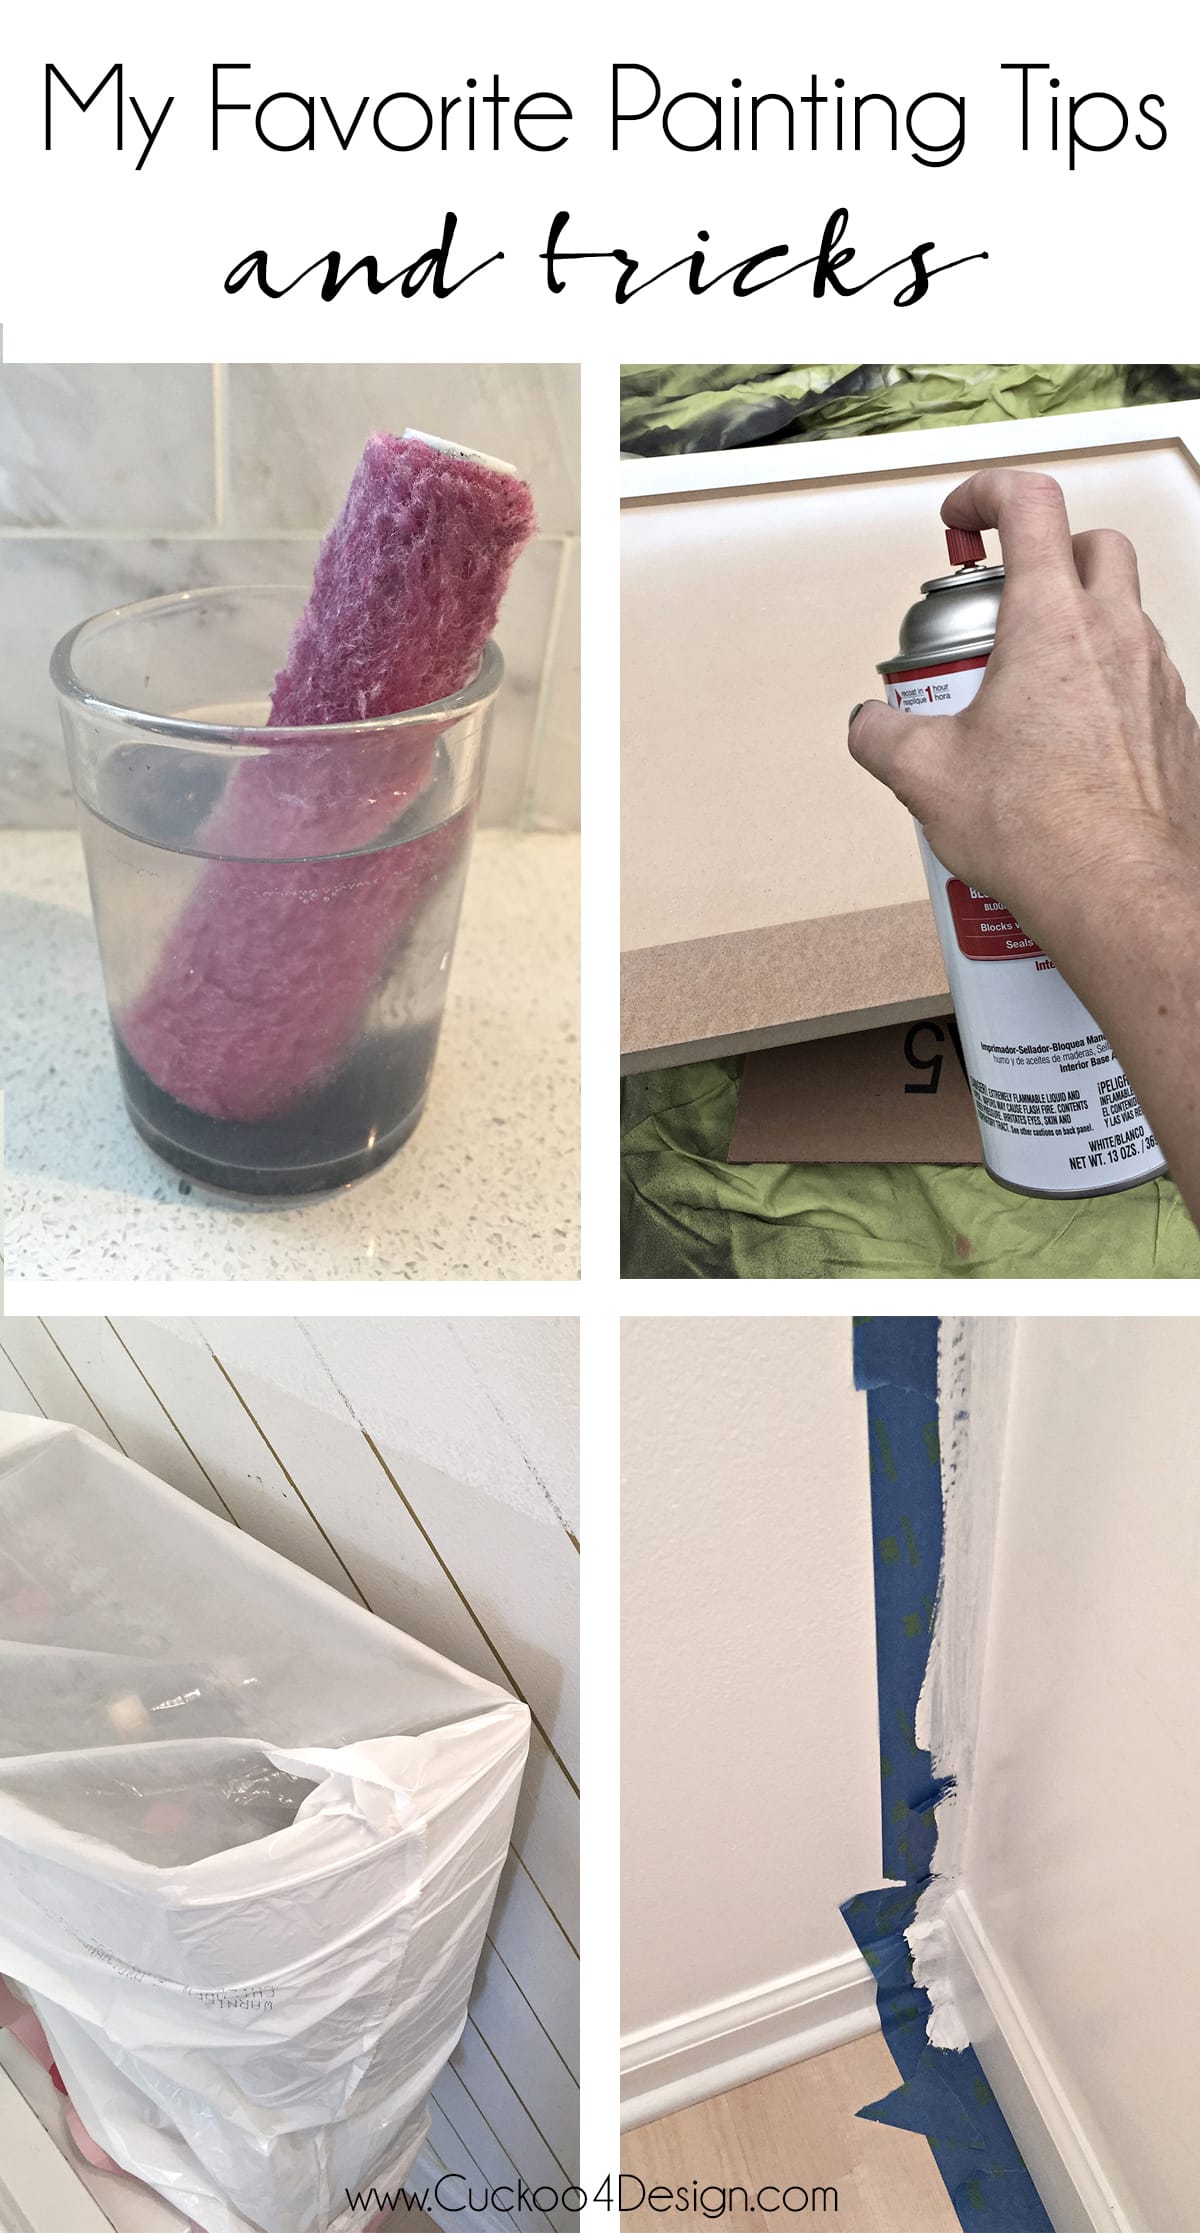
1. Seal painter’s tape like a pro
One of my top painting hacks for beginners is sealing painter’s tape to prevent bleeding. After applying the tape, brush a thin layer of the base color over the edges. Let that dry to the touch before painting your main paint color. This simple step ensures crisp, professional lines, whether you’re painting walls, cabinets, or molding.
The truth is that the paint will always bleed under the painter’s tape. With my hack, you are simply letting it bleed, but it’s not noticeable because the bleeding color is the same color! See what I mean below?!?
You can see this trick in action in my blog post about how to paint crisp lines on my striped front porch makeover.
And here is another example. I painted my bathroom vanity black. But before I painted it black, I sealed the tape with the same white wall paint.
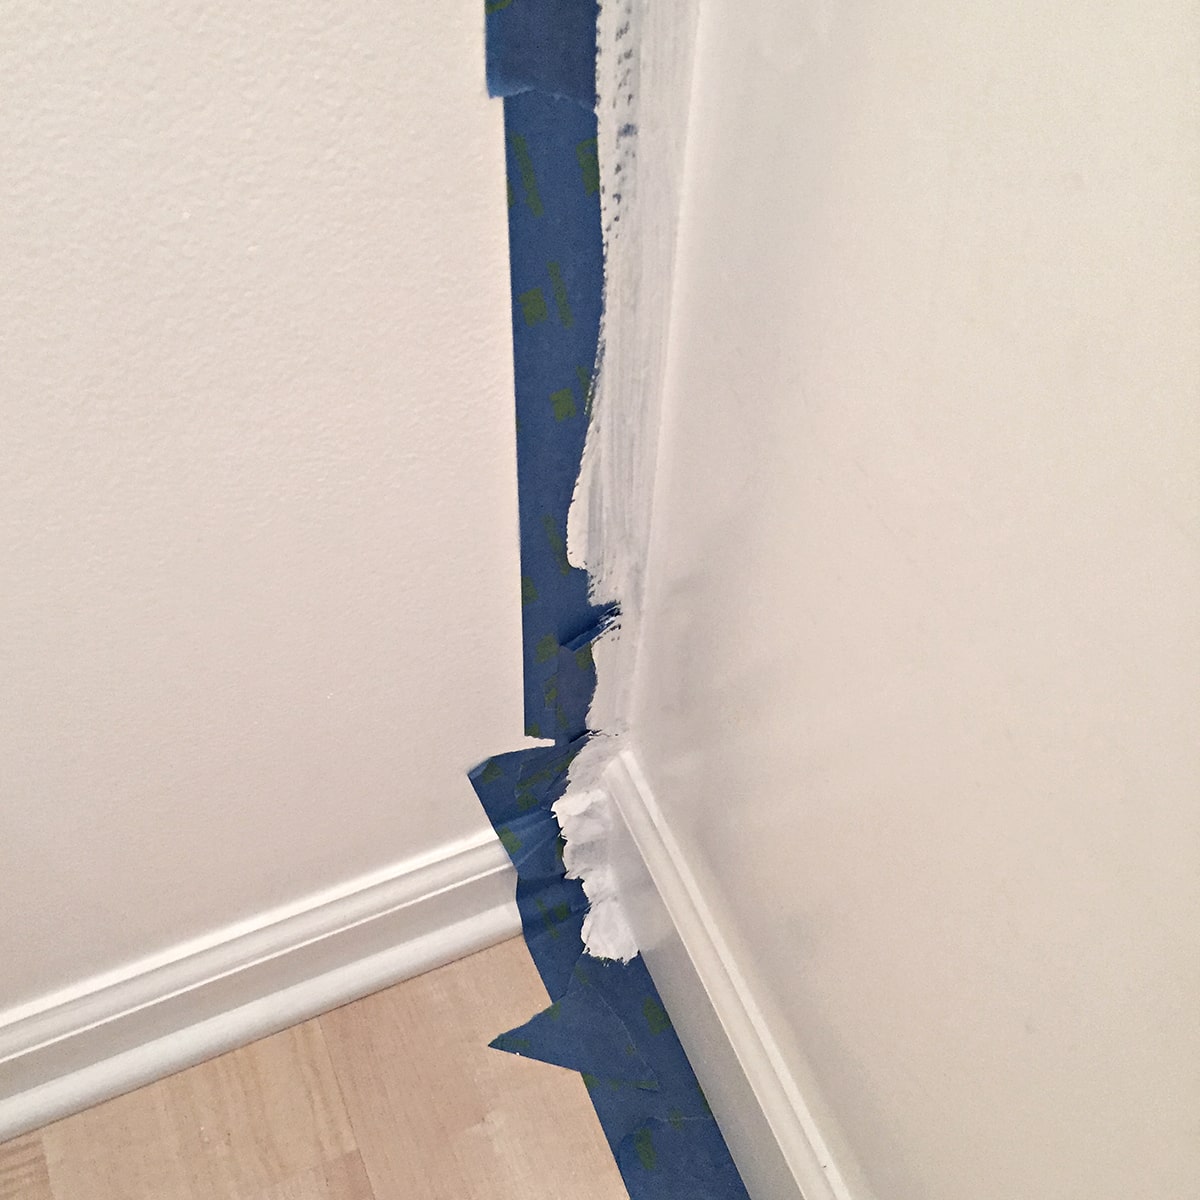
It takes a little bit more time to do but is so so worth it. I also used that method for where the ceiling meets the crown molding.
I painted the molding with a fresh coat of paint first, not worrying about the ceiling. Then I taped the molding, sealed it with the same color as the molding, and when it dried just painted the ceiling black. It looks professional and great.
2. Use garbage bags to save cleanup time
Line the paint trays with garbage bags before pouring the paint into them. Also, store your roller in a garbage bag as roller covers. And your brushes in ziplock bags between coats to keep the paint fresh. Keep any air from getting into the bags by sealing them with a rubber band or tape.
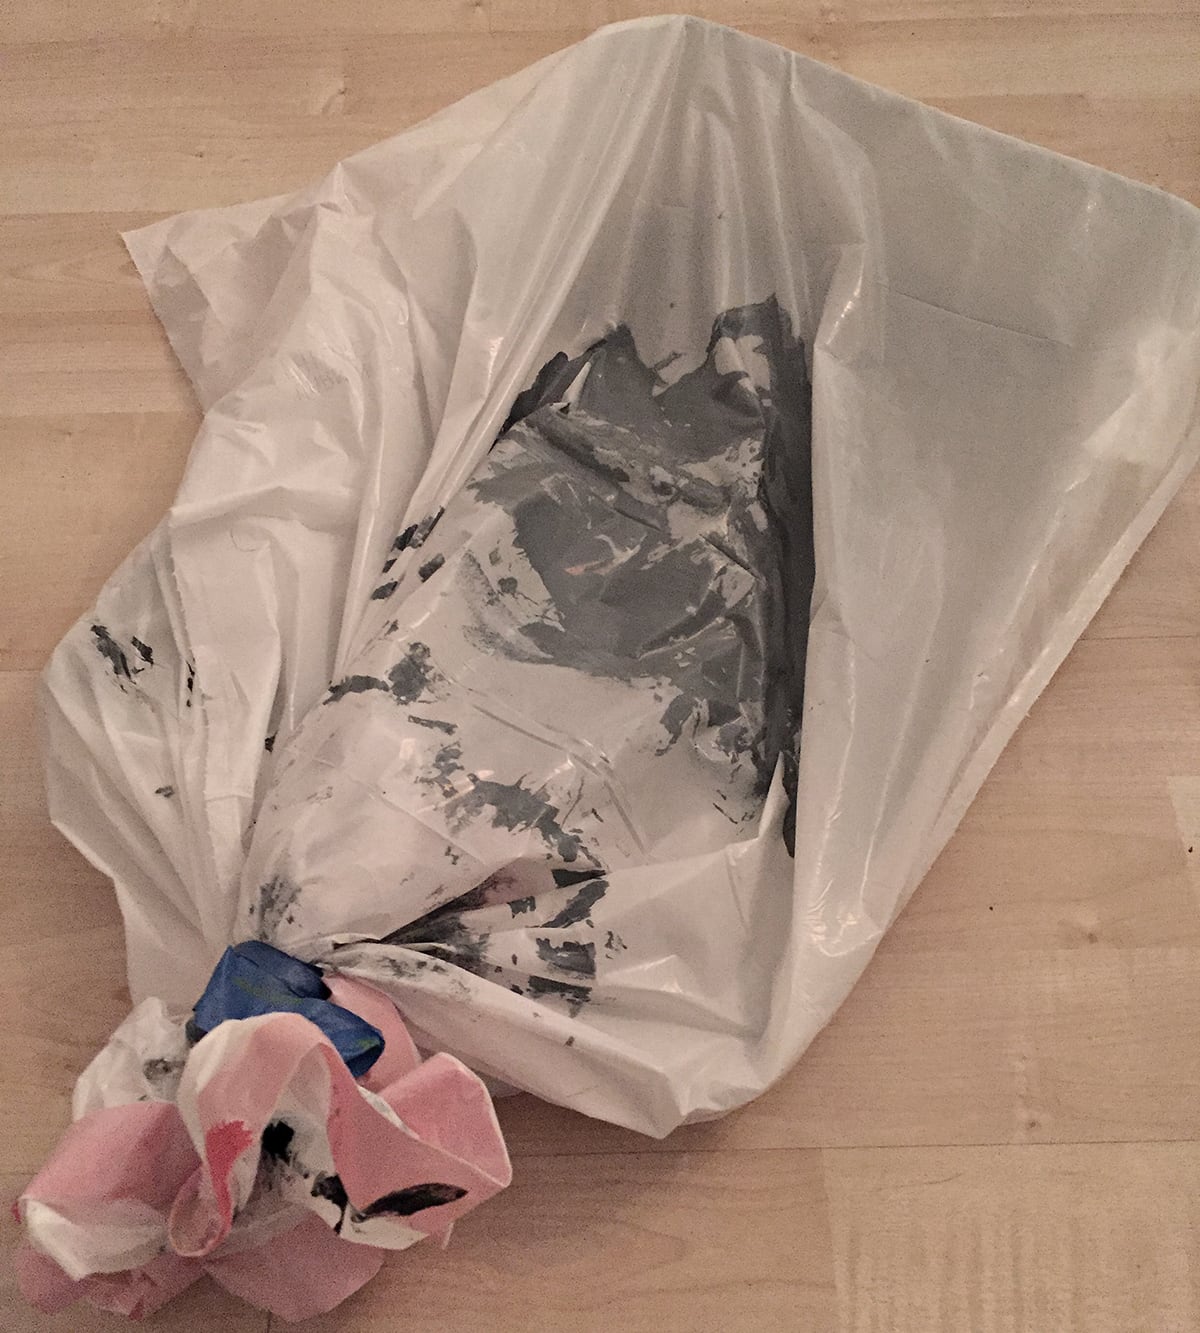
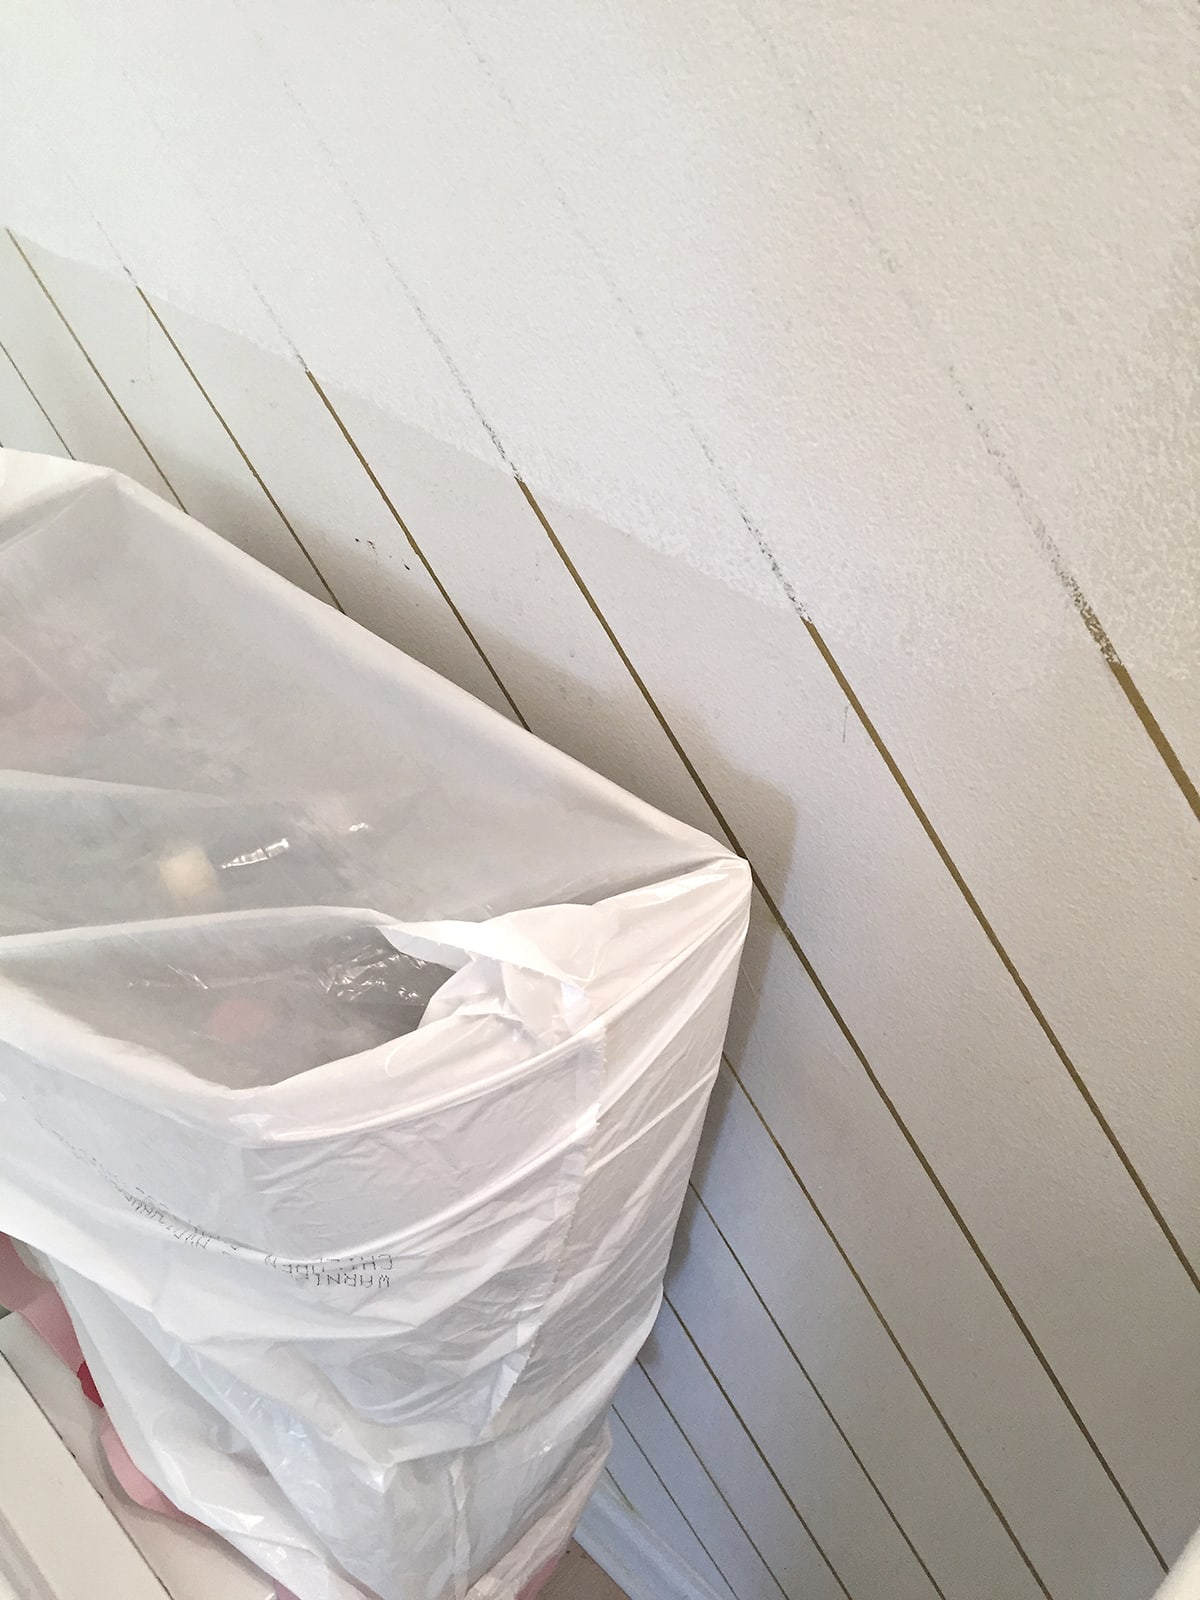
You can also cover furniture or hardware with plastic bags before spray painting to protect their surfaces. This is one of my favorite DIY painting tips for saving time and avoiding messy cleanups.
Here is an example. I slipped a garbage bag over the toilet tank when I painted my bathrooms. I can squeeze a small roller right behind the toilet tank without getting paint all over the tank.
For my wooden bar stool makeover, I only painted the legs and slipped the bar stool seat into a trash can to protect it from the spray paint.
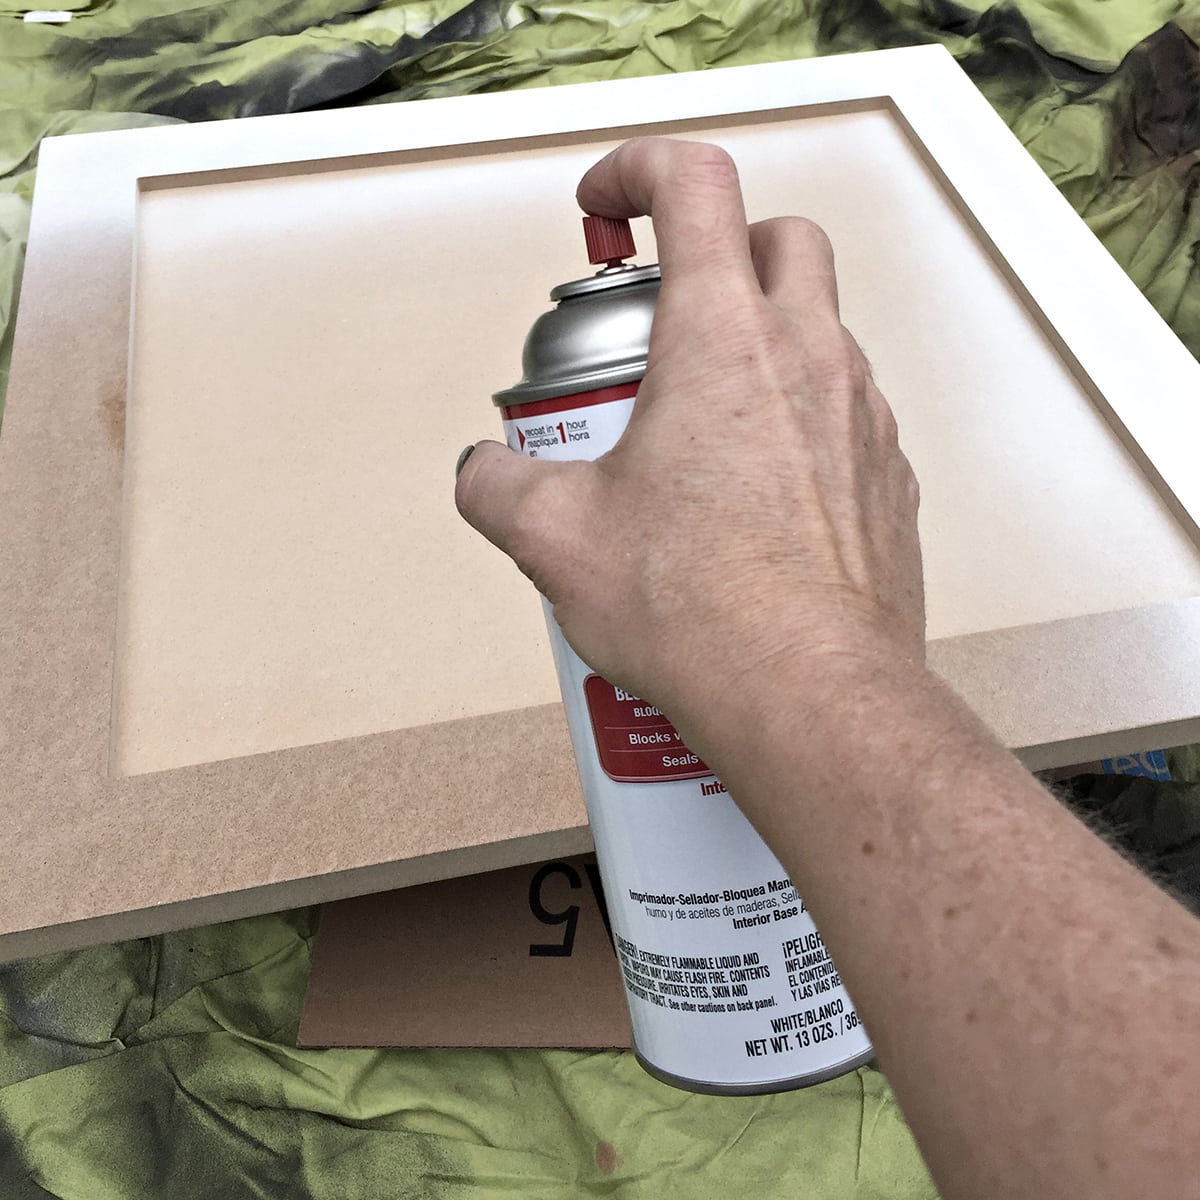
3. Choose a high-quality primer
An oil-based primer works wonders, on stained walls, to cover wood knots, or to help your final coat of paint adhere better.
My favorite is Kilz oil-based spray primer, which is use for most projects. You need to shake these cans really well and for a long time. Then apply light coats, sand between coats, and you’re ready for a smooth, even finish before starting to paint your project. For spaces without good ventilation, a latex primer is a safer alternative.
This primer comes in cans too but I prefer to spray it.
When I can’t spray the primer, I use high-quality rollers to apply the same canned Kilz primer. If you can’t ventilate well, then this latex primer.
When using oil-based primer, it is the only time I don’t clean my rollers and just throw them out. I don’t think it’s worth using all the chemicals to clean them. For regular water-based paint, I always clean my rollers, though.
For the black cabinet that I mentioned earlier, I used a tinted oil-based primer that I had the home improvement store tint for me.
This leads me to my next favorite step…
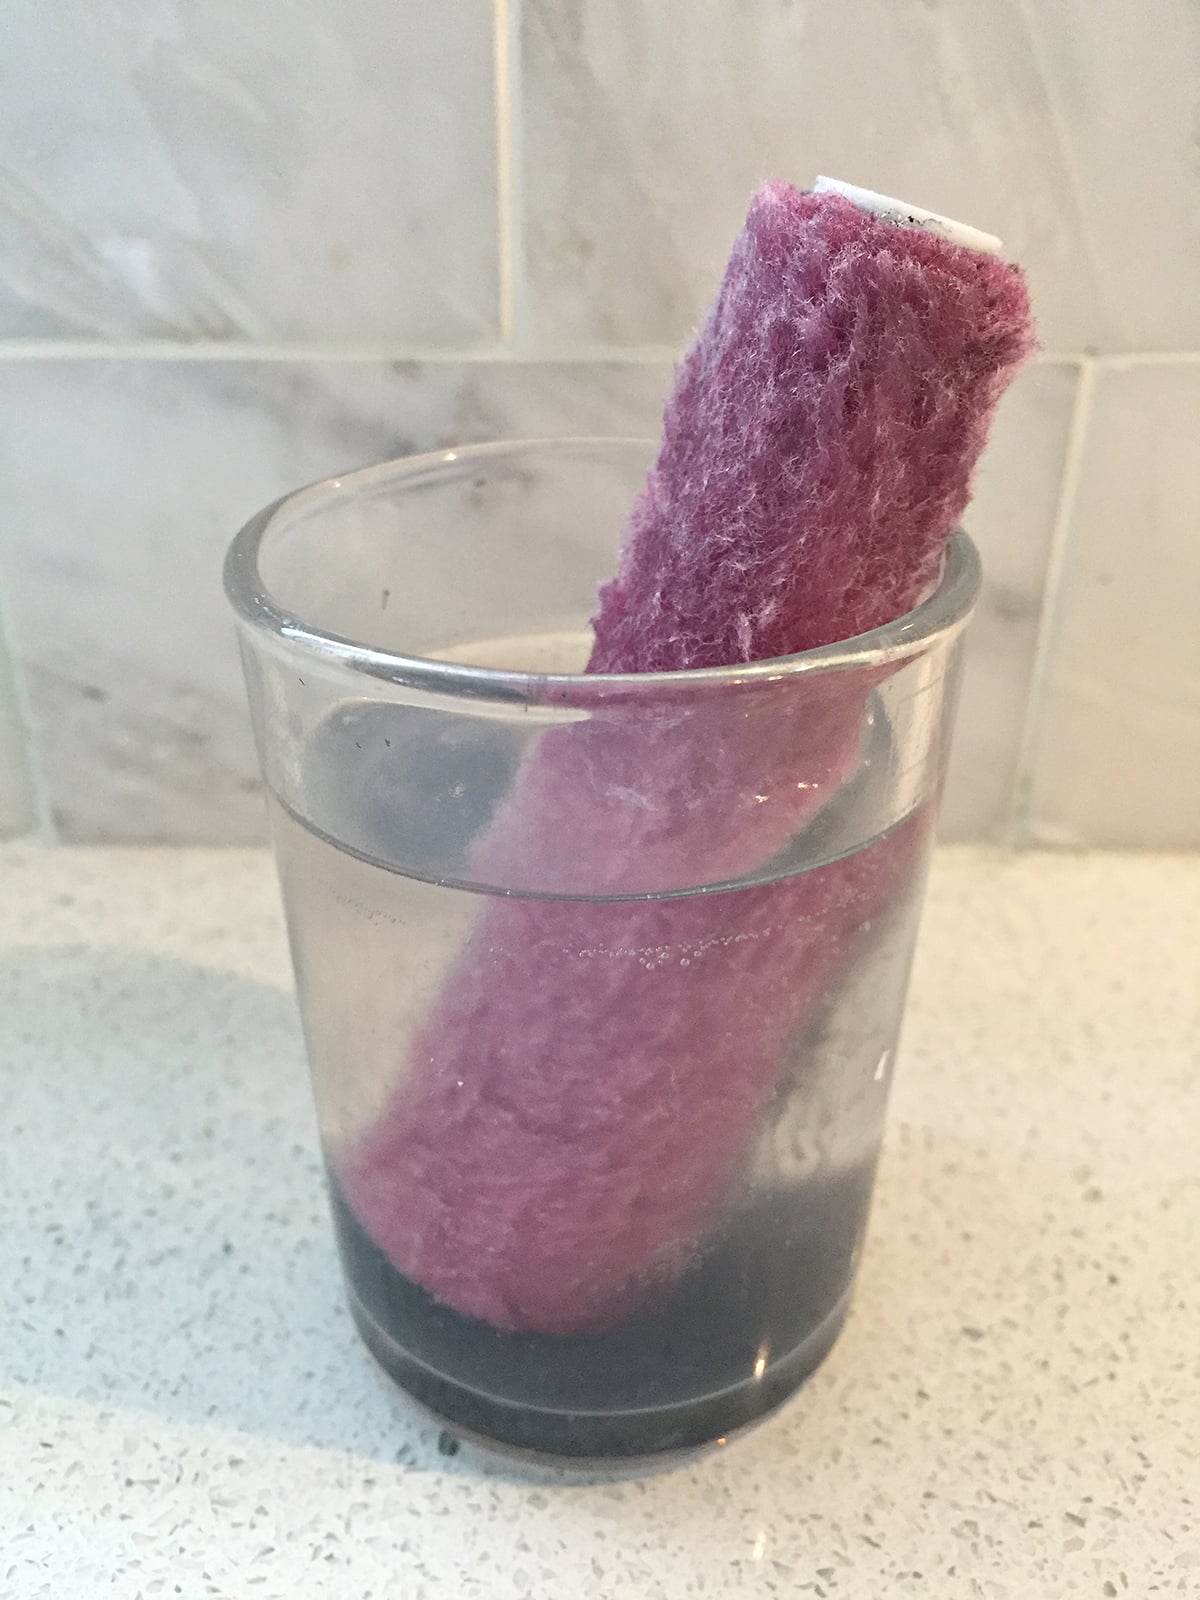
4. Clean rollers the smart way
What does that mean? Well, when I wash my rollers, I try to get as much paint washed off as possible but if you’ve ever cleaned rollers, then you know that it feels like you can’t ever get it all out. The paint just keeps flowing.
So what do I do? I first wash them in the sink, and then I let the leftover paint settle at the bottom of a container. I rinse, refill with fresh water, and repeat a few times. This method saves water and ensures your rollers are clean for future projects.
It really works great!
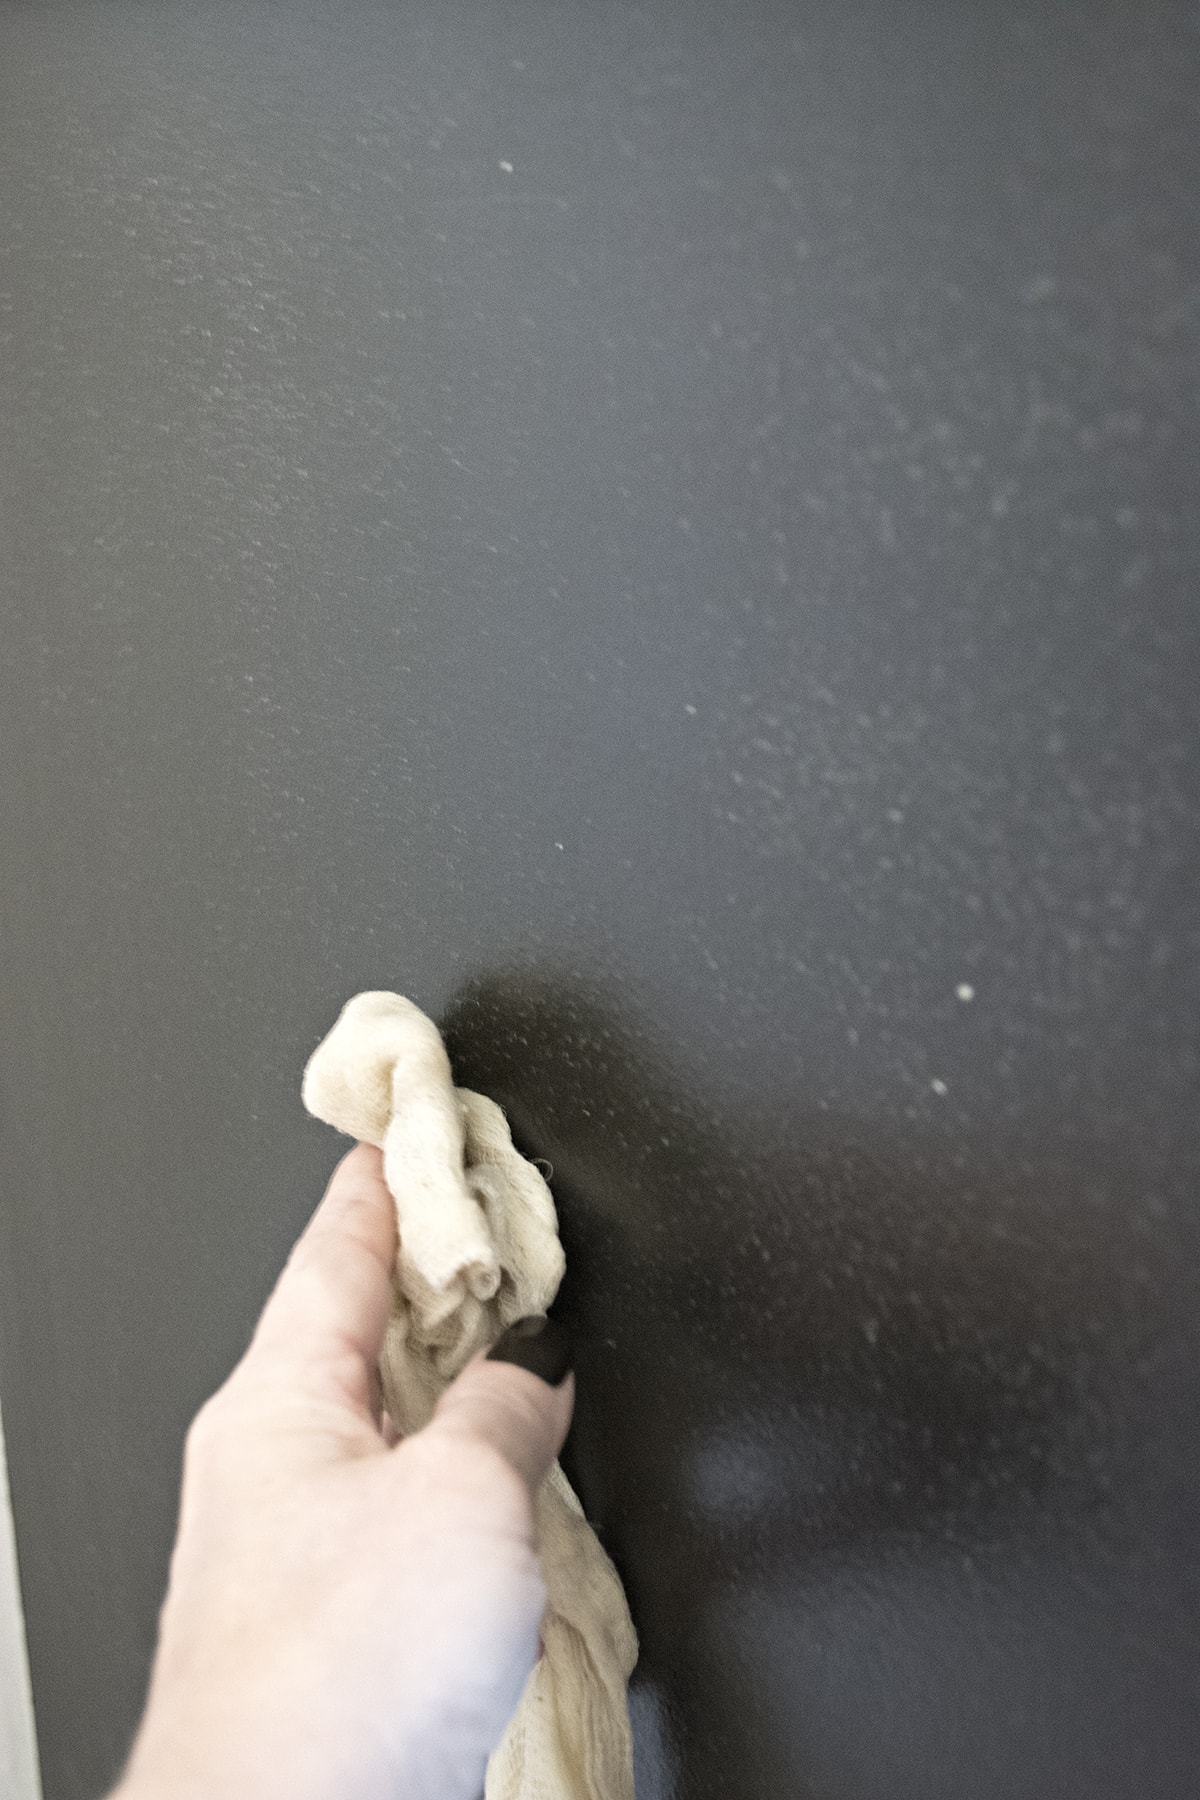
5. Always use a tack cloth
A tack cloth removes dust, sanding residue, and tiny debris that can ruin a paint job. Use it before painting and between coats for flawless results.
I don’t tackle any painting projects without a tack cloth anymore. You can wipe up all kinds of stuff that can easily ruin a paint job such as, sanding residue, dust, spider webs, and little flies… You name it. I always have them in stock.
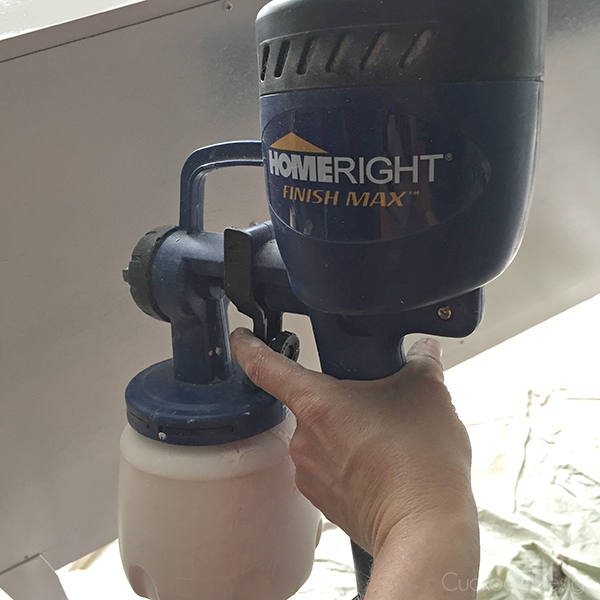
6. Invest in a good paint sprayer
For furniture and cabinets, a high-quality sprayer can save time and create a smooth finish.
Like I said before, whenever I can, I use canned oil-based spray primer. I don’t use that in my favorite sprayer because it is hard to clean, and you need chemicals. I’ve had this affordable sprayer for years, and I still love it and use it all the time. It is really easy to use.
I actually used the paint sprayer on my vanity cabinet door and used the same technique, paint, and varnish as I used on my DIY pink dresser.
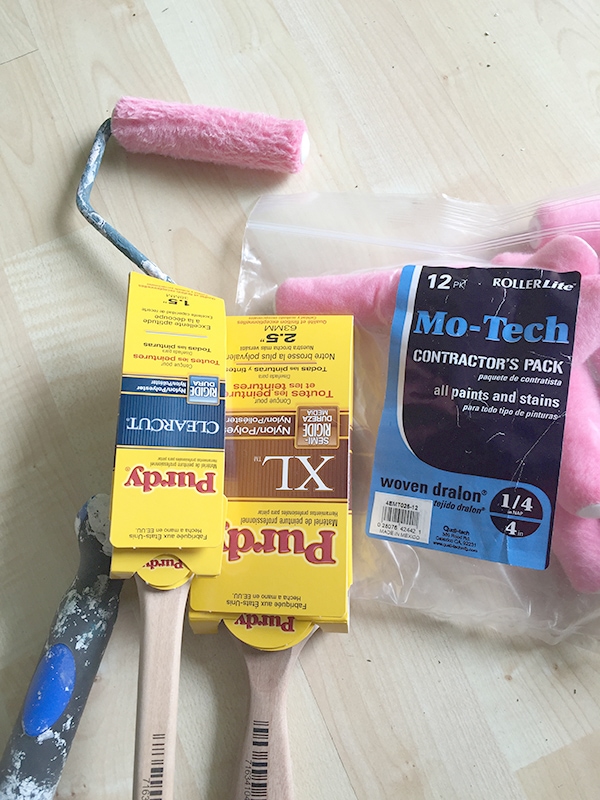
7. Use quality rollers and brushes
Have you ever painted something with a brush and the bristles are falling off into the paint during your project? I have!
Cheap tools can compromise results, so invest in some good rollers and good brushes. My favorites are Purdy brushes and small, smooth rollers for detail work. (which I mentioned earlier already)
Always pay attention to what the brushes and rollers are made of and made for. There is a reason for that, and you shouldn’t generalize them. A brush isn’t just a brush for anything. Trust me on that.
8. Clean everything before you paint
This is a no-brainer, but prep work is so often overlooked. Clean walls, trim, and furniture with a degreaser or mild soap before starting. Dust and grime can prevent paint from adhering properly, so don’t skip this step.
I remember my husband didn’t do it when he painted our first apartment. The result was upsetting. But he lacks patience and attention to detail 😉
Especially when painting a kitchen, a degreaser such as Krud Kutter (my favorite) can do wonders.

9. Prime patched or repaired areas separately
For example, have you ever patched a nail hole, and after you finished painting your wall, you can still see where the texture of the patched area is? This is most likely because you didn’t prime over the patched areas first.
The reason is that drywall spackle or wood spackle absorb paint differently than the original surface. By priming the spackled, you even out that surface difference so you are ready for the final coats of paint. No more uneven absorption!

10. Store and label leftover paint in take-out containers
Say what? Yes, you heard right. I used to collect pickle jars and such to store leftover paint in. Honestly, I hated when the lid threads got clogged and I couldn’t open them.
So now I collect the take-out soup containers. They also save space instead of using the large original paint cans.
I pour the paint into the containers and then label them properly. I write the paint name, color code, and room on the container. This saves frustration when touching up at a later time .

Other small painting tips worth mentioning
This post may contain affiliate links from which I will earn a commission at no extra cost to you. View my full disclosure policy.
- Use a paint conditioner (like Floetrol for water-based paints) because it helps reduce brush strokes and roller marks. Great for smooth, even finishes, especially in humid or hot conditions.
- Work in sections and maintain a wet edge. This prevents lap marks by ensuring that you don’t let the paint dry before blending it with the next section. Wet paint is her friend here!
- Use a roller extension pole for walls and ceilings. I’m very short, so having a good extension helps to reduce fatigue and maintain consistent pressure for even coverage.
- Feather the edges when cutting in. This means, when brushing near corners or trim, lightly blend the paint into the wall to prevent harsh brush lines.
- Sand between coats when necessary for a smooth surface.
- Good airflow speeds drying time and reduces strong paint fumes. So good ventilation is key!
- Whenever you can, take off cabinet knobs, outlet covers, and light switch plates for a cleaner finish instead of taping them off.
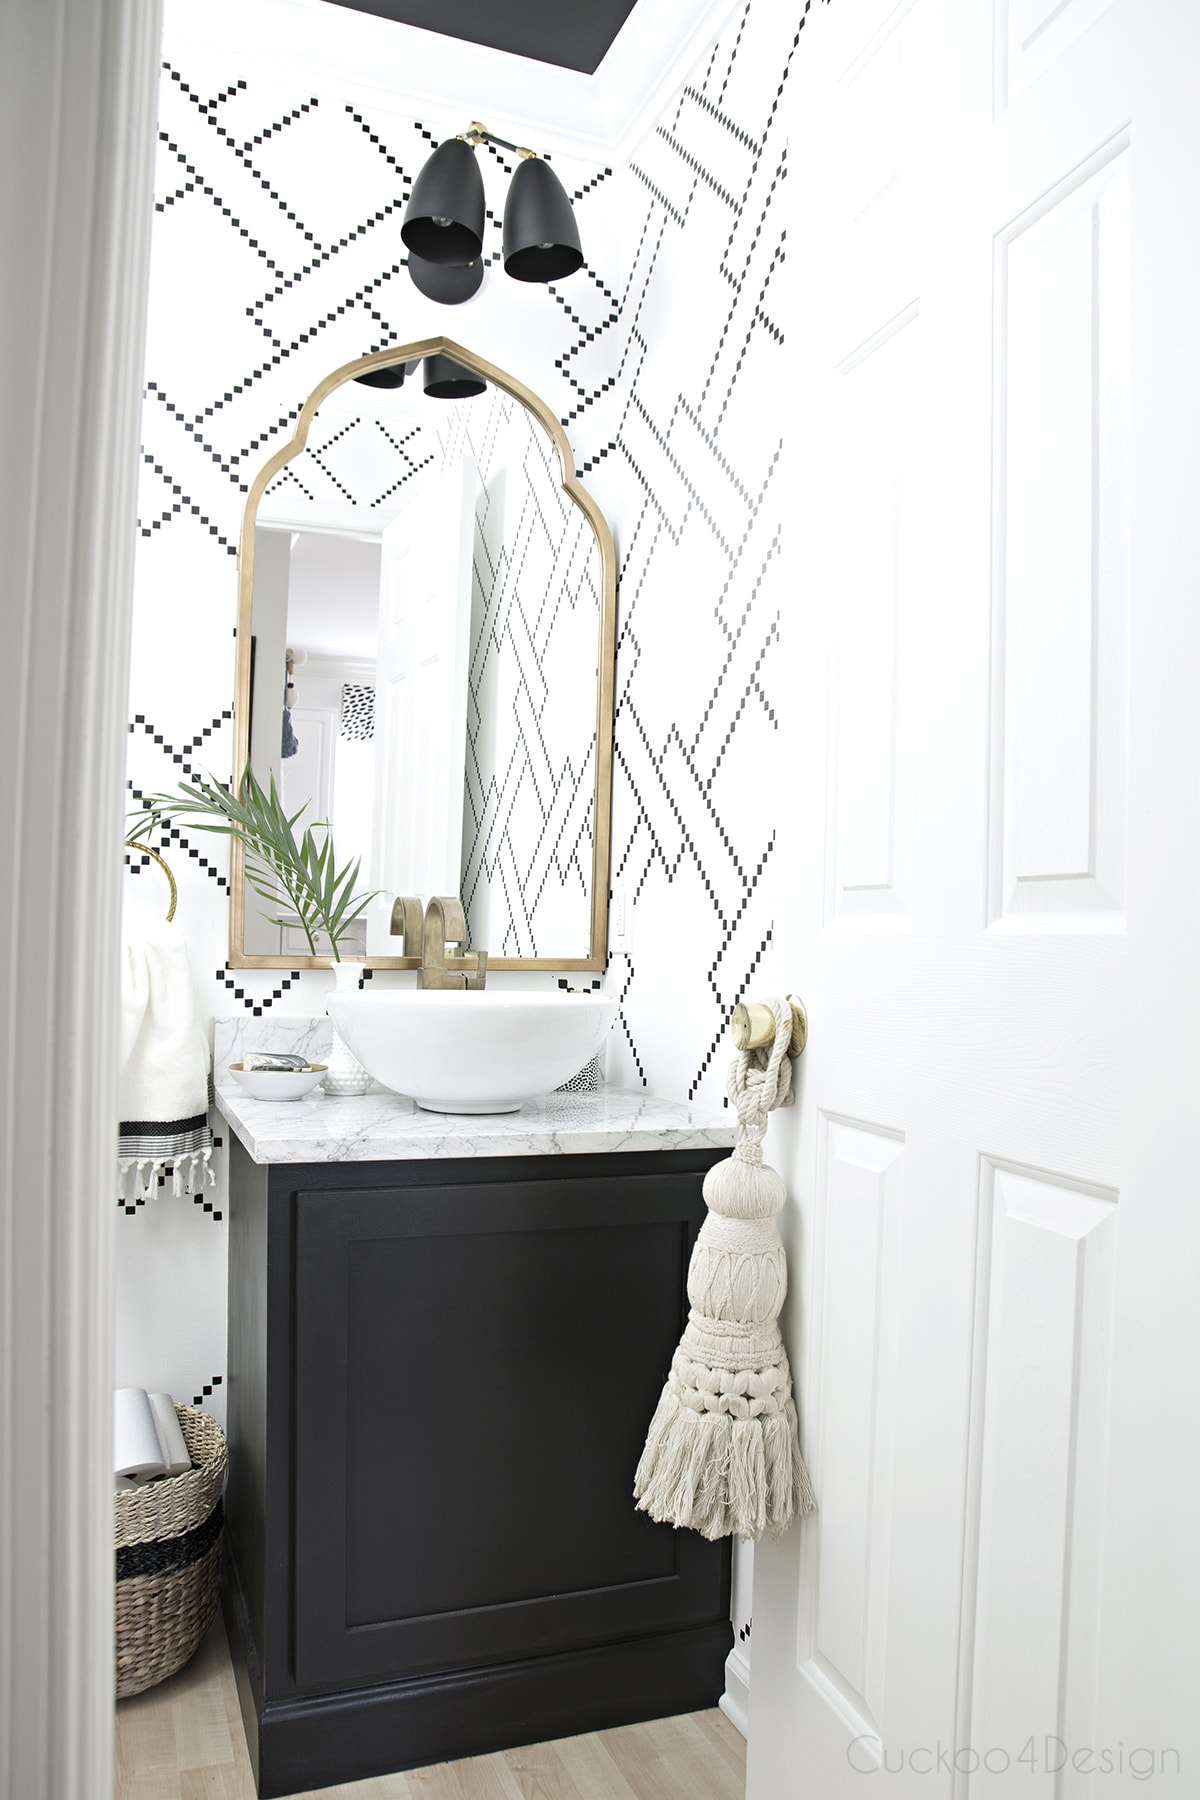
My powder room is a perfect example of where all these painting tips and tricks were used. I literally painted everything from walls (yes the little squares too, that’s not wallpaper), to cabinets, and trim. Check out the entire finished bathroom.
Bonus: List of my go-to painting supplies
Here are all the tools and supplies that I mentioned in this blog post.
- Purdy angled brush
- high quality paint rollers
- Kilz Oil-Based Primer (quart or spray primer)
- Kilz Latex-Based Primer
- Tack cloths
- HomeRight Paint Sprayer
- Frog tape
- Krud Kutter degreaser cleaner
More of my paint projects
- The best paint to use for a concrete porch or patio floor.
- My favorite shades of terracotta paint colors from different brands.
- The best stylish dark green paint colors from different brands.
- 16 painting tips and tricks for kitchen cabinets.
- How to paint stripes on your concrete front porch.
- The best method to restore teak outdoor furniture.
These painting tips and tricks will help any DIYer achieve cleaner lines, smoother finishes, and a stress-free painting experience. Whether you’re painting walls, furniture, or cabinets, these methods save time, reduce mistakes, and improve your results.
Tschüß,

These are spot on, Julia! I’ve been painting for years and this post was still really helpful for me! If I’m painting for multiple days, sometimes I wrap up my paintbrush tightly in a plastic bag and store it in the fridge overnight instead of cleaning it every single day.
I LOVE ALL OF THESE TIPS! I JUST GOT A HOMERIGHT SPRAYER AND USED IT FOR THE FIRST TIME!!! IT WAS AMAZING AND I CAN’T BELIEVE I HAVEN’T USED ONE BEFORE NOW!
You are the BOMB!
Always so much useful info.
I totally àgree with all you said. Well, since I don’t have a sprayer (wish I did), I just can not say. I would love to have one like yours!
oh i am loving it!!! that ceiling is awesome!!
great tips! I’ll have to try the one about roller cleaning. I’m ashamed to admit that I’ve taken to just throwing them out after we use them because I hate cleaning them so much.
Squeeze out as much paint as you can, then throw in the washer! I estimate this actually uses less water than wa shingles by hand and they come out pristine.
Love these tips!!! My husband is a fanatic when it comes to cleaning paint brushes/rollers, so I’ll have to try the water in the glass trick. Love the ceiling too!!!
Great ideas! Some I never heard of before, but definitely would never have thought of myself. Thanks. Also, LOVING the new direction of the powder room.
This post came at a really great time, my husband and I are doing a lot of painting to get our house ready to sell. Great tips, thank you!
Love these ideas – I think my favorite is the idea to use soup containers. I’ve been thinking about doing something like that in each of the rooms in our house for each touch ups – may have to try this.
You have to develop a soup addiction too for all the containers 😉