

4 ways to paint cheap plastic ornaments
If you’ve got a box of cheap, glossy, glittery, or matte plastic Christmas balls lying around, don’t toss them! Transform them instead with my painted ornament ideas!
Painting plastic Christmas ornaments is one of the simplest and most affordable ways to create custom holiday decor. With just a little prep and the right paint, you can transform cheap ornaments into something artistic, modern, textured, or traditional.
In this post, I’m sharing four different techniques for painting plastic ornaments.
My ideas all start with the same easy base steps, but the final results look completely unique. Scroll through to discover your favorite look and then follow the full step-by-step tutorial for each ornament.
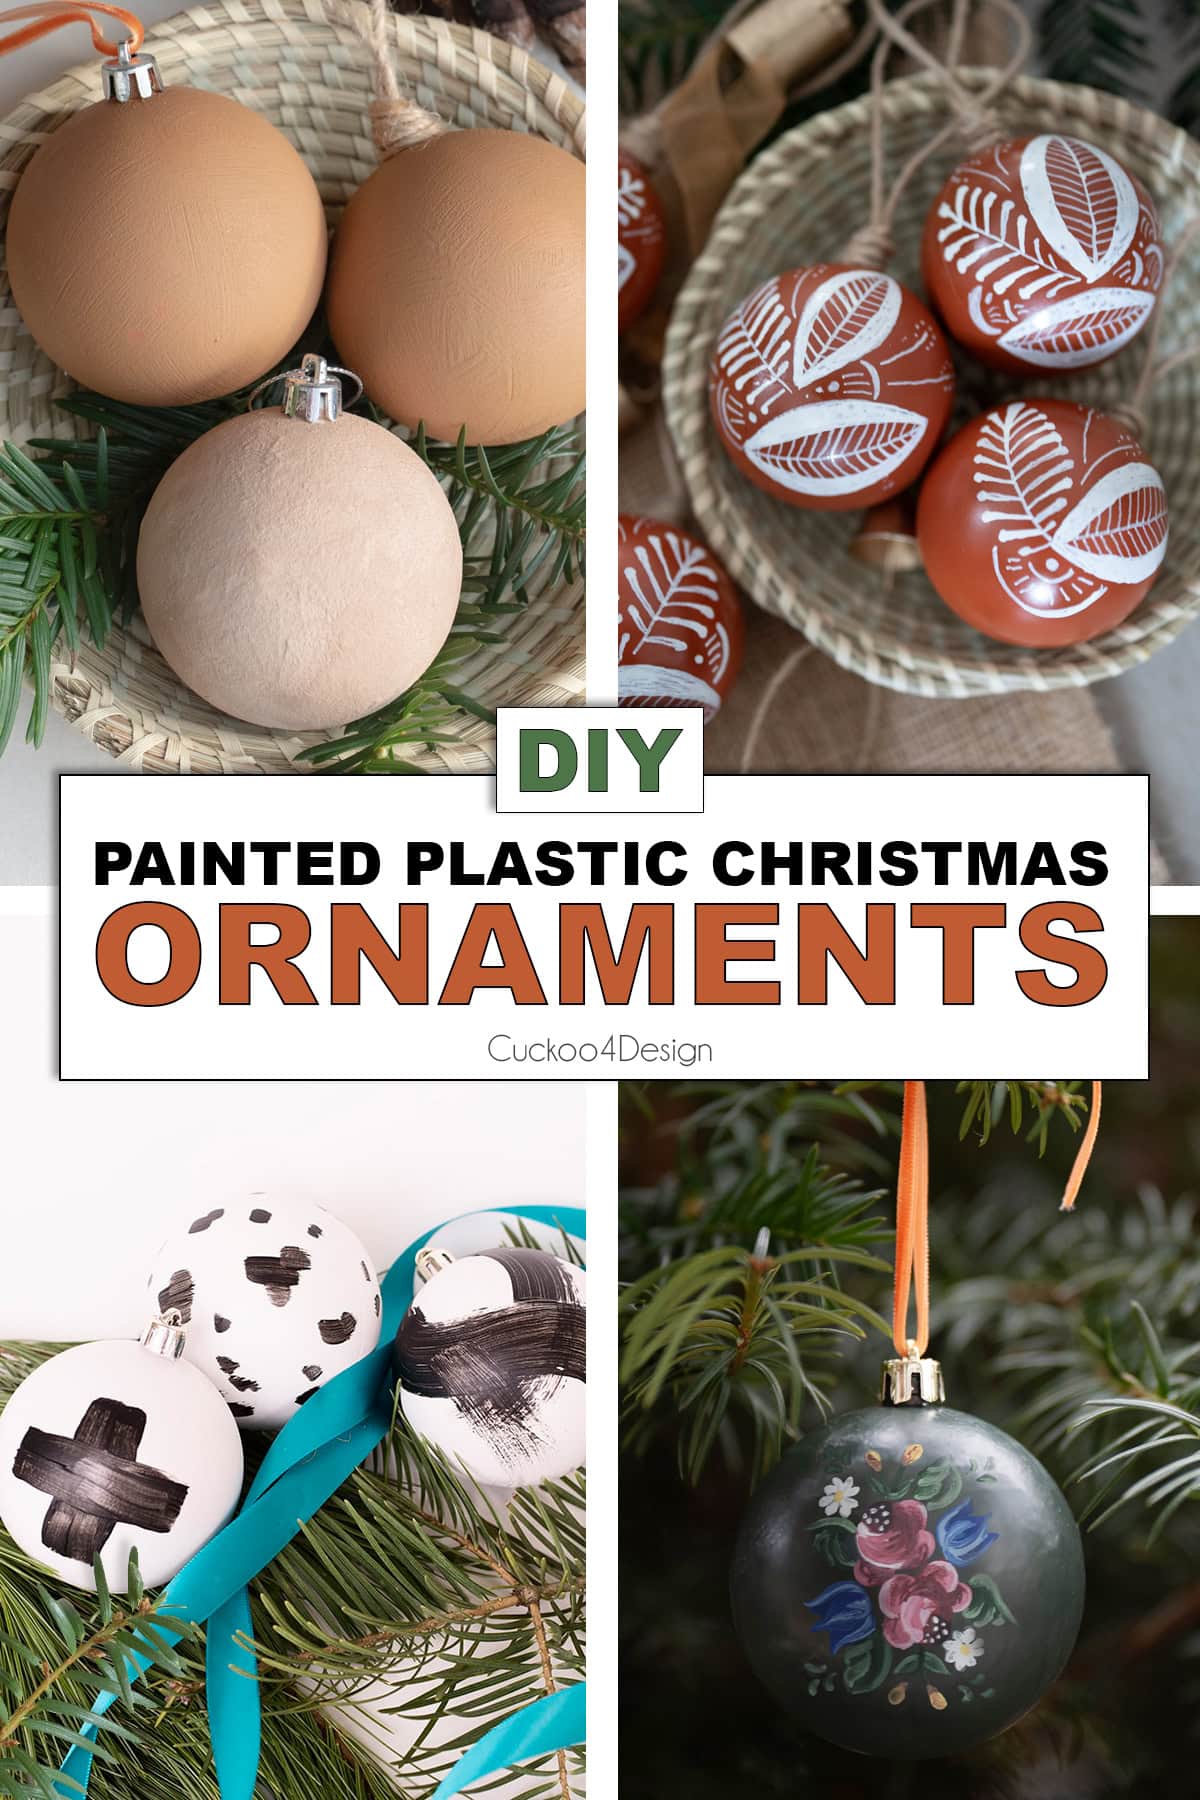
4 painting ideas for cheap plastic ornaments
This post may contain affiliate links from which I will earn a commission at no extra cost to you. View my full disclosure policy.
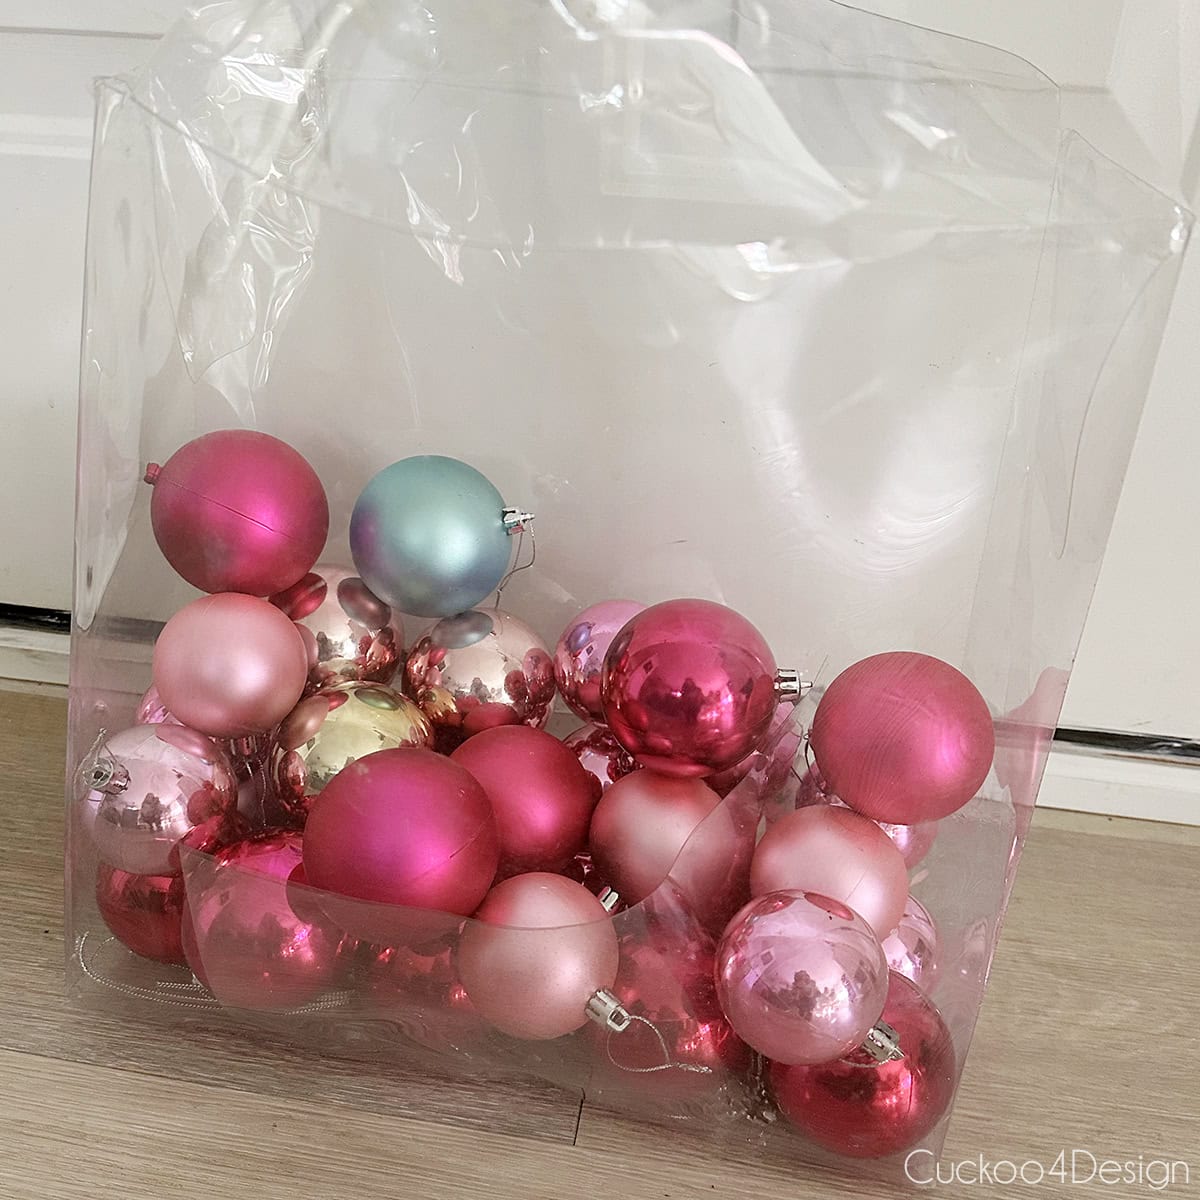
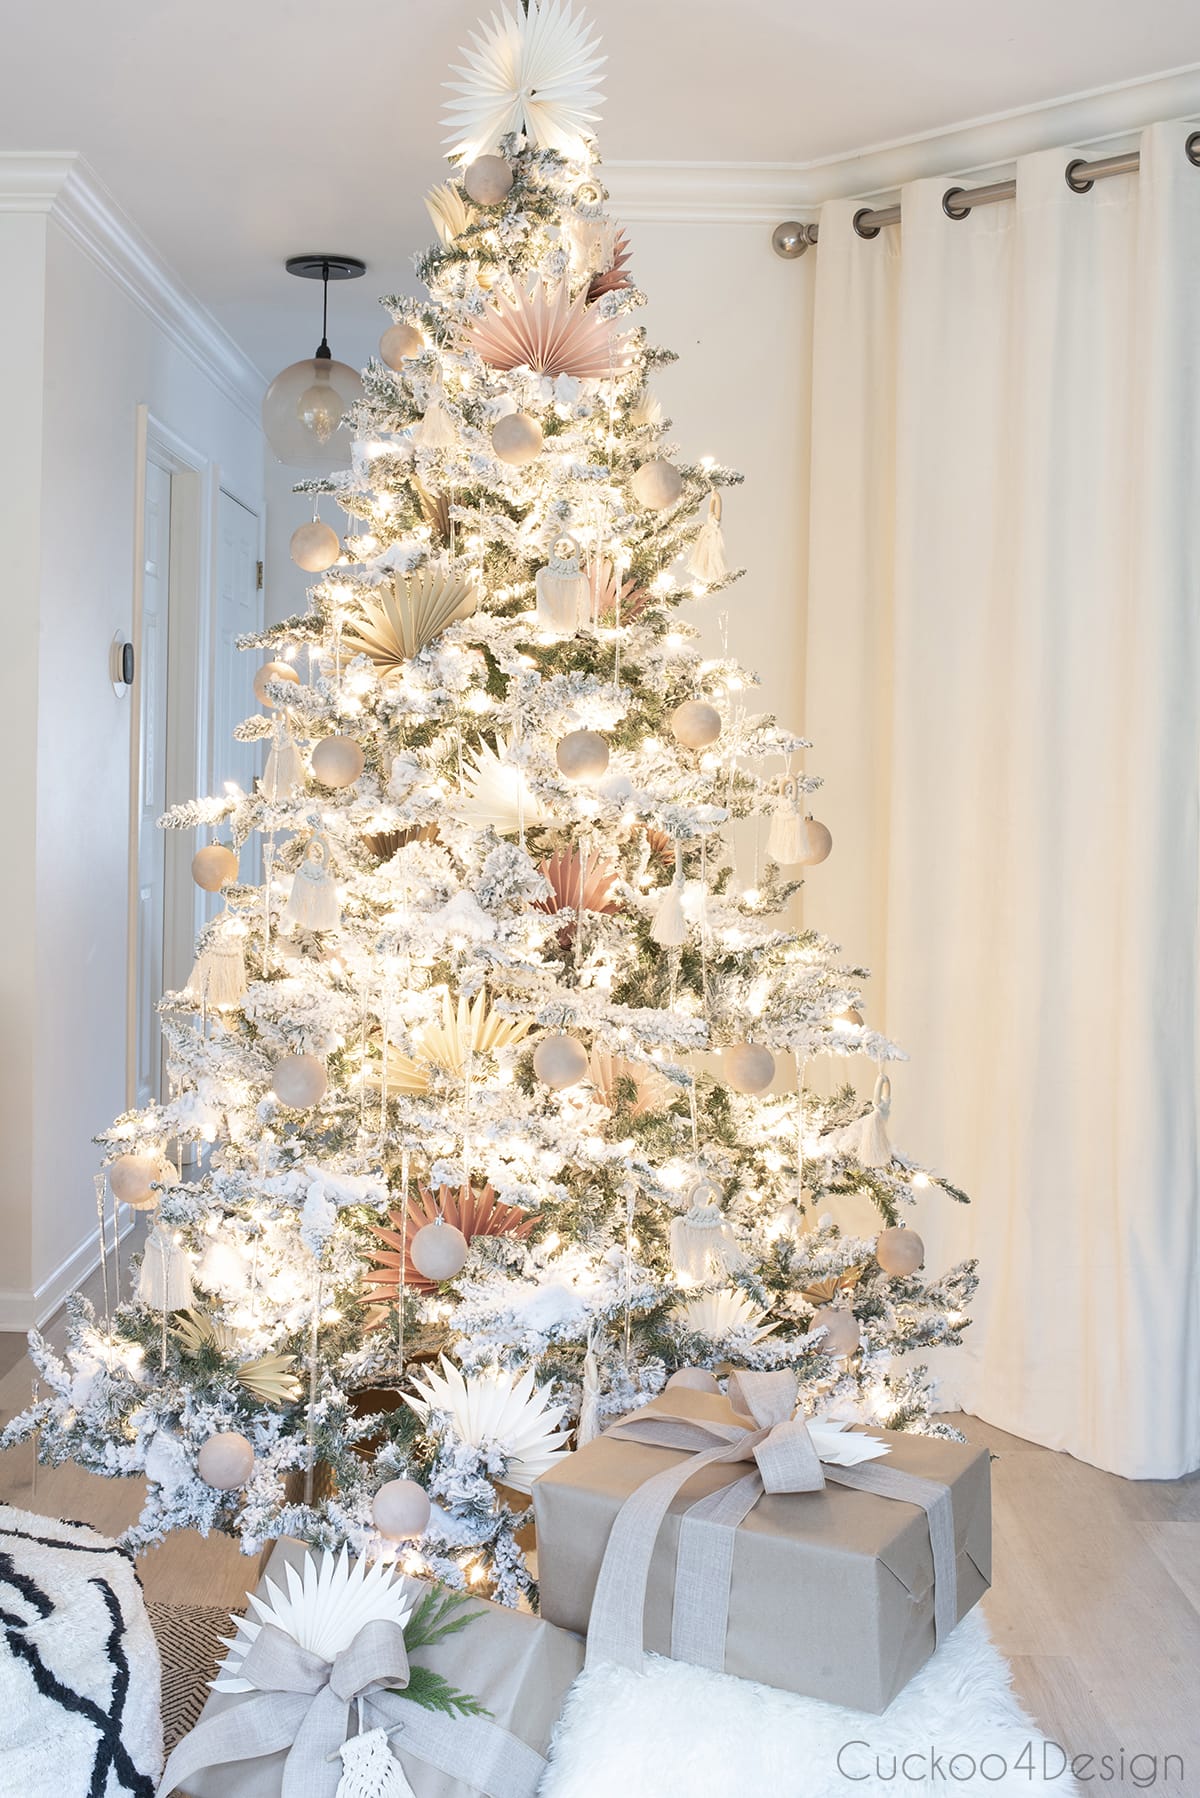
I’ve had a huge box full of different colored plastic ball ornaments that I purchased for really cheap on clearance years ago. I love transforming them into different looks that fit within my annual Christmas theme.
You can just paint them in a solid color and call it a day. Or you can take it a step further and add some designs or texture. Here are four of my favorite ideas with completely different looks. I also added the links so you can follow each step-by-step tutorial.
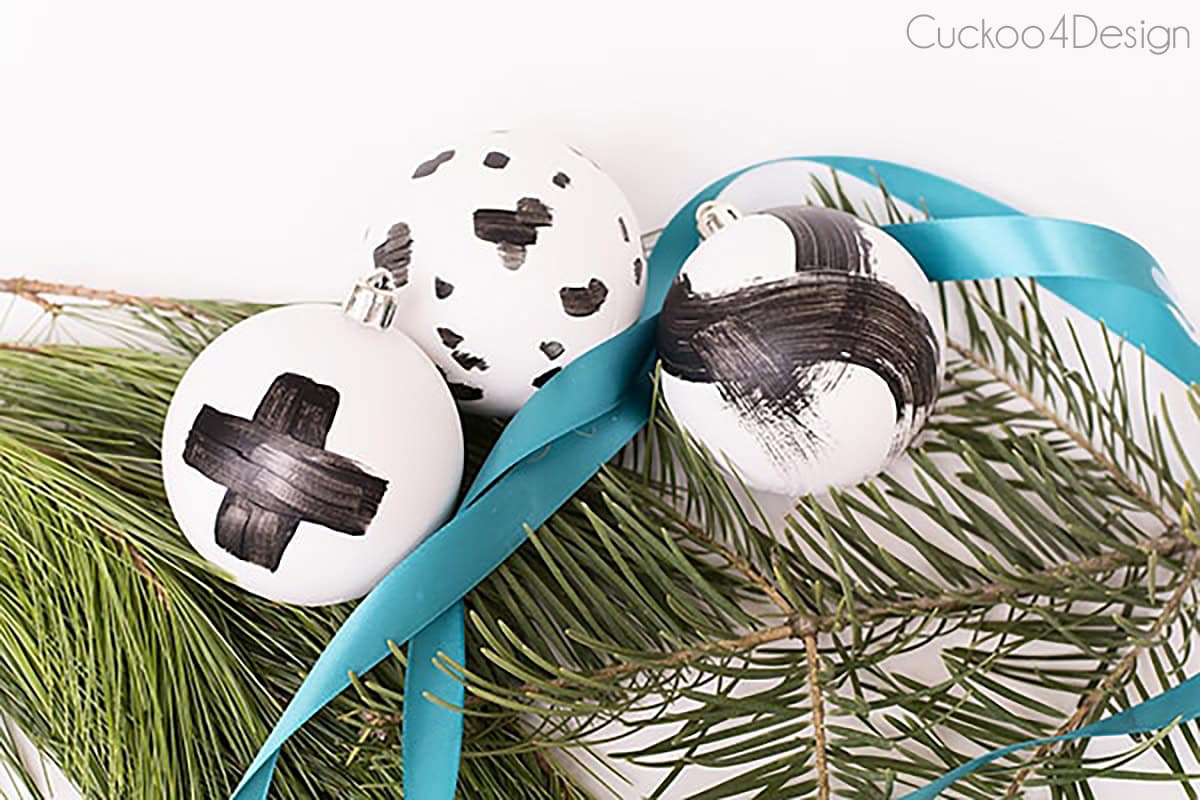
Style 1: Modern Bold / Artistic Brushstroke Ornaments
Give plain plastic ornaments a bold, modern makeover with loose black-and-white brushstrokes. This design builds on my full tutorial for how to paint plastic ornaments, and then takes it a step further with abstract, painterly details. Each ornament turns out to be one-of-a-kind, making it a fun project for anyone, including kids.
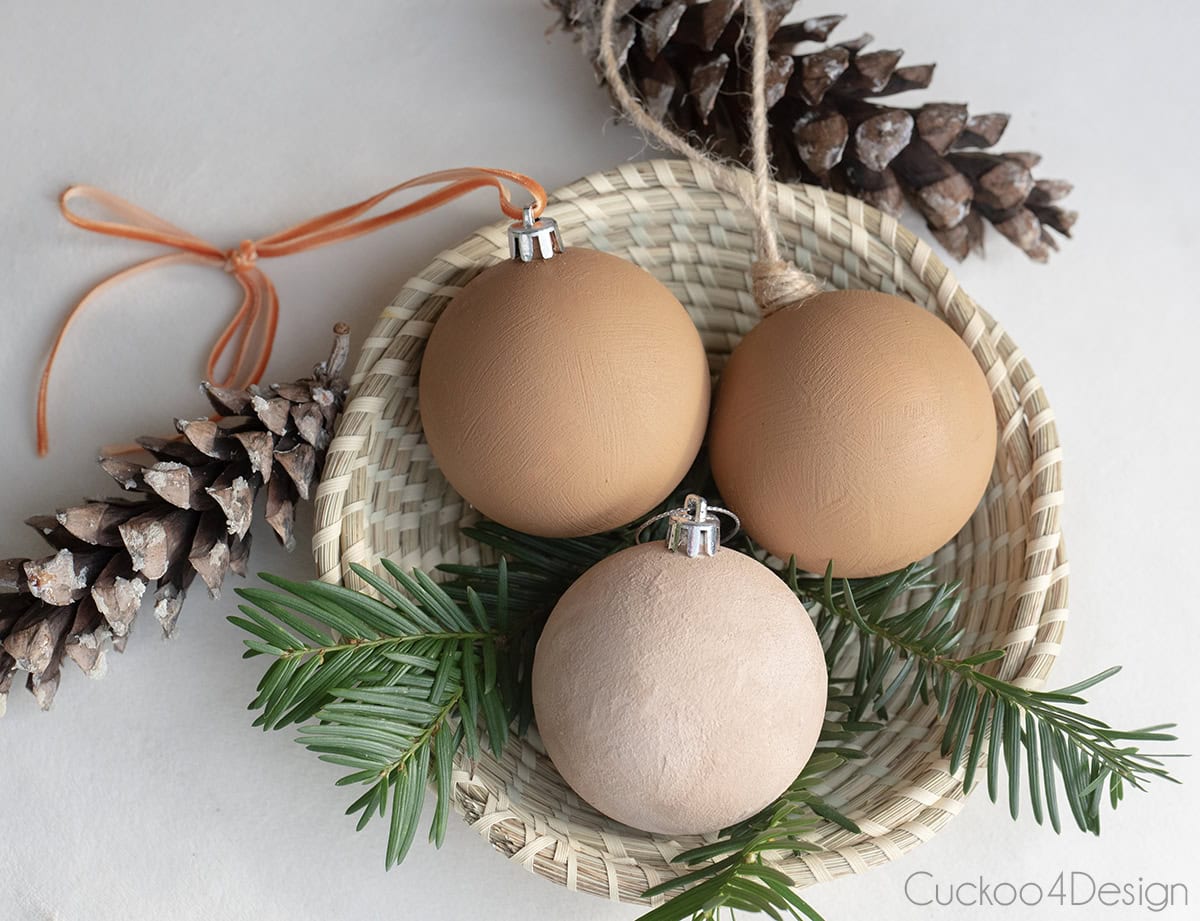
Style 2: Textured Baking Soda Ornaments
If you love the matte, earthy look of terracotta, this baking-soda paint method transforms shiny plastic ornaments into warm, textured DIY baking soda paint ornaments. This project is all about creating depth with layered neutrals and subtle highlights. You can even use old and dull glitter ornaments for this project!

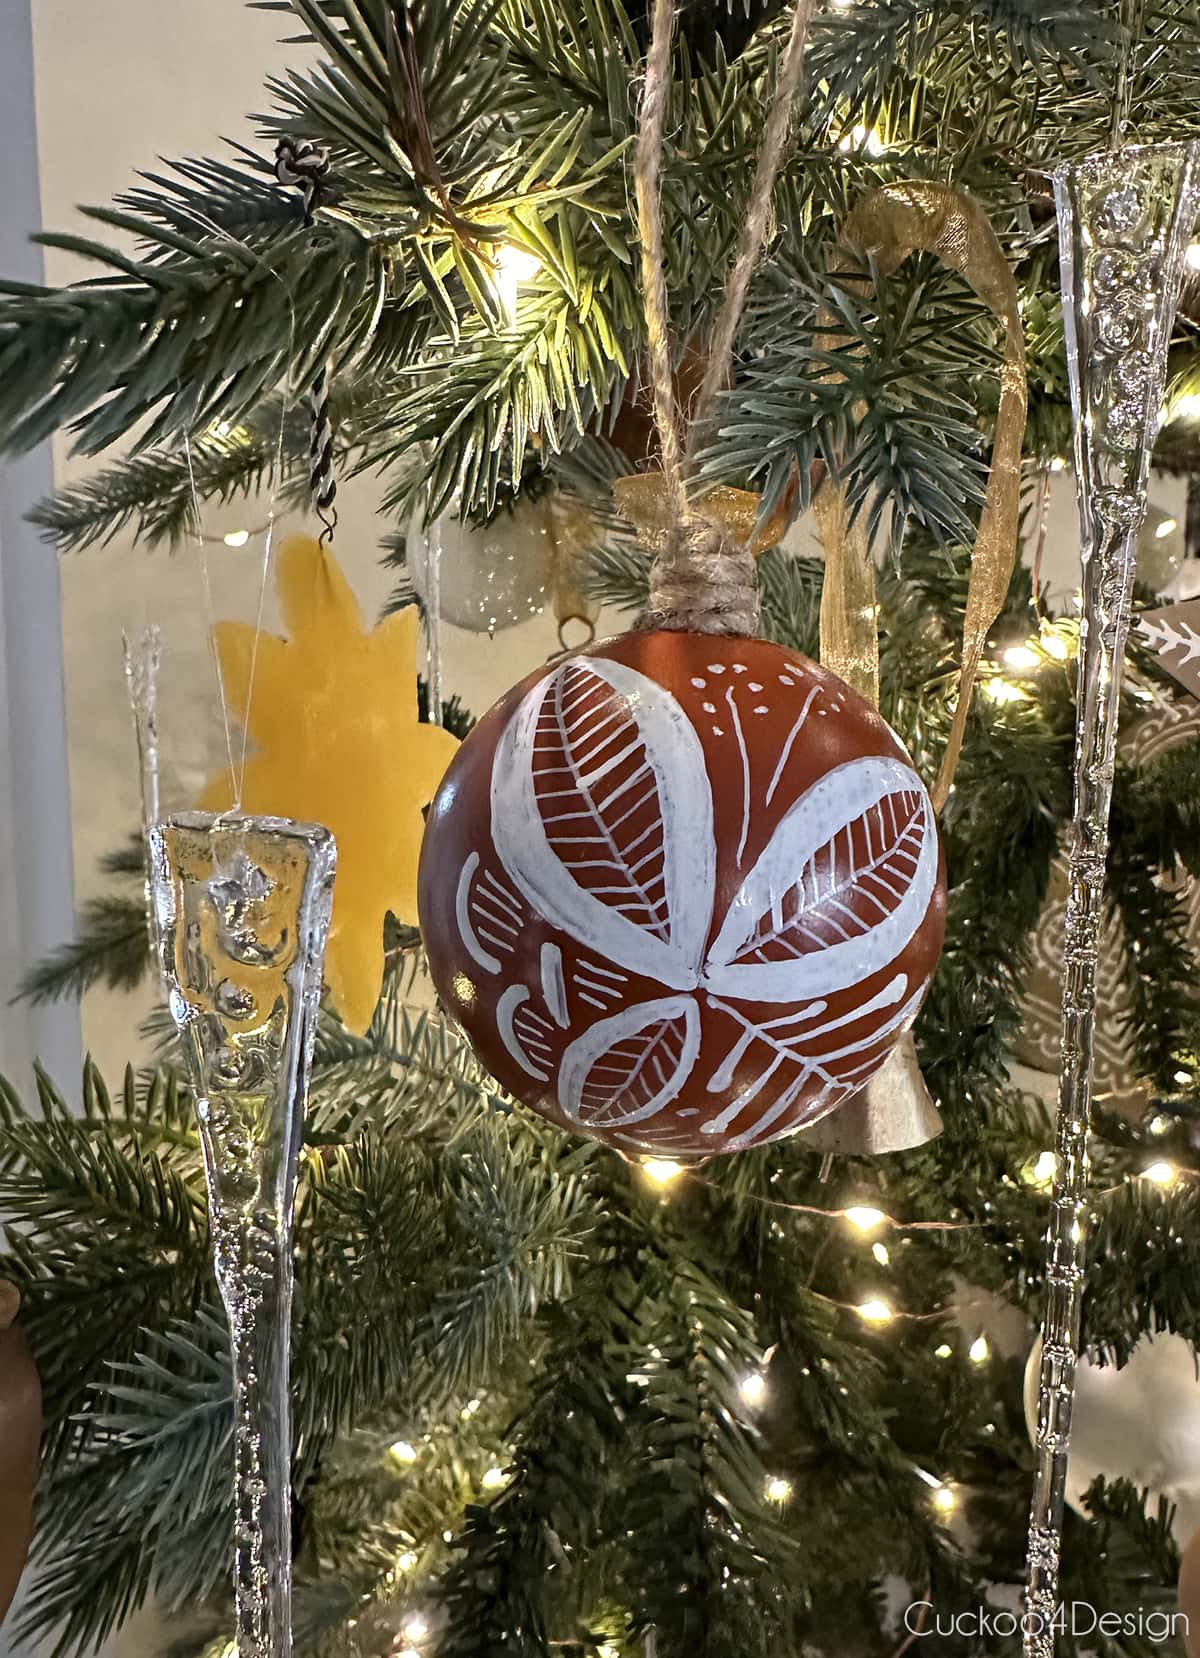
Style 3: Mexican‑Inspired Folk Art Ornaments
These faux burnished Mexican ornaments are full of bold color and simple motifs. The step-by-step guide walks you through all the way through to finally adding playful botanical patterns with a Sharpie. This tutorial turns basic plastic ornaments into vibrant keepsakes.


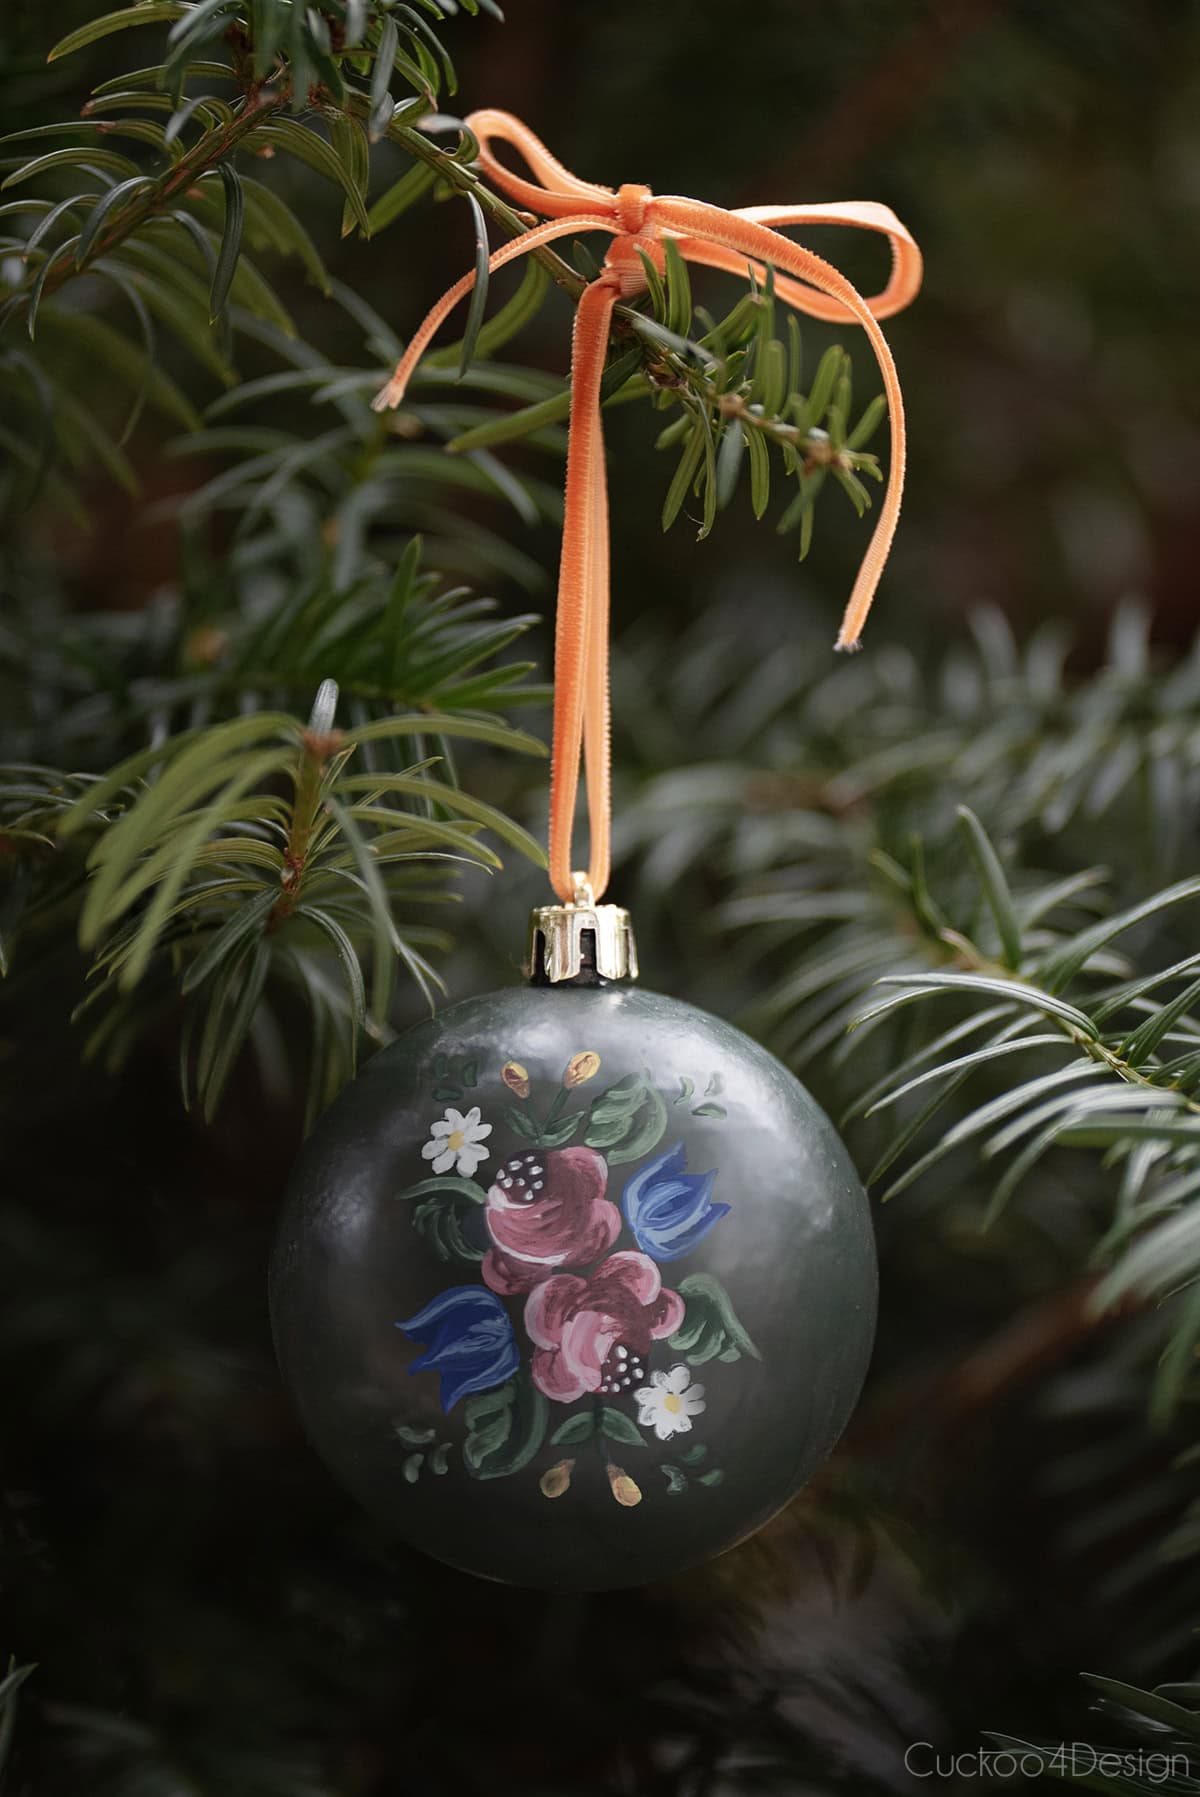
Style 4: German Bauernmalerei (Alpine Folk Art) Ornaments
Inspired by traditional German folk art, these hand-painted ornaments feature soft vintage floral motifs. This tutorial teaches you how to adapt German folk art (Bauernmalerei) techniques for ornaments or other household items using basic brushes and acrylic paint.
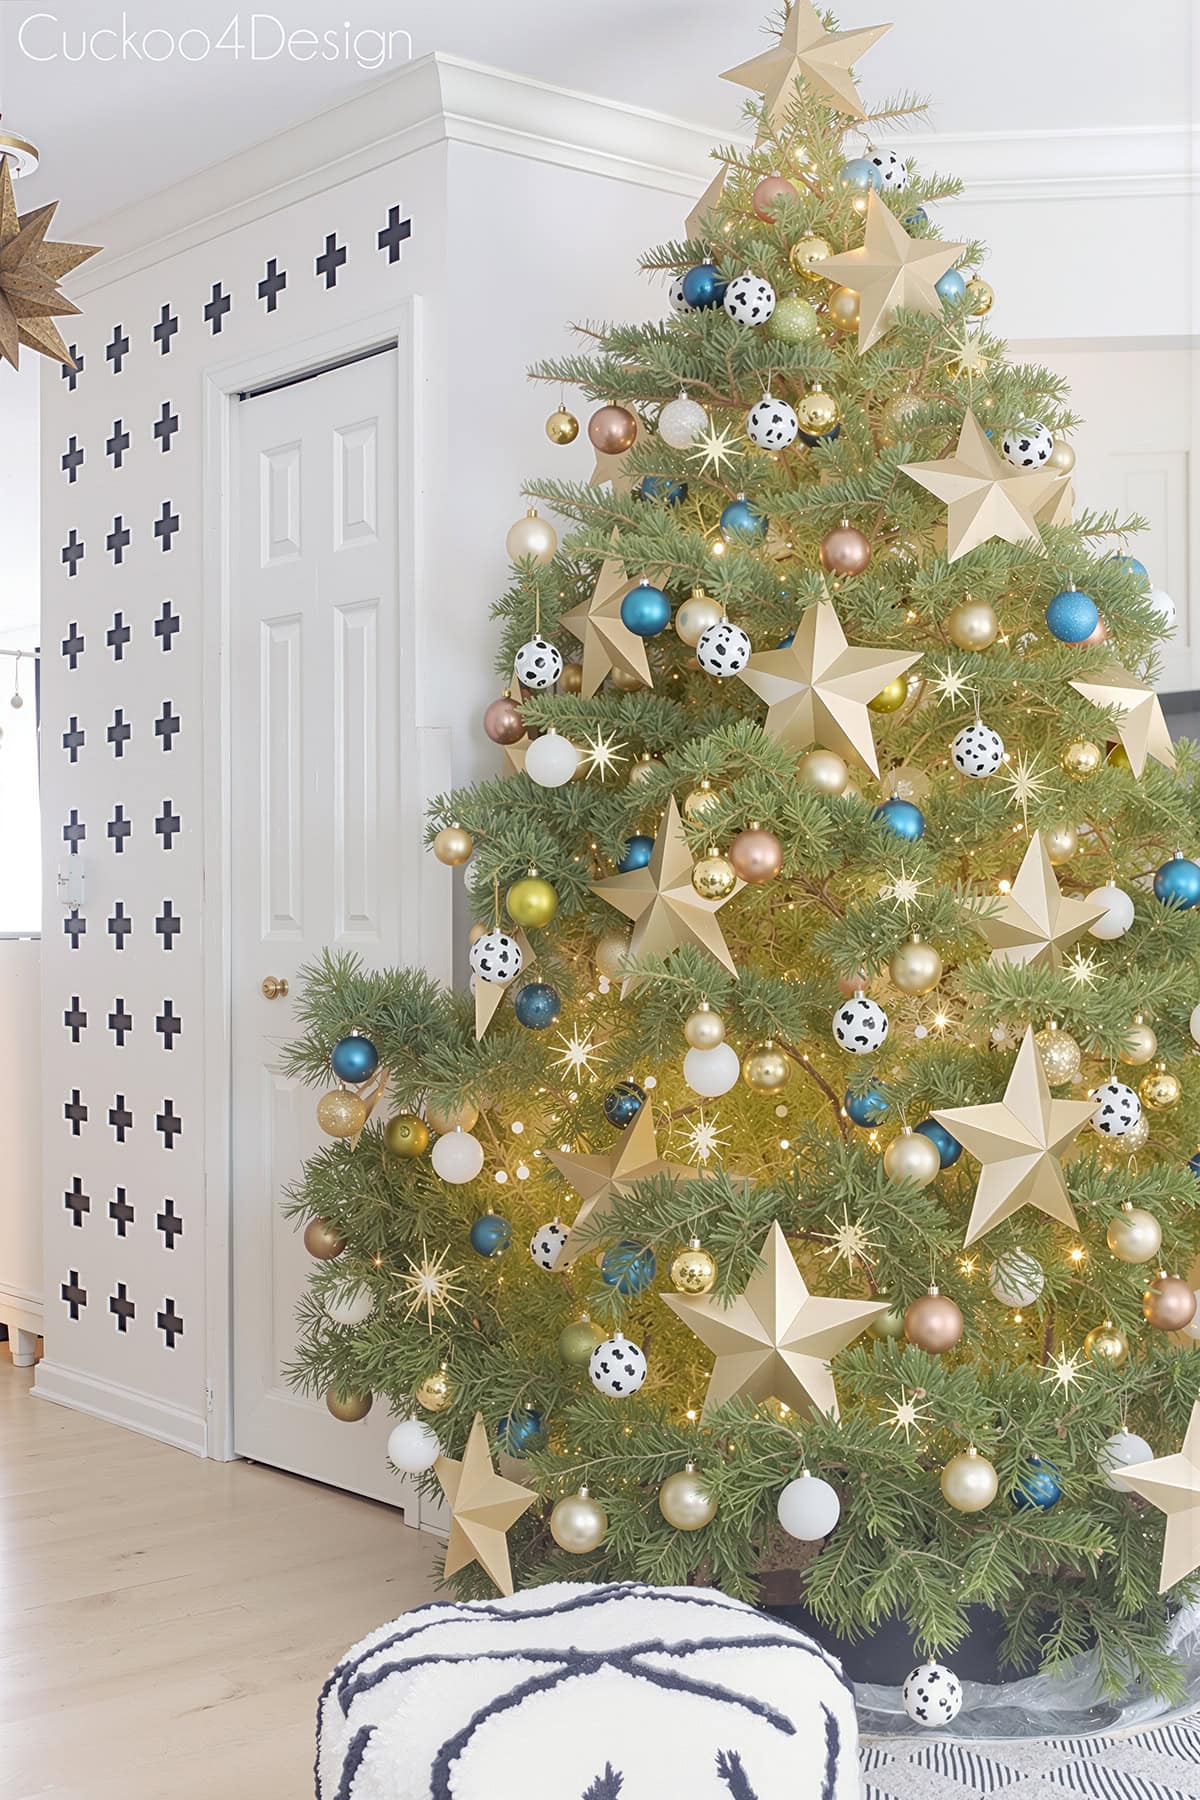
Do you want more handmade ornament ideas? Check out all my 24+ DIY Christmas ornaments that I made over the year. And they can all work together to create a cohesive look.
Materials you’ll need for painting plastic ball ornaments in general
- Primer (I love Kilz primer)
- craft and art brushes
- spray paint
- acrylic paint
- marker such as an oil-based Sharpie
- ribbon
- cheap plastic ornaments which you can find at thrift stores, yard sales, or on clearance at any home decor store and even Dollar Stores
Frequently Asked Questions
The baking soda paint ornaments are the easiest because the texture hides imperfections. Brushstroke and folk-art designs require more precision but are still beginner-friendly with practice.
Acrylic craft paint works for almost every ornament style. For textured finishes, add baking soda. For detailed designs, use a fine-tip brush and a quick-drying acrylic or a sharpie.
I don’t like following too many rules. Whatever floats your boat is usually what I say! But if you need some guidelines, then match the finish to your Christmas tree theme. Examples are: modern for minimalist decor, terracotta for natural or earth-toned trees, folk art for traditional decor, and colorful ornaments for eclectic or global styles.
I love combining styles, which can add personality. Try mixing one bold set (like Mexican-inspired ornaments) with a neutral set (like terracotta ornaments) for balance.
Wrap each ornament in tissue paper or bubble wrap and avoid stacking heavy items on top. Store in a cool, dry place to prevent paint scratches or dents.
Absolutely because they’re durable and won’t shatter like glass. I recommend that an adult primes and paints them in the base layer and then lets the kids take over with the ornament design. If you are letting small children paint them, it’s better to just let them do their own design than to follow a tutorial. You will end up with very special ornaments and memories.
Painted ornament projects are perfect for covering imperfections. Priming and painting will hide most scratches, and textured finishes disguise them completely.
More of my DIY Christmas ornament tutorials
If painting isn’t your thing, I have many other DIY Christmas ornament tutorials that are affordable and recycle common materials. Here are some of my favorites.
- Toilet paper roll stars – Upcycle toilet paper rolls into cute little stars that can be used as ornaments or gift toppers.

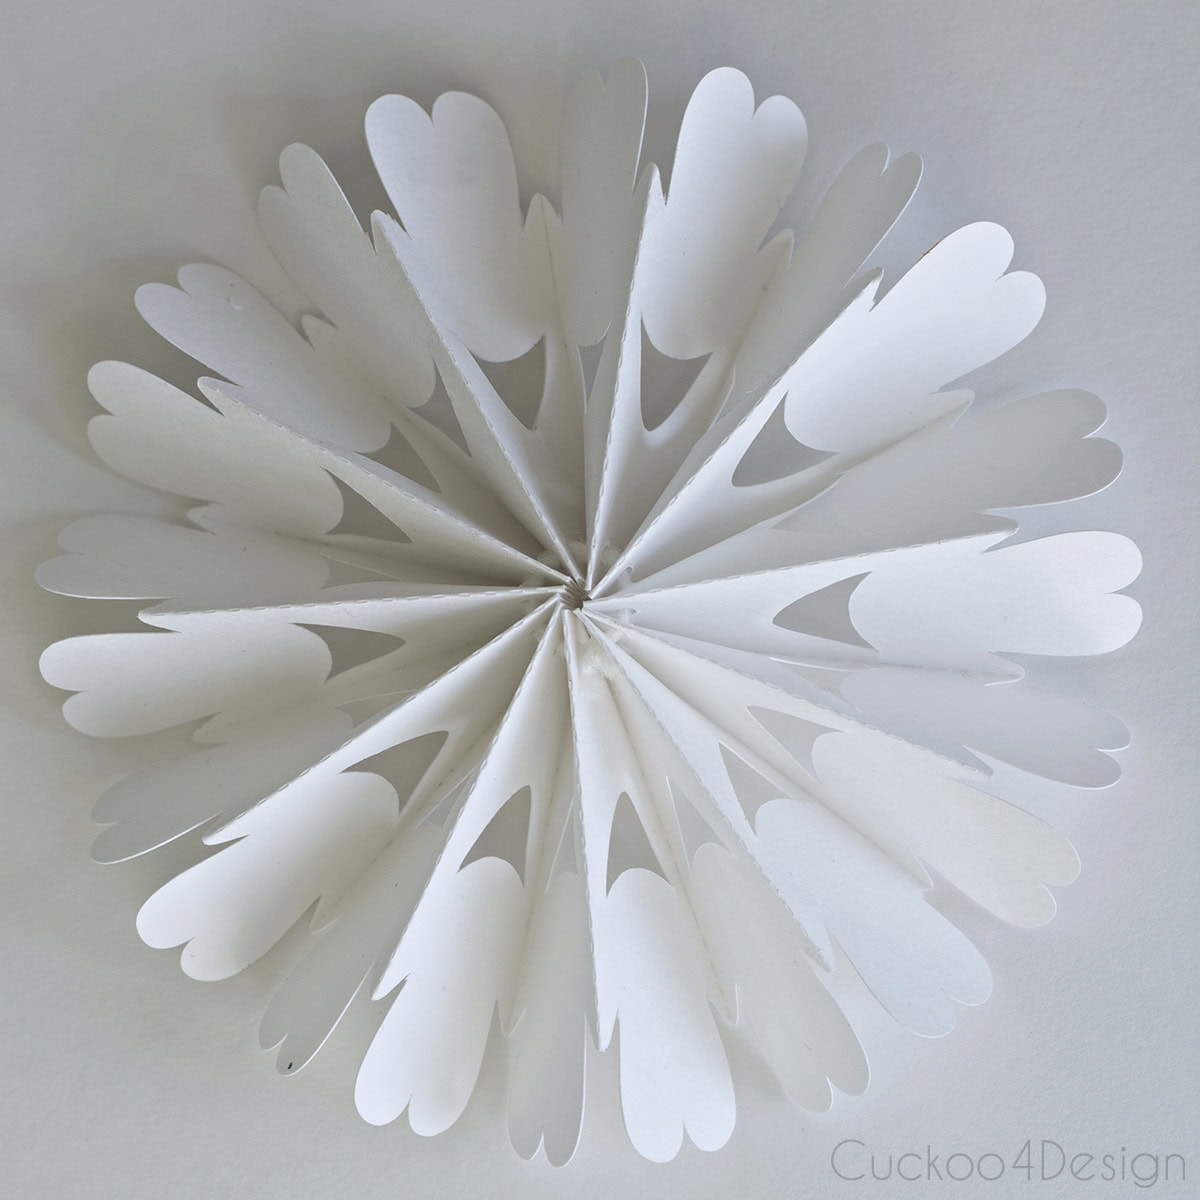
- Poster board snowflakes – Create sturdy snowflakes with simple poster board that you can find at most grocery stores.

- Macrame Christmas ornaments – Use leftover yarn to create a variety of unique ornaments.
- Printer paper honeycomb ornaments – You can use plain printer paper to affordable ball ornaments.

I hope this round-up inspires you to try a new style this season. And don’t forget to check out each full tutorial for detailed steps and extra tips.
Tschüß,
