

How to make beeswax ornaments for your Christmas tree (3 different ways)
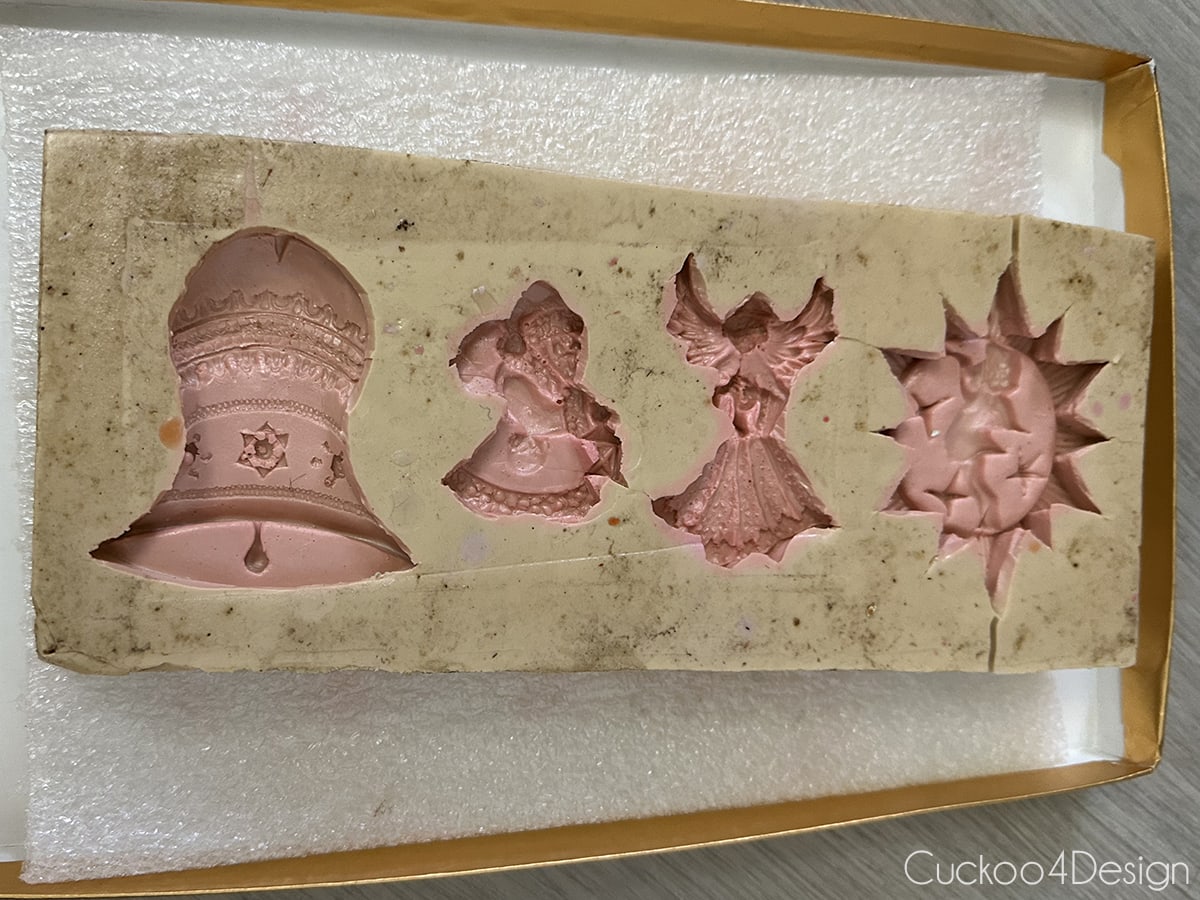
Since I’m from Germany, born and raised, I love to incorporate traditional European and German Christmas decorations in our home for the holiday season. Today, I want to show you several different ways to make beeswax ornaments. I got into this idea after our German friends here in the US went through their mom’s old collection of wax ornament molds. She used to make them for their tree and as annual gifts for friends and family. She had already sold many of them at garage sales, but luckily, a few were still left. That made me want to make my own for this year. After all, everything old is new again at some point, right?
Don’t fret if you don’t have vintage molds because there are new molds and other ways to make them, too.

The history and tradition of beeswax ornaments
In the 16th century, when the first Christmas trees were put up in German churches and then in wealthy homes, they were decorated with apples, nuts, sweet baked goods, bows, and paper flowers. Later on, they added wooden toys, wax ornaments, straw ornaments, and other ornaments made from wood, paper, and tin.
The tradition of making Christmas ornaments from beeswax began in the German areas of Europe, such as Germany, Austria, and Switzerland. German bakers used honey for their candy and baked sweets, leaving a lot of beeswax that could be used for other things, such as beeswax ornaments and candles. The candy molds could be used to make the ornaments with the beeswax.
Traditional beeswax ornaments evolved into more intricate designs that were hand-painted and decorated. Here are two examples:
German Settlers brought the tradition of making beeswax ornaments to America and created their own unique designs.
Unfortunately, the tradition of making beeswax Christmas ornaments declined as more people started using mass-produced ornaments. However, in recent years, traditional handcrafted ornaments have increased in popularity again, and I’m so on board.
Below is a photo of one of her original large wax heart ornaments. I love this one so much, but haven’t found the right spot for it yet in my home. This would make such a wonderful gift, too.

How to make beeswax ornaments for your Christmas tree (3 different ways)
This post may contain affiliate links from which I will earn a commission at no extra cost to you. View my full disclosure policy.
I gathered three different ways that you can make DIY beeswax ornaments, depending on what supplies you might have or can find. One of the methods is perfect for small children, while the one with pouring wax is probably not. Here are the supplies for all three methods.
Supplies needed to make DIY beeswax ornaments
- beeswax bars, beeswax sheets, or beeswax block from Amazon
- molds (vintage molds, candy molds, cookie molds, clay molds, antique chocolate molds, or cookie cutters – I find silicon molds the easiest to use when trying to get the wax out after hardening)
- release spray or cooking spray
- ribbon, string, or jute twine
- gold flower wire
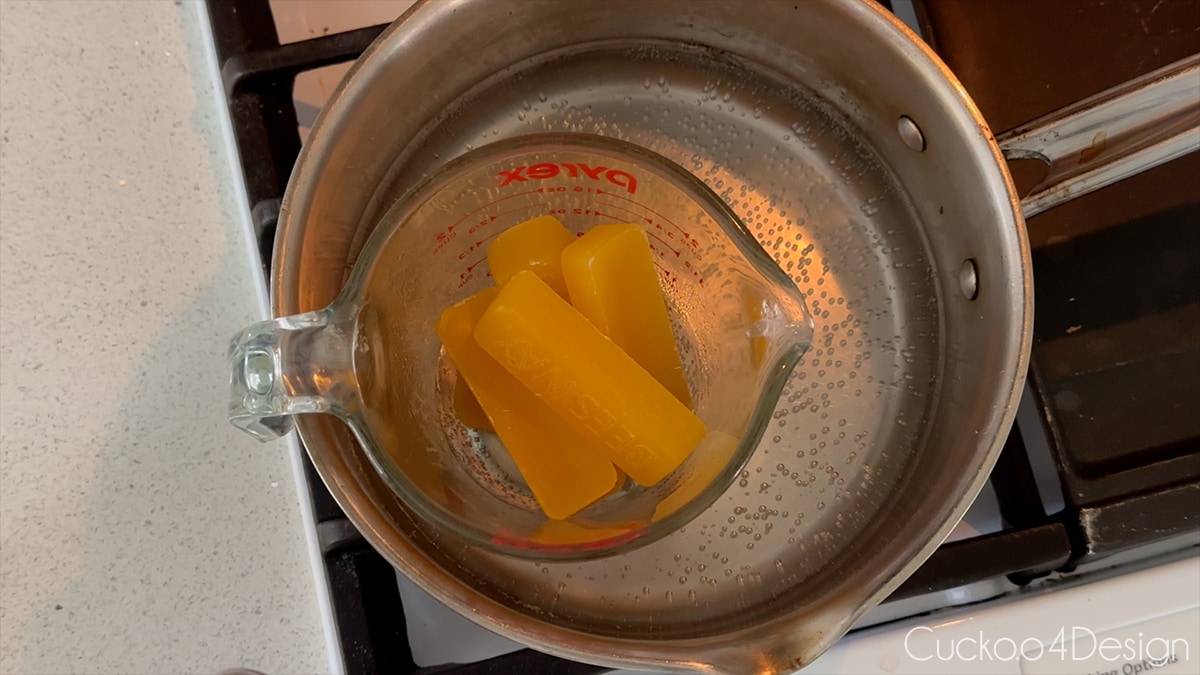
- Double boiler wax melting pot, but I simply used a Pyrex glass measuring cup and a shallow cooking pot
- water
- cookie cutters
- plate
- pliers
- scissors

If you enjoy ornaments with a handmade, old-world charm, you might also love my DIY embossed tin ornaments. They have a beautiful raised texture (similar to the beeswax ornaments), and also I included free templates (like cats, stars, a sun, moon, and even an evil eye) to help you create your own metal ornaments.
DIY beeswax ornament video tutorial
I made a video for you to show you what I did for all three methods. If the video doesn’t load for you, then you can check out the video on my YouTube Channel instead.
3 different step-by-step instructions on making beeswax ornaments
The traditional way is to pour melted wax into candy molds/wax molds, but if you don’t have molds, then there are other ways to make them with cookie cutters and different forms of wax mentioned in methods two and three.
First Method: Pouring melted wax into molds (the traditional way)
If you don’t have vintage molds mentioned above. I find that flexible silicone molds work best, and you can find a variety of them online. (for example, I really like this Etsy shop‘s molds)
- Place the wax into a double boiler, or I used a Pyrex glass measuring cup, which I placed into a shallow cooking pot that has about two to three inches of water in it on the stove. I heated the water on low and didn’t let it boil.
Keep stirring the wax occasionally with a spoon to make sure it all melts.
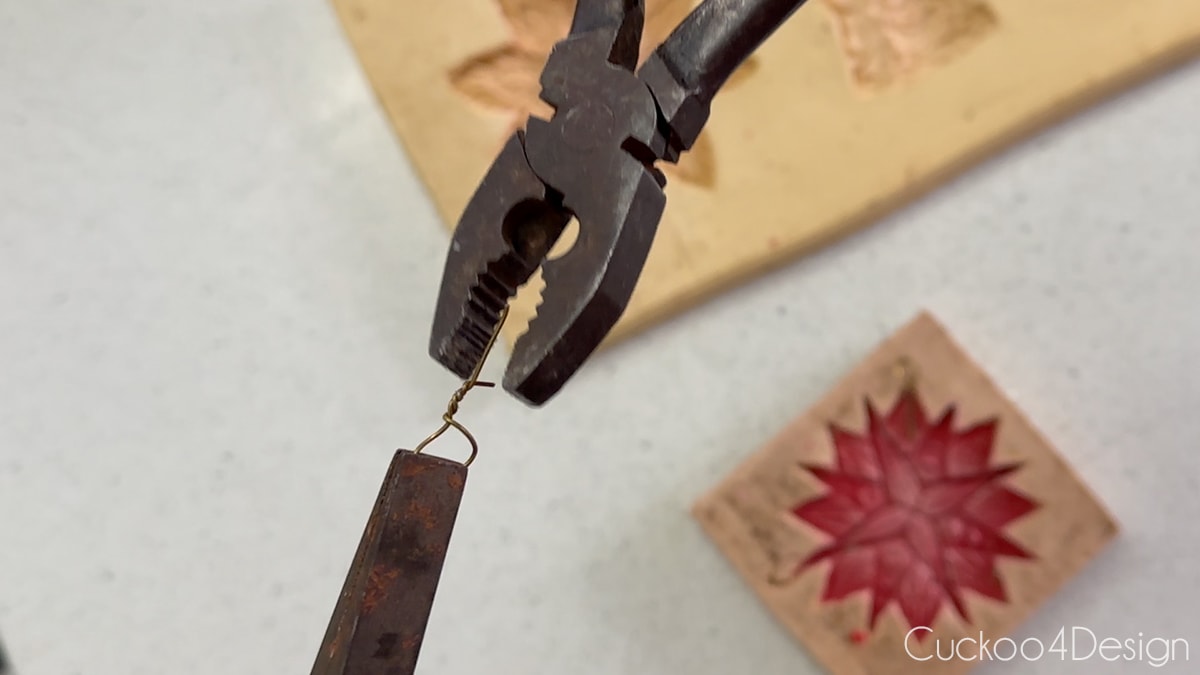
- While the wax was melting, I made little looped wires from the floral wire with pliers by twisting the two ends. Then I placed the looped metal into the mold at one of the ends.
If you’d rather skip this step, you can just cut a piece of ribbon or string, loop and knot it, and place that into the mold for hanging.
The reason I opted to use the metal loop is that I could exchange the ribbon whenever my decor changes. - If you are using molds that aren’t bendable, you have to use release spray or cooking spray. I tried my molds with and without the cooking spray, and it didn’t matter since the ornaments were easy to remove from the molds regardless.
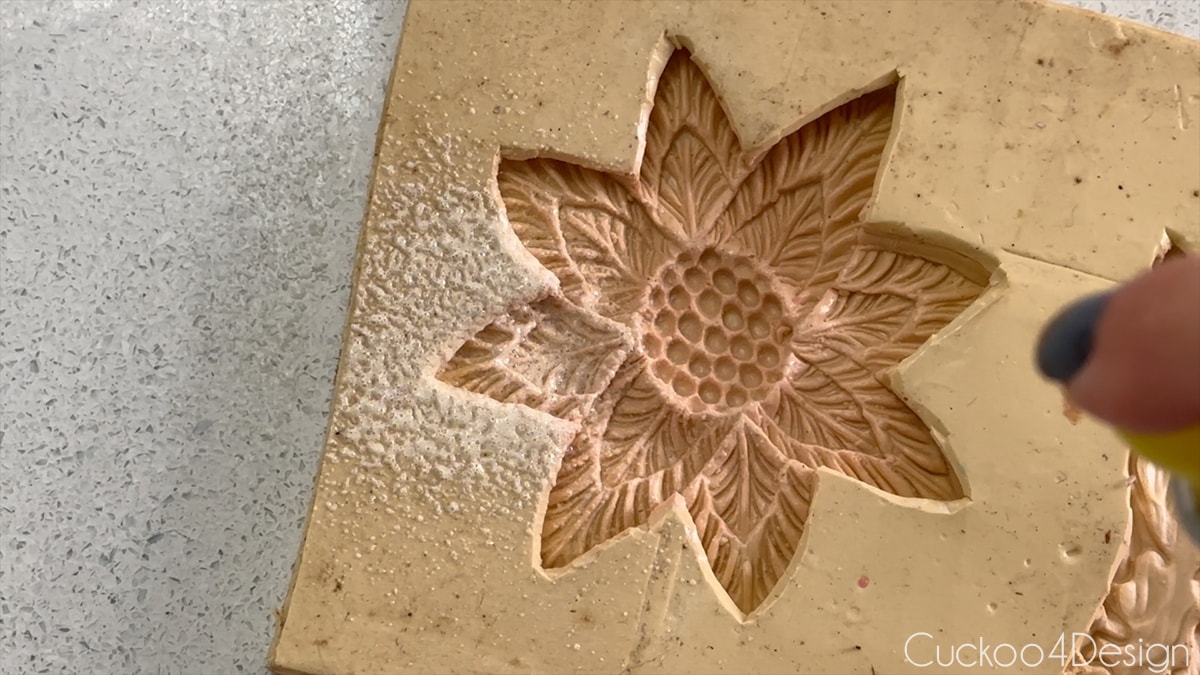
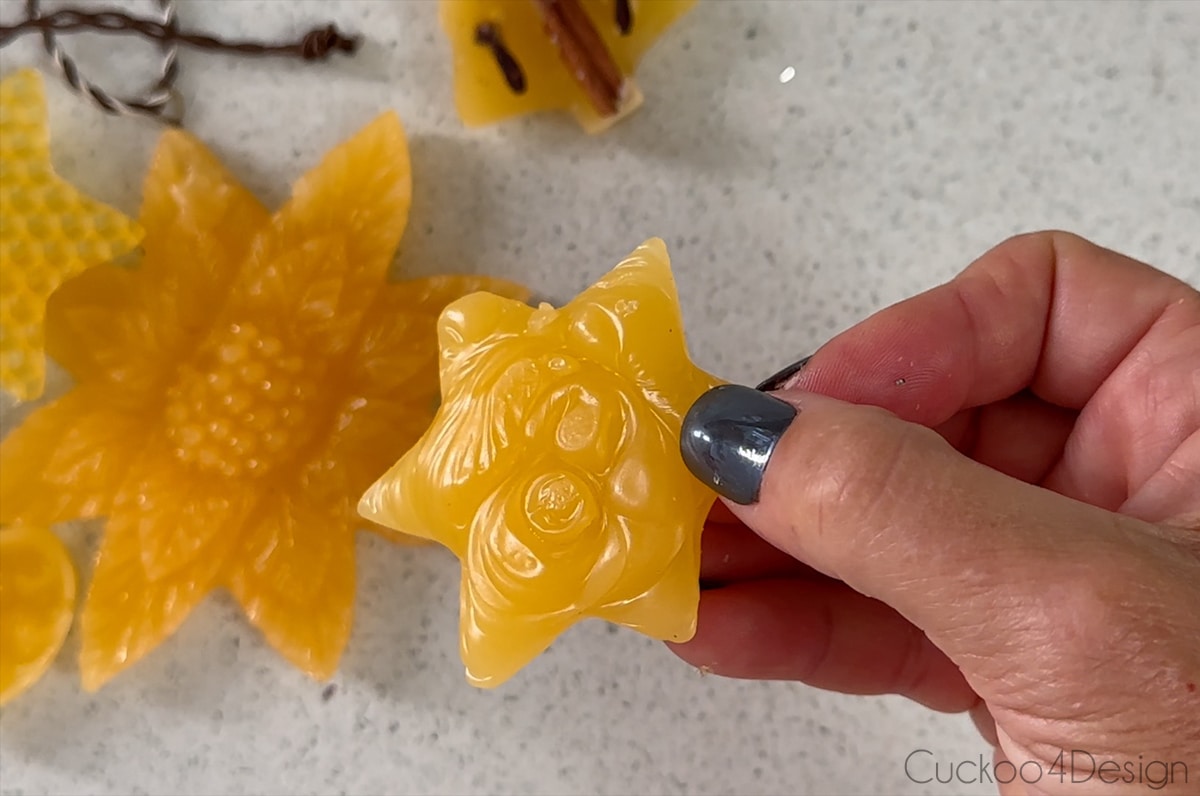
- Now it’s time to pour the melted beeswax slowly into the mold. Since I only had one vintage mold of each, it took me quite some time to make a lot of ornaments.
If you pour over the edges, no big deal, you can cut the access wax off later with a craft knife or even scissors. - Let the wax harden, and then remove the ornament from the wax mold.
(I let the wax harden at room temperature and in the fridge, just don’t try the freezer.) - If your hook is too visible on the front of the ornament or even poking out, you can fix that with an extra dab of melted wax.
- Add ribbon or twine of your liking for hanging the wax Christmas ornaments, and you are done.


Below are some more tips on how you can further decorate the above ornaments.
Decorating tips for handmade beeswax ornaments
- You can blacken the traditional beeswax ornaments by brushing on cinnamon when they have hardened to create blackened beeswax ornaments.
- Or you can paint the wax by wiping it with rubbing alcohol and then using acrylic paint or gold leaf to add colored detail to your design.
- You can add some additional essential oils to enhance the smell.
(Right now, I prefer them the way they are. But who knows, I might change my mind down the road one year.
Second Method: Using cookie cutters on a sheet of beeswax (the easiest way)
The method of using sheets of wax is perfect for kids of any age and the whole family. Just super easy.
- You can either buy store-bought sheets of wax or you can melt the beeswax into sheets in the oven by placing it on a parchment paper-lined baking pan and melting it in the oven until it all evens out into a layer of wax.
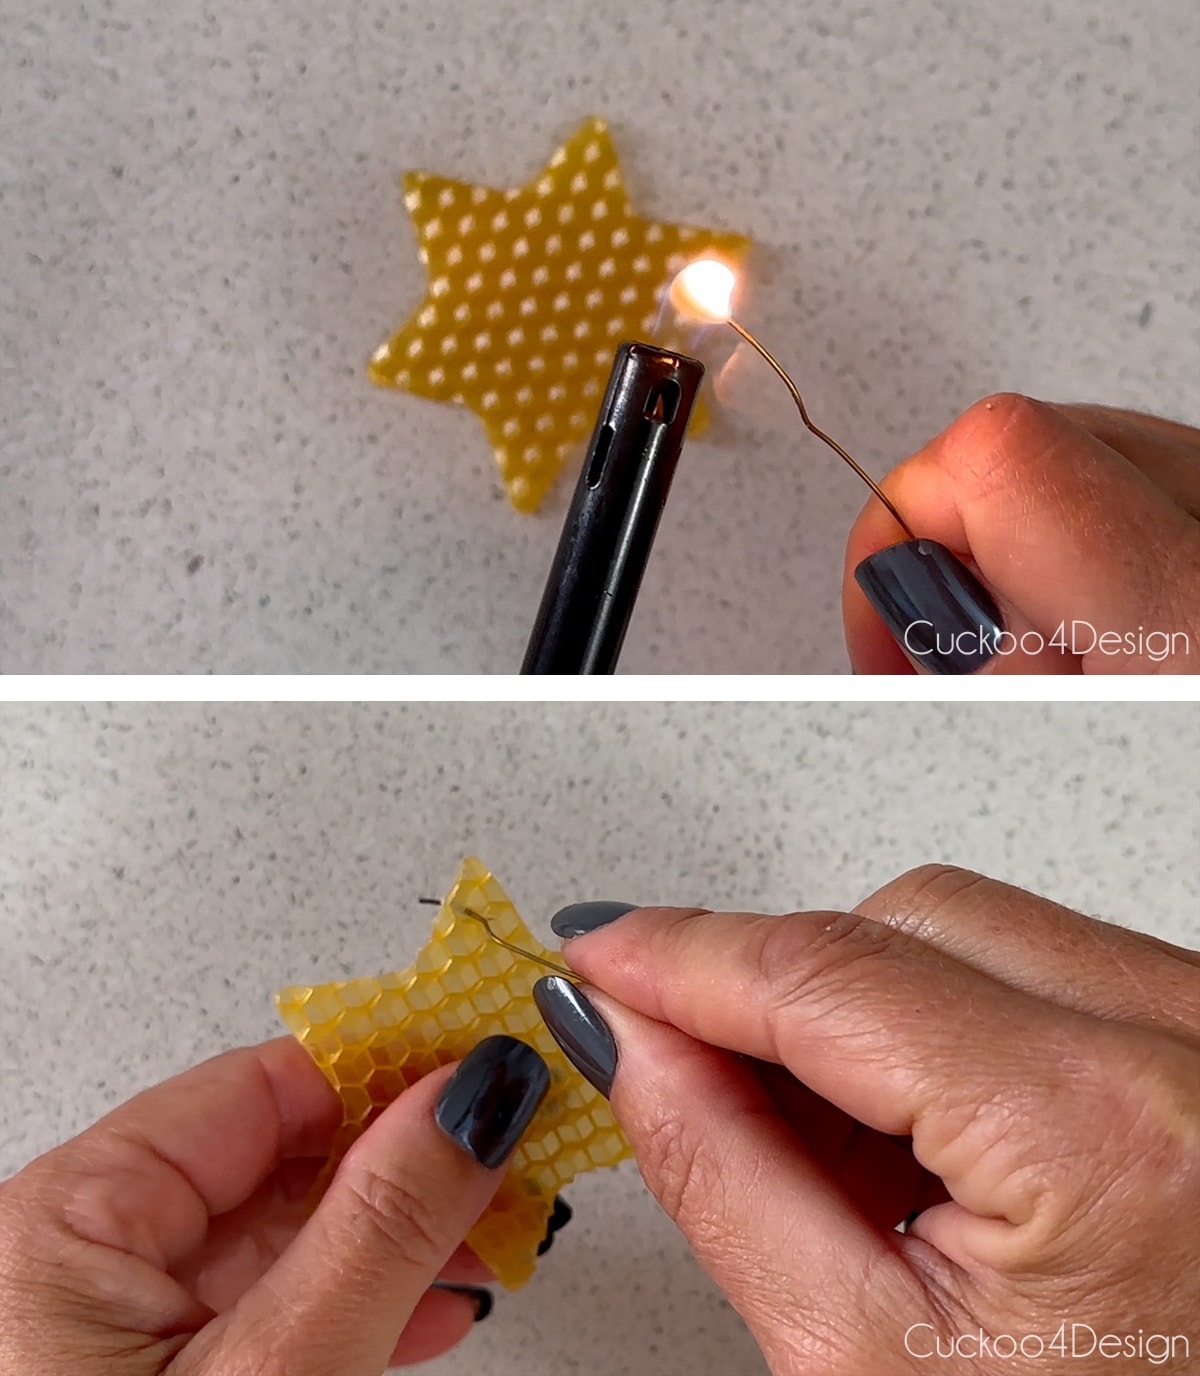
- Lay your sheet of wax on a flat surface and punch out your designs with cookie cutters exactly the way you do when you bake cookies. (I prefer the finished sheets because they are nice and thin and have the added beehive design on them)
Tip: Melt the leftover wax again so you can use it for more ornaments or another beeswax craft or beeswax candles. - The next step is to add a hole for your ribbon. For this, you will have to help a child so the little hands don’t get burned. I used some of the floral wire or you can just use a paper clip. Heat the metal with a lighter and then insert it into the wax ornament to create a hole.

- Cut some ribbon or twine and thread the ribbon through the hole. Knot the ends and you are done.


Third Method: Dripping melted wax into cookie cutters dipped in water
This method is super easy as well.
- Take a plate, add some water to it, and place several cookie-cutter shapes in it.

- Melt the wax over the stove the same way I mentioned in method one and then pour the melted wax into the cookie cutter shapes. (You can also add some cinnamon sticks, star anise seed pods, or cloves to the wax for extra details that smell wonderful.)
Or you can also just drip melted wax from a candle into the cookie cutters, but honestly, I didn’t like how the texture turned out that way.
- Remove the wax from the cookie cutters and add a hole the same way as I mentioned in method two. Add your ribbon, and you are done. I like how the underside of these types of ornaments turned out.


TIP: When you are using cookie cutter shapes in method three, try not to make the ornaments too thick. The thicker the ornament, the heavier it is which weighs down the Christmas tree branches.
Proper storage of these ornaments is very important. Don’t store the wax ornaments in an attic because attics get hot and the ornaments will get ruined. Make sure you find a cool dry place to store them instead.
How to hang beeswax ornaments
There are different ways to hang your beeswax ornaments. As I mentioned earlier, if you want to possibly switch up and change your ribbon, then it is best not to embed the string or ribbon into the hot wax. I recommend either embedding a metal loop into the hot melted wax (the way I did) or drilling a small hole into the ornament with a hot drill bit or wire after the wax has cooled off. This way, you can add whatever string or ribbon you want later.
Photos of the finished traditional DIY beeswax Christmas ornaments
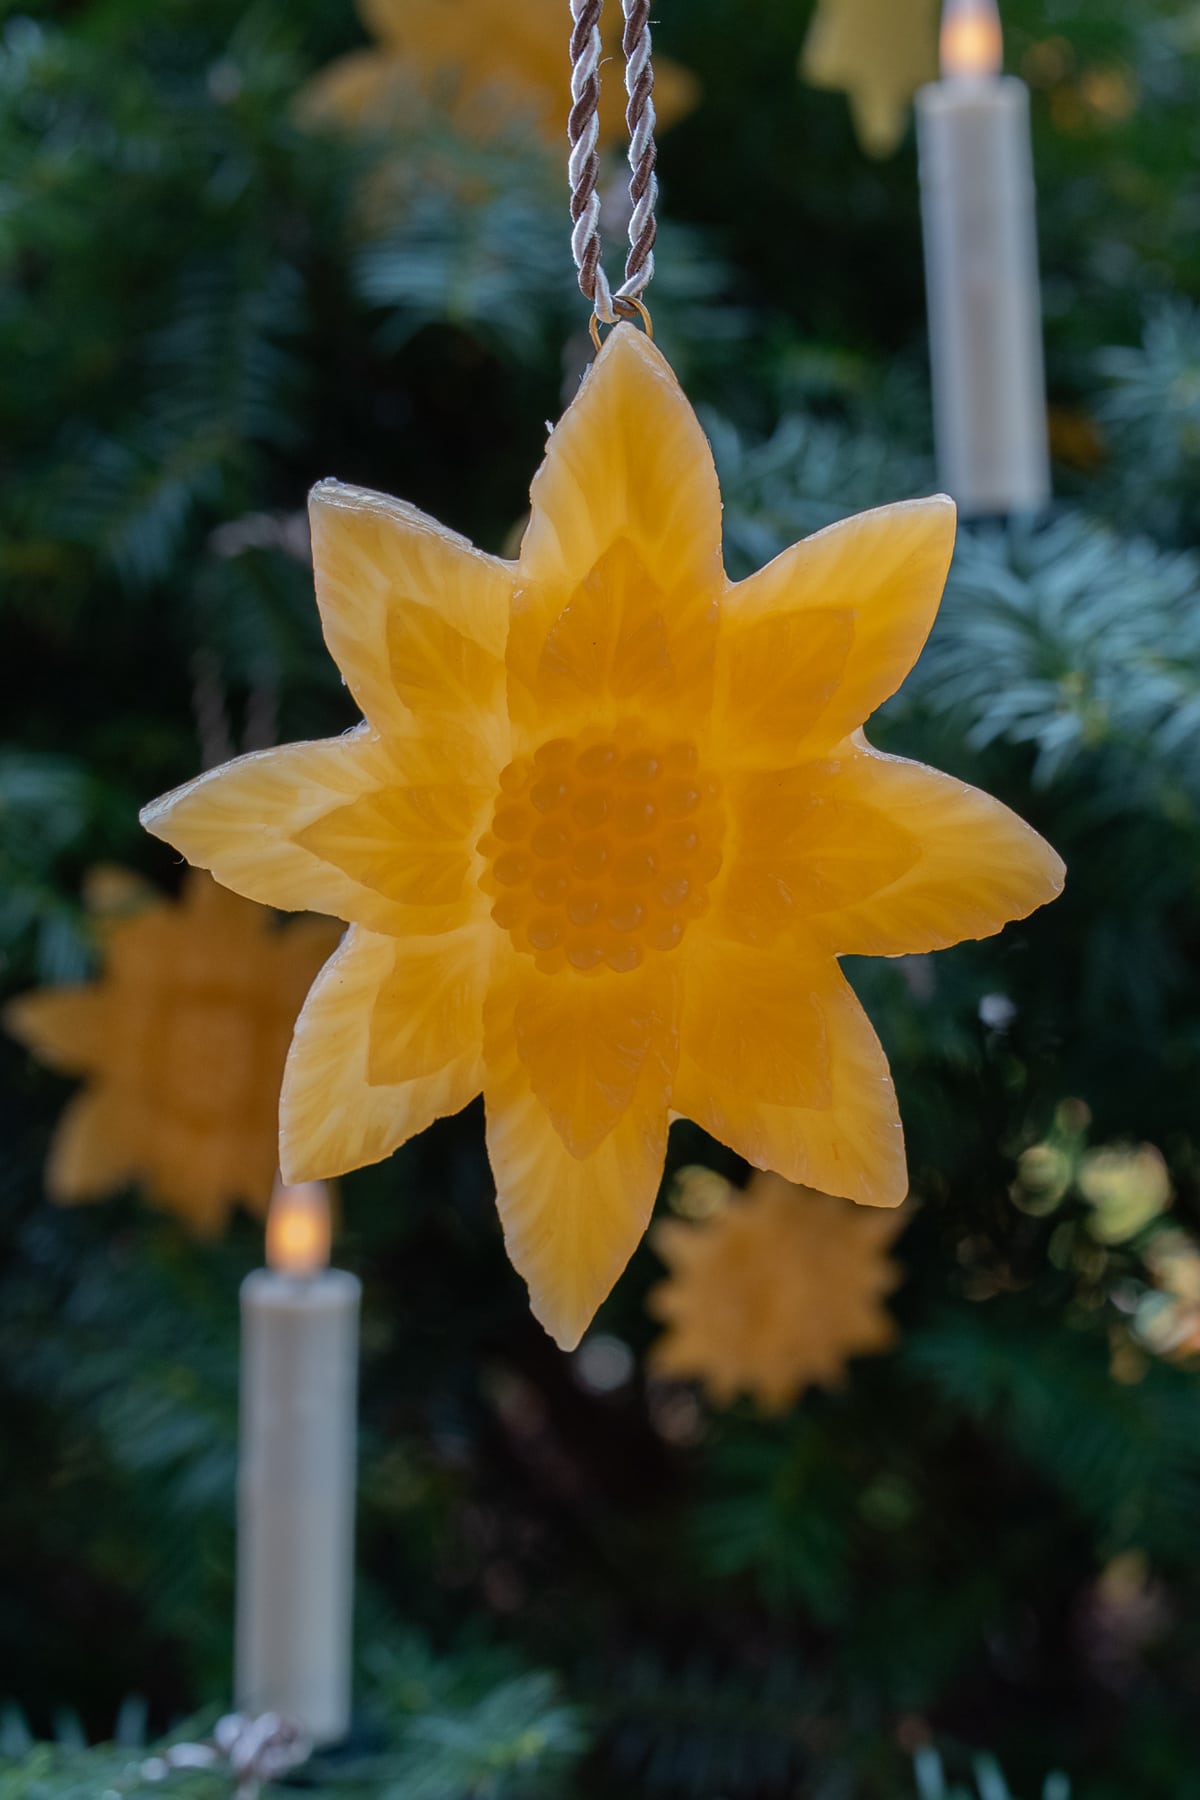
One day I’d like to try red wax as well, but for now, I’m so happy with the ones I have. I just love how these ornaments look, and their natural beeswax scent is amazing.

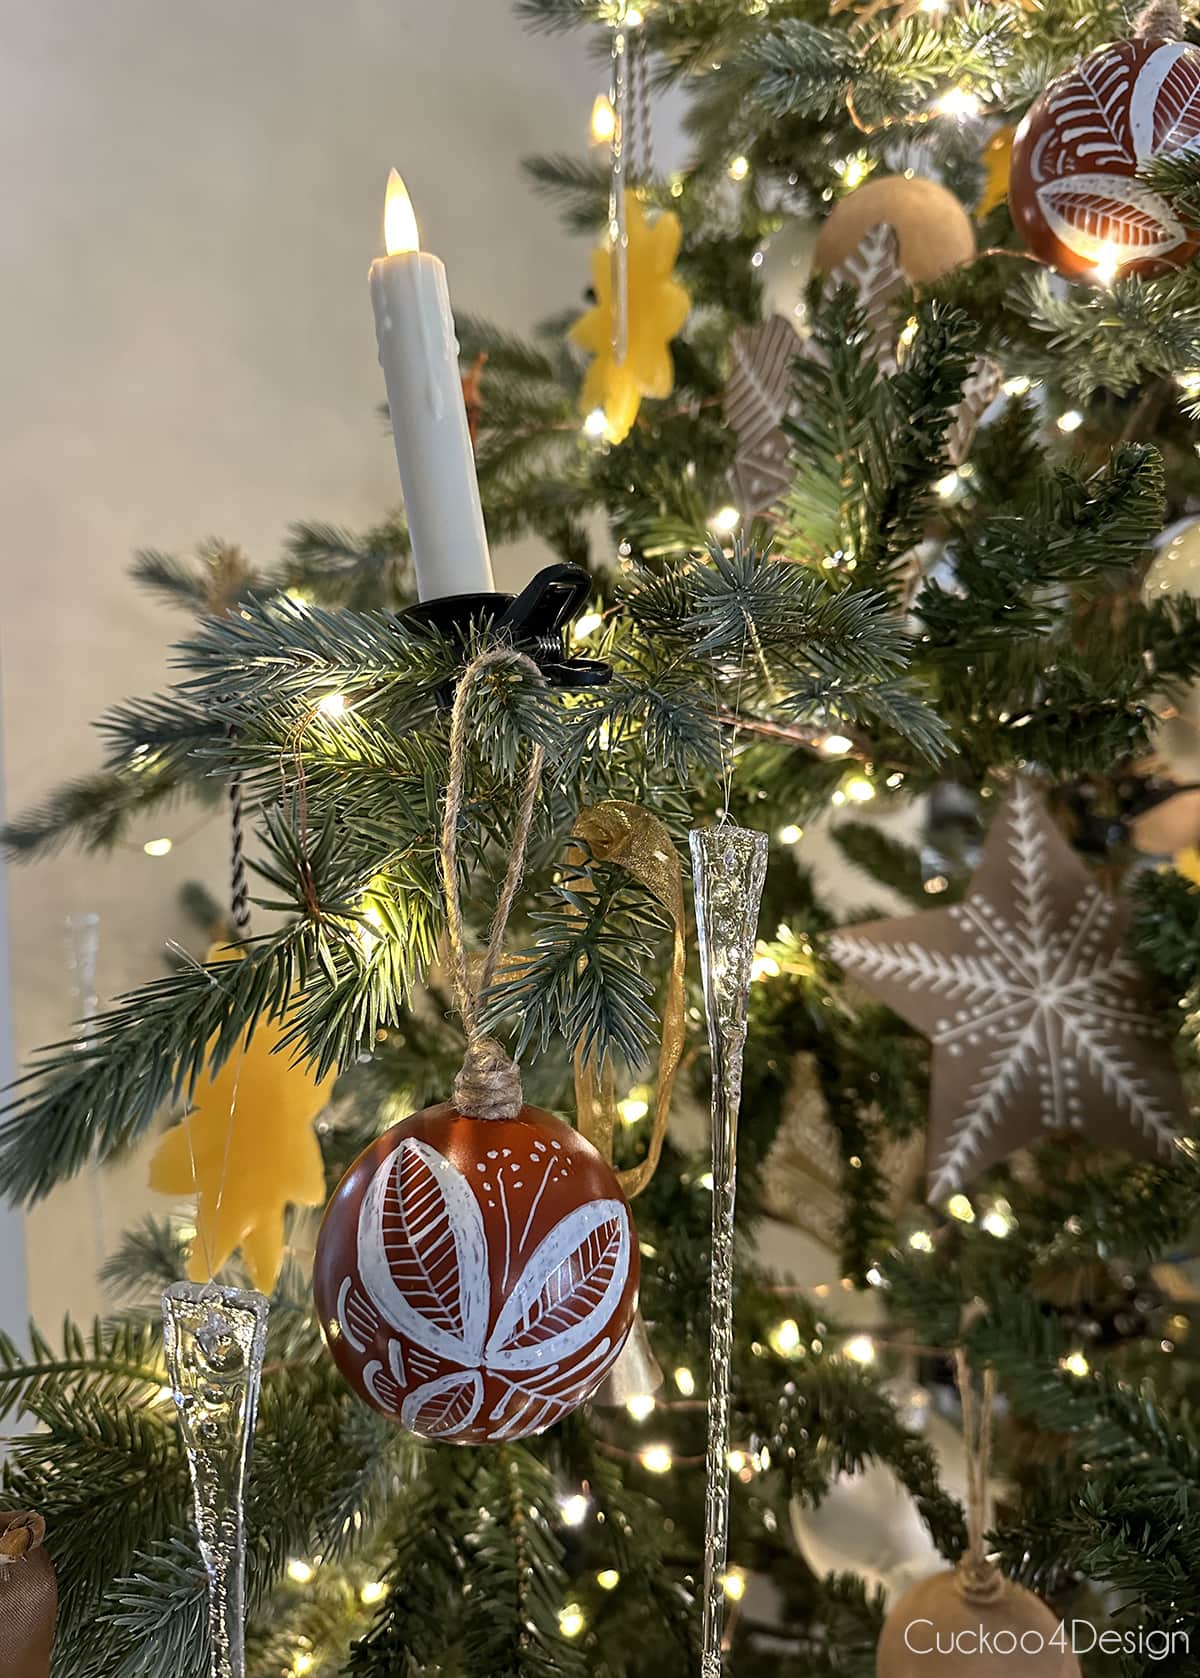
The color of natural beeswax is especially pretty when the Christmas lights shine through the finished beeswax ornament while hanging on the Christmas tree, as you can see in the photo below. There is a glow!
Related: You might also like my DIY Christmas flower ornament which is inspired by the traditional German Christmas rose (Helleborus niger).

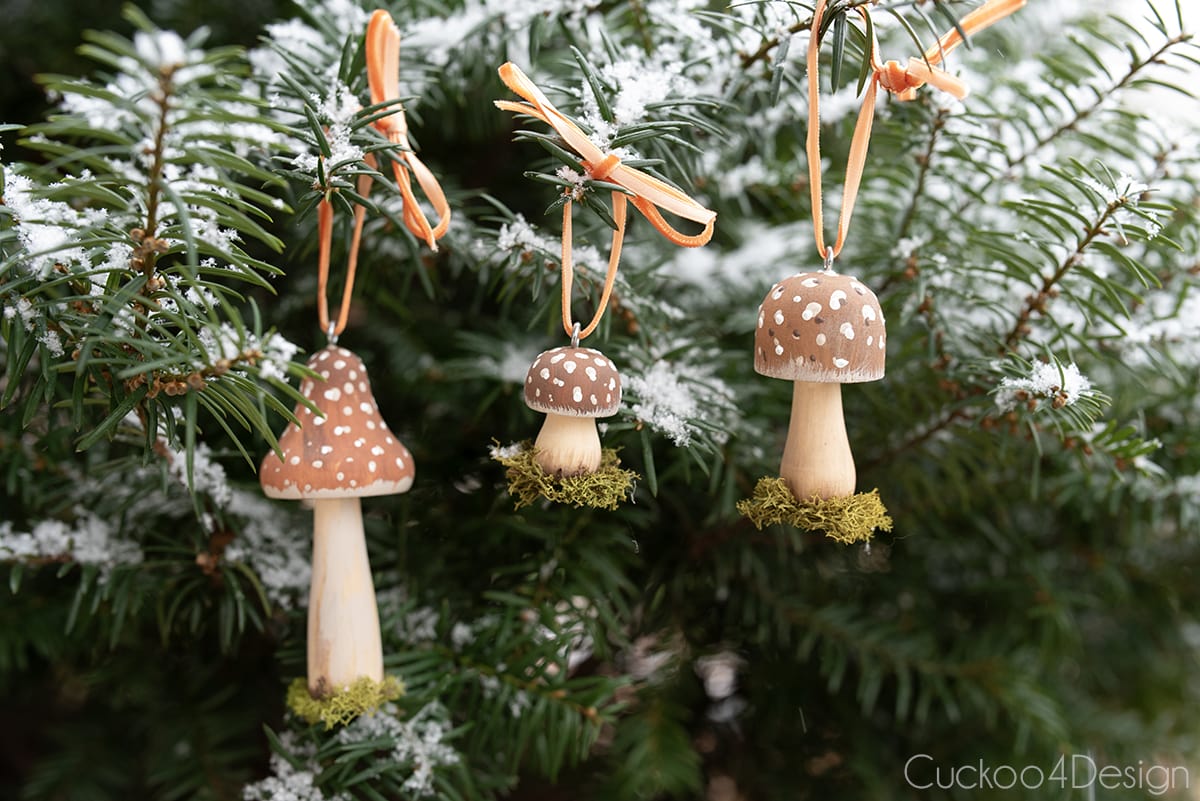
You might also like my DIY mushroom Christmas ornaments hanging in that same pine tree.

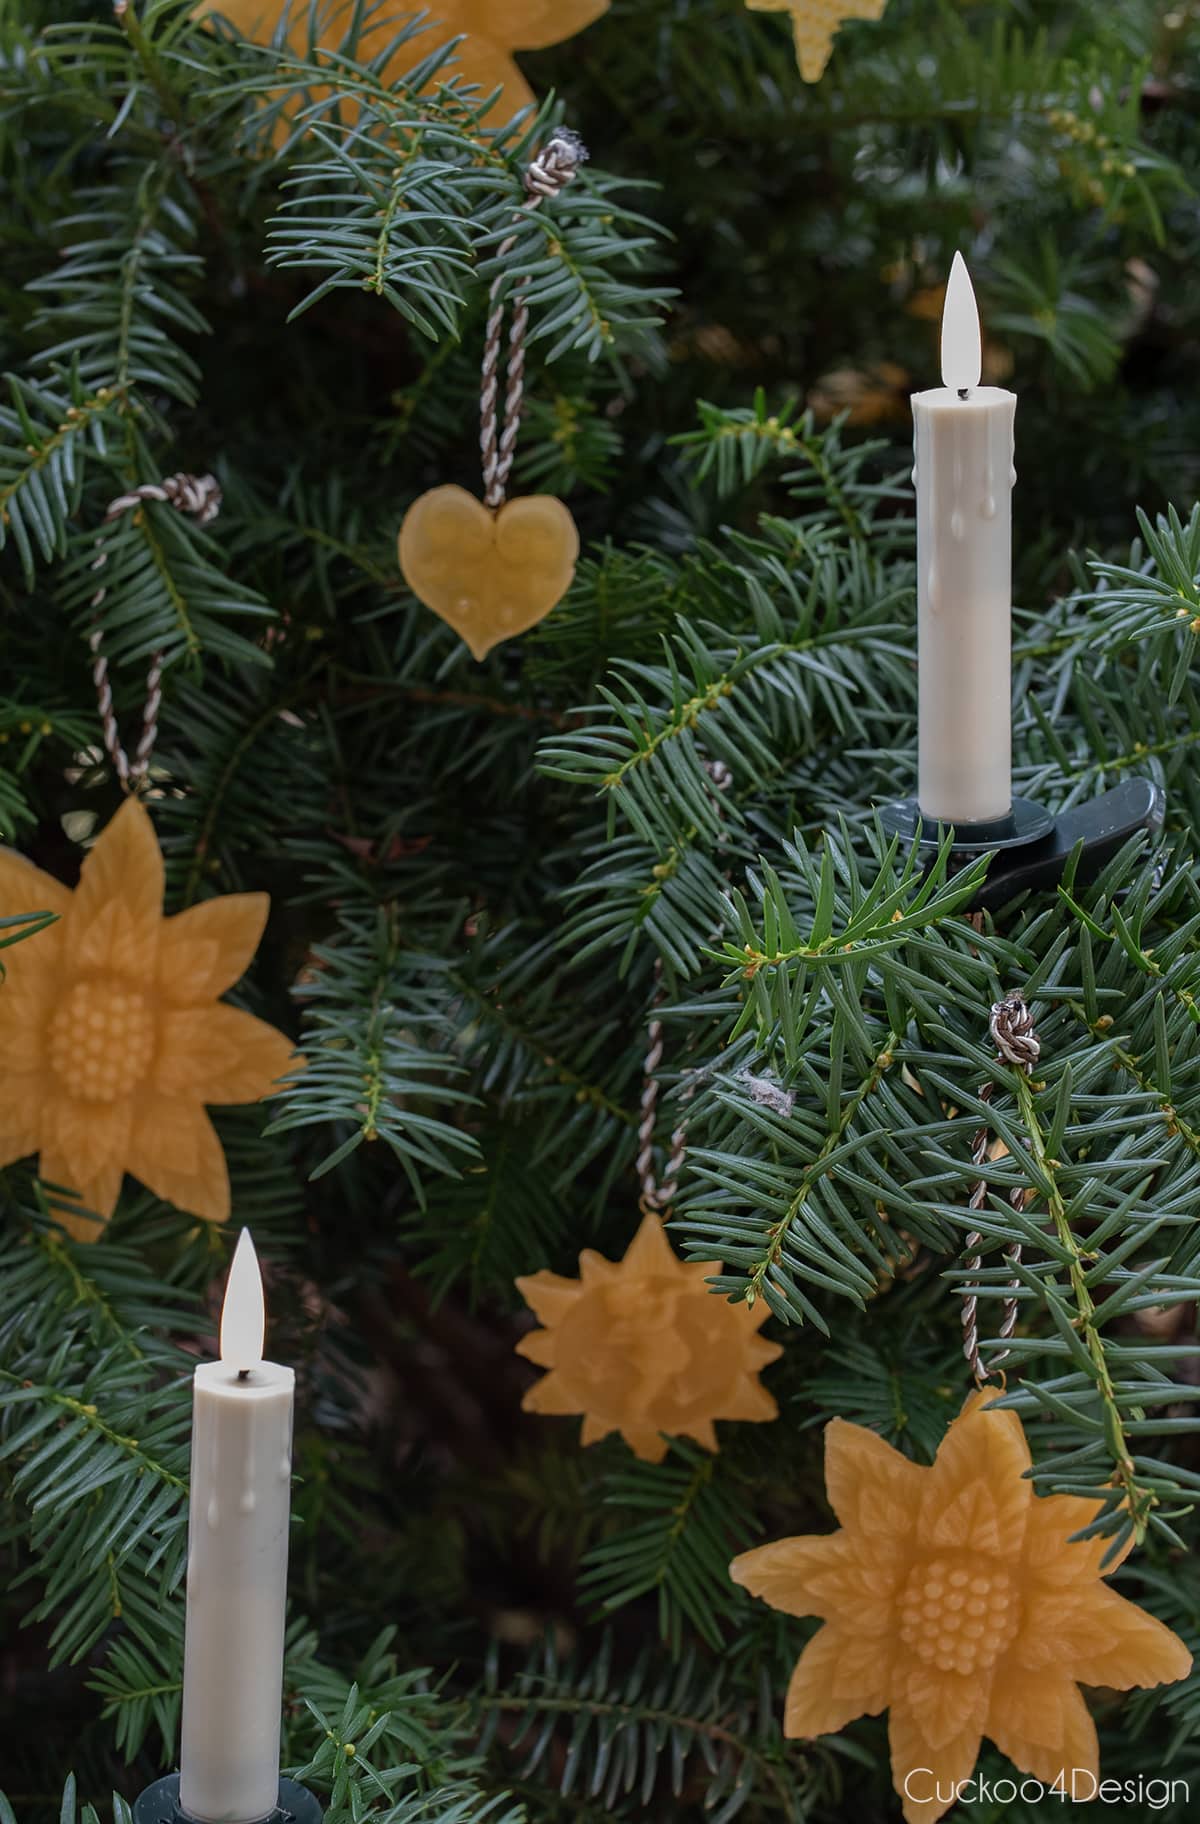
Now let me show you what the pure beeswax ornaments look like in my new sparse artificial Christmas tree that I just shared with you in my previous post with DIY faux burnished pottery ornaments with folk art design and DIY cardboard gingerbread ornaments.
This year’s tree is an ode to my childhood Christmas tree in Germany with my own twist. I know I shared the below photo many times of my grandmother listening to my brother and me playing Christmas songs on our flutes in front of the Christmas tree that still has the real candles on it and no artificial plug-in lights. Gosh, do I feel old!

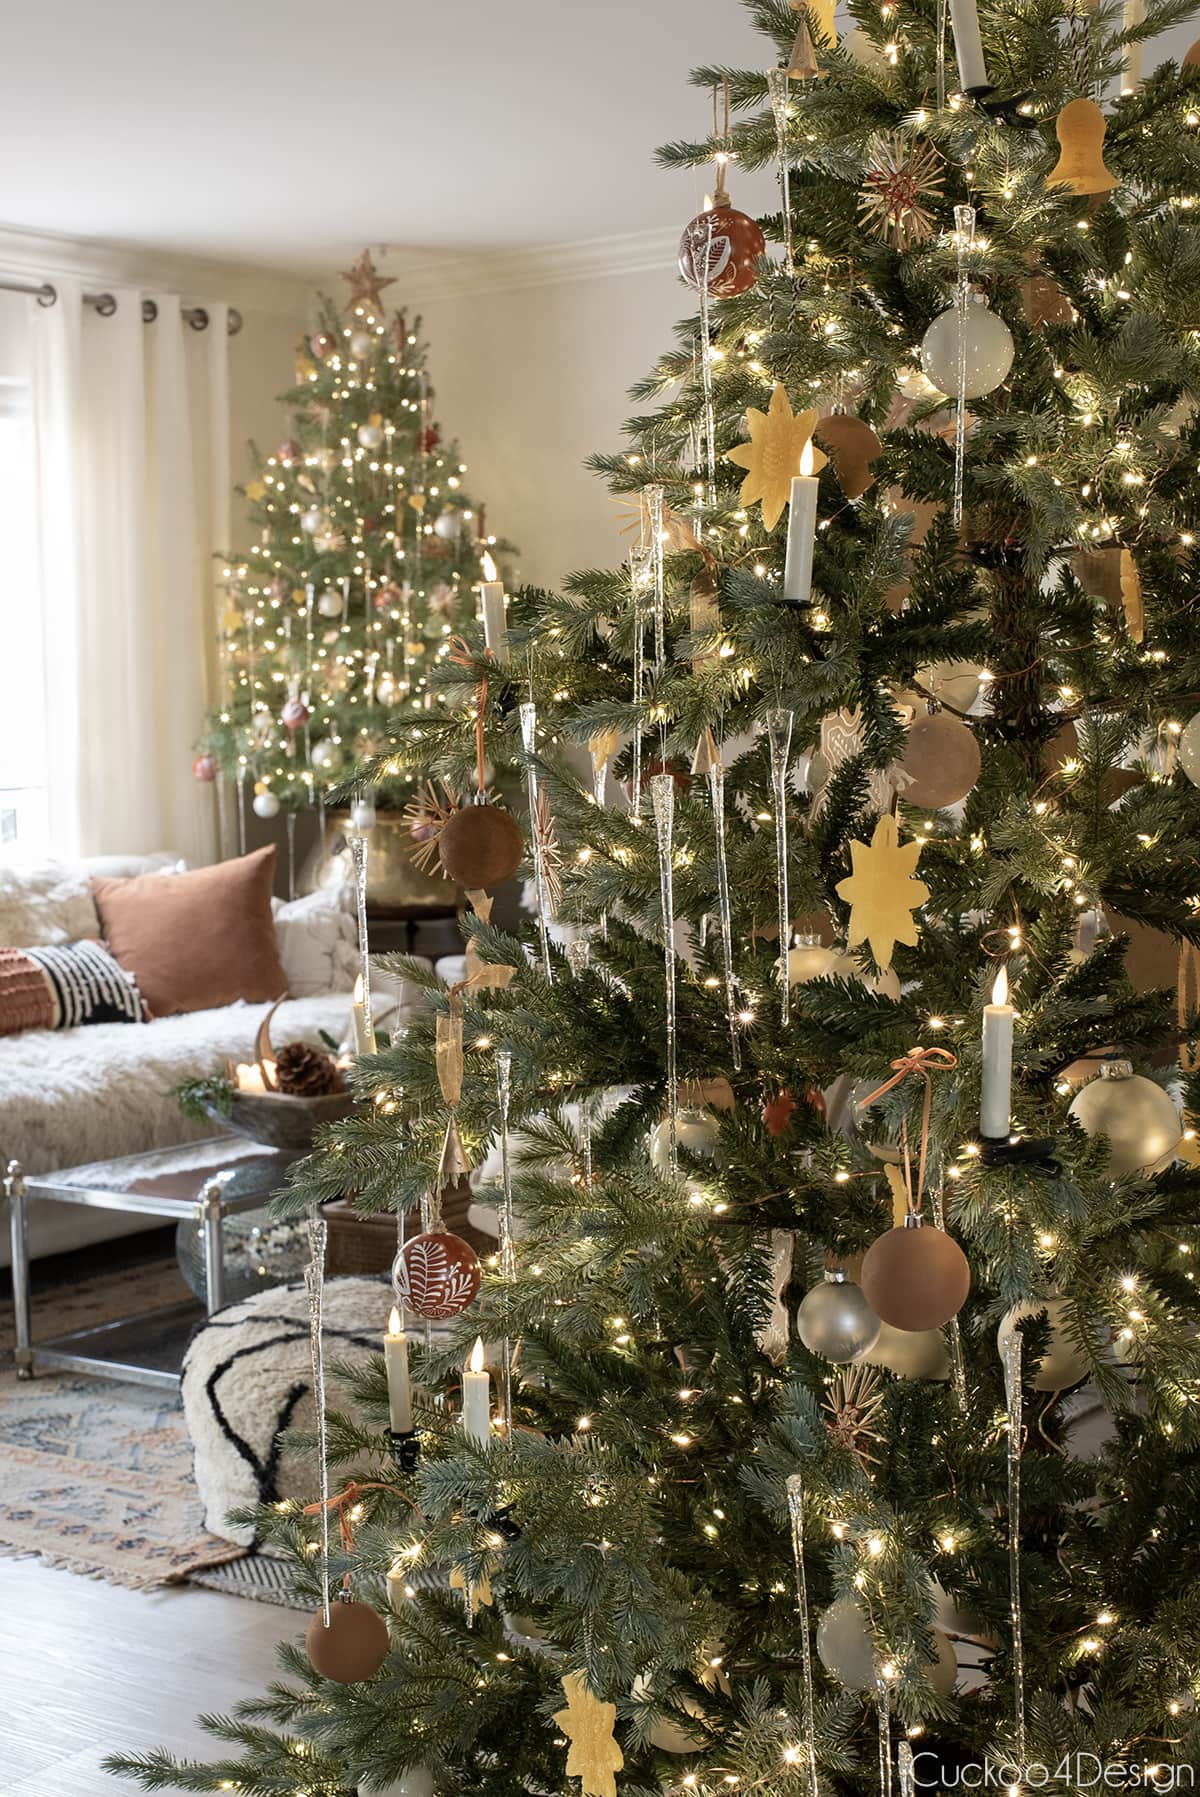
Here is a view of both Christmas trees with the beeswax ornaments on them. They are the perfect addition and a great way to add some old-world charm to your holiday decor. One is a real tree, and the other one is the artificial tree that I bought. They go well together, don’t you think so?
Where to buy authentic beeswax ornaments
Not everyone likes to DIY and craft. For those of you who fall into that category and like the look but don’t want to make your own wax ornaments, I rounded up some of my favorites. Etsy is usually a good place to find beautiful handcrafted items and even authentic antique and vintage pieces.

More DIY ornaments
- The easiest DIY starfish ornaments for your Christmas tree
- How to make an origami diamond ornament using regular paper
- If you love toilet paper roll crafts for Christmas, then why not make DIY toilet paper roll snowflakes as ornaments?

- The ultimate guide to making easy macrame gnome ornaments (free pattern)
- How to make a quick and easy honeycomb ornament (for beginners) with cheap printer paper or cardstock.


Making beeswax ornaments is such a beautiful way to bring old-world charm and natural warmth to your Christmas tree. Whether you create them yourself or buy handcrafted ones, beeswax ornaments are timeless holiday decorations that never go out of style. And I love them.
Happy Holidays,
