How to make an origami diamond ornament using regular paper
You will be surprised to see how easy this origami diamond ornament is to put together even if the diamond shape doesn’t look like it. You can turn the paper diamonds into super cute Christmas ornaments in various different sizes and colors.
I can honestly say that paper is my favorite material to make ornaments with. It also doesn’t break the bank when you have to purchase it and there are so many different options. Paper is also so easy to work with. If you mess up, just crumble it and start from scratch, no big deal!
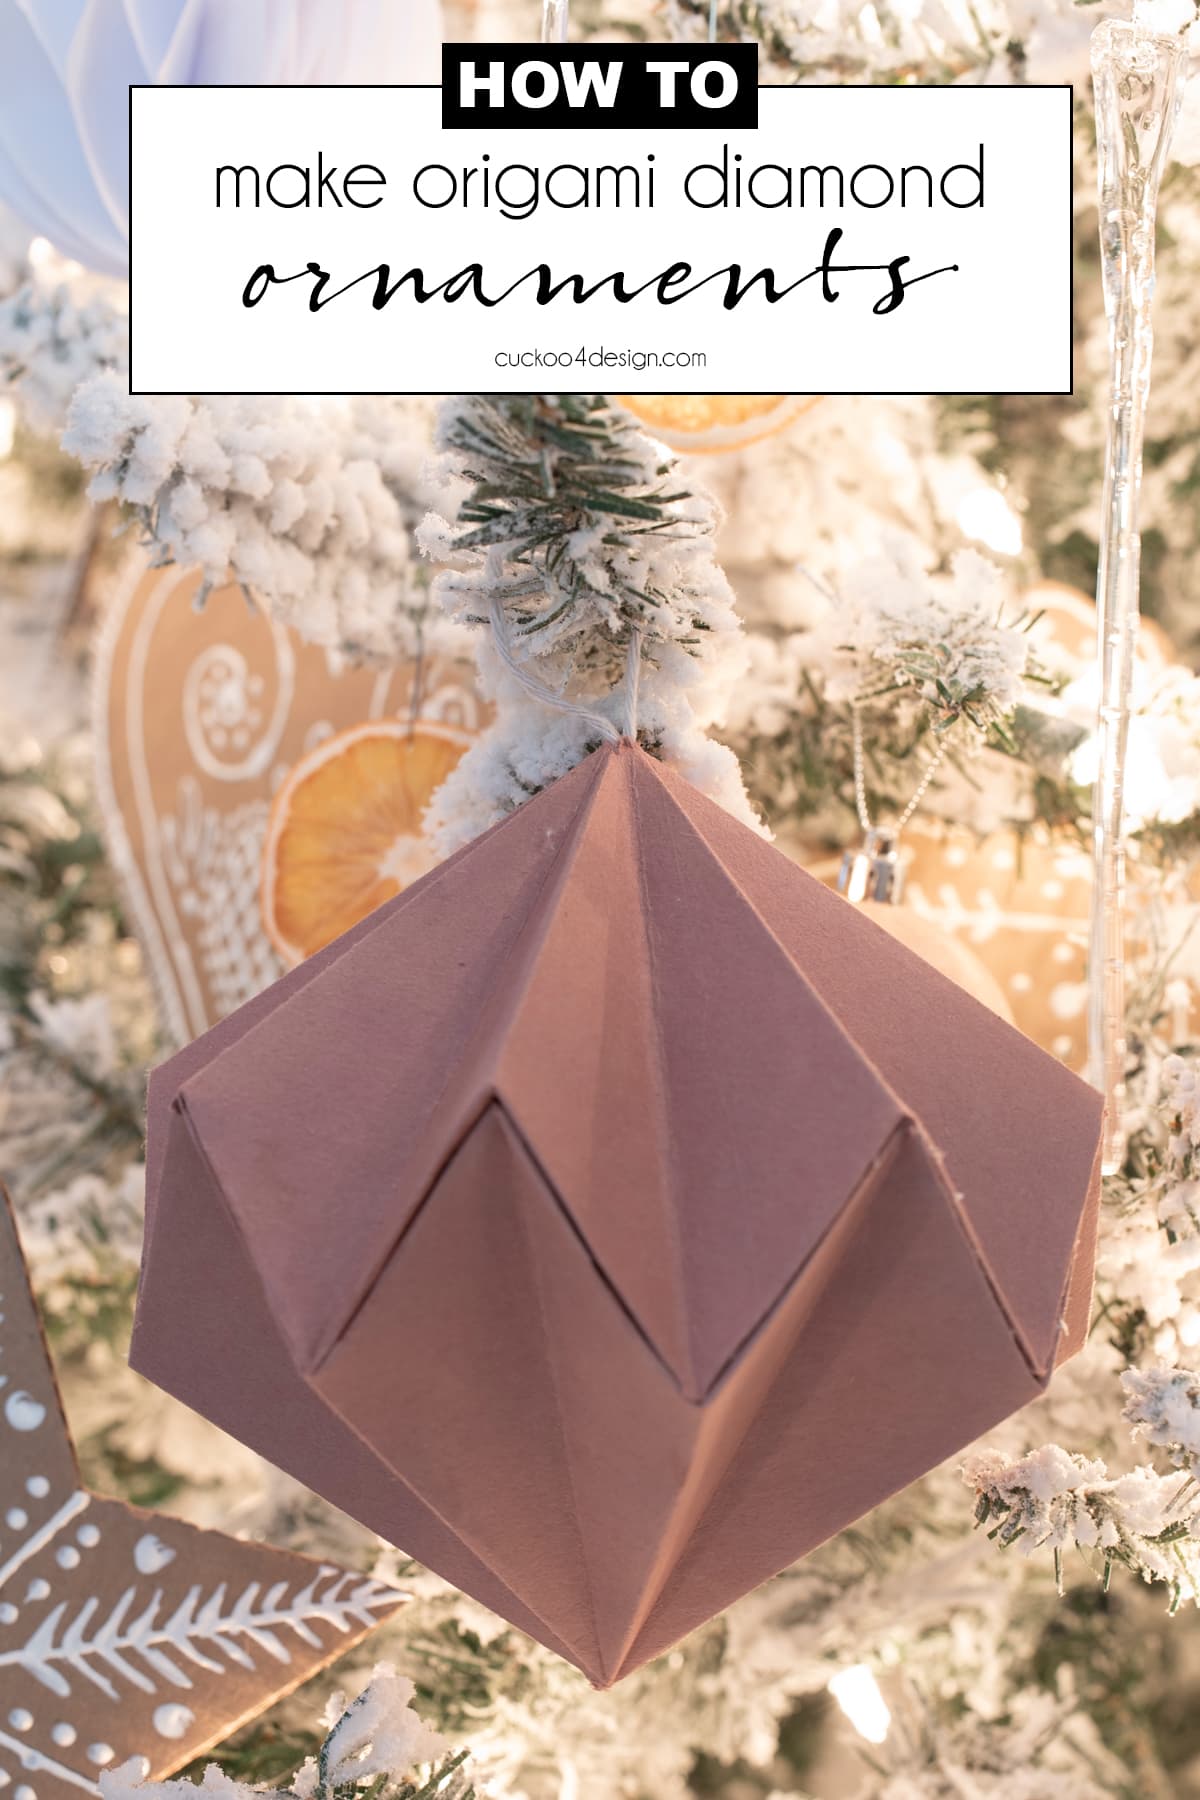
How to make an origami diamond ornament using regular paper or cardstock
This post may contain affiliate links from which I will earn a commission at no extra cost to you. View my full disclosure policy.
I actually made these cute origami diamond ornaments in 2013 for my blog. Back then I was such a newbie at blogging and didn’t really have a good tutorial. So I thought, I’d rewrite the blog post but also show you the old photos at the end of this post and how they looked back then. I still love the idea so much.
Let’s get started.
Materials needed
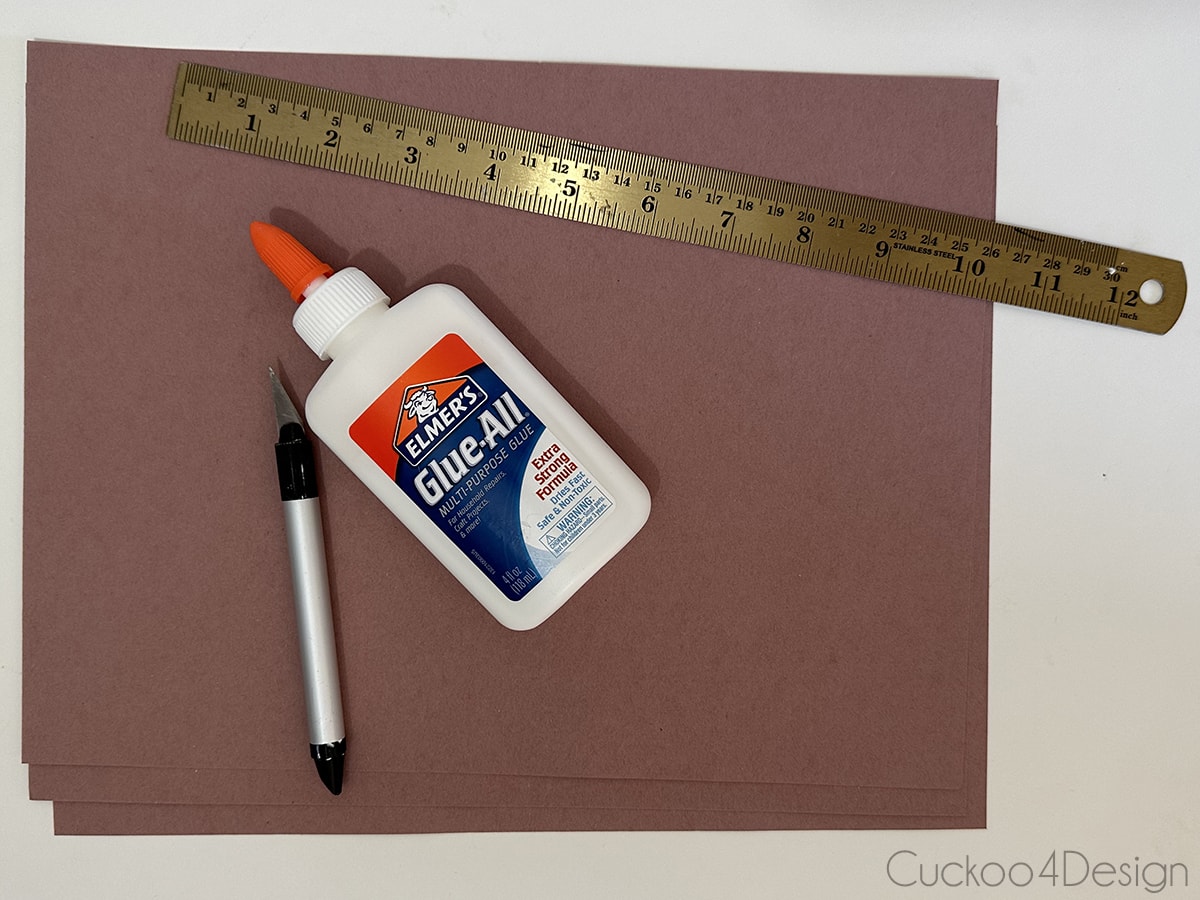
- paper (thinner paper works best but I used construction paper or this paper for the dark diamond ornament and printer paper for the white ones – metallic paper would be really pretty too)
- hot glue gun with a thin tip and glue sticks (I use this glue gun and love it)
- craft glue
- ruler
- craft knife
- ribbon or yarn to hang the ornament
Different pretty paper options to use
Of course, you could also use origami paper, scrapbooking paper, wrapping paper, or any other fun colored or patterned paper that you come across. As I said earlier, thinner paper is easier to work with.
RELATED: If you love paper crafts, you can use the same pretty cardstock paper that I used in this tutorial to make paper fan ornaments.
Origami diamond ornament video tutorial
I made a video to show you how I folded the shape and glued it together. If it doesn’t load for you then you can also watch it on my YouTube channel instead.
Easy step-by-step origami diamond instructions
If you watched my video above then you already know the basic steps but it also helps to have images with descriptions along the way while making them.
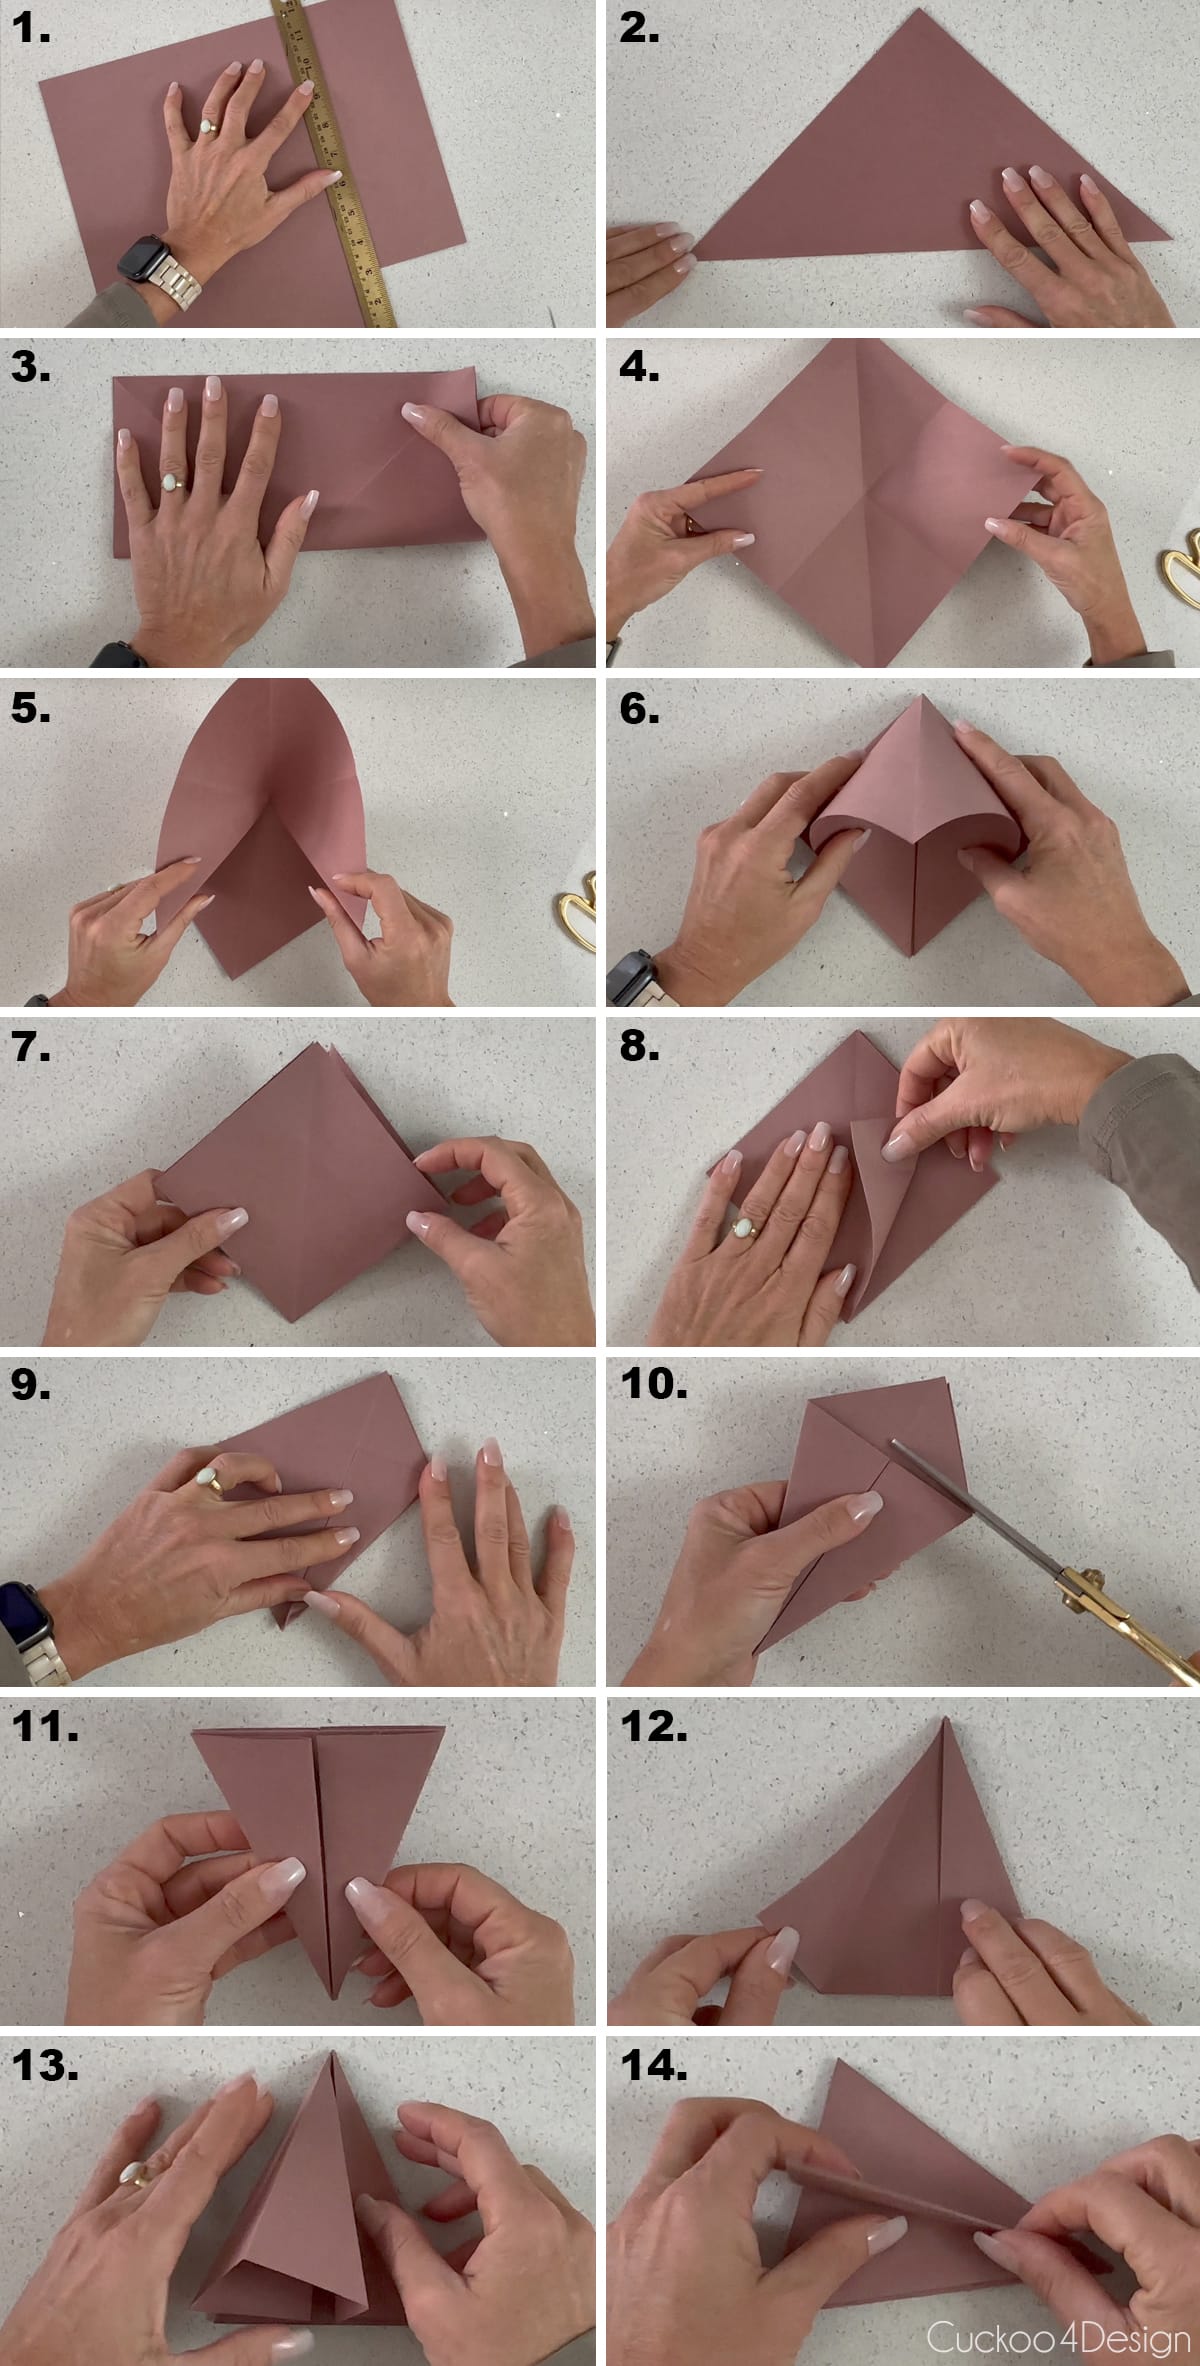
- Cut two pieces of paper into even squares.
- Take one sheet of square paper and fold it in half from corner to corner on both sides so you have an X shape from point to point.
- Now fold the square in half both ways.
- This creates another X shape on the square piece of paper.
- Take the two outside points and bring them to the bottom point while you fold the sides in as pictured above.
- Also, fold the top down to meet the bottom corner edge.
- Now you have a smaller folded square. Turn that square so the open ends are on the top.
- Take the outside point and fold it towards the middle as pictured.
- Repeat that last step with all corner points.
- Cut the top part off along the line of the folded edges with scissors.
- Now you have a long triangle shape.
- Take one of the flaps and open it up. (You can understand this part best if you watch my video!)
- Fold the piece open and crease the center inwards and then fold the edges over again.
- Repeat this with all sides.
- Now you should have a star shape when viewed from the top.
- Fold the star shape flat and take a corner so you can fold it upwards along the center line.
- Repeat that with all corners and don’t worry about the direction of the folds.
- When all sides are folded up, open the shape.
- When you look at the top of the opened shape, it should look like a wide star.
- Create the same folded shape with the other piece of square paper so you have two of these wide star shapes.
- Knot a looped piece of yarn or ribbon.
- Cut a hole in the center of one of the star shapes so you can thread the looped yarn through the top for hanging.
- Now it is time to glue the two shapes together. Start out by lining up one edge of the two shapes and glue them together with a thin line of hot glue.
- Keep repeating that by going all the way around the perimeter. One edge and glue line at a time.
- When you reach the end of the shape make sure everything aligns correctly.
- I prefer using craft glue for the final gluing steps because you can adjust the position. When you use hot glue that isn’t possible.
- Wipe off any excess glue.
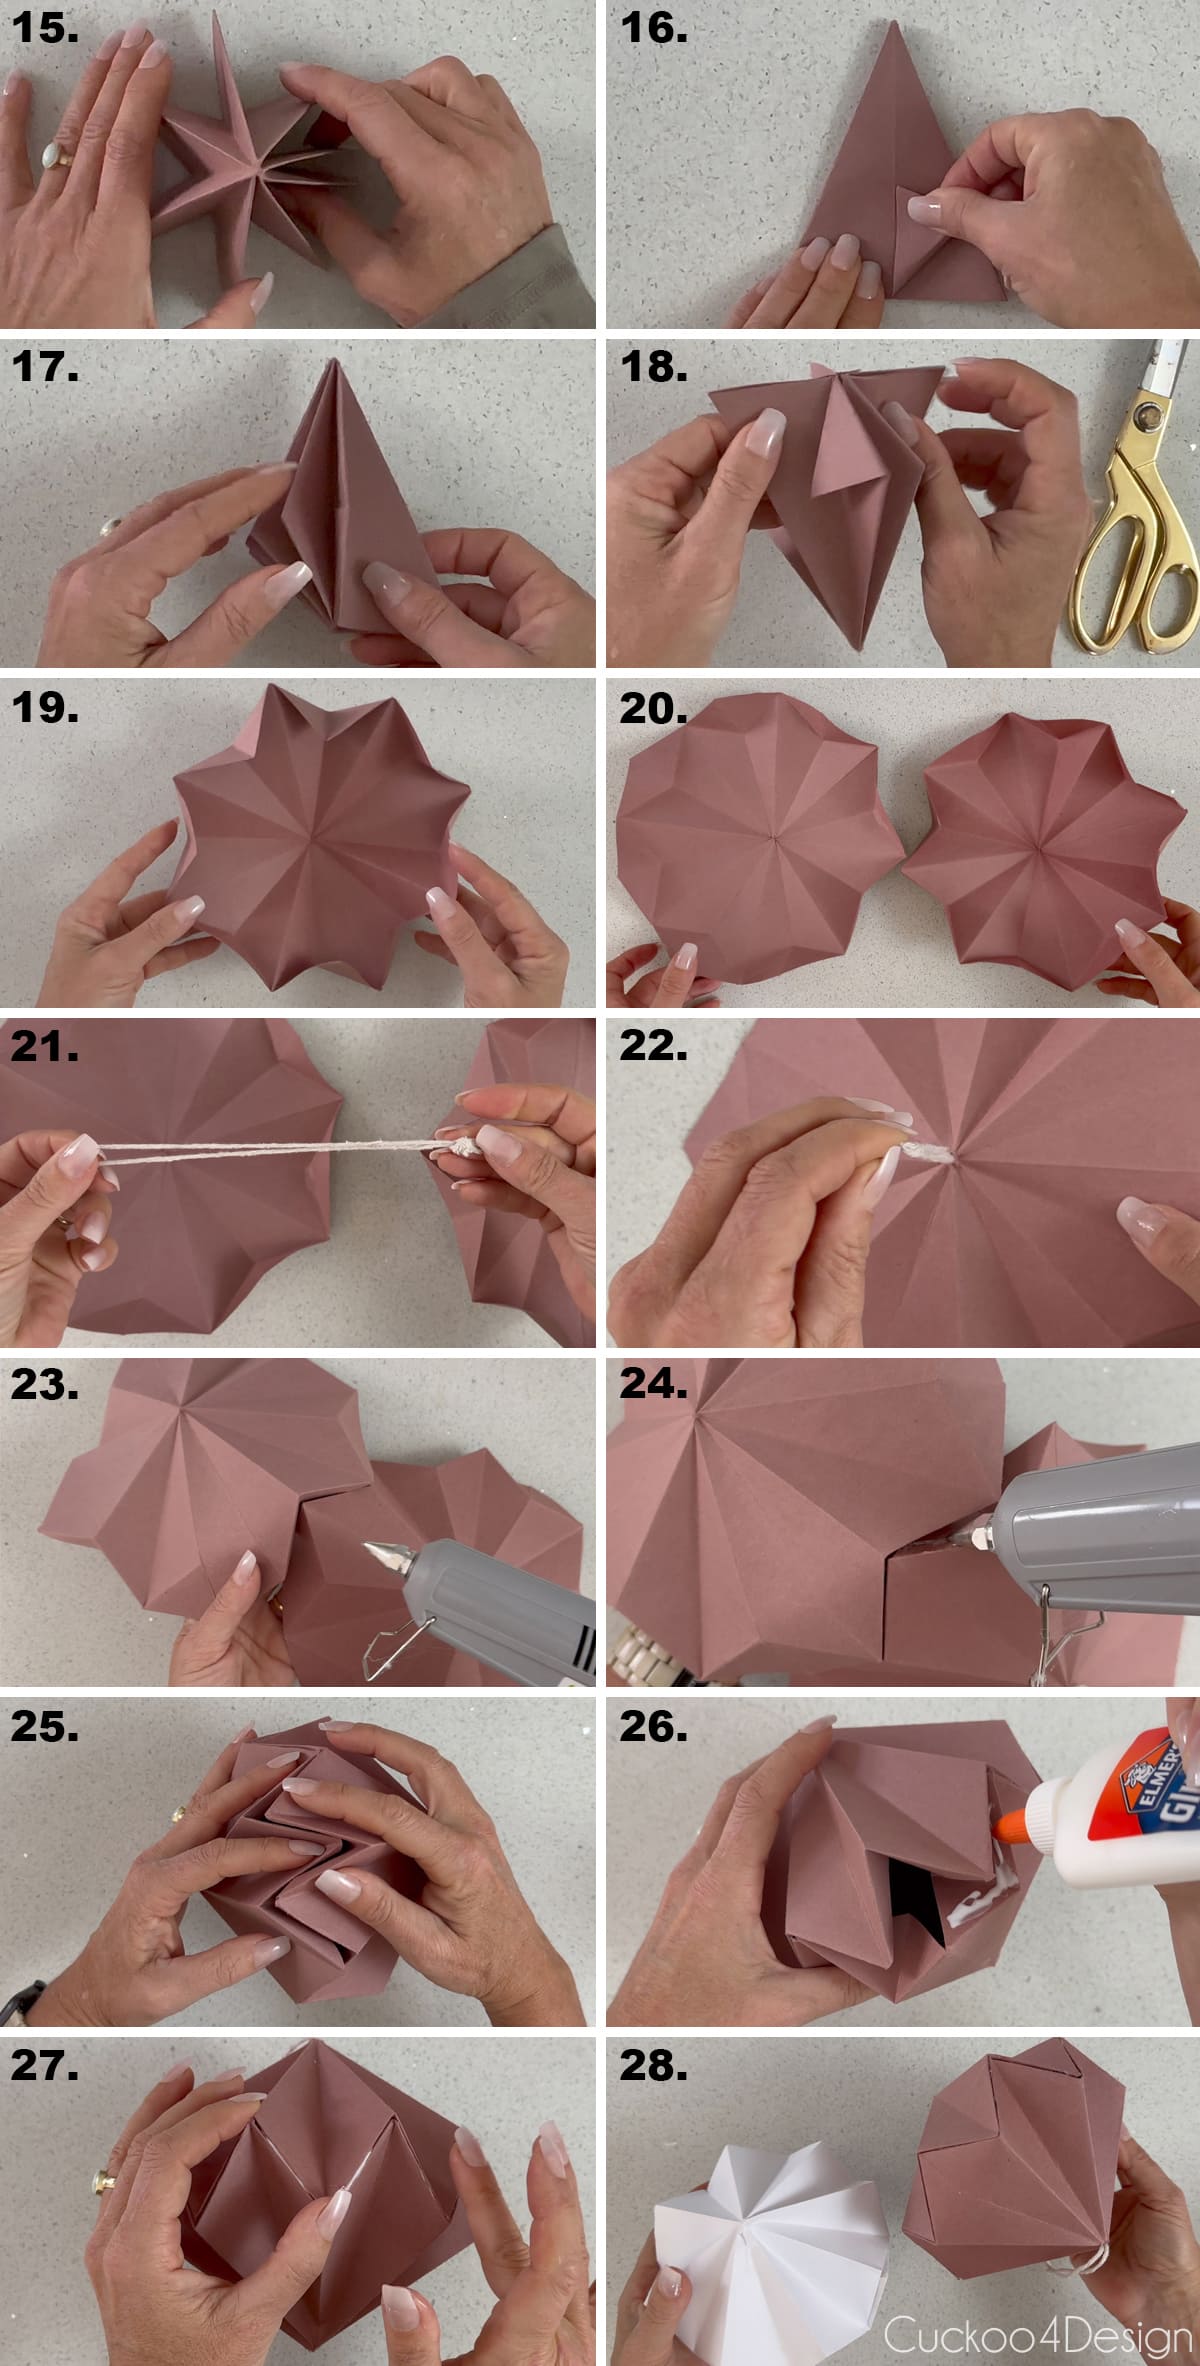
- I like creating different-sized and colored origami diamonds.
Finished origami diamond Christmas ornaments
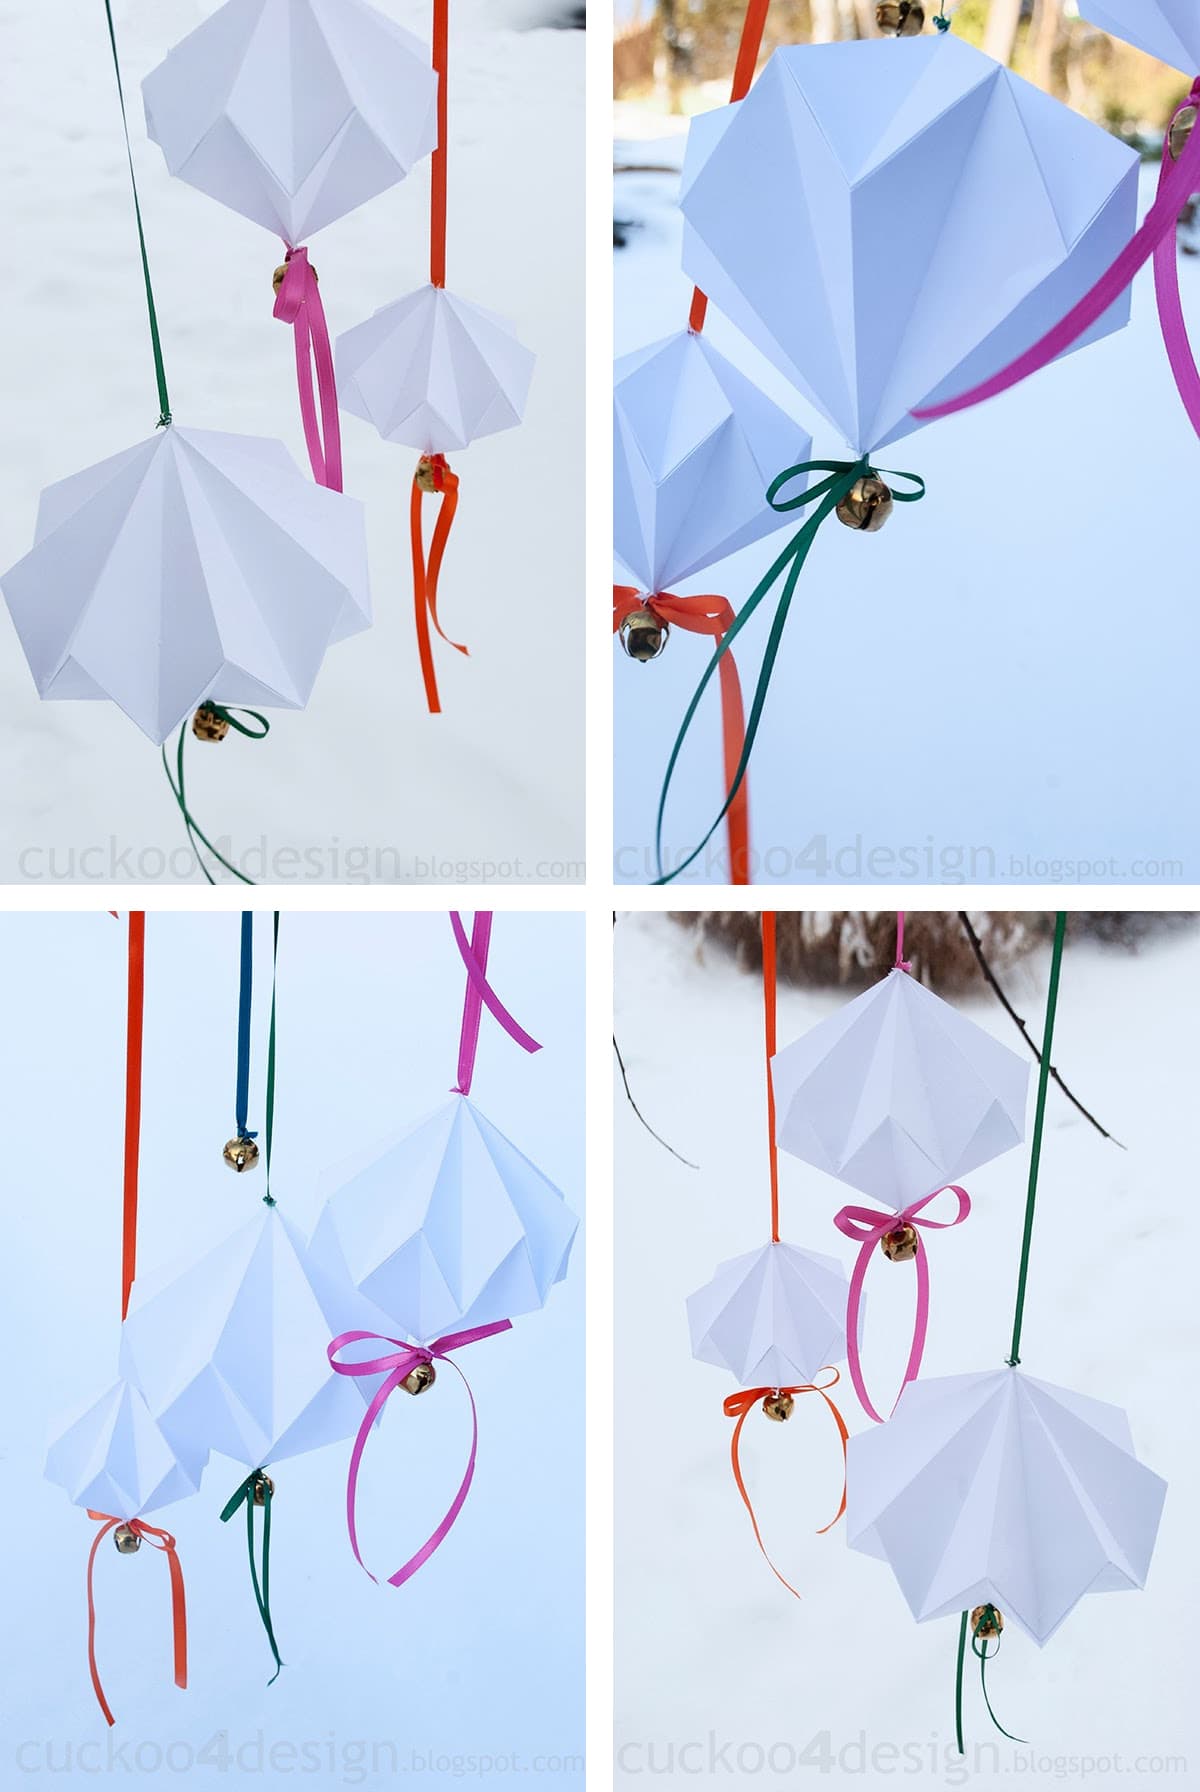
As I mentioned earlier, I made these cute paper ornaments back in 2013. Below you can see the original photos. I also added jingle bells to the tips/bottom corners by sewing them on with a needle, as well as different colored satin ribbons. Back then we actually had snow and I photographed them outside. It was so charming when the wind made the bells ring like wind chimes.
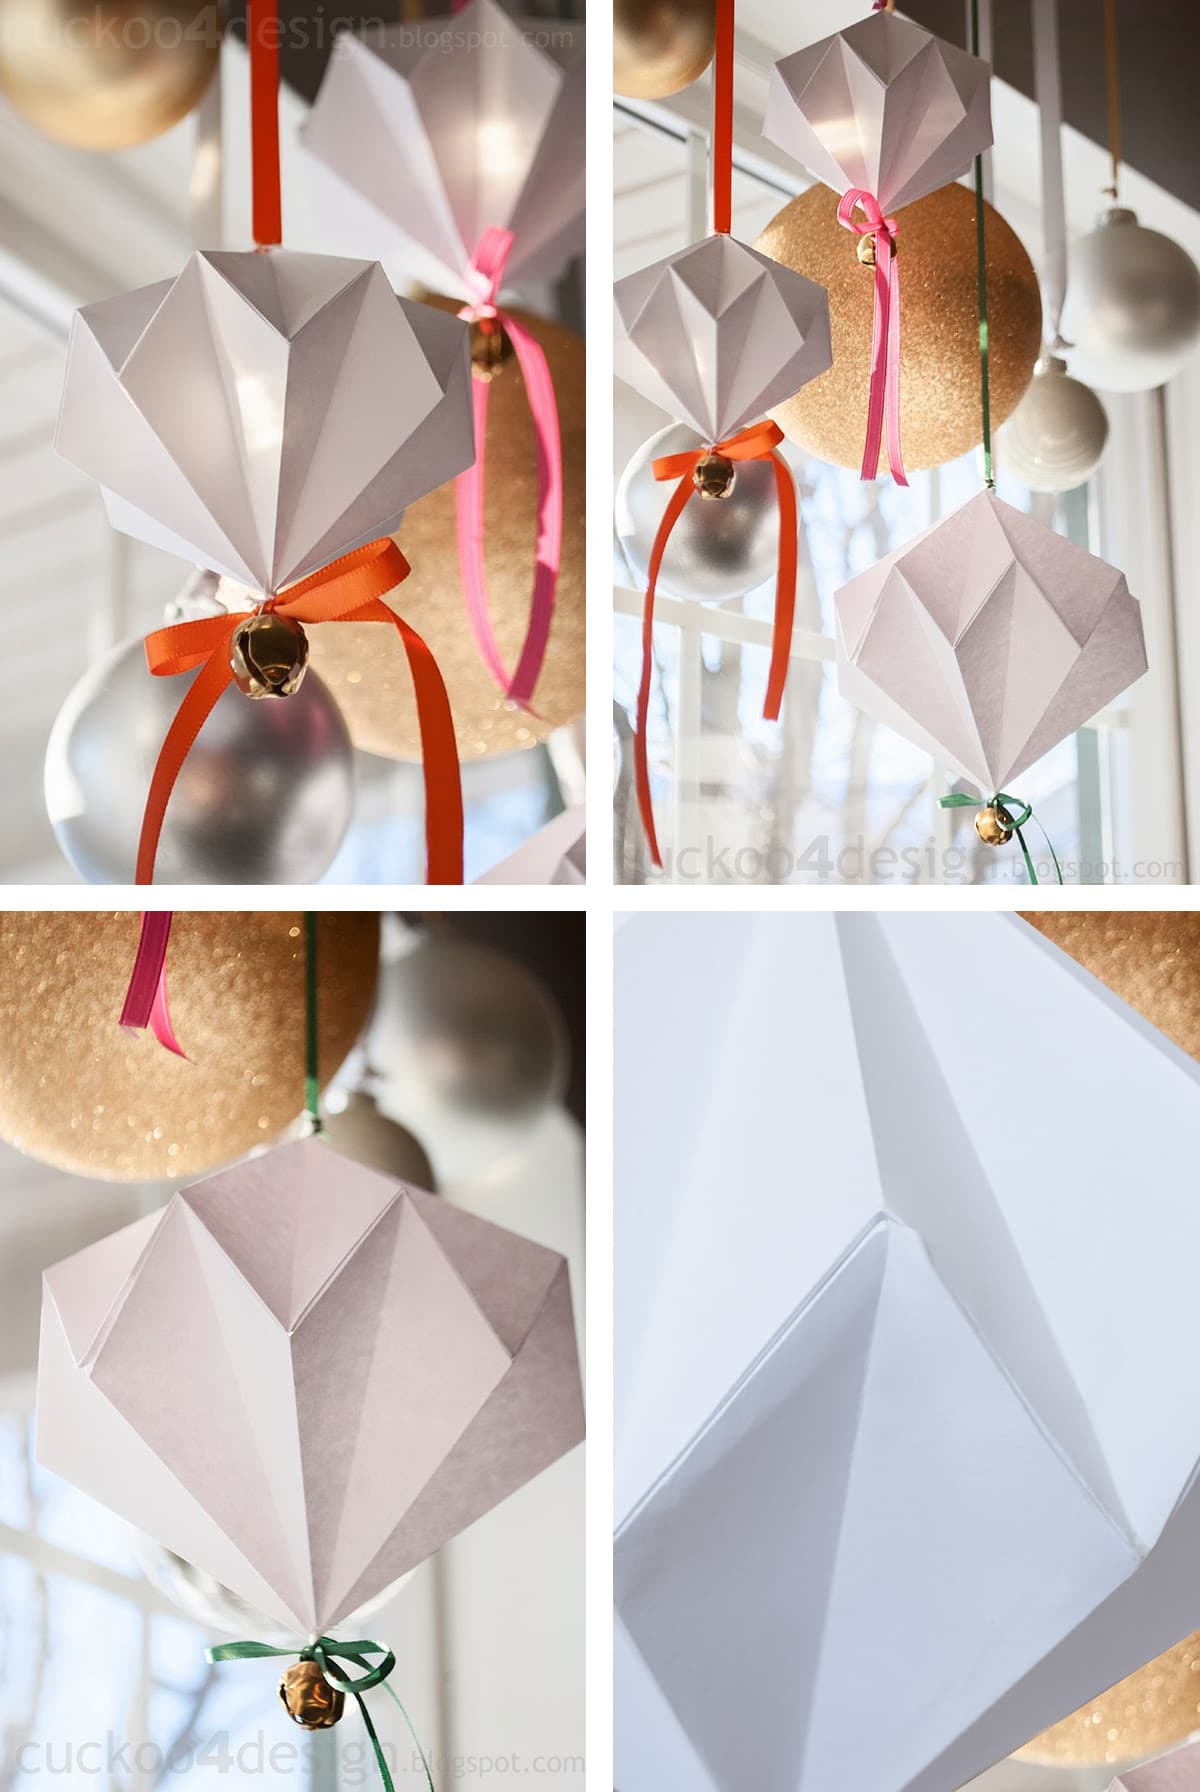
I also hung some of them on my curtain rods with different-sized Christmas ball ornaments. Another idea is to string multiple origami diamonds onto a pretty ribbon or cord to create a unique garland.
Or you can add multiple paper diamonds like this to a bowl on your coffee table and not only as Christmas decorations.
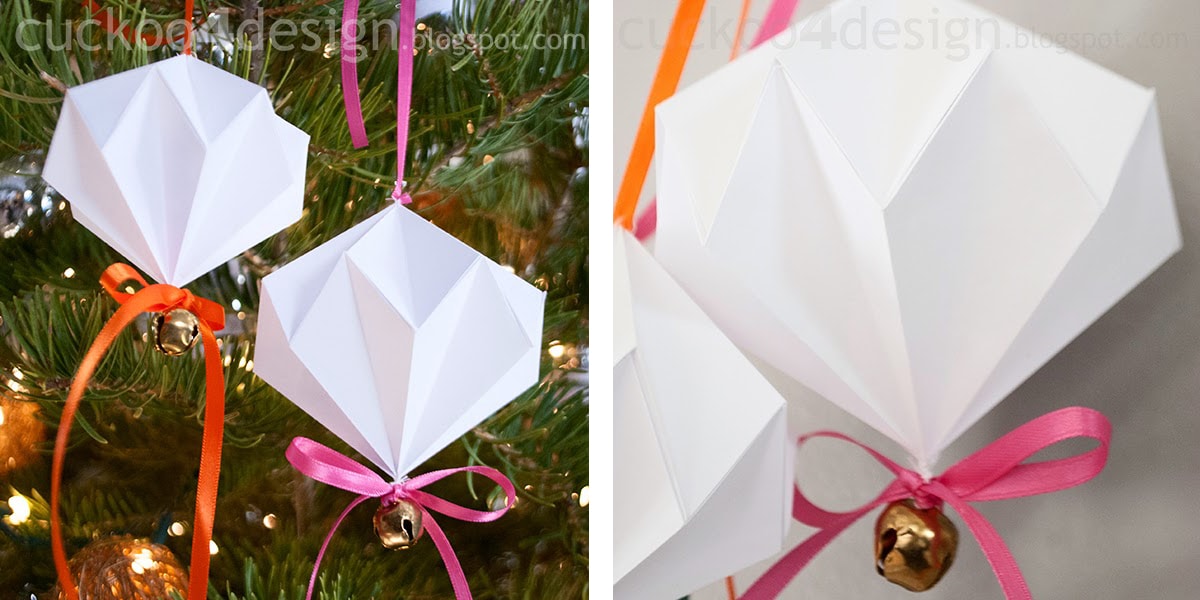
Now let’s get to some new photos.
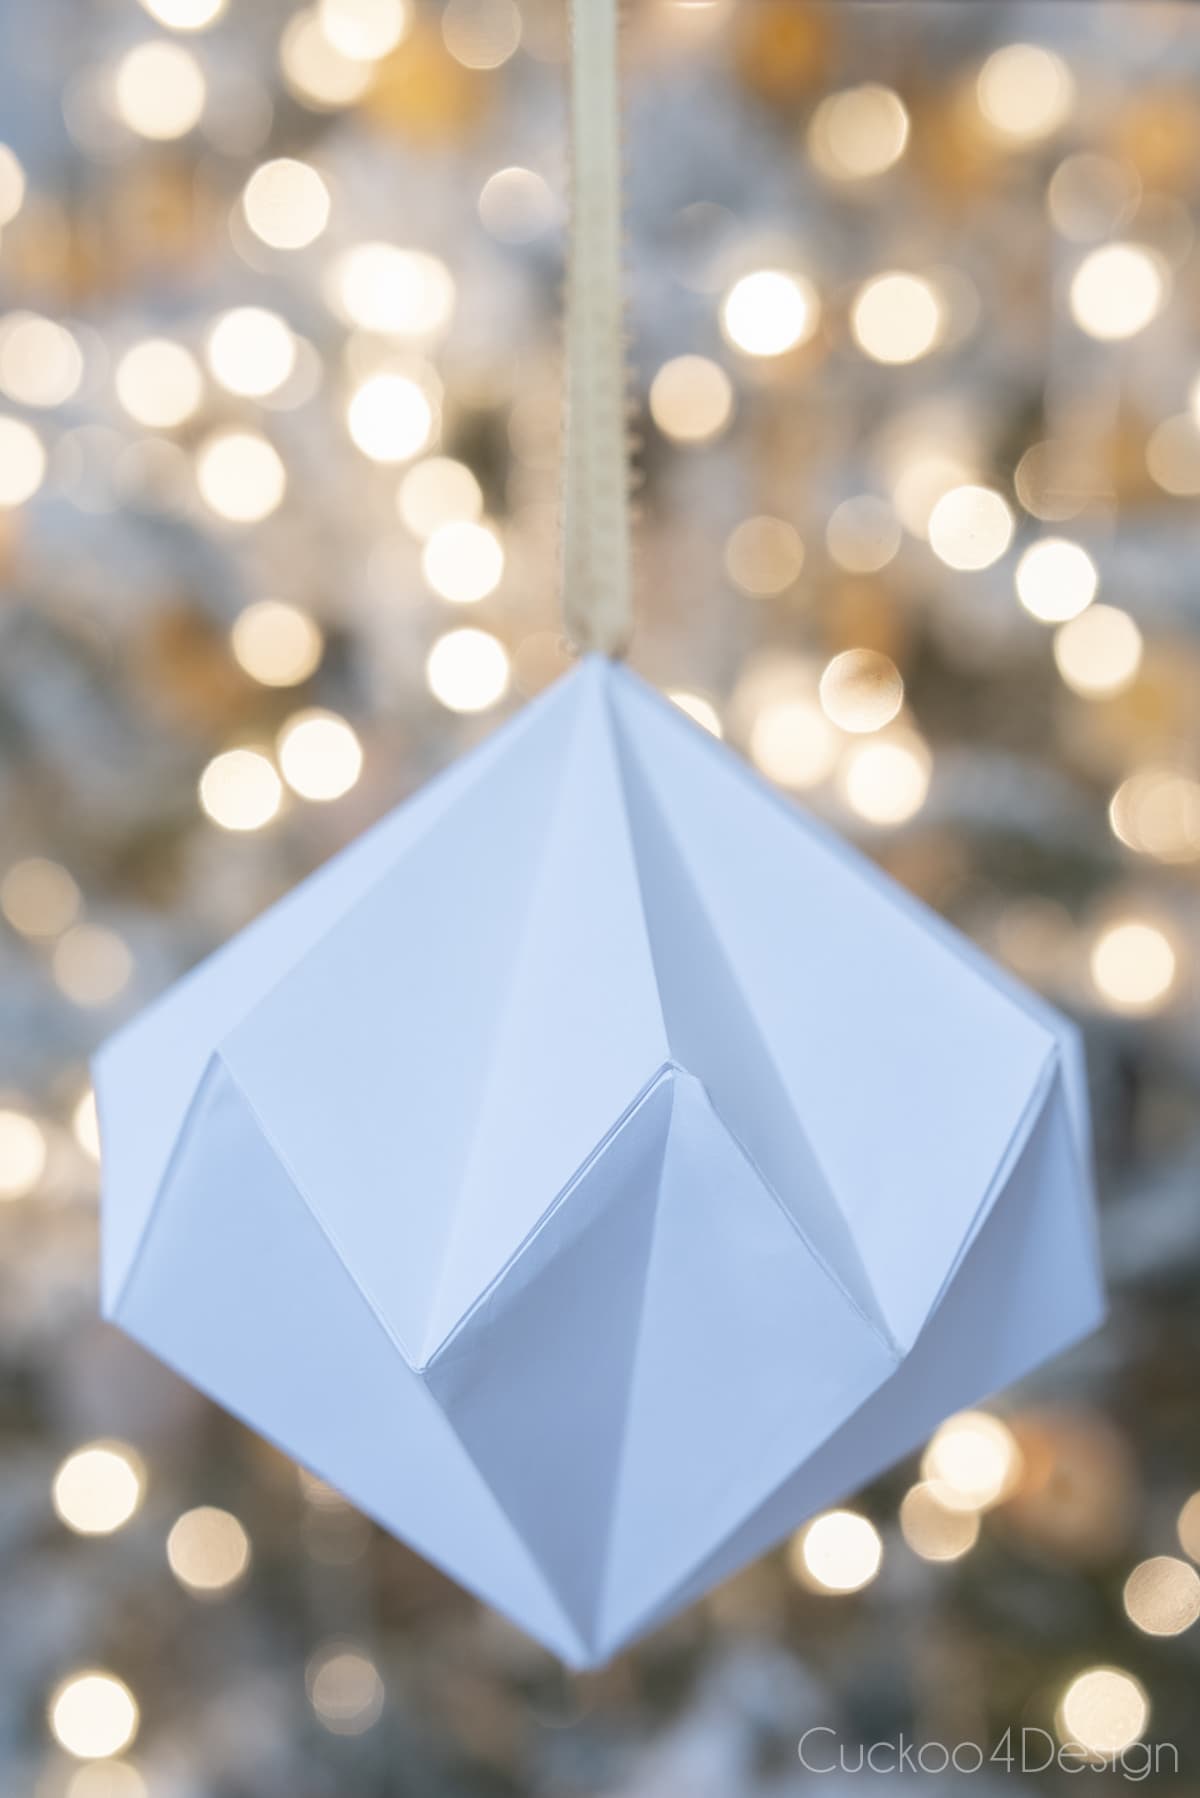
I love how these gems look hanging on our Christmas tree.
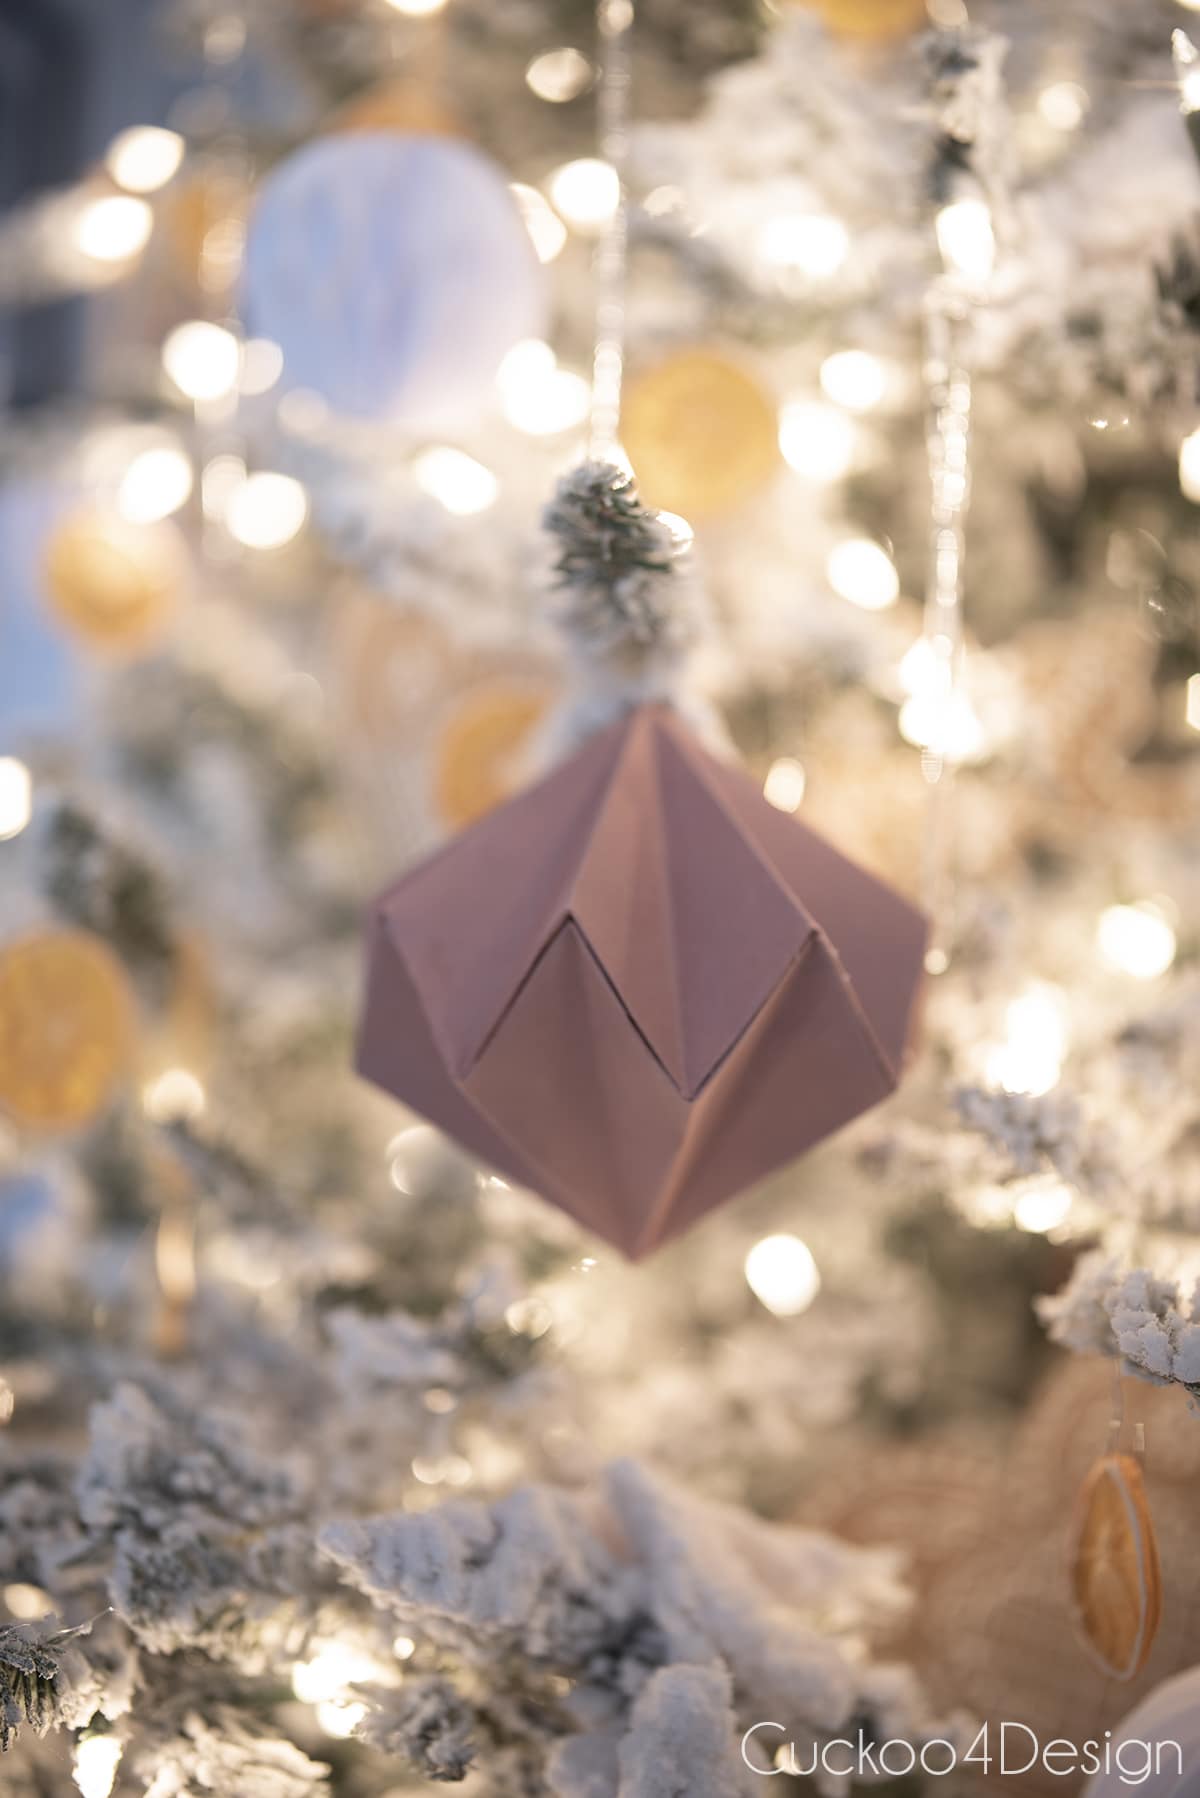
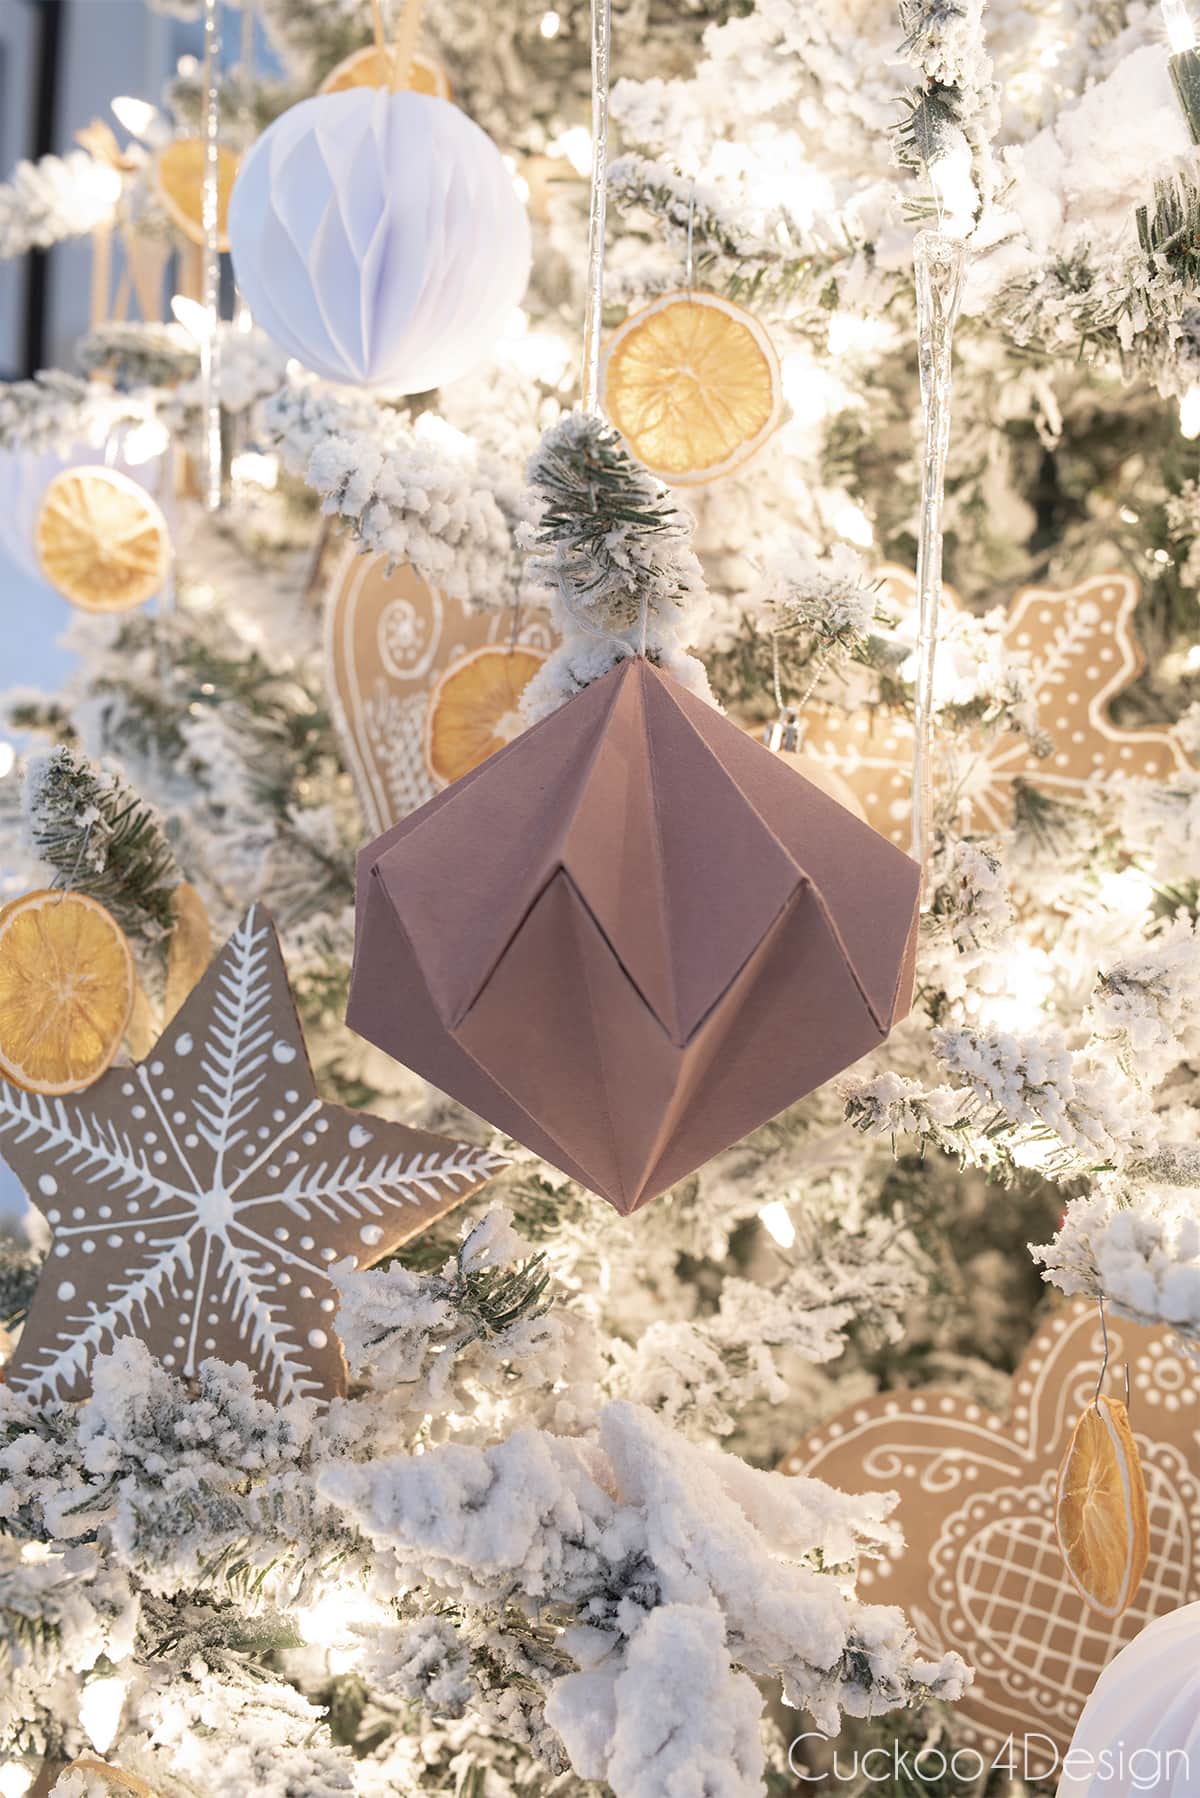
Where to buy similar diamond-shaped Christmas ornaments
As always, I want to provide some similar options for sale for those of you who like the look but don’t like to DIY anything. Thankfully Etsy usually has a great selection and you also support some small businesses. (as you can see these paper diamonds look great in every color and even patterned paper)
More of my DIY Christmas ornament tutorials
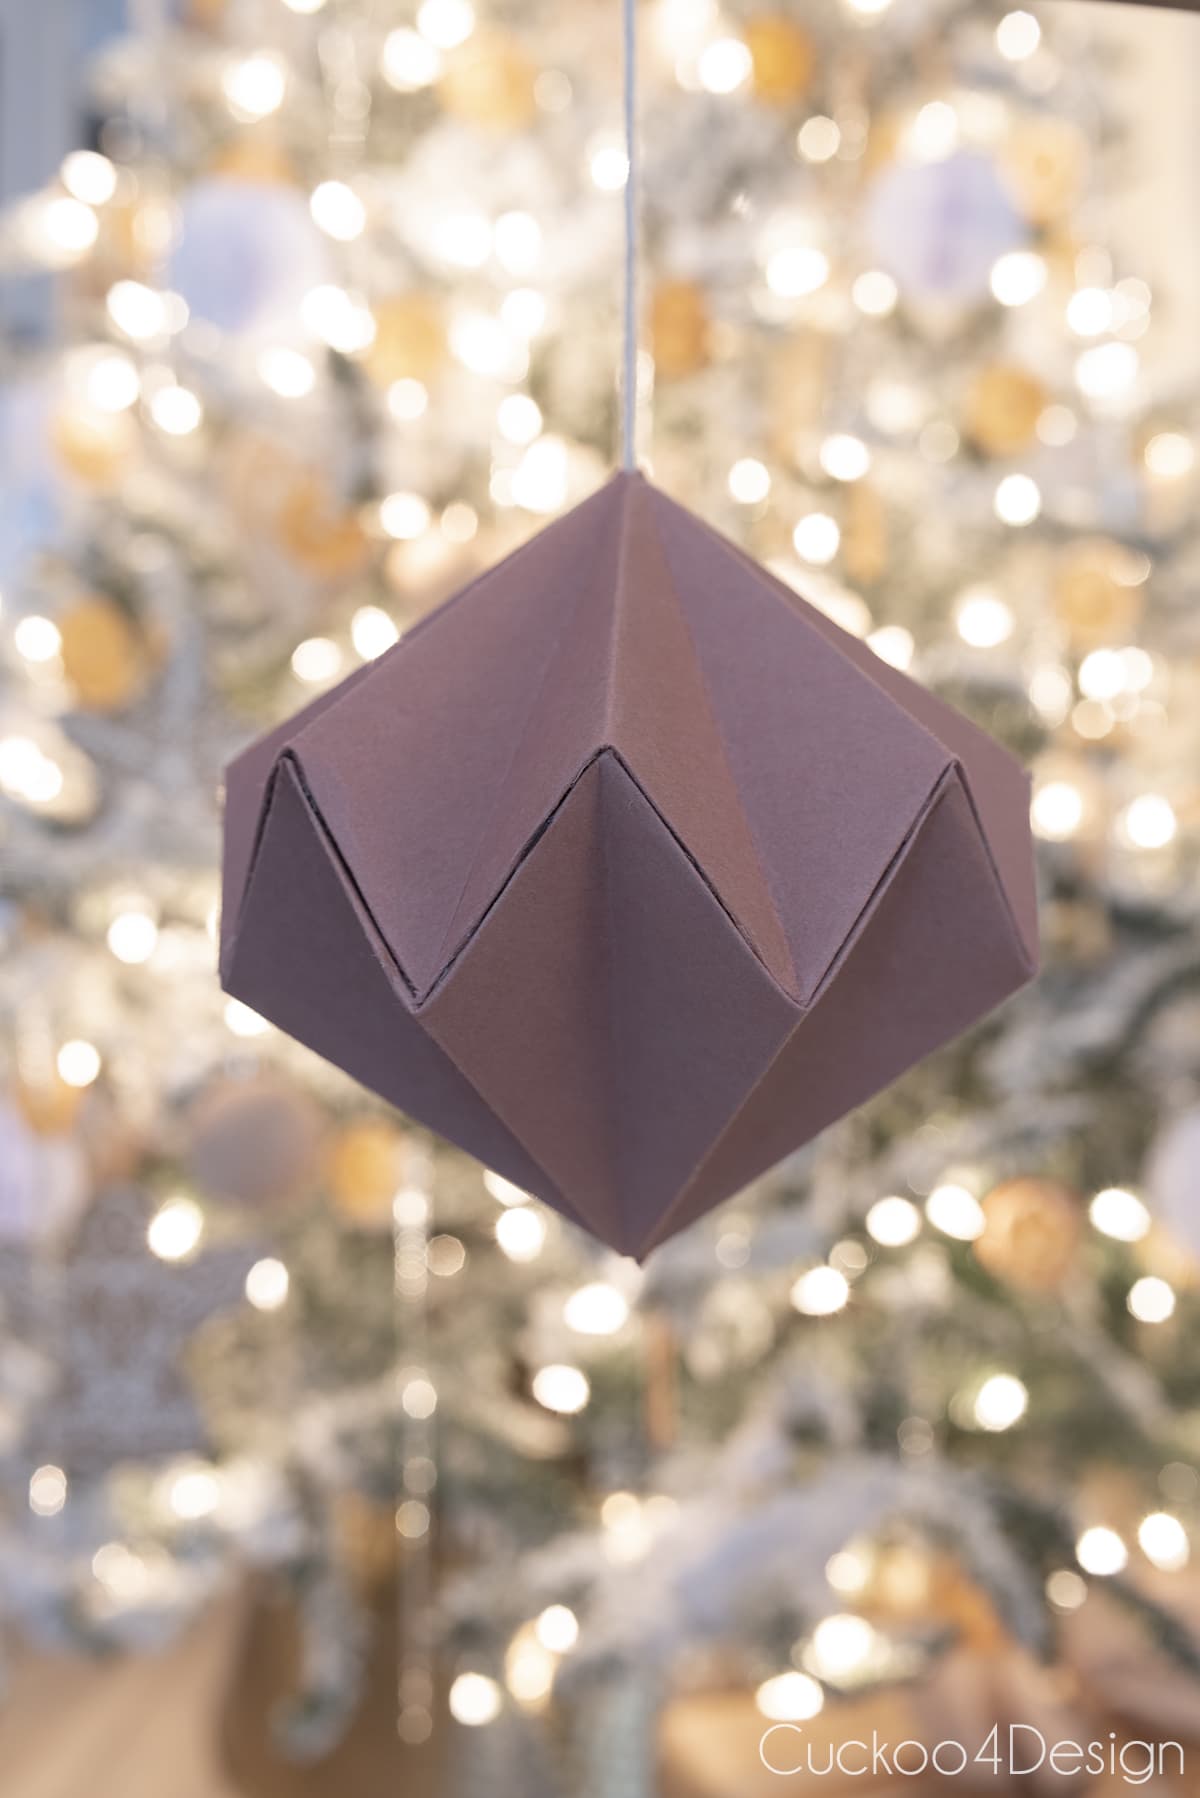
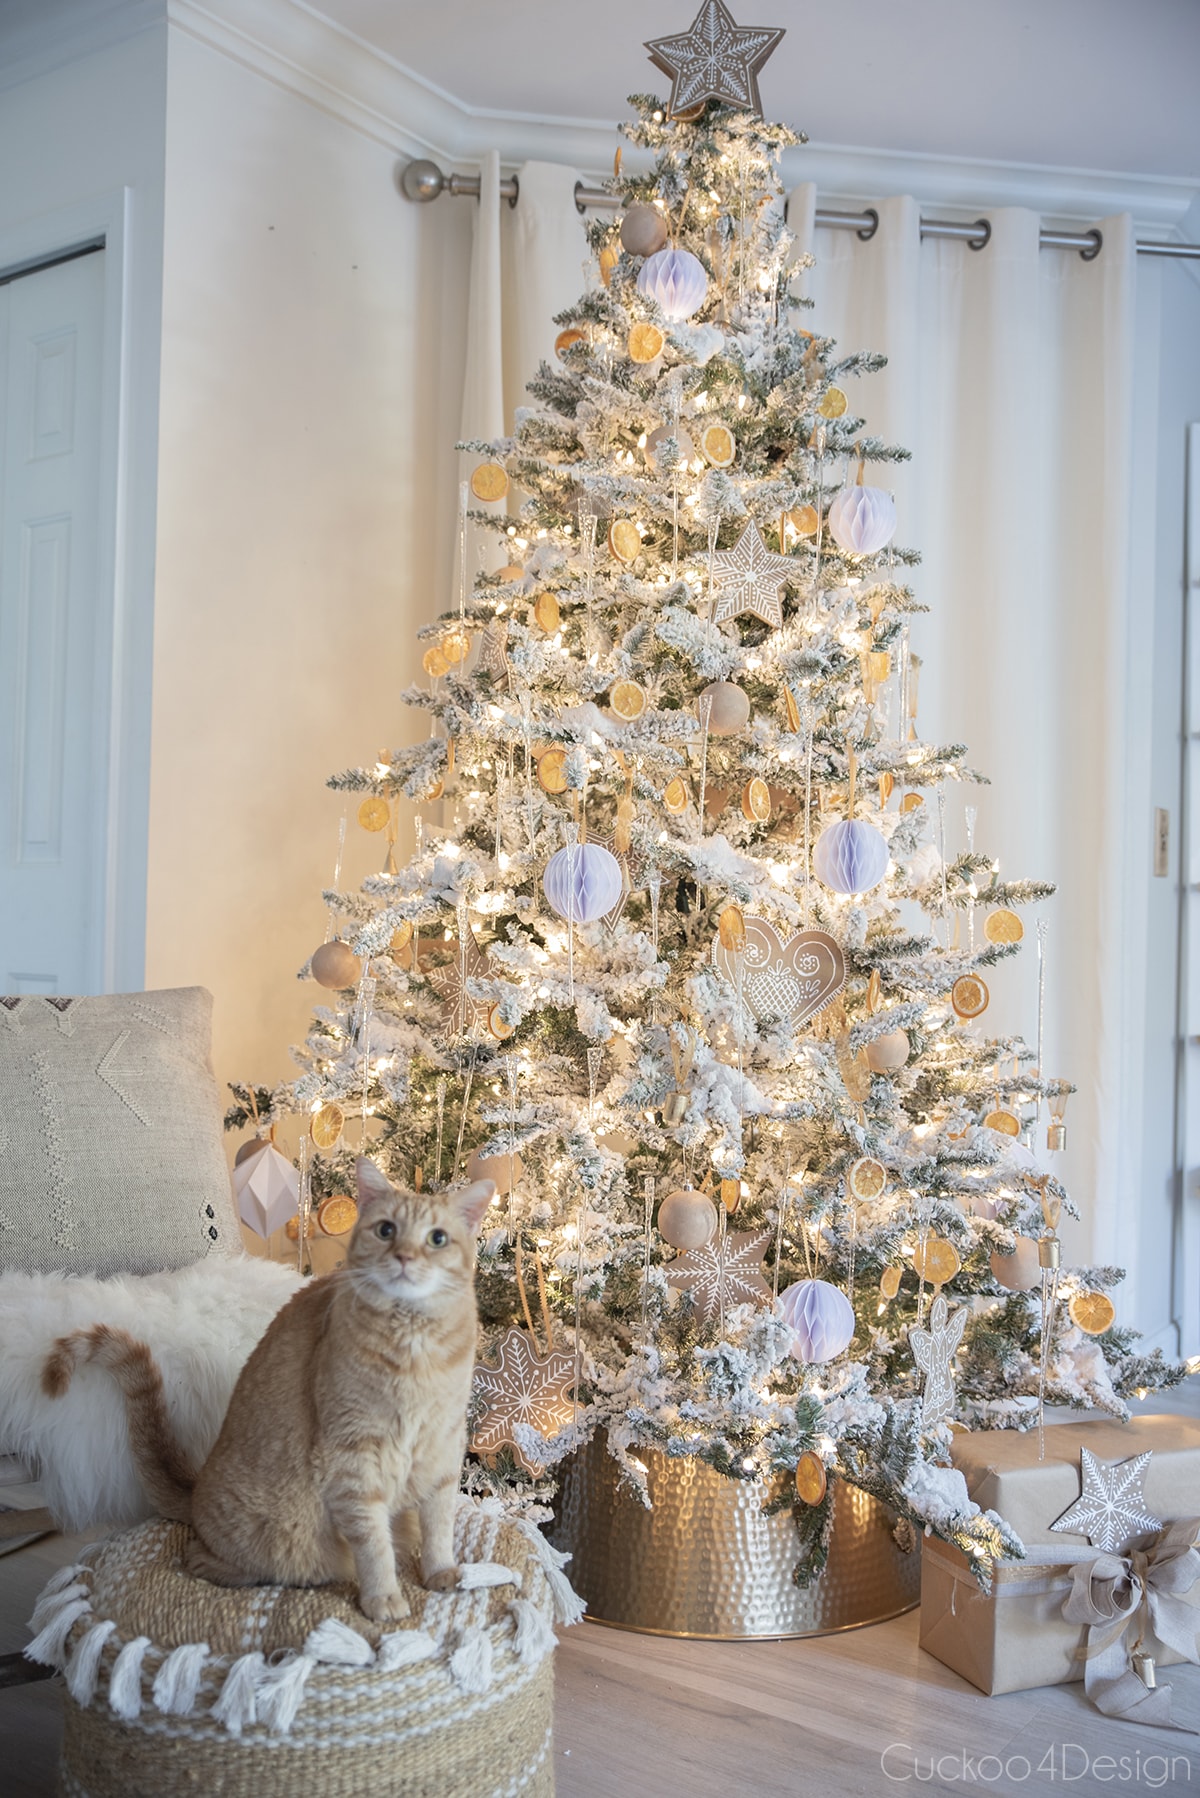
As you can see in the below image of my Christmas tree, I have several other handmade ornaments that barely cost me anything but that I love to bring back every year.
- DIY cardboard gingerbread Christmas ornaments (free templates included)
- Paper honeycomb ornaments
- Painting Christmas ornaments with baking soda paint
- cardboard foldable 3D stars as ornaments
- How to make toilet paper roll snowflakes
- poster board snowflake ornaments
- my favorite easy paper bag snowflakes and different ways to change their look (templates included)
- How to paint the outside of clear plastic ornaments
- Use all your leftover macrame cord and make some macrame Christmas ornaments (5 free patterns included)
- Dried orange slices (No tutorial needed because all you have to do is slice up some oranges and place them into a food dehydrator on the fruit setting which is what I do or dry them in the oven on the lowest temperature. I definitely prefer the dehydrator to the oven.)
Tschüß,


