How to make a quick and easy honeycomb ornament (for beginners)
I love making affordable easy Christmas ornaments and today’s honeycomb ornament definitely fits that category. This is not a new design and has been done before but I wanted to simplify the project and make it easier for you. I’m showing an idea where you don’t need to use a cutting machine like a Cricut, circle cutter, or template to create the ornament.
They also make great gift toppers or could be a gift in itself.
Easy DIY honeycomb ornament for beginners (no cutting machine needed)
This post may contain affiliate links from which I will earn a commission at no extra cost to you. View my full disclosure policy.
I wanted to make more affordable paper ornaments for this year’s tree and these honeycomb ornaments are perfect. The great thing is that they will go with any Christmas tree decorations. You can use them for years to come.
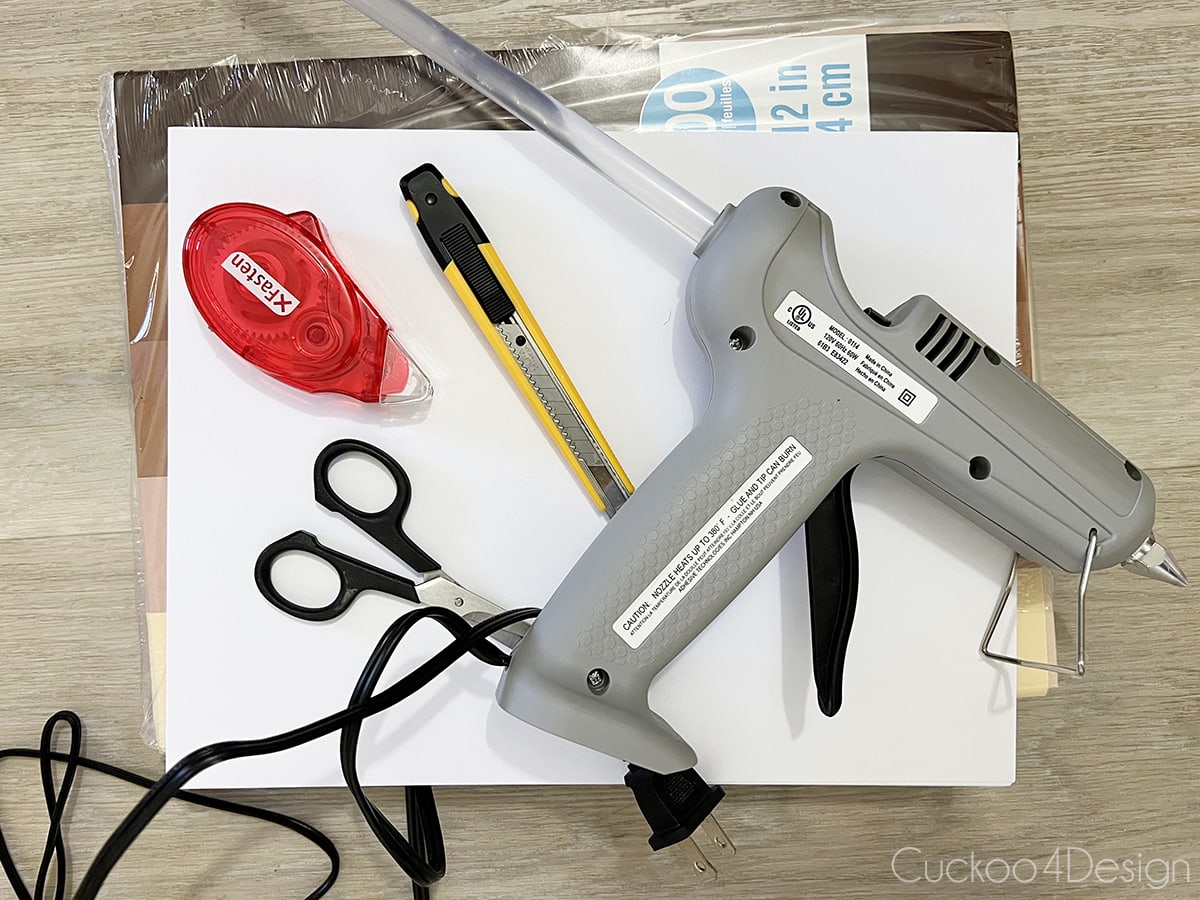
materials needed
- paper
- glue (I used double-sided adhesive tape)
- hot glue gun with a thin tip and glue sticks (I use this glue gun and love it)
- scissors
- twine or ribbon of your choosing
- pencil
- round shape like a glass
You can use a variety of paper like tissue paper, craft paper, construction paper, printer paper, scrapbooking paper, coffee filters, or thin cardstock. Unfortunately, you aren’t able to use parchment paper or wax paper because it repels any type of glue and for this project, you definitely need a strong bond or the honeycombs will fall apart. Lightweight paper is easier to fold and glue than heavier paper or thin cardstock.
video tutorial
I made a video to show you exactly what I did with my hands. If it doesn’t load for you then you can also watch it on my YouTube channel.
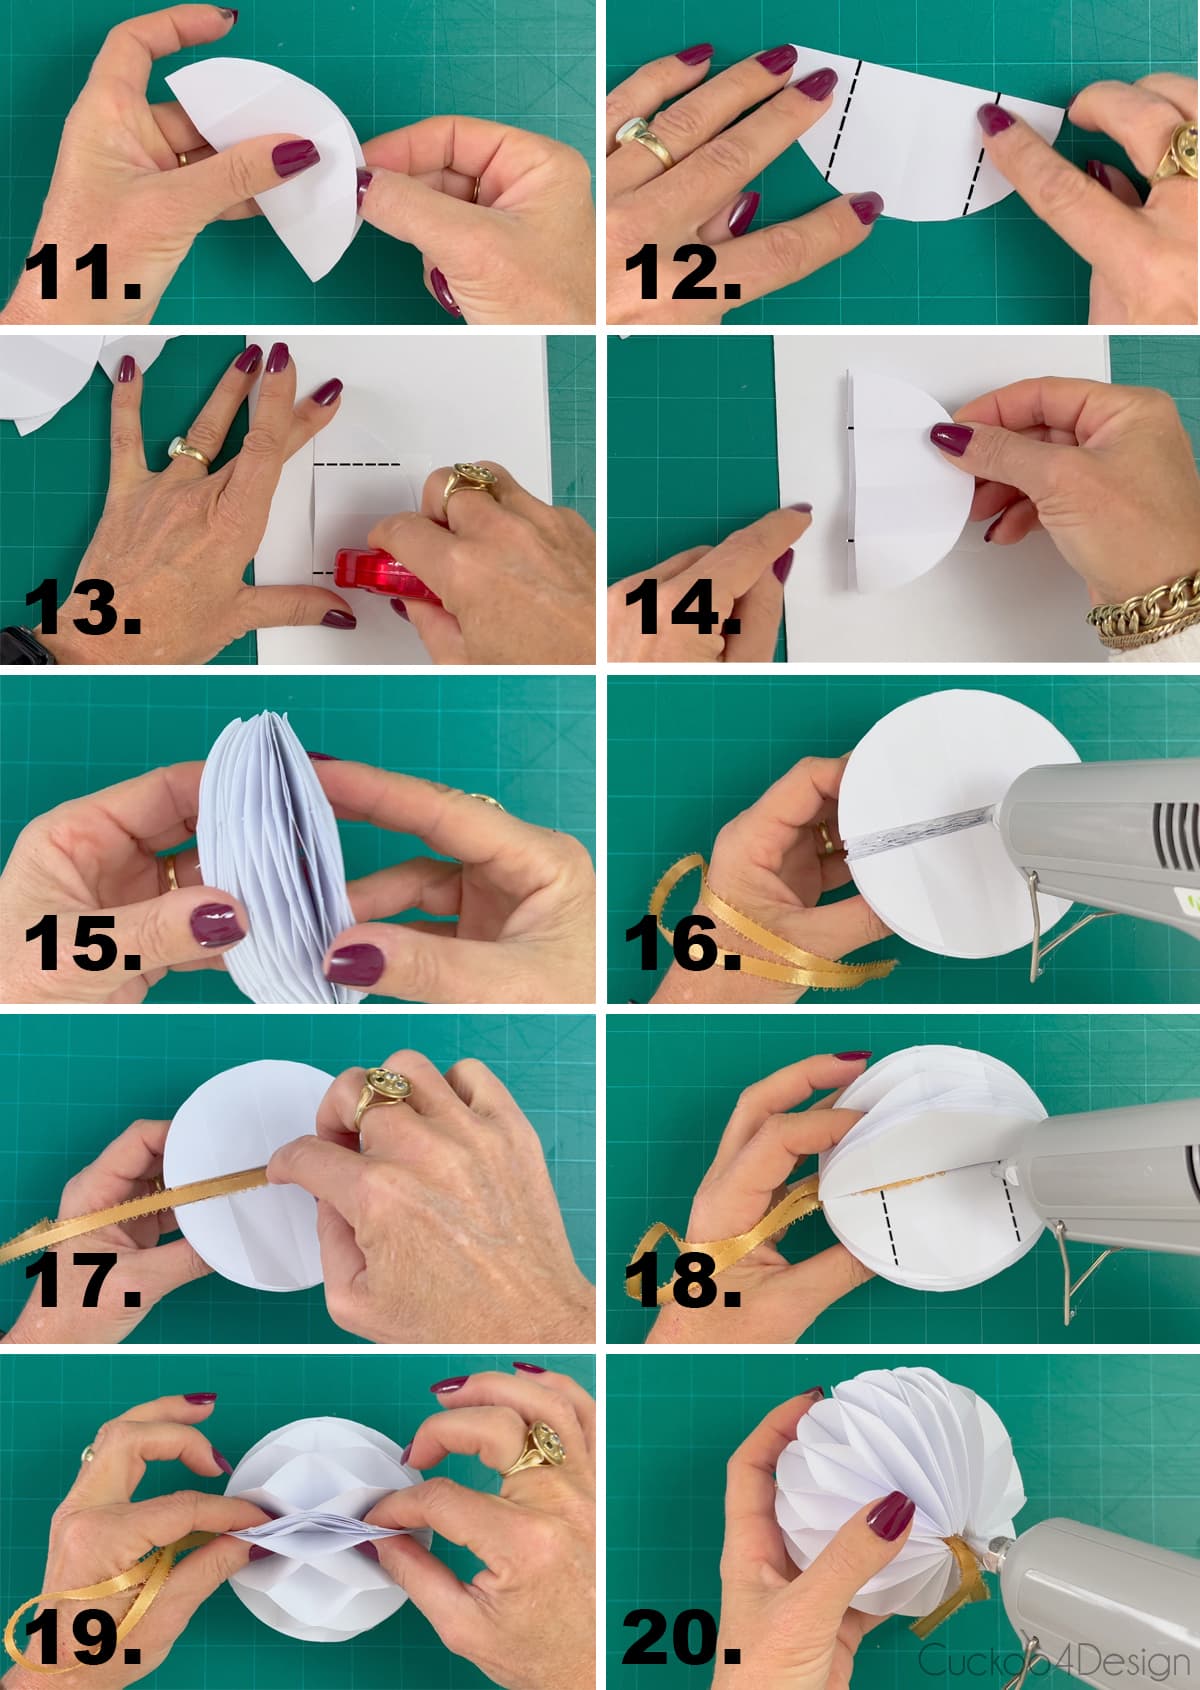
step-by-step instructions with photos
Here are all the steps taken in my video to make this simple honeycomb ornament.
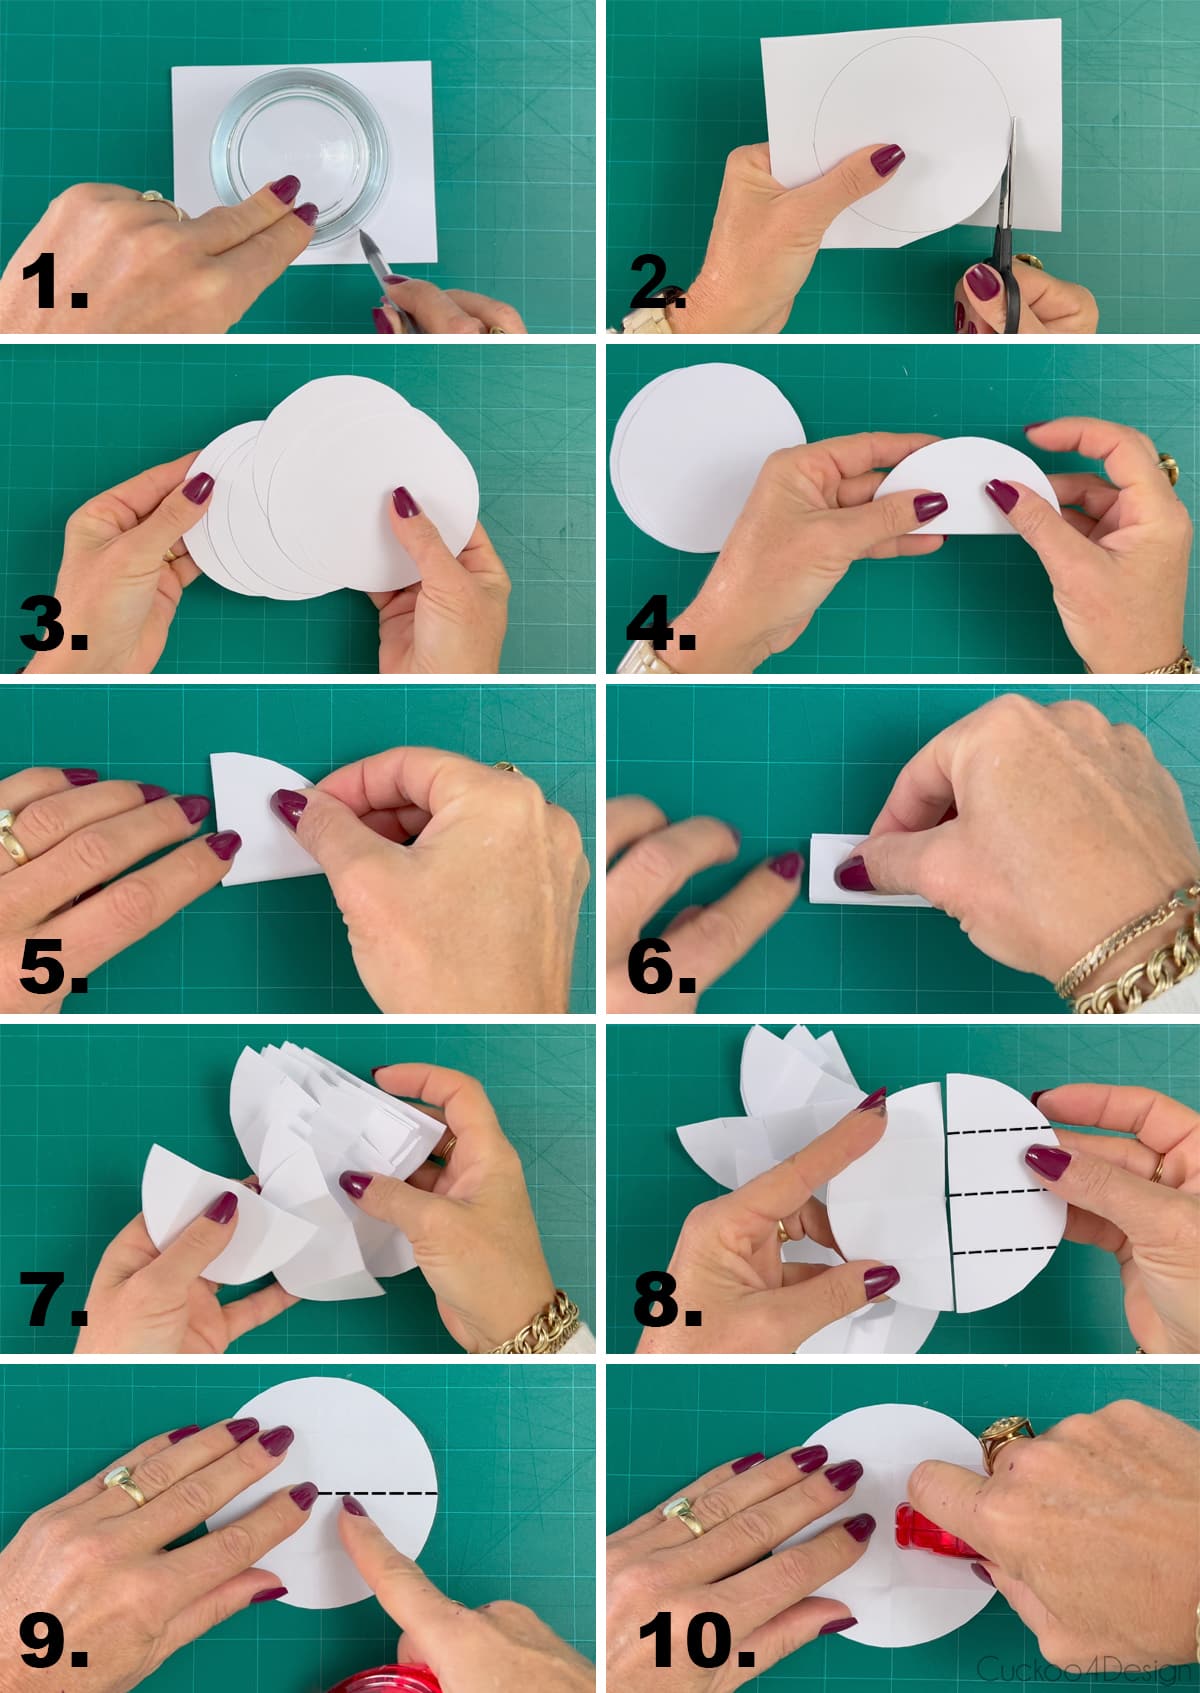
- I started out by folding a piece of paper twice in half so there are 4 layers of paper stacked over one another. (the thinner the paper the more layers you can cut at once which helps speed things up) Then I placed a glass on top of the paper and traced the shape. You can use whatever circular size you want.
- Cut out the circle and repeat this 5 times if you folded the paper as I did. (If you have single sheets then you need to repeat this 20 times)
- This created 20 circles which is what I used for this ornament.
- Fold those circles in half.
- Fold the half circles in half again.
- Now fold the two corners up on both sides.
- After you did the folding of all 20 circles to create score lines, unfold them all into half circles.
- Here you can see the lines the folding created. I like the folded lines because they will help you apply the glue lines in the next step. You can, of course, create a line template as pictured but I find it easier with the folded lines.
- Open a circle. I drew the line so you could see it better because the folded lines aren’t visible in the photos.
- Apply a line of glue to the center line. You can use any type of glue that applies a thin line. (Using the double-sided roller tape worked well for me and I didn’t need to wait until the glue dried but you can certainly use super glue or craft glue as well)
- Fold the circle in half again to glue it together and repeat this with all other circles.
- Now take those glued half circles and look at the two outside folded lines. I drew them in for you again for better viewing.
- Apply glue to those two lines from the center outward. It helps to put a piece of paper under it to not get the glue all over your work surface.
- Take another half circle, and place it on top of the half circle with the two glued lines. Make sure that the flat edge aligns. Now apply glue to the two lines of the circle you just placed on top of the first one and place another half circle on top of the second one. Keep repeating this until you glued and stacked all 20 circles on top of each other.
- Now you can open the stack of half circles into a ball. Test if you have any areas that are glued together in the accordion-style ball and that need help opening up. I like using a bread knife to stick inside the folds if they don’t open.
- Hold the ball half open in one hand and apply a thick bead of glue to the center spine of the honeycomb ornament.
- Place a looped ribbon, string, or twine for hanging of your choice into the hot glue.
- Add hot glue to the two folded lines as pictured. I drew them into the photo for you again.
- Close the ends of the ball and hold them shut while the hot glue cools off.
- For the final step, check the top of the ornament where the ribbon is and apply another dab of hot glue if needed. That’s it! You have a finished pretty honeycomb ornament
When you get the hang of the process, you can experiment with other shape variations and ornament designs. I’m showing some shape examples in the video.
Tips for making honeycomb ornaments
- Tissue paper, craft paper, construction paper, printer paper, scrapbooking paper, coffee filters, or thin cardstock work best.
- Do not use parchment or wax paper since they repel any type of glue.
- Make sure you have clean hands. Sometimes when using wet glue your hands get dirty quickly when you keep getting in contact with the glue which is why the rolls of double-sided tape worked great for me.
- If you want a more intricate honeycomb pattern then fold the circle into more lines than I did and alternate the glue lines.
- You can use hot glue for the entire project but you have to make sure that you have a tip that can produce a thin line of hot glue.
Photos of the finished honeycomb ornament

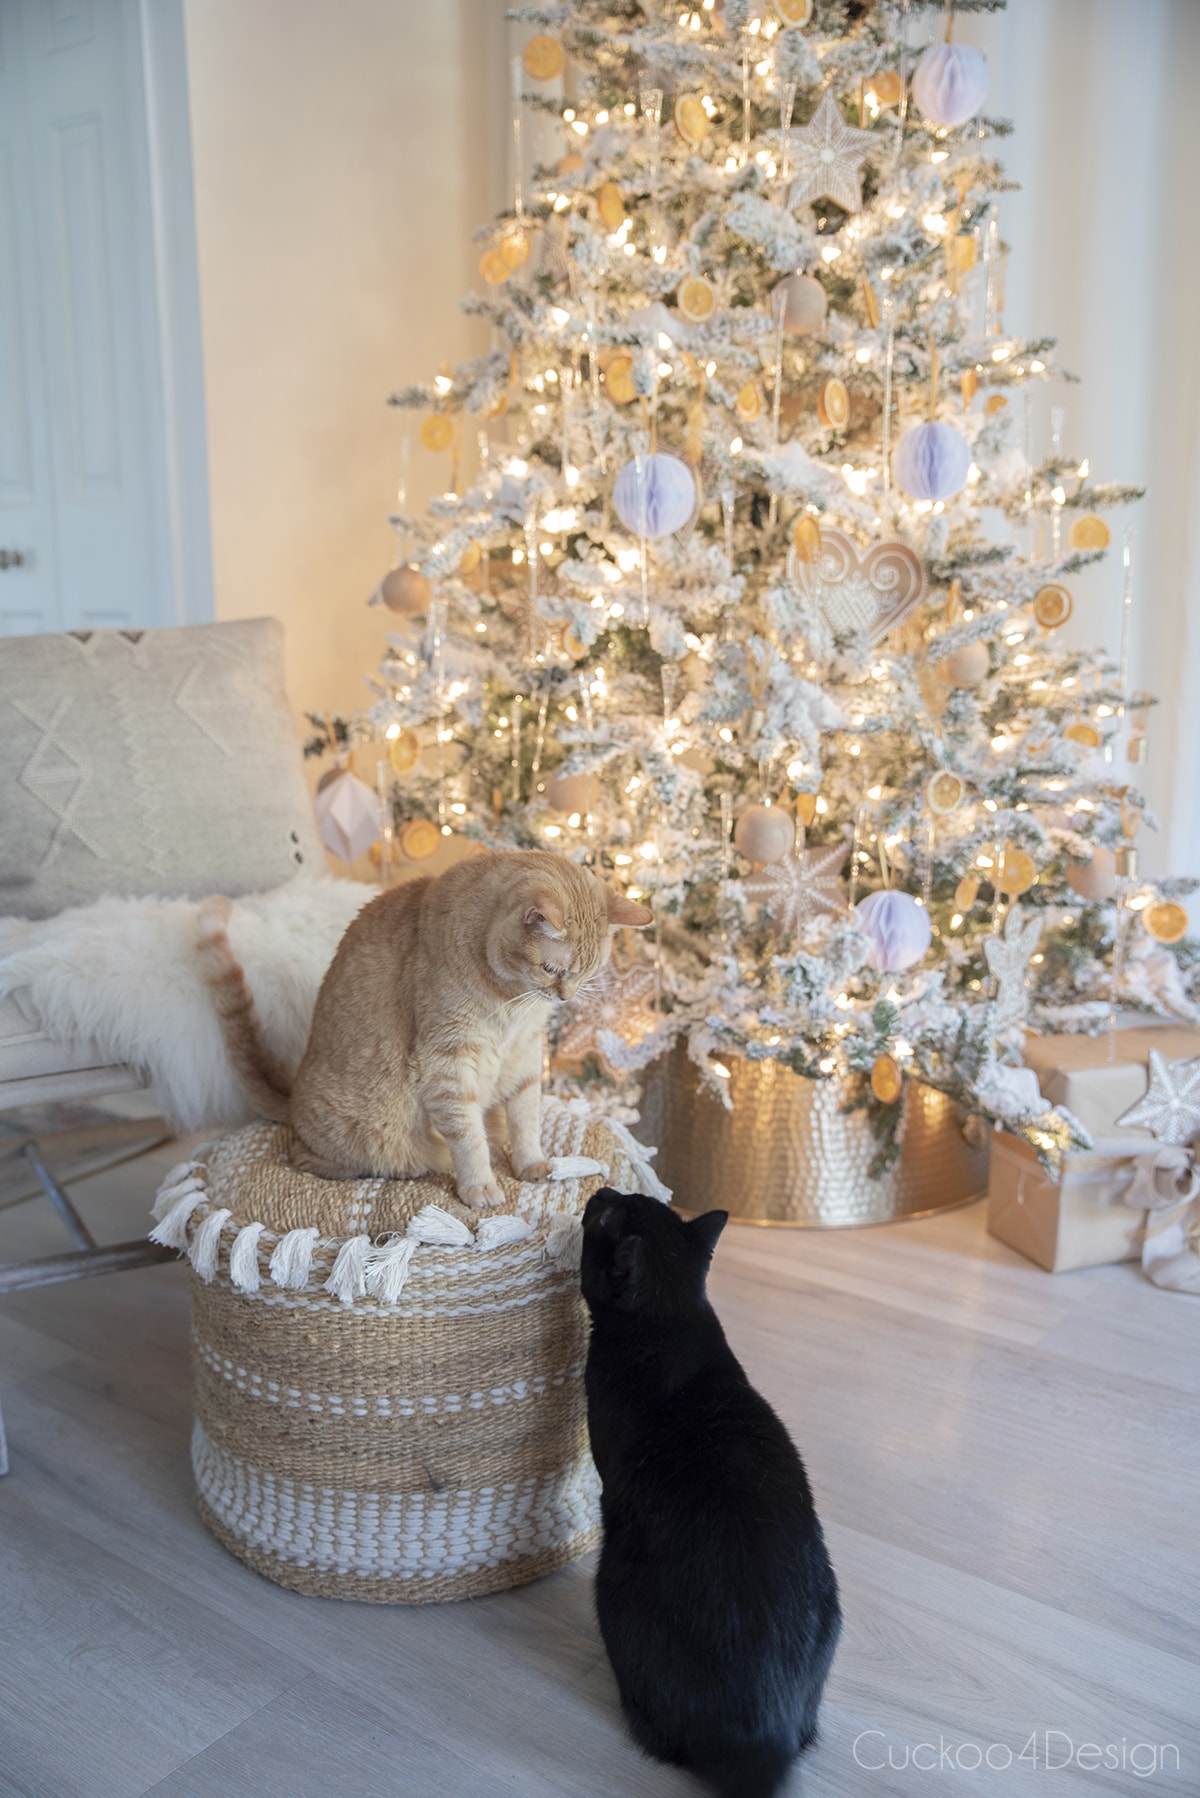
As you can see, I chose my ribbon color to coordinate with the dried orange slices which have been a favorite for several years. Check them out in my natural German Christmas tree.




And below are Walter and Maya right before they started to fight. He’s just a naughty little guy and can’t leave the others alone.
Here is the same ornament in a dark paper version. This pack of construction paper has beautiful colors and is what I used for the next two ornaments shown. I also used the same paper to make origami diamond Christmas ornaments.
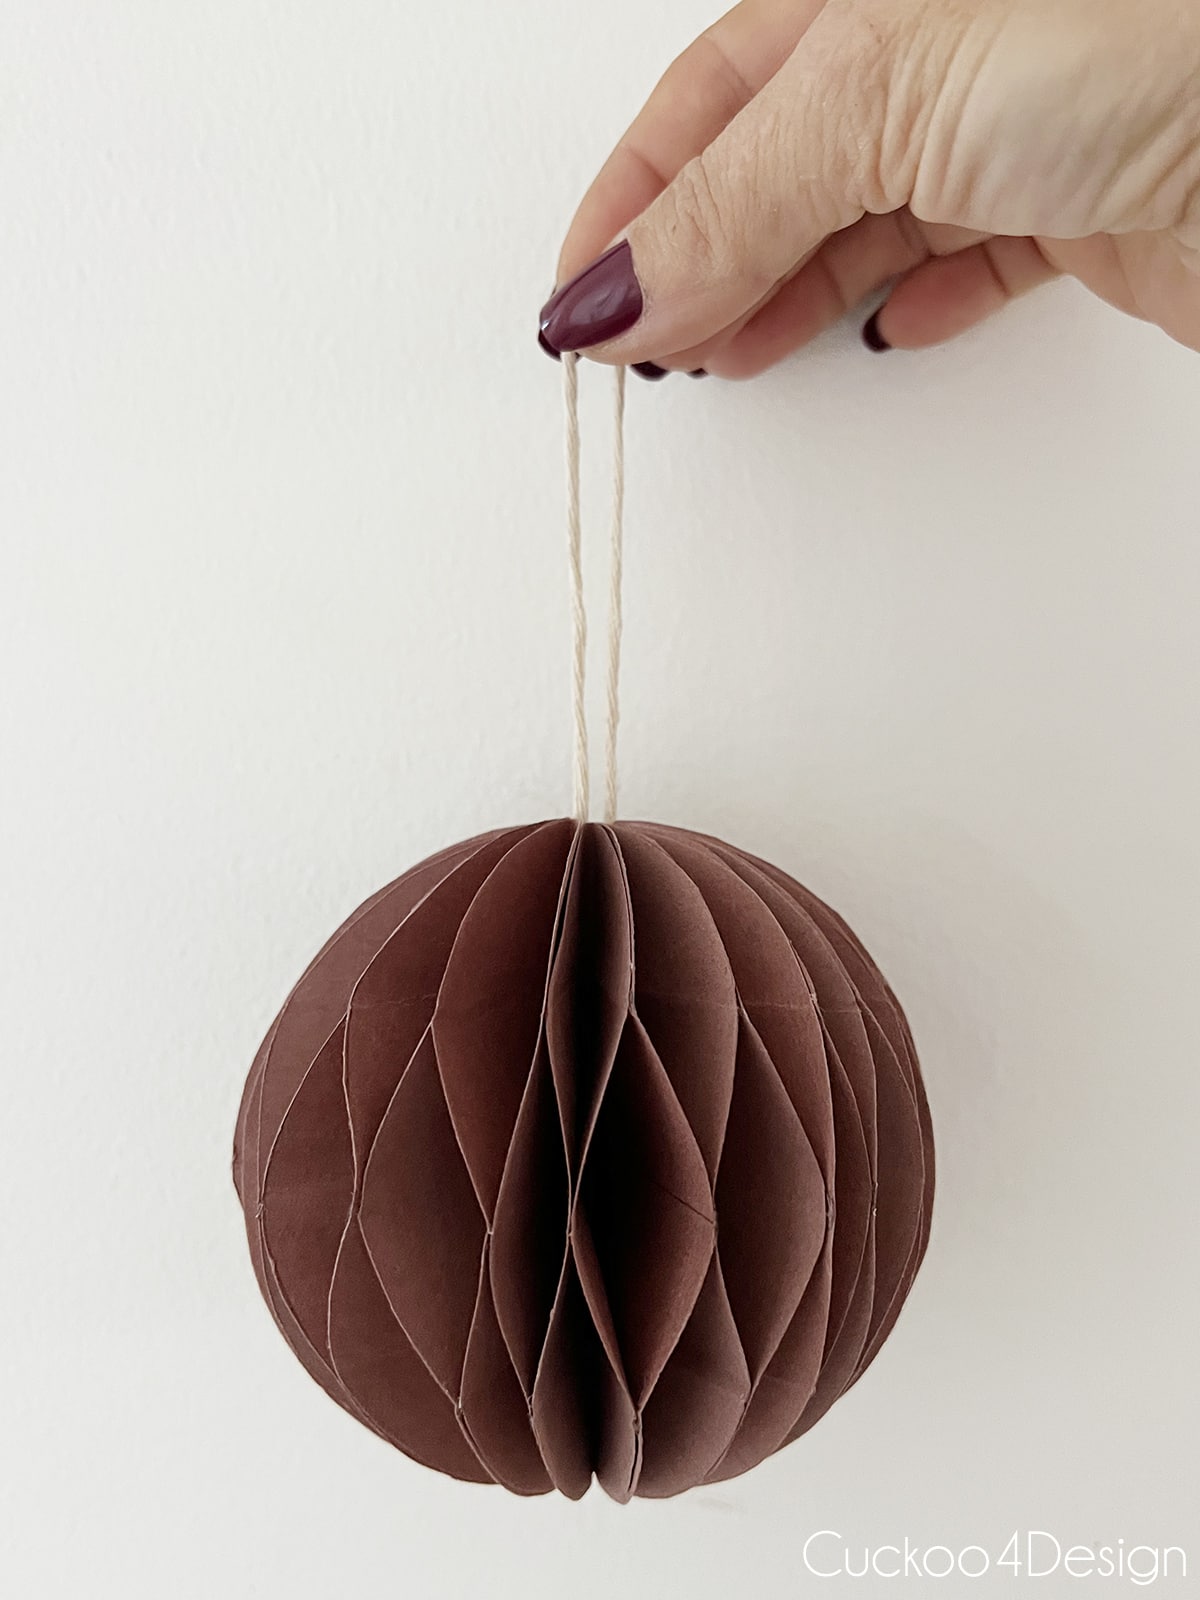
And this is the large intricate ornament shown in my video. I used 40 sheets of paper and also only 3 glue lines.
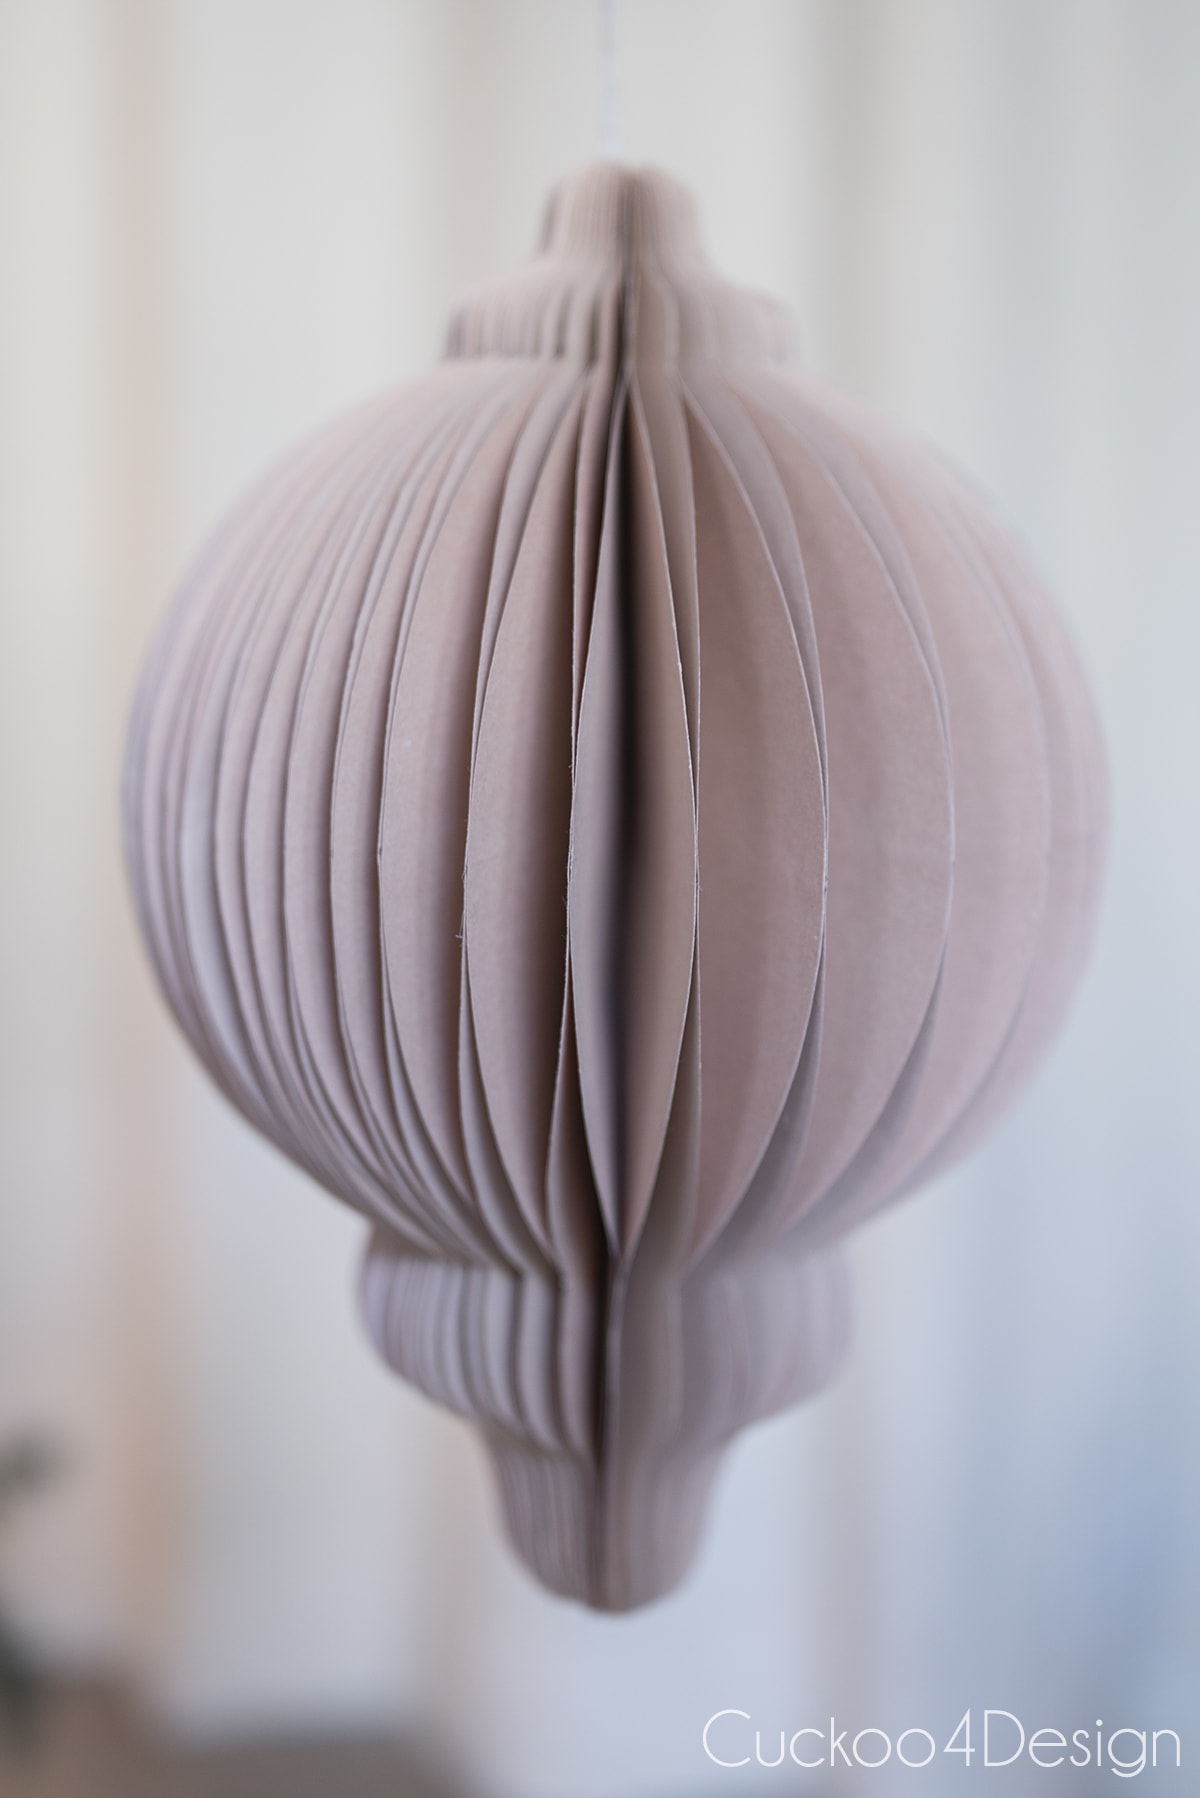
Where to buy honeycomb ornaments
As always, I like to include sources to places where you can buy similar versions to my DIY project for those of you who like the look but don’t like to make it yourself.
The shapes can get quite intricate as you can see. (Use the images to get the source. These are all handmade and from small businesses)
More of my affordable DIY Christmas ornaments
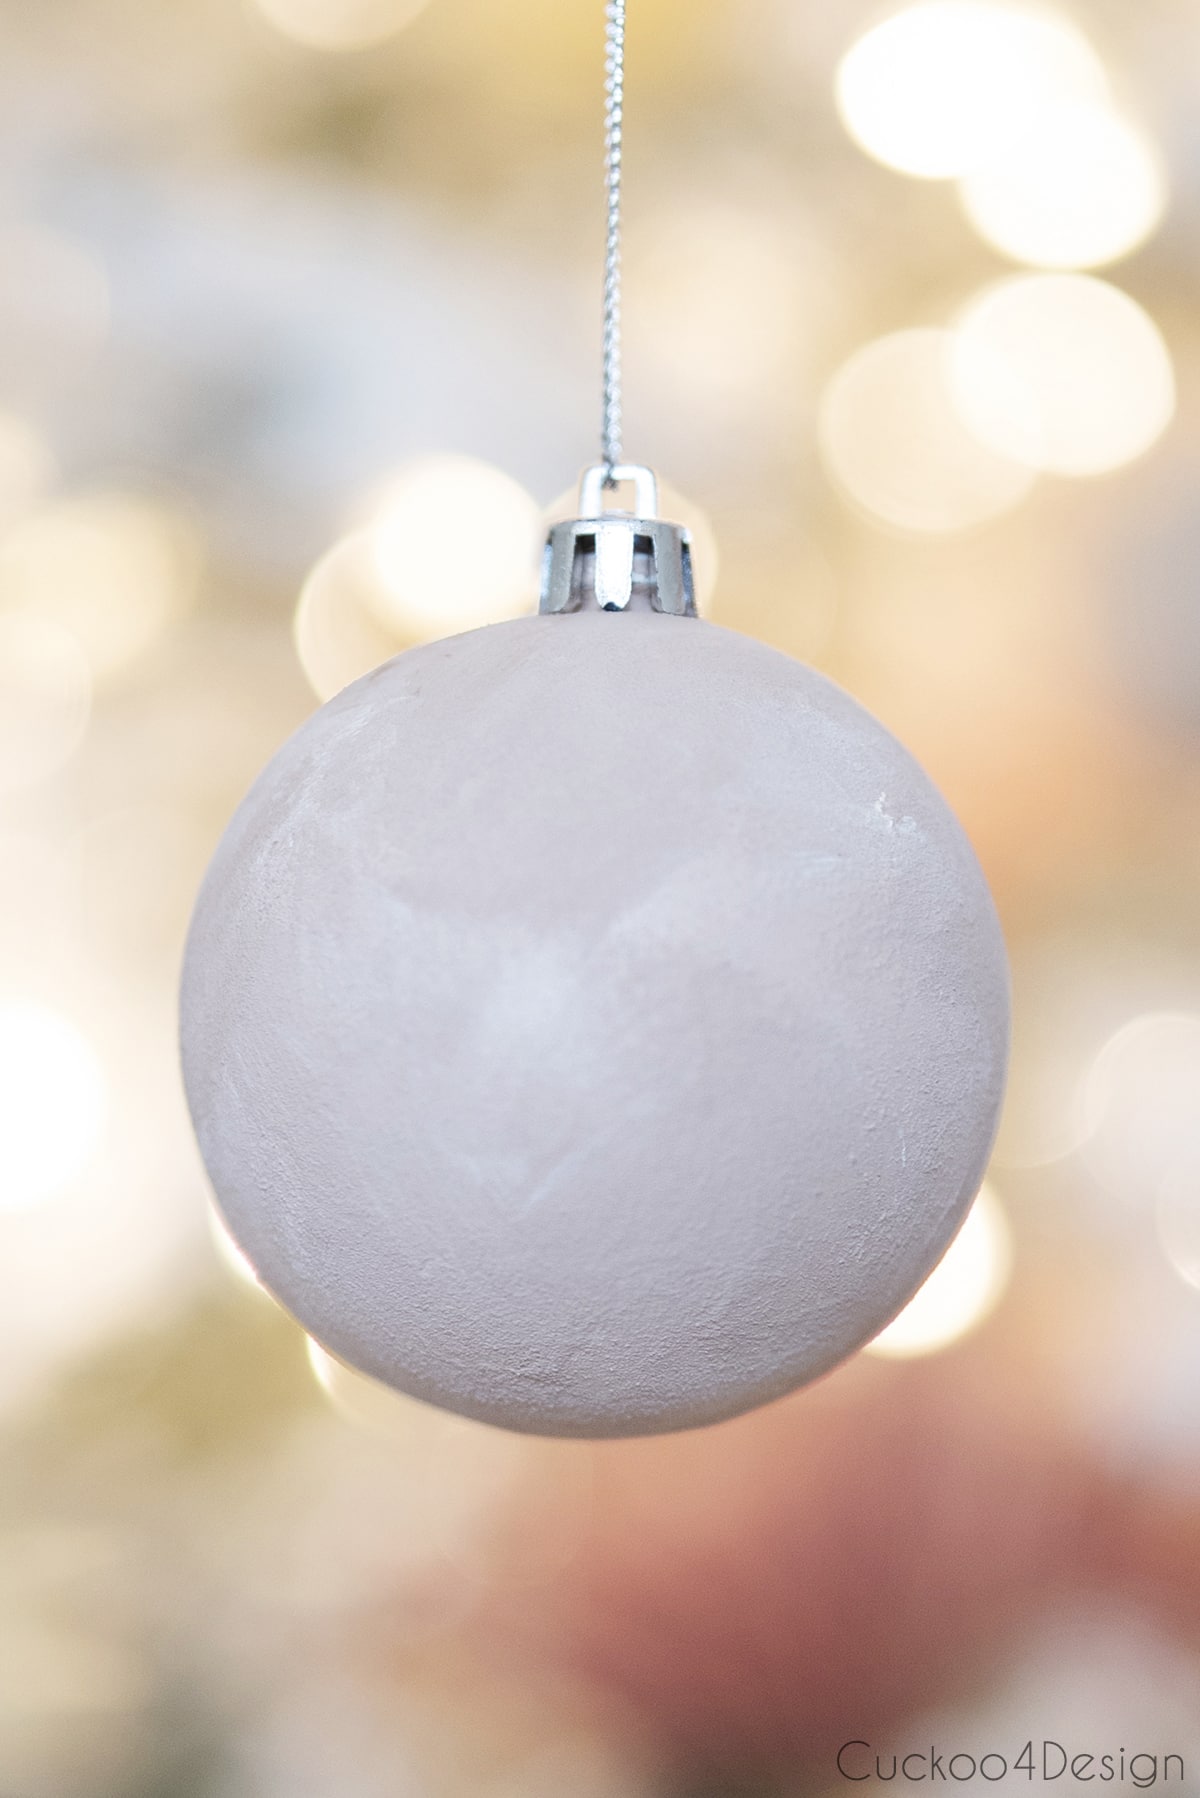
- How to paint the outside of clear plastic ornaments
- Super affordable and easy toilet paper roll snowflakes which you can use as ornaments or as gift toppers.
- Painting Christmas ornaments with baking soda paint (they were also pictured in my tree above)
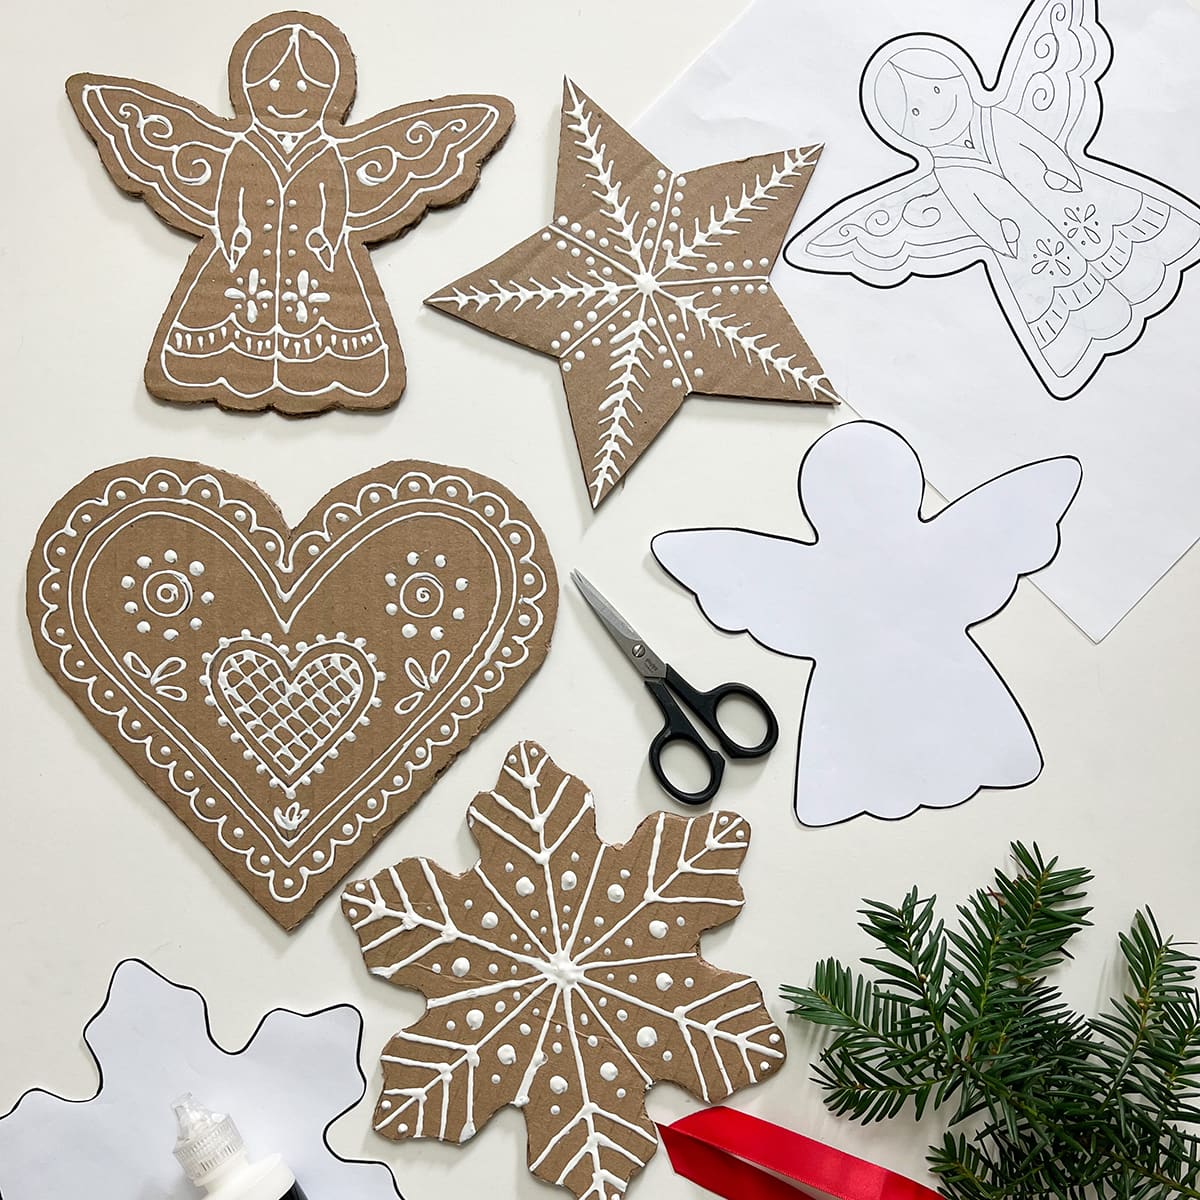
- DIY cardboard gingerbread Christmas ornaments (free templates included)
- poster board snowflake ornaments
- cardboard foldable 3D stars as ornaments
- paper bag snowflakes
- paper fan ornaments
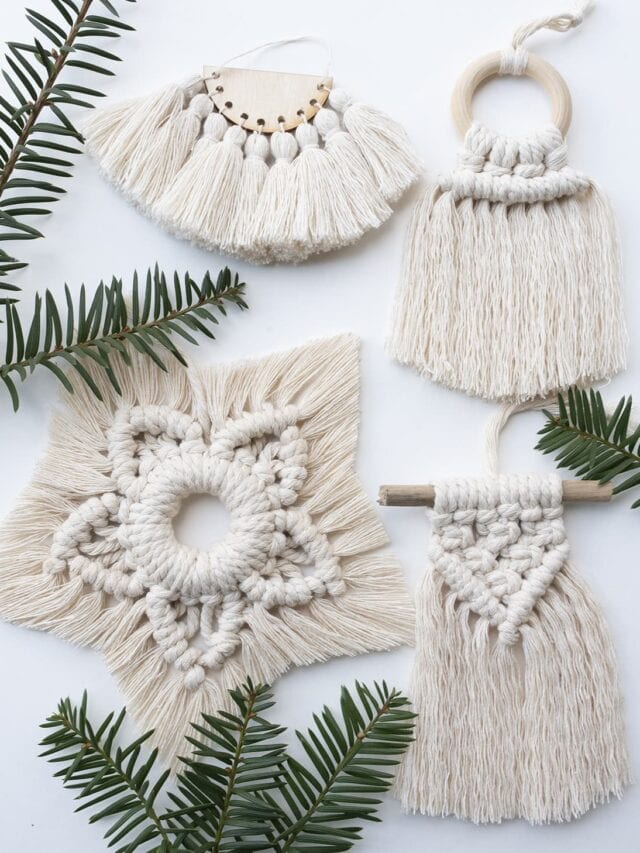
- macrame Christmas ornaments (5 free patterns included)
Happy Holidays,




Beautiful tree!
Thanks so much Sarah!
Really nice tutorial, Julia. Your tree is a knock-out. Love the orange slice ornaments.
I never realized these ornaments were made up of multiple pieces of paper! Silly me always thought of it like a paper snowflake and that it mattered how you folded it. Gonna try these this weekend with Zoe.
Haha, they have become addictive to me to make and figure out different shapes. I wish my daughter would want to craft with me. I asked her several times if she wanted to make them with me and she said no thanks.