

DIY toilet paper roll snowflakes (easy Christmas ornaments)
Over the years, I’ve shared lots of affordable Christmas ornaments, and this one is still one of my favorites. Today, I’ll show you exactly how to make toilet paper roll snowflakes. These budget-friendly DIY ornaments are made from recycled cardboard tubes and can be decorated with paint, glitter, or ribbon. Whether you hang them on your Christmas tree or use them as unique gift toppers, these little snowflakes prove that beautiful holiday decor doesn’t have to cost a thing.

How to make toilet paper roll snowflakes
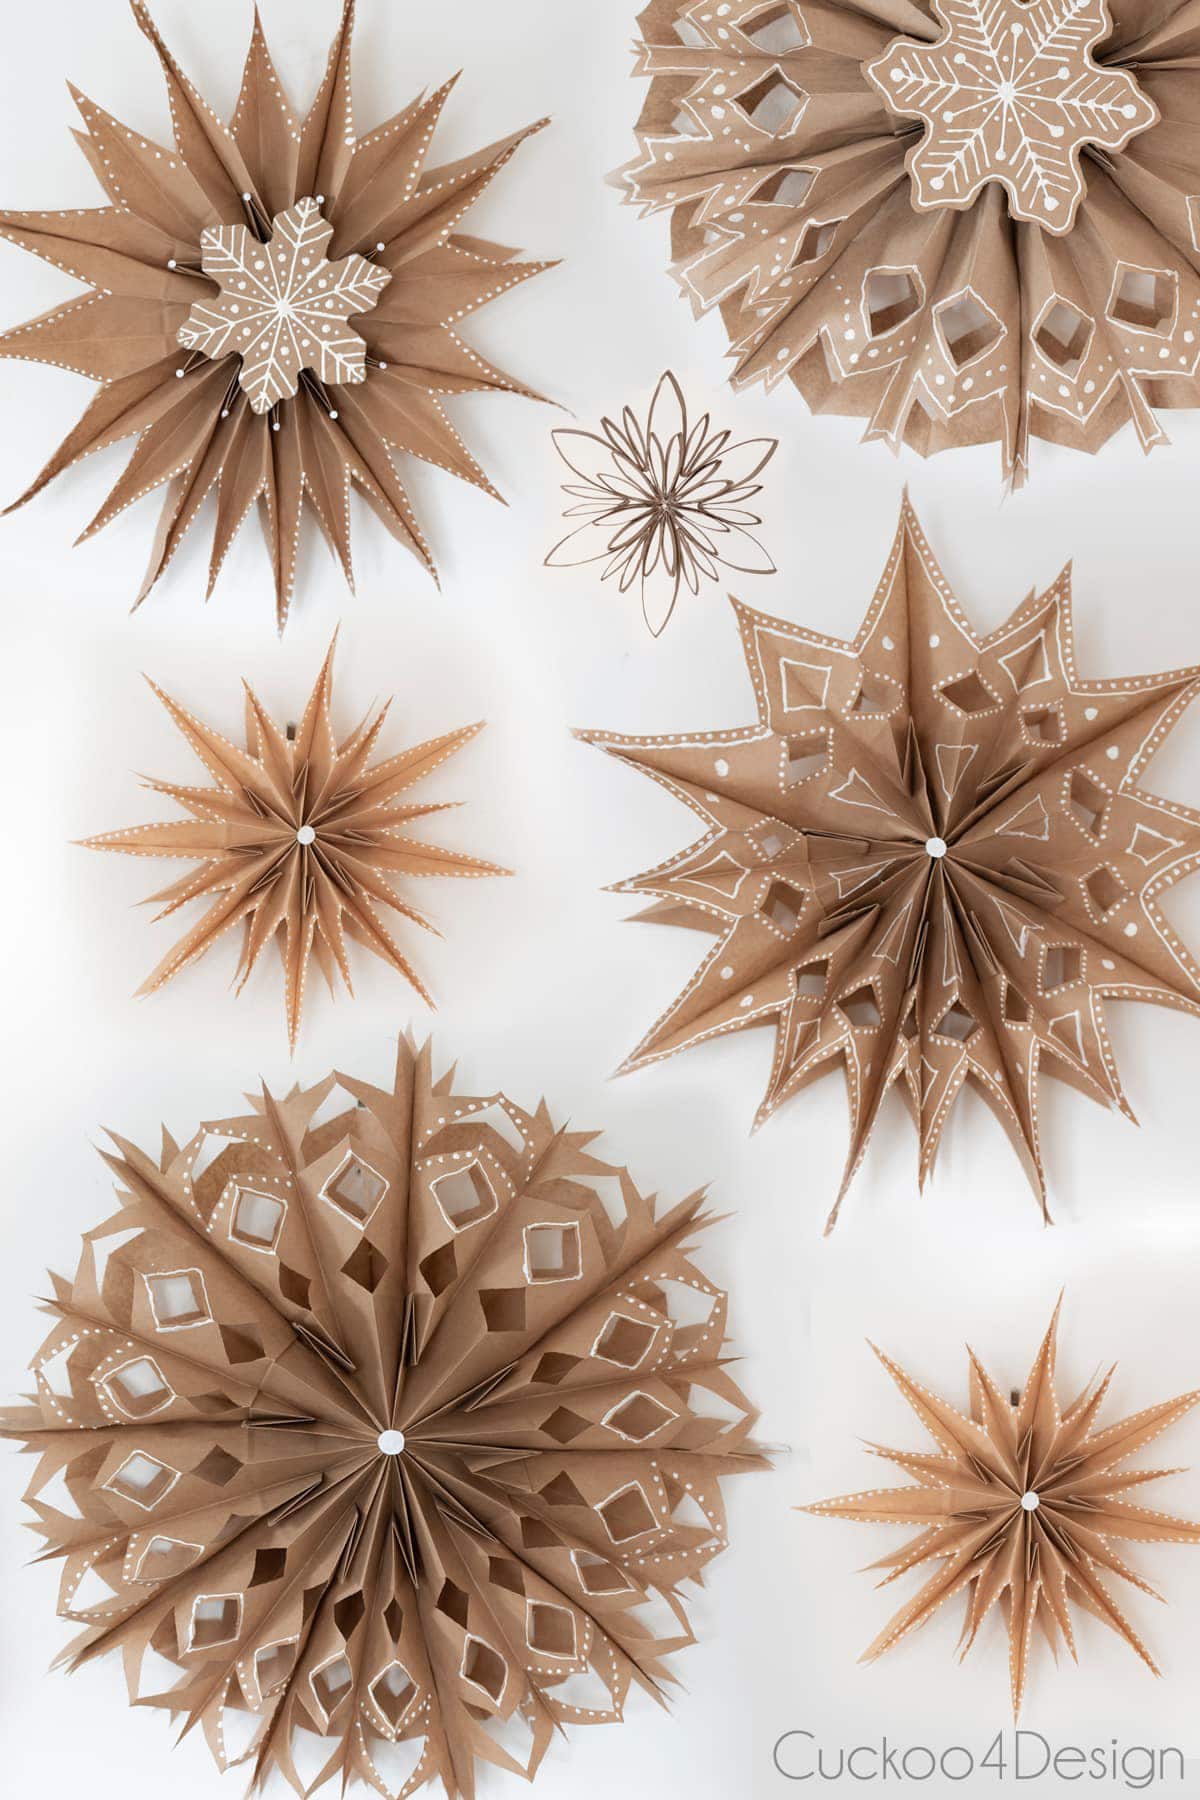
I absolutely love making different kinds of DIY snowflakes. You should also check out my paper bag snowflakes, snowflake Christmas canvas painting, and posterboard snowflake ornaments if you don’t feel like collecting a lot of toilet paper tubes.
If you’d like to try a different shape, check out my toilet paper roll stars tutorial. But today we’re focusing just on snowflakes.

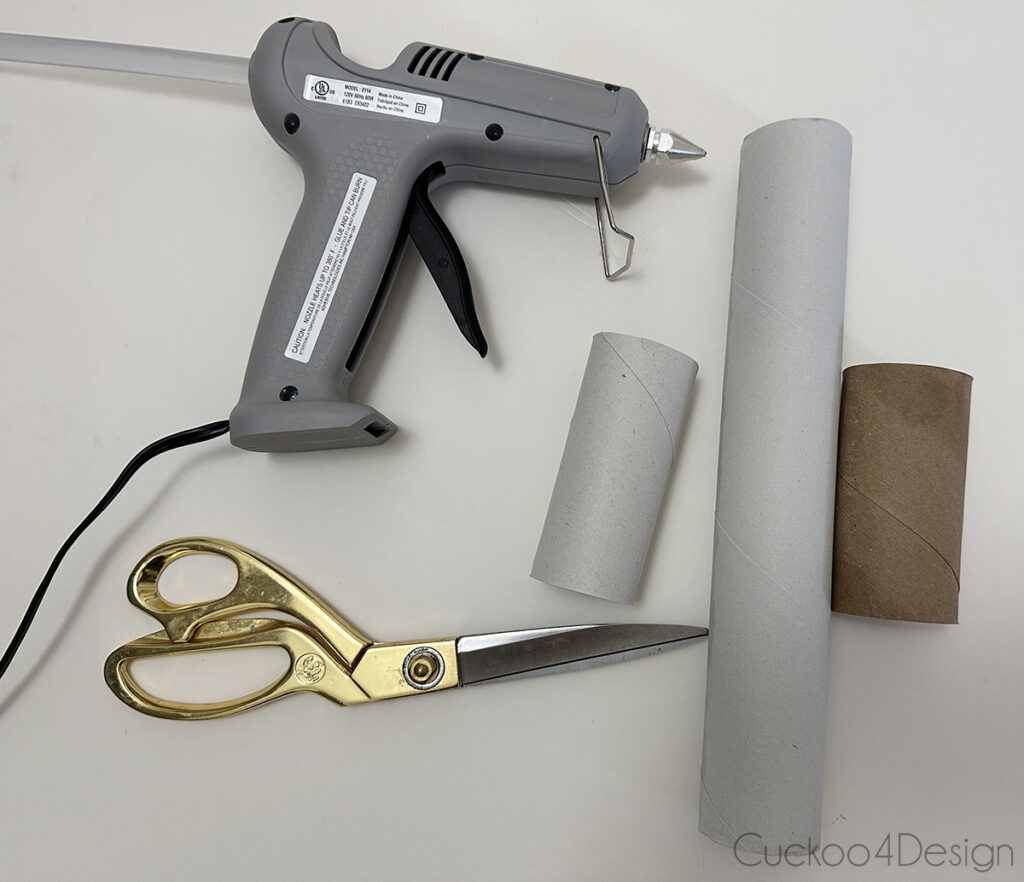
Materials needed
- empty toilet paper rolls
- hot glue gun with a thin tip and glue sticks (I use this glue gun and love it)
- scissors
- ribbon or hooks for hanging
- (paint, glitter, glitter glue, or rhinestones are optional for additional decoration if you want to let your creativity go wild)
You can also use paper towel rolls or other cardboard tubes, but I found them harder to work with when I tried because they tend to be thicker.
Toilet paper roll snowflake video tutorial
Having trouble viewing the video? Watch it on my YouTube channel instead.
Step-by-step instructions
Toilet paper roll crafts are not a new idea and have been done by many others. However, I found that some of them can look a bit too crafty if that makes sense. I just want to show that they can look quite elegant and more as if you purchased them somewhere.
Step 1: Flatten toilet paper rolls
You can use your hands or the edge of scissors to flatten all your toilet paper rolls.

Step 2: Cut the toilet paper rolls into thin strips
Cut all your toilet paper rolls into thin, even sections with sharp scissors. You can mark even lines on the tubes with a ruler, but I just eyeballed it.

Step 3: Glue 6 strips into a flower shape
Start with six flattened, cut pieces of toilet paper roll. Take one piece and add a small dab of hot glue to the tip, then press another piece against it. Continue gluing the tips together one by one until all six pieces are connected in a circle. The shape will look like a flower at this stage. Be sure to keep the design flat on your work surface as the glue sets. This flat “flower” base is the foundation for creating a variety of different snowflake designs.

Step 4: Make 12 folded strips
Fold one of the cut strips in half to form a pointed shape that looks like a pair of bunny ears. Repeat this process until you have 12 of these smaller folded pieces ready to use.

Step 5: Glue bunny ear shapes into the base
Add a dab of glue to the tip of one bunny ear piece and insert it into the corners of the flower shape center you made earlier (see photo). Repeat this process with six folded pieces in total, spacing them evenly around the flower shape center. This will transform the simple flower into a more detailed, snowflake-like design.

Step 6: Add more bunny ears to the outside flower shape
Take the remaining 6 bunny ear shapes and glue them between the flower petal shapes all the way around. When done, you have simple, small snowflake shapes.

Bonus Design: Create a more detailed snowflake design
In the steps below, you start with the same flower shape. This time, you also add heart-shaped pieces to the inside and outside of the flower shape in addition to the other folded pieces.
You also add another row of simple cut strips to the outside flower shape. (starting in image 10)

My tips for making toilet paper roll snowflakes
- One roll gives you about 12 pieces, the way I cut them. For the smaller snowflake designs, I used 18 pieces to give you an idea of how many rolls of toilet paper you need. For the larger snowflakes, I used 30 pieces each.
- It helps to lay out your snowflake pattern first before gluing it all together. Be creative and try out different patterns!
- Ensuring that the snowflake still lies flat on the counter helps the shape look nice and not too messy.
- For different looks, you can paint them by brushing on acrylic paint, spraying them with spray glue, and dipping them into glitter, or dipping them into craft glue or Mod Podge and then dipping them into glitter. I, however, love them as is with the paper since they go with the rest of my decor.
- Use a hot glue gun with a small tip that gives you good control over how much glue comes out. They get less messy and nicer looking if you only use small dabs of hot glue.
- You can do this Christmas craft with children, but make sure to switch out the hot glue with craft glue. I burned my fingers several times while making them.
Photos of finished toilet paper roll snowflakes
This post may contain affiliate links from which I will earn a commission at no extra cost to you. View my full disclosure policy.
These two different easy snowflakes were incredibly hard to photograph because you can see through them. I like them without any added embellishments. If having them plain isn’t your thing then you can certainly paint them with craft paint or spray paint. Or you can dip them in glue and glitter or glitter glue.
I didn’t want to poke small holes into my snowflakes to hang them and instead just looped ribbon through one of the flattened pieces as you can see below.


I love that these little snowflakes look like you sketched them with a pencil. Don’t you think so?


Below, I just wanted to show you how much more intricate these toilet paper roll snowflakes look compared to my lunch bag snowflakes that I mentioned earlier.
I made these little snowflakes last year for our Christmas tree after this photo was taken.
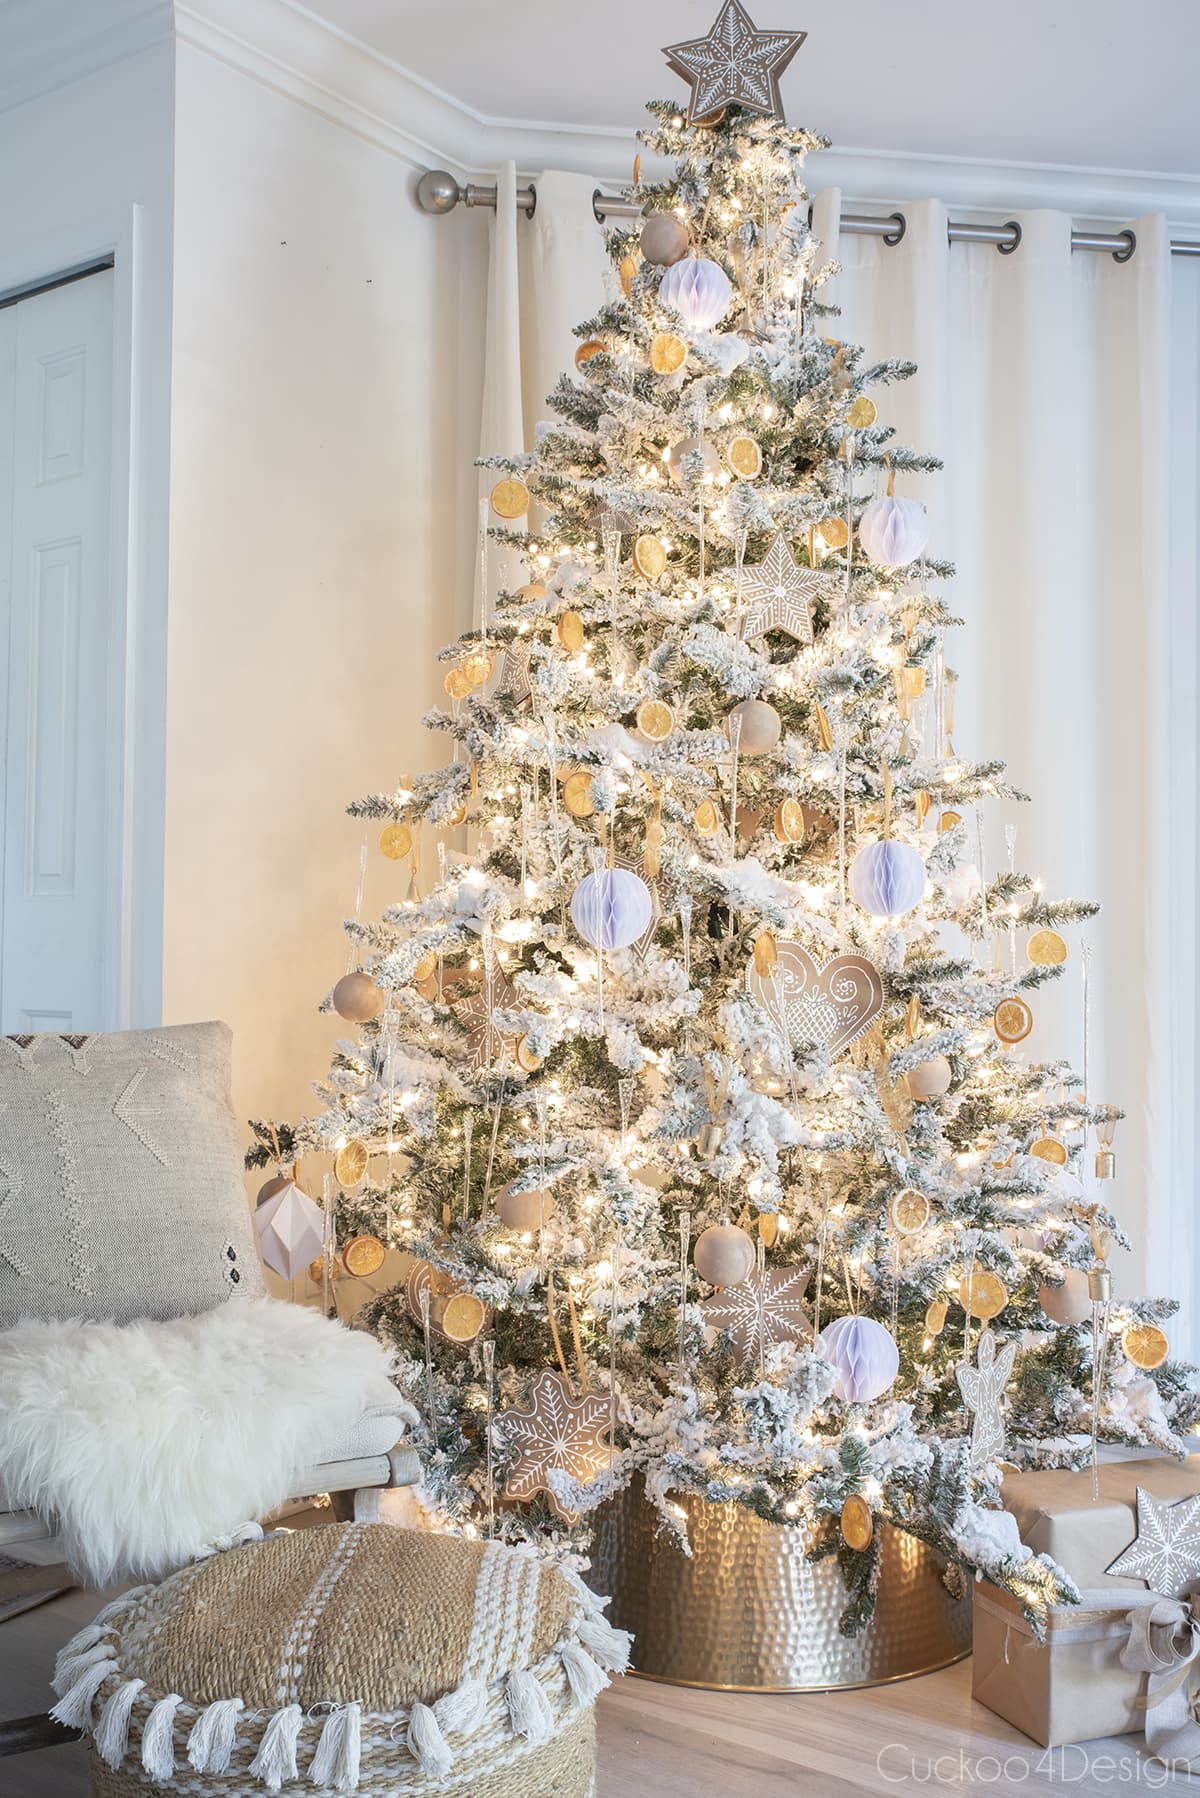


All the other handmade ornaments are listed below, except the dried orange slices that I simply dried in my food dehydrator. No tutorial is needed since they are that easy to make. Simply slice them up, place them inside the dehydrator, and dry them on a fruit setting. That’s it.
More of my affordable Christmas ornaments and decor projects
The following tutorials are all part of my complete roundup of 24+ easy and affordable DIY Christmas ornaments, and they all work together beautifully on my trees!
- How to paint the outside of clear plastic ornaments
- affordable and beautiful DIY origami diamond ornament using printer paper or cardstock
- Quick and easy honeycomb ornaments
- Painting Christmas ornaments with baking soda paint
- DIY cardboard gingerbread Christmas ornaments (free templates included)
- If you love working with cardboard, then check out my foldable 3D stars as ornaments.
- Maybe you’d like to make a macrame kit as a gift or cute gnome ornaments with my free macrame gnome pattern.
- Or how about a variety of different macrame Christmas ornaments (5 free patterns included)
- How to make beautiful, delicate, and lacy paper doily snowflakes.
Tschüß and I hope you enjoyed today’s little snowflake craft and the holiday season.


How to make toilet paper roll snowflakes
Turn toilet paper rolls into beautiful snowflake ornaments. Easy, affordable DIY Christmas craft anyone can make at home!
Materials
- empty toilet paper rolls
- ribbon or hooks for hanging
- (paint, glitter, glitter glue, or rhinestones are optional for additional decoration if you want to let your creativity go wild)
Tools
- hot glue gun with a thin tip
- glue sticks
- scissors
Instructions
- Flatten toilet paper rolls
You can use your hands or the edge of scissors to flatten all your toilet paper rolls.
- Cut the toilet paper rolls into thin strips
Cut all your toilet paper rolls into thin, even sections with sharp scissors. You can mark even lines on the tubes with a ruler, but I just eyeballed it.
- Glue 6 strips into a flower shape
Start with six flattened, cut pieces of toilet paper roll. Take one piece and add a small dab of hot glue to the tip, then press another piece against it. Continue gluing the tips together one by one until all six pieces are connected in a circle. The shape will look like a flower at this stage. Be sure to keep the design flat on your work surface as the glue sets. This flat “flower” base is the foundation for creating a variety of different snowflake designs.
- Make 12 folded strips
Fold one of the cut strips in half to form a pointed shape that looks like a pair of bunny ears. Repeat this process until you have 12 of these smaller folded pieces ready to use.
- Glue bunny ear shapes into the base
Add a dab of glue to the tip of one bunny ear piece and insert it into the corners of the flower shape center you made earlier (see photo). Repeat this process with six folded pieces in total, spacing them evenly around the flower shape center. This will transform the simple flower into a more detailed, snowflake-like design.
- Add more bunny ears to the outside flower shape
Take the remaining 6 bunny ear shapes and glue them between the flower petal shapes all the way around. When done, you have simple, small snowflake shapes.


Notes
- One roll gives you about 12 pieces, the way I cut them. For the smaller snowflake designs, I used 18 pieces to give you an idea of how many rolls of toilet paper you need. For the larger snowflakes, I used 30 pieces each.
- It helps to lay out your snowflake pattern first before gluing it all together. Be creative and try out different patterns!
- Ensuring that the snowflake still lies flat on the counter helps the shape look nice and not too messy.
- For different looks, you can paint them by brushing on acrylic paint, spraying them with spray glue, and dipping them into glitter, or dipping them into craft glue or Mod Podge and then dipping them into glitter. I, however, love them as is with the paper since they go with the rest of my decor.
- Use a hot glue gun with a small tip that gives you good control over how much glue comes out. They get less messy and nicer looking if you only use small dabs of hot glue.
- You can do this Christmas craft with children, but make sure to switch out the hot glue with craft glue. I burned my fingers several times while making them.