

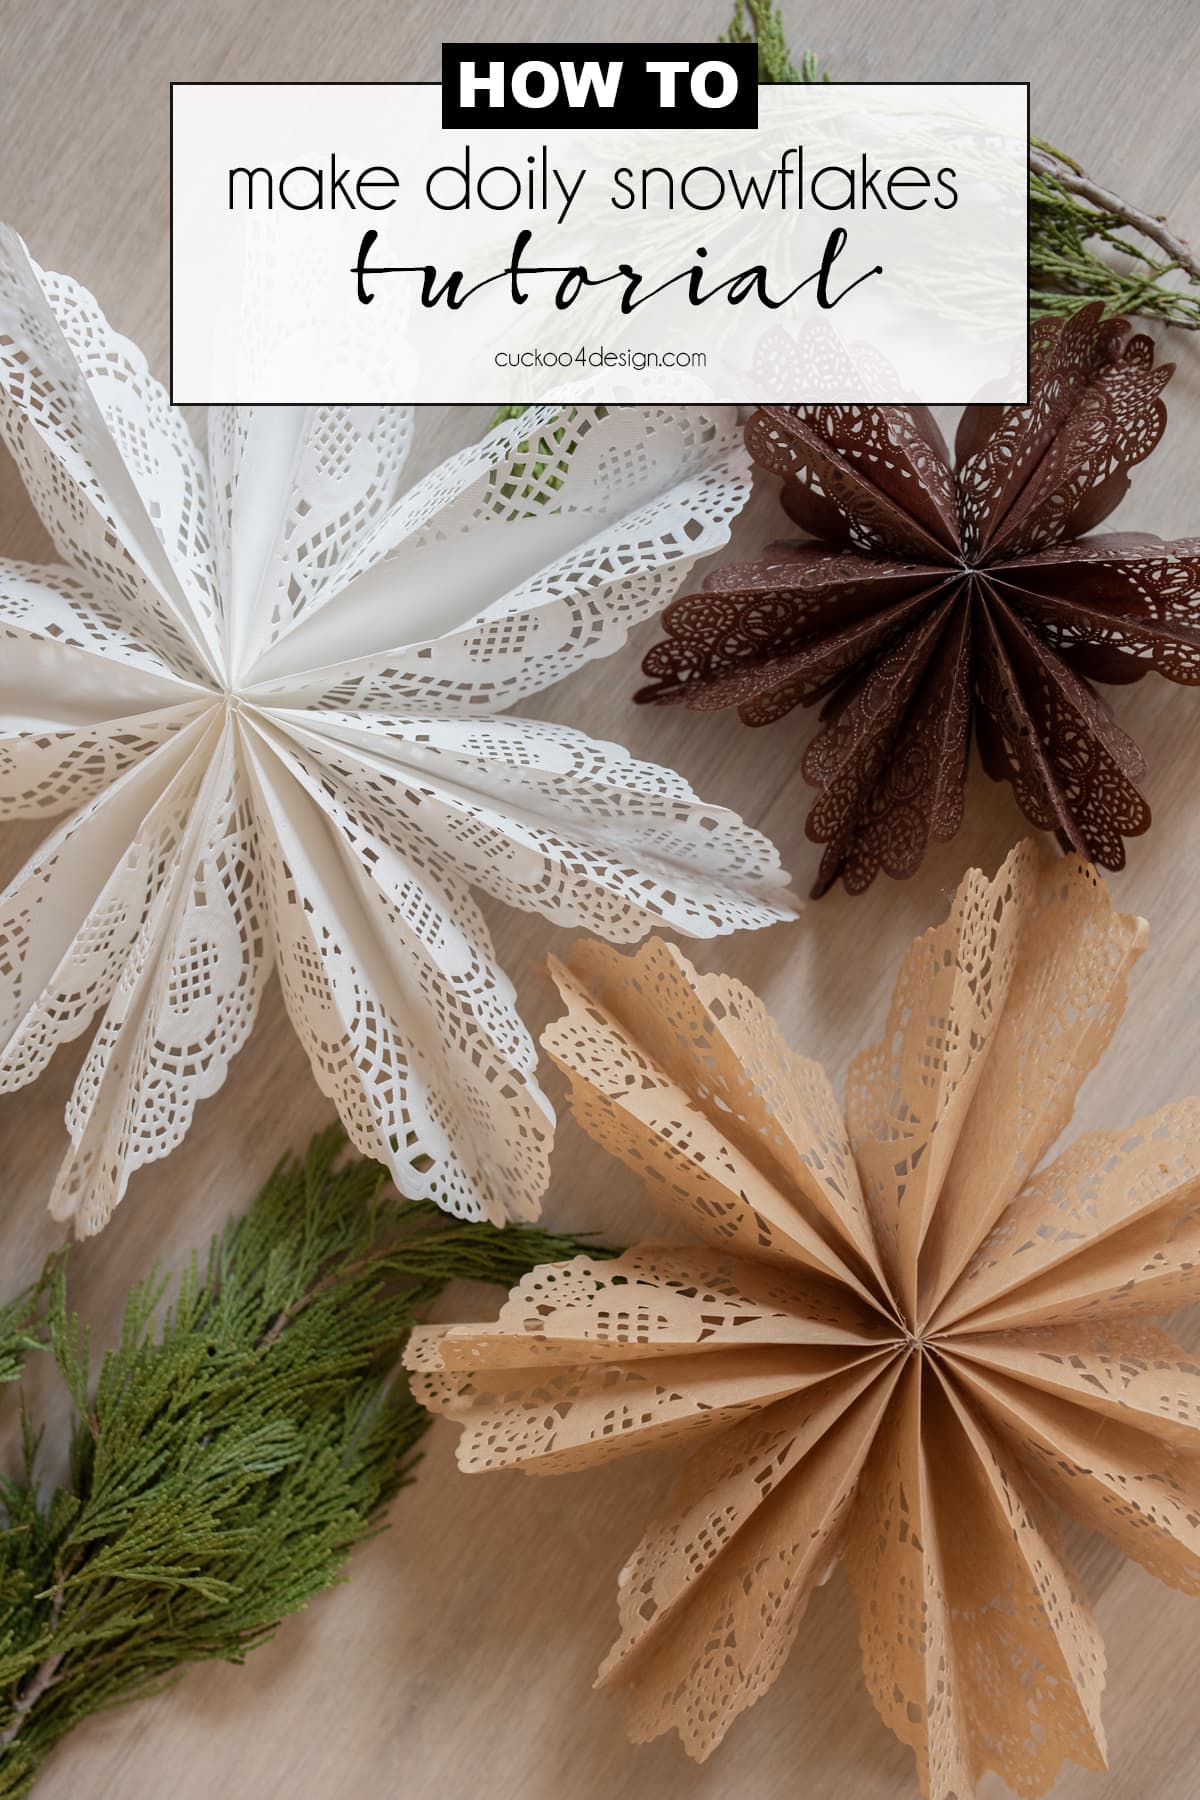
Easy, lacy DIY paper doily snowflakes
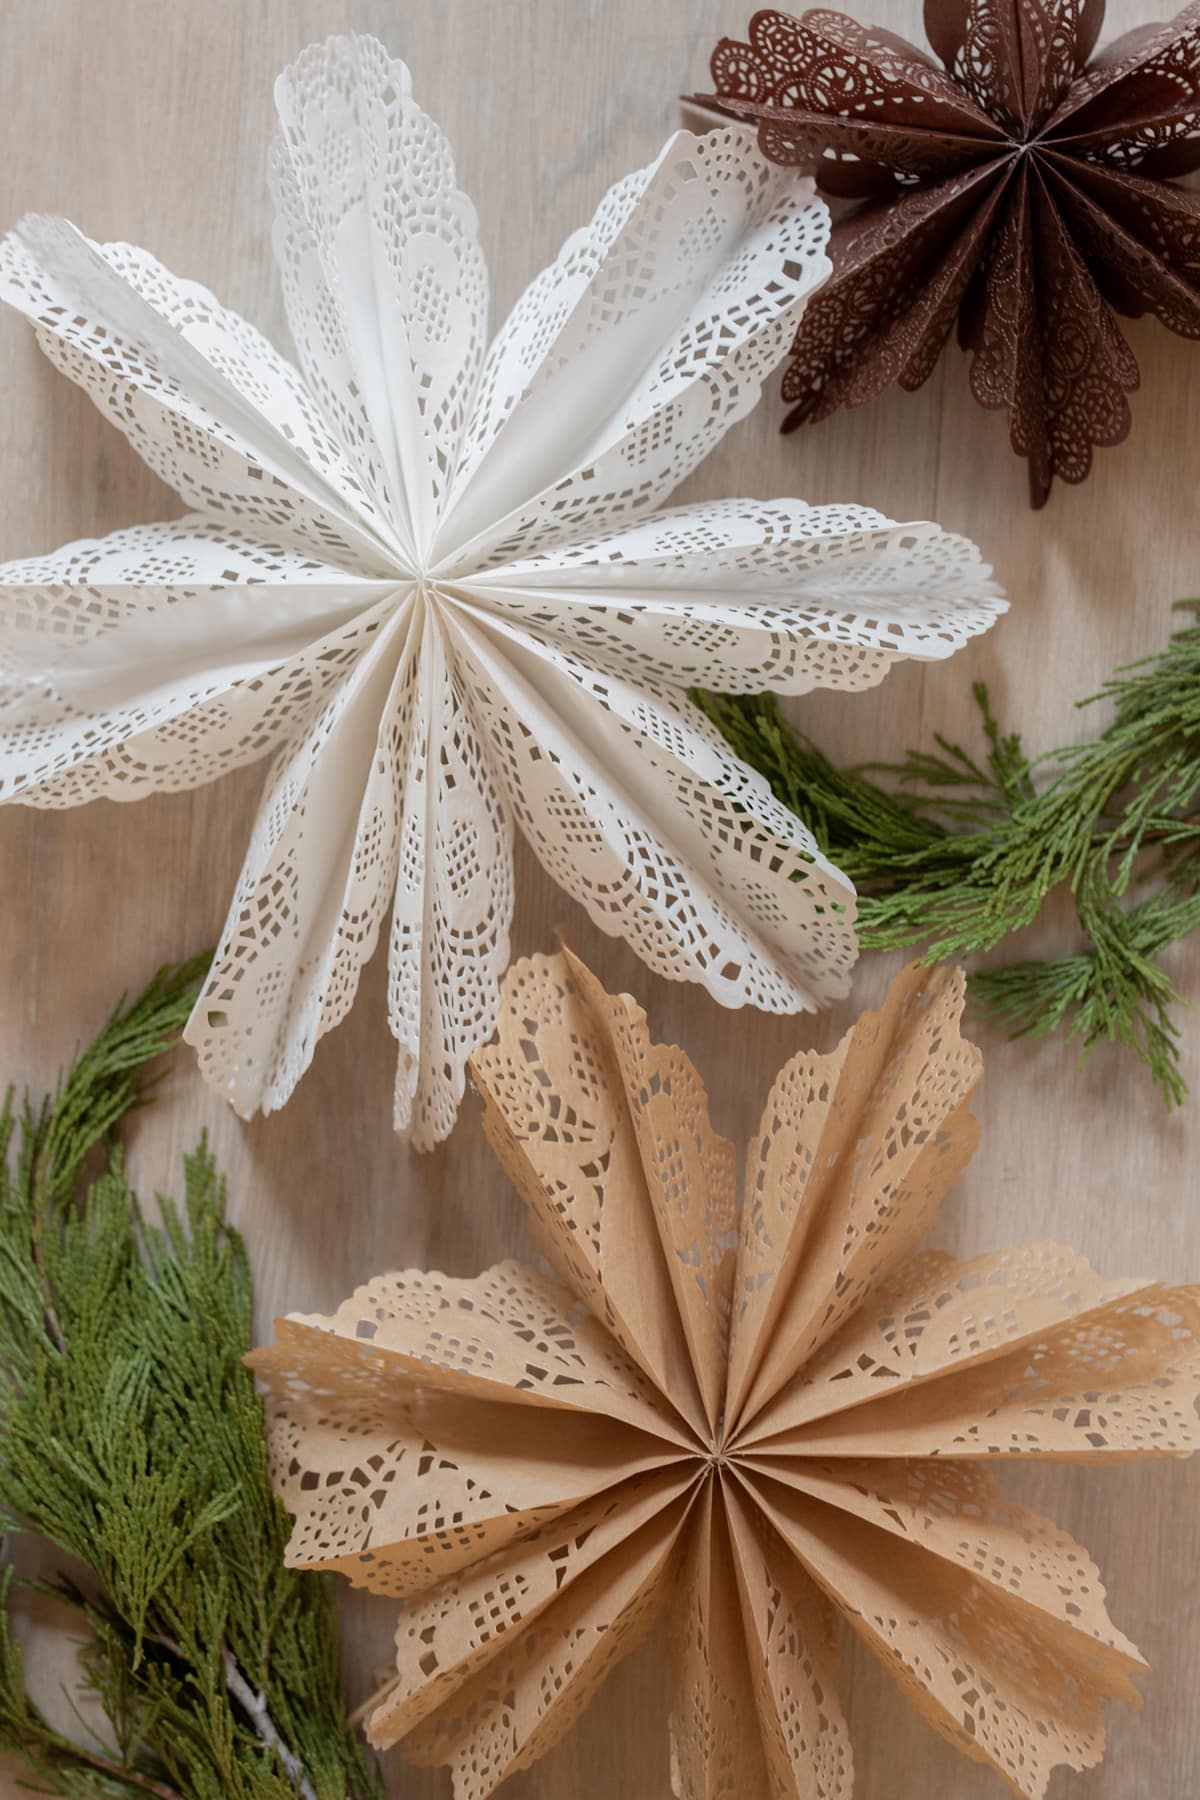
I’ve become quite the snowflake expert because I love making them as easy and affordable Christmas decor. I have been itching to make paper doily snowflakes. Paper doilies are just so delicate and pretty but also affordable. You can find big packs of them at the dollar store, grocery store, craft store, and of course, Amazon in different color options. The doilies already have beautiful patterns cut into them, so all you have to do is fold, and glue the layers to create delicate, unique snowflakes in a variety of colors and sizes.
So in today’s tutorial, I’m showing you how to make paper doily snowflakes.
How to make paper doily snowflakes
This post may contain affiliate links from which I will earn a commission at no extra cost to you. View my full disclosure policy.
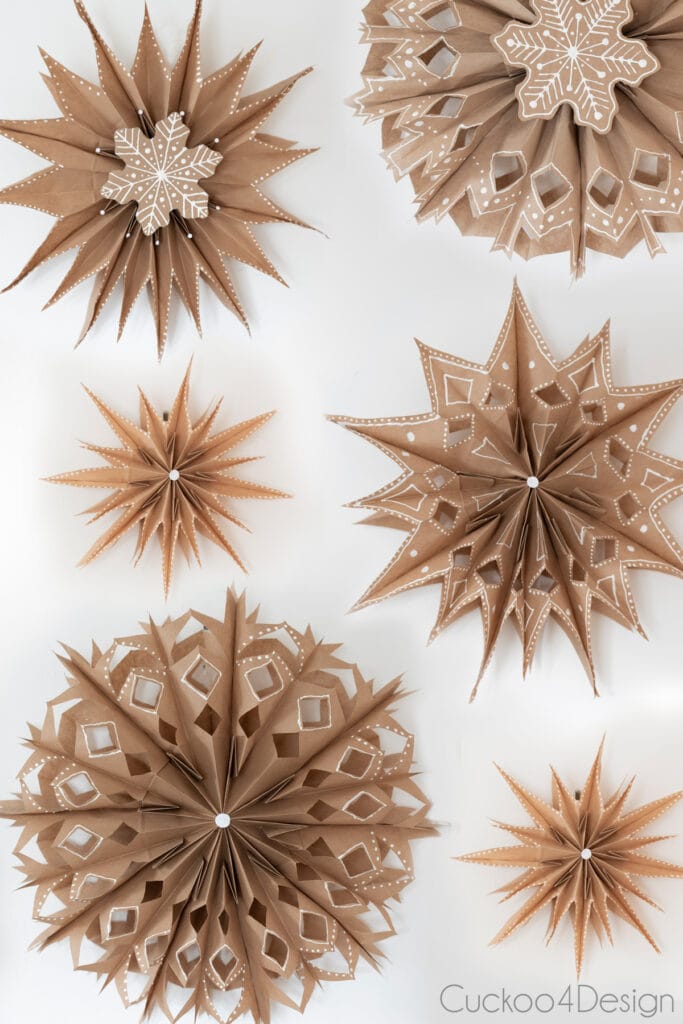
My classic brown paper bag snowflakes are still super popular, and I brought some of them back in last week’s home tour, where I showed you our new cheap, sparse artificial Christmas tree. I really wanted some different snowflakes, which is why I decided to make paper doily snowflakes.
Materials needed
- pack of paper doilies ( I used brown round paper doilies, white oval paper doilies, and dark brown round paper doilies in different sizes)
- hot glue and hot glue gun
- scissors

Video tutorial
It is always helpful to have a video so you can see exactly what my hands were doing. You can also watch the video on my YouTube Channel and follow me over there if reading tutorials isn’t your thing.
Step-by-step paper doily snowflake instructions
You can make paper doily snowflakes in different ways. As a kid, I made them simply by folding one sheet and then cutting the edges the way you do with simple printer paper, which creates completely flat doily snowflakes. I love three-dimensional snowflakes, though.
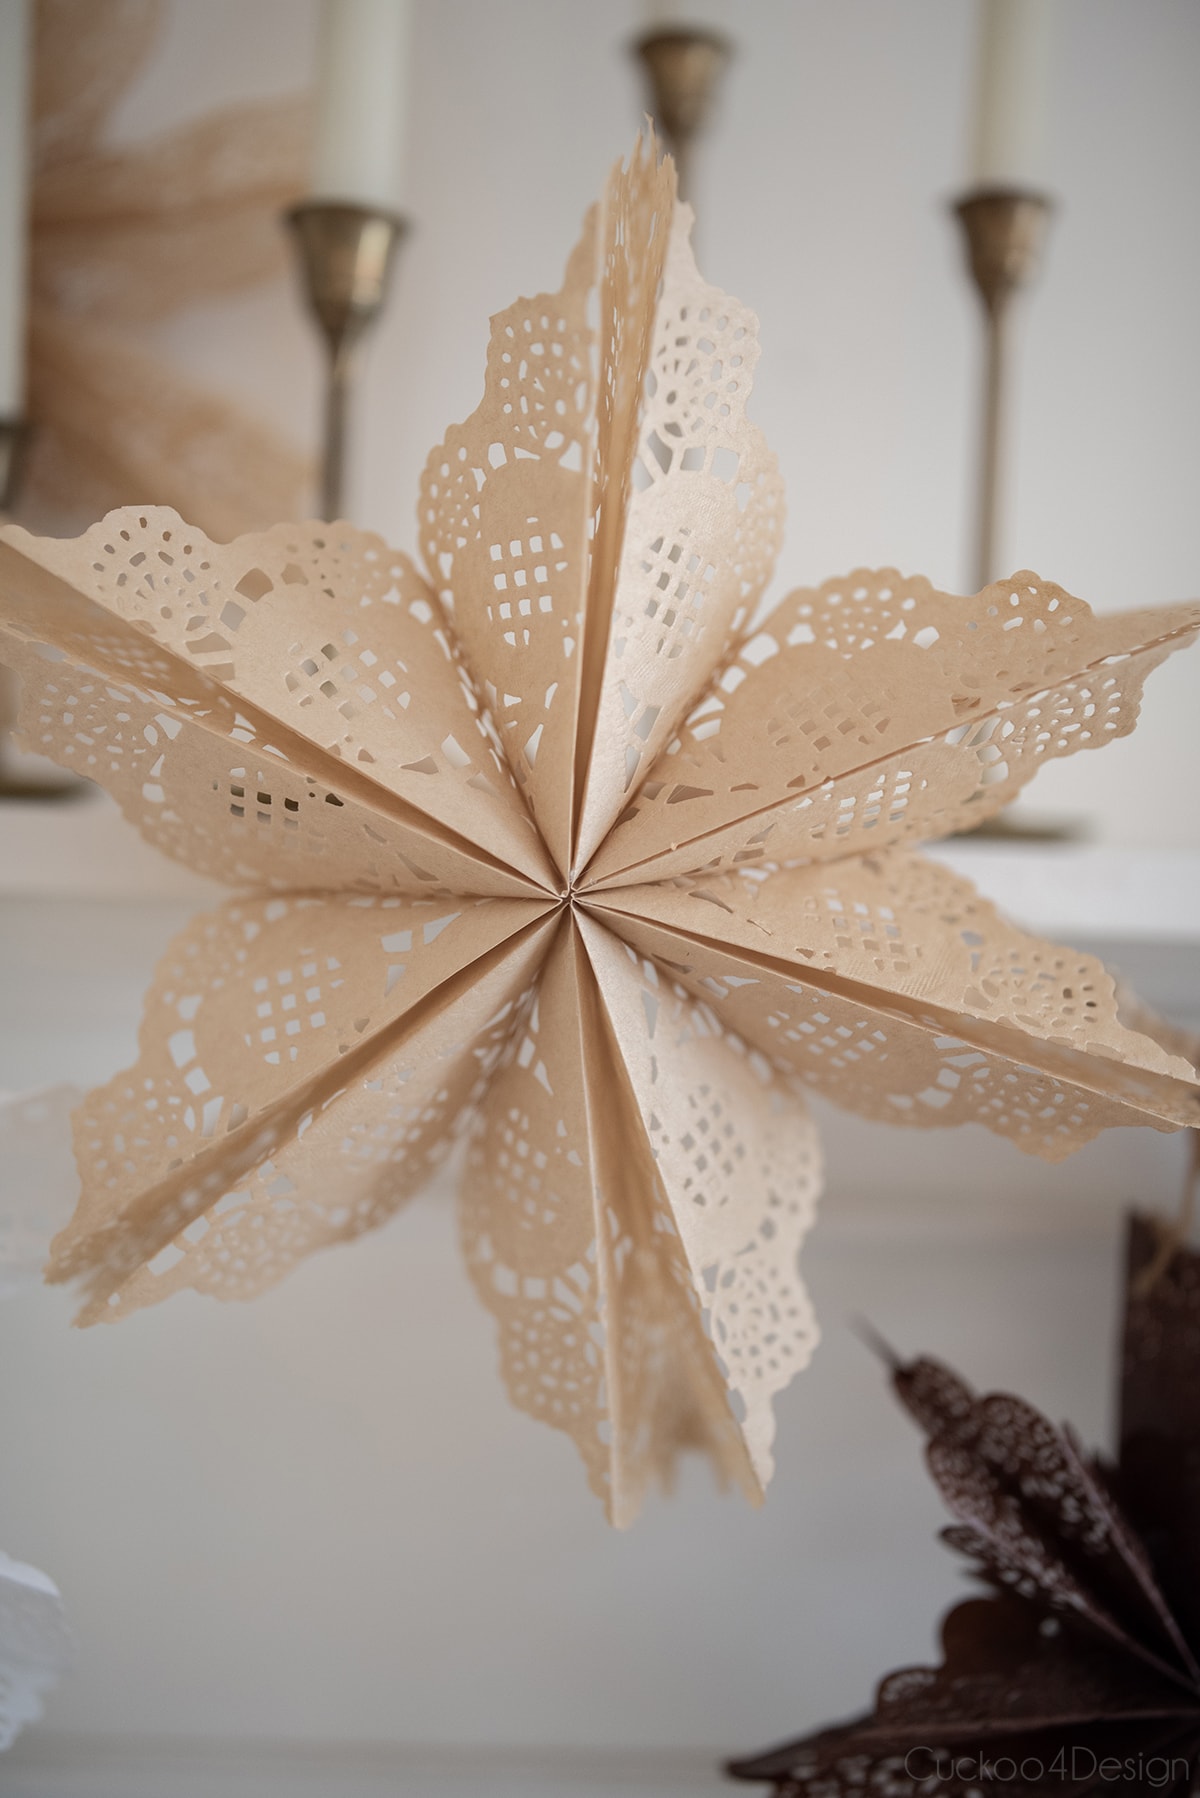
I made two different versions. One with a full paper doily and the other with a doily cut in half.
Step 1: Fold the paper doilies
Take a paper doily and fold the entire doily in half. If you use an oval one, then fold it in half so the longer, further apart ends meet.


Open the paper doily up again. Then fold in both sides of the lace evenly. It doesn’t matter how far. You can even make them meet in the middle to create different looks. I folded the lace in right where it ends and the solid paper starts.

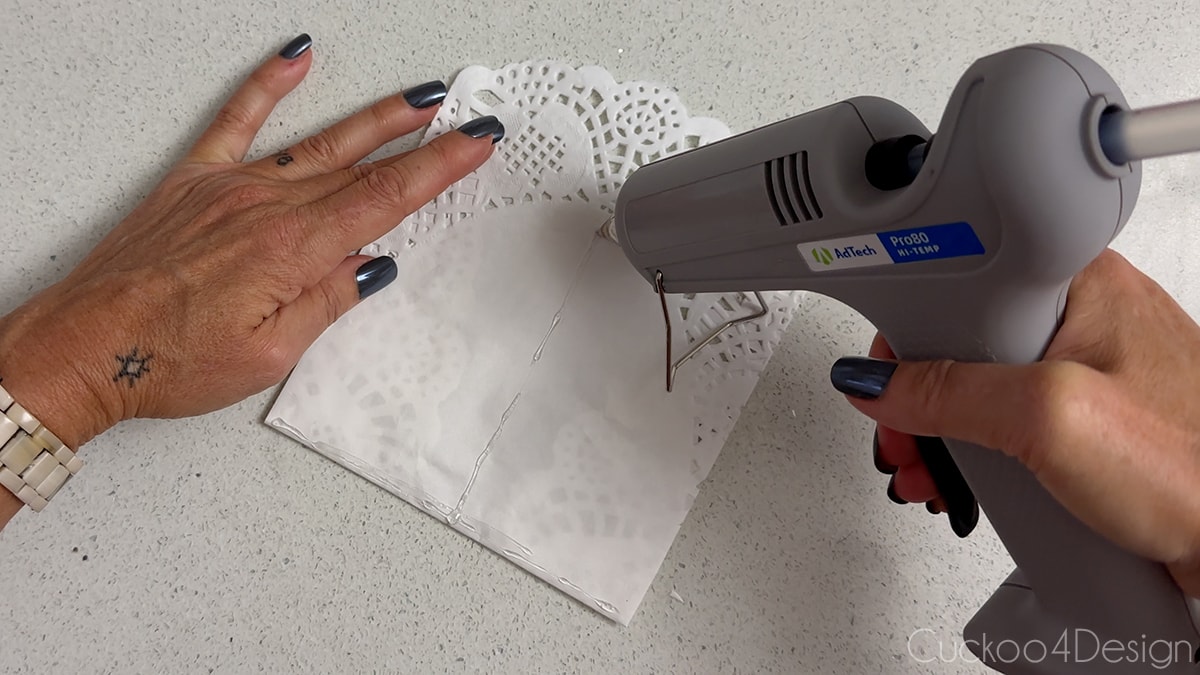
Step 2: Glue the doily edges to create pockets
For the next step, run a thin line of hot glue along the edge of the lace down on both sides to the center of the folded piece of paper doily. You can see in the photo below and in my video where I started applying the hot glue.

TIP: I usually like using craft glue (or glue stick) for projects like this but in this case, it works out better to use the hot glue when you make sure that the inside of the folded pockets don’t glue together. The hot glue dries fast and doesn’t run which is perfect.
Fold the paper doily in half so the lace glues to the opposite side.

Open the folded and glued doily pocket to make sure that it didn’t glue to the solid inside of the paper doily. Be careful not to burn yourself though.

Repeat those steps until you have enough folded and glued doily pockets to create a doily snowflake. You can do anywhere from 5 to 9 pockets (to create 5 to 9 snowflake points), depending on what look you want. I think that 5 represents more of a star shape, though.

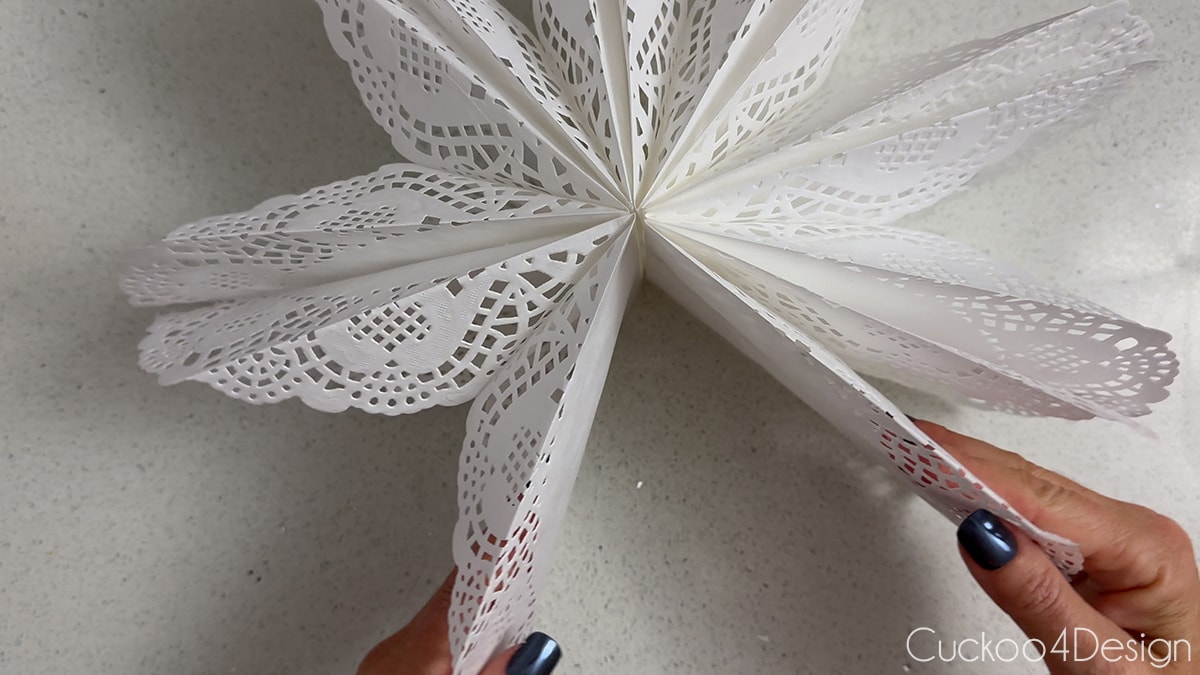
Step 3: Glue the doily pockets together
Now apply a T-shaped line of glue to the front of a doily pocket as pictured.
And then lay another doily pocket onto the one that has the hot glue applied. Repeat that same step with the number of doily pockets that you are using.
Try to open the pockets again to make sure the glue isn’t leaking through the lace and gluing together the wrong areas.

Here you can see my glued stack of doilies.

Step 4: Glue the last pocket of the fan to the first one
Now you can open the stack of glued-together doilies into a fan and then apply another T-shaped line of hot glue to one of the ends so you can glue them together and form a finished doily snowflake.
Then all that’s left to do is to fluff and shape it a bit and figure out how you want to hang it. These types of paper doily snowflakes are three-dimensional and perfect for hanging in a window.

Bonus instructions: Flat back paper doily snowflake method
Since the three-dimensional doily snowflakes are a bit on the fat side, I wanted to come up with a way to make flatter, less deep snowflakes by cutting the paper doilies in half. These types of paper doily snowflakes have a flat back and are perfect for hanging on a flat surface like a wall, and in my case, the fireplace mantel.
Let me show you in the next image collage what steps you need to take for this bonus version.

Here you can see a light brown and dark brown doily snowflake. I love the dark brown one because it is so different.

How to hang paper doily snowflakes
I like using command hooks for most of my Christmas paper decor. The clear hooks with adhesive strips are great.
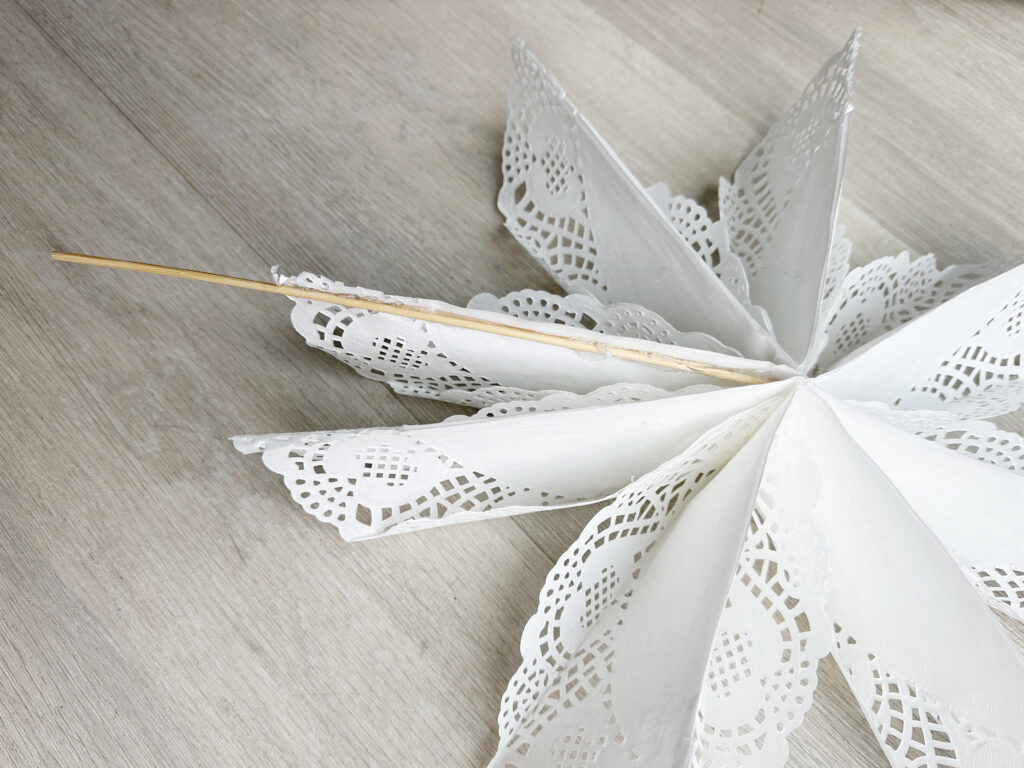
I have also glued skewers to some of these flat doily snowflakes. That way you can stick them into planters or the garland greenery on my fireplace.
Fishing line is also a great way to delicately hang the snowflakes from curtain rods.
Finished paper doily snowflakes
Aren’t they super pretty? Which color is your favorite? They definitely have a flower-type quality to them.


I used my favorite battery-operated candles again on my fireplace mantel. And the clip-on candle version on my tree below.
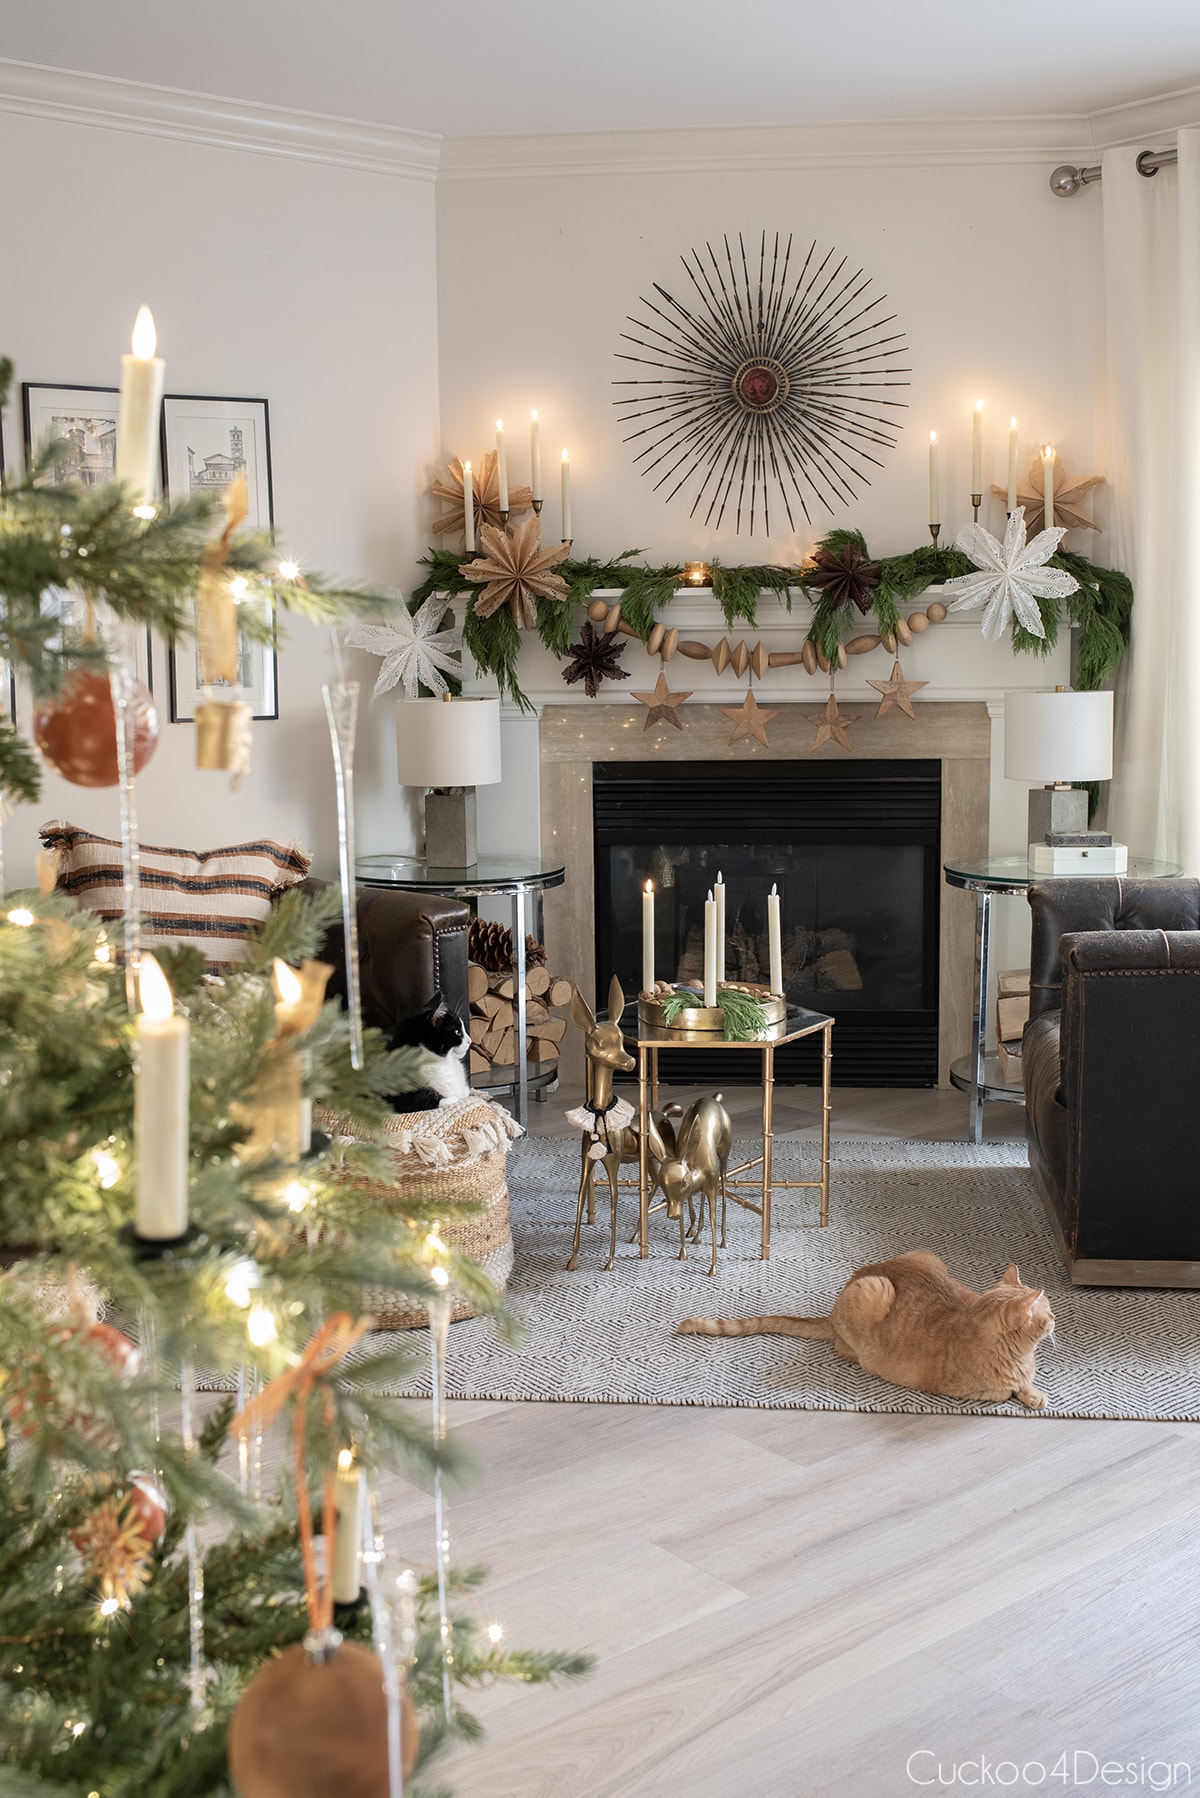
Check out the rest of the boho living room and Christmas decor.

Decorating ideas for your paper doily snowflakes: They look beautiful hanging from curtain rods, around the fireplace, hanging from the ceiling, in a Christmas tree as ornaments, or as gift toppers.


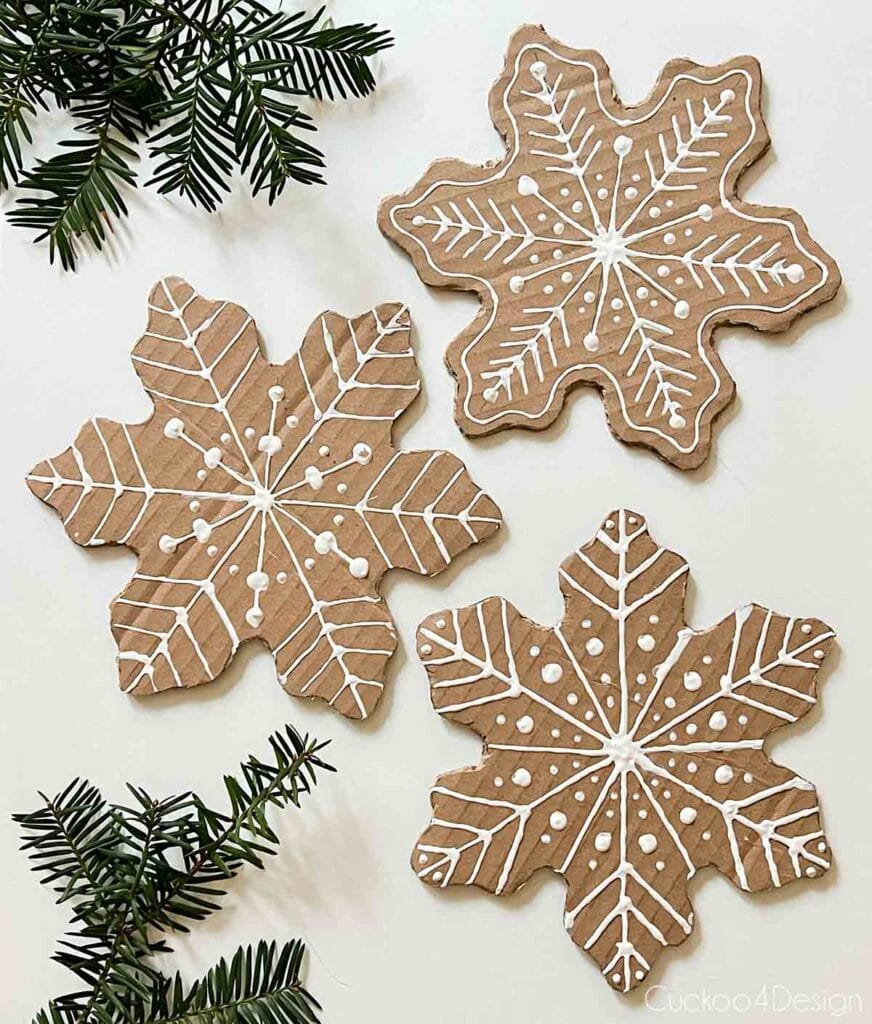
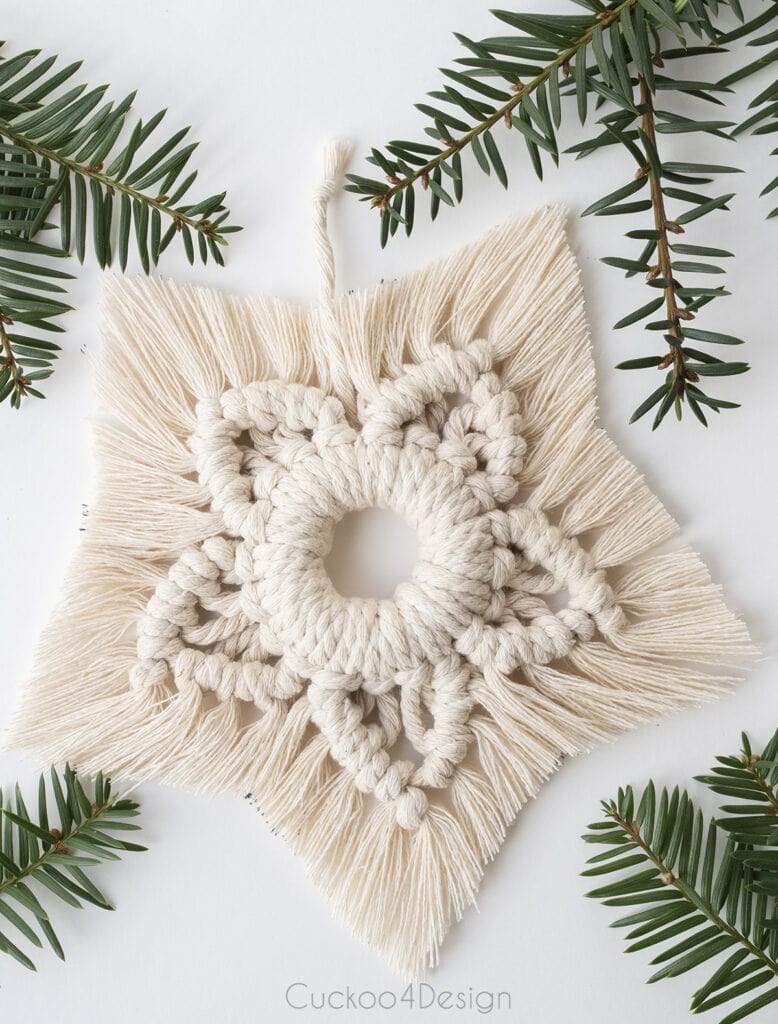
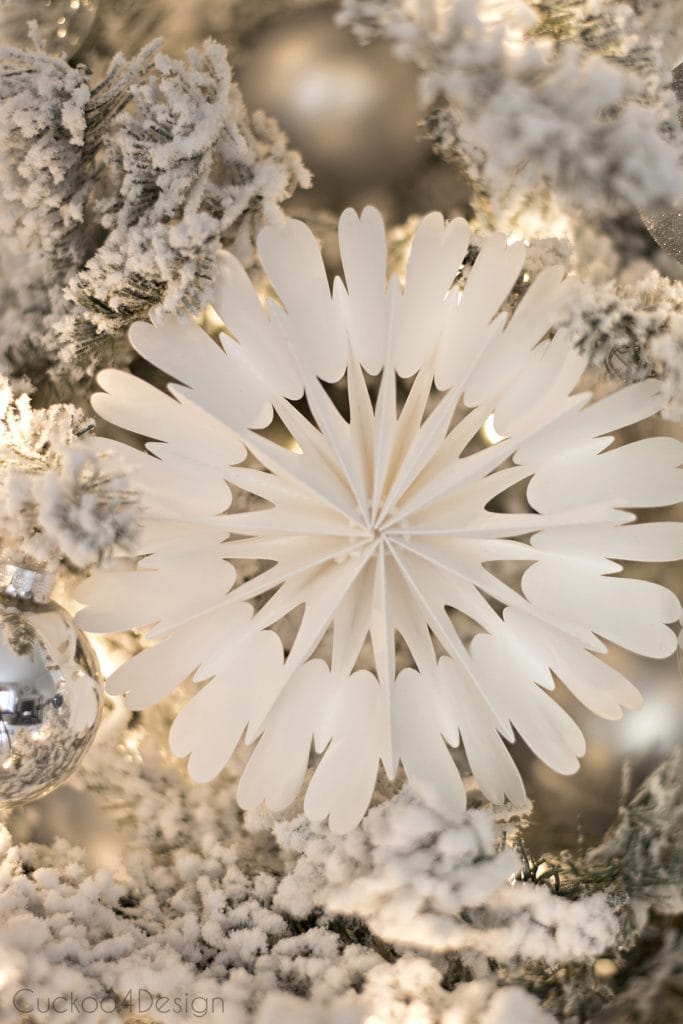
My other DIY paper snowflake tutorials
Love snowflakes? Check out my other easy, budget-friendly snowflake crafts — all perfect for creating beautiful Christmas decor without spending a lot.


Tschüß,


How to make paper doily snowflakes
Make beautiful paper doily snowflakes without having to cut a snowflake pattern. Just fold, glue, and decorate for easy DIY holiday decor.
Materials
- pack of doilies
- hot glue sticks
Tools
- scissors
- glue gun
Instructions
- Fold the paper doilies
Take a paper doily and fold the entire doily in half. If you use an oval one, then fold it in half so the longer, further apart ends meet.

Open the paper doily up again. Then fold in both sides of the lace evenly. It doesn't matter how far. You can even make them meet in the middle to create different looks. I folded the lace in right where it ends and the solid paper starts. - Glue the doily edges to create pockets
For the next step, run a thin line of hot glue along the edge of the lace down on both sides to the center of the folded piece of paper doily.
Fold the paper doily in half so the lace glues to the opposite side.
Open the folded and glued doily pocket to make sure that it didn't glue to the solid inside of the paper doily. Be careful not to burn yourself though.
Repeat those steps until you have enough folded and glued doily pockets to create a doily snowflake. You can do anywhere from 5 to 9 pockets (to create 5 to 9 snowflake points), depending on what look you want. I think that 5 represents more of a star shape, though. - Glue the doily pockets together
Now apply a T-shaped line of glue to the front of a doily pocket as pictured.
And then lay another doily pocket onto the one that has the hot glue applied. Repeat that same step with the number of doily pockets that you are using.
Try to open the pockets again to make sure the glue isn't leaking through the lace and gluing together the wrong areas.
Here you can see my glued stack of doilies. - Glue the last pocket of the fan to the first one
Now you can open the stack of glued-together doilies into a fan and then apply another T-shaped line of hot glue to one of the ends so you can glue them together and form a finished doily snowflake.
Then all that's left to do is to fluff and shape it a bit and figure out how you want to hang it. These types of doily snowflakes are three-dimensional and perfect for hanging in a window.

Notes
- I usually like using craft glue (or glue stick) for projects like this but in this case, it works out better to use the hot glue when you make sure that the inside of the folded pockets don't glue together. The hot glue dries fast and doesn't run which is perfect.
- You can glue a skewer to the flat paper doily snowflake's back. That way you can stick them into your decor such as greenery.
- Use command hooks like the clear hooks with adhesive strips to hang the snowflakes on the wall.
- Fishing line is also a great way to delicately hang the snowflakes from curtain rods.