

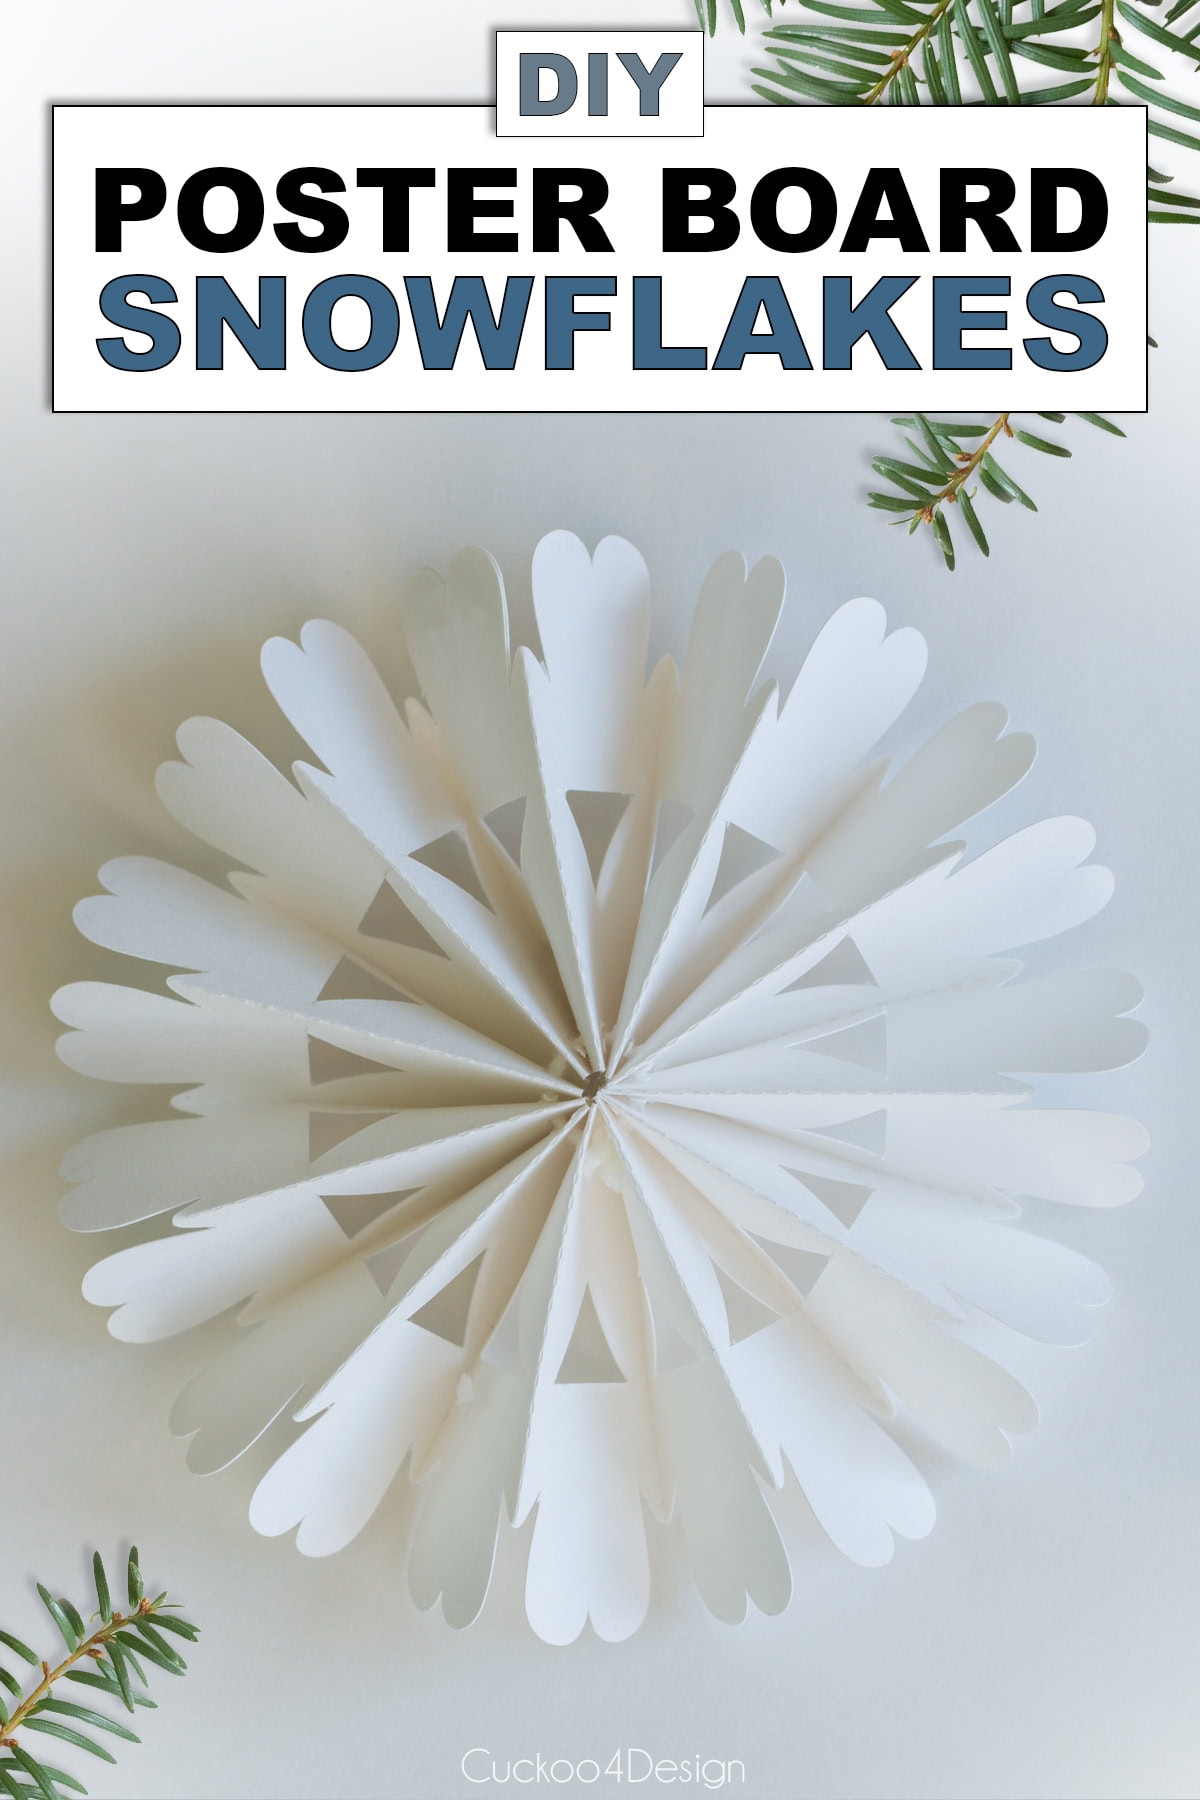
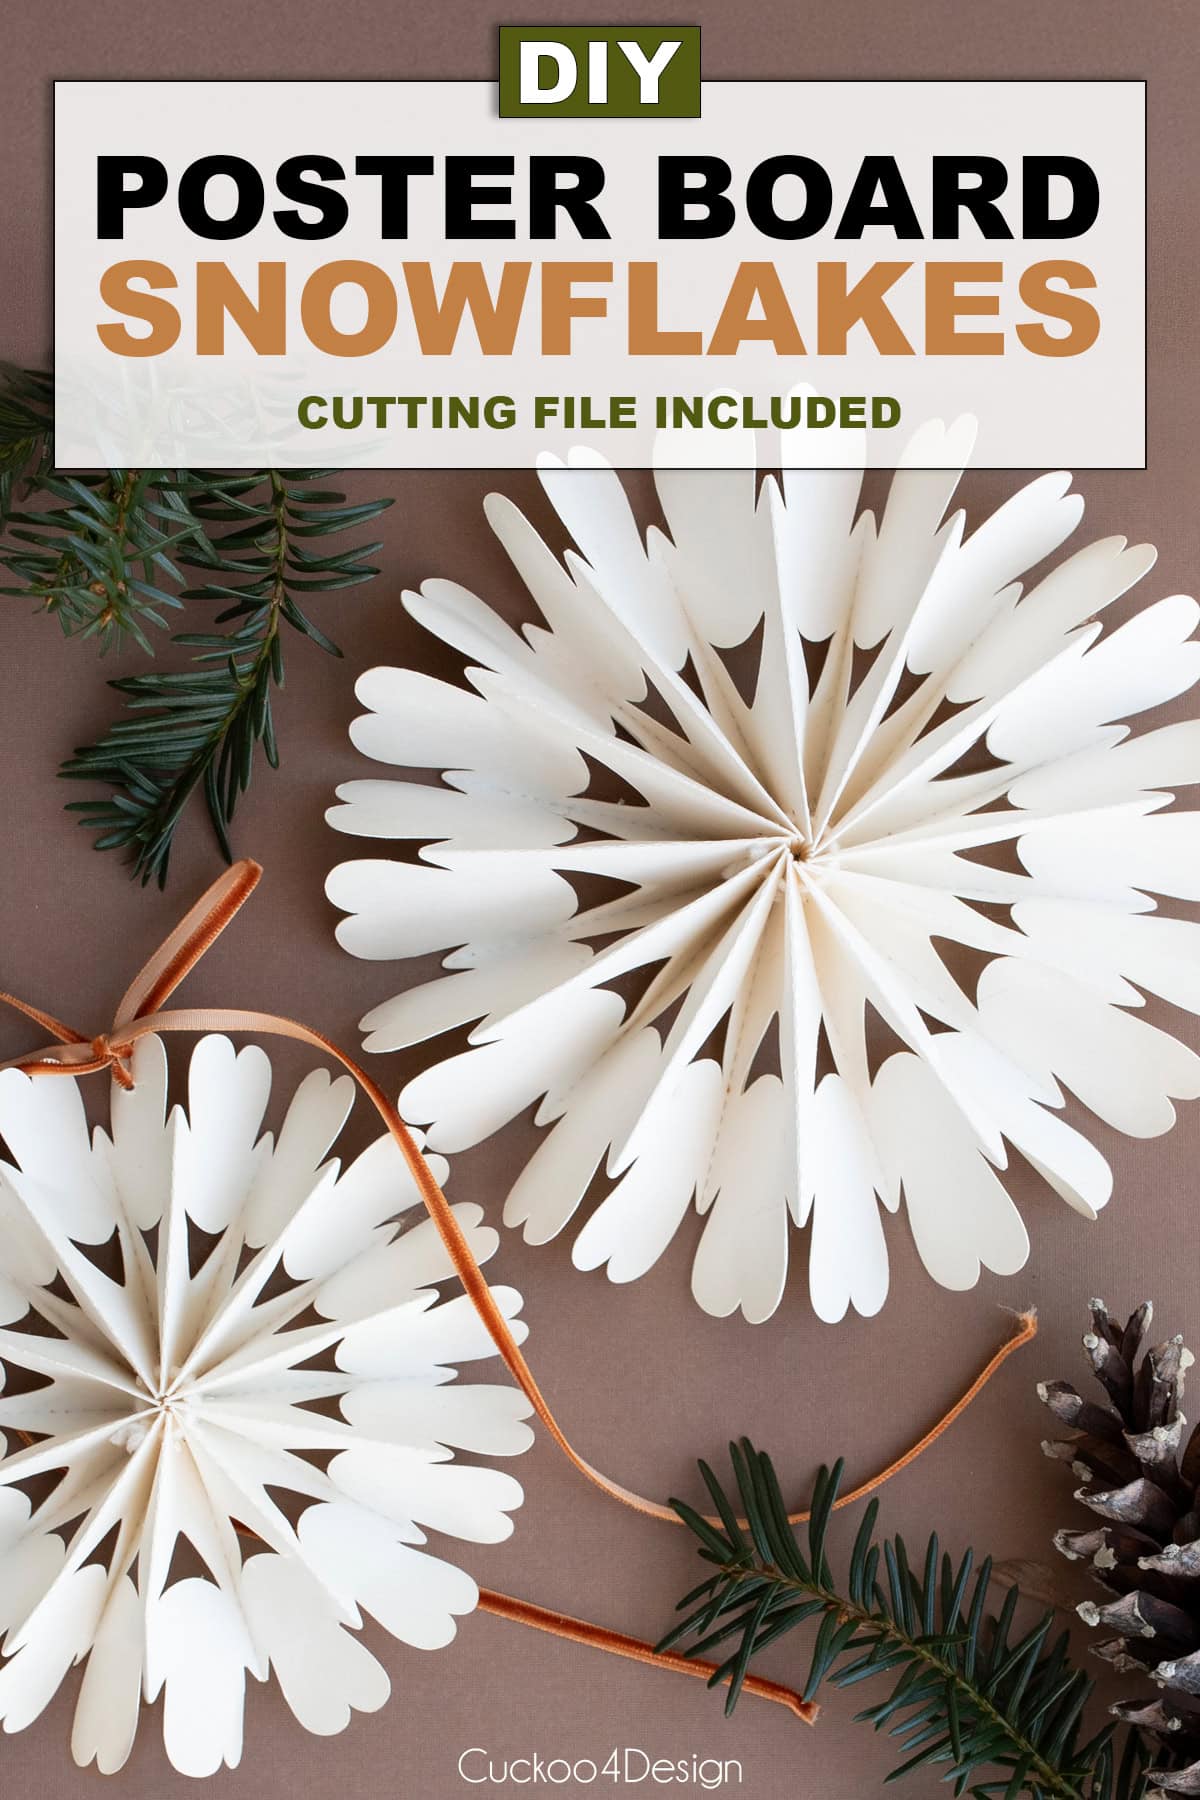
DIY Poster Board Snowflakes (free snowflake svg file included)
Hey friends, if you’ve known me for a while, then you know that I like coming up with affordable versions of home decor items. Especially around Christmas, when it can get really pricey with all the breakable ornaments and fast-changing trends.
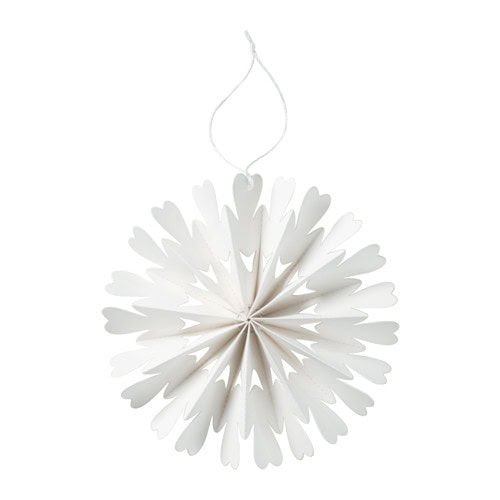
So when I took a trip to Ikea and saw their white poster board snowflakes, I got really inspired. I know that $2.99 for one large snowflake isn’t all that bad. But when I compared that price to the actual price of the poster board they are made from, I knew I could make my own poster board snowflakes for a fraction of the price.
I’m lucky enough to have a cutter, and I love it. So I added a free snowflake studio file, and I also added a free snowflake svg file for you if you have a Cricut.
How to make poster board snowflakes (step-by-step tutorial)
This post may contain affiliate links from which I will earn a commission at no extra cost to you. View my full disclosure policy.
You can do these several different ways, though, and you don’t need to have a cutting machine as I have. I will describe how I made them in different ways.
First off, I’ll show you how to cut one by hand. It won’t be as intricate as the original version, but it still makes a pretty statement.
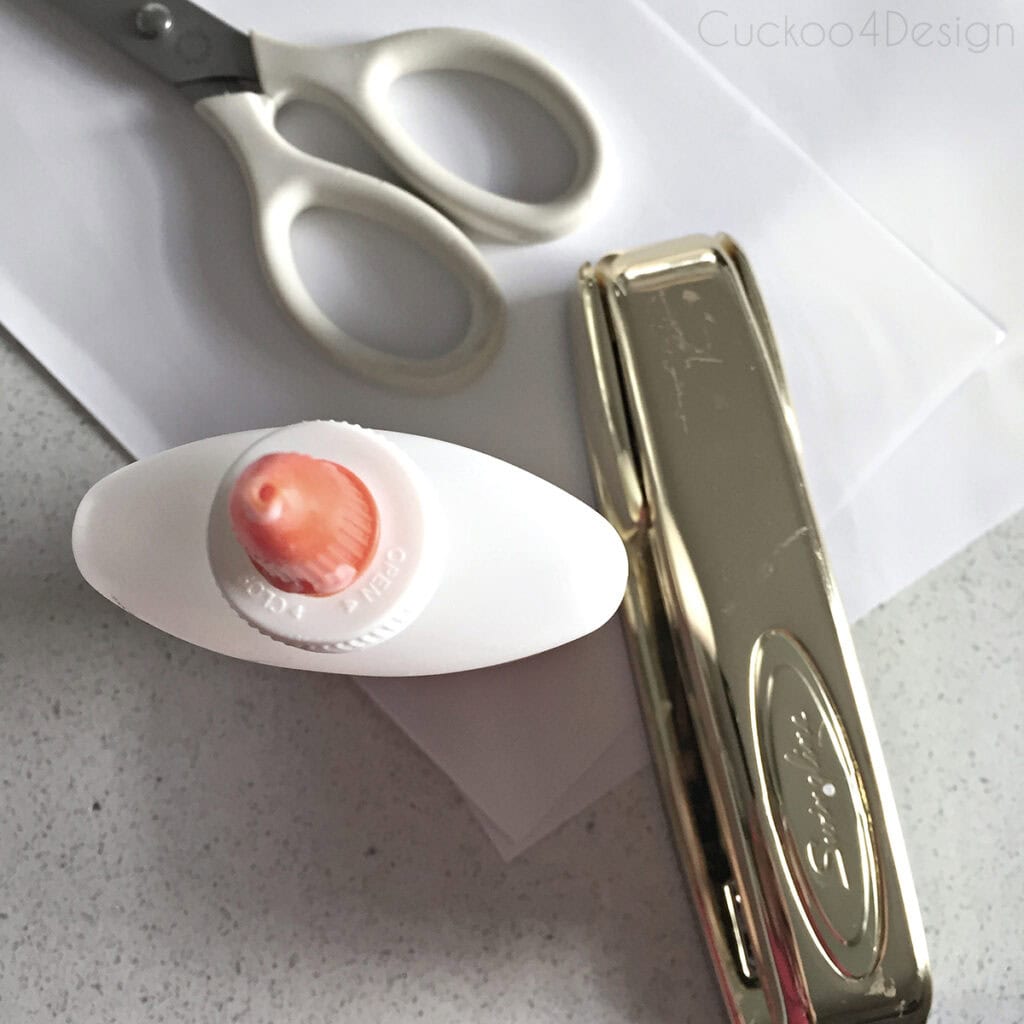
Materials needed
- a good pair of scissors (these are my favorite scissors)
- stapler
- craft glue (or hot glue and hot glue gun)
- curved upholstery needle
- white wool
- white poster board (I think Walmart has a pretty good price). You can cut 4 snowflakes out of one sheet
Handcut tutorial without a cutting machine (scissors and glue)
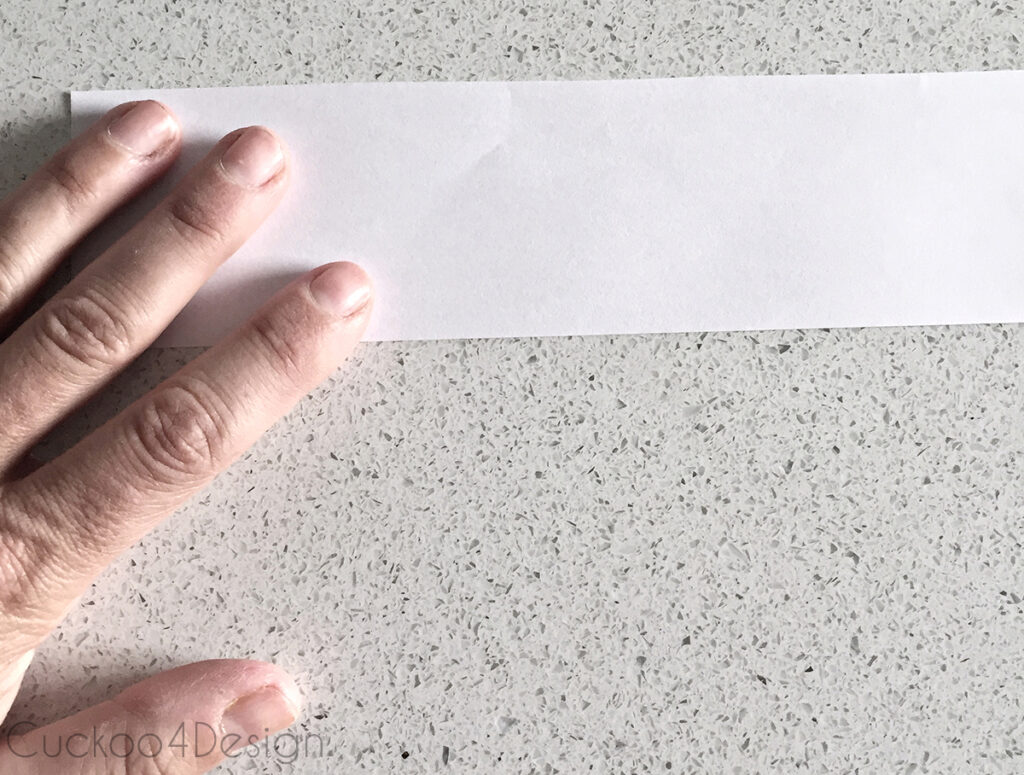
Step 1: Cut a long strip of poster board
First, cut a long strip from the poster board with scissors or a craft knife on a protected surface.
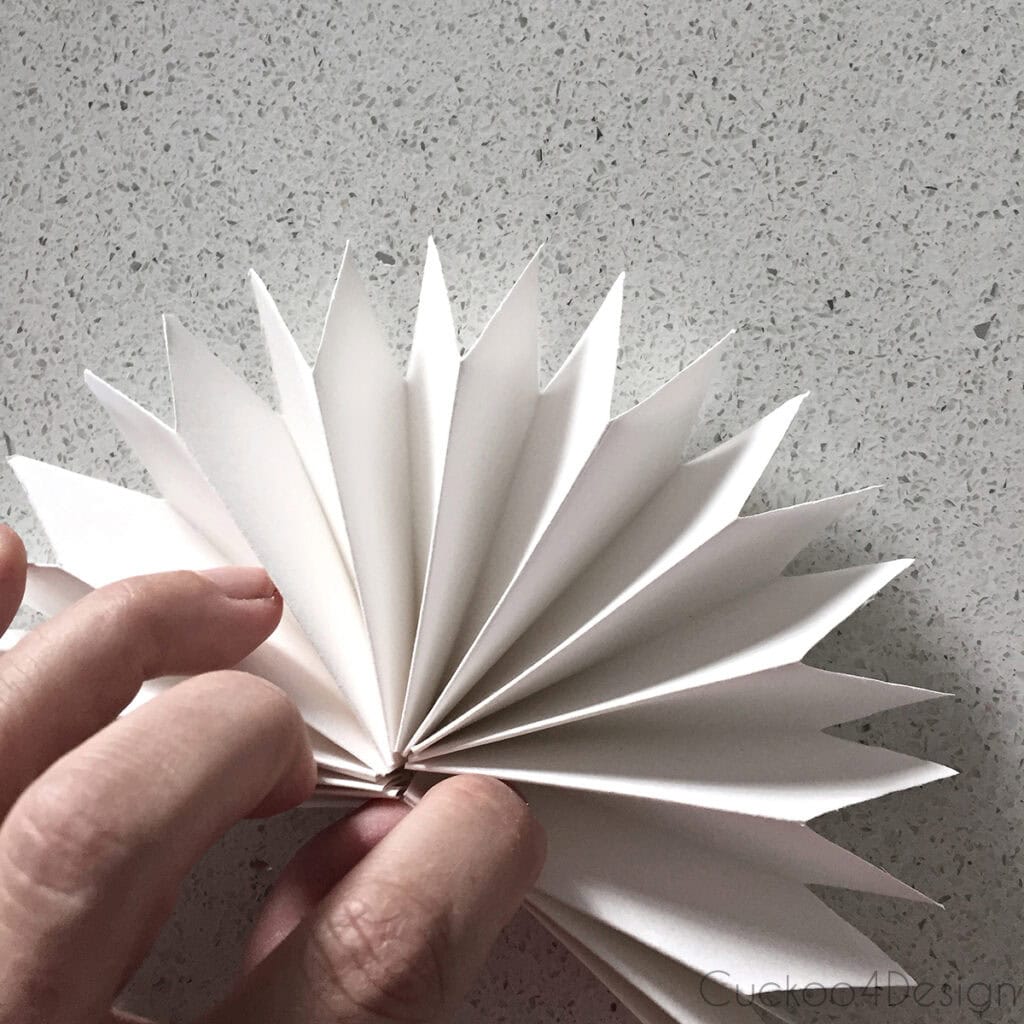
Step 2: Fold it in a fan shape
I used my hands to fold the poster board strip into a fan with even sections.
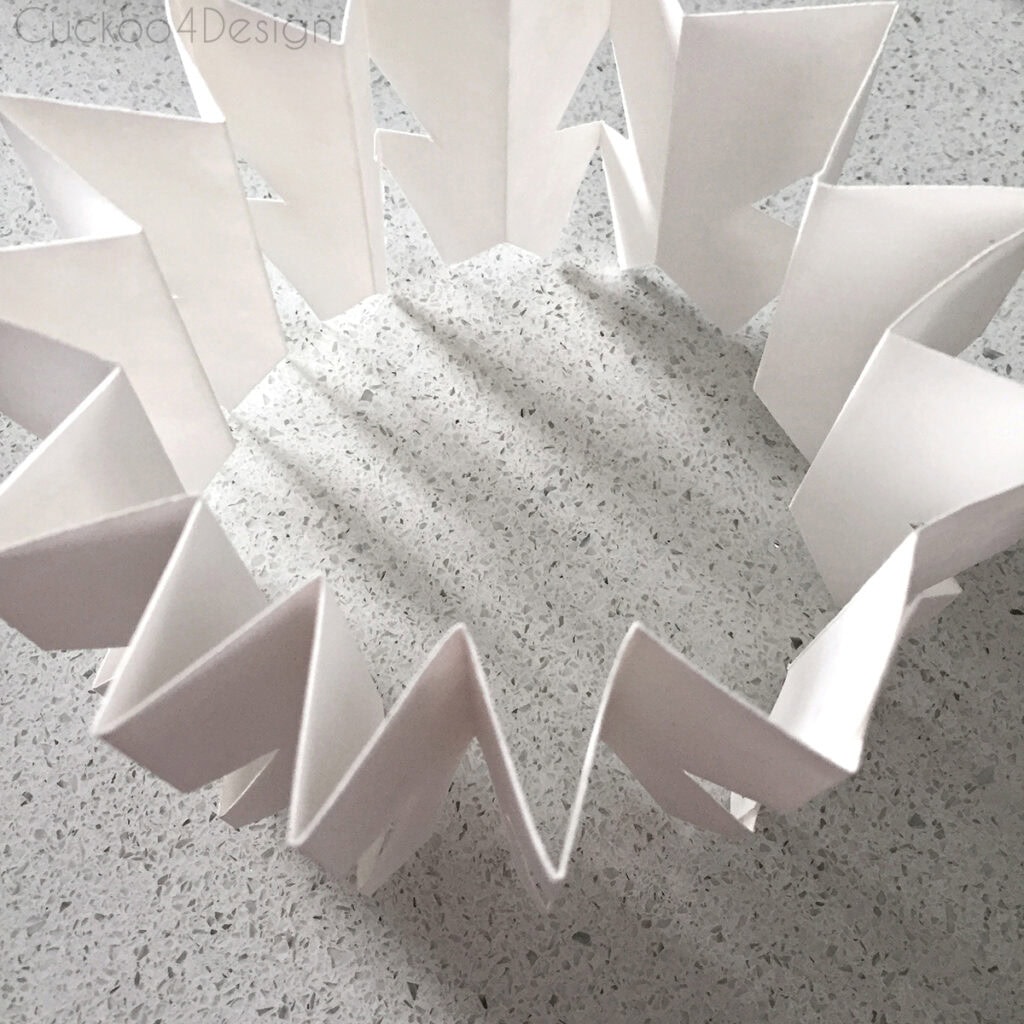
Step 3: Cut snowflake design into poster board fan
Cut a triangle at the top of the folded poster board. I cut it into sections because otherwise it’s too thick.
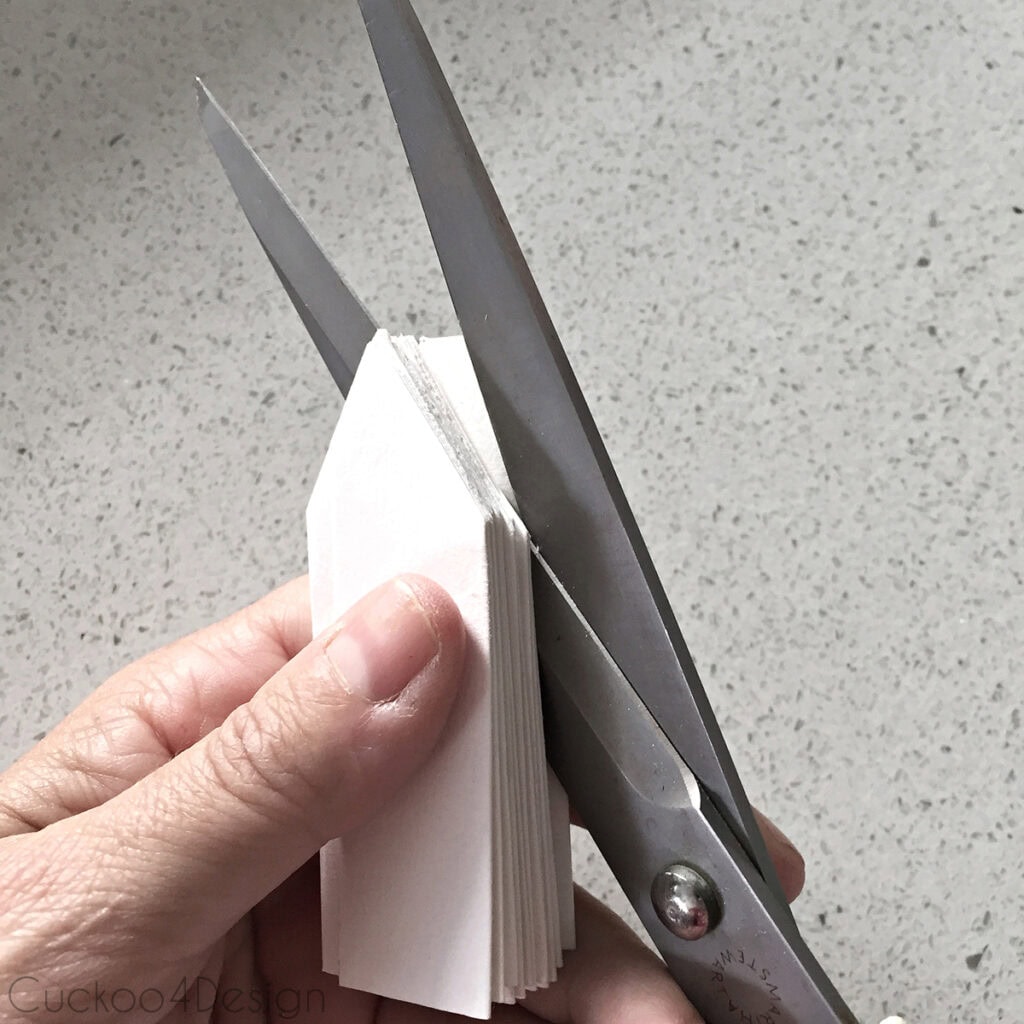
It would look great already in a fan shape, just like that, don’t you think so?
But I decided to nudge out another triangle on the side of the fan, too, to keep it easy. You can add whatever other design you want.
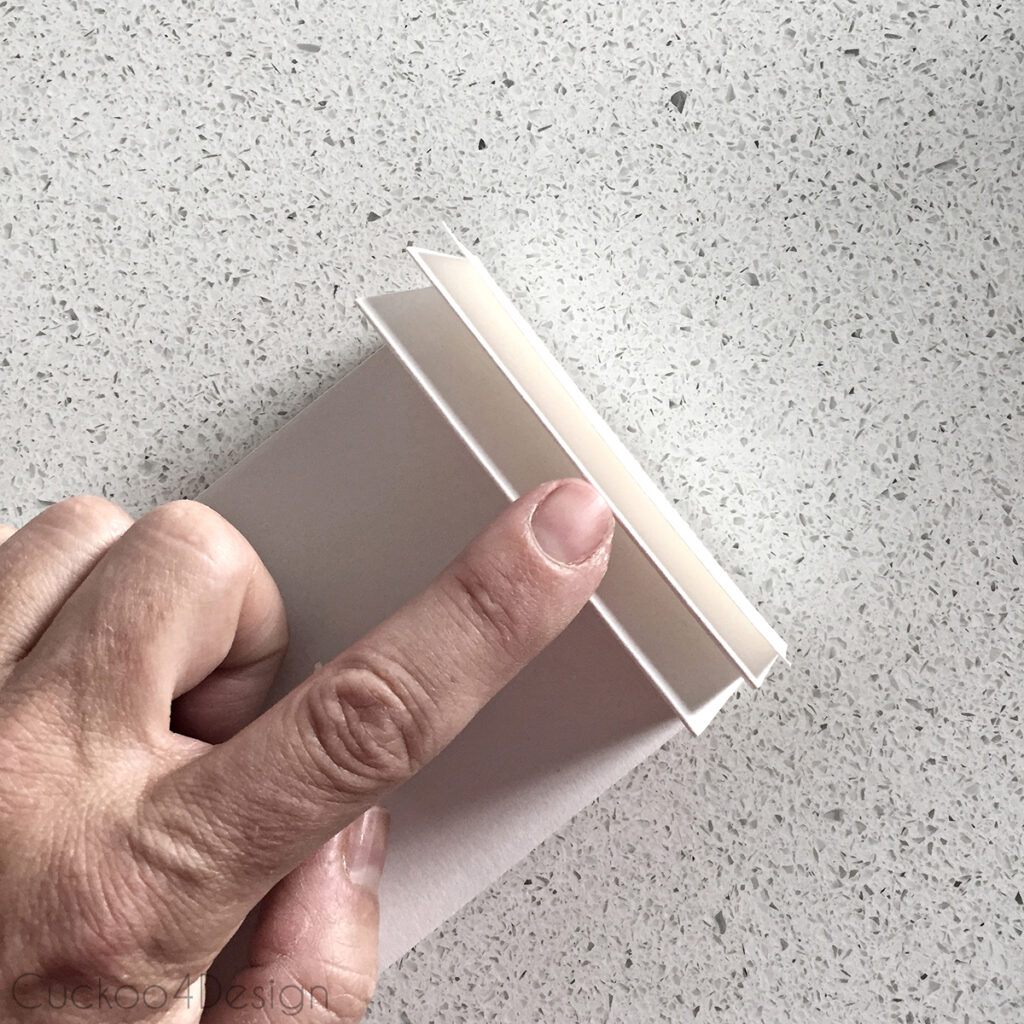
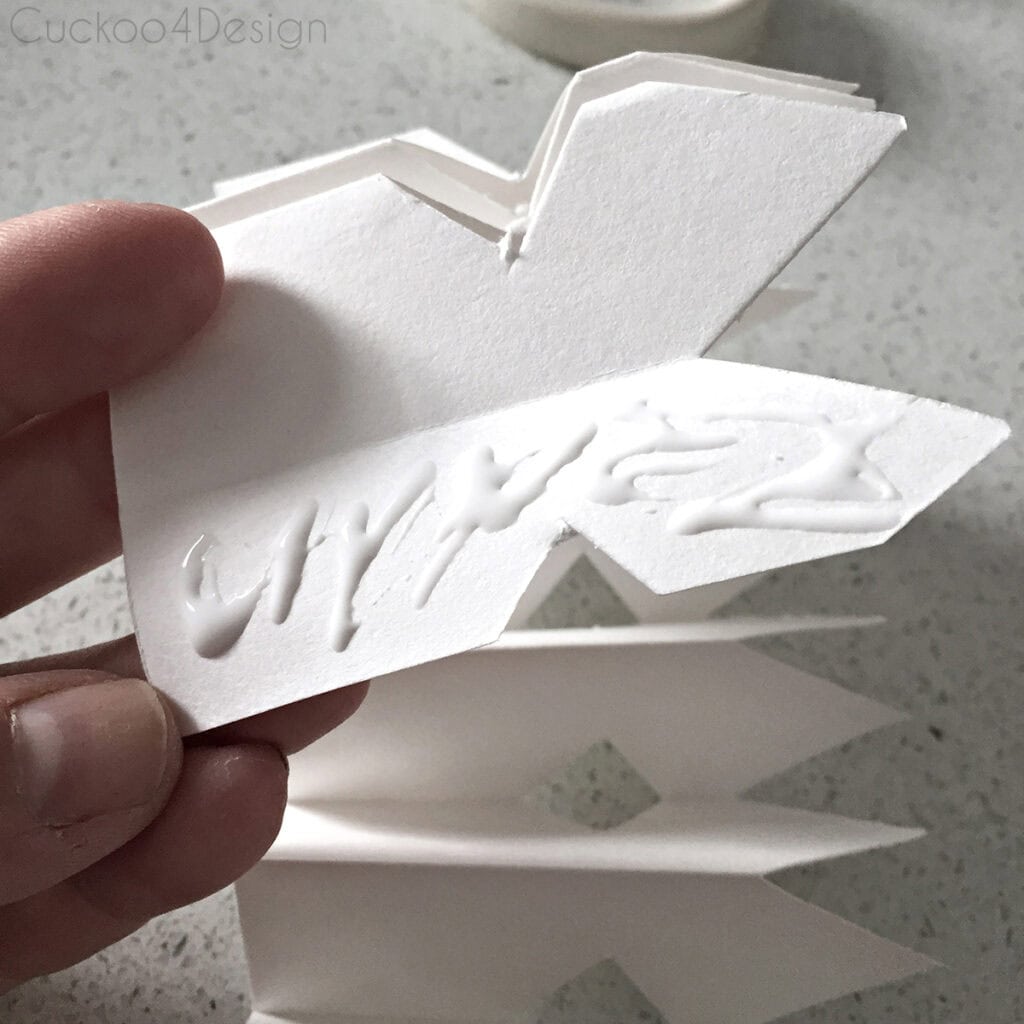
Step 4: Glue and secure the ends
Then you have to glue the edges together so it stays in a circle. I also used a stapler to secure the glued edges, but that is optional.
I used simple craft glue since I did this project with my daughter. But you can certainly use hot glue as well to make drying time a bit quicker.
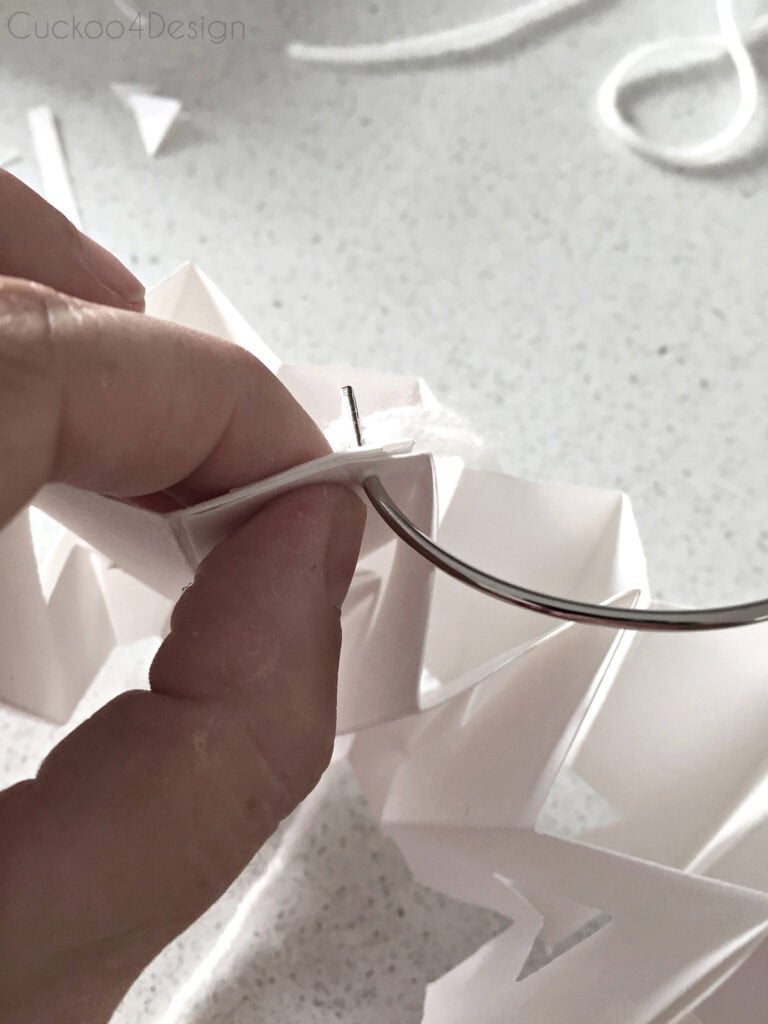
Step 5: Thread the wool to hold the shape
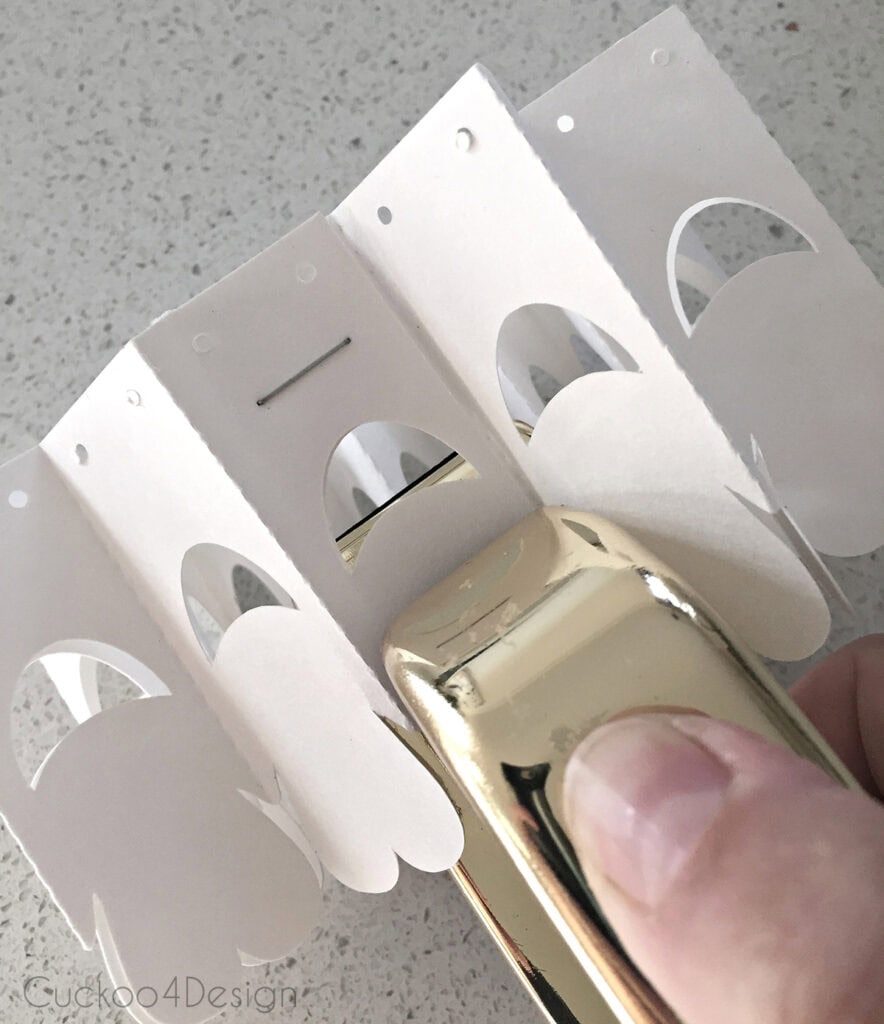
After that, I used the wool and upholstery needle to string through two pieces of wool, which are going to keep the snowflake shape securely in place once tied together. (You can also use a hole punch to create holes, so you don’t need to push the needle through. I did not!)
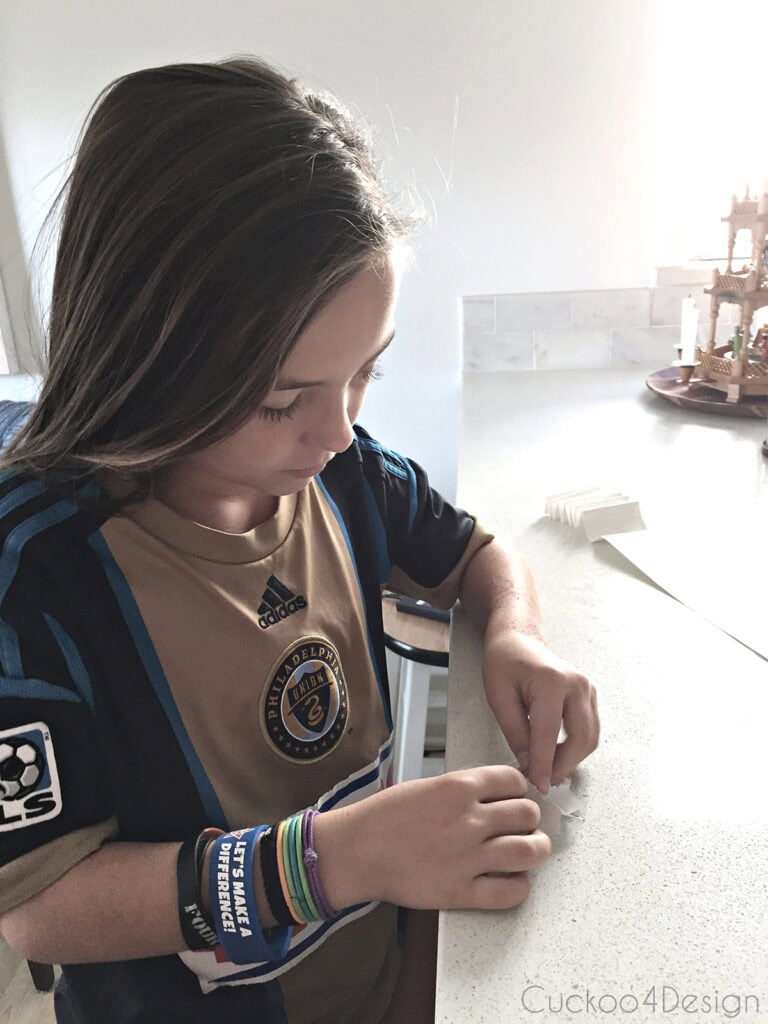
And don’t mind my dry fingers, please. They are quite yucky!
It’s that easy that my 10-year-old daughter (soccer fan) was able to help me with it. I took over when it was time to handle the needle though.
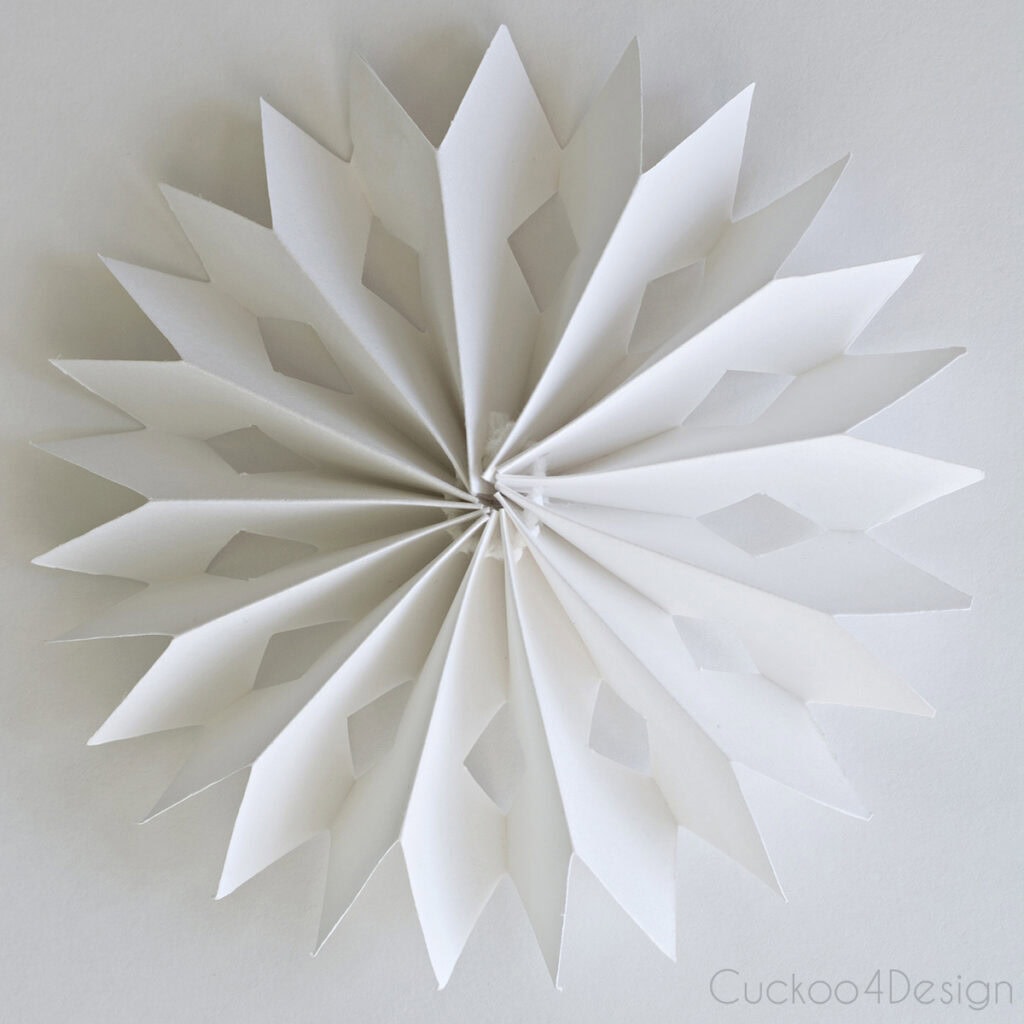
And voila, here is the simple scissor cut version. Wouldn’t it look pretty in a tree or even just as a tree topper if you don’t have the time to make more?
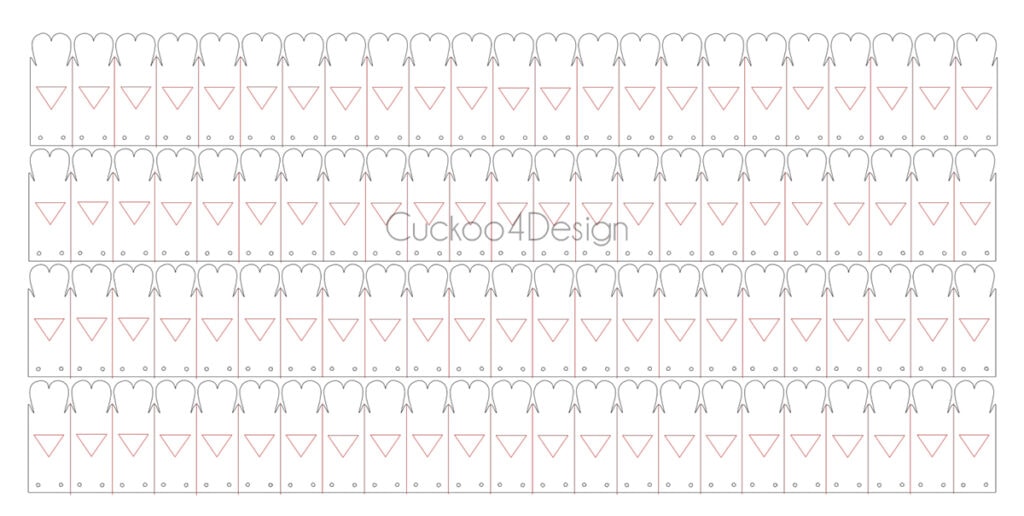
Free snowflake svg file and free studio file
These digital files should be compatible with most cutting machines and are available for free from my Google Drive! Please do not use them for resale. Click the buttons below to download your poster board snowflake SVG or Studio file.
Cutting machine version (Silhouette Cameo or Cricut)
So now let’s show you the Ikea knock-off version, which I cut with my cutter. I made the actual snowflake cut files in Adobe Illustrator, and you can get the free snowflake svg file or studio file above for free. Merry Christmas from me to you! It’s not the exact same version, just a similar version.
Step 1: Download the free SVG/Studio file
So first, download your free files above and add them to your cutter software.
Step 2: Cut the snowflake with your machine
The cutting machine does all the work for you. Even the perforation where you have to fold the lines and the holes for the wool to thread through.
Remove the cutout from you poster board.
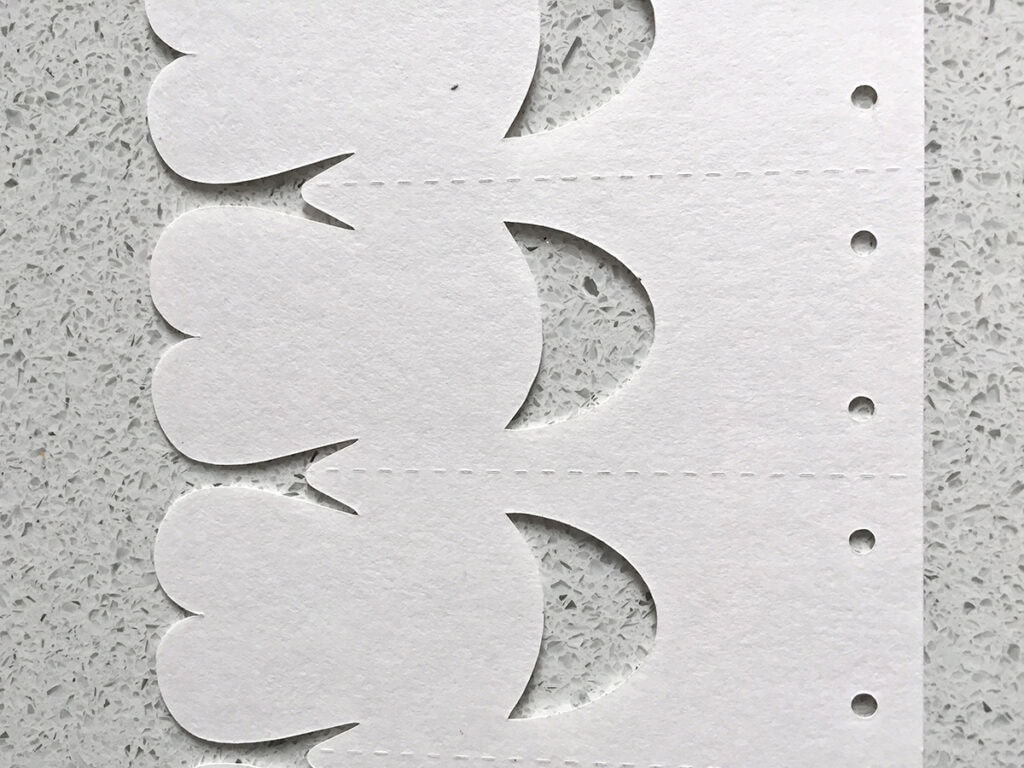
Step 3: Fold along perforated lines
After it’s all cut out, I folded it into a fan again. This time, it is so much easier since the machine perforated it evenly for you.
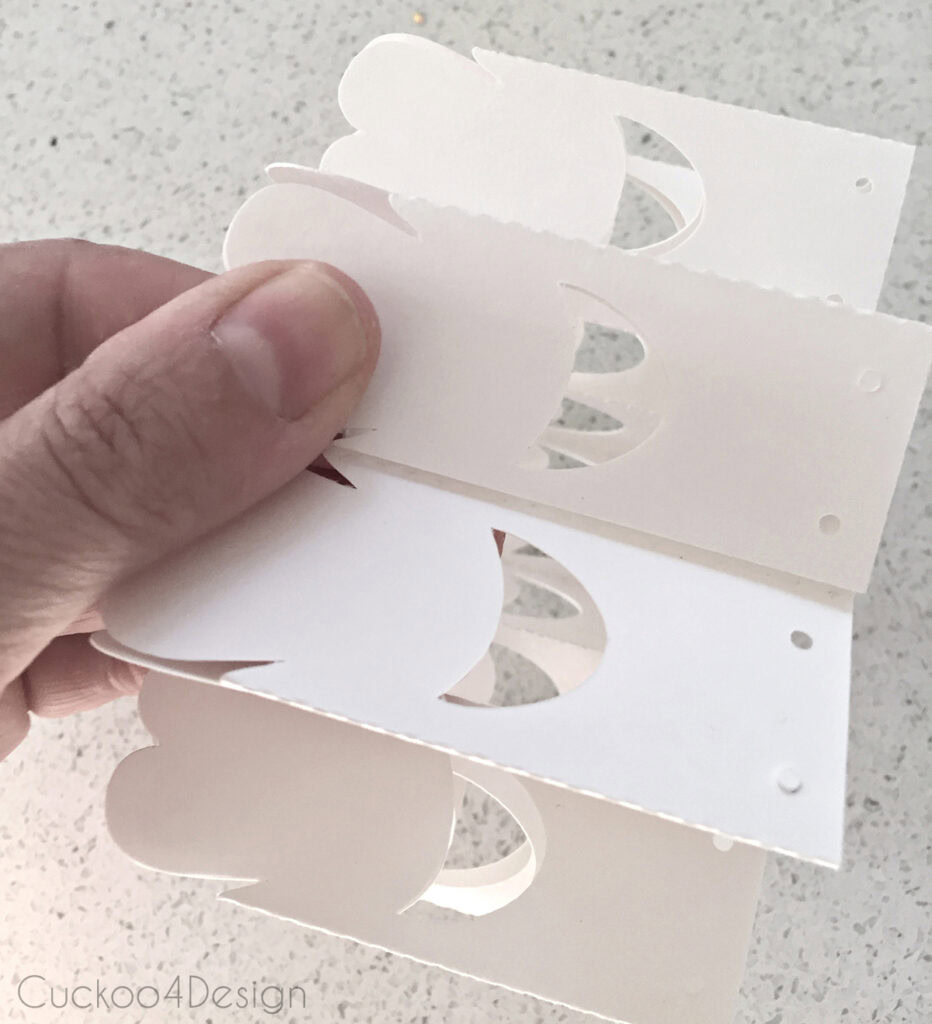
Step 4: Glue edges and thread wool
Then glued the edges the way I showed you earlier with craft glue or hot glue.
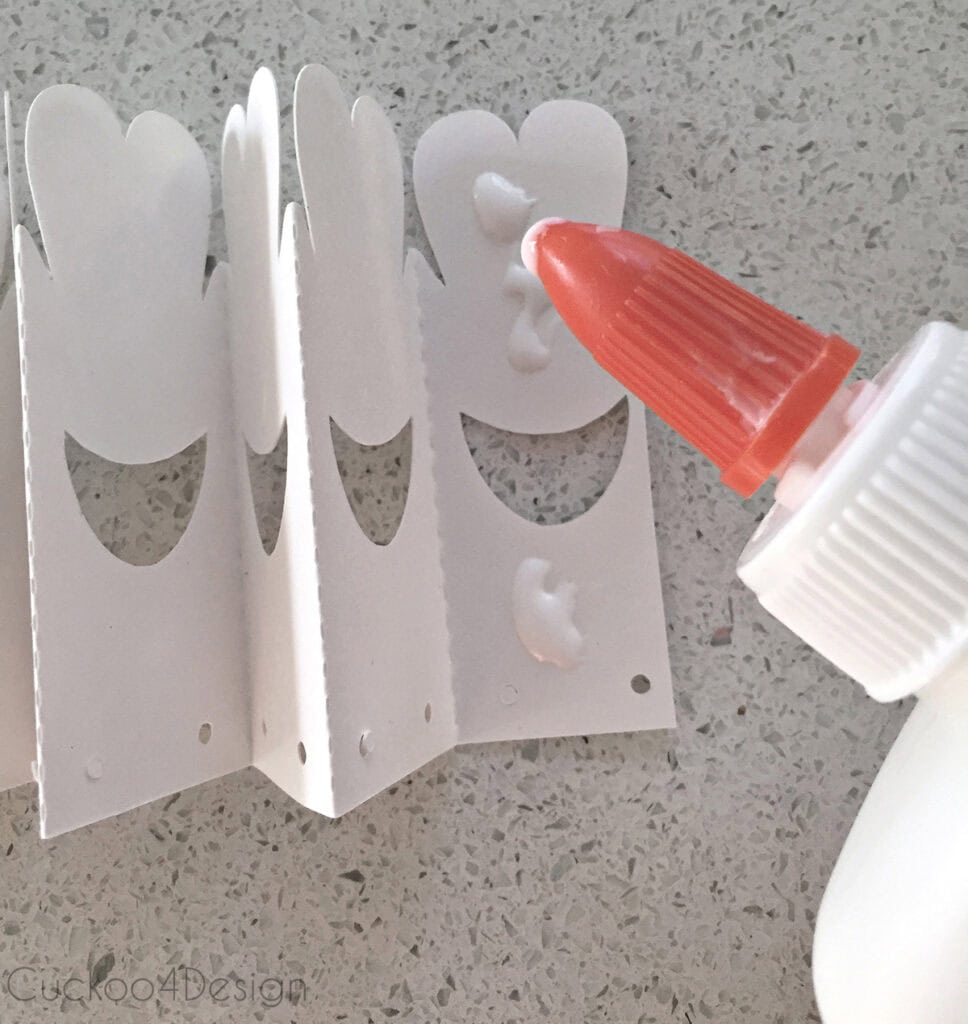
If you used staples like I did, remove all the staples when the snowflakes are done and all the glue has dried.
Step 5: Thread the wool trough the pre-cut holes
The pre-cut holes for the thread make it very easy to pull the wool through. And again, I used the curved upholstery needle for that as well.
Oh, and I used a paper clip too because I ran out of staples at some point.
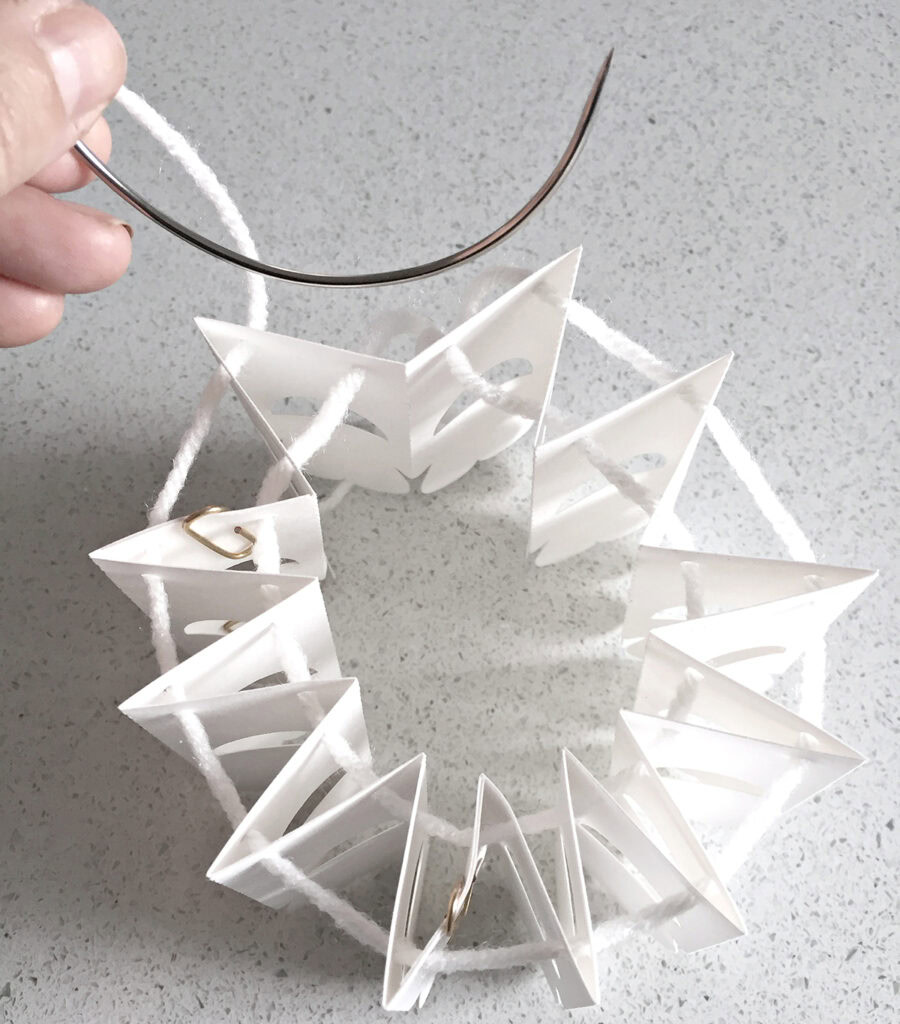
All you have to do at the end is pull the wool strings tight and knot them on both sides which keeps the snowflake shape in place just like I did with the hand-cut version.
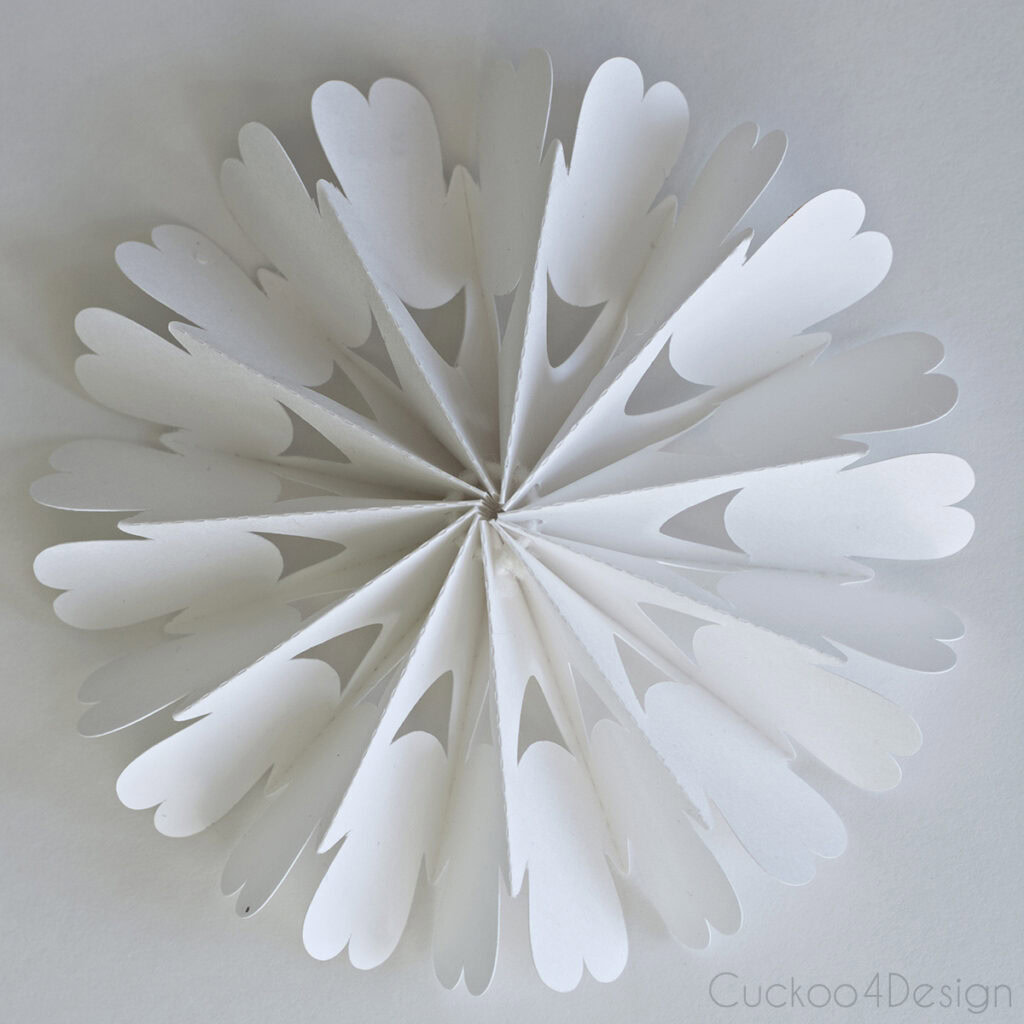
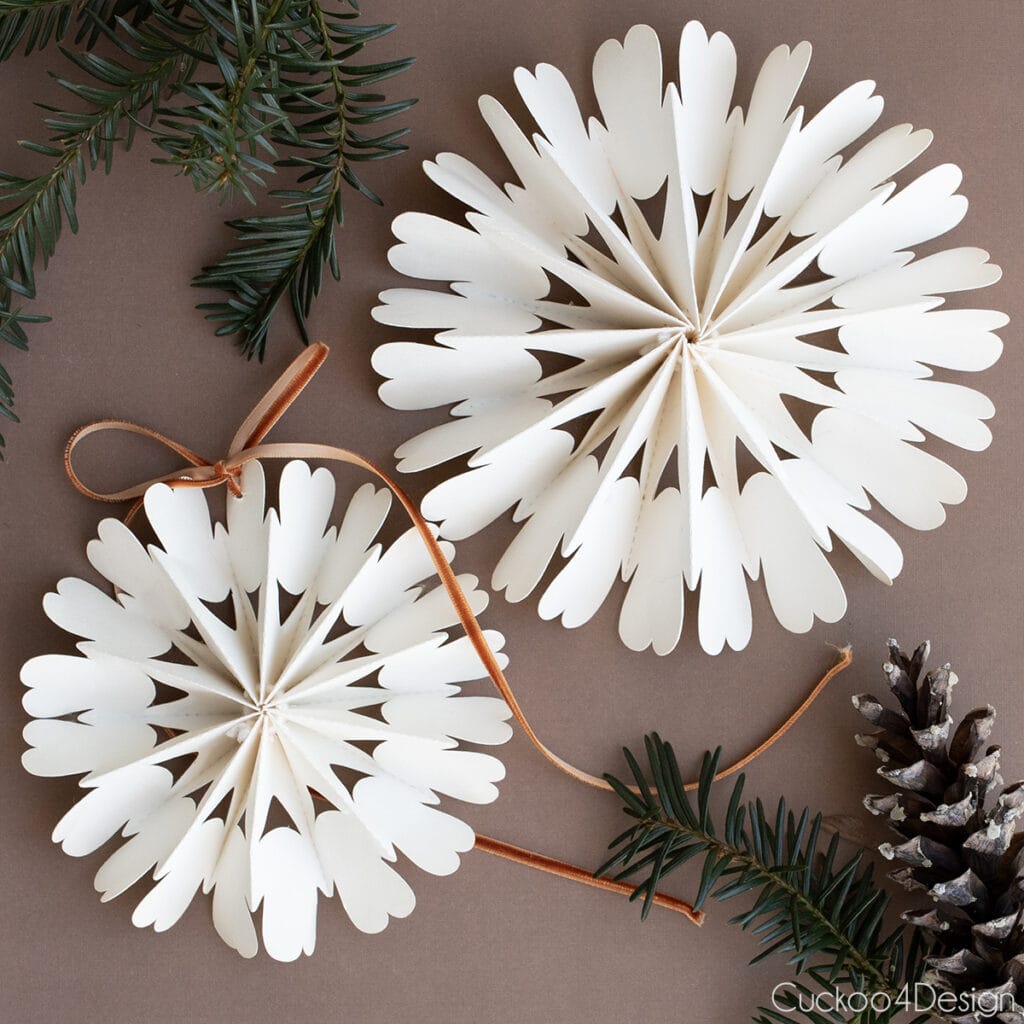
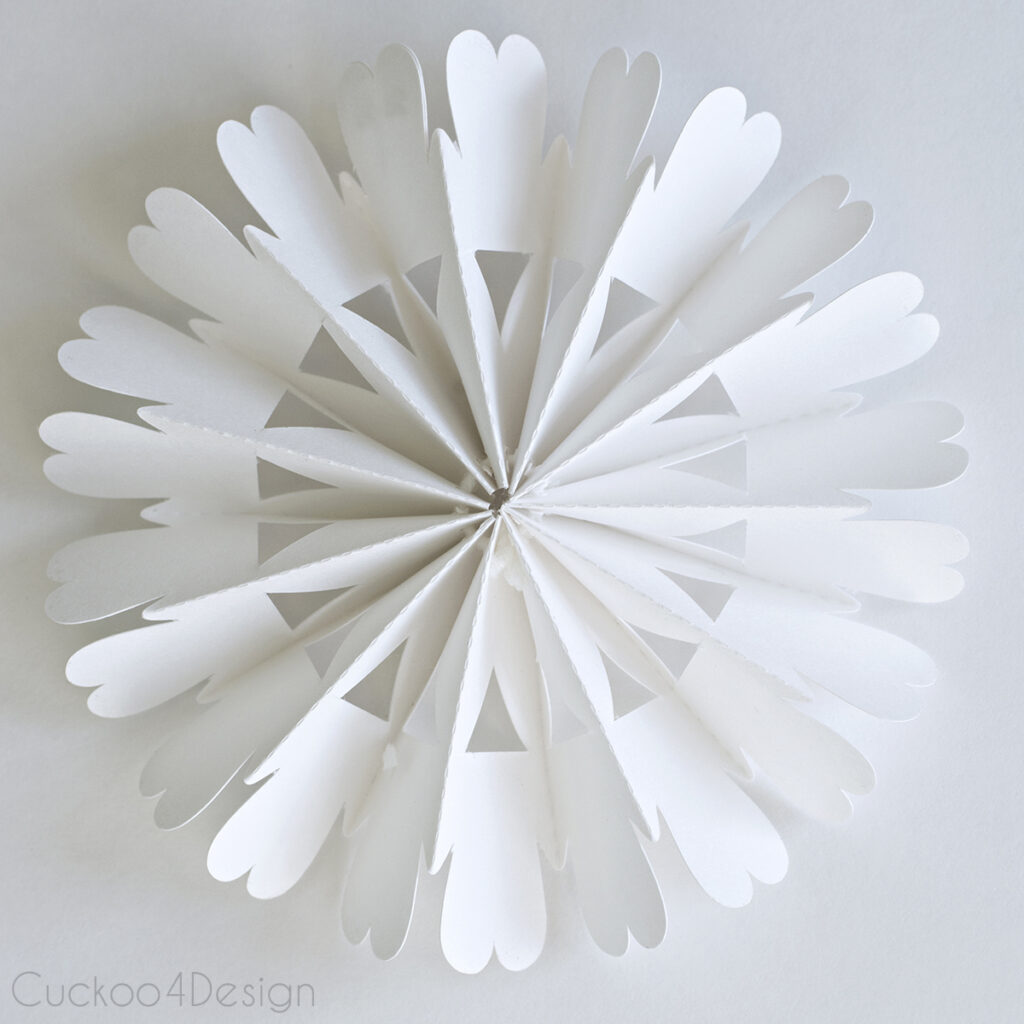
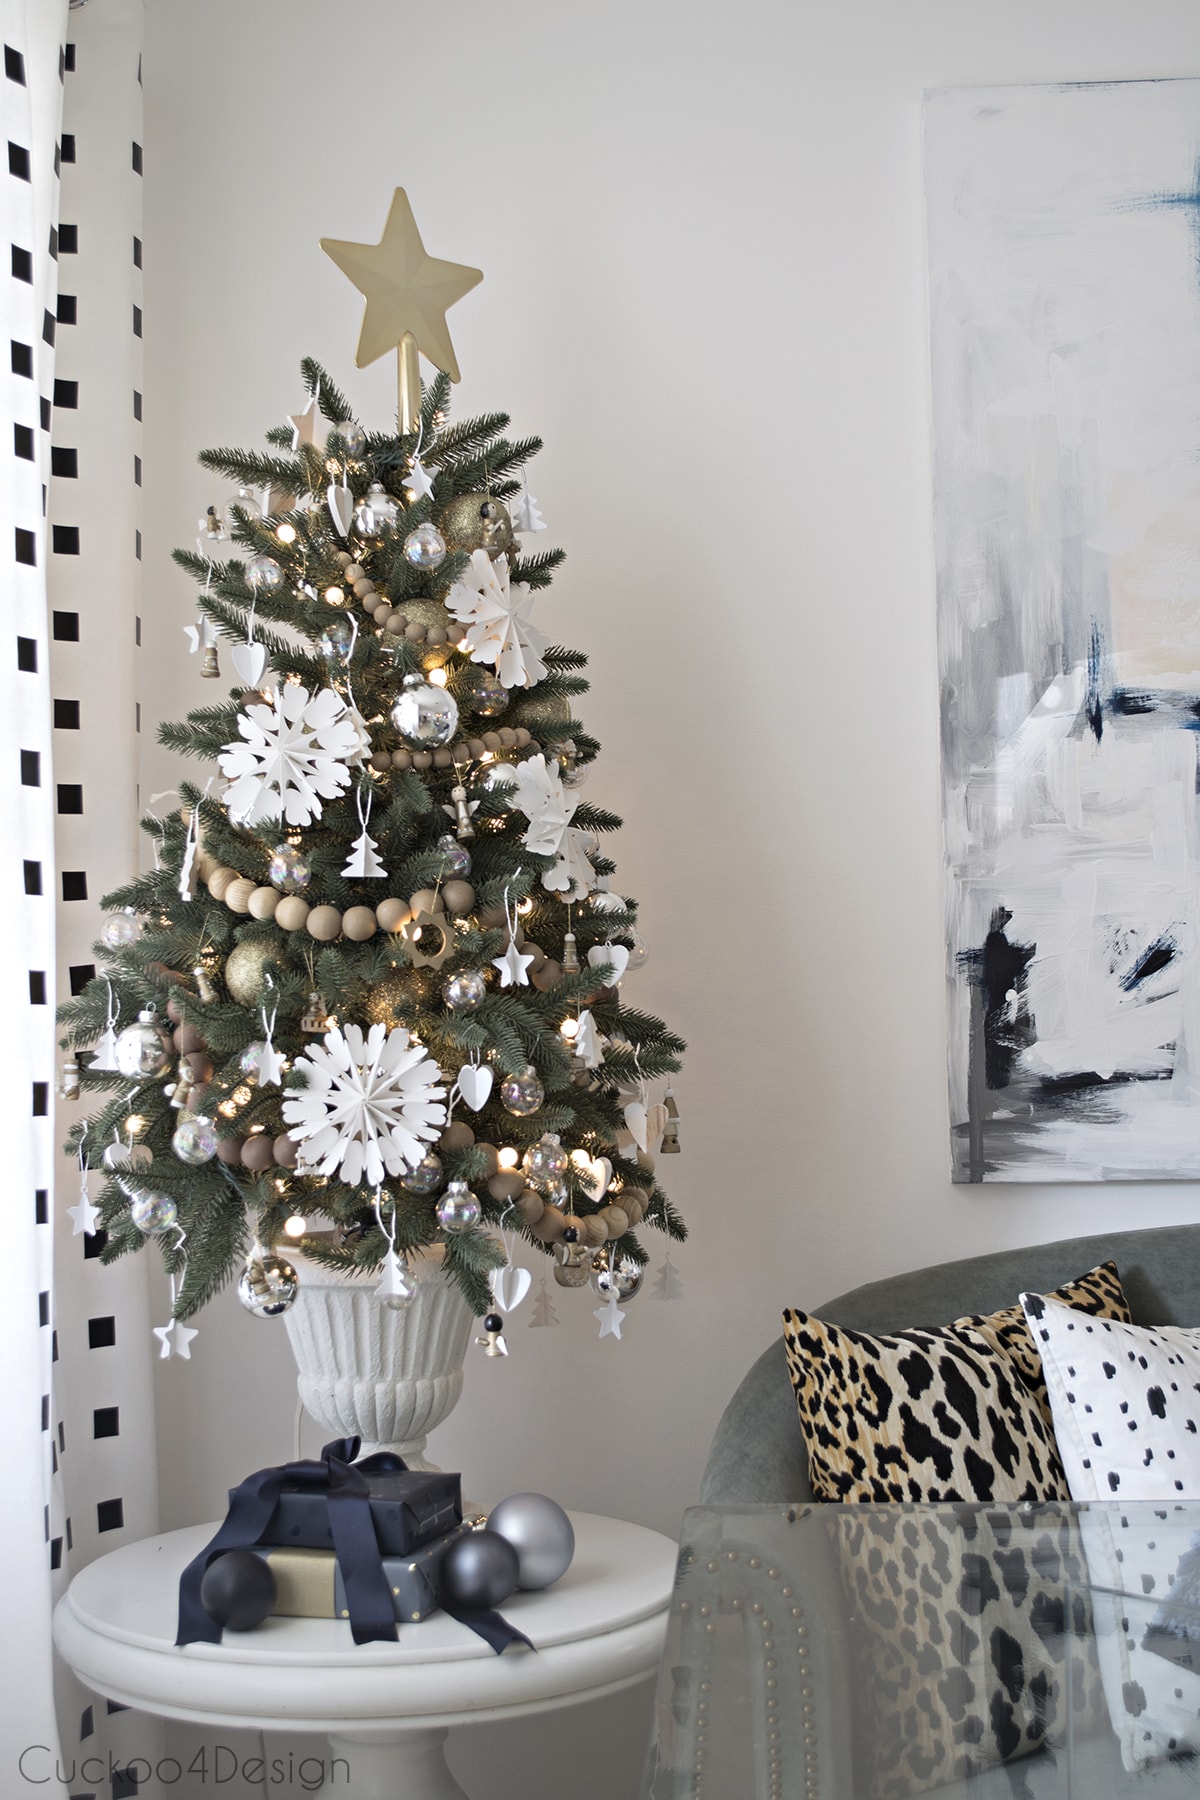
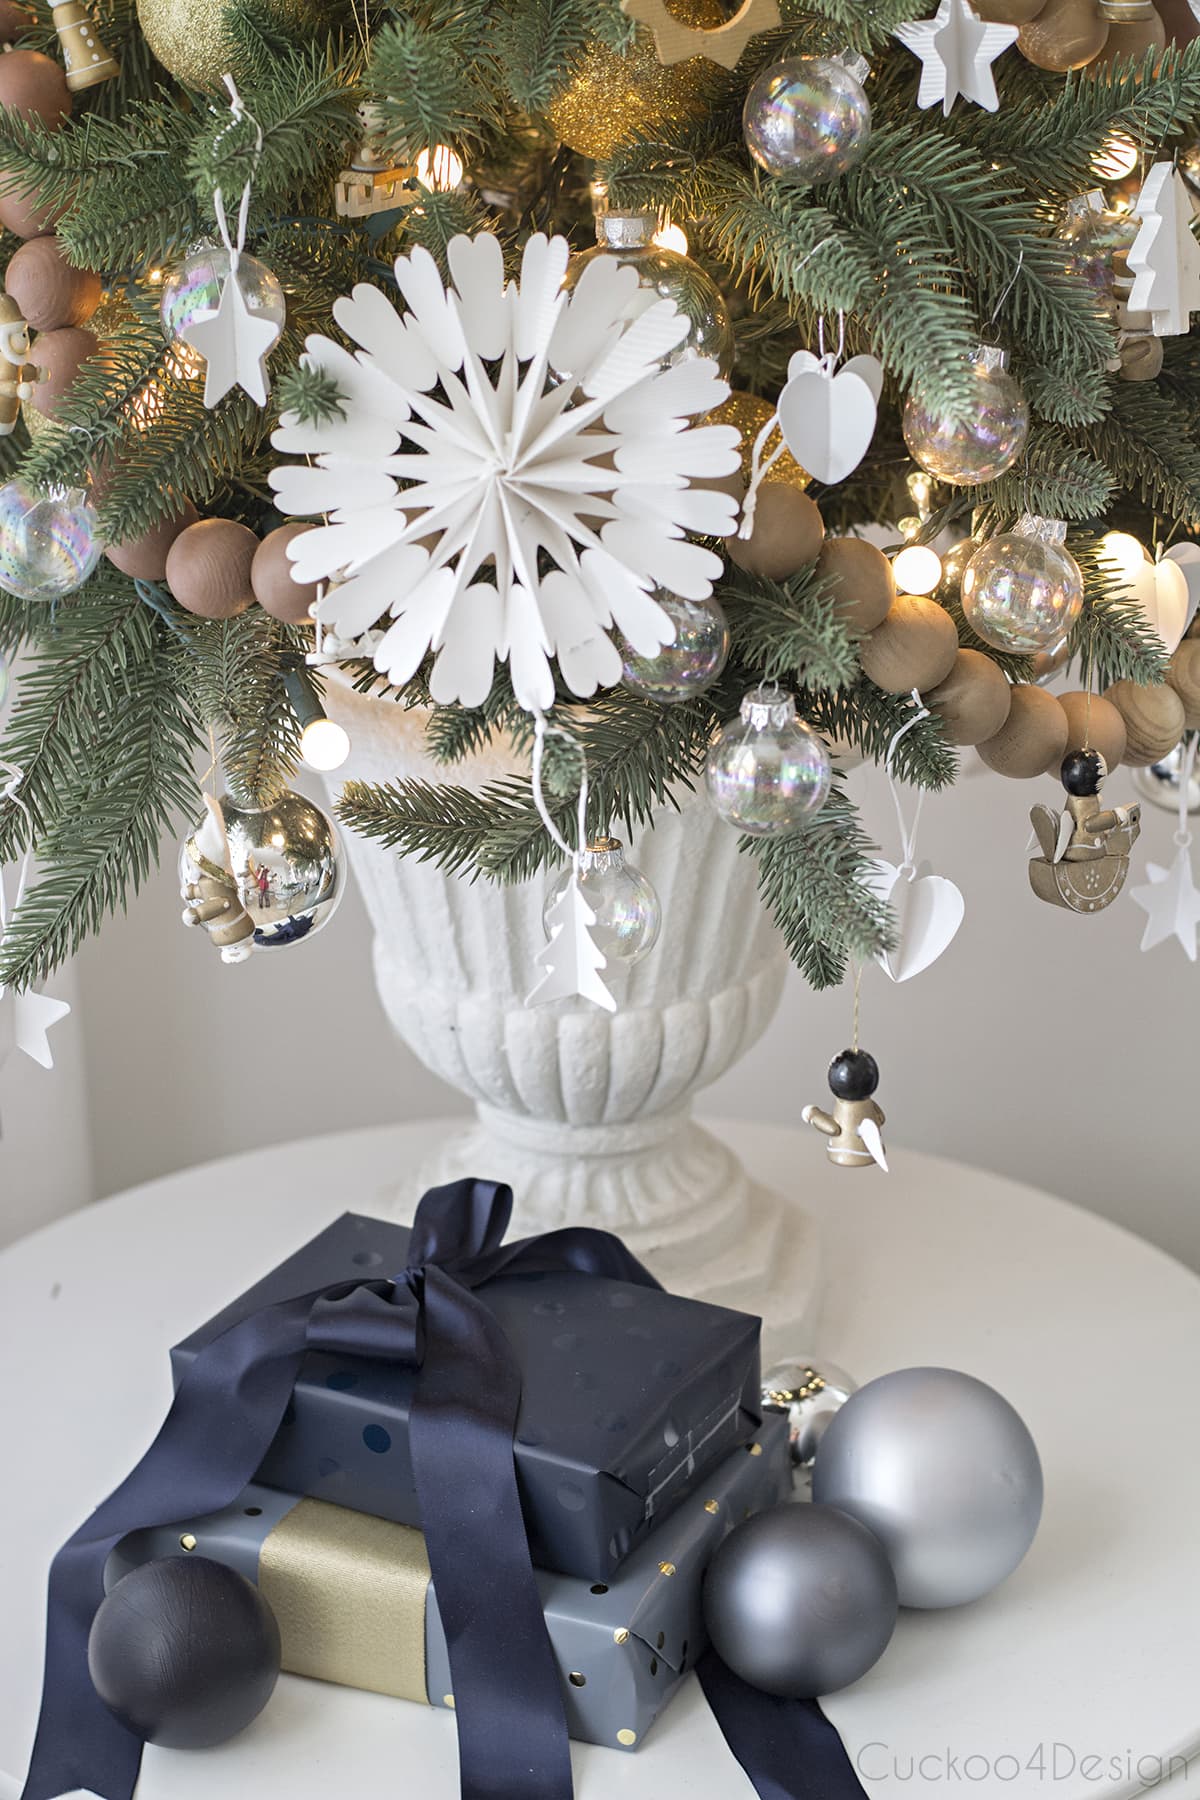
Here is my exact Ikea replica version.
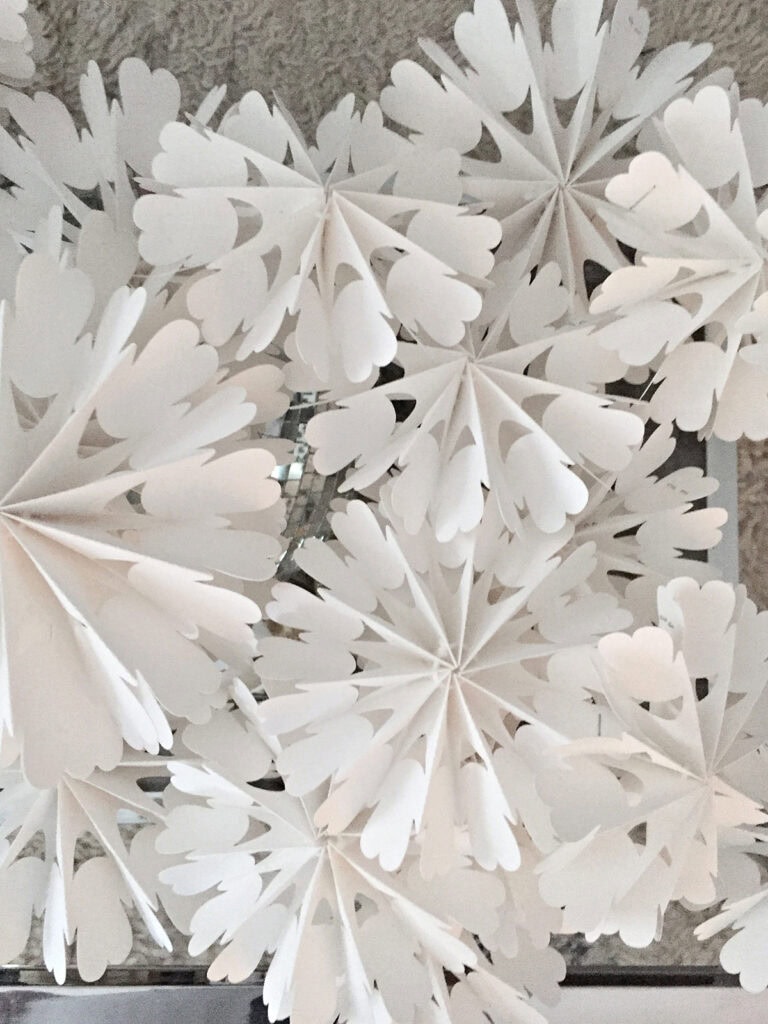
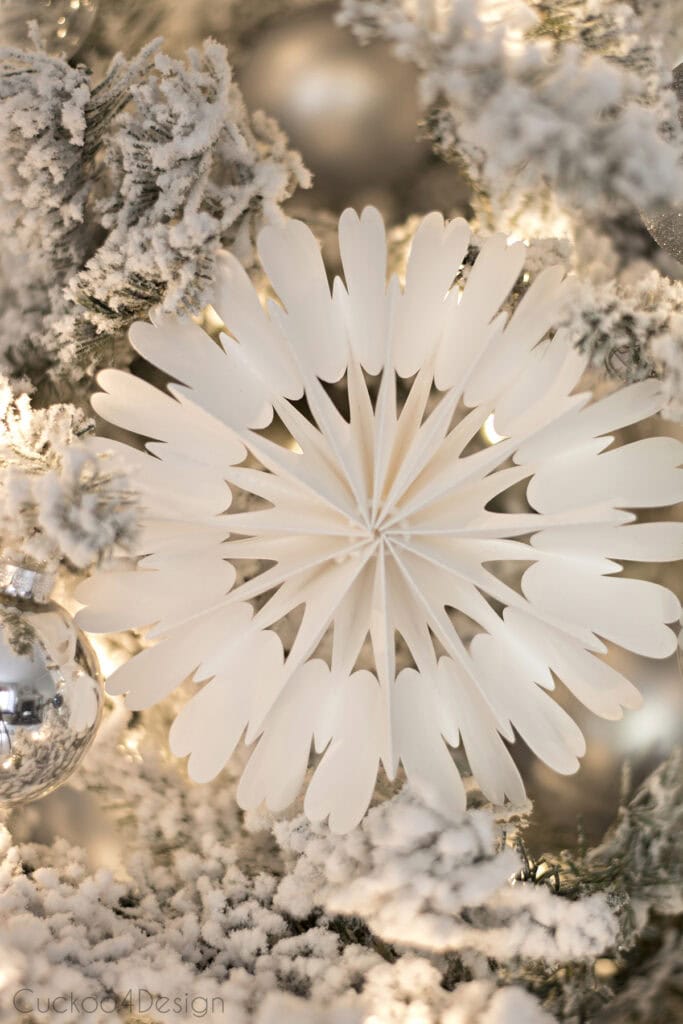
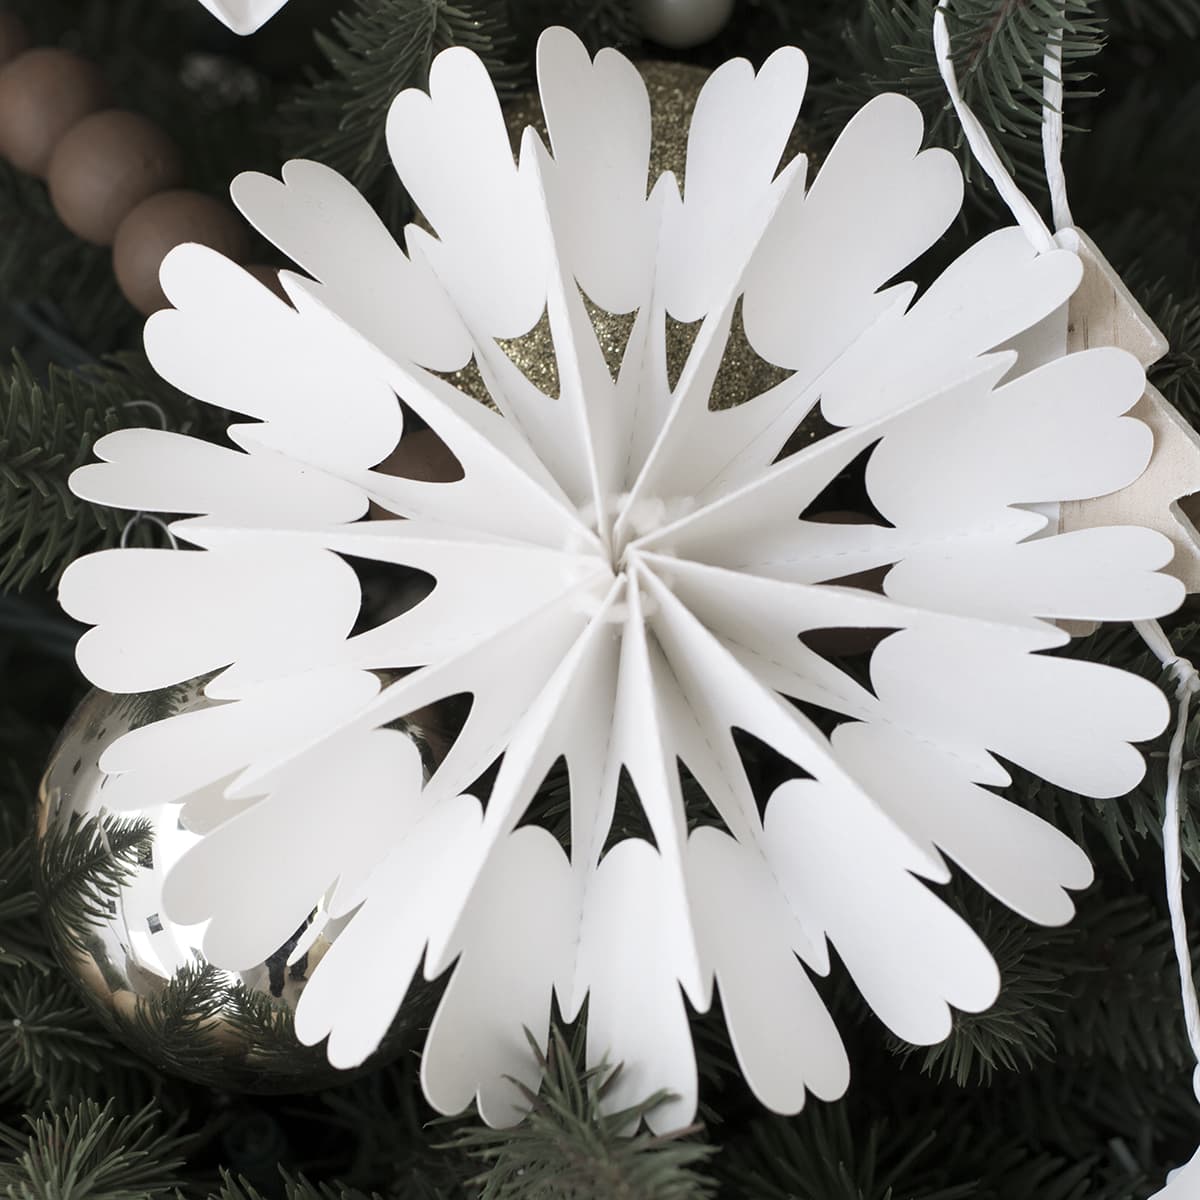
Photos of finished snowflakes
And you can see that I went wild with the number of snowflake ornaments that I cut for our tree. Stay tuned for the Christmas home tours.
Tip: You could also dip these in a bit of glitter for some extra sparkle.
And this is a slightly different cutting file version below. But remember, you are not allowed to offer it on your website, resell it, or sell anything from my version.

FAQ about making poster board snowflakes
Medium-weight poster board works best or you can even use card stock. They are thick enough to stay rigid but still thin enough to fold and cut. Extremely thick poster board or cardboard don’t work well for cutting by hand or in a cutting machine.
Yes! You can cut them by hand with scissors and glue. Hand-cut snowflakes won’t be as intricate, but they still look beautiful on a tree or as decorations around your home.
Download the files from the links provided in the post, then upload them to your Cricut or Silhouette software. The machine will cut all the folds and holes for you, making assembly much easier.
Definitely! Kids can help fold and glue the poster board. For threading the wool with a needle, adult supervision is recommended.
You can usually cut four medium-sized snowflakes from one standard sheet of poster board.
Yes! Add glitter or paint for a personalized touch. Even plain white, they look lovely and really don’t need any further decorations.
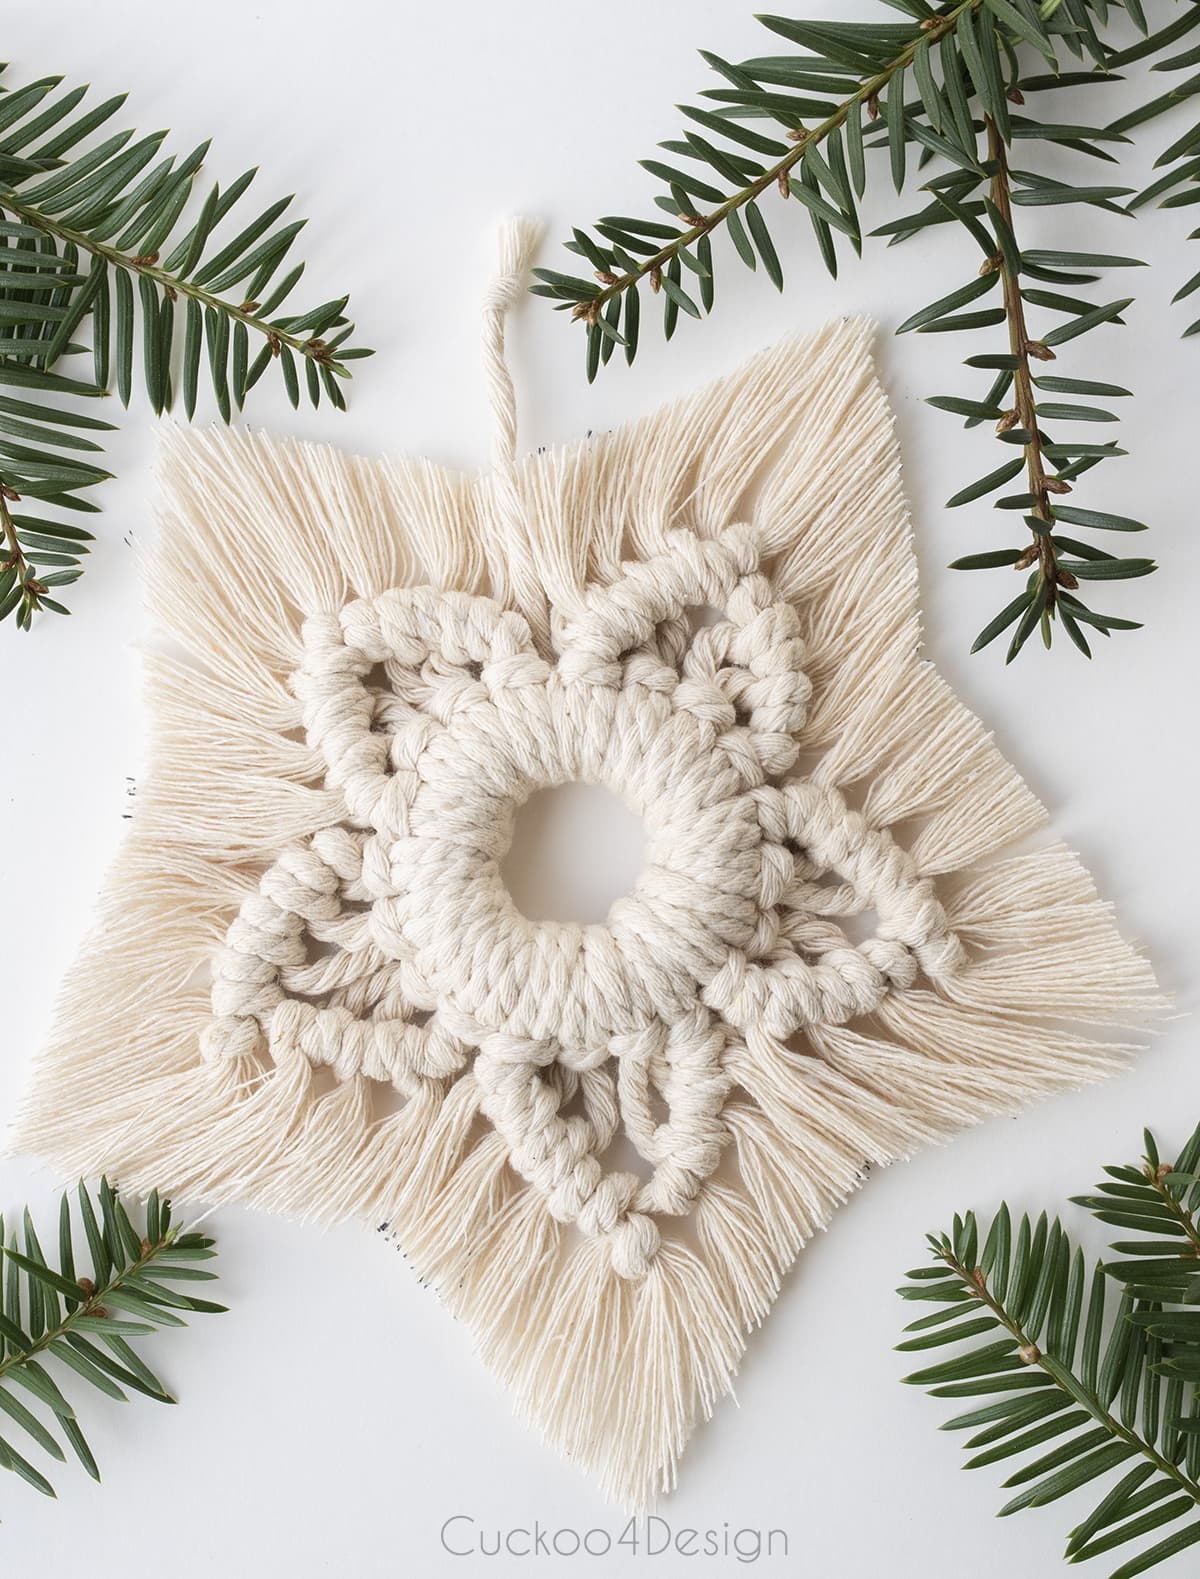
More of my DIY snowflake projects
If you enjoyed making these poster board snowflakes, here are a few of my other DIY snowflake projects you might like.
- Macrame snowflake ornaments – Made as part of my macrame ornaments blog post, you can make these pretty macrame snowflakes.

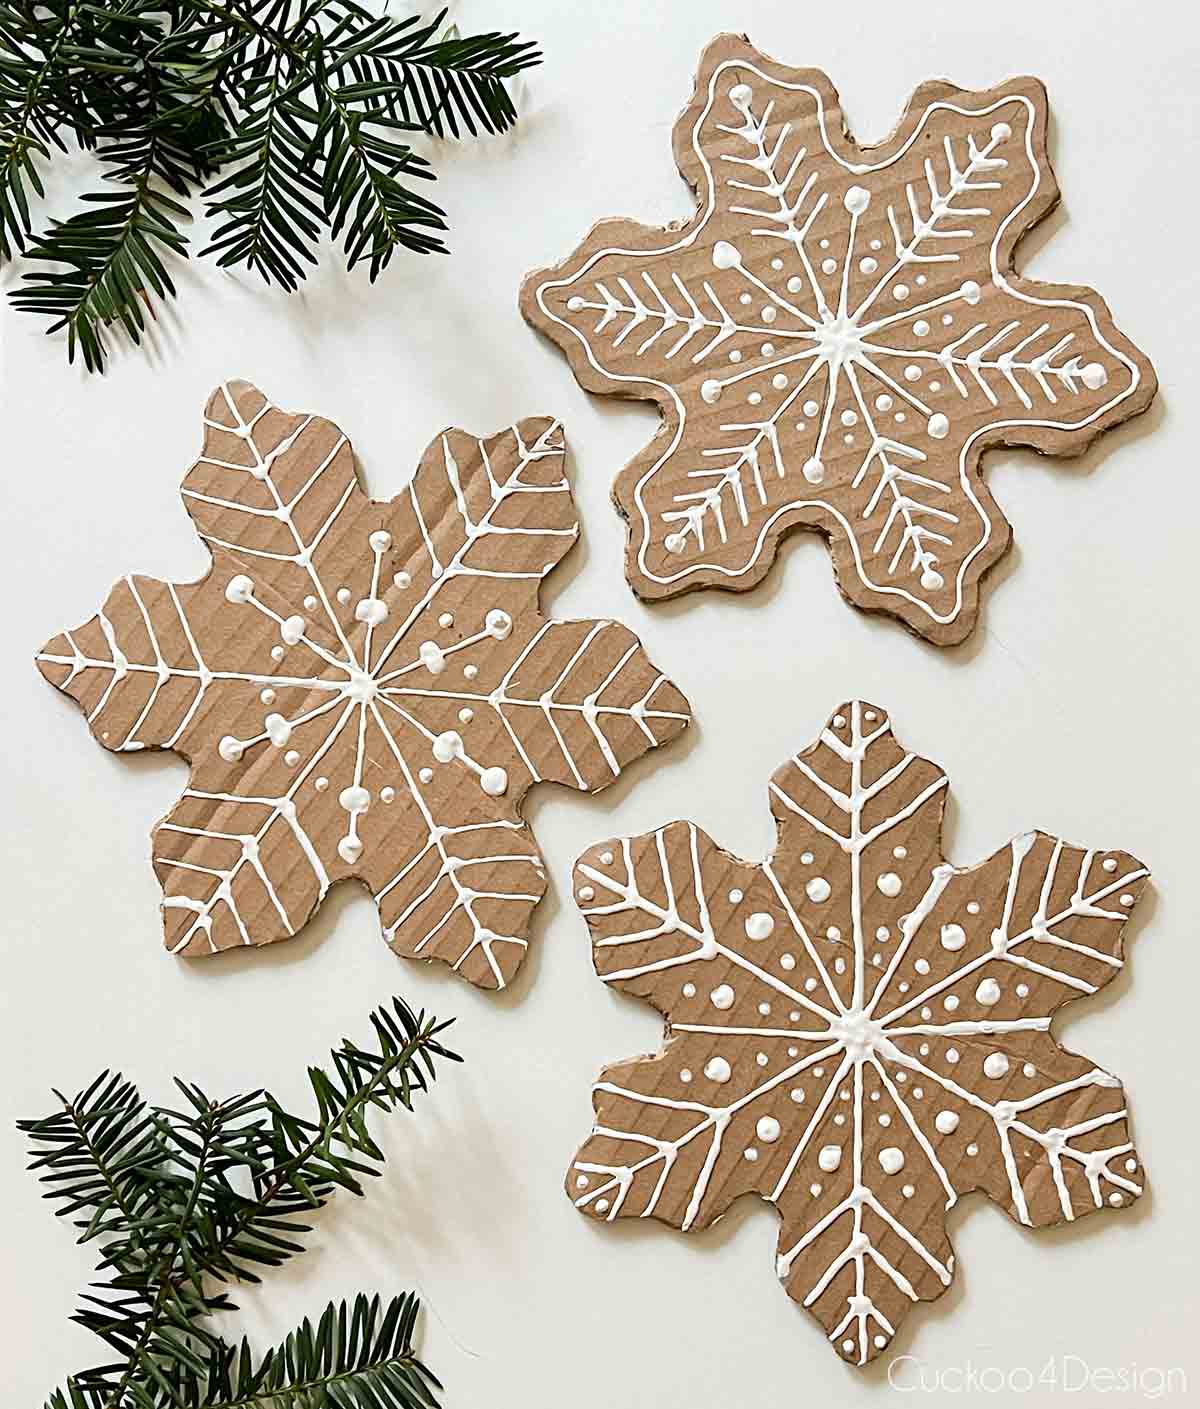
- Gingerbread snowflakes – Find the free patterns and instructions as part of my gingerbread cardboard Christmas ornaments. I love the gingerbread decor in our house tour.

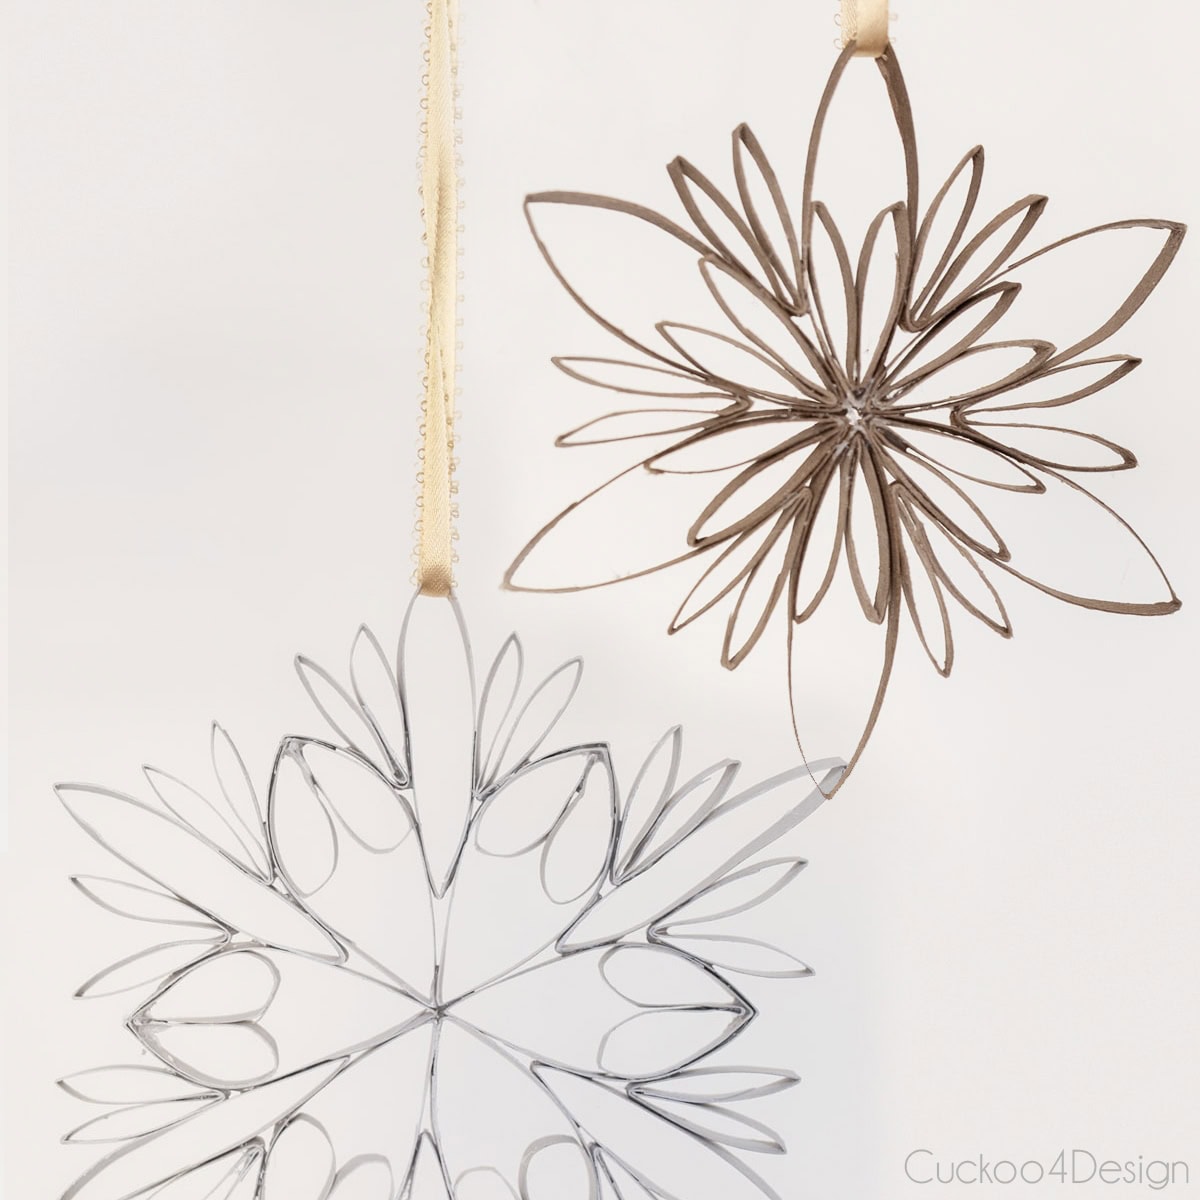
- DIY toilet paper roll snowflakes – a fun, affordable, and easy recycled craft using leftover TP or paper towel rolls.

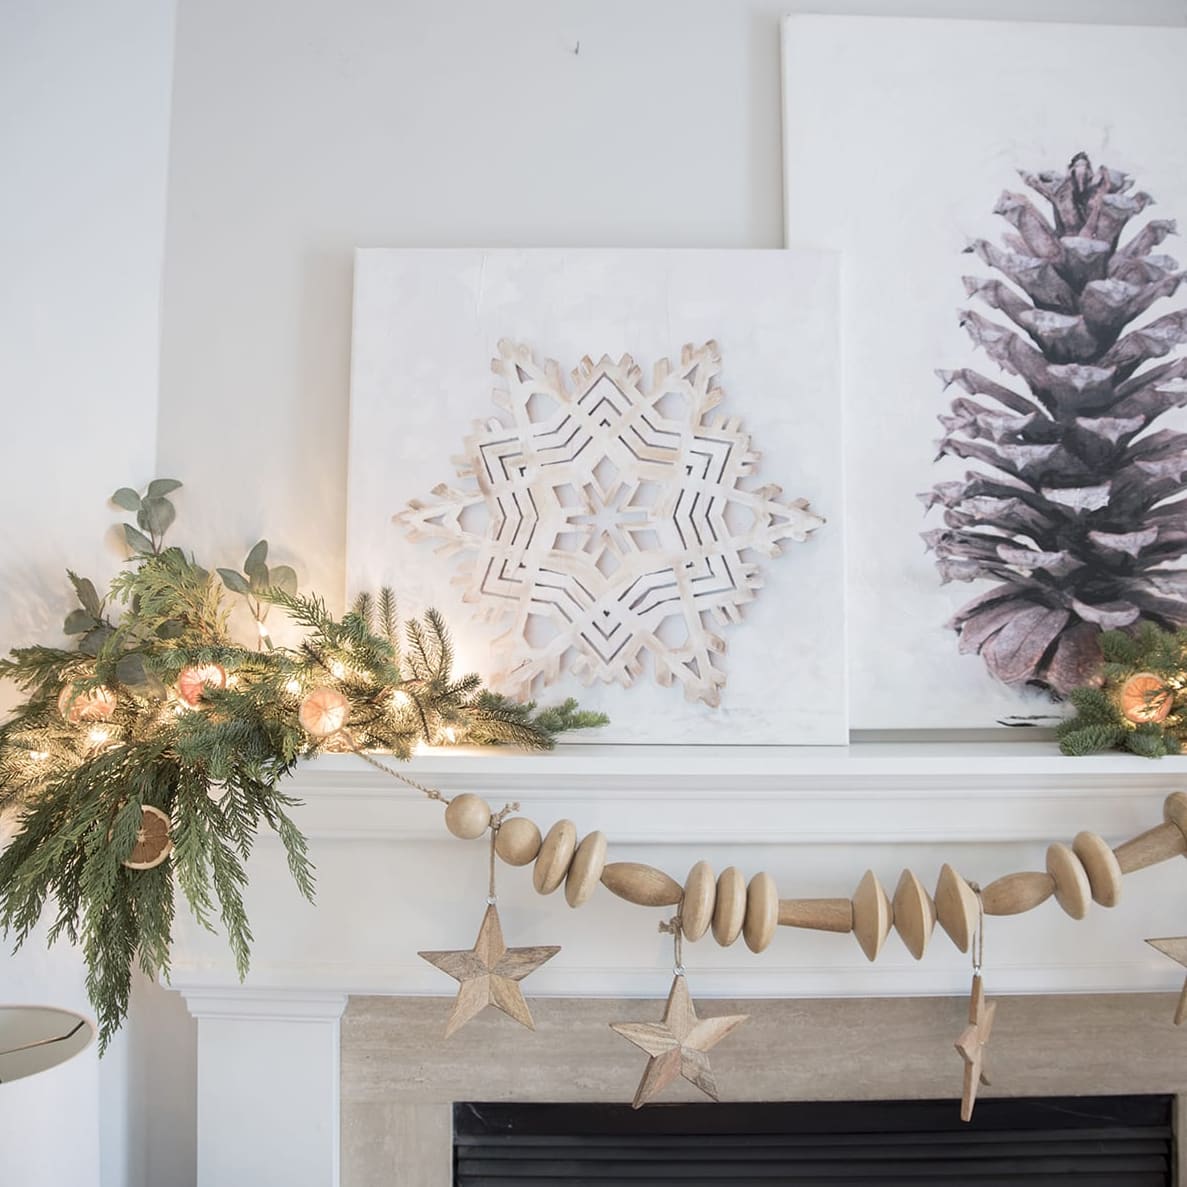
- Or how about the easy Christmas canvas paintings below of a snowflake and a pinecone? I love it on my mantle.
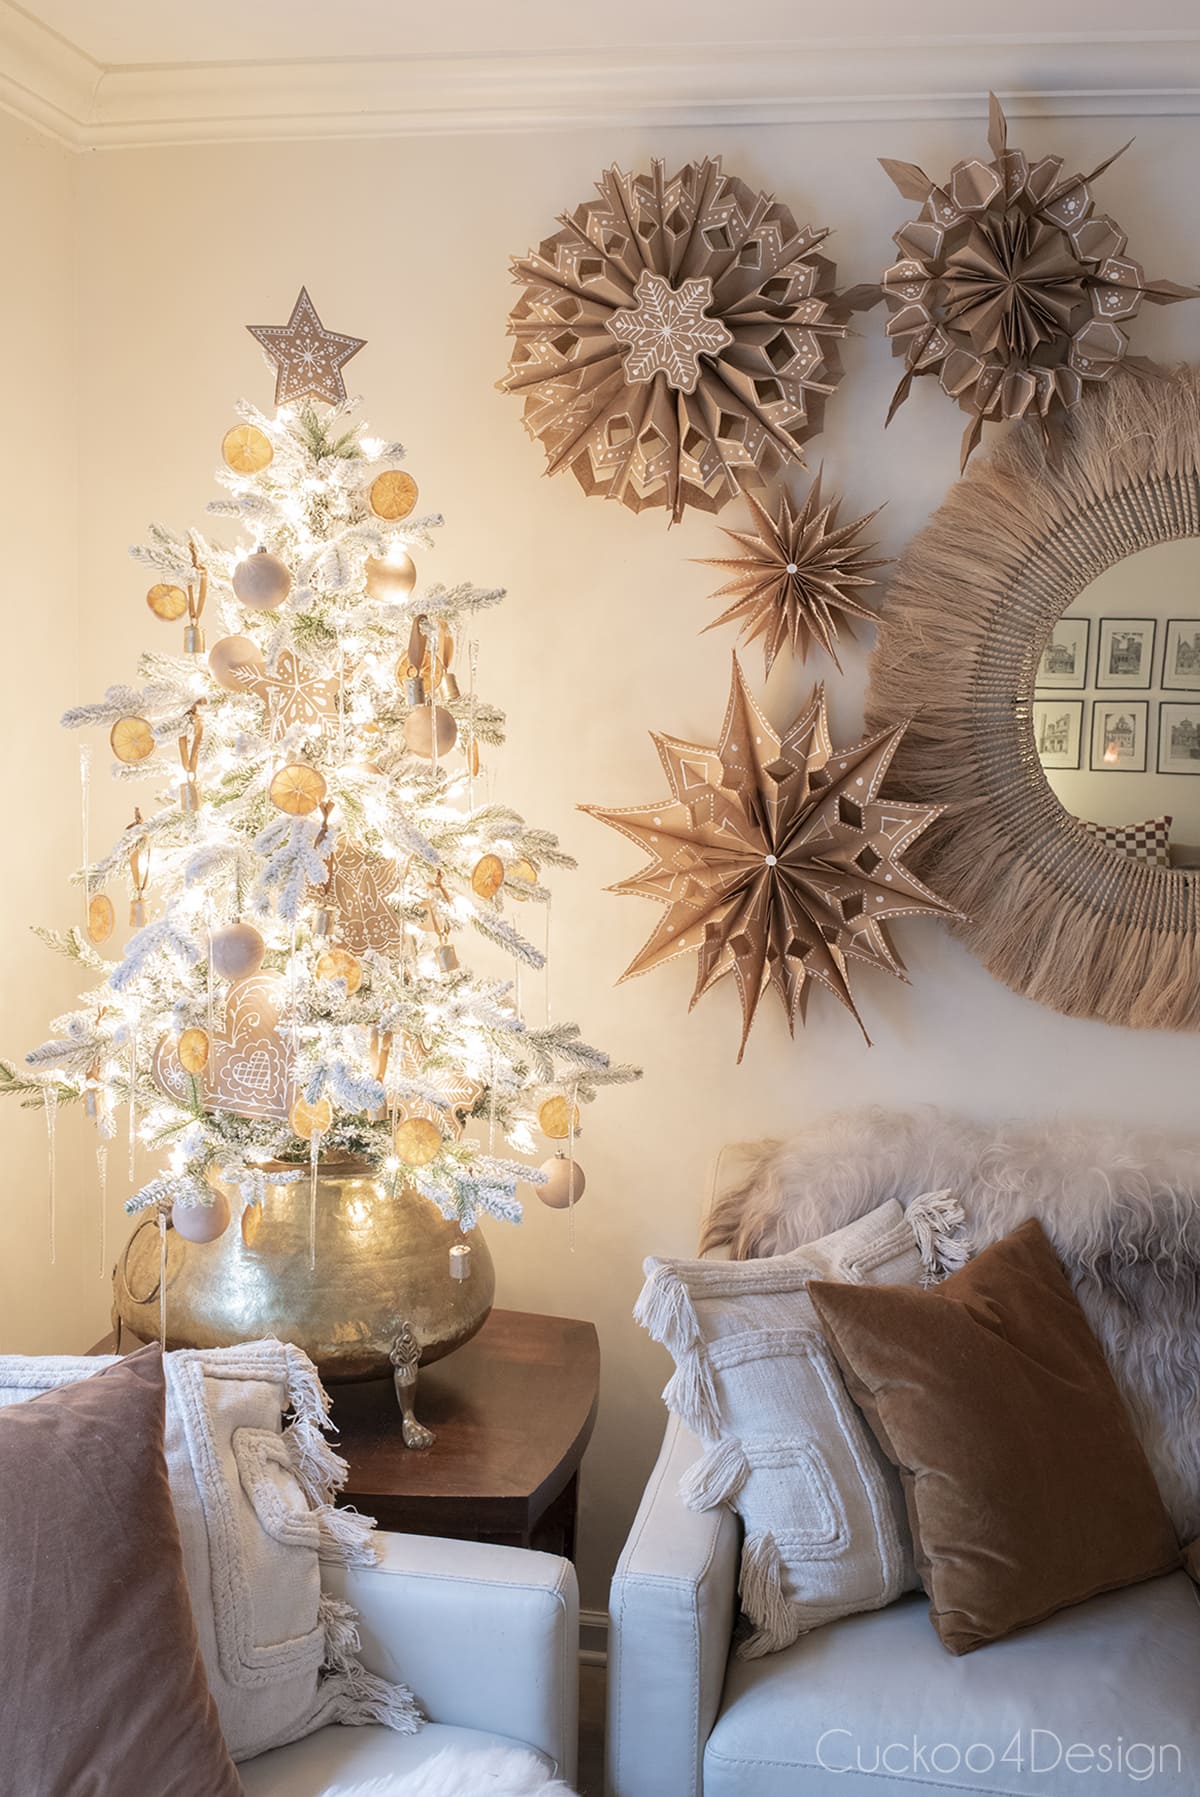
- Or my favorite large paper bag snowflakes – classic 3D snowflakes made from simple brown lunch bags. (Also, check out my plastic baking soda painted ornaments on the tree pictured below.)

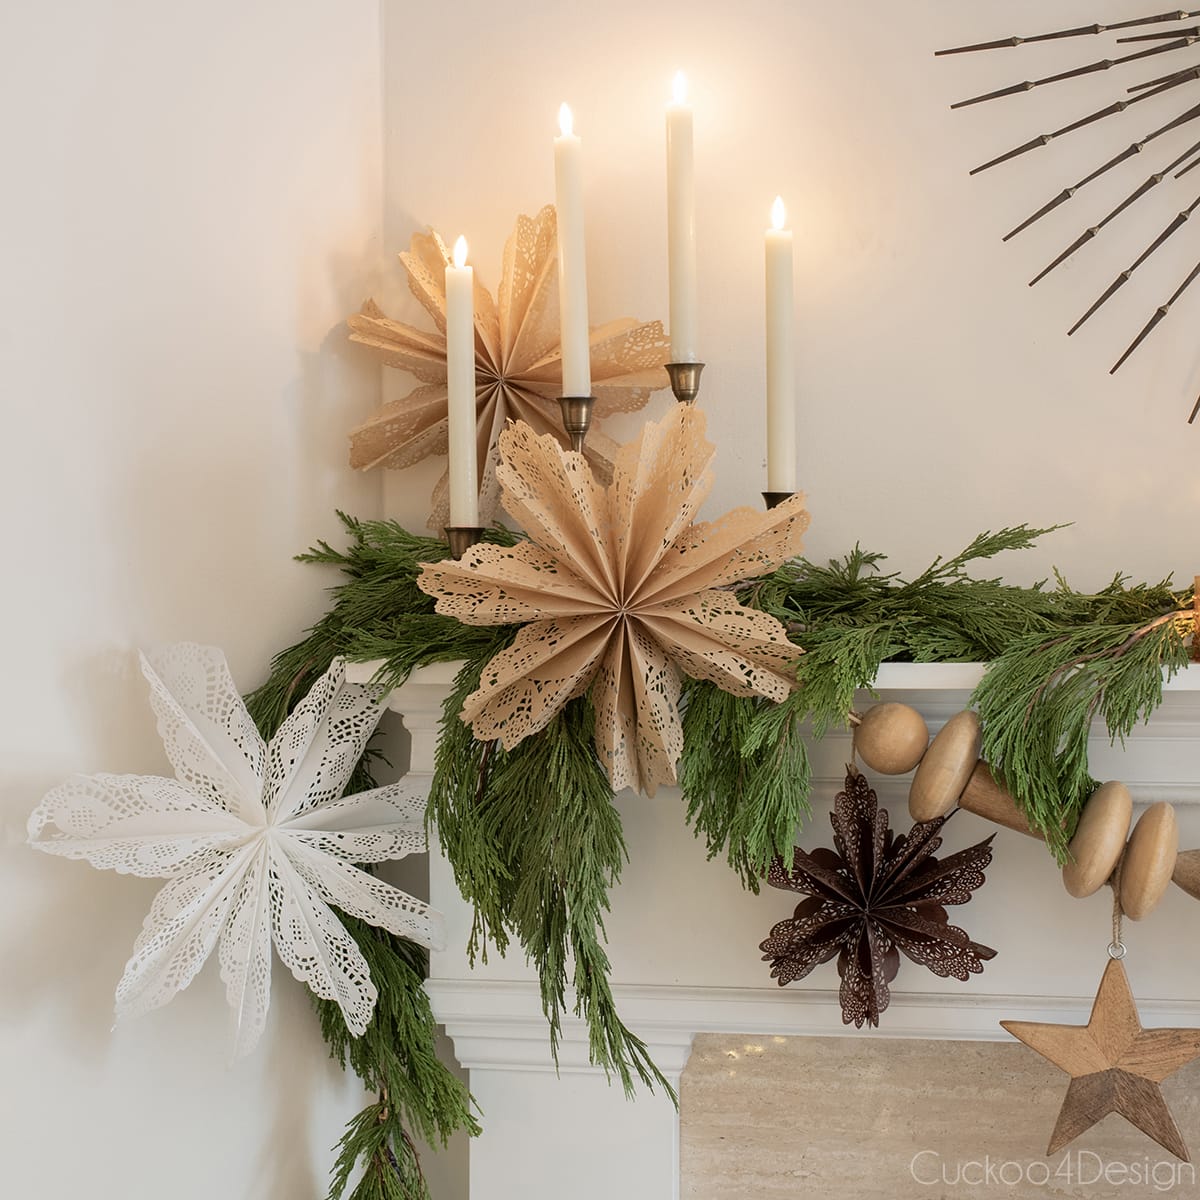
- Lacy paper doily snowflakes – delicate, detailed snowflakes made from inexpensive paper doilies. They are also easy and affordable to make since no snowflake pattern cutting is involved.
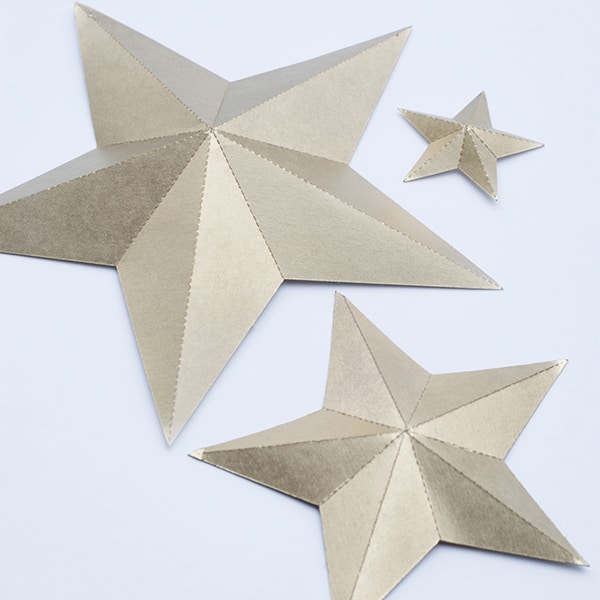
- This is not a snowflake, but if you liked this project today, you might also enjoy my foldable 3D stars made from poster board as well. They use the same concept with perforated folding lines.

These projects all pair beautifully with your poster board snowflakes and are perfect for handmade Christmas décor.
Have a wonderful Thanksgiving and I might be back on black Friday or next Monday. Not sure yet. Enjoy yourself.
Tschüß

these are gorgeous! they are so beautiful on the tree!
Thank you
These are amazing. Great tutorial
Thanks so much Marty! Getting ready for my tour ????
Your version even tops Ikea’s! Can’t wait to see your home on the tour Julia! Have a wonderful Thanksgiving with your family! P.S. Your little helper is just too cute!
Thanks for all of the design ideas, we love this time of year and I am making homemade ornaments with my kids this weekend. You have some great ones here, we will be using you ideas in you family project. Thanks Julia
In love with these and what a great idea to use a punch. pinning!