Painting plastic ornaments is one of the easiest ways to update your Christmas decor on a budget. Over the years, I’ve tried many techniques, and with the right prep, plastic ornaments can look completely custom and expensive. In this post, I’ll walk you through the exact process of how to paint plastic ornaments.
I decided to create modern brushstroke ornaments and metallic copper versions. If you prefer a different style, this same method works for many painted ornament looks, which I am also sharing. Let me show you what works, what to avoid, and how to get a beautiful, even finish every time.
How to paint plastic ornaments
This post may contain affiliate links from which I will earn a commission at no extra cost to you. View my full disclosure policy.
It just so happens that I bought a large number of colored plastic ornaments on 75% clearance at Target after Christmas last year and I wasn’t feeling all the colors. On top of it, I had a huge amount of silver plastic ornaments in the attic that I didn’t want to use this year. My DIY-loving heart knew that painting the outside of these plastic ornaments was the most affordable way to create the look I was going for. Plus I love making my own ornaments.
(The Kilz spray primer even works on clear glass ornaments, but they are pricey as is and I love the look of glass Christmas ornaments and would never paint them. But that’s just my preference.)
I really wasn’t that into the pinks and turquoise.
Try these other painted plastic ornament ideas if you are looking for something that isn’t modern:
Turn cheap plastic ornaments into matte, terracotta-look ornaments with this easy baking soda paint tutorial.
Step-by-step tutorial for painting the outside of plastic ornaments
Step 1: Clean the plastic ornaments without their tops
Remove the tops of the plastic ornaments used for hanging them. Usually, they snap right off. After that, clean the plastic Christmas ornament balls really well. Wipe off all dust and debris. Alcohol or KrudKutter cleaners help with removing any greasy residue that might be stuck on them. After cleaning, let them dry!
Step 2: Secure your ornaments for painting
There are several different methods you can use to secure your ornaments to a surface for painting. I tried them all!
You can place the ornaments without their top into old egg cartons that are placed inside a cardboard box or on top of a tarp. Just make sure you let the ornaments dry fully before turning them over to paint the other side, which was facing downward before.
You can hammer the nails into the back side of a thin wooden board. Then stick the plastic ball ornaments onto the nails so the nail is inside the ornament. This keeps them securely in place for painting
Or you can use wooden skewers poked into a cardboard, which works the same as the wooden board and nails that I just mentioned.
I recommend putting a tarp under the boards so the excess paint while spraying won’t hit the surrounding areas.
My least favorite method is to place a toothpick with a string attached to the center inside the ornament so you can hang it. It can be tricky to hang ornaments for spray painting since the airflow of the spray paint makes them move. It is very difficult to achieve an even coat that way. However, this method is great for hanging them to dry after hand-painting a design on them.
Step 3: Prime your plastic ornaments
As I mentioned before, my go-to favorite primer is Kilz spray primer, and it worked like a charm once again. In cases, the color still bled through to the outside of the ornament in some spots, but the second coat of primer fixed that. No other primer works as well for me as this one.
However, plastic primer can work well too. I just always have Kilz on hand.
Step 4: Paint your plastic ornaments in your desired color
After the primer, I either gave them a fresh coat of semi-gloss white spray paint or I painted some of them with my favorite Krylon Copper Spray Paint. (which you can see later in my finished Christmas tree)
Step 5: Paint a design on your ornaments
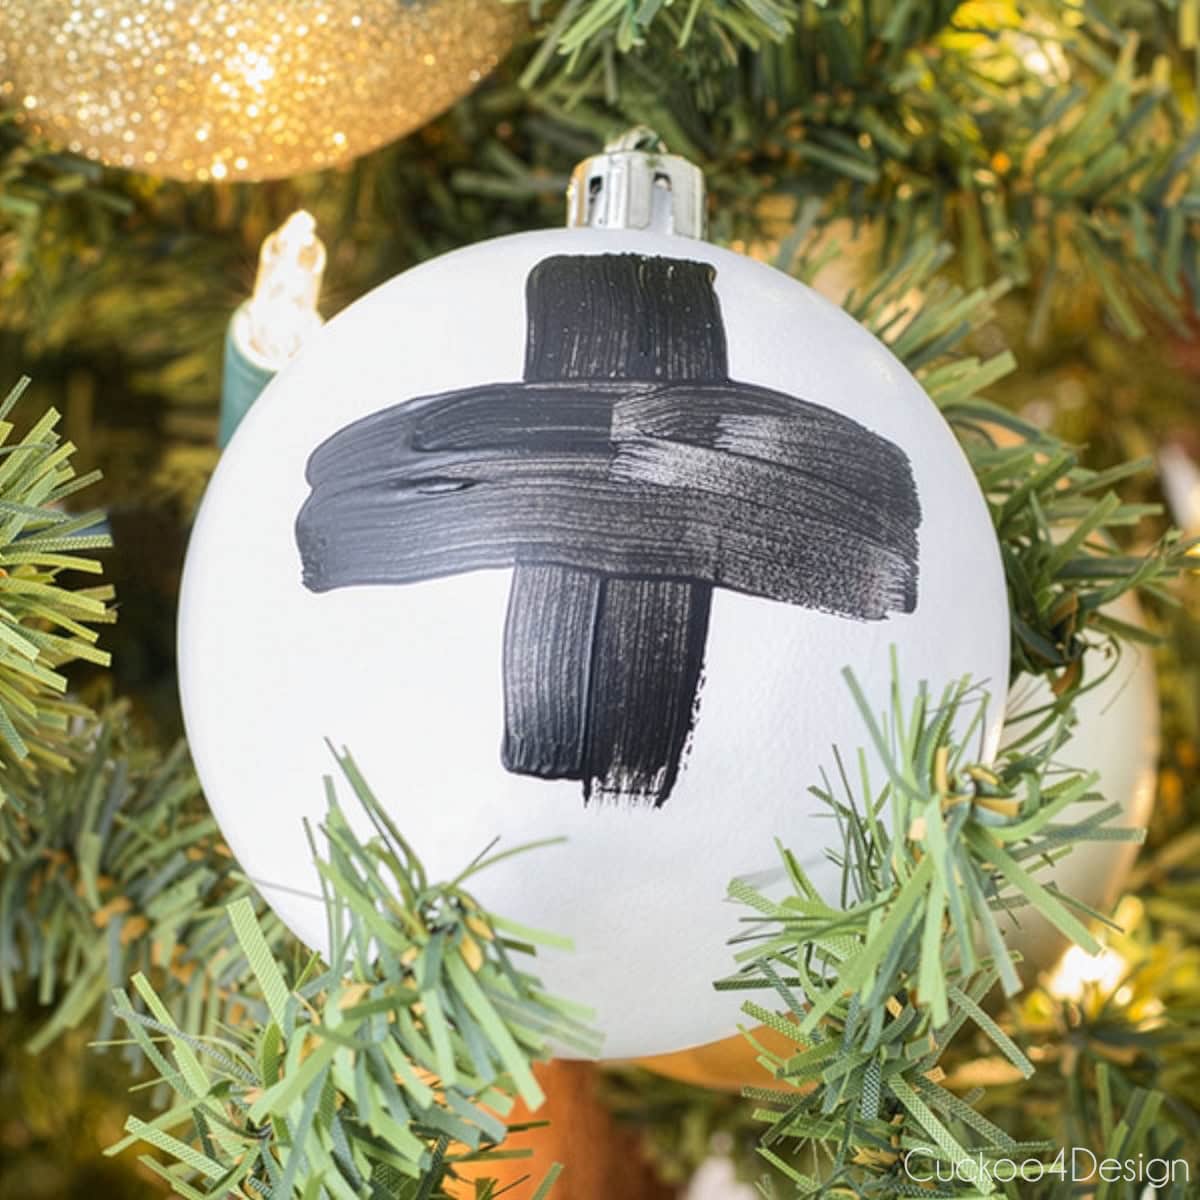
I didn’t stop there. I wanted to include everything I loved in the past year in my home decor, which was black and white crosses and the recent dots and brushstrokes. Don’t you just love Jana Bek‘s brush stroke lamps? I do, and it sure looks fabulous on Christmas balls, too.
I painted black details in with regular acrylic craft paint and various different-sized brushes. Actually, very easy if you ask me. You don’t have to be exact and can mess up. The brushstrokes are supposed to be uneven and abstract.
Step 6: Add your ornament tops back onto the plastic ornaments
Since I just reused the original silver plastic tops for this project, I simply stuck them back on before hanging them to dry.
Suppose you’d like to add something else, like the jute yarn that I added in my other ornament painting tutorial. In that case, I would suggest that you do this before you paint your design or let the ornament designs dry propped up on chopsticks or nails again before adding your tops. It’s up to you and either works well.
Step 7: Hang your ornaments to dry
Each ornament was hung up to dry on little rods after adding the tops. Drying time depends on what paint you actually used.
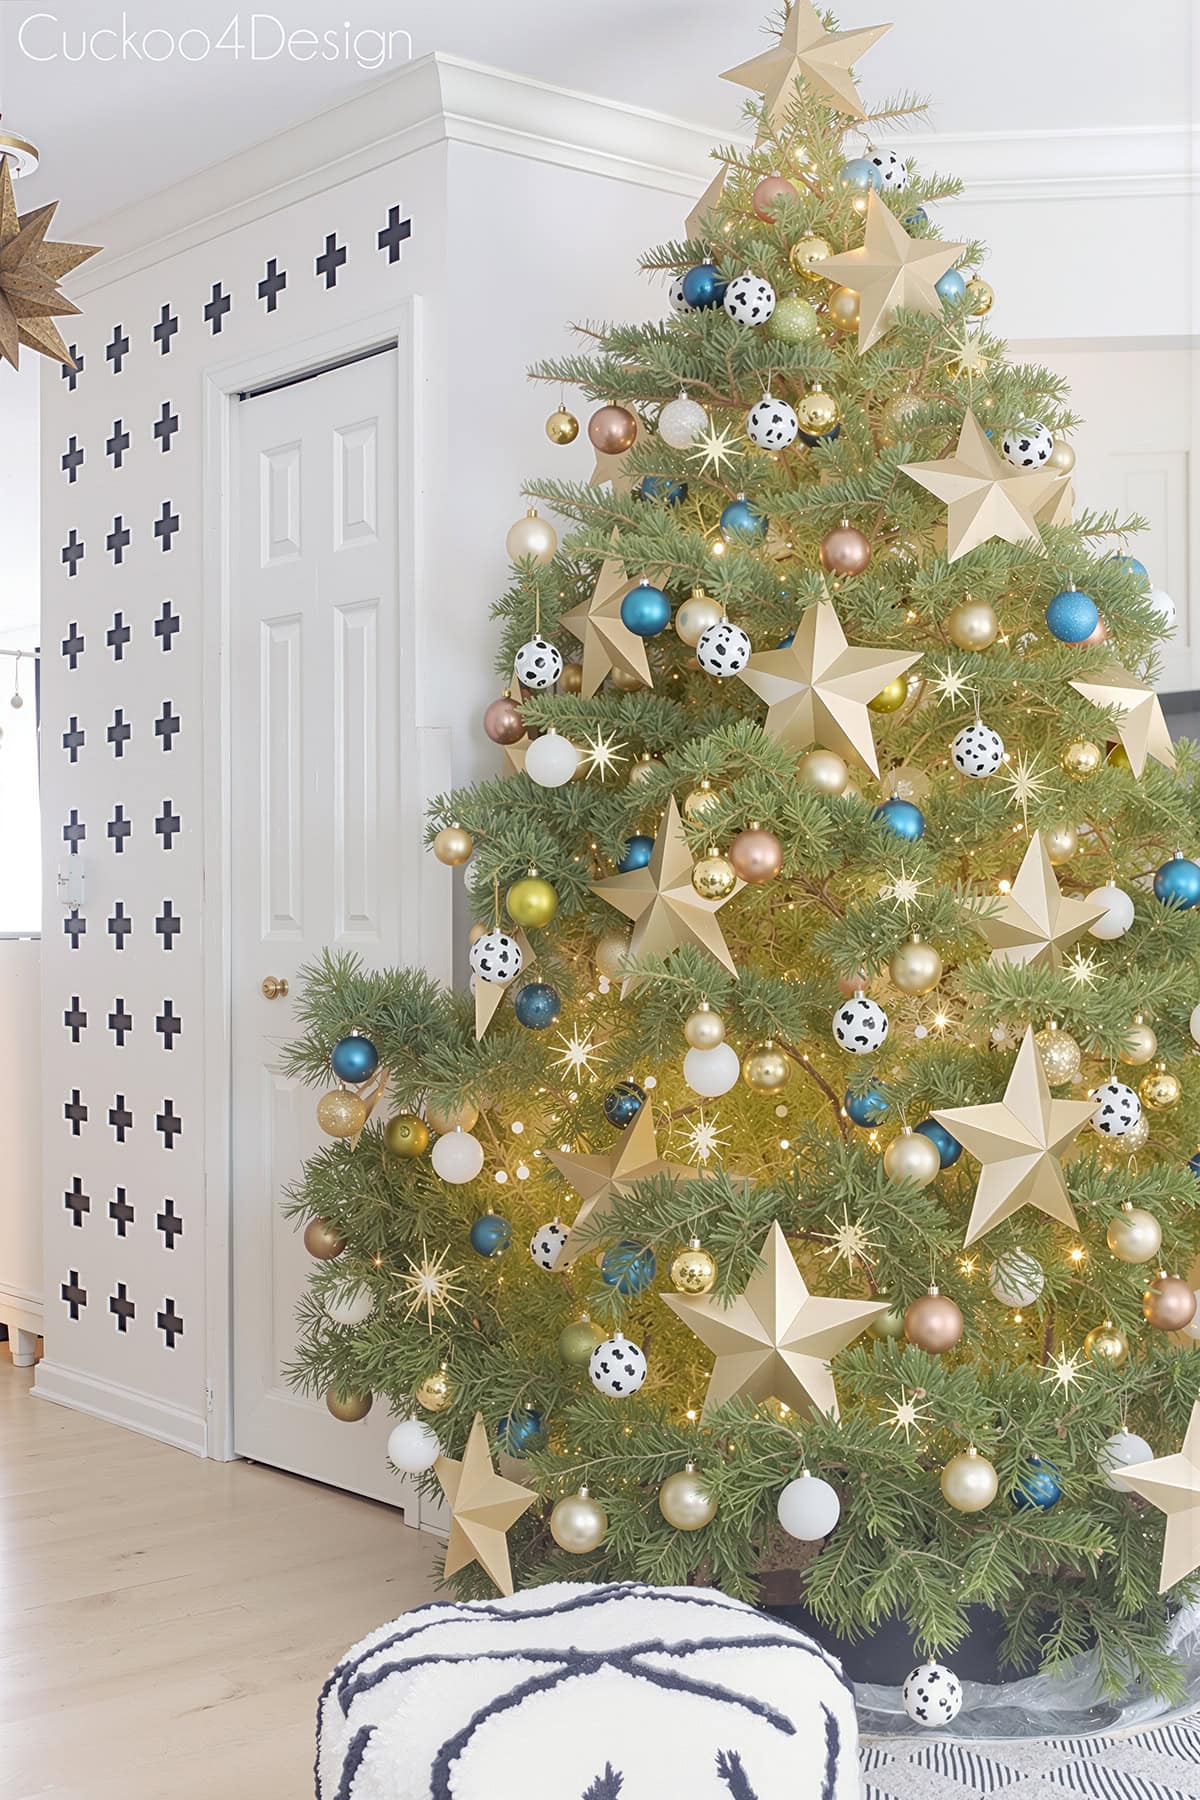
Just look at my real Christmas tree with all the ornaments on it. I love the contrast with the black and white.
The brushstroke crosses on some of the ornaments mimic the wall.
Another view of the painted plastic brushstroke ornaments and the other painted plastic Christmas ornaments that were spray-painted evenly with copper spray paint.
And another painted copper Christmas ball and a little dotted brushstroke Christmas ball with an original pink glitter ornament, where no painting was involved.
The old plastic pink glitter ornaments look great combined with the painted plastic ornaments.
I love how they look hanging on my small Christmas tree. Learn how to make easy DIY 3D star ornaments for your tree, pictured below.
I’ve always loved loose brushstroke patterns on black-and-white textiles, especially Caitlin Wilson’s black spotted fabric, which originally inspired the brushstroke decor I painted in my home. It’s no longer available, but similar options are Brunschwig & Fils Les Touches or Kravet Basics .121.0 Brush Off Charcoal.
FAQ when painting plastic ball ornaments
What kind of paint can you use on plastic ornaments?
You can pretty much use any paint you’d like if, but it’s important that you use a good primer to coat the slippery, shiny plastic surface. My favorite is Kilz spray primer, but plastic primer works as well. After that, you can use acrylic paint, chalk paint, baking soda paint, latex paint, or even oil paint. Whatever you’d prefer.
Can you paint plastic Christmas ornaments?
Yes, for sure, as you can see in this blog post! Plastic ornaments can be painted with acrylic paint, spray paint, chalk paint, or baking soda paint. The key is to clean the plastic surface very well and use a good primer so the paint adheres properly.
Can you paint plastic glitter ornaments
Yes, you certainly can. Since they are already textured, they are a perfect candidate for my textured baking soda paint ornaments.
Do you need to prime plastic ornaments before painting?
I’ve tried painting them without primer and wasn’t happy with the results. So priming is definitely highly recommended. A spray primer formulated for plastic creates a smooth, even base and prevents peeling or streaking. But I love using oil based primer like Kilz spray primer because I -had great results with it over the years for many different projects,l including all my plastic ornaments. Just shake it very wel and if the finished coat has a lot of texture to it, you can lightly sand it with fine sand aper. ,
How do you keep paint from dripping on round ornaments?
Make sure that you apply several thin coats of paint and let each layer dry fully. Elevating the ornaments on skewers, nails, or egg cartons helps you paint all sides without smudging.
How do you prevent paint from chipping off plastic ornaments?
Proper prep is the biggest factor meaning cleaning, priming, and painting in thin layers. ,
Should I seal painted plastic ornaments?
I personally believe that sealing is optional. A clear matte or gloss sealer can give added protection. Spray sealers usually work best. However, I did not seal any of my painted plastic ornaments, and they are still looking great after years of use.
Can I paint the inside of clear plastic ornaments?
Yes, that’s another great option,h especially for solid colored CHristmas ball ornaments. Simply swirl acrylic paint inside the clear plastic (or glass) ornament until fully coated, then let it drain and dry upside down. This creates a smooth, opaque finish with no brushstrokes.
How long do painted ornaments take to dry?
Dry time varies by paint type. Spray paint and acrylic paint usually dry within 20–60 minutes between coats, but textured paint may take longer.
Can I repaint old ornaments that are already painted?
Absolutely! Over the years. I have repainted many of my painted ornaments successfully. As long as the surface is clean, you can prime over the old finish and repaint with any style or color.
Can kids help with this project?
Absolutely! This DIY is very kid-friendly, an adult should prime and spray paint the ornaments, and kids can take over with painting the ornament design. This is a perfect project for creating keepsake ornaments.
See more of my Christmas ornament DIYs
I have budget-friendly Christmas ornament crafts for every taste and home decor style. I’m sure you will find something on this list that you like and that is fun to make without breaking the bank.
Macrame Christmas ornaments – If painting isn’t your thing, then these handmade yarn ornaments are a perfect way to make some affordable Christmas ornaments with a boho touch for your Christmas tree. They also make great gifts.
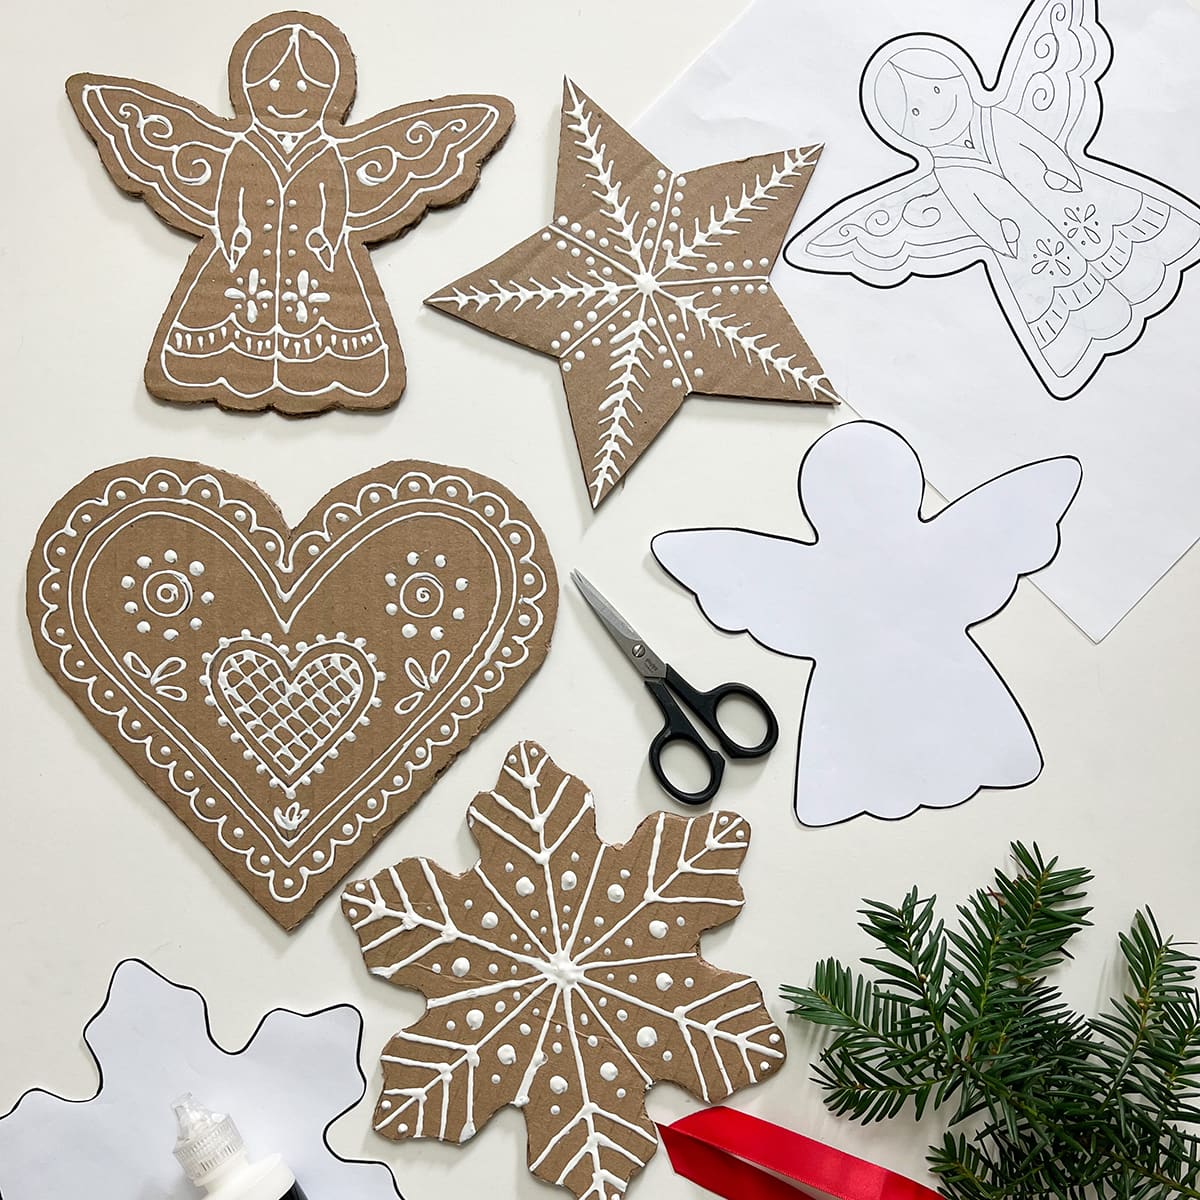
Gingerbread cardboard Christmas ornaments – Get the look of gingerbread without having to bake by using all your cardboard delivery boxes and some puffy paint.
Paper bag snowflakes – Paper bag snowflakes are the easiest way to make large 3D snowflakes in minutes with lunch bags.
Poster board snowflakes – I’m showing you how to turn poster board into sturdy little snowflakes either by cutting them with a cutting machine or cutting them by hand.
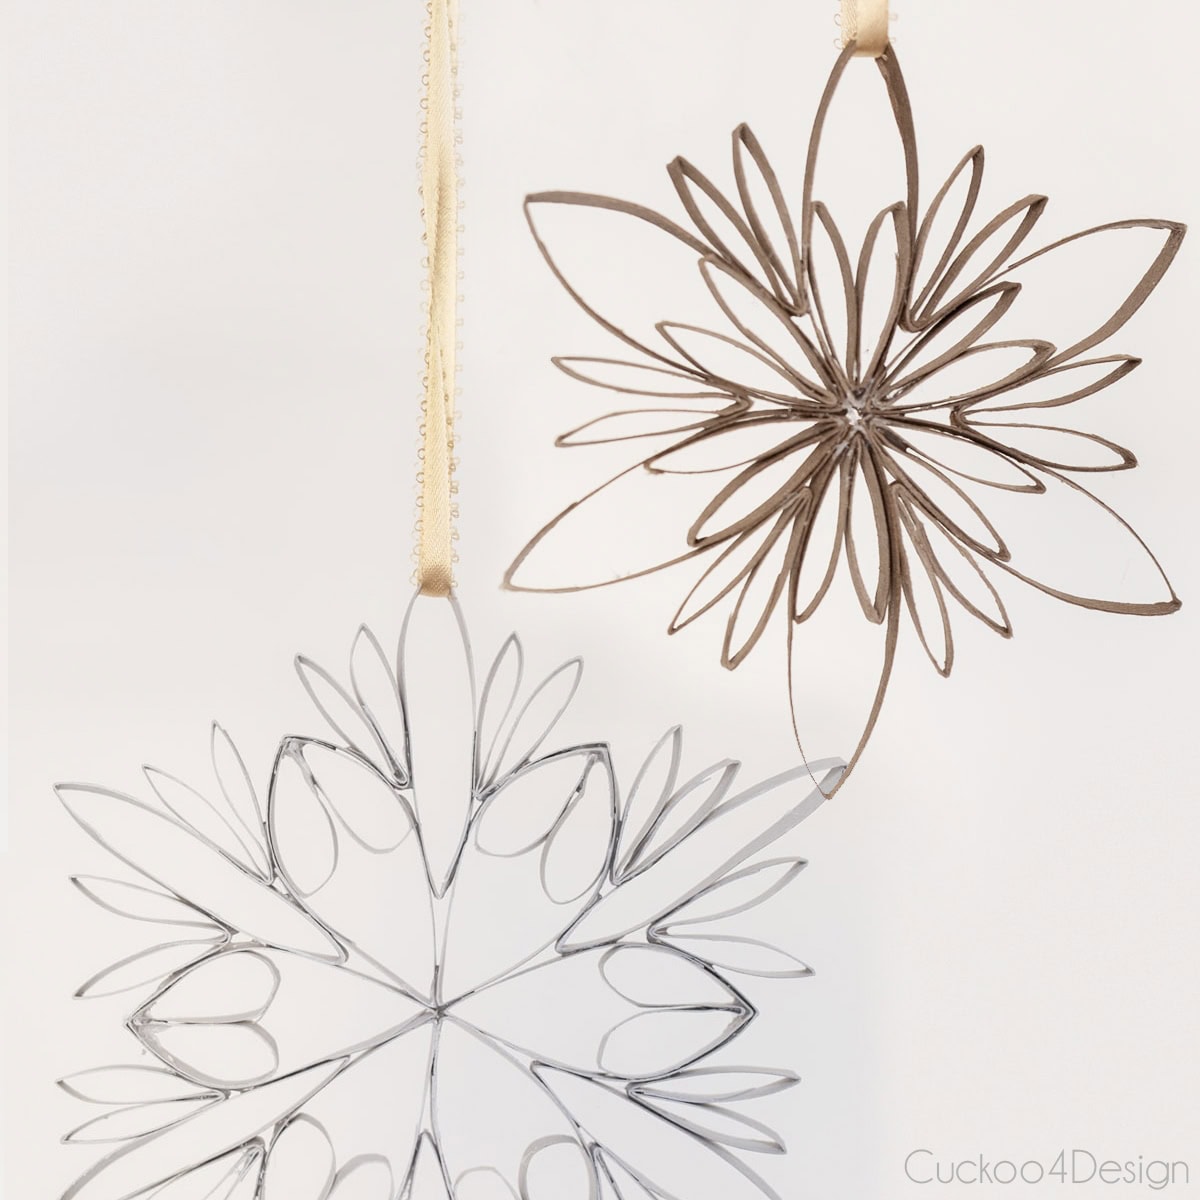
Toilet paper roll snowflakes – Recycle your toilet paper and paper towel rolls into beautiful little snowflake ornaments for your Christmas tree or as gift toppers.
Toilet paper roll stars – These little stars are another way to recycle your TP rolls into beautiful ornaments
Happy Holidays,
How to paint plastic ornaments
Yield: several painted plastic ornaments
Active Time: 1 hour
Total Time: 1 hour
Estimated Cost: $0-$15
Learn how to paint plastic ornaments with a modern brushstroke look or copper finish. Simple prep steps and foolproof tips for smooth, lasting results.
Materials
Kilz spray primer (or plastic primer)
Alcohol or KrudKutter
thin wooden board, nails and hammer, or a cardboard box and skewers
spray paint color of your choice (I used white and copper)
acrylic black craft paint
Tools
small craft brush
Instructions
Clean the plastic ornaments without their tops Remove the tops of the plastic ornaments used for hanging them. Usually, they snap right off. After that, clean the plastic Christmas ornament balls really well. Wipe off all dust and debris. Alcohol or KrudKutter cleaners help with removing any greasy residue that might be stuck on them. After cleaning, let them dry!
Secure your ornaments for painting There are several different methods you can use to secure your ornaments to a surface for painting. I tried them all! You can place the ornaments without their top into old egg cartons that are placed inside a cardboard box or on top of a tarp. Just make sure you let the ornaments dry fully before turning them over to paint the other side, which was facing downward before. You can hammer the nails into the back side of a thin wooden board. Then stick the plastic ball ornaments onto the nails so the nail is inside the ornament. This keeps them securely in place for painting Or you can use wooden skewers poked into a cardboard, which works the same as the wooden board and nails that I just mentioned. I recommend putting a tarp under the boards so the excess paint while spraying won't hit the surrounding areas.
Prime your plastic ornaments As I mentioned before, my go-to favorite primer is Kilz spray primer, and it worked like a charm once again. In cases, the color still bled through to the outside of the ornament in some spots, but the second coat of primer fixed that. No other primer works as well for me as this one. However, plastic primer can work well too. I just always have Kilz on hand.
Paint your plastic ornaments in your desired color After the primer, I either gave them a fresh coat of semi-gloss white spray paint or I painted some of them with my favorite Krylon Copper Spray Paint. (which you can see later in my finished Christmas tree)
Paint a design on your ornaments I didn't stop there. I wanted to include everything I loved in the past year in my home decor, which was black and white crosses and the recent dots and brushstrokes. Don't you just love Jana Bek's brush stroke lamps? I do, and it sure looks fabulous on Christmas balls, too. I painted black details in with regular acrylic craft paint and various different-sized brushes. Actually, very easy if you ask me. You don't have to be exact and can mess up. The brushstrokes are supposed to be uneven and abstract.
Add your ornament tops back onto the plastic ornaments Since I just reused the original silver plastic tops for this project, I simply stuck them back on before hanging them to dry.
Hang your ornaments to dry Each ornament was hung up to dry on little rods after adding the tops. Drying time depends on what paint you actually used. And that's it!
30 Comments
love how these turned out- especially the cross ones! and your idea for holding the ornaments still is so smart!
Great project. I love the black and white contrast. I am a big fan of the black cross it pops nicely against the white. Seems easy enough to make and looks great on the tree. Thank you for sharing!
This is just totally BRILLIANT….. and what took you so long to tell us how….. I LOVE them. And I don’t think I can wait one more hour to find out how you made those stars……. I am so into those stars. Since I don’t have a beautiful Angel to top my faux tree….. I need something I can make on the cheap…. and stars are next on my list. since I need easy and to spend NO money.
Also, you would so love, love, love my grand baby boy Shaymus…. he is the most wonderful kitty since Sugar. I could twist him into a pretzel and he would not scratch or anything…. he is so affectionate it is unreal.
I need to ask you and others if I am the only one that can barely see the very light type print on here and some other blogs? I can not read for such light type print.
Thanks so so much. And Shaymus sounds like he is wonderful.
Also I have no idea why my type looks so light to you. It’s set to black. I’m wondering if it would work if you increased the contrast on your screen when you read my blog. Unfortunately I can’t set my type to darker because it’s the darkest it is. That’s not good 🙁
The board with the nails is genius enough! I always see ornaments after the holidays but didn’t even THINK to spray paint them. Super smart. And, I LOOVE the brushstroke pattern with the teal ribbon. So cool.
Oh my goodness Julia, come over to my house and help me add the perfect touches of black and white in my home!! I may have to seriously copy these for my home! Although once I get to it, it’ll be after Christmas ha!
what kind of paint do you use on a plastic christmas 10 inch ball. i only need to paint a christmas tree on it then decorate it in gold and pearls, the christmas tree would only be on one side of the ball so I really couldn’t sand the ball itself. any ideas would be appreciated. thank you


love how these turned out- especially the cross ones! and your idea for holding the ornaments still is so smart!
Thank you! Heading over now to see yours.
Great project. I love the black and white contrast. I am a big fan of the black cross it pops nicely against the white. Seems easy enough to make and looks great on the tree. Thank you for sharing!
Thanks so much and also thank you for sharing it
SO cute! I thought about doing black and white painted ornaments, but realized I had more to do, next year maybe! You inspired me!
This is just totally BRILLIANT….. and what took you so long to tell us how….. I LOVE them. And I don’t think I can wait one more hour to find out how you made those stars……. I am so into those stars. Since I don’t have a beautiful Angel to top my faux tree….. I need something I can make on the cheap…. and stars are next on my list. since I need easy and to spend NO money.
Also, you would so love, love, love my grand baby boy Shaymus…. he is the most wonderful kitty since Sugar. I could twist him into a pretzel and he would not scratch or anything…. he is so affectionate it is unreal.
I need to ask you and others if I am the only one that can barely see the very light type print on here and some other blogs? I can not read for such light type print.
Thanks so so much. And Shaymus sounds like he is wonderful.
Also I have no idea why my type looks so light to you. It’s set to black. I’m wondering if it would work if you increased the contrast on your screen when you read my blog. Unfortunately I can’t set my type to darker because it’s the darkest it is. That’s not good 🙁
These are lovely
These are so cute! I love them. And very you! They look great with the copper too!
OK, I’ve painted ornaments before, but your trick with the nails on the board? Brilliant!! Would have made it SO much easier. Great tip.
Beautiful! And very clever way of letting the ornaments dry!
The board with the nails is genius enough! I always see ornaments after the holidays but didn’t even THINK to spray paint them. Super smart. And, I LOOVE the brushstroke pattern with the teal ribbon. So cool.
These look great! Really “you.” And I love your painting set up. Super duper smart.
I love how these turned out – they capture what I love about graphic, black and white modern art! It’s truly a unique project!
Thanks Sarah I did want some modern art in my Christmas decor.
So fun–I love how the Christmas decor echoes what you’ve done over the year with your home 🙂 they turned out great!
That’s exactly what I was trying to do, to echo what I did throughout the year.
Julia, my friend 🙂 This is SO awesome!! I love how you re-purposed the colors you didn’t want anymore. I love how this came out!! Love your tree!!!
Thanks so much Katja, you are always the sweetest.
Julia, you are so very gifted with talent and creativity!! Absolutely love how you transformed these ornaments from average to fabulous!
Thank you Kara for the sweet words and visit.
Great tutorial. These are so simple but make a big impact. Very very classy as usual!
So cool Julia! I LOVE these!
Thank you Sarah
Oh my goodness Julia, come over to my house and help me add the perfect touches of black and white in my home!! I may have to seriously copy these for my home! Although once I get to it, it’ll be after Christmas ha!
Haha, you don’t need any help. You are pretty awesome at doing black and white yourself 😉
Merry Christmas!
Love these so much! Black and white is my new favorite color scheme for the holidays.
Thank you so much Anna!
what kind of paint do you use on a plastic christmas 10 inch ball. i only need to paint a christmas tree on it then decorate it in gold and pearls, the christmas tree would only be on one side of the ball so I really couldn’t sand the ball itself. any ideas would be appreciated. thank you
Hi Eileen, I never sand the balls, Just clean them well and prime them with Kilz spray primer, and then acrylic artist paint would work well.