

Easy DIY paper fan decorations inspired by sun palm leaves
Paper fan decorations for Christmas trees have been around for centuries and were especially popular during Victorian times. They used to make paper fan medallions for their trees as well. Right now, I’m not really into the Victorian look. That doesn’t mean that I dislike it, but I’d rather put my own twist on the paper fan look, so today I want to show you how I made them and what paper I used. The colors are so pretty. And they aren’t just for Christmas. They also make great party decor, gift toppers, and boho decor in a vase all year long.
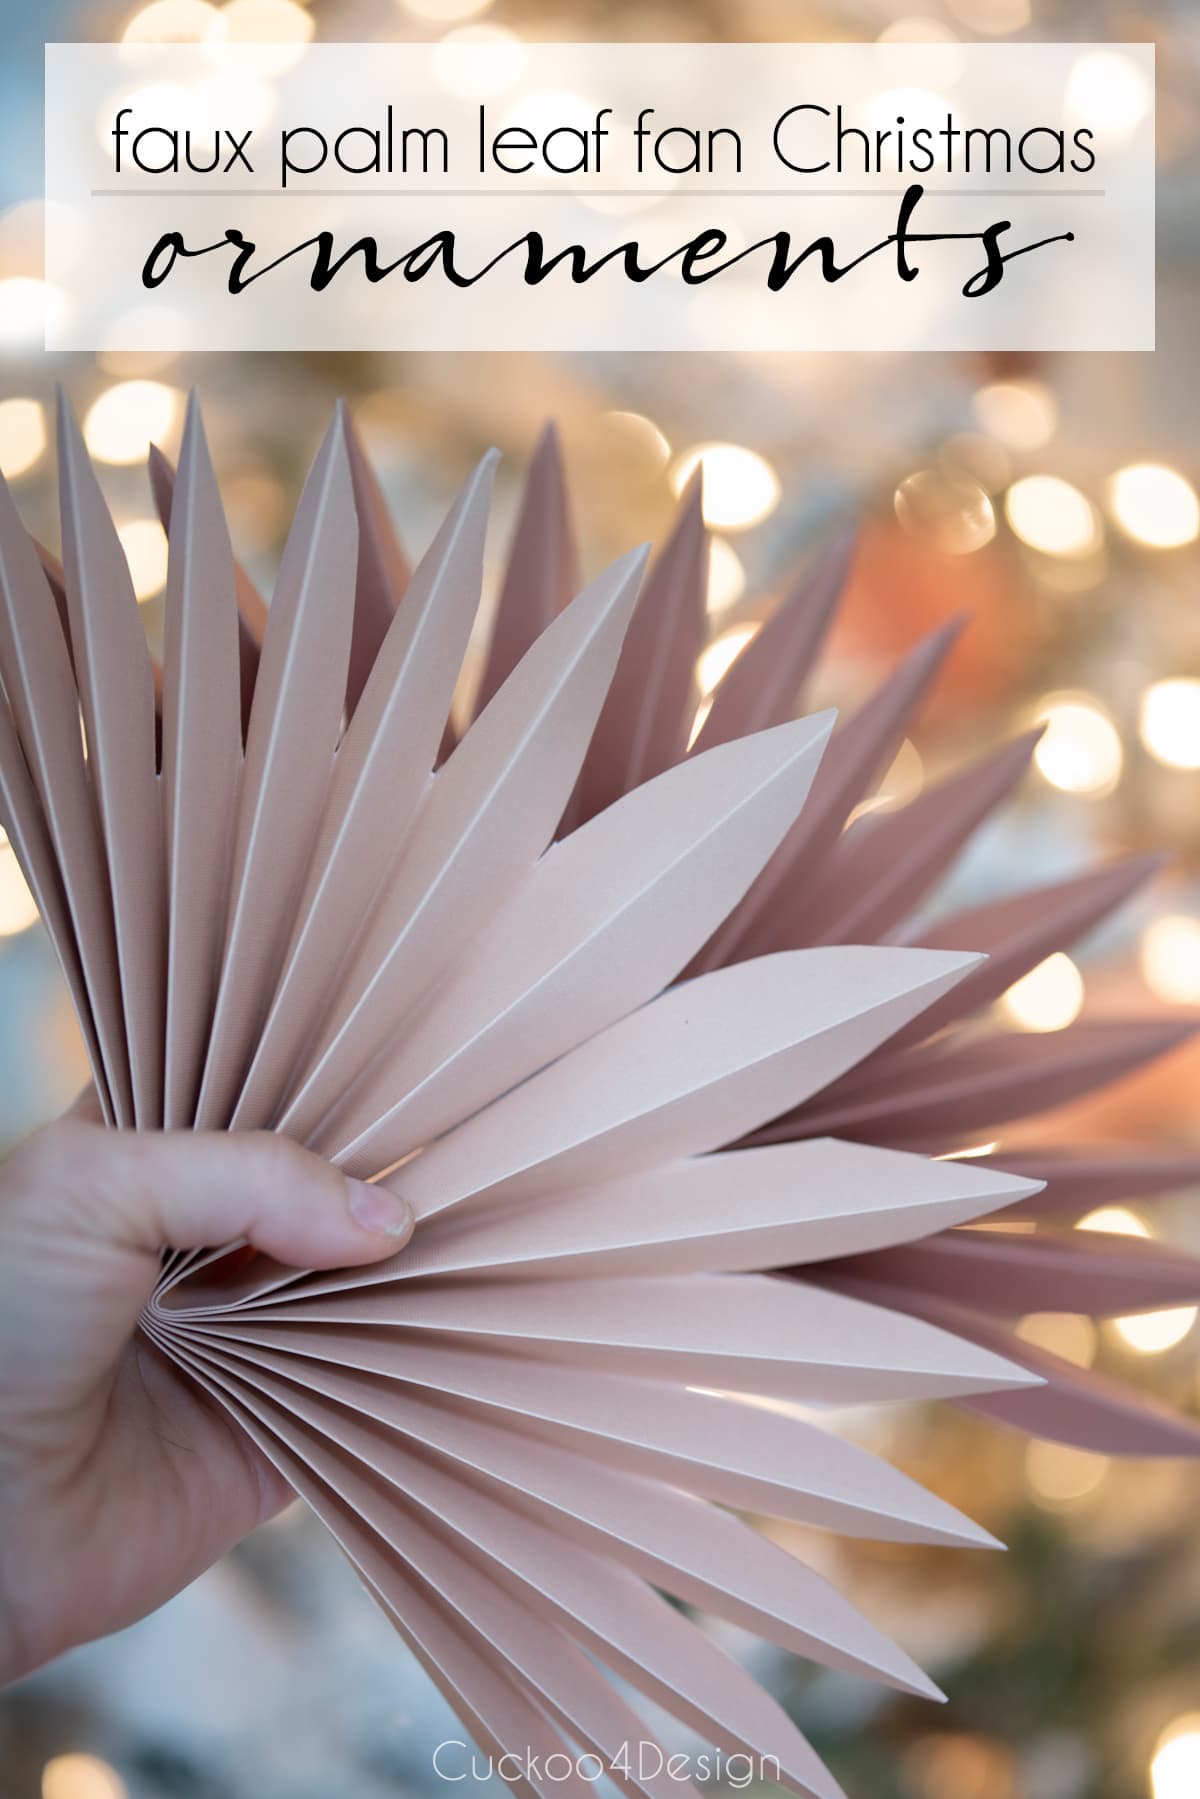
Easy DIY paper fan decorations inspired by sun palm leaves
This post may contain affiliate links from which I will earn a commission at no extra cost to you. View my full disclosure policy.
Paper Christmas decorations are affordable and super easy to make, which is always something I strive for because I like to change things up every year without breaking the bank.
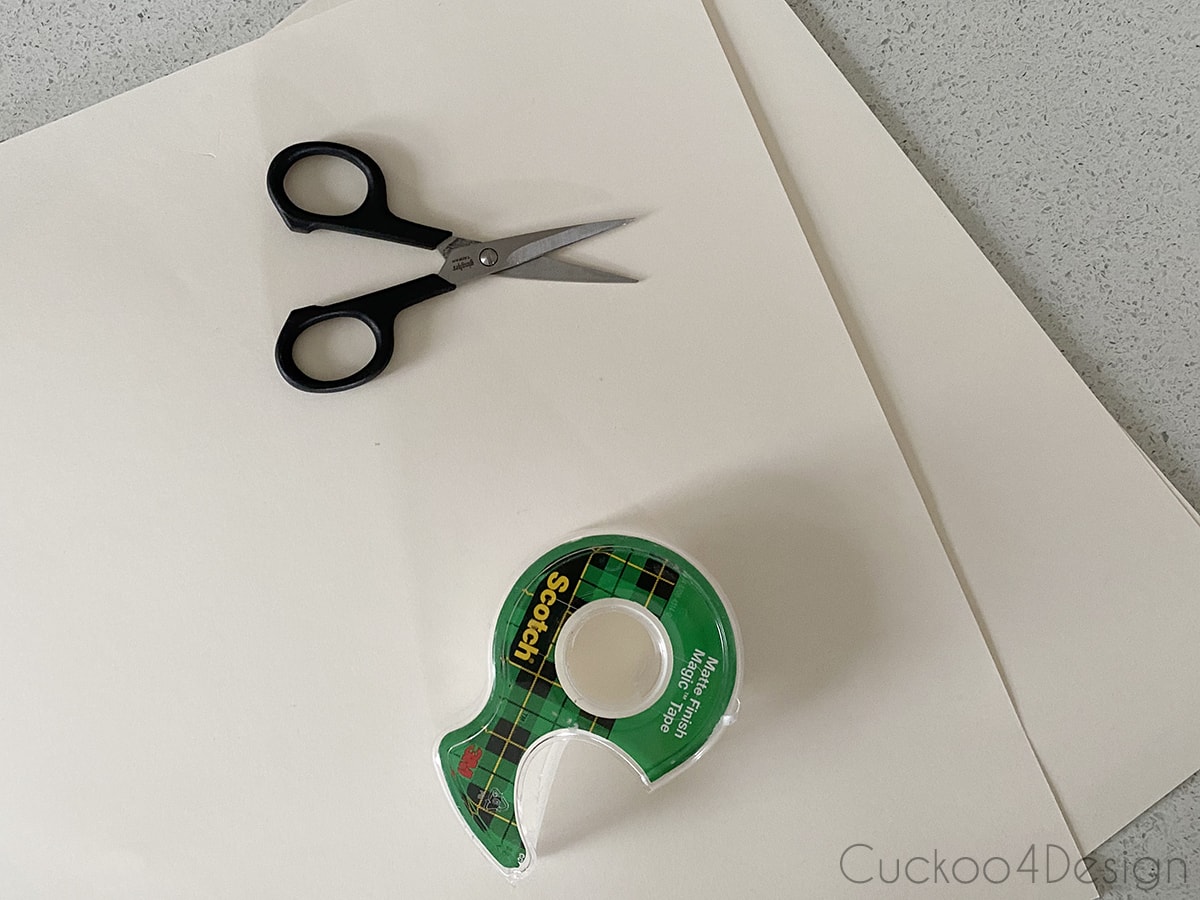
Materials needed
- paper, card stock, or wrapping paper – I used a variety of card stock in pastels and neutral colors that I found at Michaels, but it’s not available anymore.
- craft scissors
- clear tape
Video tutorial
Make sure you watch my video tutorial to see exactly what my hands are doing. Use the triangle on the image to turn on the video. If you are on a phone or tablet, hold the device sideways for better viewing. If the video doesn’t load for you, then you can also watch it on my YouTube channel.
How to make a paper fan that looks like a dried palm leaf
Each fan only takes about 10 minutes, and the folds don’t have to be perfect. The uneven cuts at the end are what make them look like real dried palm leaves. For an even more natural look, check out the bonus organic leaf version made with brown packaging paper after the steps.
Step 1: Fold the paper accordion-style
Start by folding the card stock/piece of paper accordion-style with your fingers.
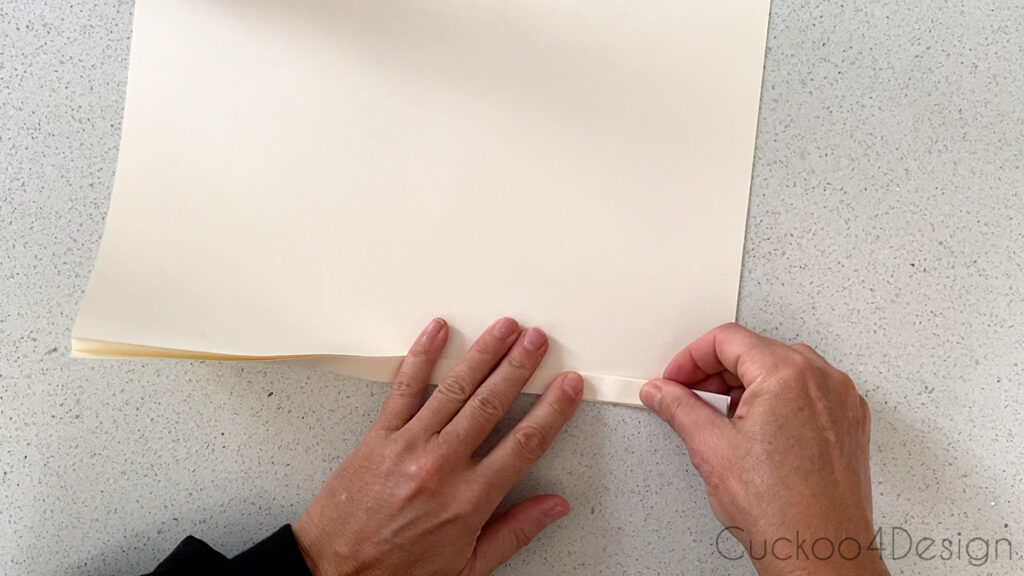
You can use the ends of the scissors to flatten the even card stock creases.
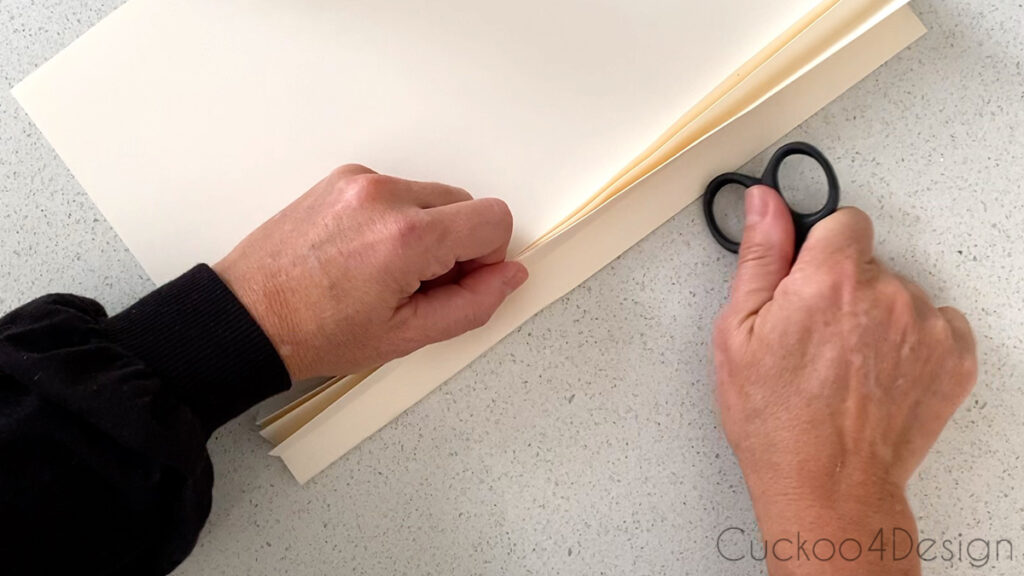
Finish the paper fan folds and don’t worry about it being very even folds. It’s ok to be off a little bit.
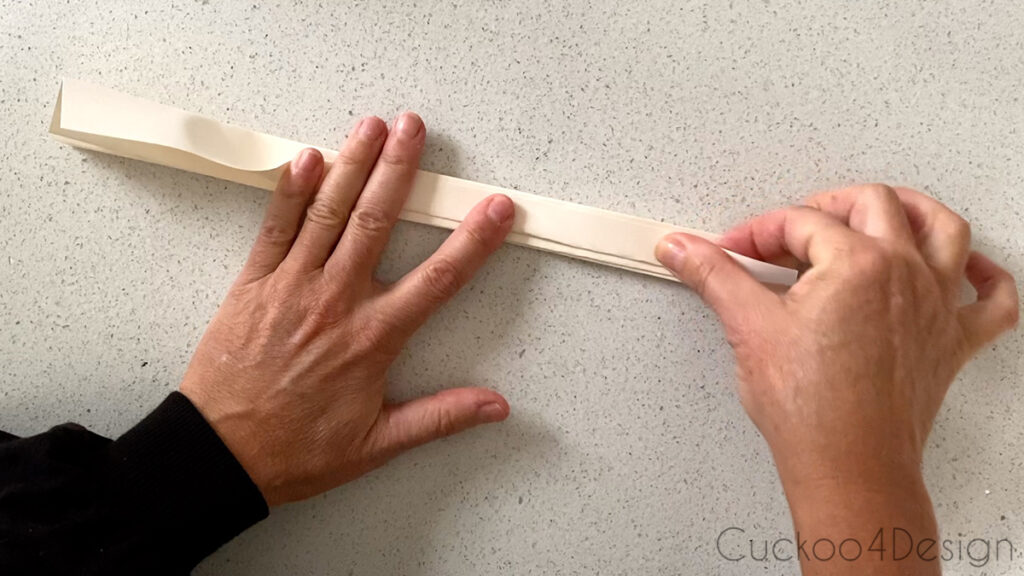
Step 2: Fold the paper fan in half
Fold the paper fan in half, which can be a little tricky if you are using the cardstock since the center is thick.
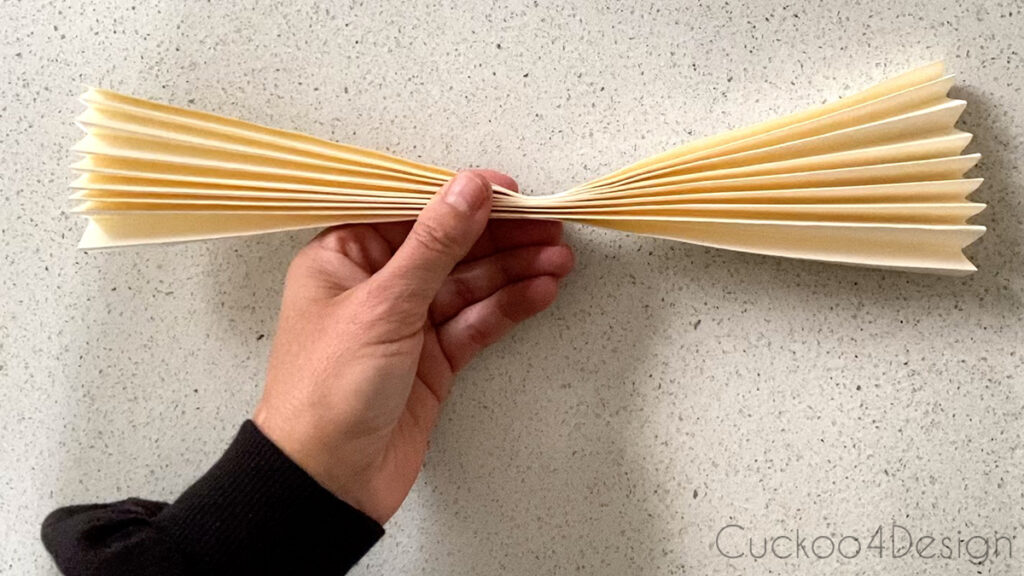
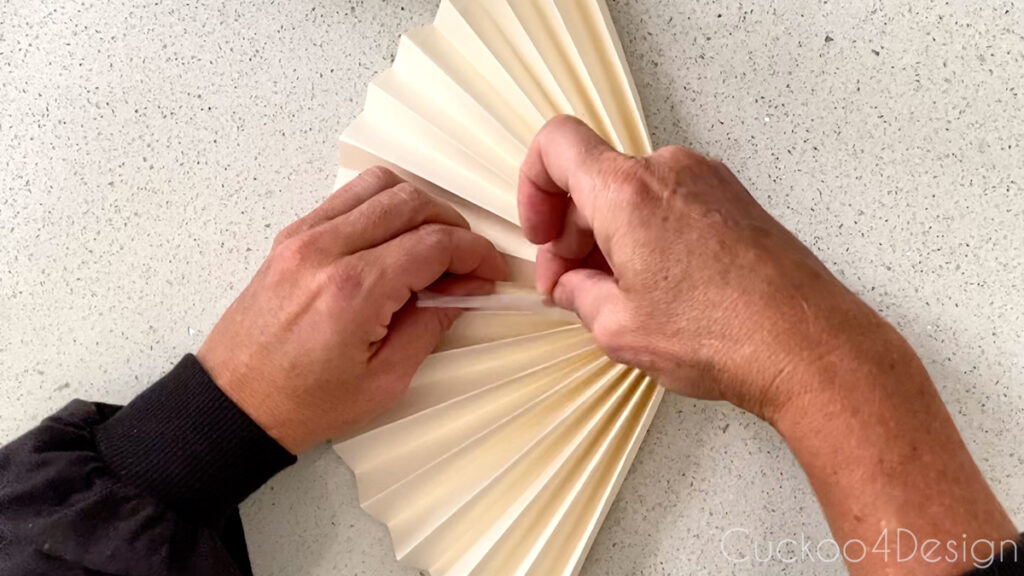
Step 3: Glue the fan center together
I used clear tape to glue the center together. That way the fan looks even.
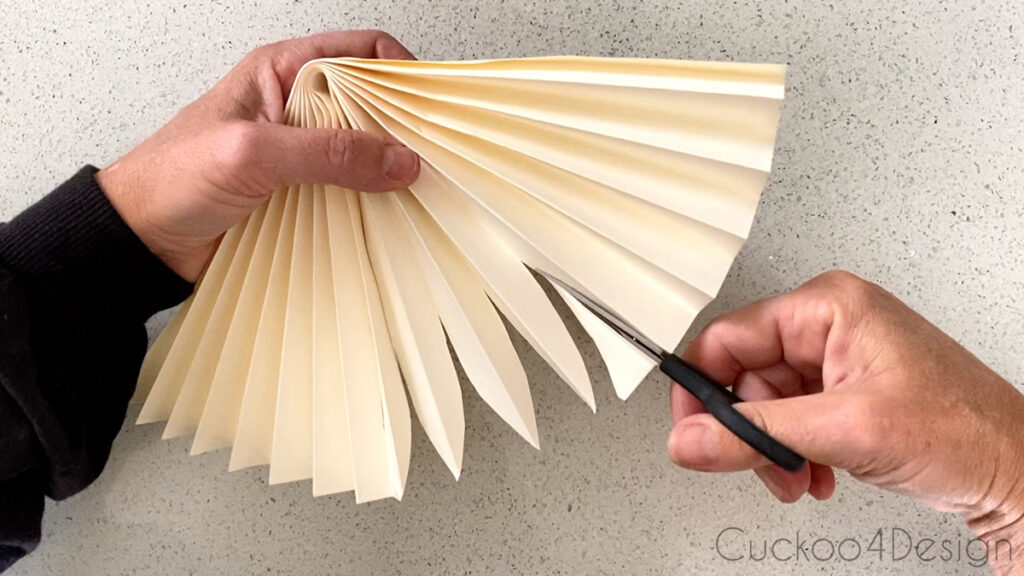
Step 4: Cut the ends of the fan
I used small craft scissors to cut palm leaf details into the paper fan. The ends should look like uneven points just like you would find in nature.
And you are done!
Bonus organic leaf paper fan design
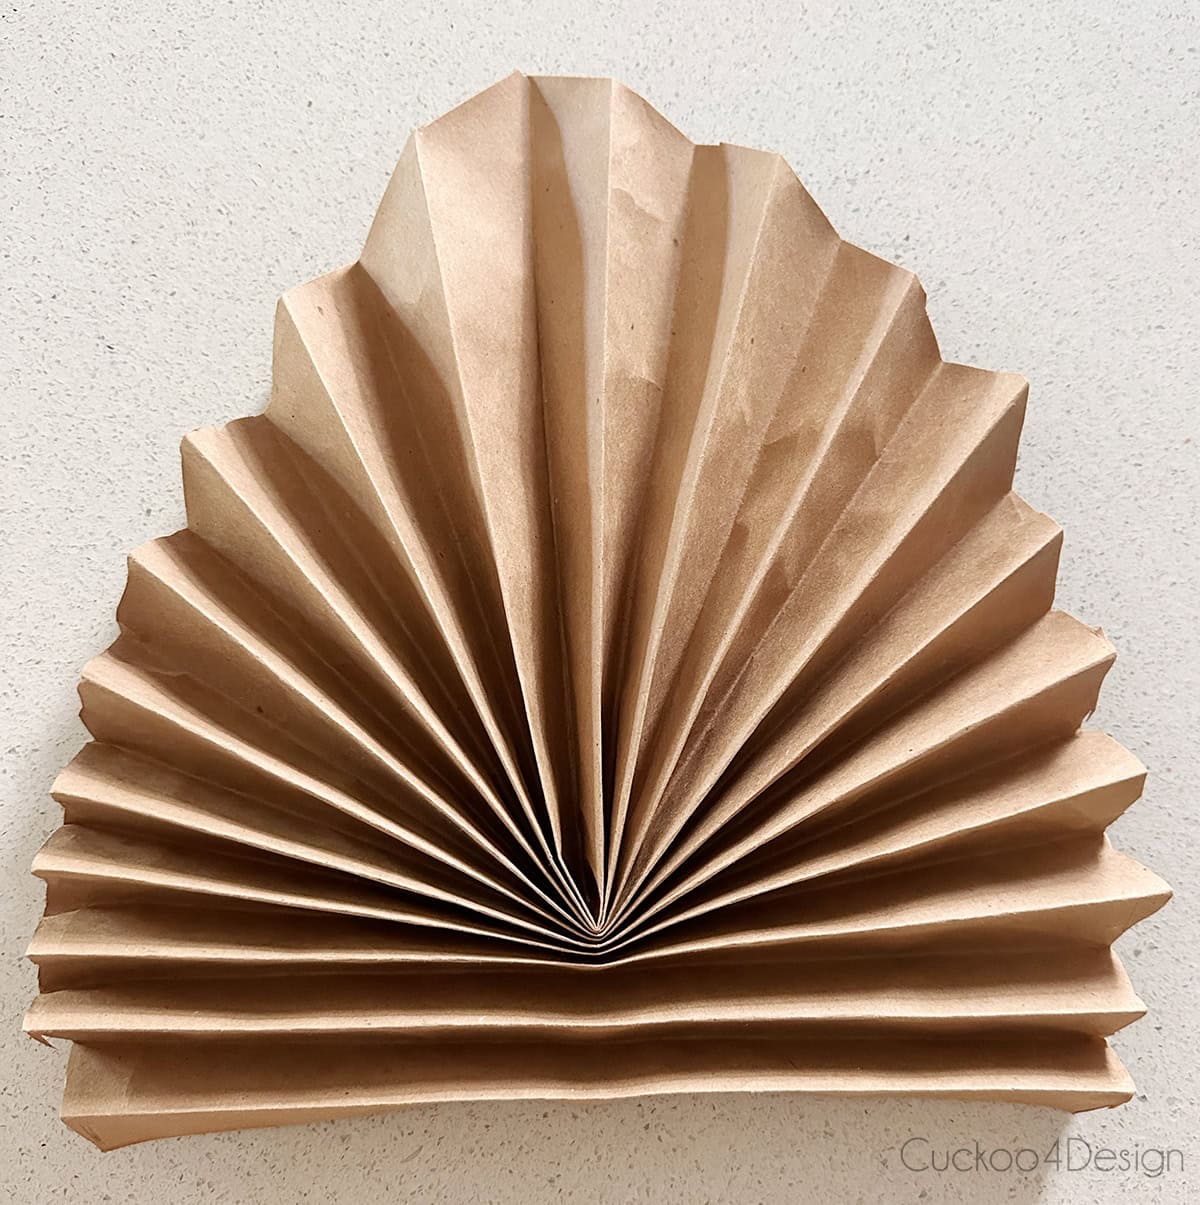
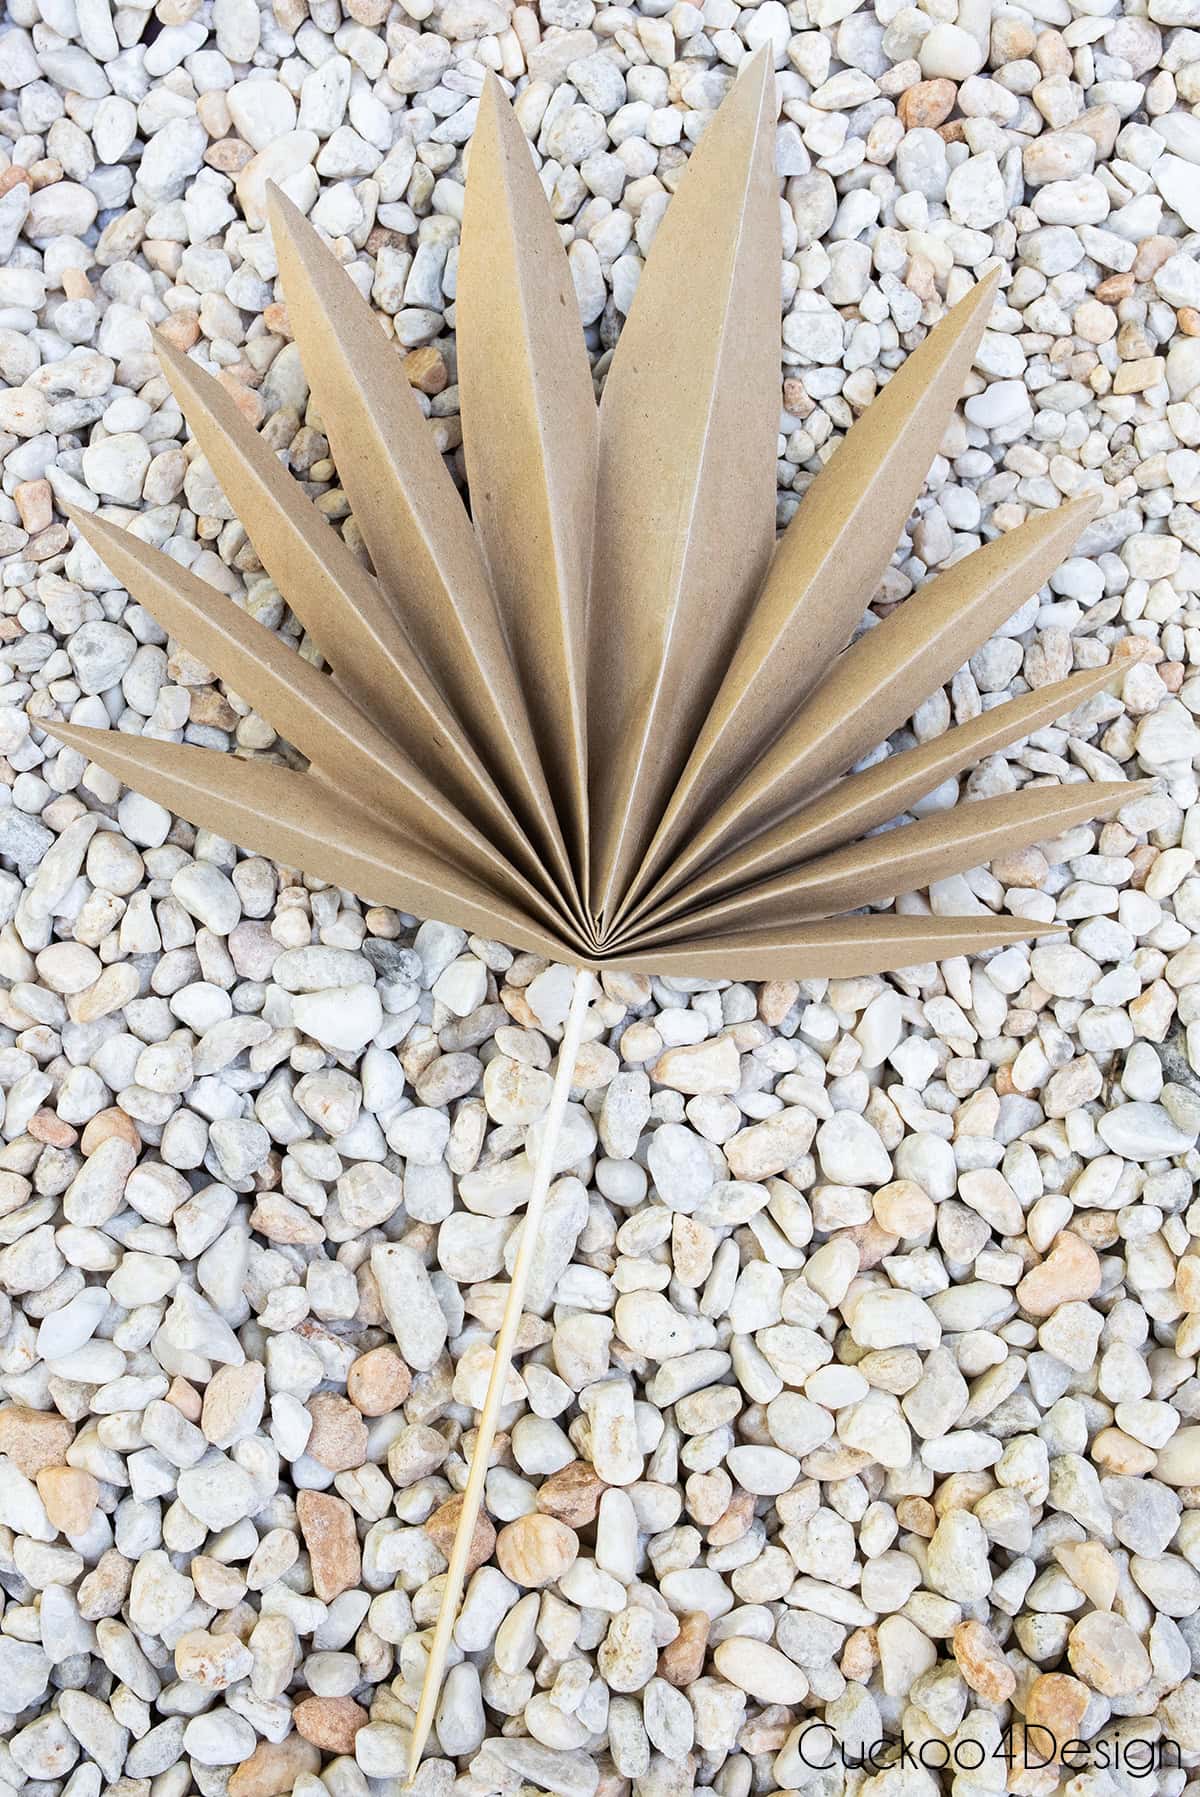
For an even more natural look, use brown packaging paper. Fold it and tape/glue it the same way, then trim the top into a rounded curve that’s highest in the middle before cutting out the spaces between the folds.
That way, the center fronds end up longest, just like a real sun palm leaf. Don’t worry about being symmetrical. Leaves aren’t either!
I poked a wooden skewer into the center as a stem. That way, you can arrange them in a vase or tuck them into a bouquet.
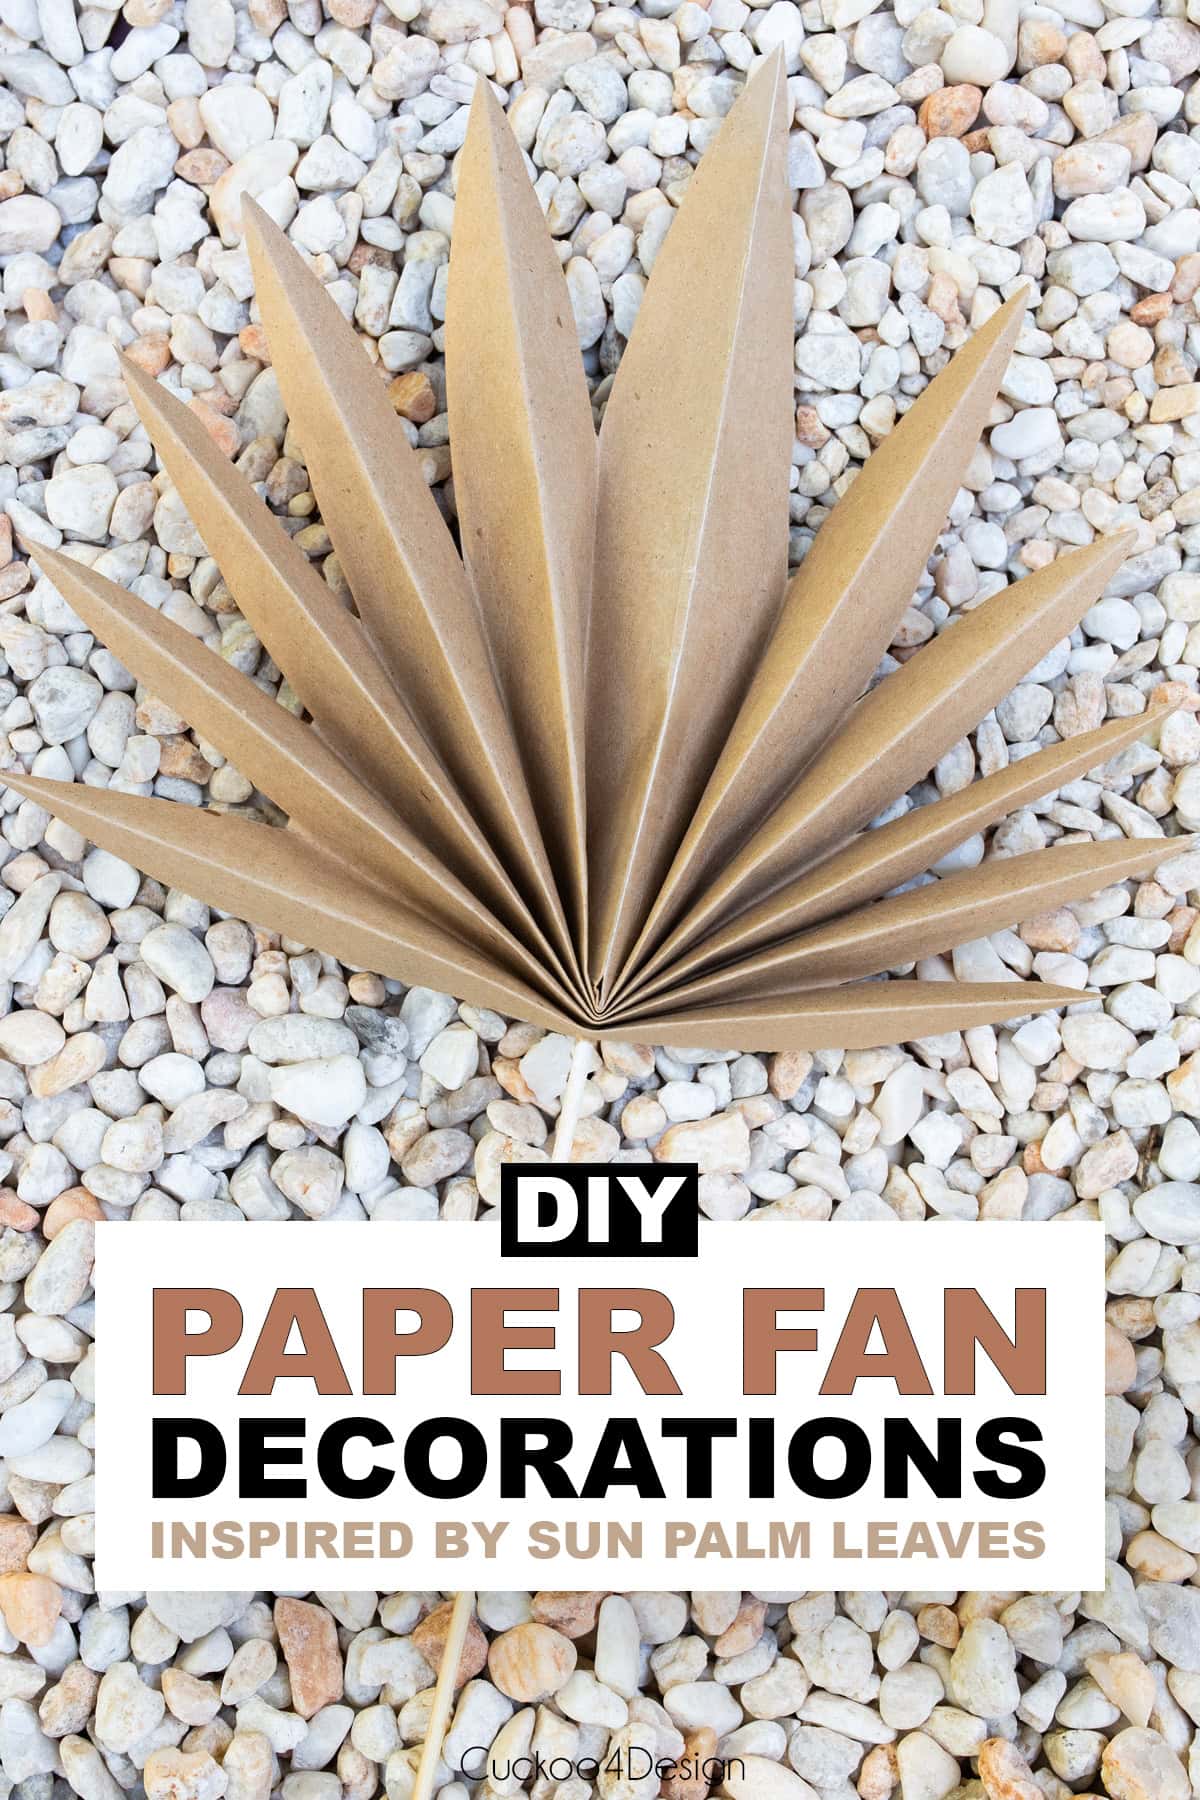
Finished paper fan decorations
I only made one size, but you could definitely make these in different sizes.
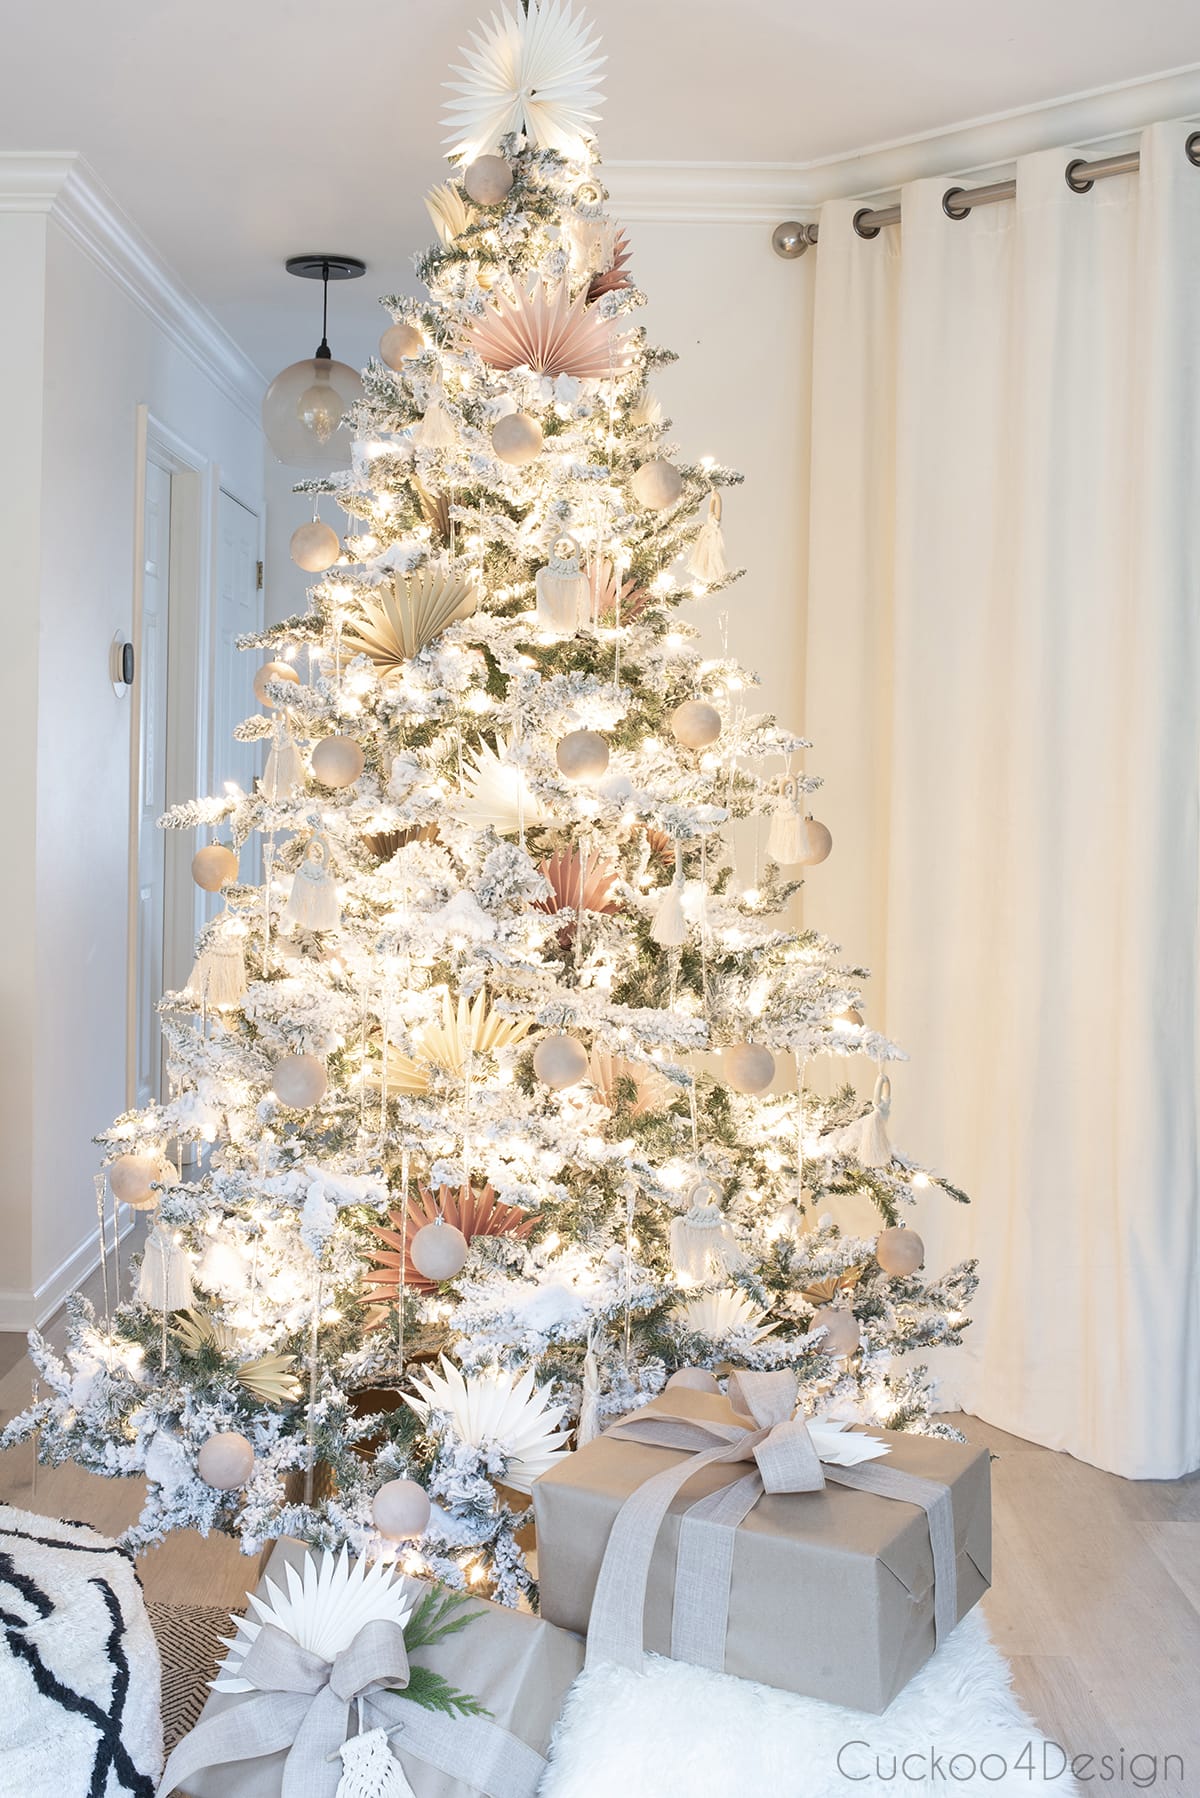
Paper fan decorations on our Christmas tree
I love the idea of having larger fans at the bottom of the tree and smaller fans towards the top.
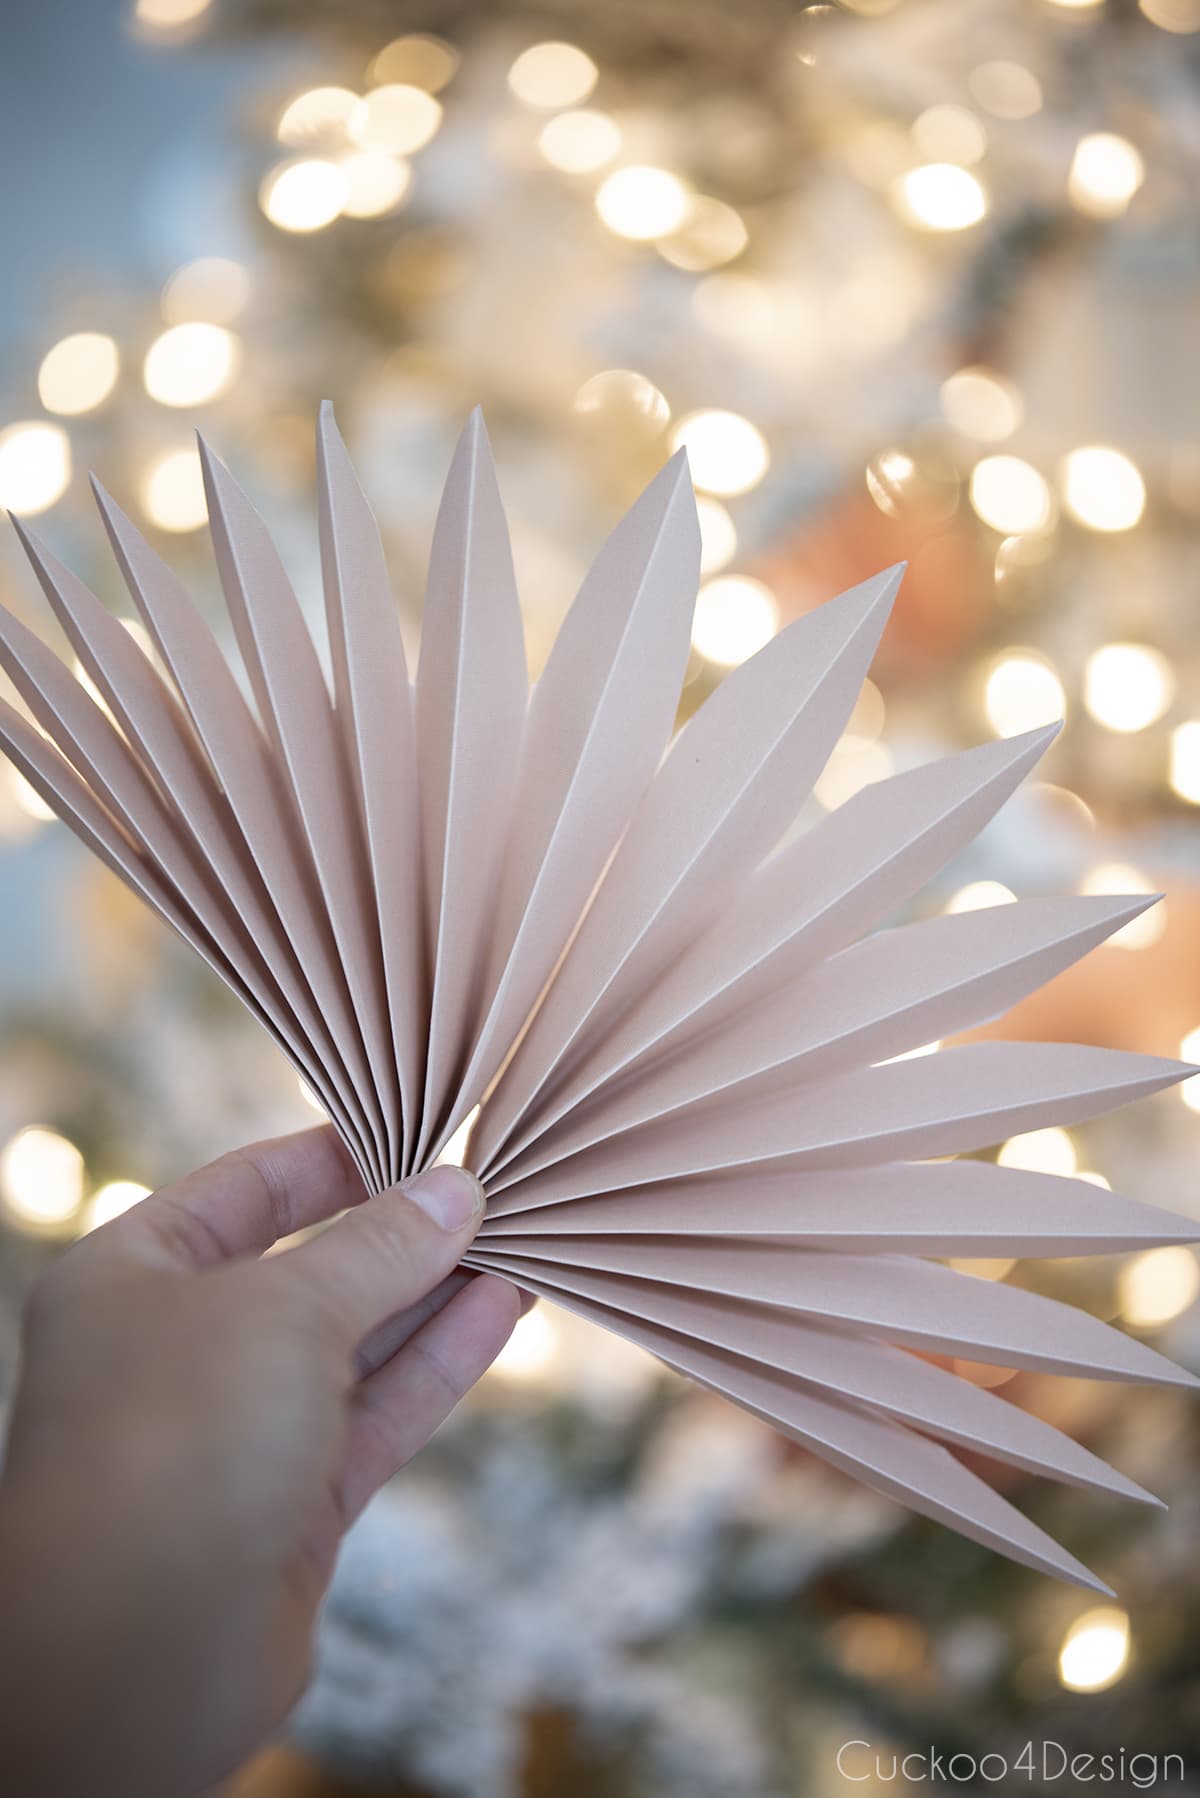
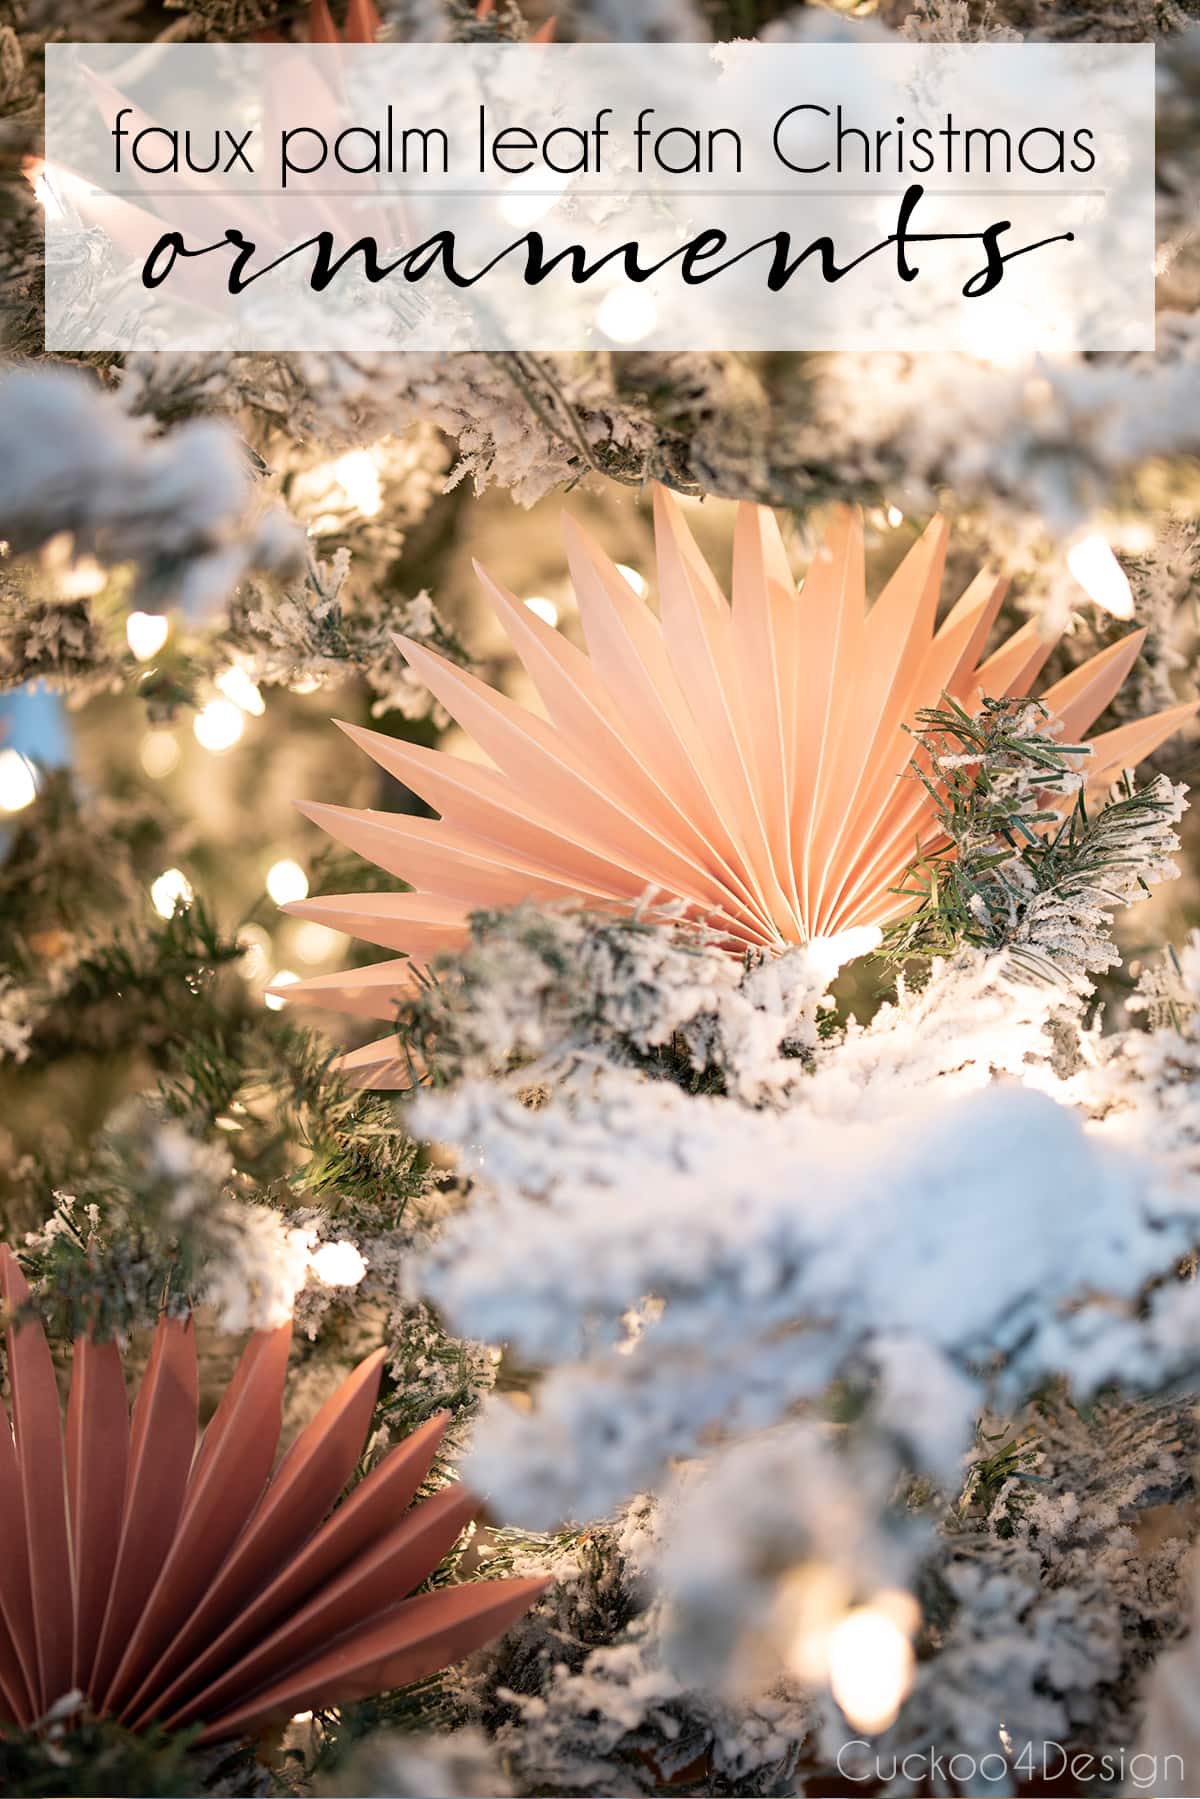
I really love how the finished paper fan decorations look hanging in our flocked Christmas tree. They aren’t exact palm leaf replicas, but hint at it just enough.
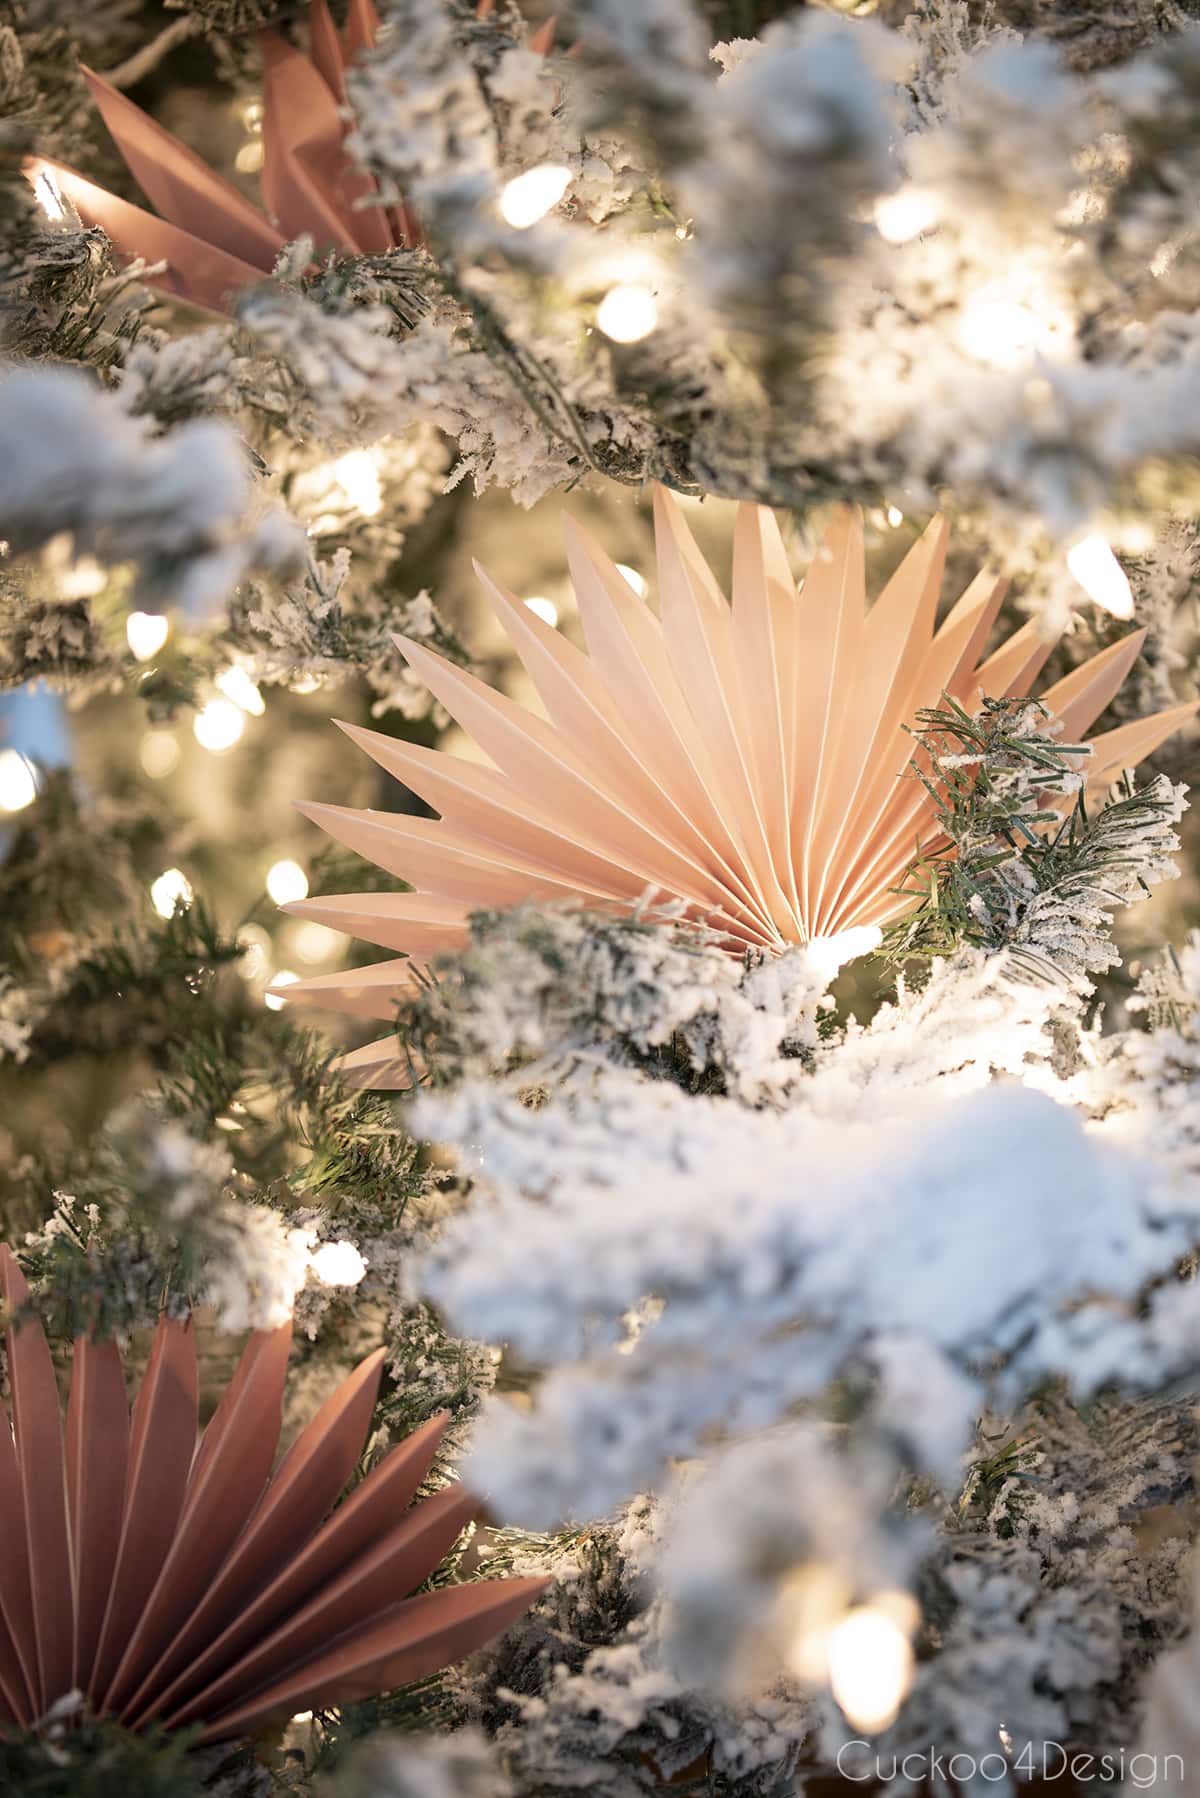
RELATED: I used the same colored cardstock paper to make origami diamond ornaments, which is another great idea and completely different look.
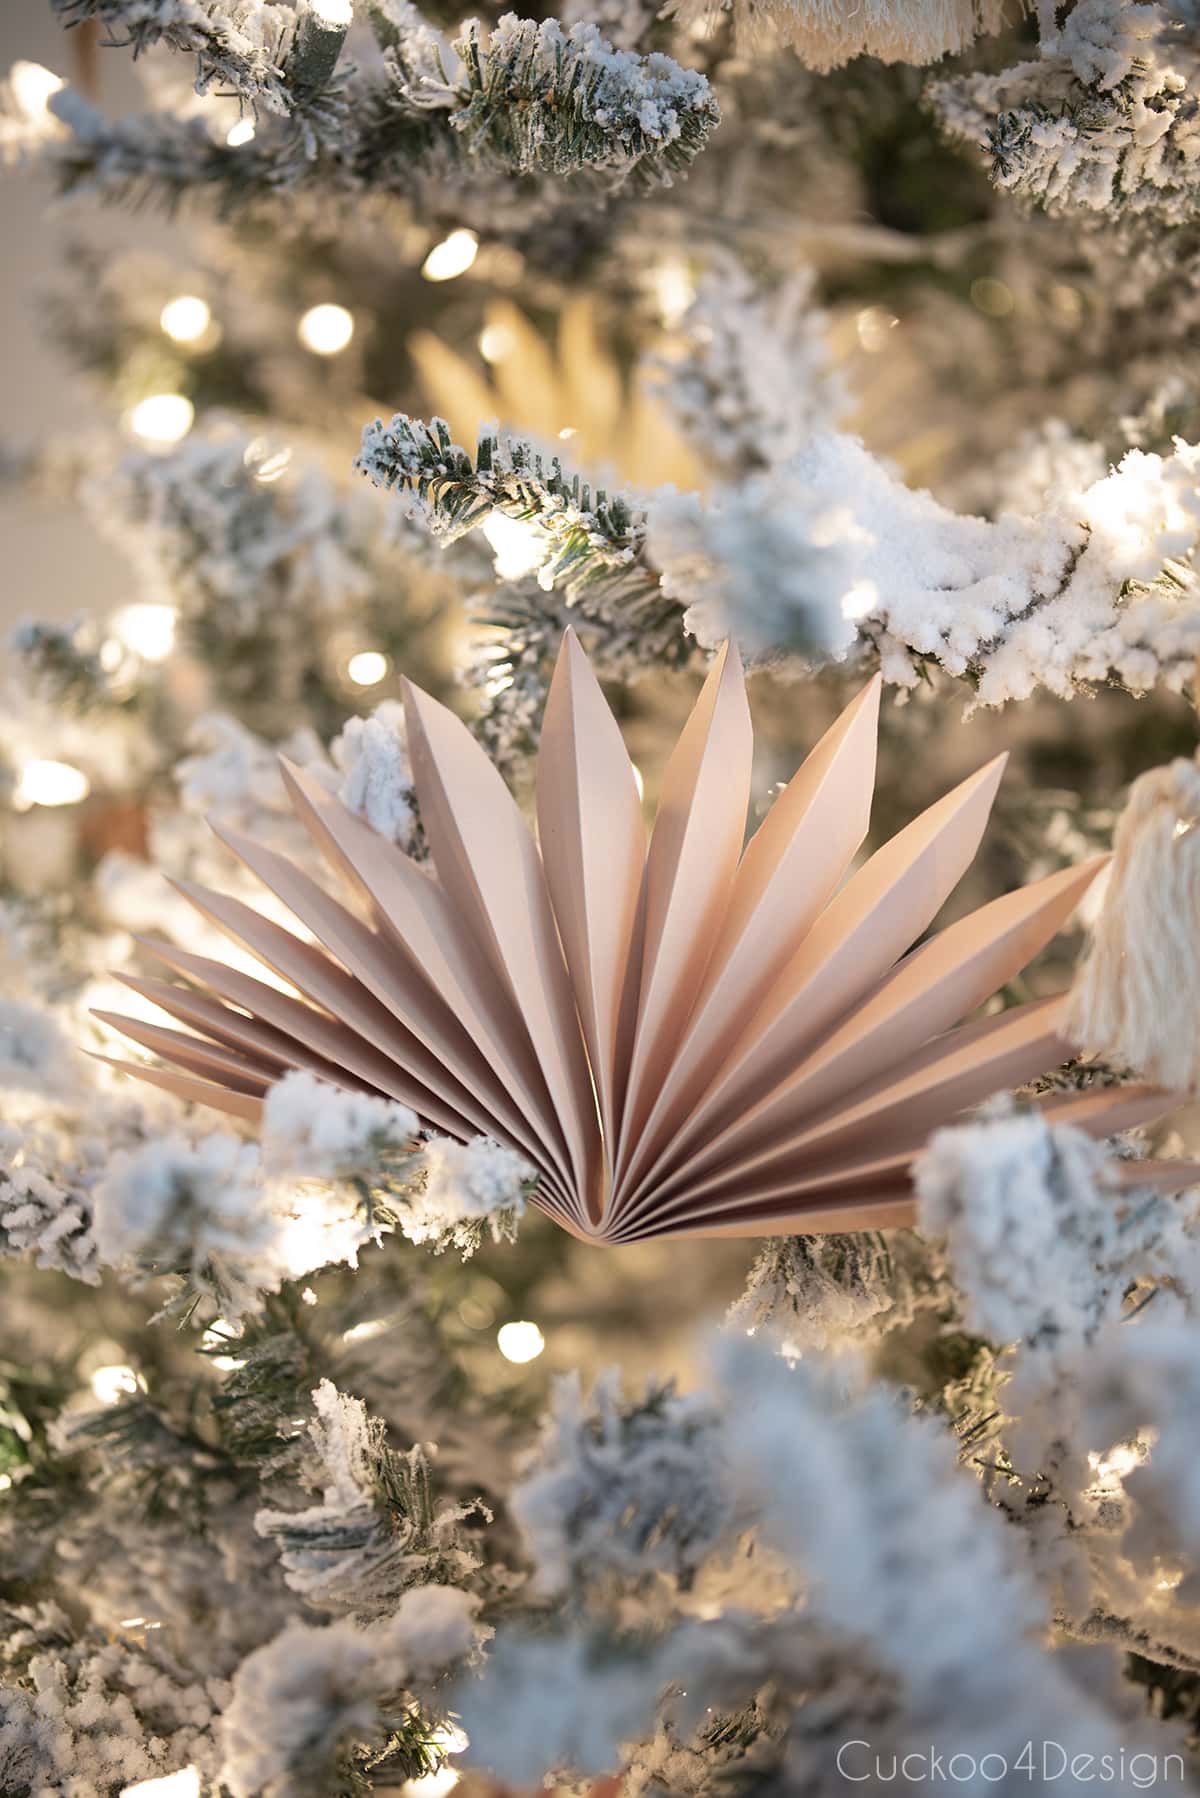
I really love the colors that came in the paper package, too, because they really go with my color scheme, but I didn’t use all of them. I left the darker browns and greens alone and only used the lighter colors.
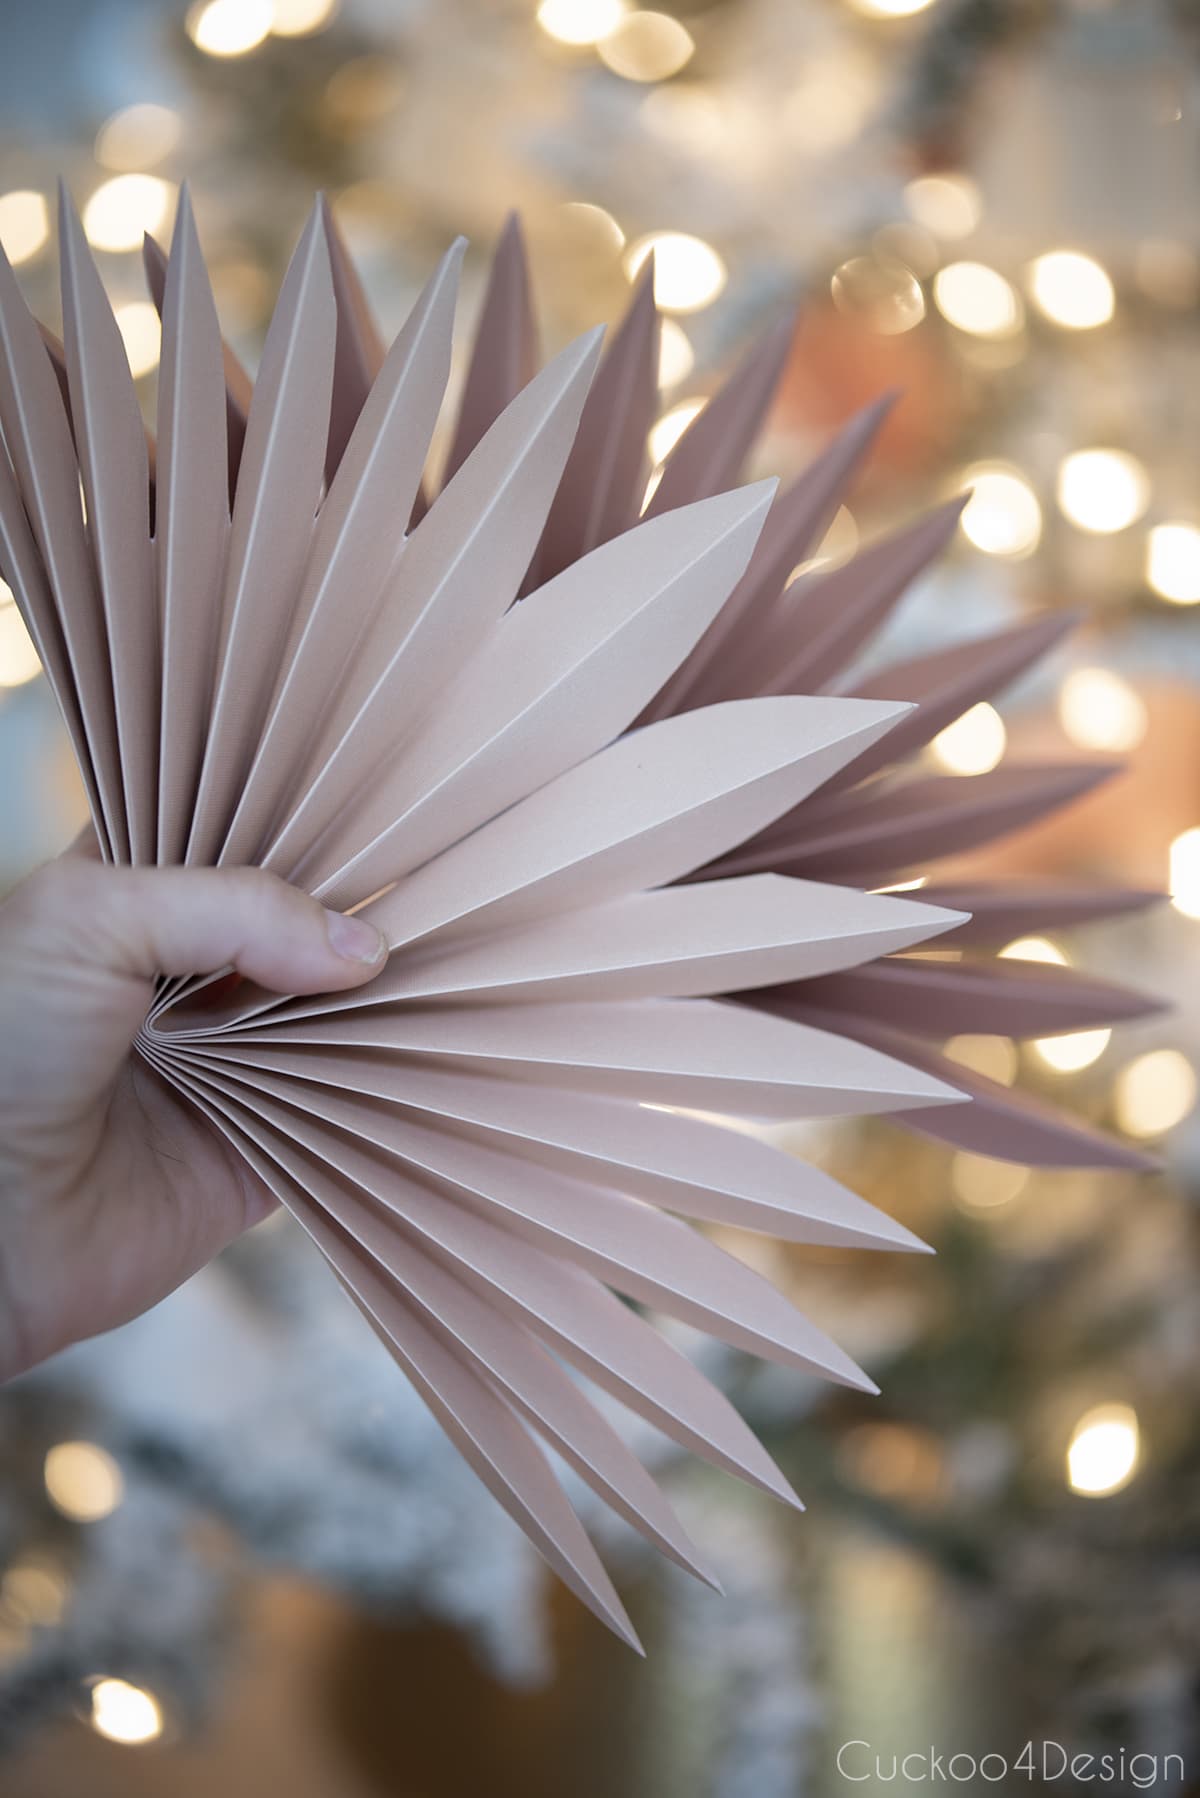
Below, you can see the colors used for the DIY paper fans much better when the lights aren’t lit on the tree. For the tree top, I used two fans glued together.
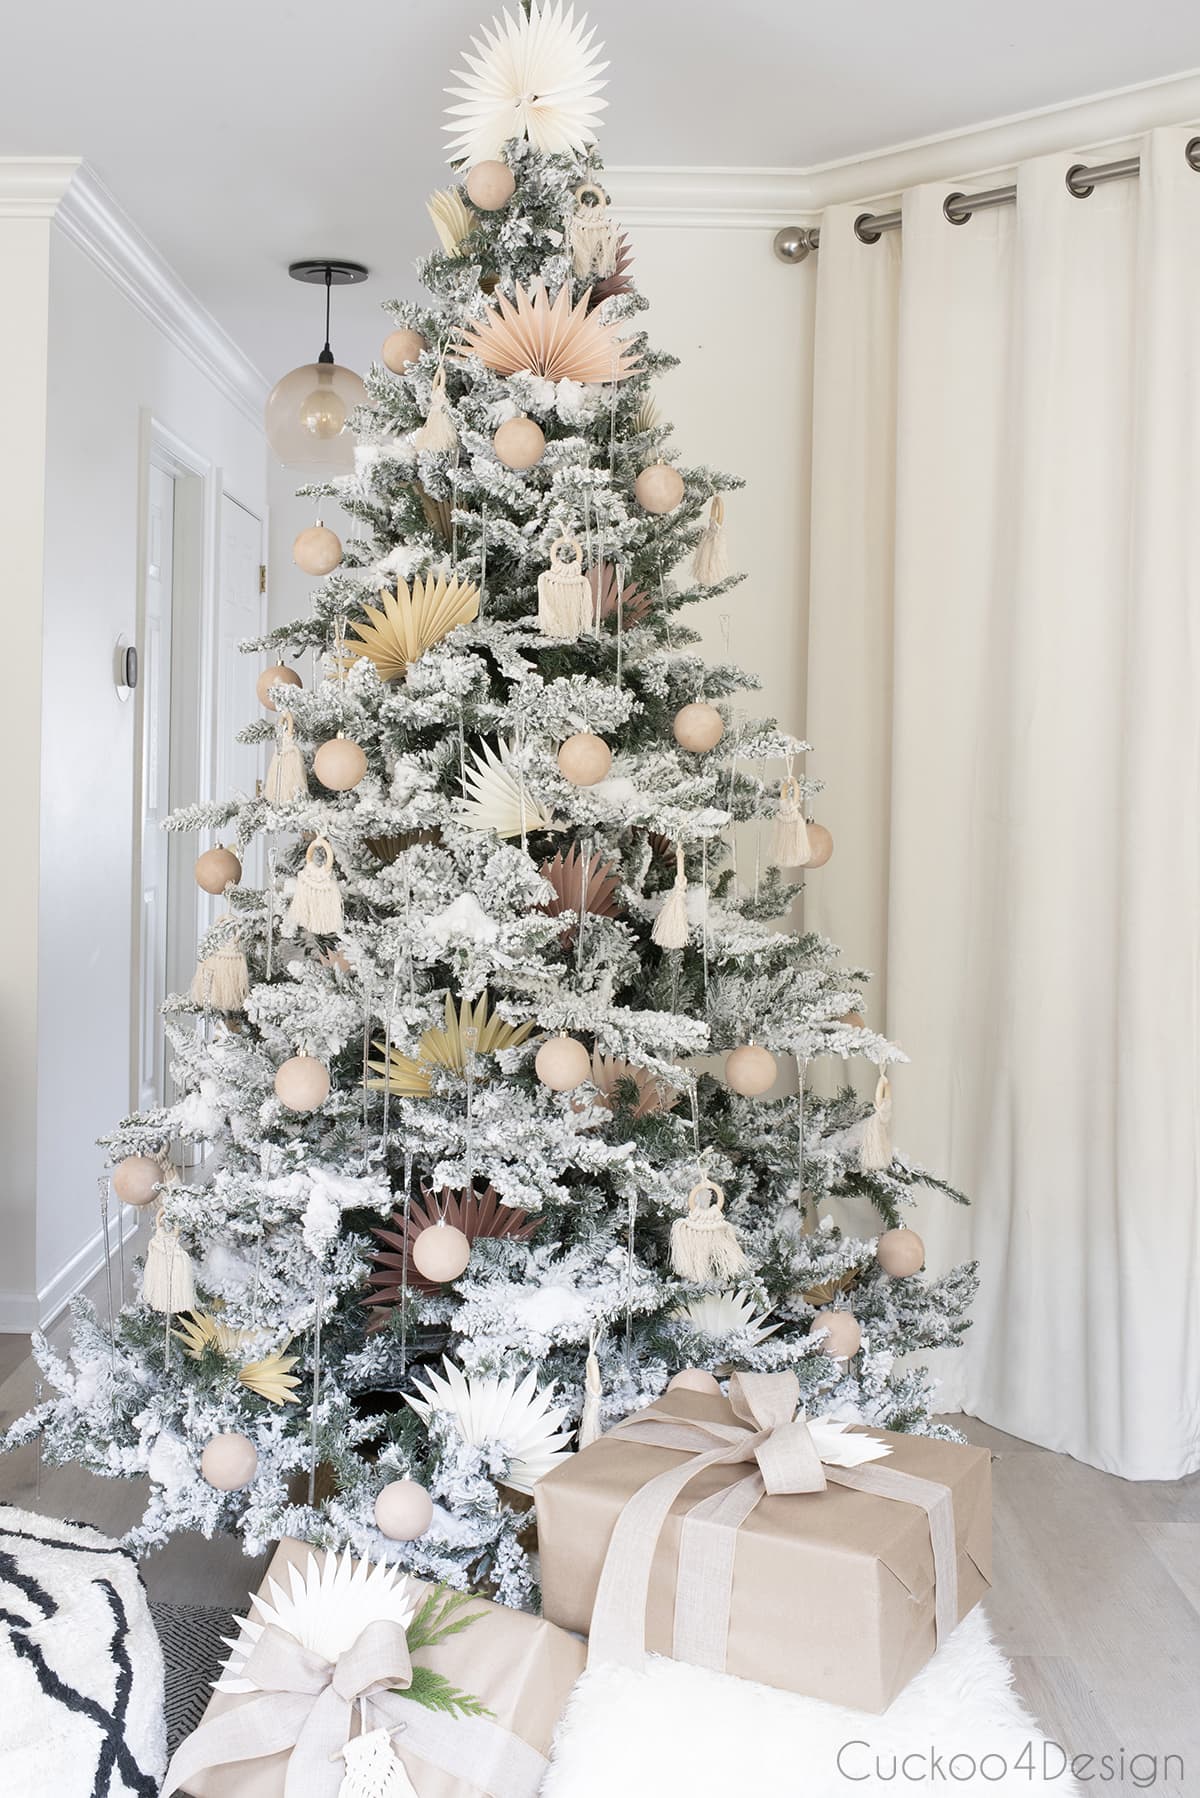
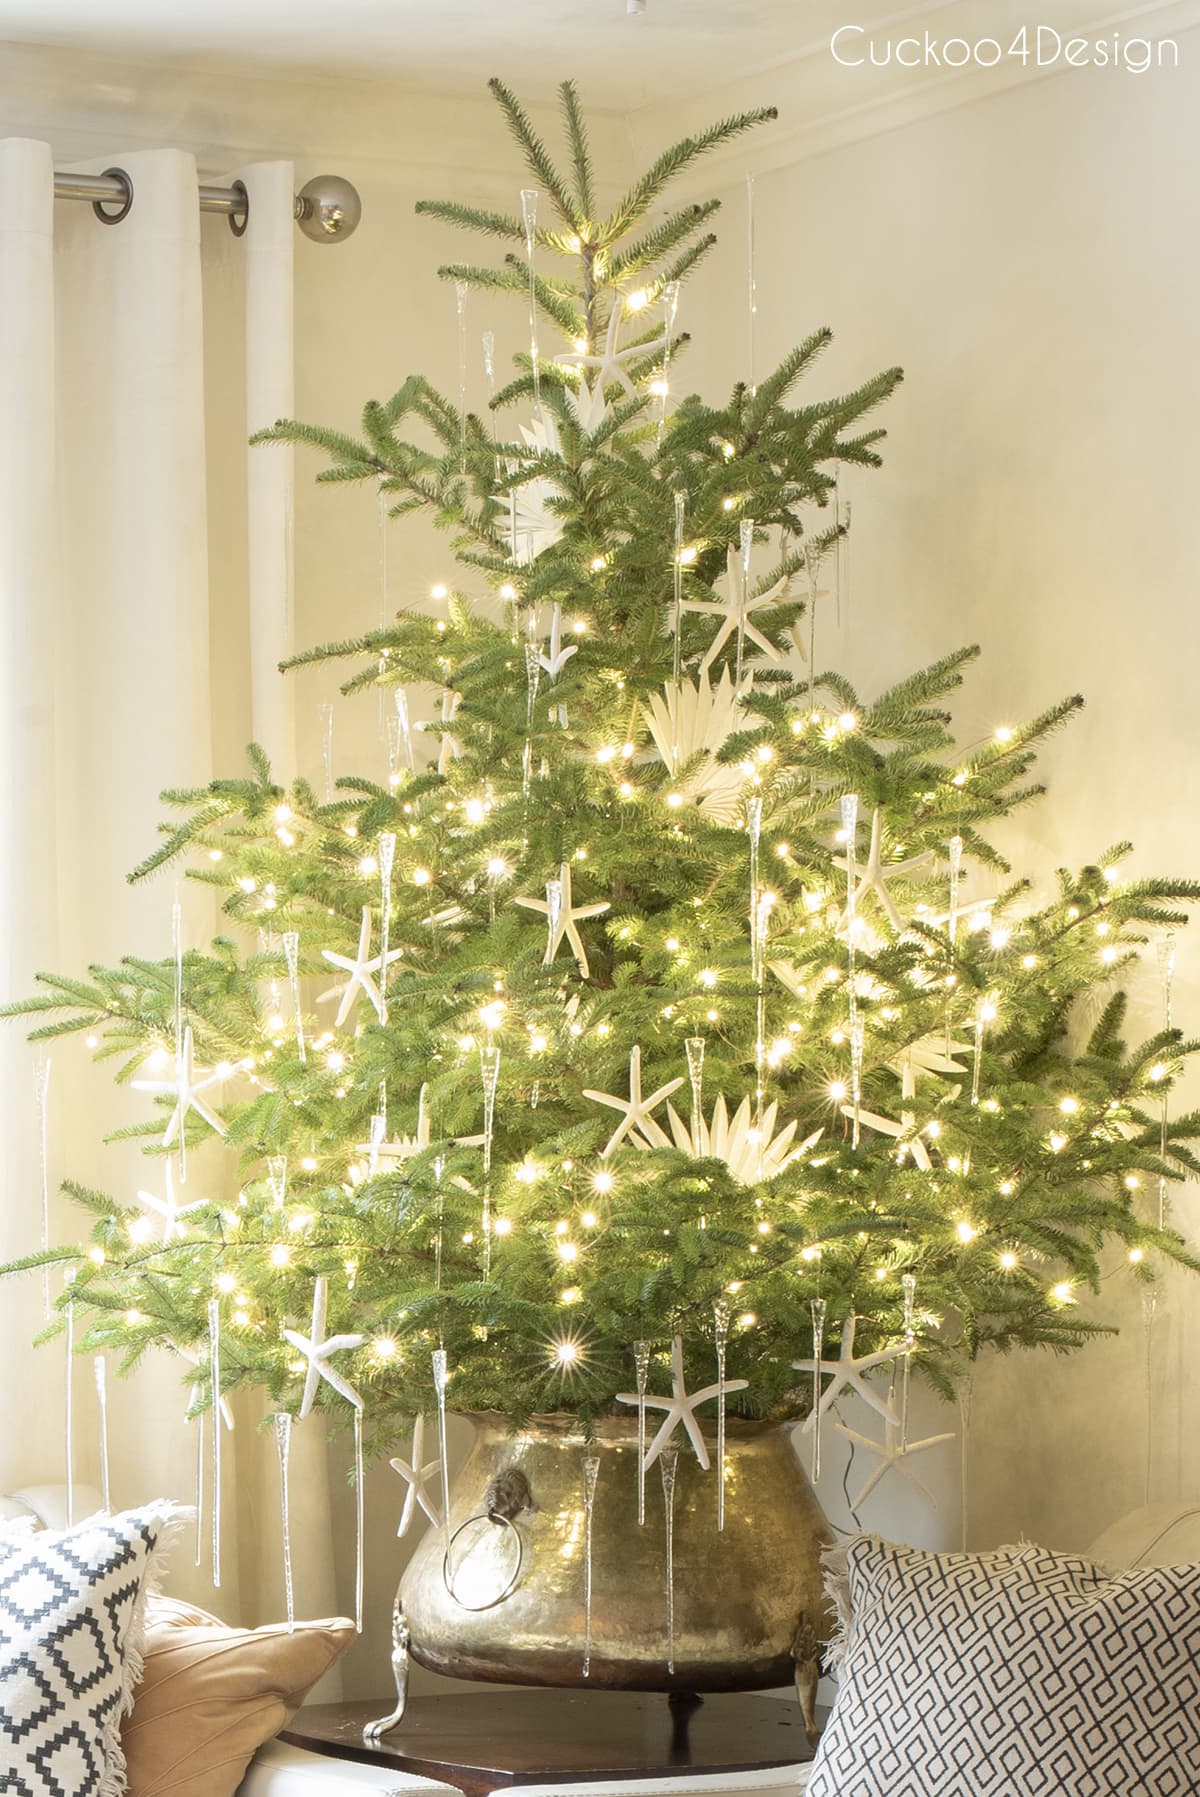
And below you can see the ivory fan ornaments with my easy starfish ornaments and the glass icicles again.
Check out my other Christmas ornaments blog posts, like my gingerbread Christmas ornaments, DIY poster board snowflakes with a free snowflake svg file for your Cricut, easy honeycomb ornament, foldable 3D stars, and favorite wooden German Christmas ornaments.
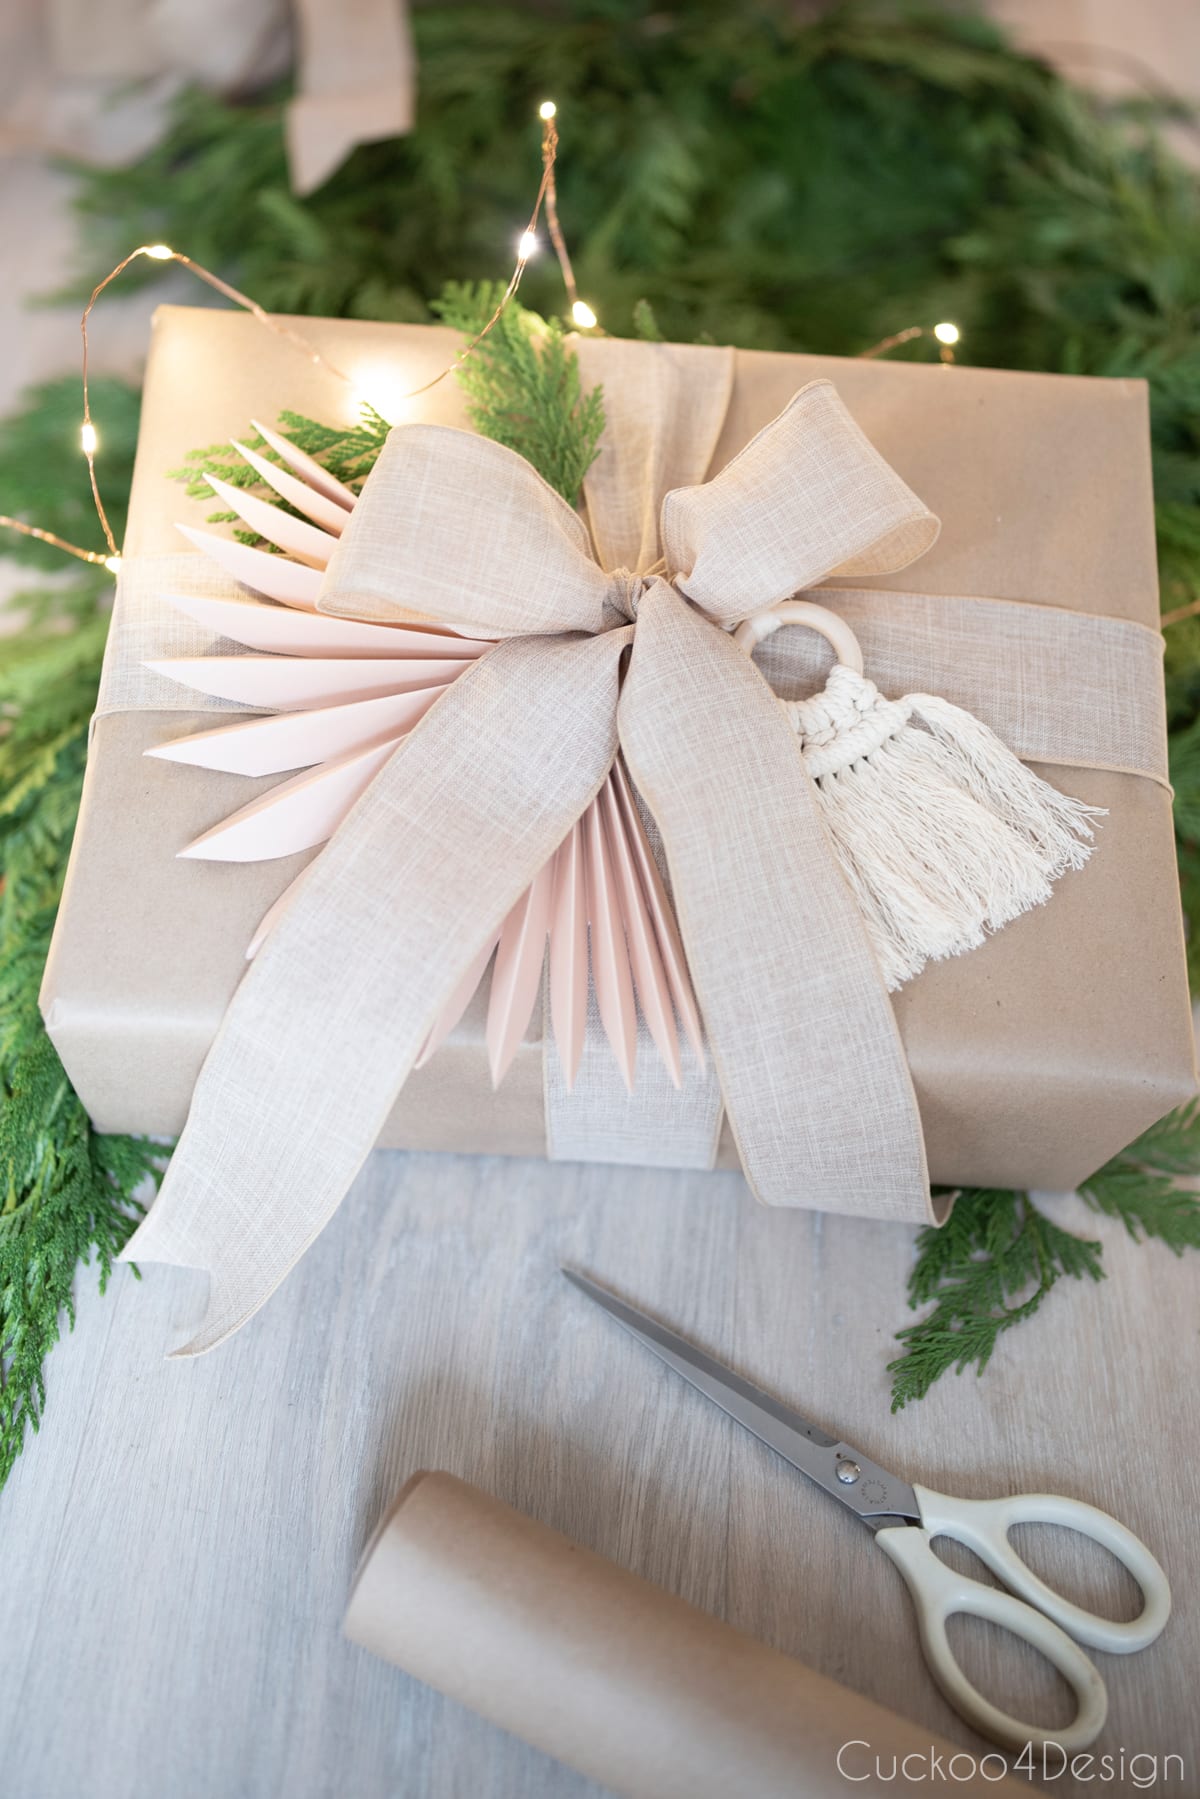
Paper fan decorations as gift toppers
The fans also look really nice on top of gifts as gift toppers. You can also check out my DIY macrame ornaments to add to your tree and gifts.
Paper fan decorations in a vase for year-round decor
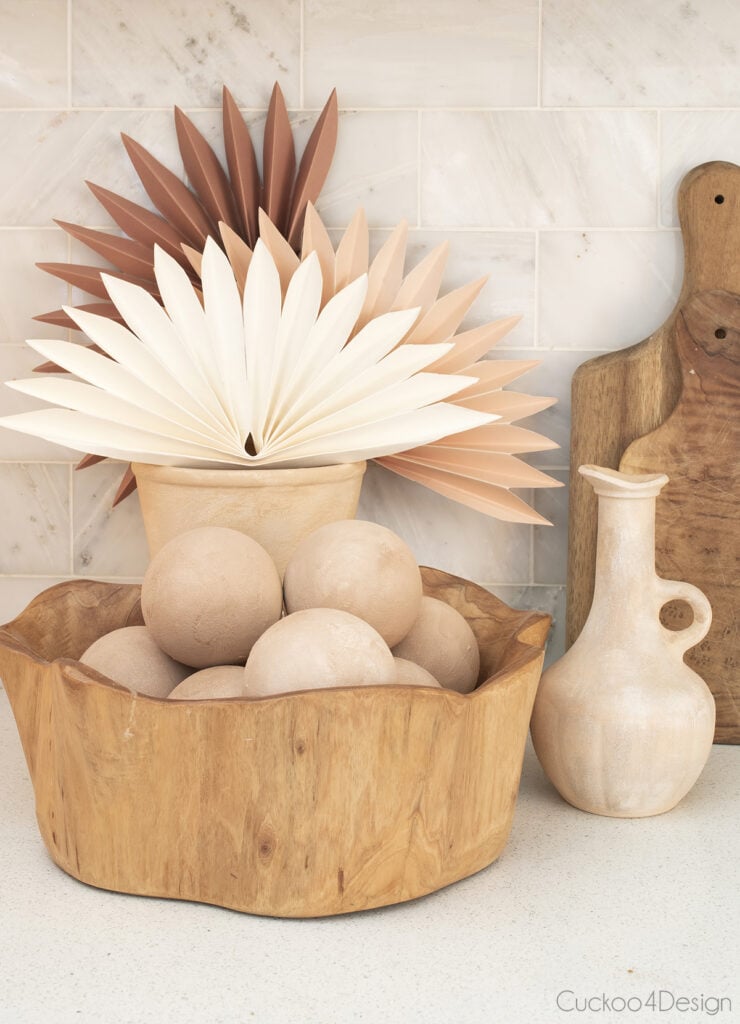
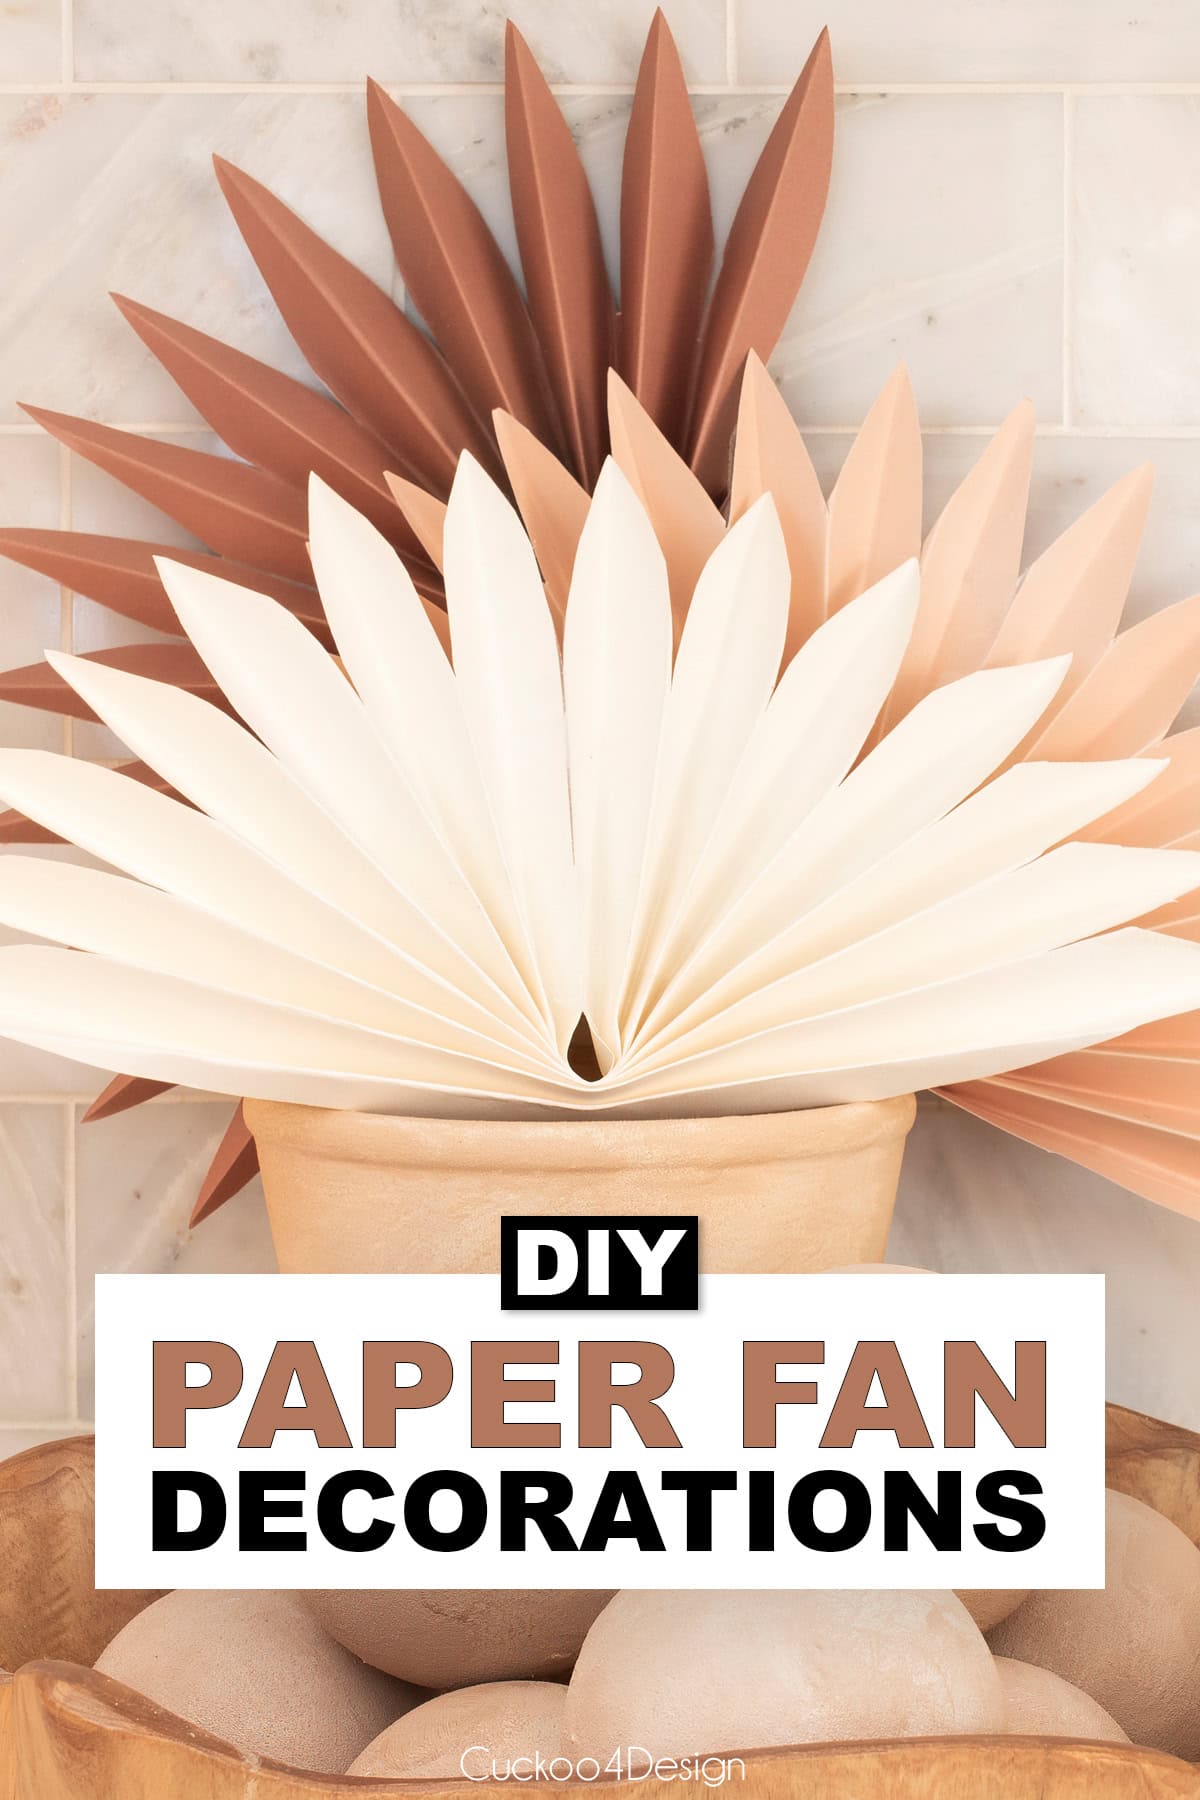
I already showed you the bonus version of the organic leaf shape with brown paper, but you don’t have to take the extra step if you don’t want to. They look great in a pot all year, not just on the Christmas tree.
The pot and the spheres in the bowl (pictured below) are painted with DIY baking soda paint. The spheres are actually my baking soda paint ornaments, used as a bowl filler.
Tschüß,


How to Make DIY Paper Fan Decorations
Make easy DIY paper fan decorations that look like dried sun palm leaves for your Christmas tree, gift toppers, or boho decor all year.
Materials
- paper, card stock, or wrapping paper in pastels and neutral colors
- clear tape
- brown packaging paper (optional, for the organic leaf version)
- wooden skewers (optional, for stems)
Tools
- craft scissors
Instructions
- Fold the paper accordion-style
Start by folding the card stock/piece of paper accordion-style with your fingers.
You can use the ends of the scissors to flatten the even card stock creases.
Finish the paper fan folds and don't worry about it being very even folds. It's ok to be off a little bit. - Fold the paper fan in half
Fold the paper fan in half, which can be a little tricky if you are using the cardstock since the center is thick. - Glue the fan center together
I used clear tape to glue the center together. That way the fan looks even. - Cut the ends of the fan
I used small craft scissors to cut palm leaf details into the paper fan. The ends should look like uneven points just like you would find in nature.


Notes
- Card stock holds its shape best. For larger fans, use a larger sheet of paper.
- Simply stick the paper fans into the Christmas tree where there are gaps; the branches will hold them up
- Besides the Christmas tree, the fans work as party decor, gift toppers, or in a vase.
- Bonus organic leaf version: use brown packaging paper, fold and tape it the same way, then trim the top into a rounded curve that's highest in the middle before cutting out the spaces between the folds.

Poke a wooden skewer into the center as a stem to use the fans in a vase or bouquet.
I am so obsessed with your decor this year- it’s incredible! I need to up my craft game next year.. like craft at all… ha!
Thanks Cassie, I wish we could craft together.
I love this idea and your macrame ornaments are stunning too.
Thanks so much Marty. I’ve been crafting so much this year.
You always come up with the best ornaments! These are fabulous.
Hi Gretchen! Thanks so! I hope you are doing well. This year has been crazy
All of your holiday decor is absolutely lovely! You’ve inspired me to get crafty, especially with what I can do with the grandchildren.
Thank you so much for sharing your “gift”. Happiest Holidays to you and yours!!
Happy Holidays to you too and thank you so much! Enjoy crafting with your grandchildren
Thank you. Life doesn’t get much better (or messier 🙂 than crafting with the grandchildren! We’ll have fun doing yours and they’ll love taking them home.
That’s wonderful!