

The ultimate guide to making easy macrame gnomes (free pattern)
These DIY macramé gnomes are one of the easiest beginner macramé projects you can make and are perfect as Christmas ornaments, gifts, or craft-night projects. This tutorial shows several ways to make macramé gnomes with step-by-step instructions and a full video walkthrough.
You don’t even need to knot anything, and just need easy loops called Lark’s Head Knots. Yeah, they are called knots, but really aren’t. These cuties are the perfect Christmas decor, gift, or craft kit. Let me show you different ways to make these macrame gnomes in my video tutorial and with my written step-by-step instructions. No macrame skills are needed, and perfect for a beginner or kids.

How to make macrame gnomes
You can make macrame gnomes in many different ways, and don’t even have to use macrame yarn for them; you can make yarn gnomes instead, too. I prefer the macrame yarn because you can unravel the yarn nicely.
Craft supplies needed to make macramé gnomes
- 4mm ivory macrame cord
- colored 3mm macrame yarn or 4mm macrame yarn (colored yarn I used: green, blush, rust)
- brown or natural wooden beads
- scissors (I love using hair-cutting scissors)
- hot glue and hot glue gun
- wooden rings
- comb
- measuring tape
- toilet paper rolls
- clear packaging tape (optional)

Macrame gnome video tutorial
In my video, you can see what my hands were doing, which is always helpful. If the video doesn’t load for you, then you can watch it on my YouTube Channel instead.
If you love beginner-friendly Christmas crafts, you might also enjoy my DIY macrame angels and macrame Christmas ornaments. They are all part of the round-up of all my easy and affordable DIY Christmas ornaments that work well together.
Step-by-step tutorial for macrame gnomes
This is also a great tutorial to use macrame yarn scraps. I have a bag full of random length strings in different colors from other projects. The green is actually leftover from my macrame Christmas tree pattern and my macrame wall hanging using modern macrame patterns. The blush color is leftover from my tassel keychain DIY. I bought the red for this project since some people also call them macrame Santas. I guess the one with the red hat comes closest to being a macrame Santa.
Let’s get started.
Step 1: Cutting all the macrame yarn that is needed
In my video, you saw that you can make the hats in different ways, so you need to decide if you want to use 3mm yarn or 4mm yarn for your hats (or both).
- Beard measurements:
I only like using 4 mm cord for the beard because it is nice and thick when unraveled. For the beard using 4 mm yarn, you need 8 strings that are around 9 inches long. - Hat measurements:
For a hat that is made from 3 mm macrame yarn, you need 25 pieces (maybe you can squeeze an additional piece in there) of yarn that are around 11 inches long.
For a hat that is made from 4 mm macrame yarn, you need 14 pieces of yarn that are 14 inches long. - Mustache measurements:
For the mustache, you need 4 pieces of yarn that are 10 inches long.
I made templates out of cardboard that can be used to wrap the yarn around. All you need to do is cut the ends of the wrapped yarn on one side, and you have cut the yarn measurements in bulk.

Here are the cardboard template measurements so you can cut your own:

Macrame gnome kit: Here is another idea. I used sandwich bags and turned them into macrame gnome kits. Each bag contains everything needed to make one macrame gnome. Just cut your yarn for the bags and add the rest of the supplies. (Of course, you can make them look cuter with gift bags or boxes, too)
I made these little macrame kits to bring as gifts for my niece, which is actually why I wrote today’s blog post. She loves to craft, and we can make them together when I’m visiting Germany soon.

Step 2: Make the gnome’s beard
Loop all 8 pieces of macrame yarn that are 9 inches long onto the wooden ring by folding the cord in half and then using a Lark’s Head Knot as pictured below. After that, use a comb to unravel all the macrame yarn for the beard of your gnome. Wait to trim the beard until the end.
A Lark’s Head Knot is the simplest macramé knot, which is basically just folding a string in half and looping it over an object.

Step 3: Make the mustache (optional)
You can just use a wooden bead as the nose without adding yarn as a mustache. But I personally prefer to have a mustache. It just looks better to me. Part of the beard is usually a mustache too! Right? Plus, that way you can’t see the hole in the wooden bead.
Switch up the skin color of the gnome with different colored wooden beads.

Use the 4 strands that you cut earlier, at 10 inches long, and thread them through the hole of the wood bead. Then unravel and comb the yarn the same way you just did with the beard.

Step 4: Make the hat
This post may contain affiliate links from which I will earn a commission at no extra cost to you. View my full disclosure policy.
Cut a piece from a toilet paper roll with sharp scissors. I cut mine to about 0.75″ long.
Now you need to decide which look you like better for the brim of the hat. You can make the hat with 3mm or 4mm yarn. And you can either use a regular Lark’s Head Knot, or you can invert the Lark’s Head Knot. (Examples are in the image below, so you can decide which look you like better!)

TIP: You can’t invert the 4mm yarn with Lark’s Head Knots because the yarn is too thick and the hat won’t fit onto the gnome.
The Lark’s Head Knots are the same again as you did earlier for the beard.
Use a small piece of yarn to tie off the top of the hat and then trim the ends of the cords before unraveling, combing, and trimming them again.

If the toilet paper roll isn’t that sturdy, you can wrap it with some clear packaging tape to make it more sturdy. The reason I’m mentioning this is that I’ve had the cardboard break twice already while making a gnome hat, and then I had to start over again. Or just make sure you use a thicker, sturdy toilet paper roll.

RELATED: Collect your toilet paper rolls for easy and affordable toilet paper roll snowflakes as Christmas ornaments. You’ll be surprised how cute they look.
If you want to invert the Lark’s Head Knots, you just have to add them to the toilet paper ring with the loop showing in the back instead of the front pictured above. And then all you have to do is stuff the string through the center of the toilet paper ring.

If you want to make macrame gnome ornaments and need them to hang for that purpose, then you can add a looped string as a hanger to the center of the hat.

ANOTHER TIP: You can stuff the hat with cotton balls or a crumbled up paper towel if you want it to look fuller.

Step 5: Assemble the gnome
Use the hot glue and hot glue gun to assemble the macrame gnome. I added a generous amount of hot glue to the outside of the wooden ring above the beard and stuck the hat onto the ring. After that, I added more glue to the inside of the beard and stuck the nose and mustache inside the ring under the hat. Keep it all in place with your hands until the glue has cooled off.

Step 6: Trim the beard
Now it’s time to trim the mustache and macrame beard to the desired length. Use the comb and scissors (I like using my hair-cutting scissors) to give it a nice even trim.


Photos of different finished macrame gnomes


Another cute idea is to braid part of the gnome’s mustache. This look reminds me a bit of Vikings, doesn’t it? I think it is so cute.


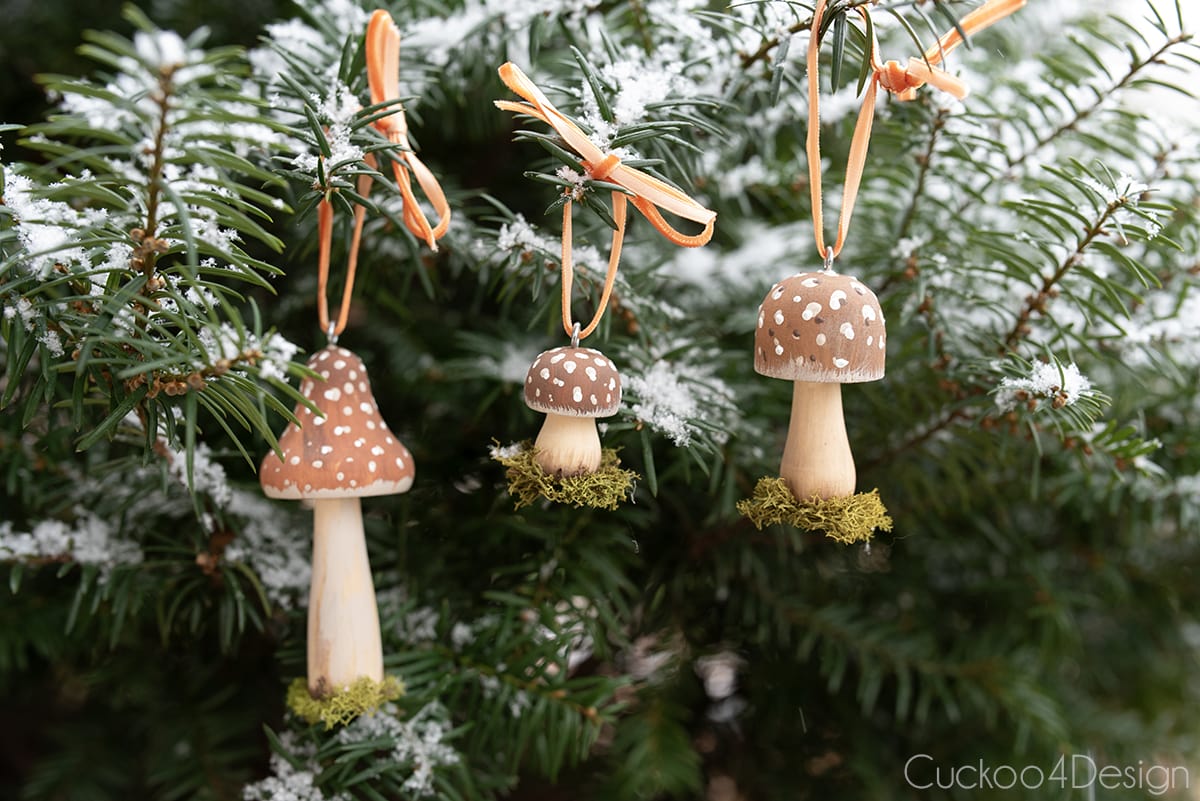
You might also like my DIY mushroom Christmas ornaments hanging in the same pine tree.

Macrame gnomes FAQ
No! These macrame gnomes are extremely beginner-friendly. You only use simple loops called Lark’s Head Knots, no complicated knotting needed. Kids can make them too.
You can use either macrame cord or regular yarn, but macrame cord gives the most polished look:
• 4 mm macramé cord creates a thicker, fuller beard
• 3 mm or 4 mm macramé yarn works well for hats
• Regular yarn works, but it doesn’t unravel as nicely for the beard
Here are the standard lengths for one gnome:
• Beard: Eight 9″ strands of 4 mm cord
• Hat (3 mm yarn): Twenty-five 11″ pieces
• Hat (4 mm yarn): Fourteen 14″ pieces
• Mustache: Four 10″ strands
These can be adjusted depending on how fluffy or long you want everything.
If your toilet paper rolls are too flimsy, you can use a paper towel roll cut down or a cardstock strip taped into a ring. ,Wrapping flimsy cardboard with clear tape also makes it stronger
After attaching the cords, use a fine comb (a metal pet comb works beautifully) and brush from the ends upward. Trim to shape once it’s fully fluffed.
No, it’s totally optional!! The gnomes look cute with or without one.
But adding a mustache covers the bead hole, adds more personality, and creates a fuller “face” look.
Usually, the hat is too thick, or the knots are inverted incorrectly. Try this:
• Don’t invert Lark’s Head Knots on 4 mm yarn (too bulky)
• Use fewer strands on the hat
• Tighten the tie at the top so the hat narrows
• Make sure your cardboard roll is at least 0.75″ tall
Absolutely! They’re perfect as craft kits or gifts!
You can male a bundle of pre-cut yarn, a wooden bead, a wooden ring, a piece of toilet roll, and a tiny instruction card. People love receiving them as stocking stuffers or craft-night projects.
Where to buy macrame gnomes
Honestly, I don’t see any reason to buy these gnomes pre-made because they are way too easy to make yourself. But in case you just really don’t want to DIY macrame gnomes, I added a selection for you below. Simply scroll through the thumbnails.

More affordable and easy DIY Christmas ornaments
- You might like my macrame ornaments DIY if you are looking for affordable Christmas decor that you can make with leftover macrame yarn.
- Or you can make cheap cardboard Christmas decorations with some puffy paint and ribbon to get a faux gingerbread look.
- A super easy honeycomb ornament using printer paper is another one of my favorites that is almost free.
- If you like working with paper and card stock, then my simple paper fan decorations as ornaments are a stylish way to add some interest to your Christmas tree.
- The DIY lunch bag snowflakes are my all-time favorite Christmas decorations!
- Another one of my favorites are the DIY painted ornaments using cheap plastic ball ornaments and baking soda paint that I made a couple of years ago and keep bringing back.
Aren’t they cute? You should definitely try to make some of your own.
Tschüß,


How to make easy macrame gnomes
Learn how to make a whimsical macrame gnome with some simple supplies in this detailed and easy-to-follow step-by-step tutorial.
Materials
- 4mm ivory macrame cord
- colored 3mm macrame yarn
- brown or natural wooden beads
- hot glue sticks
- wooden rings
- toilet paper rolls
- clear packaging tape (optional)
Tools
- scissors (I love using hair cutting scissors)
- hot glue gun
- comb
- measuring tape
Instructions
- Cutting all the macrame yarn that is needed
I made templates out of cardboard that can be used to wrap the yarn around. All you need to do is cut the ends of the wrapped yarn on one side, and you have cut the yarn measurements in bulk.
Beard measurements: I only like using 4 mm cord for the beard because it is nice and thick when unraveled. For the beard using 4 mm yarn, you need 8 strings that are around 9 inches long.
Hat measurements: For a hat that is made from 3 mm macrame yarn, you need 25 pieces (maybe you can squeeze an additional piece in there) of yarn that are around 11 inches long.
Mustache measurements: For the mustache, you need 4 pieces of yarn that are 10 inches long.
- Make the gnome’s beard
Loop all 8 pieces of macrame yarn that are 9 inches long onto the wooden ring by folding the cord in half and then using a lark’s head knot as pictured below. After that, use a comb to unravel all the macrame yarn for the beard of your gnome. Wait to trim the beard until the end.
- Make the mustache
You can just use a wooden bead as the nose without adding yarn as a mustache. But I personally prefer to have a mustache. It just looks better to me. Part of the beard is usually a mustache too! Right? Plus, that way you can't see the hole in the wooden bead.
Use the 4 strands that you cut earlier at 10 inches long and thread them through the hole of the wood bead. Then unravel and comb the yarn the same way you just did with the beard.
- Make the hat
Cut a piece from a toilet paper roll with sharp scissors. I cut mine to about 0.75" long. Loop the 25 pieces of 3mm macrame cord onto the toilet paper roll piece with Lark's Head Knots the same way you did earlier on the wooden ring.
Use a small piece of yarn to tie off the top of the hat and then trim the ends of the cords before unraveling, combing, and trimming them again.
- Assemble the gnome
Use the hot glue and hot glue gun to assemble the macrame gnome. I added a generous amount of hot glue to the outside of the wooden ring above the beard and stuck the hat onto the ring. After that, I added more glue to the inside of the beard and stuck the nose and mustache inside the ring under the hat. Keep it all in place with your hands until the glue is cooled off.
- Trim the beard
Now it's time to trim the mustache and macrame beard to the desired length. Use the comb and scissors (I like using my hair-cutting scissors) to give it a nice, even trim.


Notes
- You can prep the materials, pack them in a bag, and give them as a macrame gnome kit gift.
- try adding some braided detail to the beard.
- Use different colored beads for different skin colors on the nose.
- You can strengthen the toilet paper roll by wrapping it with some clear packaging tape.
- Try stuffing the hat with cotton balls or a crumbled-up paper towel if you want it to look fuller.
These are so cute! Could you share the size wooden ring you used?
How about a link to where you found the beads with the large hole?
Hi Kristine, I did link to them all under the craft supplies needed list. You just have to click on the underlined links. I just checked and the links are working.