simple DIY macrame heart for Valentine’s Day
Yeah sorry guys (not sorry LOL), but I have another little macrame tutorial for you. I had some blush yarn left from my stylish tassel keychain tutorial and thought it would be the perfect color for a little macrame heart for Valentine’s Day.
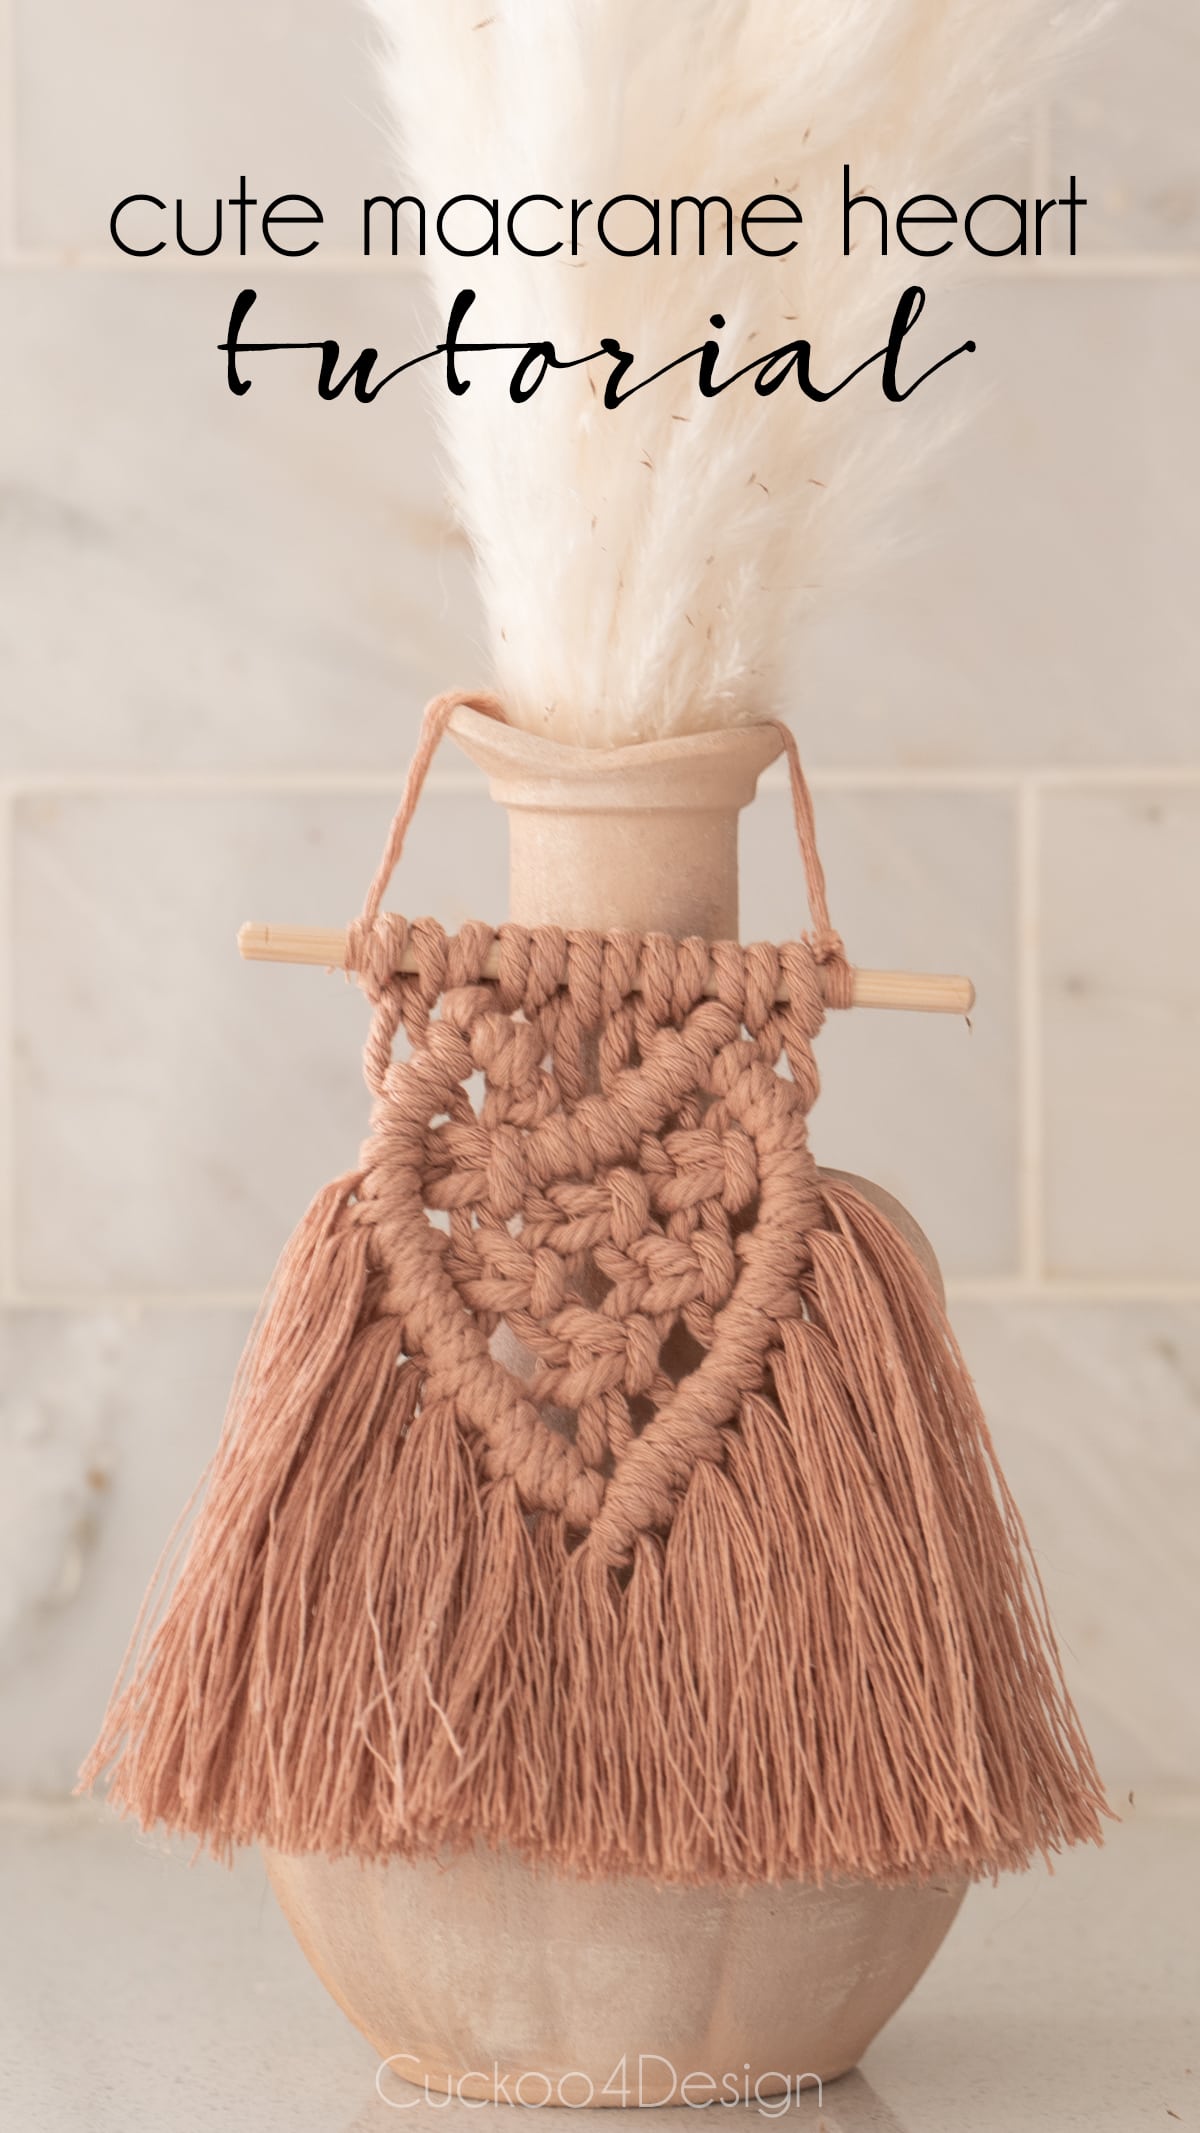
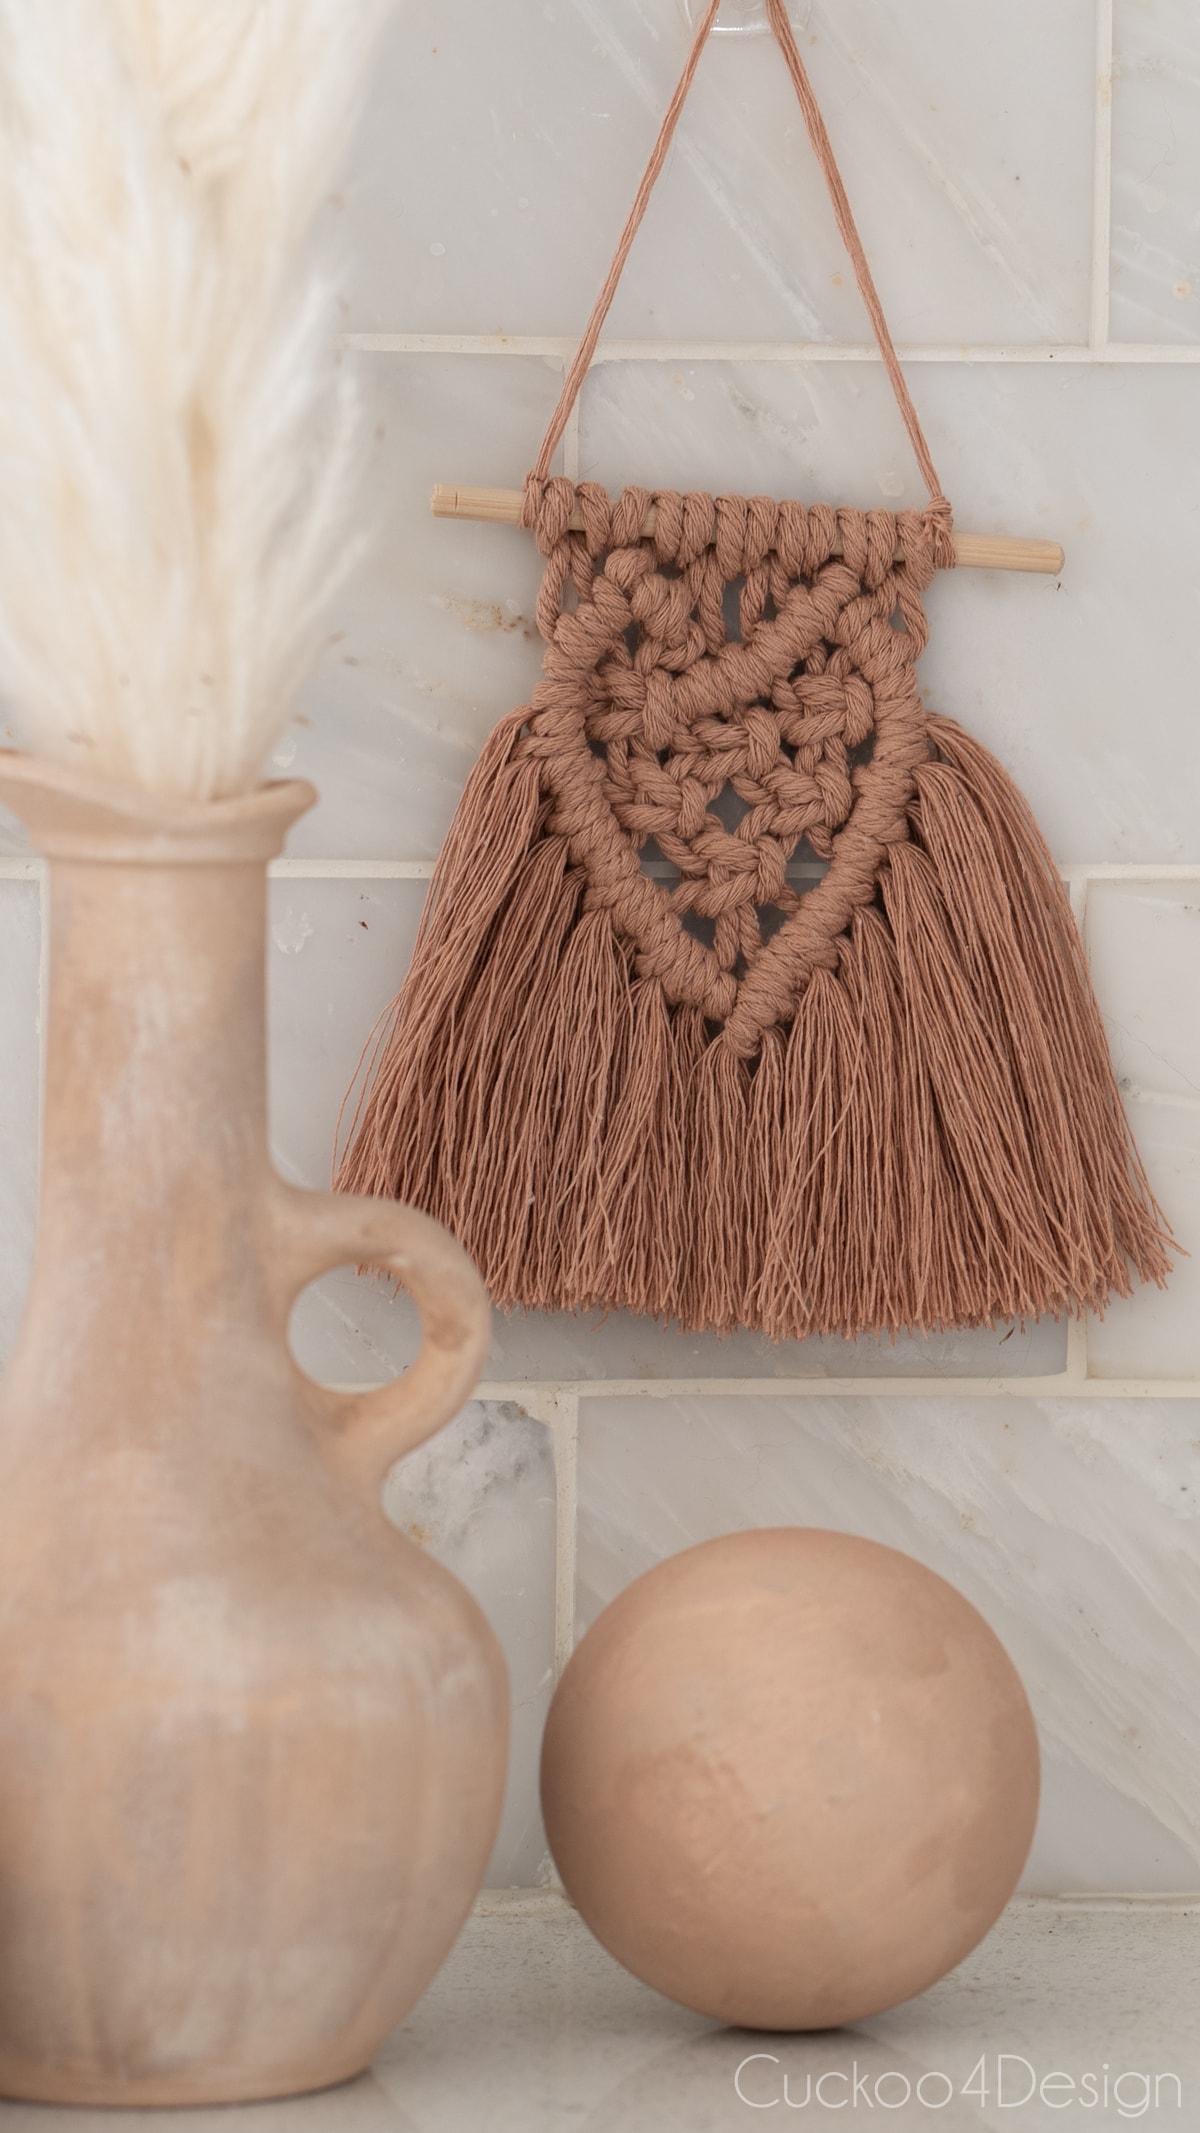
simple blush DIY macrame heart for Valentine’s Day
This post may contain affiliate links from which I will earn a commission at no extra cost to you. View my full disclosure policy.
For those of you who have known me for a long time, you know that I am not a fan of Valentine’s Day but hey I’m a big fan of macrame so I couldn’t resist trying to make my own version of a macrame heart. I actually have 3 different versions in this blog post.
A cute little heart craft isn’t just perfect for Valentine’s Day, you could also use it as a birthday present or Christmas present topper. Or maybe a macrame car charm for the mirror!
Materials needed
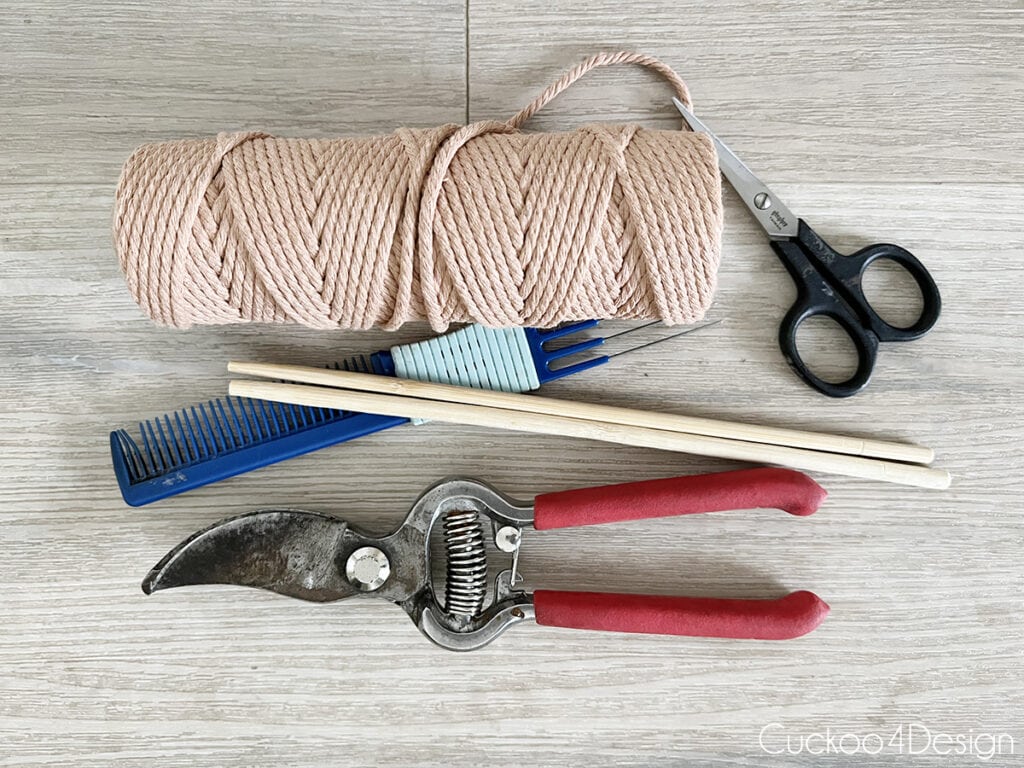
- macrame yarn (as I mentioned earlier, I had yarn left from my tassel keychain tutorial and you can find the yarn HERE – and the ivory yarn)
- sharp scissors
- chopsticks (instead of wooden dowel rod)
- comb
- measuring tape
- plant pruning shears or a small saw to cut chopsticks
- tape
- fabric stiffener/starch (optional)
Macrame heart video tutorial
Here is the video tutorial which helps a lot when you see what my hands are doing. If the video doesn’t load for you, you can head to my YouTube channel and watch it there.
Step-by-step instructions
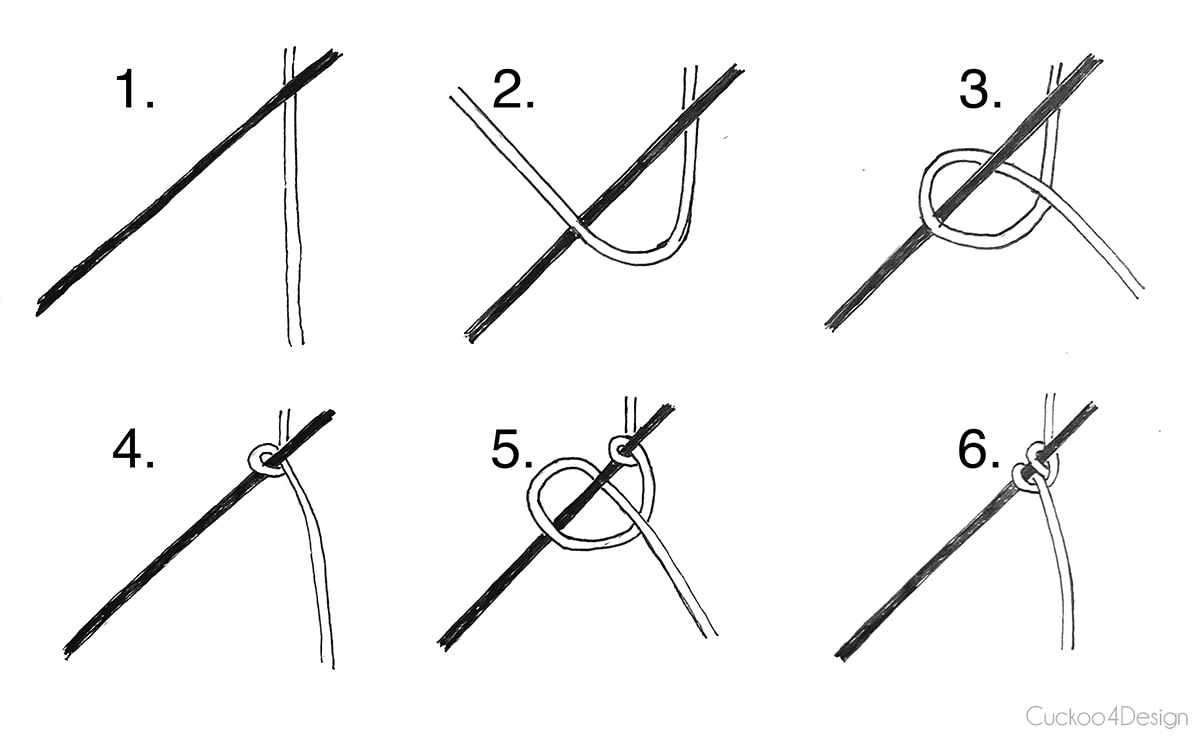
Just like my macrame Christmas tree, a majority of the macrame heart piece is made with Diagonal Half Hitch Knots and before we get started I’ll just show you the step-by-step sketch I made to show you how to make that macrame knot:
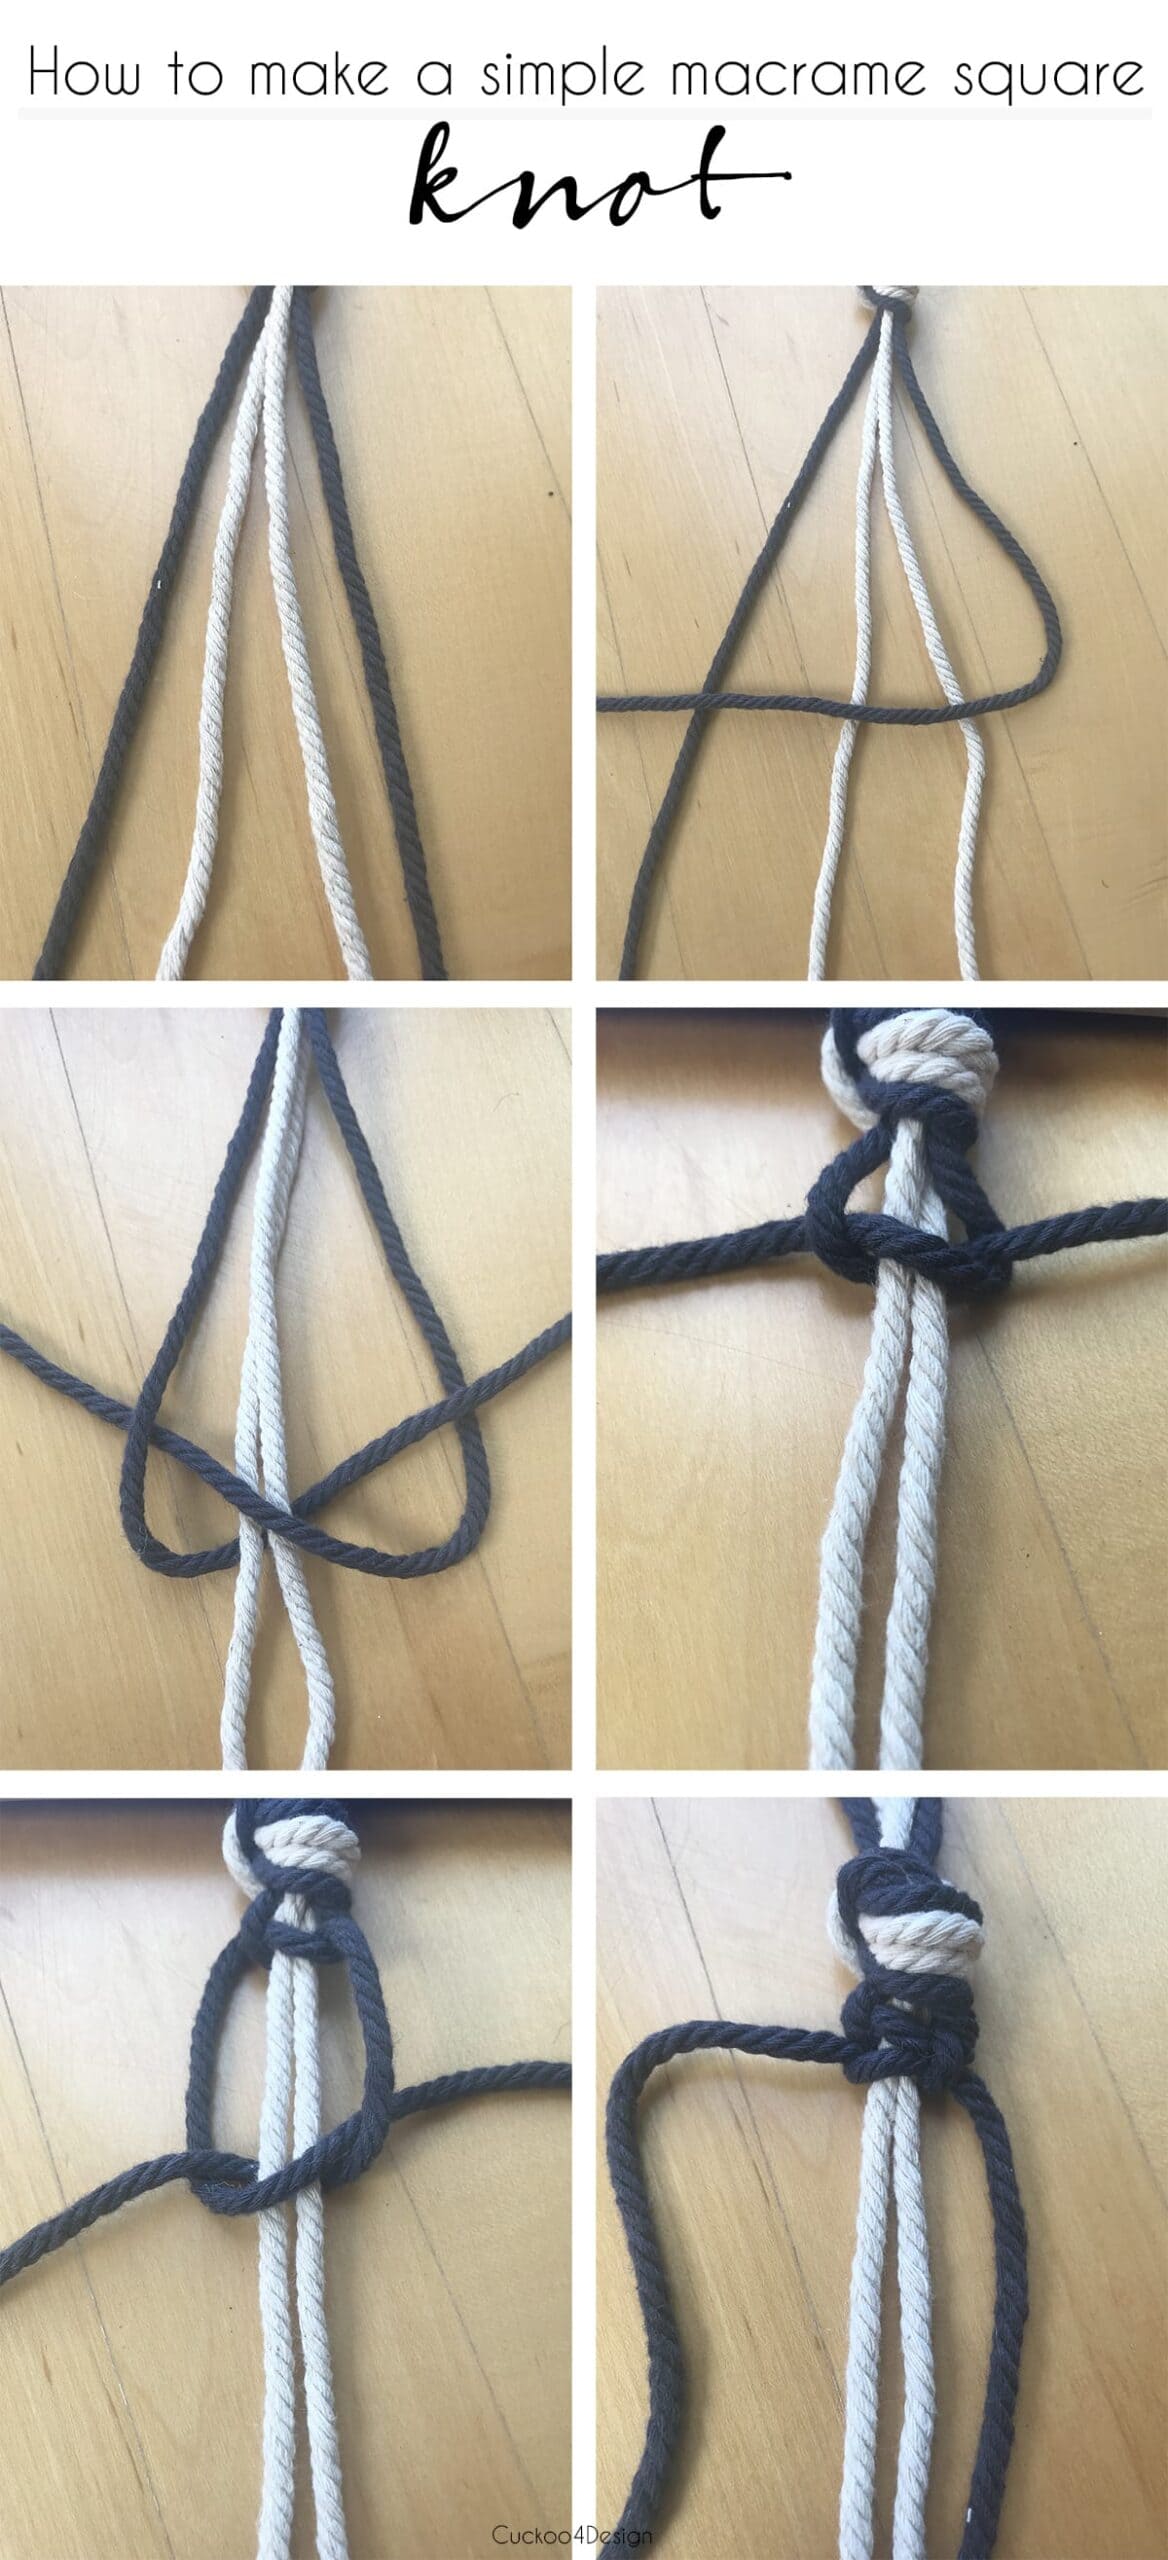
But you will also need Square Knots and below you can see how:
And now it’s time to make the macrame heart. This entire concept is very similar to my DIY beginner macrame garland and you could even make the garland with hearts on it instead of the simple fringed triangles. A heart macrame garland would look so cute in a girly nursery! The garland has the same offset Square Knots and Diagonal Half Hitch Knots.
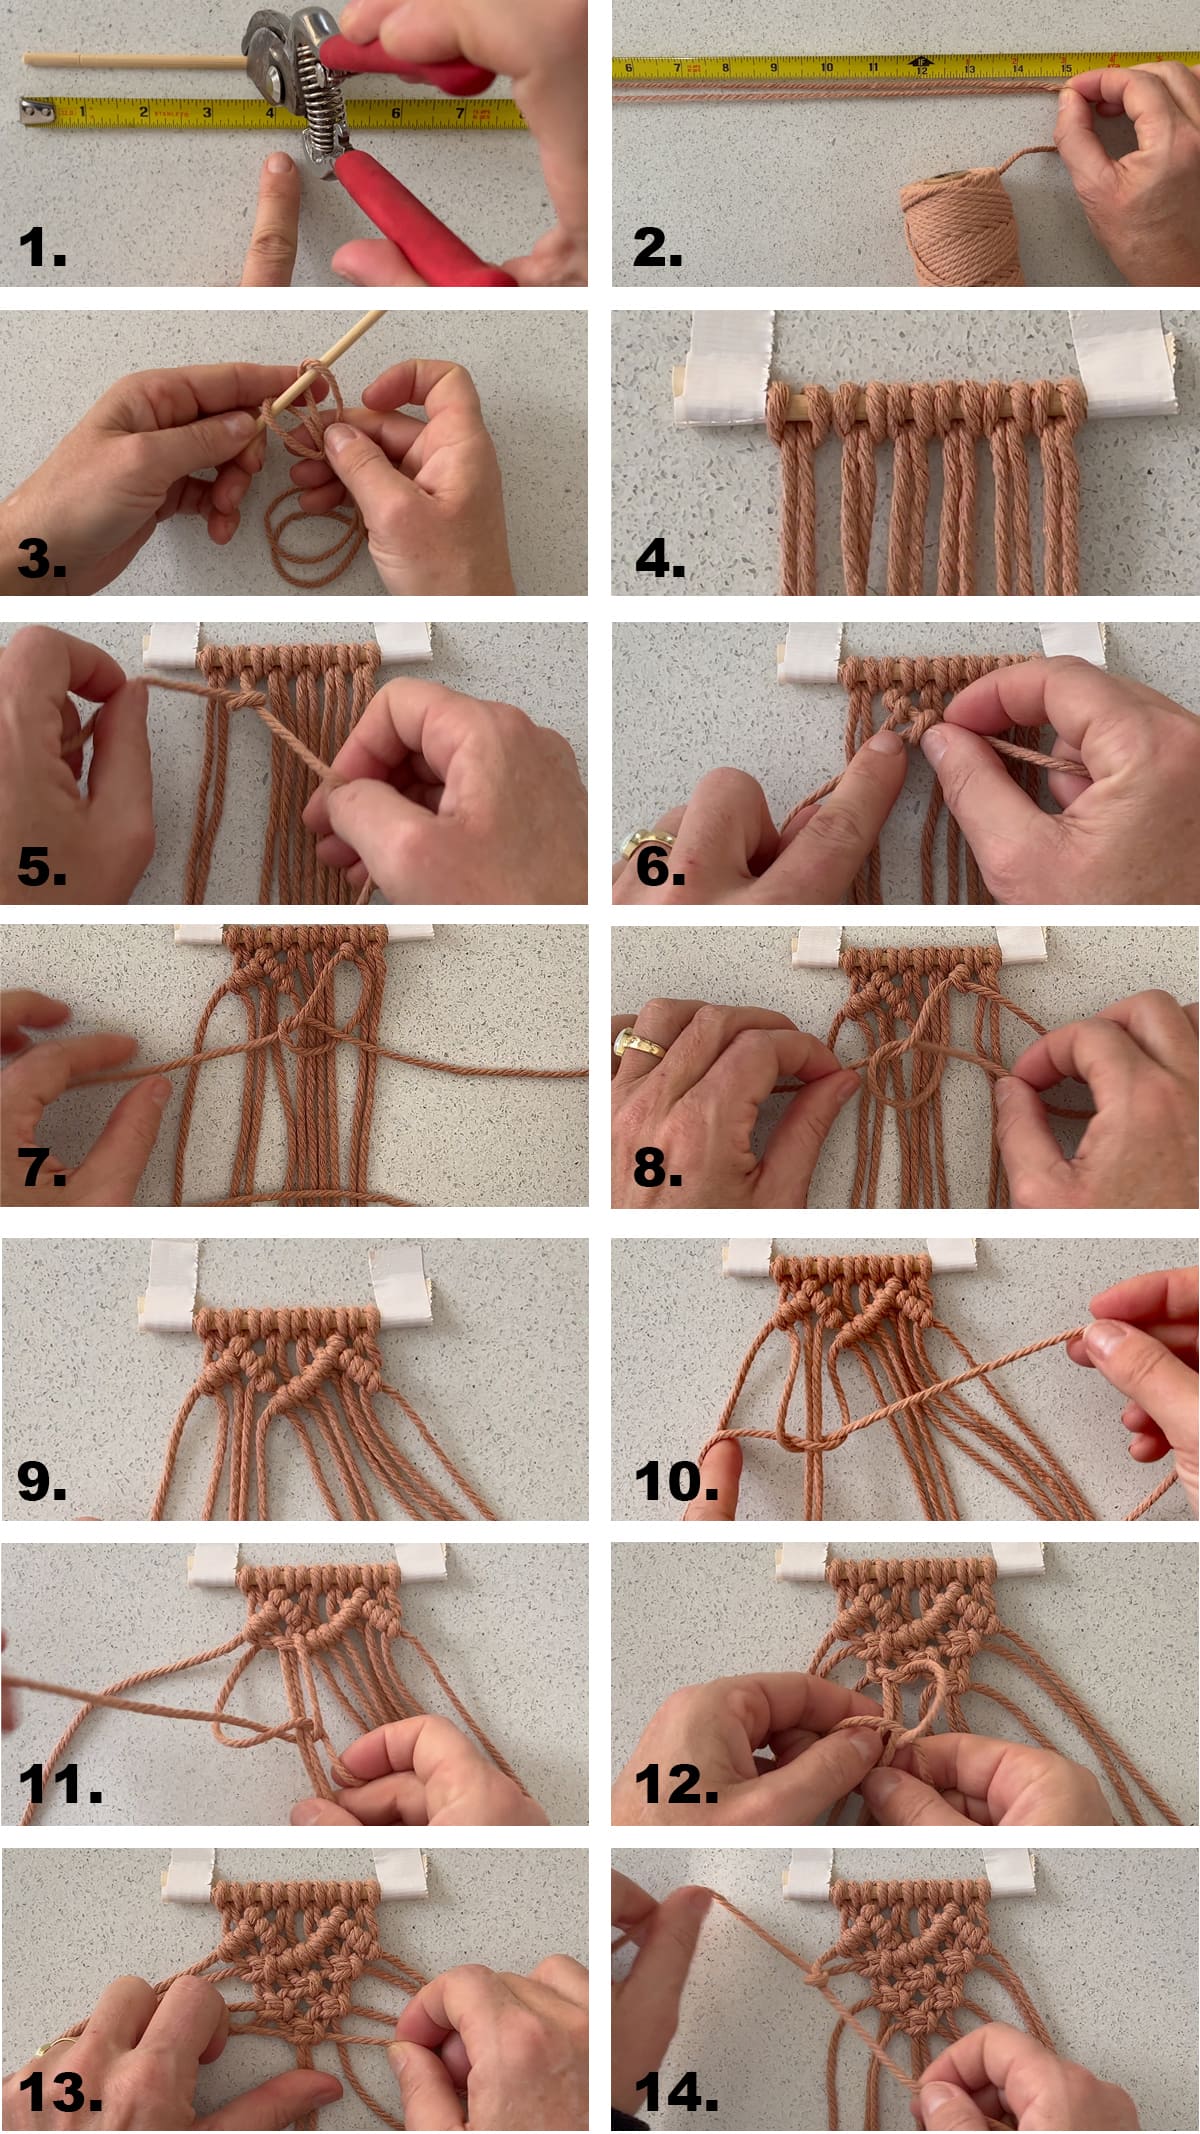
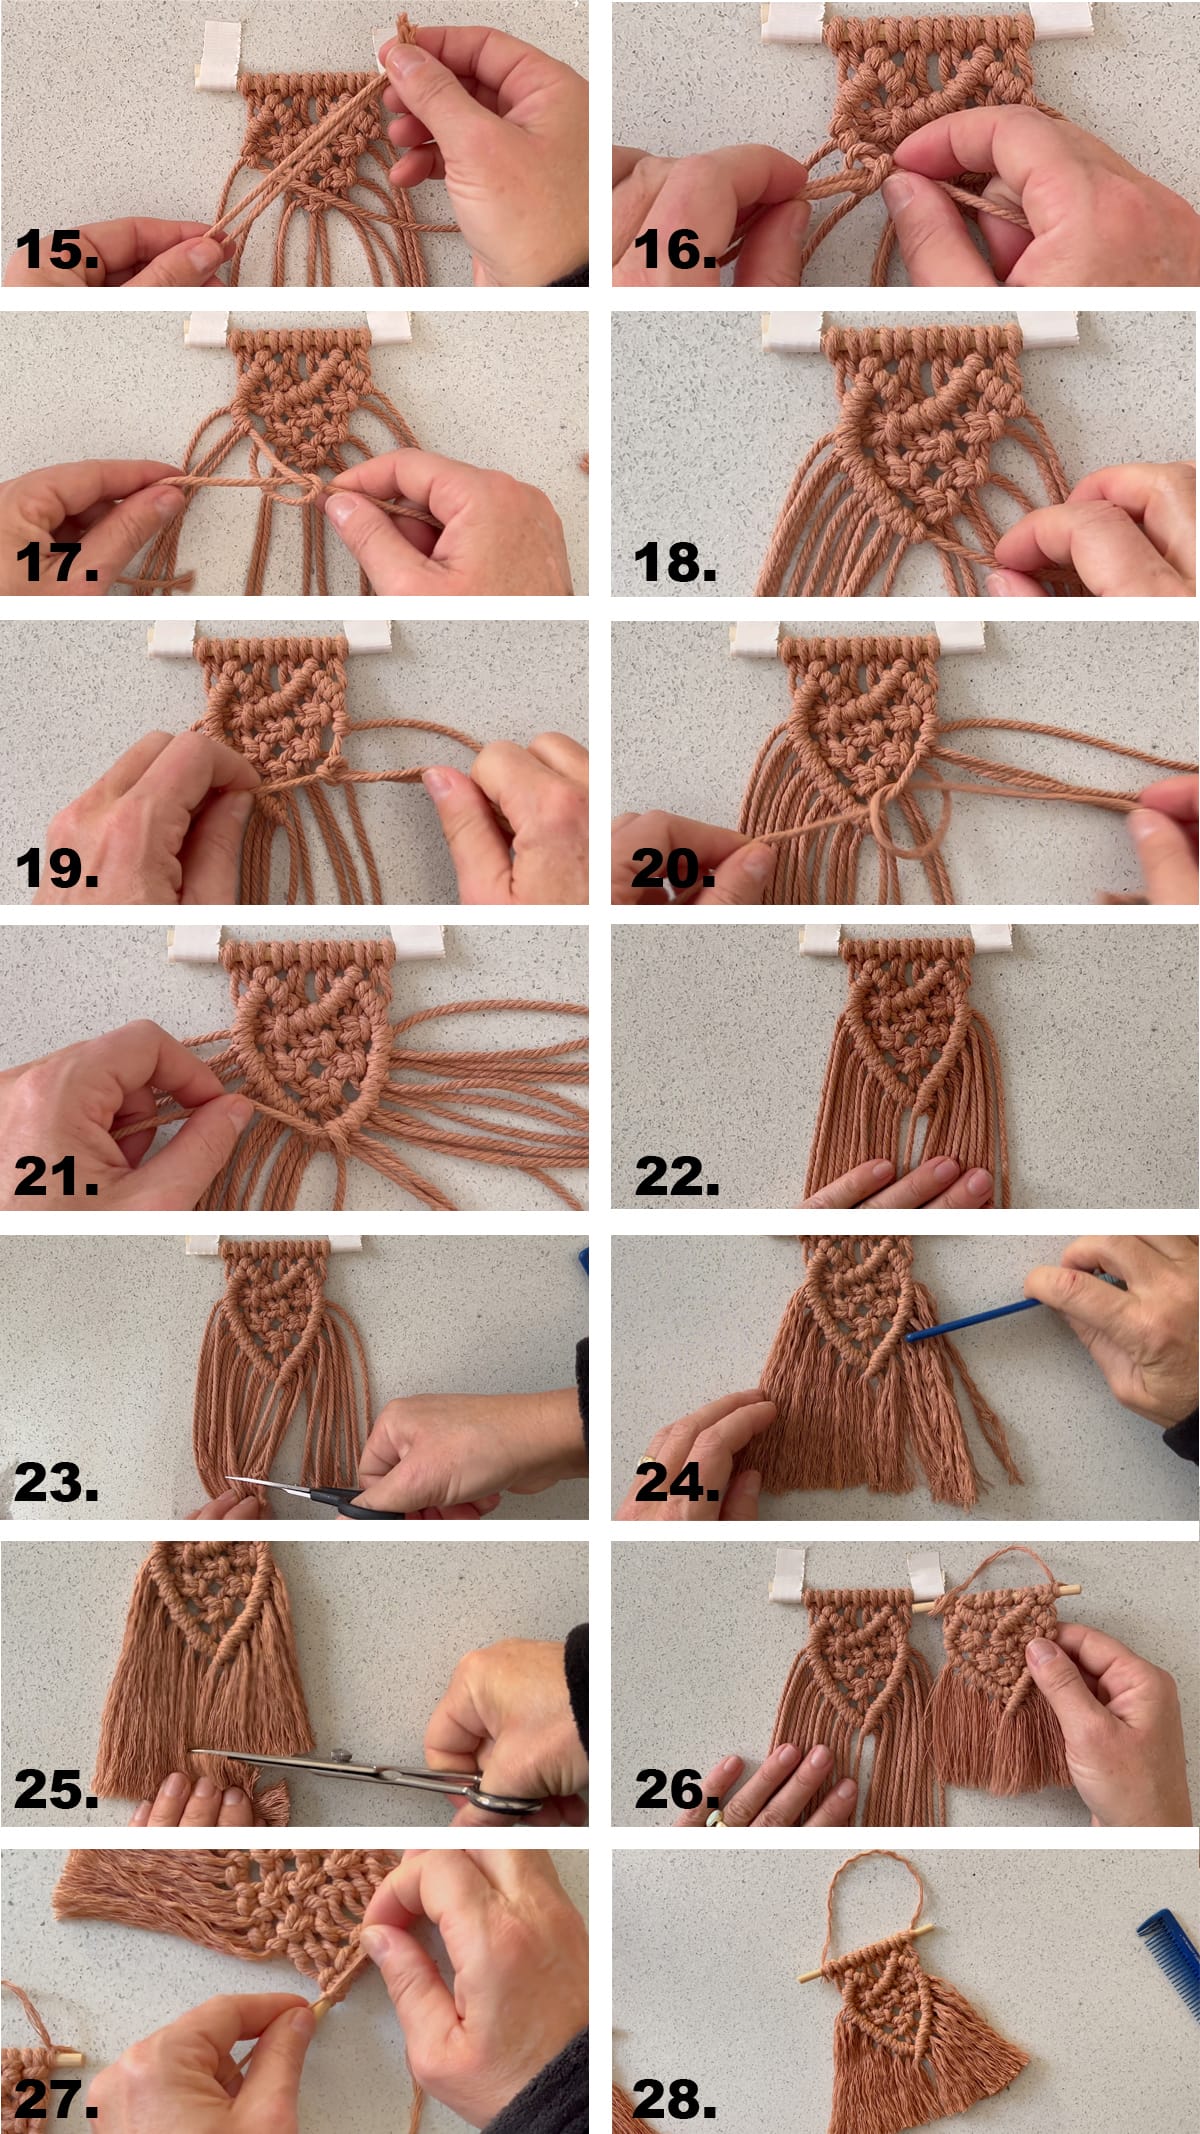
- I cut my chopstick to 3.5 inches long with the plant pruning shears.
- After that cut 6 pieces of macrame yarn at 30 inches long and fold them in half at 15 inches long.
- Loop those 30-inch pieces of yarn that are folded in half onto the cut chopstick with reversed Lark’s head knots which means the loop part isn’t showing in the front.
- Secure the chopstick to a flat surface with some tape.
- Grab the second row of yarn from the left and start looping Diagonal Half Hitch Knots towards the center of the piece (look at the above sketch and video to show you how to tie those knots).
- Keep knotting more Diagonal Half Hitch Knots towards the center. Also repeat this outward with Diagonal Half Hitch Knots to create the peak of the heart.
- Grab the second row of yarn from the right and start looping more Diagonal Half Hitch Knots.
- Keep going with the Diagonal Half Hitch Knots until you meet the other side in the center.
- This is what it looks like when both sides meet in the center with the Diagonal Half Hitch Knots
- Time to add the sqaure knots! Do not start the Square Knots with the outside string on each side. Use the 4 pieces of yarn counted from the center as shown.
- Tie a Square Knot under each peak of the heart.
- Then offset those Square Knots.
- Keep going with the offset Square Knots until you have a triangular shape just like I did in my macrame garland as well.
- Now grab the outer string that you put aside in step 10 and knot Diagonal Half Hitch Knots along the triangular shape to meet at the bottom center again.
- This is when I added extra fringe to this version of the macrame heart. This is totally optional and below I’m showing how this changes the look a bit. The heart with the added fringe is a bit longer and looks fuller at the bottom.
- For the added fringe I cut 8 pieces of macrame yarn at 7 inches long, fold in half and loop them onto the leading piece of yarn with Lark’s Head Knots again as shown at the beginning of this tutorial when looping the yarn onto the chopstick.
- After every aded fringe piece, loop another Diagonal Half Hitch Knot.
- Keep going towards the bottom center of the heart.
- Now do the same thing with the other side of the heart by adding fringe.
- And then looping more Diagonal Half Hitch Knots towards the bottom center.
- At the bottom of the heart knot the two end strings together with one last Diagonal Half Hitch Knot.
- And here you can see the heart shape!
- Trim the cord ends so they are easier to unravel.
- Unravel and comb the macrame yarn.
- And after all the yarn is unraveled, you trim the macrame heart’s fringe to your desired length.
- Here you can see the difference between a macrame heart that has normal Lark’s head knots versus reversed Lark’s head knots on the chopsticks and added fringe versus non added.
- Knot some extra string to the chopsticks for hanging.
- Voila the finished macrame heart!
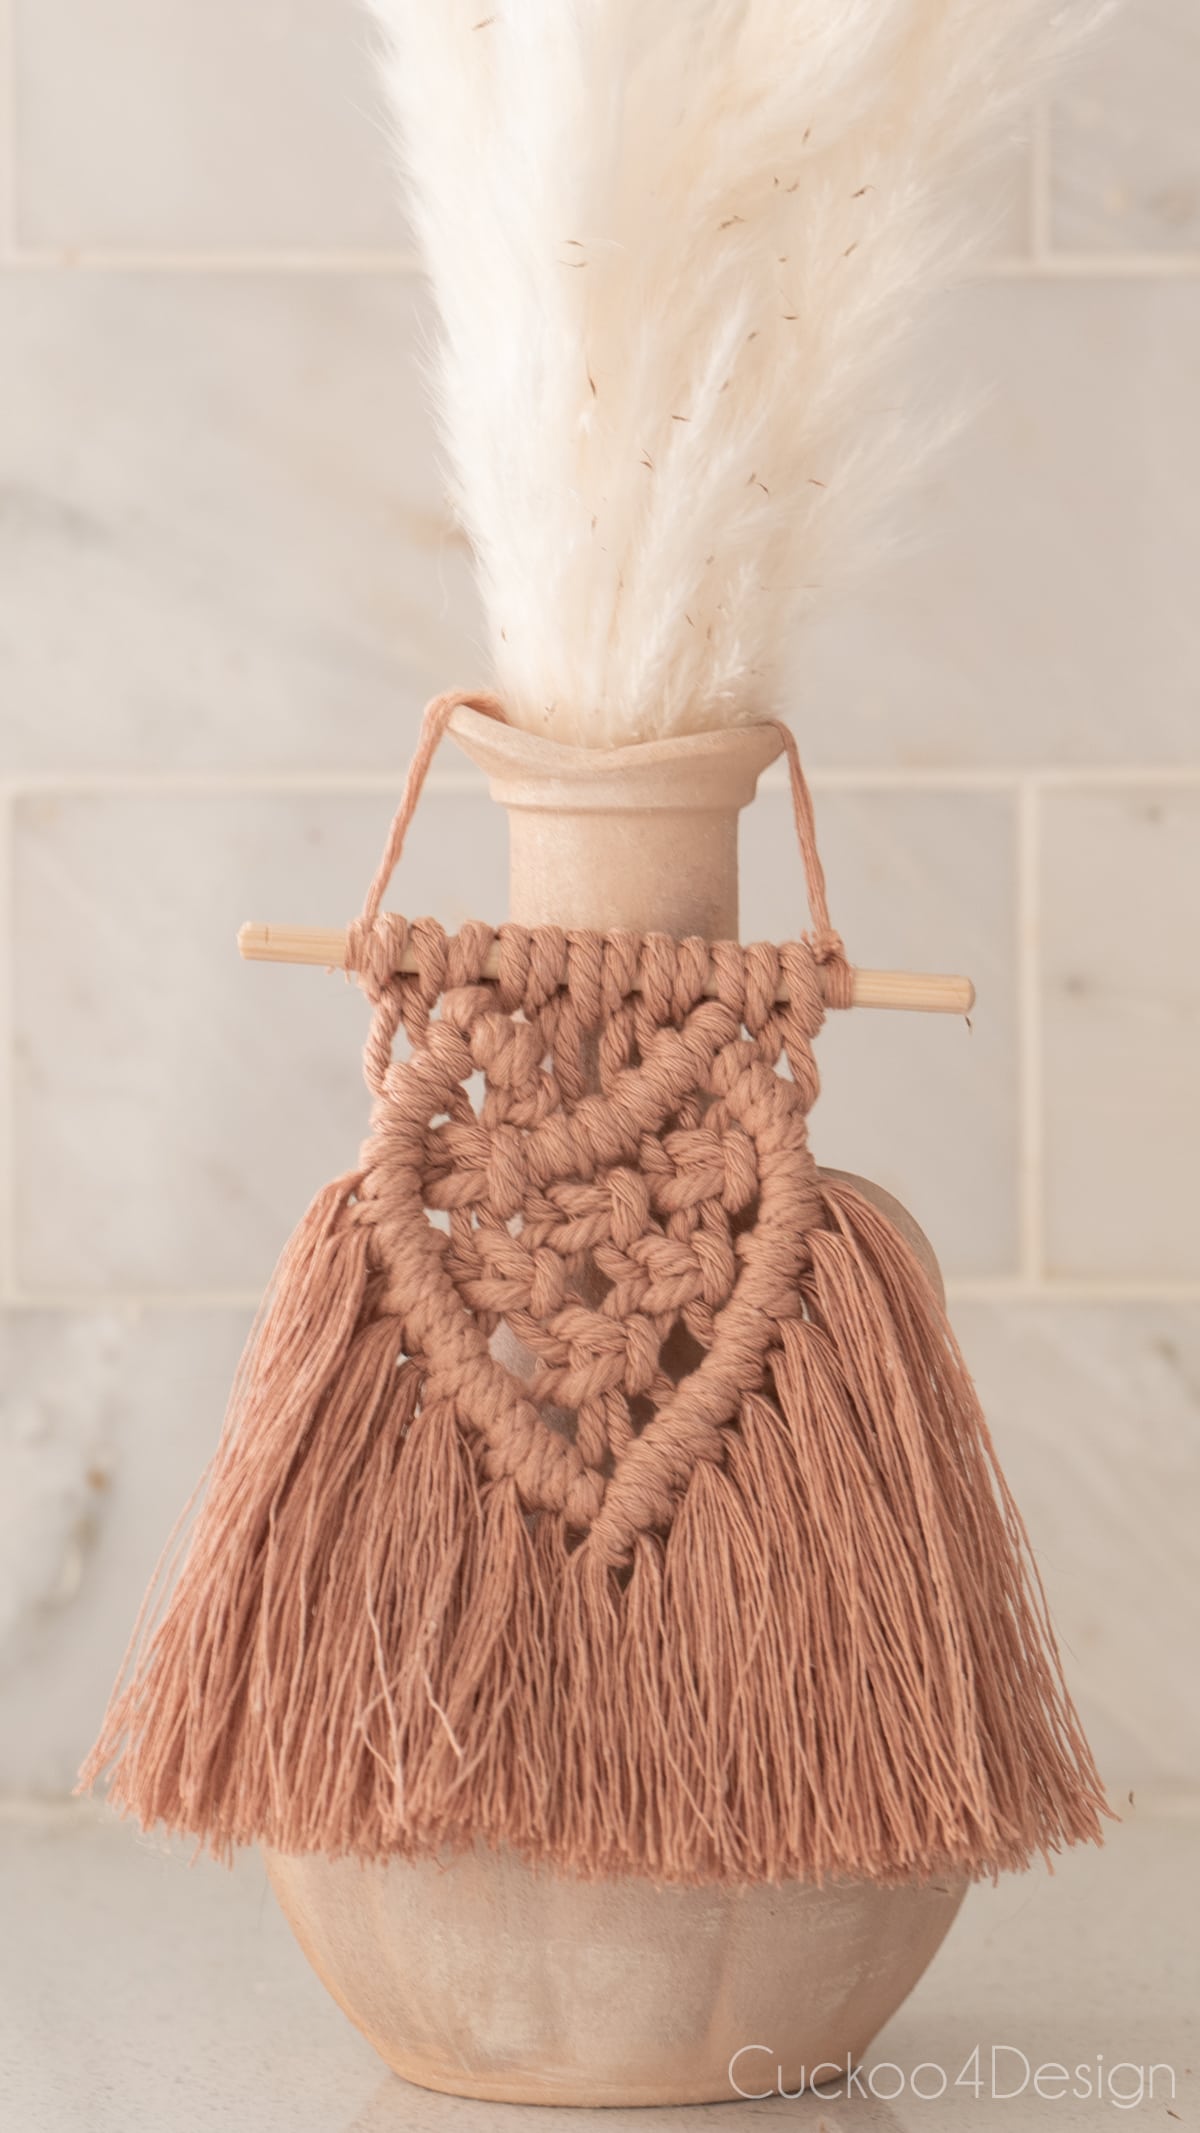
Finished macrame heart photos
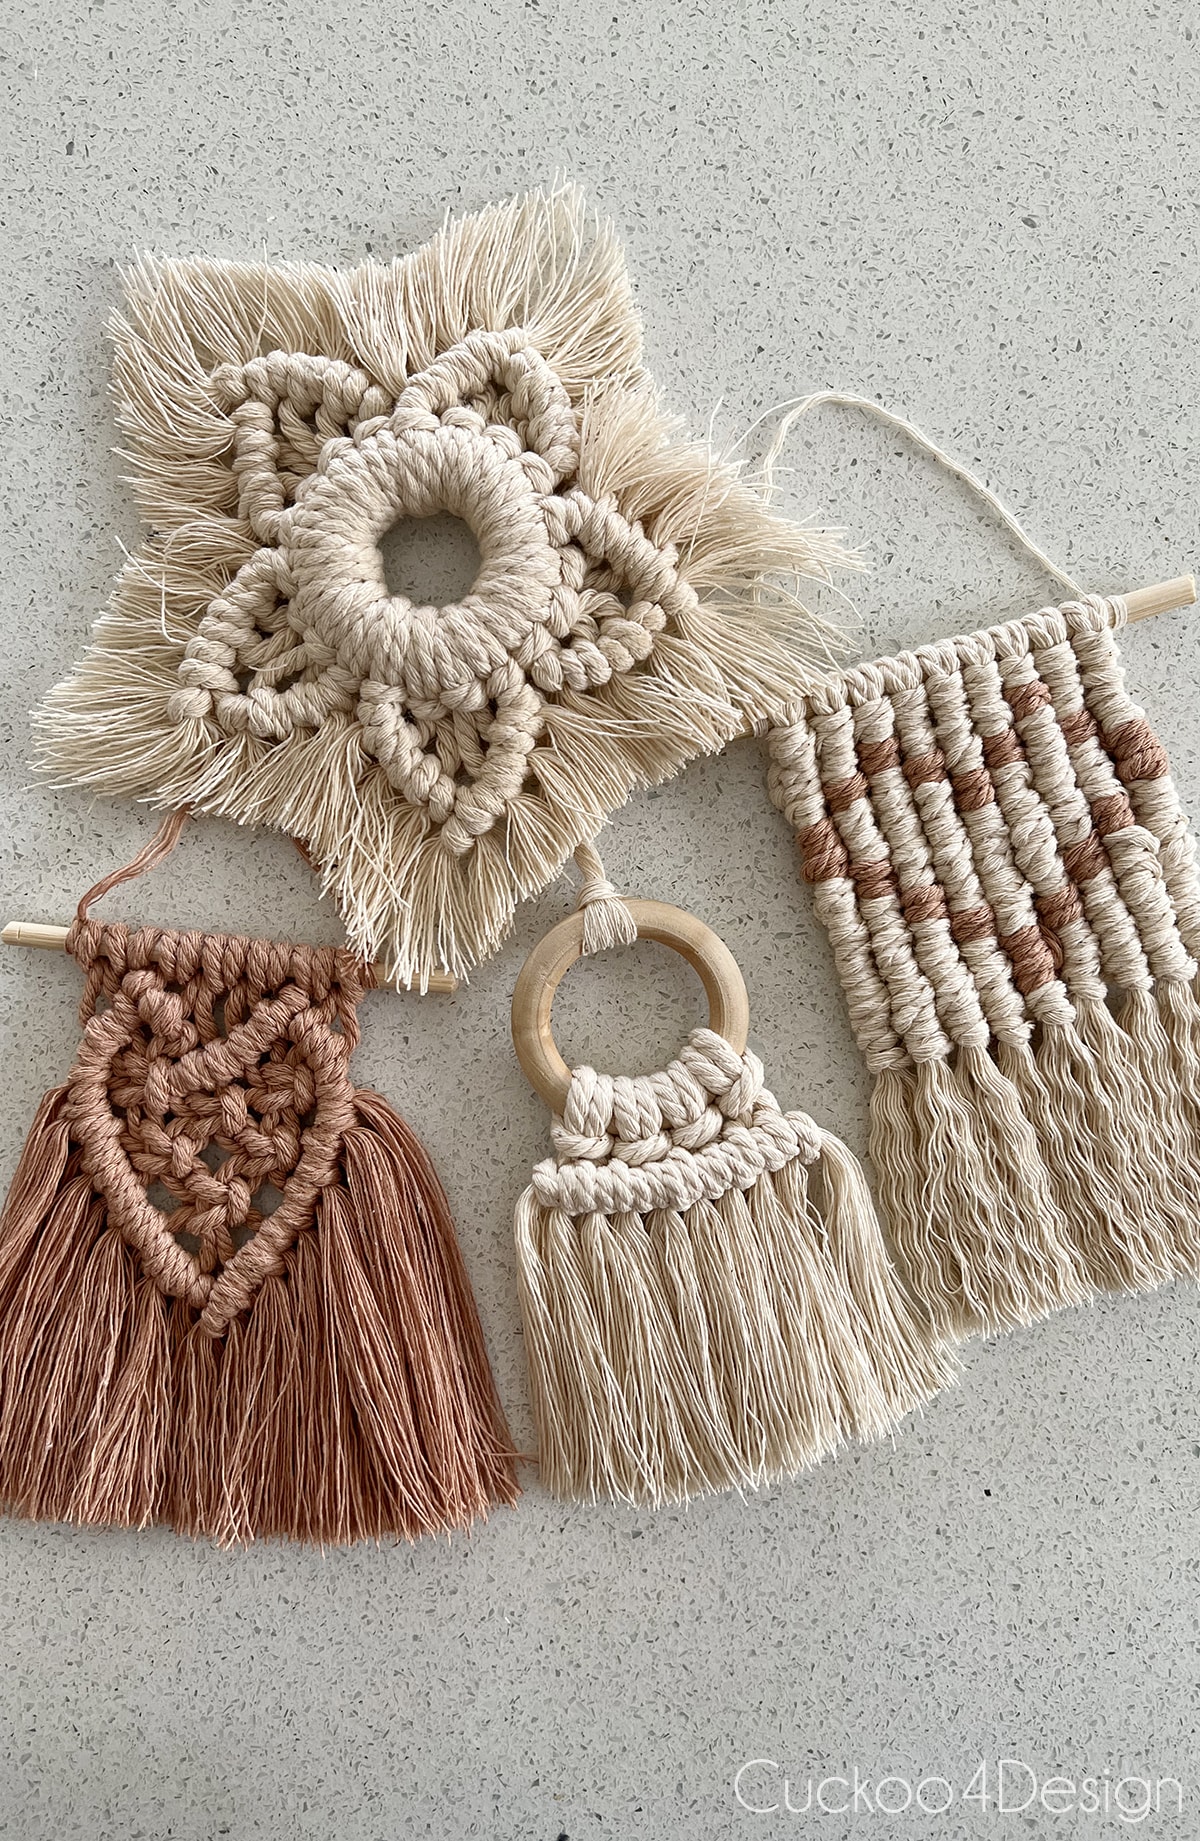
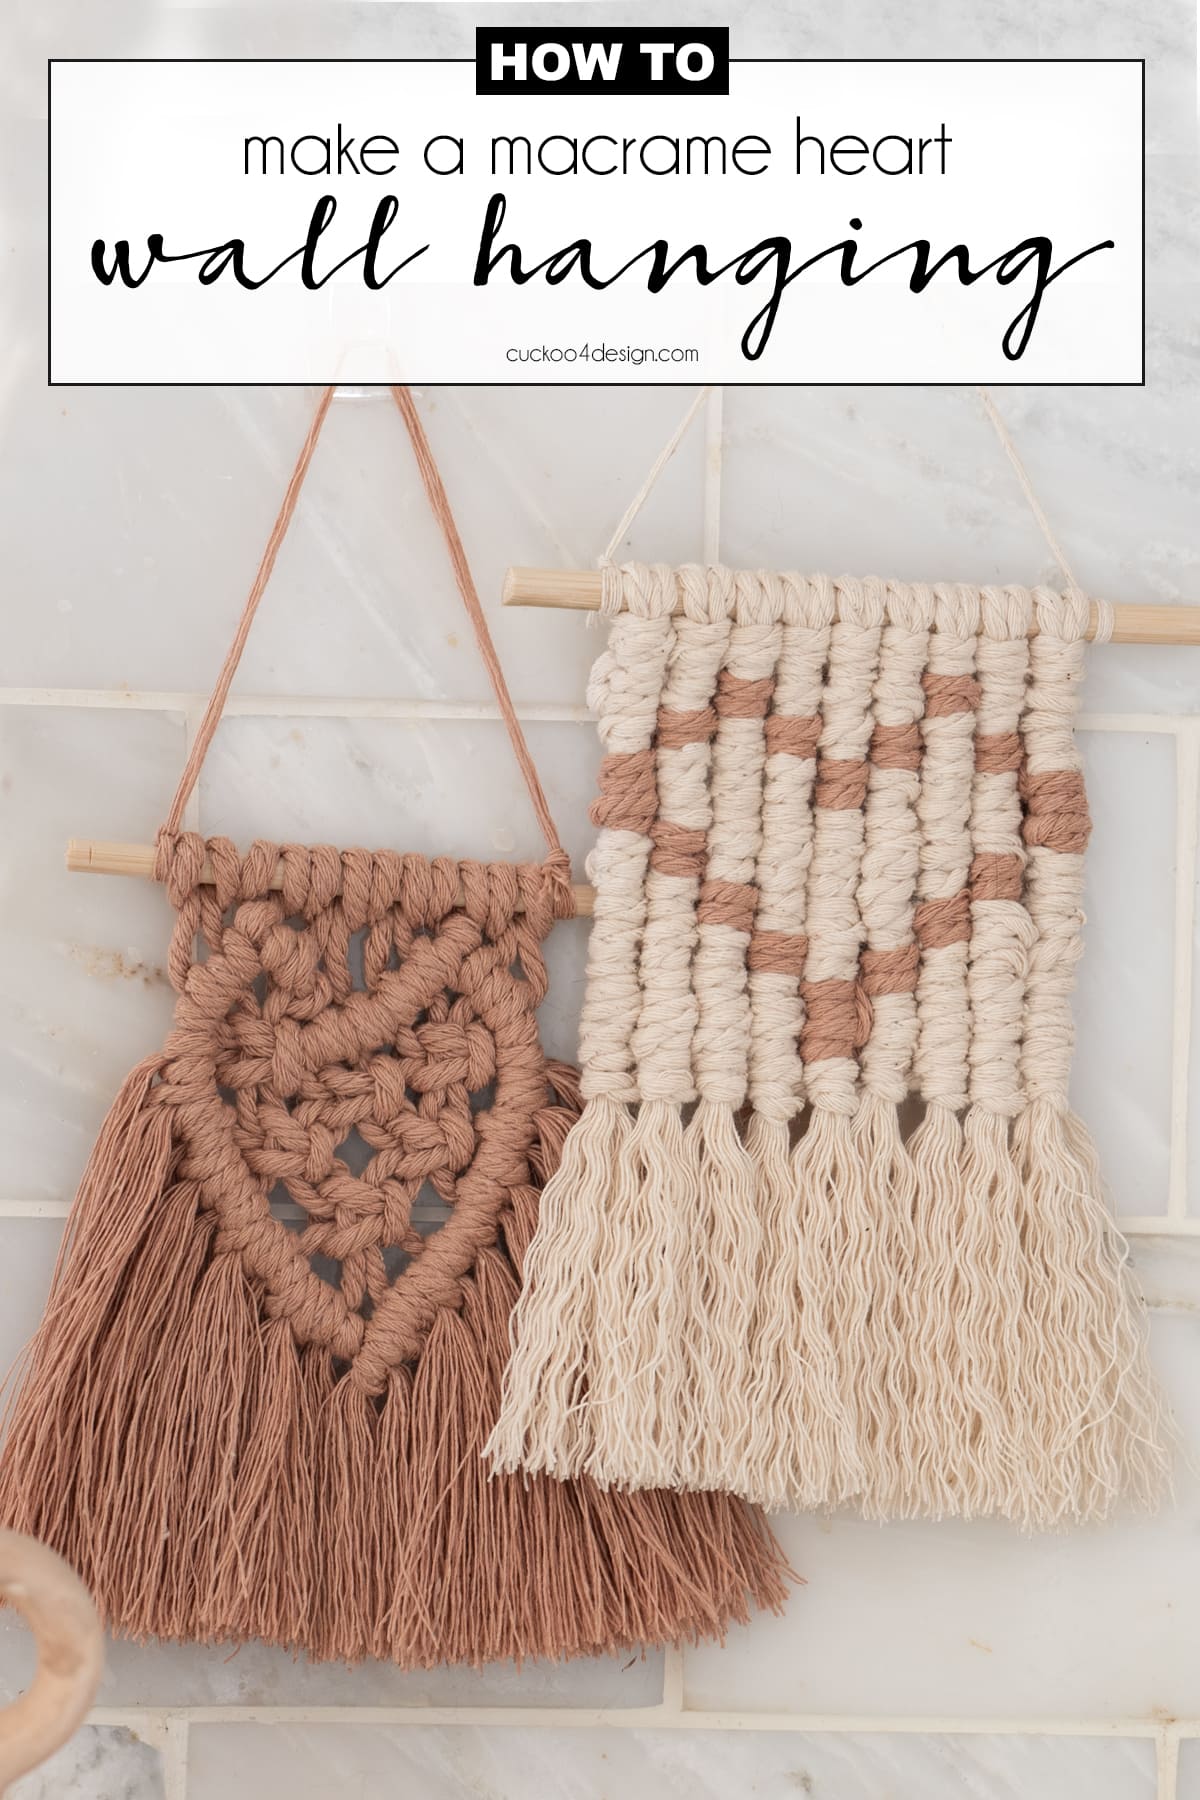
As I mentioned, I have three different versions for you in this post. One with the Lark’s Head Knots facing forward and no extra fringe added one with the Lark’s Head Knots facing backward and extra fringe added, and another entirely different version using an old tutorial of mine.
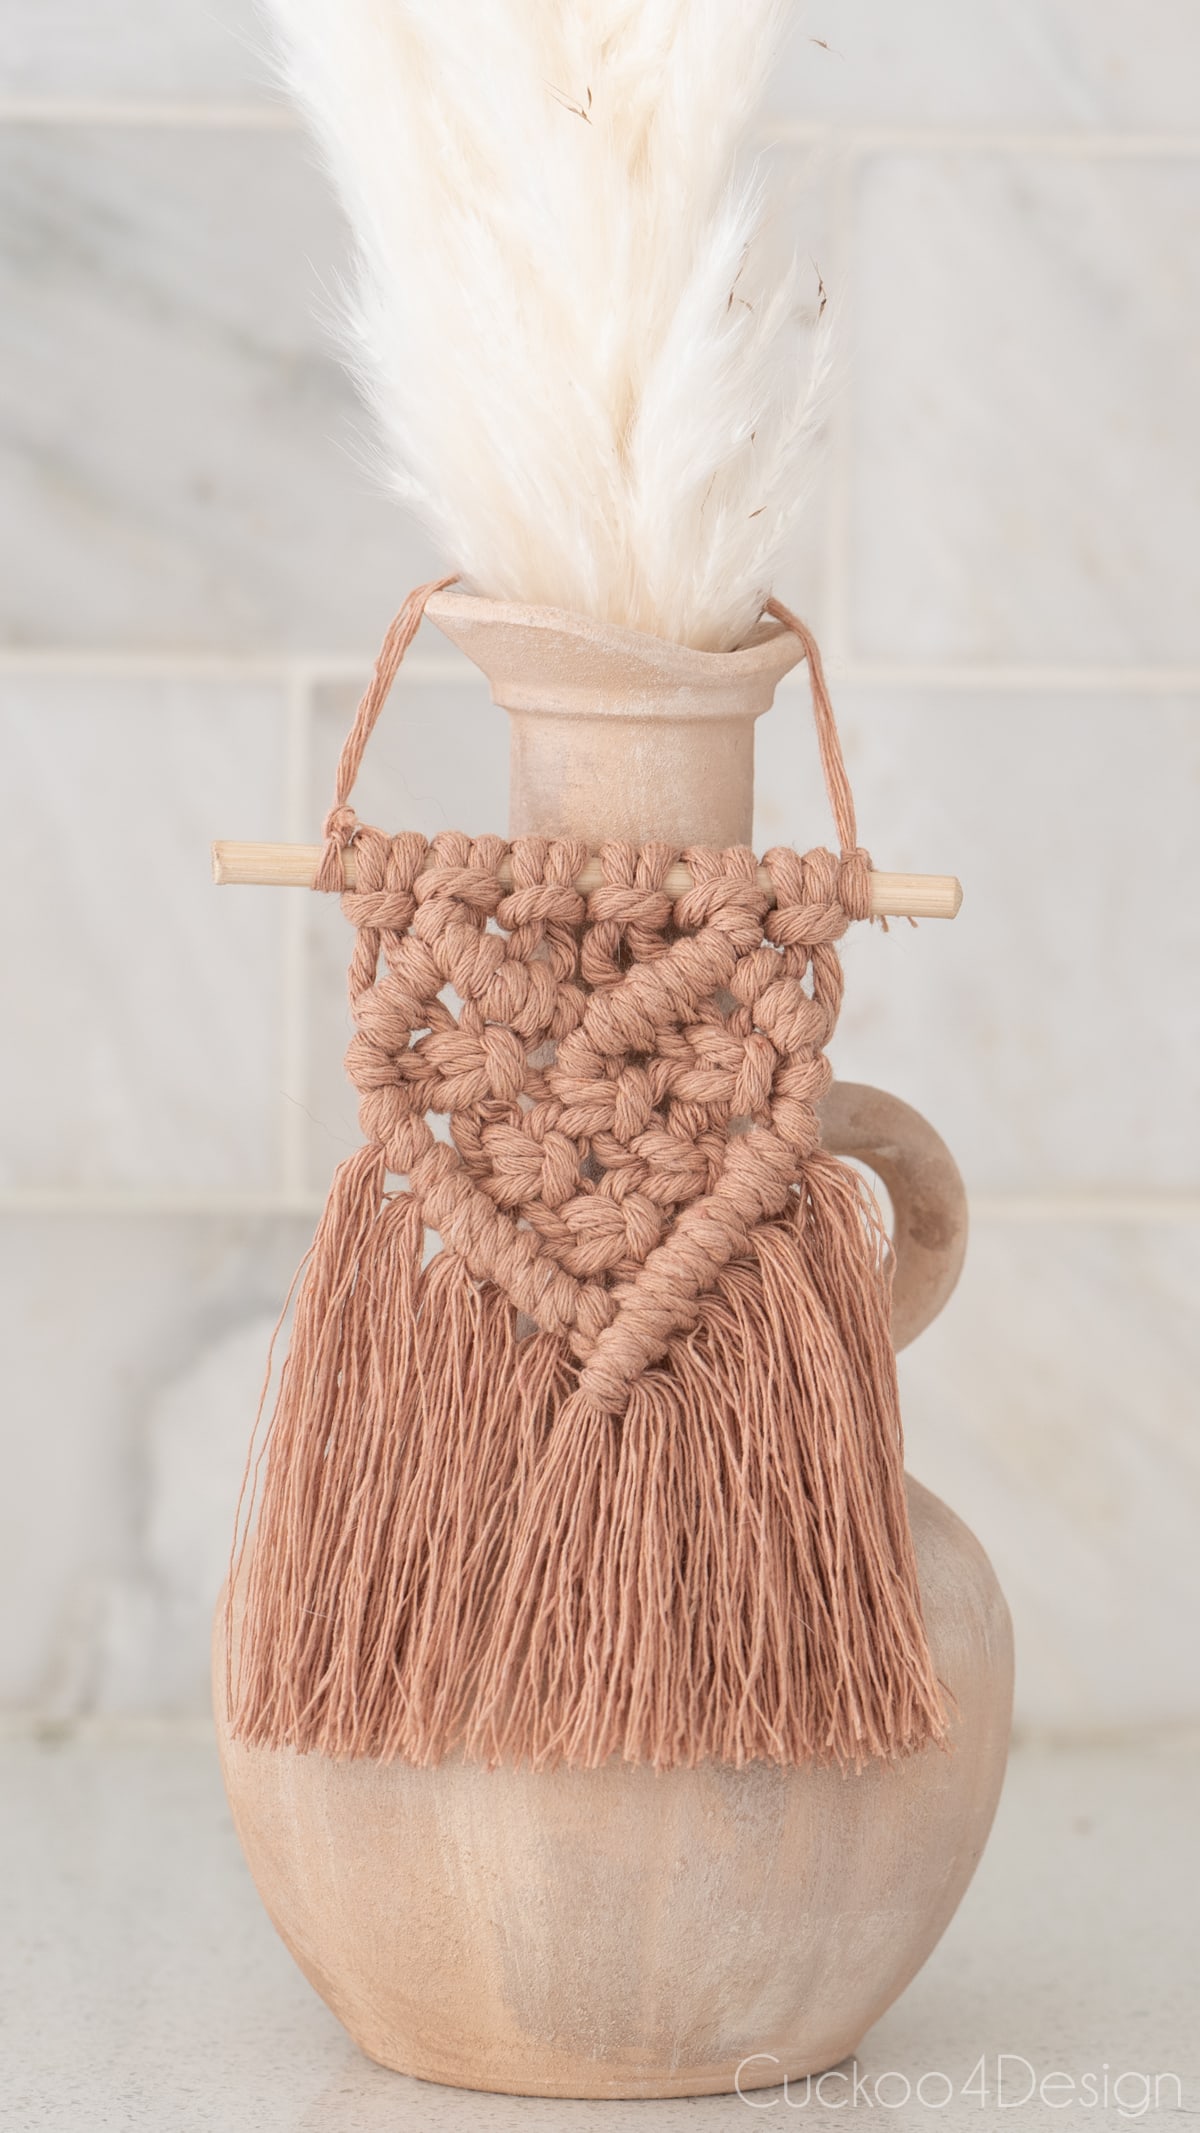
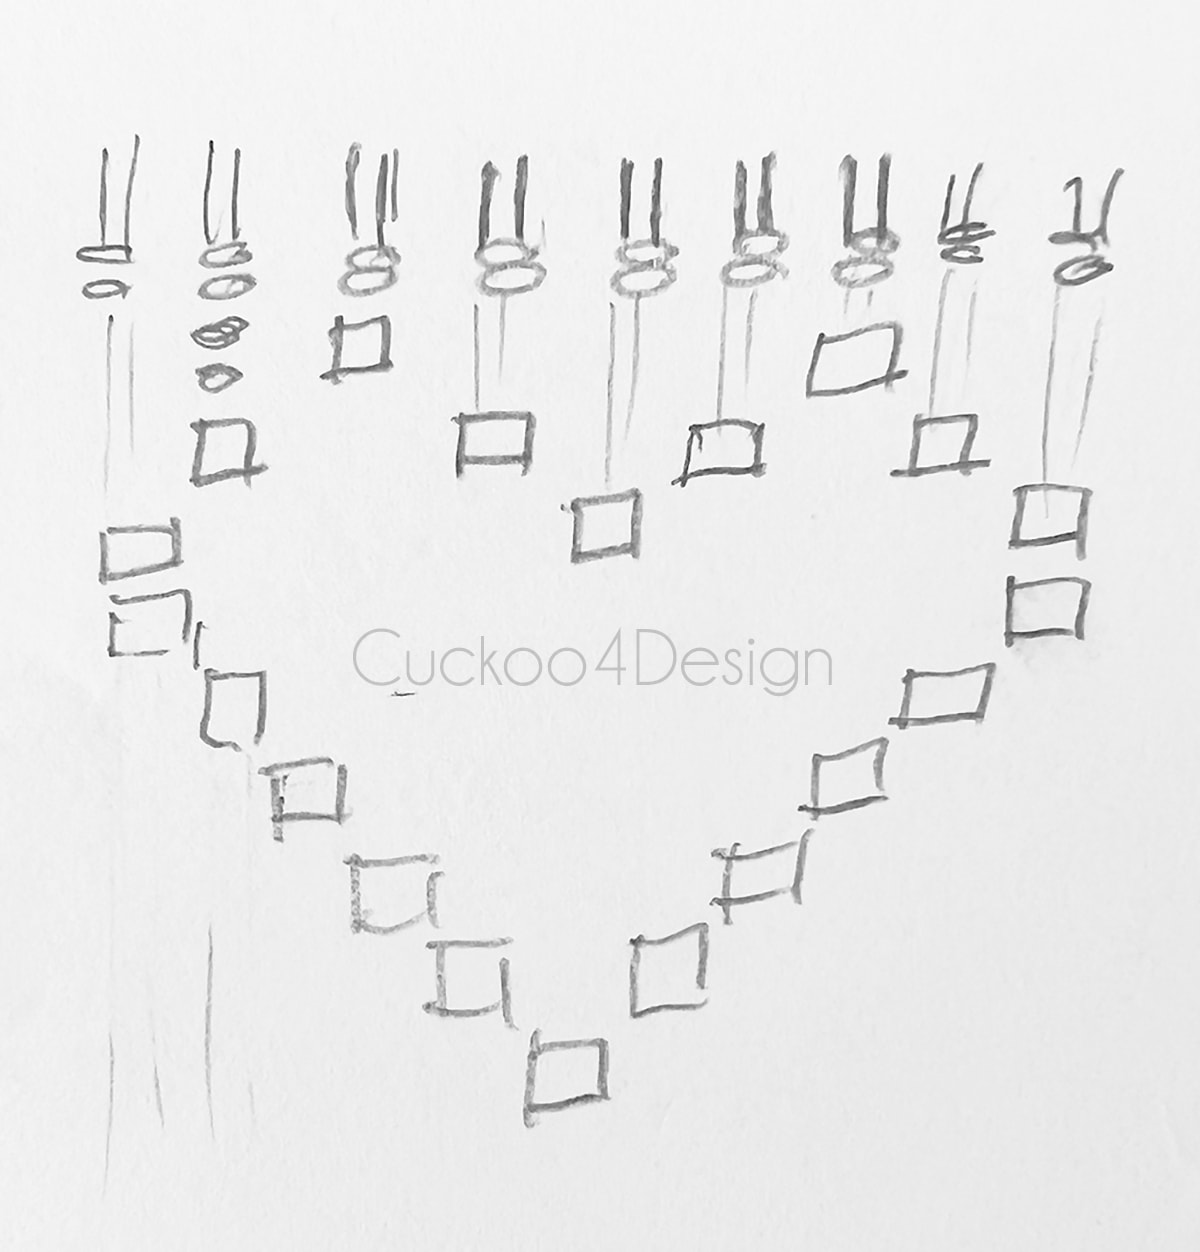
I made a second macrame heart with the concept of my macrame basket tutorial that I shared a couple of years ago. For the basket/planter sleeve you take the same steps as this little macrame heart with the Double Half Hitch Knots but this time you don’t slide it off of the wooden stick. It’s simply a wall hanging instead of the planter basket.
Below you can see how I sketched out the pattern for this type of macrame heart. The how-to and video are in my macrame basket tutorial.
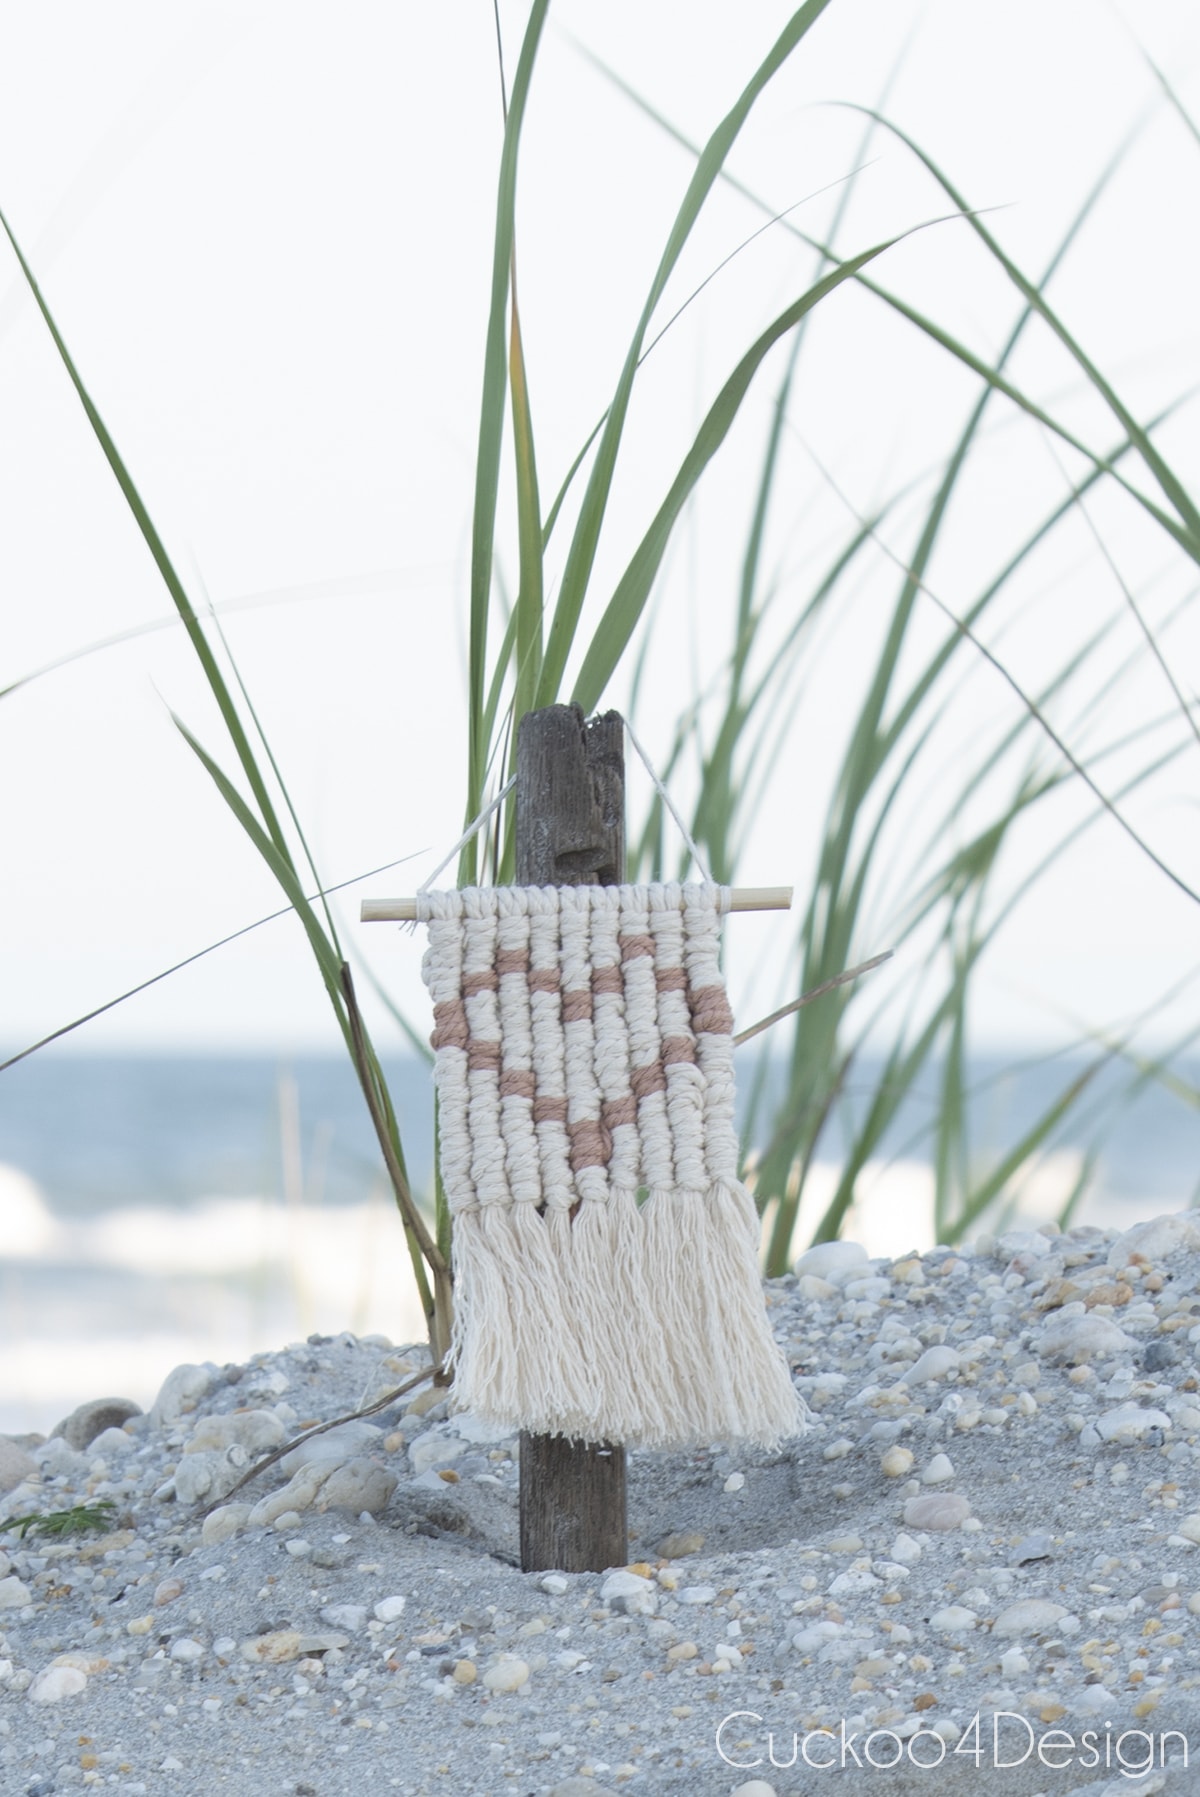
The heart pattern is a lot more visible with the ivory macrame yarn surrounding the blush macrame yarn compared to the all-blush macrame heart.
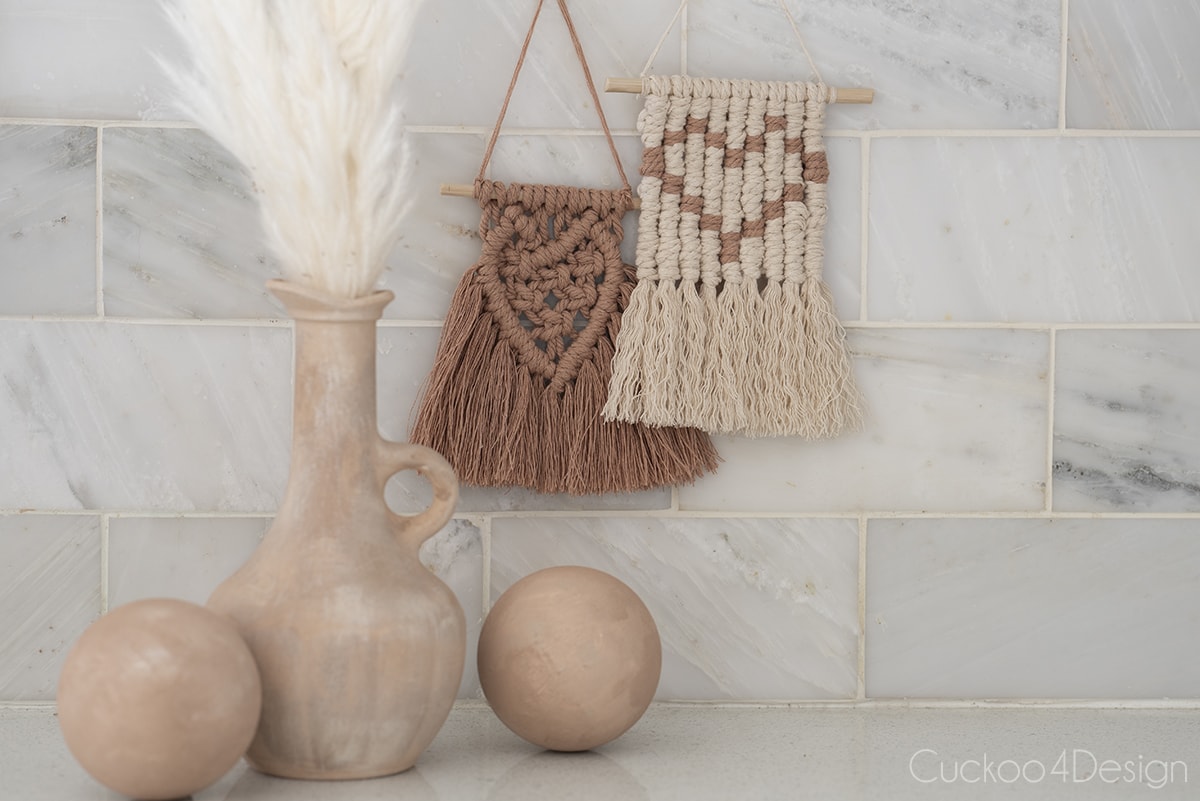
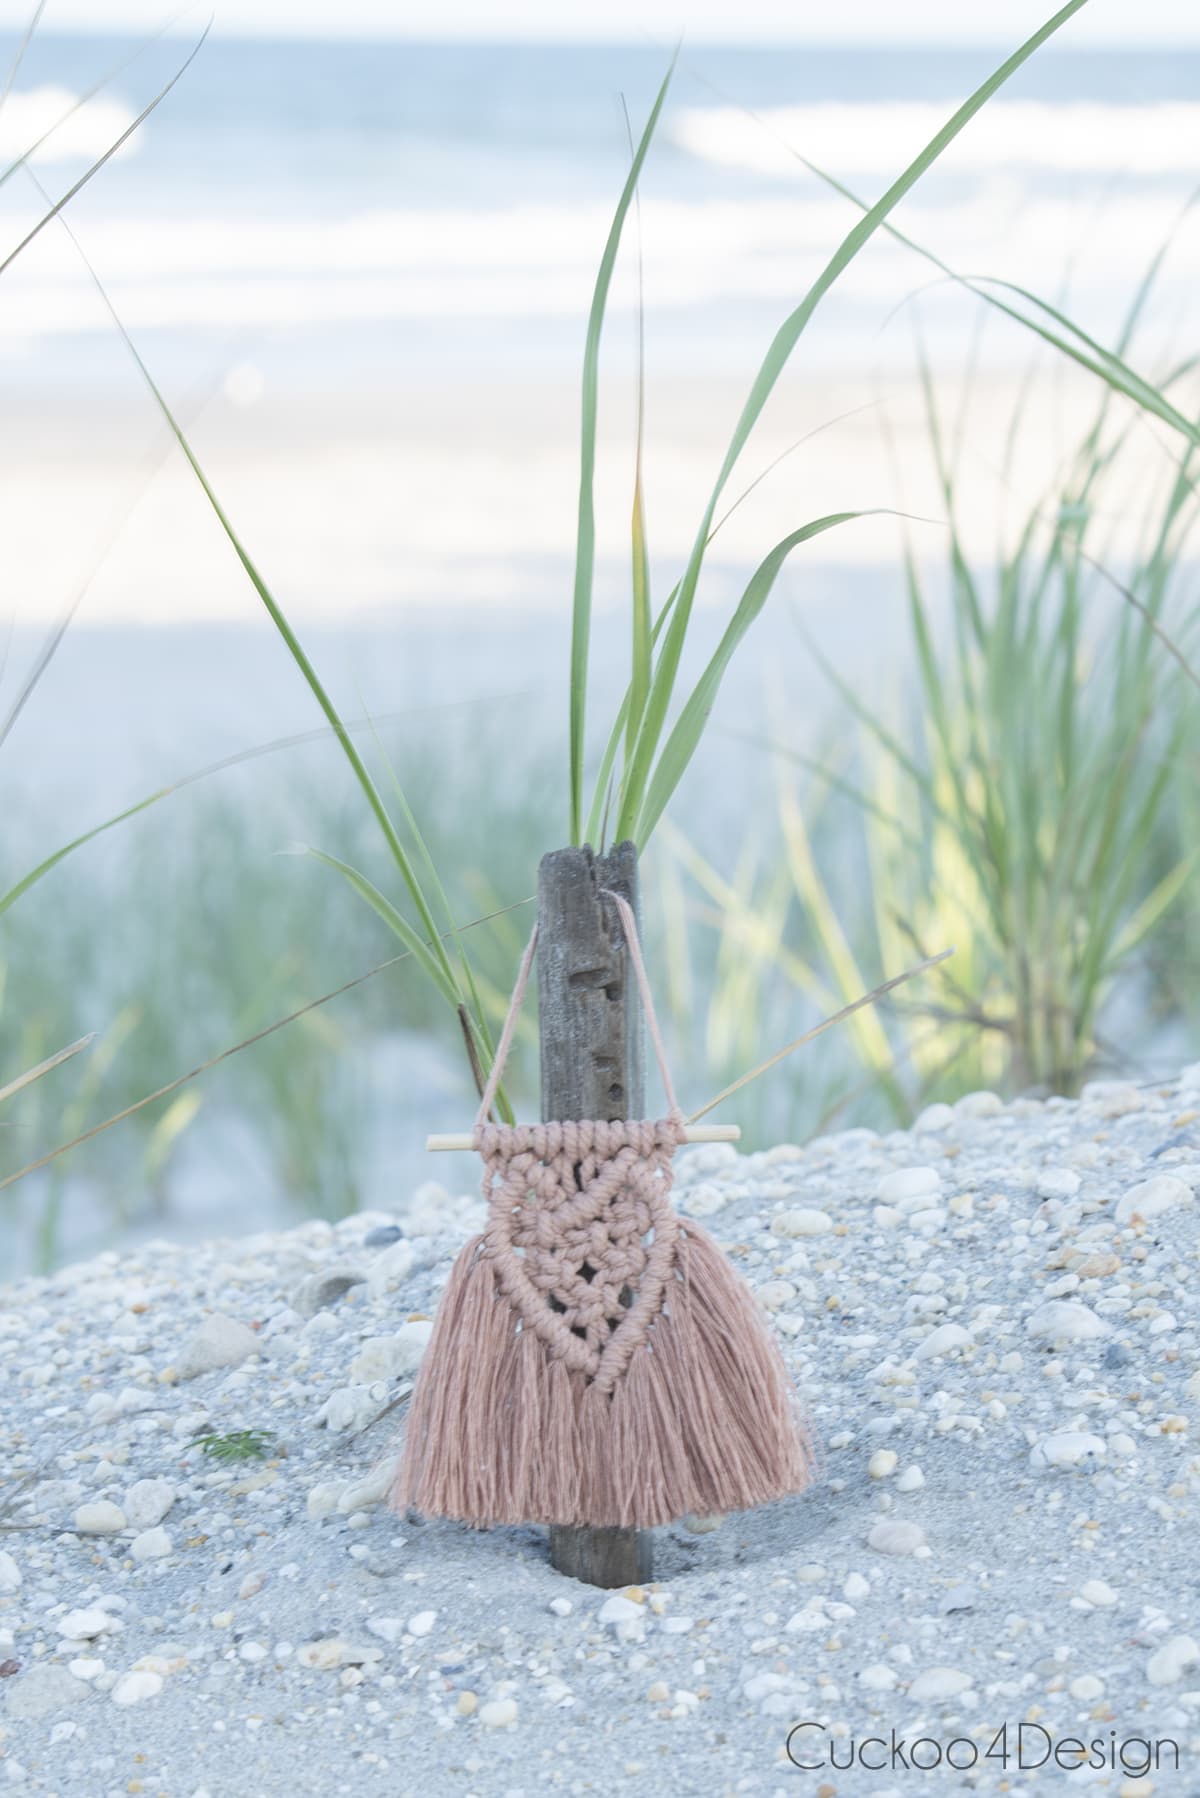
Below you can see the other version next to the ivory and blush macrame heart. That version doesn’t have the added fringe and Lark’s head knots looped onto the chopstick are not reversed. Which version do you like better?
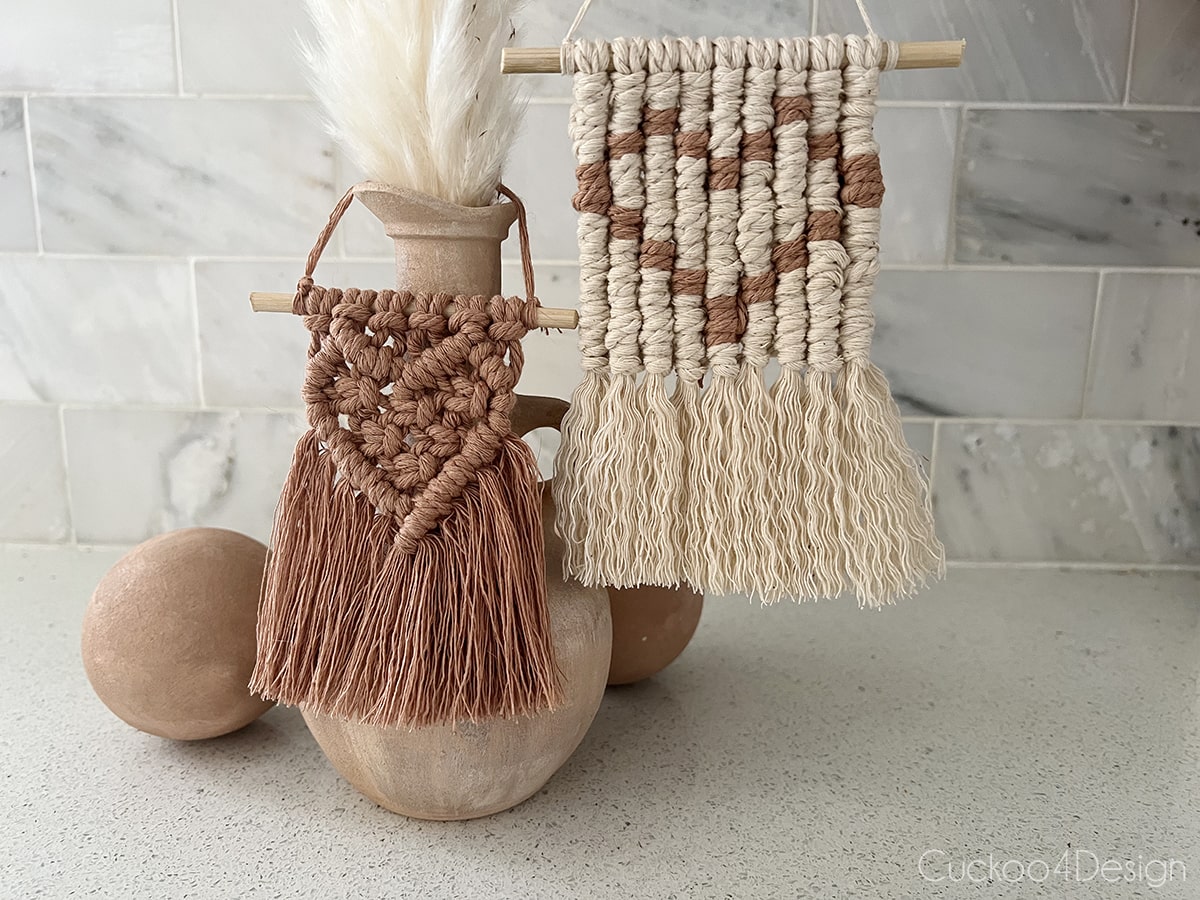
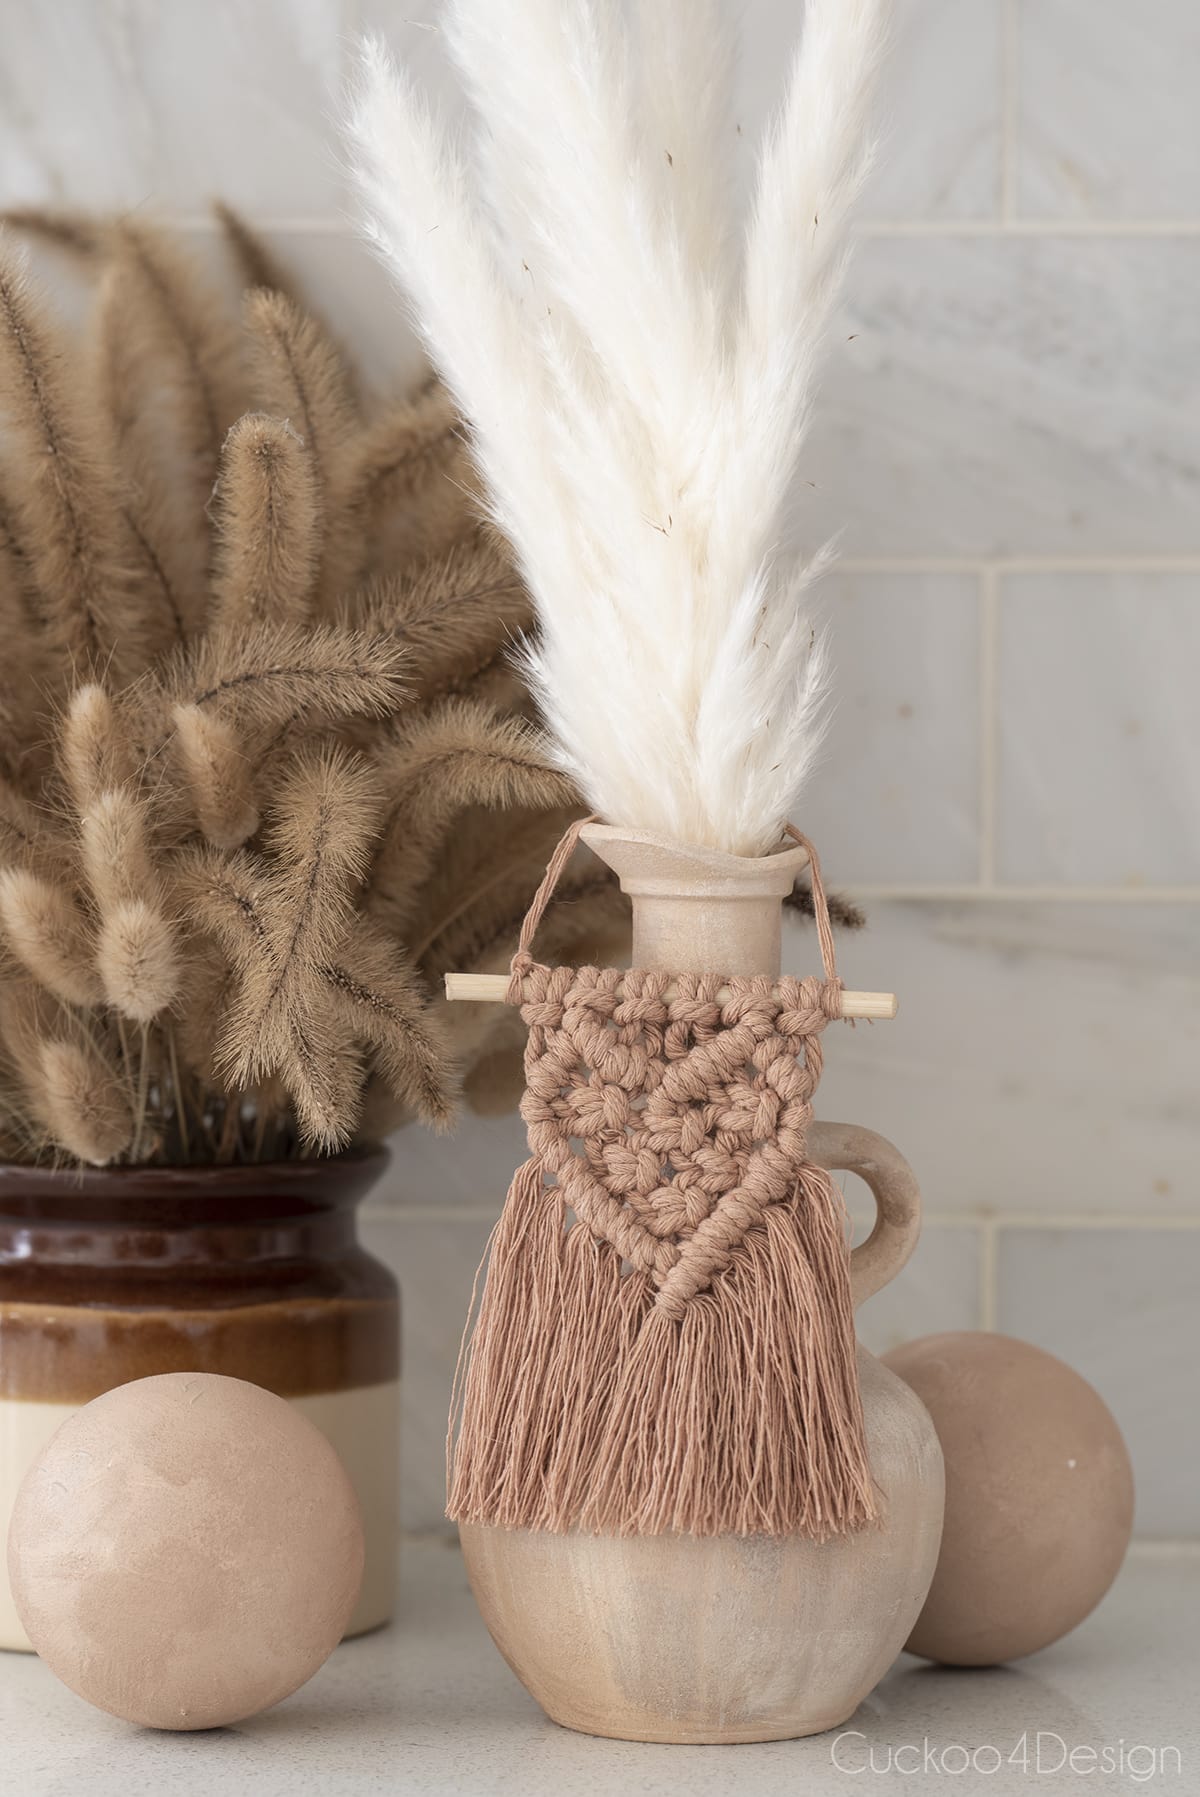
If you are wondering what those terracotta-looking spheres and vase are you should check out my tutorial about “A fun way to repurpose cheap Christmas ornaments with baking soda paint” and they aren’t just for Christmas because they make the perfect accessories all year long. Just place them in a bowl or on a shelf and they look nothing like plastic Christmas ornaments.
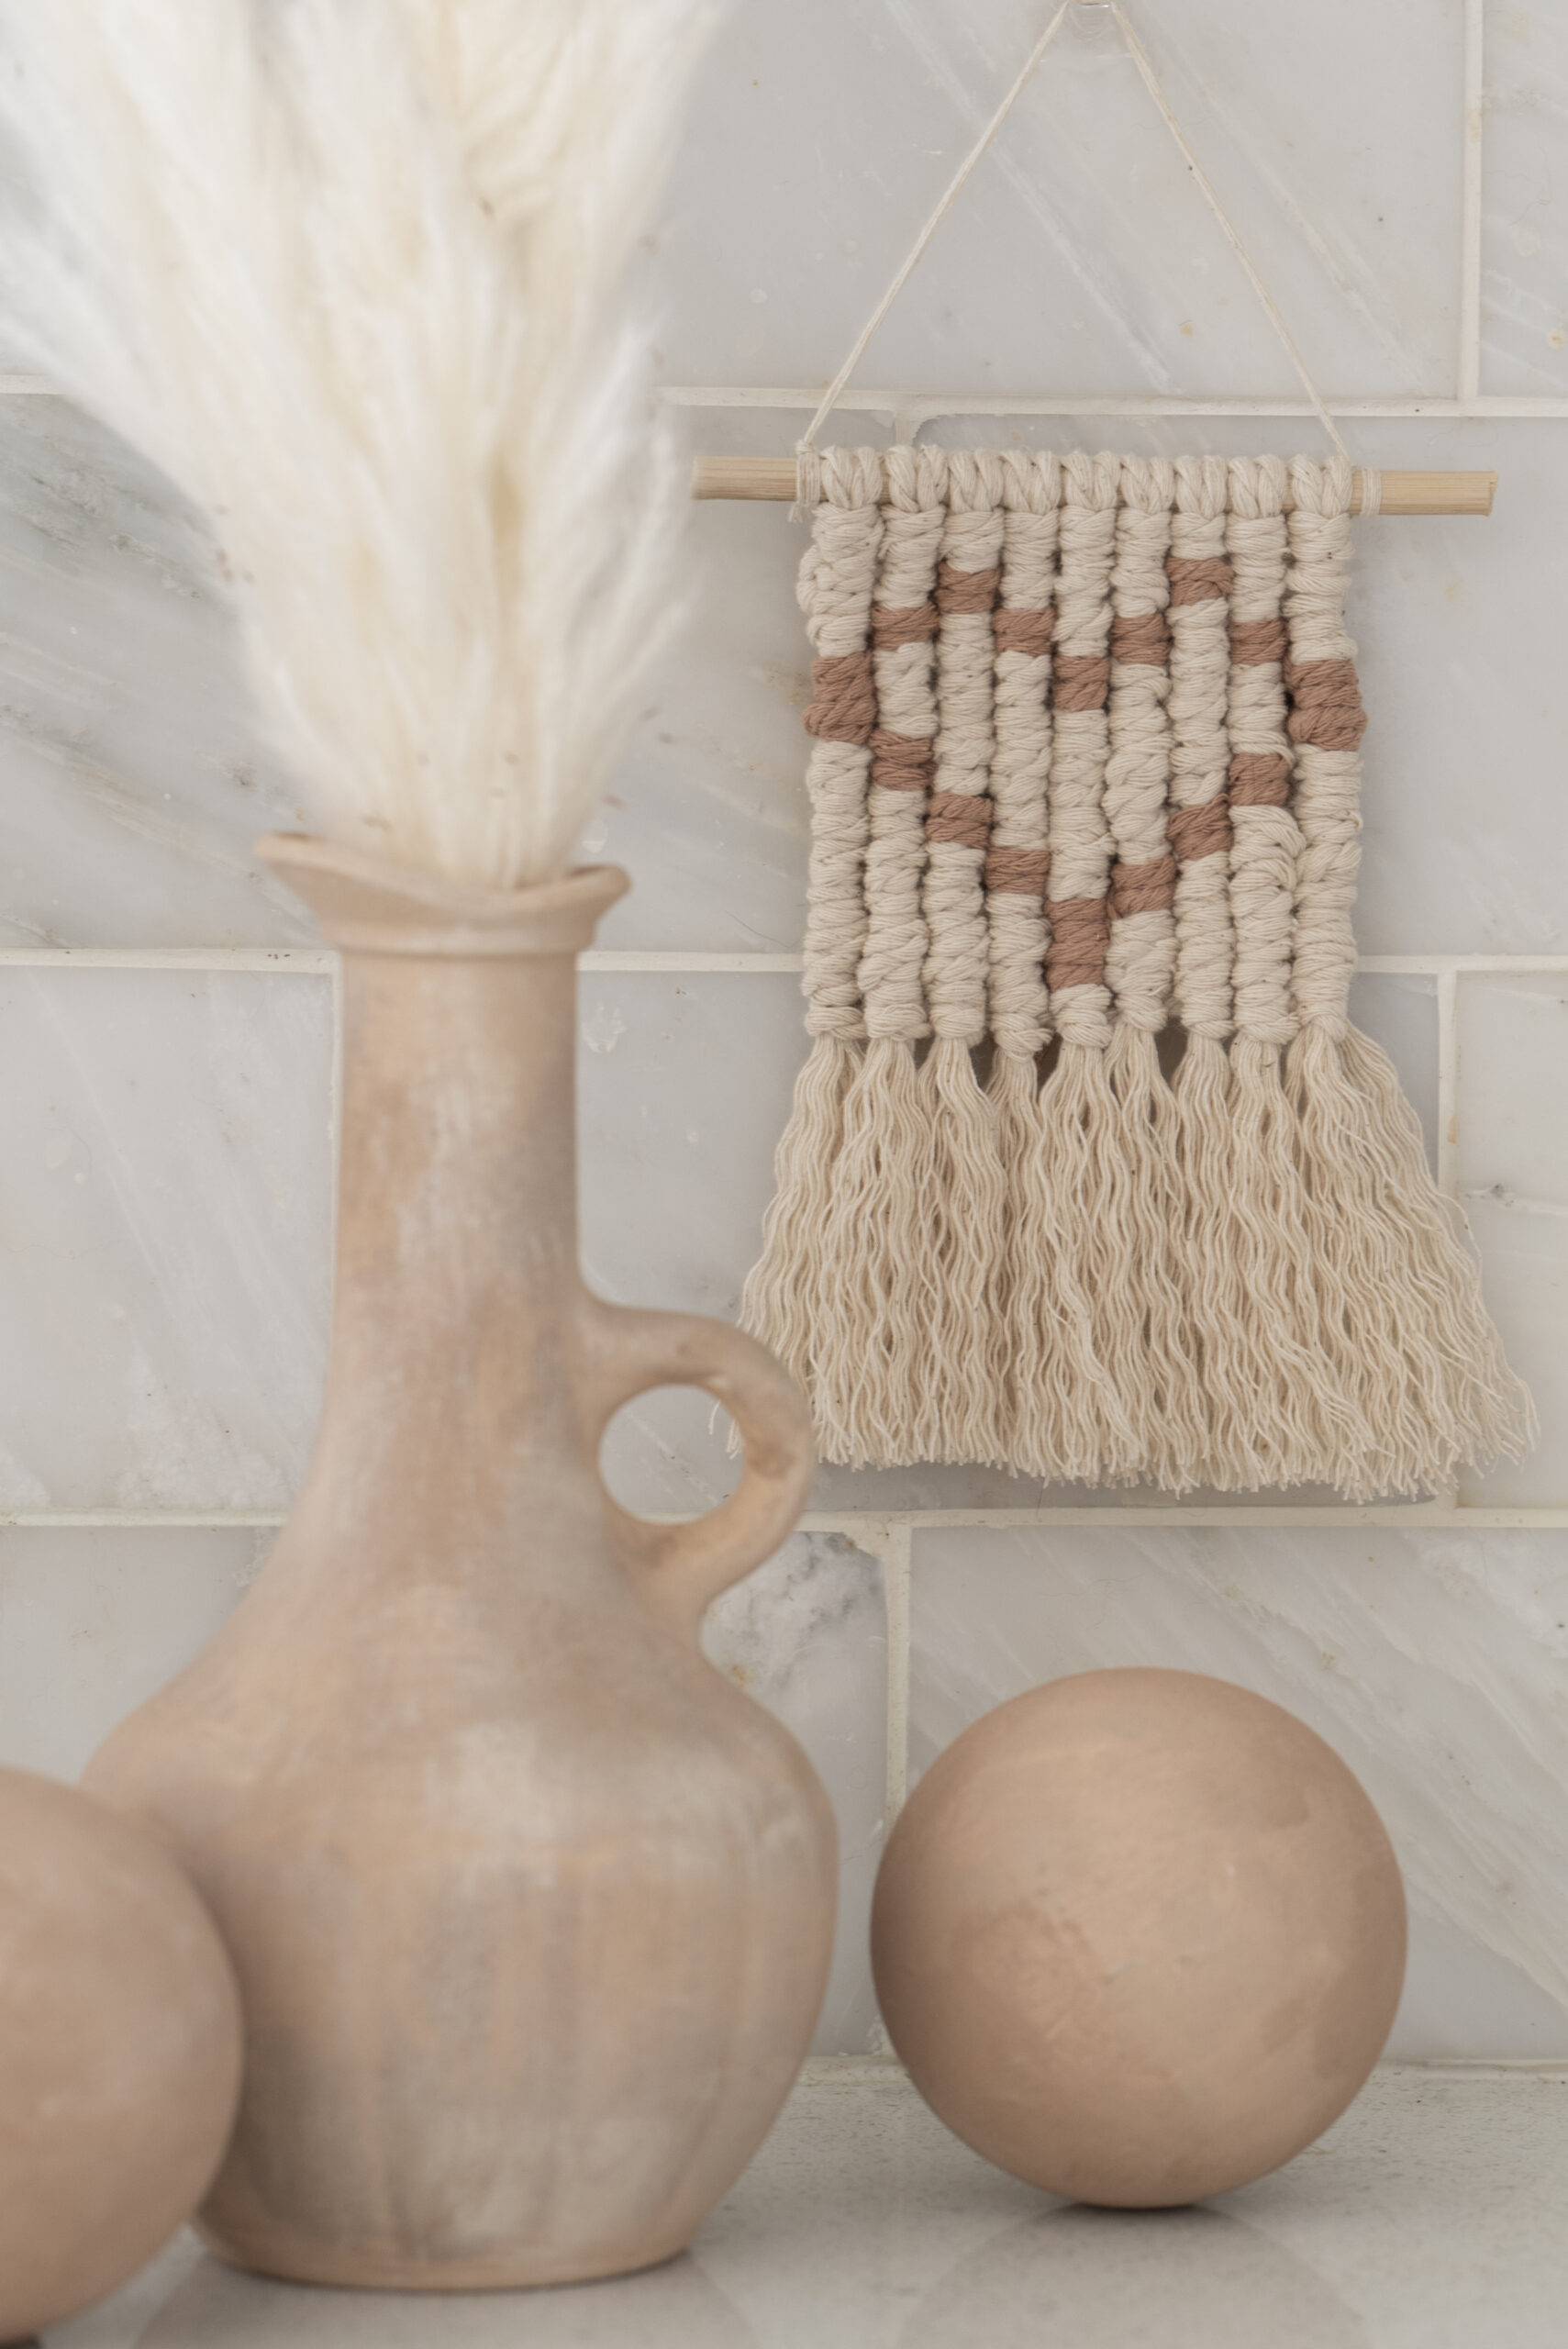
I’ve mentioned many times in my other macrame projects that I like adding starch/fabric stiffener to my combed macrame fringe. You can see examples in my modern macrame wall hanging tutorial, combed macrame wall hanging, boho drawer pulls, macrame chandelier, boho Square Knot bracelet, and large rope tassel just to name a few. In the above ivory and blush macrame heart, I only unraveled and combed the fringe and for the blush hearts, I dipped the fringe in the starch and let it dry. It’s totally optional. One looks more curly and the other straight.
Check out my other small macrame pieces that I made as macrame Christmas ornaments below. They are so much fun to make.
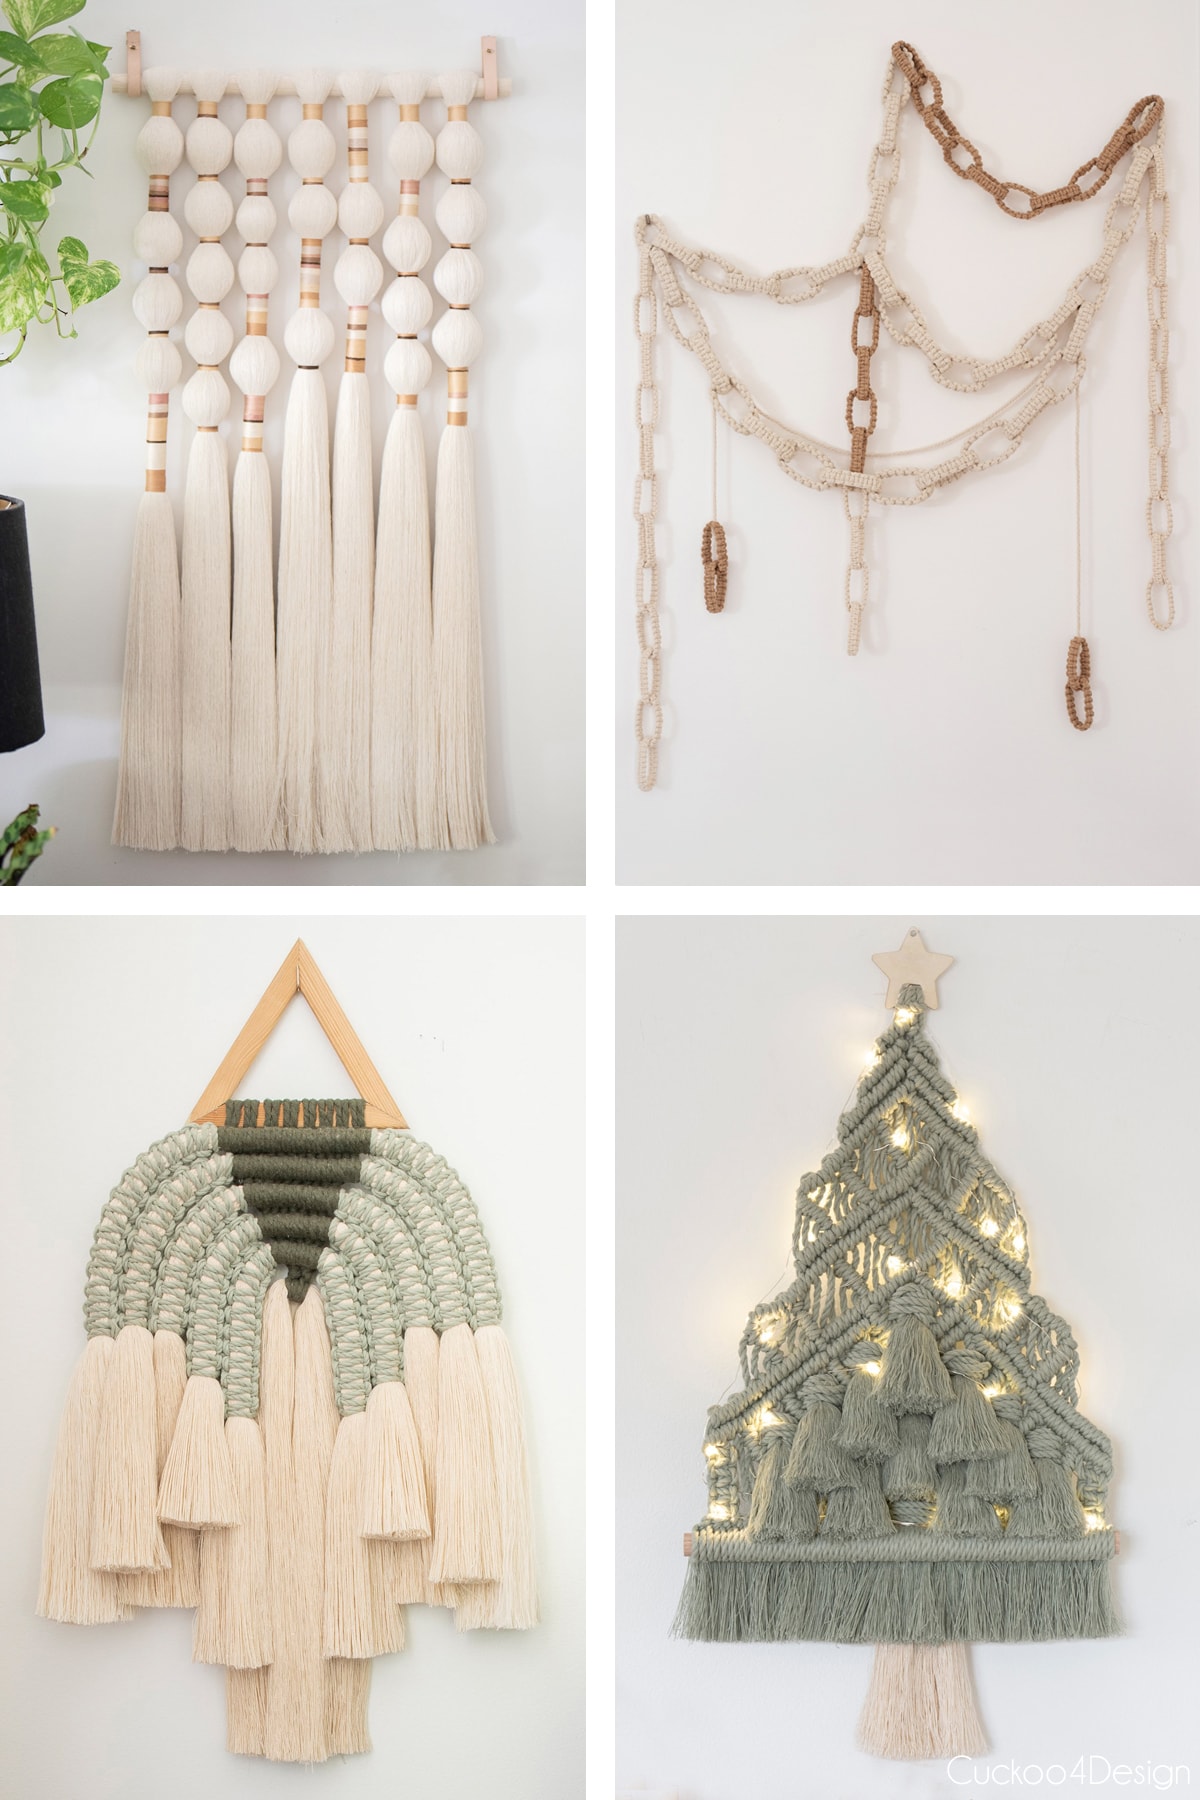
Below you can see a grouping of my 4 favorite unique macrame wall hangings that I made: combed macrame wall hanging with embroidery floss, macrame chain link garland wall hanging, modern macrame wall hanging, and my macrame Christmas tree wall hanging.
Macrame Hearts for Sale
And I always mention that if you don’t feel like making your own, then you have the option to buy handmade macrame hearts from small businesses on Etsy. Below are a few examples:
More different holiday crafts
- 4th of July star bunting
- DIY gold foil Easter eggs
- macrame Christmas tree wall hanging
- DIY cardboard gingerbread ornaments
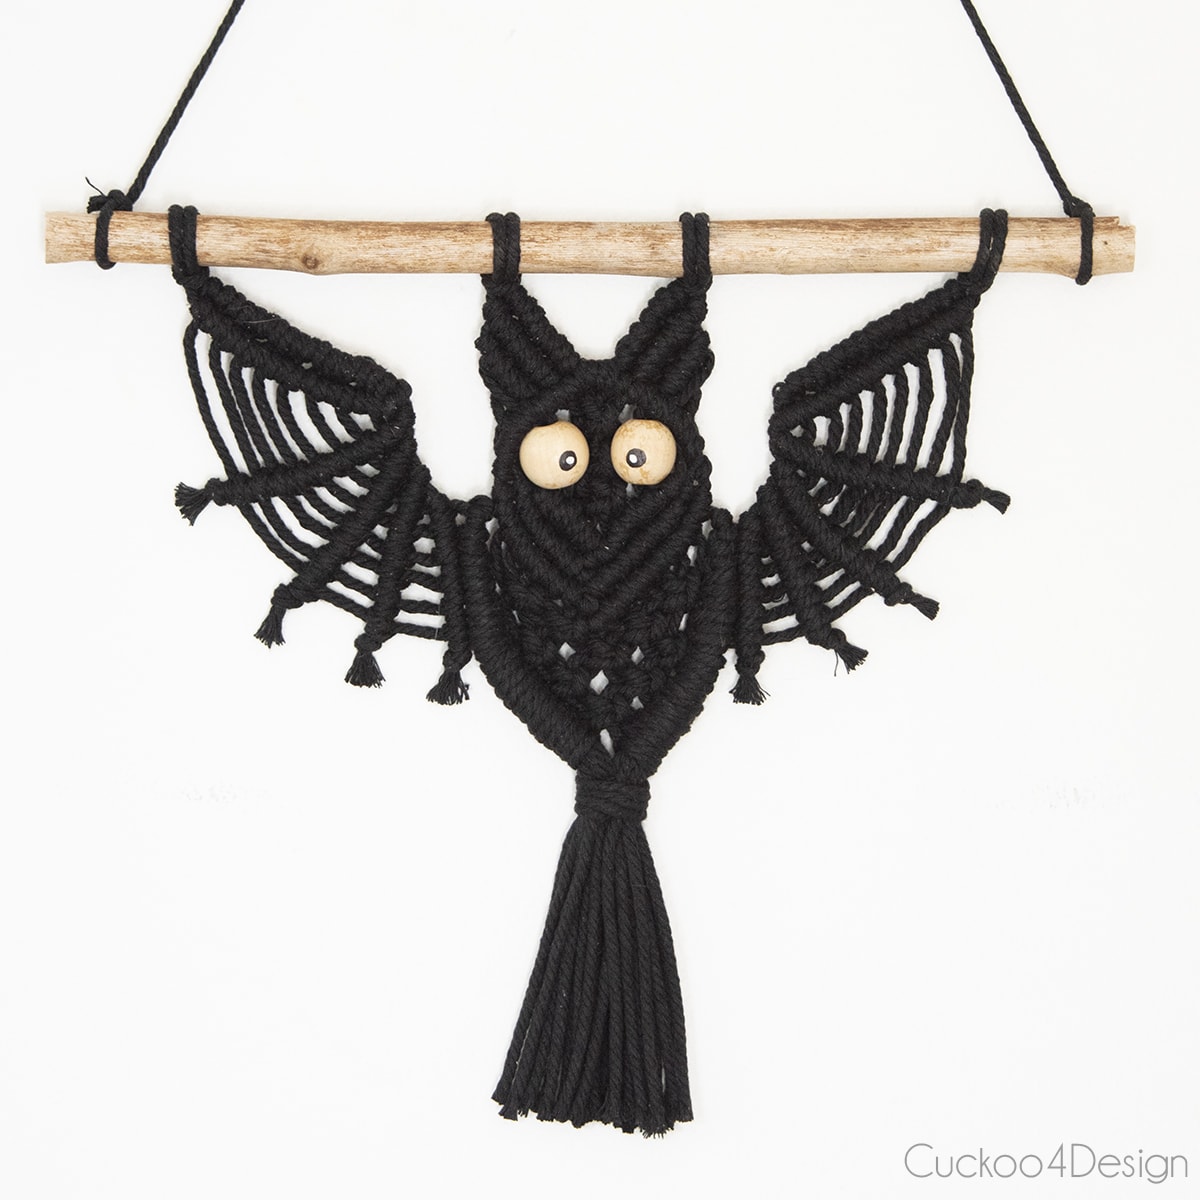
- DIY macrame bat tutorial
This would make such a cute valentines gift. Just get a bottle of wine or champagne and hang this little macrame heart on the bottleneck.
And to those of you who celebrate Valentine’s Day… well happy Valentine’s Day 🙂
Tschüß,


This is adorable and of course I love the color!
These are so adorable and charming! I feel like my hand eye coordination is not up for such a thing, but you’re making me want to give it a try!
Hey Gretchen! I have s serious macrame addiction. My mom keeps telling me that it’s enough now haha. Hope you are doing well. I miss our OG blogging group.
These are adorable! Do you have instructions for the cream with blush heart?
Hi Theresa, glad you like them. The cream and blush heart is mentioned in the blog post. It’s basically the same tutorial as my macrame planter sleeve tutorial that I also linked to. It’s mentioned in the part that has the pencil sketch.
I will check it out…thanks!