How to make a macrame bat wall hanging (free pattern)
Every now and then I do a Halloween craft. I love Halloween and since my kids aren’t little anymore, I have done less and less over the years. I couldn’t resist making a cute little macrame bat last week and I am happy to share this tutorial with you. Again, it didn’t cost me anything because I had all the supplies, but it won’t break the bank even if you don’t.
I just can’t stop making macrame. You know me!
How to make a macrame bat wall hanging
This post may contain affiliate links from which I will earn a commission at no extra cost to you. View my full disclosure policy.
Supplies needed to make a macrame bat
- black macrame cord (I used 3mm)
- scissors
- stick or dowel rod
- two beads (you can use a different size or even red beads too)
- measuring tape
- duct tape
- black Sharpie and white paint with paint brush for eyes
cord measurements: 17 pieces of cord cut to 54 inches long (137.16 cm)

Video tutorial
I also made a video tutorial to show you what I did with my hands. It definitely helps to watch the steps to figure out how to make this cute macrame bat. It’s tough to explain with words sometimes what you mean with these types of tutorials.
If the video doesn’t load for you then you can also watch it on my YouTube channel.
Step-by-step tutorial
I know this tutorial appears a bit long written out like this but the actual project didn’t only took me around 45 minutes and that including having to film it and pressing buttons. So it wasn’t as lengthy as it might appear.
Step 1: Loop two cords to the Stick
Attach two of the 54-inch macrame cords that are folded in half to the stick/dowel road with Lark’s Head Knots about 5 inches apart.
I like securing the stick to a flat surface like my kitchen counter with duct tape to keep it secure and steady.

Step 2: Attach three more cords to Lark’s Head Knot cords
Loop three more 54-inch cords that are folded in half onto the right cord hanging from the stick with reversed Lark’s Head Knots. This time loop an extra loop to the left and the right side of that reversed Lark’s Head Knot.
I secured the cord to the right side with more duct tape for the next step.

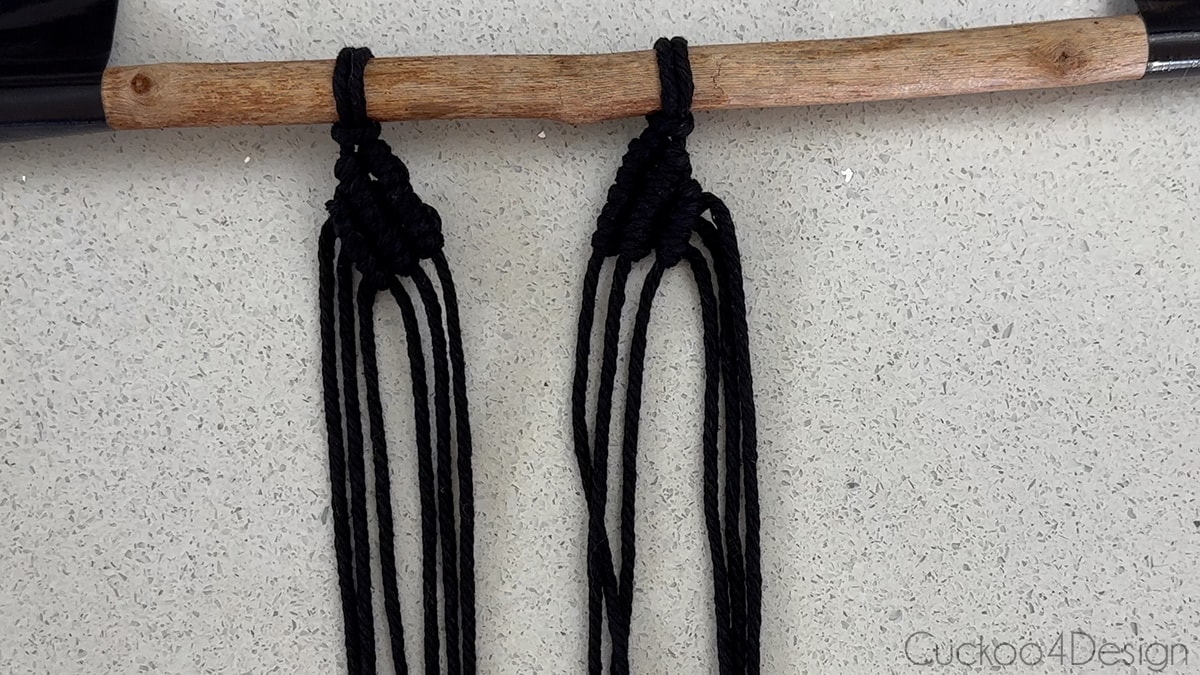
Step 3: Form bat ears with 3 rows of Diagonal Clove Hitch Knots
Loop Diagonal Clove Hitch Knots with the working cords onto the first filler cord which is the first cord to the left. Then repeat that with the next cord all the way to the left. Each strand gets looped onto the filler cord twice.
Repeat that one more time for another row.

Repeat steps 2 and 3 to create the second ear of the bat.
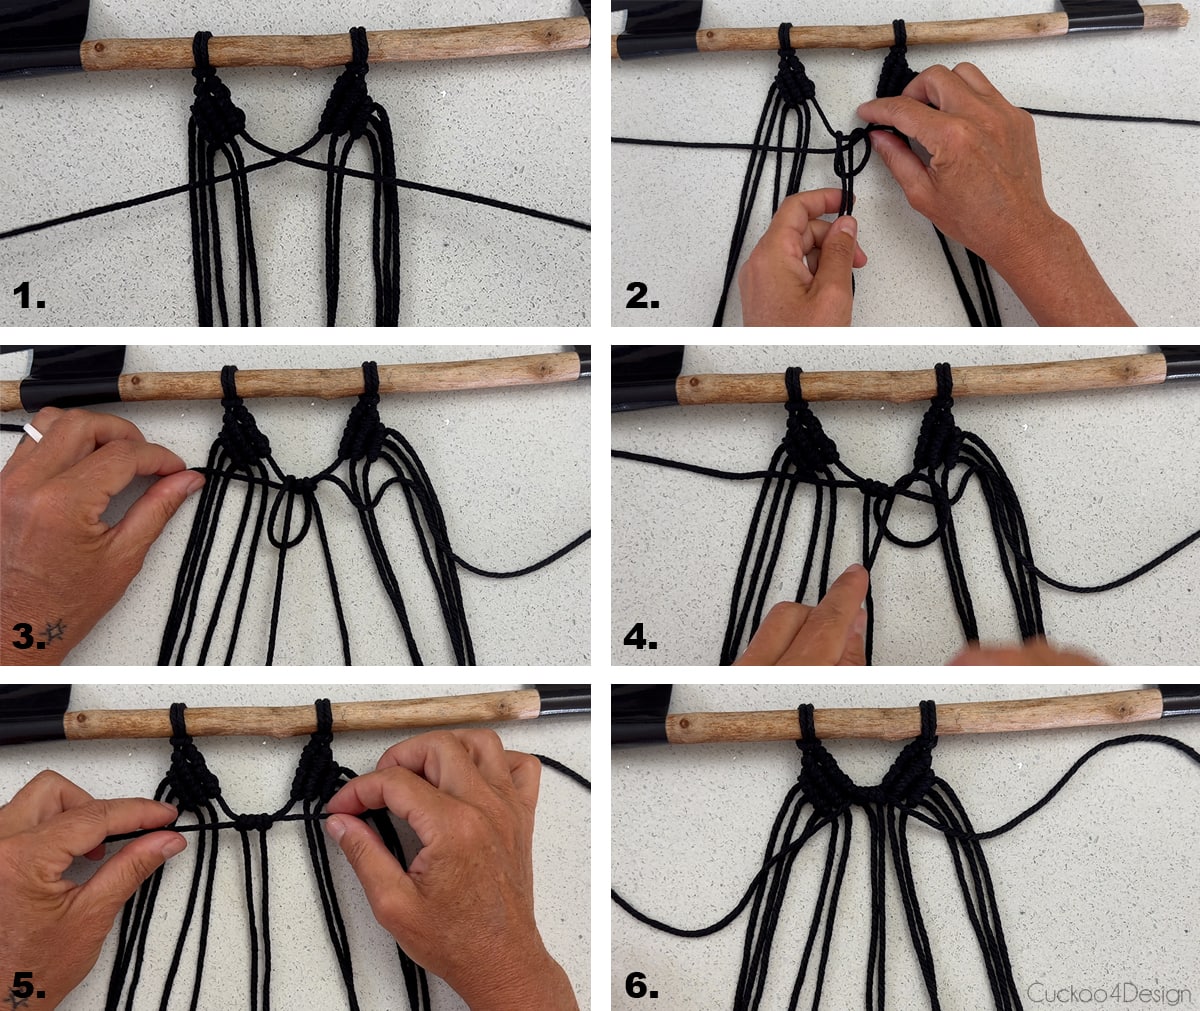
Step 4: Connect the two bat ears
Cross the two strands on the inside of the bat ears and then loop on another 54-inch cord (folded in half) with a reversed Lark’s Head knot. Then add another loop on each side of that reversed Lark’s Head knot. After that pull on each side of those strands and pull them tight which connects the ears as pictured.
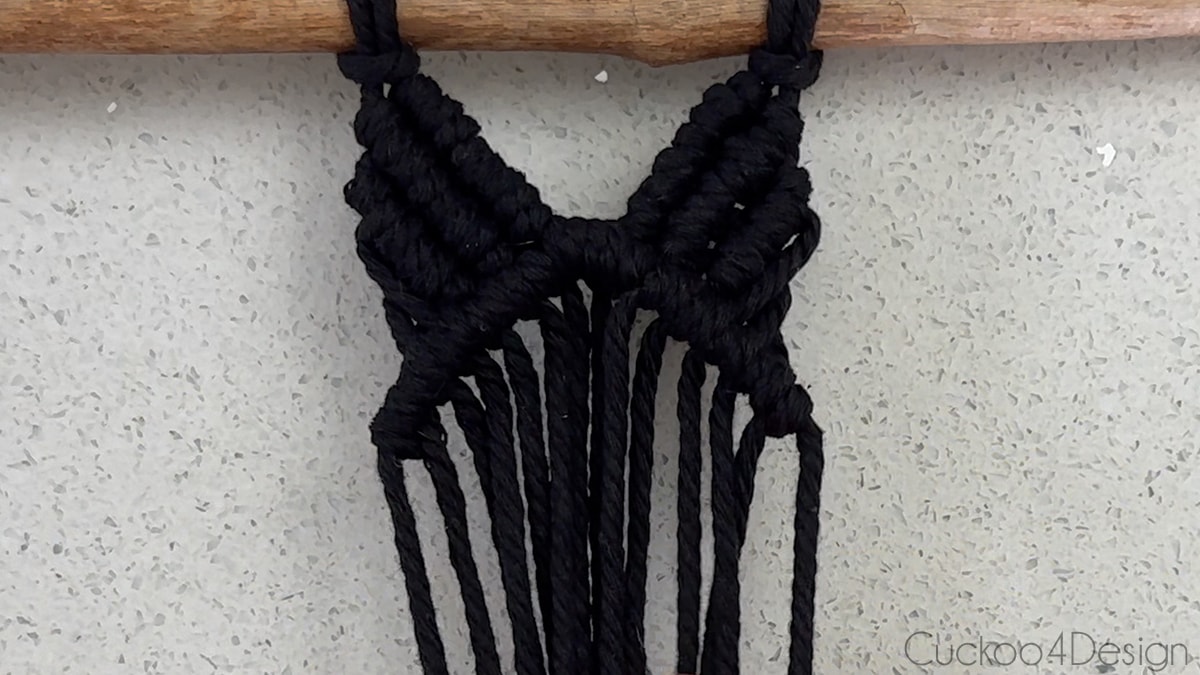
Step 5: Framing the upper half of the bat face
Use more Diagonal Clove Hitch Knots to frame the upper half of the bat face right under the ears. Work your way outwards from the center where you just connected the ears. Grab each strand hanging down from the ears to loop them around the filler cords which are the top cords used to connect the ears.

Repeat this on the other side under the bat ears as well.
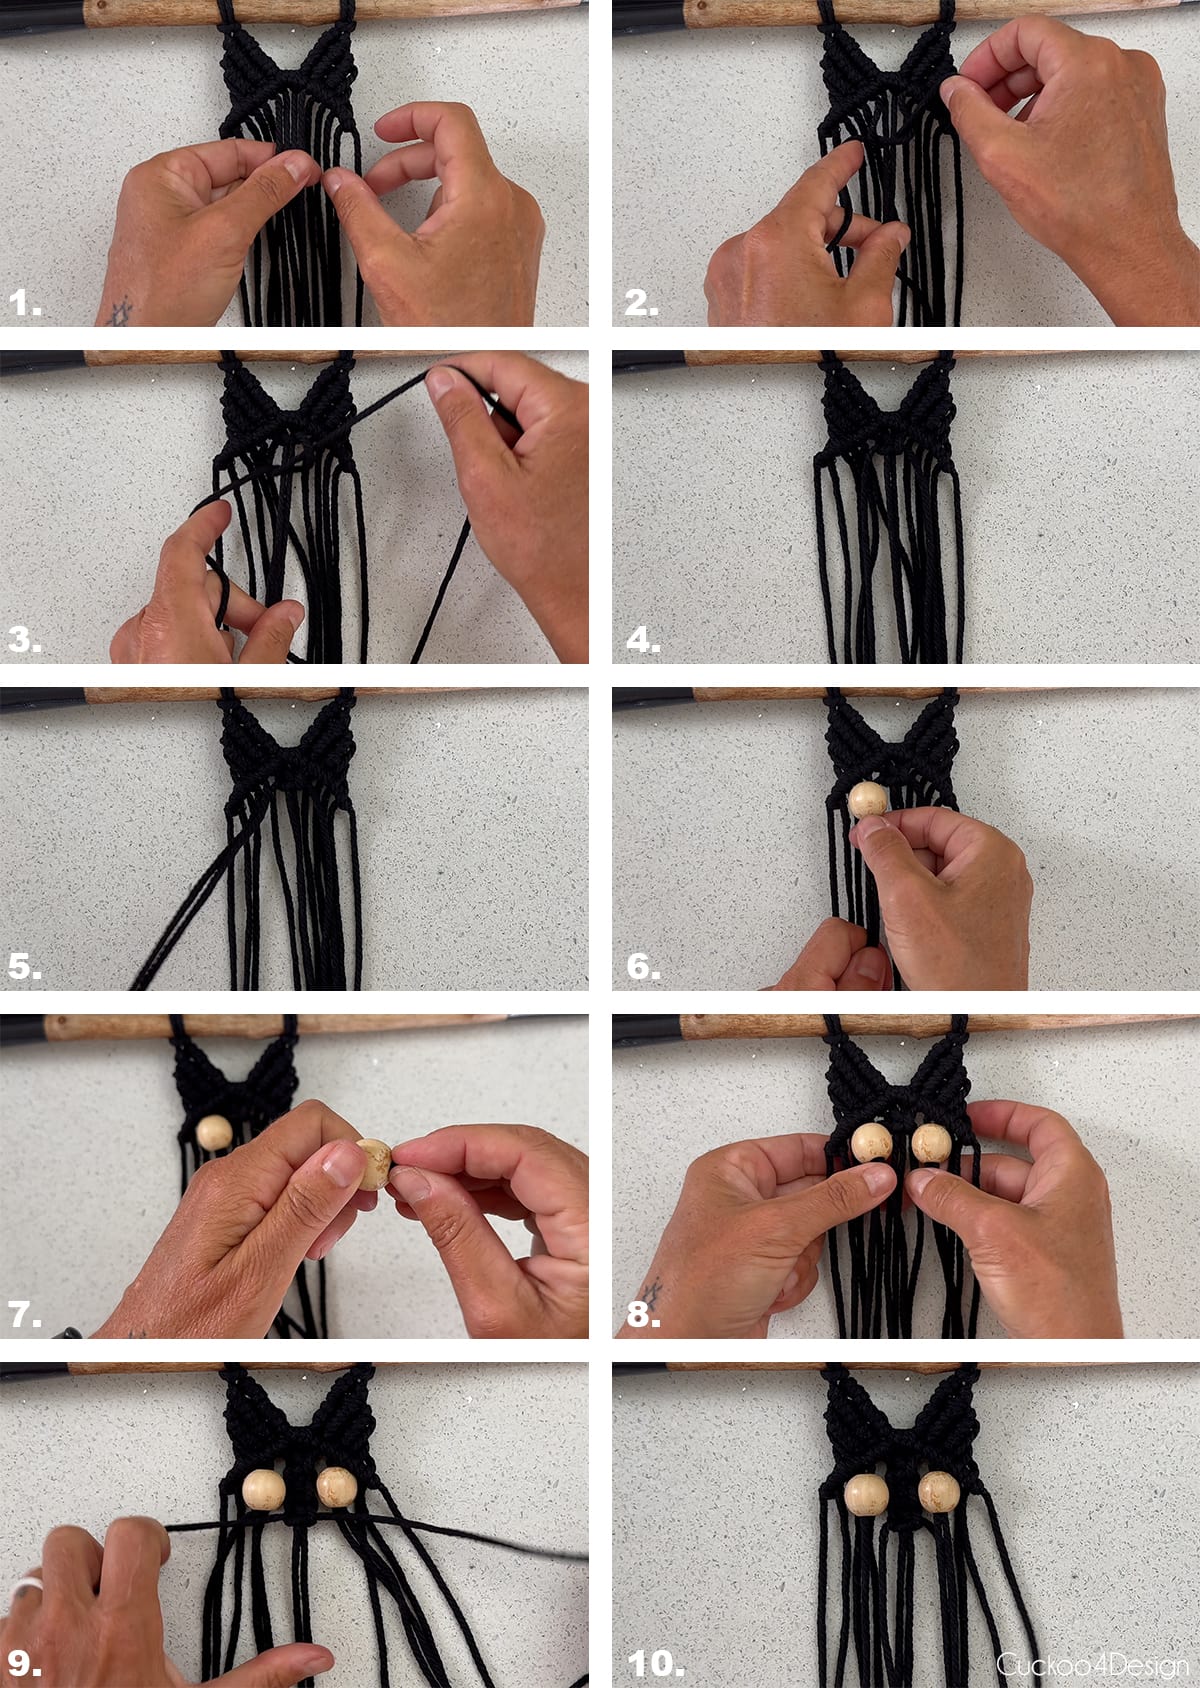
Step 6: Add the beads as eyes
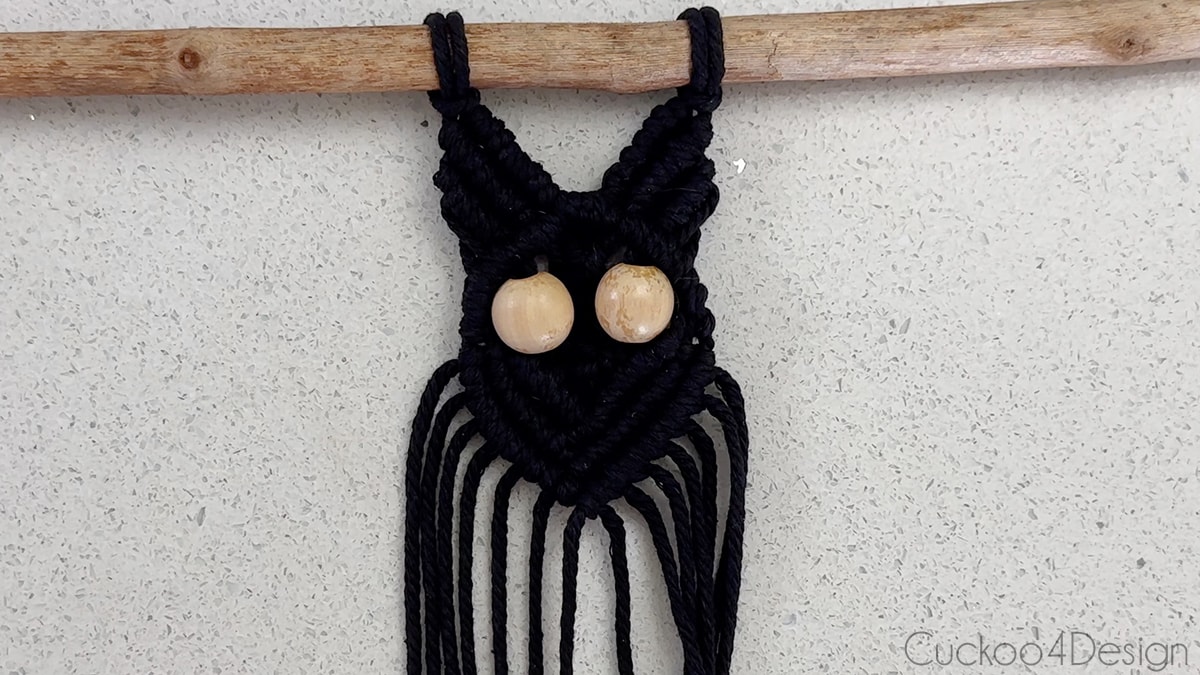
Grab the 4 center strands between the ears and knot one Square Knot. I made a YouTube video about how to make Square Knots. After that, grab the two strands next to that center Square Knot and thread one of the wooden beads onto the two cords. Repeat that on the other side as well with the second bead.
Add two more Square Knots to the center strand so it is longer than the wooden beads.
Step 7: Finish the bottom half of the bat face
Grab the strand on the side of the wooden bead and use that as a filler cord to loop the cords to towards the center of the face from each side so they meet in the middle.
Repeat that with the next outside cord in line and work yourself towards the center with the Diagonal Clove Hitch Knots. This way I ended up with three rows of Diagonal Clove Hitch Knots.

Here you can see the face close up.
Step 8: Knotting the bat wings
For the bat wings fold two more 54-inch cords in half and loop them on the stick on each side of the head with Lark’s Head Knots. (picture 1)
One of the two strands hanging down on each side will be your filler cord to add 4 more 54-inch cords to. They are also folded in half and added with reversed Lark’s Head Knots. So that’s 4 cords added on each side of the head. (pictures 2 through 6)
Now use the first cord on the outside as the next filler cord. Loop Diagonal Clove Hitch Knots onto that filler cord working inwards. (pictures 7 through 9).
Now you need to grab the outer cord on the right where you just ended and work towards the outside while leaving the strands longer and not pulling them tight. This creates a V-shape with webs in the center. (pictures 10 and 11). Tie a knot at the end so the string can’t unravel and trim it. (pictures 12 and 13) Repeat this V-shape 3 more times (pictures 14 through 16) so you end up with a wing that has 4 webs.


Replicate the same bat wing on the other side.

Step 9: Attach the wings to the top part of the bat
Start with the outside cord hanging on the side of the bat face and loop the first top cord onto that string with a Diagonal Clove Hitch Knot. Then grab those two cords and use the next cord hanging from the bat wing to loop over those two cords with another Diagonal Clove Hitch Knot.
Grab that working cord with the other two cords in your hand and loop the next cord from the bat wing over the three cords. Then grab that cord with the other 3 cords and keep going while gathering and wrapping with the next cord in line. That way you should end up with all the cords from the wing wrapped. (as pictured in image 8)

Repeat that on the other side of the bat so both wings are attached.

Step 10: At this step, the bat could be finished
You can just call it a day to be done and tie the bottom of the bat off into a tassel.

I chose to keep going and make the body a bit larger. So the next few steps are optional.
Step 11: Enlarge the bat body with off-centered Square Knots
You can enlarge the bat’s body by knotting two rows of off-centered Square Knots. Start out by grabbing the 4 cords on the outside under the bat face and knot them in a Square Knot. That also needs to be done on the other side. (picture 1 through 4)
Now you start with the off-centering by grabbing two cords from the previous Square Knot and two from the center of the bat that are next in line. Keep going until you meet at the center bottom. You should have two rows of off-centered Square Knots. (pictures 5 through 8)

Step 12: Attaching the bat wings to the body of the bat
Repeat the same steps as earlier when you connected the wings to the upper body of the bat with the Diagonal Clove Hitch Knots on each side of the bat. Keep grabbing the cords so they are all wrapped.

Step 13: Tie the end strings off with a Gathering Knot Method
You can tie the ends into a tassel with the Gathering Knot Method which I am showing in detail in my fringed Square Knot bracelet tutorial or you just wrap cord around all the string and tie it in the back. Both versions work really well.

Step 14: Trim the ends
You can trim the ends and leave them longer or I am also showing below how it would look shorter to replicate the look of feet.

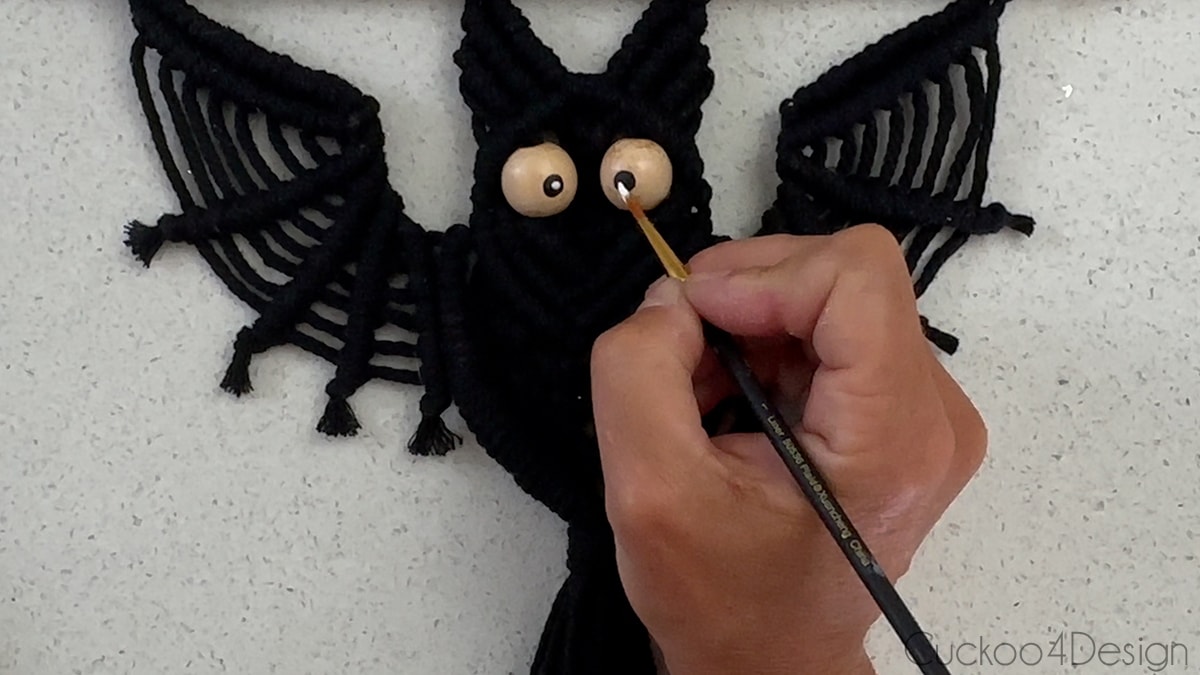
Step 15: Paint eyes onto wood beads
Use a Sharpie to draw the black part of the eyes onto the wood beads. Then use a small paintbrush and white craft paint to add small white dots for the white part of the eyes.
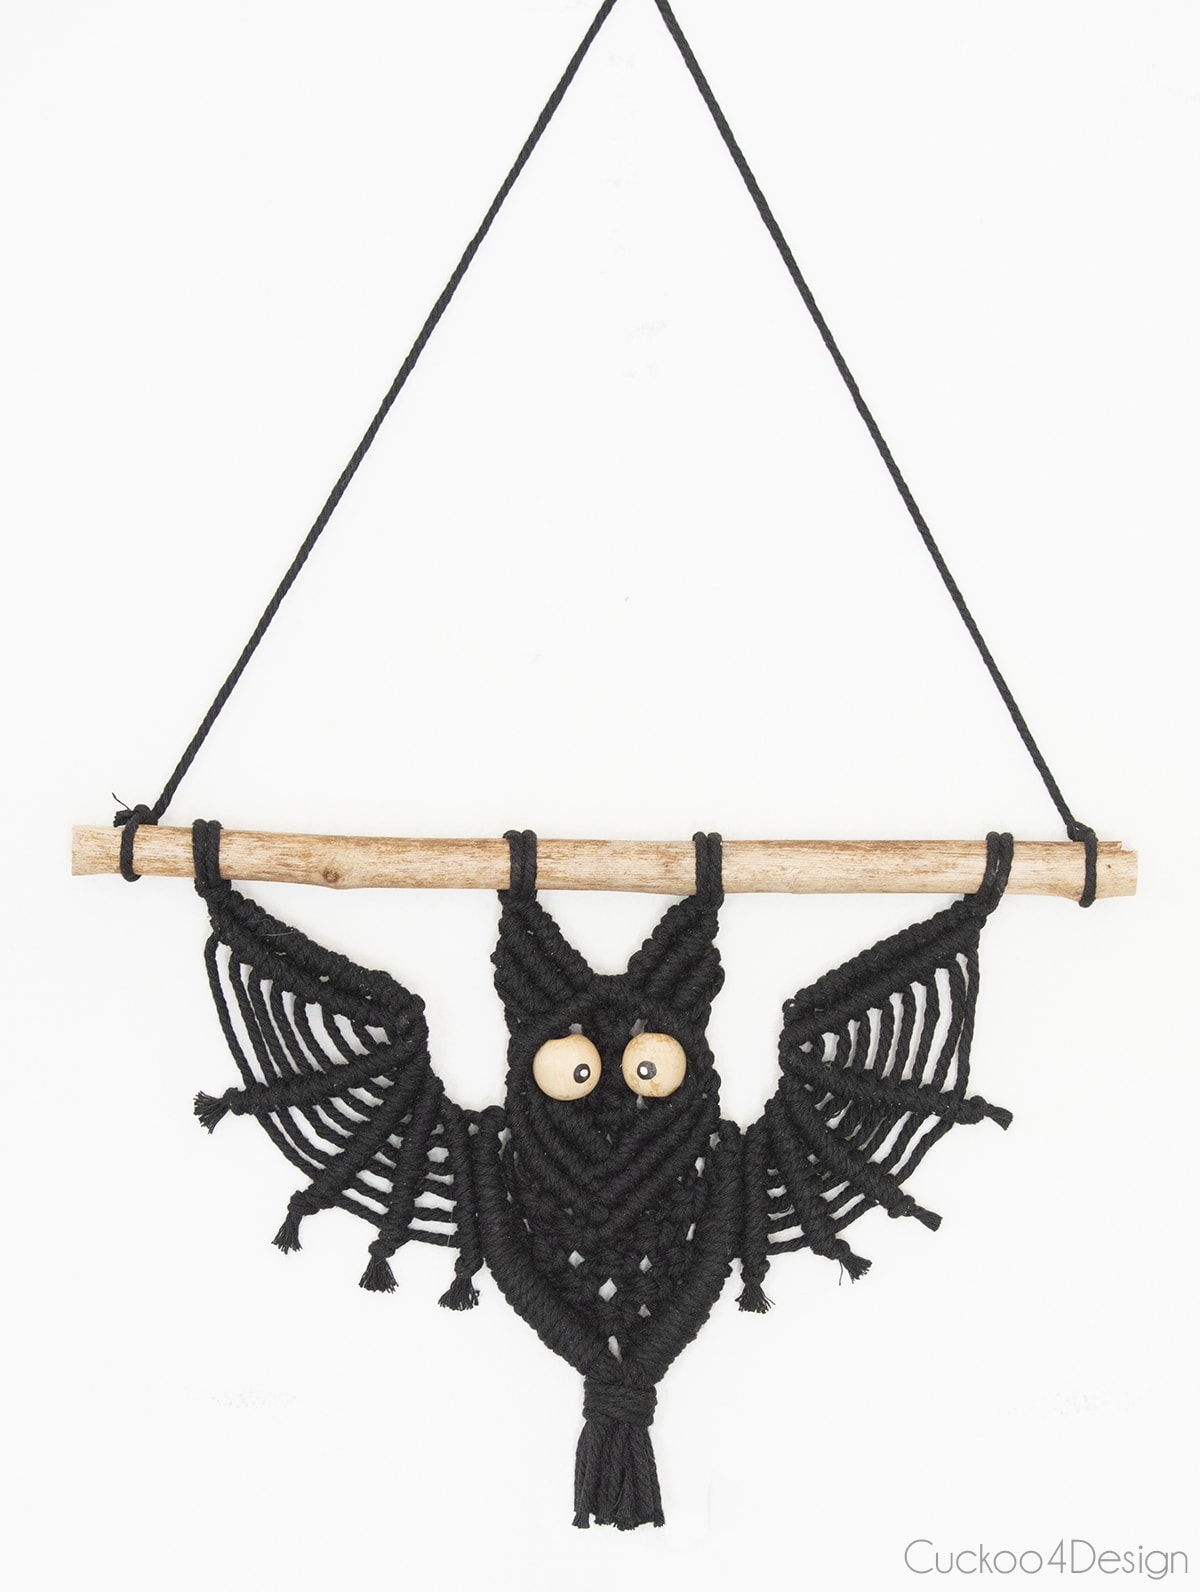
Photos of finished DIY macrame bat

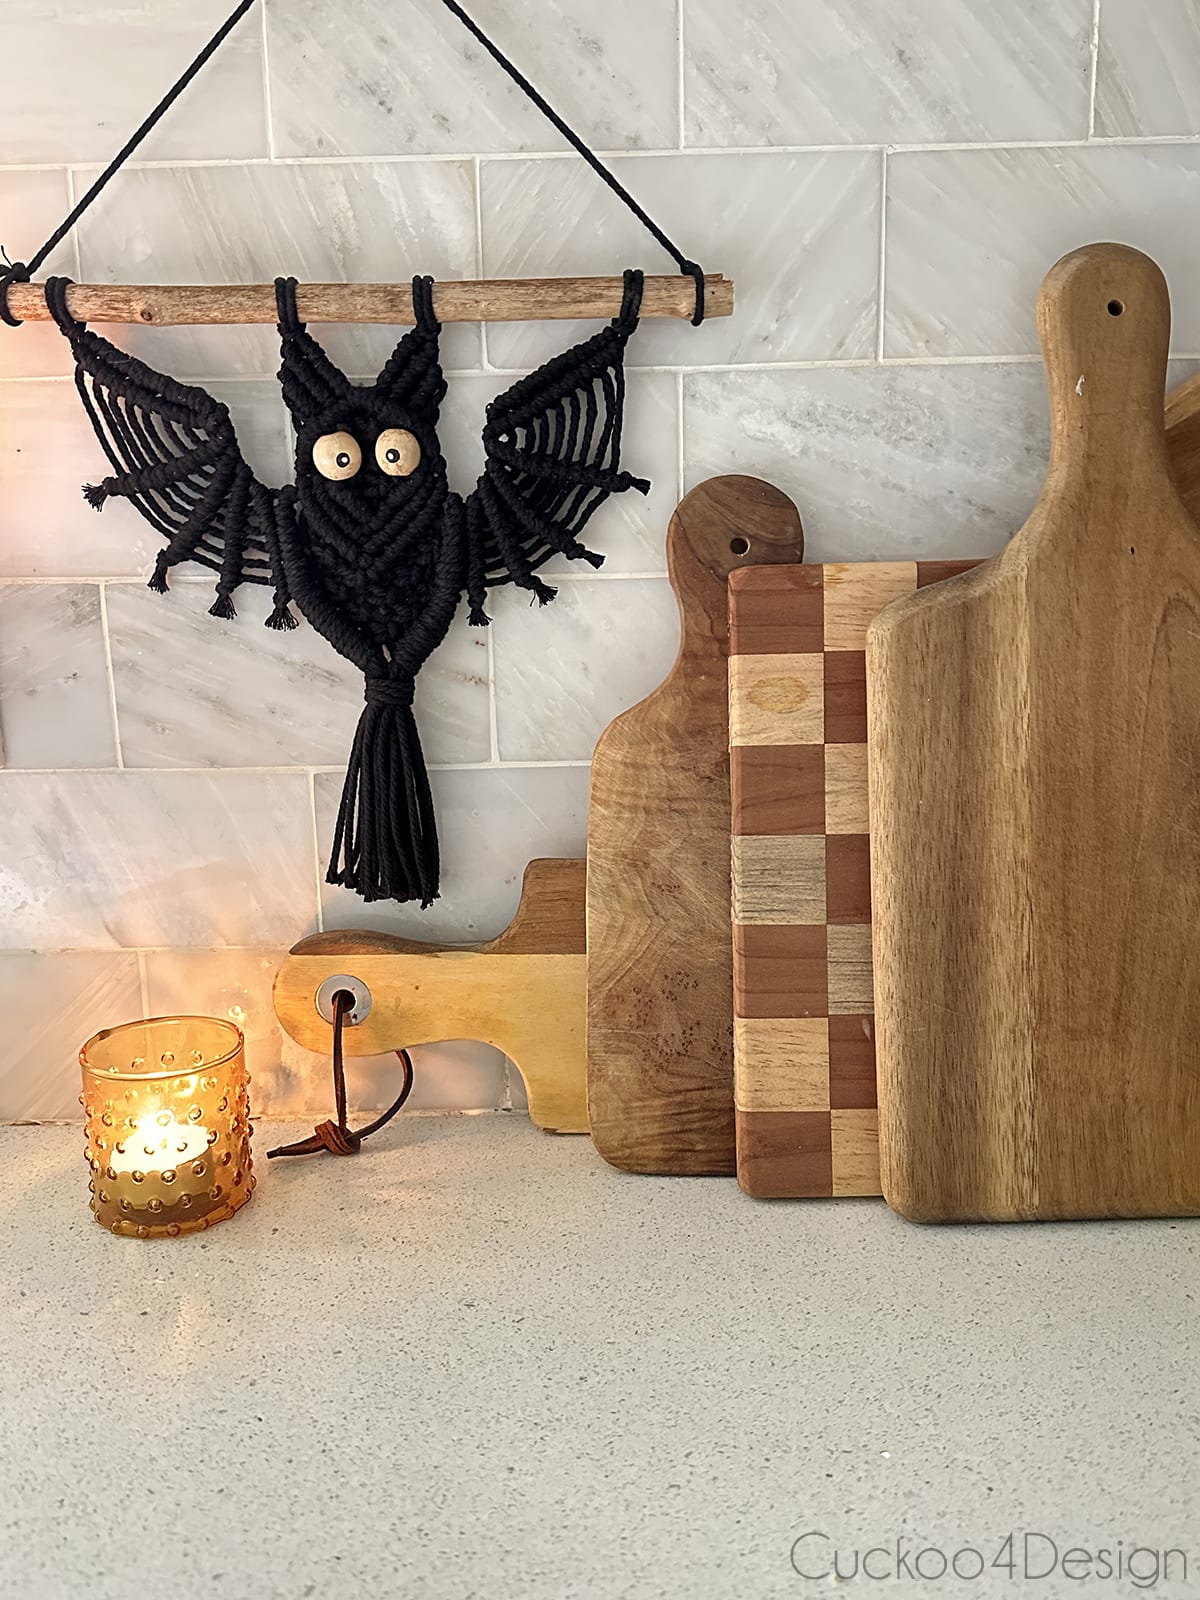
The macrame bat will be displayed in our kitchen on the fridge. It’s just the perfect size.

Walter cracks me up! I think he knows that he kind of looks like this cute bat. He sure is our crazy Halloween kitty.

You can also cut the end or should I call it the tail of the macrame bat shorter which might represent the look of a bat more. You be the judge of that and both ways look nice.

Where to buy macrame bats
I gathered some of my favorite handmade macrame bats on Etsy for those of you who don’t like to craft and would rather just buy one.
More of my Halloween decor and Fall decorations
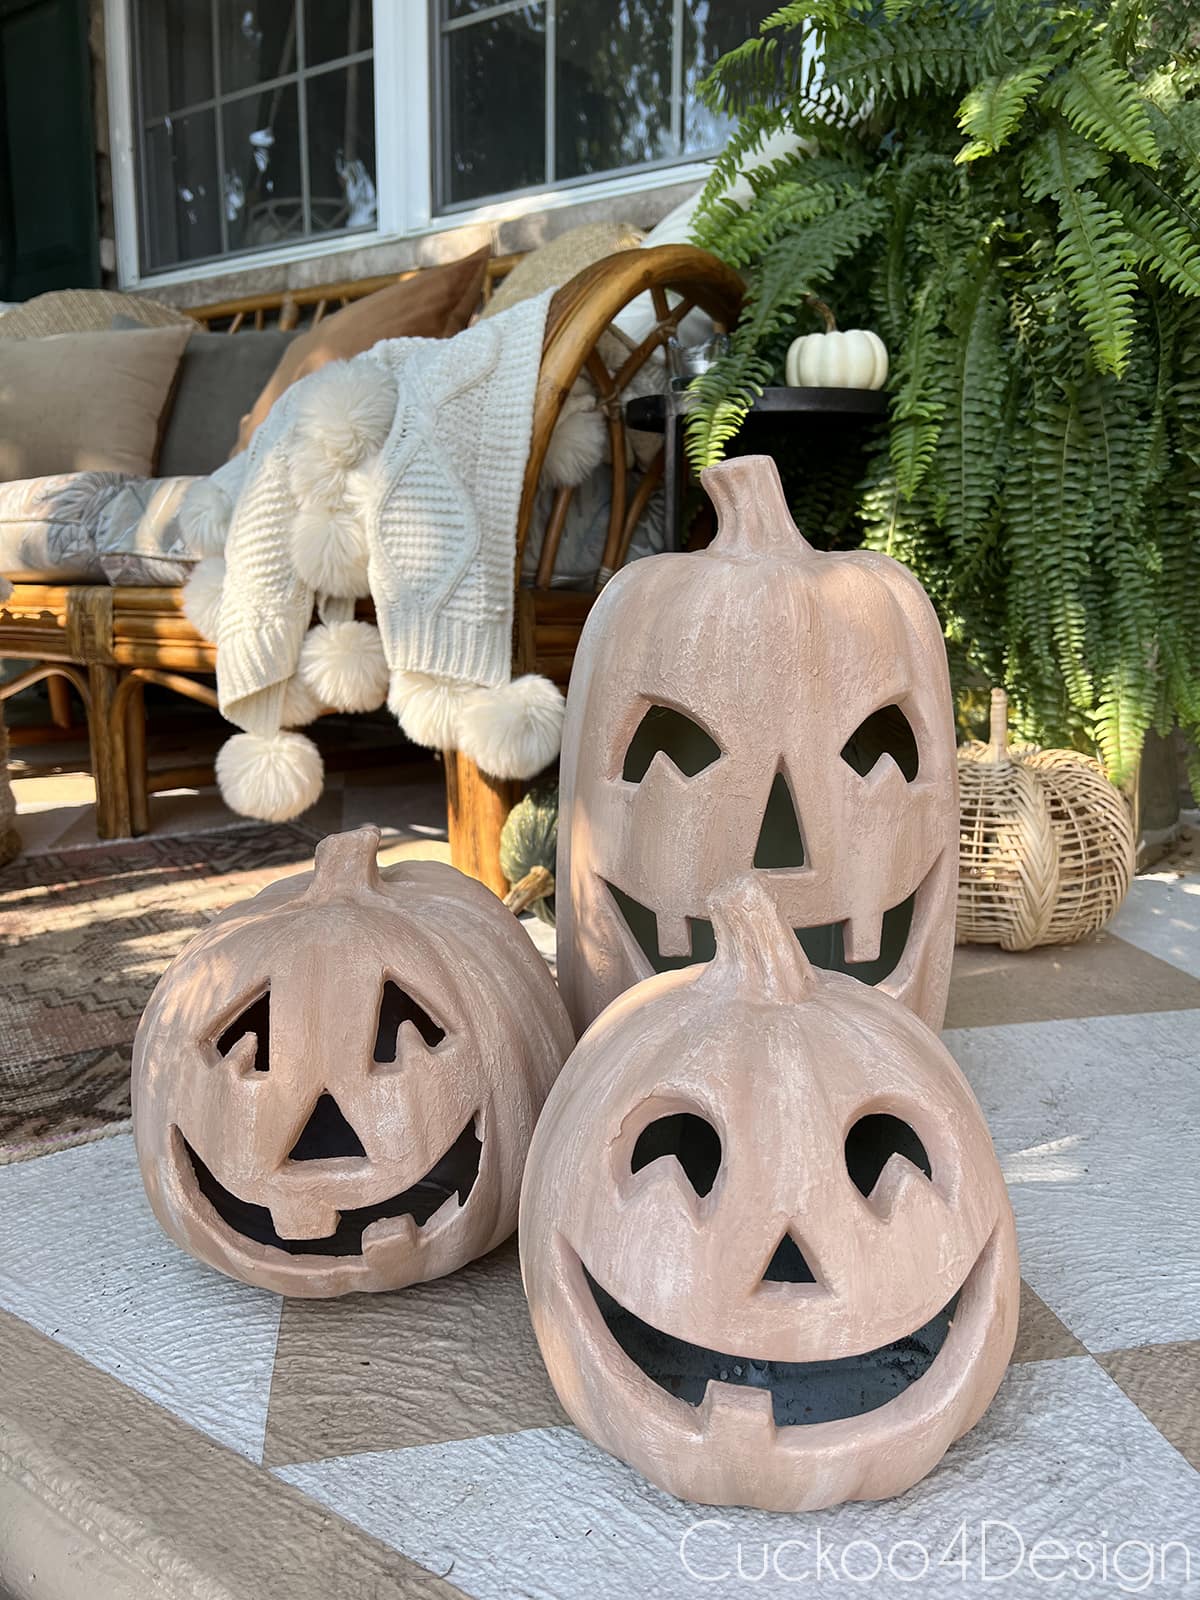
- How to paint faux terracotta pumpkins
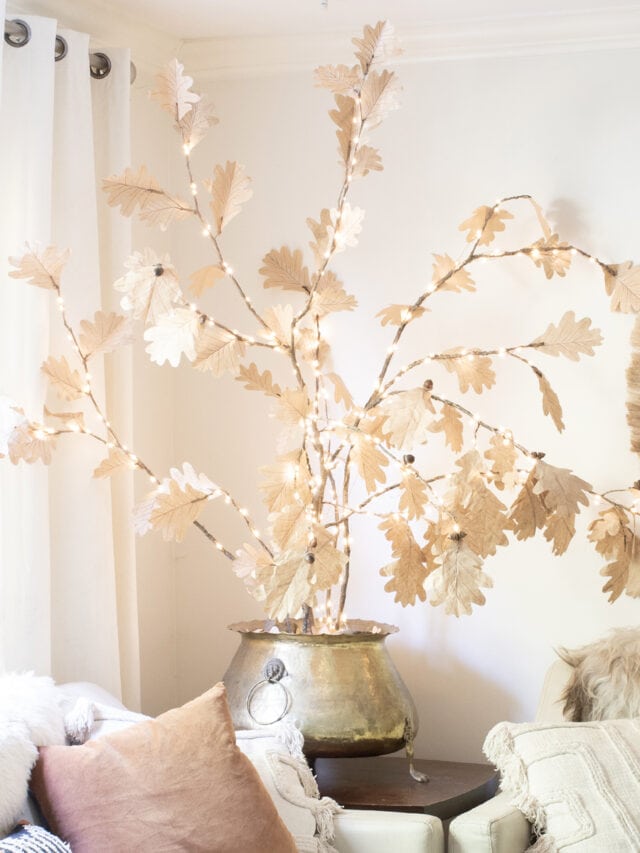
- DIY paper leaf for a fall foliage arrangement
- DIY paper moth for Halloween decor
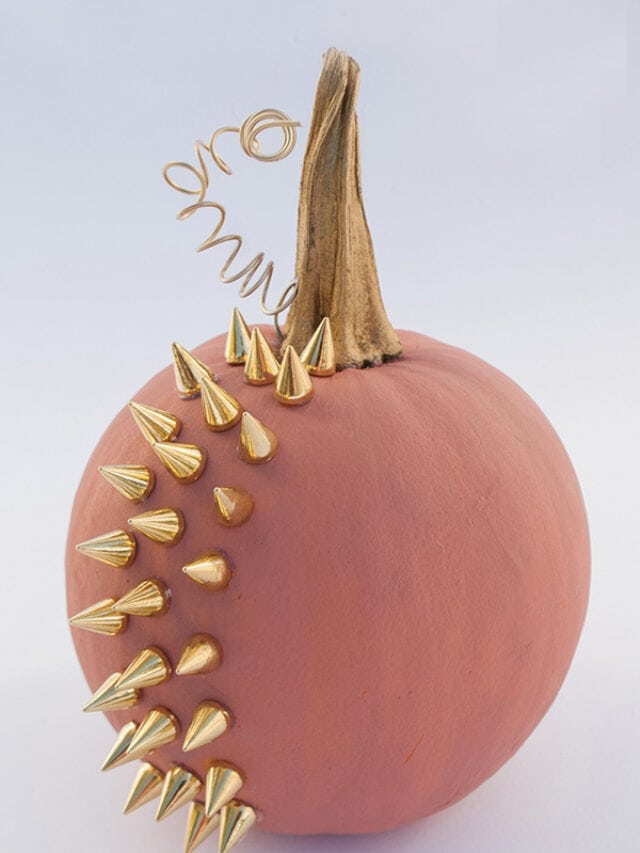
- studded chalk paint pumpkins
- DIY Halloween gallery wall
- black and white Halloween porch
Tschüß,




You keep saying 17” cords, but in the beginning you say to cut 17 pieces of 54” cord. Which is it? Very confusing.
Oh my gosh thanks for pointing that out! It’s a misspelling. I mean 17 cords at 54″. Oooops!
This might be my fav of all your macrame projects! SO fun!
Oh thank you so much Cassie. It was definitely one of the funnest ones to make.
Thank you!!!
Your macrame bat is adorable, Julia!!! Really sweet and a little bit scary!
Thank you for sharing your creative projects that are so beautifully crafted. I love seeing your work!
Thanks so much Karen.
This should probably not have been my first ever macrame project. I watched parts of the video over and over, and I had to go watch a video teaching me how to do the clove hitch knot (the one that makes up most of the project 😂), but I managed to end up with a bat, and it’s very cute. Thanks for this.
Well I’m so glad it worked out in the end for you 🙂 and you have the bat.