How to make a fall foliage DIY paper leaf branch arrangement
This simple fall arrangement didn’t cost me anything because I had all the supplies needed already at home. Even if you don’t have the items at home already, they won’t cost you much since all you need is brown paper bags for the DIY paper leaf, free tree branches, hot glue, and some optional fairy lights.
I love how this project turned out for the corner of our living room and I love showing you how easy and affordable it was to make. Let’s go!
Fall foliage DIY paper leaf branch arrangement
This post may contain affiliate links from which I will earn a commission at no extra cost to you. View my full disclosure policy.
You can use brown packaging paper, brown paper shopping bags, or brown paper lunch bags the way I used for my paper bag snowflake craft. I had plenty of the bags left and they are really affordable at the grocery store for around $2-$4 depending on the size. I like using the bags best since they aren’t as thick as larger brown shopping bags or packing paper.
(If you use brown packaging paper then you could even use a Cricut or other cutting machine to do the leaf-cutting for you.)
Craft supplies needed
- brown paper or brown paper bags like lunch bags or shopping bags
- scissors
- hot glue sticks and glue gun
- branches (acorns optional)
- plug-in fairy lights (optional)
- flower pot (or any other container or vase)
- leaf shape
- floral foam blocks
- flower pot
- rocks
- colored pencils (optional)
- water colors (optional)


Step-by-step instructions on how to make a leaf with paper for your fall floral arrangement
You might wonder, why I don’t just use real leaves from outside. The reason is that they crumble and fall apart. It’s that simple! Fortunately, this is an easy DIY and straightforward craft tutorial. Check out my video for more detailed instructions.
Video tutorial
I made a video so you can see better how I made the leaves and put them together on the branches. If the video doesn’t load for you then you can watch the video on my YouTube channel instead.
Step 1: Choose a leaf you like
Pick a leaf shape. I made a printable template for you that you can use if you don’t want to go outside to find a leaf you like.
Just as mentioned above, the real dried leaves crumble and fall apart which is why I made a temple instead.

Here is a free leaf template for you to print. You can slightly scale the size of the leaf in your printer window.

Step 2: Cut out the leaf template
Use sharp scissors to cut out both of your different-sized printed leaf templates. Don’t worry about being too exact.

Step 3: Trace leaf template
Place the paper templates onto your paper bag sheets so you can trace them with a pencil. I was able to fit both, the larger and the smaller one, onto one paper lunch bag.

Step 4: Cut out paper leaves
Use sharp crafting scissors to cut out your paper leaf shape. Since the brown paper bag has more than one layer, you’ll end up with several brown paper leaves.
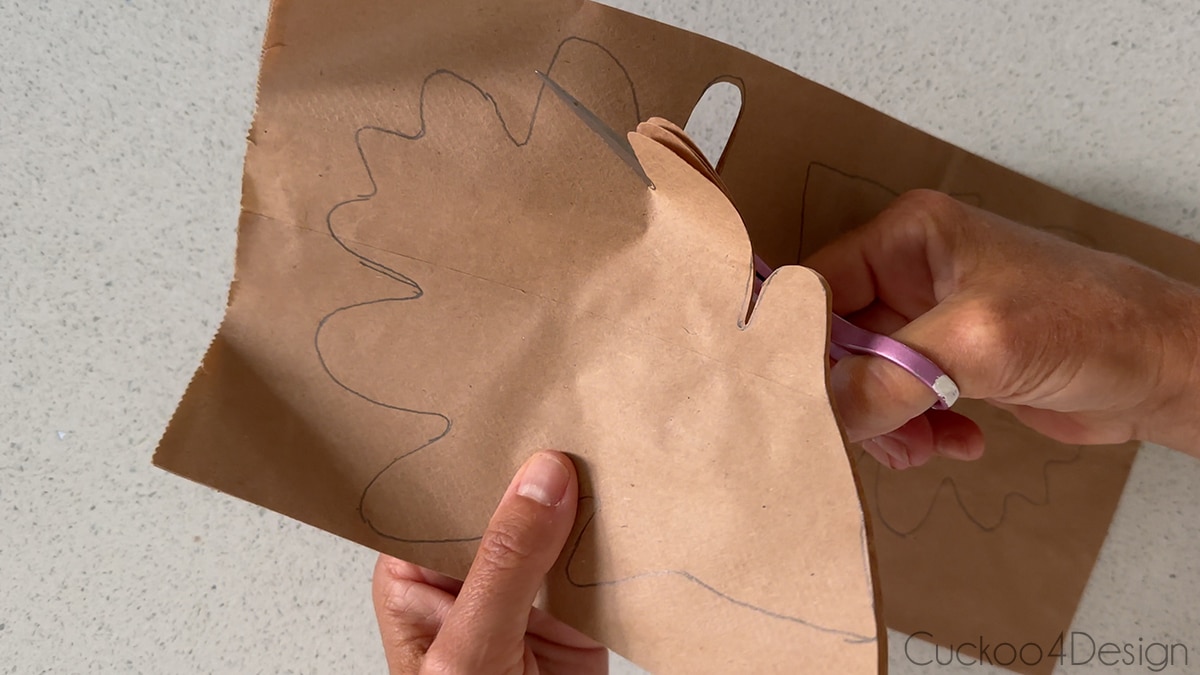
Step 5: Fold the leaf in half
Fold all the paper leaves that you cut out in half to create the center spine middle of the leaf.

Step 6: Paint autumn leaf colors onto paper leaf (optional)
You can use watercolors in fall colors to paint the paper leaf which can make it look more realistic. I opted not to do that but still wanted to show you how it would look.

When the paper leaf is dry, you can paint on the leaf veins with colored pencils to create the leaf design.

Step 7: Draw in leaf veins (optional)
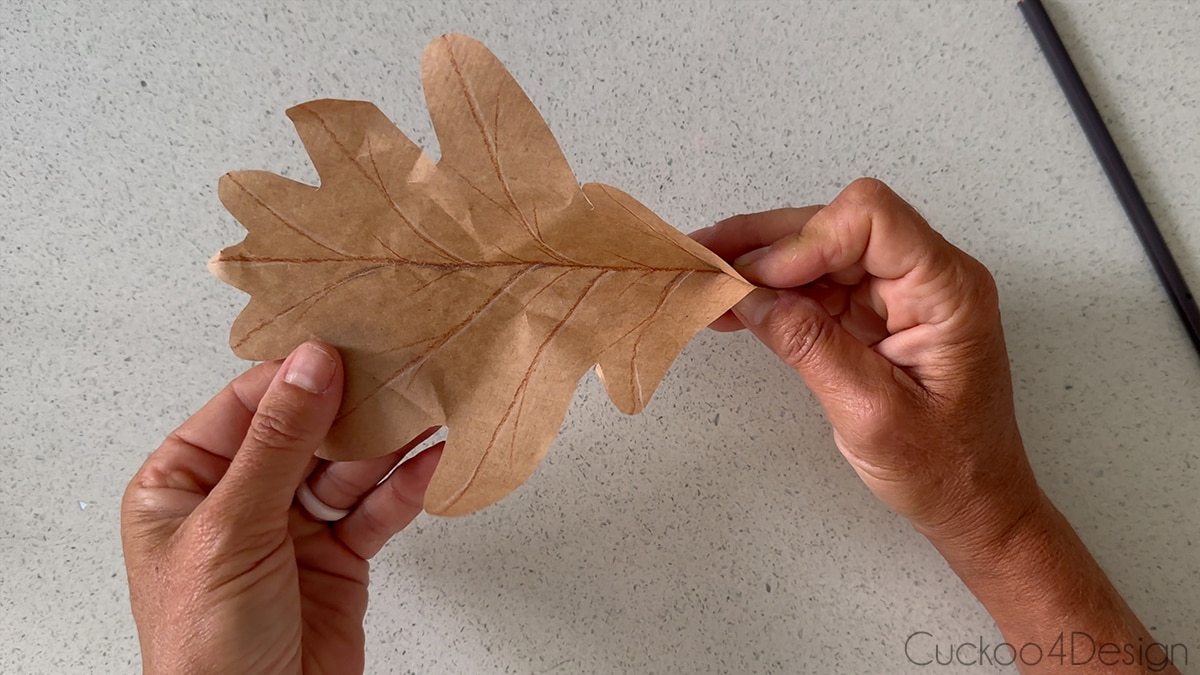
The paper leaf already looks good without veins and this step is also optional. I wanted to take this extra step though and used three different colored pencils in white, brown, and gray to draw in veins onto the paper leaf. Here you can see how the leaf looks without the watercolor and just the veins drawn on.
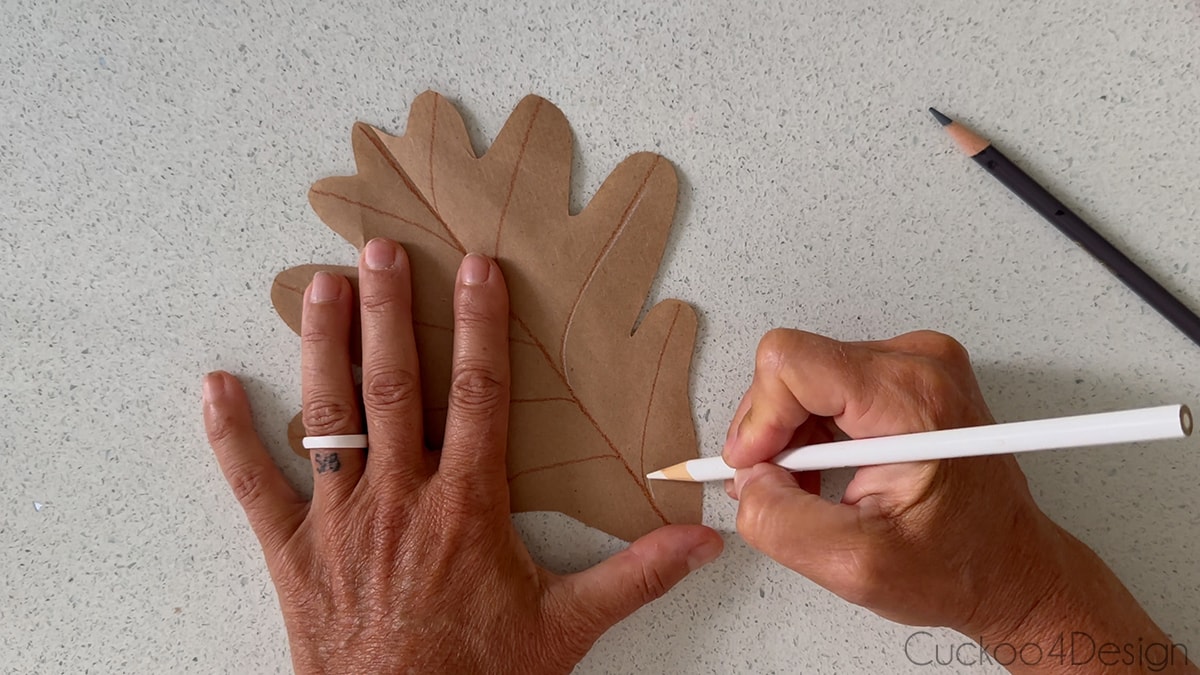
Step 8: Crinkle, Crumble, and shape the paper leaf
Use your hands to shape the leaf into a more realistic look. Real autumn leaves are crinkled and dried old leaves are crumbled inwards. Try to replicate that by crinkling the paper leaf.

Step 9: Glue paper leaf onto a branch
Use a hot glue gun to attach your paper leaves to whatever project you want to use them for. I glued them to real branches but you could also make a paper leaf wreath or paper leaf garland for your fall mantel decor that way. It works best to have the branch on top of the leaf as pictured below. Simply add a line of glue to the bottom of the leaf and stick it to the branch.

I also hot-glued a few acorns to the branches.

Step 9: Add branches to a flower pot or vase
I used a plastic flower pot filled with floral foam weighed down by two rocks to insert and hold the branches.
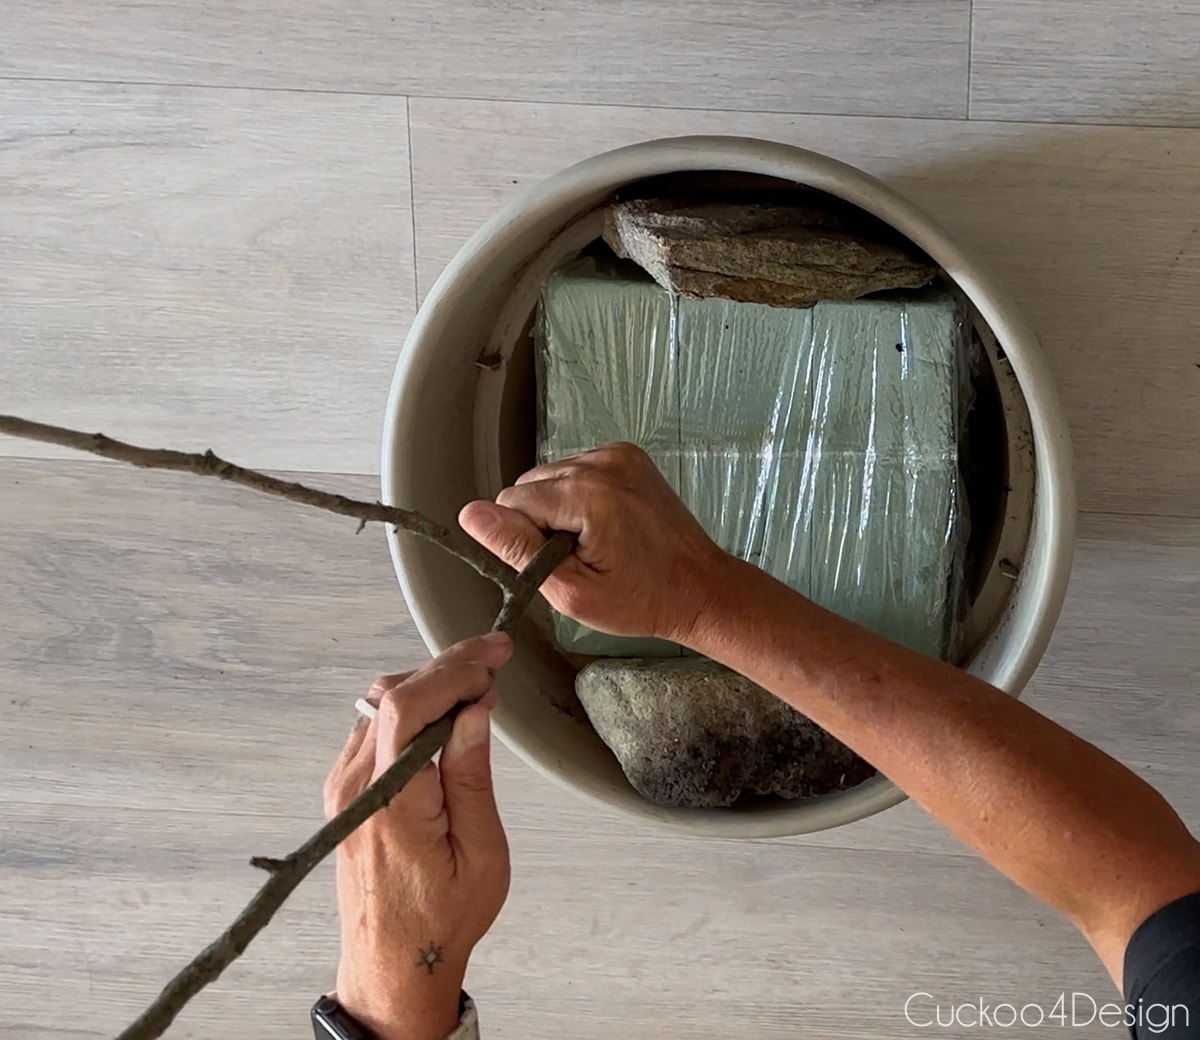
It is easier to insert the branches in the area where you want the arrangement to end up, so you can see if there are any gaps.

Hiding the floral foam is easy as well and you can use some leftover paper leaves to cover everything.

I decided to add plug-in fairy lights to my branches. After a while, I figured out that it was easier to wrap the branches before gluing the leaves to the branches but adding the fairy lights after is also doable.

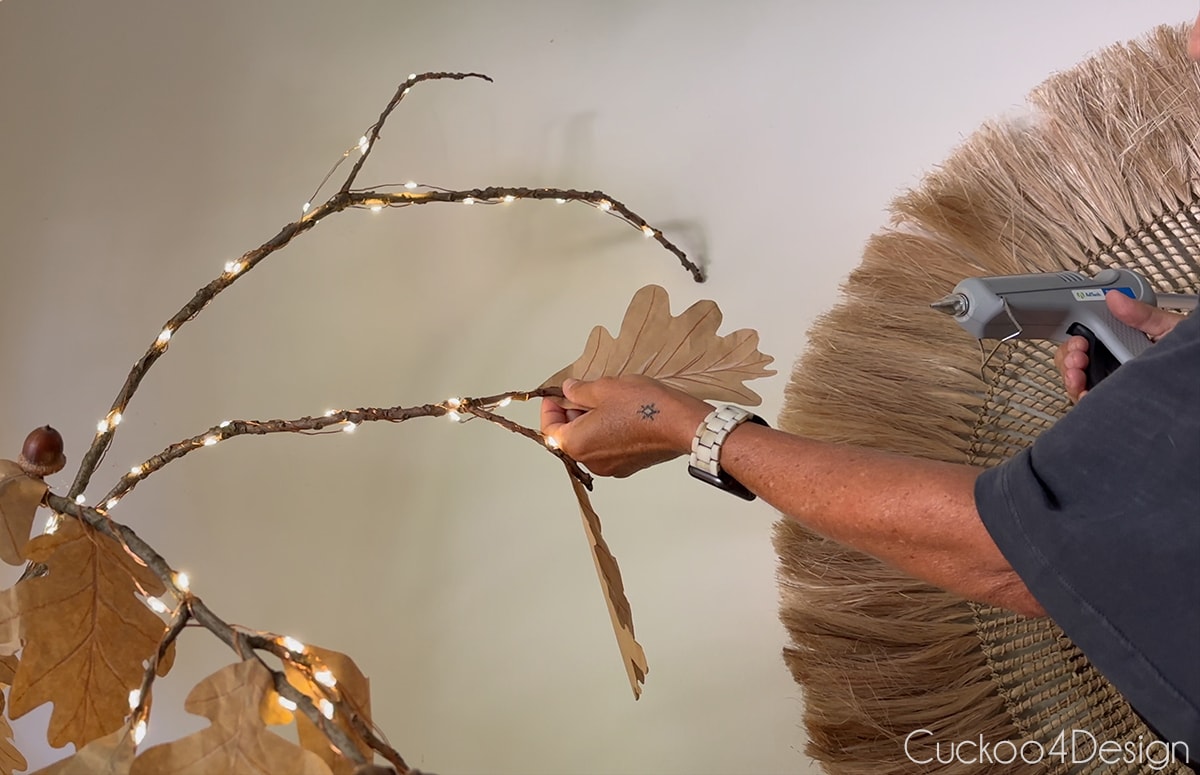
Photos of finished branches with paper leaves and fairy lights
I’m definitely not big on decorating my home for fall because I tend to hold on to summer for as long as I can. I have however been wanting to make one of these faux leaf fall foliage arrangements with paper for a long time and I’m glad that I finally made it because I love how it looks in our living room. The colors are perfect and the fairy lights add cozy charm in the evenings.
You be the judge…


I get asked about the brass planter so many times. It is one of my all-time favorite Goodwill finds.
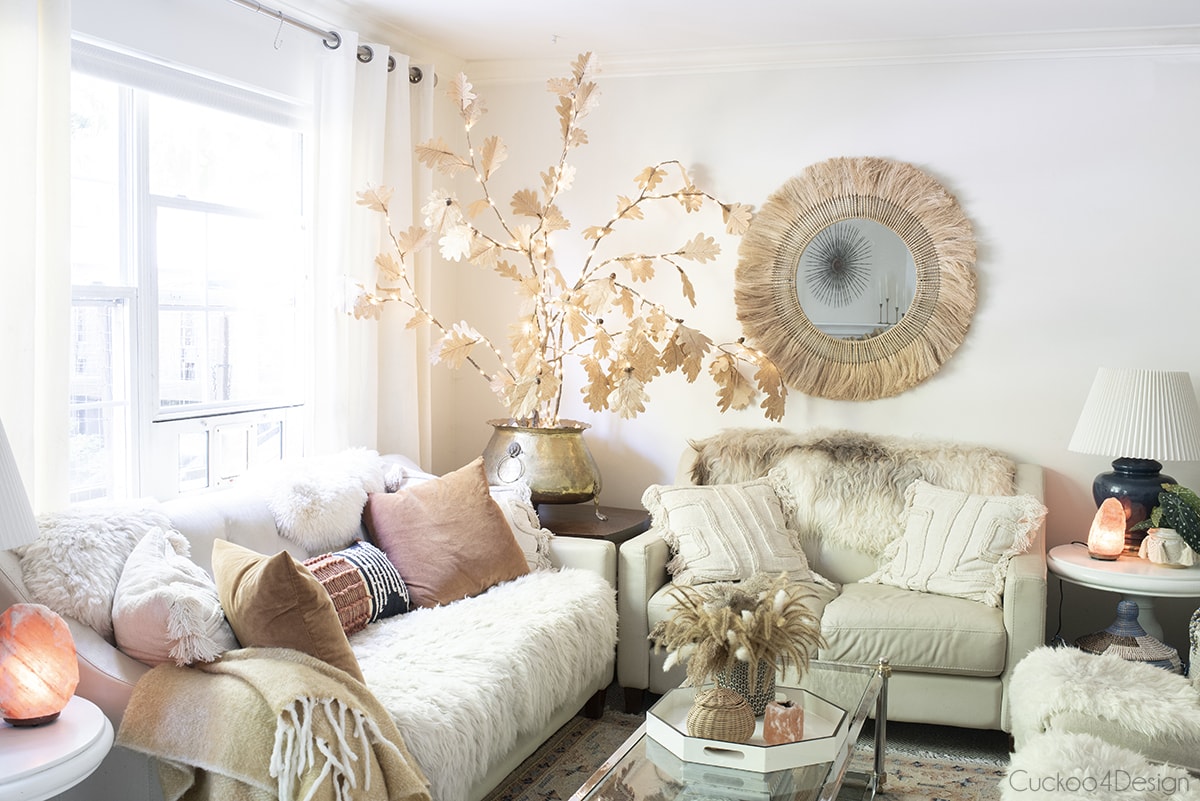
Links to sources if still available: salt lamps | curtains | throw from Ikea | area rug | lumbar pillow | paint color Quail Egg by Valspar | pleated lamp shades | lamps are from Goodwill | coffee table from thrift shop | disco ball | baskets | combed macrame wall hanging | furs |


I love how the branches look with or without the fairy lights.
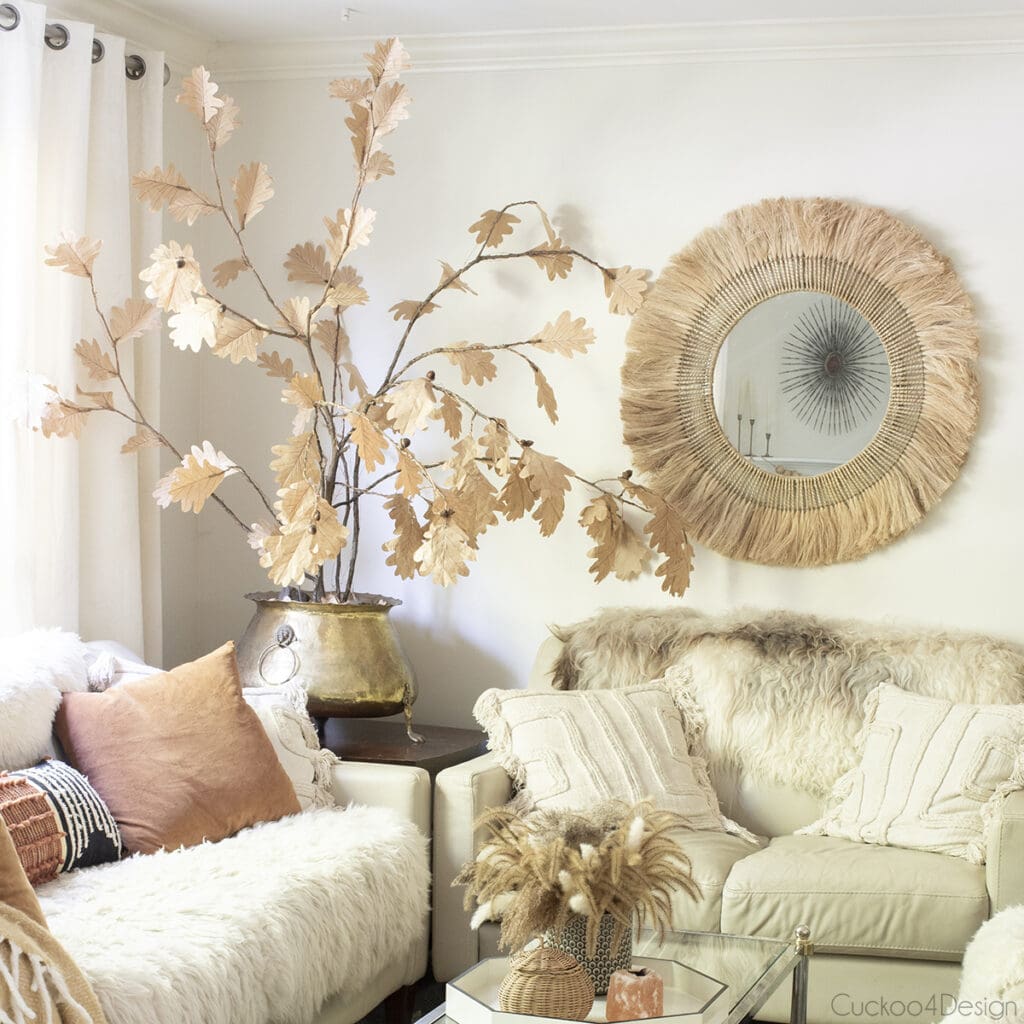
Update: I came up with a paper moth template that you can download and use to make moths on clips to add to the branches for Halloween decor.

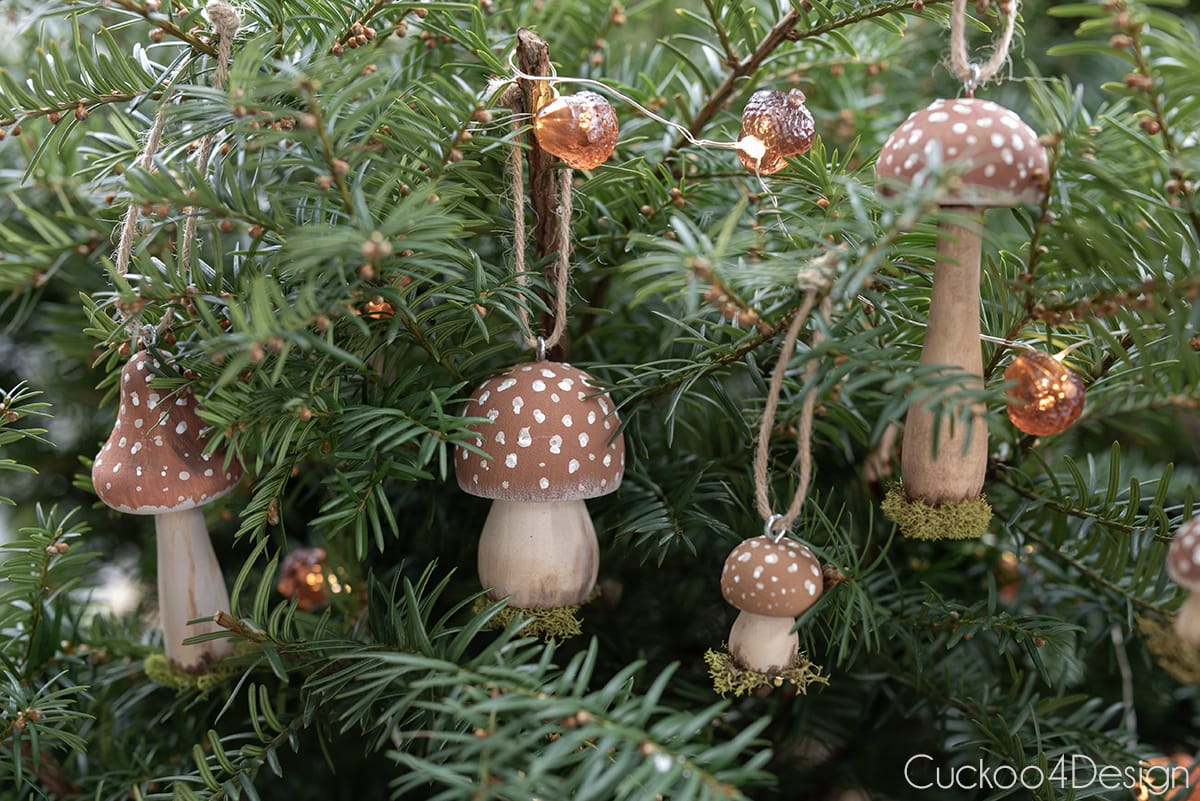
Next year, I will try adding my DIY mushroom ornaments to the paper leaf branches.
More fall DIY projects and seasonal home decor
- Check out my simple boho fall decor with a boho fall macrame floral arrangement if you aren’t into plastering fall decor everywhere.
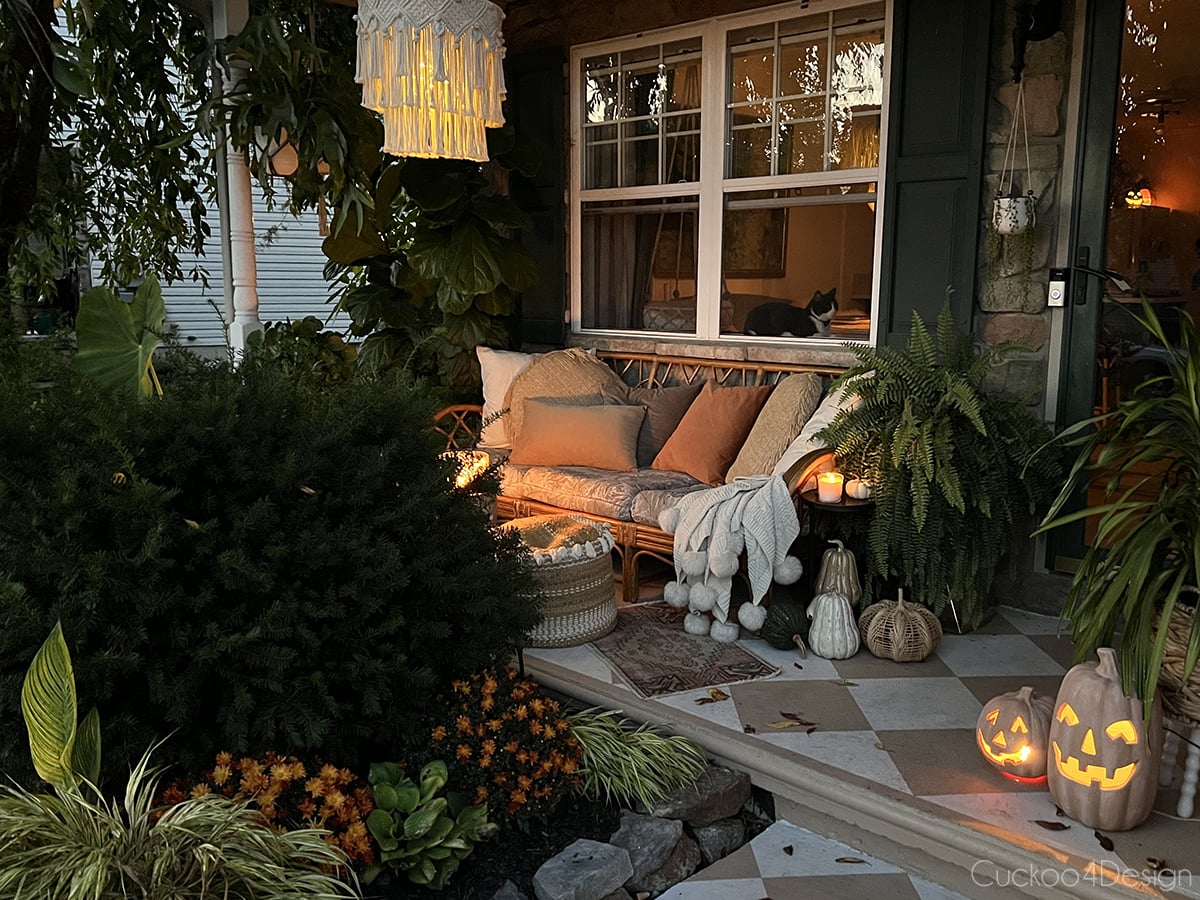
- I love decorating my porch for fall and showing all the fall decor trends in the rest of our home.
- Do you have some outdated and faded old plastic pumpkins? Then you could turn them into stunning faux terracotta pumpkins.
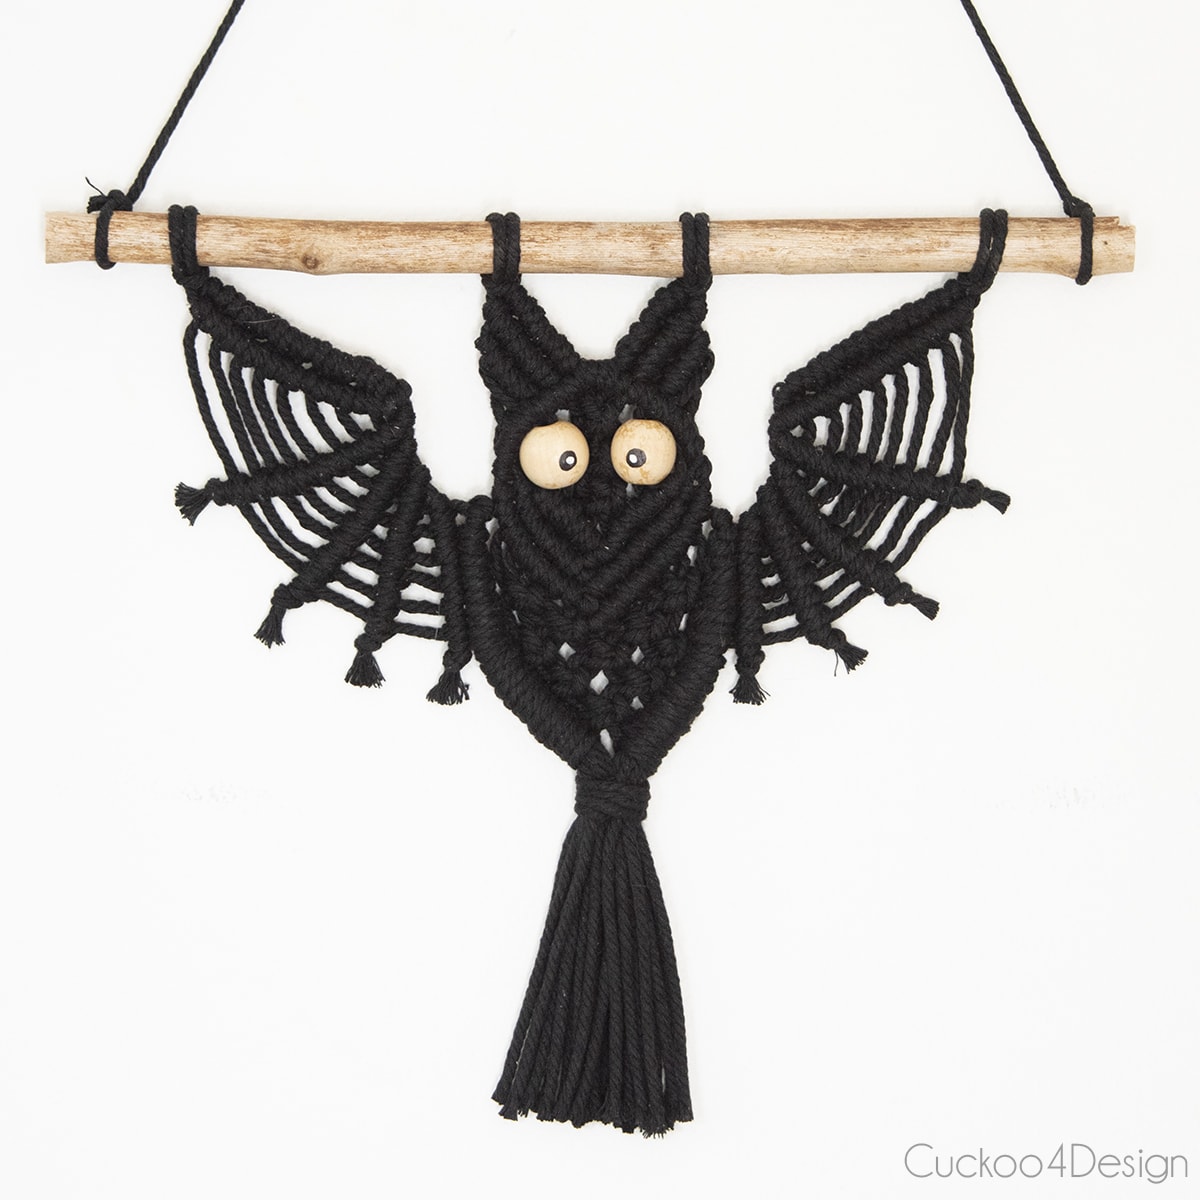
- How about an easy and cute macrame bat? It makes a great hostess gift too when you don’t know what to bring to a Halloween party.
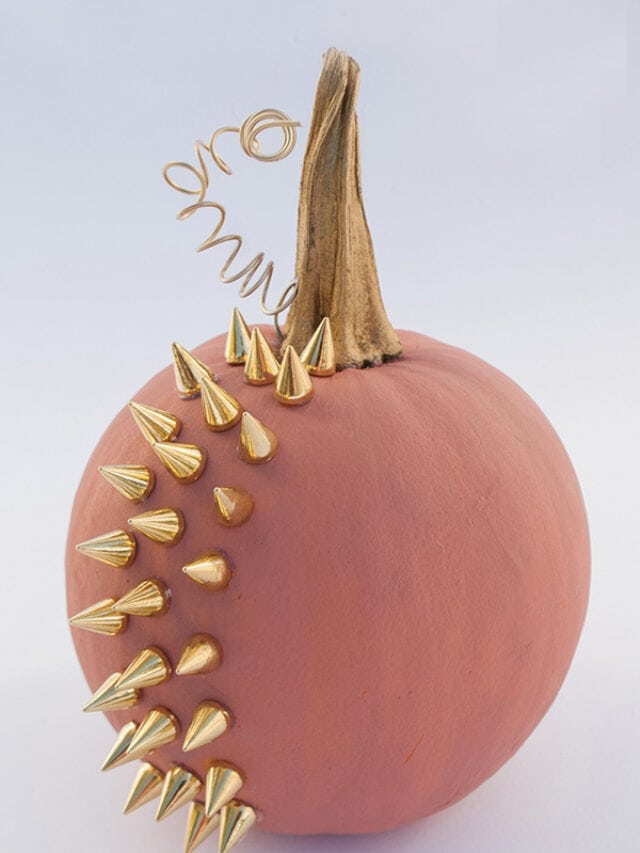
- A couple of years ago I made some funky studded chalk paint pumpkins that I loved so much.
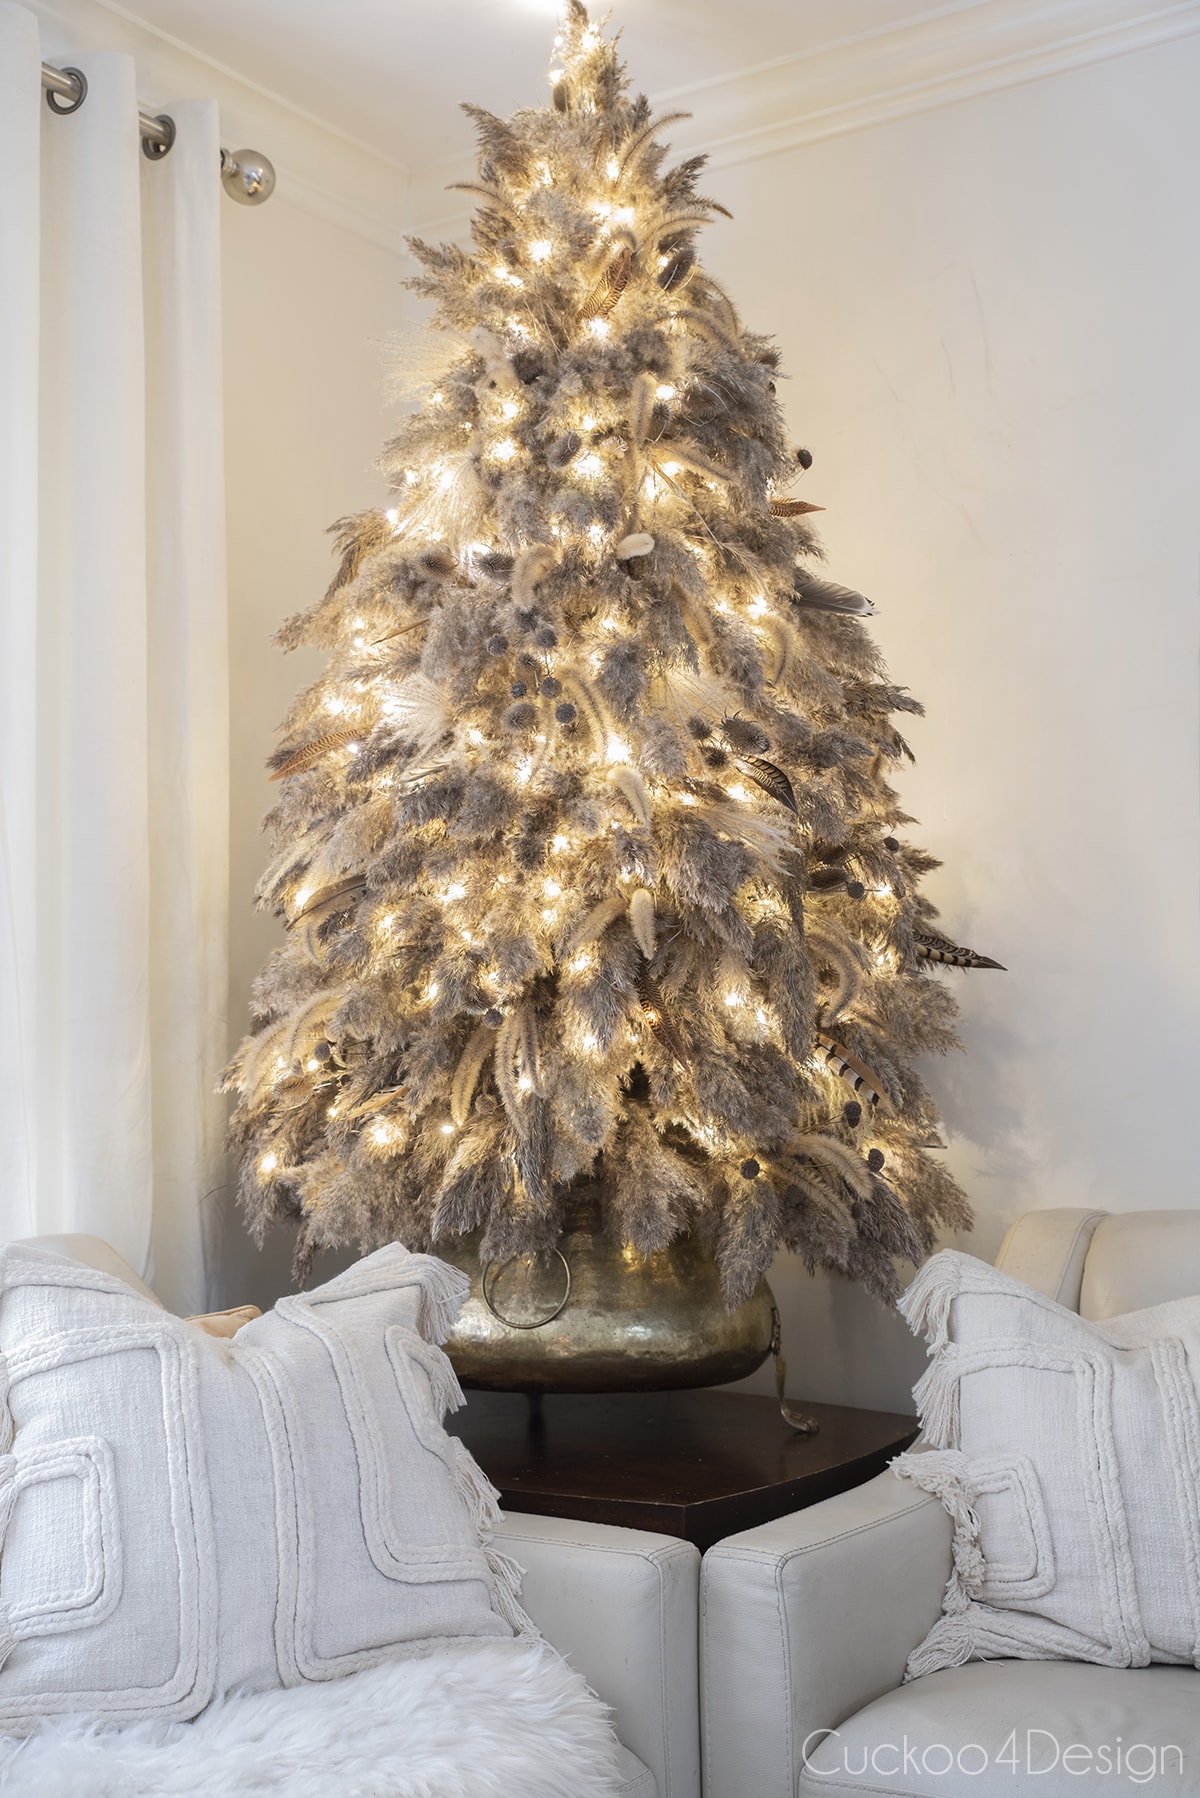
- In that same corner of the living room, I also like adding different trees for Christmas decor. Check out my dried floral Christmas tree or pampas grass Christmas tree
- If you love adding lots of flower and centerpieces during fall then you might like my beautiful DIY fall flower arrangement ideas to make at home
So is this something you’d try to make? It is definitely an easy project that you could make with your kids.
Tschüß,


How to make a leaf with paper
Easily create beautiful leaves with brown paper bags and a few other cheap supplies for your next home decor project. This is such an easy DIY project that even small kids can help.
Materials
- brown paper or brown paper bags like lunch bags or shopping bags
- leaf shape
- colored pencils (optional)
- Watercolors (optional)
Tools
- scissors
- hot glue sticks and glue gun
Instructions
- Choose a leaf you like
Pick a leaf shape. I made a printable template for you that you can use if you don't want to go outside to find a leaf you like. - Cut out the leaf template
Use sharp scissors to cut out both of your different-sized leaf templates. Don't worry about being too exact. - Trace leaf template
Place the paper templates onto your paper bag sheets so you can trace them with a pencil. I was able to fit both, the larger and the smaller one, onto one paper lunch bag. - Cut out paper leaves
Use sharp crafting scissors to cut out your paper leaf shape. Since the brown paper bag has more than one layer, you'll end up with several brown paper leaves. - Fold the leaf in half
Fold all the paper leaves that you cut out in half to create the center spine middle of the leaf. - Paint autumn leaf colors onto paper leaf (optional)
You can use watercolors in fall colors to paint the paper leaf which can make it look more realistic. I opted not to do that but still wanted to show you how it would look. - Draw in leaf veins (optional)
The paper leaf already looks good without veins and this step is also optional. I wanted to take this extra step though and used three different colored pencils in white, brown, and gray to draw in veins onto the paper leaf. Here you can see how the leaf looks without the watercolor and just the veins drawn on. - Crinkle, Crumble, and shape the paper leaf
Use your hands to shape the leaf into a more realistic look. Real autumn leaves are crinkled and dried old leaves are crumbled inwards. Try to replicate that by crinkling the paper leaf. - Glue paper leaf onto your desired fall decor project
Use a hot glue gun to attach your paper leaves to whatever project you want to use them for. I glued them to real branches but you could also make a paper leaf wreath or paper leaf garland for your fall mantel decor that way. It works best to have the branch on top of the leaf as pictured. Simply add a line of glue to the bottom of the leaf and stick it to the branch.
Notes
- You can use these simple leaves for a variety of projects such as a fall DIY leaf garland for your mantel, a fall DIY paper leaf wreath, or a fall floral arrangement with branches the way I did.
- The paper leaves look great just in brown and you don't need to add any extra details to them if you don't want to.
- I find that paper lunch bags work best because they aren't as thick as standard brown packaging paper or brown paper shopping bags.



Wow, what an incredible and budget-friendly DIY project! I’m amazed at how you transformed simple brown paper bags into such beautiful autumn leaves. The step-by-step instructions and visuals make it seem achievable for anyone, even with kids. The addition of fairy lights is a brilliant touch, giving it a warm and cozy ambiance. Your creativity truly shines through in this project. Can’t wait to try it myself!
This is such a great idea. It looks beautiful!
Thanks so much Renae!
This turned out so amazing! I love the planter you used and the overall look of abundance with the leaves and the lights. I’m seriously feeling like I need to try this!
Thanks so much Bettsi! And good luck!