

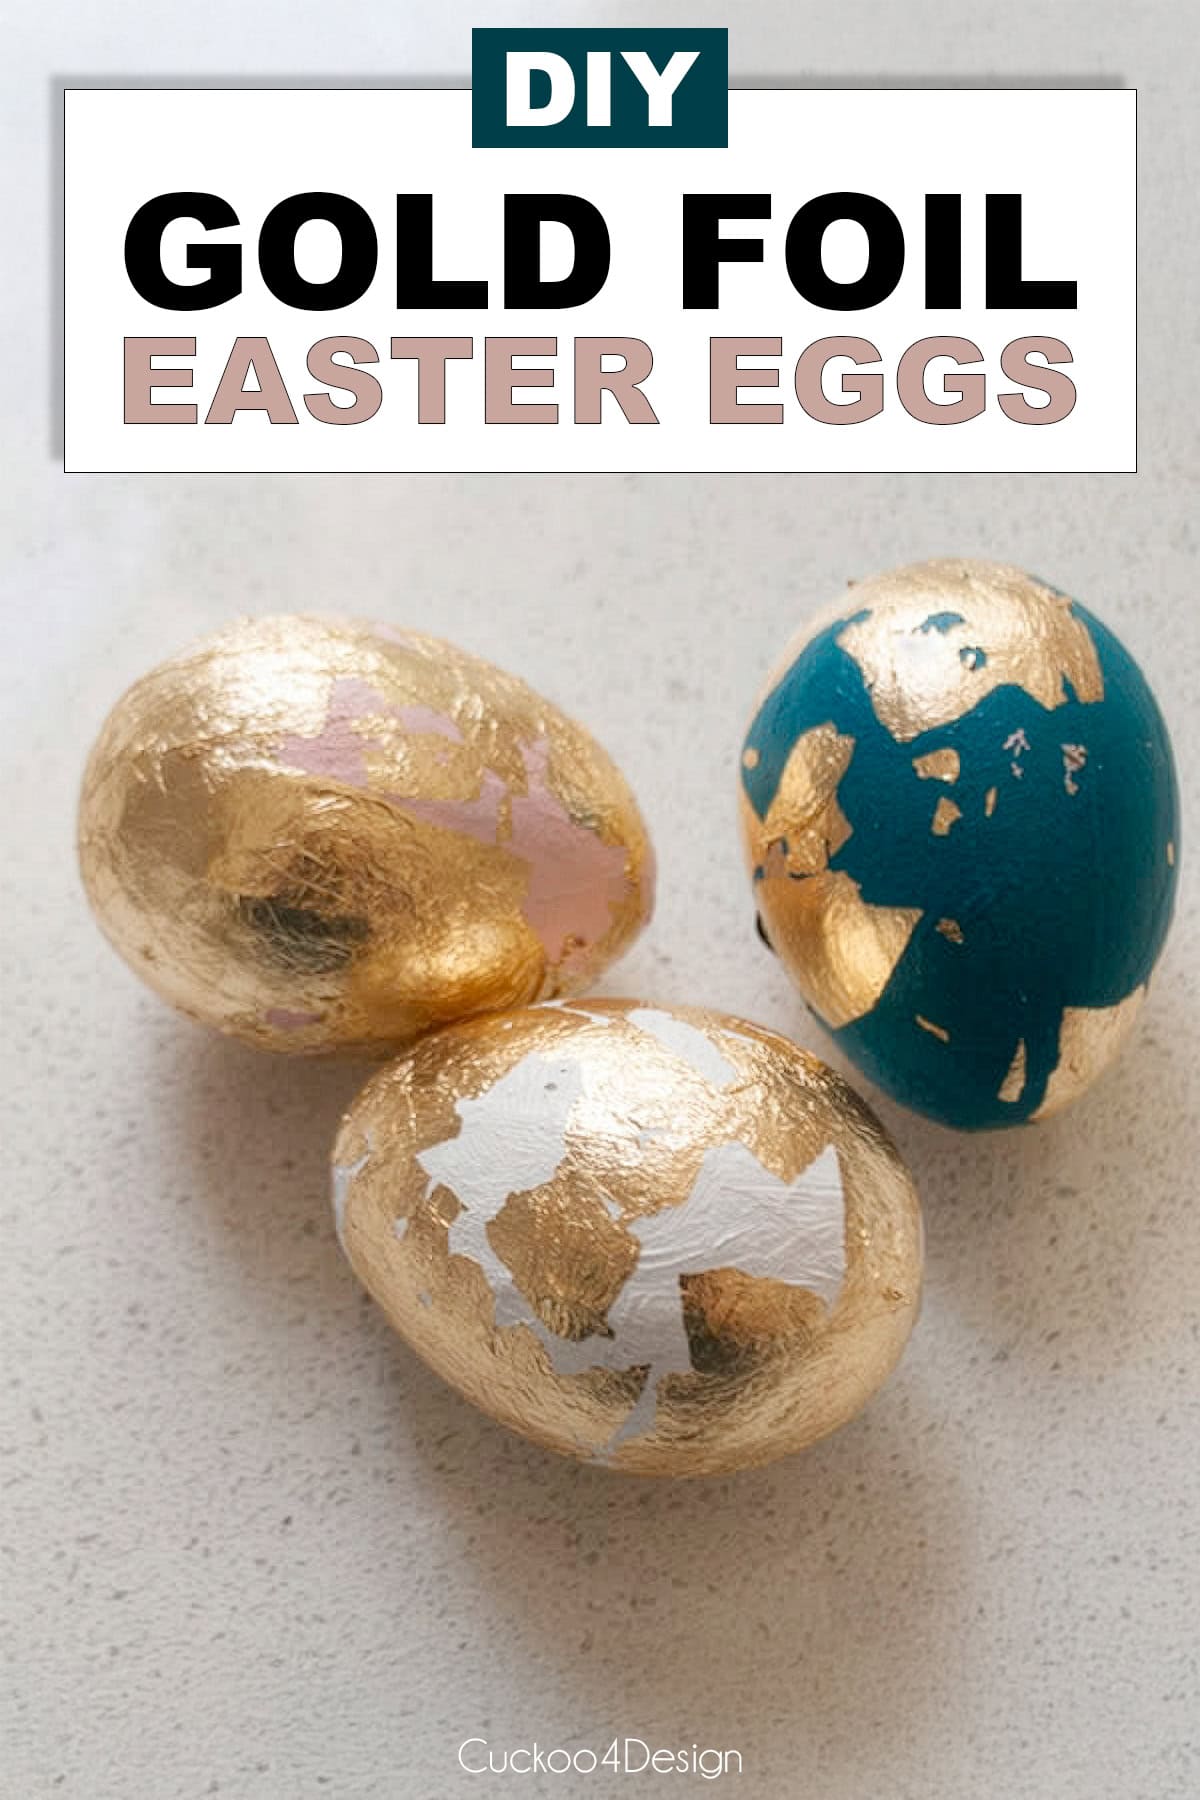
Super cute DIY gold foil Easter eggs
Gold foil Easter eggs are one of those crafts that look incredibly elegant but are actually very easy to make. I first made these with my kids years ago, and we still love how they turn out. The gold leafing technique works beautifully on paper-mache eggs, or wooden eggs, and the results look so much more sophisticated than typical dyed Easter eggs. Whether you are making these with kids or just want a stylish Easter decoration for your home, this is a really fun and forgiving project.
All materials needed
This post may contain affiliate links from which I will earn a commission at no extra cost to you. View my full disclosure policy.
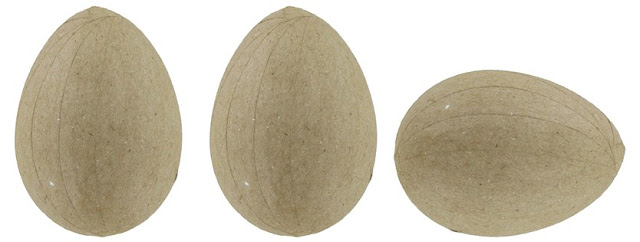
- paper mache eggs, or wooden eggs
- acrylic craft paint
- gold leaf/foil, gold sharpie, or even liquid gold leaf
- paint brush
- craft sponge
- Mod Podge glue (use as sealer too)
Tips for working with gold foil
- Tear the gold foil into small, uneven pieces before you start. This makes the application process much easier and gives the eggs a more natural, organic look.
- You could use tweezers to place the foil pieces onto the egg instead of your fingers. Gold foil tends to stick to everything, including your hands, which makes it frustrating to work with, especially for small children.
- Work in small sections so the Mod Podge does not dry out before you get the foil on.
- Do not worry about gaps or uneven coverage. The imperfect, patchy look is actually part of the charm.
- For younger kids or anyone who finds the foil too fiddly, liquid gold leaf applied with a sponge is a great alternative and gives a beautiful result too.
My 8-year-old son did great. Then things started to get ugly for my 4-year-old LOL. Unfortunately, I don’t have photos of the glue spilling or the gold leaf everywhere, including hair. She switched to a gold Sharpie and liquid gold instead in her frustration, and that worked better for her.
Step-by-step Instructions for gold foil Easter eggs
Follow these simple steps to create your own gold foil Easter eggs. The whole process takes less than an hour, and the results are stunning!
Step 1: Paint your eggs
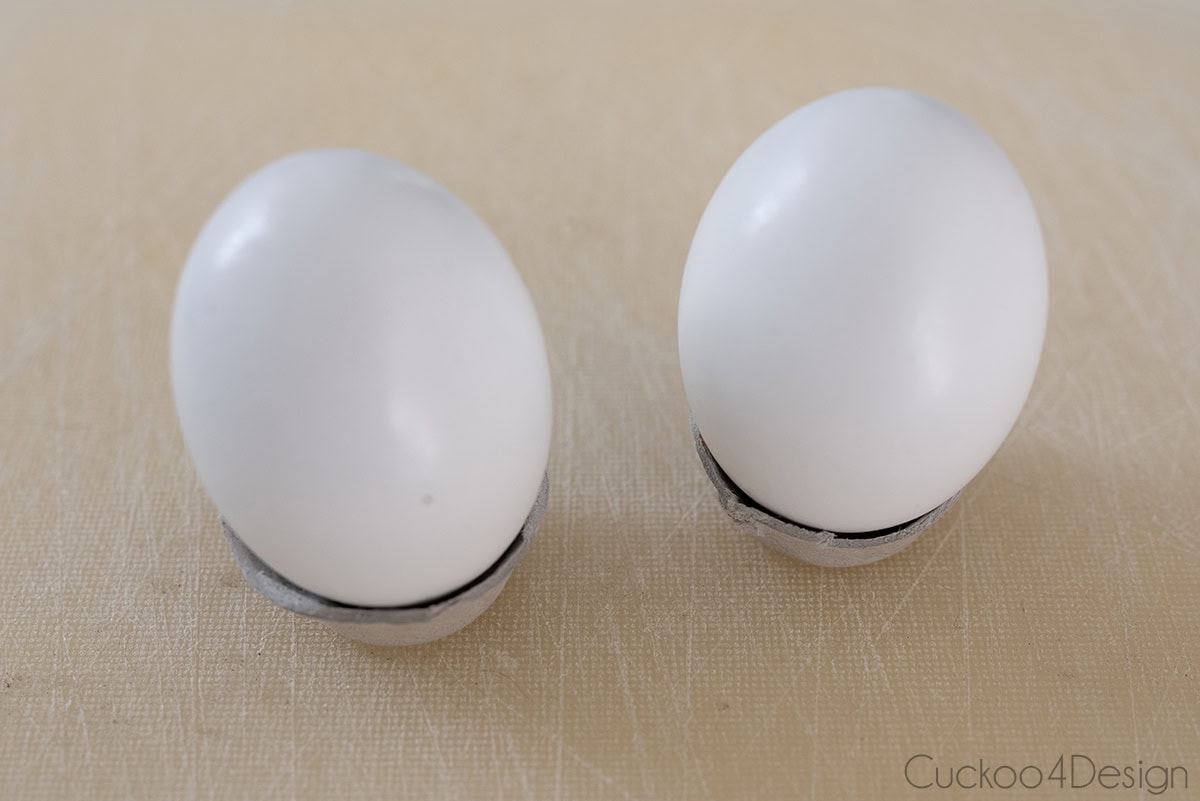
Paint the eggs with your desired craft paint color and let them dry. My kids just let them dry on a piece of cardboard. Yes, that might leave a mark where they were placed, but that will get covered with the gold. So we don’t need to get fancy with a drying rack. (My daughter chose pink, of course.)
Or you can cut egg cartons apart and use the small bottom pieces to prop up the eggs, as you can see below.
Step 2: Apply a coat of Mod Podge
Then use a brush to apply a thin coat of Mod Podge glue to your dry colored egg.
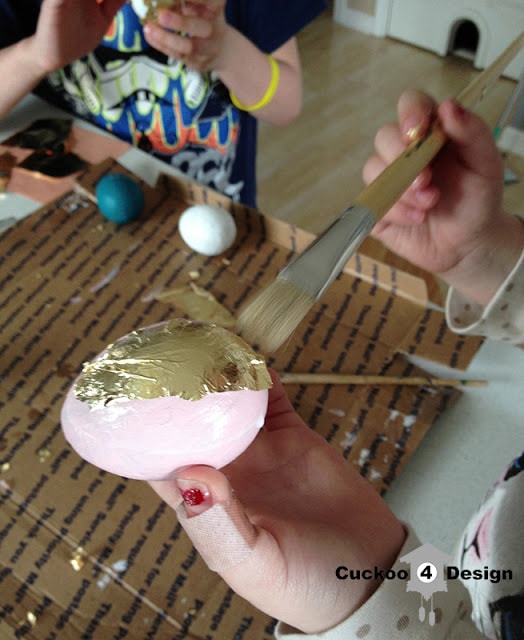
Step 3: Add the gold foil
Place the gold foil into the wet Mod Podge. Make sure that it is uneven and pat it down with a dry brush or dry sponge. (If you get frustrated with this step, like my daughter, then you can stipple on liquid gold instead and just skip the first layer of Mod Podge)
Let the Mod Podge dry and the gold foil dry.
Step 4: Seal with a second coat of Mod Podge
Then apply another thin layer of Mod Podge with a brush to seal the foil, and you are done. Super easy!
In the end, I think they turned out beautiful and both kids did a wonderful job. Don’t you think so?
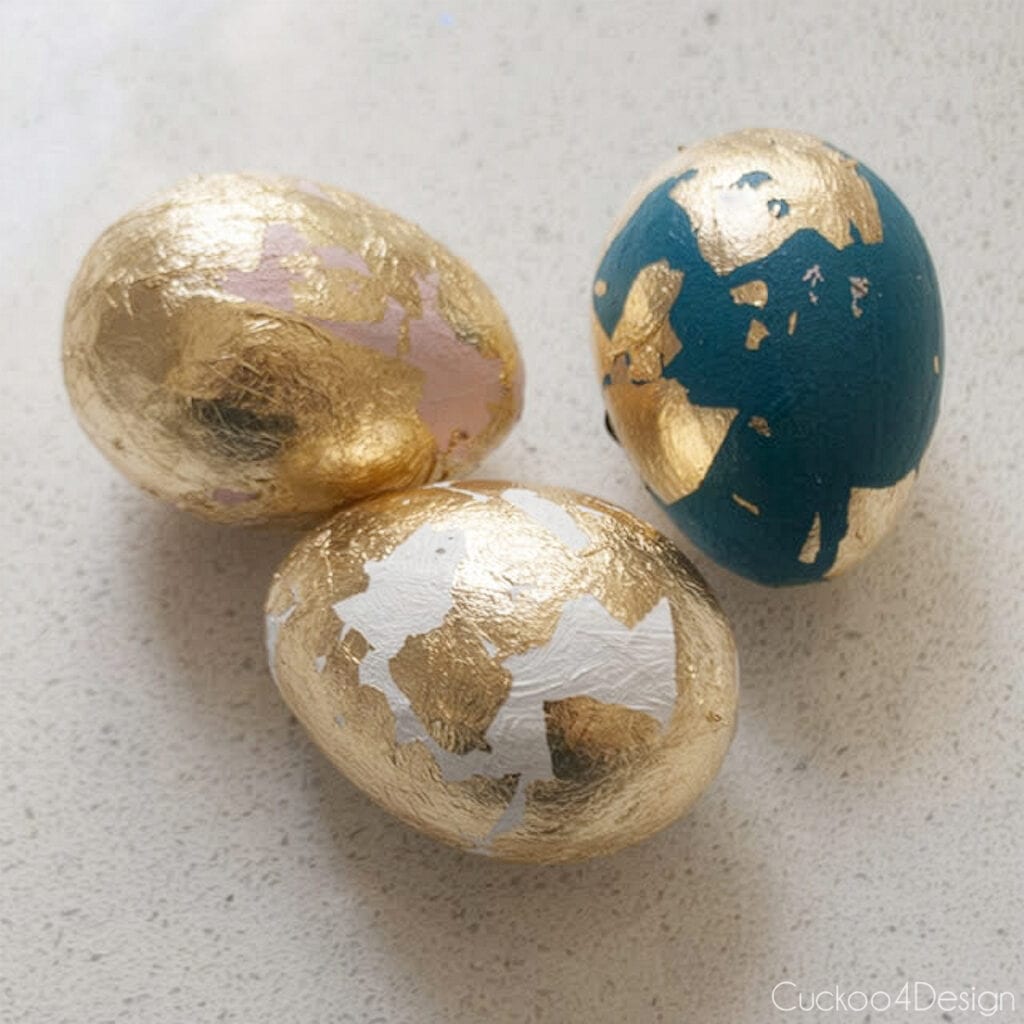
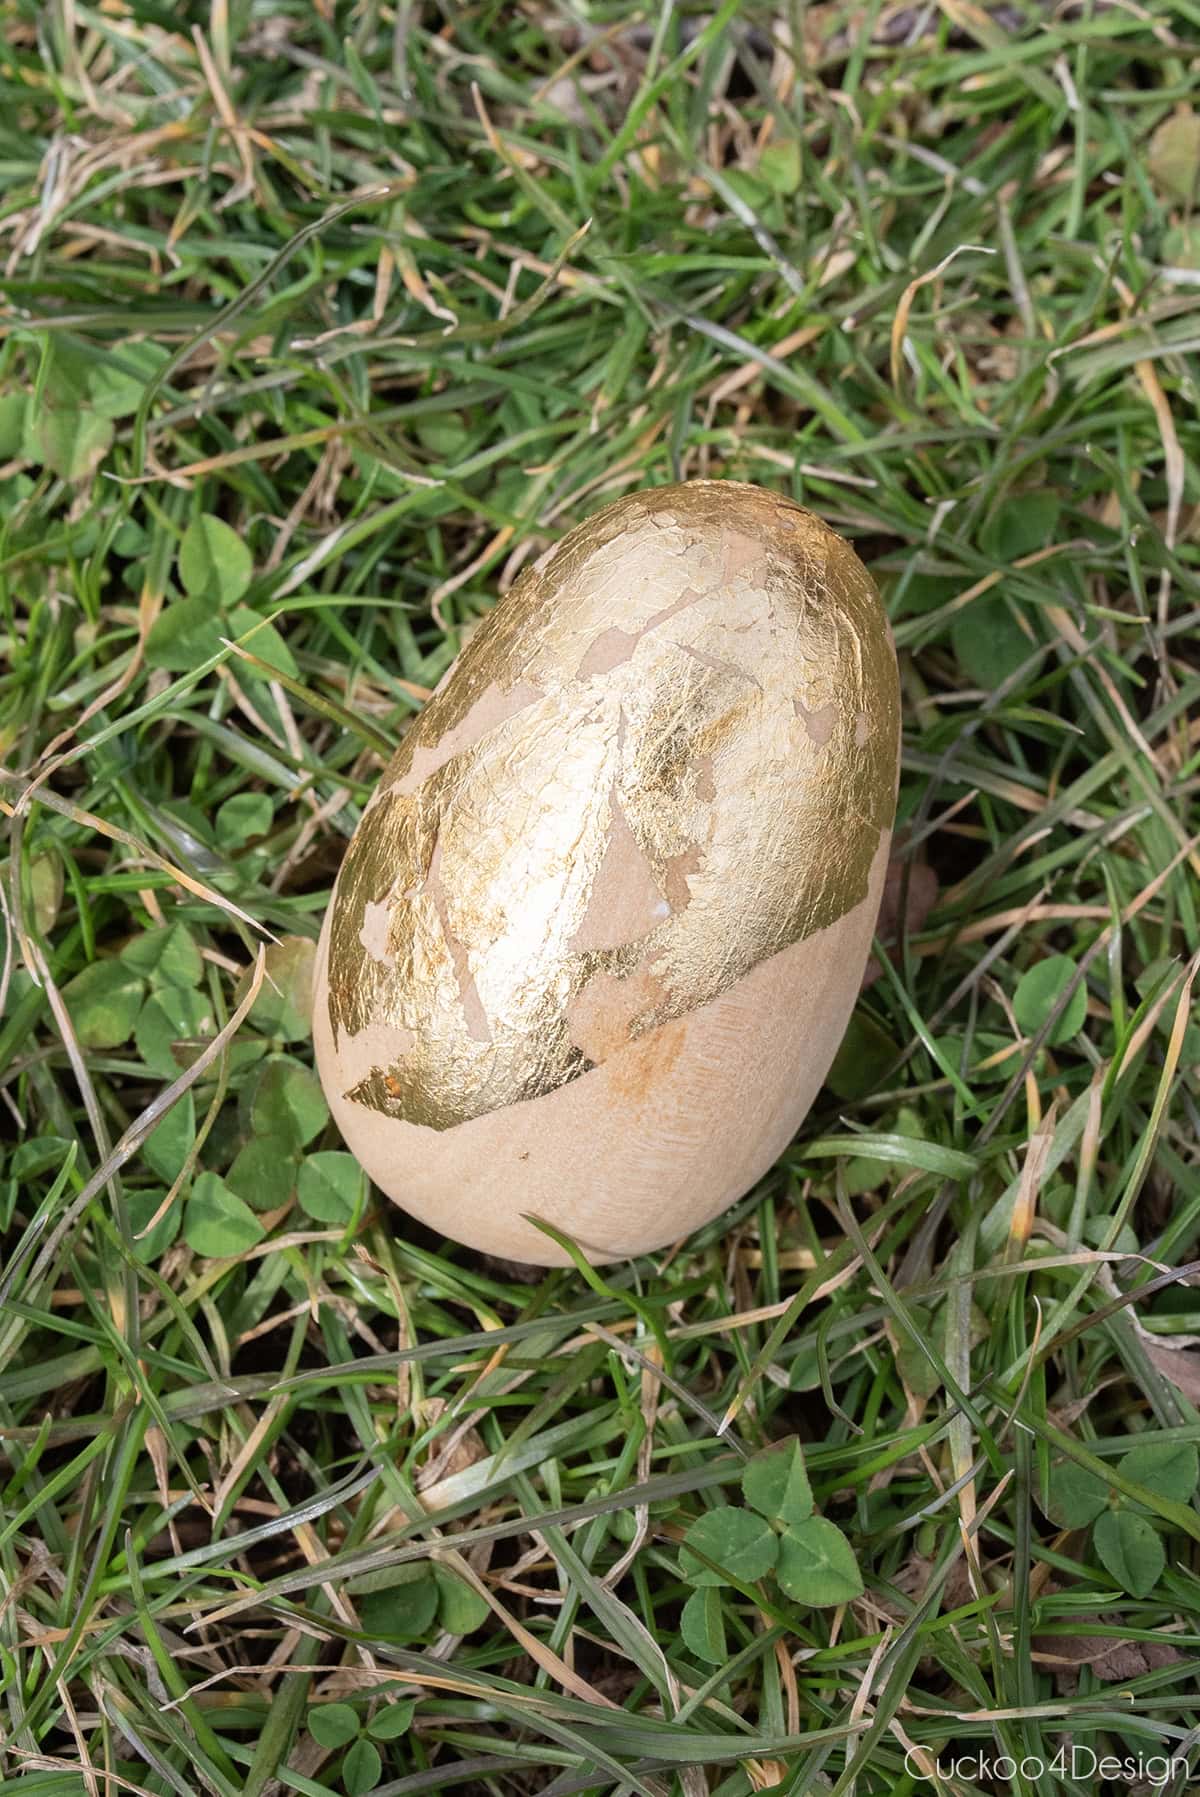
Below, I’m showing another option, which is an unpainted wooden egg with some gold leaf detail. I love the raw wood and gold foil combo. Simply add a layer of Mod Podge right over the raw wood, add the gold foil, and seal again with Mod Podge.
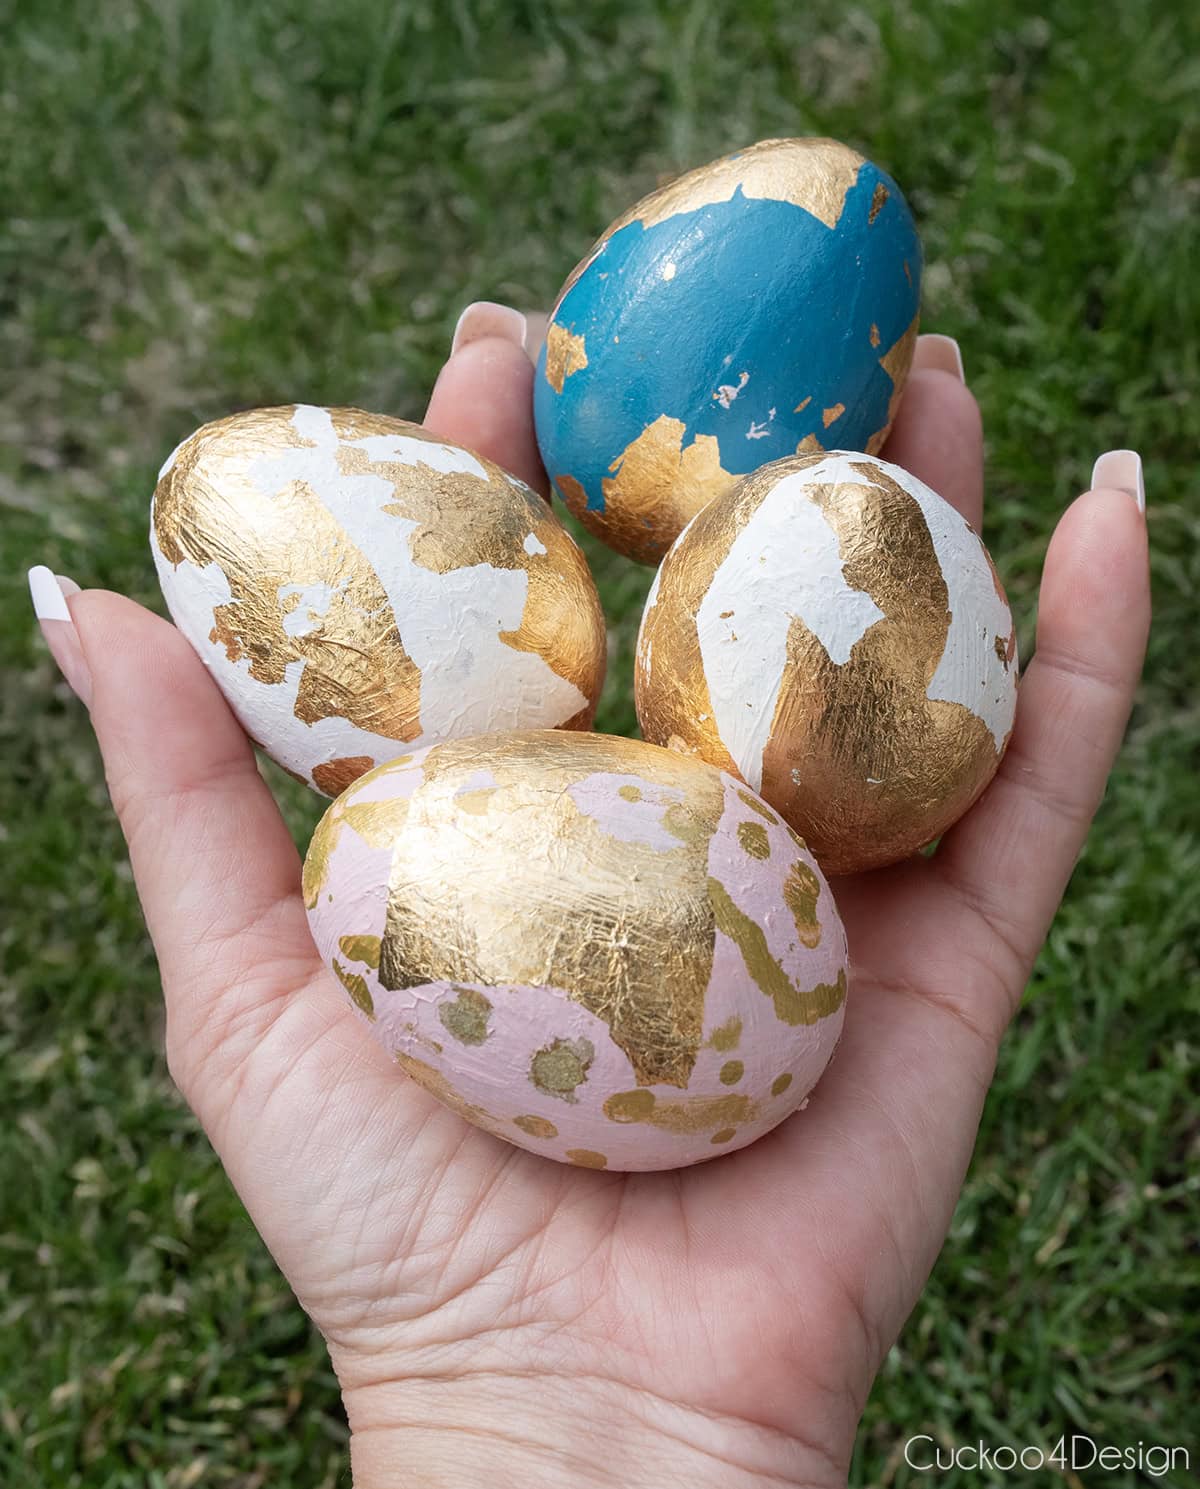
You can see my daughter’s pink egg and where she switched to gold paint. She started to add dots.


Where to buy finished gold foil Easter eggs
Not everyone loves to craft the way I do. If you fall into that category but love the look, then you should check out the Etsy shops below that sell them handmade. The bonus is that you get to support small businesses.


More different Easter crafts
- My favorite Pysanky egg designs
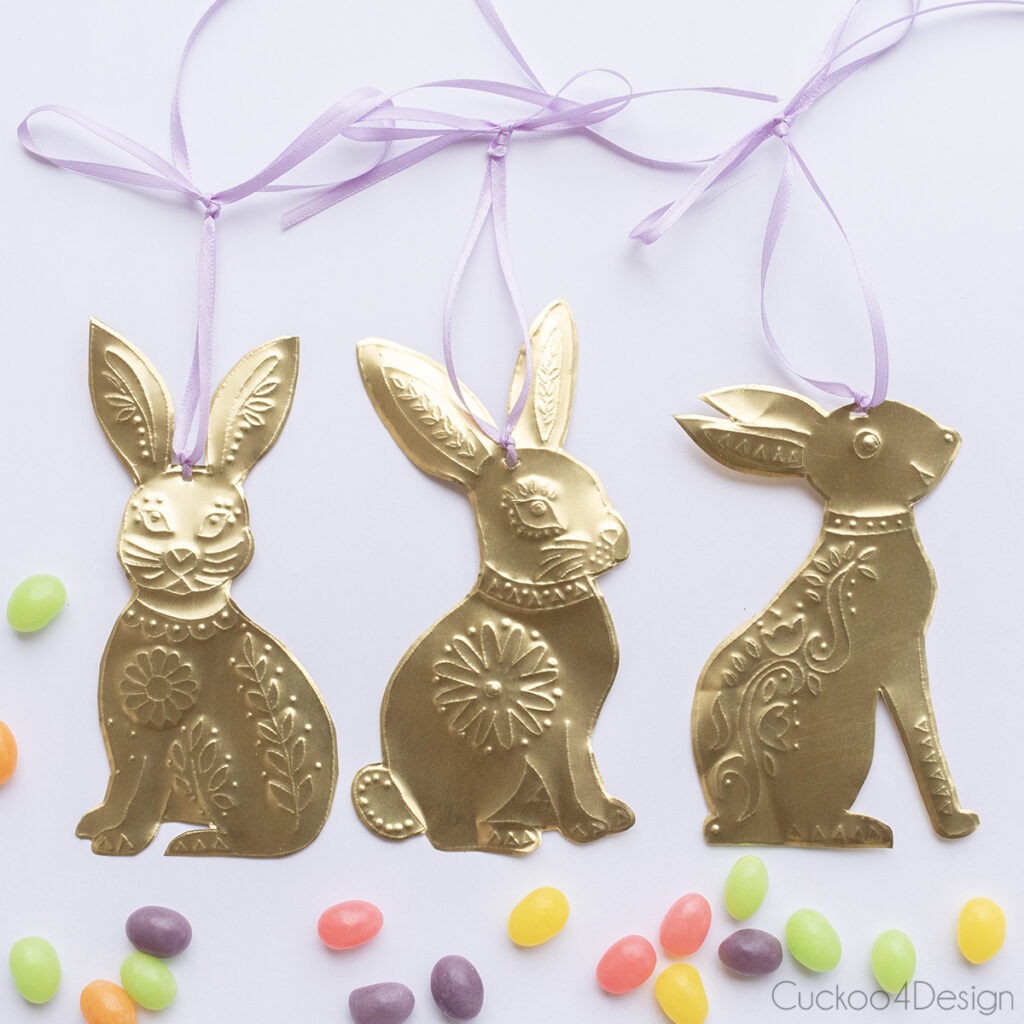
- Folk art-inspired DIY Easter bunny ornaments
Enjoy your Easter weekend!
Talk to you on Monday.
Tschüß,

i LOVE those glammed out eggs! and i would love to see more flowers soon. ok? happy easter to you and your family and your cracked out kitty! 😉
LOL, my cracked out and brain fried old kitty!
Happy Easter to you too.
Happy Easter to you and your family, Julia ~ love those eggs!
Thanks Pam and Happy Easter to you too
Happy Easter Julia! Have fun this weekend with the fam. That video! xo Kristin
Happy Easter
Crafting with kids – always adventure, right? They look great though! Happy Easter
Thanks Kelly and Happy Easter to you too.
Happy Easter…..Love your garden!
The eggs looked pretty good!!!
Thanks Patty
I think they turned out great, love the gold leafing!
Thank you!
great idea you had there! I wanted to do it but I’m sure it would’ve been very messy around here too! the eggs turned out great 🙂 Wish you and your family a happy Easter weekend!
Thank you and happy Easter
Oh I love all the spring inspirations!!
I’m not sure if you would be interested, but a few other bloggers and I are doing a spring mood board collaboration in April. Let me know if your interested and I will send you the info:) My email is on my {about} page
xo
amy
http://www.theblissfulbeeblog.com
Thanks Amy
Awwwwh, tell her they don’t look stupid… they turned out gorgeous and I relate to her frustration (grin).
Flowers are just beautiful.
Hi Sheryll and happy Easter
LOL! I can so relate with the drama…love that video! Gorgeous blooms, too!!! You’re such a fun mommy! Happy Easter! XO, Aimee
Yup she is always drama! Happy Easter to you too!
I need to jump on that gold leaf bandwagon. Cute eggs. I only wish I could see flowers. There’s a chance of snow here tomorrow. Ugg!!