

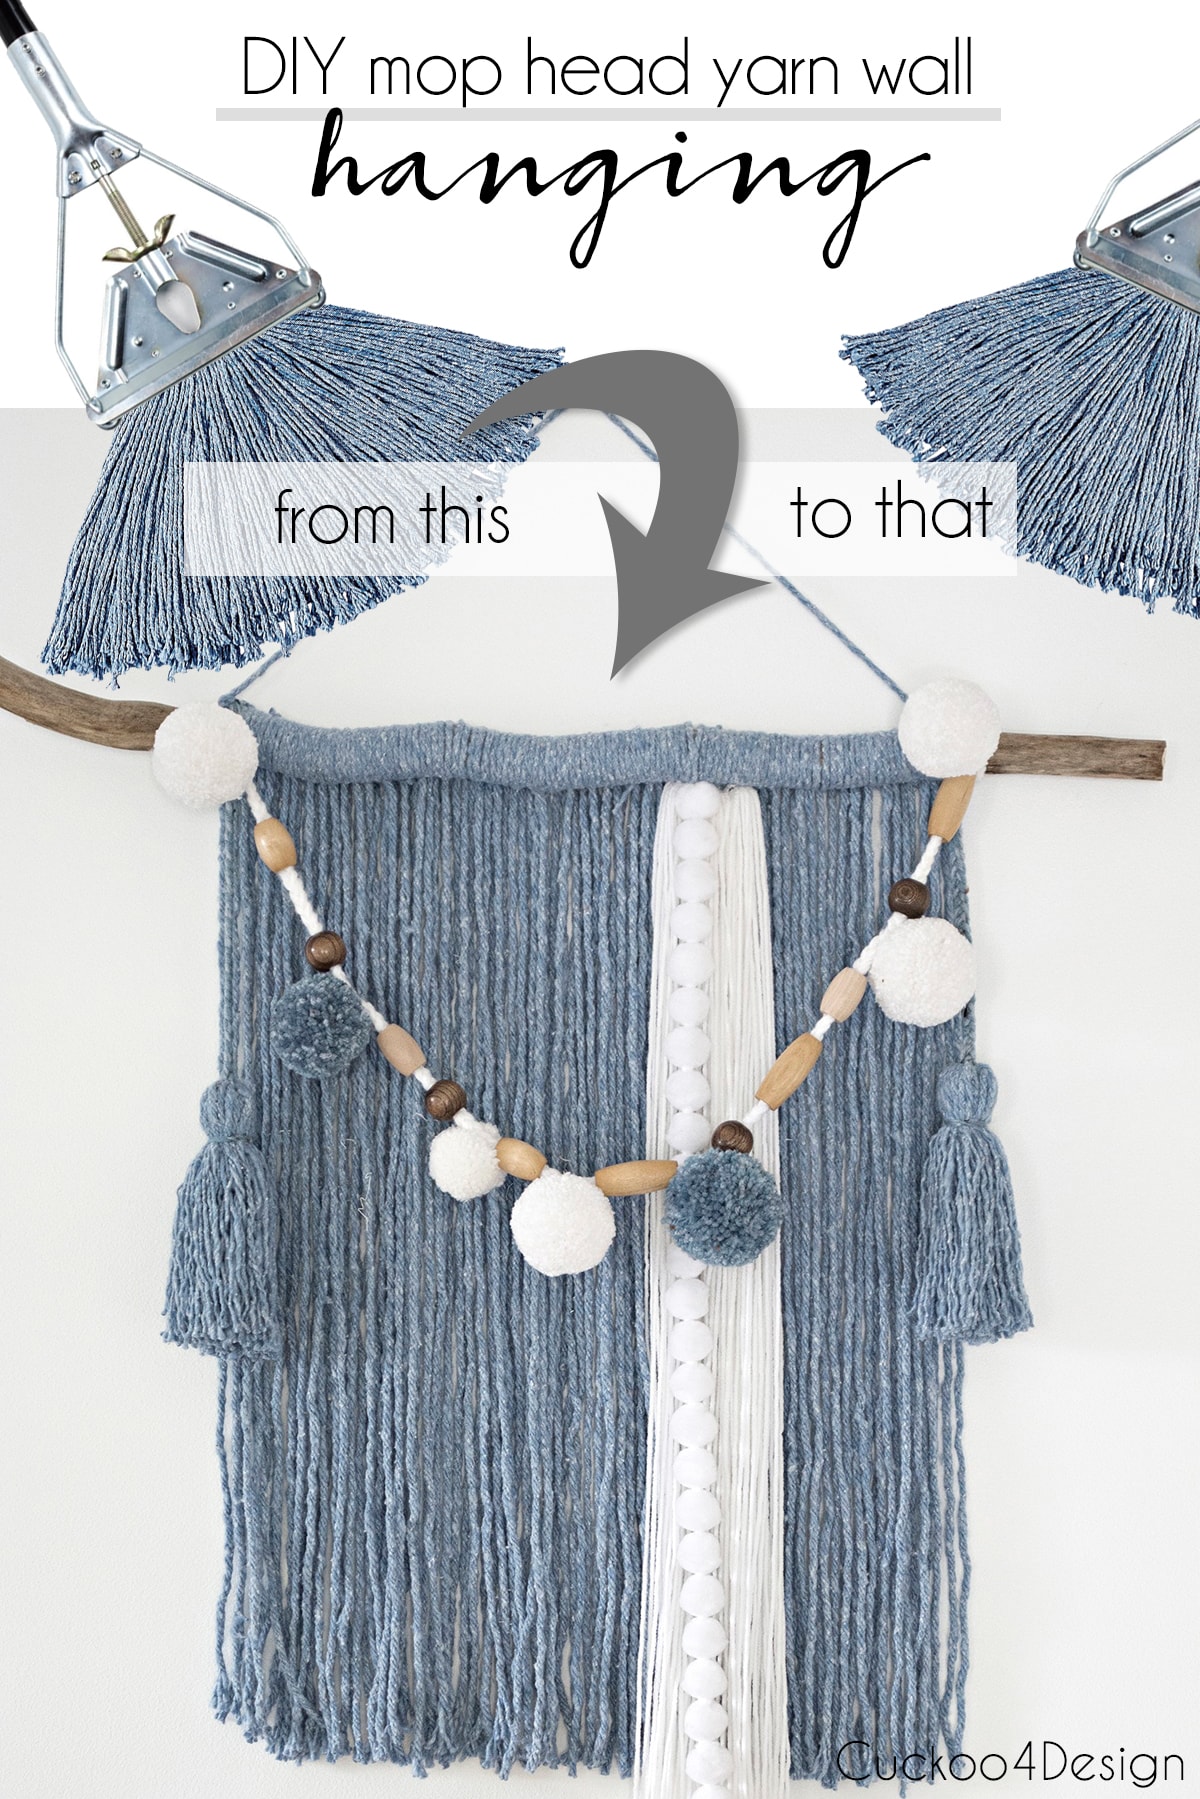
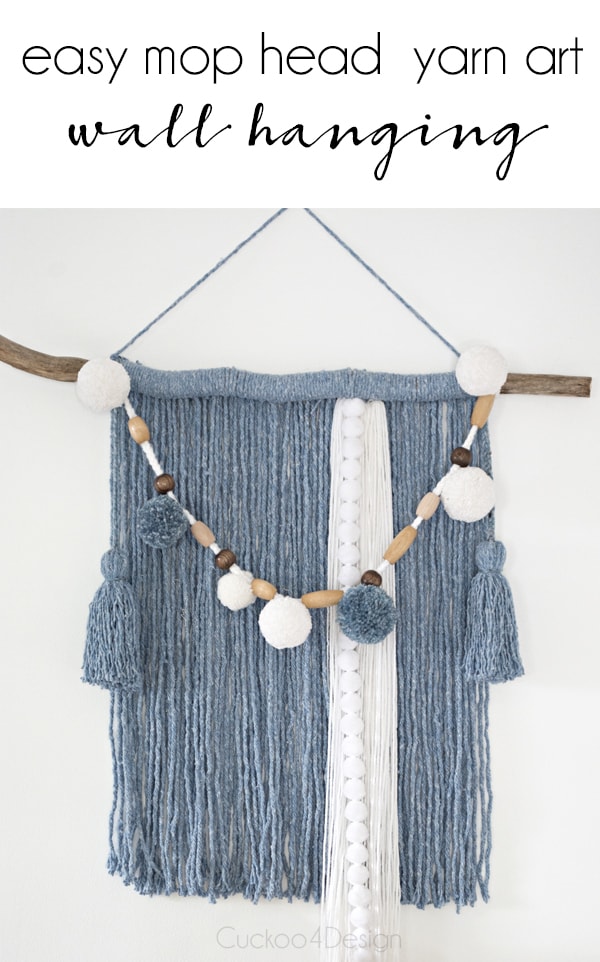
Mop head yarn wall hanging
Before starting all my macrame projects, I made a yarn wall hanging out of a mop head which you can see in this post. Right now you might have trouble finding macrame yarn on Amazon that can be shipped to you but you can certainly still find mop heads at the grocery store or dollar store somewhere local. (This post was originally published on
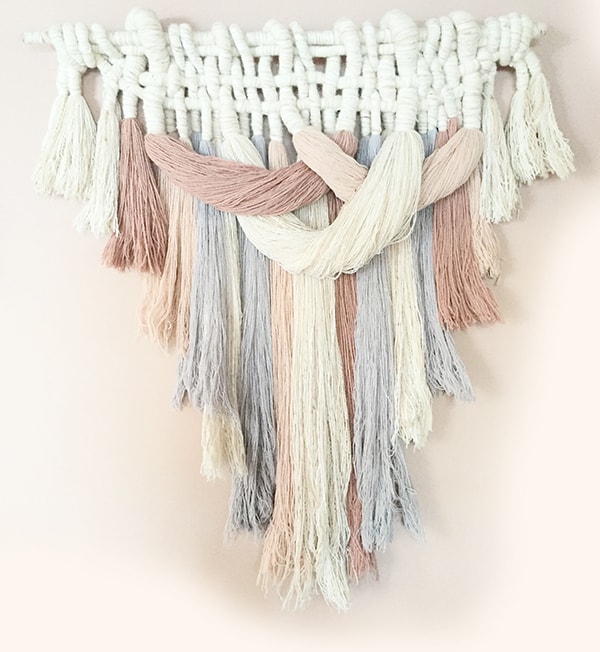
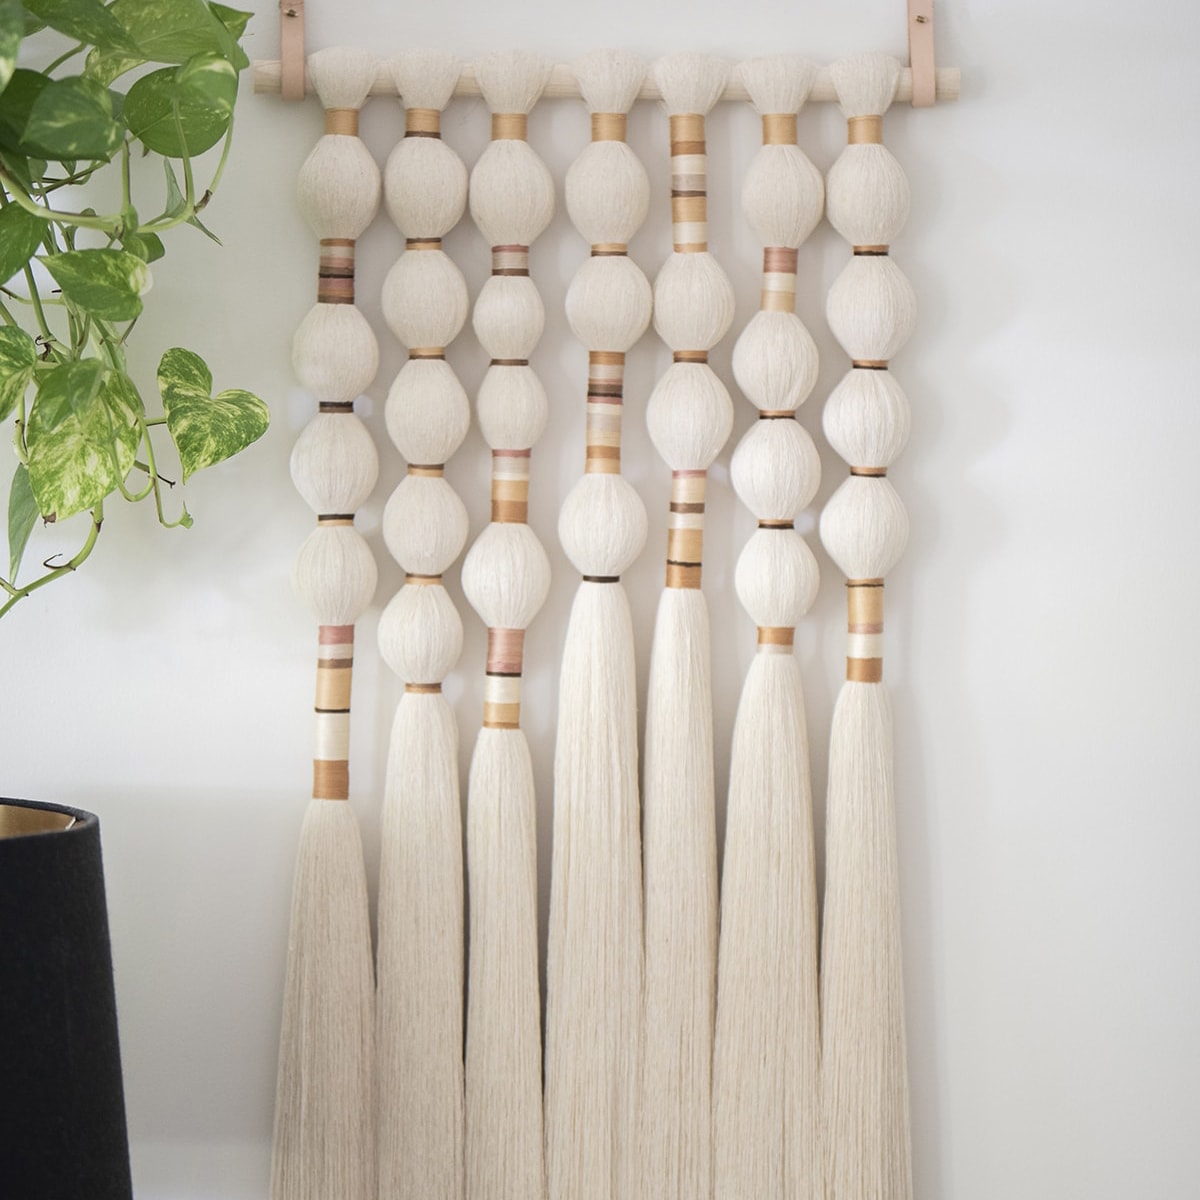
I really love simple yarn wallhangings like our friend’s vintage one that I saw years ago. Remember me sharing this photo in my post and on Instagram? It’s an exceptionally pretty one.
Mop head yarn wall hanging DIY
This post may contain affiliate links from which I will earn a commission at no extra cost to you. View my full disclosure policy.
I came across the fabulous idea “the nester” had where she made an easy DIY yarn wall hanging out of a mop head. So this post is definitely inspired by hers. Go check out Myquillyn’s tutorial. I think it’s a genius idea!
I love the way hers turned out so so much but didn’t want to do an exact copy 🙂
Materials needed
- a blue mop head (for a pop of color)
- some matching blue wool from a craft store for pom poms (optional) you can use mop yarn for pom poms too
- pom pom garland
- wood beads optional (from Etsy HERE and HERE)
- stick, branch, or dowel rod
- needle
- scissors
- some cream and white yarn (optional)
Instructions for mop head yarn wall hanging
What makes this yarn craft so genius is that the non-loop mops are cut to length already and after you take the top sewn strip off, you have these perfectly cut pieces. No cutting them to the same length is required, it’s done already and such a simple process! And a mop head is cheap too.
Below you can see that you only have to remove the thread that holds the mop yarn together in the center.
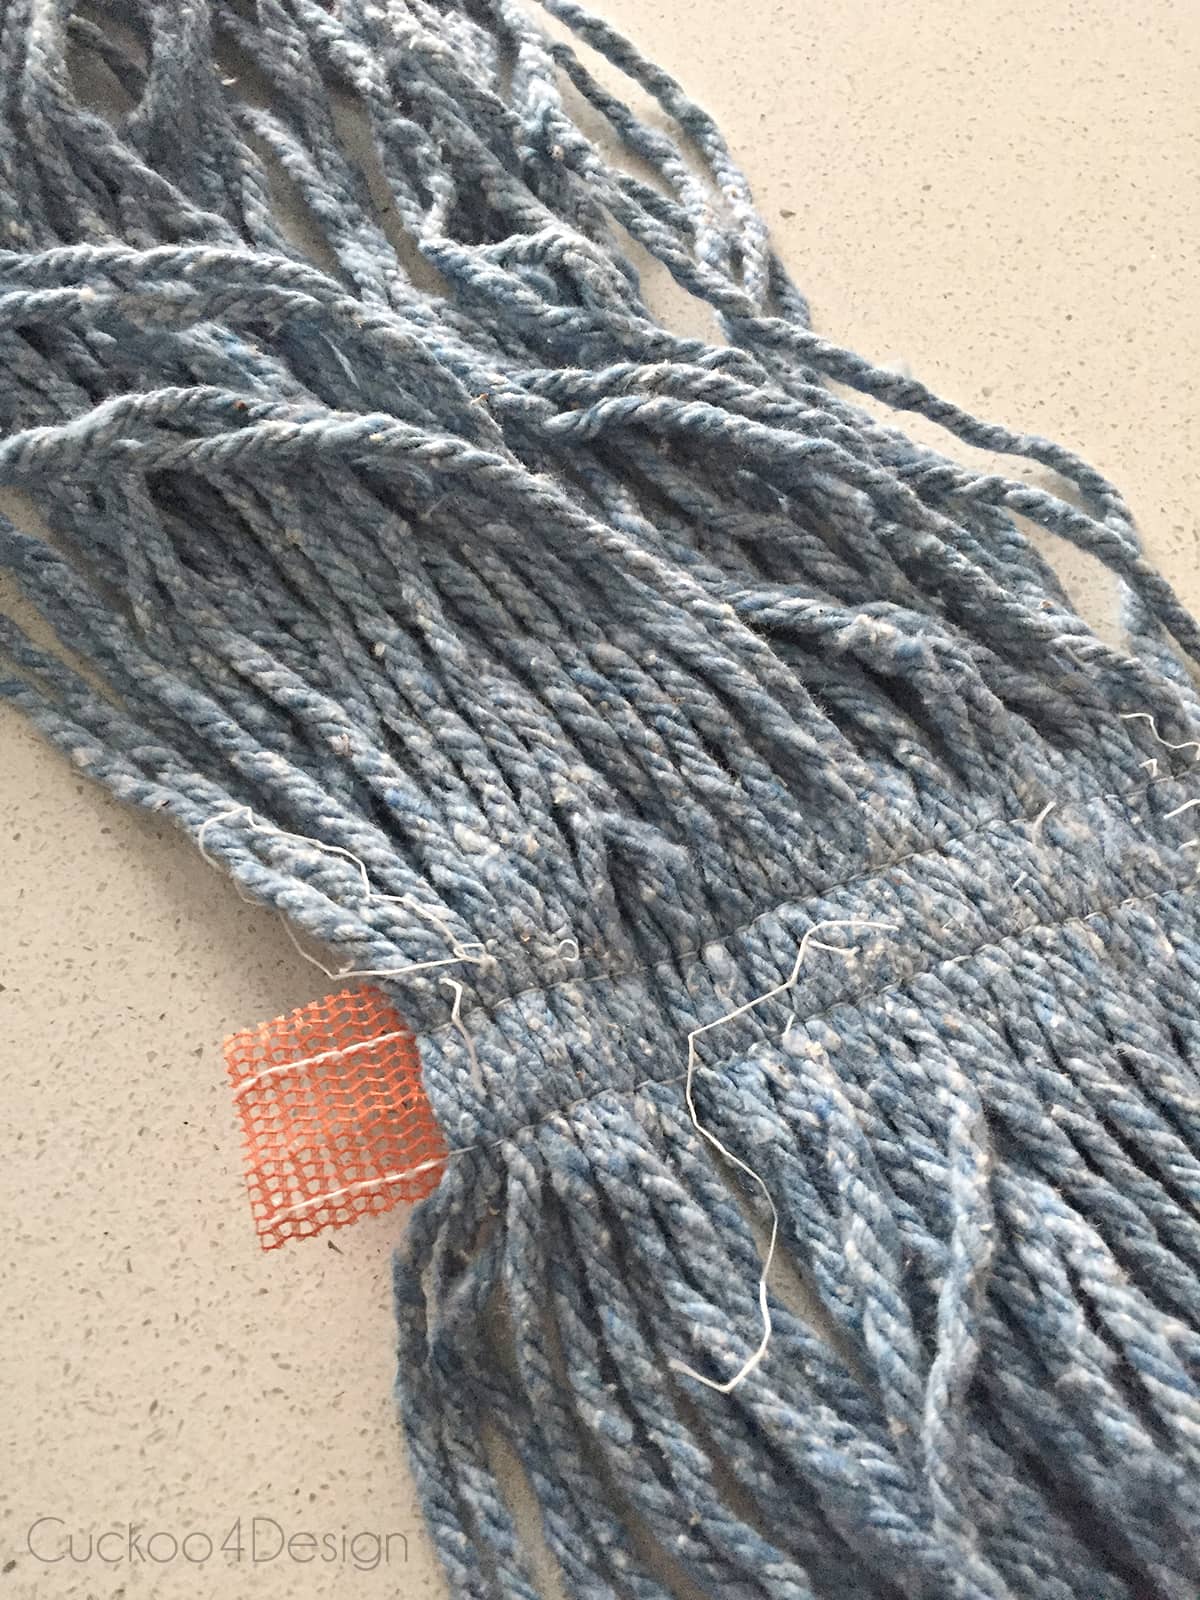
And voila you have a bunch of yarn all cut to the same length.

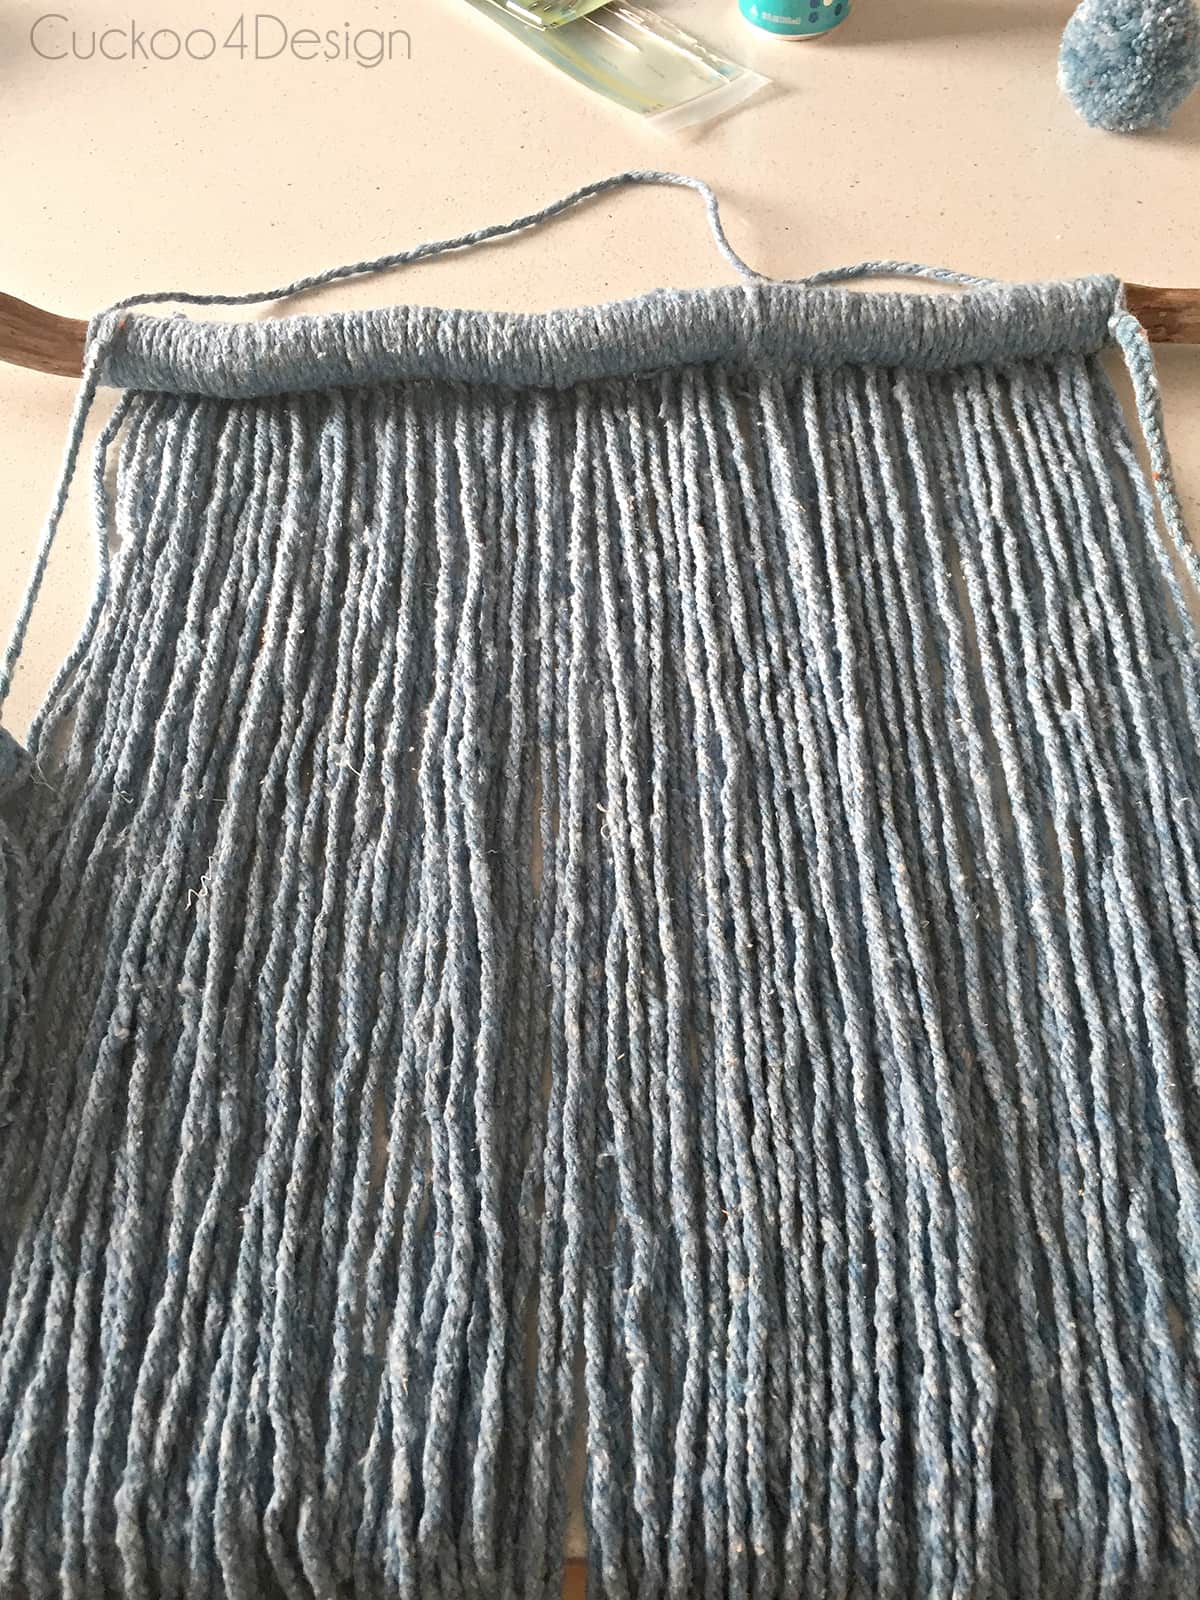
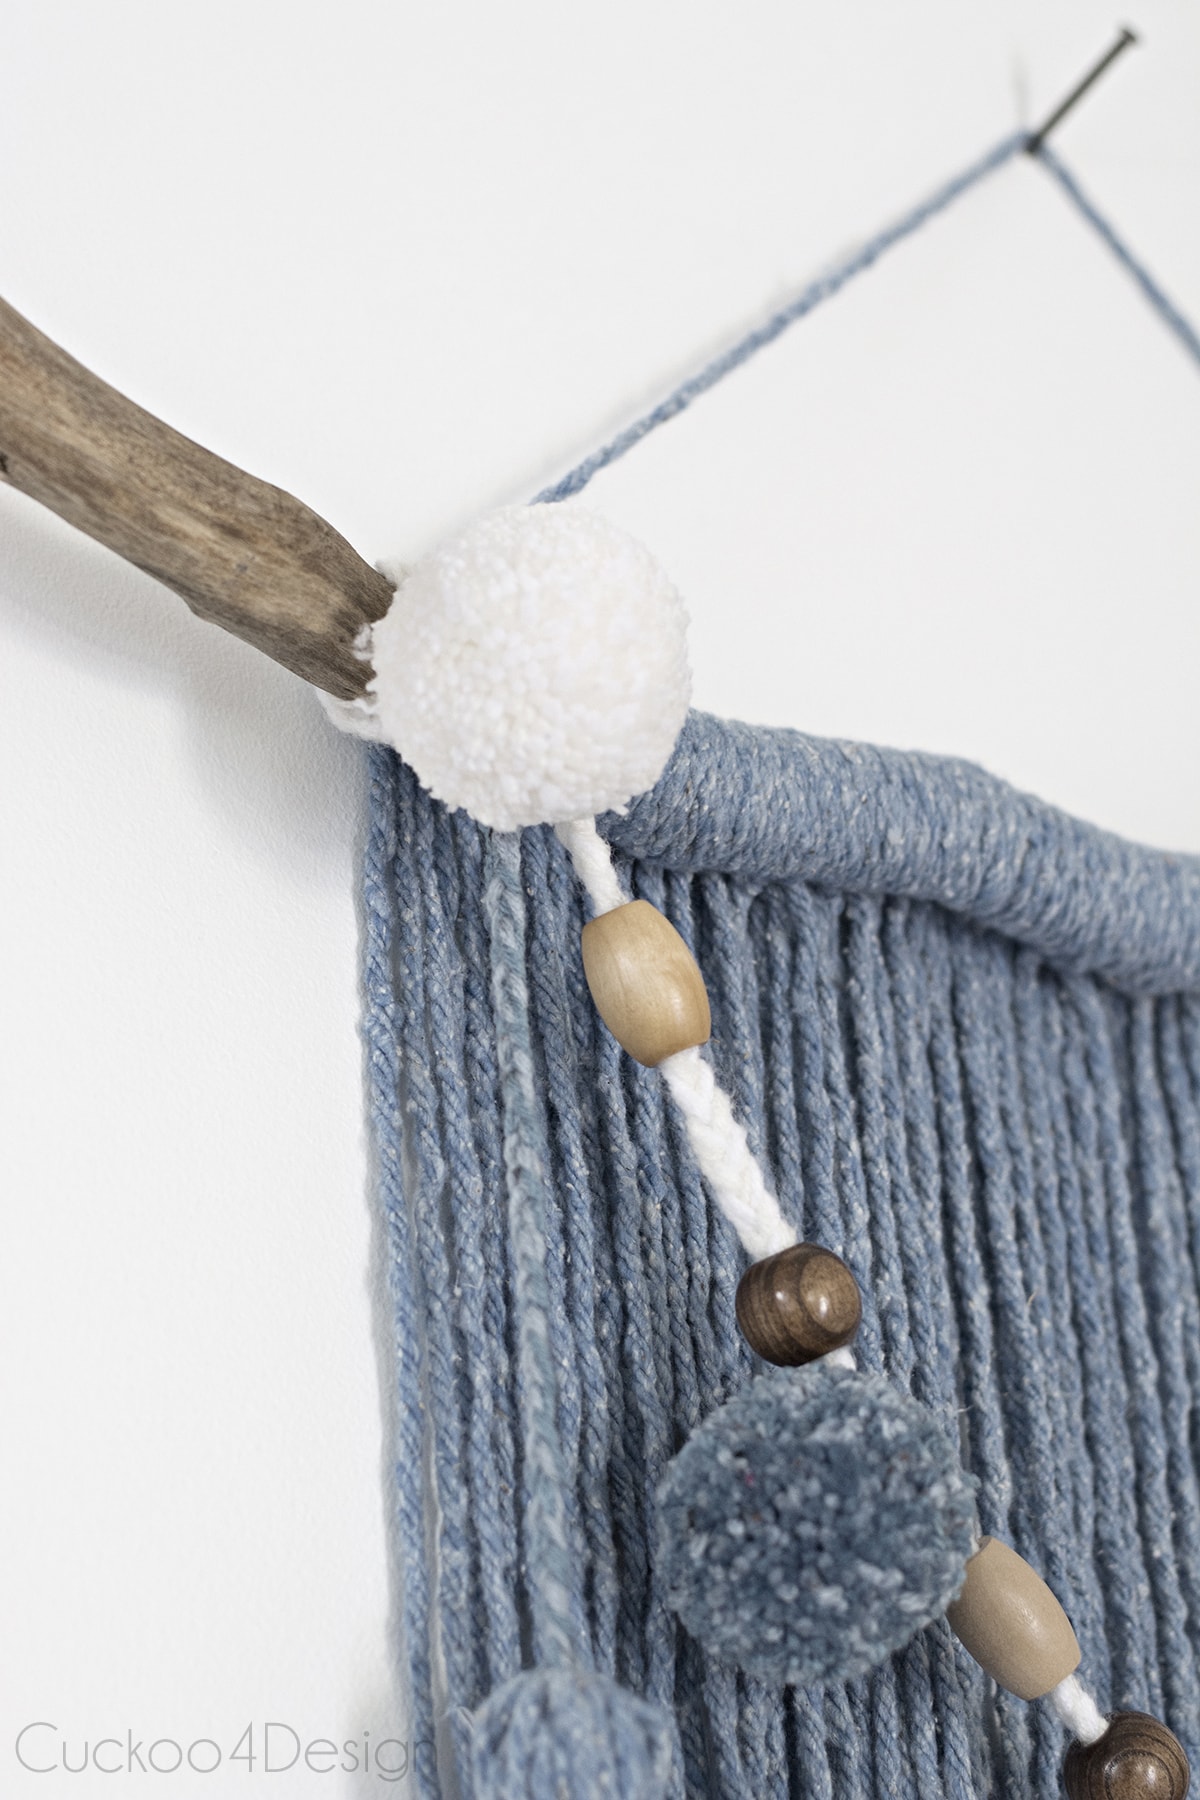
Next, I tied all the yarn pieces with simple knots to the stick. The knots are hidden in the back. Make sure that you save and tie one piece for the loop that hangs the stick in the other direction. You can see it in the below photo at the top.
If this was a macrame project, you’d double up the string by folding it in half and attaching the yarn to the stick with a Lark’s head knot. The yarn from the mop head isn’t long enough for this though. You can, however, tie some knots to the mop head as well.
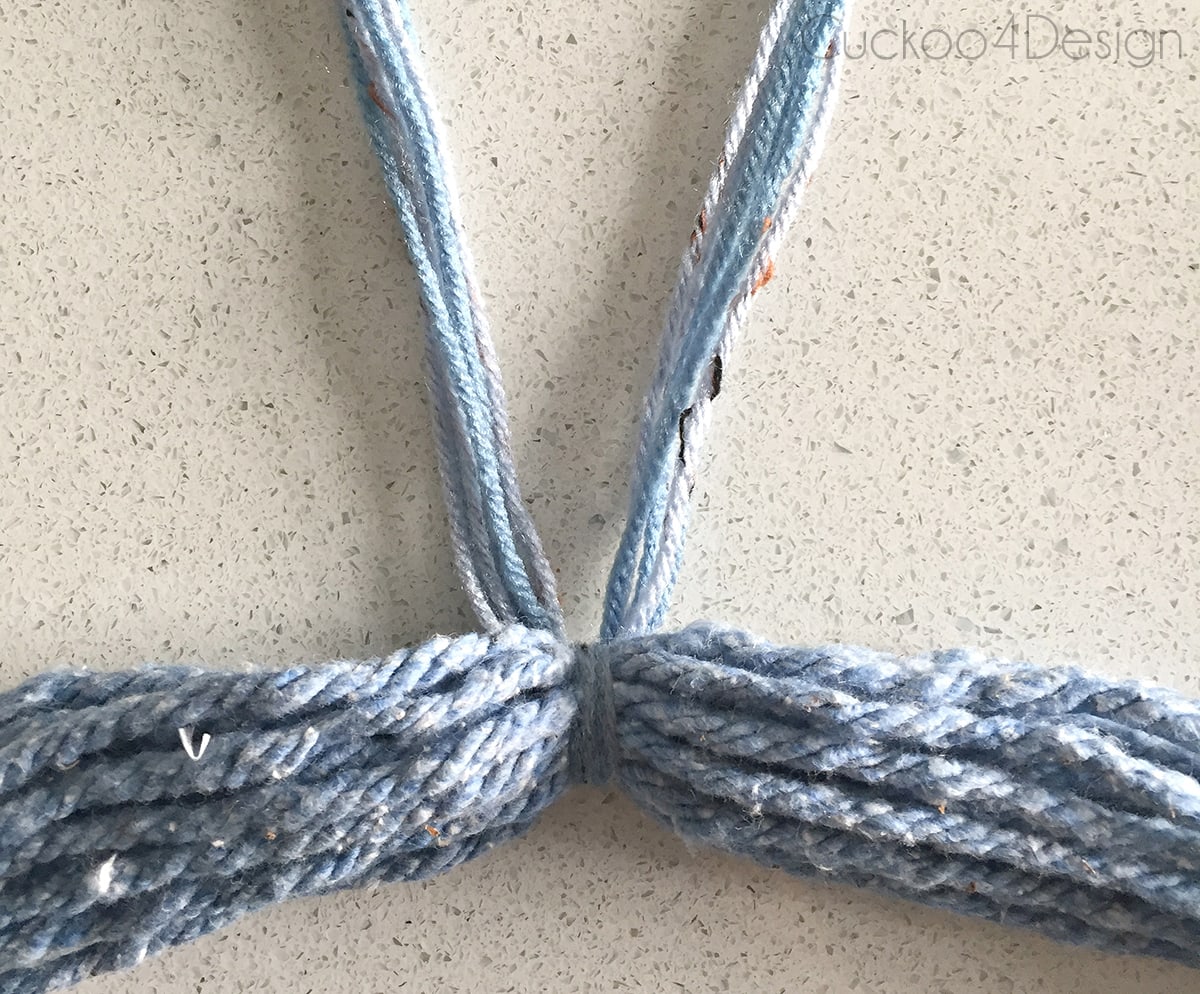
Instead of tying knots, I made bunched-up long wool strings that were longer than the blue ones and attached three bunches to the top.
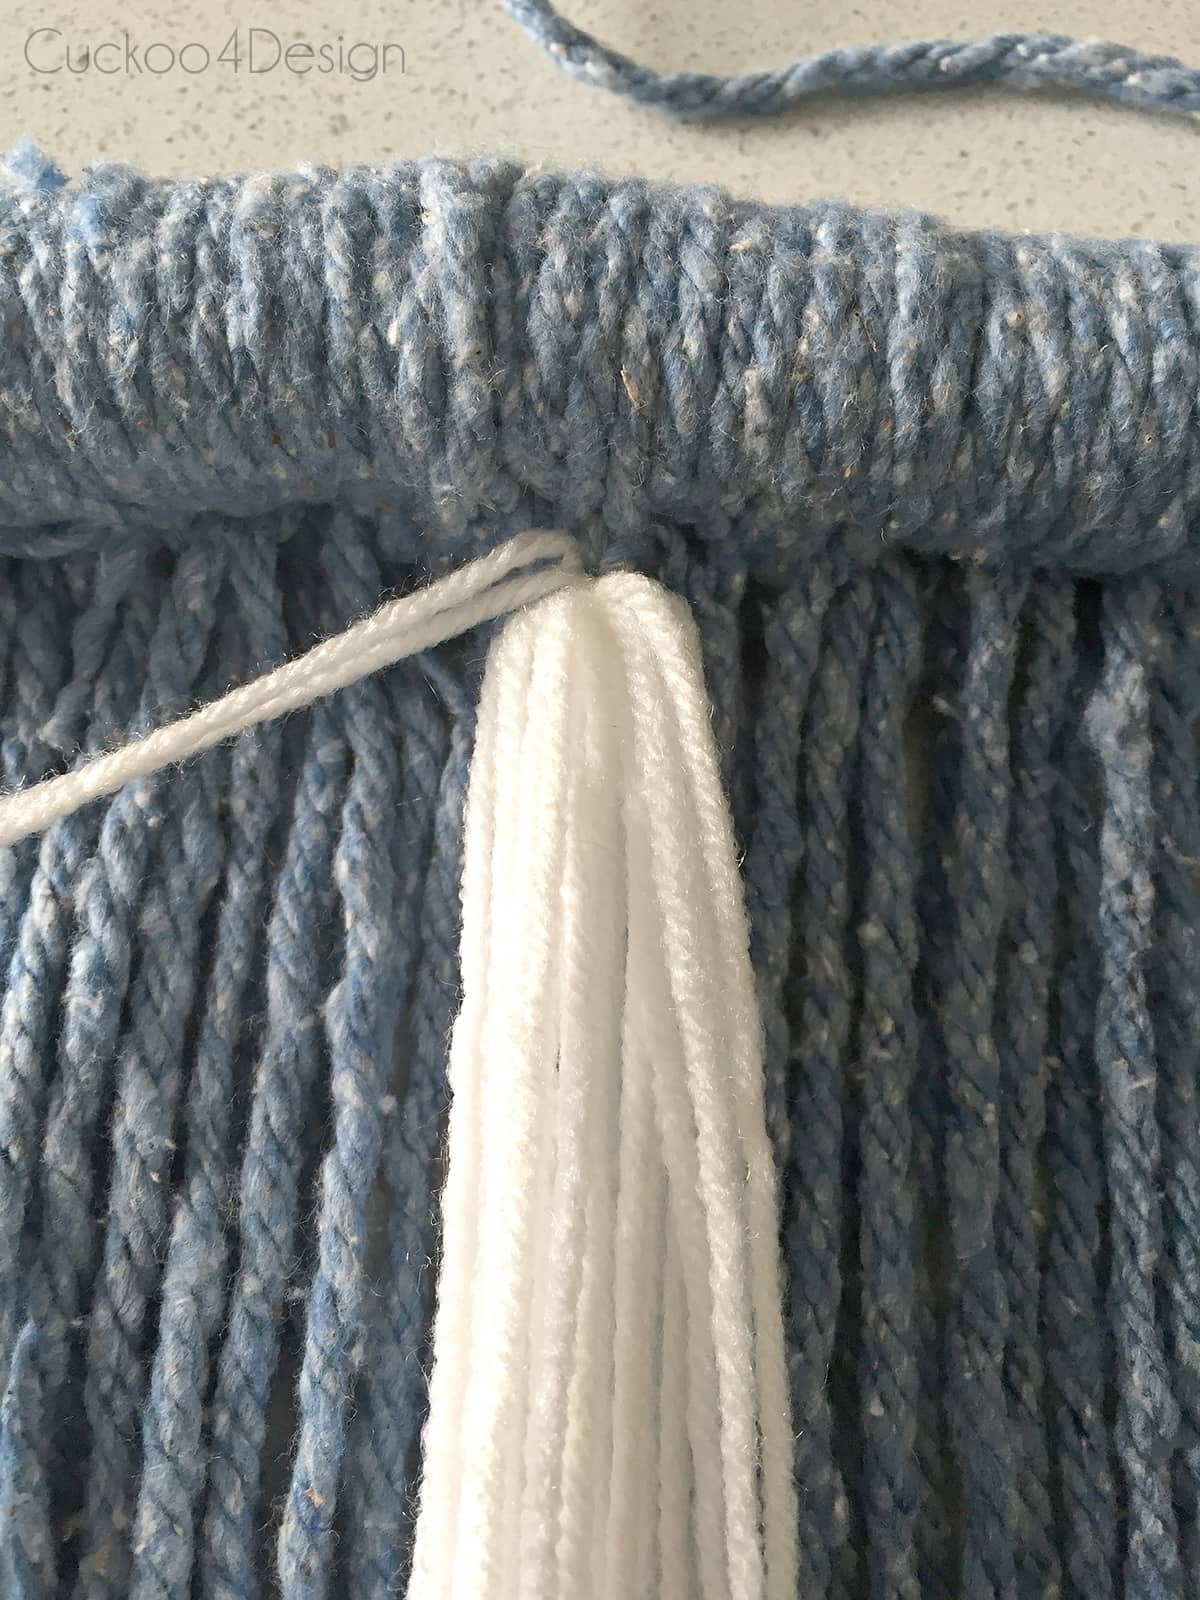
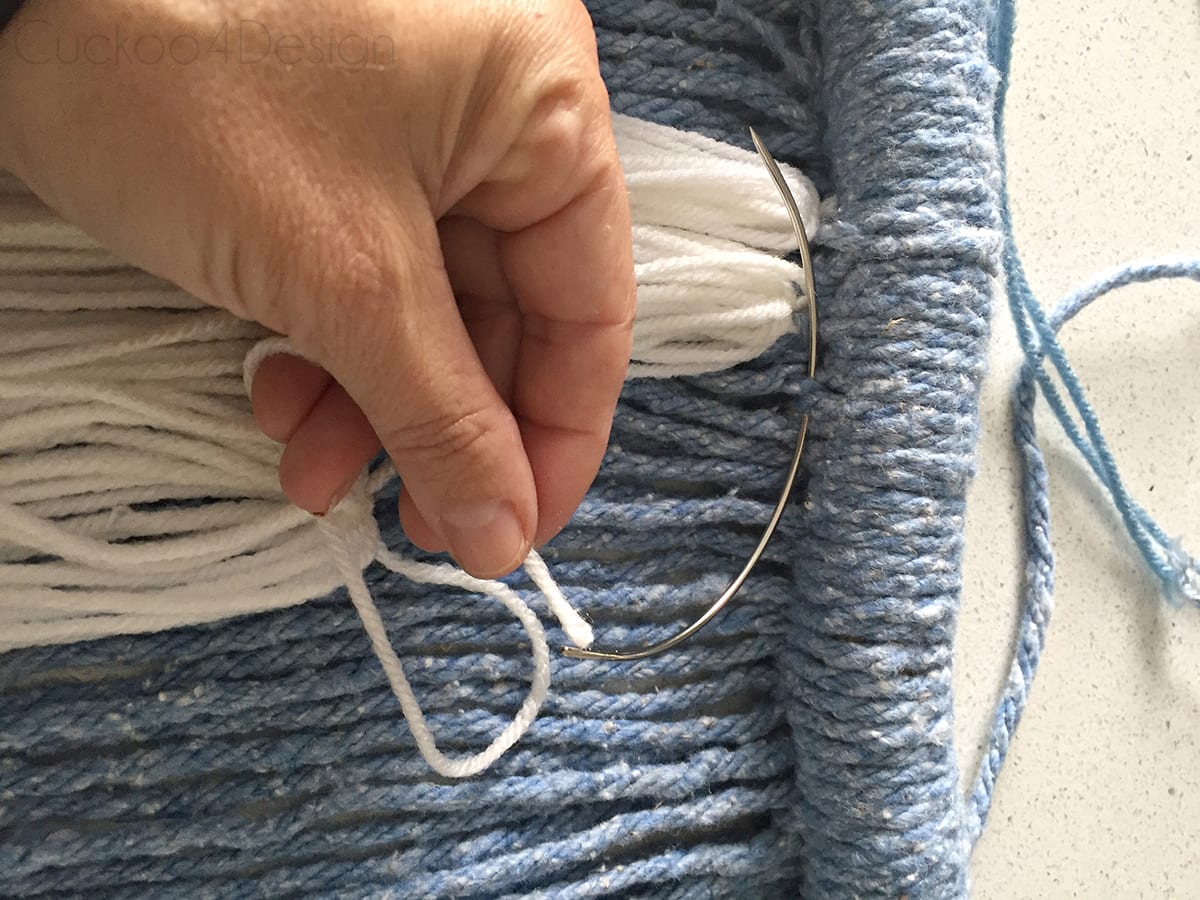
Below you can see how I tied them together:
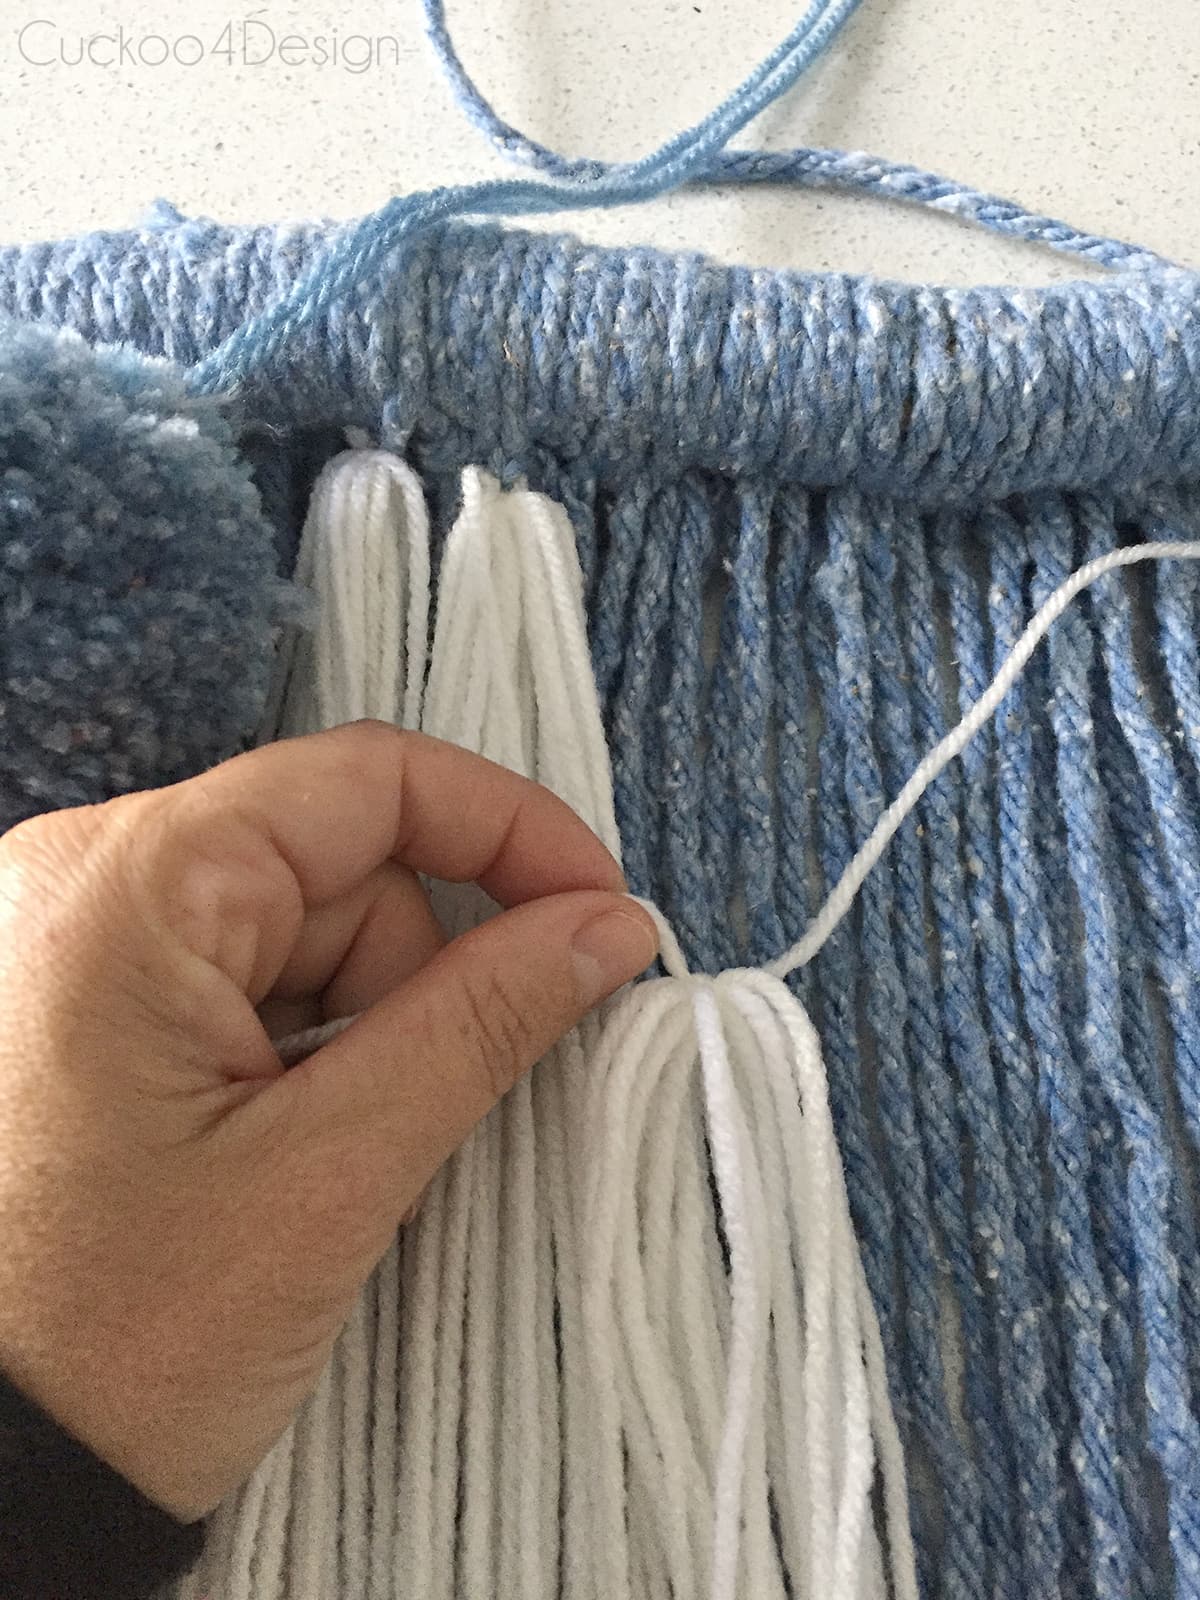
I used a thick curved upholstery needle to thread them throw the thick mop yarn and then just tied the string in a knot.
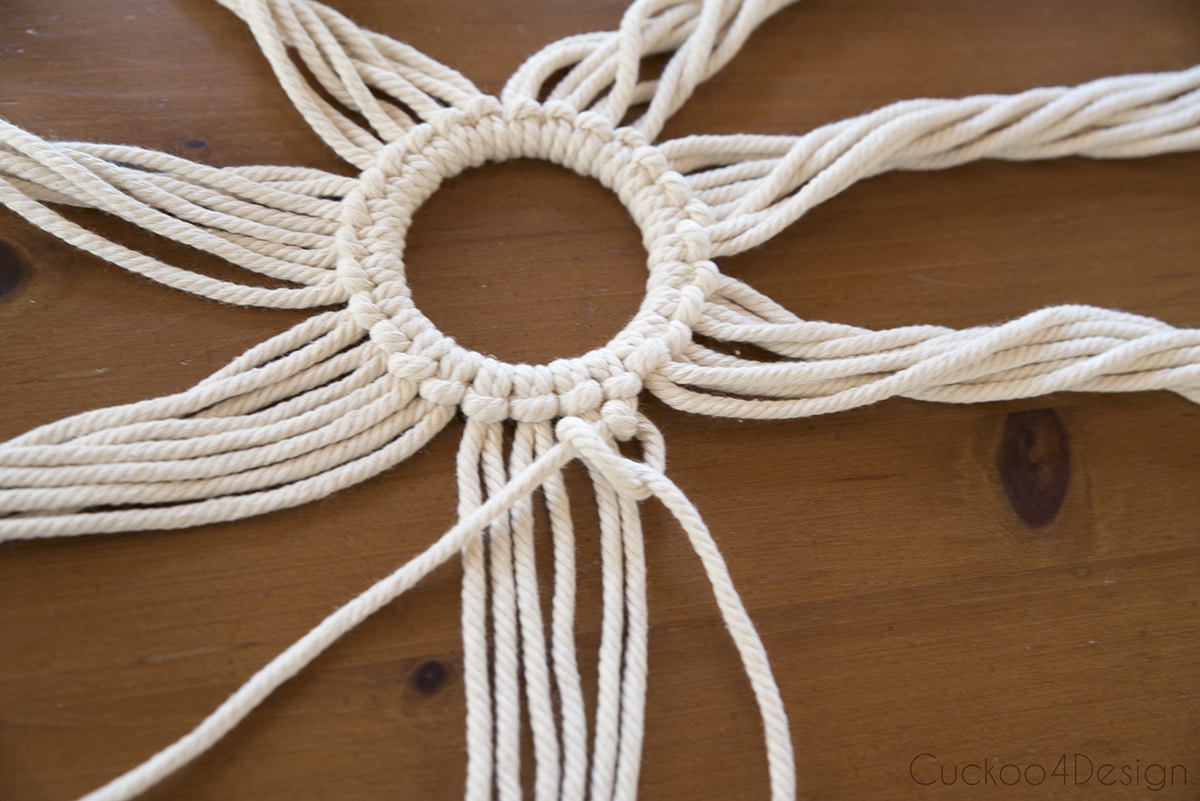
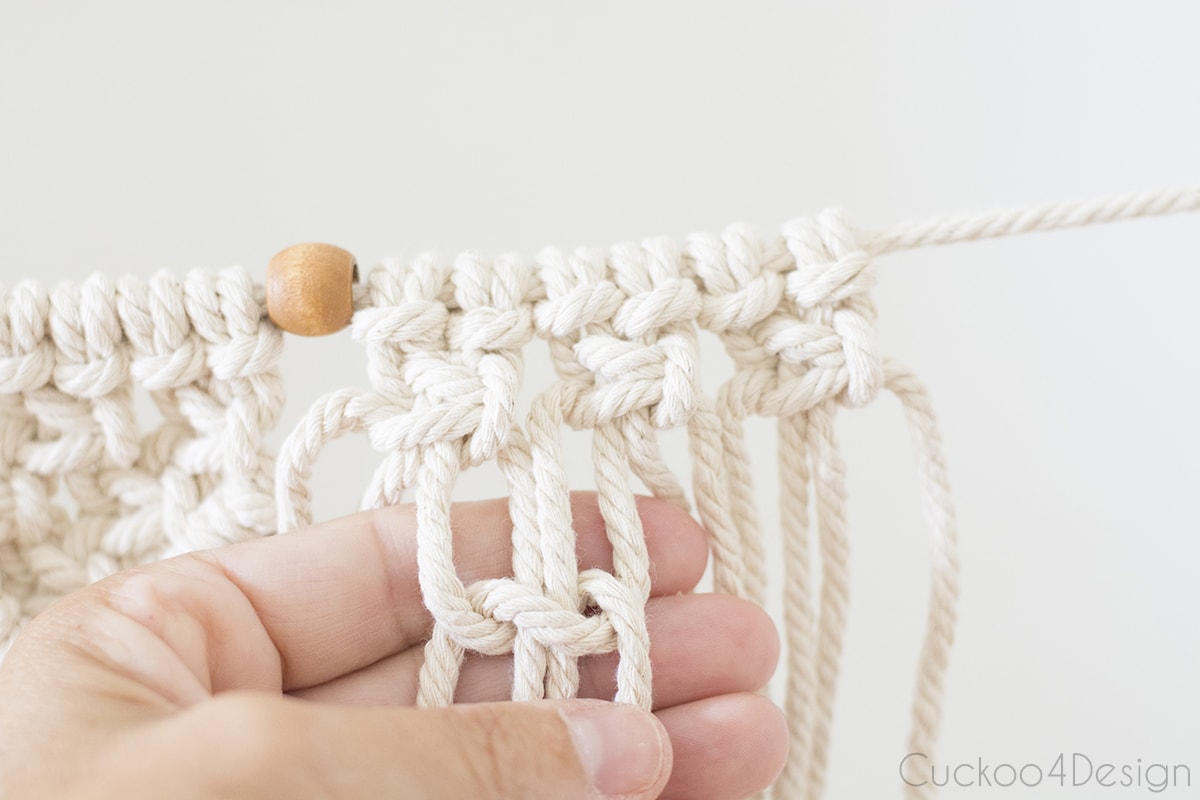
Macrame knots to try
You could try tying some diagonal Half Hitch knots (as shown in my macrame wreath tutorial) or some offset square knots (as shown in my beginner macrame garland)
Adding decorative detail
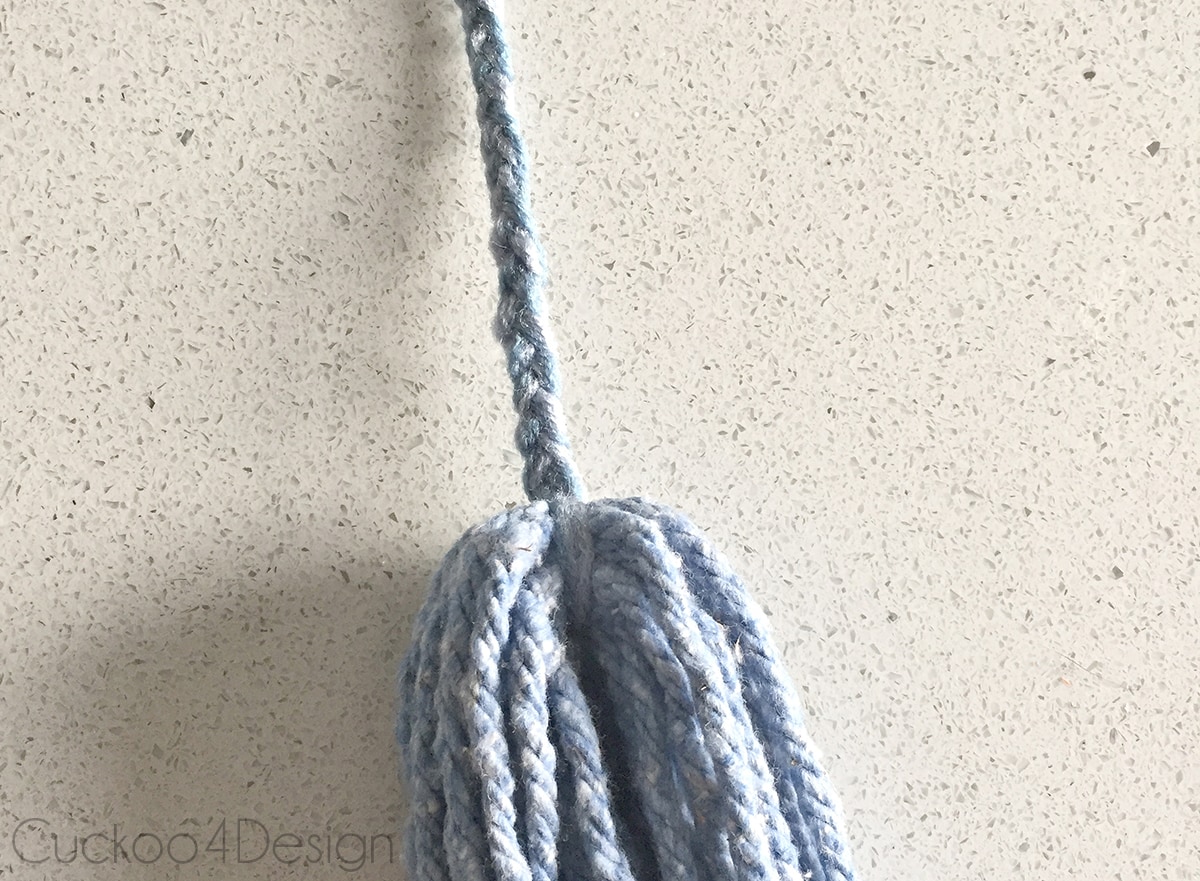
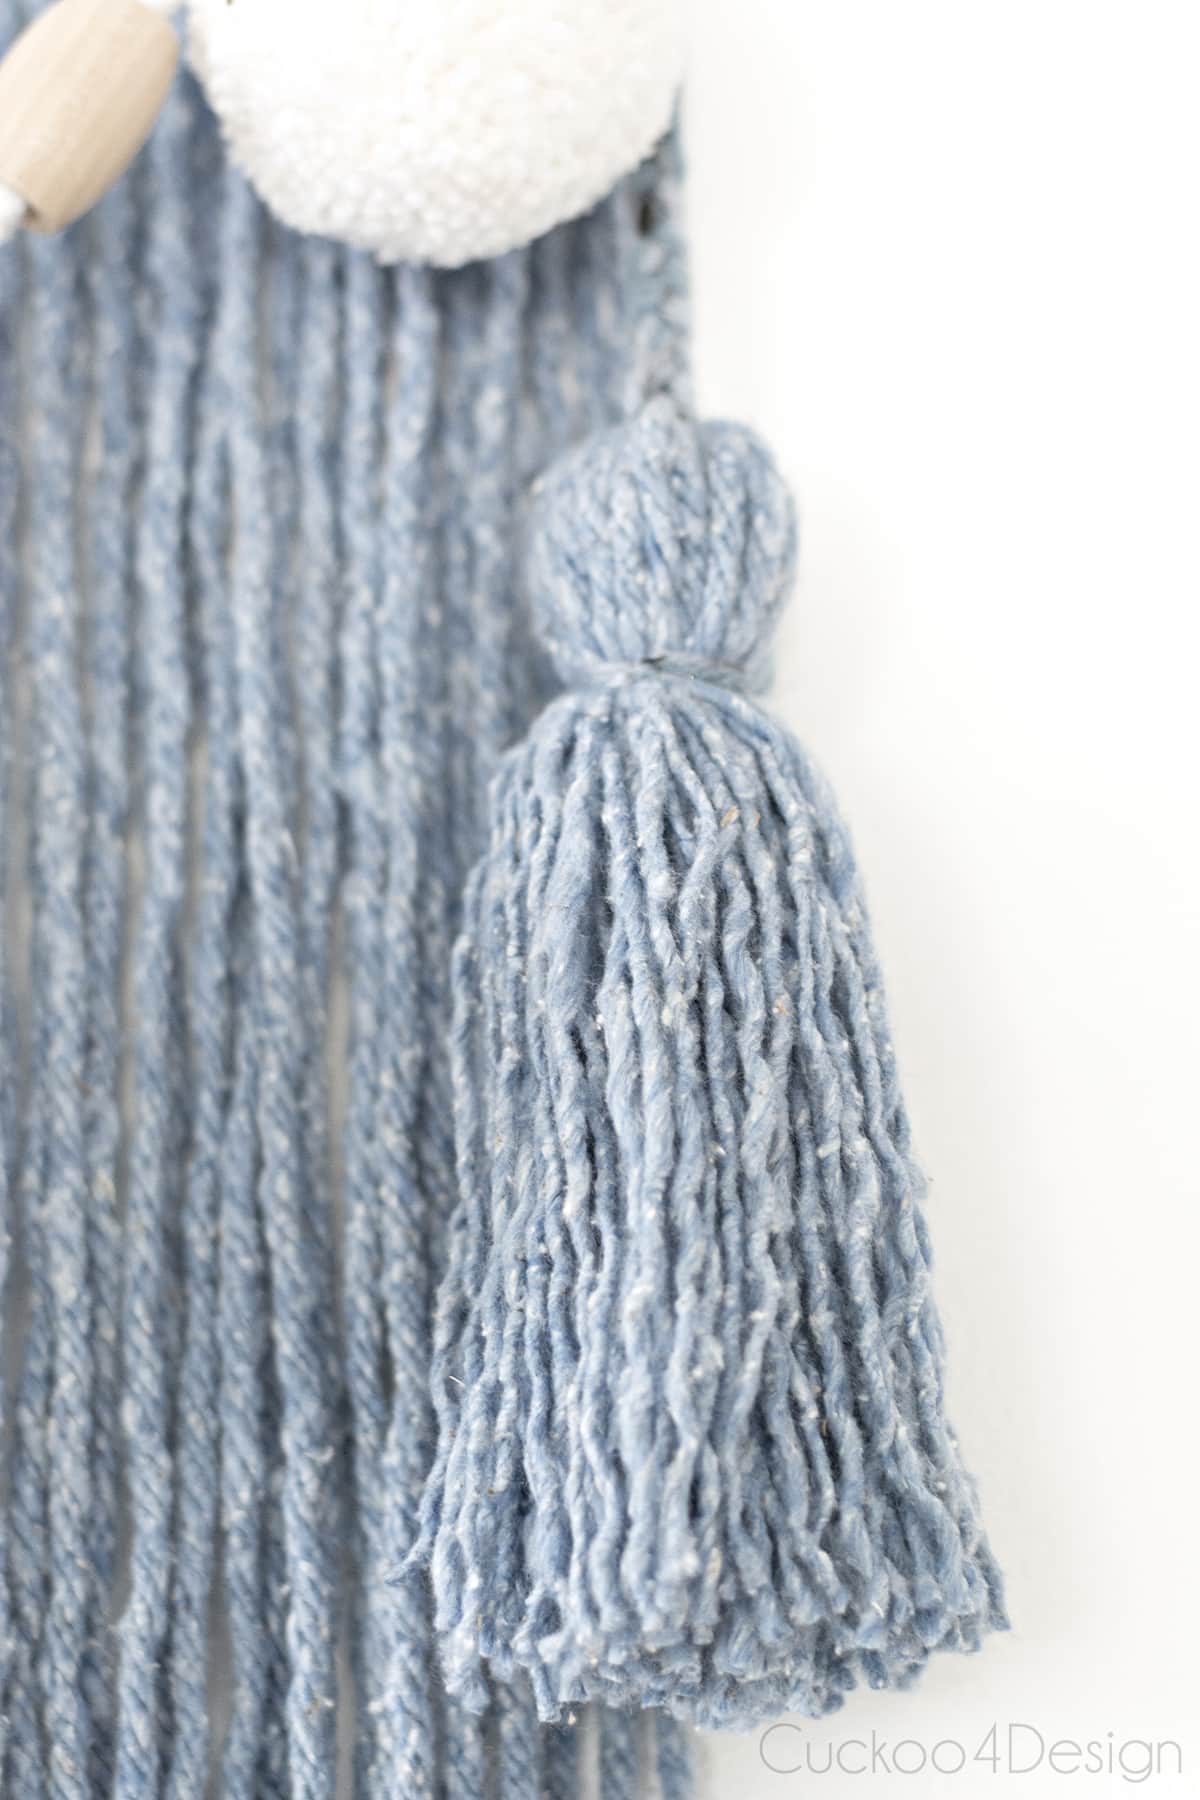
In addition, I also made some tassels out of the remaining mop head yarn by tying some wool strands to the bunched up yarn.
You can braid the top string of the tassels but don’t have to.
I added a pom-pom garland to the three groups of white wool strands.
In the end, I opened up all the twisted pieces of yarn from the mop strands on the tassel which made the two tassels look much thicker at the bottom.
I like it just this plain and simple already too:
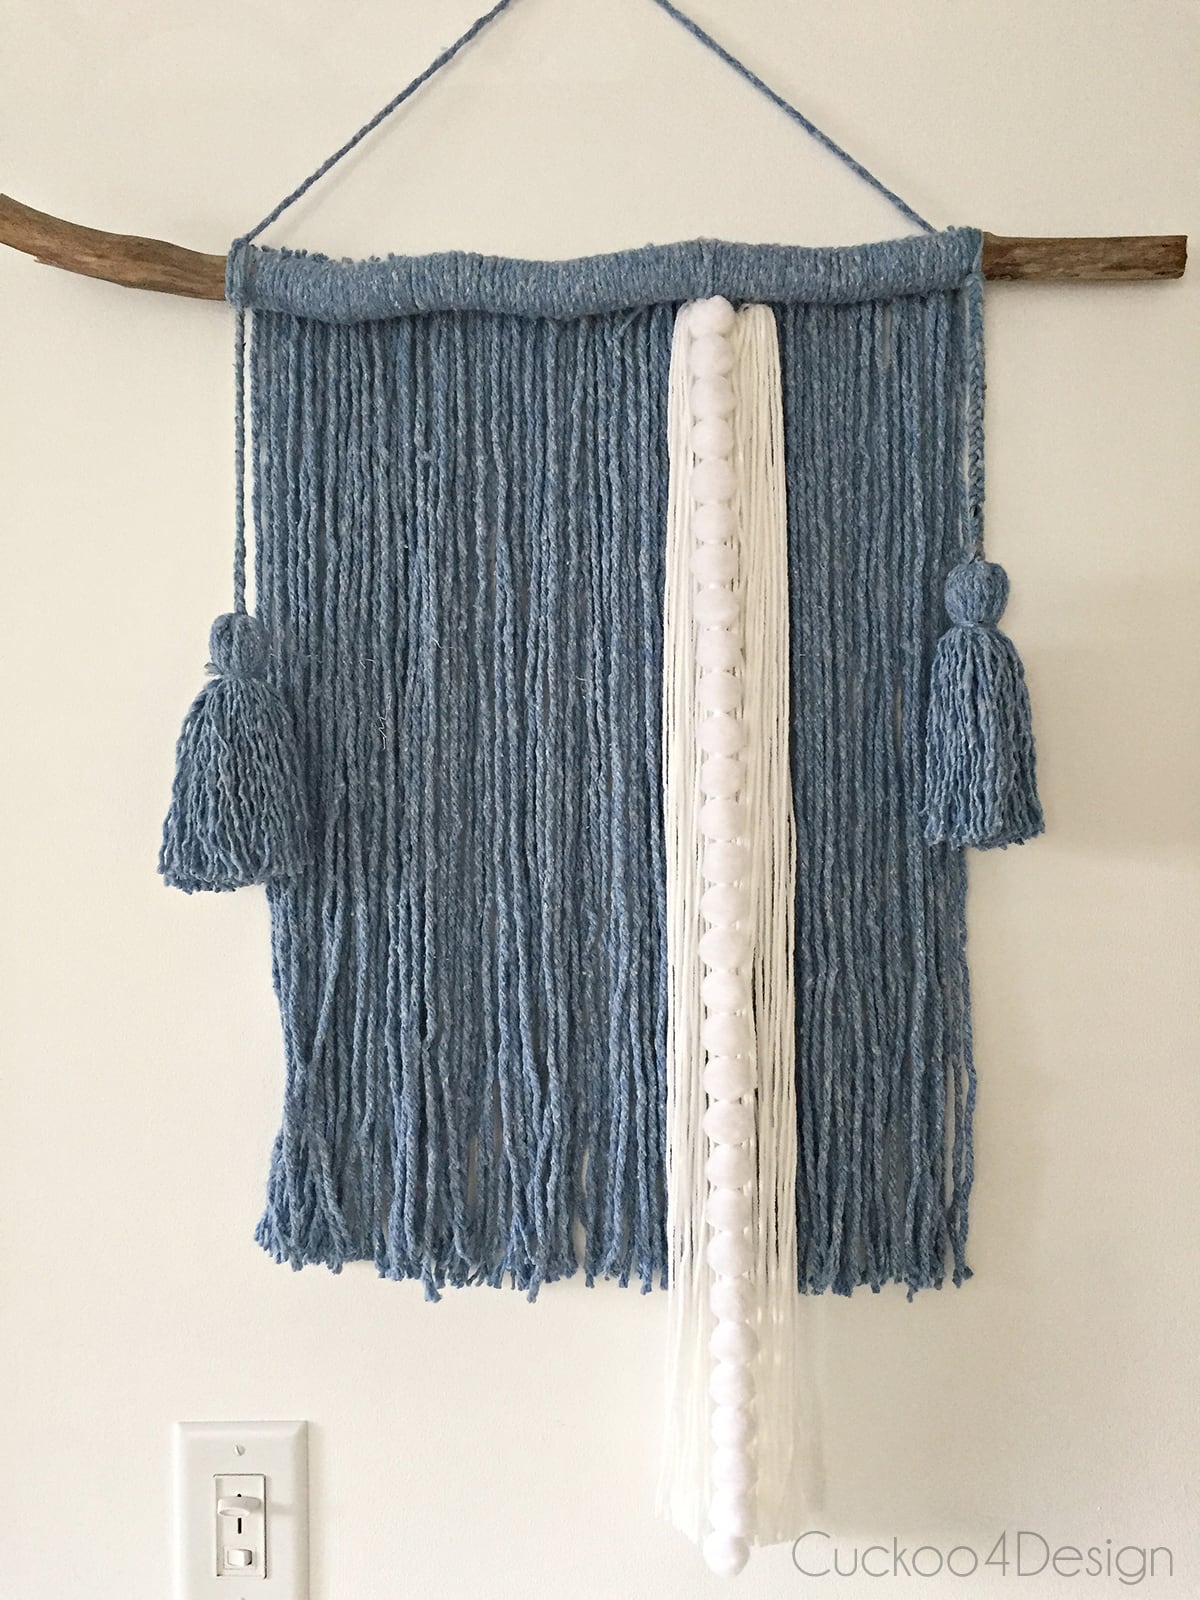
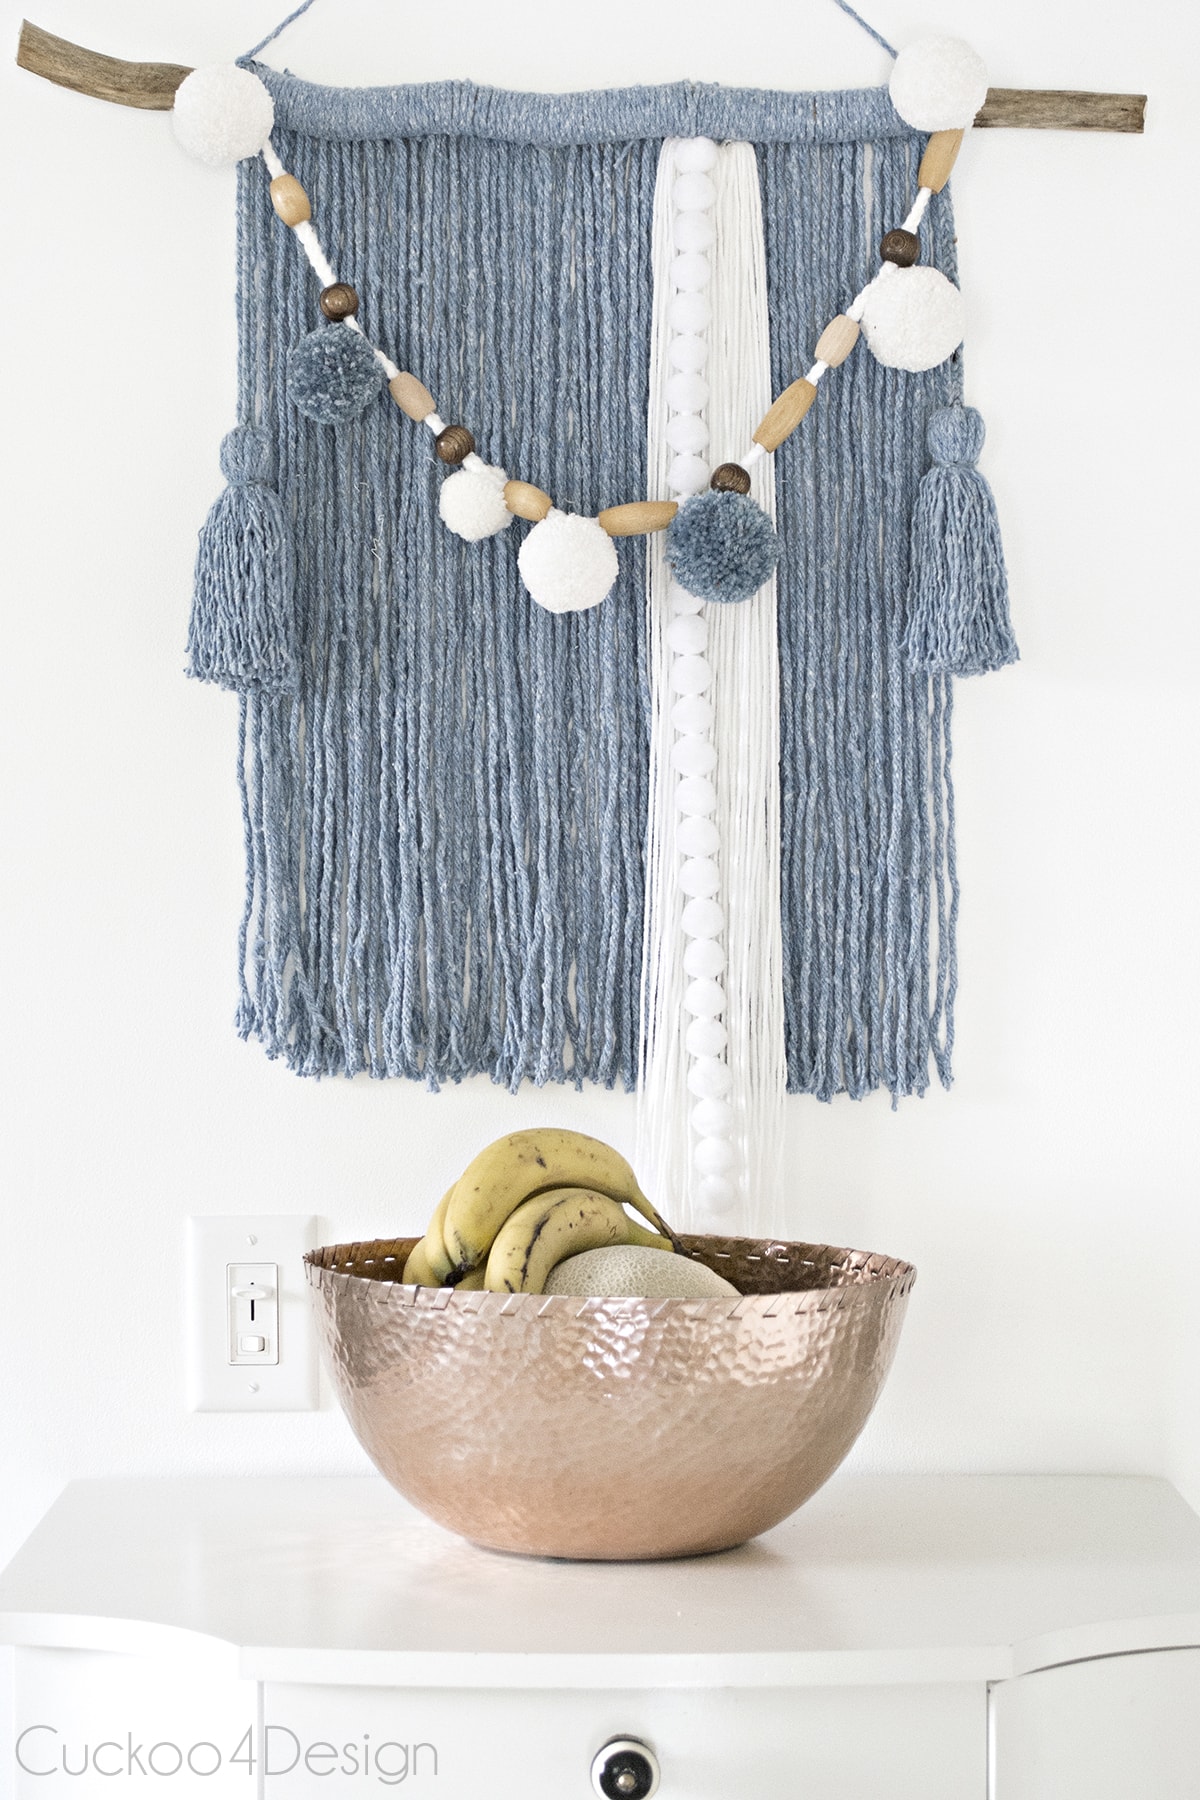
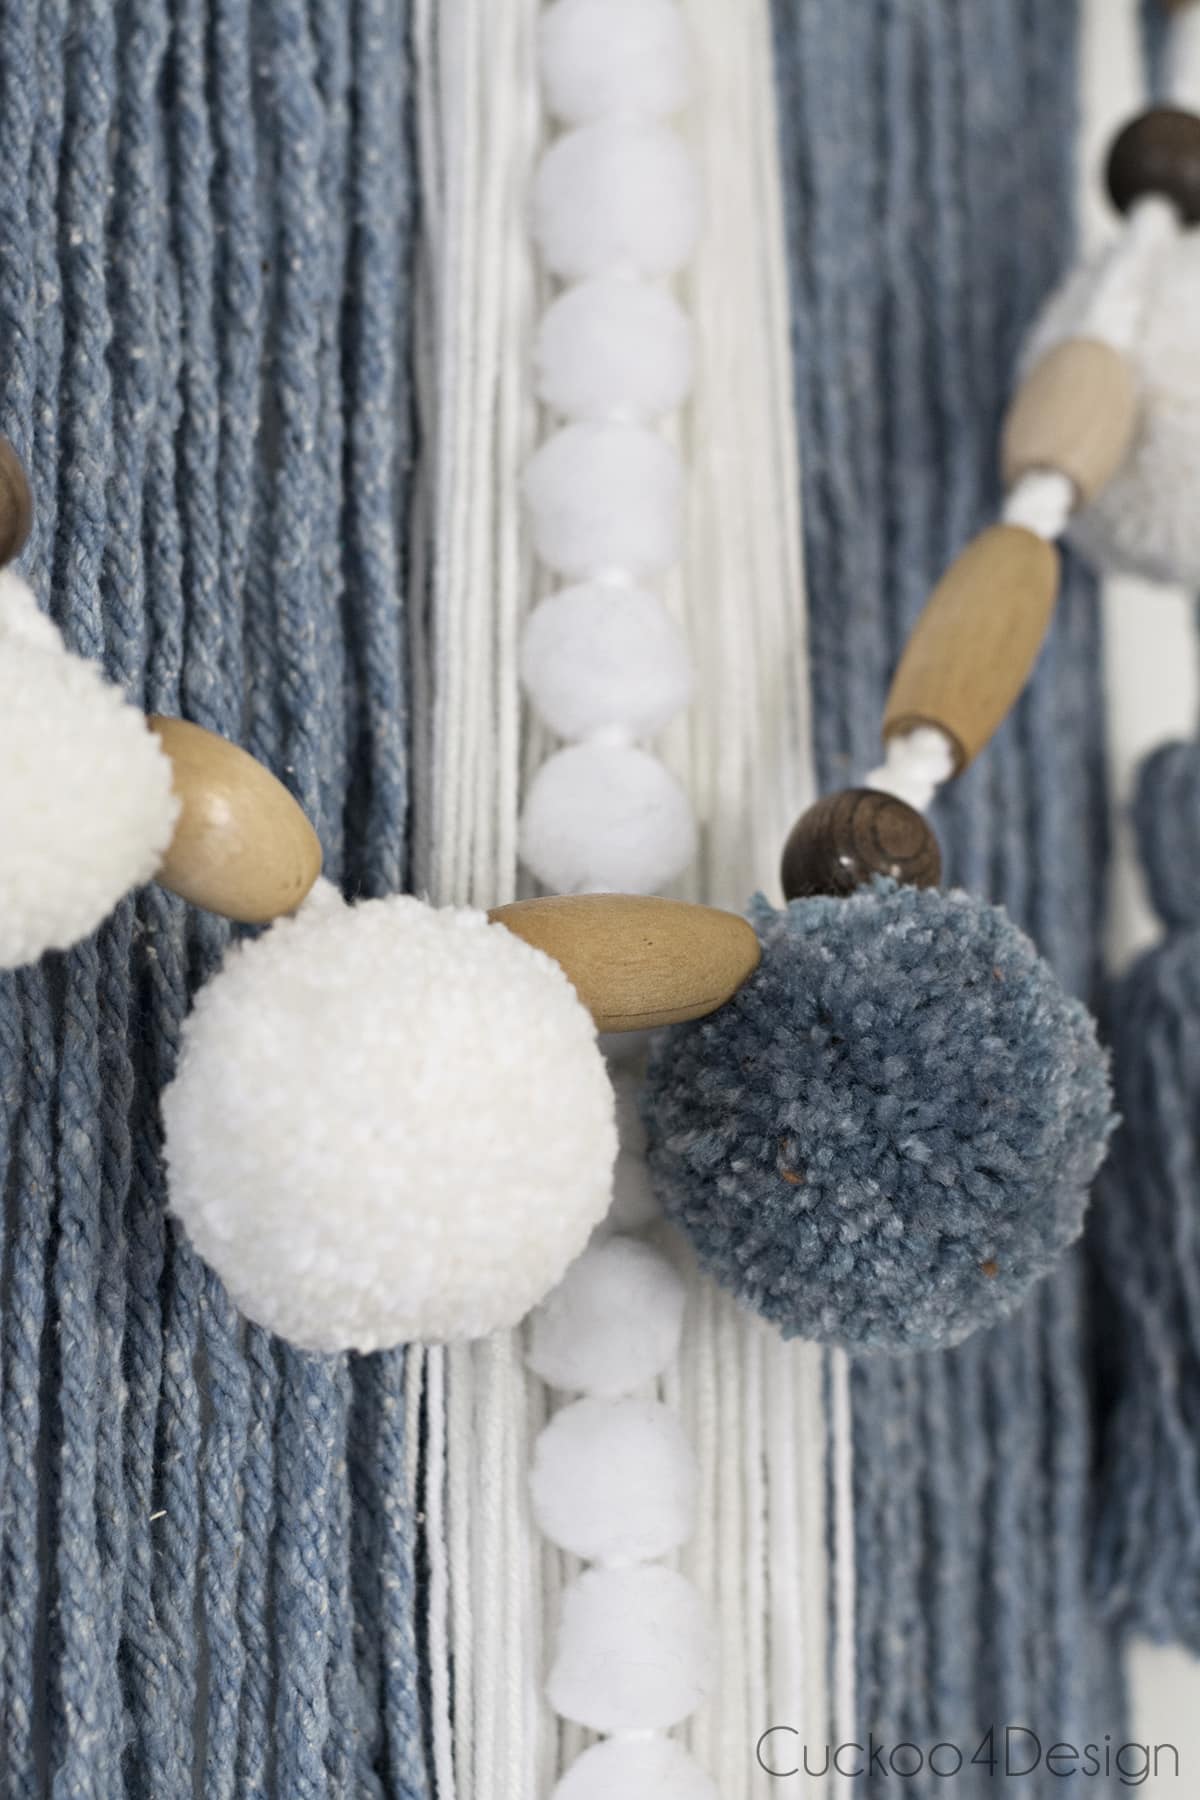
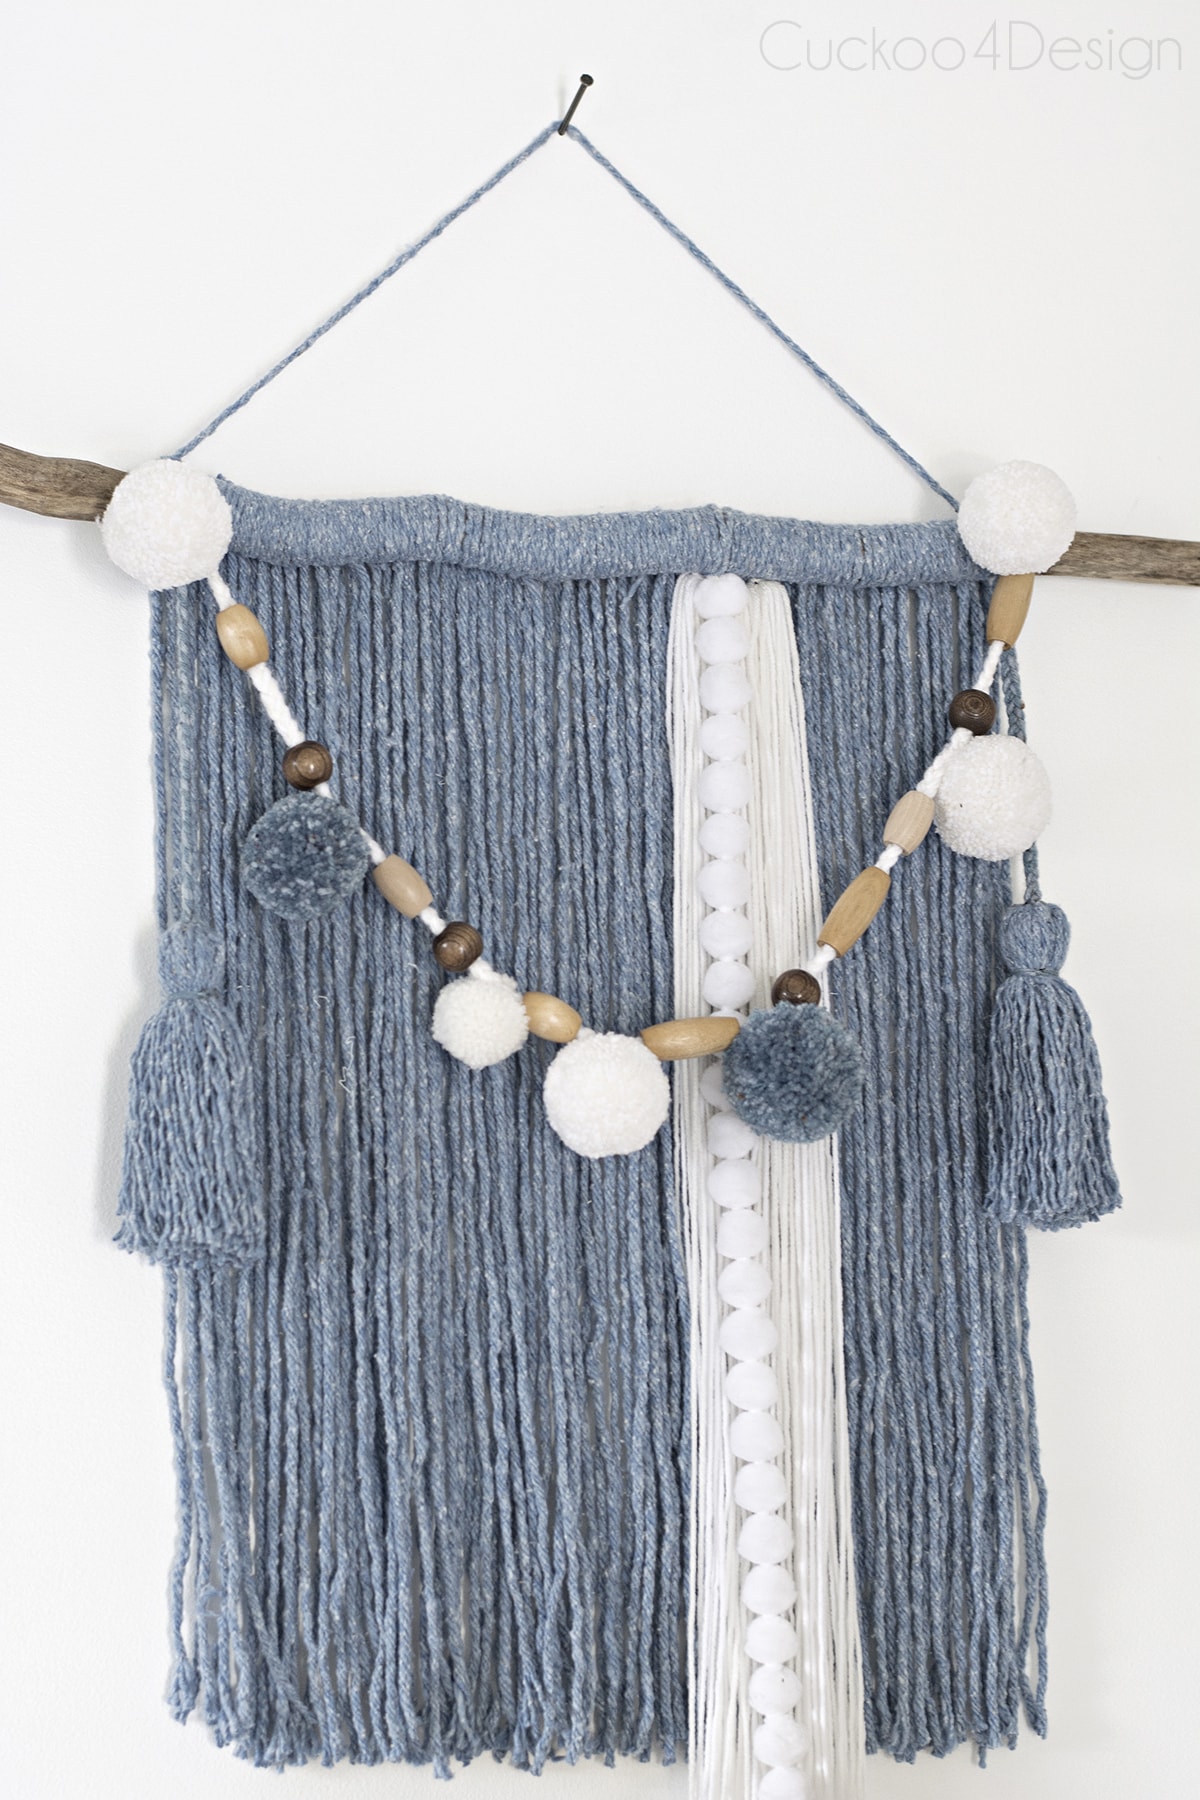
But then I decided to add some more detail and texture to it with braided wool, pom-pom, and wood bead string.
All I did is braid about a strand of wool, then thread on some beads with a big needle. Finally, sew some pom-poms on. Remember my favorite tips and tricks for making pom-poms?
I’m not sure if I’ll leave it there though. What do you think? With or without.
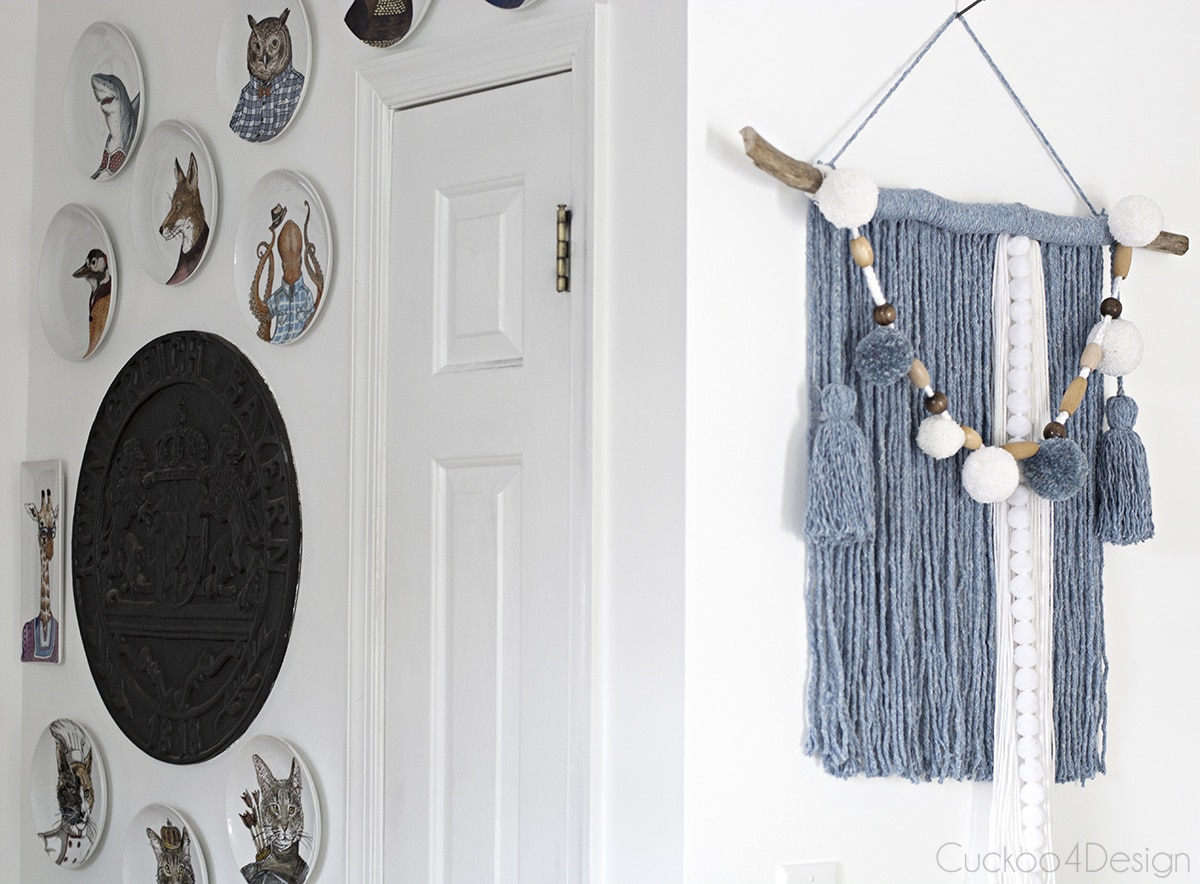
Photos of finished yarn wall hanging

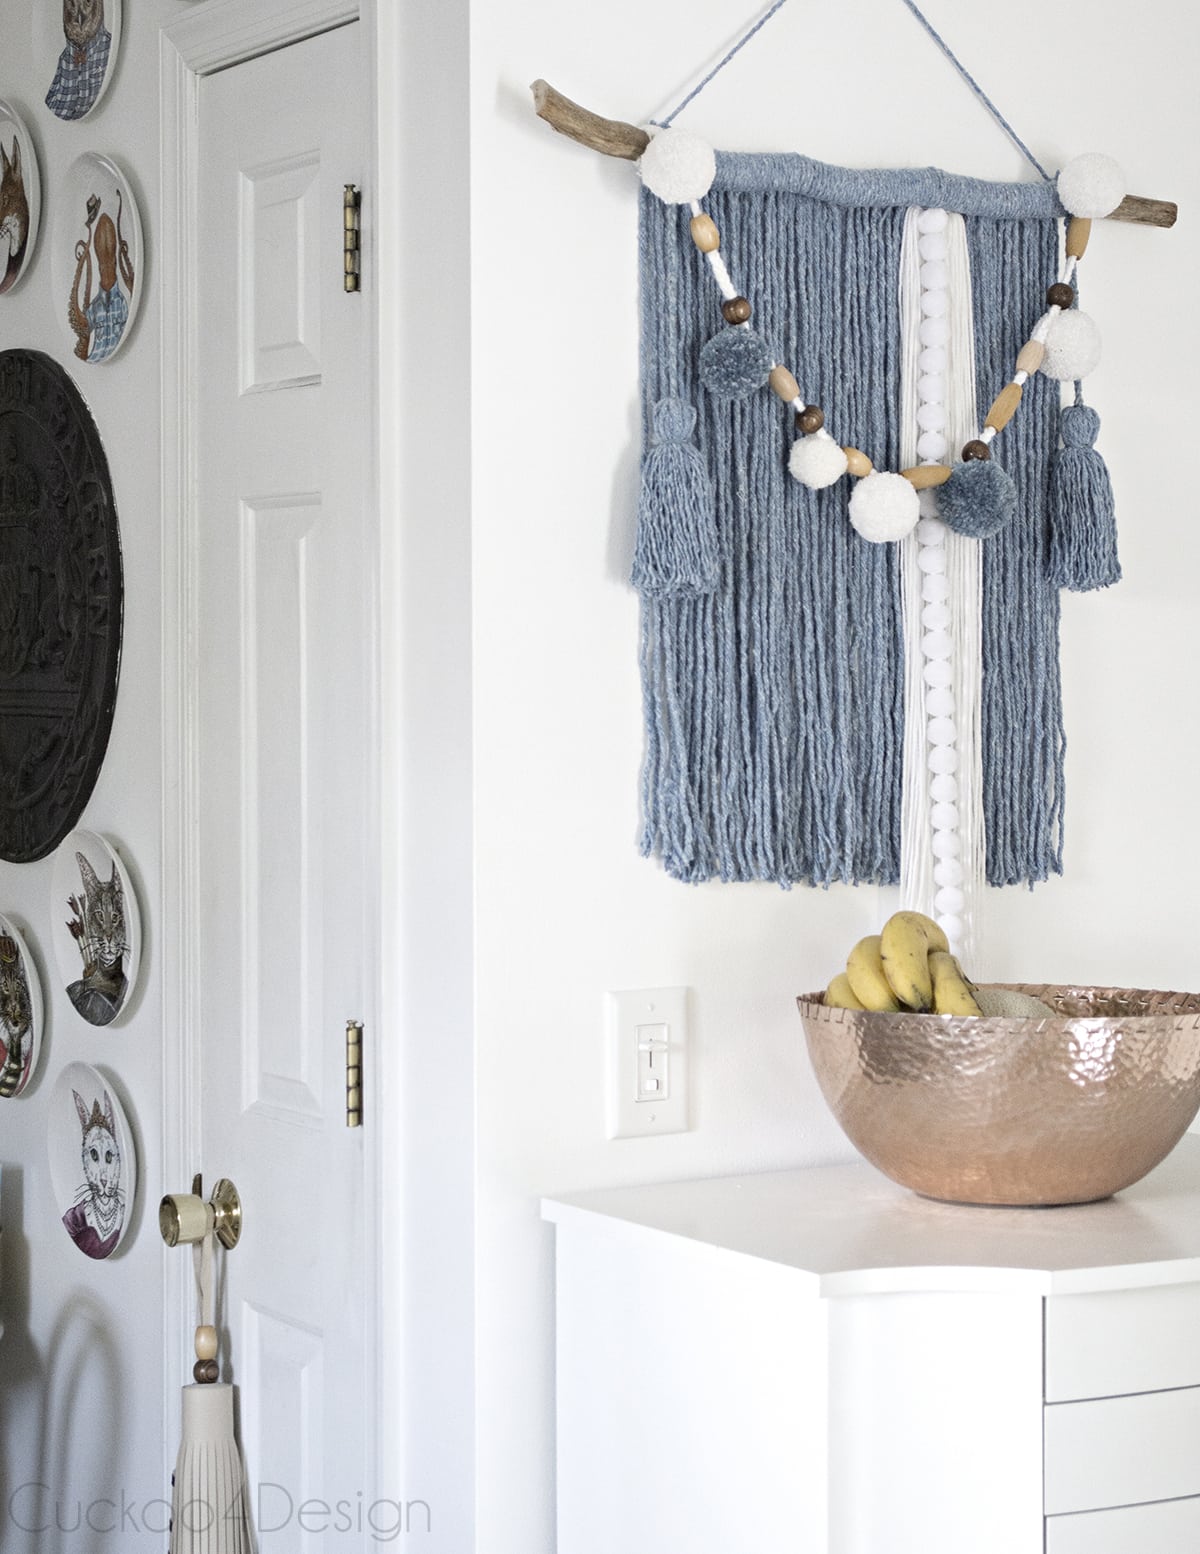
Above you can see where the giant leather tassels ended up that I made from our old sofa.
I used the same wood beads on them as well.

Below you can see how I untwisted the yarn strands.
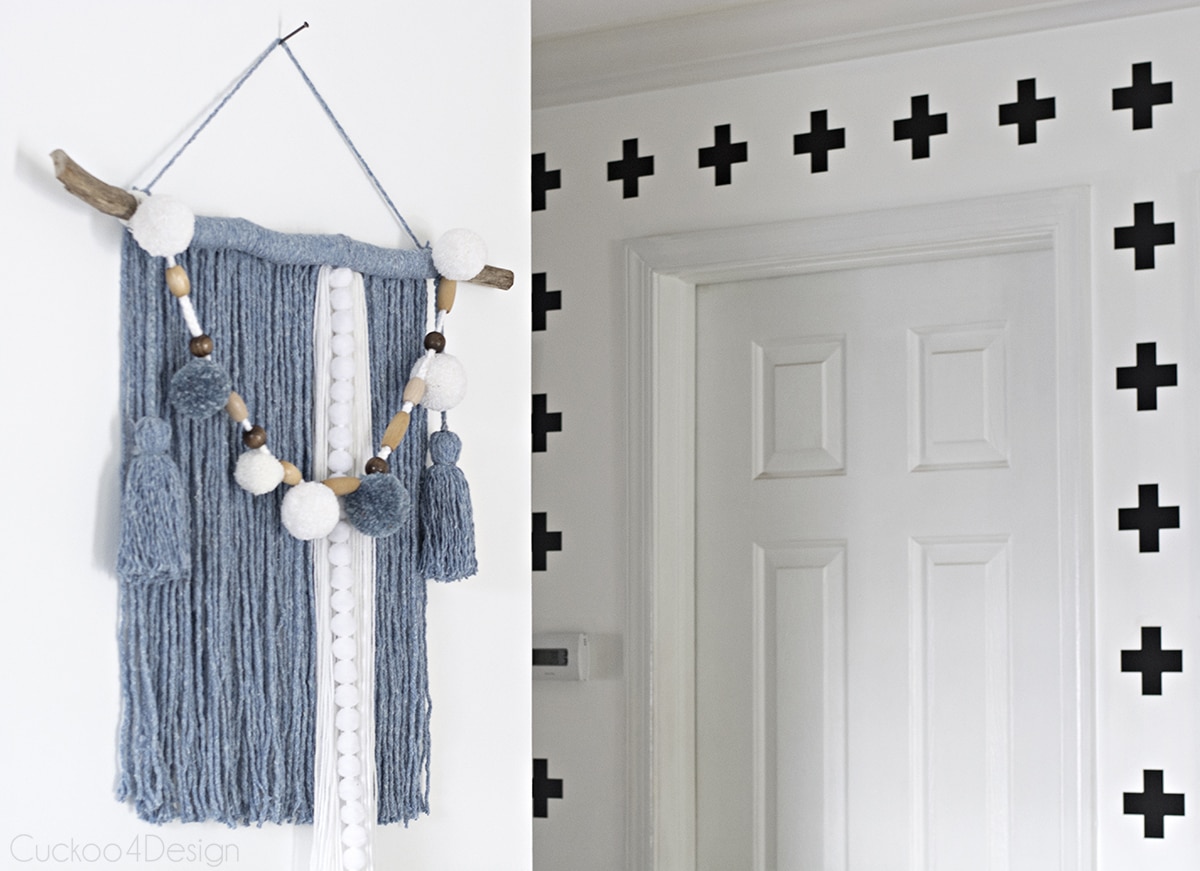
Find out more about my DIY cross wall.
If you like this easy craft and are interested in making another simple DIY project with a mop head then check out how to make a large tassel which was also made with a mop head as well as my tassel ottoman.
More of my unique boho wall-hanging projects
- DIY long narrow wall art using combed macrame yarn as wall decor

- DIY modern macrame wall hanging
- DIY macrame heart
I did have a lot of fun making this and it’s an easy way to dip your toes into making yarn wall hangings.
Tschüß

it turned out so well! i love it, love the colors, and love that you are into blue these days! 😉
Oh wow, this is amazing. Great tutorial too. I love your design.
This is so cool Julia! I love it!
You are utterly so creative Julia! Only you can make a Mop head look so darn cool! Happy Halloween!
Well the Nester can make a mop look great.
Love it! It looks perfect with your current design colors. I’ve gotta do this 🙂
Thanks!
Love your posts Julia…..you asked for suggestions for the beads. I would like to see the beads hanging alongside the pom poms rather than looped across. Just my thoughts………love the colours you chose…
Oh yes, that would definitely be nice too. Love that
You are so creative Julia. It looks great and I love those touches of blue! Have to go check out your pillow next!
Using a mop head IS a brilliant idea! Love how yours turned out and the changes you made to make it your own 🙂
Love this idea, I have been wanting a wallhanging for out on the screen porch and something like this would be perfect!
Julia, you had me at me at mop head. The wall hanging is so pretty and it’s unique. I love the colors you used and how you added the wooden beads. It all fits so beautifully together.
Thanks so much Michelle
Such a great beginner-friendly fiber art project! Today I’ve featured your tutorial on Crafts on Display, I hope you enjoy it, and keep up the amazing work!