

How to install a carpet runner on stairs
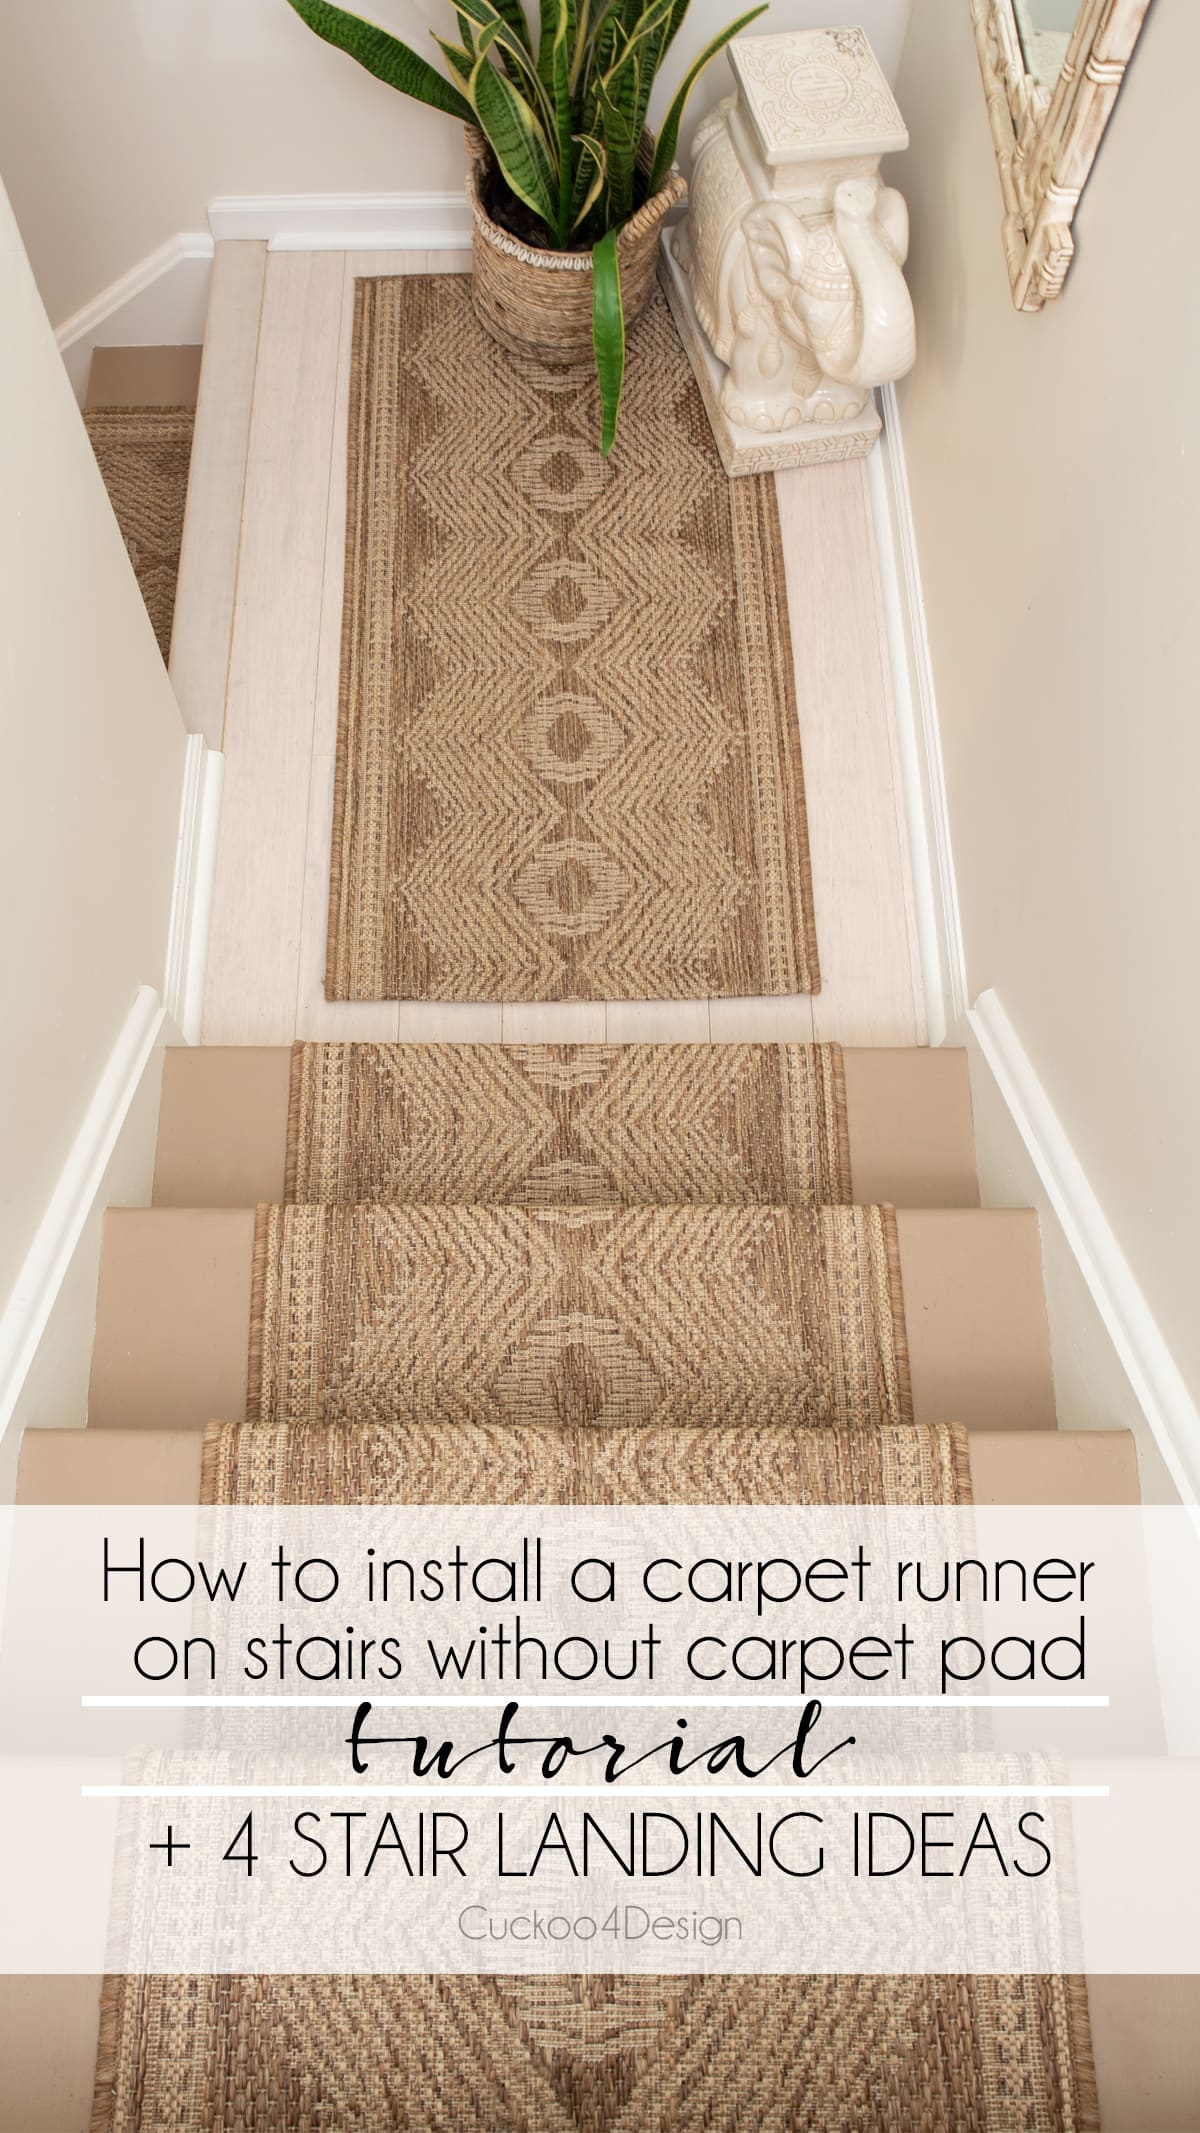
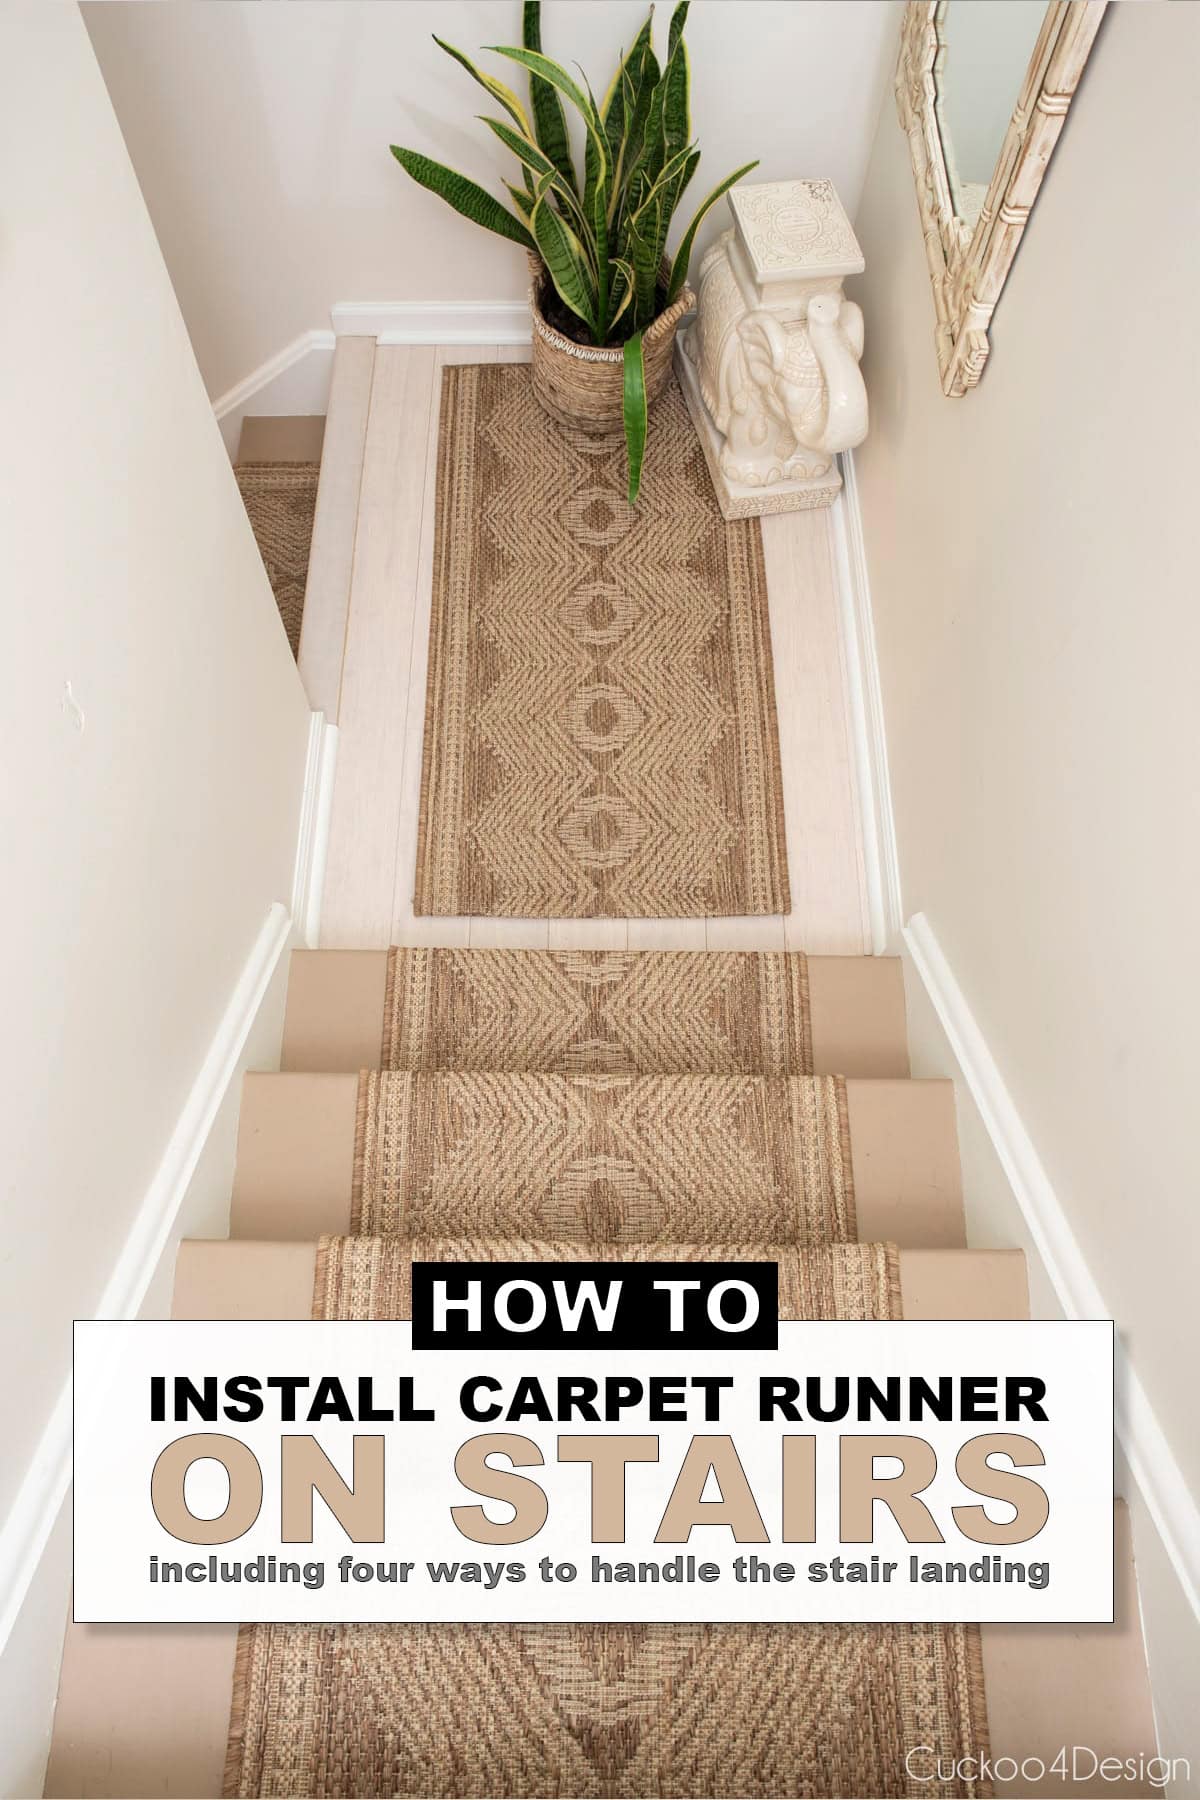
Installing a carpet runner on stairs is one of the most impactful updates you can make to a staircase, and it is easier than it looks. This is the latest chapter in our staircase journey. I previously shared how I removed the carpet from our stairs, refinished the stairs, and added stair riser decals, but the stairs were looking worn, and it was time for another update.
In this post, I am sharing exactly how to install a carpet runner on stairs without carpet padding and without decorative rods, plus four different ways to handle the stair landing. And if you are worried about durability, I have an update several years later, further down in the post.
When I came across this indoor/outdoor rug for an amazing price, I decided to just go for it, even though it turned out darker than the online photos. Now that it has been installed for a while, I am so happy with it. I just have to make sure I do not add too many brown accessories to our home since my DIY jute pendant light is also brown.
Can you install a stair runner without a carpet pad?
Some of you might immediately say “No, you can’t do that”, let me just explain…
The rule amongst professionals is definitely to install a stair runner with carpet padding. A carpet pad can help the rug or carpet to stay in place and last longer. It also helps keep the noise down from climbing the stairs. But hey, I love breaking rules. And the 3 reasons I decided to just give it a try without carpet padding are…
- I couldn’t get a small roll of carpet padding at our local home improvement stores and didn’t want to buy a large amount for a higher price and then have all that waste.
- The outdoor rug I bought is super stiff and durable and I think will do fine the way I installed it. If the rug would be a soft wool flat weave as we have in our living room then I could see why a rug pad would definitely be needed. You wouldn’t staple a soft fabric to a floor either because it would shift and move and tear at the staples.
- I didn’t know if my cats would use the stair runner as a giant scratching post and I’d have to end up taking it off again sooner than I thought. So I just wanted to make this project as cheap as possible. (So far they haven’t scratched it at all though!)
I also chose not to use stair rods to help keep the runner in place. I love the look of them, but they’d make this project a lot more costly.
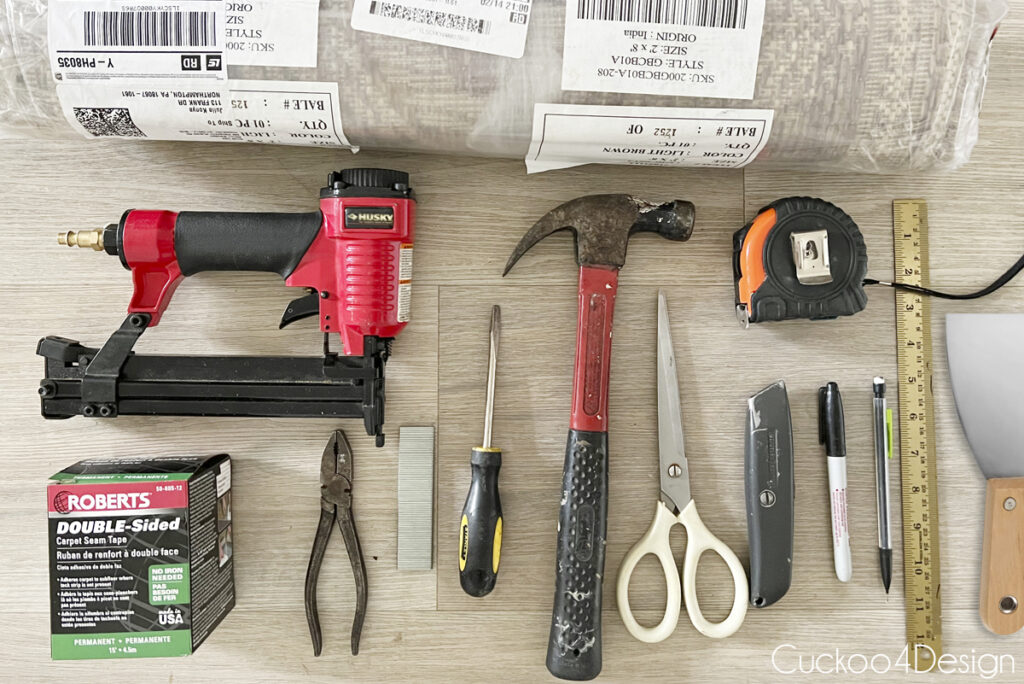
Materials needed
- staple gun and air compressor (a standard staple gun is not strong enough)
- stair runner
- strong scissors and utility knife
- double-sided carpet tape
- 1-inch staples
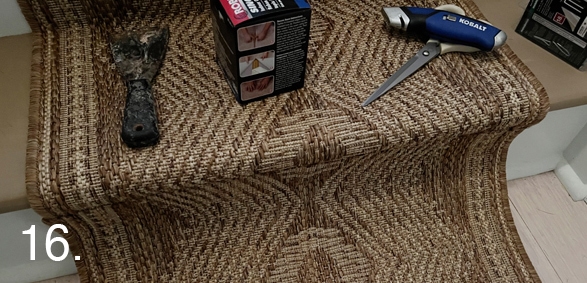
- carpet tucker or putty knife
- tape measure
- Sharpie
- pencil
- ruler
- hammer
- pliers
- flathead screwdriver
- 2×4-inch rug pad for area rug on landing
Figuring out how many rugs you need to buy
Measure your stairs to calculate how many rugs you need. If you have a landing as I do, don’t forget that area. For the actual stairs, you need to measure the width and depth of the tread, the width and height of the riser, and the curved nose part. Add all of that together and then multiply it by the number of stairs.
The number of runners needed for the landing depends on what look you are going for. I gathered some examples for you. (I also ordered more of the rug than needed in case I make a mistake.)
Stair runner landing ideas
If you have a stair landing as I do, you need to decide how you want handle the runner in that area.
There are many different ways to finish your stair landing, and besides being preferential, the material and pattern of the rug obviously matter as well. (If you want to install your runner with carpet padding, then you should check out my friends’ blog posts. They approached it with slightly different methods)
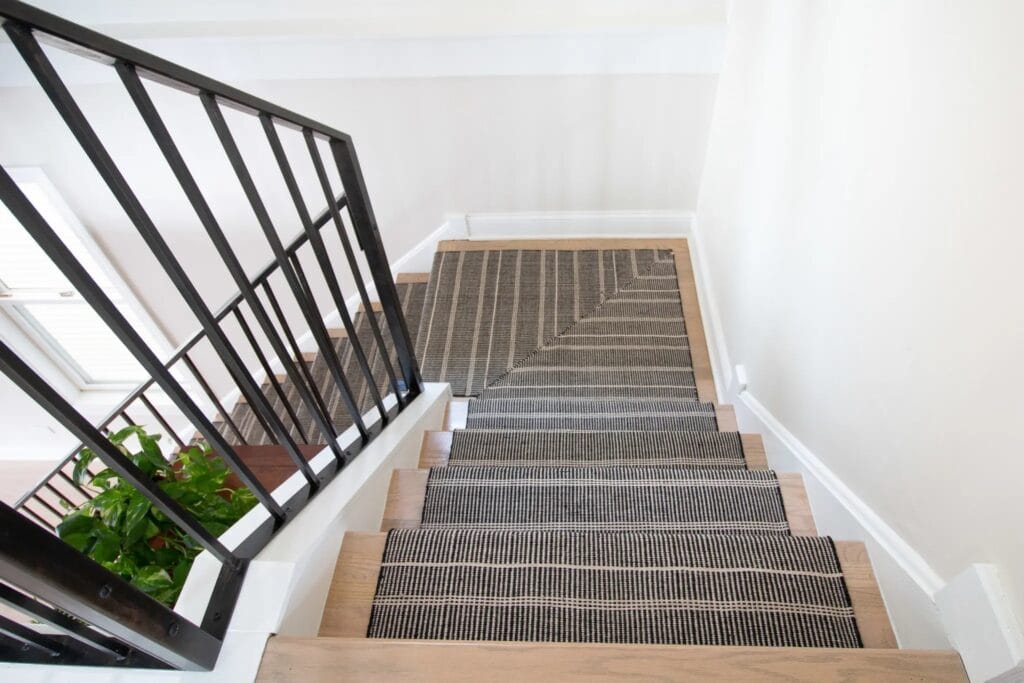
1. Casey of The DIY playbook mitered the rug at a 45-degree angle on her landing. This looks really nice with the striped pattern of the rug.
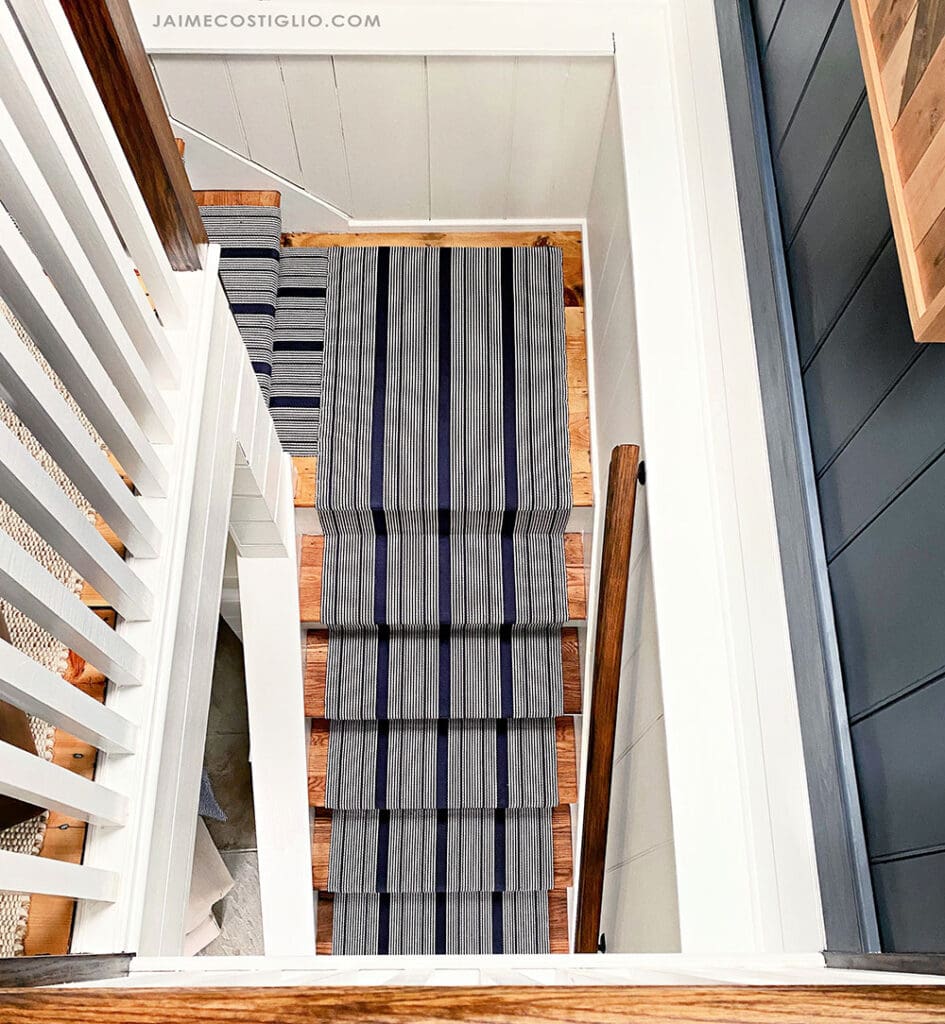
2. My friend Jamie of JaimeCostiglio.com decided to do a 90-degree seam on the stair landing instead of mitering it the way it was done above. Jamie didn’t want the lines of the stripe to point into the corner.
3. And Ashley of Cherished Bliss skipped putting a rug on her stair landing altogether.
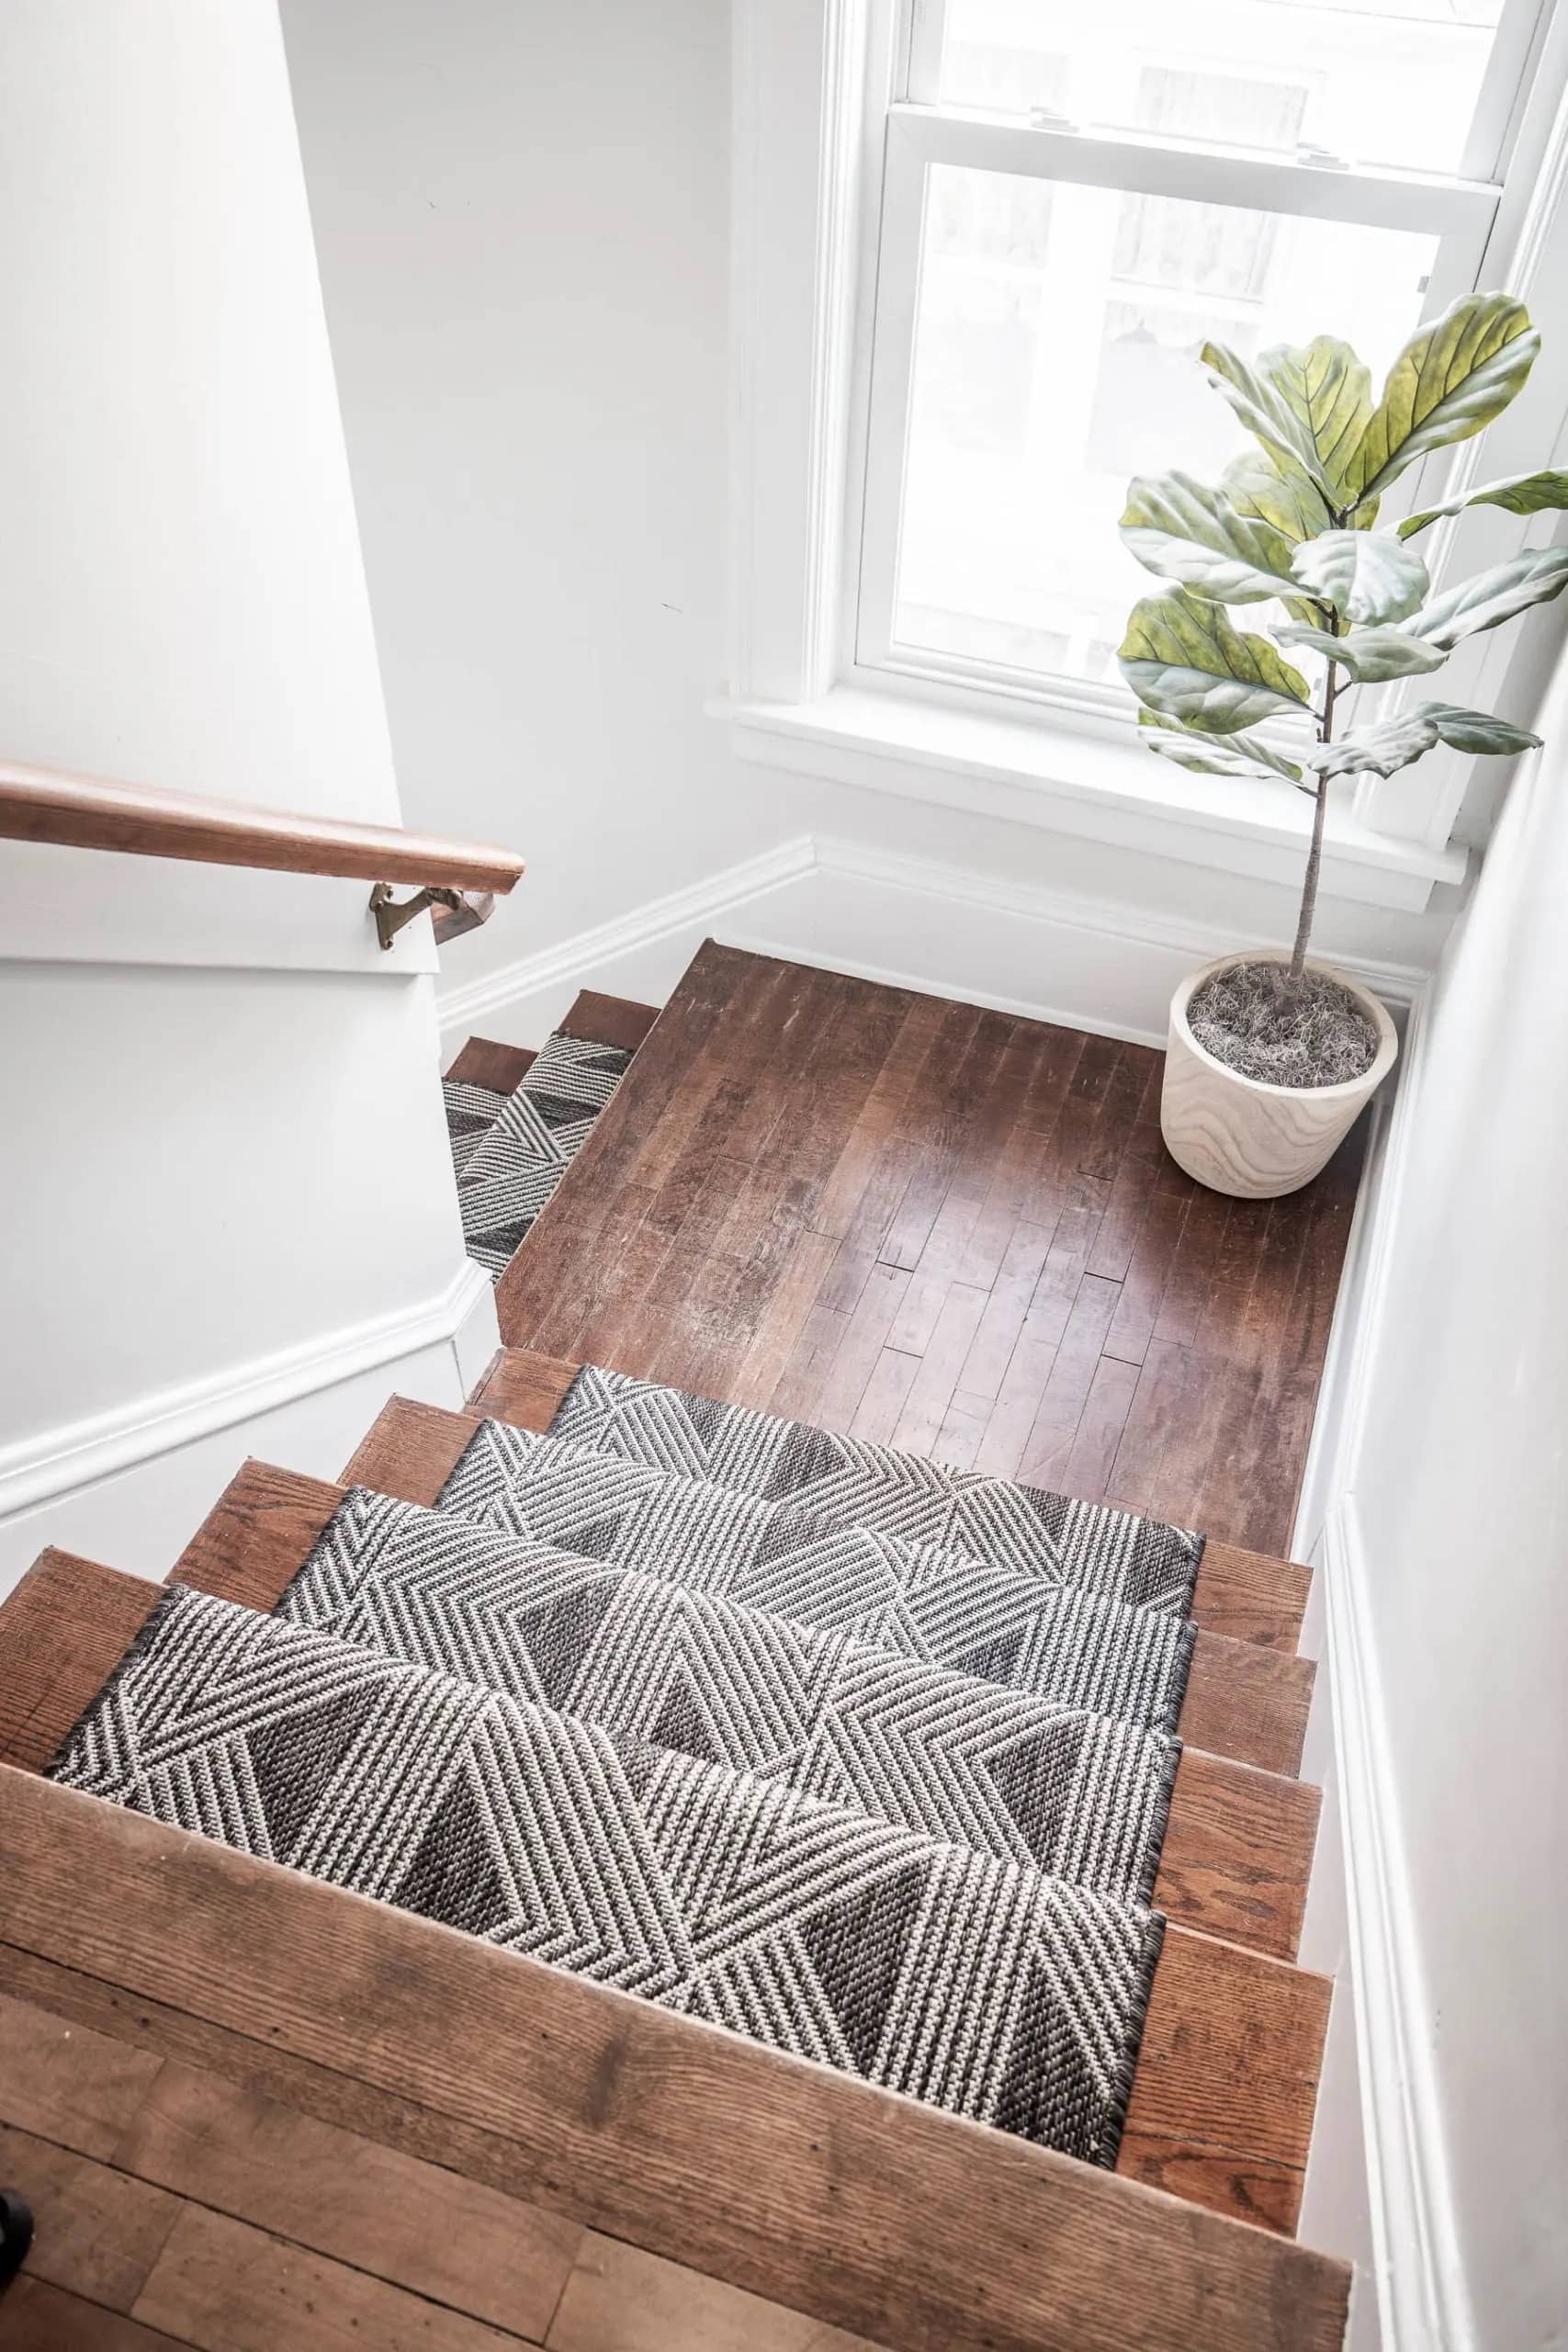
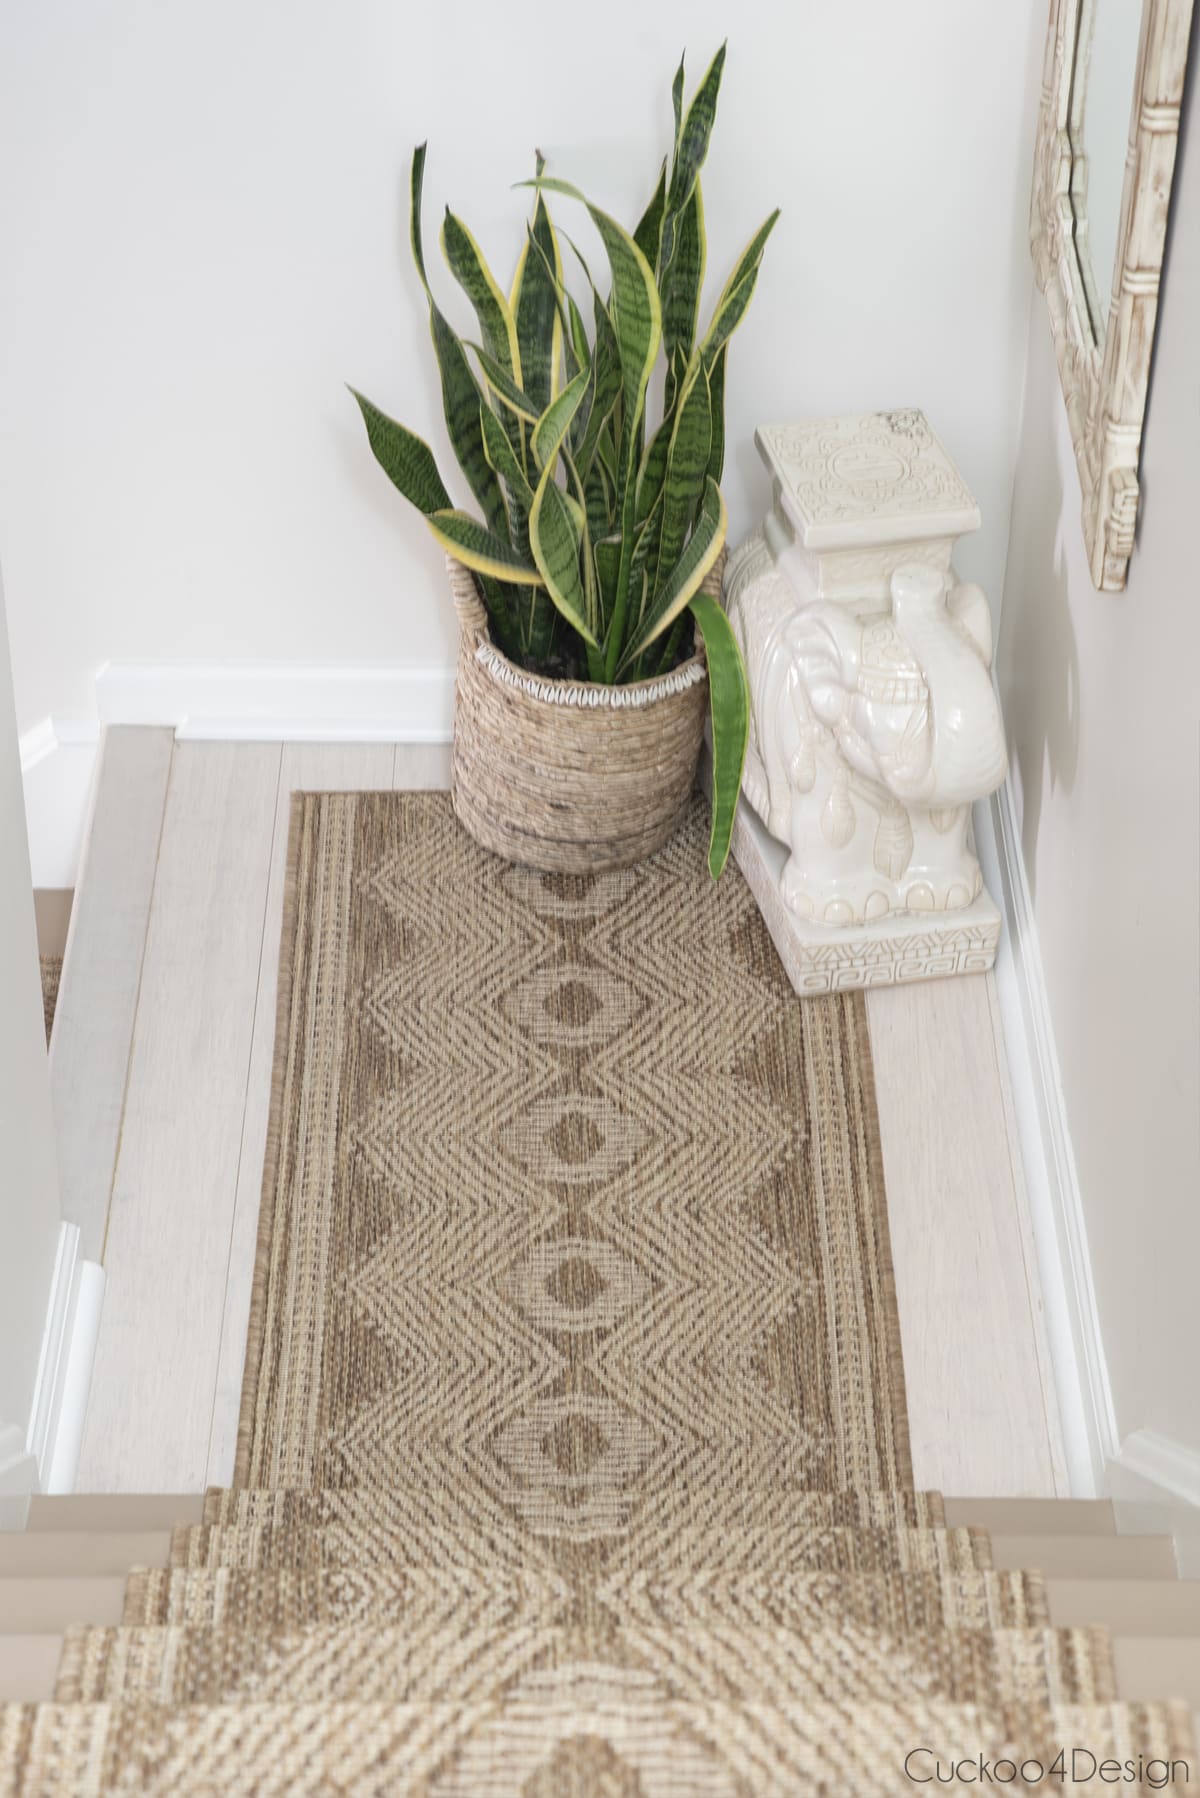
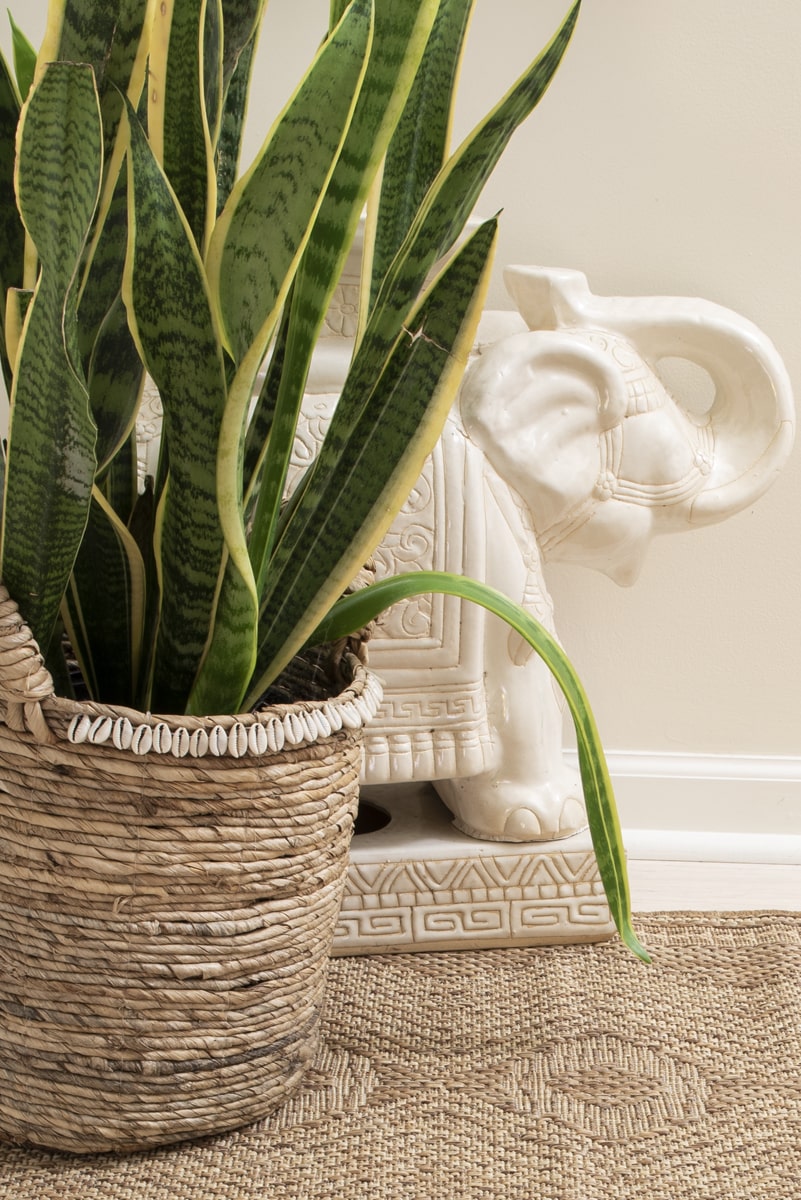
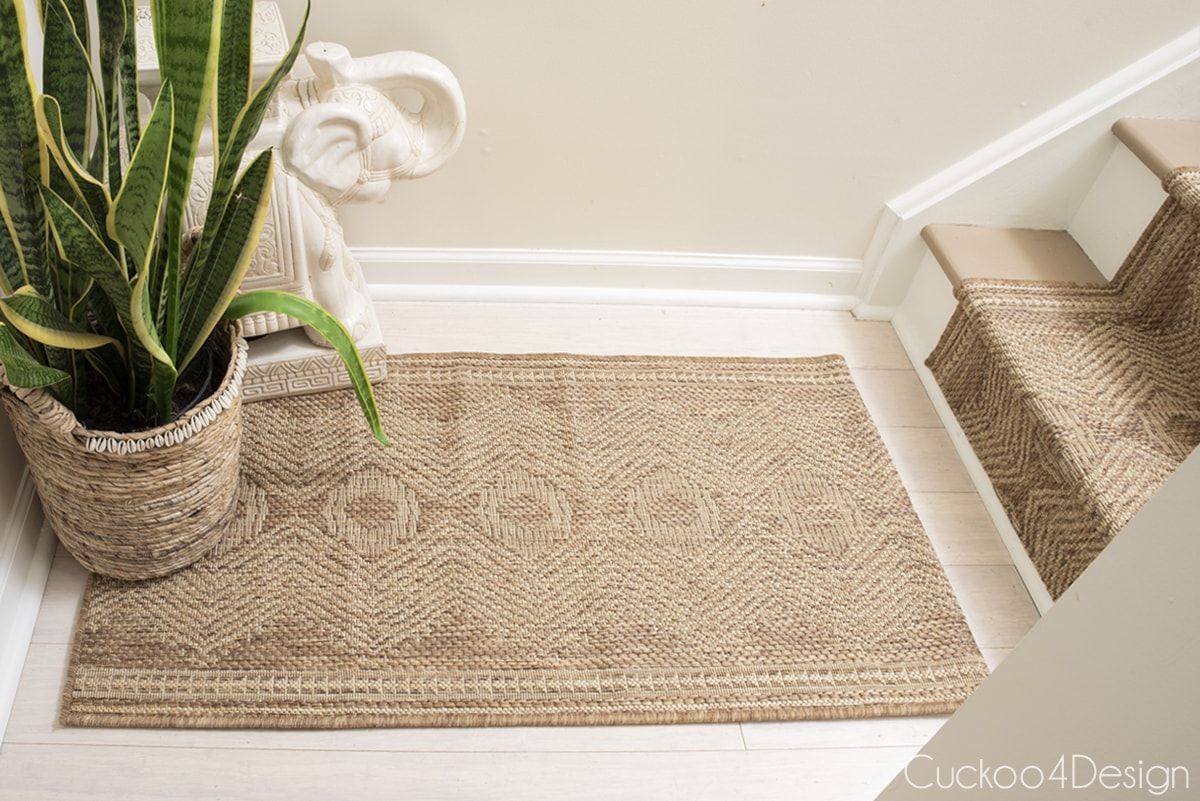
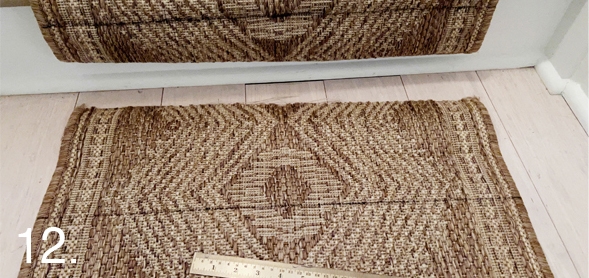
4. I decided to cut a piece of my rug slightly smaller than the stair landing. This way I could simply lay it down as an area rug on the landing. I used the double-sided carpet tape to just fold the rug over and glue it with the tape. If that doesn’t hold up well, I will get it bound professionally. (UPDATE: It held up great!)
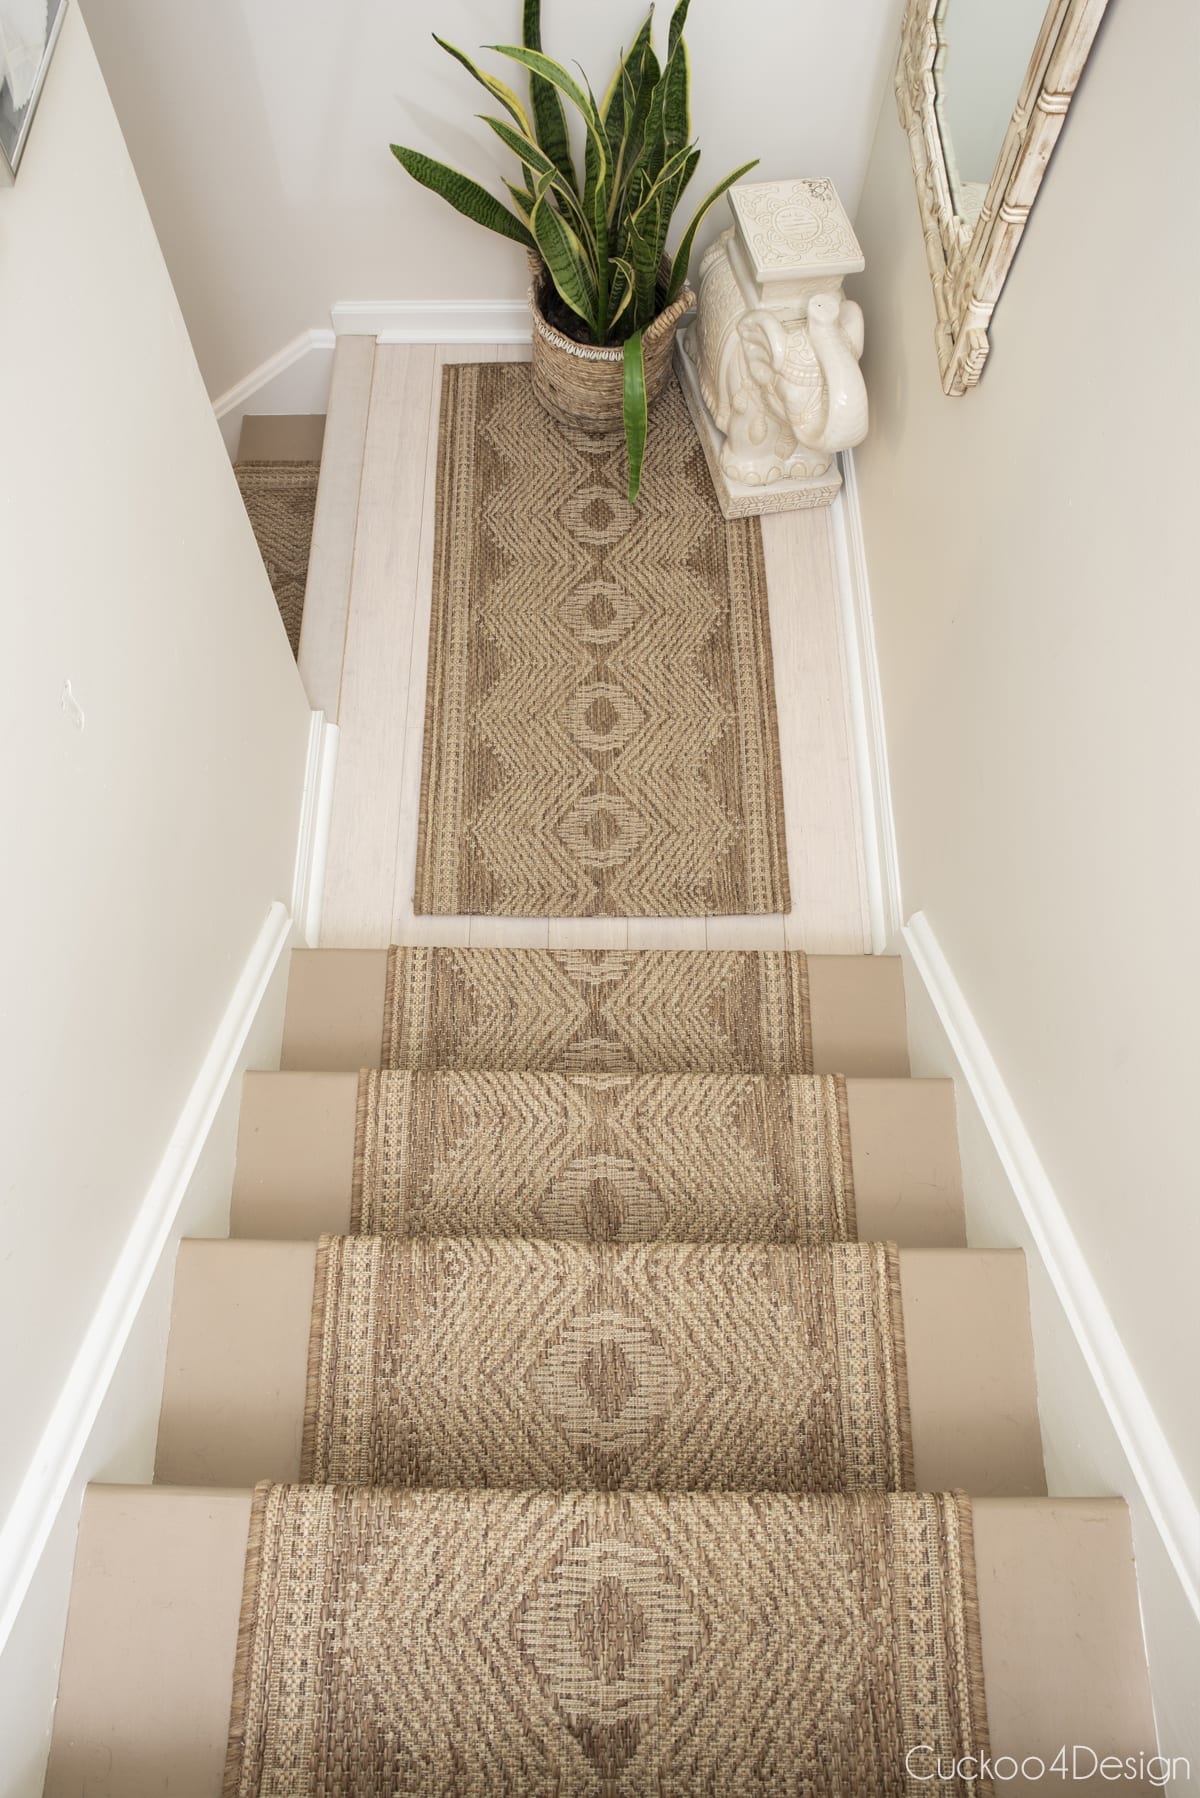
I definitely didn’t want to attach any type of carpet/rug or staples to our bamboo flooring which is why I decided to lay it as an area rug.
In case you are wondering why my landing is a different color. Well, that’s the floor we have upstairs. Downstairs we have Karndean vinyl plank flooring which doesn’t come with any type of stair integration.
The stair tread color is the same stain I used previously but in a different color called Sandal.
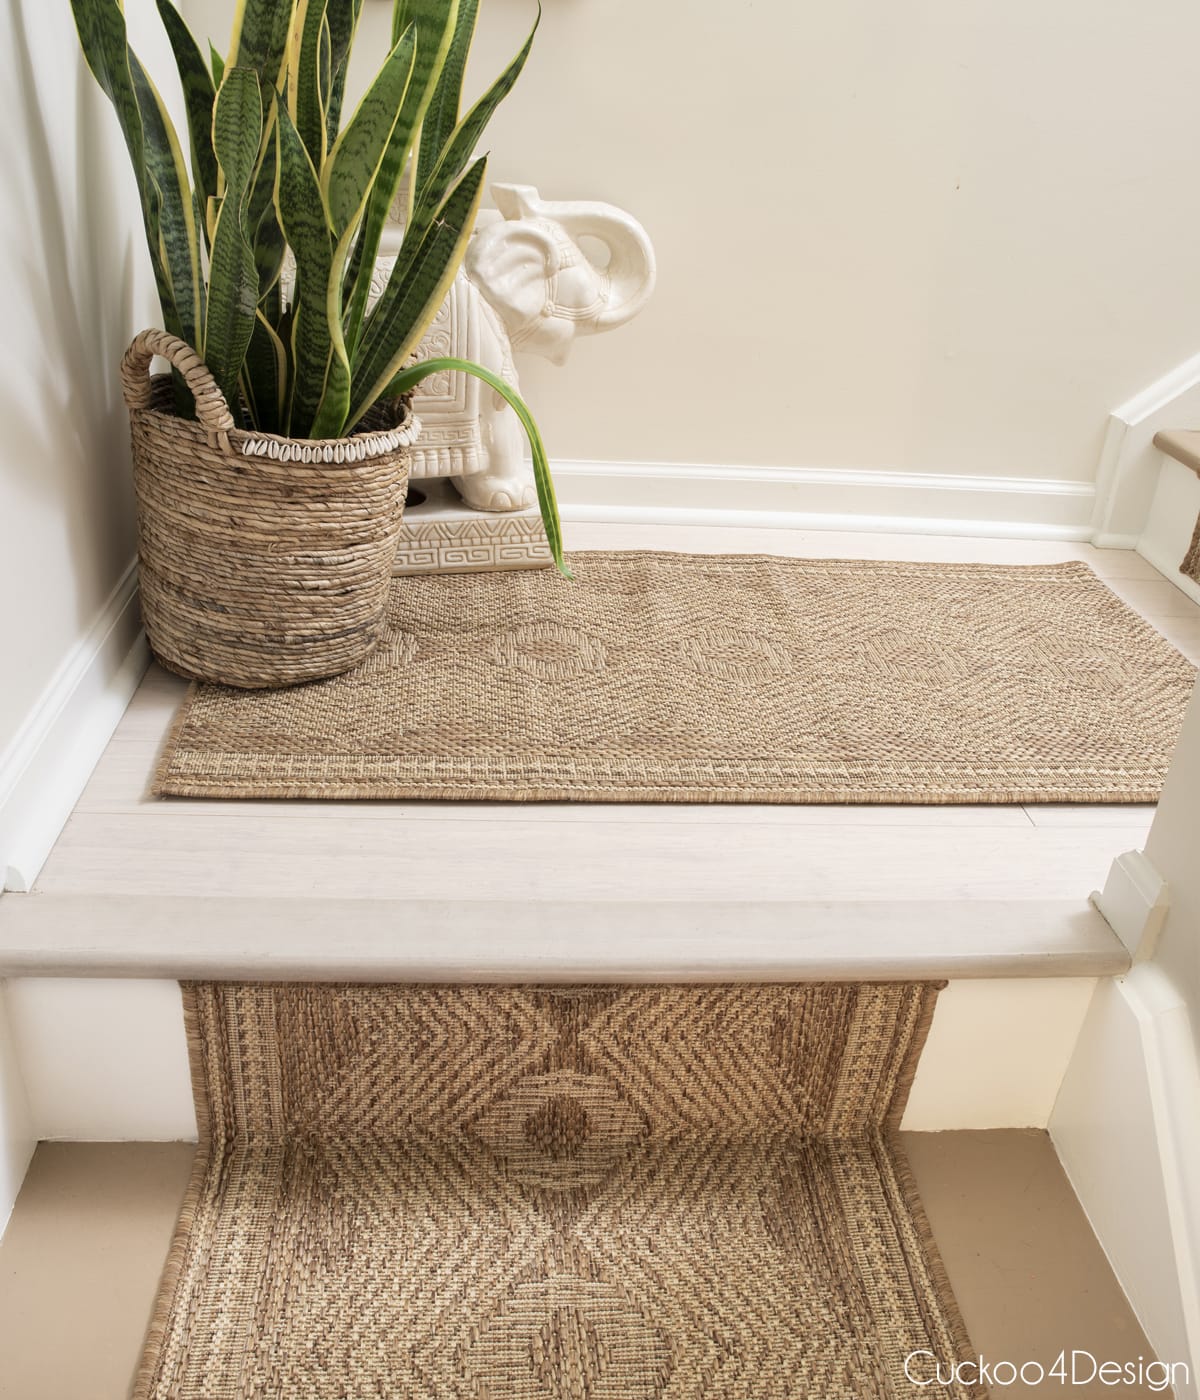
My previous staircase posts leading to this project
- Removing carpet from stairs
- refinishing stairs that were carpeted
- Staircase makeover with wood look stair riser decals
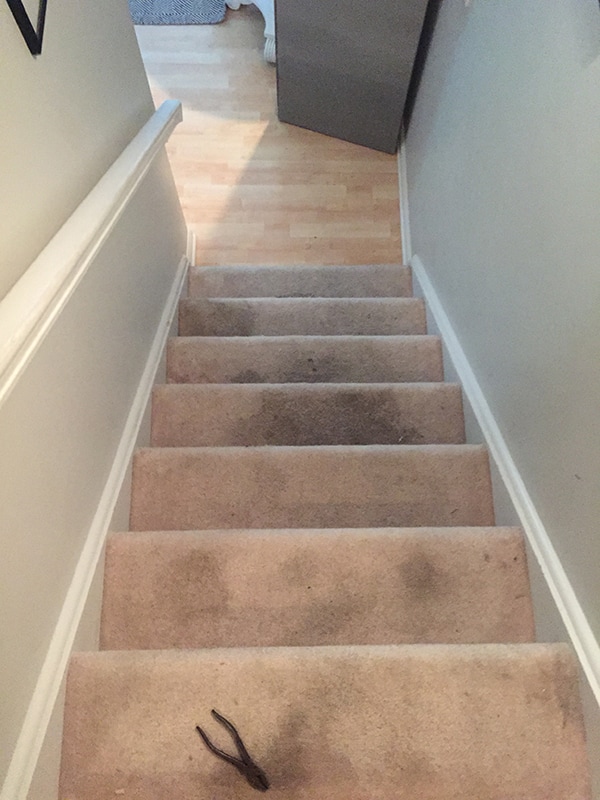
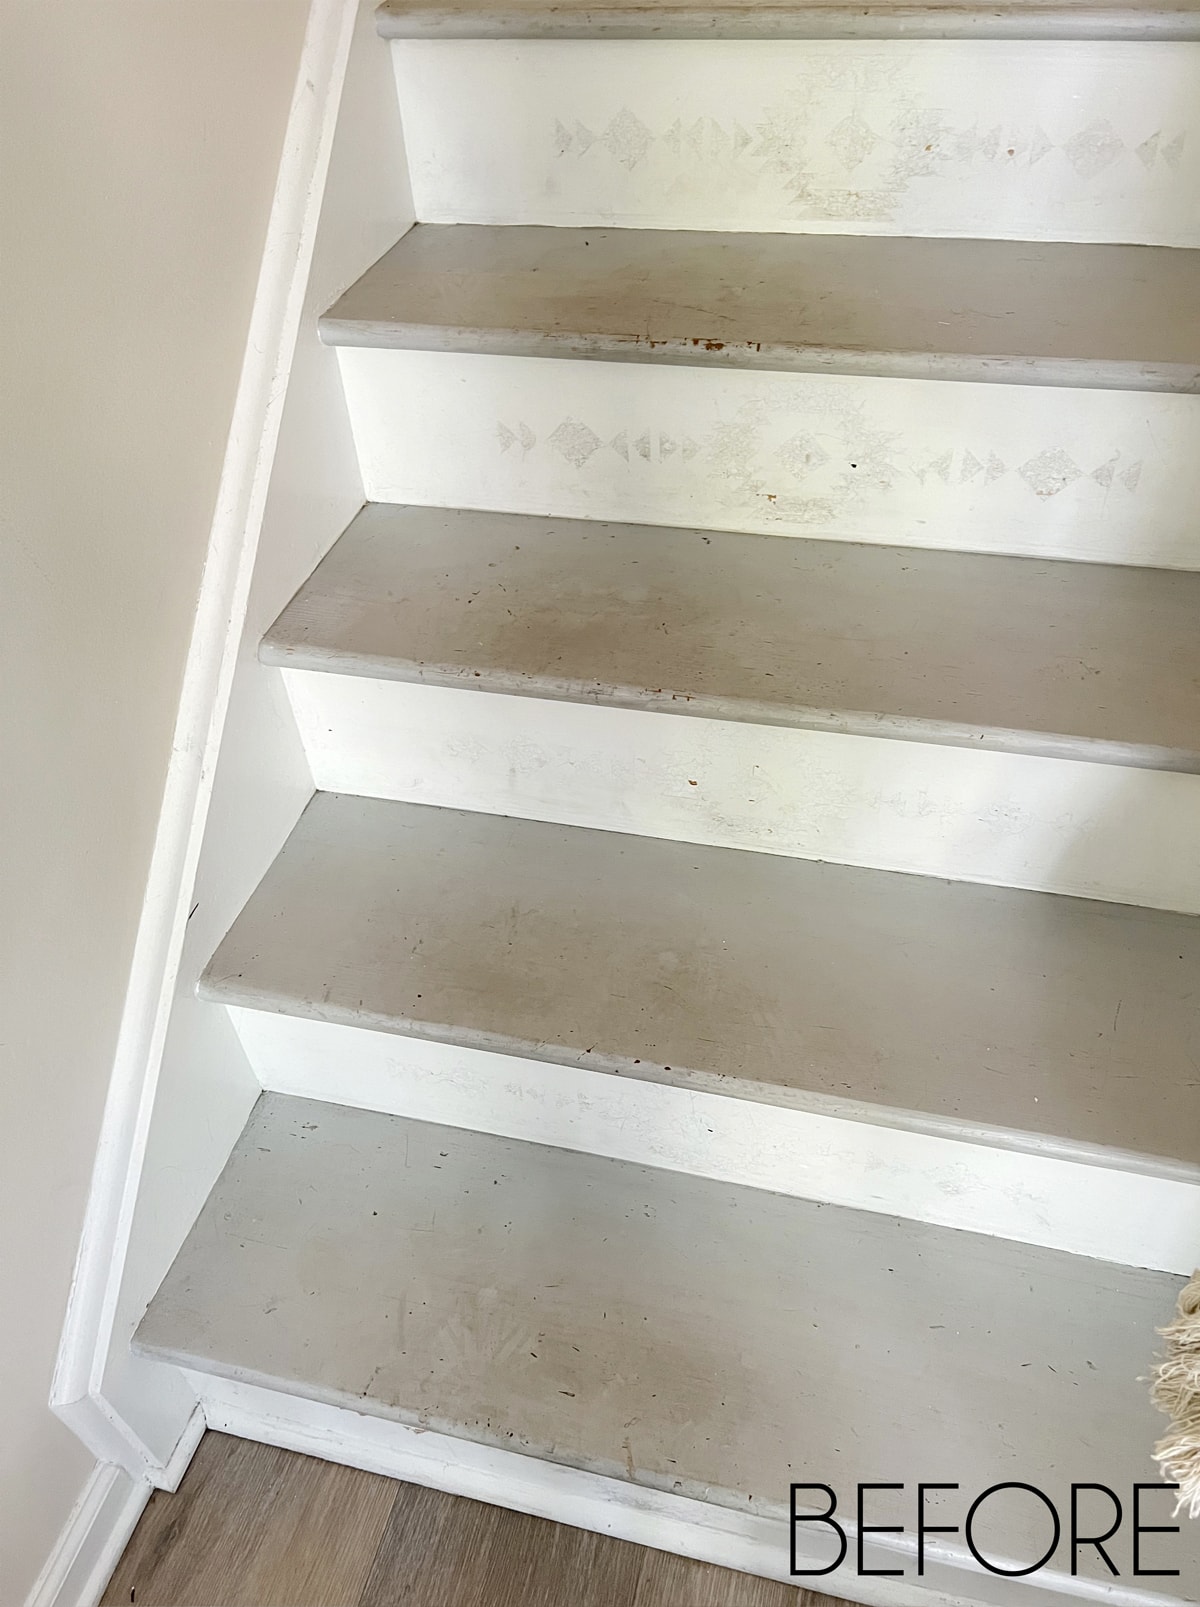
Let’s not forget the way I started out when I had a dirty carpet on my stairs. It’s always so satisfying to see the before!
Step-by-step stair runner installation
Before we get to the step-by-step tutorial, I am sharing my video on how I installed the runner rug, which I definitely recommend you watch. If you are on a phone or iPad, hold it horizontally for better viewing, and if it doesn’t load, you can also watch it on my YouTube channel instead.
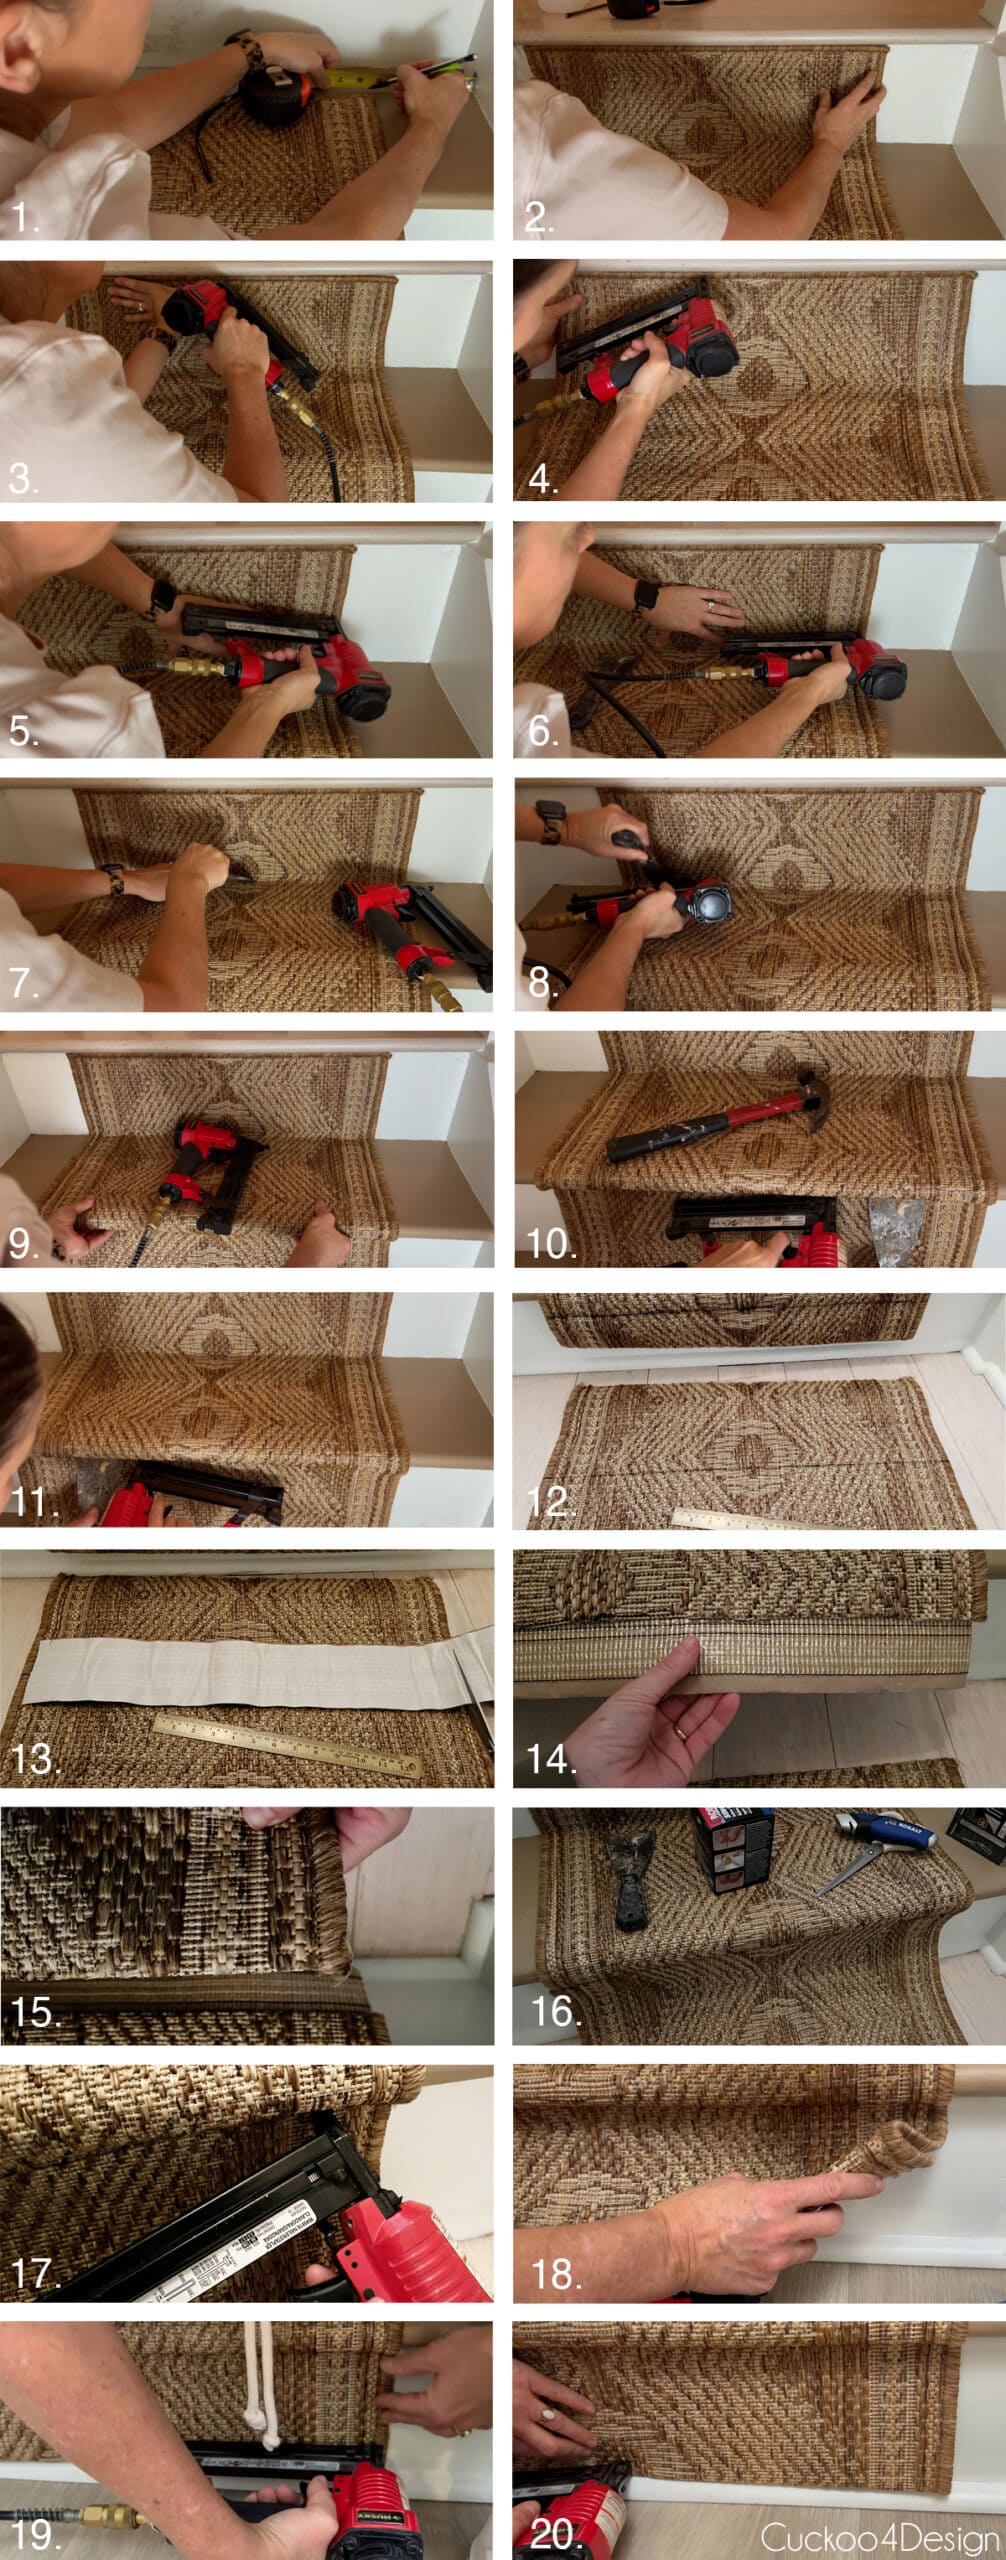
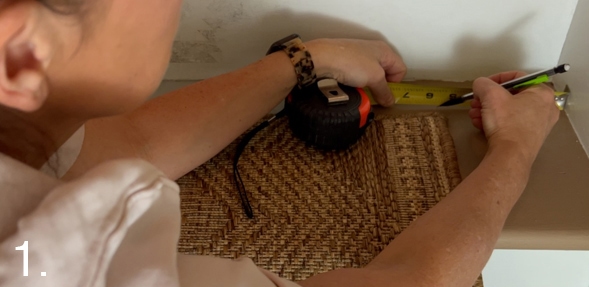
- Center the rug on the stairs and mark the even distance from the sides with a measuring tape and pencil on all treads and risers so you can align the rug as you work.
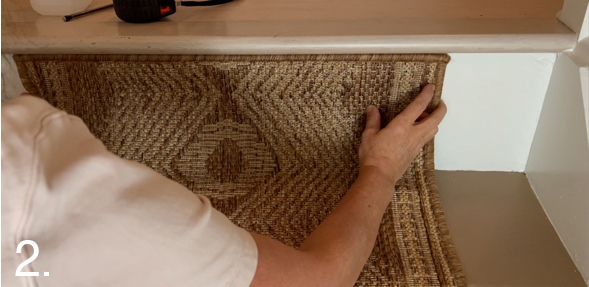
- Align the rug at the top of the stairs
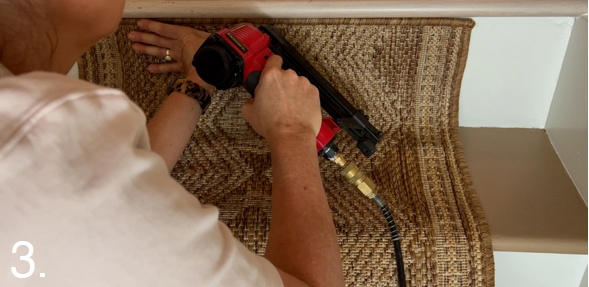
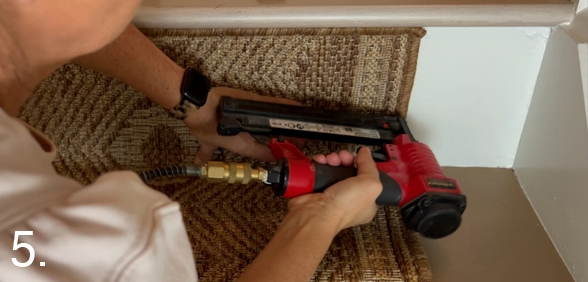
- Start stapling in the top center of the rug.
- Keep stapling the top outward to the edge of the rug.
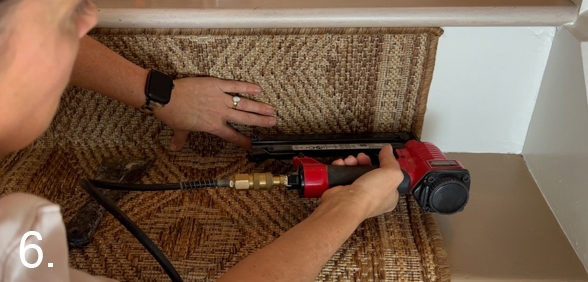
- Staple down the side of the runner on both sides.
- Stop stapling before you get to the tread.
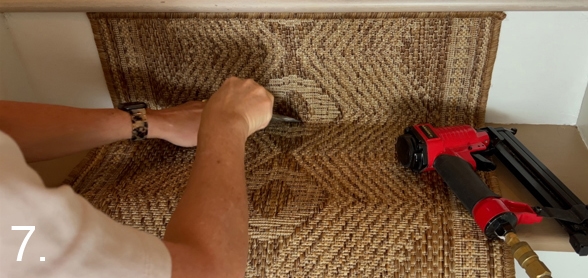
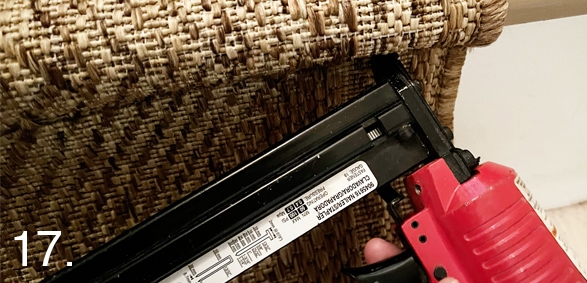
- Use a carpet tucking tool (I just used a putty knife) to tightly get the rug into the corner where the riser meets the treads.
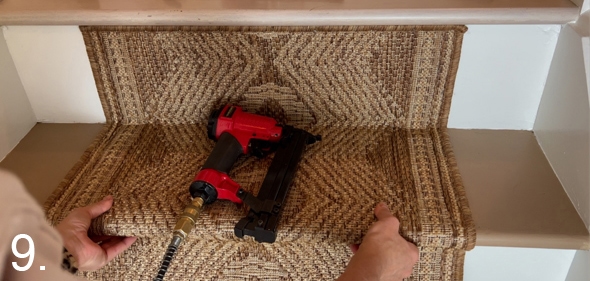
- Keep tucking the carpet tightly into the corner while stapling from the center outward.
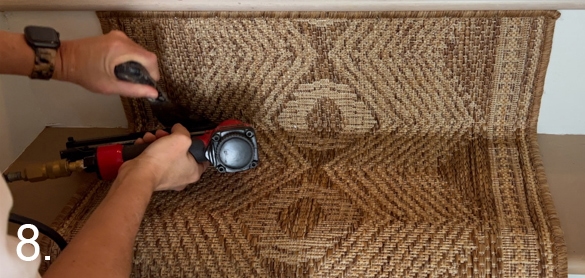
- Smooth out the carpet on the tread and tuck it under the riser before stapling down the sides of the rug to the tread.
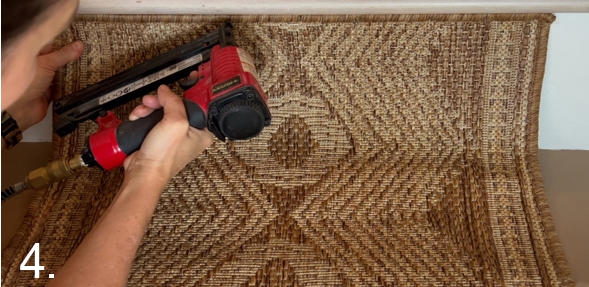
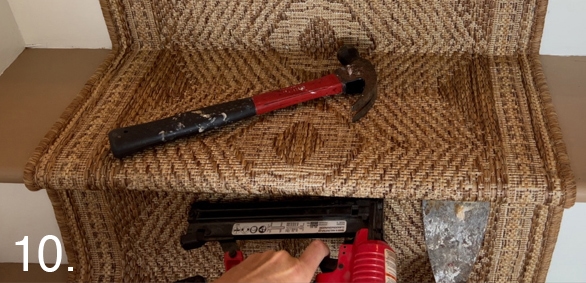
- Use the tucking tool while stapling under the tread.
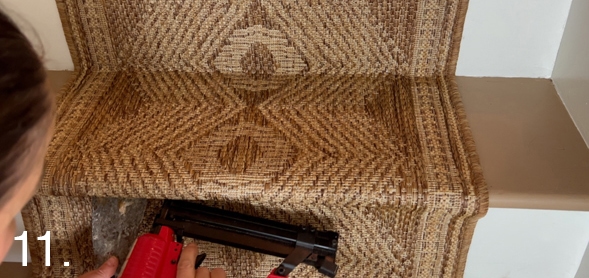
- Again keep stapling from the center outwards.
- When you run out of the rug and need to make a seam, make sure that you match up the pattern of the rug before marking your line with a sharpie. I made sure that my two seams were in the corner where the tread meets the riser. This way it will not be visible at all.
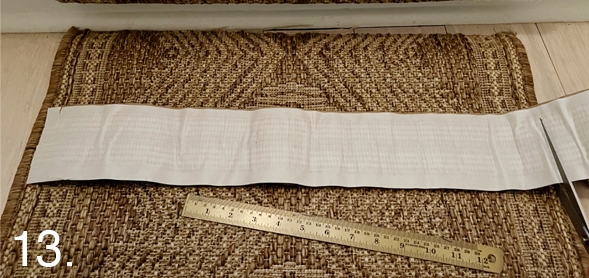
- Cut a strip of double-sided carpet tape to the width of your rug.
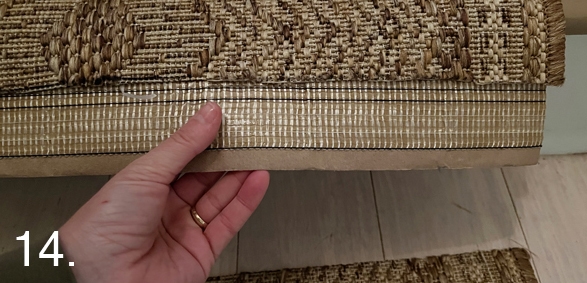
- Stick the rug tape to the bottom of the rug.
- Align the second runner piece to the rug pattern and width before firmly pressing it down.
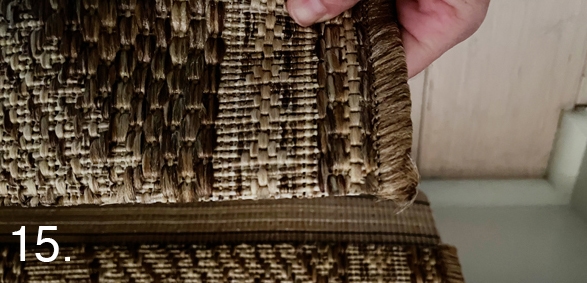
- Carefully tuck the seam into the corner/crease of the stairs.
- Staple the rug on both sides of the seam, not in the center of the seam.
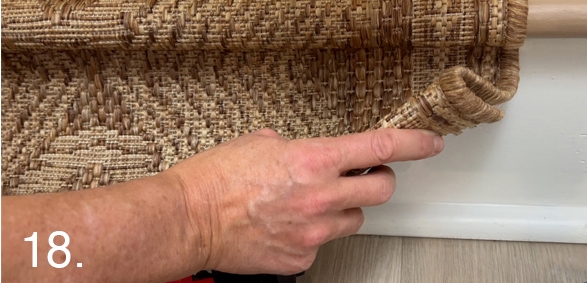
- My rug was thin enough that I could tuck it under at the end of the stairs. If yours is thicker you might have to cut the end and get it professionally bound or just be able to staple the cut rug down.
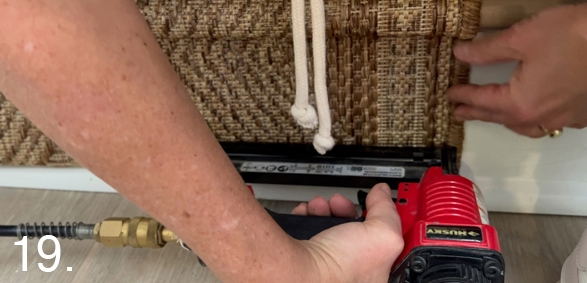
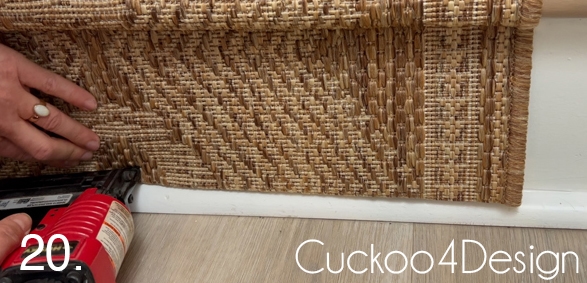
- Staple down the sides over the tucked-in part for a finished edge at the bottom of the riser.
- Staple the end of the runner at the bottom and you are done.
How the stair runner held up after several years
This post may contain affiliate links from which I will earn a commission at no extra cost to you. View my full disclosure policy.
It has now been several years since I installed this runner, and I am happy to report it still looks great. No rug pad, no stair rods, and four cats who I fully expected to use it as a giant scratching post (which they do occasionally). The outdoor rug material has proven to be really durable for an indoor staircase application, and I would absolutely do this again the same way.
Photos of finished DIY stair runner
Now all I have left to do is finish the wooden railing that my husband stripped for me. I’m considering giving them the same finish as my bleached cherry wood desk makeover.
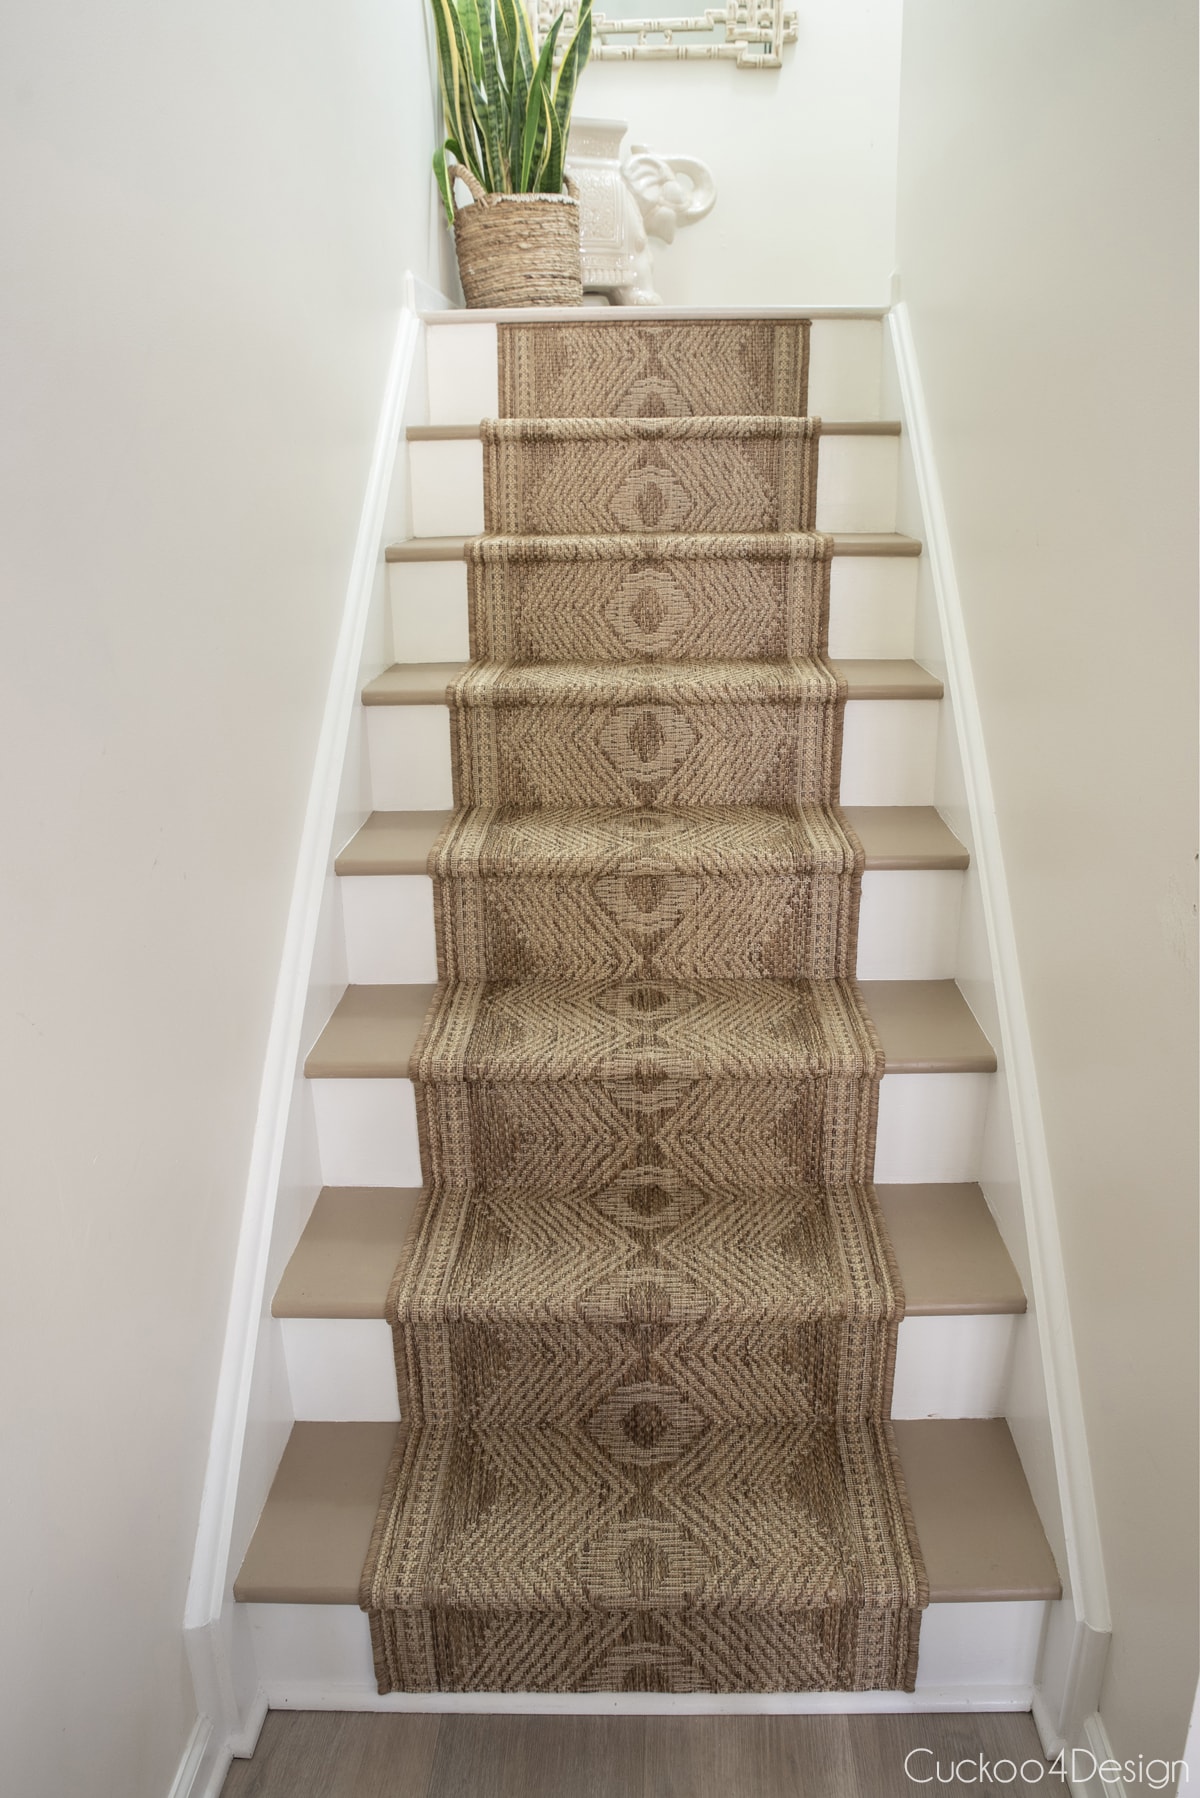
The view from the sofa up the stairs is so much better now.
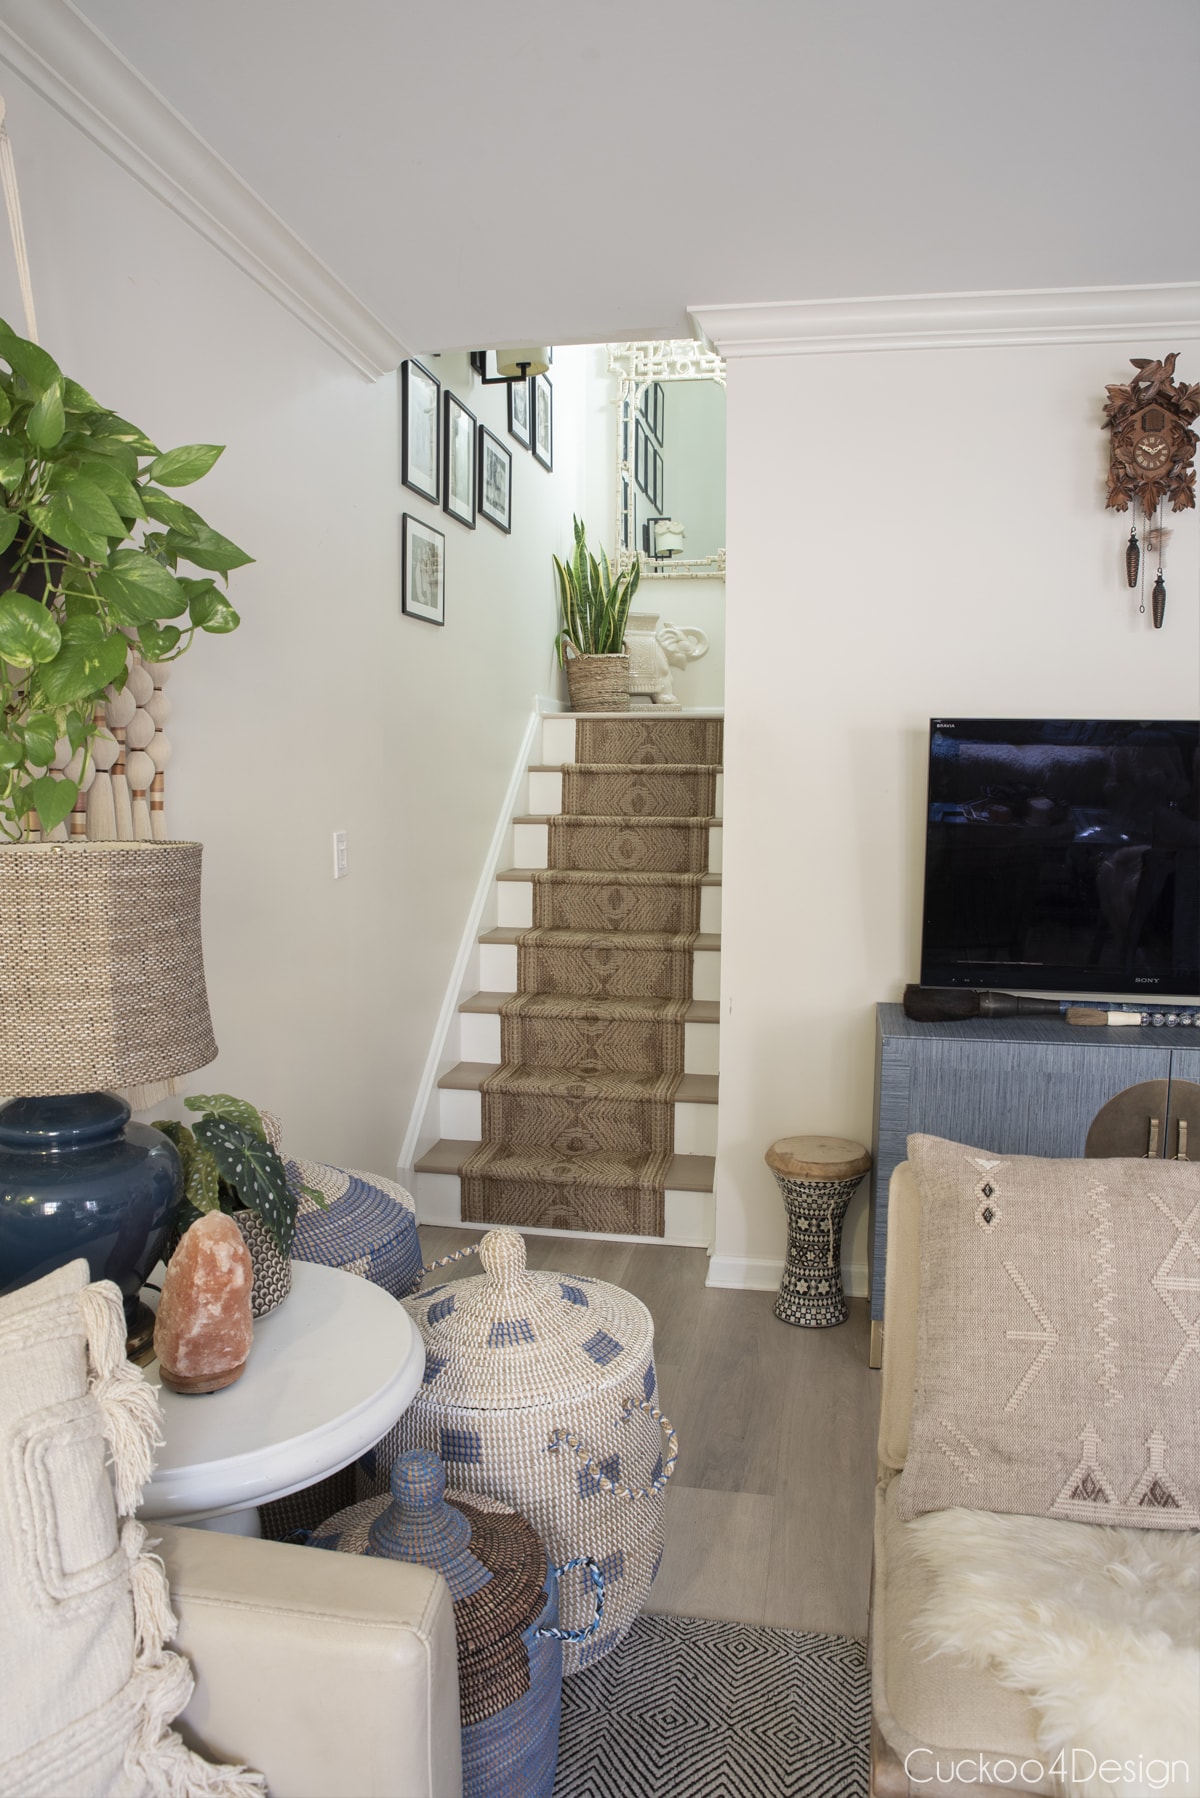
If you aren’t new to my blog then you might remember my tassel embellishments for my tassel sconce also made with wood and macrame yarn and used on my boho Christmas tree. Do you see the tassel sconce lampshade?
I found the pagoda-style mirror on Facebook Marketplace and love it on the landing.
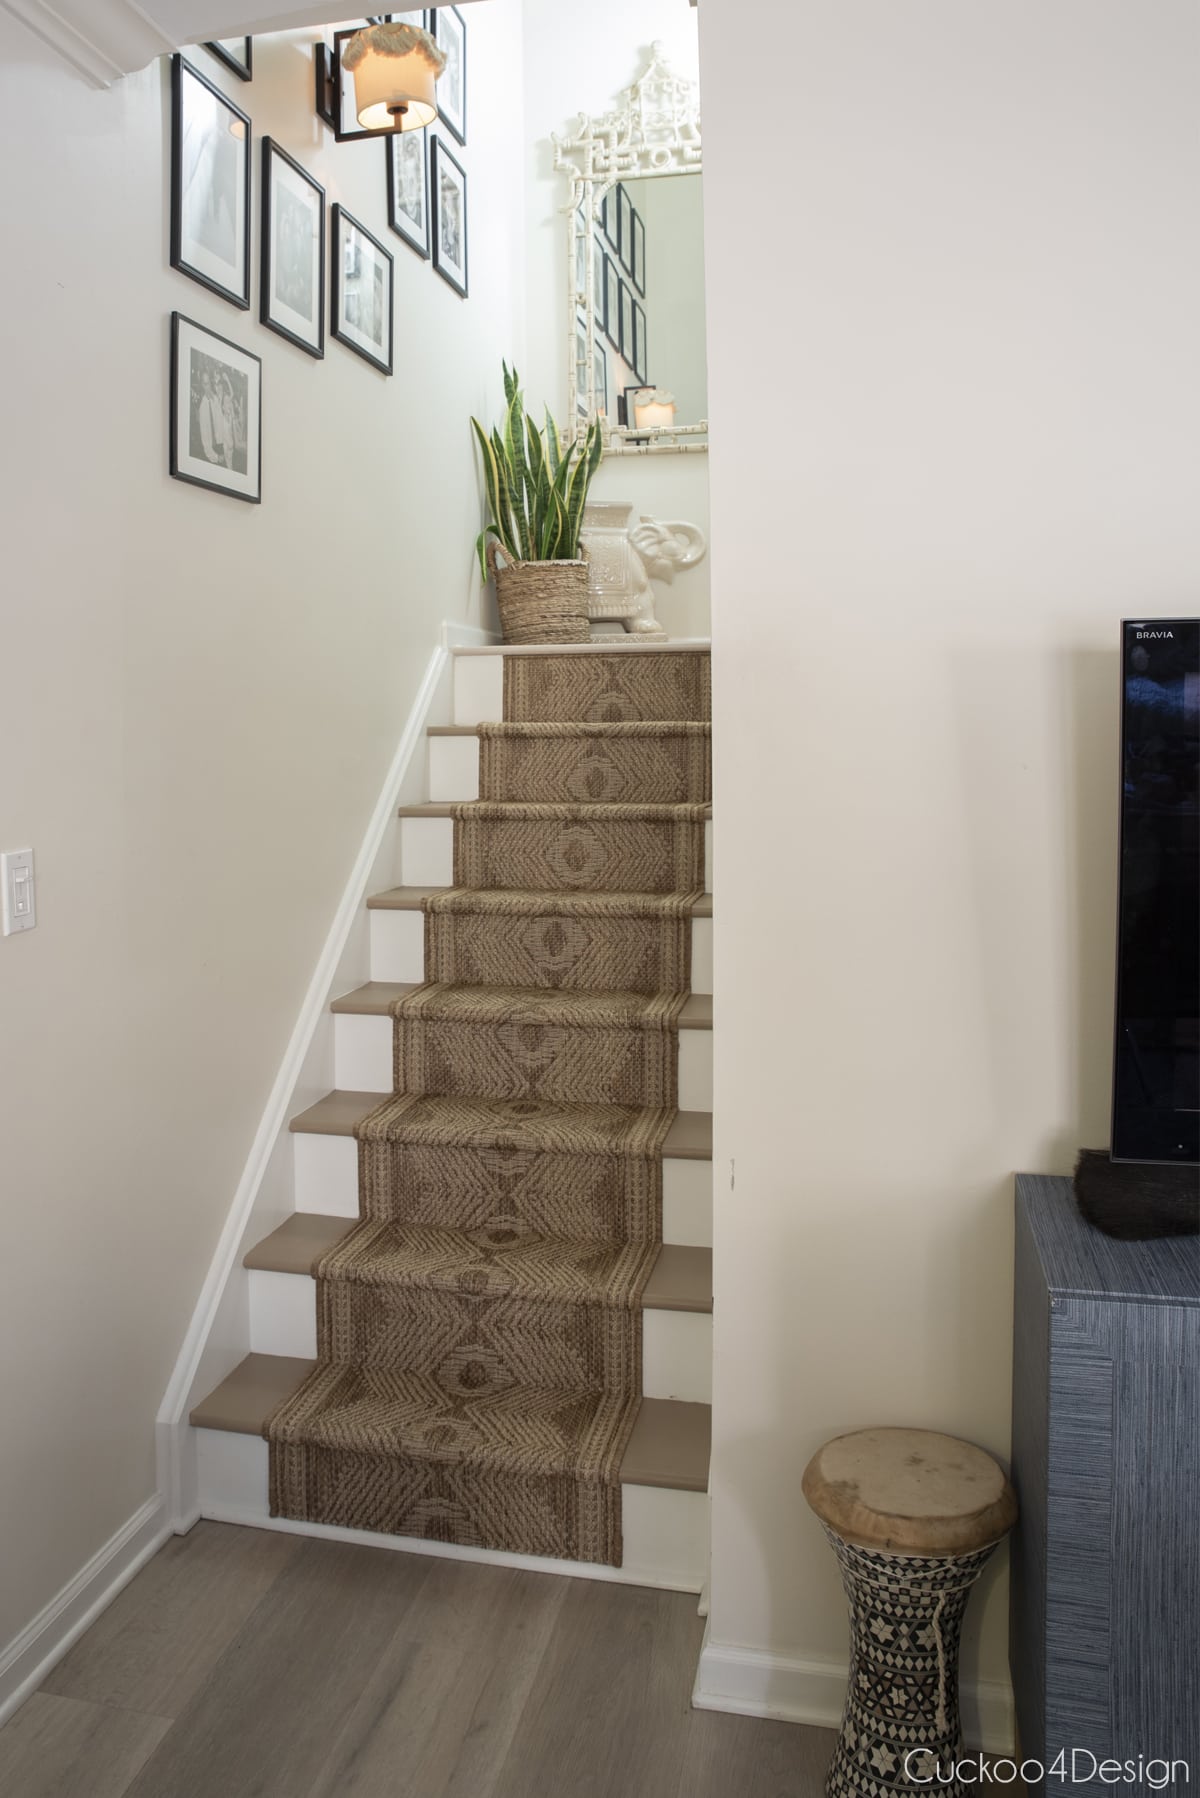
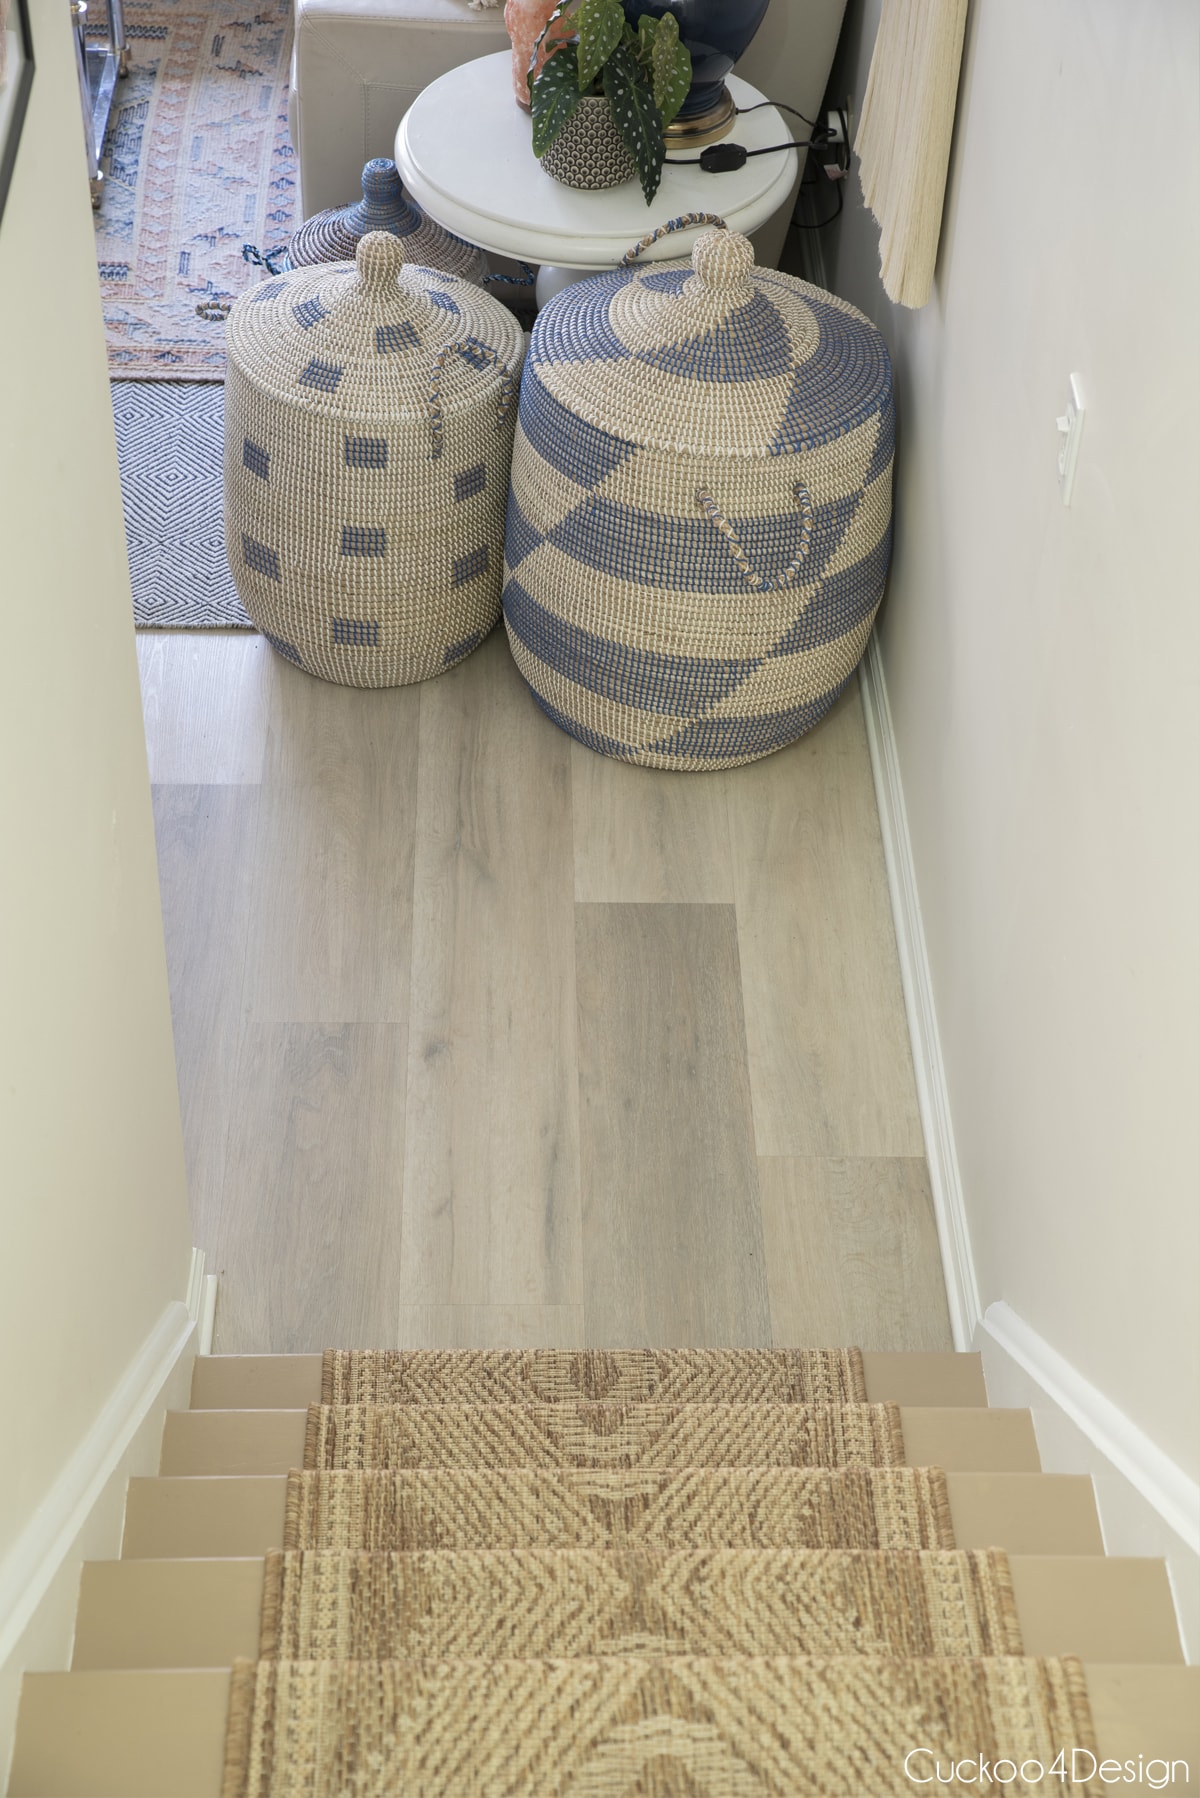
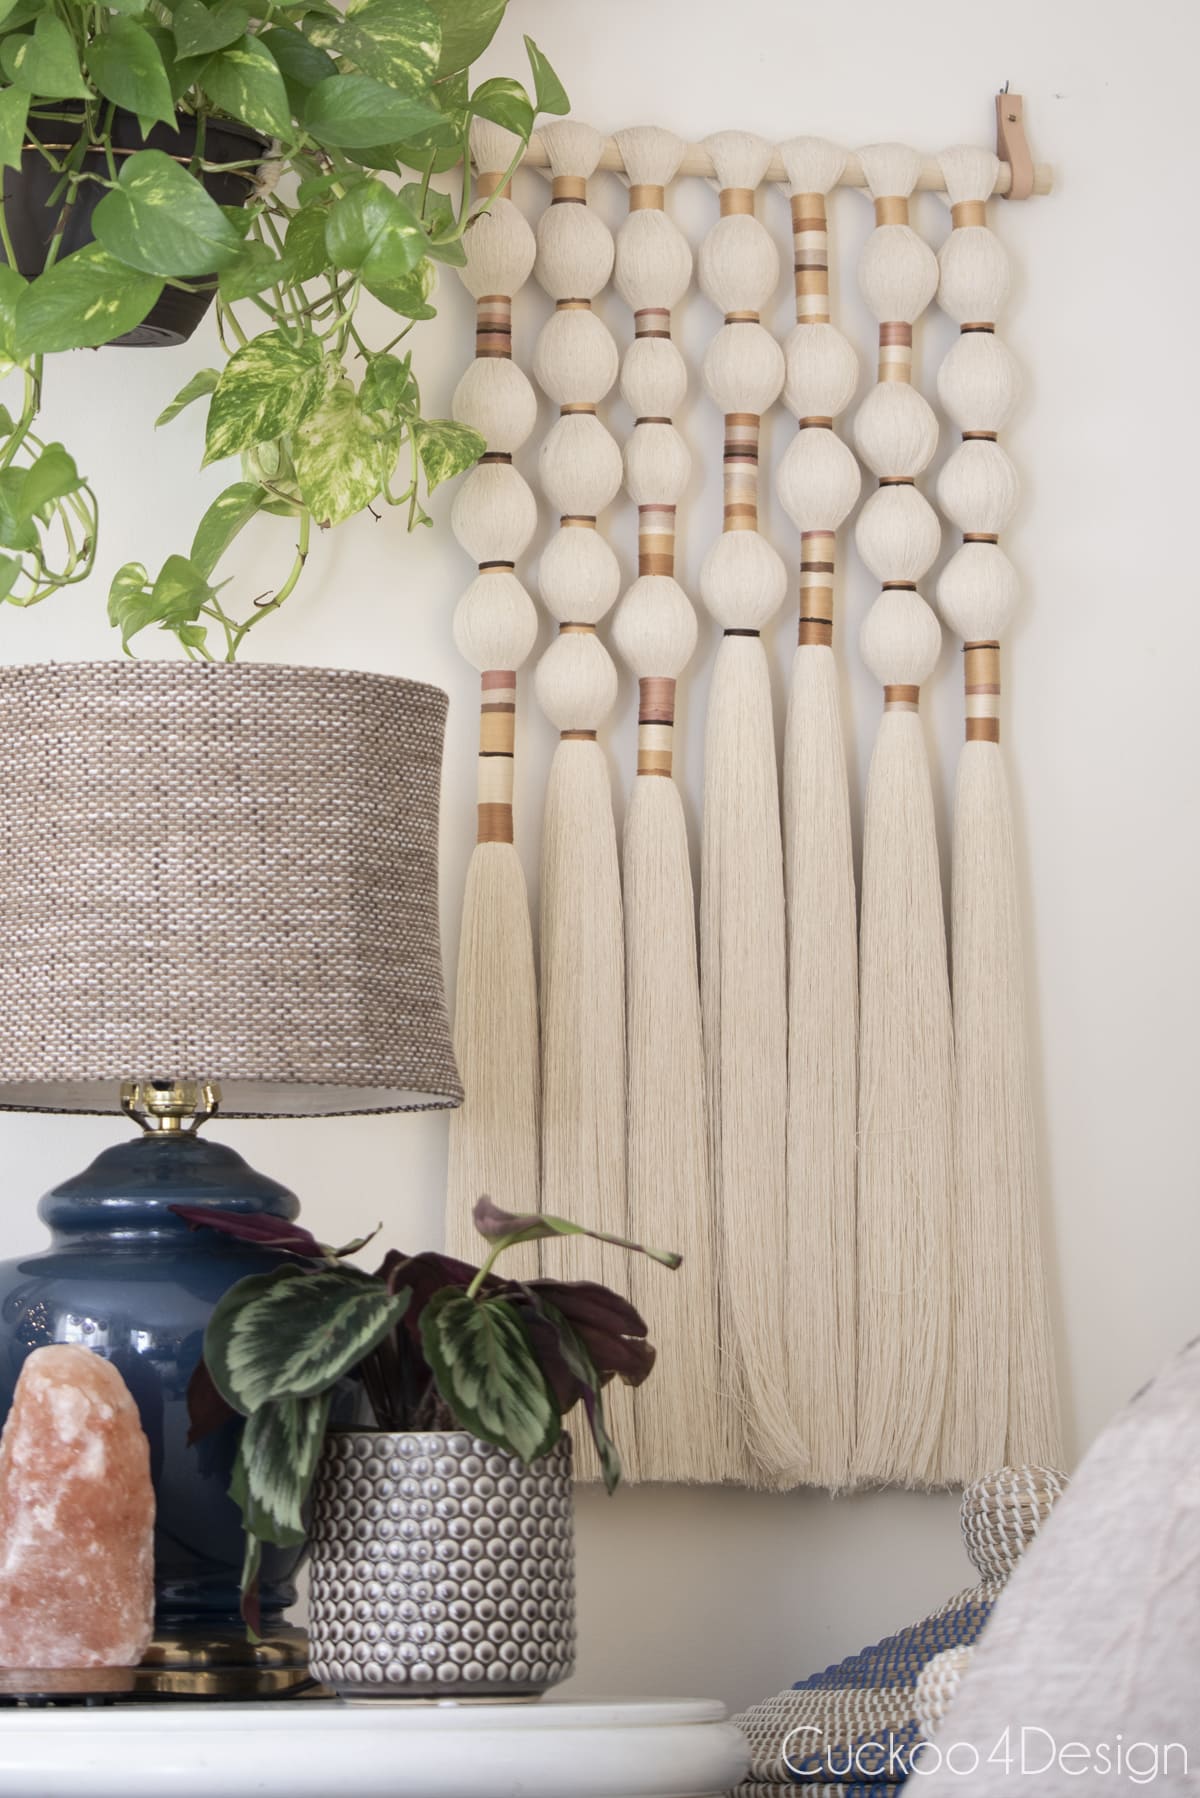
To the right when coming down the stairs, you can also see my favorite macrame wall hanging. Check out how to make macrame ball wall hanging for the full tutorial.
Other runner patterns I love and considered

Tschüß,

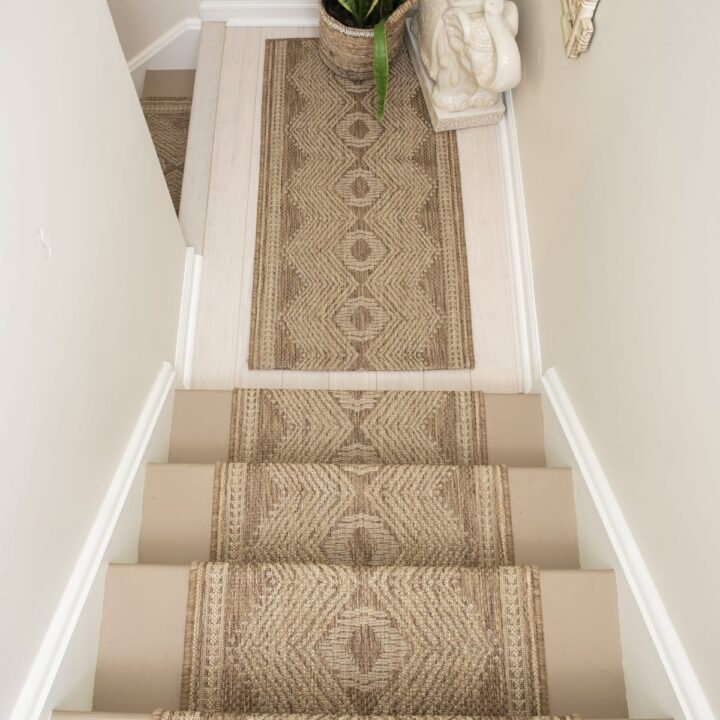
How to install a carpet runner on stairs without carpet pad
Stair runners can enhance the look of your steps. The following step-by-step stair runner installation tutorial will help you to easily add your runner without a carpet pad. Three stair runner landing ideas are included!
Materials
- staple gun and air compressor (a standard staple gun is not strong enough)
- stair runner
- double-sided carpet tape
- 1-inch staples
- tape measure
- sharpie
- pencil
- 2x4-inch rug pad for area rug on landing
Tools
- ruler
- hammer
- pliers
- flathead screwdriver
- carpet tucker or putty knife
- strong scissors and utility knife
- staple gun and air compressor (a standard staple gun is not strong enough)
Instructions
- Center the rug on the stairs and mark the even distance from the sides with a measuring tape and pencil on all treads and risers so you can align the rug as you work.

- Align the rug at the top of the stairs.
- Start stapling in the top center of the rug.
- Keep stapling the top outward to the edge of the rug.
- Staple down the side of the runner on both sides.

- Stop stapling before you get to the tread.
- Use a carpet tucking tool (I just used a putty knife) to tightly get the rug into the corner where the riser meets the treads.

- Keep tucking the carpet tightly into the corner while stapling from the center outward.

- Smooth out the carpet on the tread and tuck it under the riser before stapling down the sides of the rug to the tread.

- Use the tucking tool while stapling under the tread.

- Again keep stapling from the center outwards.

- When you run out of the rug and need to make a seam, make sure that you match up the pattern of the rug before marking your line with a sharpie. I made sure that my two seams were in the corner where the tread meets the riser. This way it will not be visible at all.
- Cut a strip of double-sided carpet tape to the width of your rug.
- Stick the rug tape to the bottom of the rug.

- Align the second runner piece to the rug pattern and width before firmly pressing it down.
- Carefully tuck the seam into the corner/crease of the stairs.
- Staple the rug on both sides of the seam, not in the center of the seam.
- The rug was thin enough that I could tuck it under at the end of the stairs. If yours is thicker you might have to cut the end and get it professionally bound or just be able to staple the cut rug down.
- Staple down the sides over the tucked-in part for a finished edge at the bottom of the riser.
- Staple the end of the runner at the bottom and you are done.
Notes
The rule amongst professionals is definitely to install a stair runner with carpet padding. A carpet pad can help the rug or carpet to stay in place and last longer. It also helps keep the noise down from climbing the stairs. But during COVID the small rolls were sold out. After years of having the runner without padding, it still held up great which shows that it wasn't necessary for us. The outdoor rug makes it really durable.
I think it looks beautiful! Great choice on the runner, loving the pattern.
Thanks so much, Tammara. Hoping it will continue to wear great.
LOVE the new runner! We totally need to do this to our one staircase. It has a runner but I am not a fan.
Have you ever posted about that runner? I can’t remember seeing it. And thank you!
How do you clean this though?
I vacuum it with my small vacuum cleaner.
\We’ve left our stairs bare for two years while I try to decide what to do. This looks beautiful, Julia.
How did it do with the cats?
It’s all holding up great and so far no issues with my cats.
I love the carpet that you used for this still runner. Can you share the name of the carpet and where you got it.
Hi Loren, I was so sure I had links to the rug in the blog post. I fixed it no in the supply list. You can find it at 3 different places and they are all linked now. Sorry!