

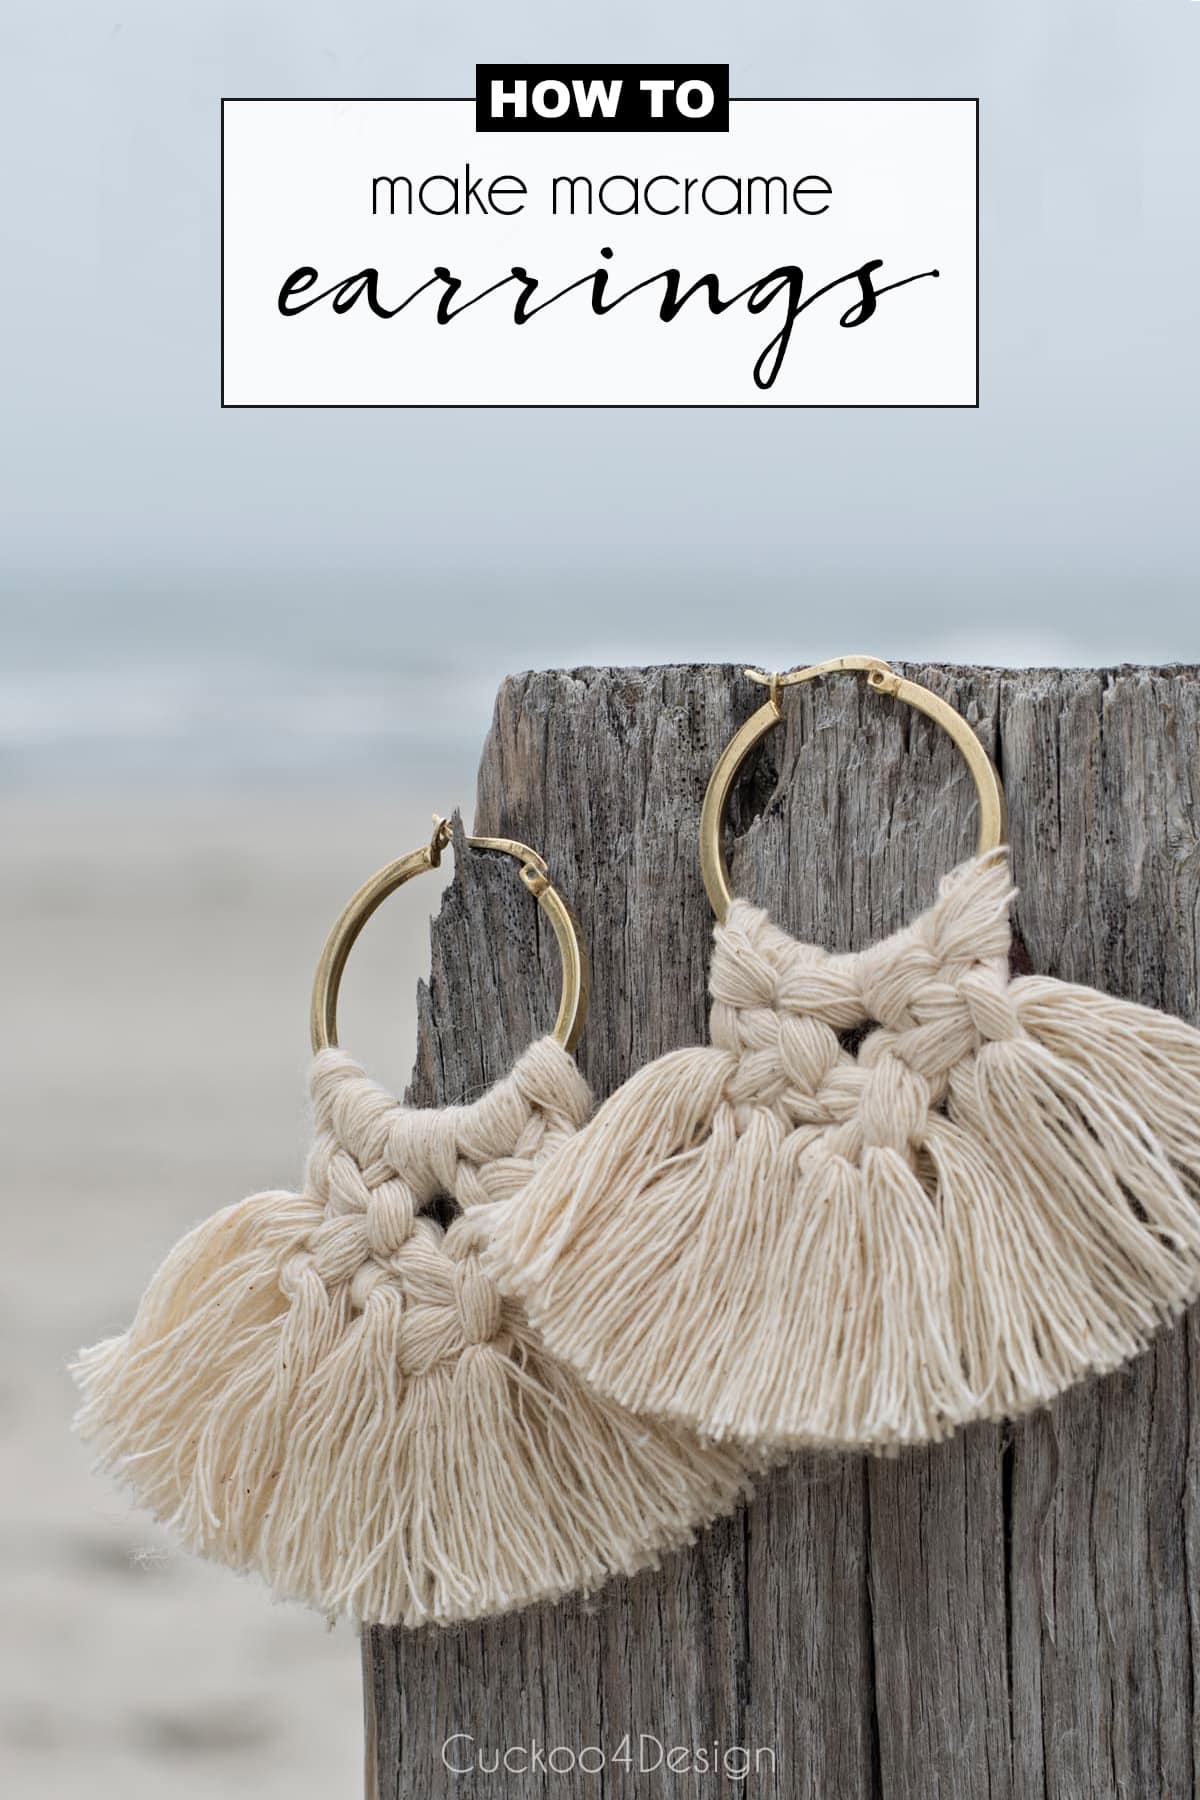
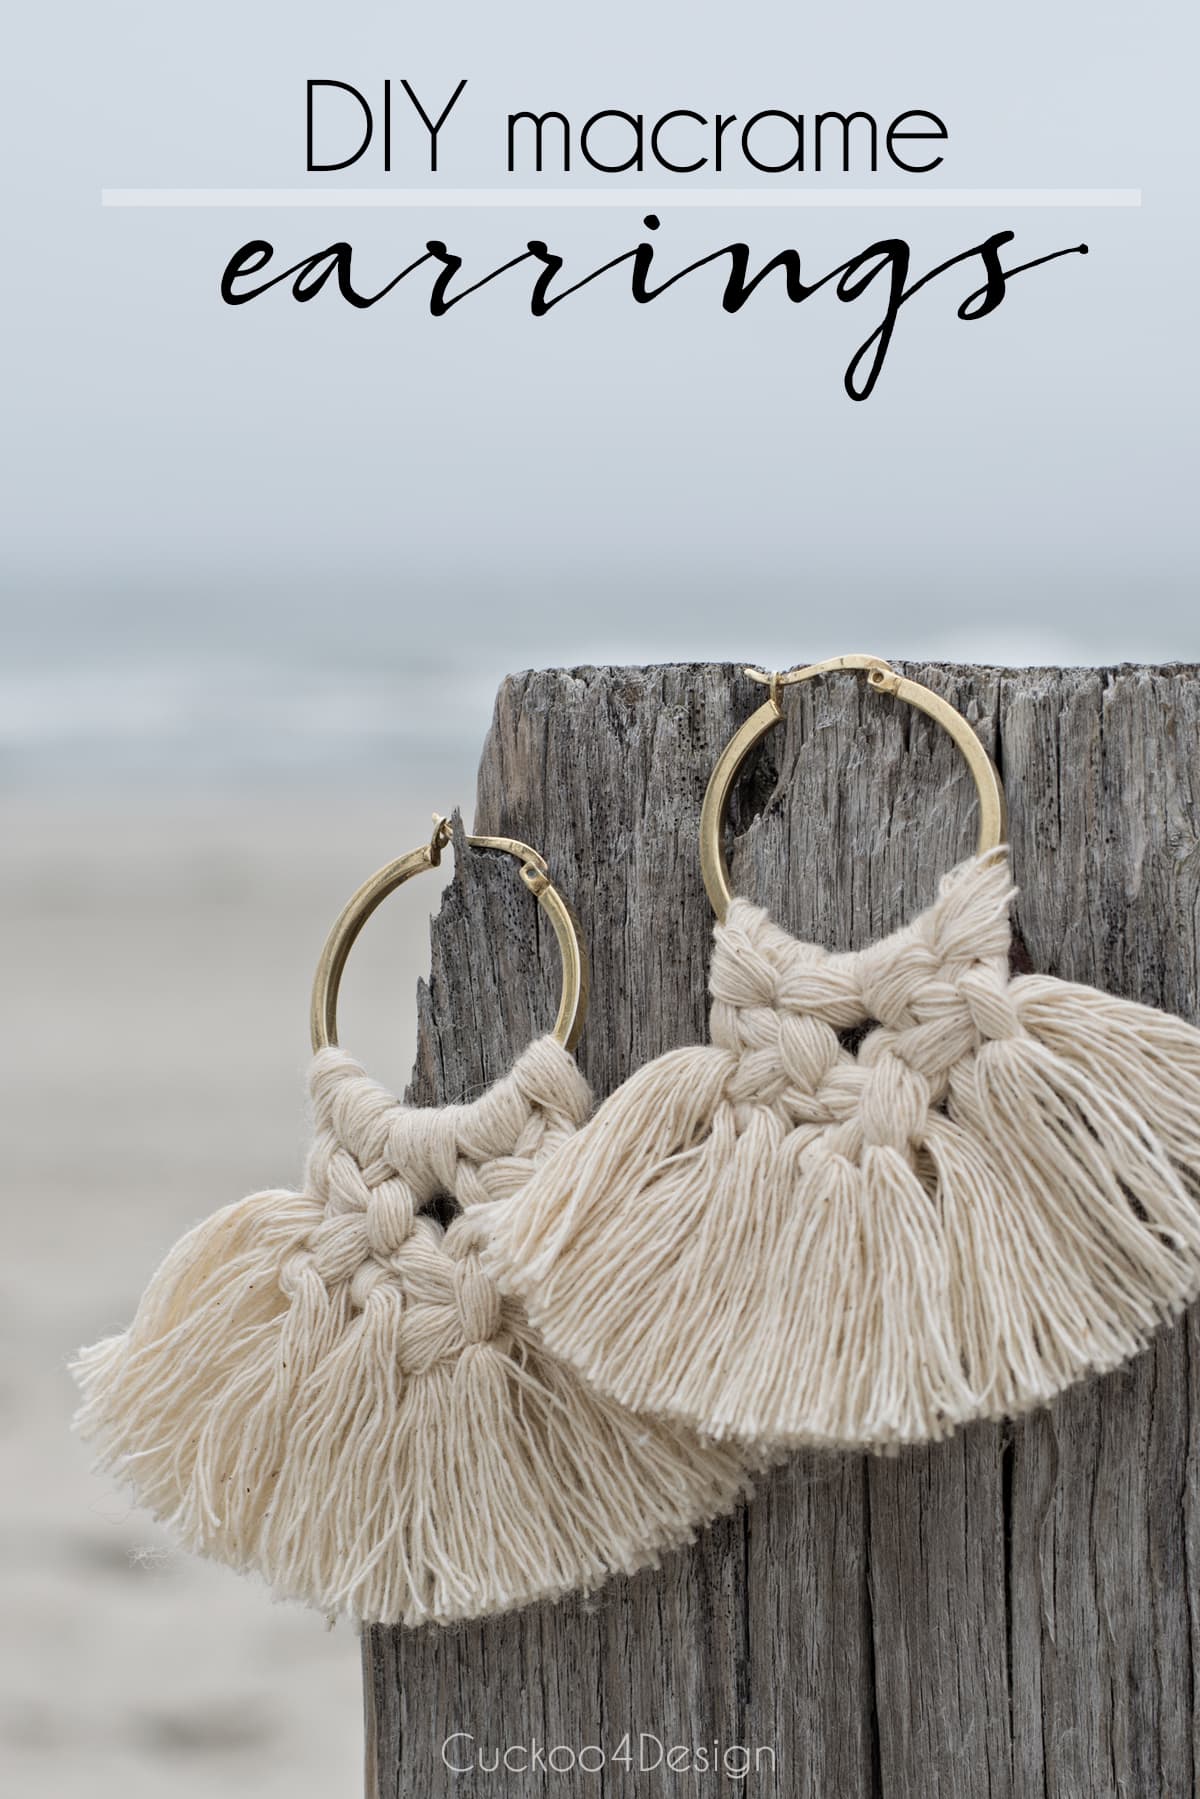
How to make DIY macrame earrings (a step-by-step tutorial)
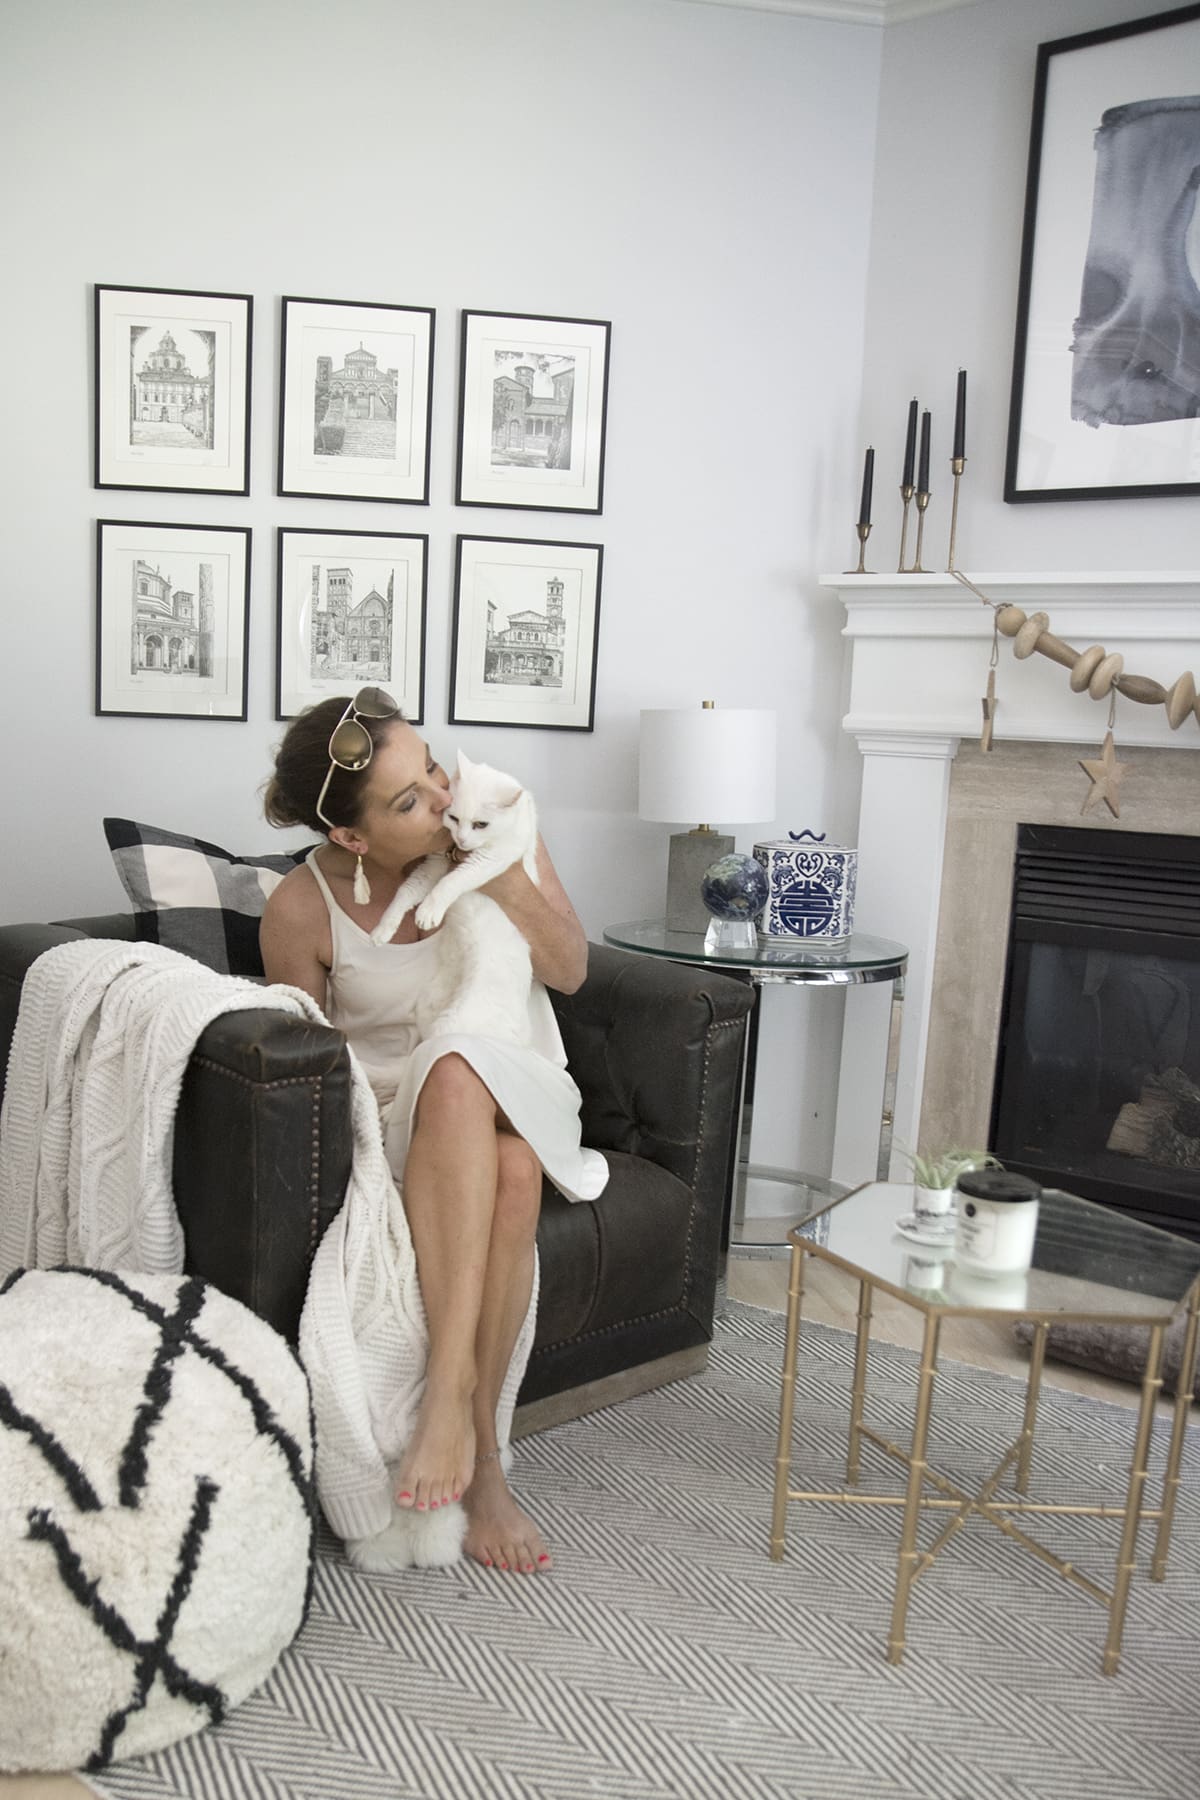
I told you guys last week that I was going to share some DIY macrame earrings with you, which I was wearing in one of the summer fashion favorites photos. I thought of this little project after searching for some fun summer earrings that would go with my bikini and summer dress.
Below is the dress (unfortunately, it is sold out now) I’m talking about if you missed it.
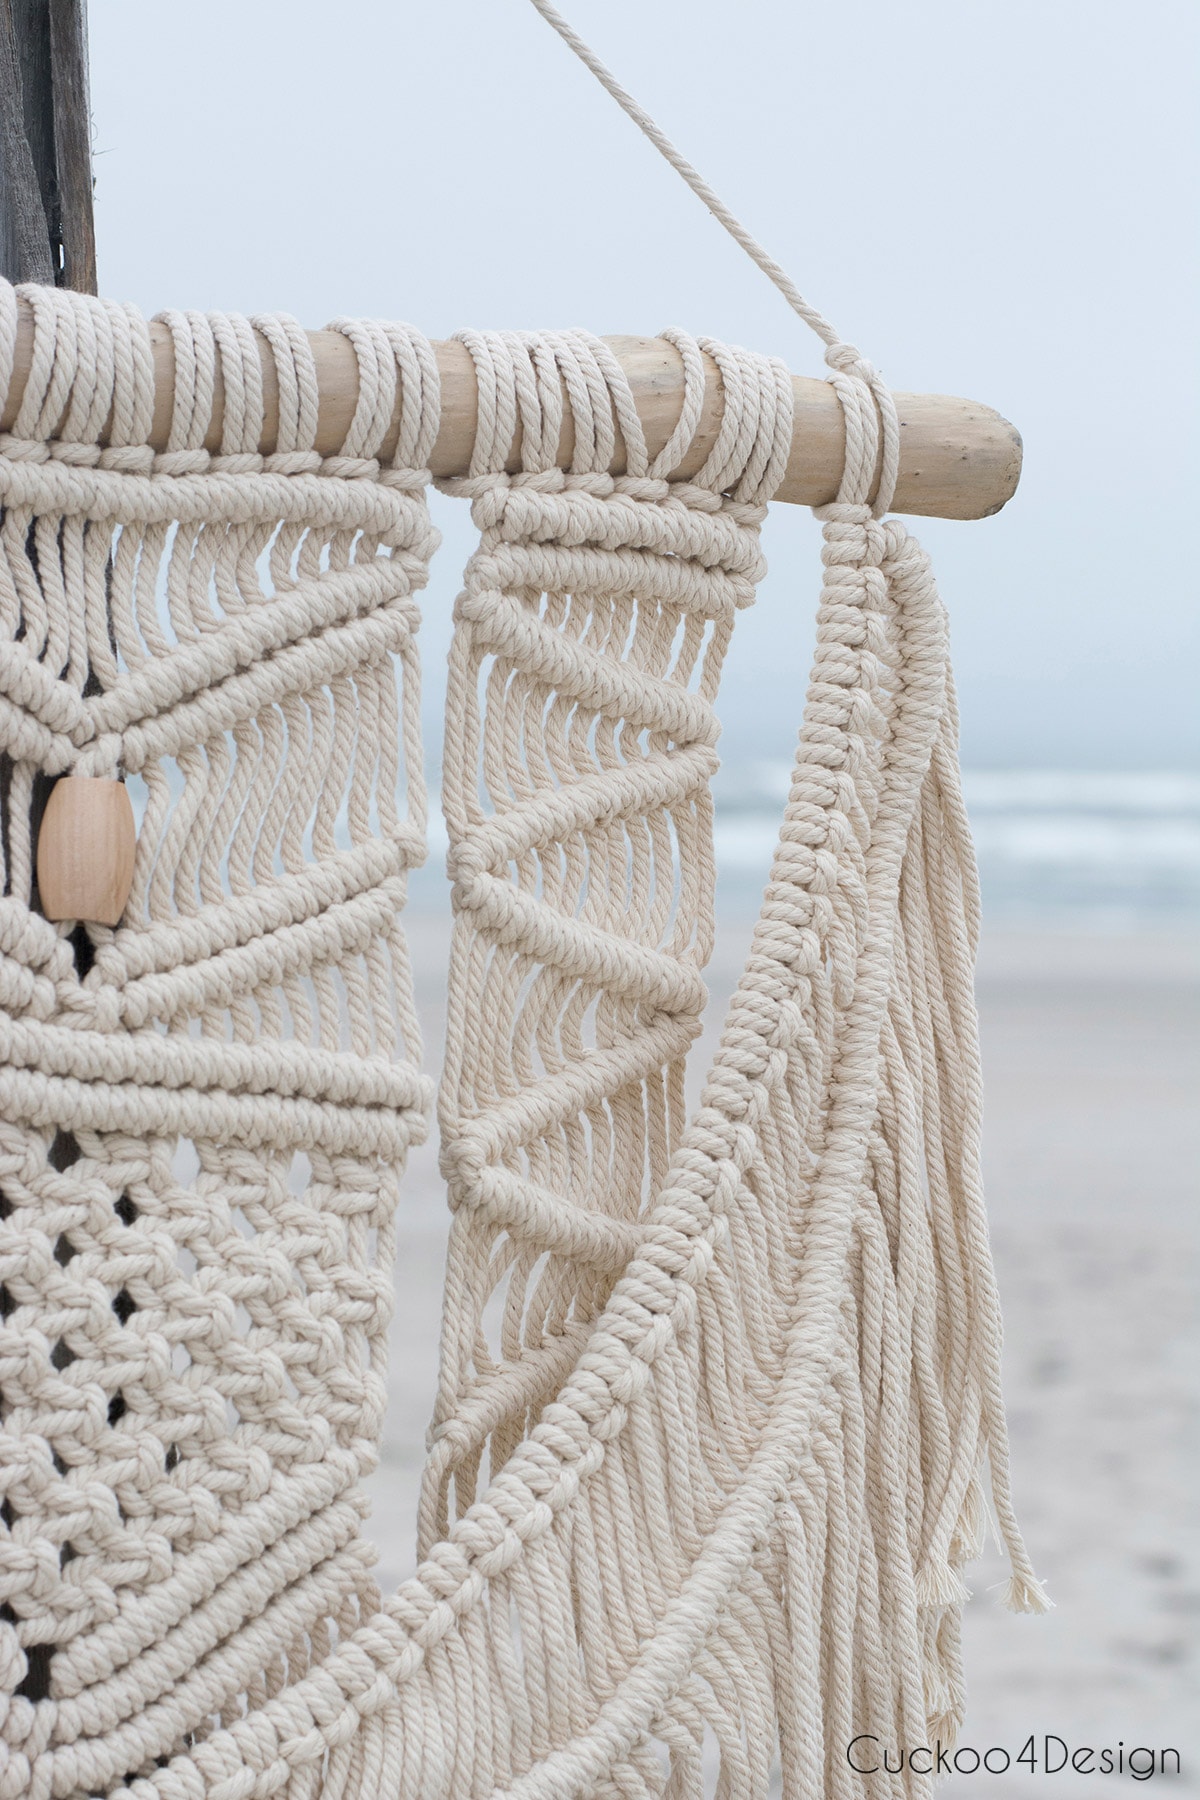
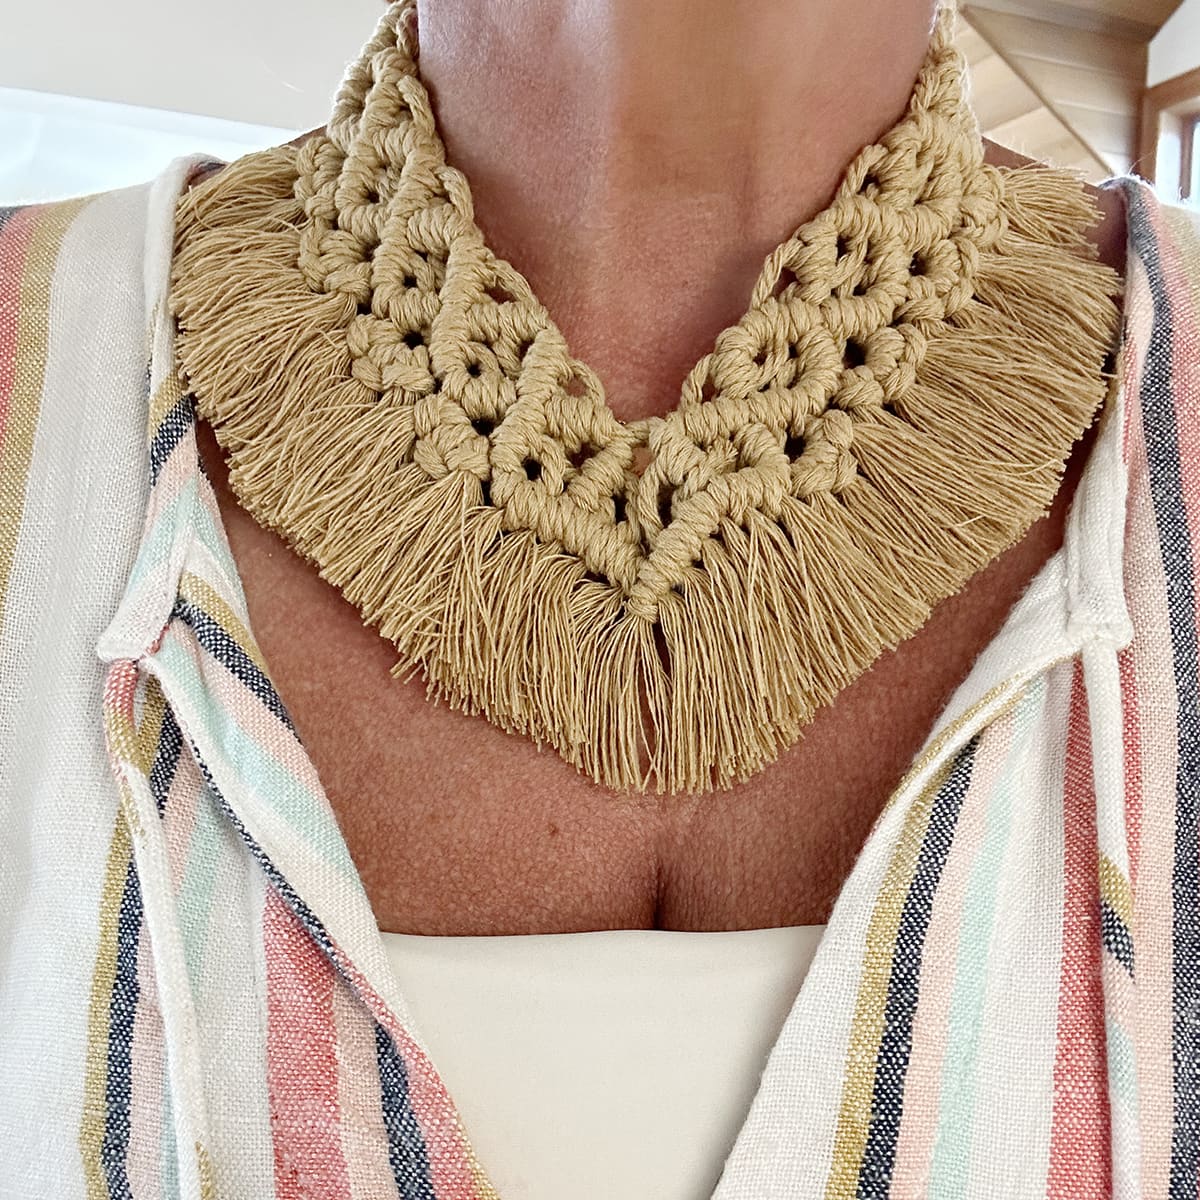
I finished another macrame piece and when I’m done with my pieces, I always end up with a lot of little scrap pieces and excess cords and I wanted to come up with a way to use them. So macrame jewelry came to my mind. Since I’m not a big necklace-wearing person, macrame earrings were definitely the best option to reuse the scraps.
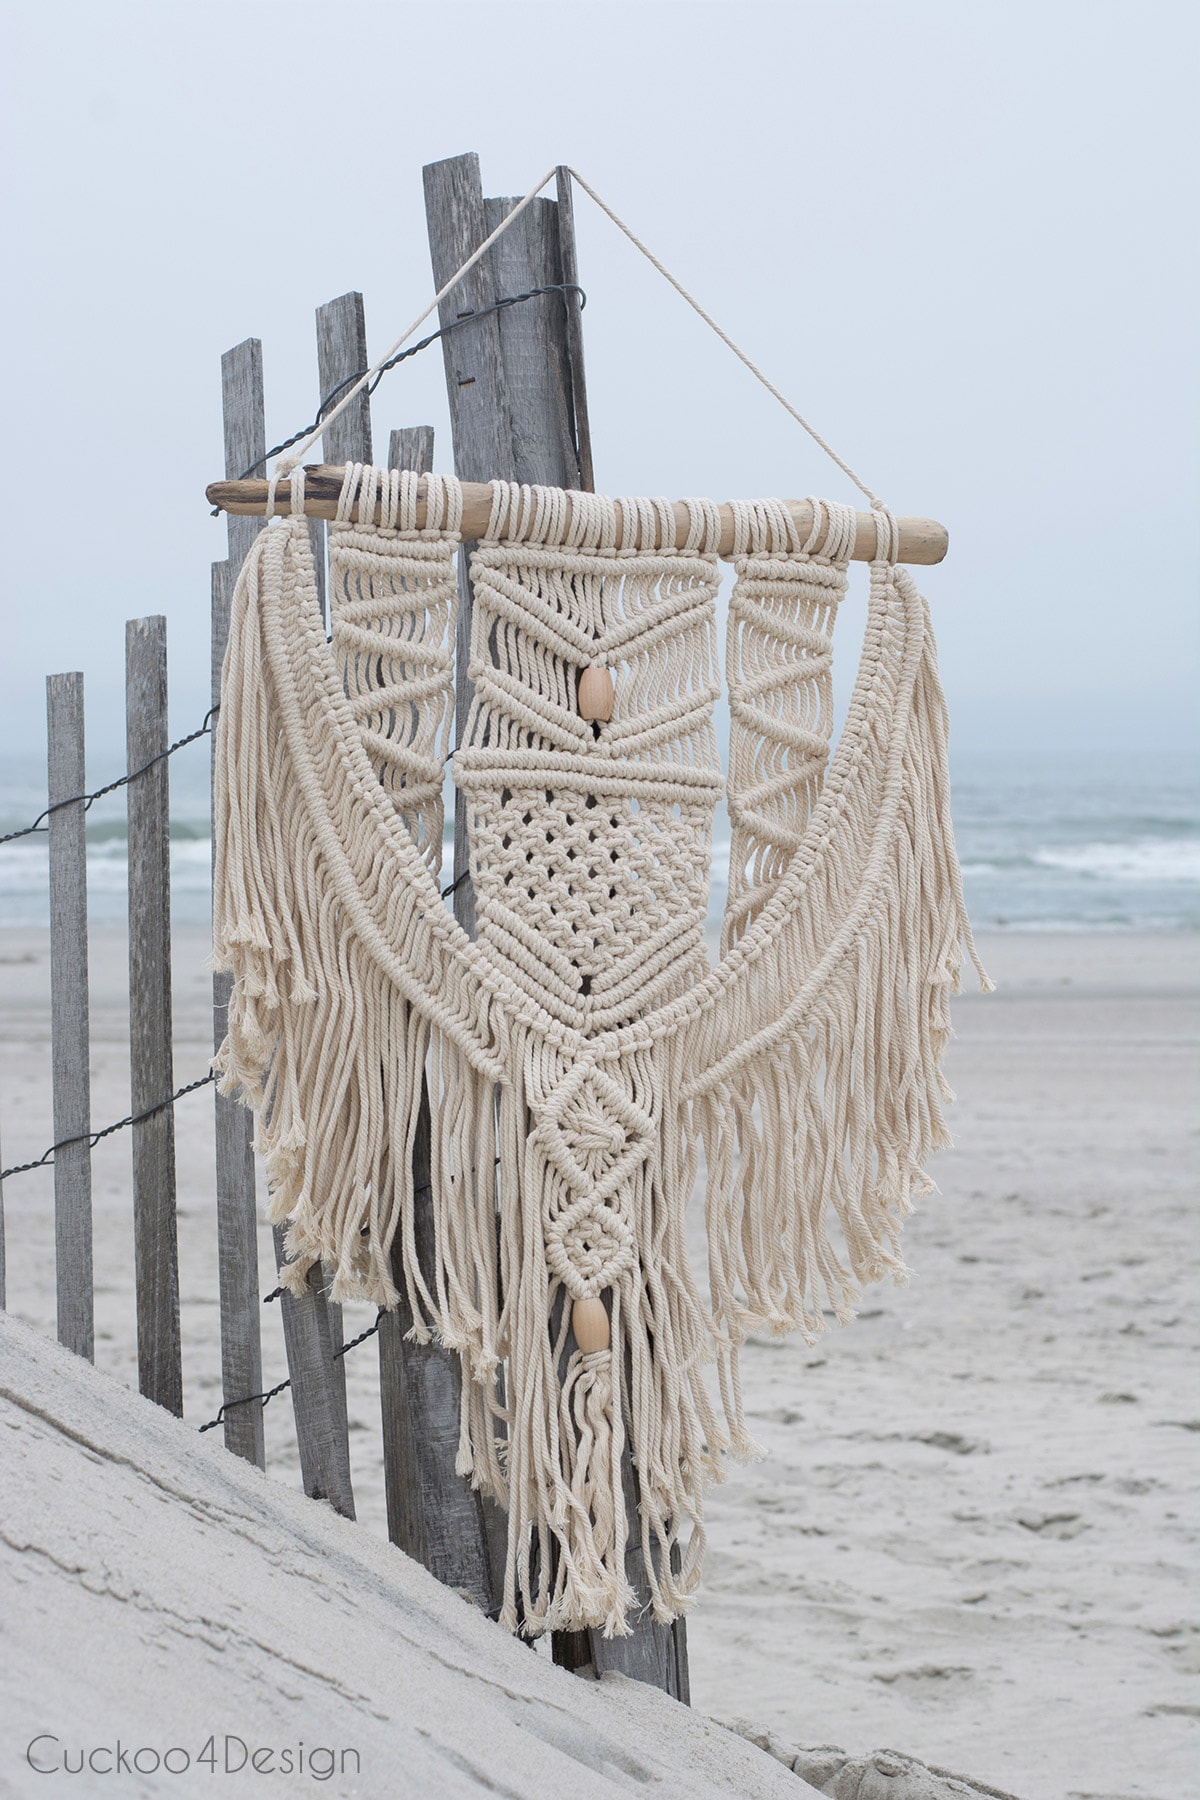
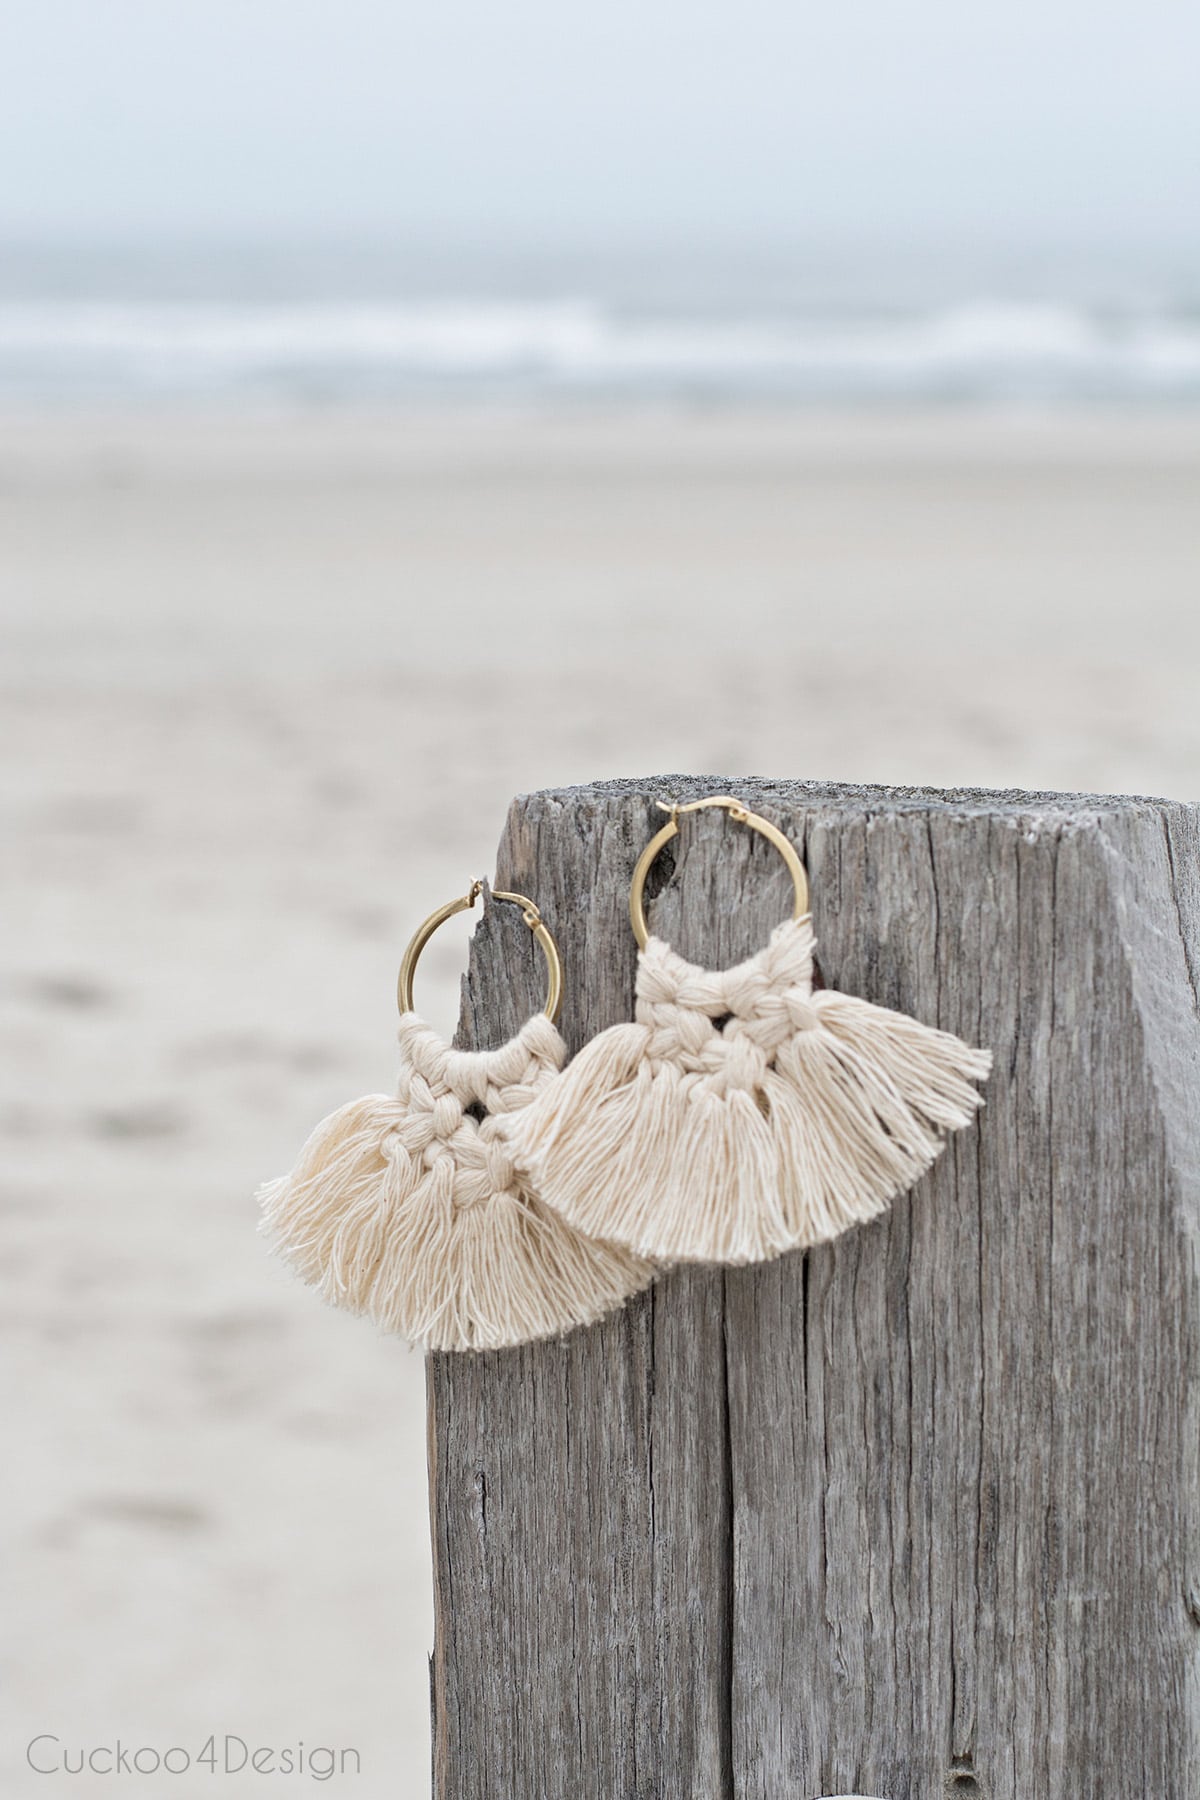
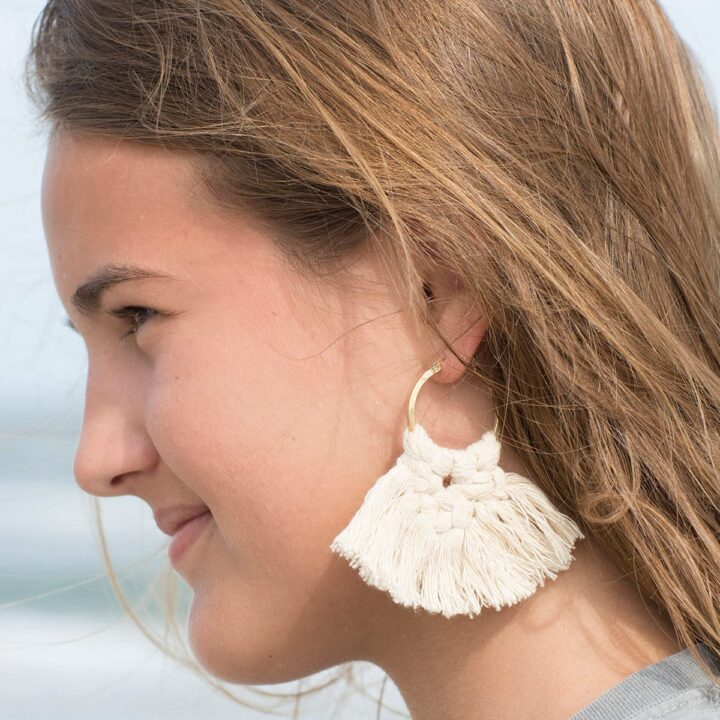
I love my new piece and taking a photo of it on the beach makes it look even better 😉
What macrame cord to use for macrame earrings?
The great thing is that you can use pretty much any cord, crochet cotton, macrame yarn, or embroidery floss to make these types of earrings.
As I just mentioned I used the leftover cord I had from one of my projects which was 4mm macrame yarn. You can use anywhere from 1.5 mm all the way up to 5 mm to make macrame earrings like the ones in this tutorial. I unraveled my macrame yarn to make the cords thinner which you can do with any type of yarn, so in the end this proves that it really doesn’t matter what thickness of yarn you use because you can manipulate the thickness of the yarn.
Keep in mind though, the thinner the yarn, the lighter your macrame earrings will be.
How to make macrame earrings
This post may contain affiliate links from which I will earn a commission at no extra cost to you. View my full disclosure policy.
If you saw the Etsy macrame earrings I shared in my last post then you know that they go for quite some money even though they are super easy to make. I wanted to make them with an easy knot so they wouldn’t become too heavy.
List of supplies needed for these DIY macrame earrings
- macrame cord (I use this macrame yarn, but you could use different cord colors)
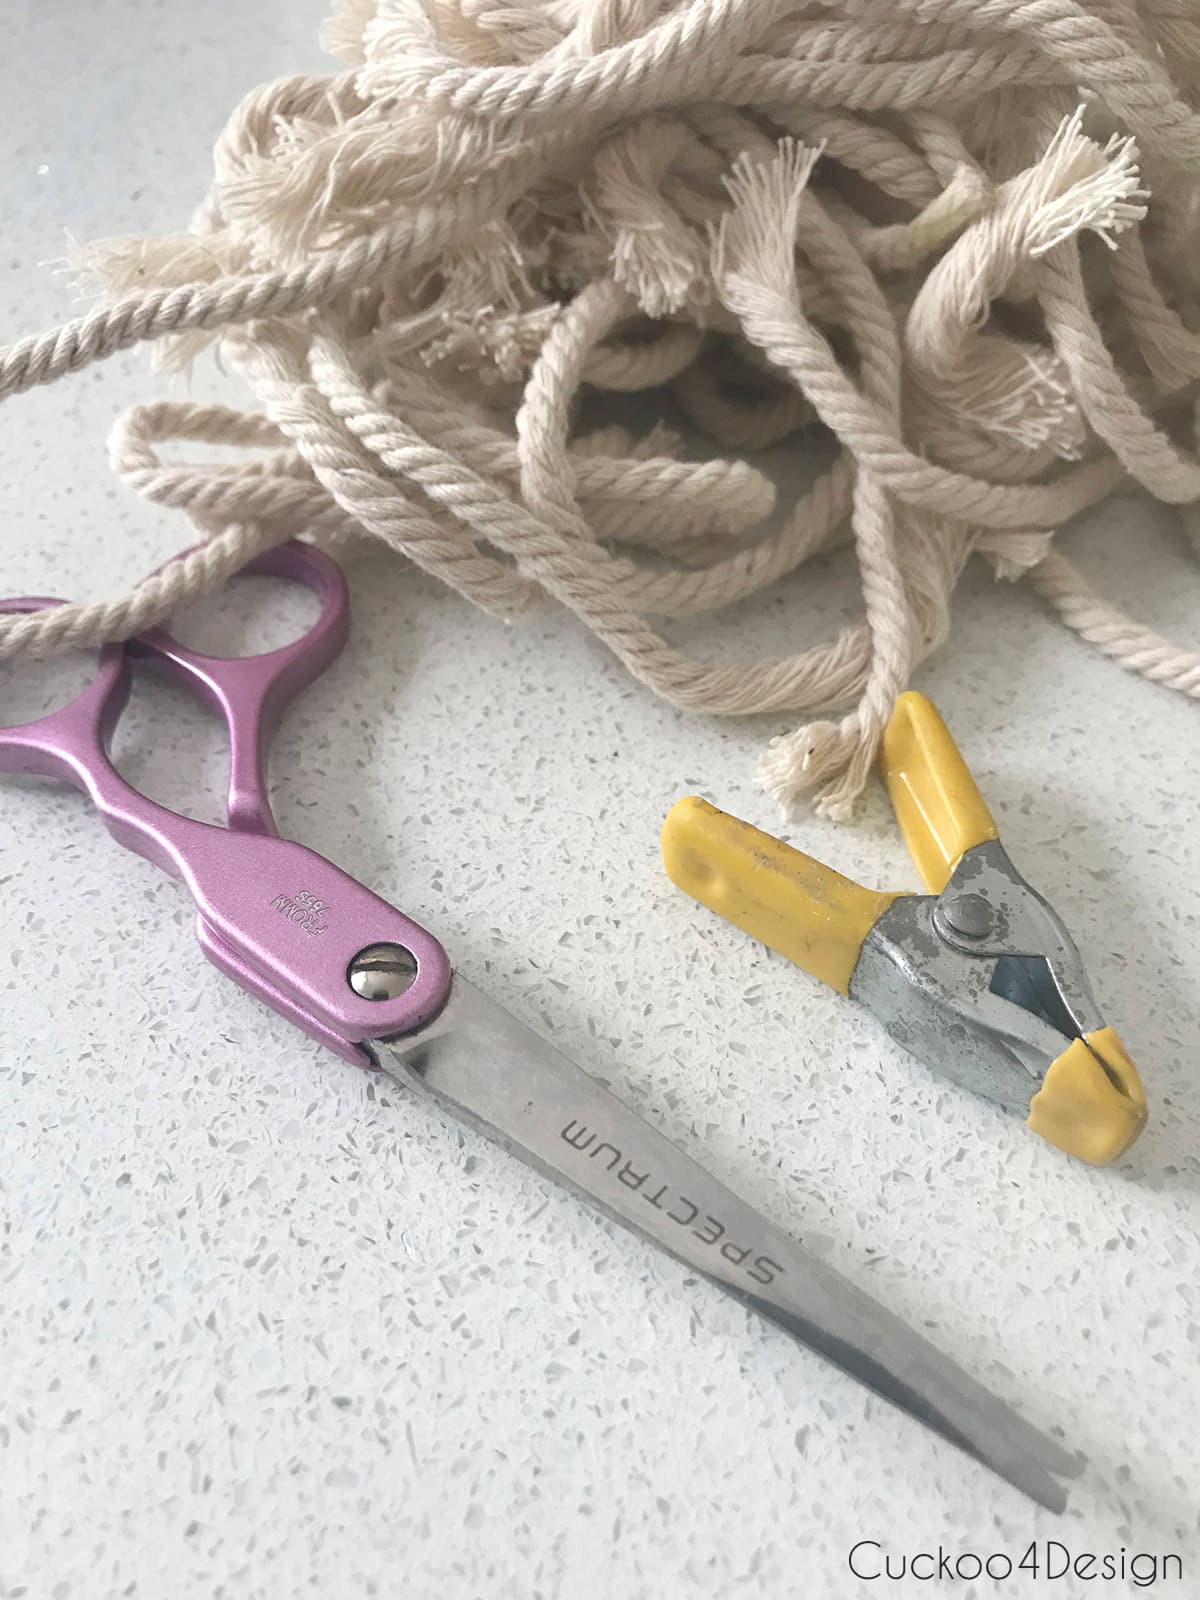
- sharp scissors (I like using hair-cutting scissors for my craft projects)
- comb or brush
- small hoop earrings (different hoop earrings sizes available, mine are about 50mm)
- Clip or something else to clip the earring to. I used a chopstick and clip or you could use a clothing pin
- fabric stiffener
You can buy macrame earring blanks as well instead of the hoops but I found that the hoops worked great and most women have them at home already. Right? We all loved wearing hoop earrings at some point in our lives. And if you don’t like macrame anymore then you can just take it off and keep wearing the hoop earrings. No need to buy macrame earring blanks if you don’t have to.
DIY macrame earring cost breakdown
This project didn’t cost me anything since I had all the supplies and tools at home already. I found the earrings in my closet and the macrame cords were scraps from my other macrame projects.
So let’s pretend that you don’t have those supplies. Cheap hoop earrings are anywhere between $5-$15 and a roll of 100 yards of macrame yarn is usually around $7. Keep in mind if you buy a roll, you can still make several other projects with that yarn too.
Step-by-step macrame earring instructions
Step 1: Unravel the macrame yarn (optional)
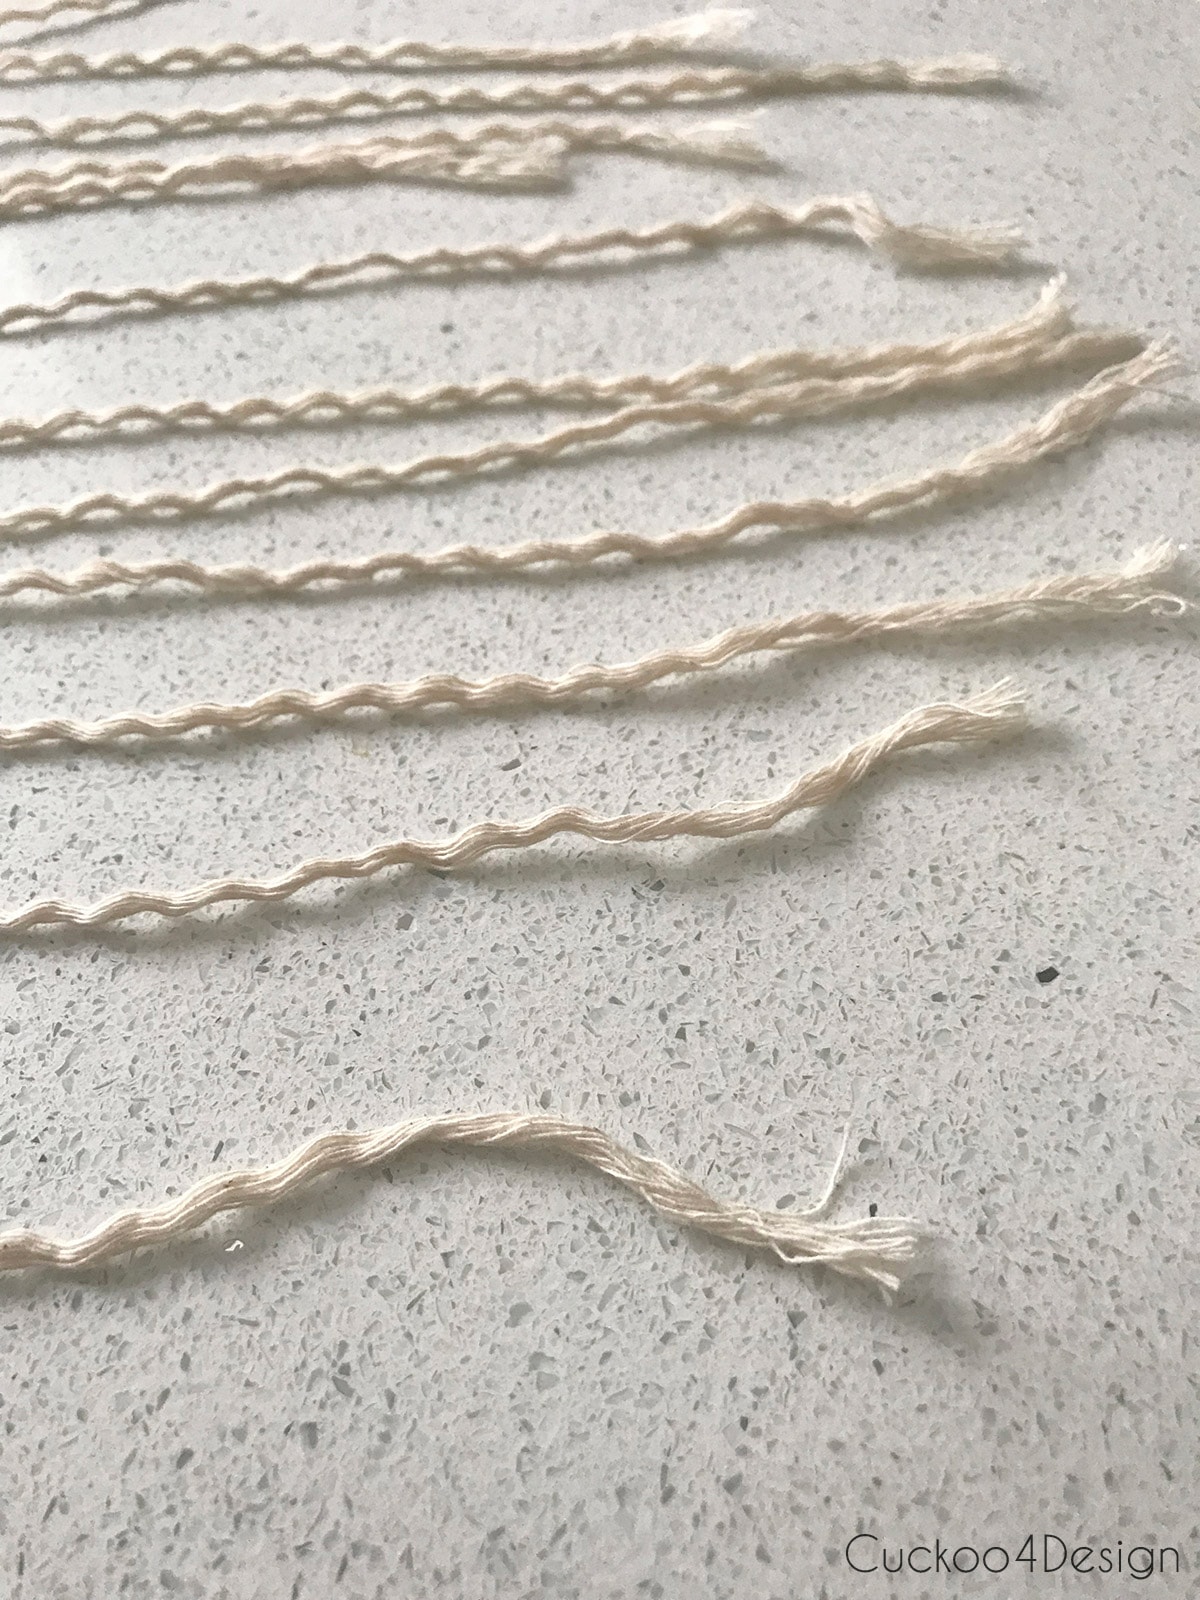
Above you can see all my 4mm macrame yarn scraps and I started out by opening up/unraveling those strands. This particular yarn comes apart into 4 strands. Now, this step is entirely optional. I opted to open them up like this so my macrame earrings wouldn’t be so heavy (which I already explained). The thinner the yarn the lighter the macrame earrings.

Since my macrame yarn was from scraps, I had all kinds of different lengths to work with. You should make sure they are long enough though at about 10 inches long. I laid them out on a flat surface and gathered 4 of them for one earring. So you need 8 strands of yarn for both earrings.
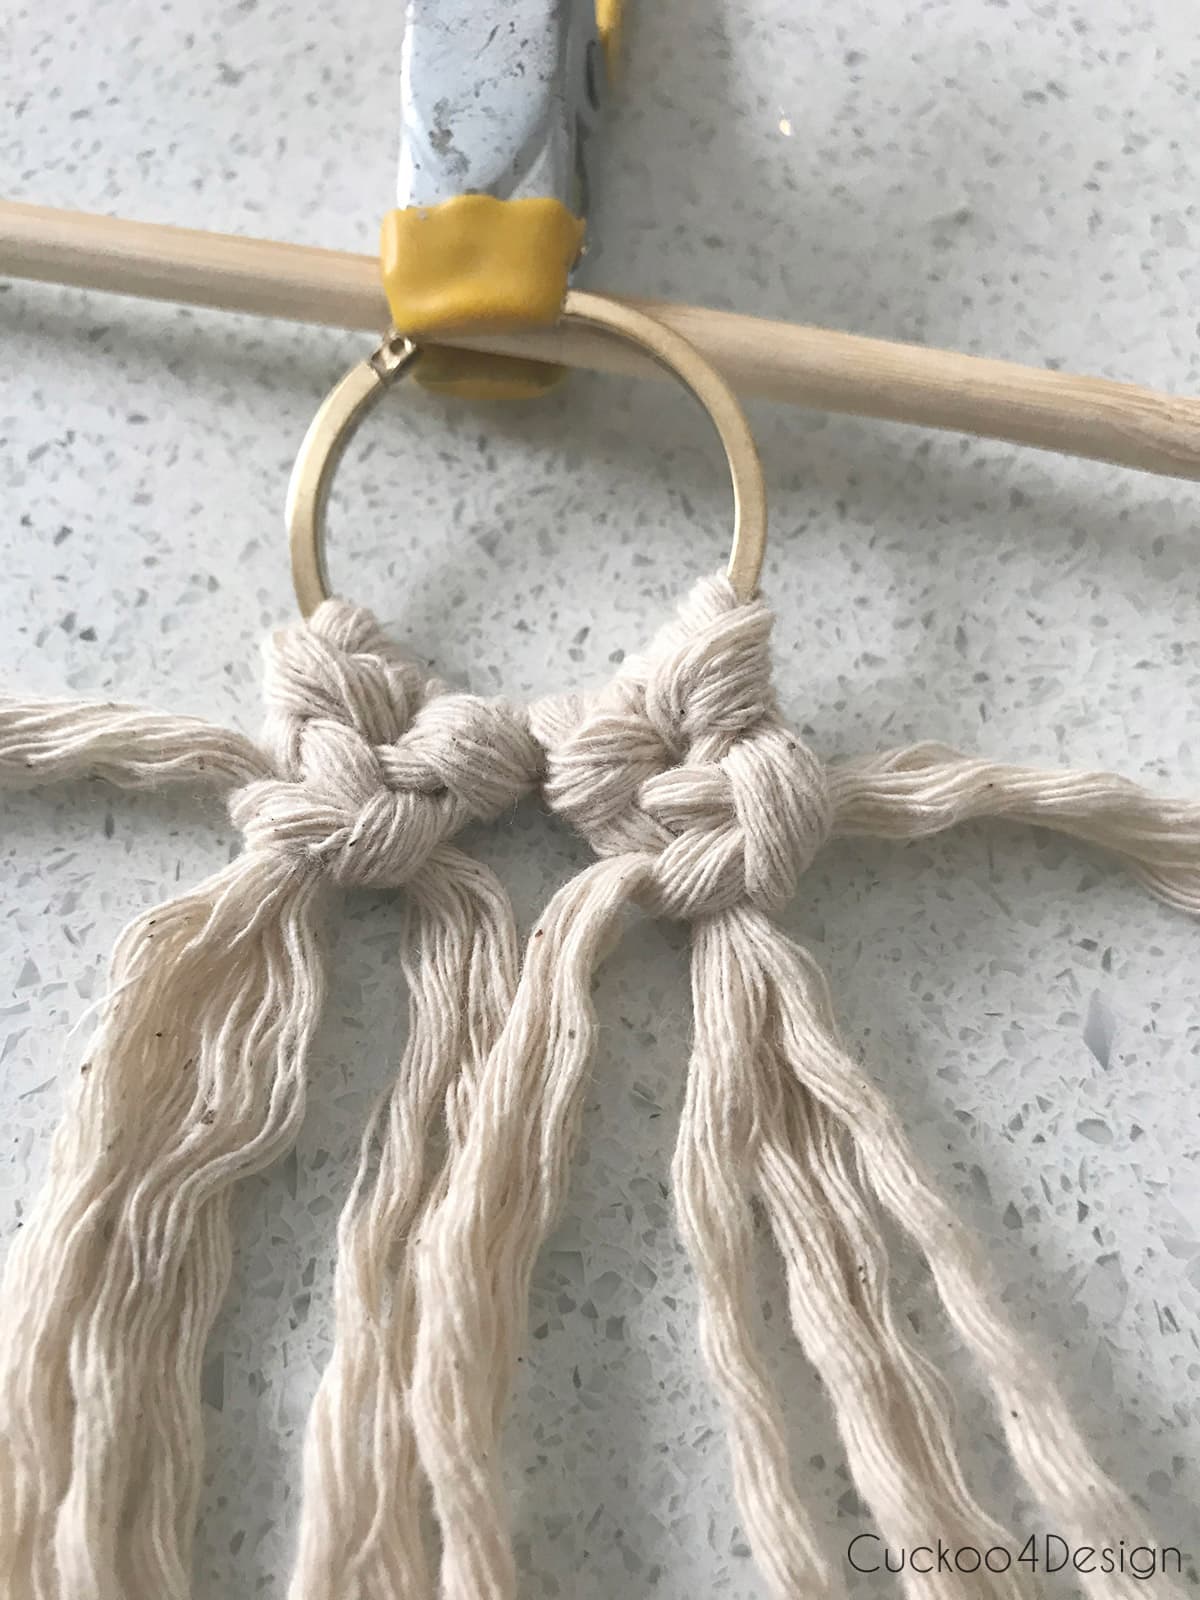
Step 2: Attach yarn to hoop earring with Lark’s Head Knots
I looped them over the hoop earring with Lark’s Head Knots which is also the way you start any macrame wallhanging.
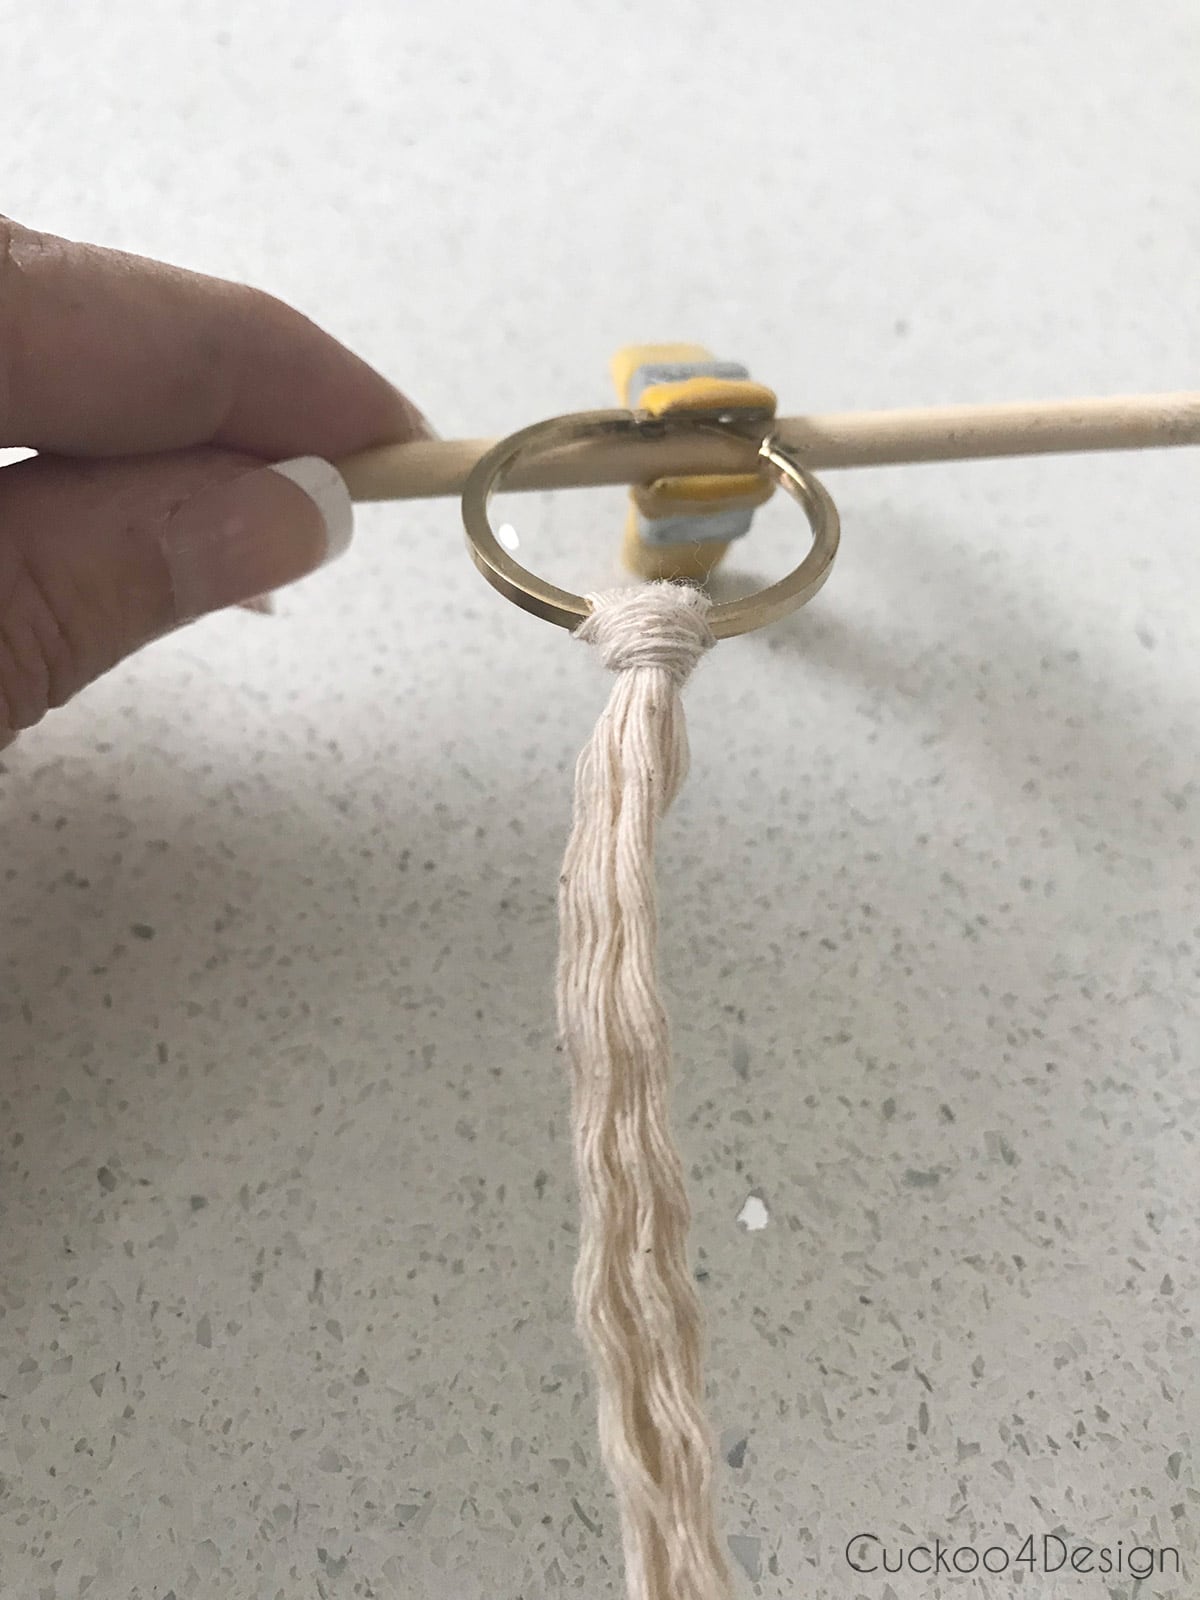
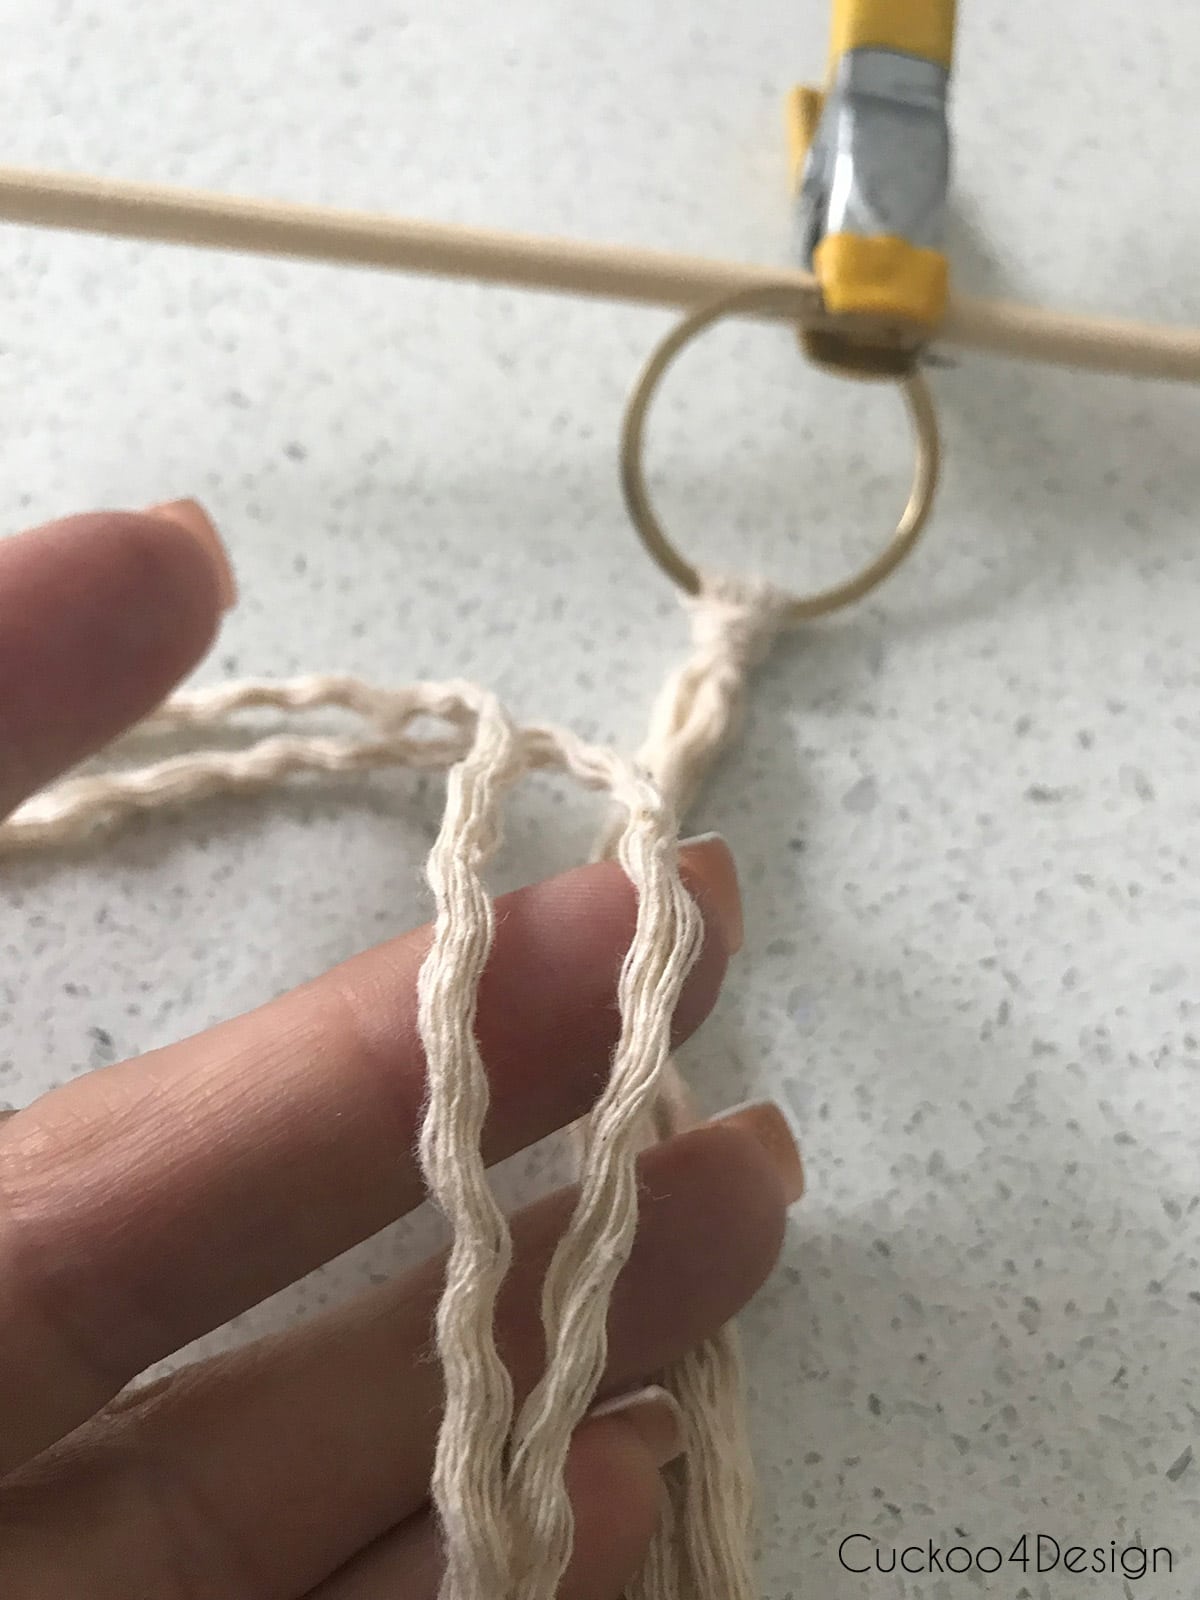
Above you can see the two strands and below I’m showing you how the loop is formed. It’s super easy.
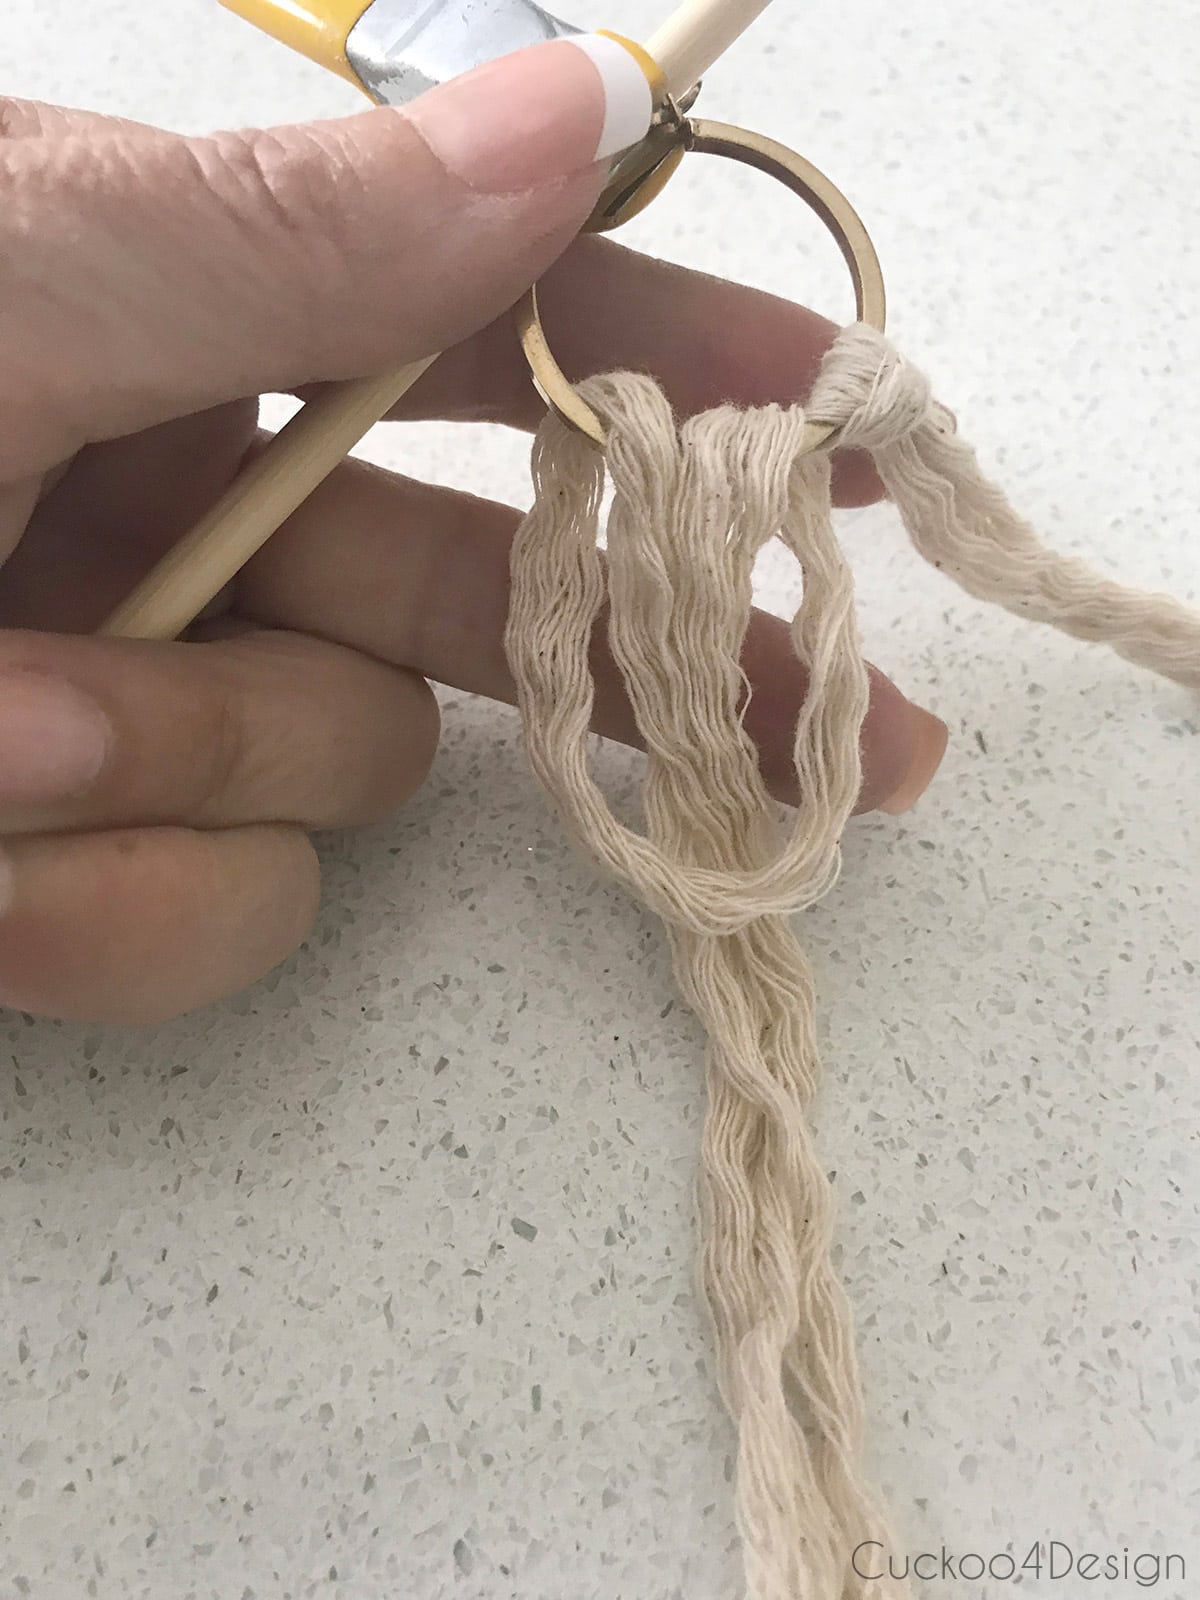
I used 4 looped strands of 2 for each hoop as you can see below:
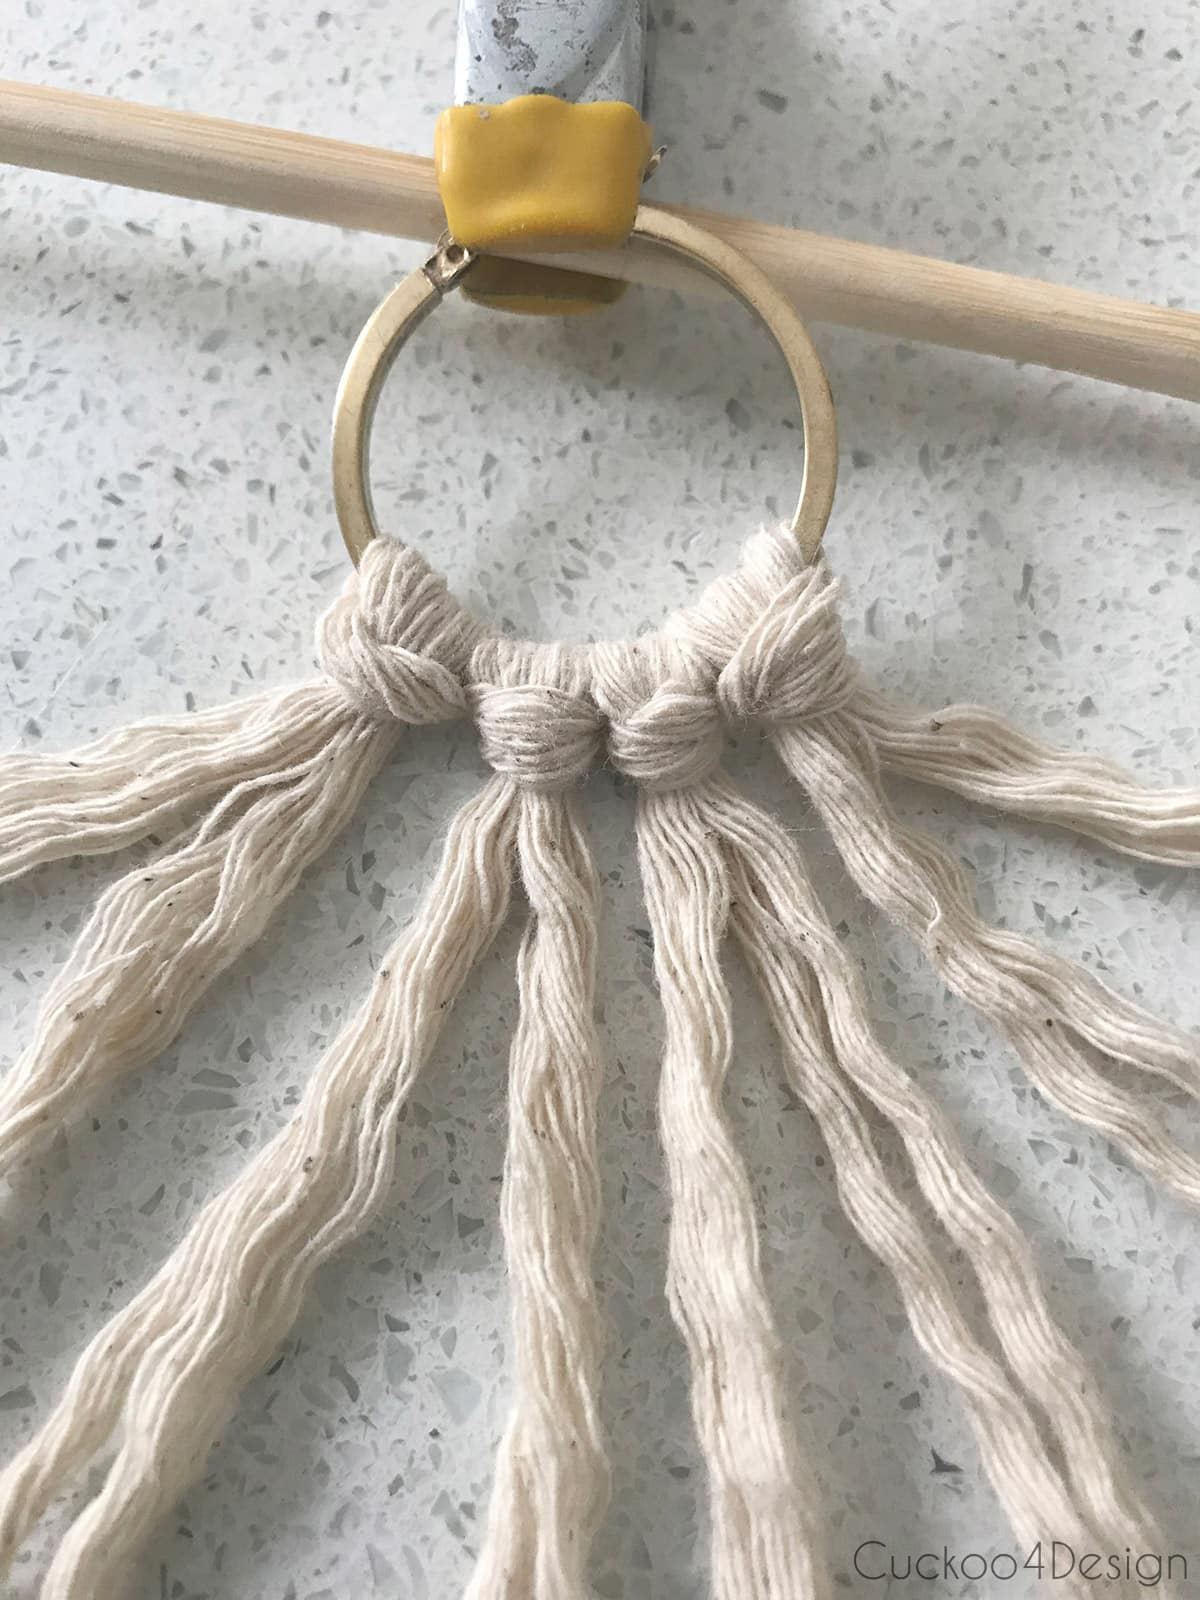
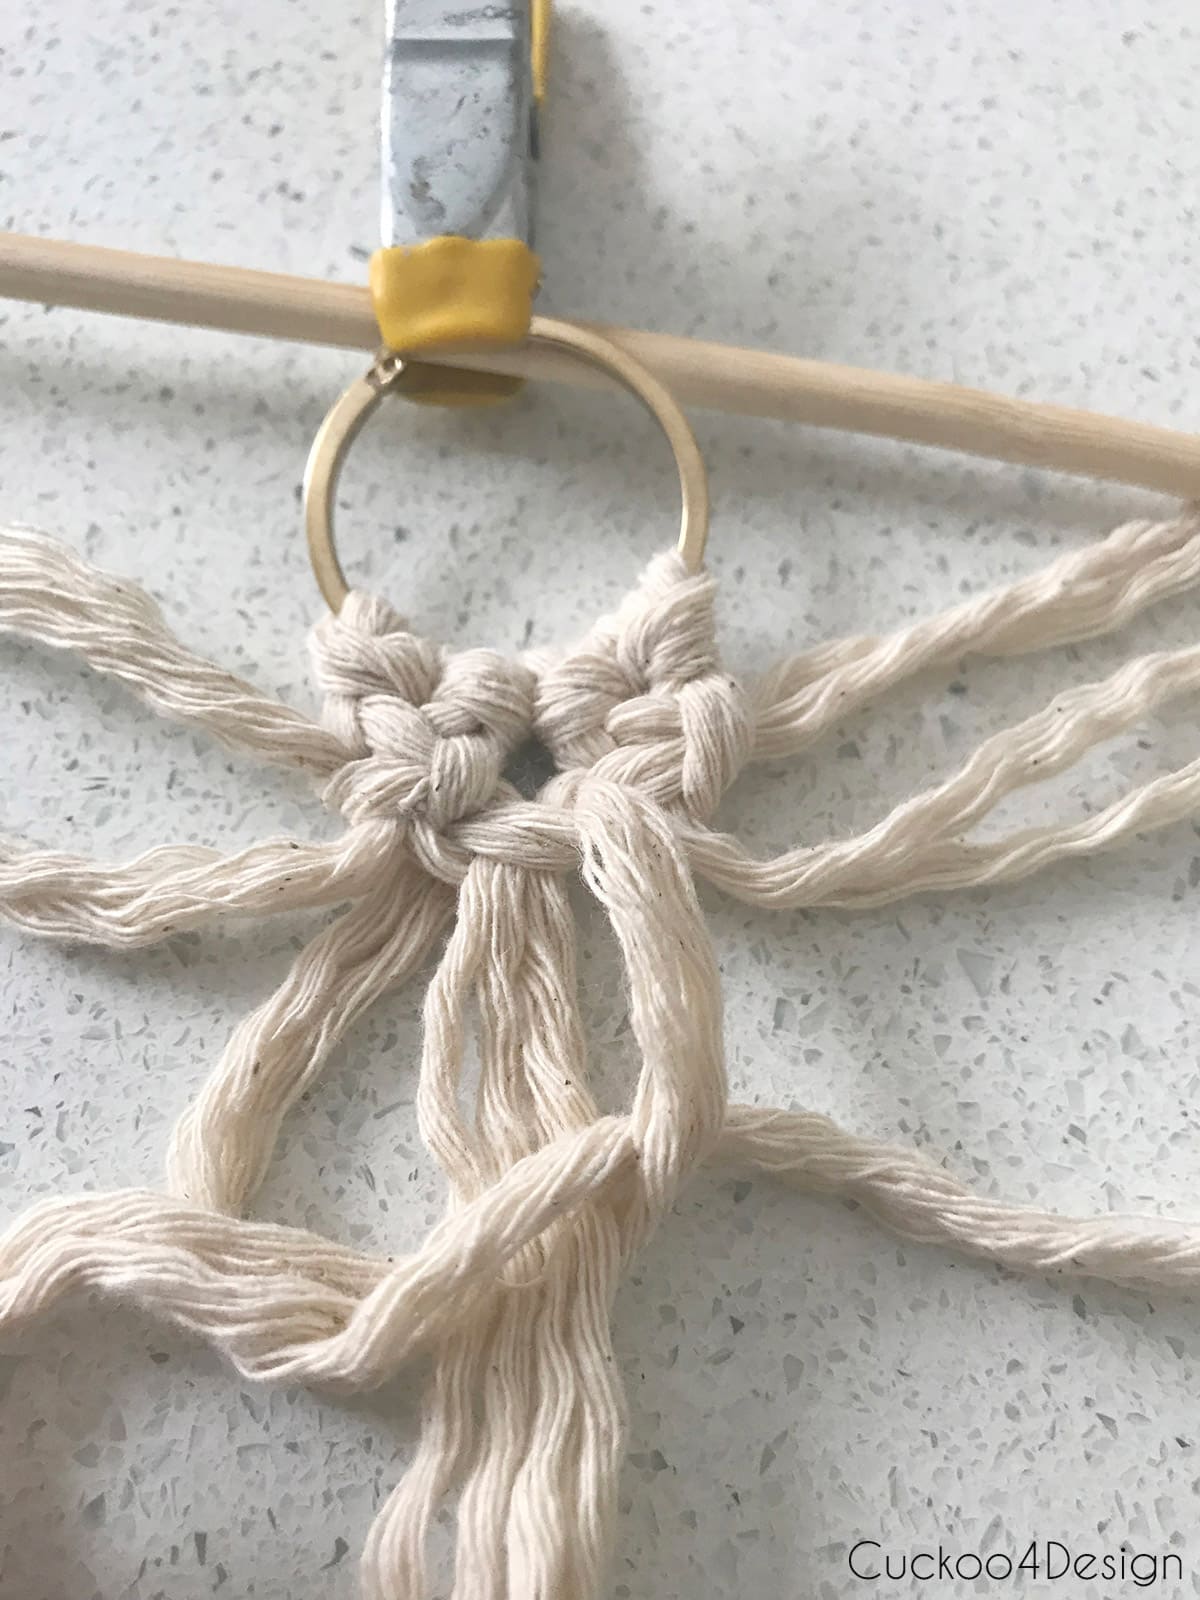
Step 3: Create a v-shape with 3 Square Knots
After that is where the square knots come into place. I decided to use these simple knots called Square Knots and for these macrame earrings, I only needed 3 Square Knots per earring.
How to make a macrame square knot
The key for the square knot is that you alternate which string you overlay in the foreground. If you don’t alternate then you will make a spiral knot which I also use and love but didn’t want for this project.
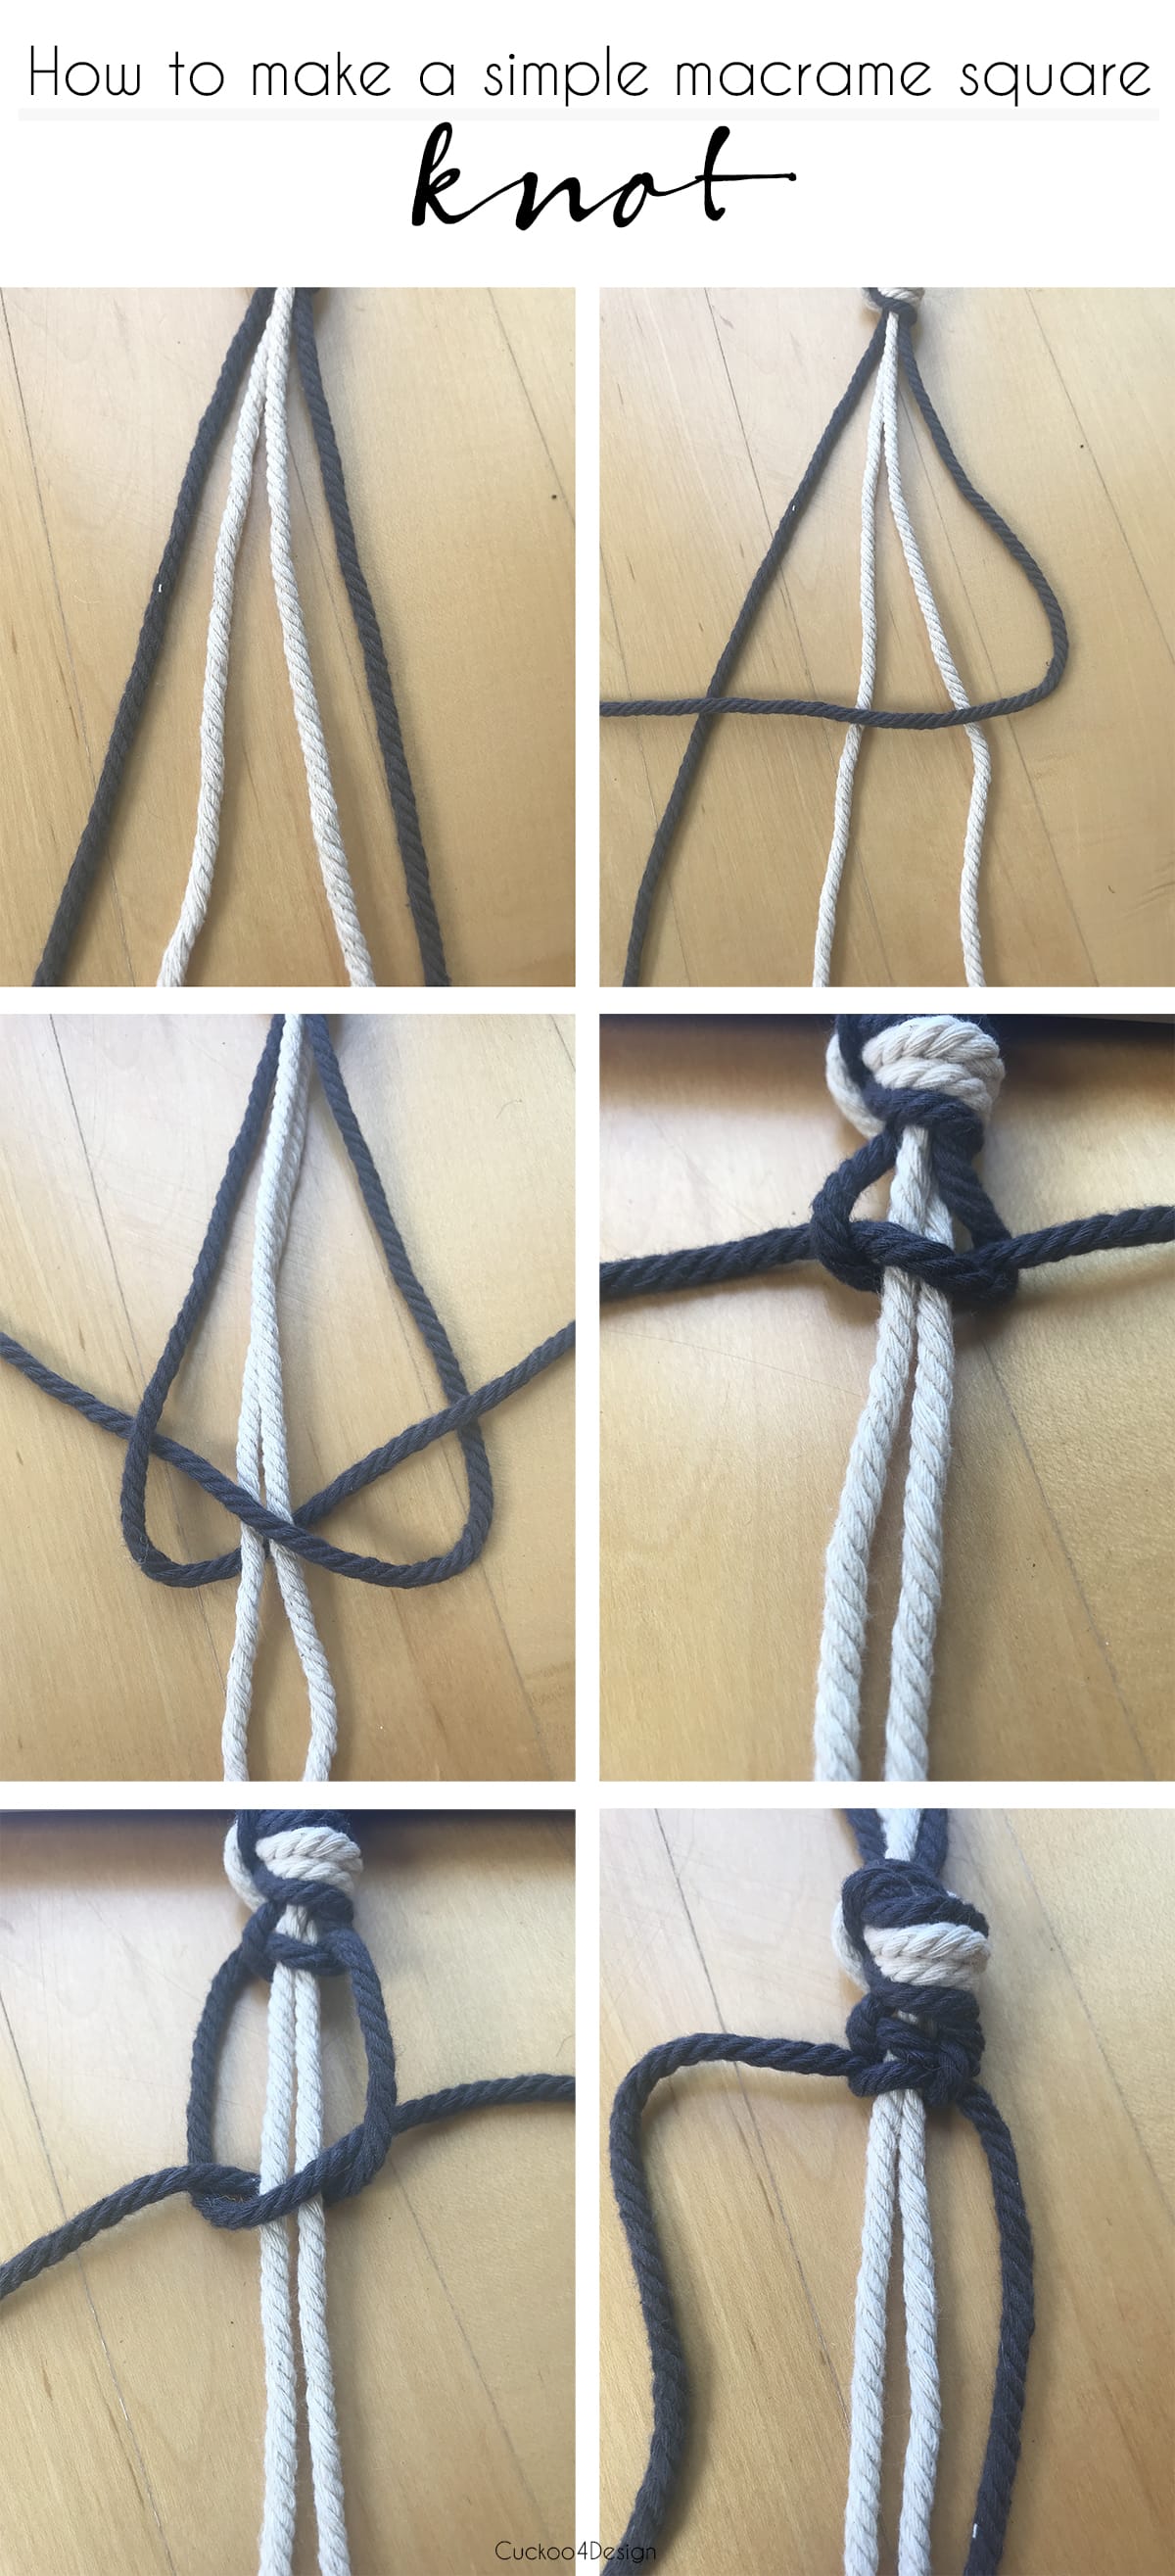
Below is exactly the three Square Knot configurations that I attached to the hoops. I’m showing it to you in a loose version so you can see the way it is set up better. For the DIY macrame earrings, I pulled everything tight though.
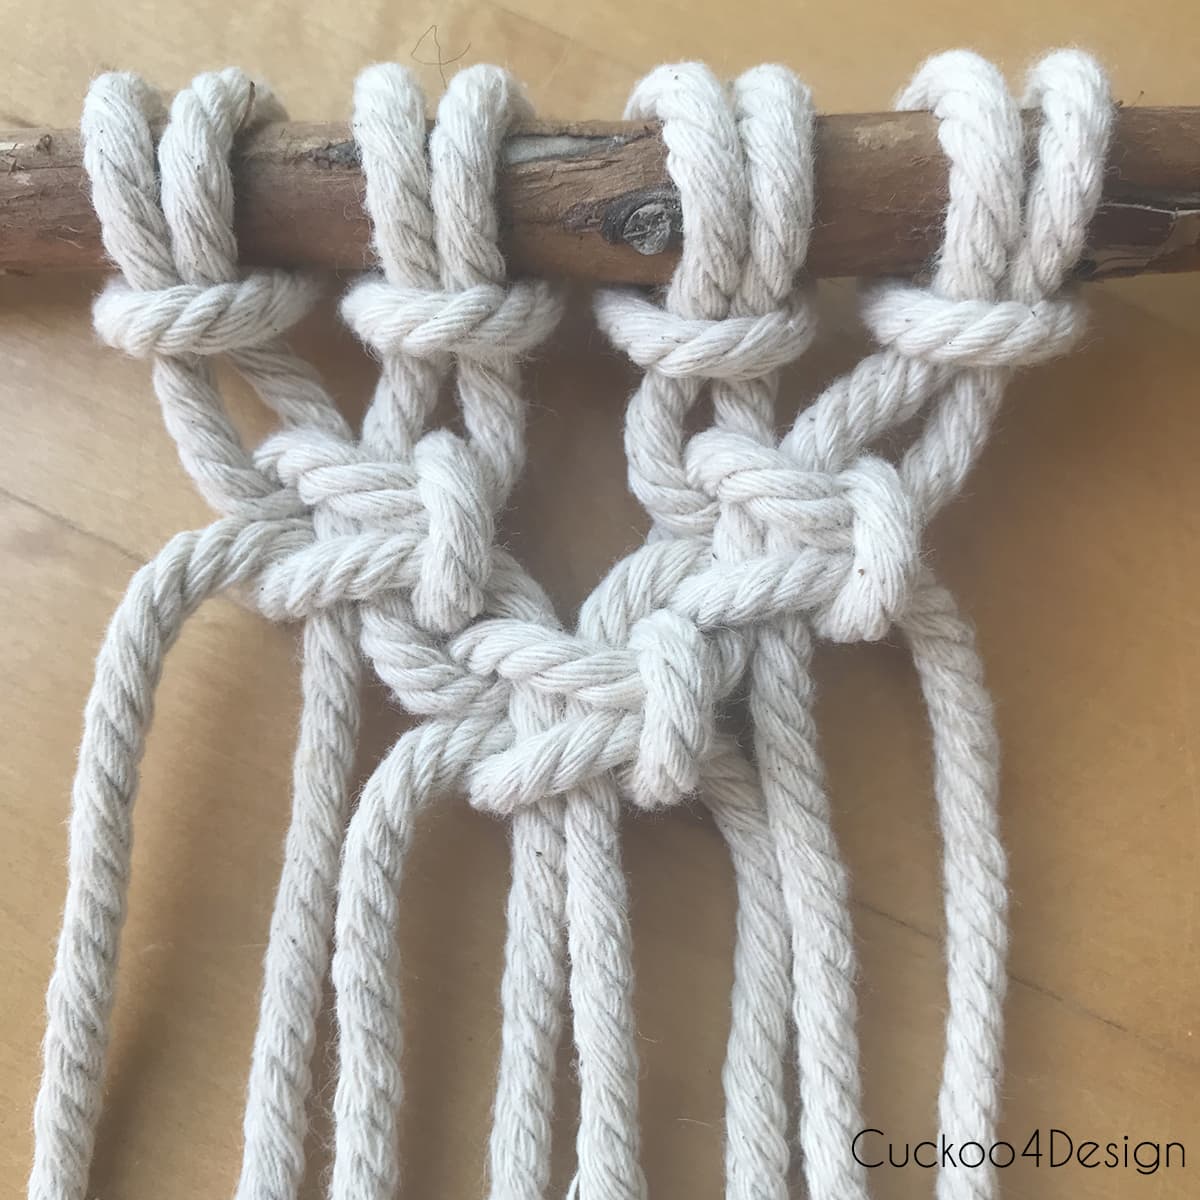
Below are two square knots:
And then you make the third square knot in the middle, as you can see below:
Step 4: Stiffen the yarn with starch of fabric stiffener
I then dipped the end strands in fabric stiffener and let them dry. That’s also optional, but I find that the earrings keep their shape better when they are stiff.
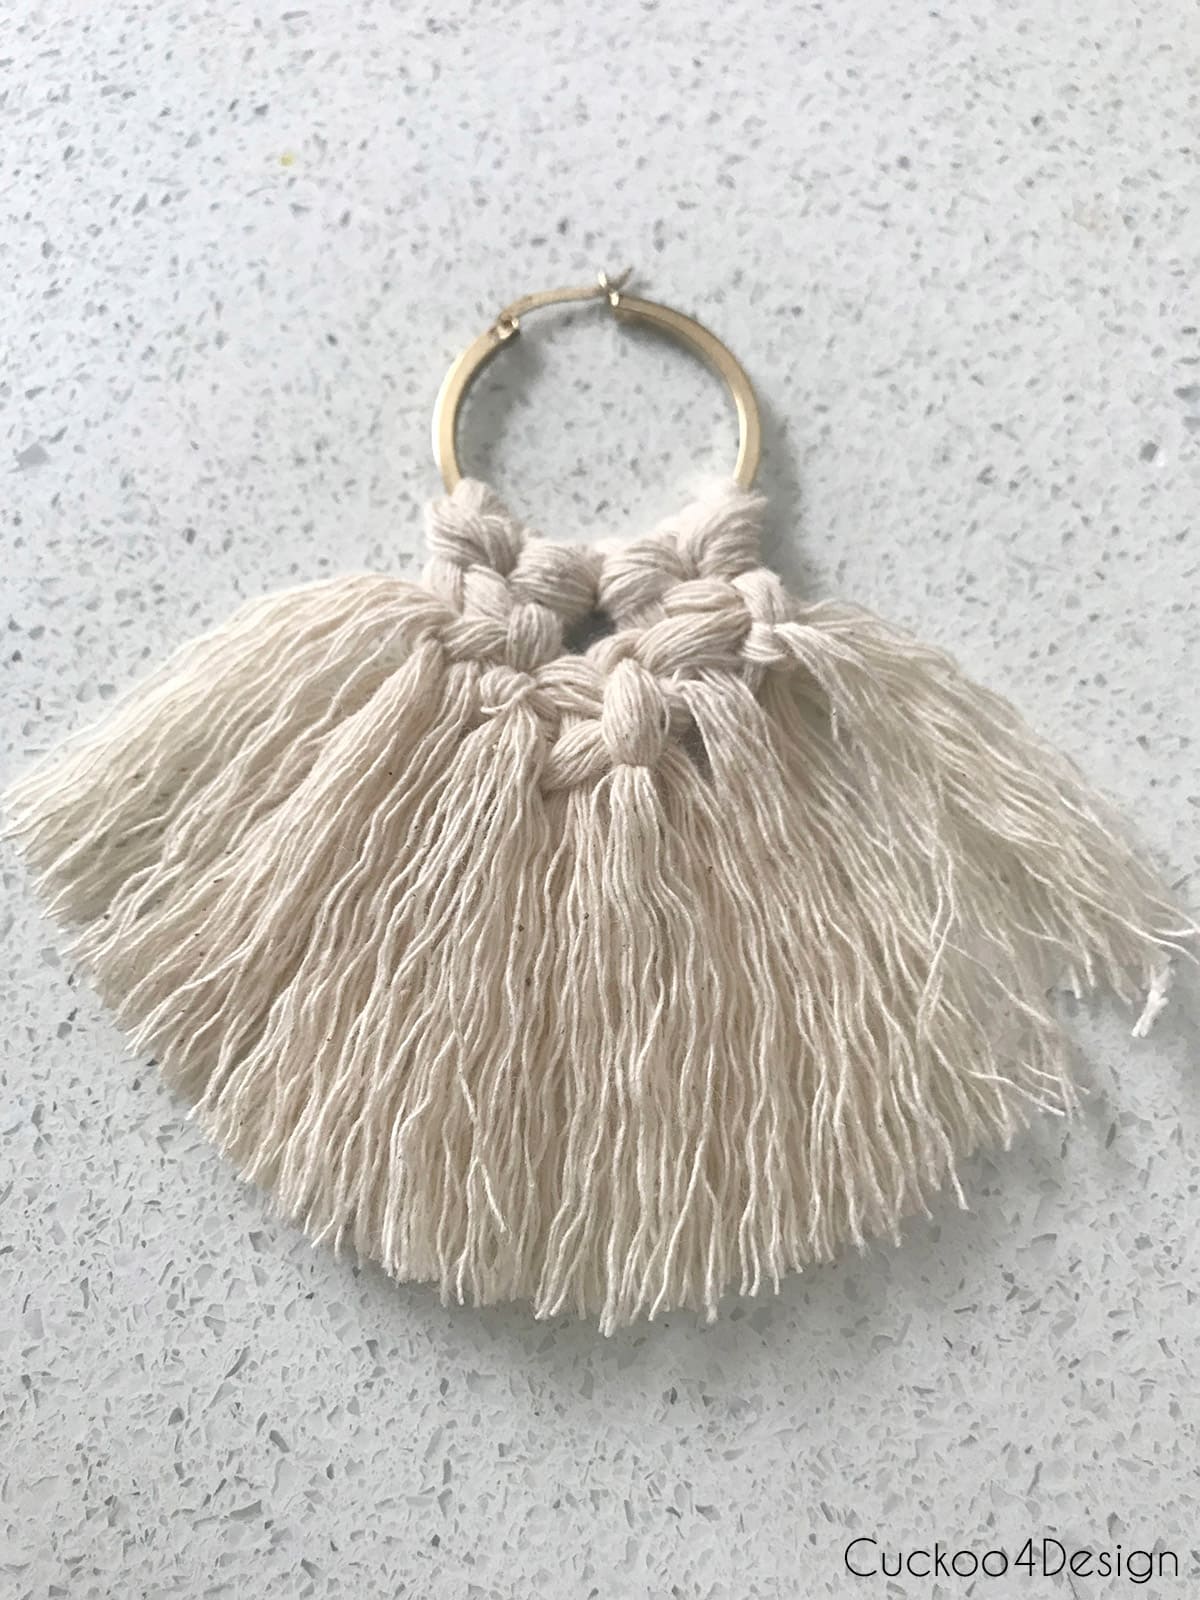
Step 5: Comb and trim the yarn
After that, you just comb the open ends and give them a haircut to come up with your desired shape for the macrame earrings.
I wanted mine to have a fanned shape but you could make them long and straight or even give them a triangular shape.
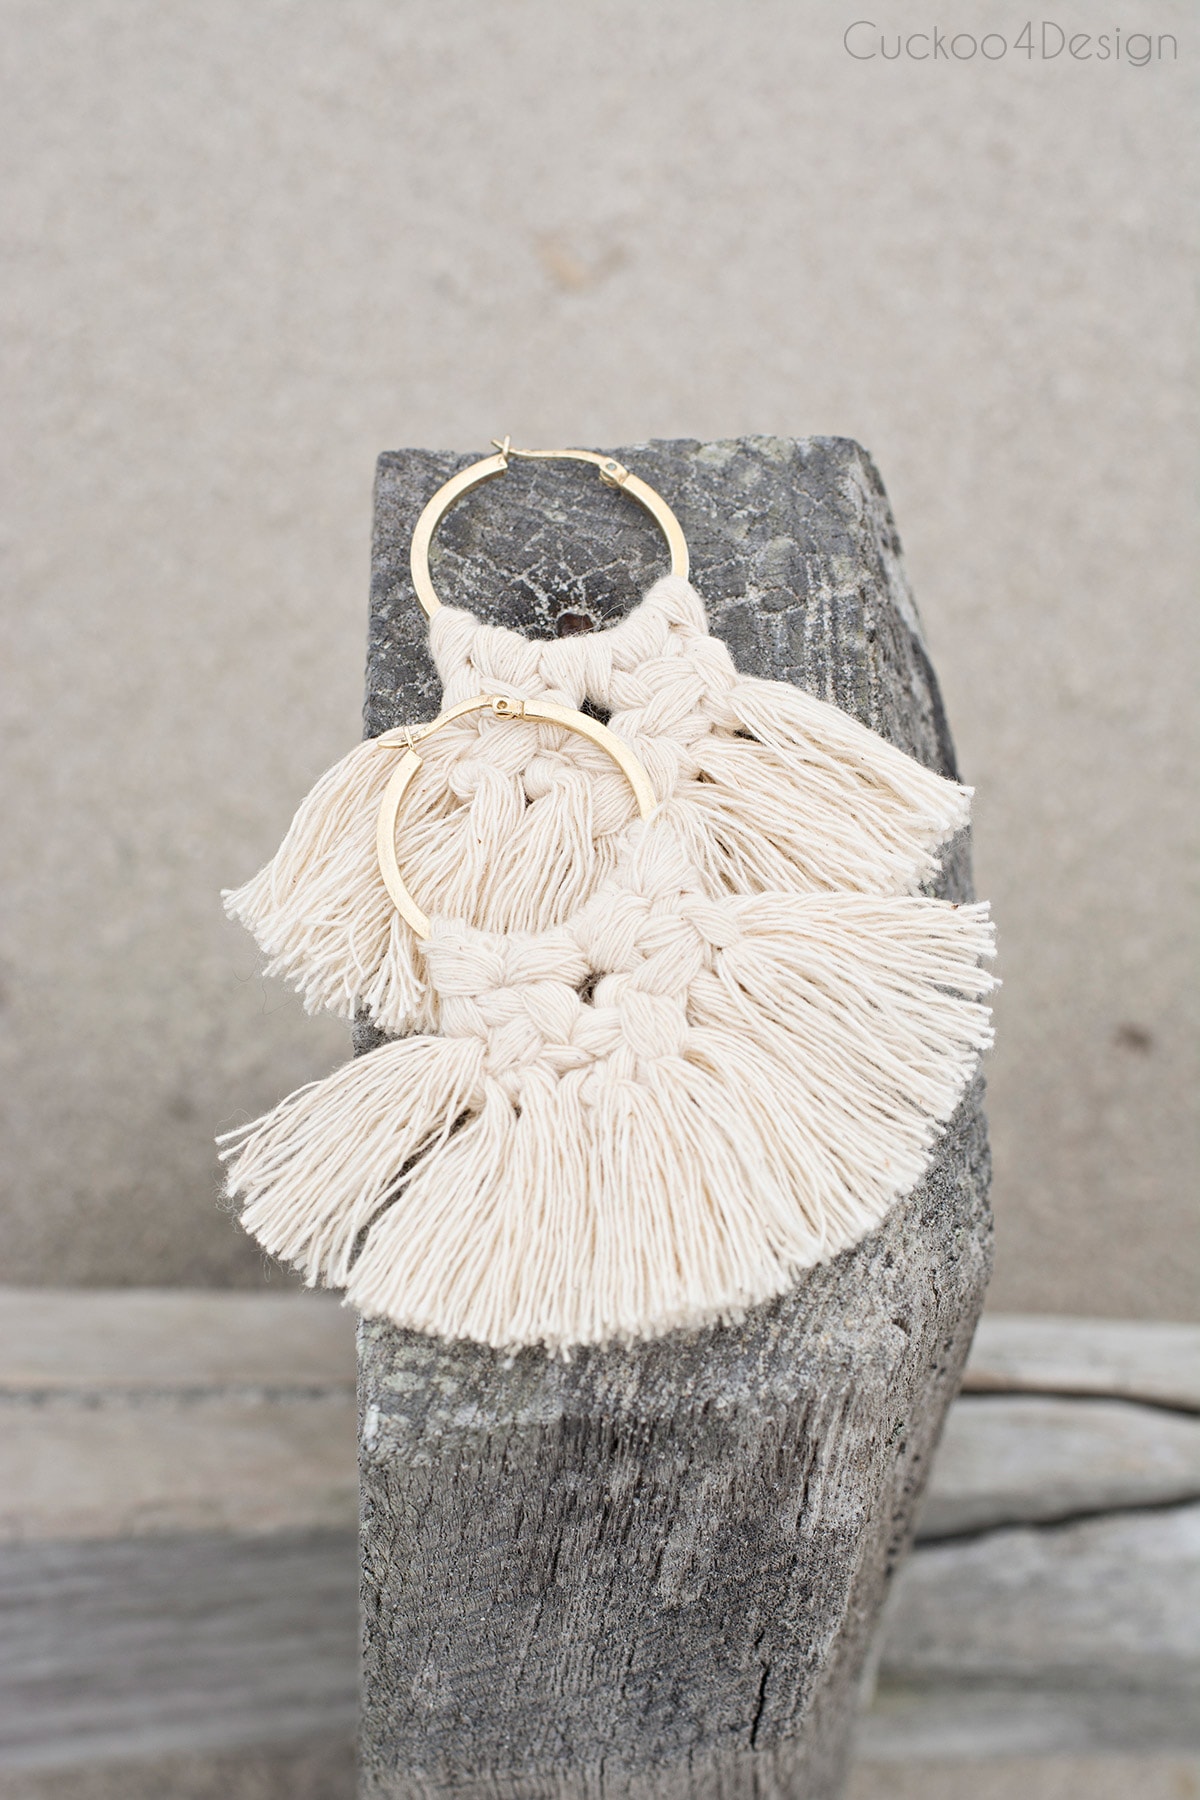
Photos of finished DIY macrame earrings
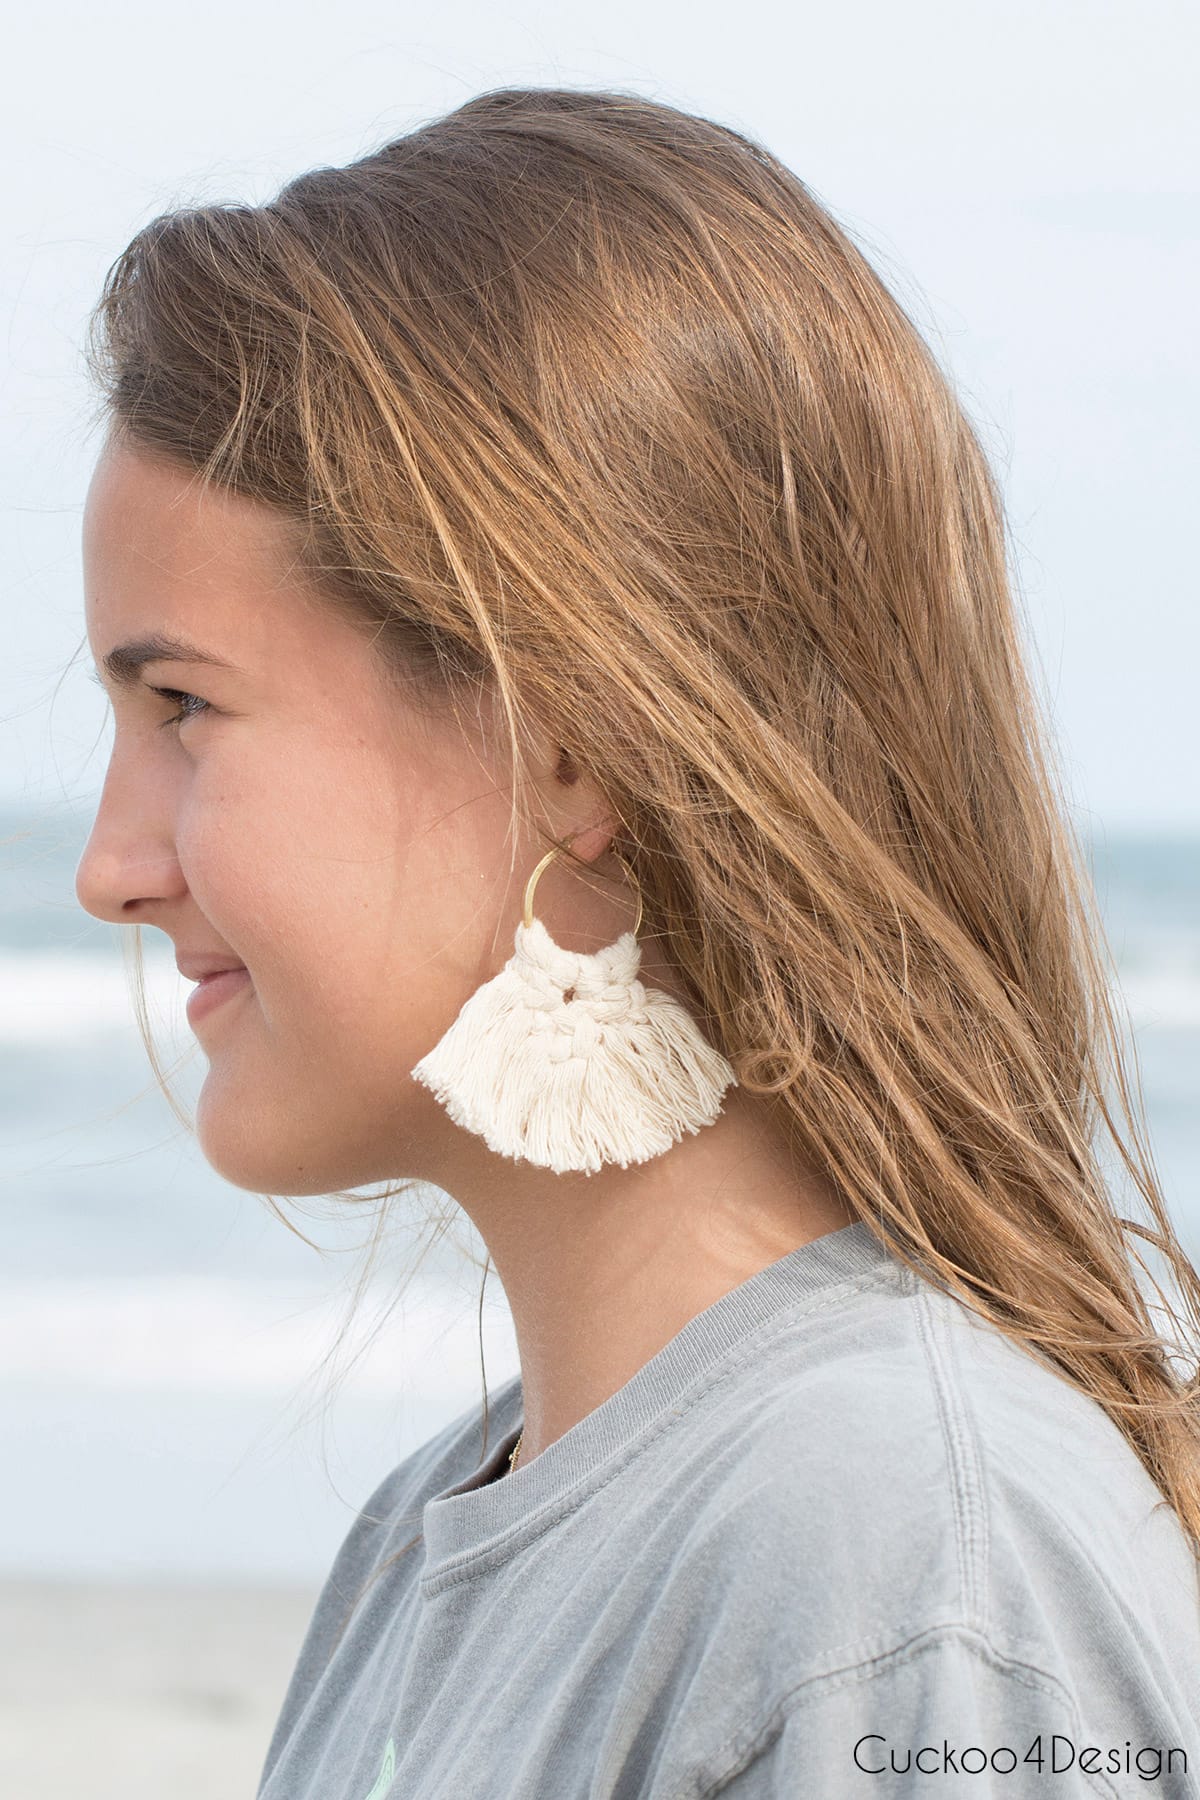
I love them and have worn them many times already. I have really stretched out ear loops and I have found something that helps me wear big earrings again.
I buy these clear ear stickers and apply them to the back of my earlobe before sticking the actual earring through my ear holes. They work like a charm!
And below is my friend’s beautiful daughter modeling the earrings for you. There are seriously so many different options on how you could make these. You can even add beads or seashells to the macrame earrings.
You might also like my DIY snail shell bracelet and my DIY macrame starfish, which you can see in the image below.

Where to buy macramé earrings
If crafting isn’t your thing and you’d rather buy finished macrame earrings then I gathered some for you.

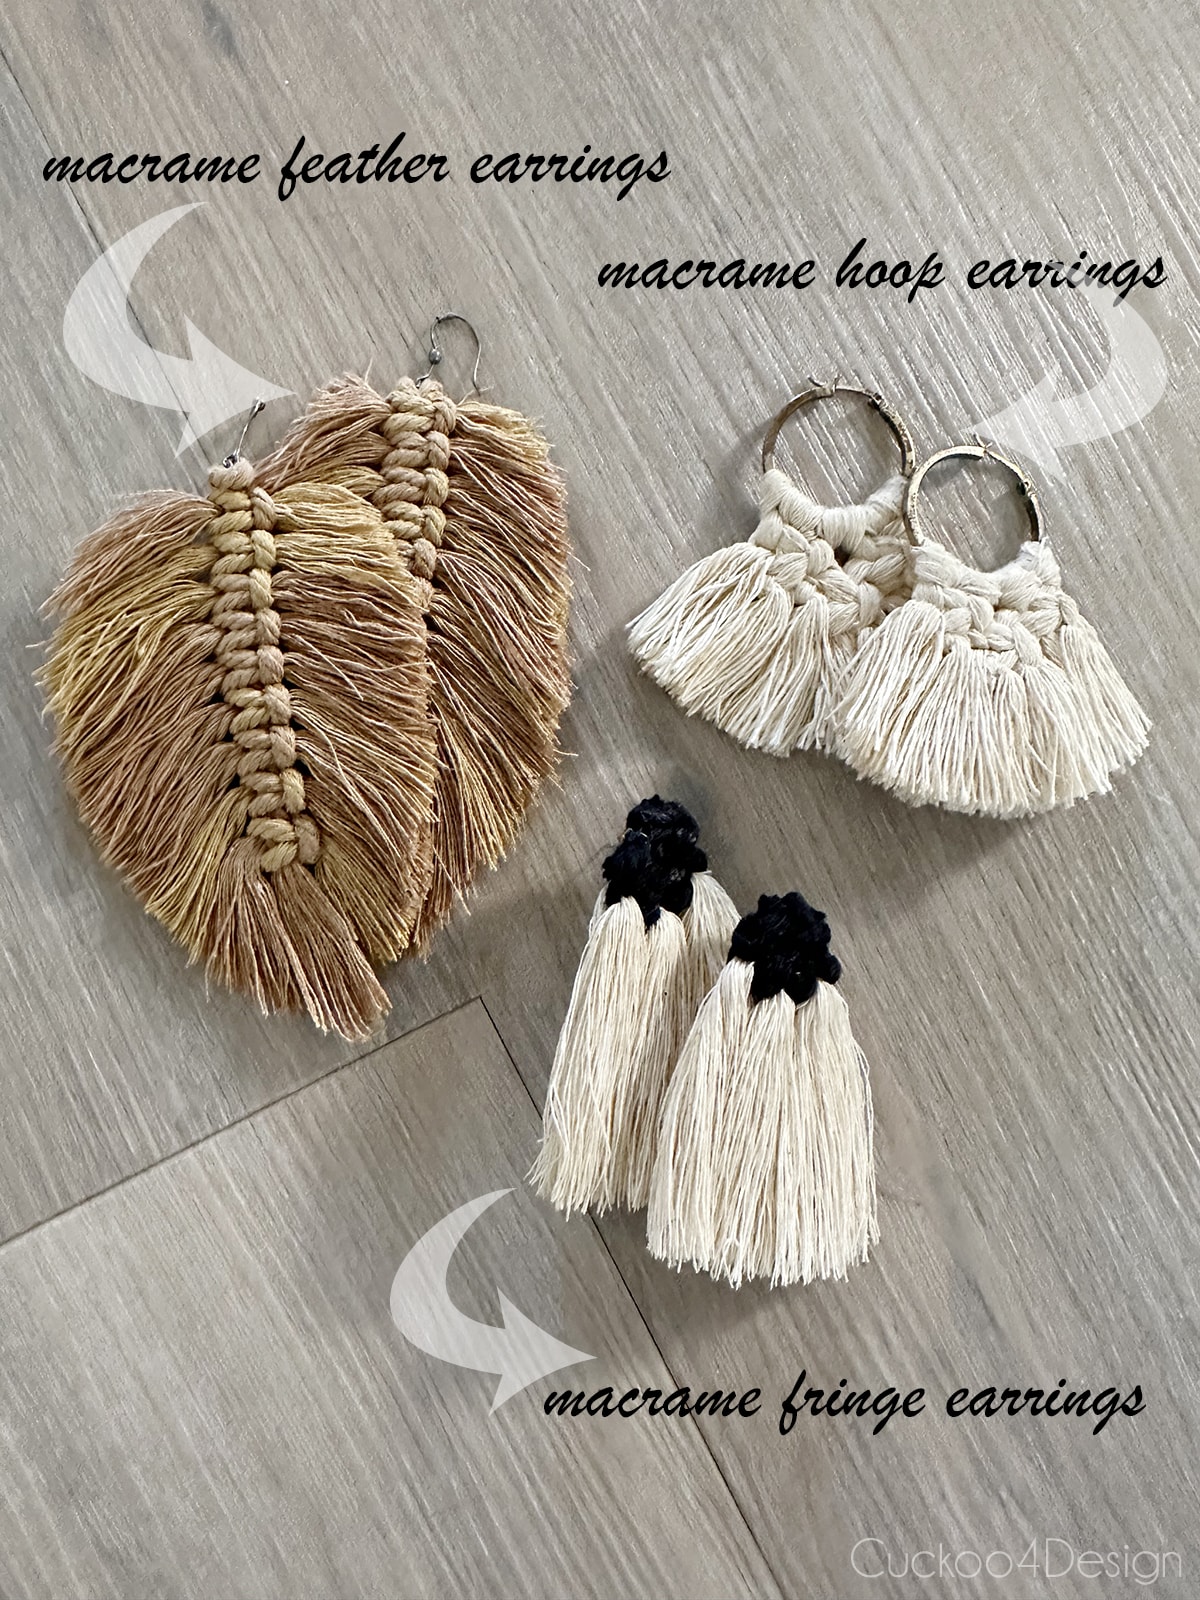
More DIY macrame earring tutorials
I also have other macrame earring patterns for you to check out. I love the macrame feather earrings and macrame fringe earrings on studs.
More of my easy macrame projects
- easy macrame heart
- easy macrame wreath
- easy macrame feather (macrame feather earrings tutorial included)
- macrame garland for beginners
- easy macrame basket
- How to make a macrame necklace (3 different ways)

I hope you enjoyed this little tutorial and give macrame a try. It’s so much fun.
Tschüß,

How to make macrame earrings
In this quick tutorial, I'm showing you how to make these affordable and stylish, boho DIY macrame earrings plus other macrame earring ideas.
Tools
- comb or brush
- clip or small clamp
Instructions
- ( This step is optional: Unravel your macrame cord into separate pieces if you want to make your earrings lighter. The thinner the yarn the lighter the macrame earrings. So if you don't care about the weight, leave the cord as is and skip to step 2.
- Take two 10-inch long strands of cord, fold them in half, and loop them onto a hoop earring with Lark's Head Knots.

- Knot two Square Knots in the first row, followed by one Square Knot centered over the previous two which creates a v-shape.
- Then dip the end strands in fabric stiffener and let them dry.
- Comb the open ends and give them a haircut in your desired end shape.
Notes
You can make these macrame earrings with any type of yarn or cord. Keep in mind, the thinner the yarn, the lighter your macrame earrings will be.
Love the earrings. You did a beautiful job and they are so unique.
Thanks so much Margaret, the possibilities are endless with these.
Love these!
Thanks so much!!!
you are so talented- these are awesome!
🙂 thanks Cassie! You should try to make some
I’m dying! This is genius! I’m gonna make a set for my DIL and future DIL and one for me too – of course!!!
Oh great idea! They make great gifts
Those are so cool!!
How long do you cut each cord? I don’t see where you stated this. These are beautiful! I want to make my daughter a couple pair for her birthday.
Hi Kim, I used 10″-12″ scrap pieces that I had on hand from trimming other macrame projects. I think you could get away with shorter pieces too. It depends on how long you want the fringe to be.
I absolutely LOVE these. I’m thinking of making them in different colors, too! But I’m curious, do the knots stay secure if you pull them tight, or do you use some sort of fixative for that? Beautiful job, by the way! Great way to reuse, recycle and repurpose. ❤
Hi Helen, I’m glad you love them. The knots stay pretty tight. I don’t use anything besides starch/fabric stiffener. Good luck!