How to make a large macrame stone wrap (plus video tutorial)
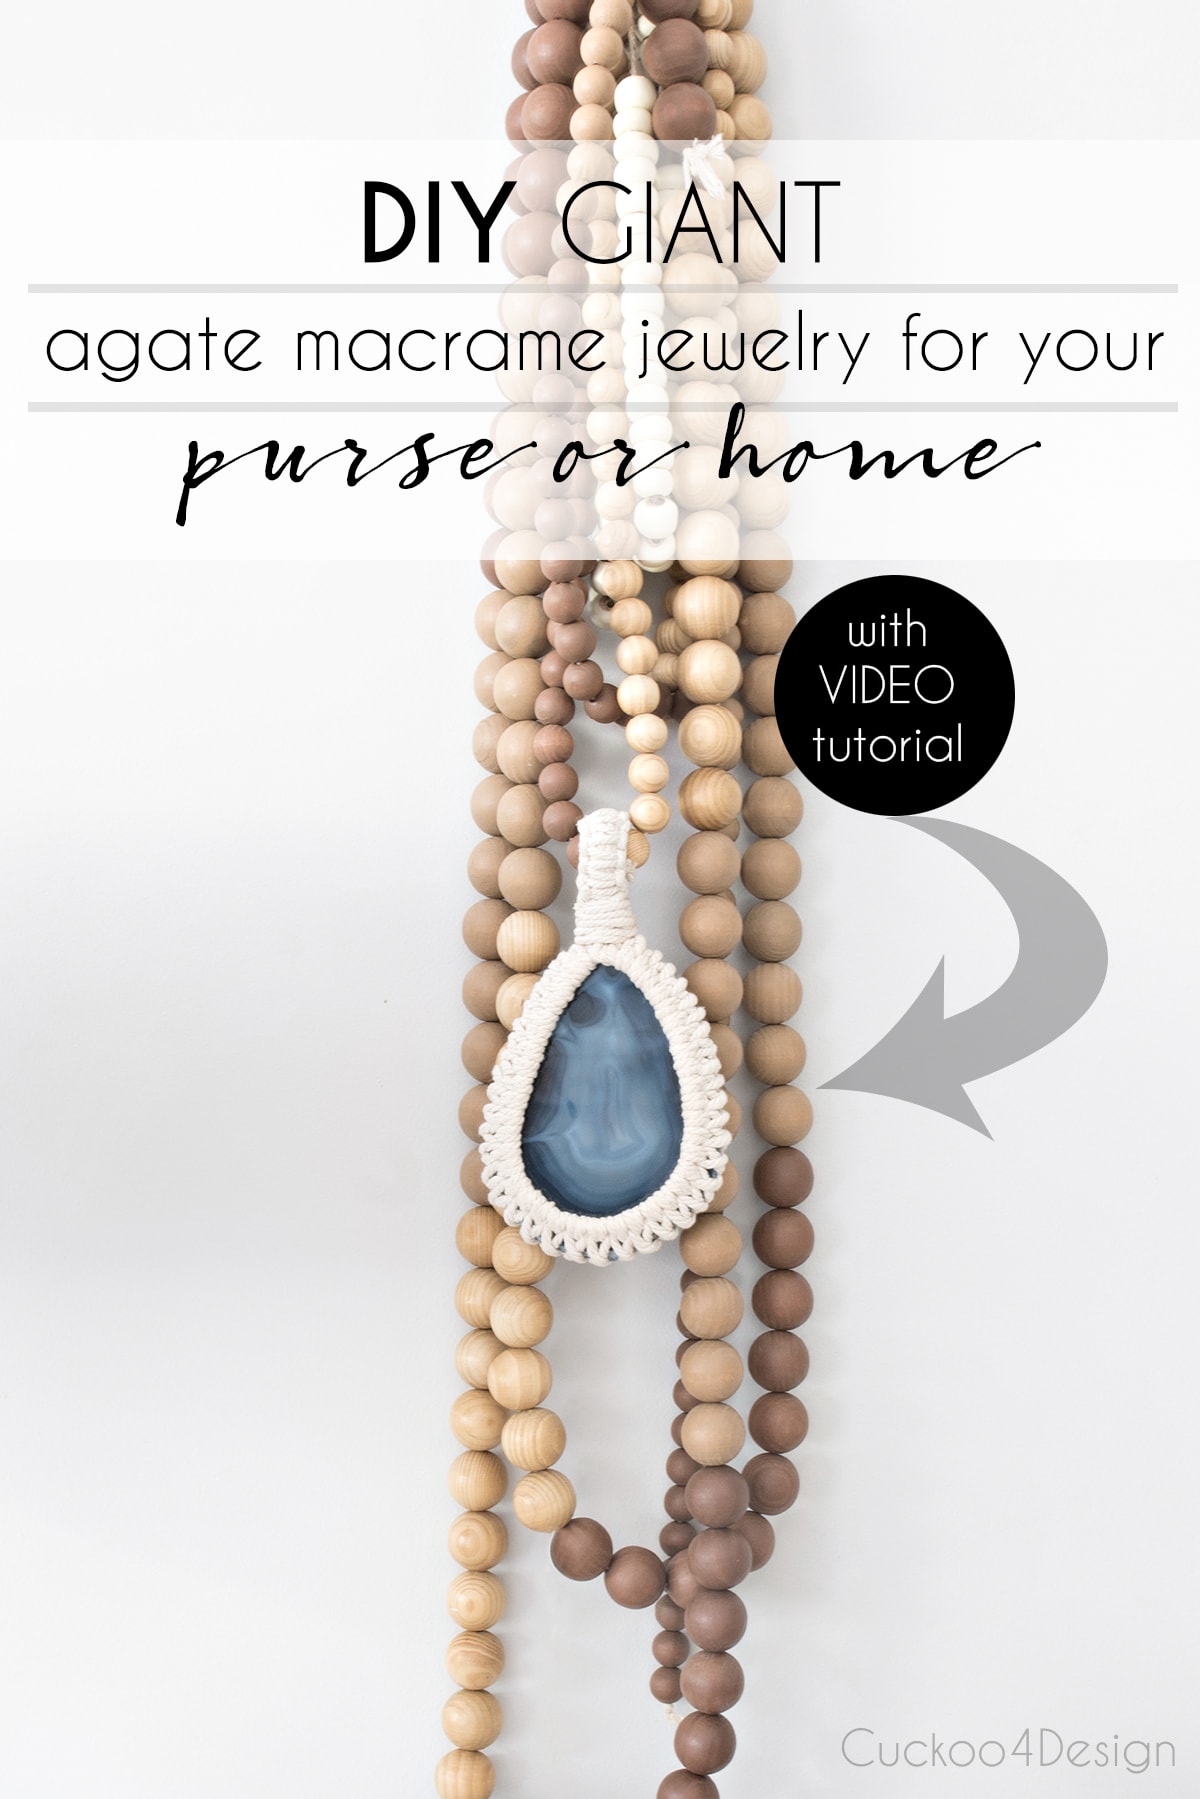
After my macrame feather and stacked tassel purse charm posts, I noticed that a lot of other people, just like myself, love crafting something pretty and easy that they can use as a purse charm or home decor item. So today I want to share with you another fun and easy way of accessorizing your favorite bag with a macrame stone wrap piece. Sounds strange I know… but this easy large wrapped agate slice is perfect for your home decor, as a curtain tie back, wallhanging or purse charm.
How to make a large macrame stone wrap using an agate slice
And once again you don’t need many things for this macrame project. I was actually able to use some of my macrame yarn leftovers and only had to purchase the agate slice. I’m obsessed with all the colors agate comes in, so you are definitely not restricted to blue. I have several beautiful pink ones at home too that I use for coasters right now but will maybe end up turning into something else too.
So today I basically want to share with you how to make a macrame stone wrap.
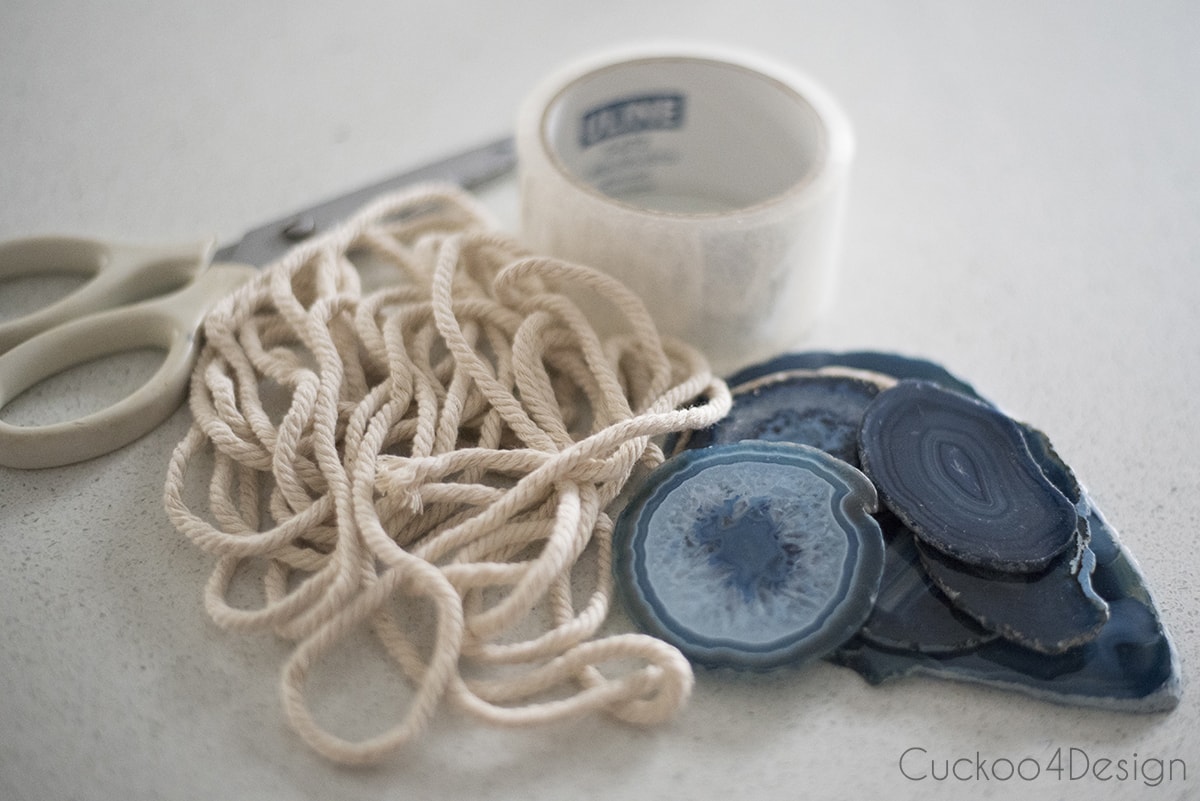
Materials needed
- macrame yarn (I use this cord)
- sharp scissors (I like using hair-cutting scissors)
- agate slice of your preferred color (pretty blue agate slice, pretty green agate slice)
- hot glue gun
- packaging tape or duct tape
- yarn needle
Video tutorial
Here is the video tutorial which helps a lot when you see what my hands are doing to create this piece. If the video doesn’t load for you, you can watch it on my YouTube channel instead.
Macrame stone wrap instructions
This post may contain affiliate links from which I will earn a commission at no extra cost to you. View my full disclosure policy.
I have to say that this is definitely a craft tutorial where it is better to watch my how-to video first. I needed both of my hands to work the yarn and it was hard to take photos along the way. Some of the steps are definitely better in the video.
I wanted a really large blue slice of agate to match all my blue shibori pillows. Agate slices are so pretty with all their variations.
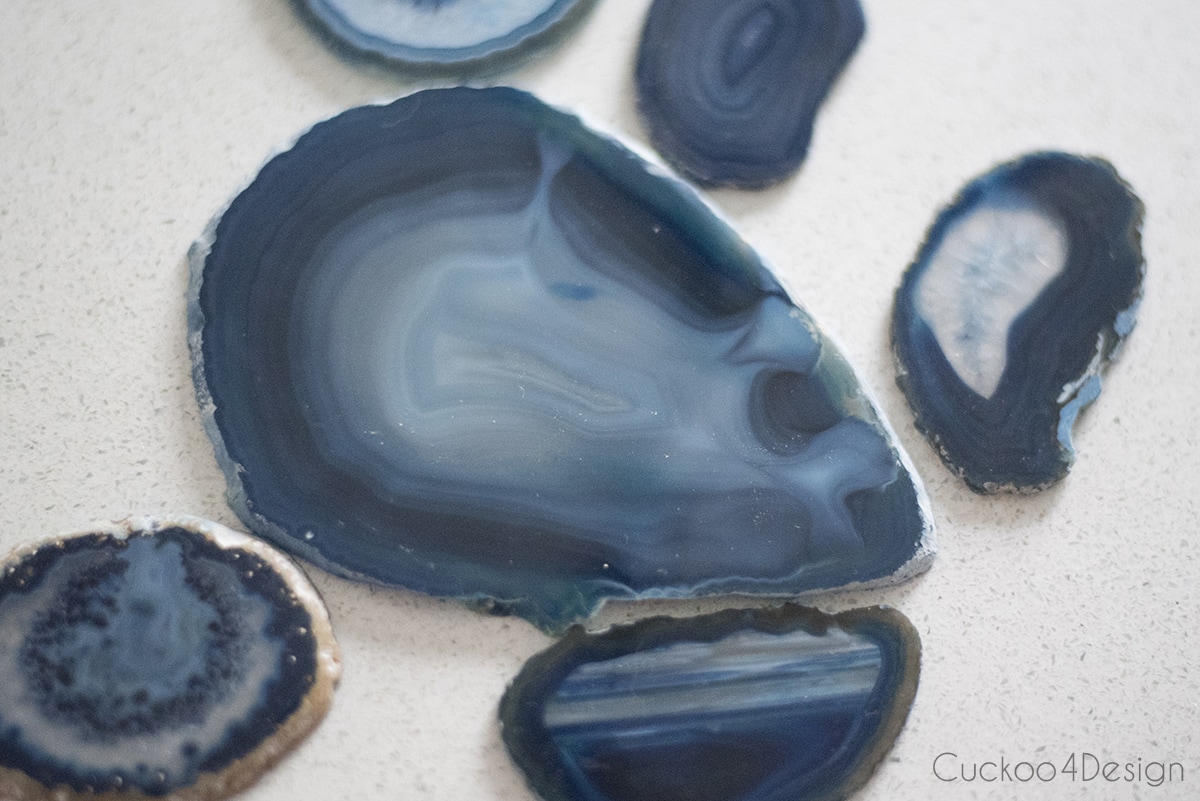
I chose the blue tear drop shaped one and used my leftover macrame yarn. If you use a smaller slice then you have to use thinner macrame yarn. Mine is the 4mm yarn, so go down to 1mm, 2mm or 3mm yarn for smaller slices. You can make several of them and string them onto a garland too which would look awesome.
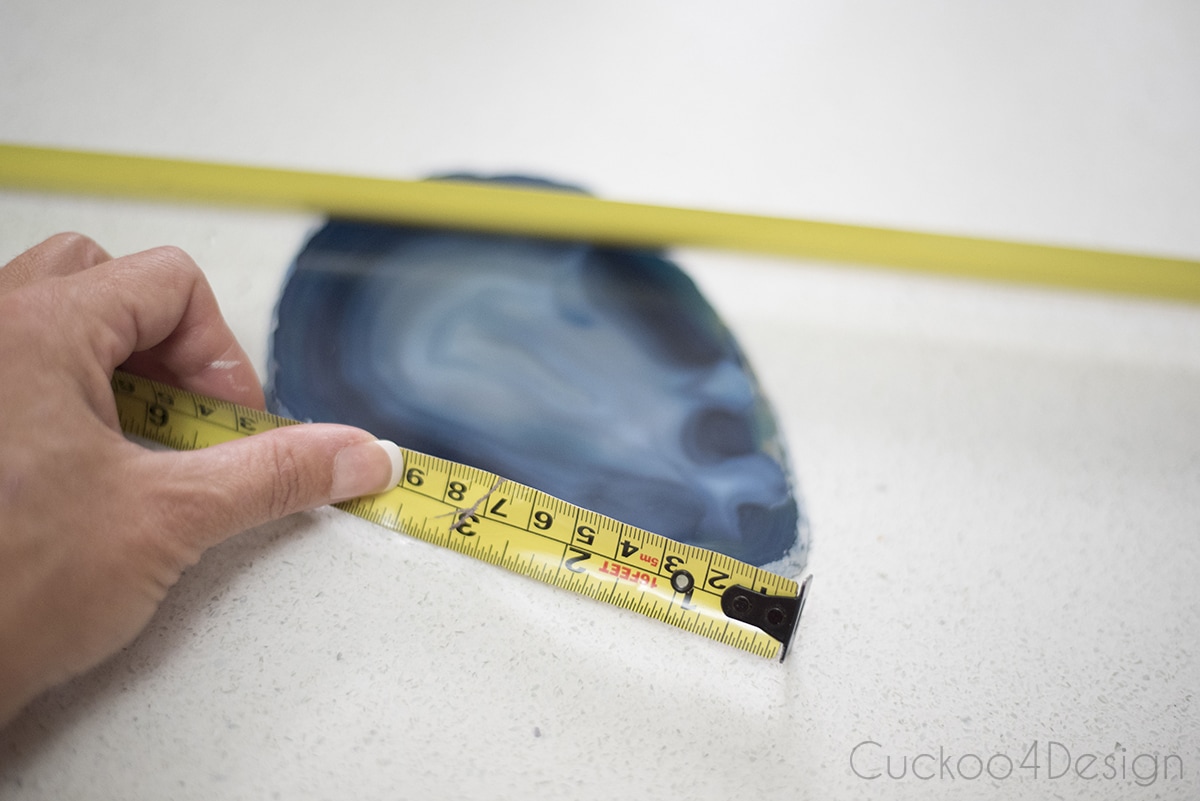
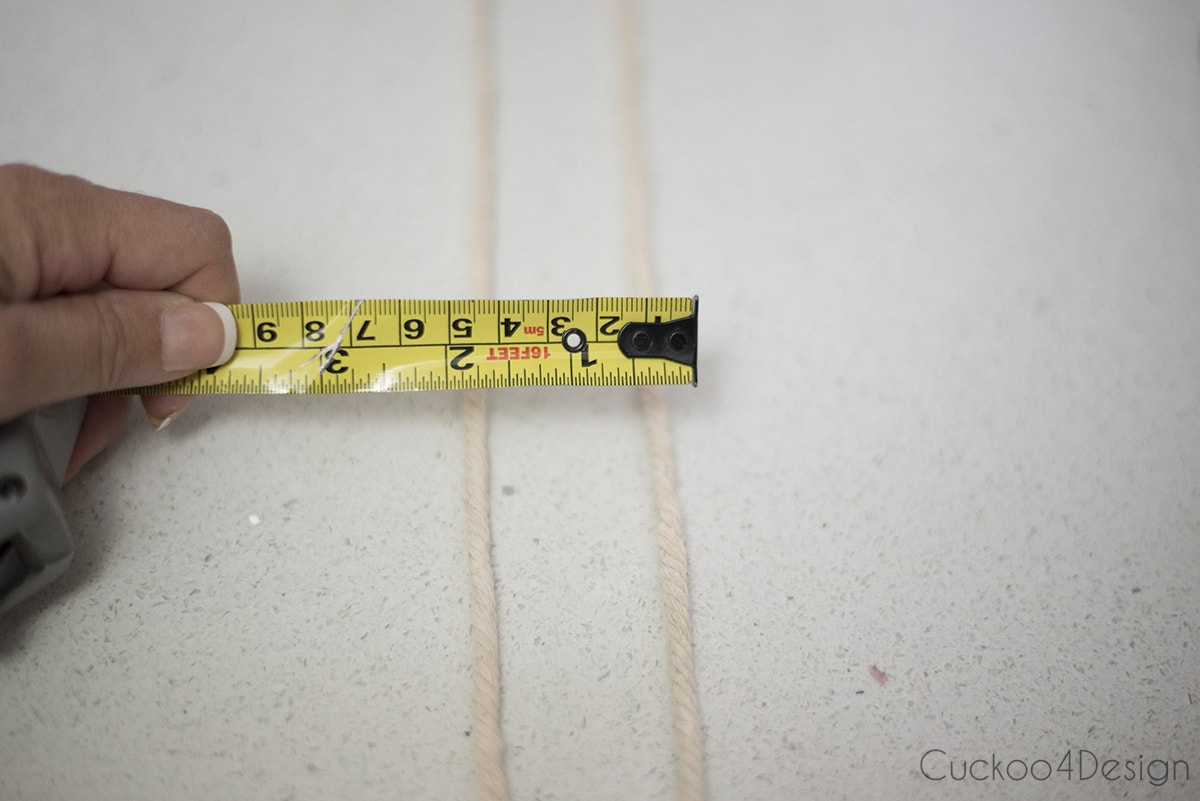
Measure the circumference of the agate slice:
Cut a piece of macrame yarn that is about 10-20 inches longer than the circumference of the agate slice and tape it to a solid surface on both ends to keep it in place and have tight tension on the yarn.
I chose the distance to be two inches but you should pick something that applies to the size of your stone. If it is smaller then 1 inch might do.
The basic macrame knots used
Loop lark’s head knots on each side of the taped down string as you can see below. Make sure that each of those strings is about 4 times longer than the circumference of your agate slice.
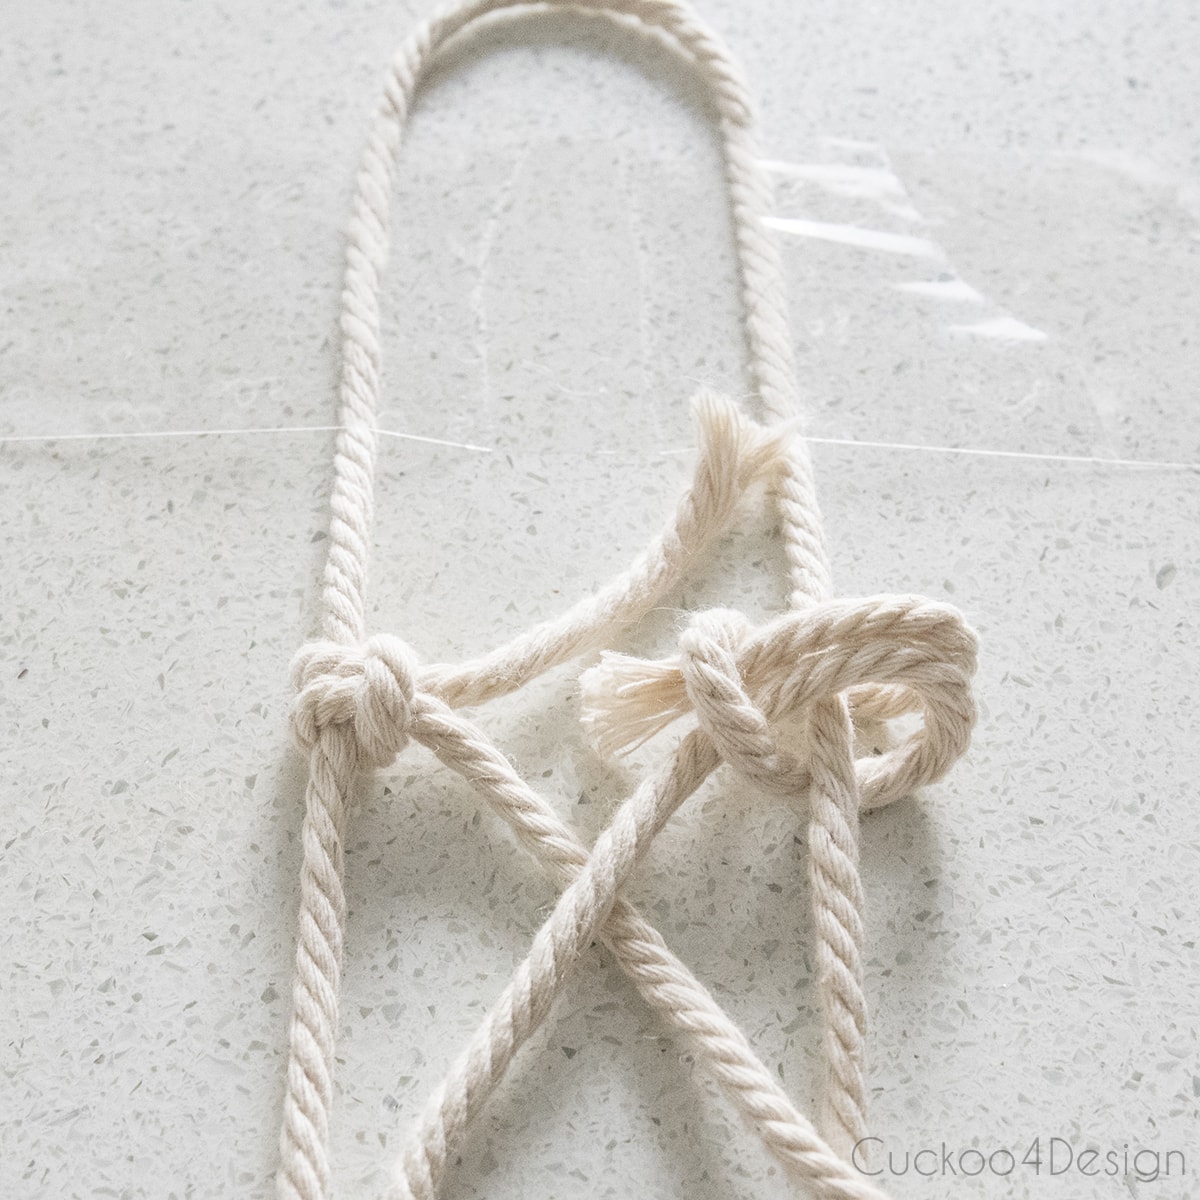
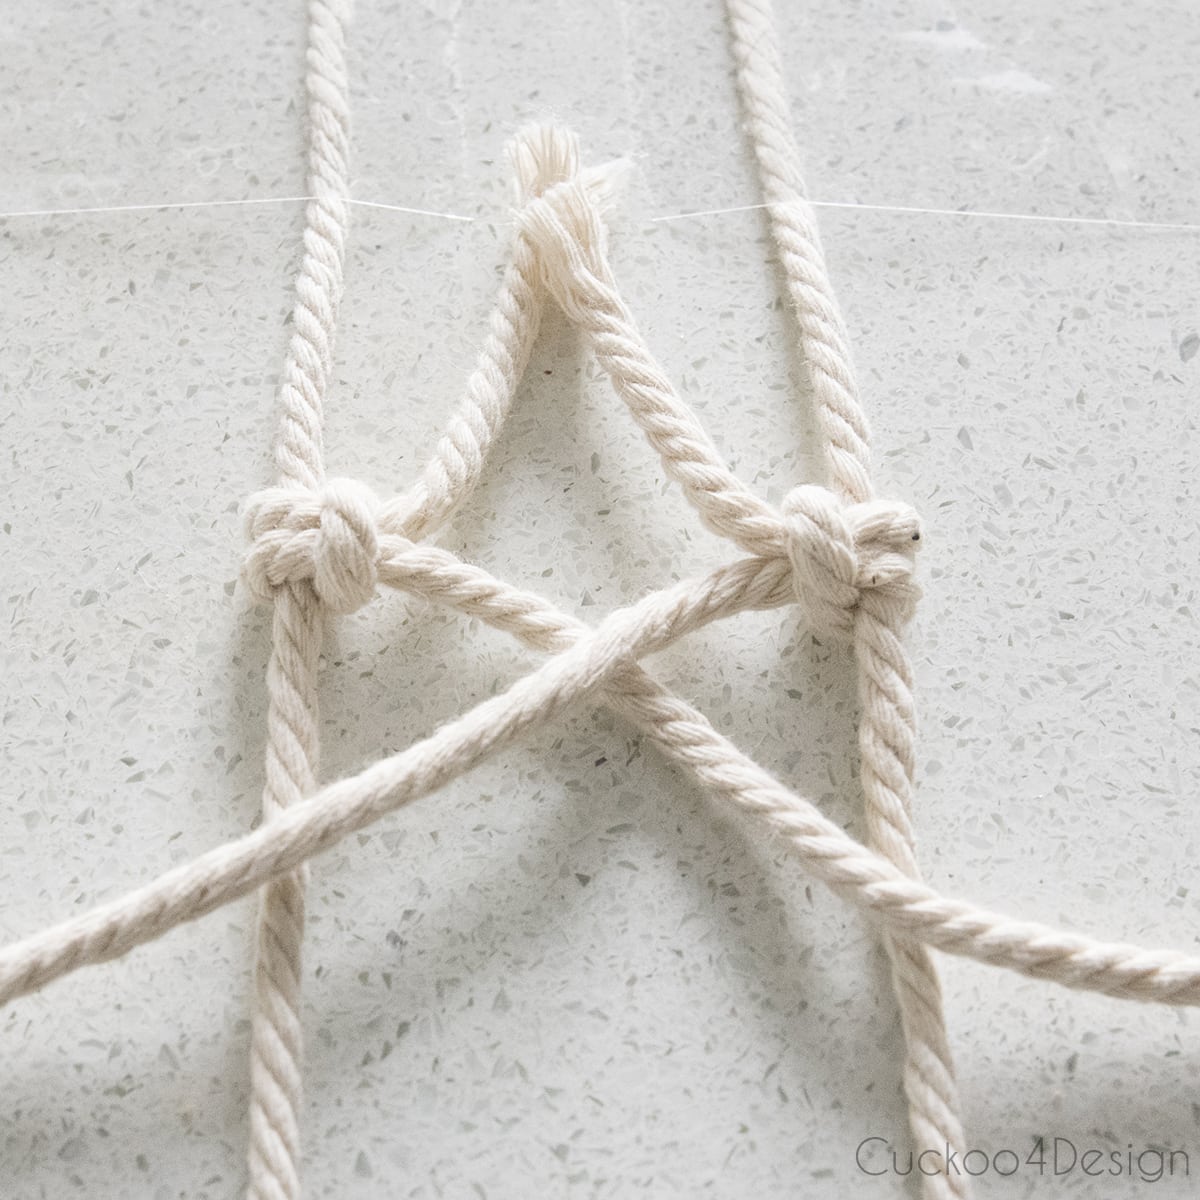
Then loop vertical Double Half Hitch Knots on each side. I think they should be called pretzel knots because that’s exactly the shape you have to replicate over the taped down string:
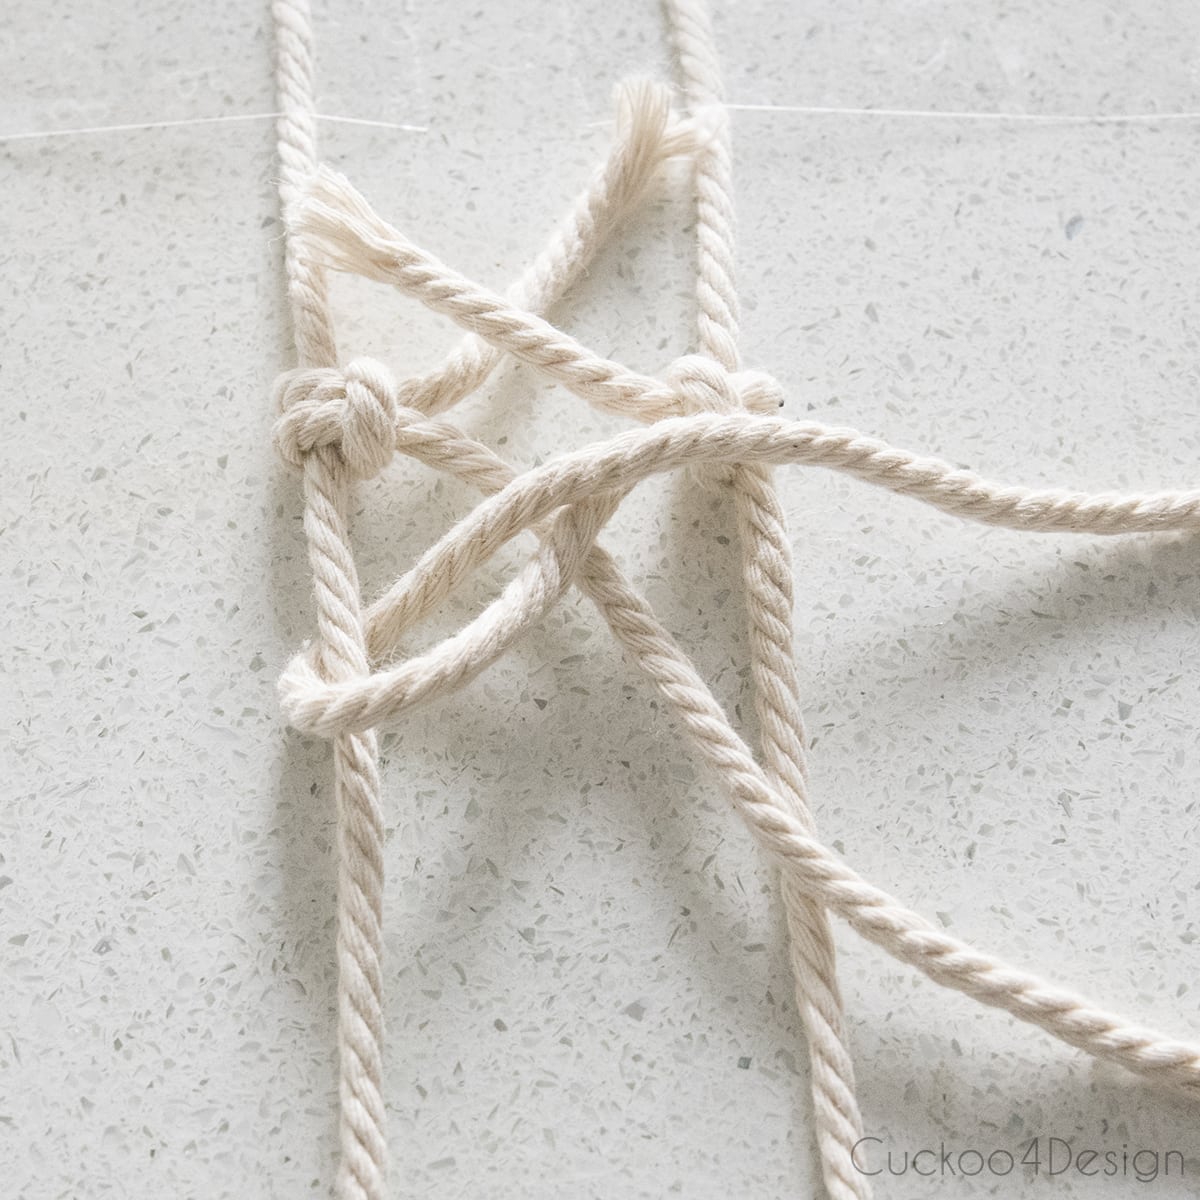
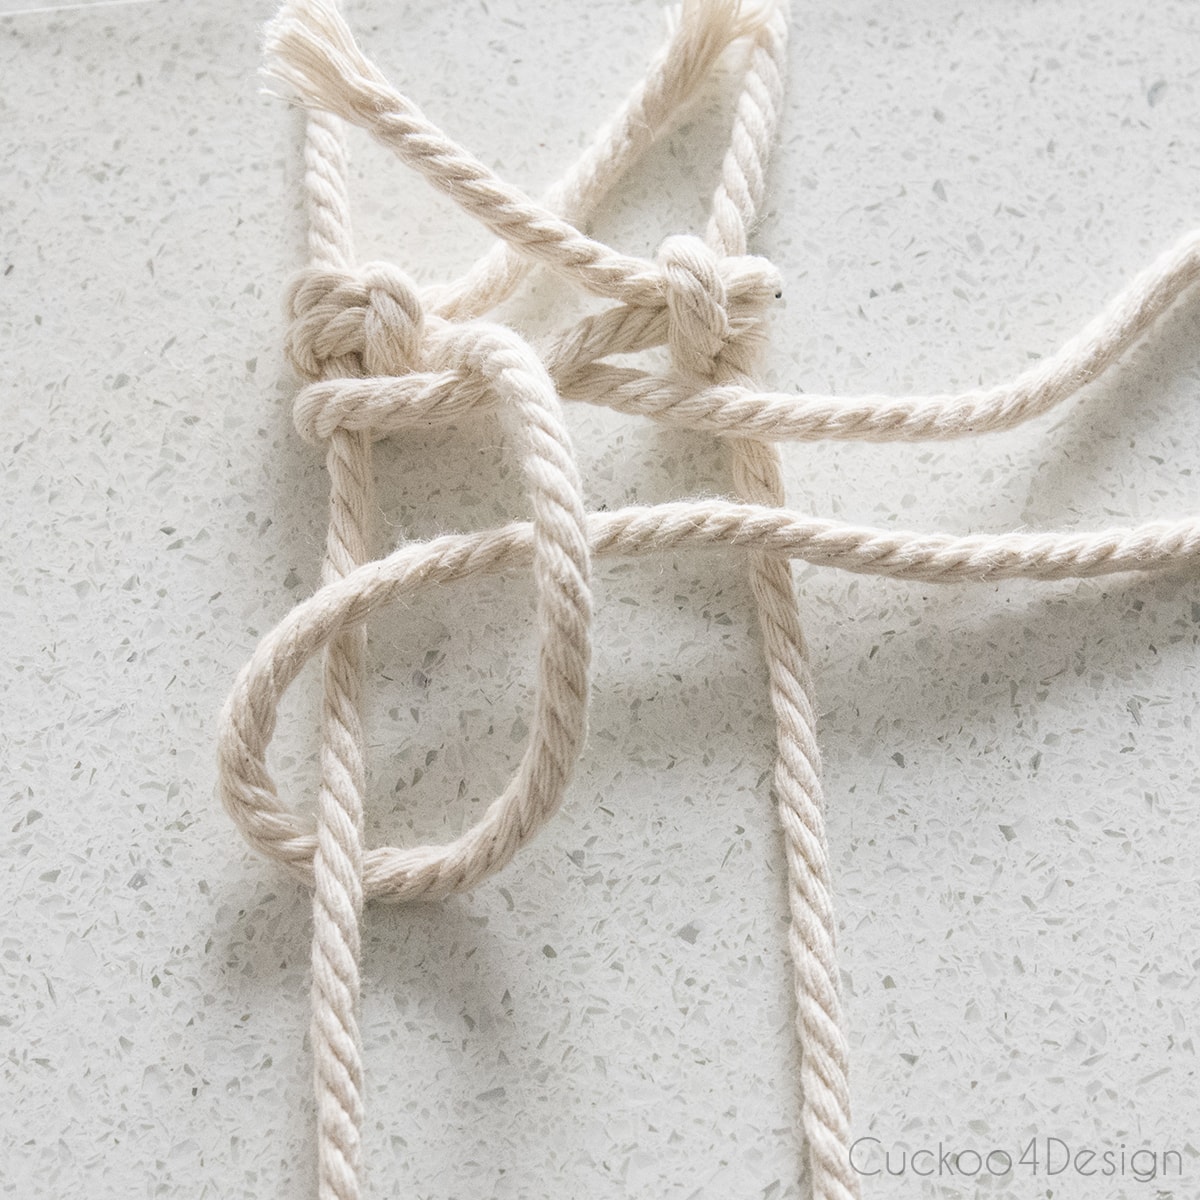
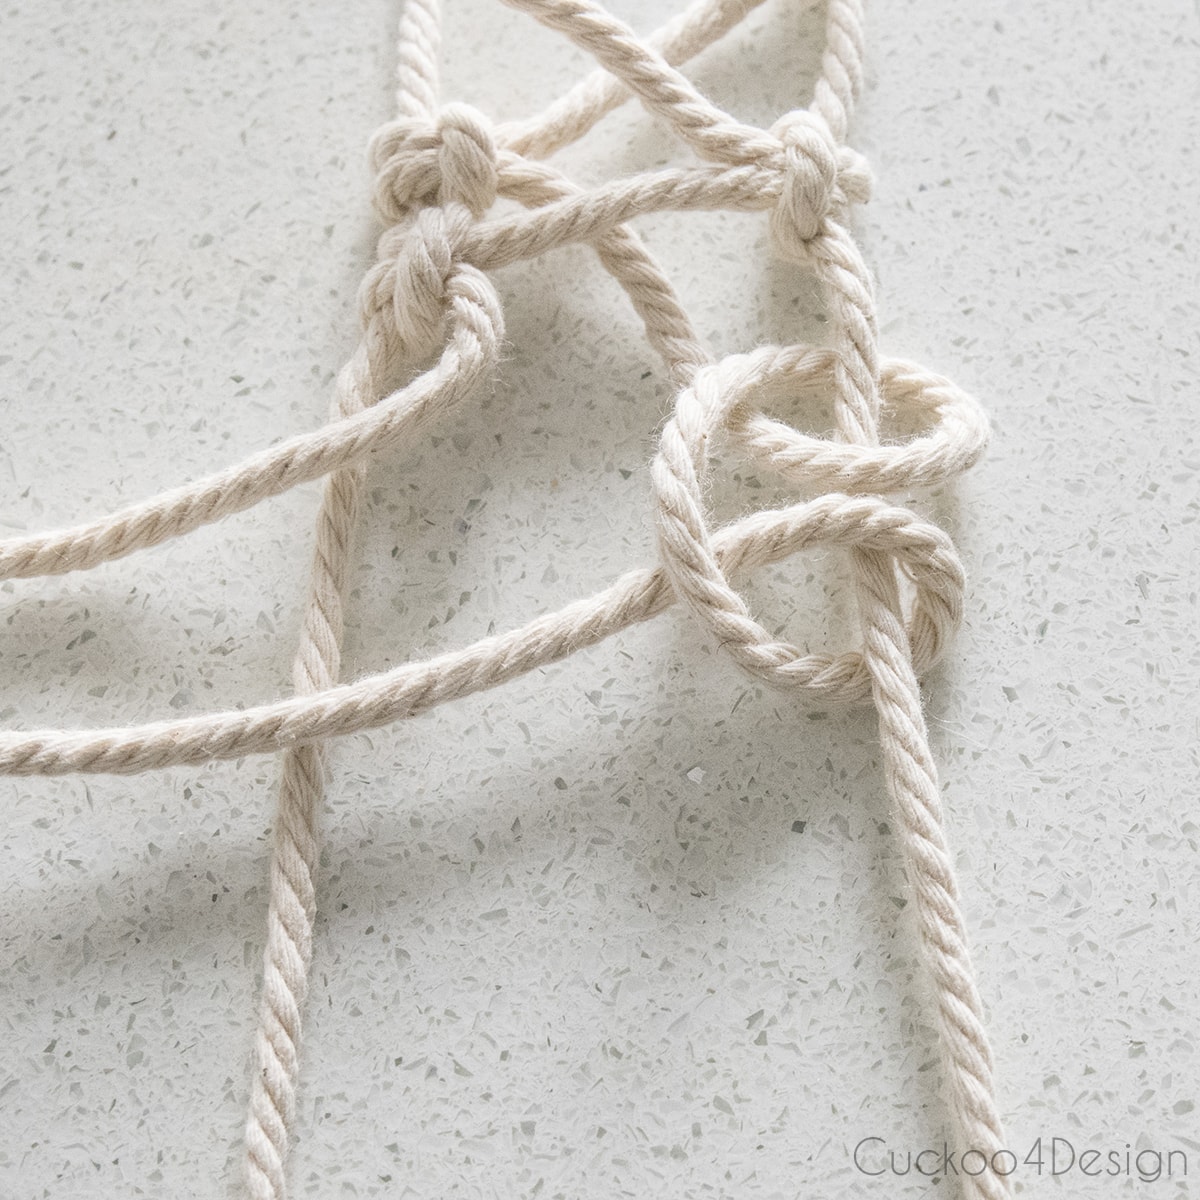
Then keep going down the strings by crossing over. Make sure to always have the same side of string cross over to make it look cleaner.
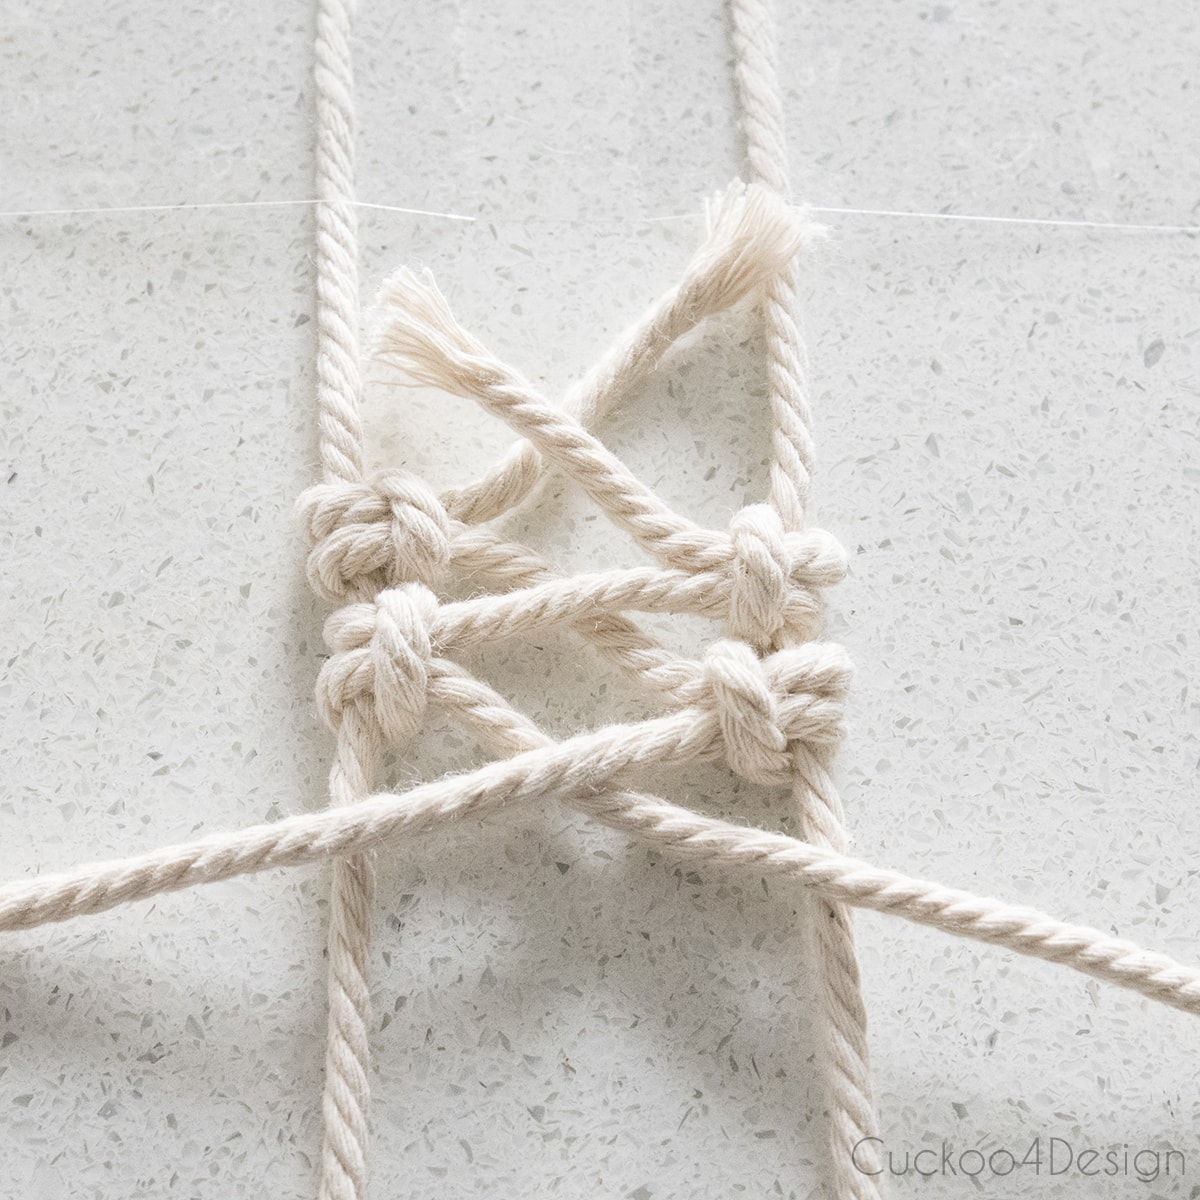
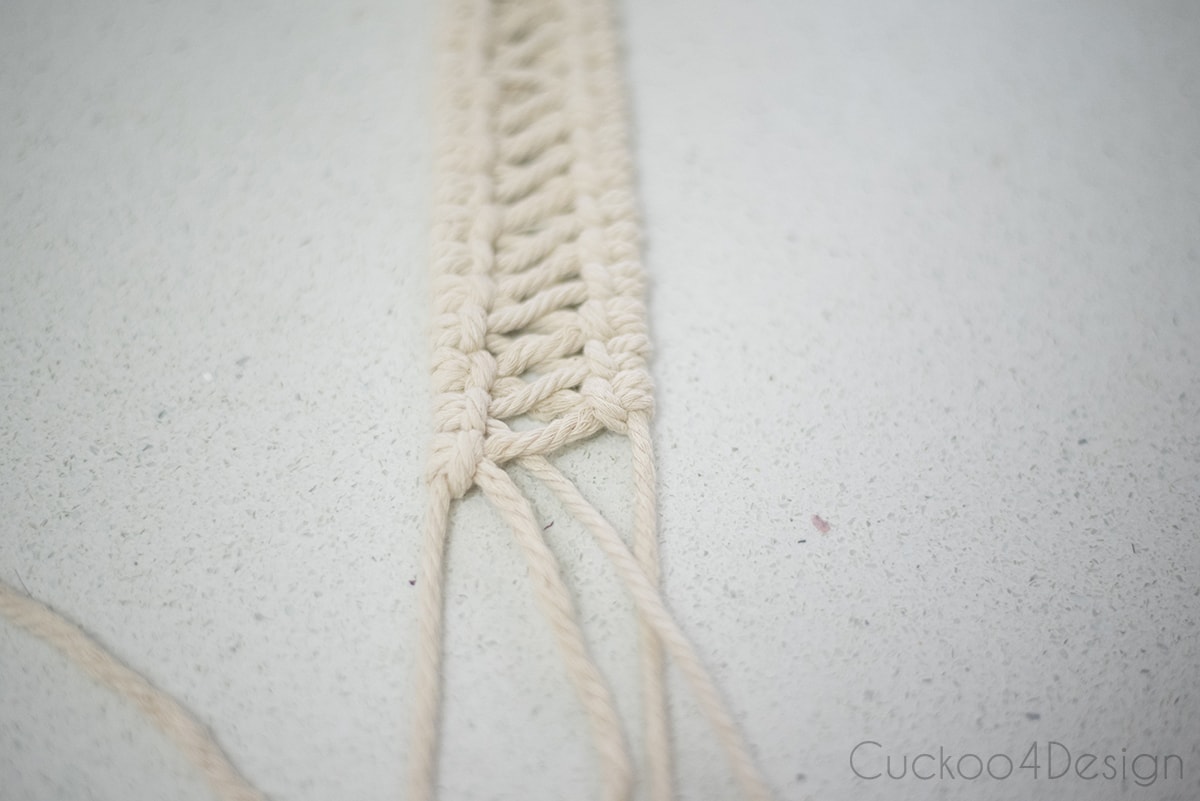
Keep going until you can fit the entire band of knotted strings around the slice. And make sure that you keep the width of the band (2 inches in my case) all the way to the end.
The next step is where the photos are missing because I couldn’t wrap the macrame around the agate slice and take photos since I worked by myself. It’s easy and you can see it inn my video. You simply wrap the macrame band around the slice and knot the ends tightly
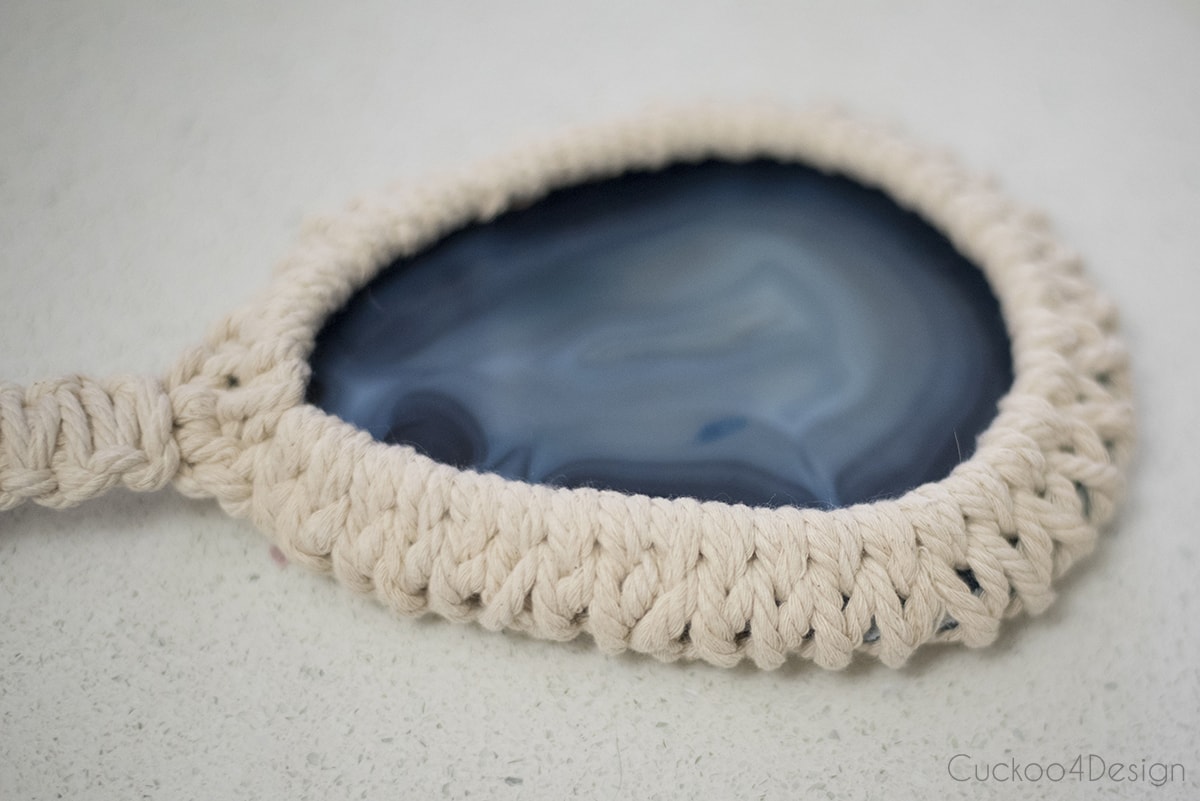
Then you have a tail left at the end of the wrapped stone that you have to tightly enclose with a new string of square knots as you can see in my video:
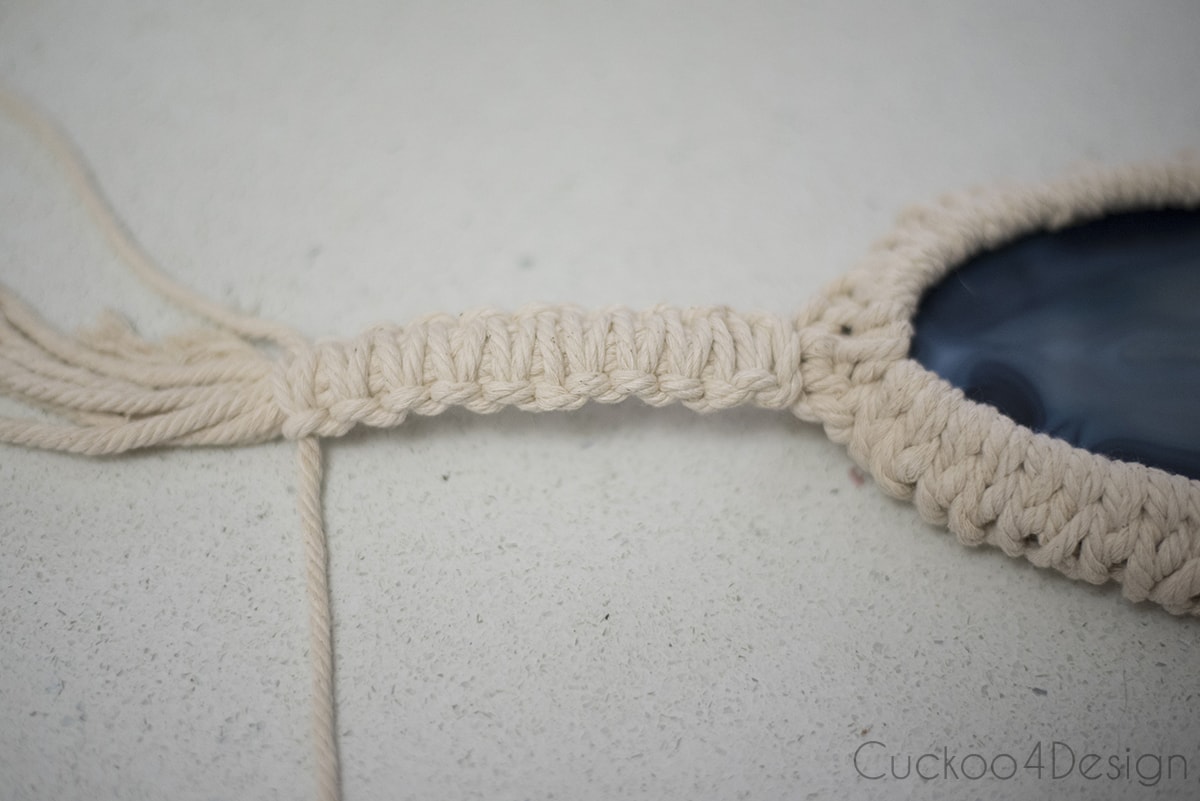
You might remember this knot from my macrame earring tutorial but in case you are new around here, check out the graphic below:
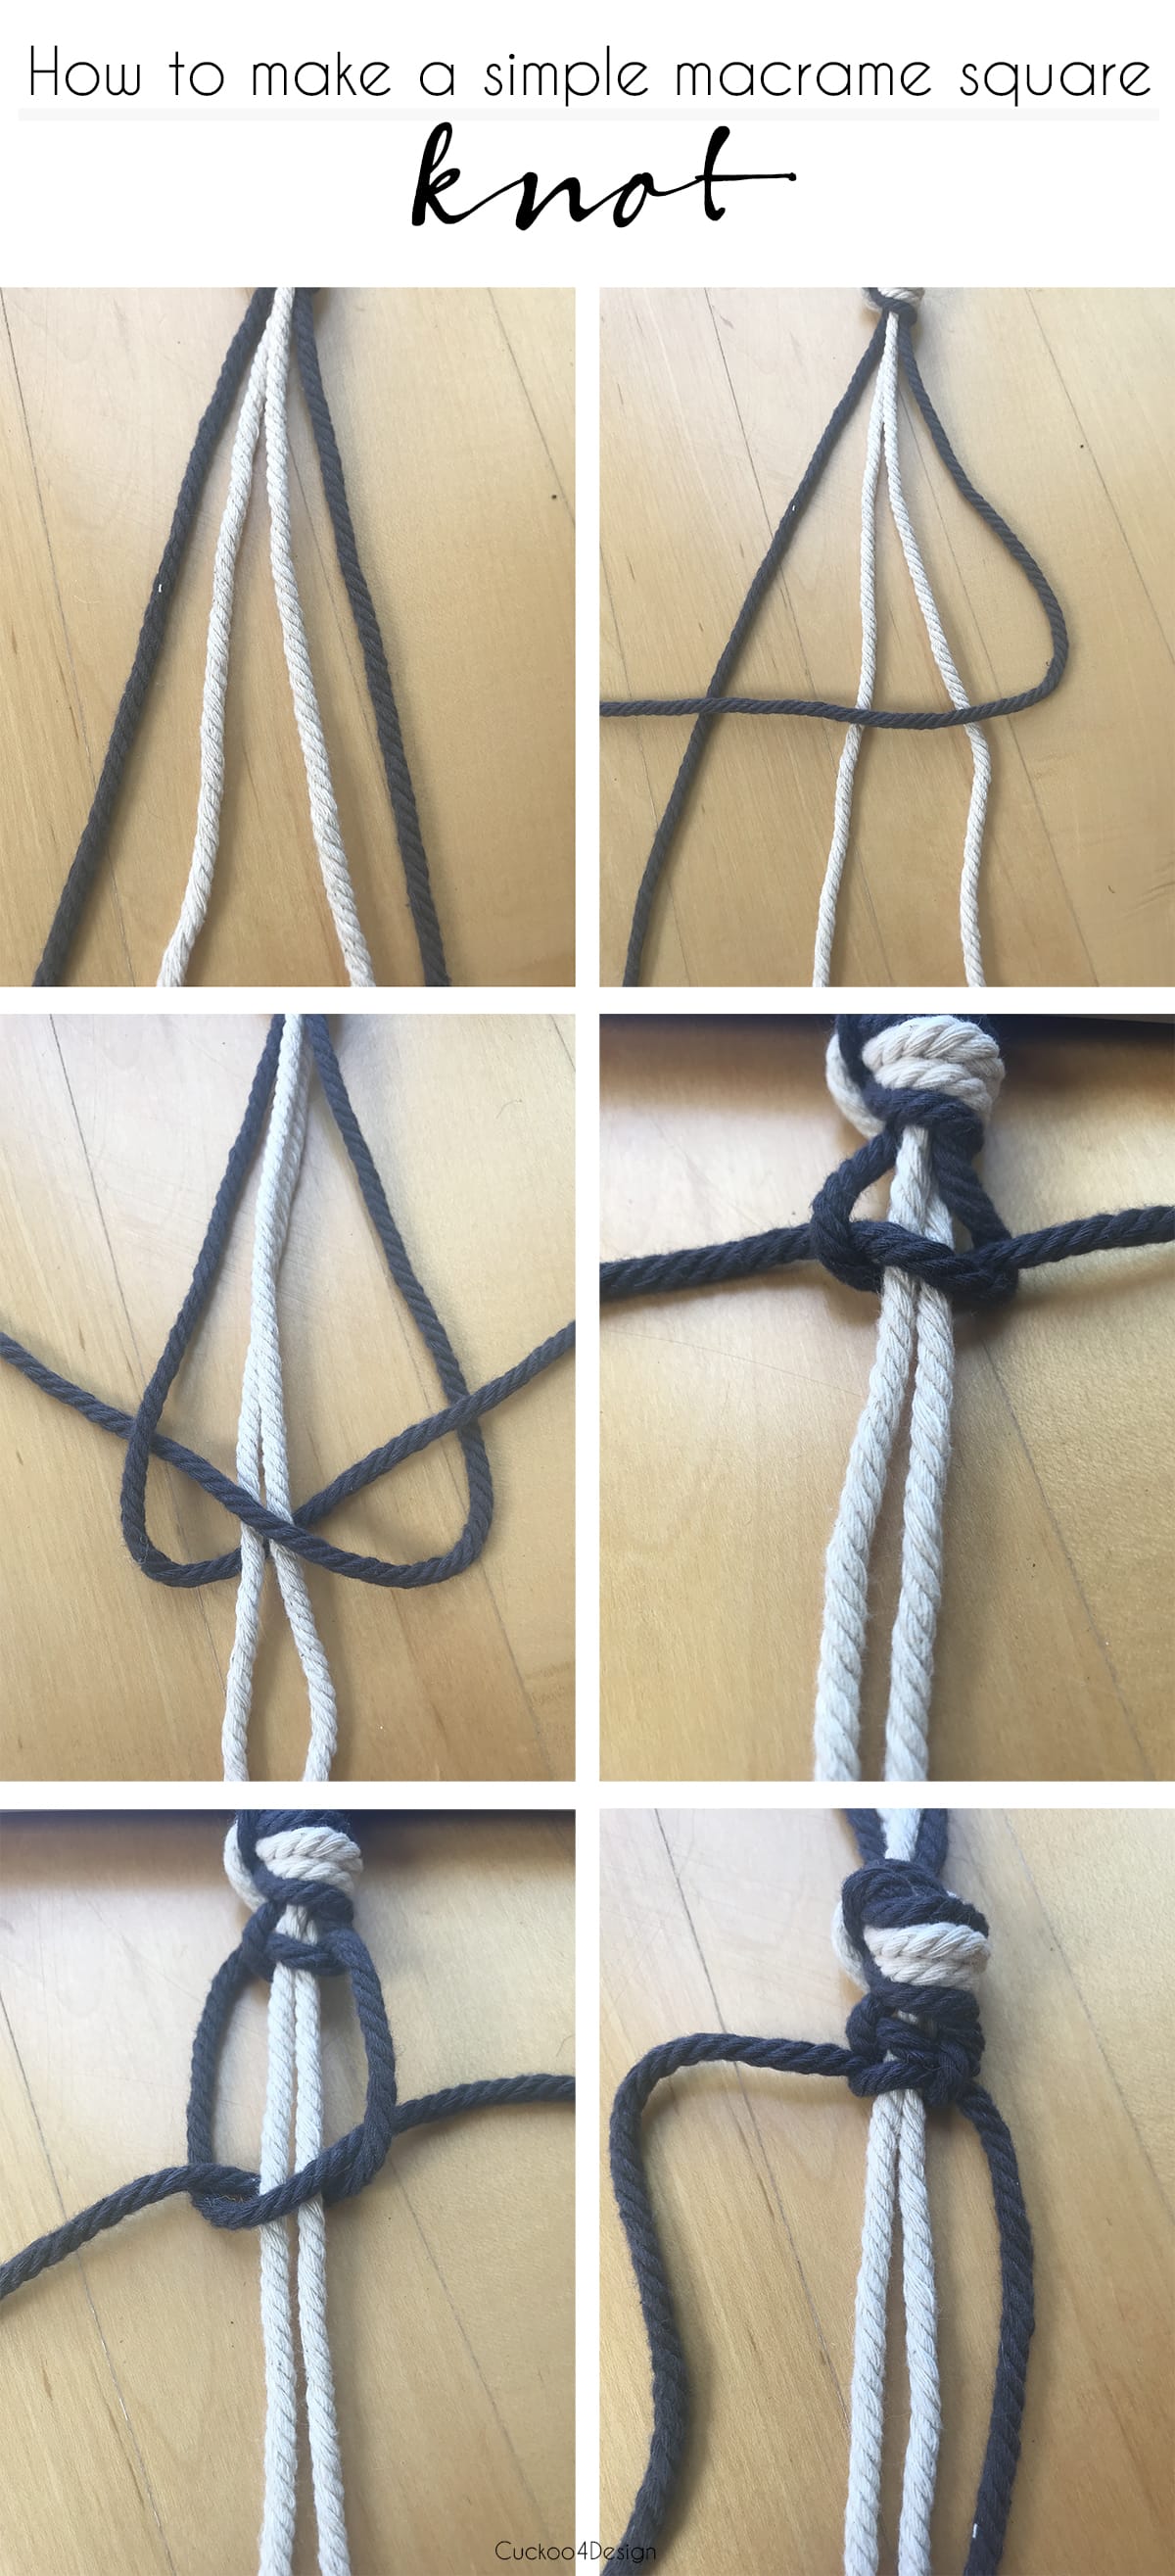
The two center strings would be the bunch of strings from the stone wrapping.
Next, you have to fold the knotted strings over to form a loop:
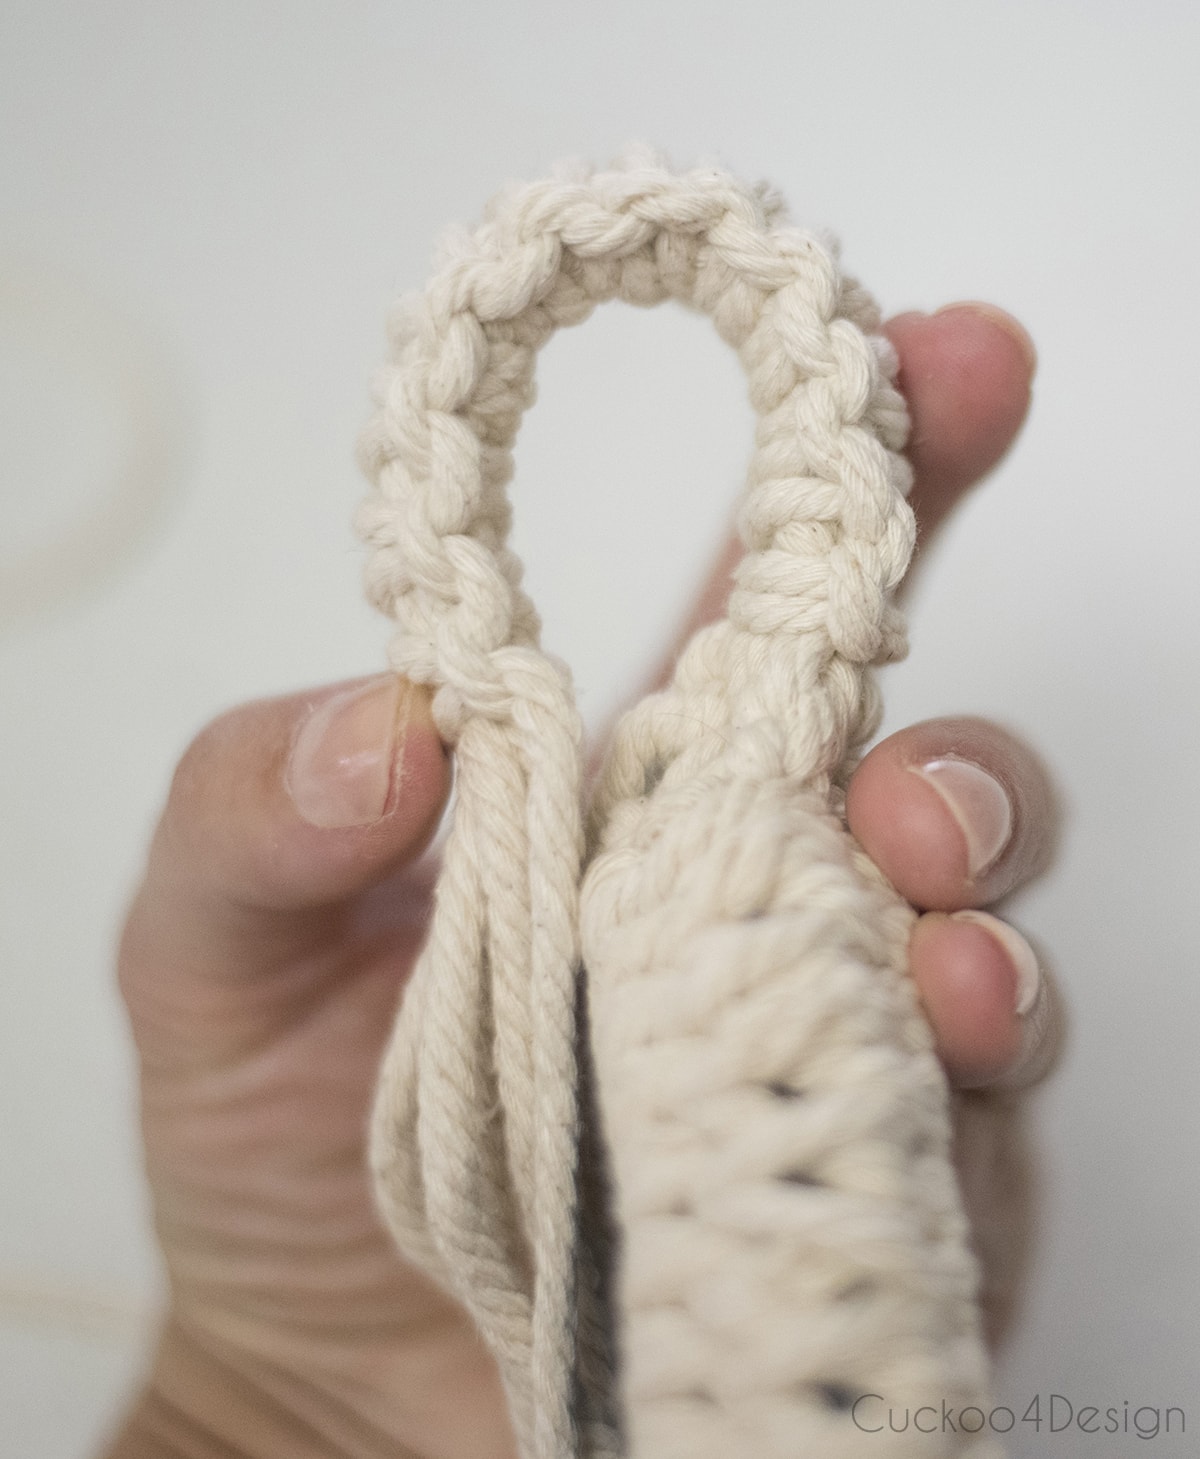
This is where you will need the glue gun. I cut the strings shorter as shown in my video and glued the ends so they wouldn’t fray and then tied and knotted the longest string around and around the loop.
Lastly you have to thread the ends through part of the macrame with the yarn needle and then cut the ends so they are completely hidden.
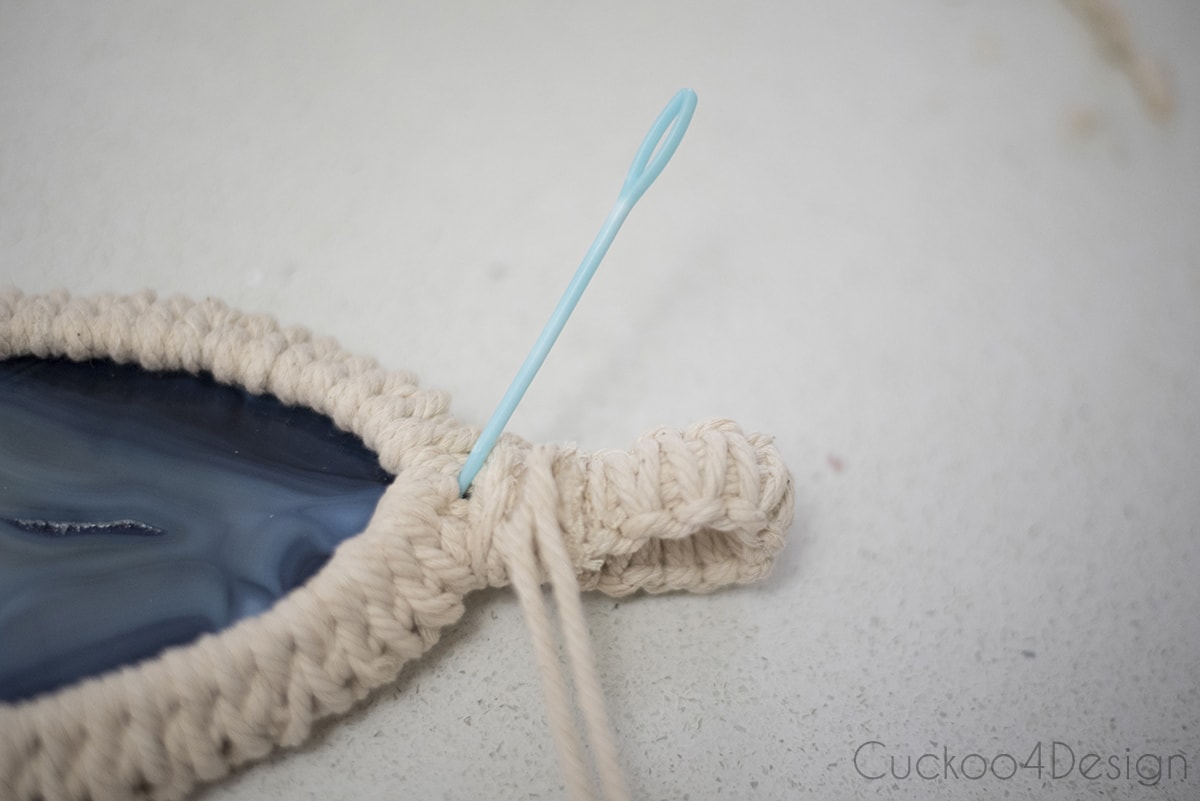
Again, to see the steps exactly, please watch my video.
Photos of finished agate macrame stone wrap
So now I can’t wait to show you how I’m using the big piece of wrapped stone…
Using the macrame stone wrap as a large purse charm
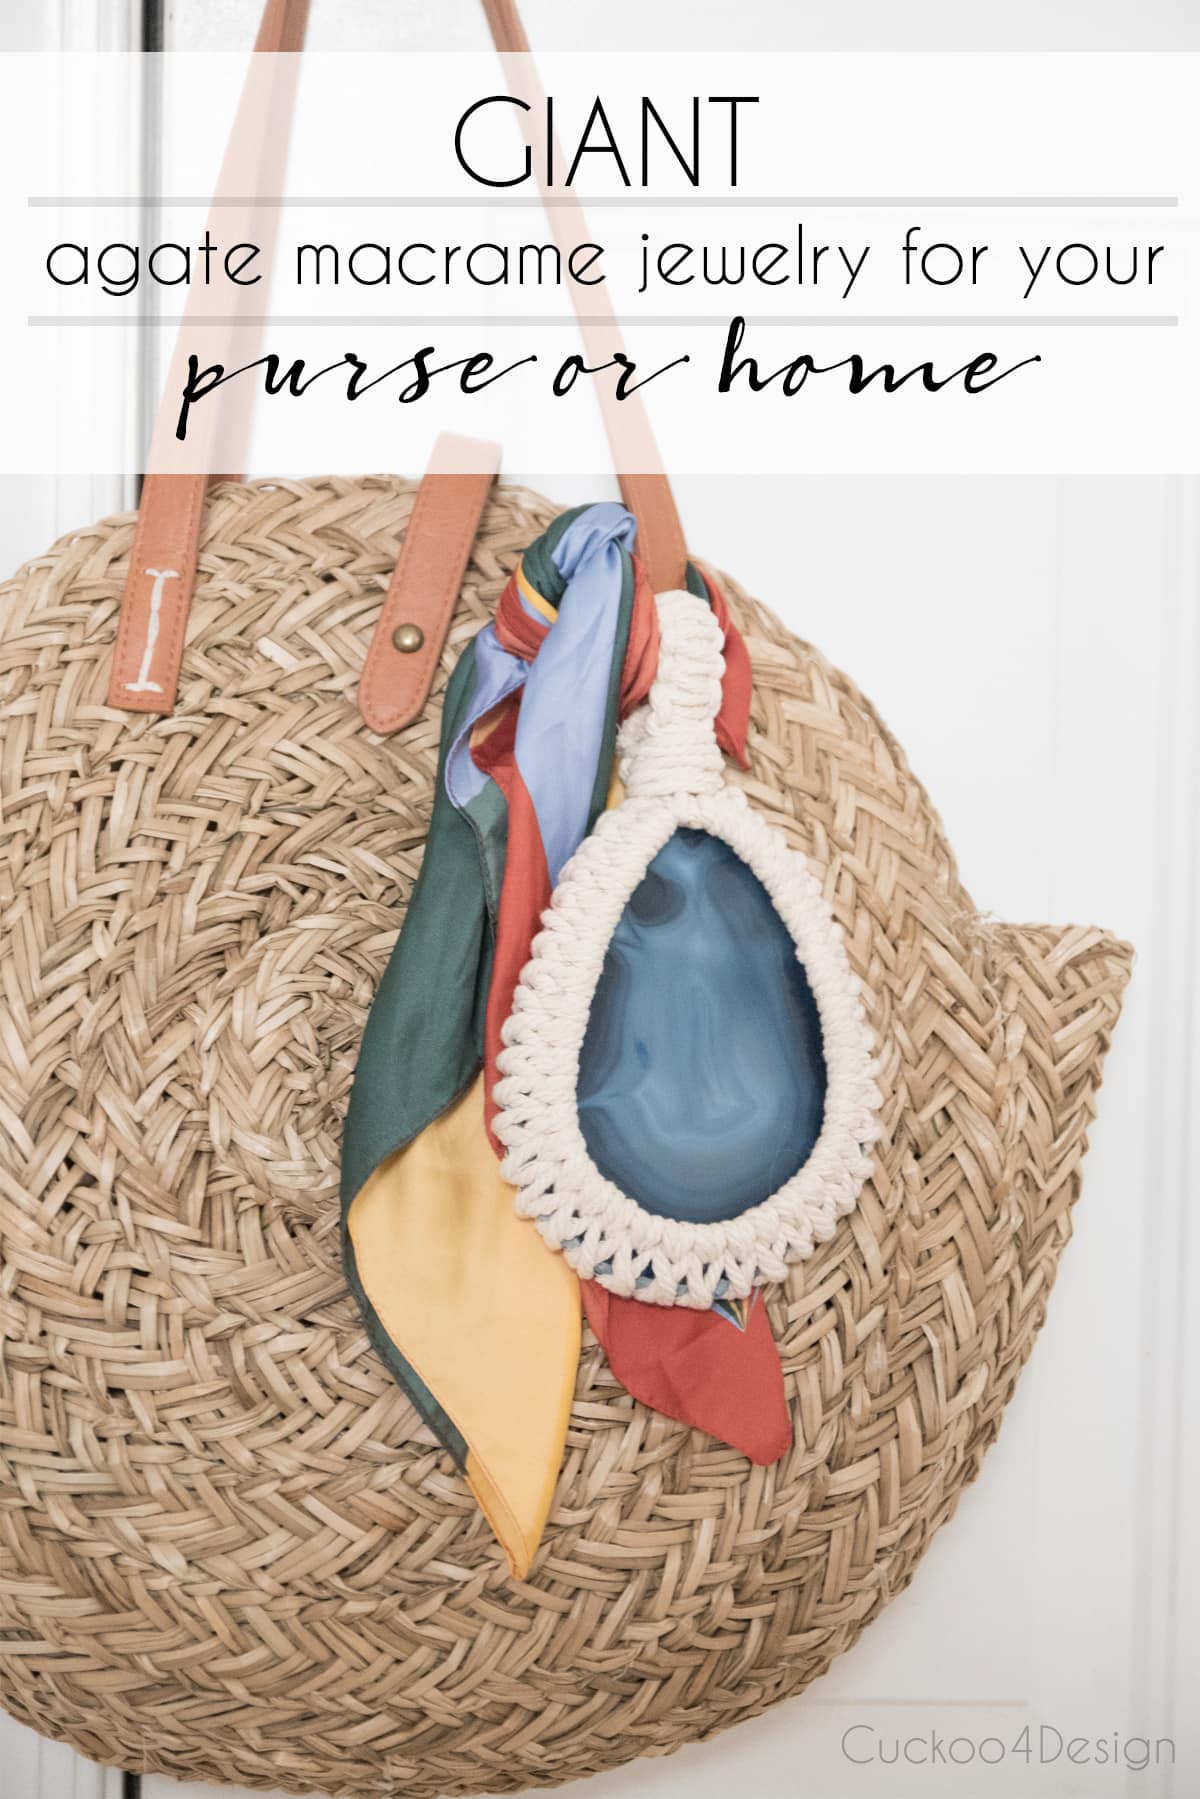
You can tie the wrapped macrame stone to a purse with a jeans scrap. And I thought that wrapping a small crafting mirror with macrame yarn would look great too and be useful one a purse for when you have to refresh your makeup.
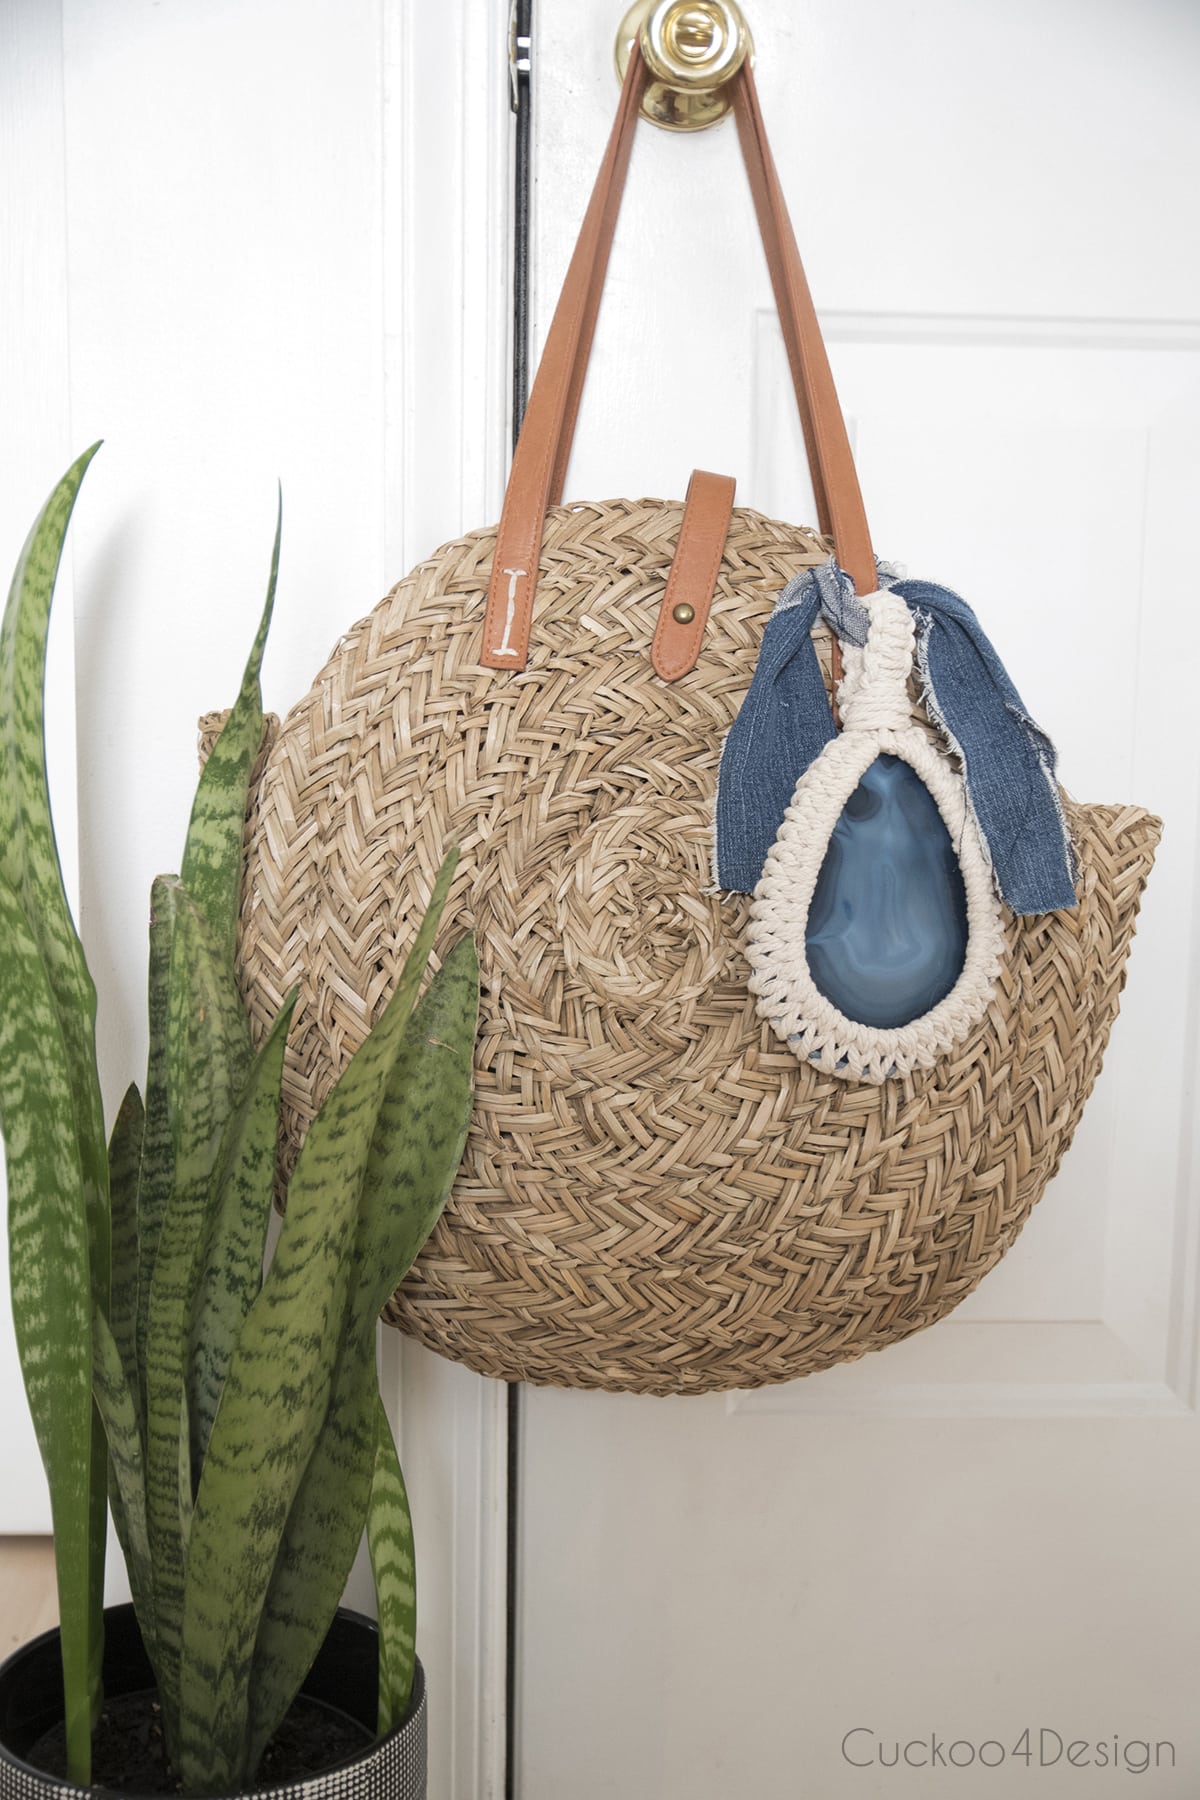
Or with a pretty little scarf.
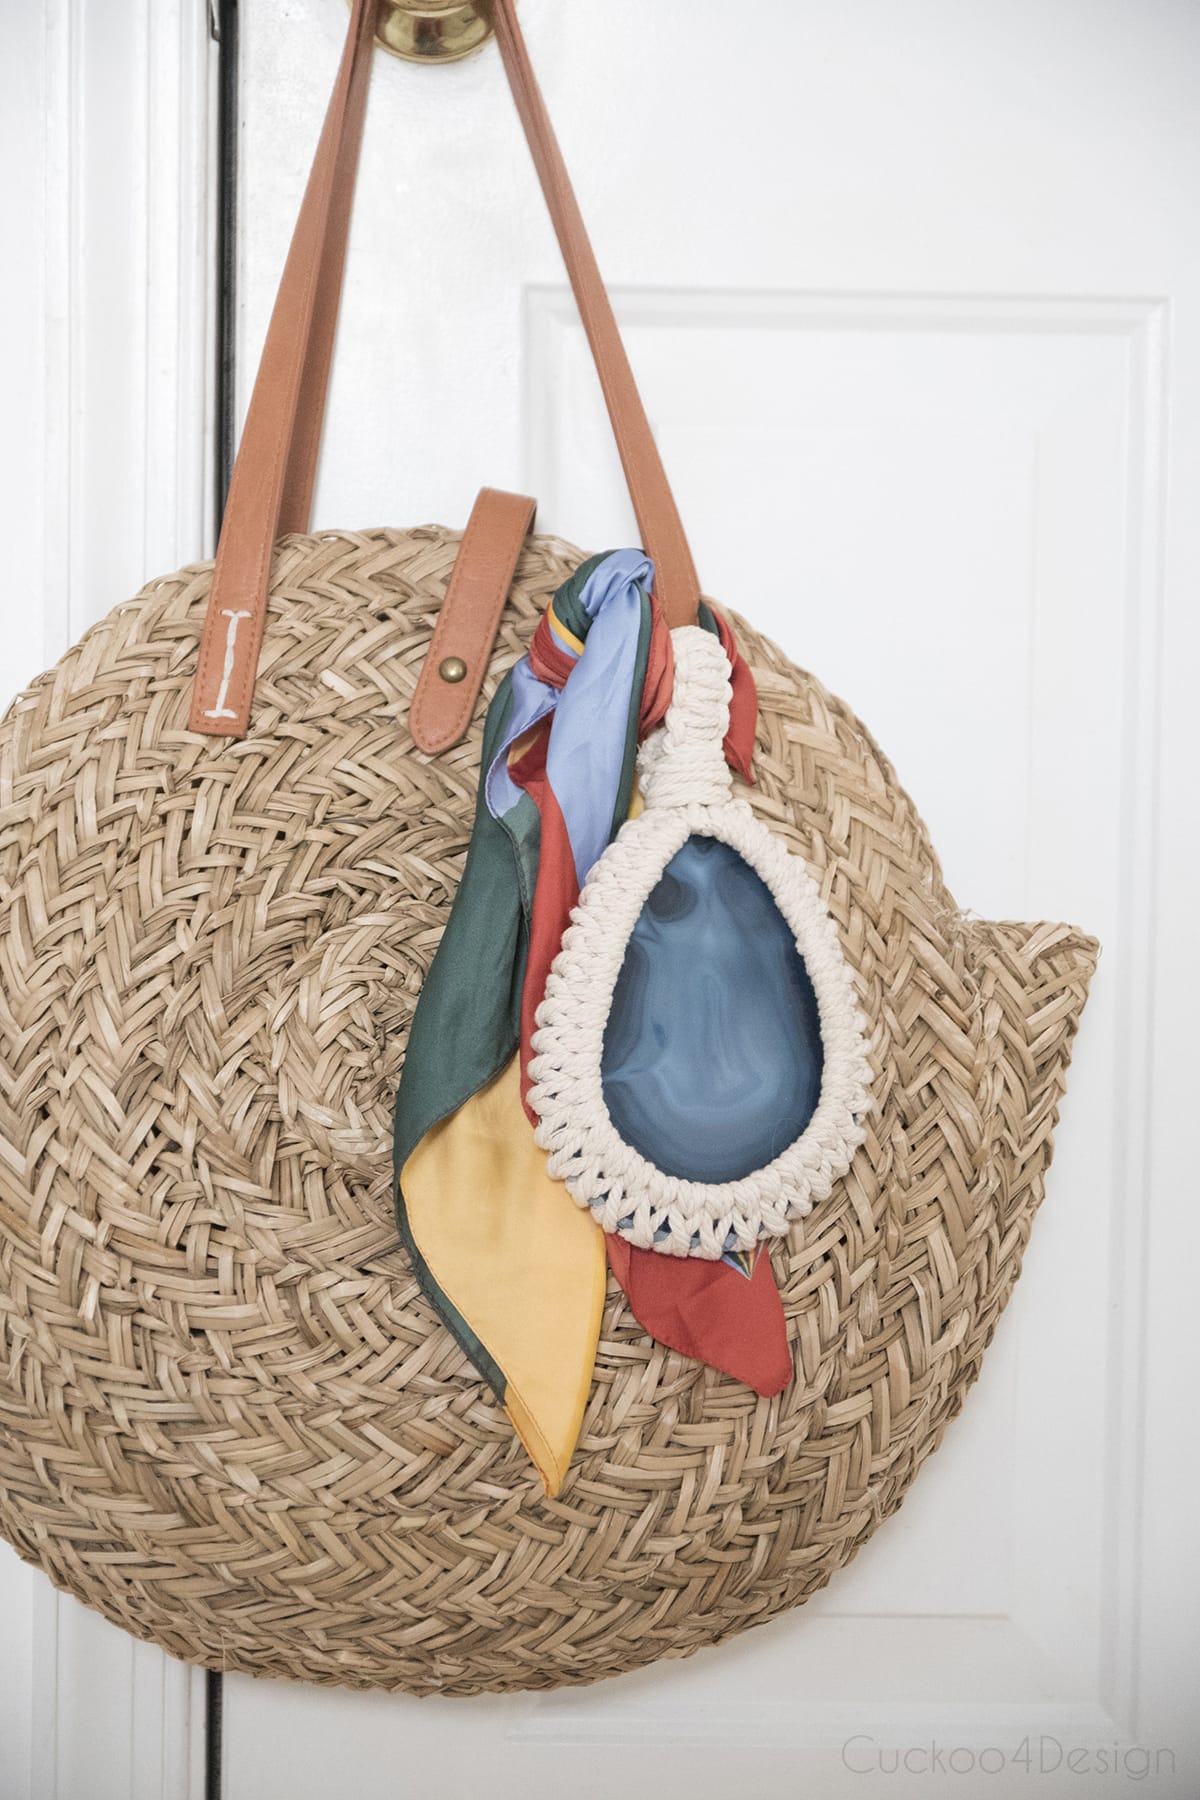
Or I like tying tassels or items like the wrapped stone to doorknobs or even curtain tie backs.
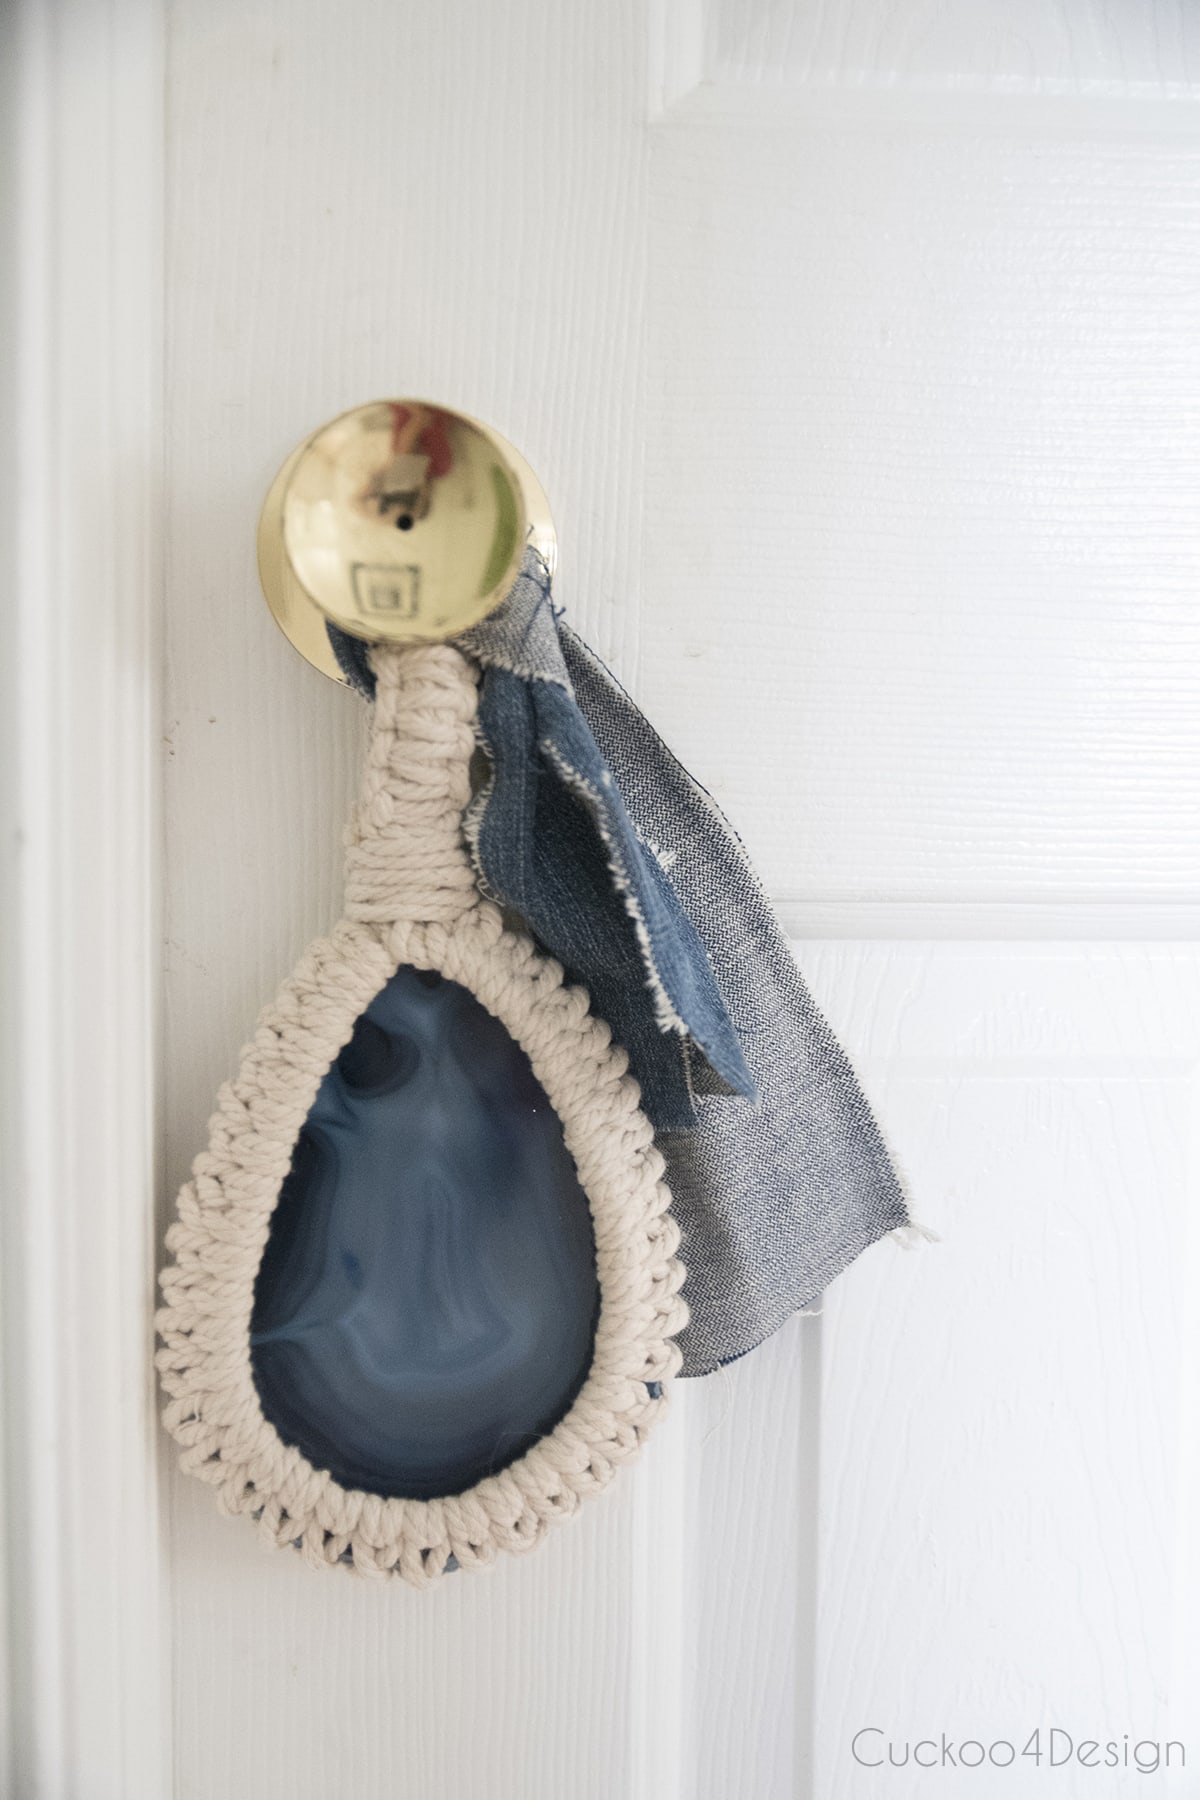
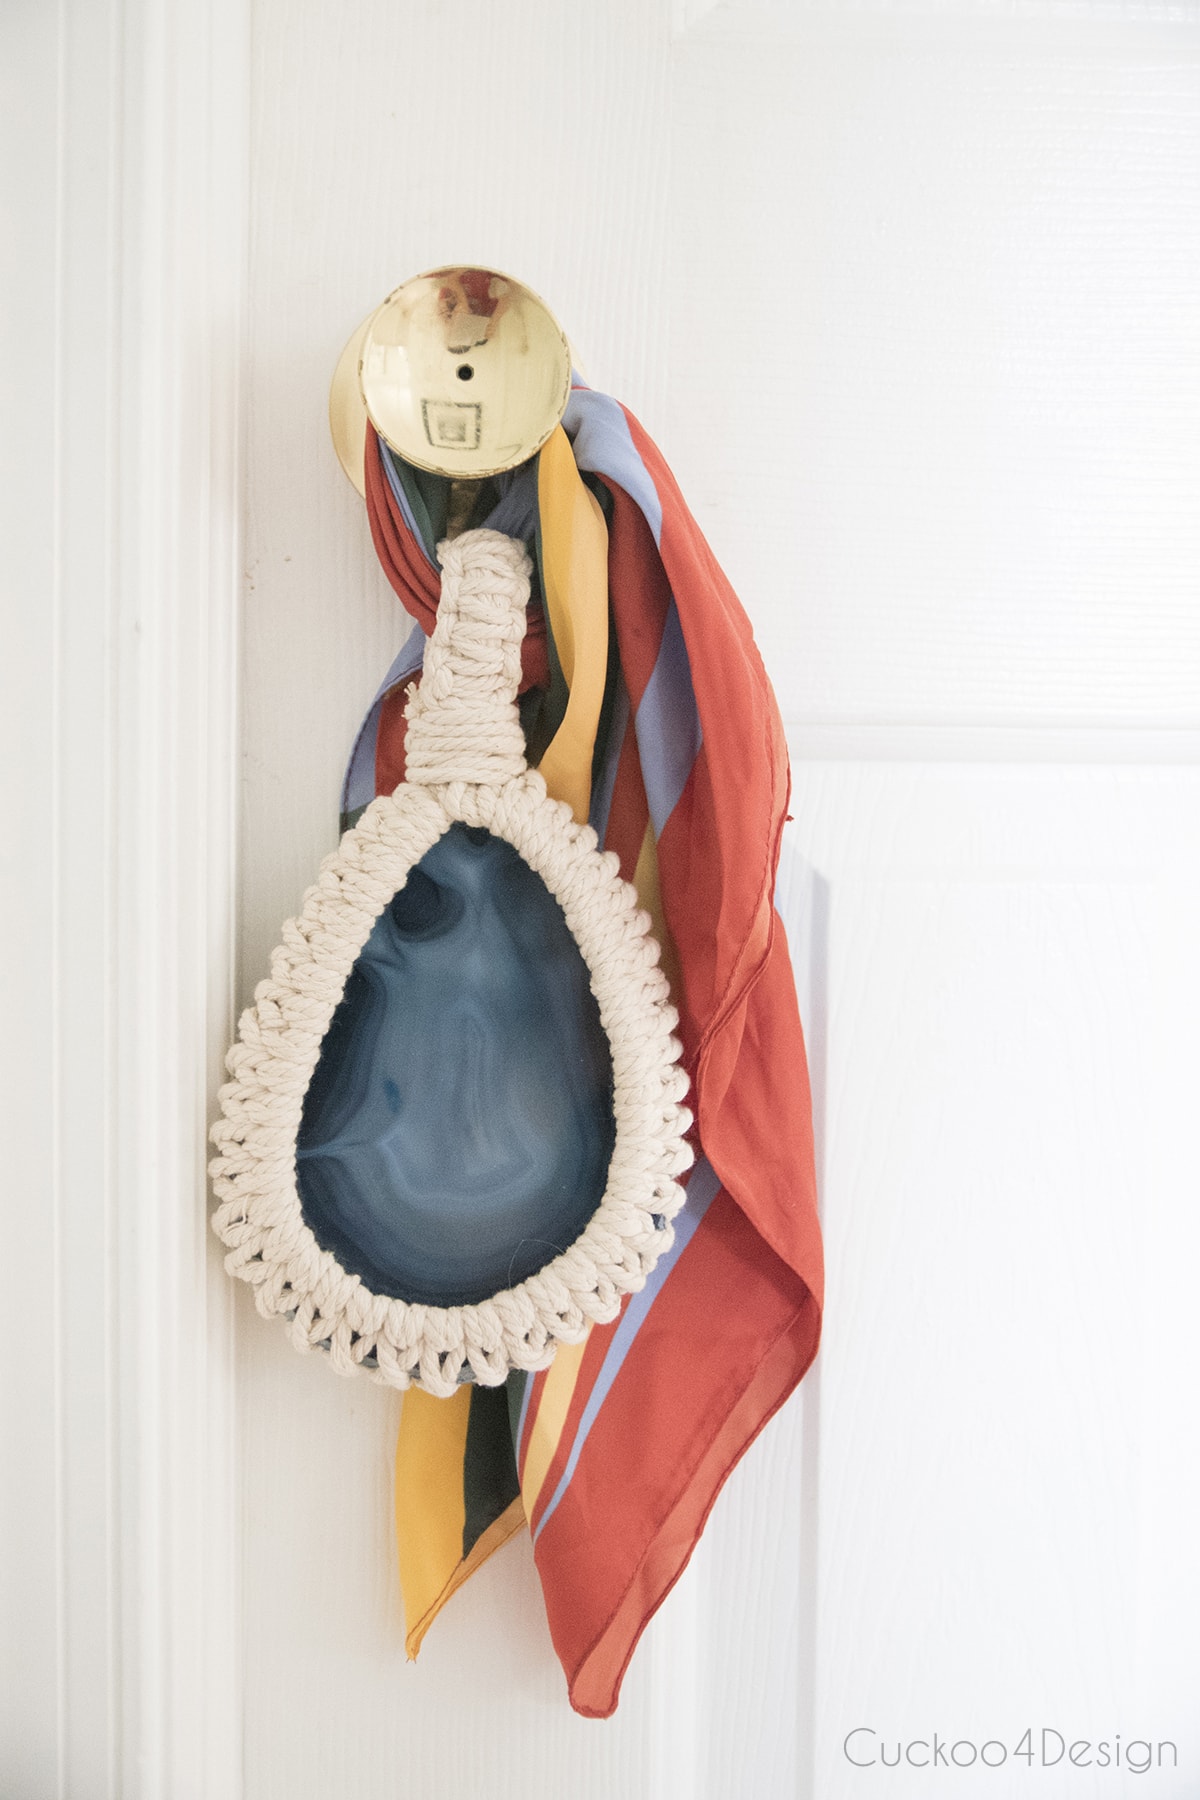
Using the macrame stone wrap as wall art
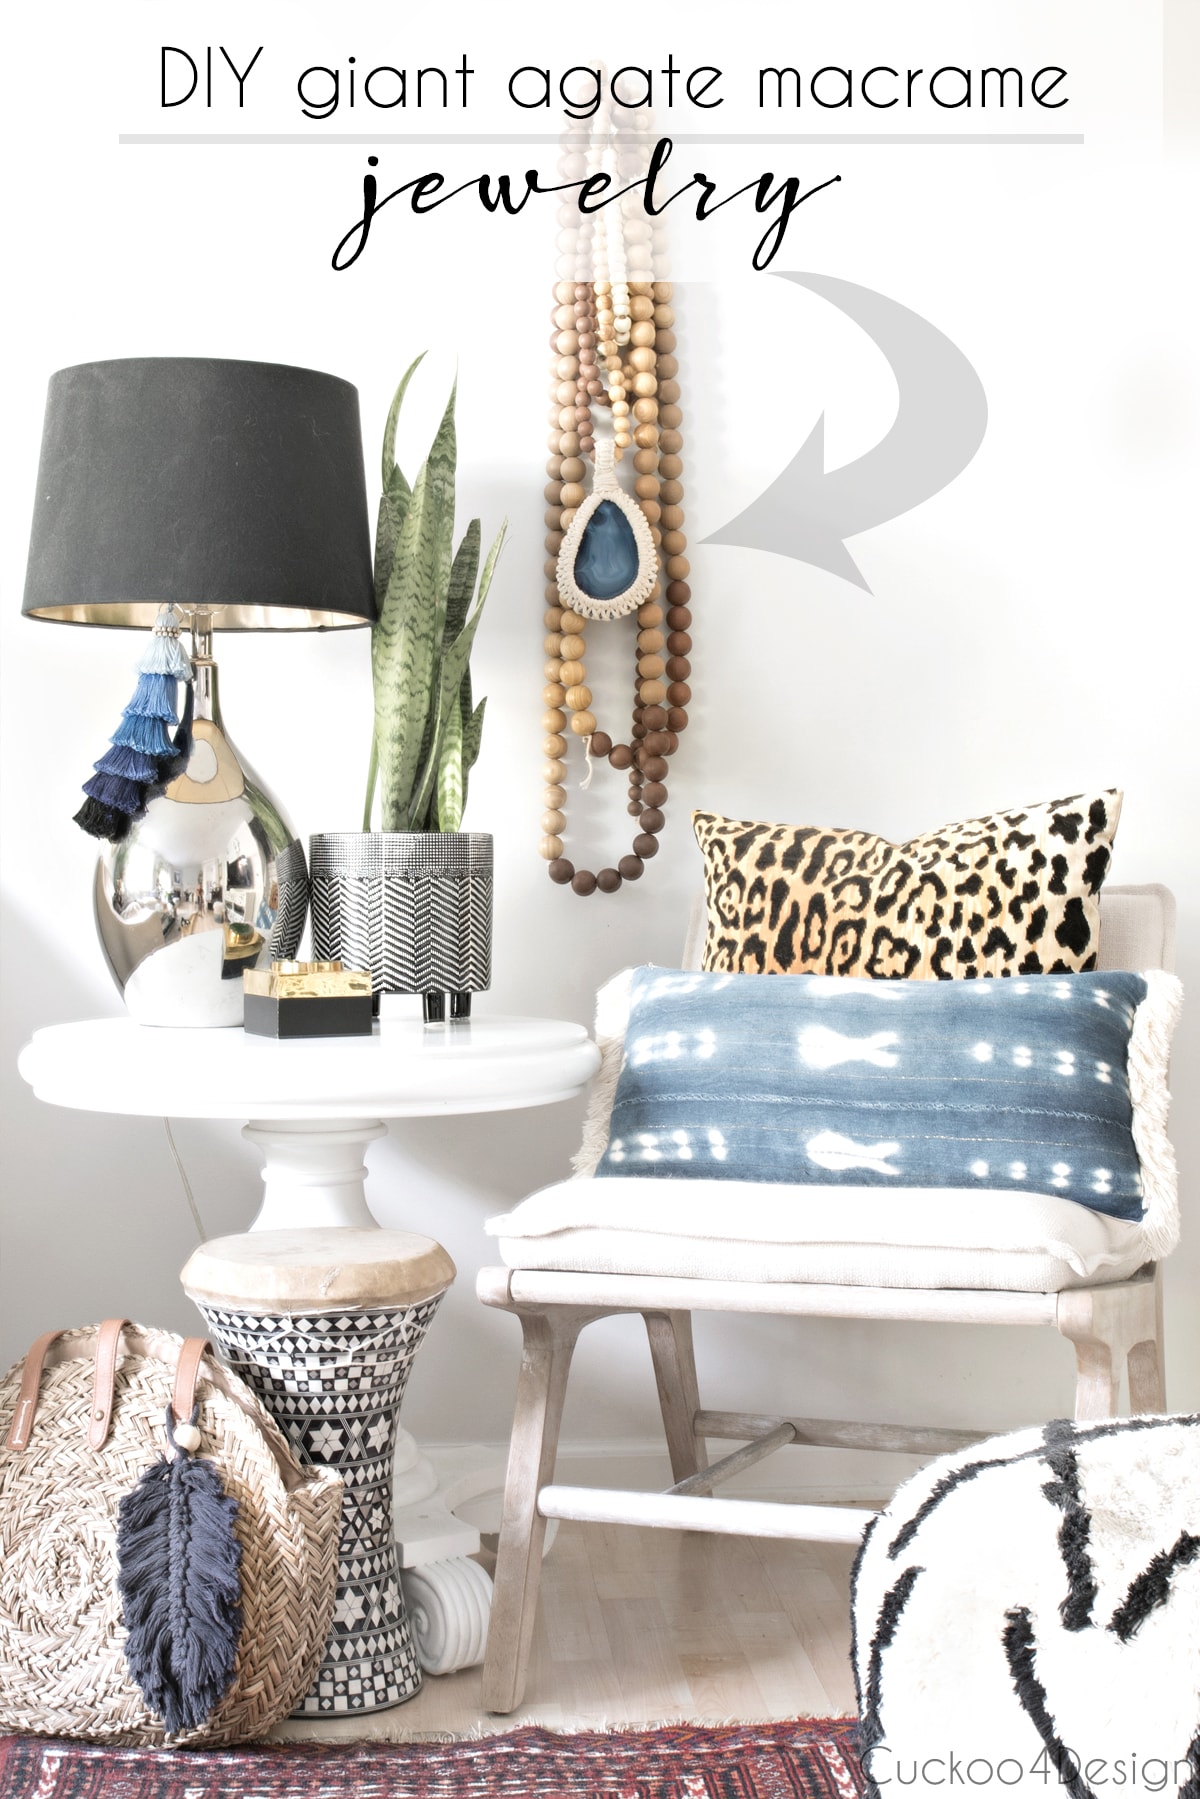
I also love the macrame stone wrap piece strung onto a strand of large wood beads like a pendant. It is literally like a giant necklace for your home and something different from all the macrame wall hangings I have made.
If you want to go with this look and buy or make a garland (HERE and HERE for example) then make sure that the loop is long/ big enough to fit the beads.
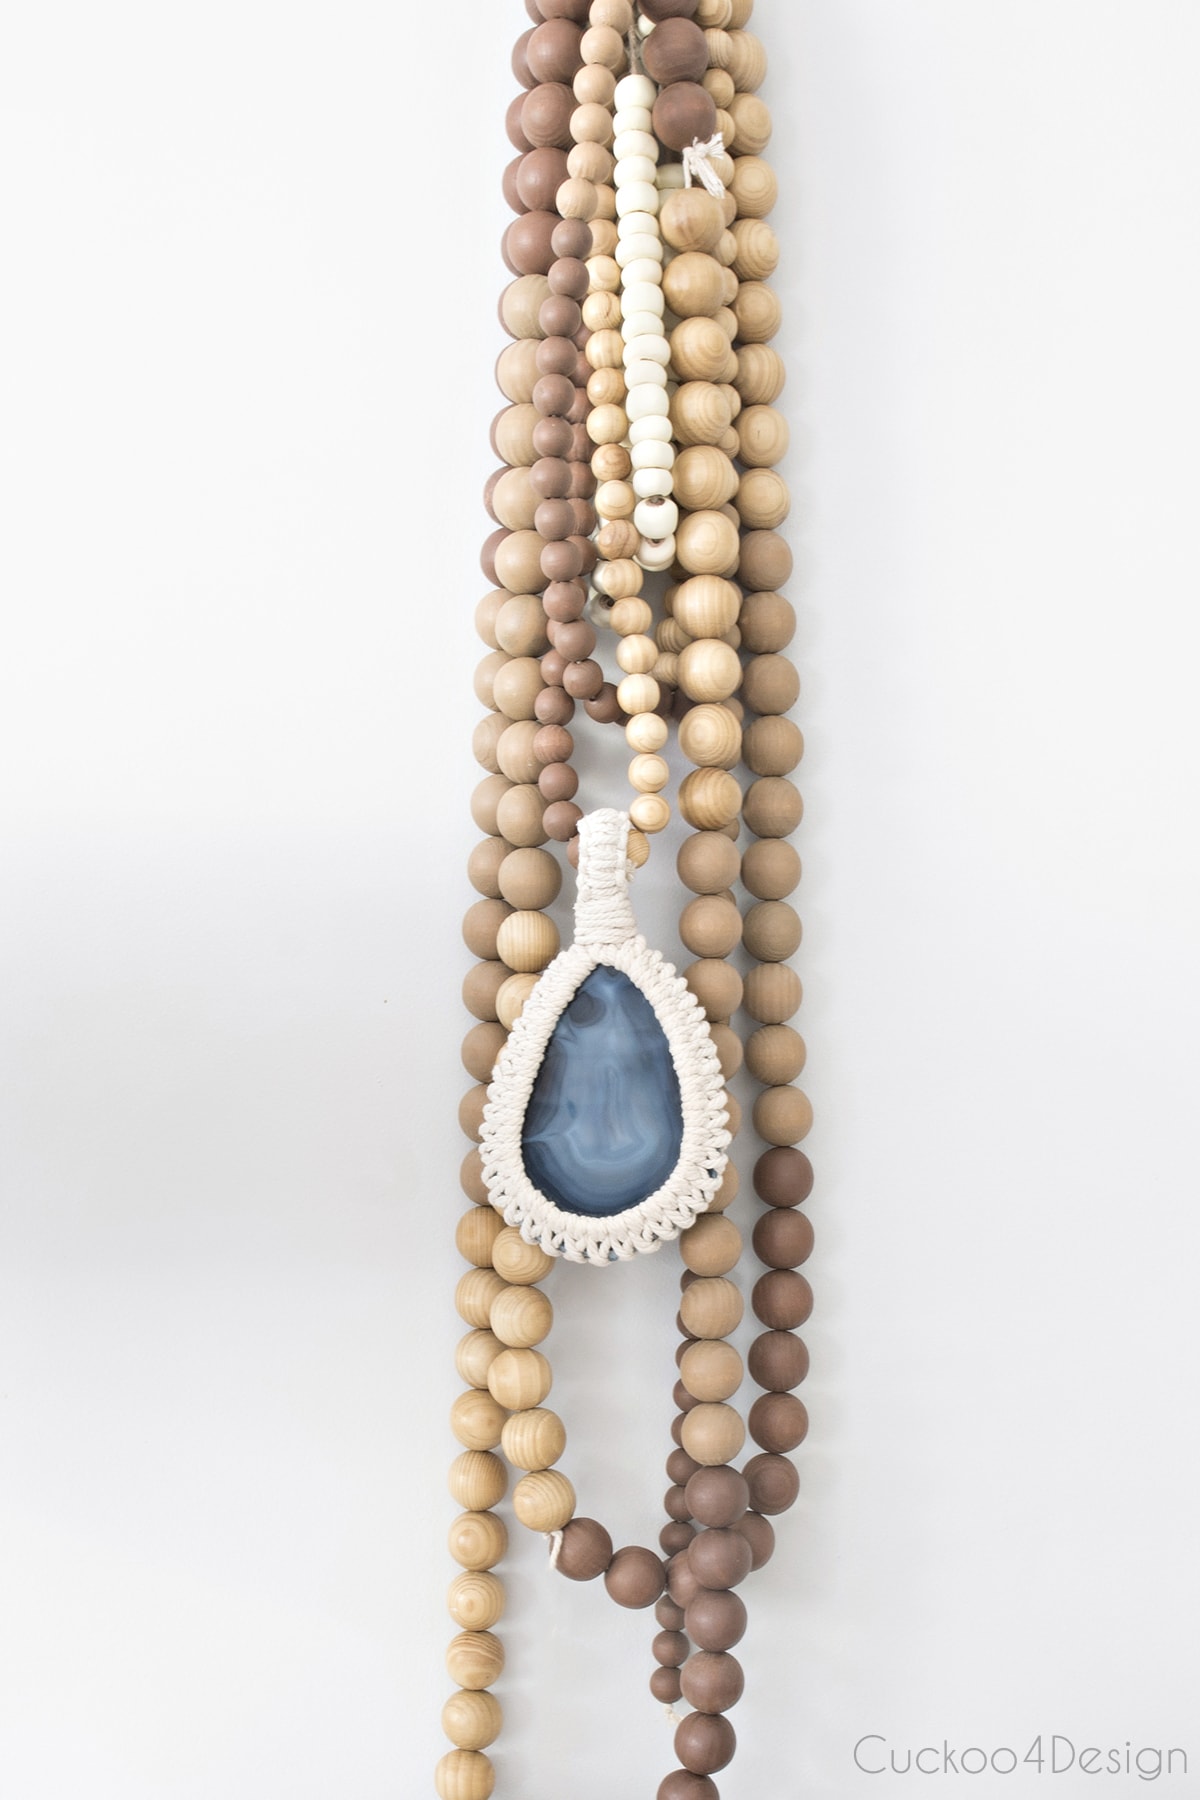
I think it looks great on the wall like this and sure makes up for a conversation piece when people ask what it is.
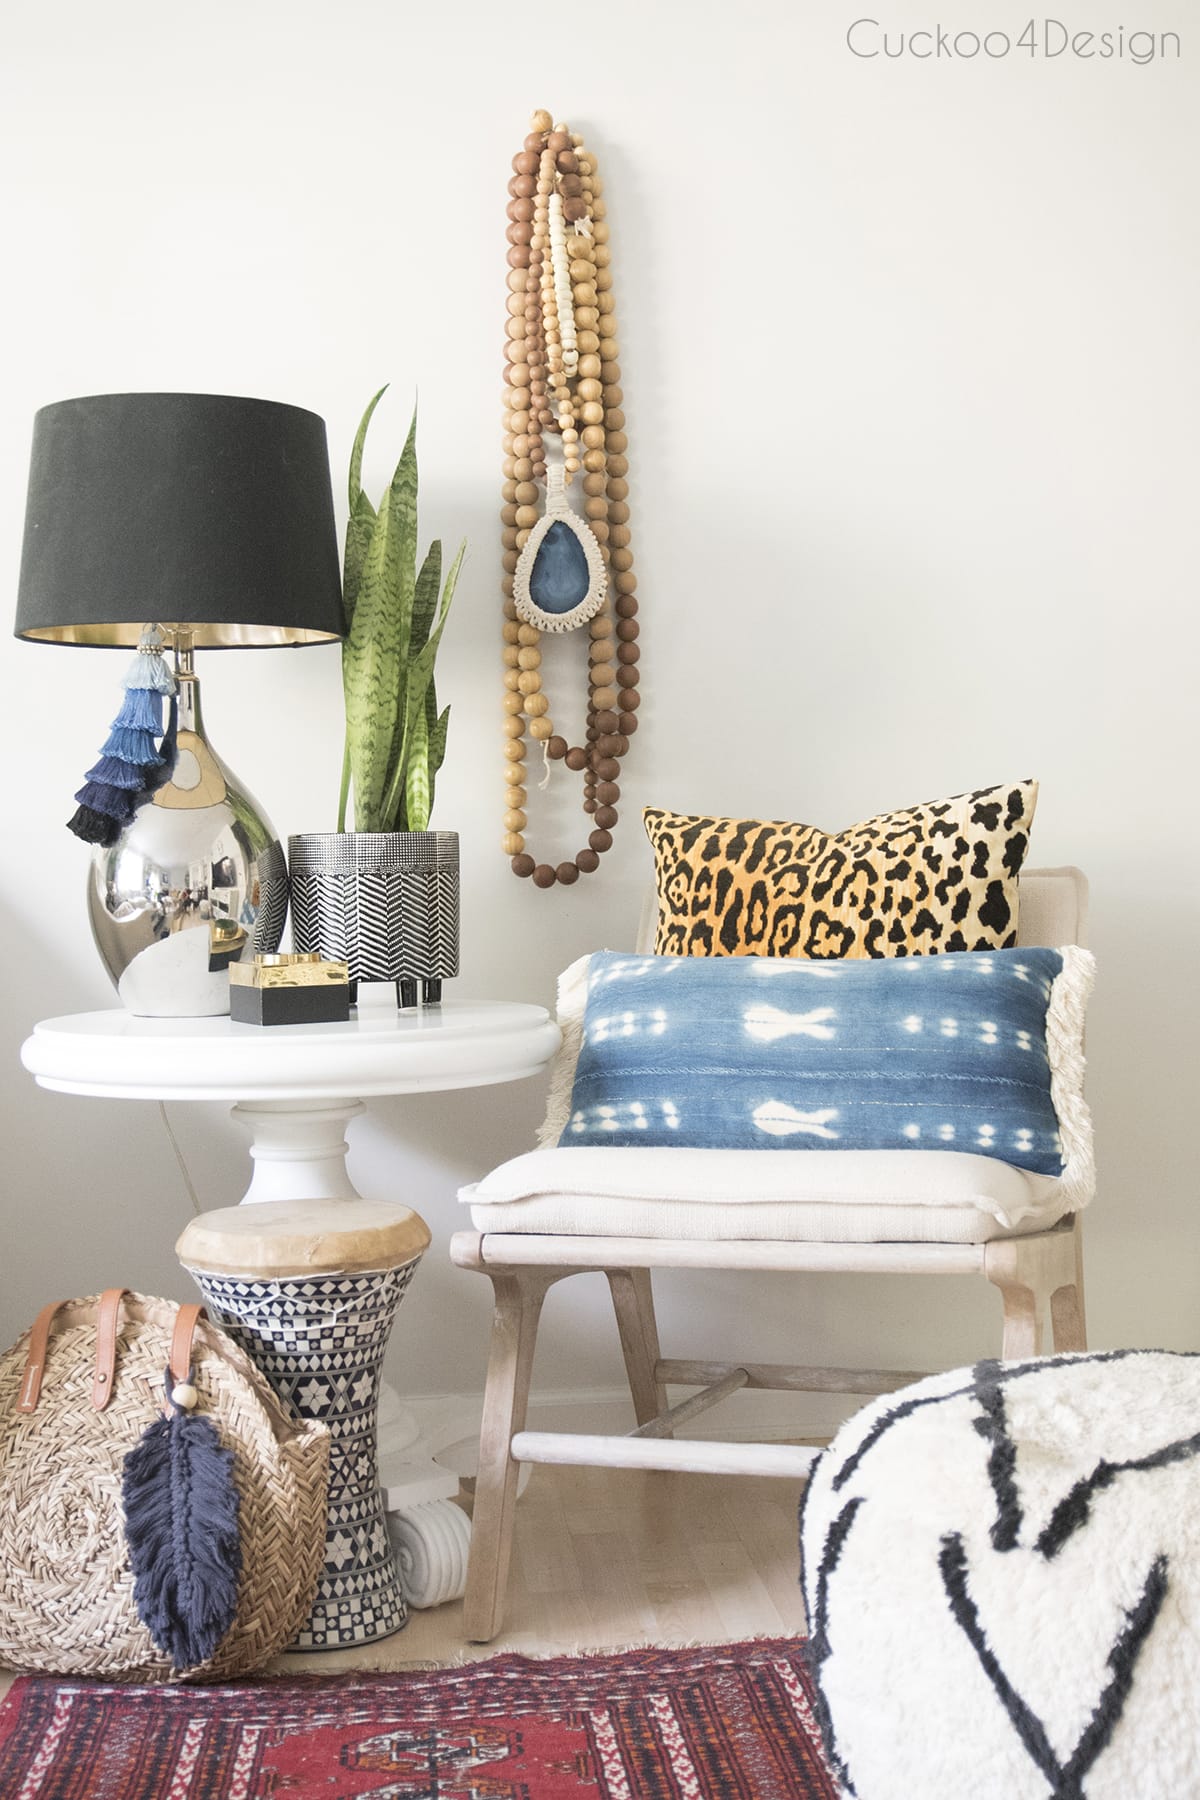
Also make sure to check out my macrame feather tutorial that I mentioned above and which is hanging on the bag in the photo.

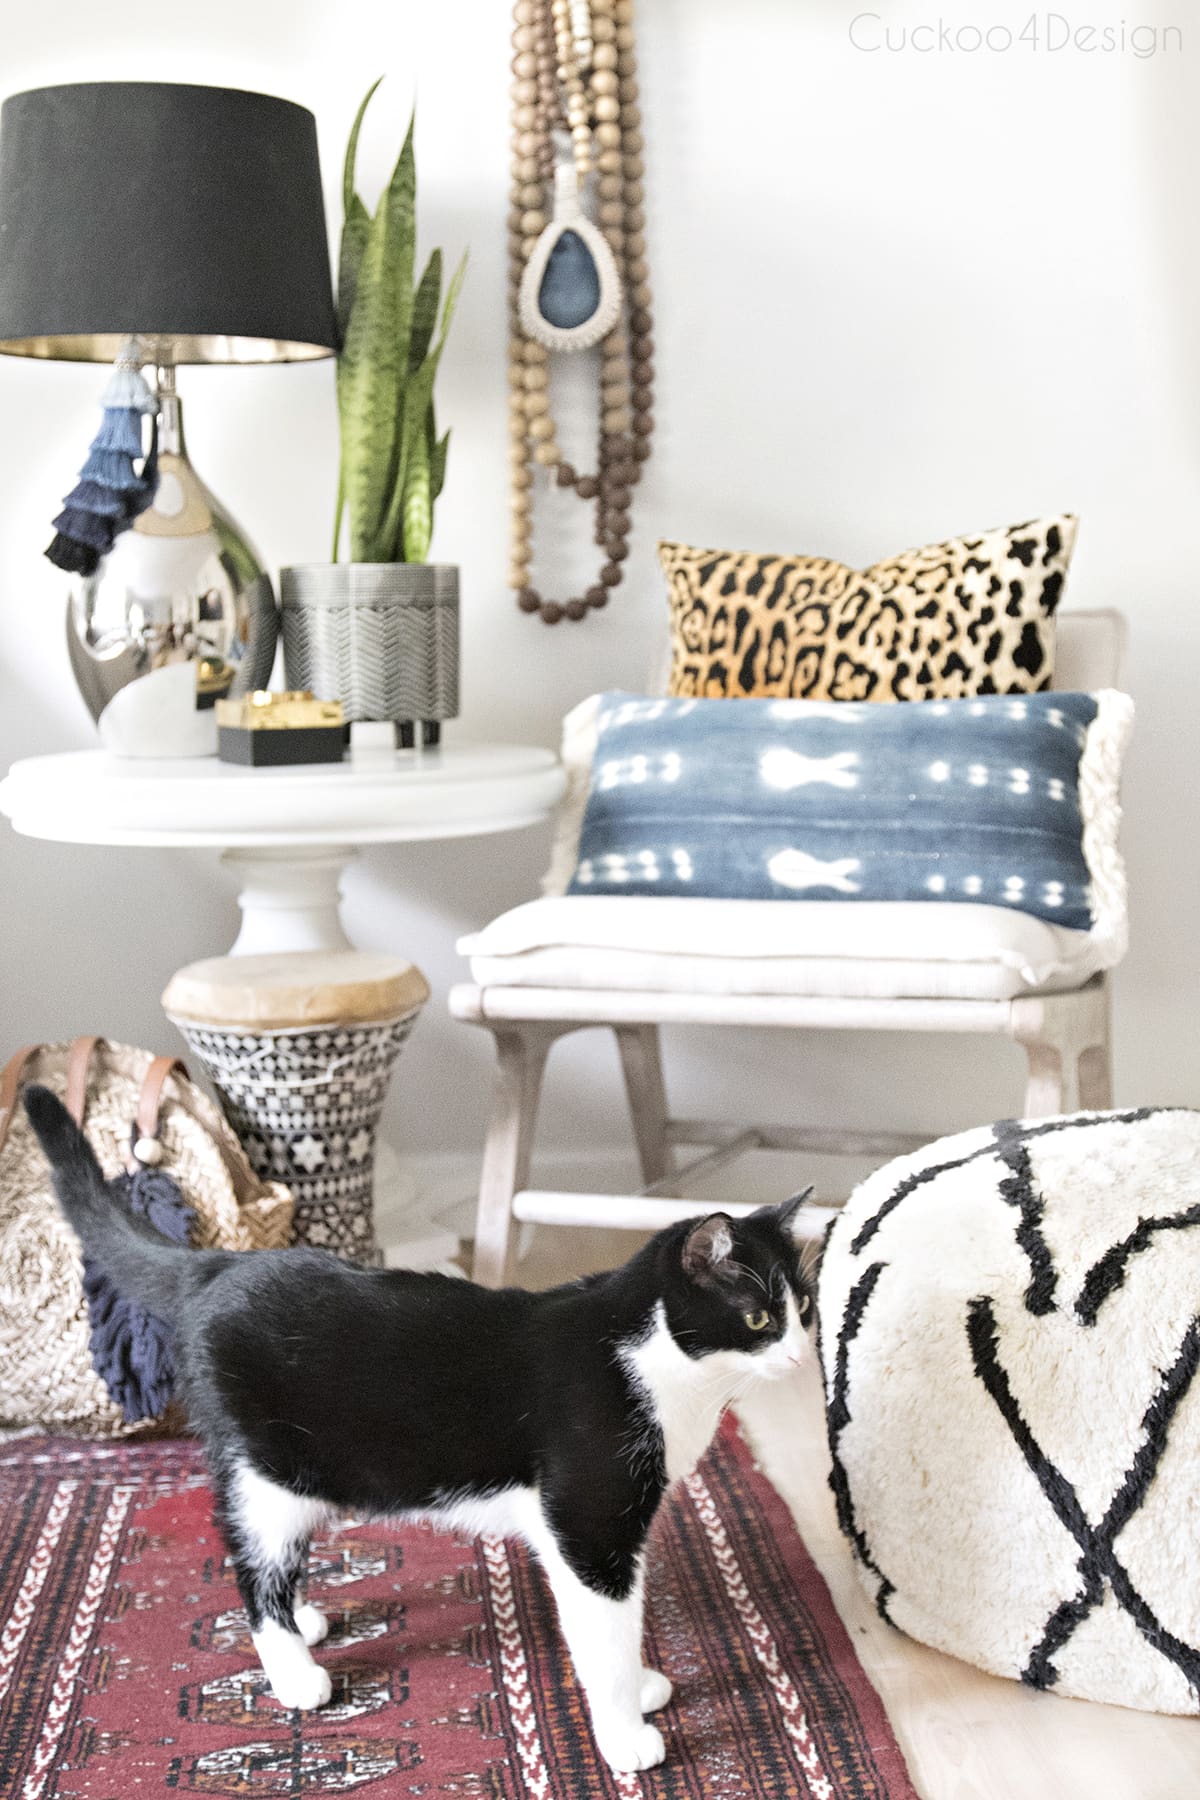
Below Willy was being super helpful again. He’s been such a good little brother to Anthony and is obsessed with coming into the bathroom to spend time with him. Anthony has been making progress with the help of the medication Gabapentin. He now periodically comes out of hiding, talks to me, lets me pet him and even plays with the laser for a little with Willy. When he had enough and gets scared again he is back to hiding. He also made it out of the box once for my daughter and she was thrilled that he let her pet him.
So baby steps for Anthony and they are oh so sweet. Maya hasn’t made any progress with him and still hates him and needs to be separated from him. So far the Feliway multicat plugins haven’t worked at all. Maybe I should buy some more and spread them out.
More macrame projects
- stylish DIY macrame chandelier made from a planter basket
- DIY tassel embellishments for a tassel sconce, lampshade, or basket
- Super easy and cheap DIY boho drawer pulls using macrame yarn
- easy macrame planter basket using only two knots
- DIY beginner macrame garland tutorial
- modern macrame wall hanging tutorial
This week my mom is coming and I’m also taking an online business blog business class. So between all that and working with Anthony, I’m not expecting to be able to post.
Talk to you soon.
Tschüß,


that is so pretty! i love the color it adds while still being earthy.
Thanks Cassie! That’s definitely what I like too
also a good idea for christmas tree ornaments.
I love macrame, and it looks great combined with agate, a great idea. Thanks for your post, very inspiring.