Last year I came across a pair of Mexican burnished pottery ornaments from Tonalá on Pinterest and fell in love with them. They are similar to German folk art patterns and also similar to Pennsylvanian redware pottery, but have a more ethnic feel to them. You guys might know that I love terracotta colors and pottery. So these types of ornaments fit right in with my boho decor and colors.
However, they are hard to find and not cheap. Plus the ceramic pottery makes them quite heavy and weigh down the branches of a Christmas tree. So I wanted to come up with my own cheaper and lighter version of these pretty burnished pottery ornaments.
faux DIY Mexican Christmas ornaments with folk art design
This post may contain affiliate links from which I will earn a commission at no extra cost to you. View my full disclosure policy.
These types of ornaments are made from traditional terracotta-colored clay and painted with white decorations by skilled artisans. I am neither a potter nor a skilled artisan so I had to come up with an idea of how to achieve the look more easily.
RELATED: You might also like a post I wrote about my love for terracotta color in home decor with a roundup of all my favorite shades from different paint brands.
Here are my inspiration ornaments but they are sold out. I found some similar ones below if you want to buy them instead of making them. Also, check out Pennsylvania redware ornaments (we live in Pennsylvania by the way). I love how different cultures have similar folk art. And Mexican culture is definitely influenced by European countries such as Germany, Austria, and Poland. Just listen to some of their Music that sounds like Polka. And Also the Pennsylvanian hex signs look a lot like Mexican folk art. Did you ever notice?
I made a video for you so you can see what I did. If it doesn’t load for you then you can watch it on my YouTube Channel instead.
Step-by-step-instructions
I previously wrote a blog post about how to paint plastic ornaments (very detailed steps), where I started the same way as I am doing for today’s tutorial. I just love repurposing cheap plastic ball ornaments and coming up with affordable DIY ornaments.
You can also try these other painted plastic ornament ideas if you are looking for something different:
It is always a good idea to use a degreaser like Krud Kutter or alcohol to clean a surface before painting. I do have to admit that I skipped that step for my ornaments because they felt super clean. You can regret that in the end though. It’s happened to me before and I should know better.
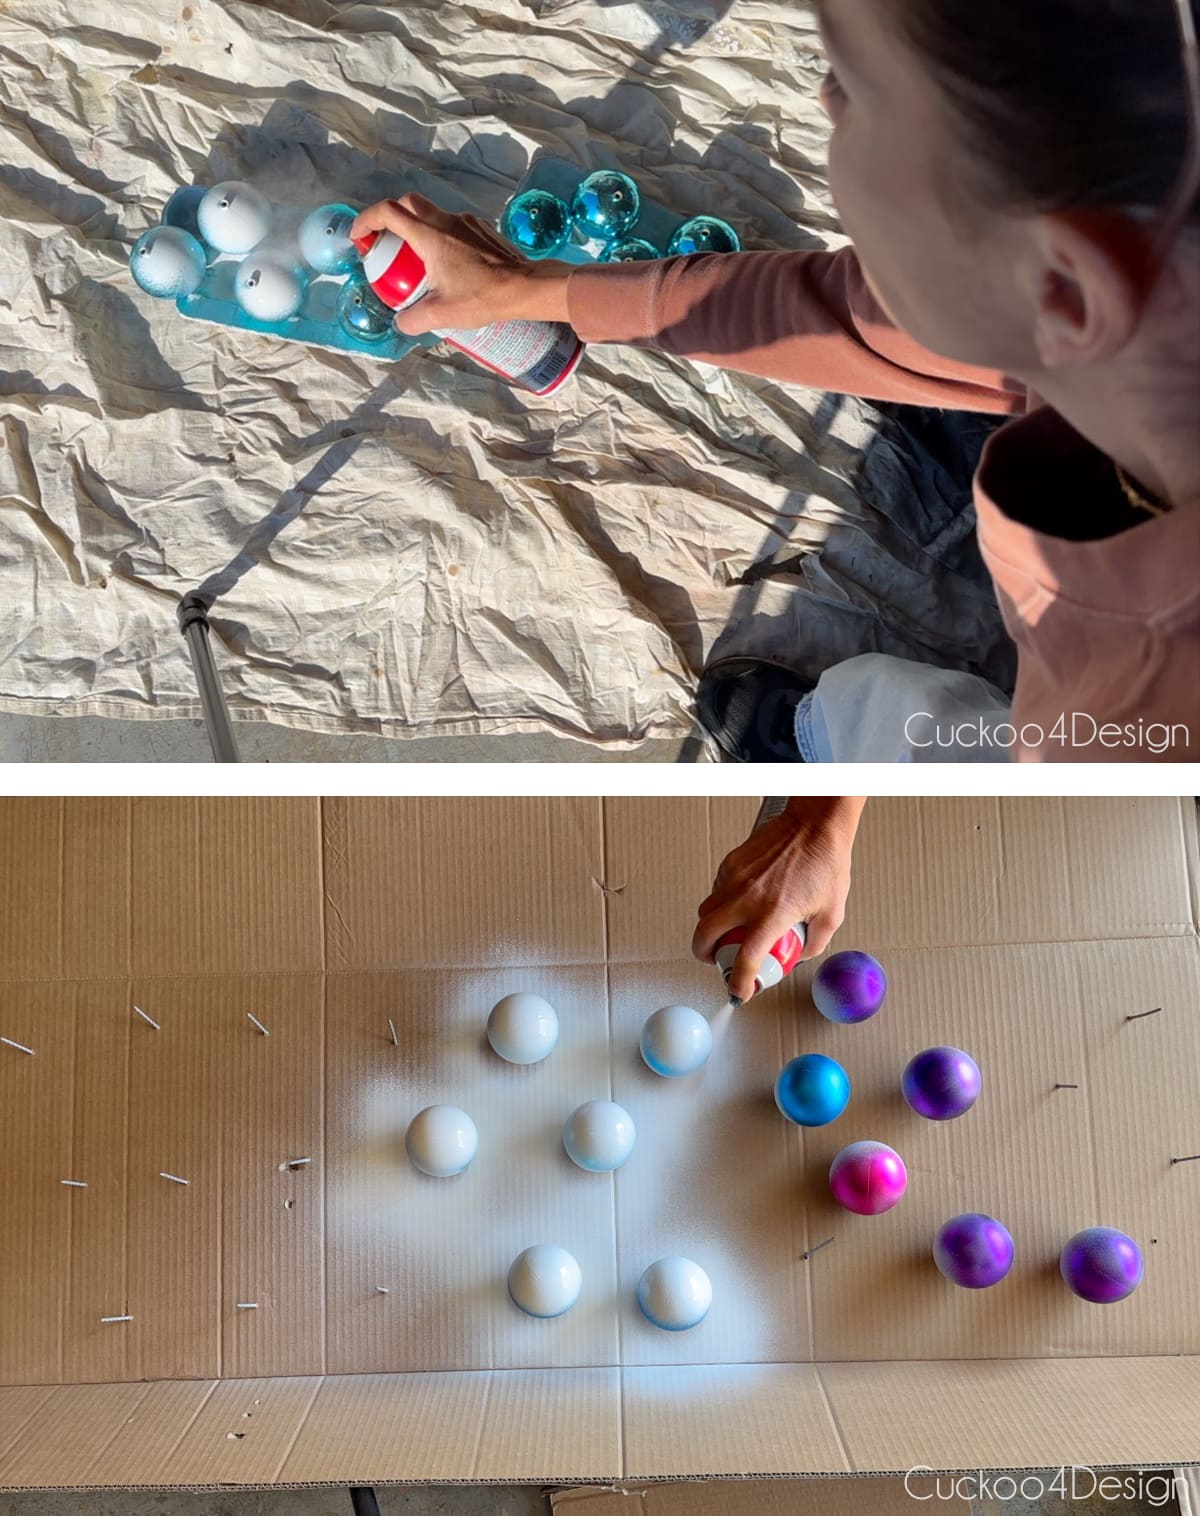
Step 2: Prime ornaments
Before priming, remove all the top pieces of the ornaments that are used for hanging and put them aside.
I placed the ball ornaments with the top facing up into the egg cartons so I could get that side first with the spray primer. I love using Kilz spray primer. Just make sure that you shake the can very well and long before adding a layer of primer to your ornaments.
When that side has dried. I added some large nails through a large piece of cardboard so I could plop the ball ornaments upside down onto the nails. This keeps them in place so you can get the other side of the ornaments primed.
Step 3: Paint ornaments with spray paint
Now it’s time to add some color. The satin red-brown terracotta color that I used was perfect. Just repeat the same process of getting each side painted by placing them in an egg carton and then on nails for the colored spray painting.
While I only added one layer of primer, I had to add several coats of colored spray paint to the ornaments. Thin coats are key here. This paint tends to run so be cautious!
Here you can see that plopping the ornaments on skewers works as well instead of the nails.
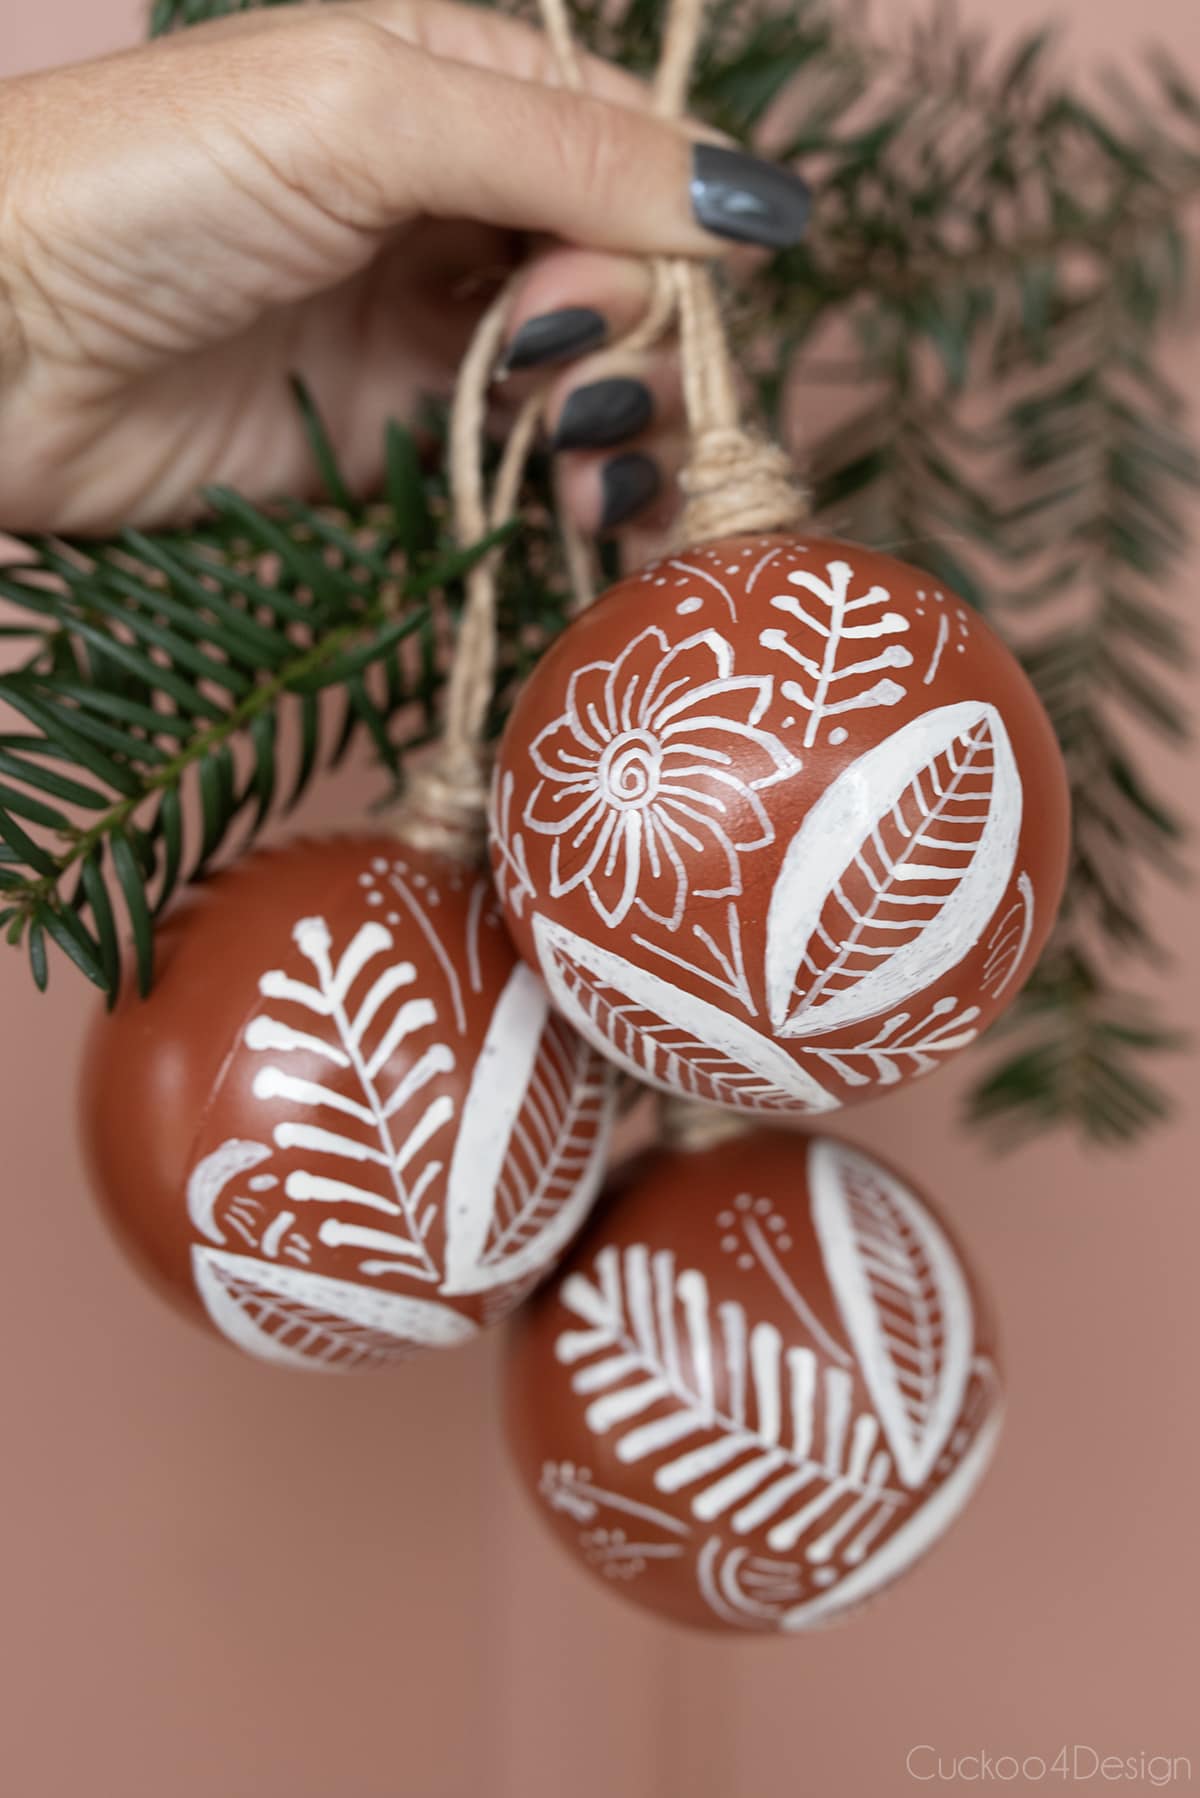
Step 4: Use an oil-based Sharpie to doodle on a pattern
You can look at my inspiration pieces mentioned above for pattern ideas. Or simply look at my finished photos below to see what I did exactly. I narrowed it down to some simple leaf and flower shapes.
You can use a pencil to draw out your pattern first and then go over it with your white oil-based Sharpie. After I got the hang of it, I didn’t need to use a pencil anymore and was just able to doodle freehand. I preferred a thin-tipped Sharpie or paint marker for this.
RELATED: If you want to see some other patterns that you could draw on these Christmas ornaments then you should check out my blog post about pysanki designs.
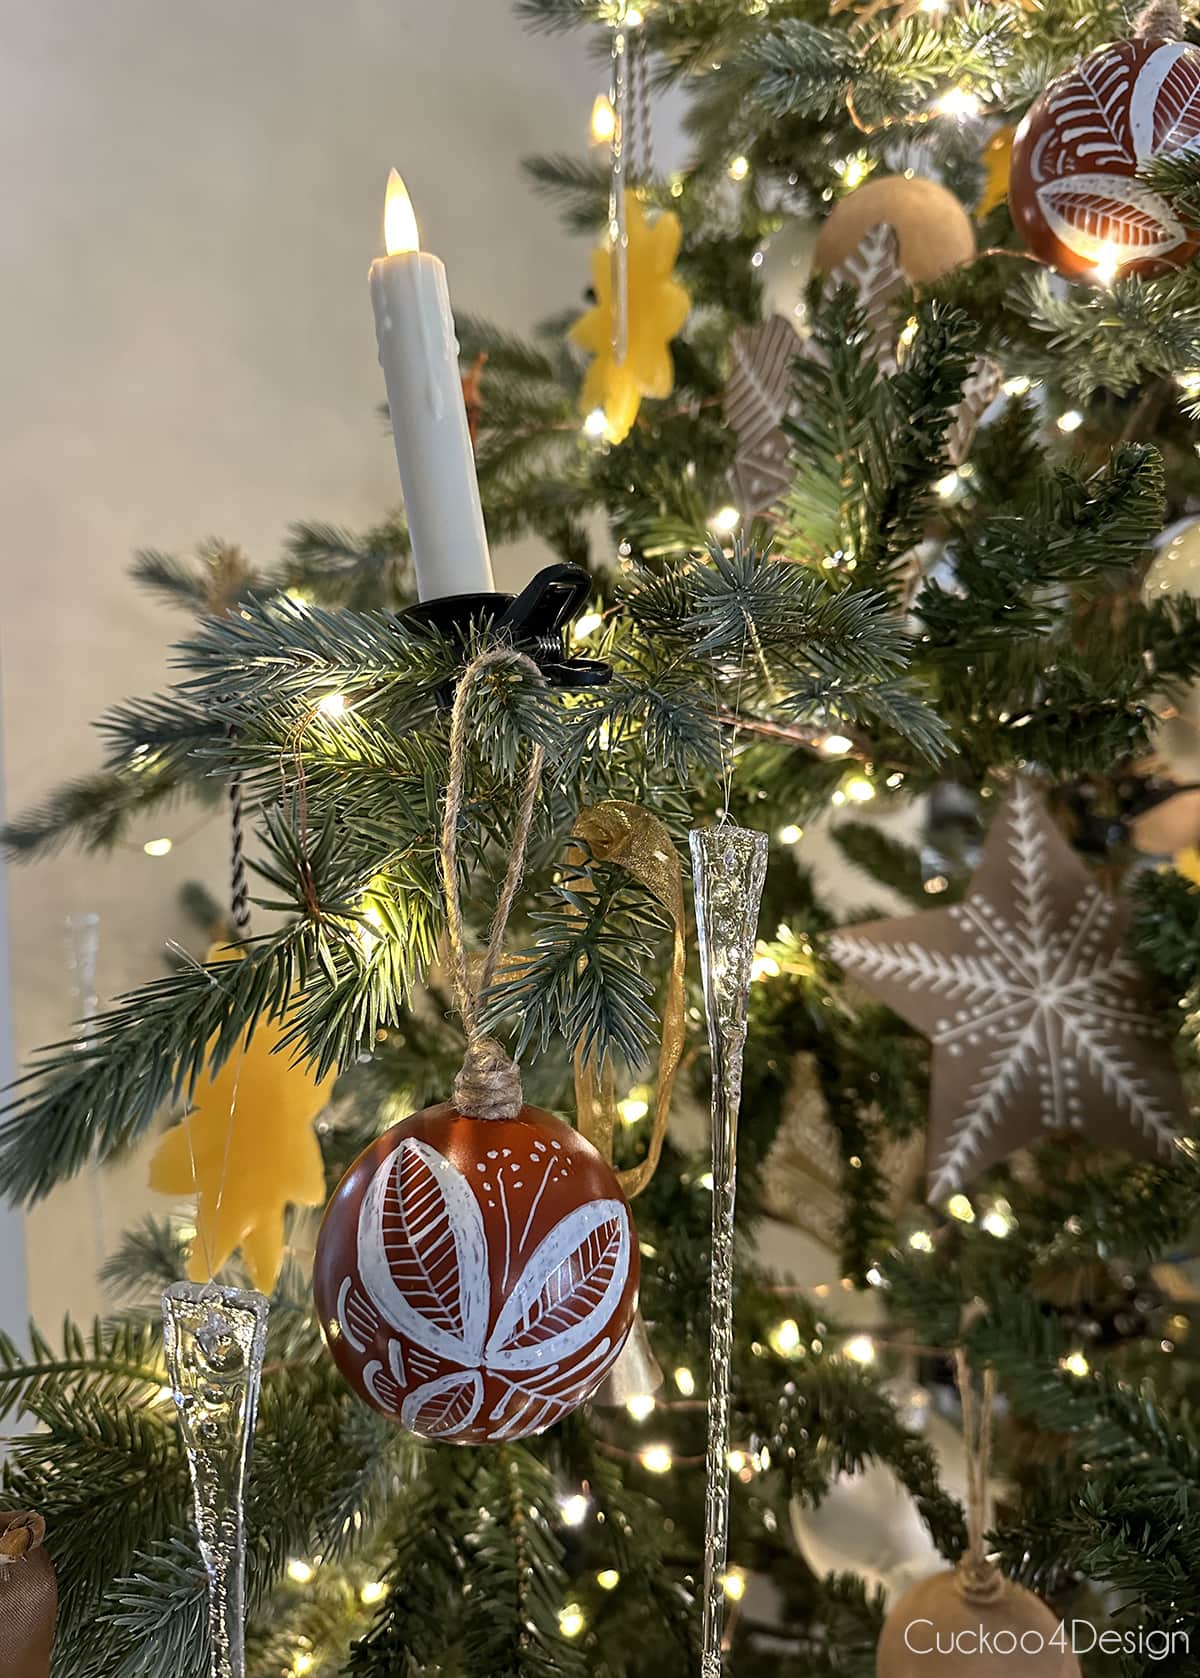
Step 5: Add jute yarn for hanging
You can just add the old top of the ball ornaments back which looks perfectly fine.
However, I wanted to give the ornaments an extra unique detail and opted to glue jute yarn to the top with some hot glue. First, cut a piece of jute yarn, fold it in half, and knot the ends. Then stick the ends after the knot into the top of the ball ornament. Add some glue and wrap another piece of jute yarn to the neck of the ornament as pictured below. That’s it!
You can add jute yarn before or after drawing on the pattern.
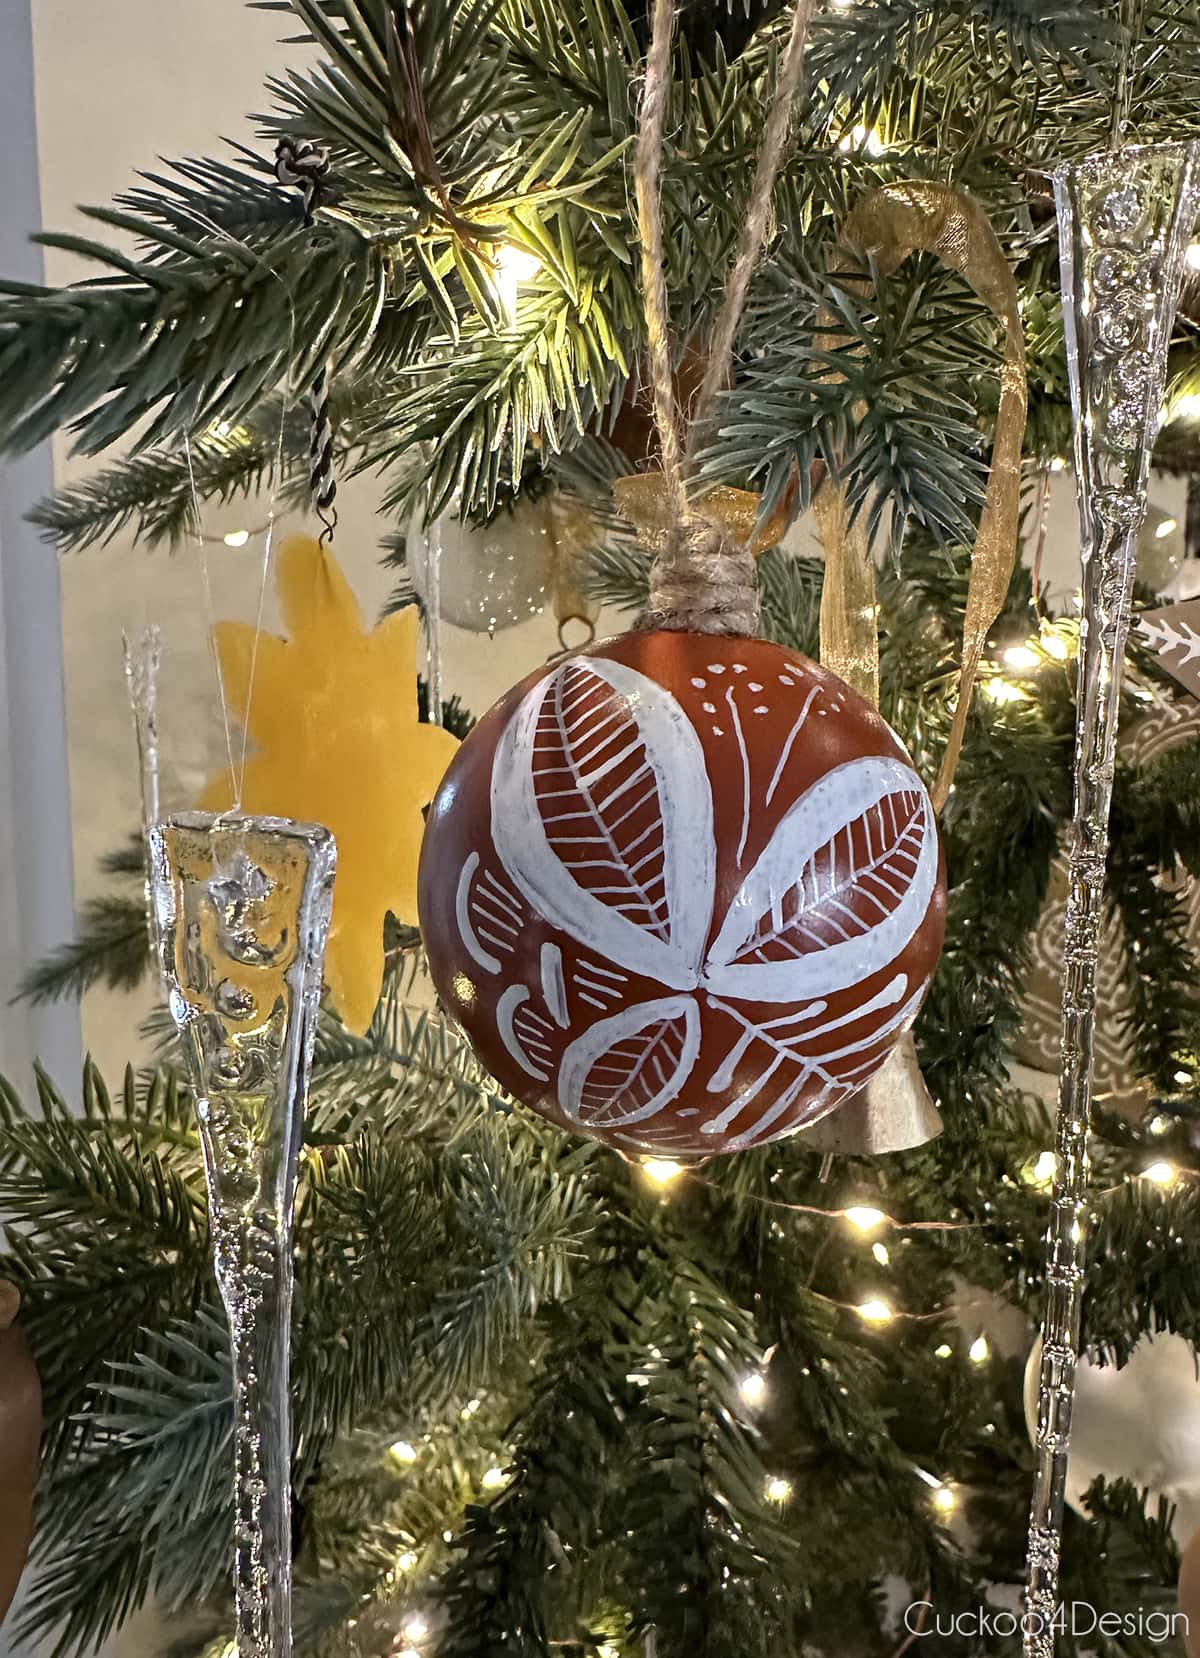
Finished faux DIY Mexican Christmas ornaments
I love how they turned out and the overall look of them. I also had a lot of fun making them. They are a great way to breathe some new life into old ornaments that don’t fit within your home decor aesthetics anymore. What do you think?
If you like folk art, you might also like my DIY heart ornaments which are hanging on the below pictured dining room Christmas tree.
If you love the look of traditional folk art ornaments, you may also enjoy my DIY embossed tin ornaments. The embossed patterns have that same handcrafted feel, and I included templates you can download to make your own.
Below you can see a sneak peek of them hanging on my tree. I’m sharing the rest of new the sparse artificial Christmas tree in my Christmas home tour. Check it out for lots more Christmas decorating ideas.
Where to buy real authentic burnished pottery ornaments
As I said earlier these types of ornaments aren’t all that easy to find but I found some pretty handmade and vintage pottery ornaments on Etsy for you.
More DIY Christmas Ideas from my blog friends
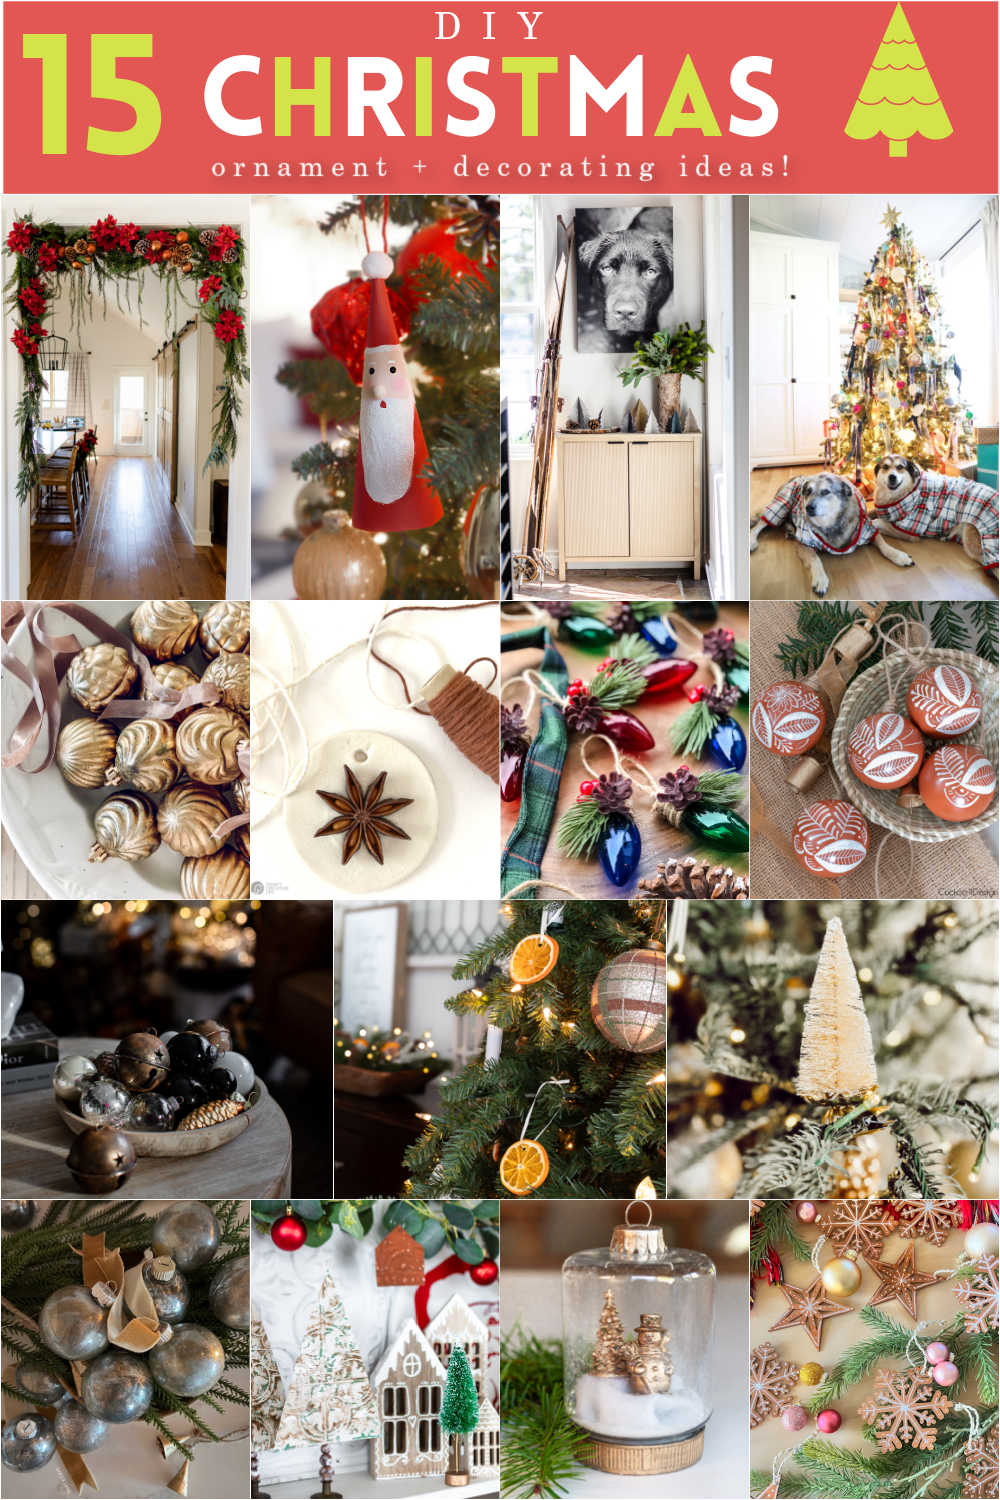
Today’s post is in collaboration with 14 other bloggers who are sharing their Christmas DIYs and ornaments thanks to my friend Jennifer of Tatertots and Jello. At the end of this post, you can find all the other wonderful ideas so you can check them out.
Oh my gosh. I love these! So fun! I’m going to share them with my MIL too. They have a property in Mexico, and I think she would love these to add to their holiday decor at their home there. Pinned.


These are so clever and really appealing!!!!
Thank you so much Sarah
I LOOOVVVVEEEE these!
Thanks so much Melaine!
Oh how lovely, thank you so much for sharing-pinned!
Cheerfully,
Brendt
Thanks so much Brendt. I pinned your amazing trick too.
These are SO COOL! They look amazing!
Thank you Kim, I had fun making them.
I love your ornaments, Julia! The designs are so beautiful and I love the color! Pinned! Thanks for joining us. I love your ideas!
xoxo
Thanks Jen and thank you for organizing. I pinned everyone’s as well. Happy Holidays!
Oh my gosh. I love these! So fun! I’m going to share them with my MIL too. They have a property in Mexico, and I think she would love these to add to their holiday decor at their home there. Pinned.
Oh thanks so much Jen. I hope she likes them
These are beautiful, I love the character of them! Merry Christmas, Julia!
Thanks Krista and Merry Christmas
Those faux DIY Mexican Christmas ornaments sound absolutely beautiful and culturally rich! Thanks for sharing such a festive idea