How to paint flower pots the right way
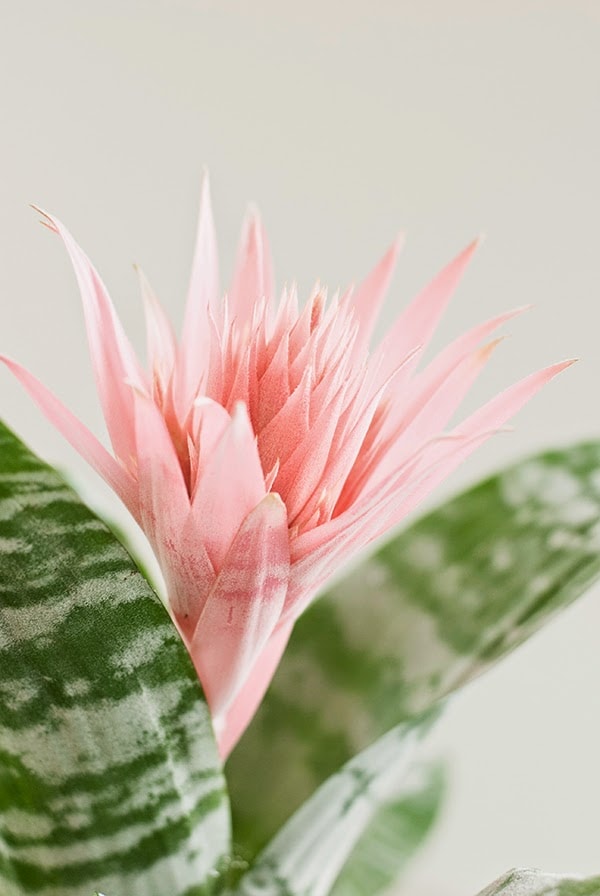
I got another Bromelia as a Mother’s Day present and the only pot I had in the house was a plain white Ikea pot that just wasn’t doing it for me. So I decided to paint it and I want to share with you how to paint flower pots the right way to match your decor and also make them last.
How to paint flower pots
This post may contain affiliate links from which I will earn a commission at no extra cost to you. View my full disclosure policy.
This is a straightforward and easy project. I’ve used the same process for other painting projects as well, just check out my faux terracotta pumpkins (more about them below). They were painted the same way. I just used baking soda paint instead of spray paint.

Supplies needed
- degreaser like Krud Kutter or TSP
- tack cloth
- Kilz primer/Adhesion primer
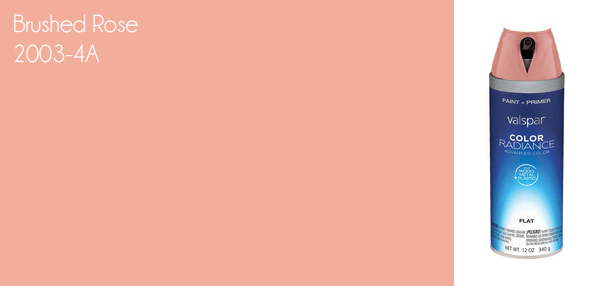
- paint (I used Valspar’s brushed rose spray paint but you can use any other acrylic craft paint too)
Note: Use outdoor-specific paint and sealer for pots that will be used outside and more to that below.
Step-by-step instructions
Step 1: Clean and dry the pot
Clean the pot thoroughly with the degreaser to remove any dirt, dust, or grime, and let it dry completely.
Step 2: Apply primer
Primer will help the paint adhere to the pot and provide a base for the color. I love using Kilz spray primer for most of my projects. Makes sure to shake the can really well for about a minute since the primer is very thick and sticky. If the layer of primer comes out oddly textured then you can let it dry and lightly sand it to get rid of the texture. Or keep the texture for a different look. Apply one or two coats, allowing each coat to dry completely before applying the next.
Step 3: Paint the pot
Choose your desired color and paint type. Apply one or two coats of spray paint, and again, let each coat dry completely before applying the next. For this project, I definitely preferred spray paint for an even finish. But you can certainly brush on acrylic paint with a paintbrush as well. (You can also add stencils to you design in this step!)
Step 4: Seal the pot
To protect the paint and make it last longer, apply a clear acrylic sealer over the entire pot. Let the sealer dry completely before using the pot. (To be honest, I skipped this step since I used my pot indoors and it was fine and lasted for years)
Keep in mind that if you paint a glossy pot as I did, then you definitely can’t skip the primer and might even have to use some fine sandpaper to rough up the pot’s surface first. However, I didn’t use sandpaper for my pot painting project and it was fine.
Tips for Painting flower pots for indoor use
It is essential to decide what plant you want to use the pot for and if you are planting the plant inside the pot or just placing the potted plant inside the pot. Why? Well, some plants require that you mist them daily, and then make sure that you use durable outdoor paint and sealer so the paint doesn’t get moldy and damaged. This also applies to plants that are planted inside the painted pot.
Tips for Painting flower pots for outdoor use
Use the exact same instructions as above but replace the paint with outdoor paint and an outdoor sealer to extend the life of the paint and protect it from the elements. Outdoor paint is specifically made for outdoor use as it can withstand harsh weather conditions and last longer.
Keep in mind that clay/terracotta pots can’t stay outside in freezing winter weather as it will make them crack when they freeze, so it might be better to use plastic pots or faux concrete pots when you want to paint outdoor pots.
Tips for painting cement/concrete flower pots
A while back I wrote a blog post about the best paint for a concrete porch or patio since I have some experience painting our concrete porch and repainting painted concrete. Painting concrete flower pots and planters should be painted the same way you’d paint a concrete porch or patio.
Concrete is very porous which is why it’s so important to use a good concrete primer before painting it with your color of choice. The steps are the same way as mentioned above. You need to make sure that the pots are clean and dry before applying the primer and then the final paint.
Tips for painting clay/terracotta flower pots
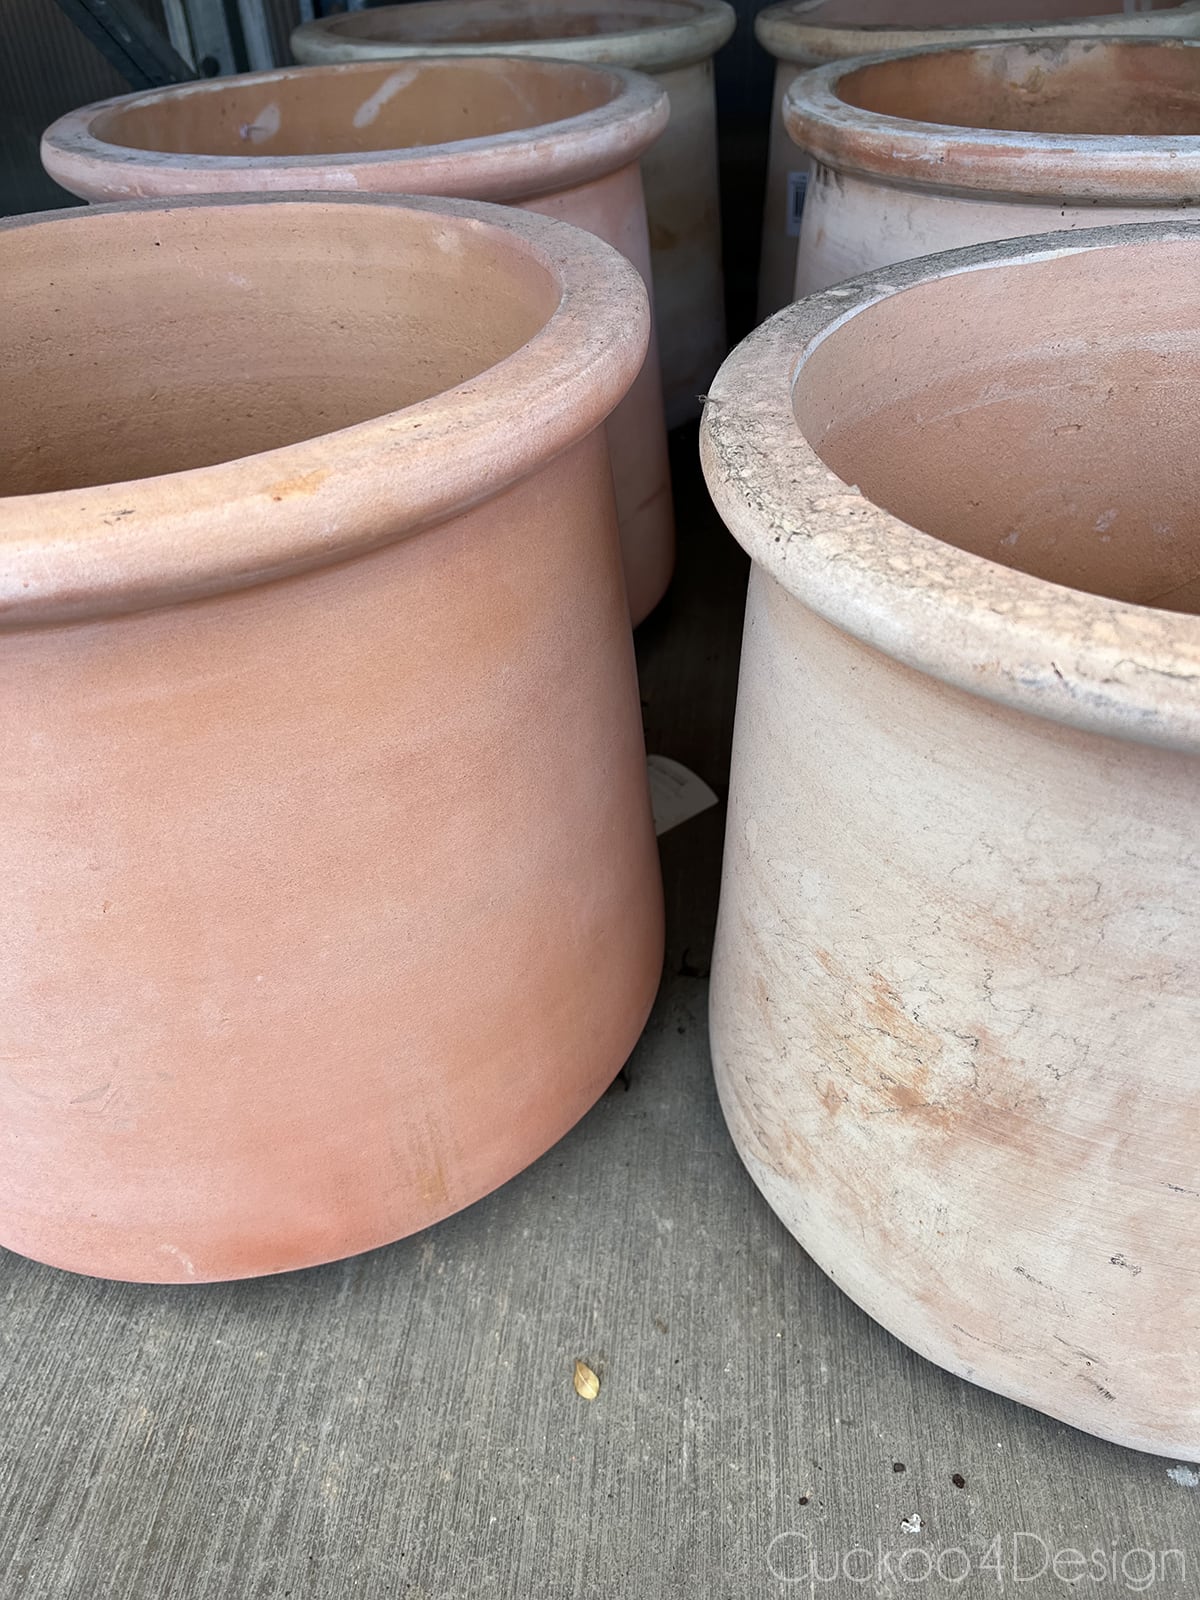
I love the look of terra-cotta and probably wouldn’t choose to paint any real plain terracotta pots. Hey, as I mentioned above already I even painted plastic pumpkins to look like terracotta because I love the look so much. And I wrote a blog post about my favorite terracotta colors from different brands.
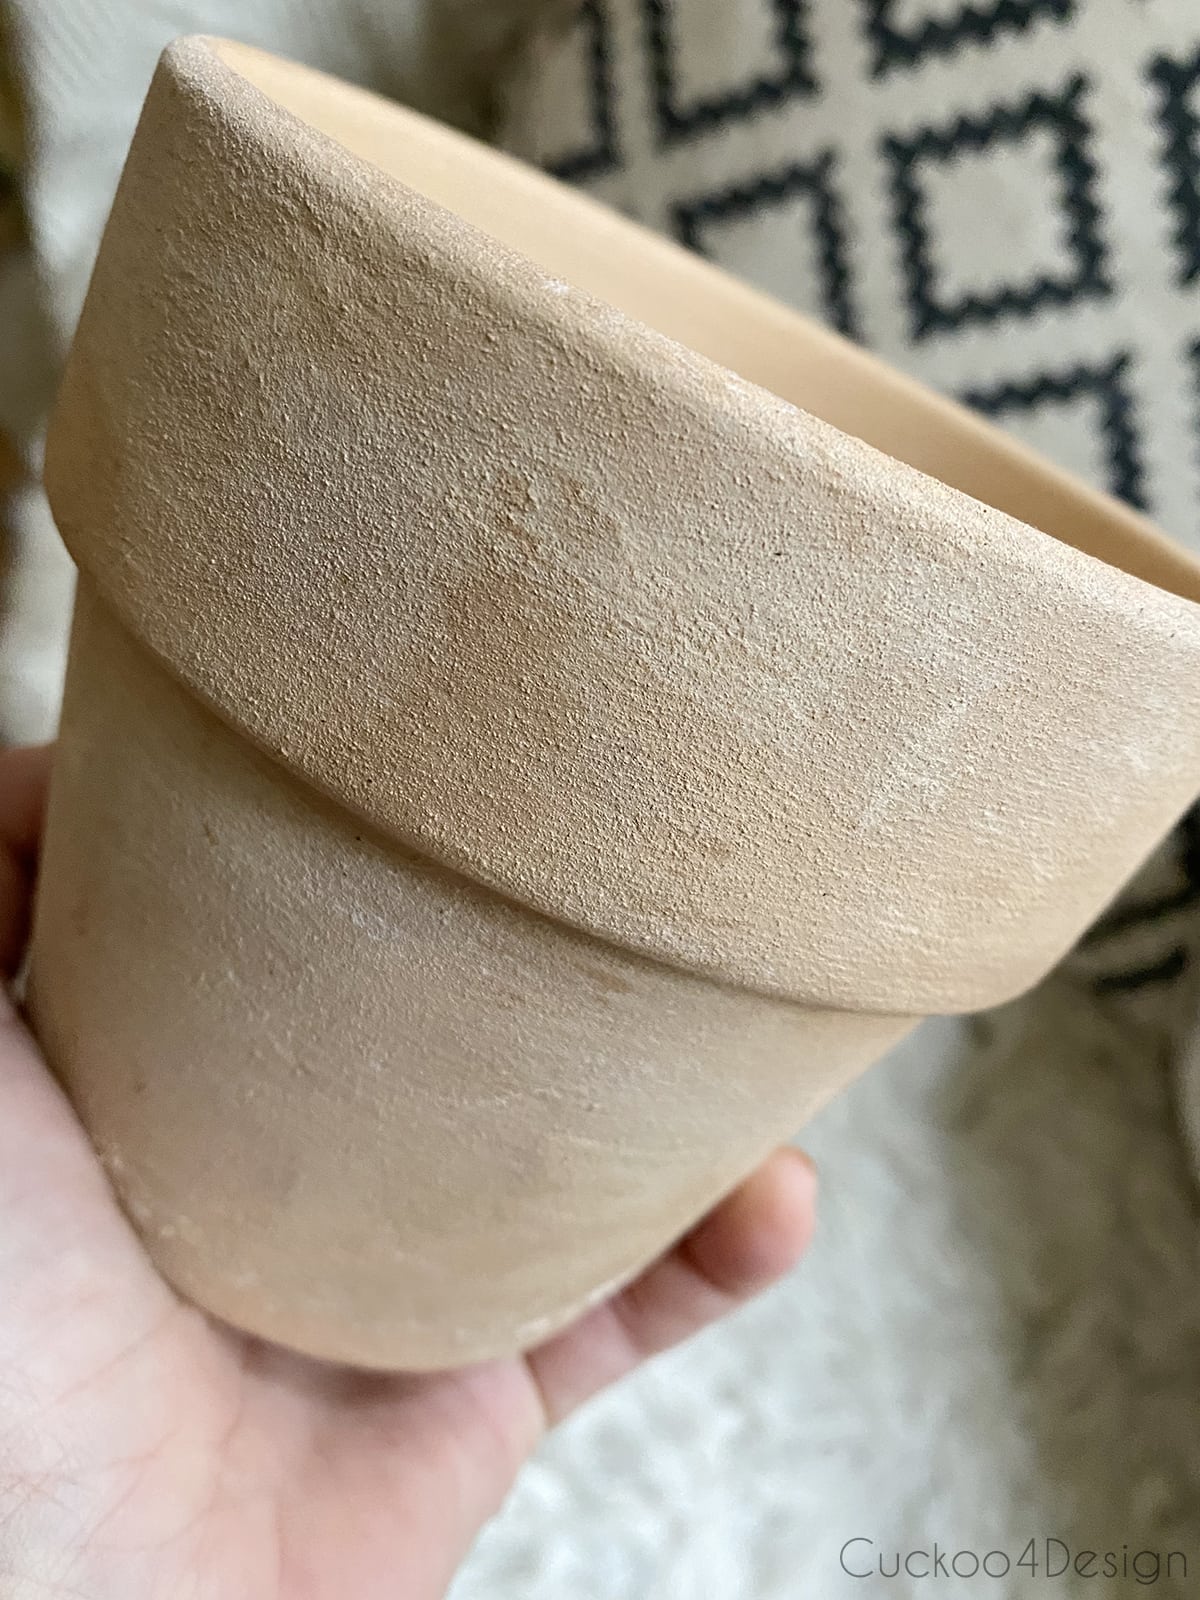
Anyways, if you want to paint some terracotta pots or vessels, the prep work is key once again. Terracotta is a very porous material! So porous in fact that it absorbs excess moisture out of the soil which isn’t good for every type of plant. So because of that fact, you should use a clay pot sealer on your clean and dry terracotta pots. You have to make sure to seal the pot inside out. For the other flower pots mentioned above, it’s enough to just prime the outside. Terracotta pots need to be sealed on the inside as well as the outside.
After the sealer dried, I like using the same primer mentioned above and then painting them the way mentioned above depending on whether you want to keep them inside or outside.
Note: The sealer affects the breathability of the pot and plants that previously did well in the original terracotta pot might not do well in the painted terracotta pot since the soil will remain moist for much longer. For example, my Cinderella castle cactus loves its terracotta pot but wouldn’t like to sit in moist soil should I ever paint it.
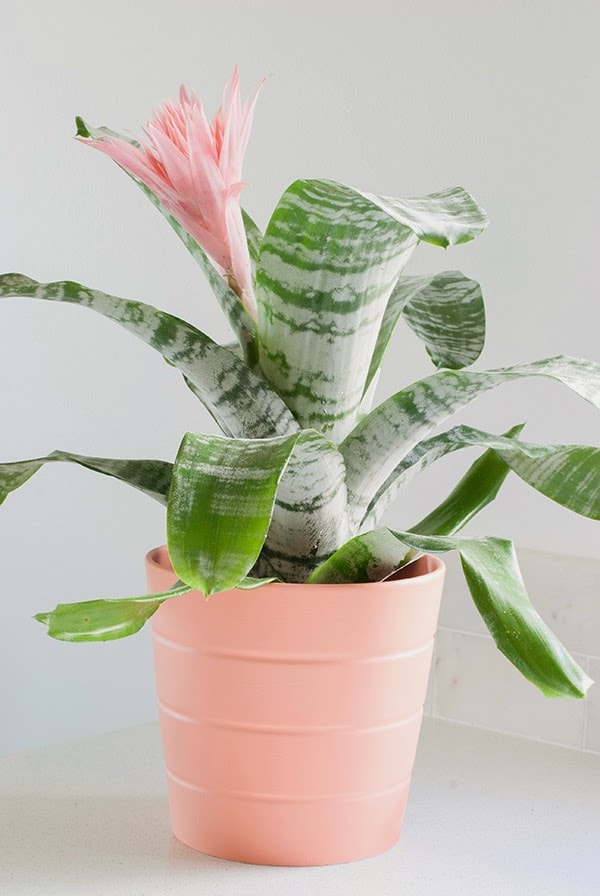
Photos of my finished painted flower pot
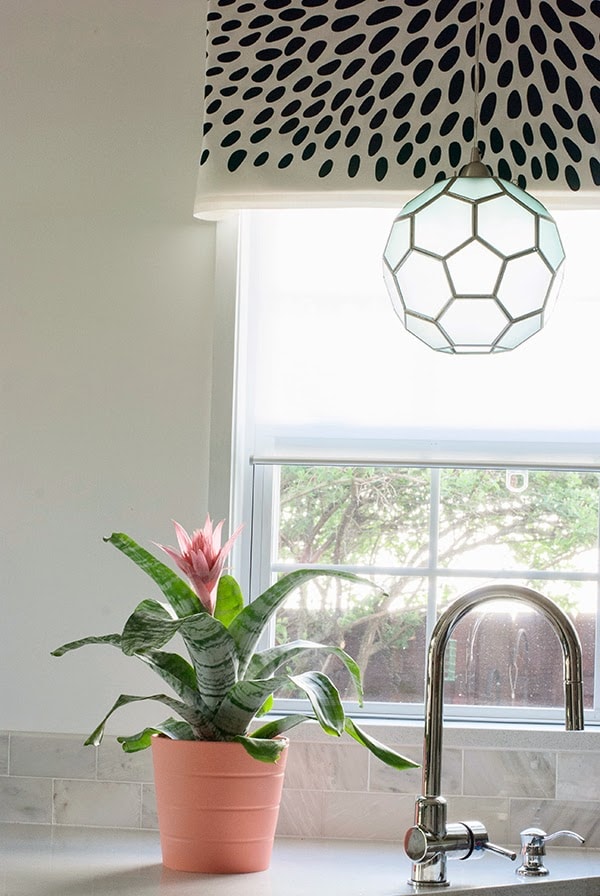
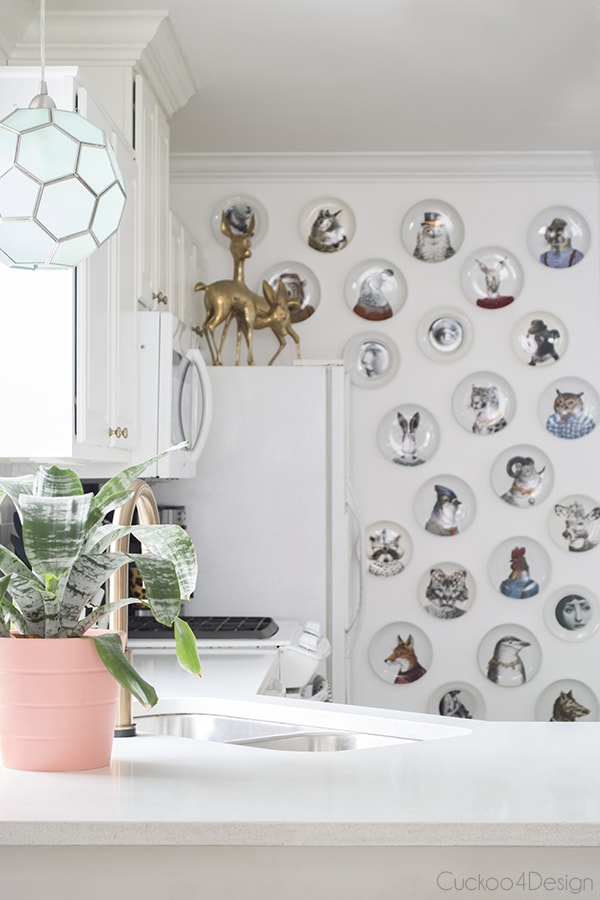
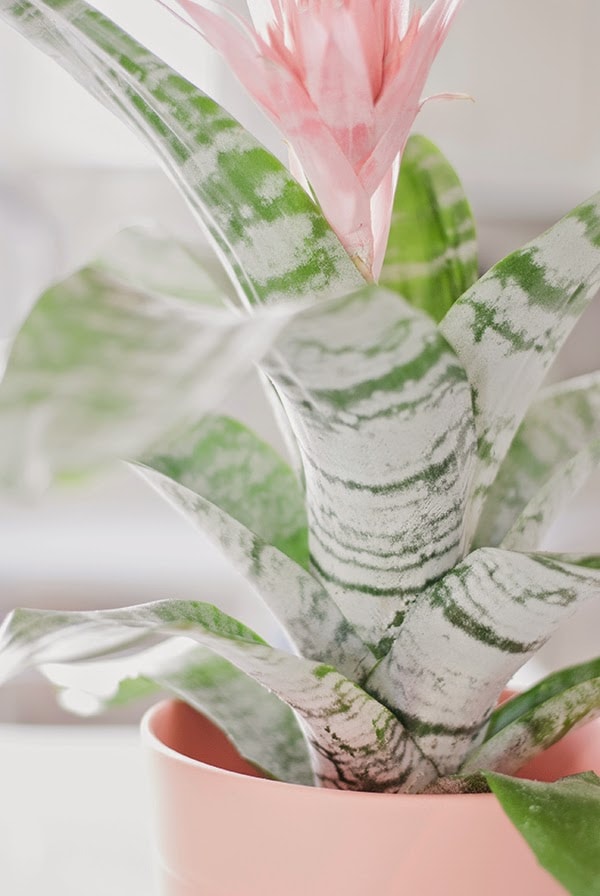
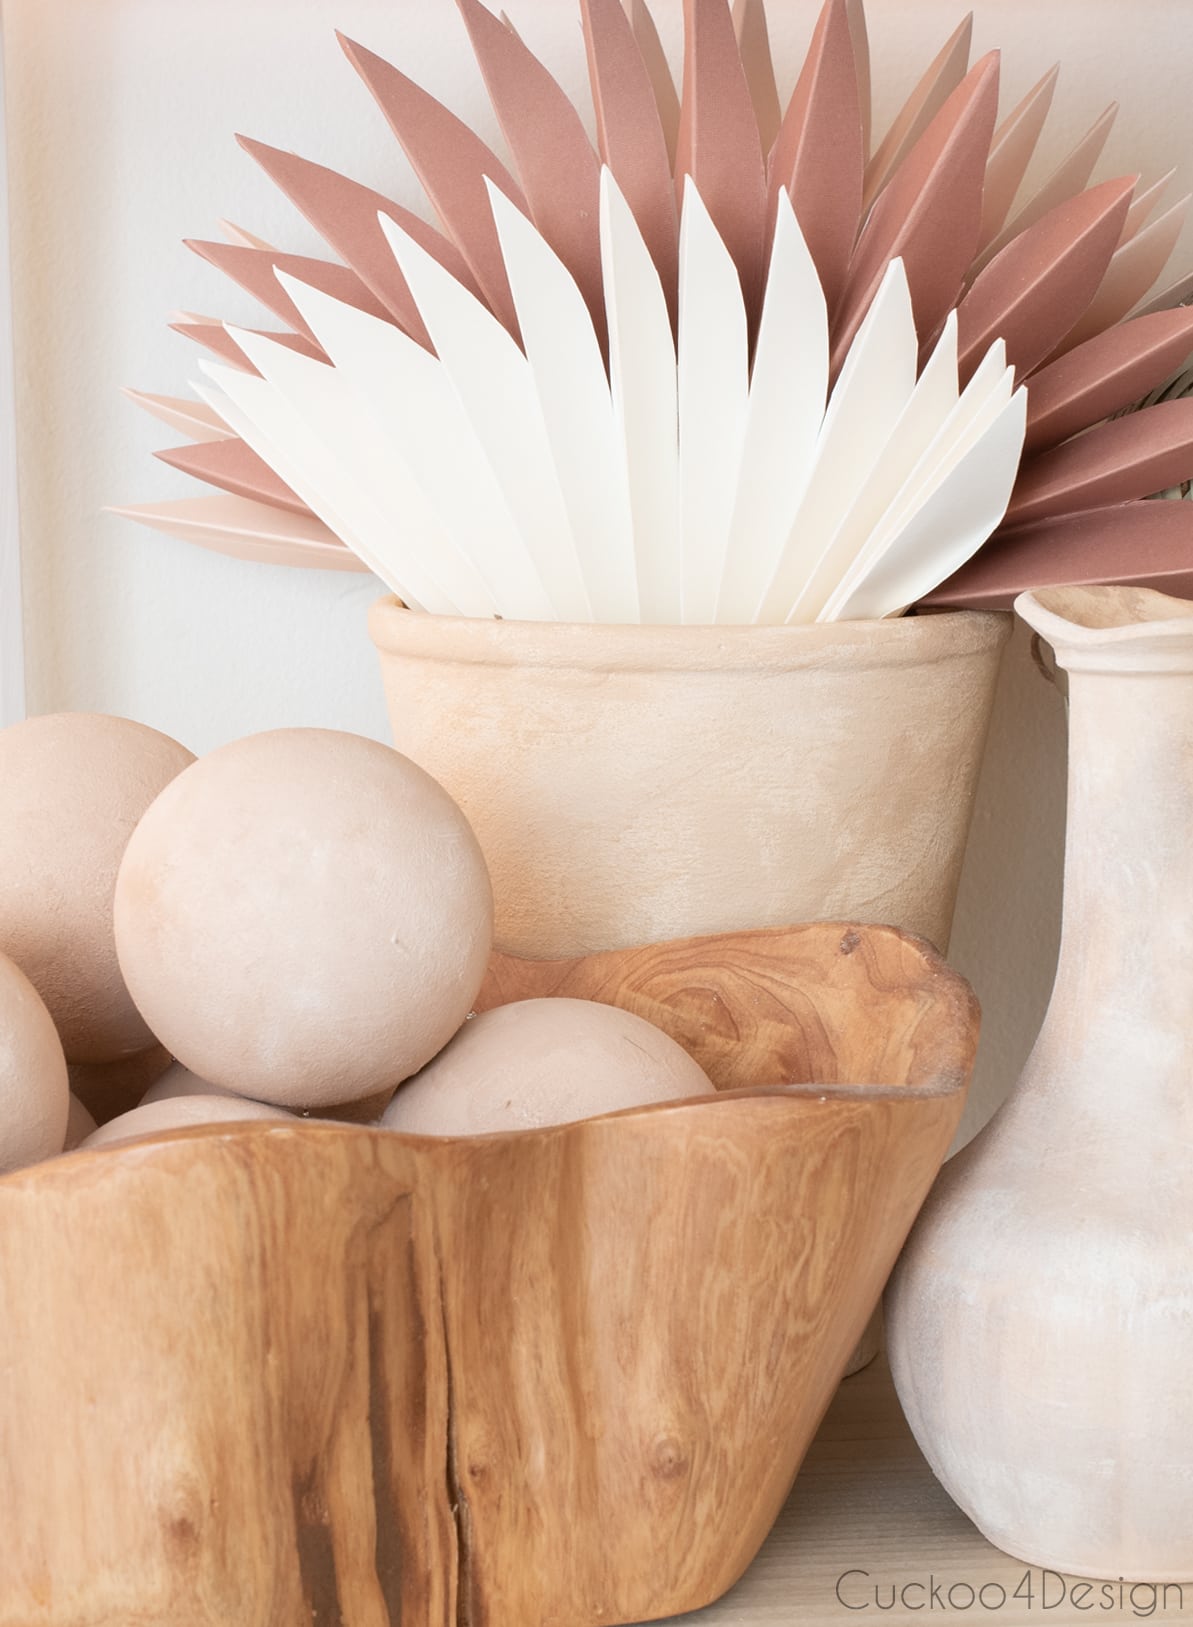
It’s a small project but I love the outcome and the primer worked great on the pot and with the spray paint. Doesn’t it look pretty with the color of the Bromelia?

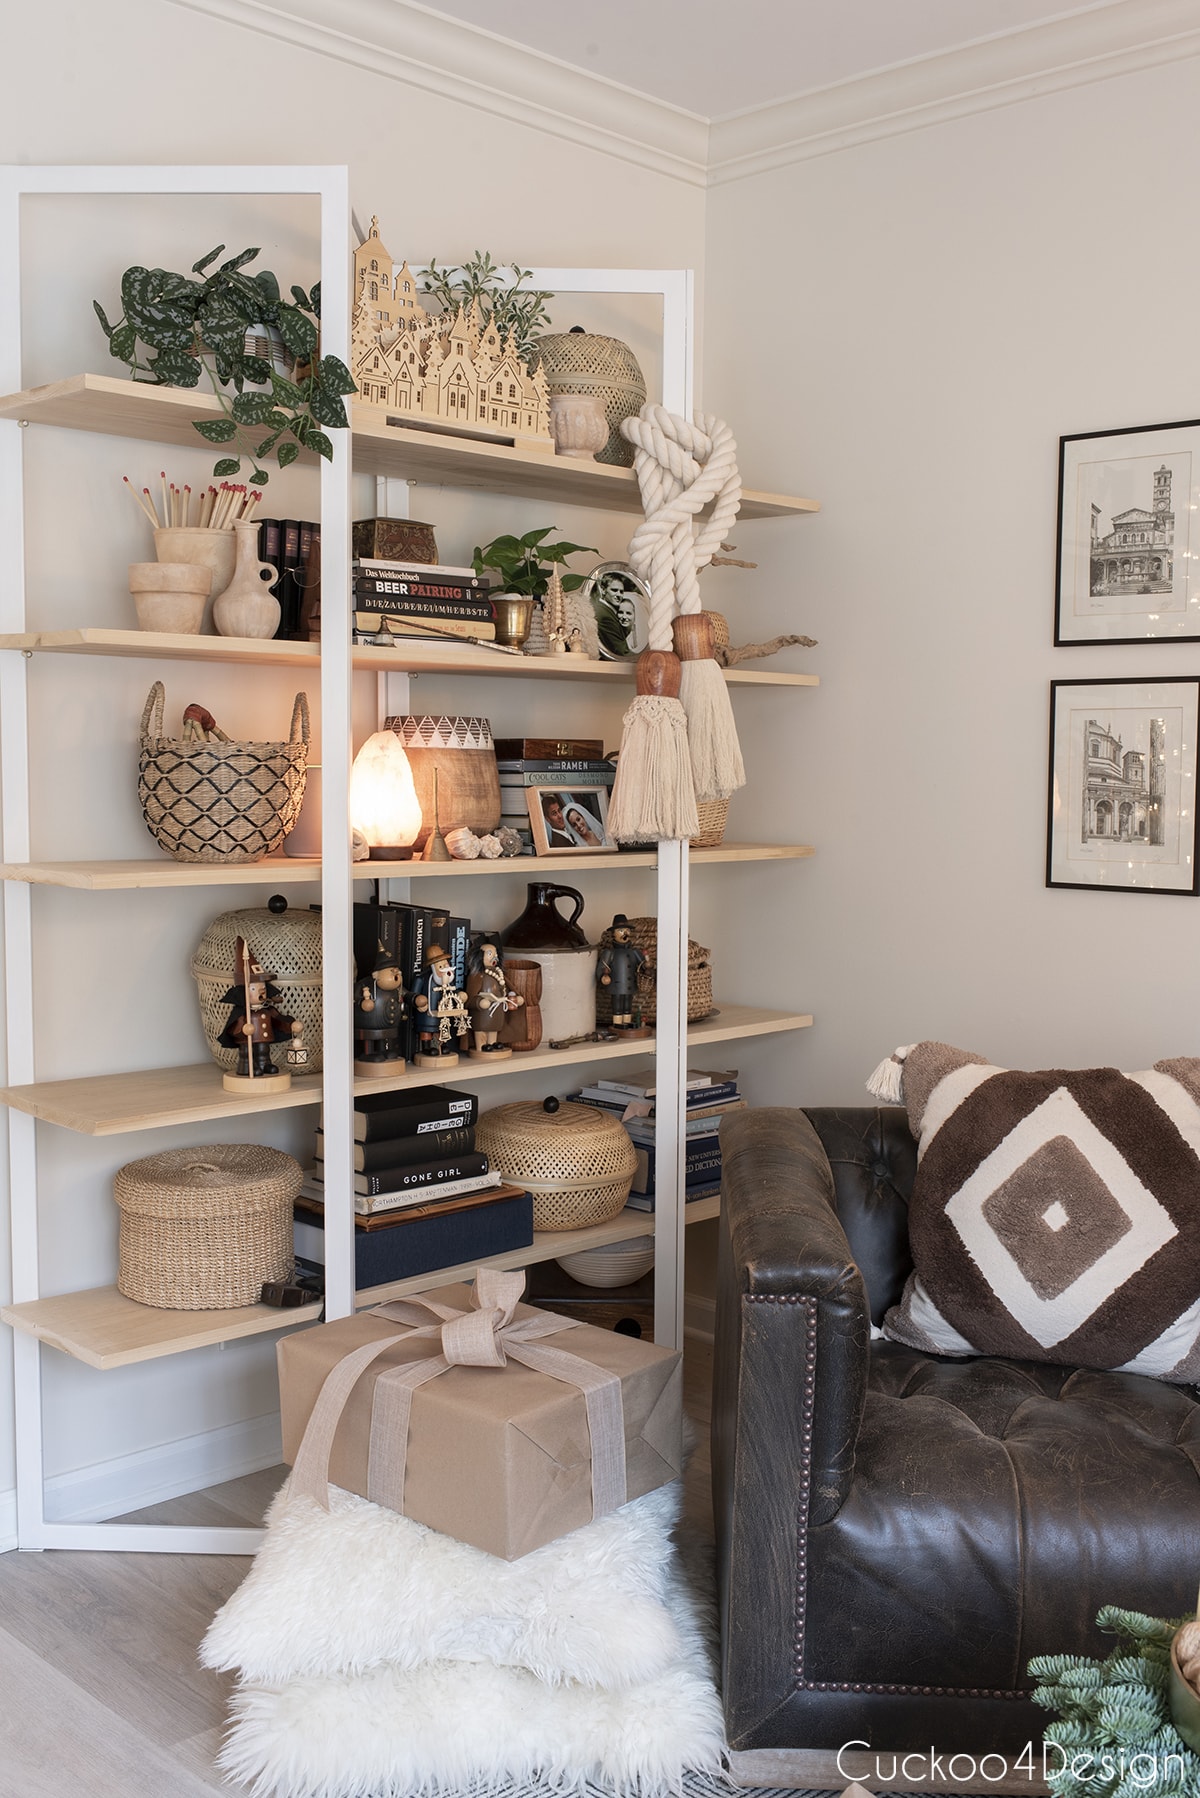
And below you can see some of my faux terracotta painted flower pots on my bookshelf.
More painting projects and tips
- painting ornaments with baking soda paint
- my painting tips and tricks
- my cabinet painting tips
- DIY pet portrait painting
- painting brass lamps (faux brass that is, I wouldn’t paint real brass)
- painted lamp makeover
- DIY abstract art tutorial
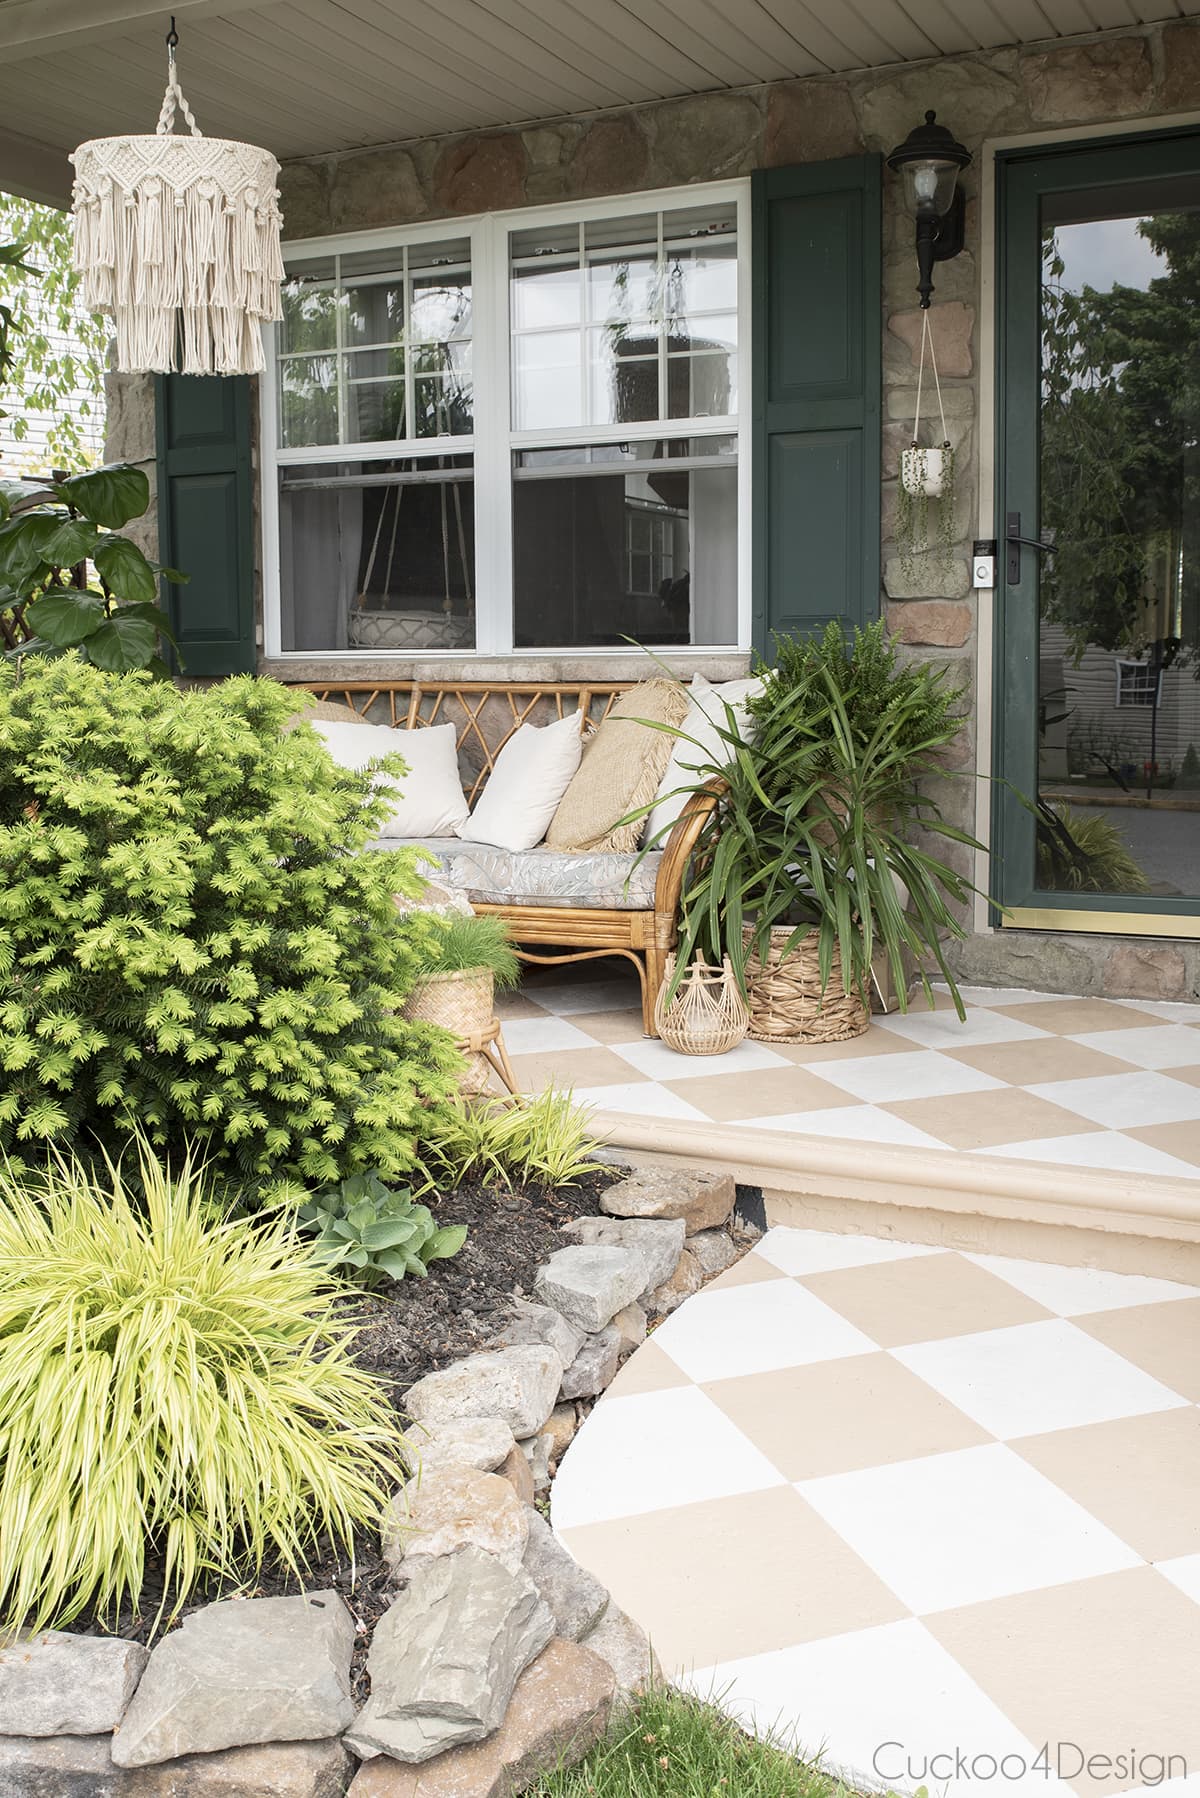
- painting concrete porch in a checkerboard pattern (I love our front porch this way!)
Such a pretty color! Isn’t it?
Tschüß


I love that pink pot! So pretty. I also need a new houseplant. 😉
i love the color on the pot! bright and happy! and hope your back is better today! ugh!
My kind of project! The new color is perfect! Hope you’re feeling better!!!
love this soft blush color – it is becoming one of my new favorites!
What a beautiful color that matches the flower perfectly and your decor! I have those same pots and wrapped them with twine 🙂
What a beautiful small change!
Such a beautiful color and I love the Bromelia – don’t think I’ve ever seen one of those before!
I love that primer! I love the flower and the color is perfect!
I have a feeling that you’re a doctors worst nightmare- you just can’t sit still huh?! Such a sweet shade of pink too 🙂
Pretty! Nice to know a product that works well on ceramics. I hope your back is feeling better today!
LOVE the updated flower pot. It is such an unexpected bit of color. Hope your back is starting to improve today. I have super bad back problems, so I know how miserable that can be.
Angela @ Number Fifty-Three
So pretty! Sorry to hear you hurt your back! Feel better!
XO,
Krista
http://www.goodwillglam.com
Sorry to hear about your back. I hope you heal quickly.
That flower pot is so pretty in pink 🙂 What a great product!
It’s gorgeous! I love the color you chose…ties in nicely with the plant!! I hope your back feels better soon! 🙂
Nice color choice! I love that primer! Works like a charm on just about anything.
so pretty, love that color!
Beautiful!! You could sell your gorgeous photography of the Bromelia!
I love it! The color complements the plant so well. I have that same pot from Ikea, so I am totally inspired to try this.
xoxo,
[email protected]
So gorgeous! Yay for being able to paint glossy surfaces you can sand down first!
Your pictures are beautiful! You have some serious photography skills!!
So pretty! And these are gorgeous photos…you should frame them!
Gorgeous pics – I have high hopes that you’ll keep this plant alive and thriving!!!
Kelly
What a lovely plant! I have zero luck keeping indoor plants happy, but this one is so gorgeous I just might have to consign it to death row (aka, my house)… Love it!
Happy Mothers Day love. I love the pinky/blush color. So pretty:)
That flower is beautiful! I love the blush pot! Such a great color for your kitchen!
That is the prettiest color and just goes so well with the beautiful plant!..
I need to check out this primer! The finish looks so smooth. And love the color you chose… matches the plant perfectly!
I absolutely LOVE that colour Julia. Isn’t a good primer such a blessing – then you can paint anything!!
Oh, now I want to paint all my IKEA pots. Love it in the blush color.
The colour is so pretty! Looks great in your kitchen.
So sorry you hurt your back. Hope you’re well and up to doing cartwheels soon! Beautiful plant, Julia. It looks great in your kitchen, especially with the pop of pink.