Unique DIY metal patio table makeover using macrame yarn
So many of us have these types of black metal mesh patio tables which are rather boring. I didn’t want to use spray paint again to breathe new life into it this time. Instead, I decided to use synthetic yarn for this metal patio table makeover to turn it into a unique and beautiful outdoor accent piece for our outdoor space.
Fixing rust spots on your metal patio furniture before starting with this makeover tutorial
This post may contain affiliate links from which I will earn a commission at no extra cost to you. View my full disclosure policy.
I thought I’d mention this issue in case you have outdoor metal furniture that is severely worn with rust spots and peeling paint that needs to be fixed before starting my little makeover project.
- Scrape off loose rust and loose paint
To me, the best way to scrape off rust spots and chipping paint is to use a wire brush. The bristles are able to get into small areas that are otherwise difficult to reach. - Sand the areas
Next, it also helps to sand the rusty areas which you just scraped with a coarse sandpaper block to make sure you successfully remove all the rust. - Run a tack cloth over the furniture
I love using tack clothes before painting any project because these types of clothes are super sticky and able to remove any dirt and rust that could get stuck in the primer or paint. To me, they are essential for a smooth finish. - Prime metal with rusty metal primer
Use a metal primer, preferably Rustoleum rusty metal primer to evenly coat the metal furniture. Always make sure to shake the can well. - Spray paint metal with the color of your choice
Pick a can of spray paint color and read the manufacturer’s directions before painting the metal. Shake the can well, and then apply two light coats of the metal spray paint. Make sure to evenly spray the paint over the metal furniture which should be resting on a sheet of plastic or drop cloth in a well-ventilated area. Let the paint dry according to the instructions between the first coat and the second coat.
Unique DIY metal patio table makeover using macrame yarn
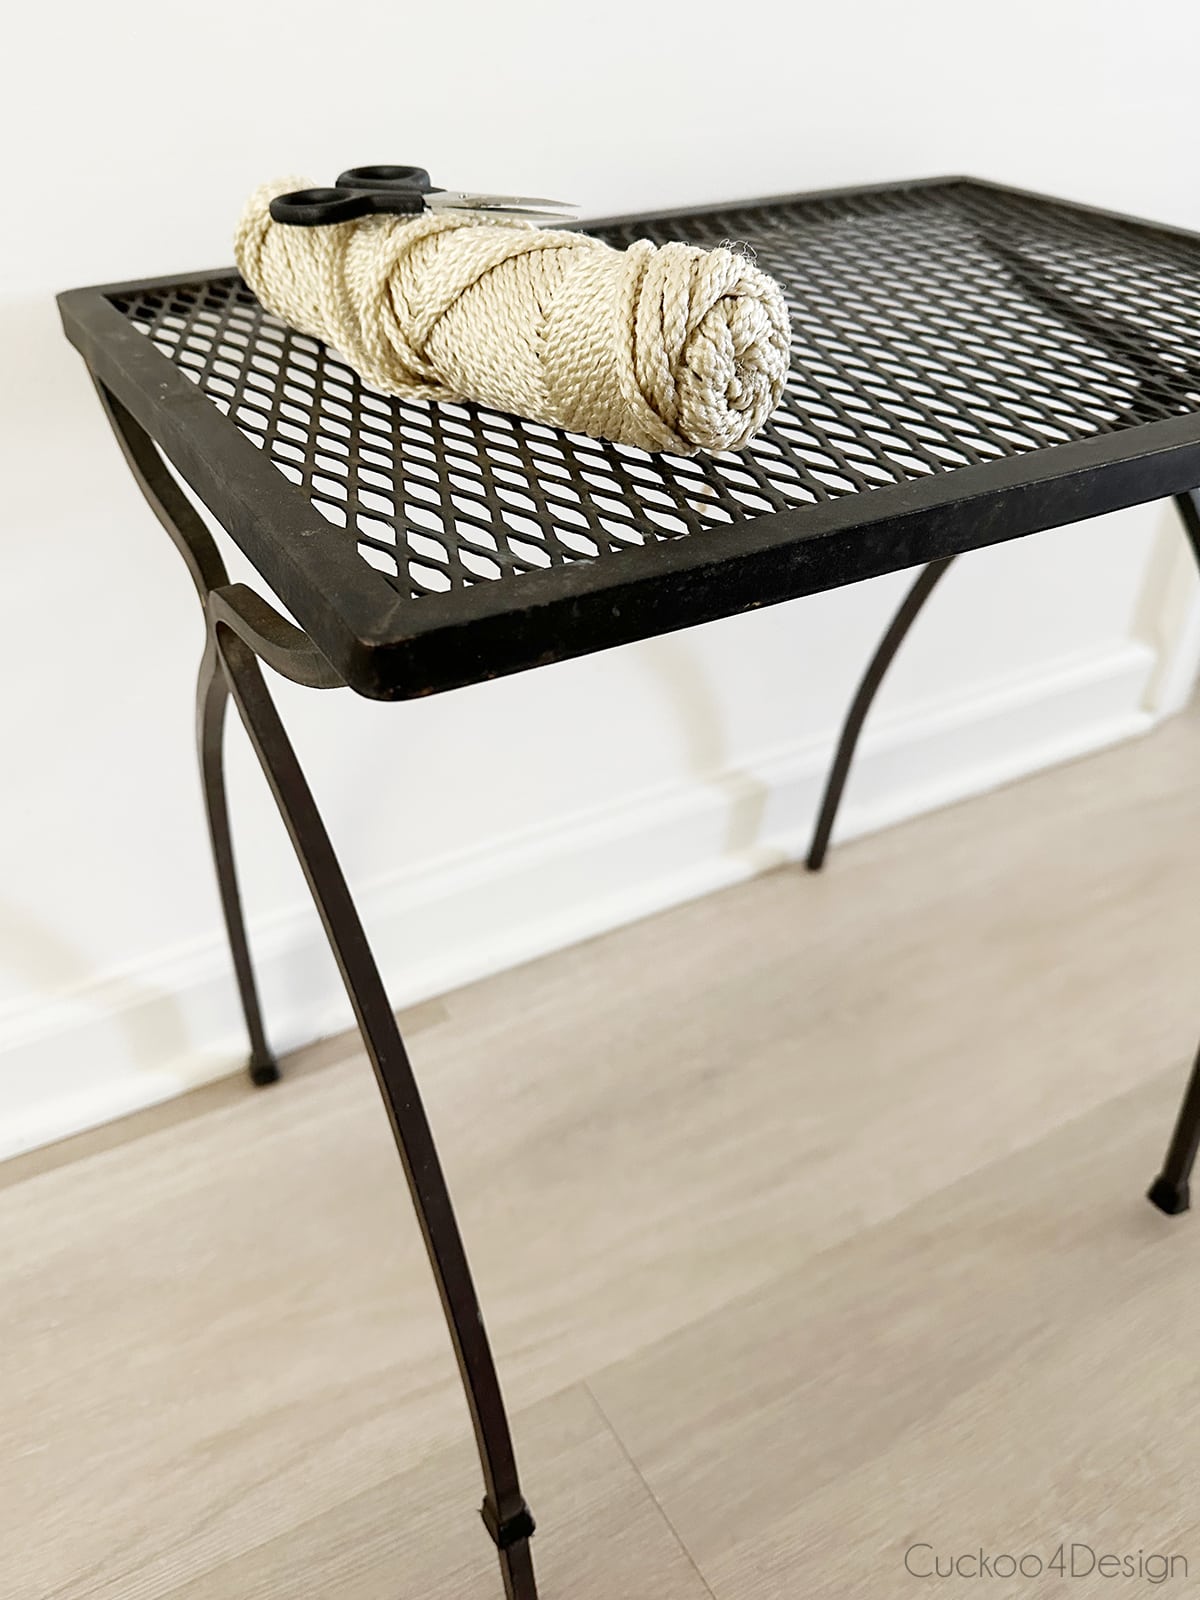
About 15 years ago, I bought a set of metal mesh stacking tables at a local auction for $5. I had given them spray paint makeovers several times over the years but was rather bored with doing another spray painting DIY project. So while I was looking at my outdoor macrame wall hanging by our stock tank swimming pool, I had the idea to use the leftover yarn for another macrame makeover.
We used to have a large round metal table and this same makeover would certainly work on a much larger scale as well. The same process, you just need more yarn. You can alternate the triangular-shaped macrame piece and fringe all the way around the perimeter of a round table. You could even do this to metal chairs.
Supplies needed for metal patio table makeover
- one metal mesh patio table
- synthetic yarn (mine is from Amazon)
- sharp scissors
- measuring tape
- fabric steamer (optional)
Video tutorial
I made a video of the metal patio table makeover so you can see the process better. If the video doesn’t load for you then you can watch it on my YouTube Channel instead.
Step-by-step tutorial
Watching the video tutorial really helps and below are all the steps taken in detail.
I’m using synthetic yarn for this outdoor table because it is the most durable and perfect for outdoor use.
Step 1: Cut yarn pieces
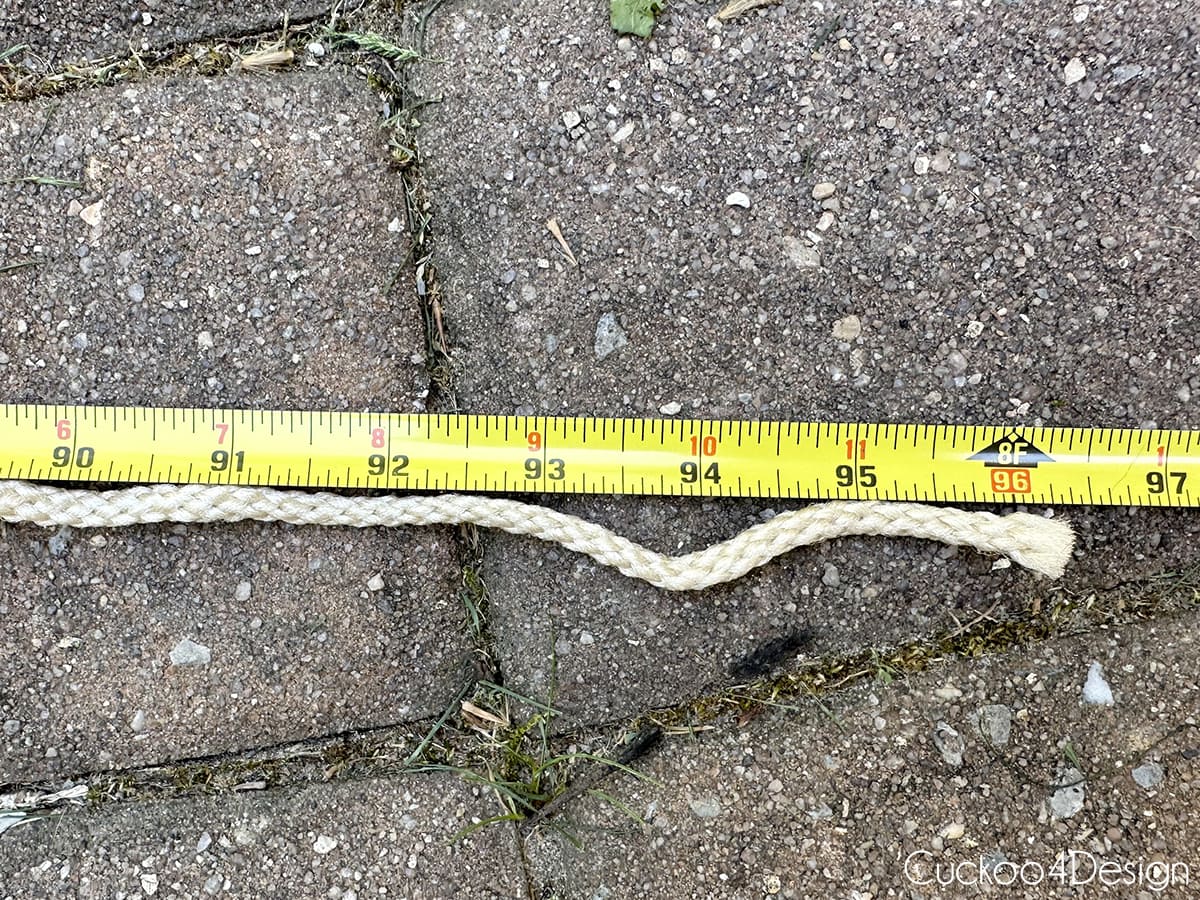
Cut 28 pieces at 96 inches long. (When you knot the triangular long front piece, you’ll end up with 24-inch long scrap pieces which you can use for the other fringe and you won’t have to cut the 60 pieces at 24 inches long needed. You’ll only have to cut a couple more depending on the size of your table. The amount of pieces cut are what I needed specifically for my table.
Step 2: Add yarn to the table edge
I started with the shorter sides of the table to knot the triangular shape. Fold the 96-inch pieces of yarn in half and loop them onto the table edge with Lark’s Head Knots.
(Steps 2 to 4 are basically the same steps taken in my macrame garland tutorial. If you need an even closer look. Check out that detailed tutorial.)


Step 3: Stack Square Knots off-centered in a triangular shape
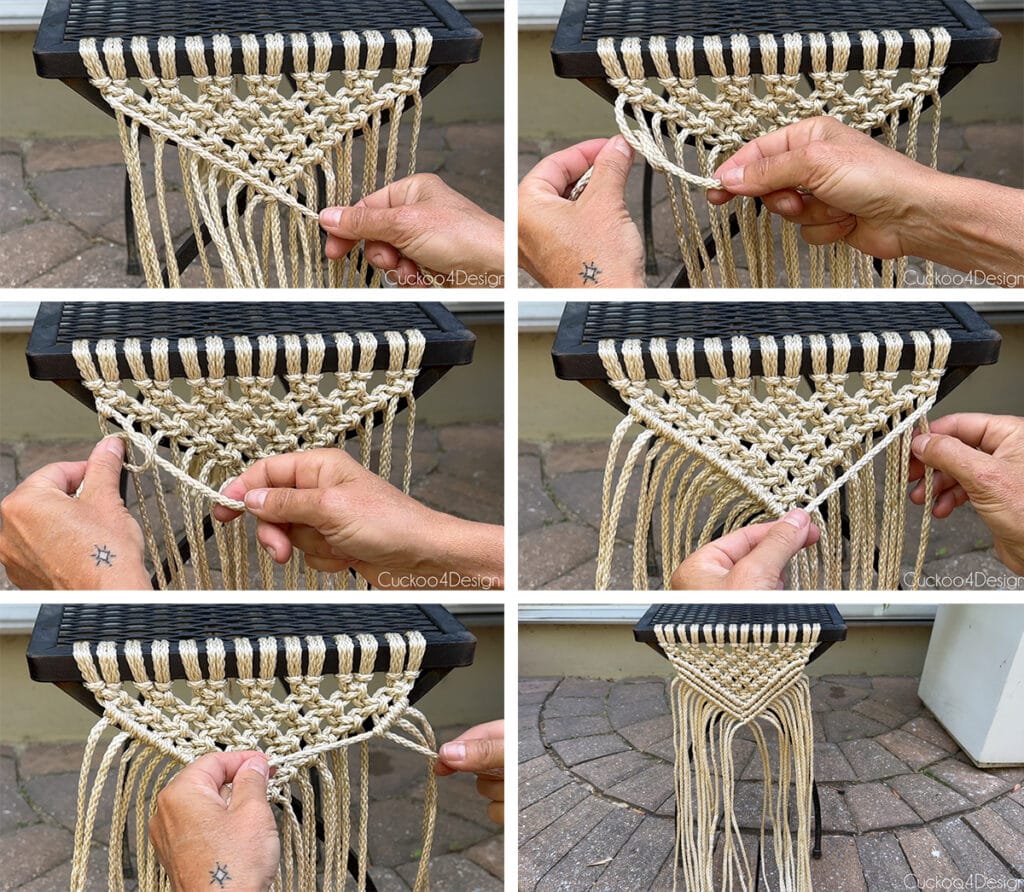
To form a Square Knot, you have to start out with four strands of yarn. Grab the outer right piece of yarn and place it over and to the left of the two center strands. Then grab the left piece of yarn and place it over the right piece of yarn while bringing the left strand under the two center strands and through the loop formed by the right strand. This creates the first part of the Square Knot. Now reverse the steps to form the second part of the Square Knot. (pictured below and as seen in my video)
Knot a row of Square Knots and after that you have to offset the simple knots in the following rows so you can create a pyramid shape. I have 7 rows of Square Knots that end in one Square Knot.

Step 4: Add rows of Diagonal Clove Hitch Knots
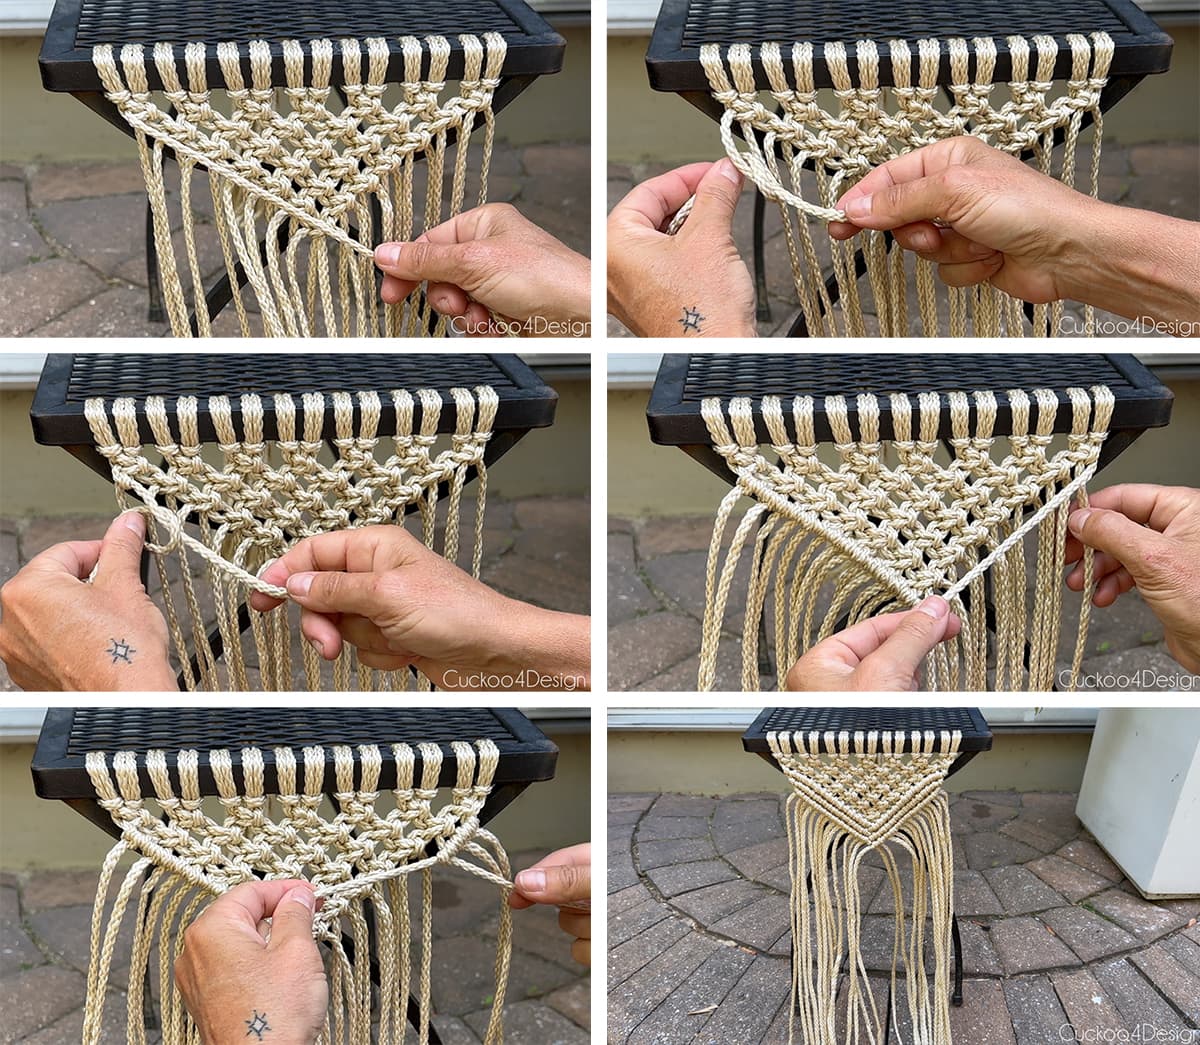
Now it is time for Diagonal Clove Hitch knots on each side of the little macrame triangle/pyramid. Use the outside pieces of yarn on each side as the lead string.
These types of knots are basically loops placed on the outer lead strings on each side that then meet at the center of the piece in a v-shape. You can see how they are looped in the photos and in the video. (pictured below and in my video)
Step 5: Gather the end strings
Grab the end strings and tie them together with a short piece of cord. I wrapped the cord around a couple of times before knotting it in the back and cutting off the ends. Also, trim the end pieces which will leave you with scrap pieces that you can use in the next step.
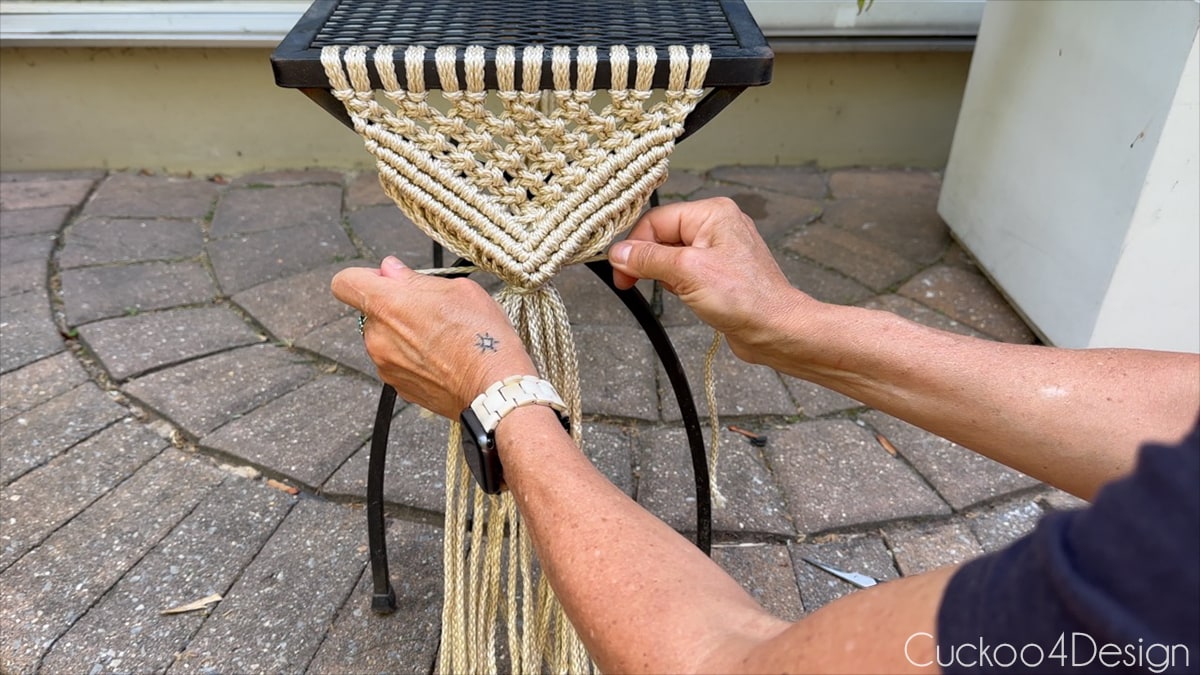

(repeat steps 2 to 5 on the opposite side of the table to knot a mirroring triangular piece)
Step 6: Add the shorter yarn to the side table edges
Now it is time to add the shorter yarn to the side table edges with Lark’s Head Knots again to create the fringe. Do this on both remaining longer opposite sides of the table.


Step 7: Knot more Square Knots
Knot one row of Square Knots that you off-center with a second row of Square Knots and then trim the fringe to about 6 inches long or whatever length you like.

If the fringe is really wrinkled, then you can use a fabric steamer to straighten the fringe. Don’t use a straightening iron as I did in my other macrame project because the synthetic yarn would melt.

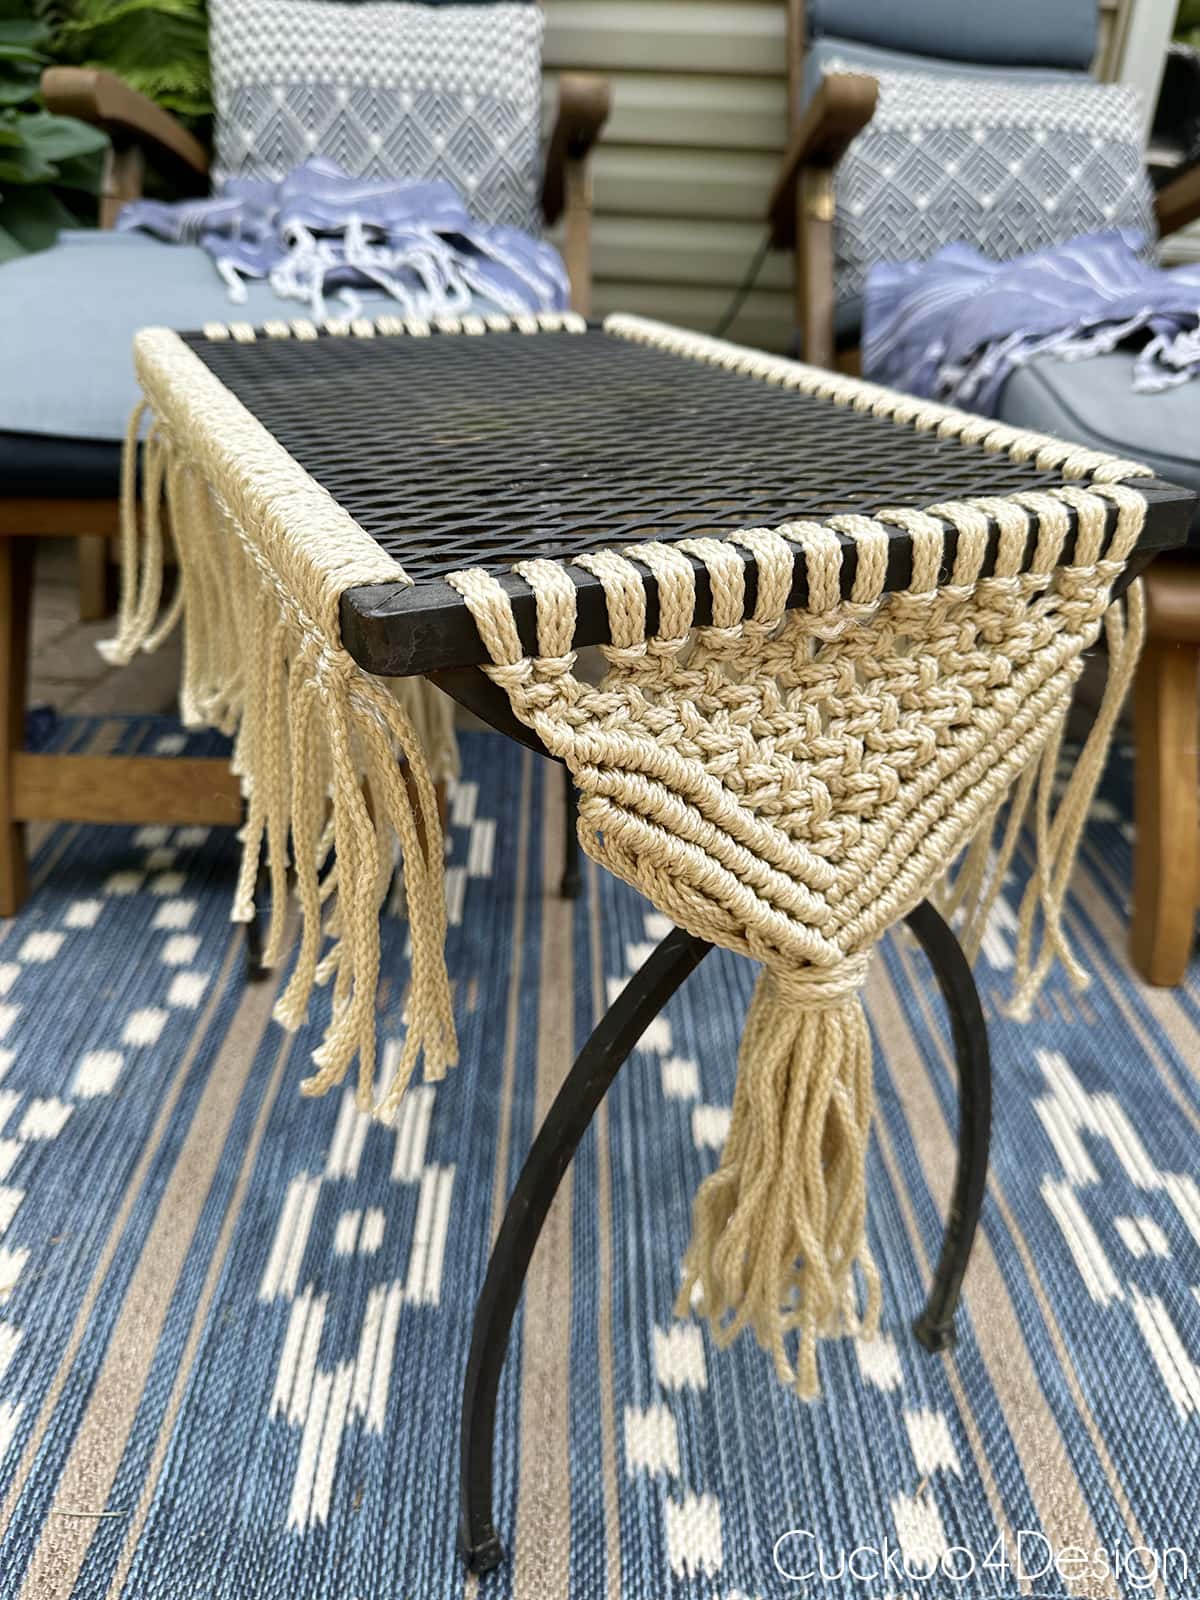
Finished metal patio table makeover
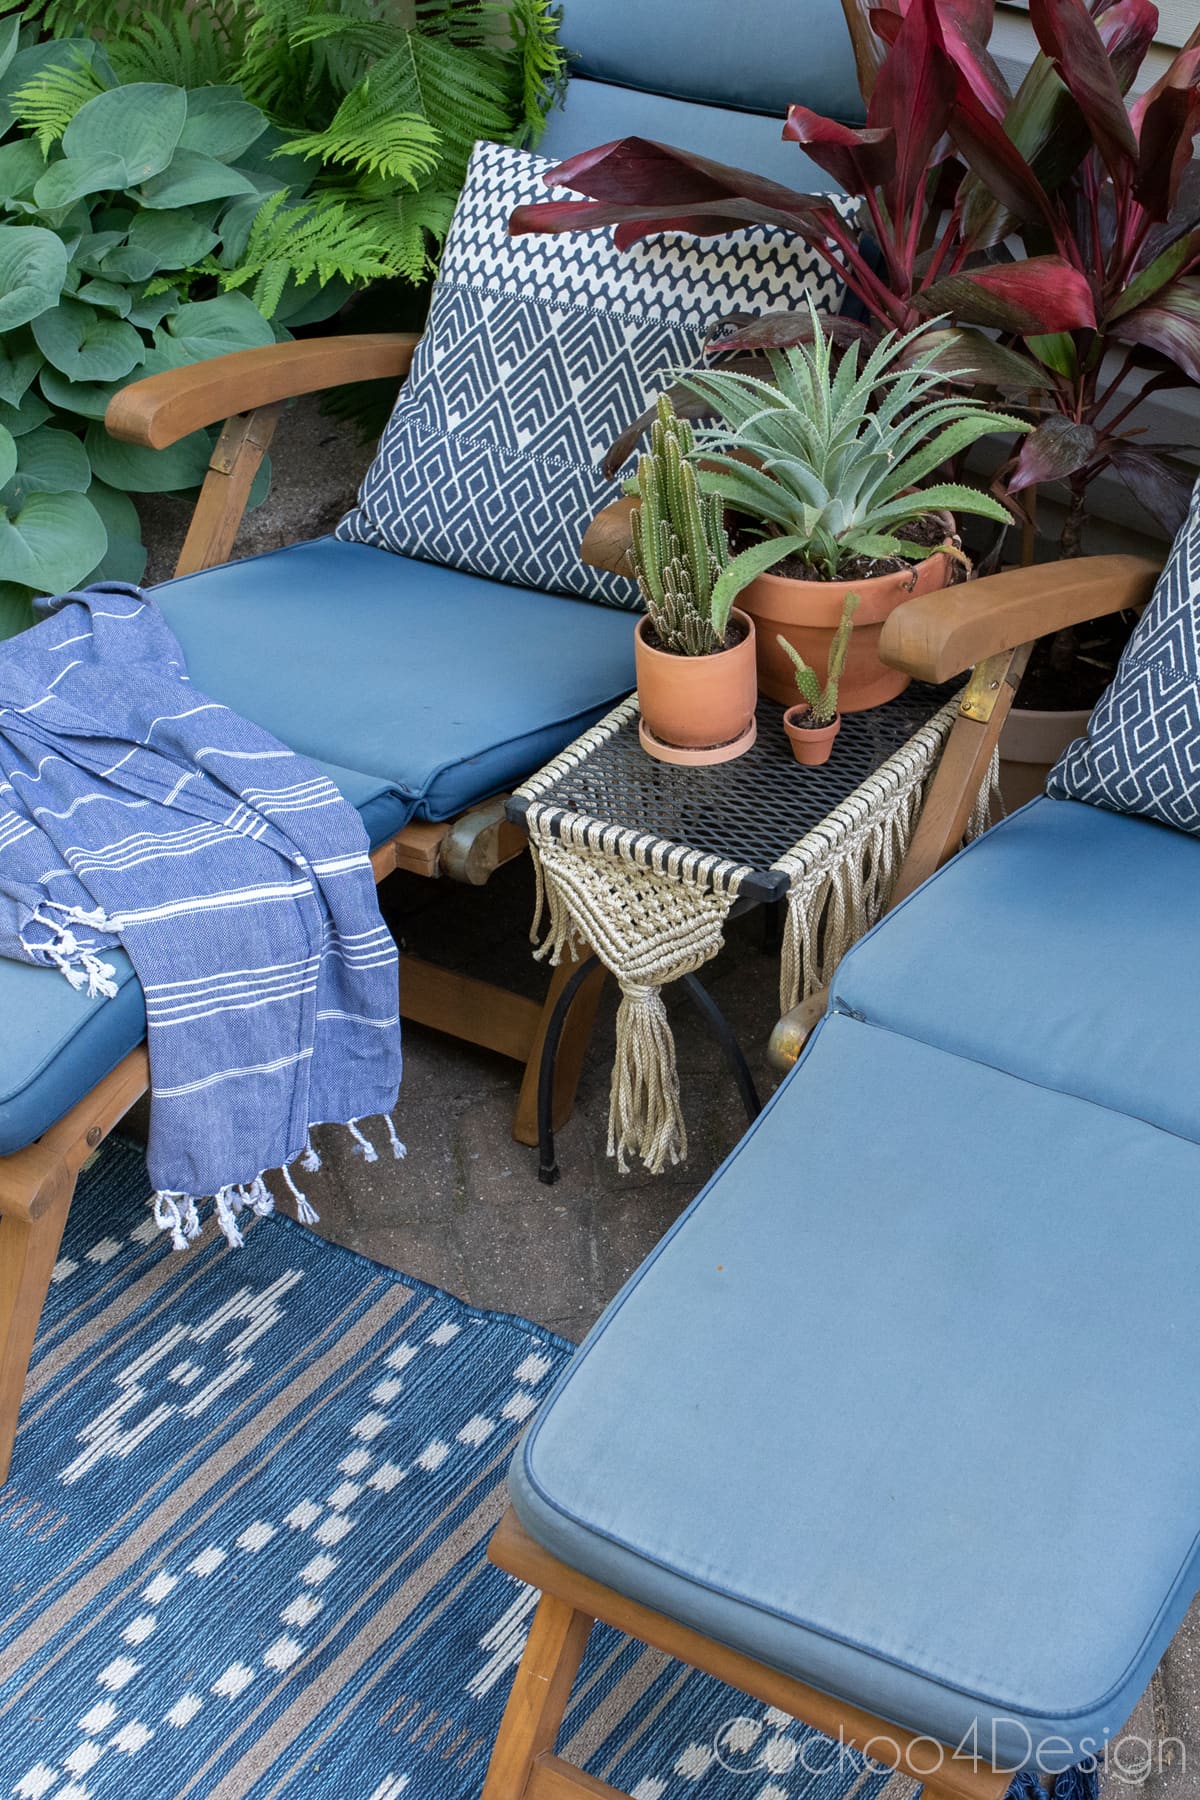
I’m so happy with my new table. It really adds some charm and detail to this otherwise plain and very common table.

Pin this project to your Pinterest board for future reference below!

Also, check out my best method to restore teak outdoor furniture. You can’t even tell that my lounge chairs are over 15 years old, can you? (Find the same loungers on Amazon)
As a reminder, here is a before and after of the wood furniture:

Also, check out my blog post about how to mix and match patio furniture to get some outdoor decorating ideas.

I have created little monsters! My cats are not content with their cat enclosure anymore and demand to be walked on a leash. While it is super cute, it is kind of driving me crazy because they beg and beg and I feel guilty when I am working outside in the yard and see their sad faces and hear their meowing. I definitely get less done and you can find me hanging out in the yard with them instead. Unfortunately, I’m unable to take Walter out too because he is so skittish and doesn’t get along with the others (especially Willy). Cats fighting on a leash is not a good situation!

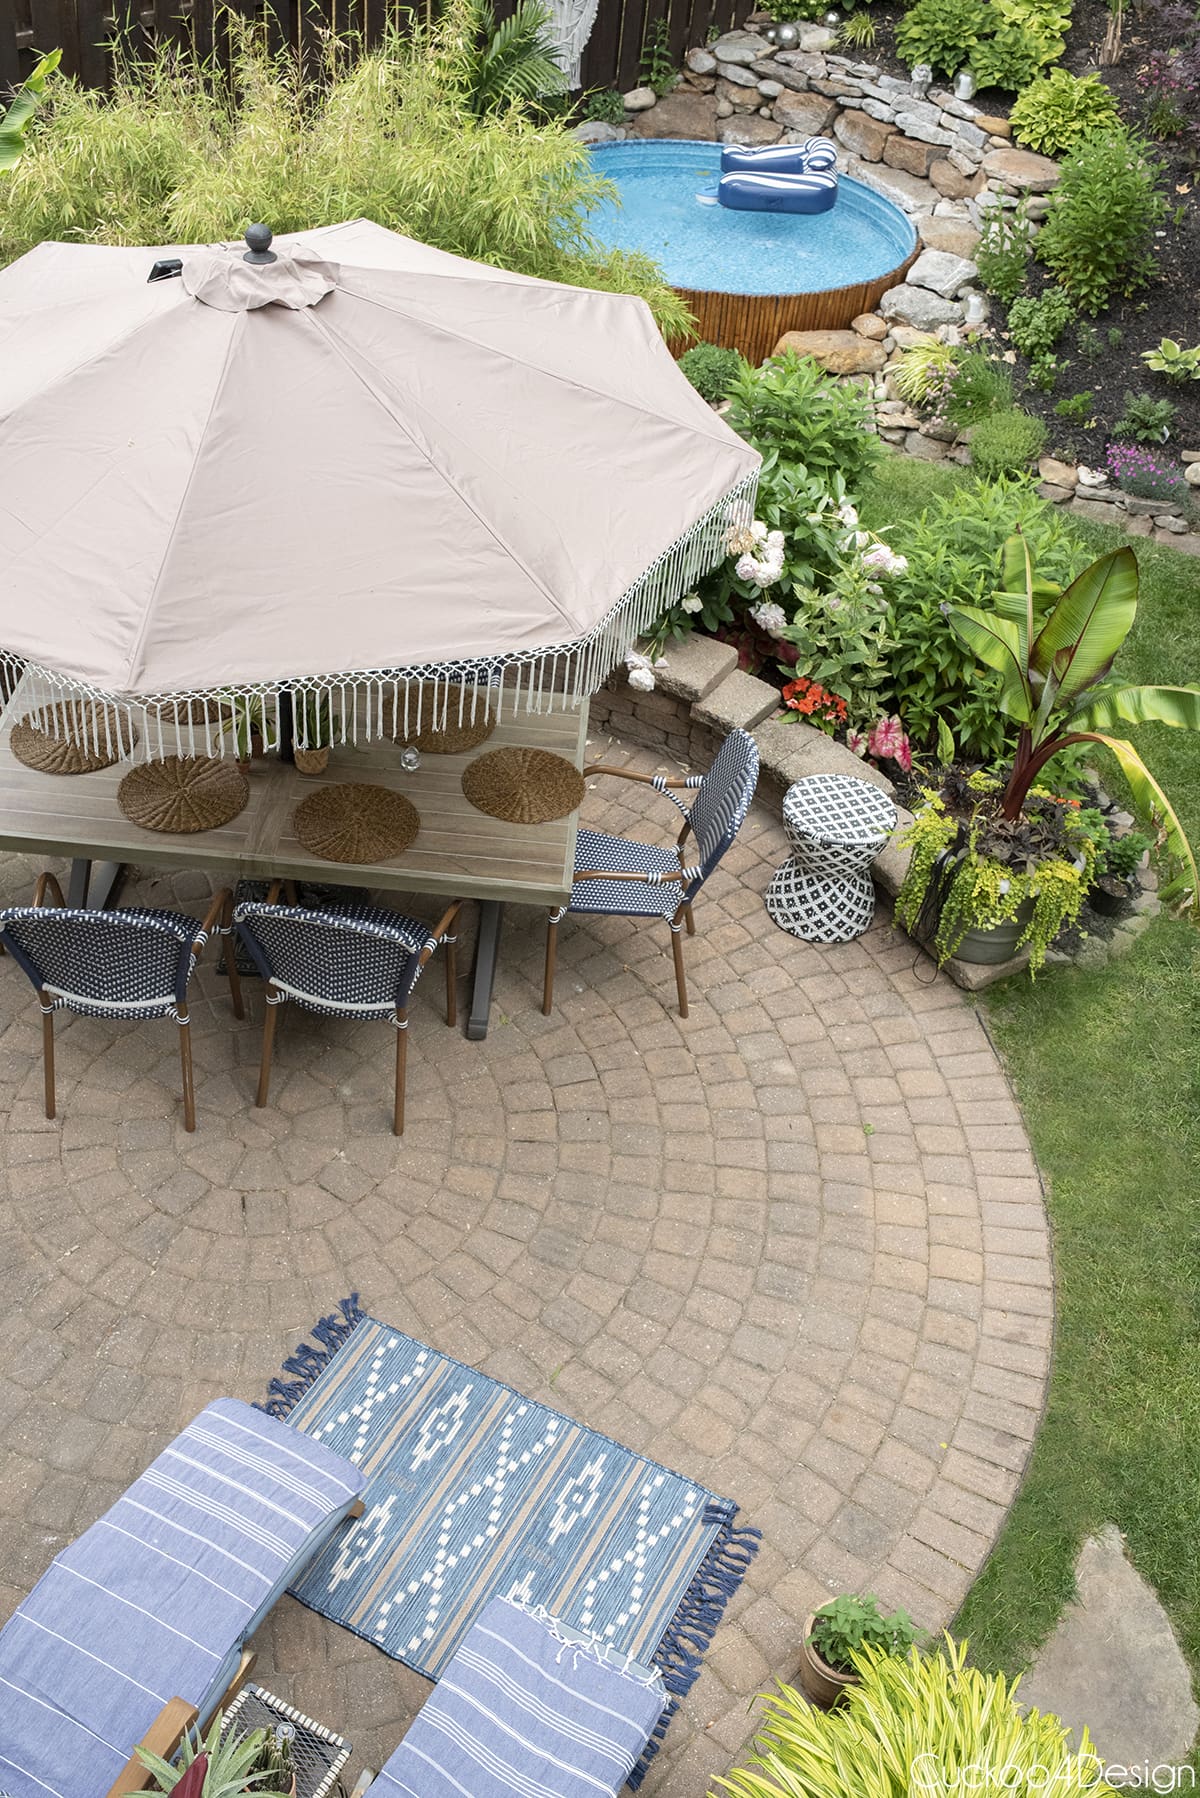
Below is a photo of the top view of our tiny yard to give you an idea of where this seating area is. I’m currently writing a blog post about my favorite patio umbrella replacement canopies and how to measure a patio umbrella replacement canopy. I love the one I ended up getting.
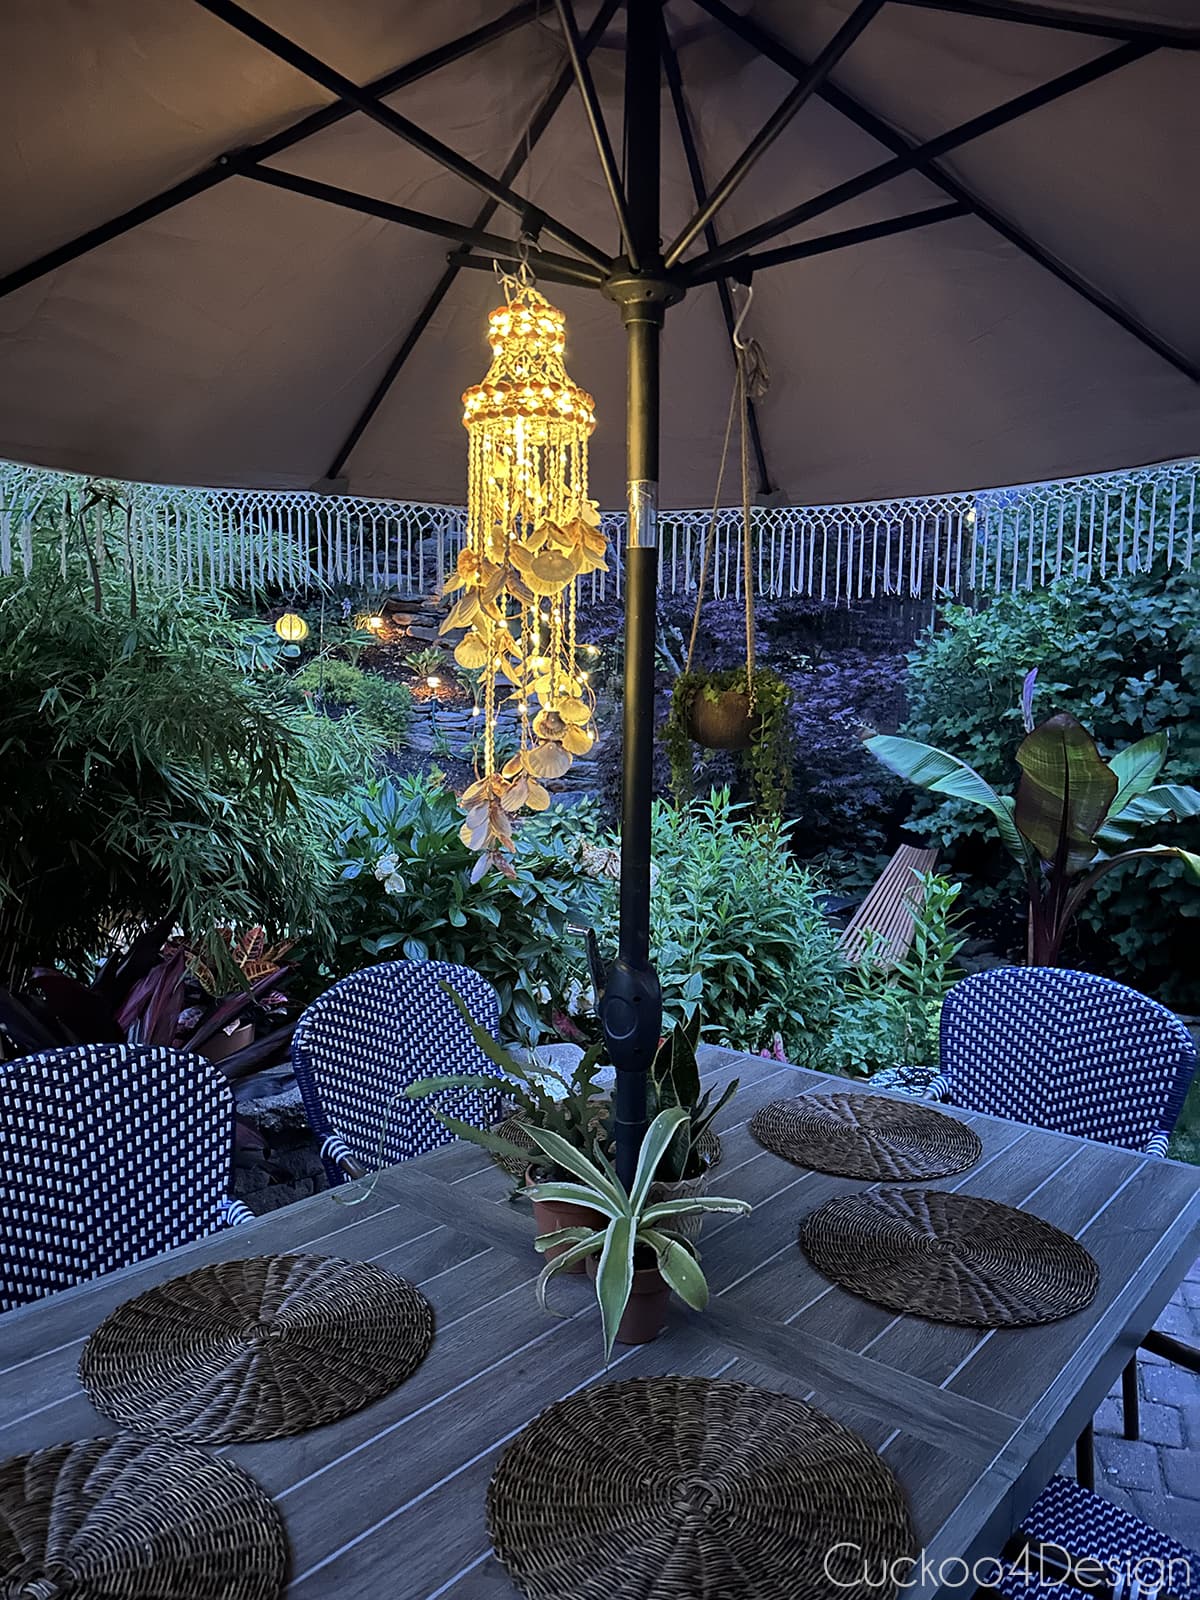
I also made a seashell chandelier out of a windchime and solar fairy lights. Isn’t it so cute at night?
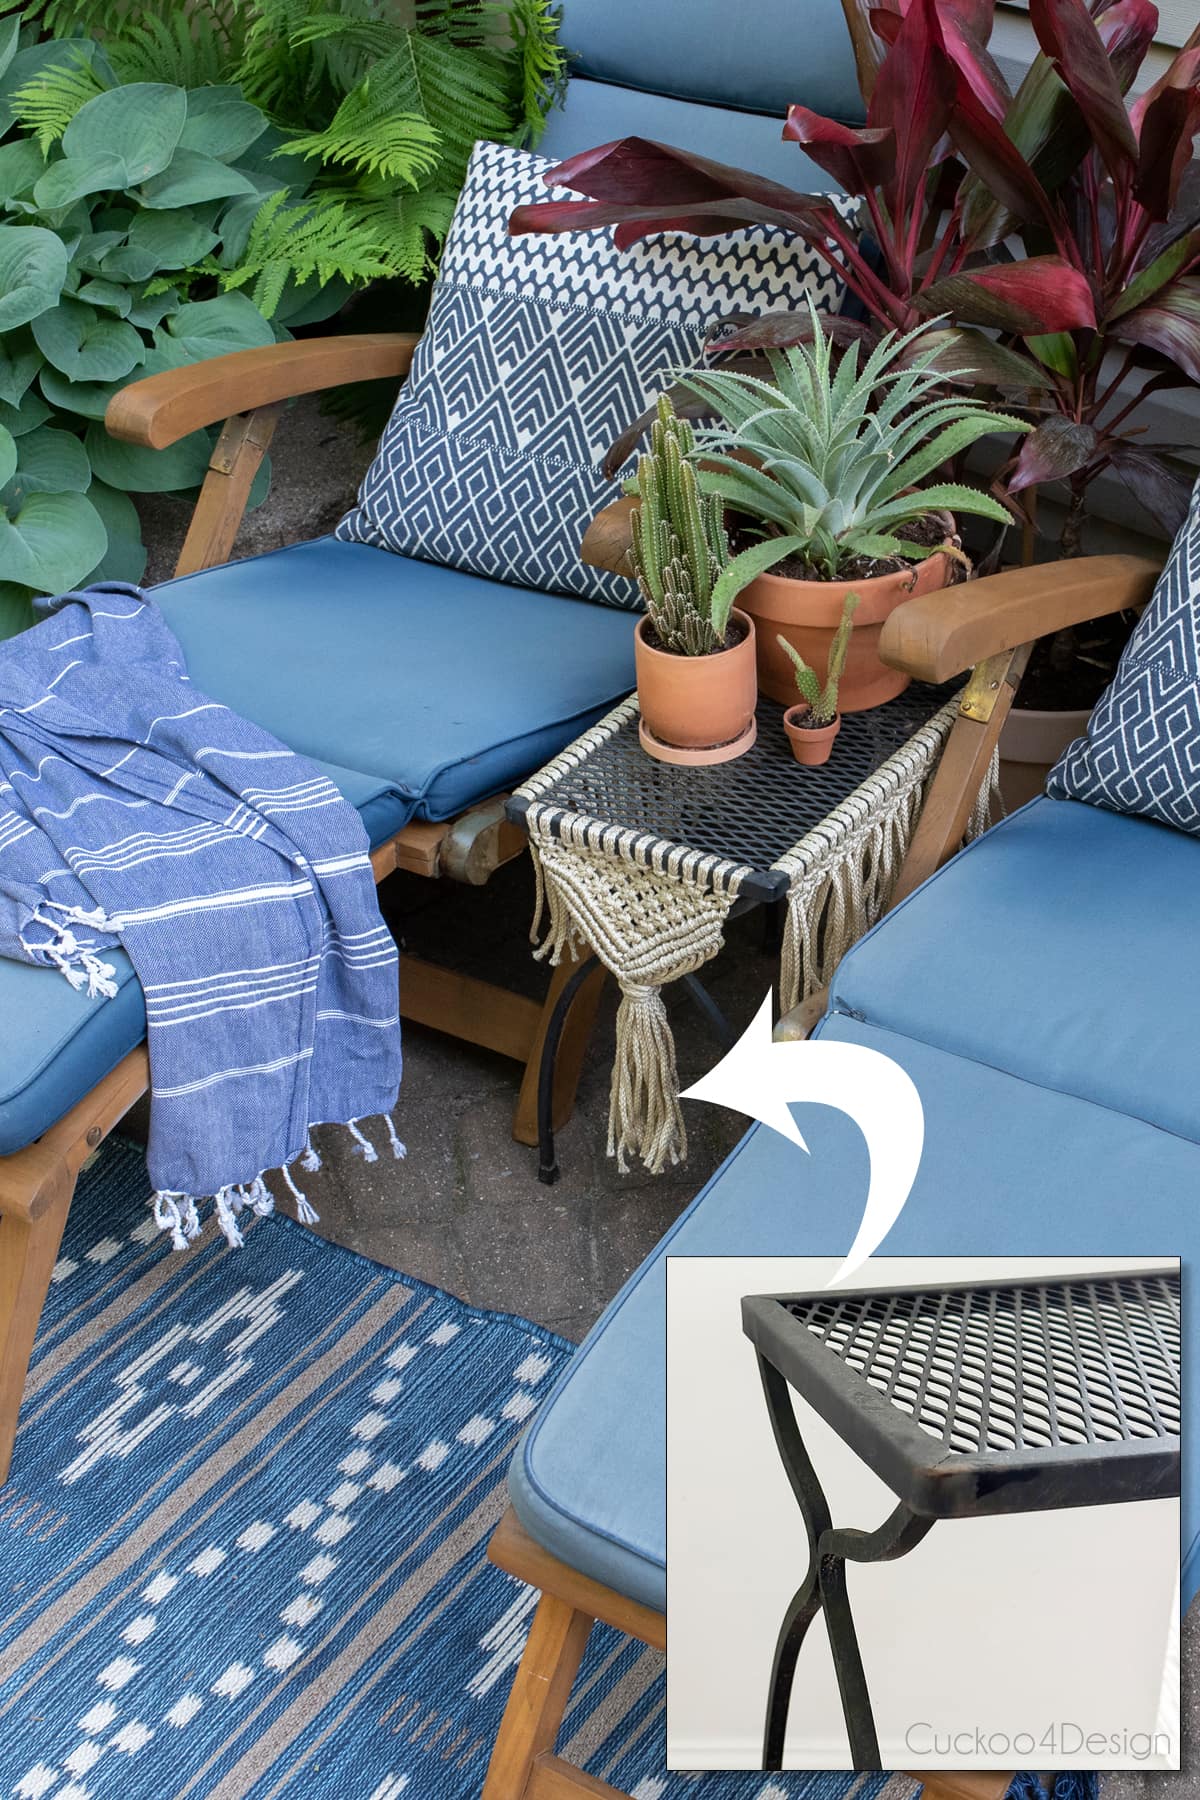
So what do you think? I love finding the cheapest ways to transform my deco. It’s another project that didn’t cost me anything and I worked with what we had. It gives my small seating area another layer of texture and interest. It also definitely transformed the boring little metal table into a unique piece.
I didn’t buy anything new except the small blue rug and the red plant with the terracotta pot. When I got back from the Florida Keys a couple of weeks ago, I felt the urge to get a plant like that because they were everywhere down there and I just love the color. It is called “Cordyline fruticosa Florica”.
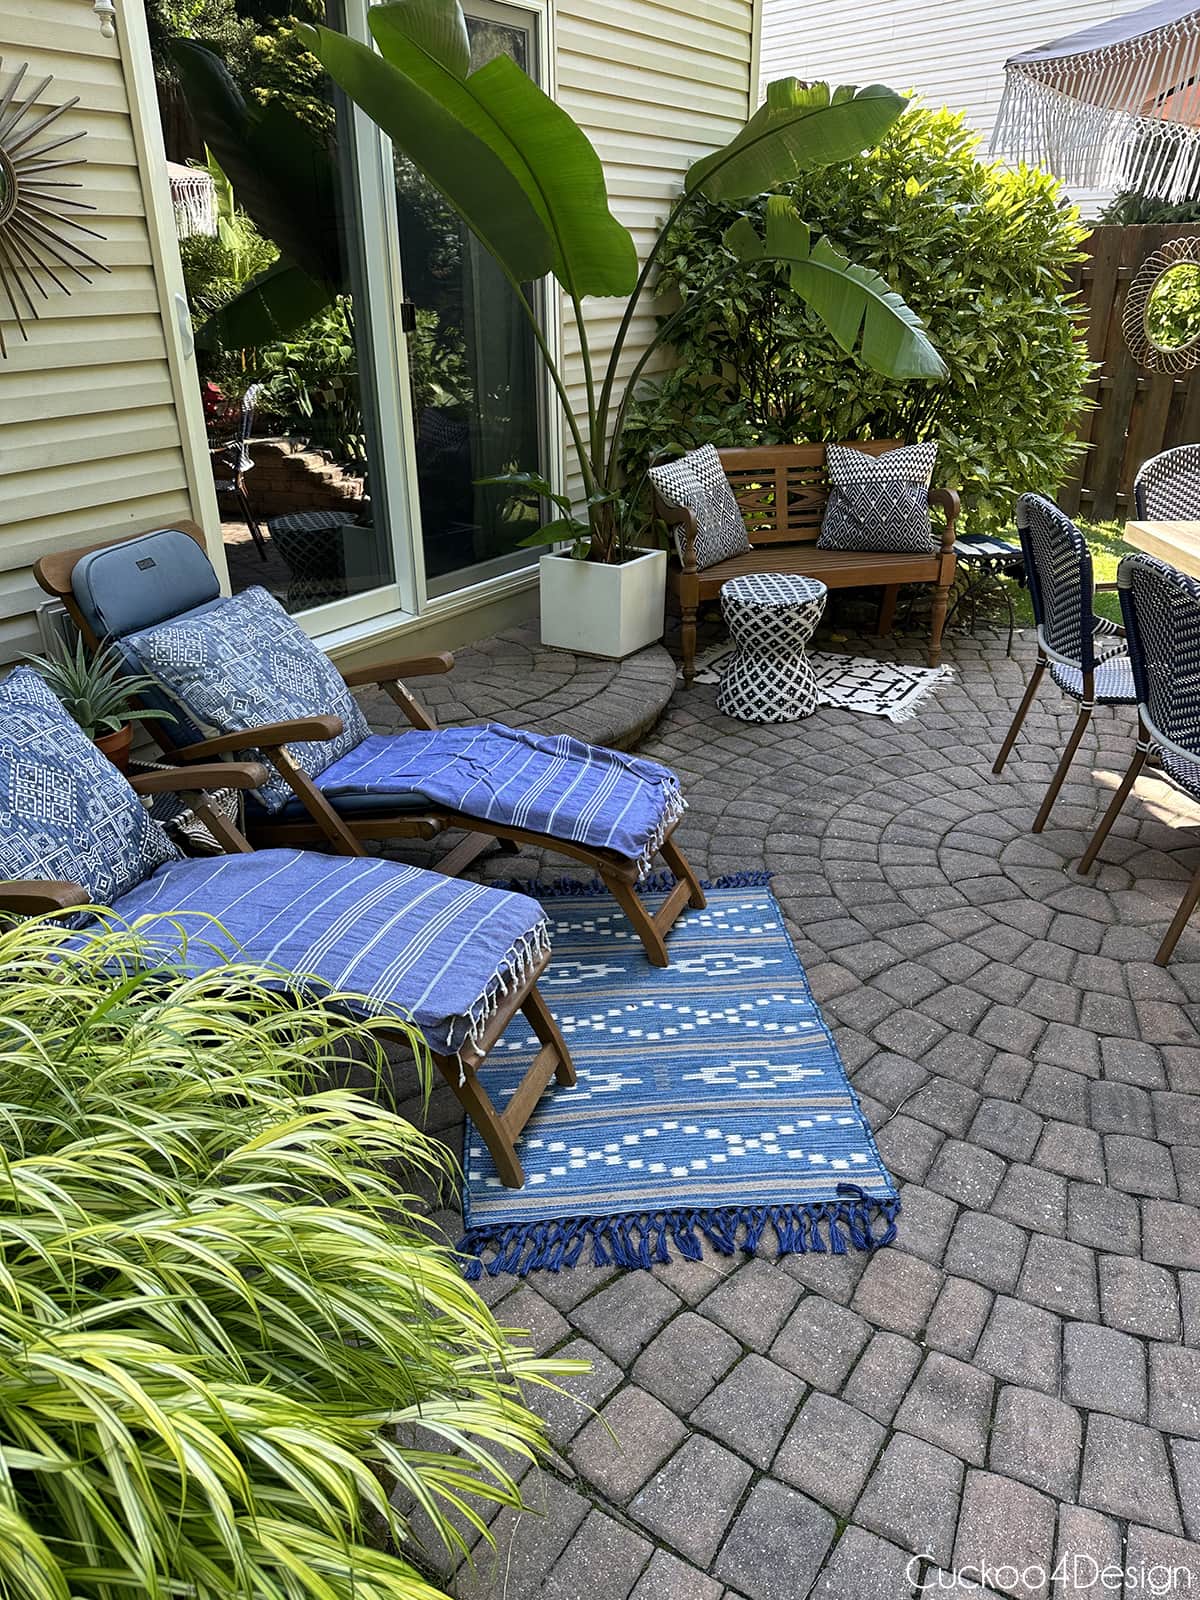
However, I did work hard on revamping this little area. Every summer it is one of my favorite places to sit and hang out and usually that little table holds my beverages.
More of my unique outdoor projects and craft projects
- DIY tassel umbrella using the same synthetic yarn
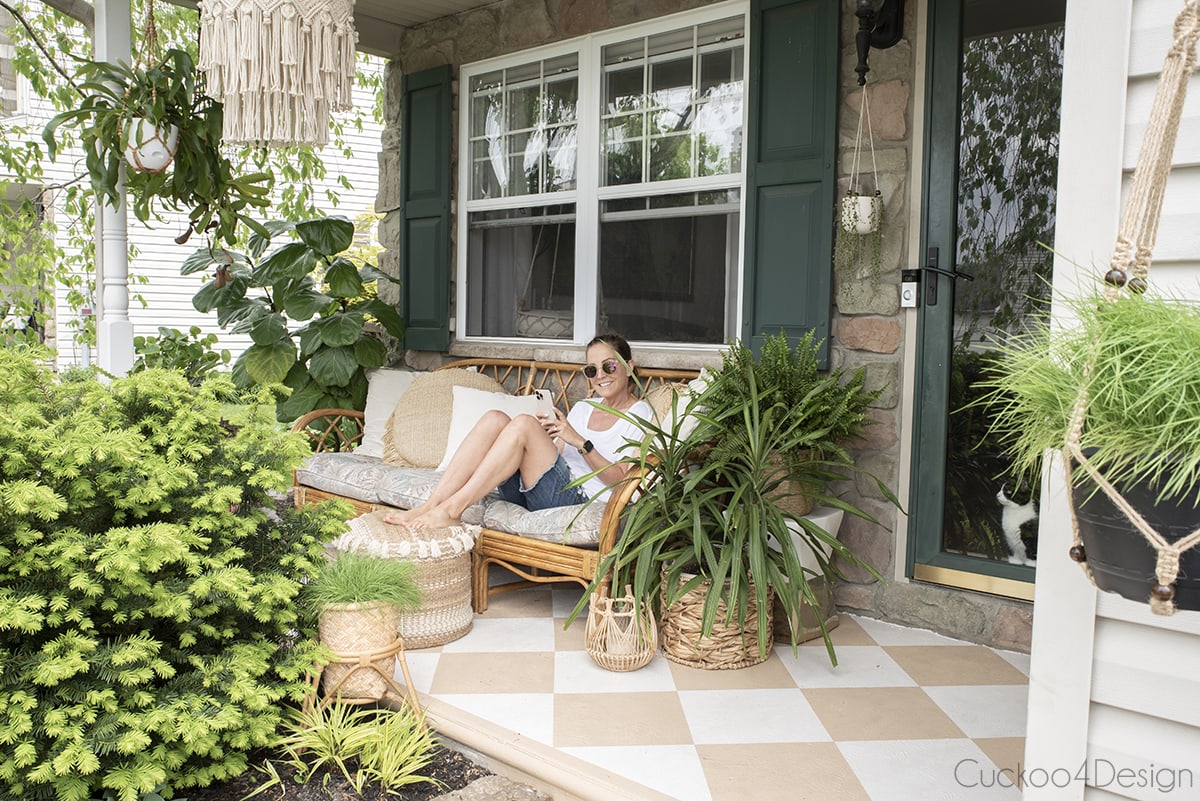
- How to repaint a painted concrete porch (I did this makeover last year and love how my front porch looks now)
- How to clean a painted concrete patio or porch
- DIY outdoor art for a fence (such a great way to add some interest)
- How to make DIY tea light candles in seashells the easy way
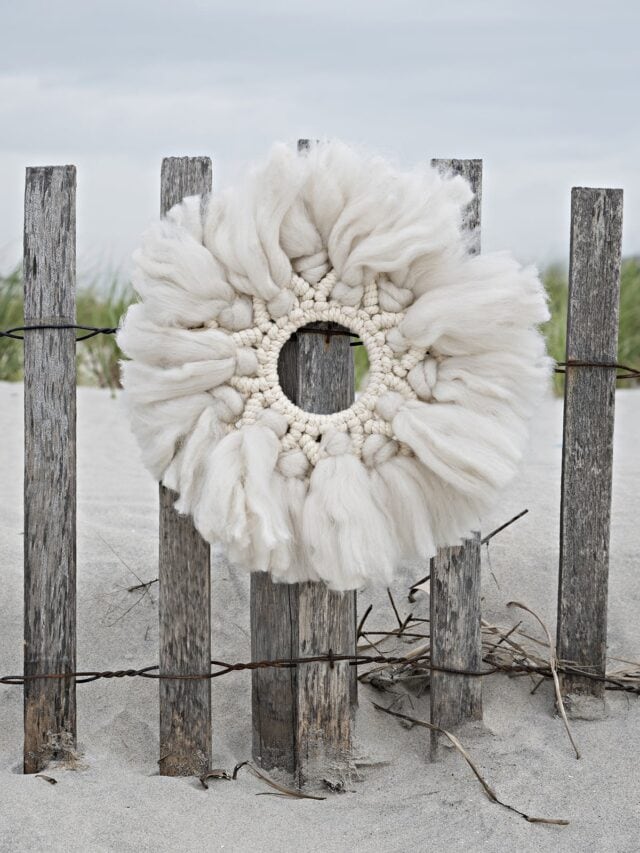
- Macrame wreath tutorial
Tschüß,


DIY metal patio table makeover using macrame yarn
In this tutorial, you will learn how to turn a standard metal mesh patio table into a unique pretty accent piece using macrame yarn. You only need two easy knots and some synthetic yarn. No spray paint is needed!
Materials
- one metal mesh patio table
- synthetic yarn
Tools
- scissors
- measuring tape
- fabric steamer (optional)
Instructions
- Cut yarn pieces
Cut 28 pieces at 96 inches long. (When you knot the triangular long front piece, you'll end up with 24-inch long scrap pieces which you can use for the other fringe and you won't have to cut the 60 pieces at 24 inches long needed. You'll only have to cut a couple more depending on the size of your table. The amount of pieces cut are what I needed specifically for my table. - Add yarn to the table edge
Start with the shorter sides of the table to knot the triangular shape. Fold the pieces of yarn in half and loop them onto the table edge with Lark’s Head Knots. - Stack Square Knots off-centered in a triangular shape
After adding a row of Square Knots, you have to offset the simple knots so you can create a pyramid shape that ends in one Square Knot. - Add rows of Diagonal Clove Hitch Knots
Now it is time for Diagonal Clove Hitch knots on each side of the little macrame triangle/pyramid. Use the outside pieces of yarn on each side as the lead string.
These types of knots are basically loops placed on the outer lead strings on each side that then meet at the center of the piece in a v-shape. You can see how they are looped in the photos and in the video. - Gather the end strings
Grab the end strings and tie them together with an extra short piece of cord. Wrap the cord around a couple of times before knotting it in the back and cutting off the ends. Also, trim the end pieces which will leave you with scrap pieces that you can use in the next step.
(repeat steps 2 to 5 on the opposite side of the table to knot a mirroring triangular piece) - Add the shorter yarn to the side table edges
Now it is time to add the shorter yarn to the side table edges with Lark’s Head Knots again to create the fringe. Do this on both remaining longer opposite sides of the table.
- Knot more Square Knots
Knot one row of Square Knots that you off-center with a second row of Square Knots and then trim the fringe to about 6 inches long or whatever length you like.
If the fringe is really wrinkled, then you can use a fabric steamer to straighten the fringe. Don't use a straightening iron as I did in my other macrame project because the synthetic yarn would melt.
Notes
You can do this makeover to any metal mesh patio table on a larger scale too. You can also alternate the triangular-shaped macrame piece and fringe all the way around the perimeter of a round table. You will just need more yarn.




I have this exact table so I’m going to do this!!! I also do macrame, so thanks for the idea!
Oh, I’m so glad you like it Barbara. Share a photo with me when you are done 🙂
That is so cool. You have a beautiful patio space, and I love the kitty. He’s the perfect accessory!
Thank you! And I agree, he’s always my best accessory. He’s such a spoiled little guy!