DIY outdoor art for our fence
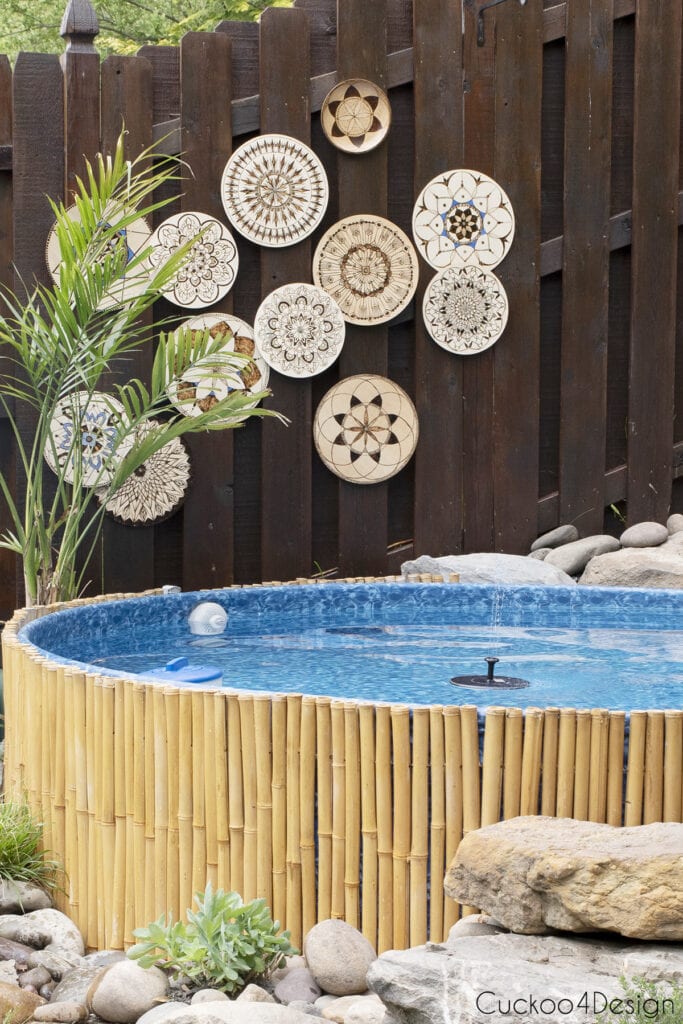
Today I want to show you where my DIY geometric wood wall art ended up. When I created the decorative wood burned circles, I had in mind all along to create some outdoor art with them for our stock tank pool.
I loved the grass plates I had hanging on the fence last year but they were just not durable at all and couldn’t withstand the elements. My hope is that today’s outdoor art with last much longer since I sealed the wooden discs with several clear coats.
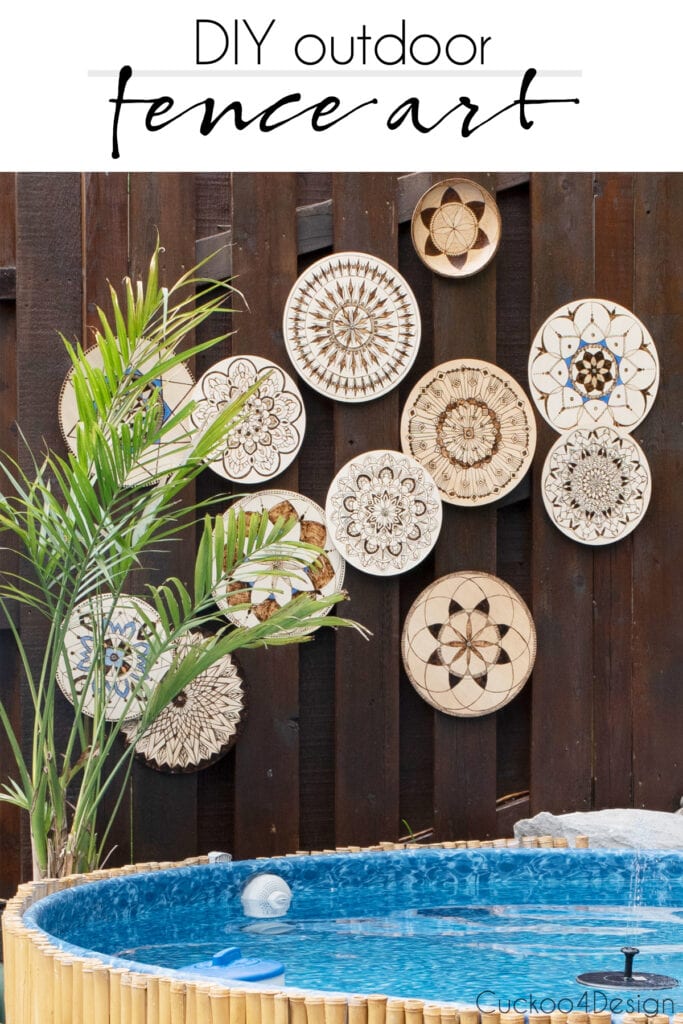
DIY outdoor art
This post may contain affiliate links from which I will earn a commission at no extra cost to you. View my full disclosure policy.
Below is the video tutorial of how to make the DIY outdoor art and you should also check out the written tutorial about how you can create a mandala pattern.
Use the triangle on the image to turn on the video and if you are on a cellphone, then please hold your phone horizontal to watch.
Before bringing the decorative outdoor wall art outside, I treated it with several coats of Polycrylic. The reason that I didn’t use Polyurethane is that it yellows over time, especially when the sun hits it which is definitely the case in our yard. I used semi-gloss in hopes the moisture would run off better.
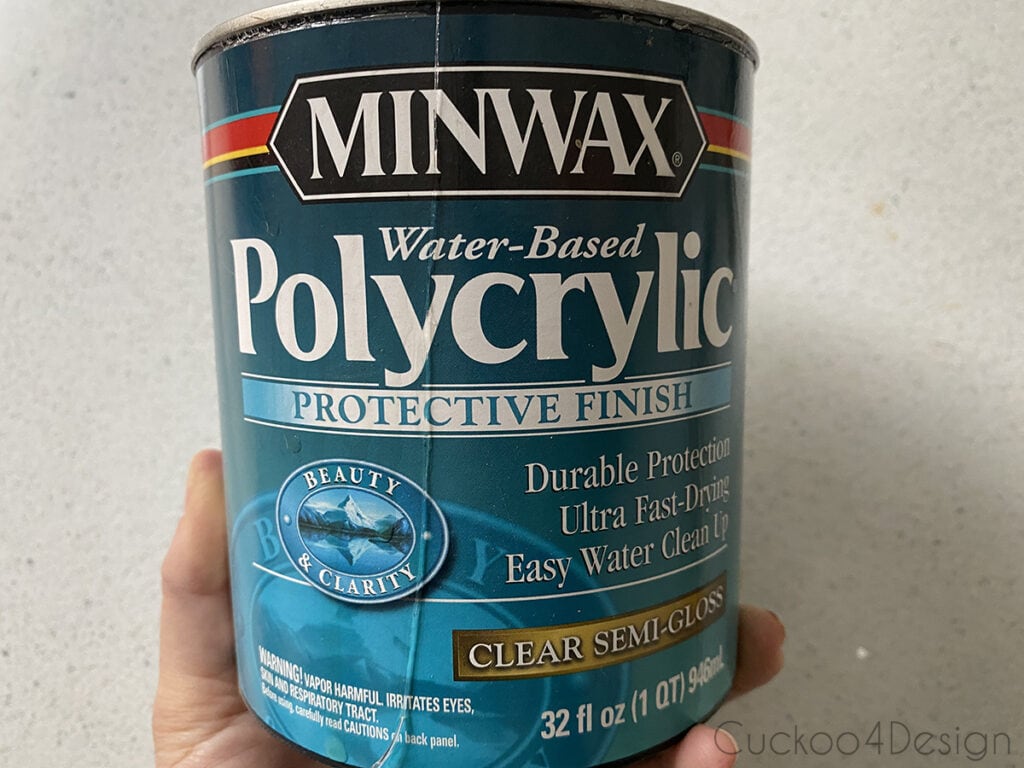
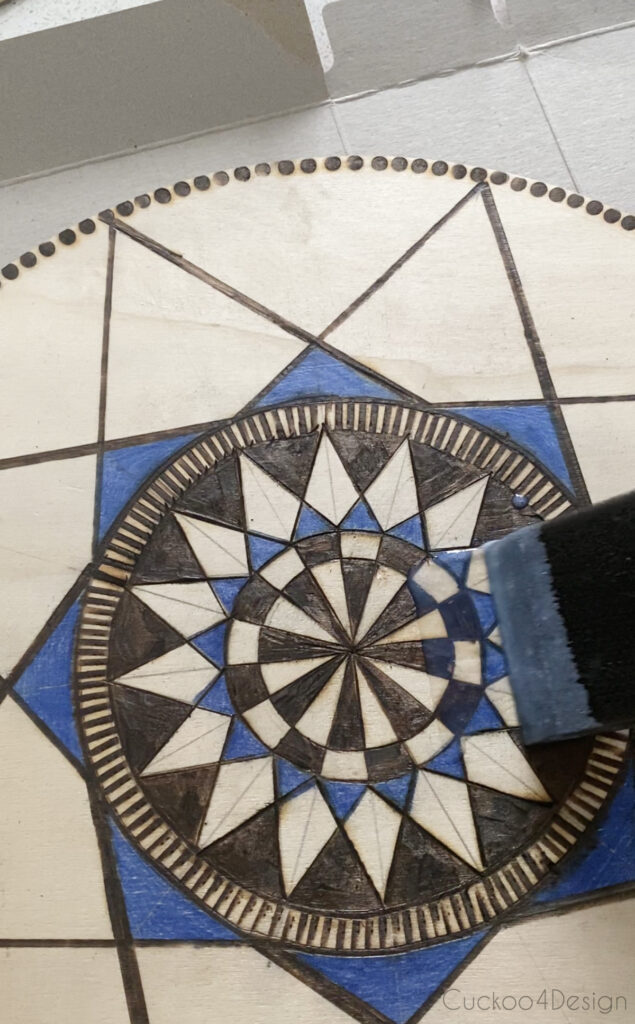
I used a sponge brush to apply about 5 coats of the Polycrylic on both sides to avoid moisture from penetrating the wood. Make sure you also brush the topcoat on the sides of the medallions.
How to hang outdoor wall art on your fence
Supplies needed:
- pressure treated 1″x 2″ wood strip
- 1-1/4 in. exterior/deck screws
- screwdriver
- drill
- saw
Hanging process
I used the outdoor screws without even having to predrill the holes. Usually, you should always predrill so the wood doesn’t split and splinter. These wooden discs are so thin and light though that the screws go in like butter without even having to do much. SUPER EASY! Just find the center of the medallion and start screwing the screw in. Just be careful that you don’t damage the surface underneath where you are screwing.
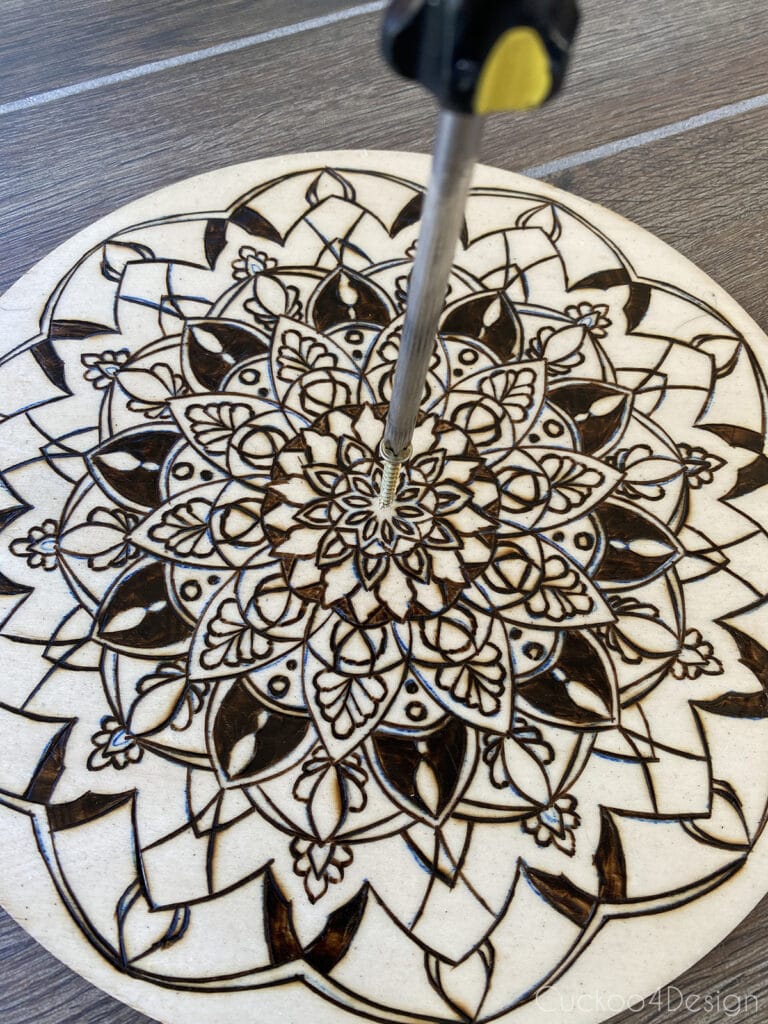
Below you can see the back of the wooden disc and that I screwed the screw all the way in.
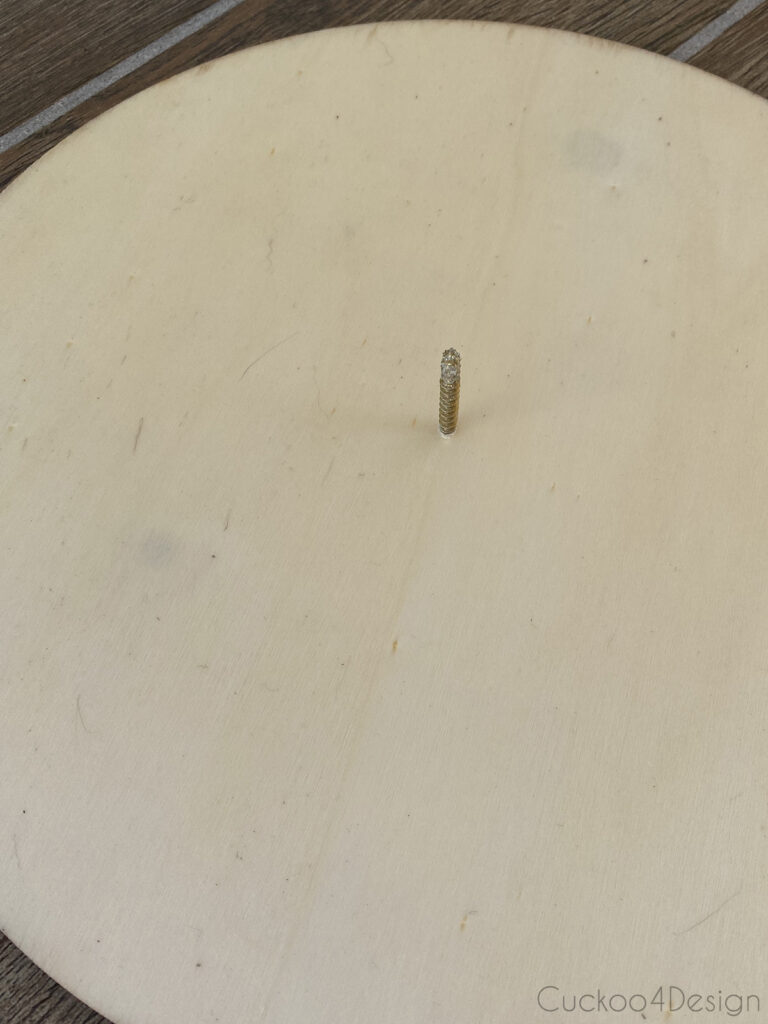
Next, I cut the pressure treated wood into small pieces/squares. I used my electric miter saw to quickly cut mine but you can just use any handsaw. It doesn’t even need to be straight because you can’t see these pieces. They are only used to offset the pieces from the fence so you can stack and overlap the circles.
You don’t have to stain yours. My piece was a leftover from my outdoor cat tunnels which I had stained.
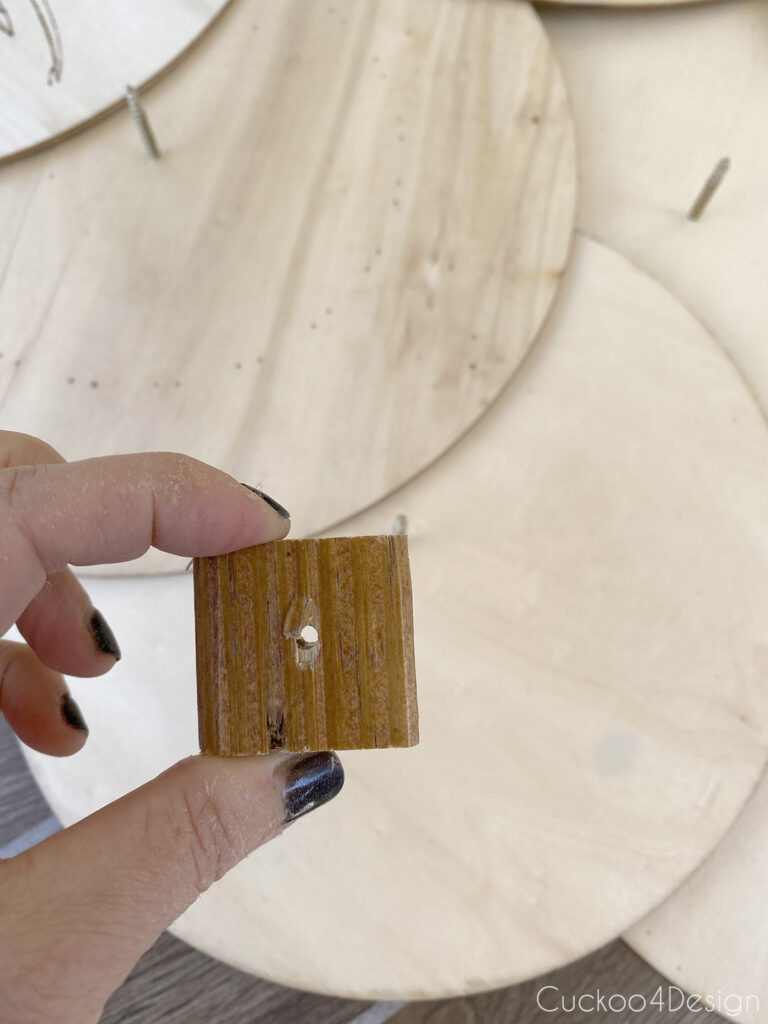
This time you do have to predrill the hole in the center of the blocks though. I used a drill bit the same size as the screw diameter but you can use slightly smaller. I just wanted to make it easier to get the screws through.
I didn’t attach a block to every medallion. Just some of them while I was arranging them on the fence.
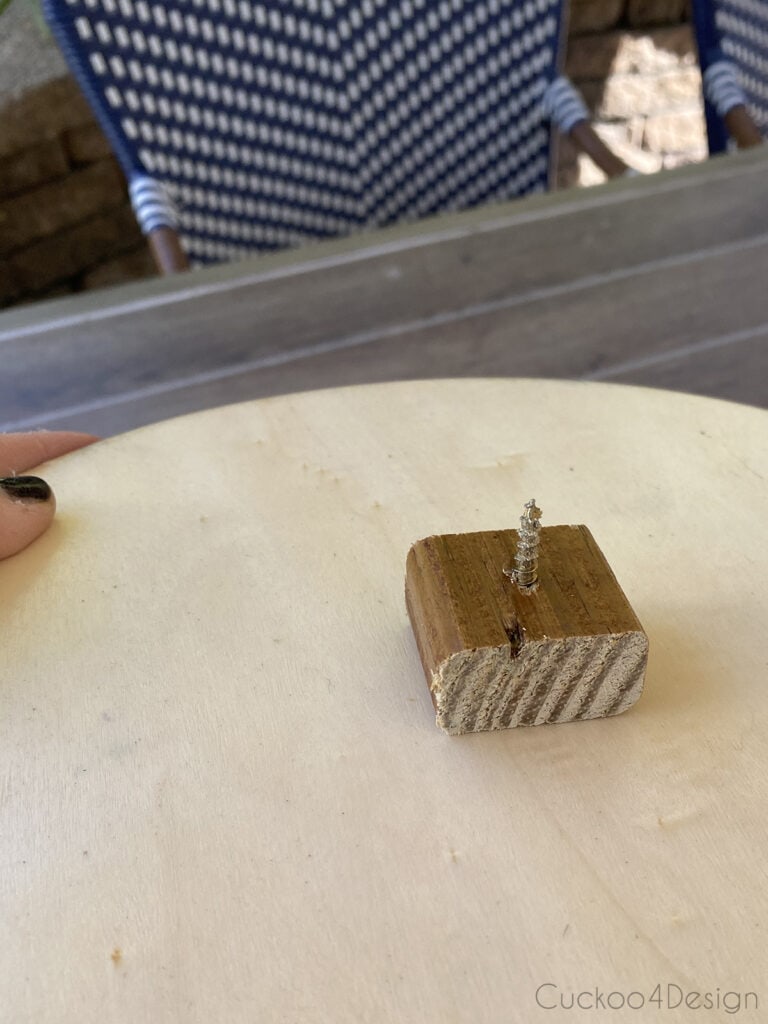
I attached them simply by screwing right into the fence with the existing screw through the center.
This is where you want to stack the circles here and there for some added interest.
Arrange art visually pleasing
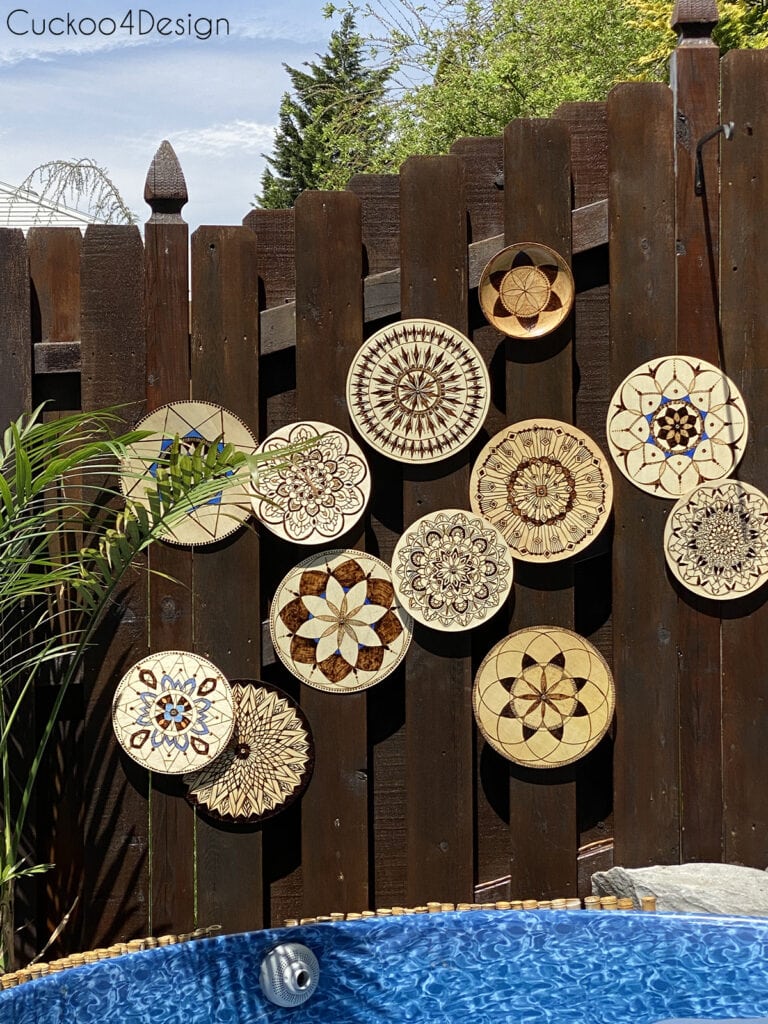
This is the arrangement I came up with and I’m super happy with it.
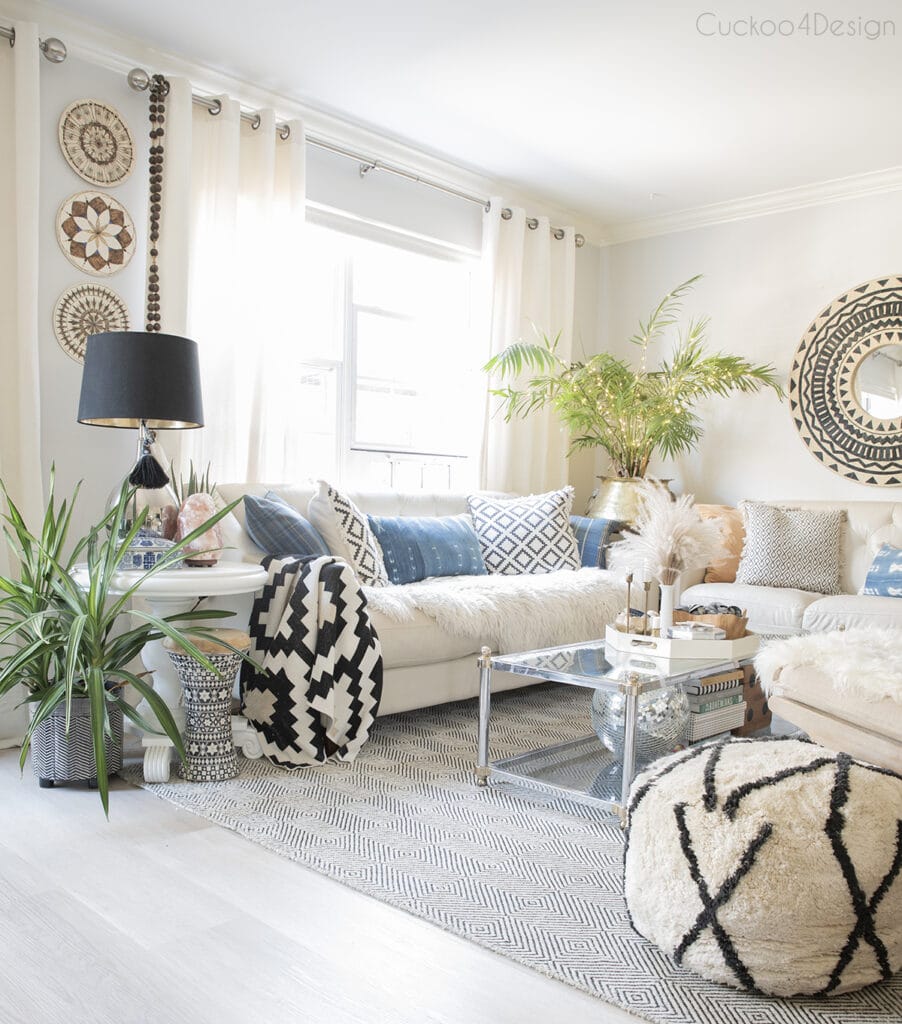
Below you can see the mandalas hanging in my home as a comparison:
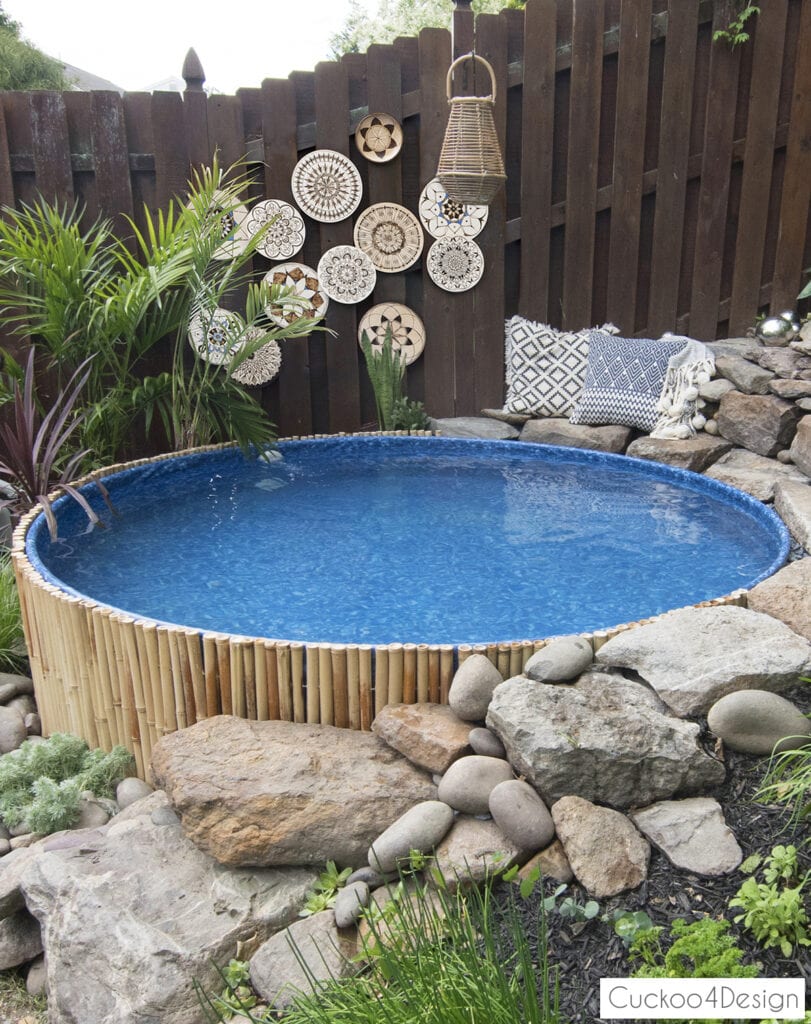
I think they look good with our stock tank pool and I’m hoping they will last. I’ll keep you updated on that of course.
I hope you are all doing well and hanging in there.
Tschüß,


these are SO amazing! i am in LOVE!!! and i love the idea of adding color!
I want to make a bigger one yet too to add to the mix but am waiting to see if these will last.
These are so cool!!!
Thanks Jen. I’m glad I went woodburning crazy 😉
This looks fabulous. I love it. What a unique and gorgeous art feature. Love the pieces in your home too.
Thanks Marty! Maybe they can leave outside during the summer and inside during the winter 😉
They look great! So perfect for that space!!