The best method to restore teak outdoor furniture
Breathing new life into outdoor furniture doesn’t have to be difficult with this easy-to-follow tutorial on how to restore teak outdoor furniture. With some elbow grease and determination, you can make worn-out, dirty outdoor teak furniture look like new. The before and after comparison is so satisfying!
It’s recommended that you use only wood stains that are specifically made for teak wood. I bought our lounge chairs about 18 years ago and we stained them with the wrong stain.
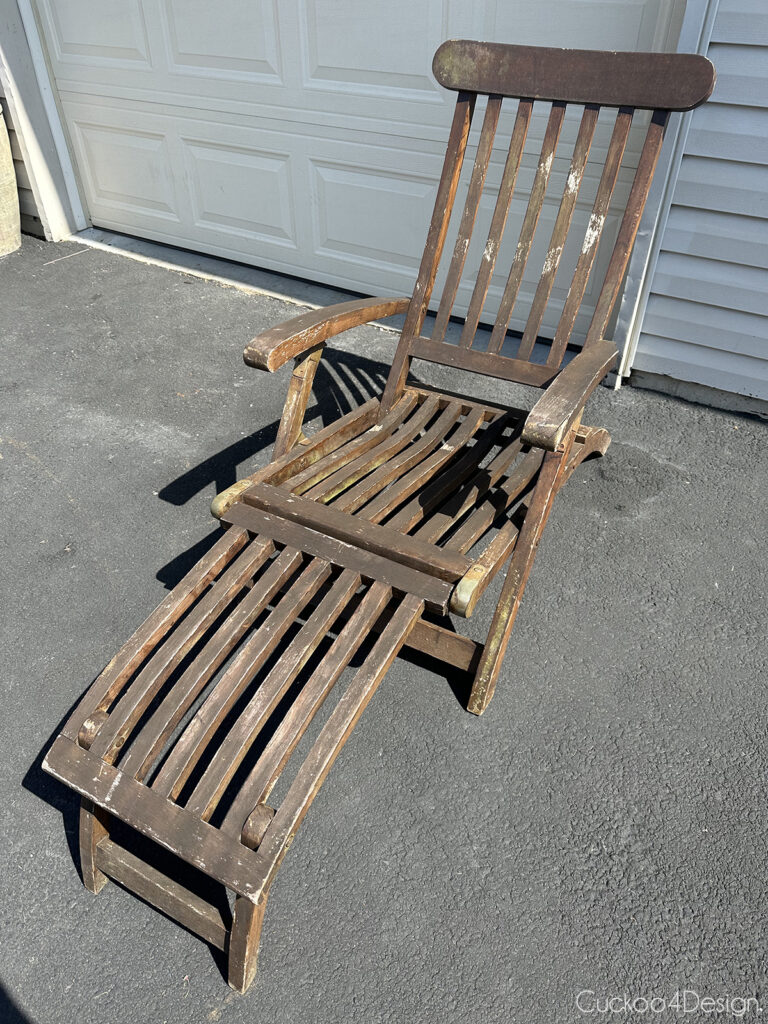
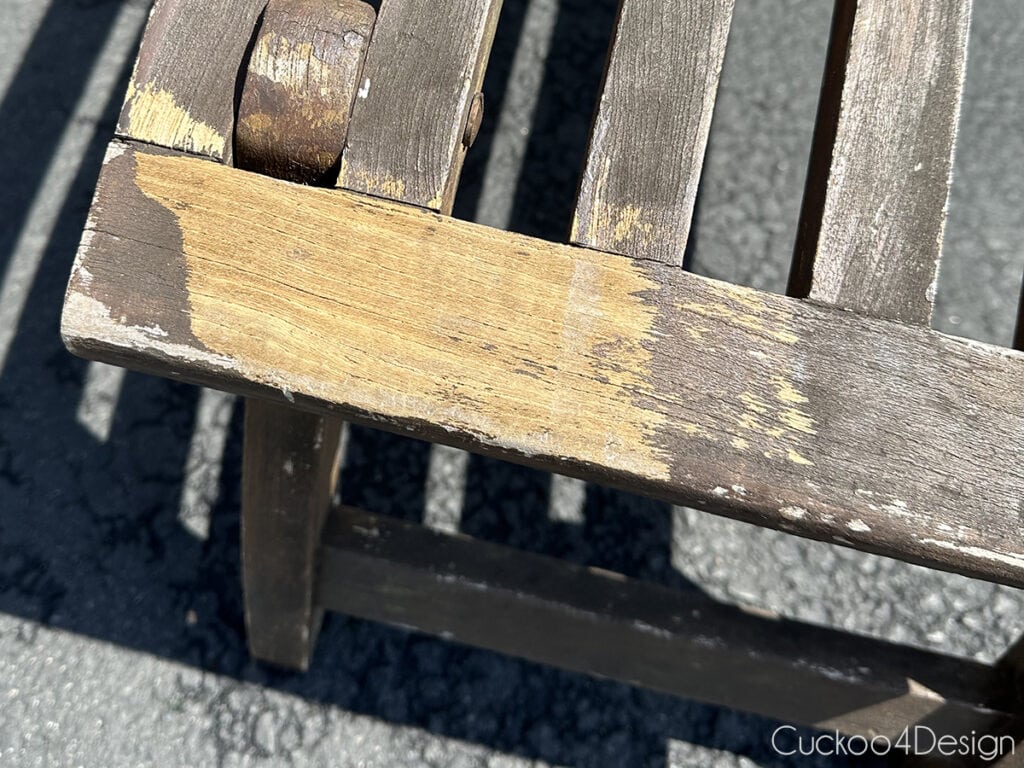
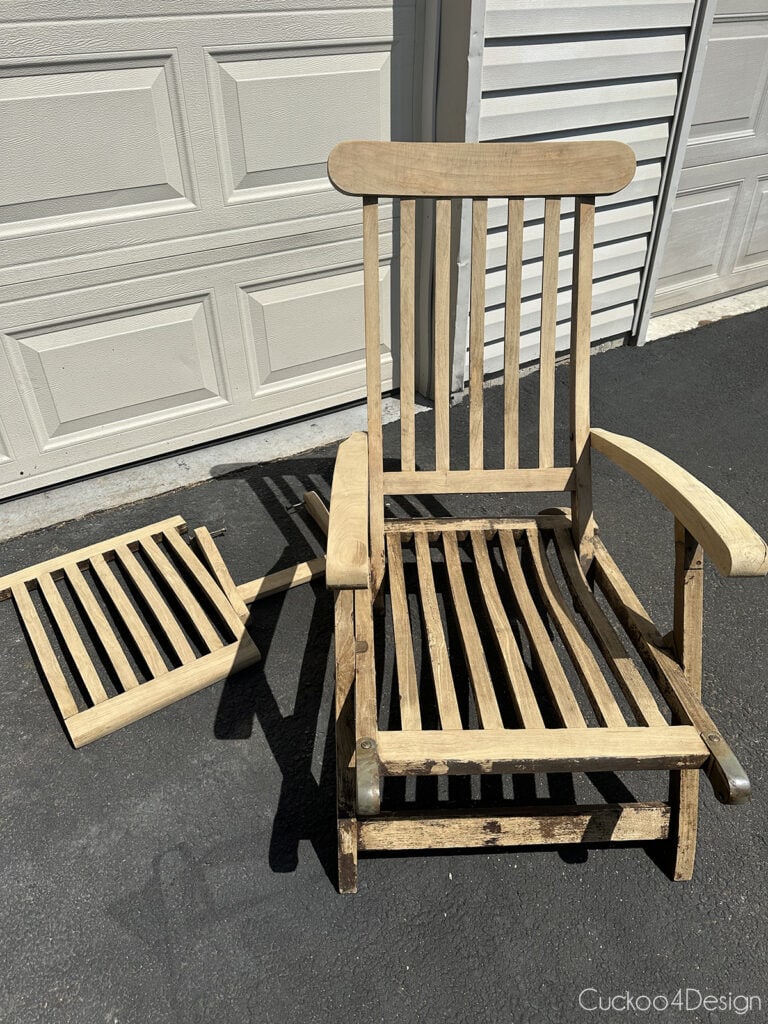
They had seen much better days and looked really sad. There was mold, chipping wood stain, and of course, the gray weathered teak was visible under the chipping stain.
These types of sun loungers are really pricey and retail anywhere between $350 to $800 and that’s without the added cushions you need. So I knew that giving them a much-needed makeover was my best option.
Looking at the hardware and shape, this lounger is the exact one we have.
How to tell if something is teak wood
Real teak wood furniture has a golden to golden-brown color and when left outdoors and exposed to the elements and UV rays will turn into a weathered gray color. Teak wood grain has a long straight grain and has a natural oil content which makes it resistant to water, pests, and mildew. The teak’s natural oils also have a distinct pleasant smell.
Supplies used to restore teak outdoor furniture
Our teak furniture was definitely in really bad condition and I love showing that even when it is that bad you can make the pieces look like new. If you want to restore some teak furniture then my tip is to try out in a small section whether a good cleaning with teak cleaner or light sanding is enough or if you should give it a complete overhaul like I did.
- teak cleaner or homemade teak cleaner
- various sandpaper discs
- orbital sander or another palm sander
- sandpaper blocks
- screwdrivers
- pressure washer (optional)
- teak protector
- soft bristle brush
- clean rags
- rubber gloves
- small bowl
- dust masks for sanding
Homemade teak furniture cleaner recipes
- Recipe 1: One cup of powdered oxygen bleach for each gallon of warm water
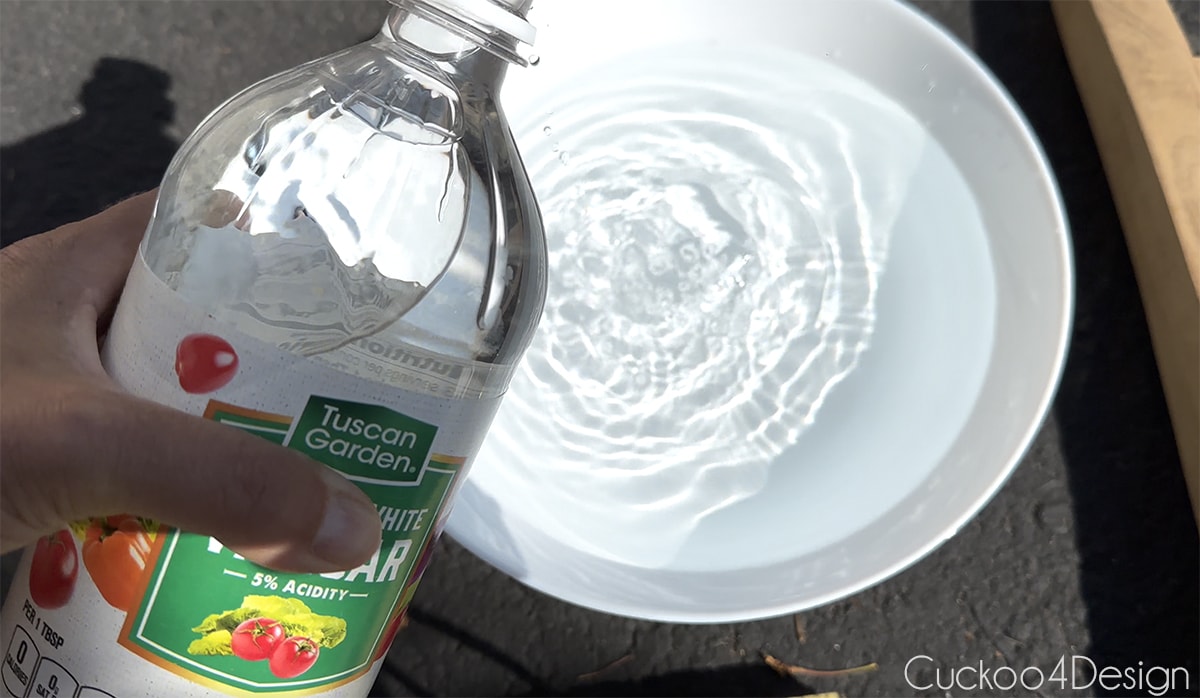
- Recipe 2: One cup of vinegar for each gallon of warm water
- Recipe 3: 1/4 cup of liquid dish soap, two quarts of chlorine bleach, and two gallons of warm water
I decided to stay away from bleach because I’ve used it on other furniture makeovers and saw firsthand what it can do. Check out my bleached dresser makeover or bleached cherry wood desk makeover.
Teak oil versus teak protector or sealer
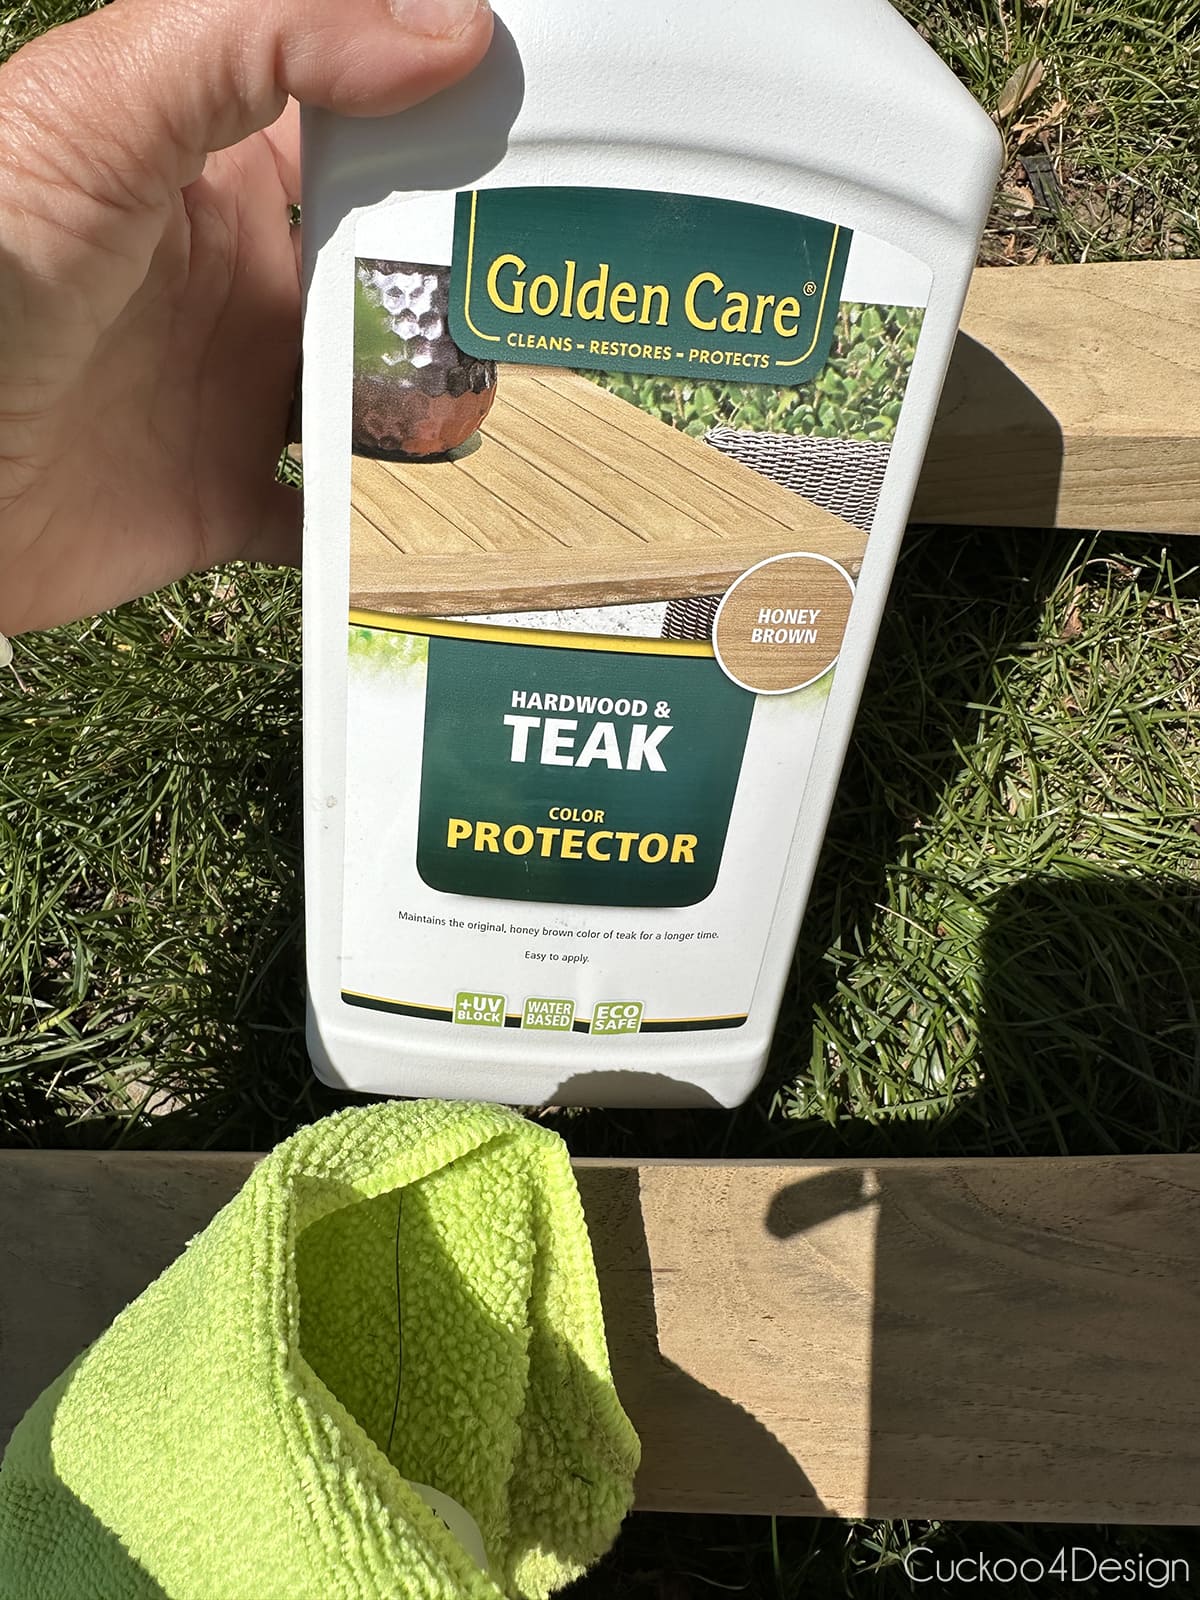
Teak sealers and teak protectors are made to protect the wood from moisture and make it more durable, so they are definitely a better choice than mineral oil or linseed oil found in teak oils. My finished chairs will show you that I made the right choice with the teak protector that I used.
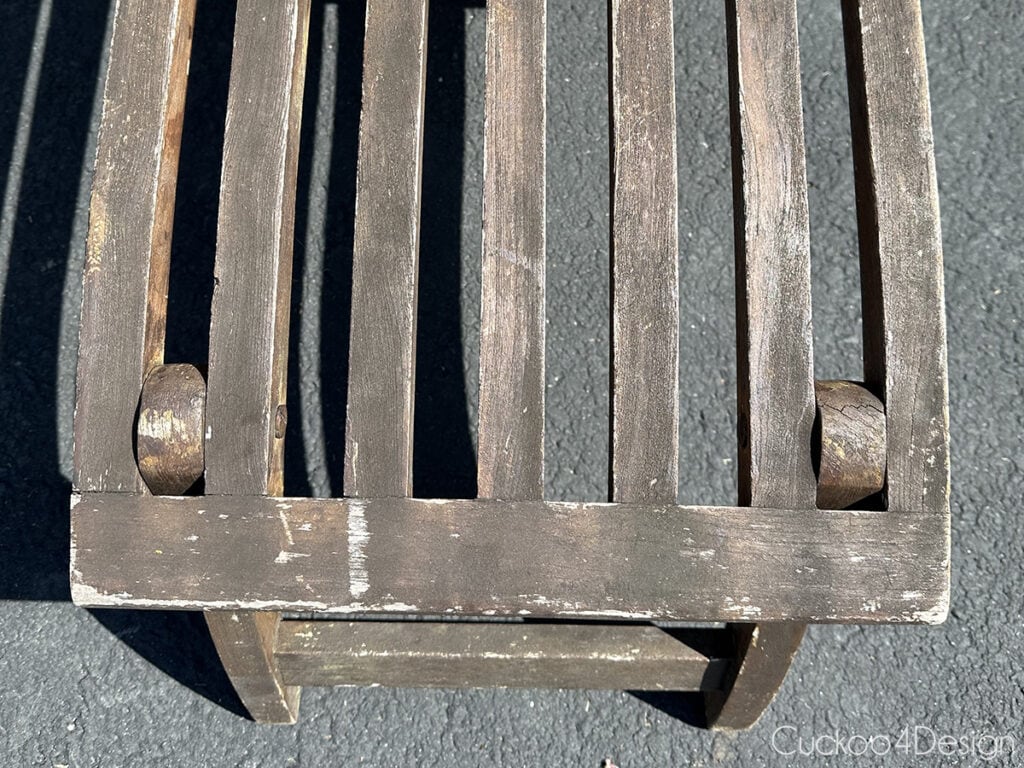
Below is a photo of the teak chairs aka teak steam loungers or Titanic loungers before starting the restoration project. You can see the gray patina in some areas where the stain wore off. We didn’t really do any maintenance on our old teak furniture in about 15 years besides storing them inside over the winter to protect them from extreme weather conditions. In hindsight, we should have definitely not used a regular wood stain on them. What a mistake!
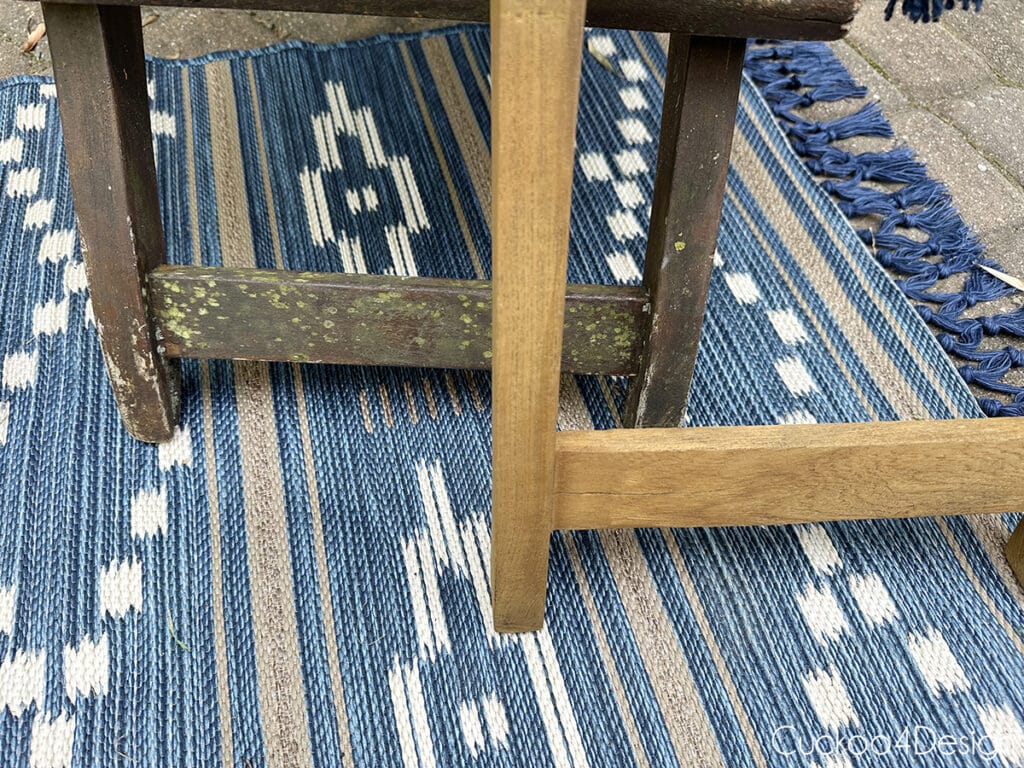
Some areas had mildew, rot, dirt, and even some holes on the underside from carpenter bees.
Can you pressure wash teak wood?
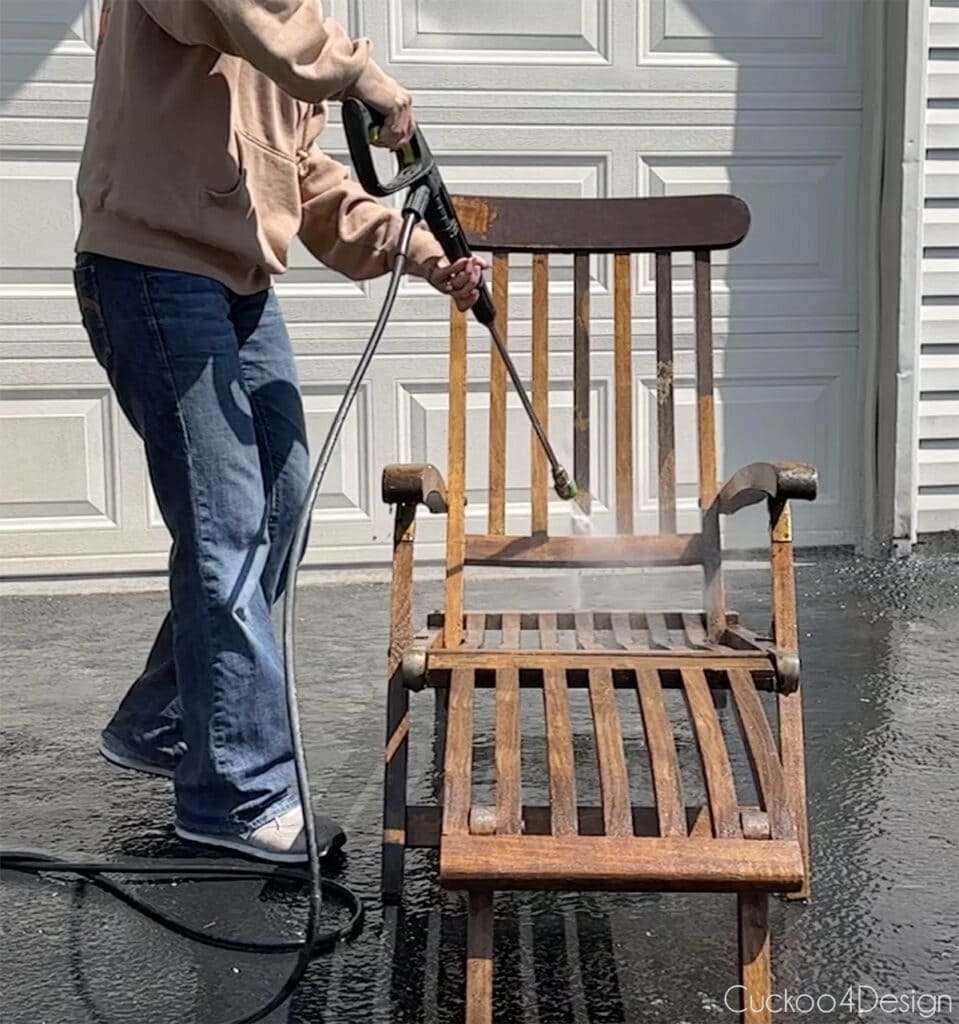
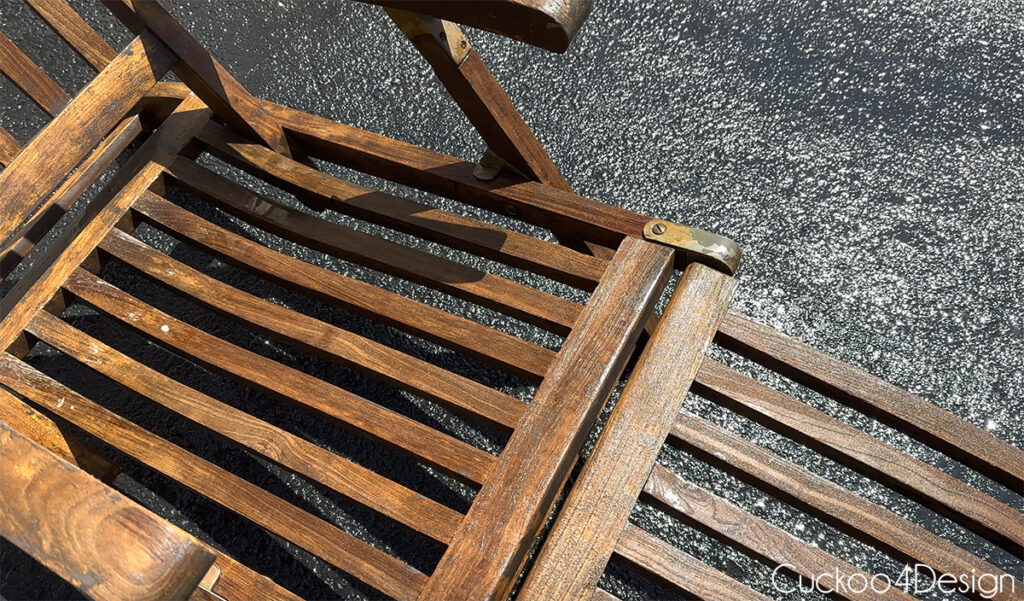
Well… you aren’t supposed to use a power washer for teak restoration. With that said, what did I do because I have a blog and I try things out so I can show you?!?! I pressure-washed it to see so I can tell you my opinion. Below you can see the small section that I tested and it looks like it worked great. I just wanted a fast way to remove the old stain, mold, and weathered gray look. So I pressure-washed the entire chair. It did result in shredding the wood in some areas that were questionable, to begin with. On the second chair, I only pressure washed in solid areas.
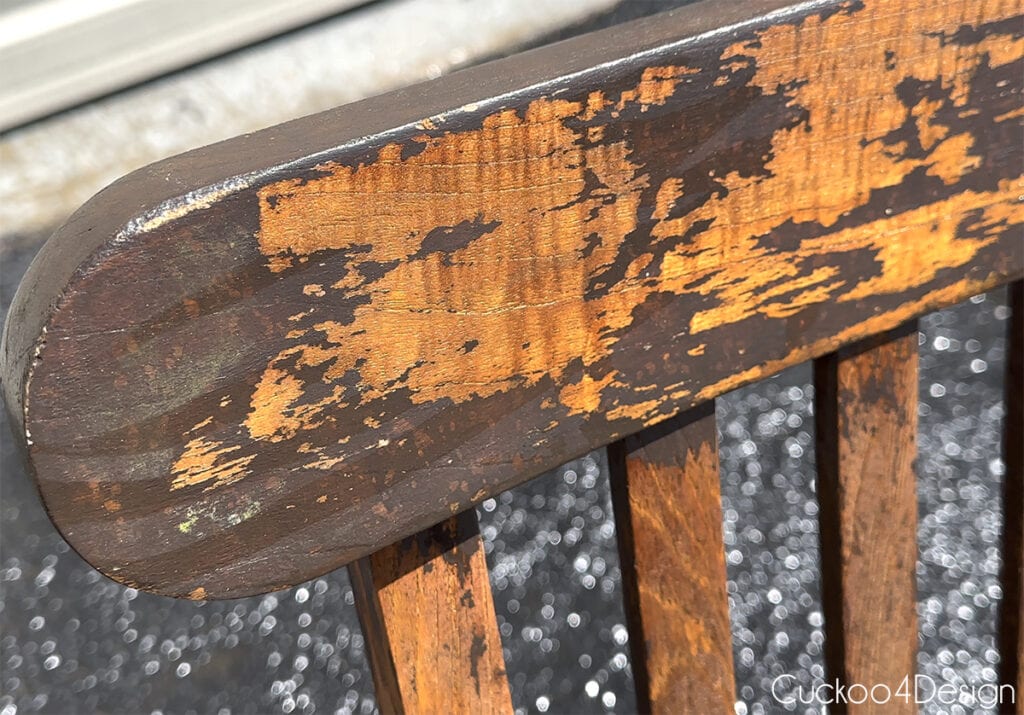
Below you can see an area that was shredded by the pressure washer. However, that area had some rot already before washing it.

So with that said, let me show you what I did exactly to restore my teak outdoor furniture…
Video of the teak restoration process
I also made a video which you can see below. If the video doesn’t load for you then you can watch it on my YouTube Channel instead.
A step-by-step method to restore teak outdoor furniture
This post may contain affiliate links from which I will earn a commission at no extra cost to you. View my full disclosure policy.
Step 1: Clean the teak furniture
As I just mentioned, I tried out a pressure washer to minimize having to scrub and sand the teak pieces. My restoration project was a bit different from just having to remove the weathered gray patina of old teak wood. For most other teak restorations, just scrubbing the teak wood with a teak cleaner might be enough. Not in my case though.
Besides the pressure washer, I did use warm water and a bit of mild dish detergent to scrub the wood with a sponge and soft bristle brush. Then I gently hosed off the cleaning solution and let it dry.
I skipped the teak cleaner because I knew that I had to sand everything.
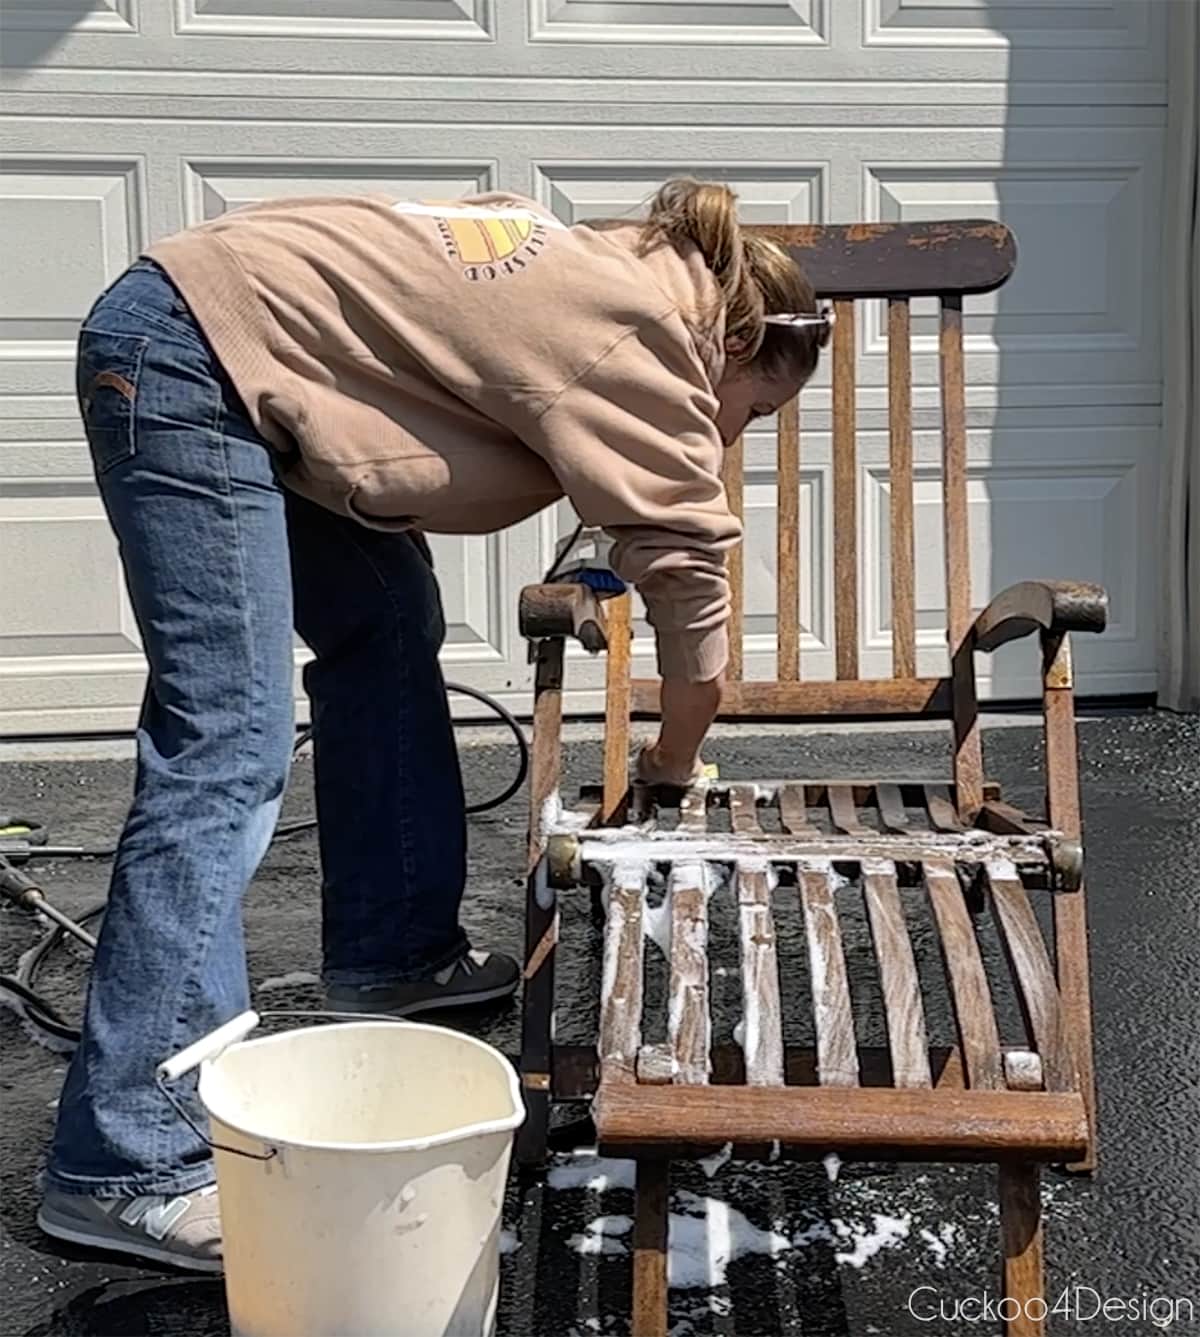
Step 2: Patch any damaged teak wood
If your wood is really damaged, then you need to patch those areas so moisture can’t get into the cracks and damage the wood further.
I searched for a wood filler that was specifically made for teak wood and couldn’t find one. So I purchased this interior/exterior wood filler in a natural color for the areas that were rotten or had carpenter bee holes. The wood filler worked but definitely didn’t blend in. Later you can see what I mean in the finished photos. If any of you have wood filler suggestions that would work better color-wise, let me know in the comments.

I used a putty knife and my fingers to apply the wood filler. I wasn’t worried about being too accurate because sanding would take care of that later.
Let the wood filler dry completely!

Step 3: Sand the teak wood
Below you can see a variety of sandpaper discs and blocks that I used on my teak garden furniture. I definitely tried to mostly use fine-grit sandpaper in fear of shredding some areas even more.
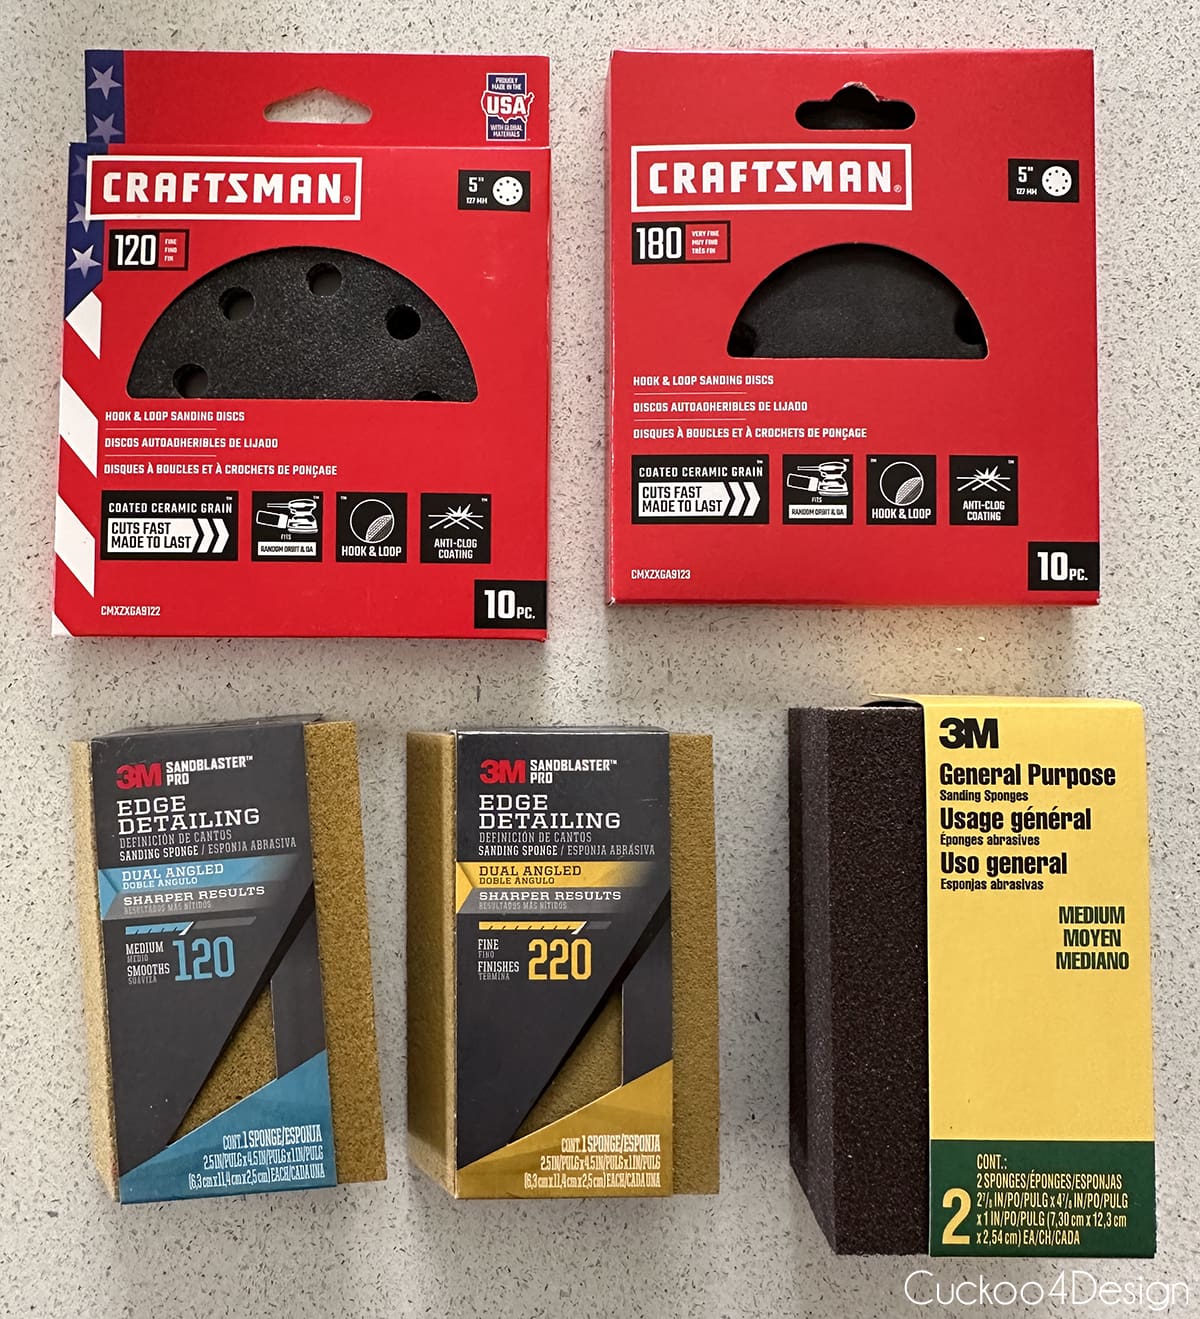
You should wear a dust mask and eye protection when sanding!
My orbital sander worked great for most of the sanding process. I also found it easier to sand everything after taking the chairs apart. This isn’t an option for most regular teak wood furniture but in this case, I was able to just remove all the hardware and work on the pieces separately. The teak bench that I’m working on next needs to stay in one piece.
Try sanding in the direction of the grain until the wood looks clean and feels smooth.
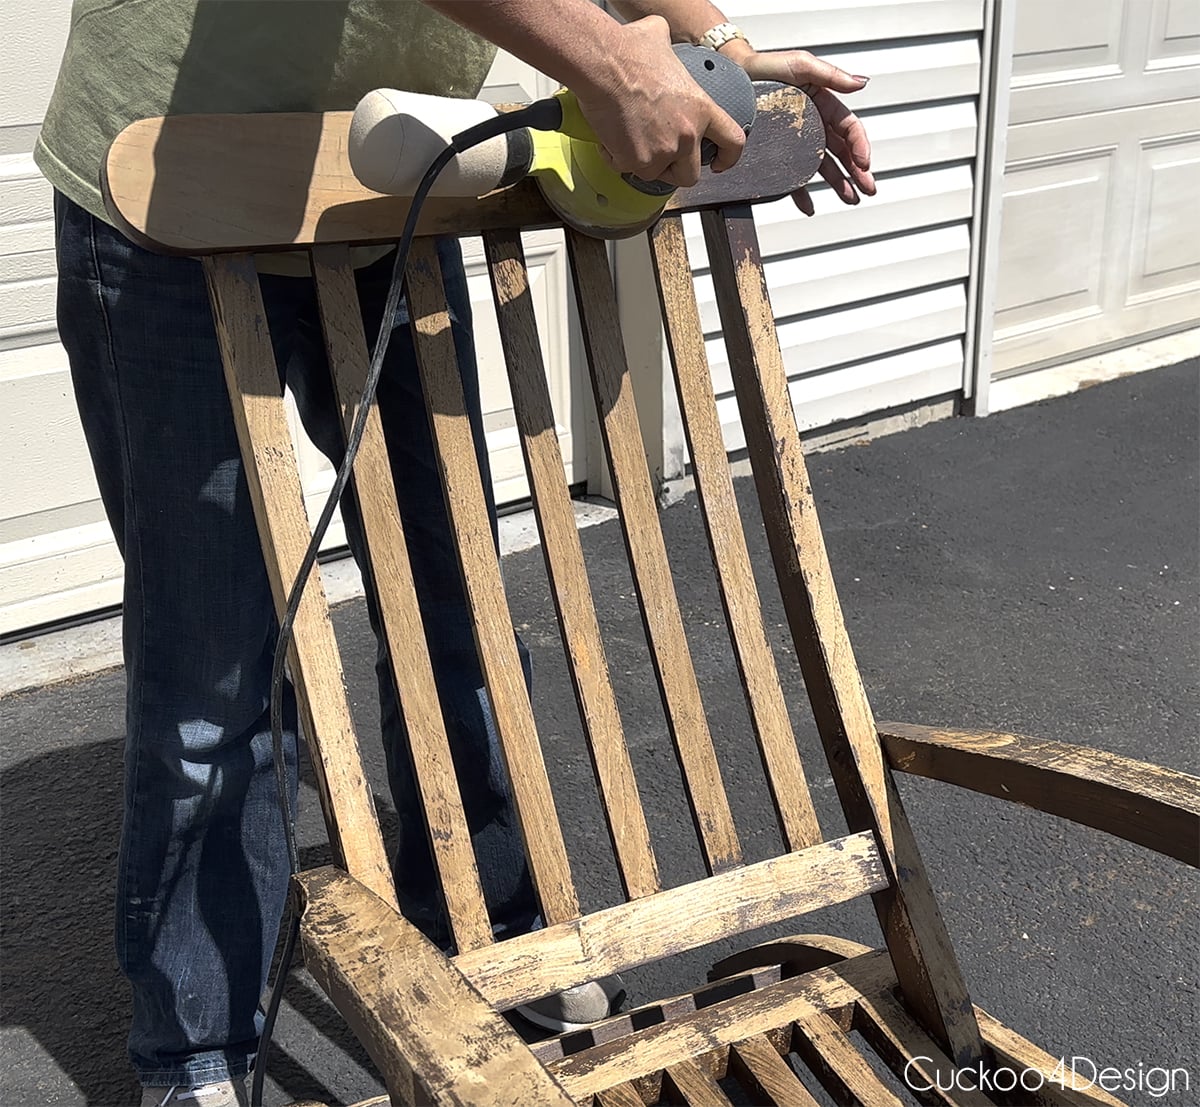
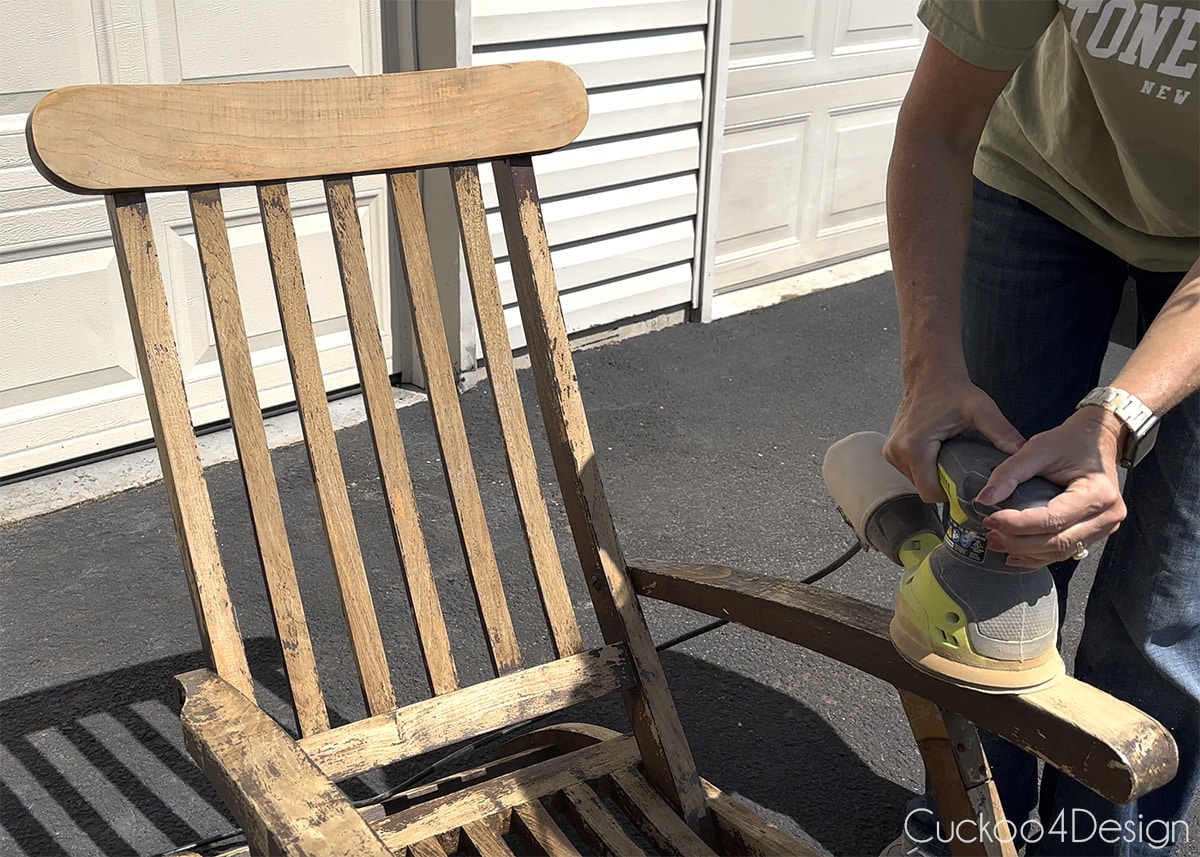
A block sander worked great in between the seat slats. This part took a long time since I had to do it by hand.
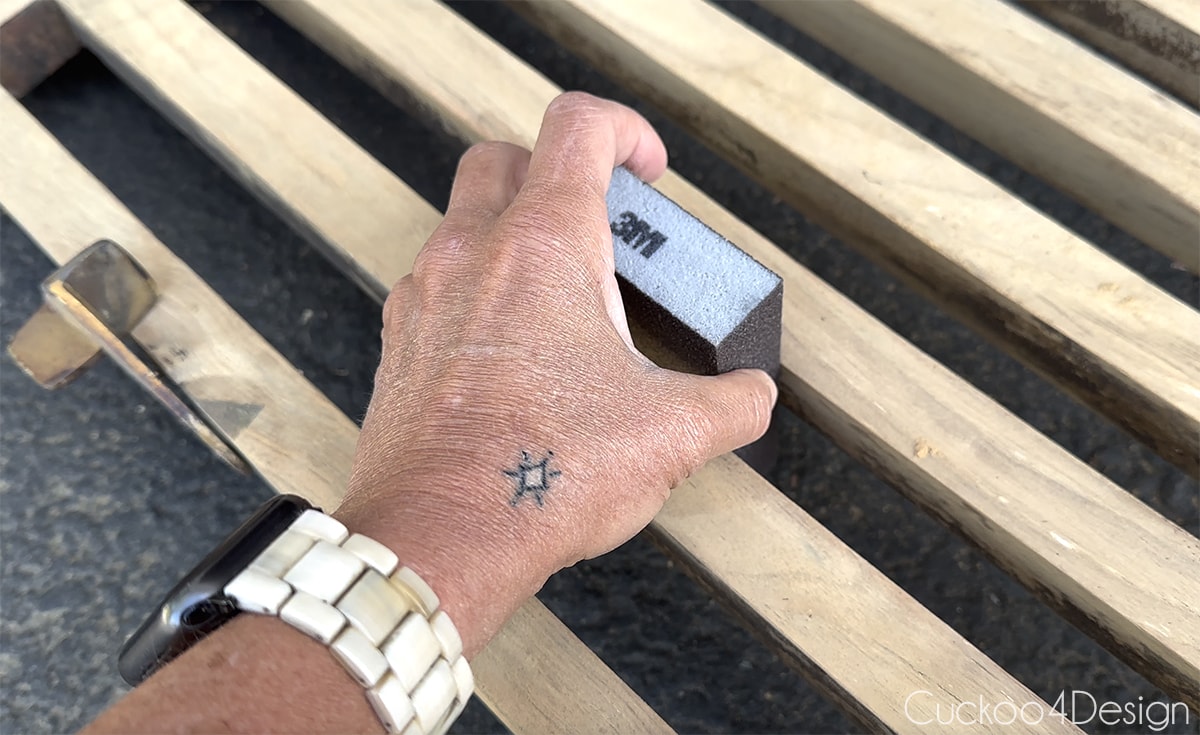
You can clearly see when the outer layer of weathered teak, stain, and debris is sanded off to reveal a new smooth teak surface.
If you have lightly weathered gray teak furniture then a light sanding might be enough. In my case, I had to sand heavily to get to a smooth surface again.
Step 4: Wash teak furniture after sanding
It is important to clean all the sanding dust and debris off the surface of the wood so it doesn’t mix with the teak protector that you will apply in the next step. I used a clean water and vinegar solution again that I gently rubbed on with a sponge and then washed off with a garden hose.

After rinsing, make sure you let the teak patio furniture dry completely.
Step 5: Apply teak sealer or protector
The best way to protect your teak wood is to use a teak protector on your dry and clean teak furniture.
I prefer using a clean lint-free cloth to brush on, or should I say wipe on the teak protector. I think a brush could work too but would create runny areas which end up not looking pretty. The rags work best in my opinion.
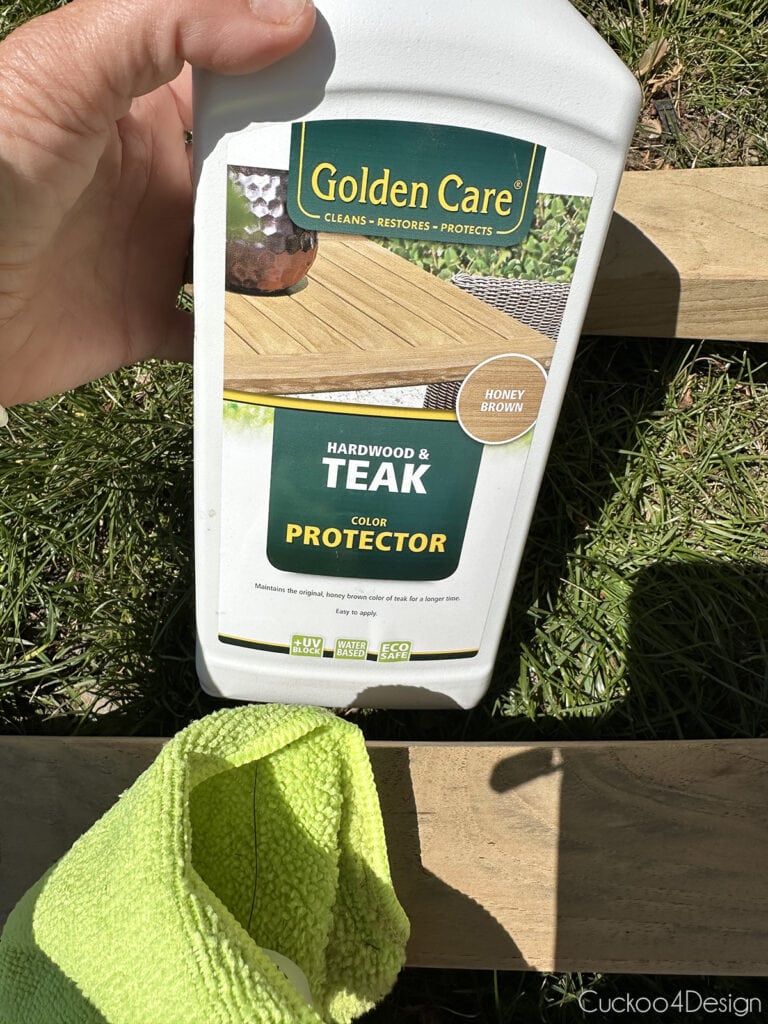
I shook the container well and dumped some of the liquid into a bowl. Wearing rubber gloves is definitely recommended. Dip your rag into the protector liquid and rub the solution into the dry wood.
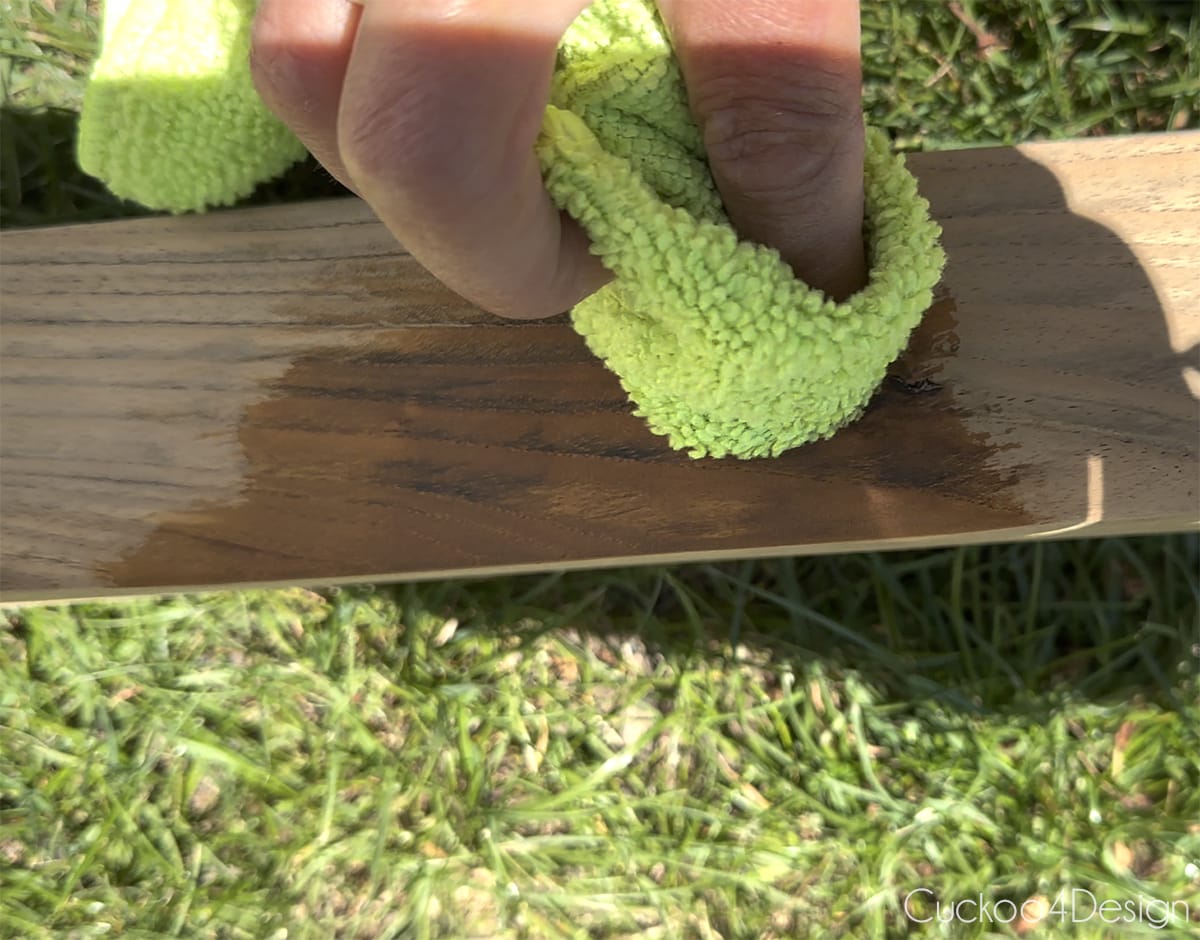
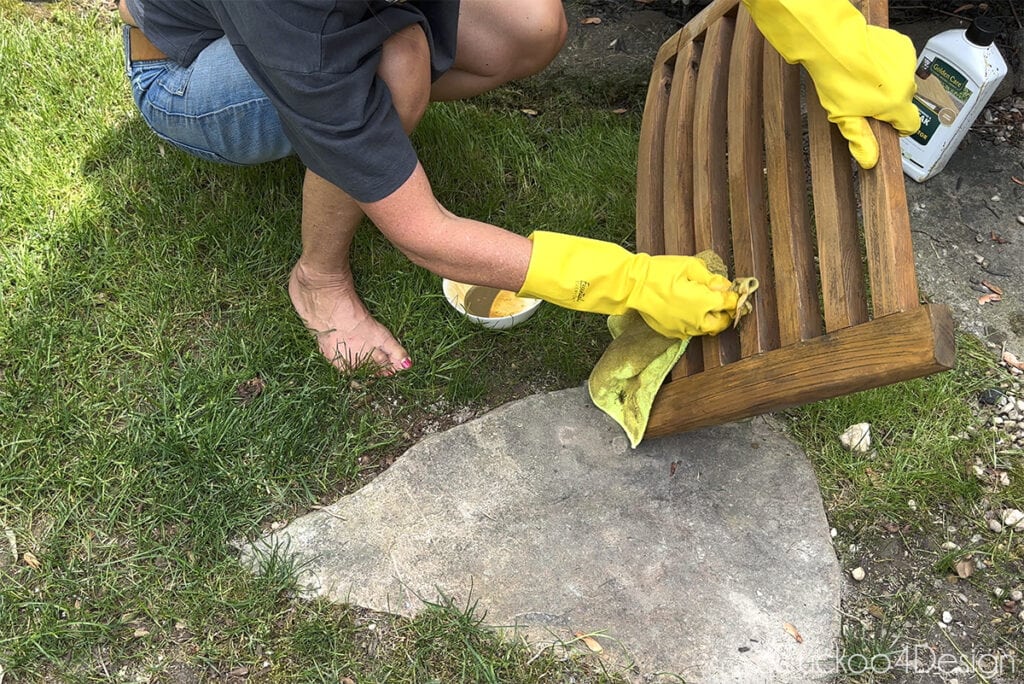
I gave my furniture two coats of the teak protector, let it dry, and then assembled everything again. Some of the screws had to be replaced and a friend welded a piece back together that had broken on the reclining hardware. I searched high and low to see if there are replacement parts for these types of chairs but was unsuccessful in my search.

Step 6: Maintain your teak furniture
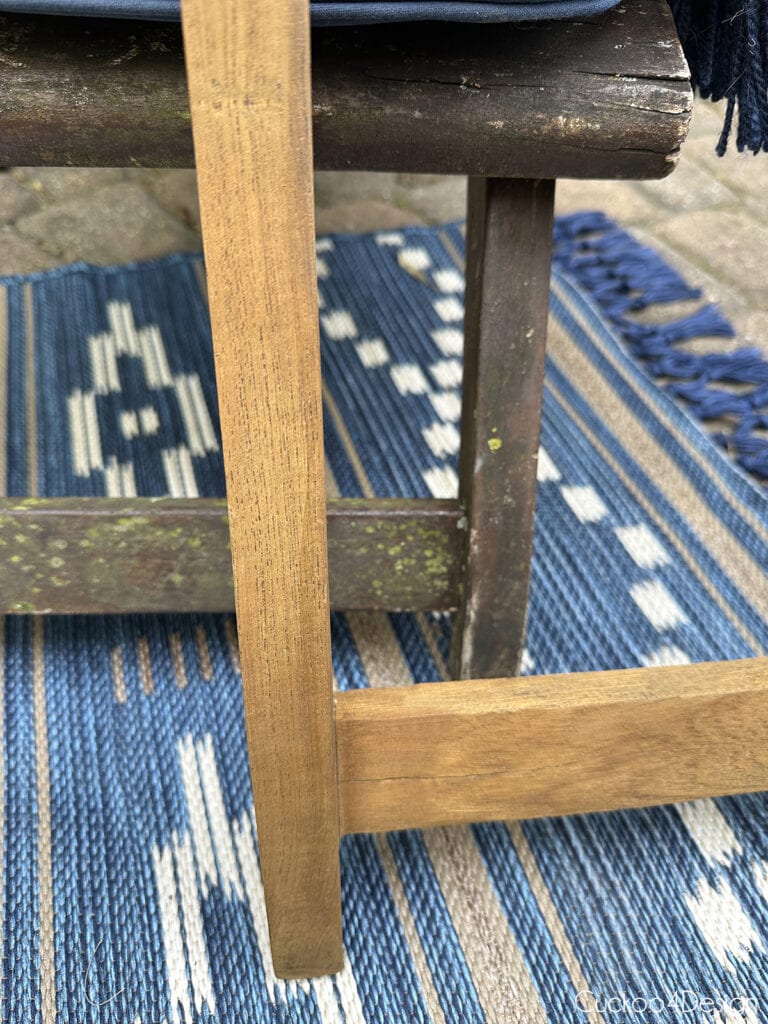
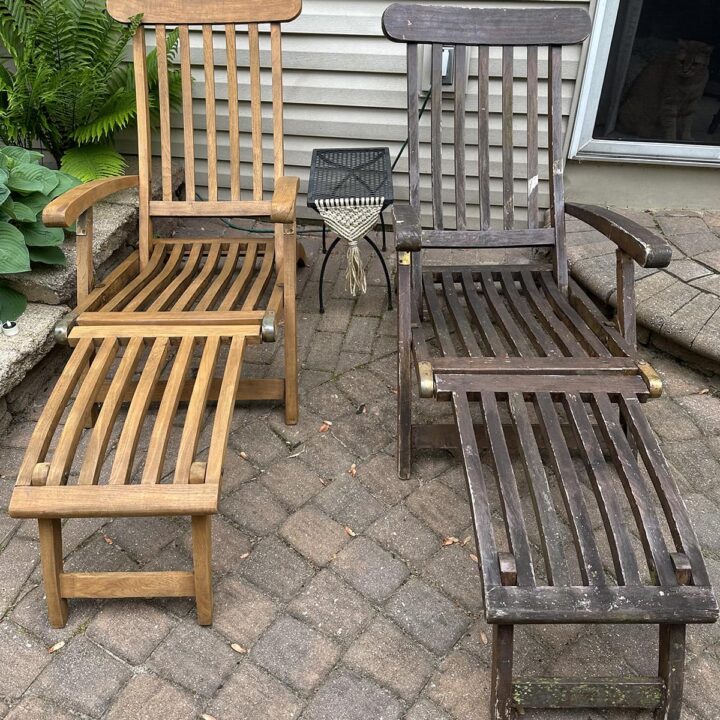
Here is a before and after closeup to show the difference. To make sure this deterioration doesn’t happen again we need to maintain the wood going forward with regular cleaning and adding more teak protector if needed.
Photos of finished restored teak outdoor furniture
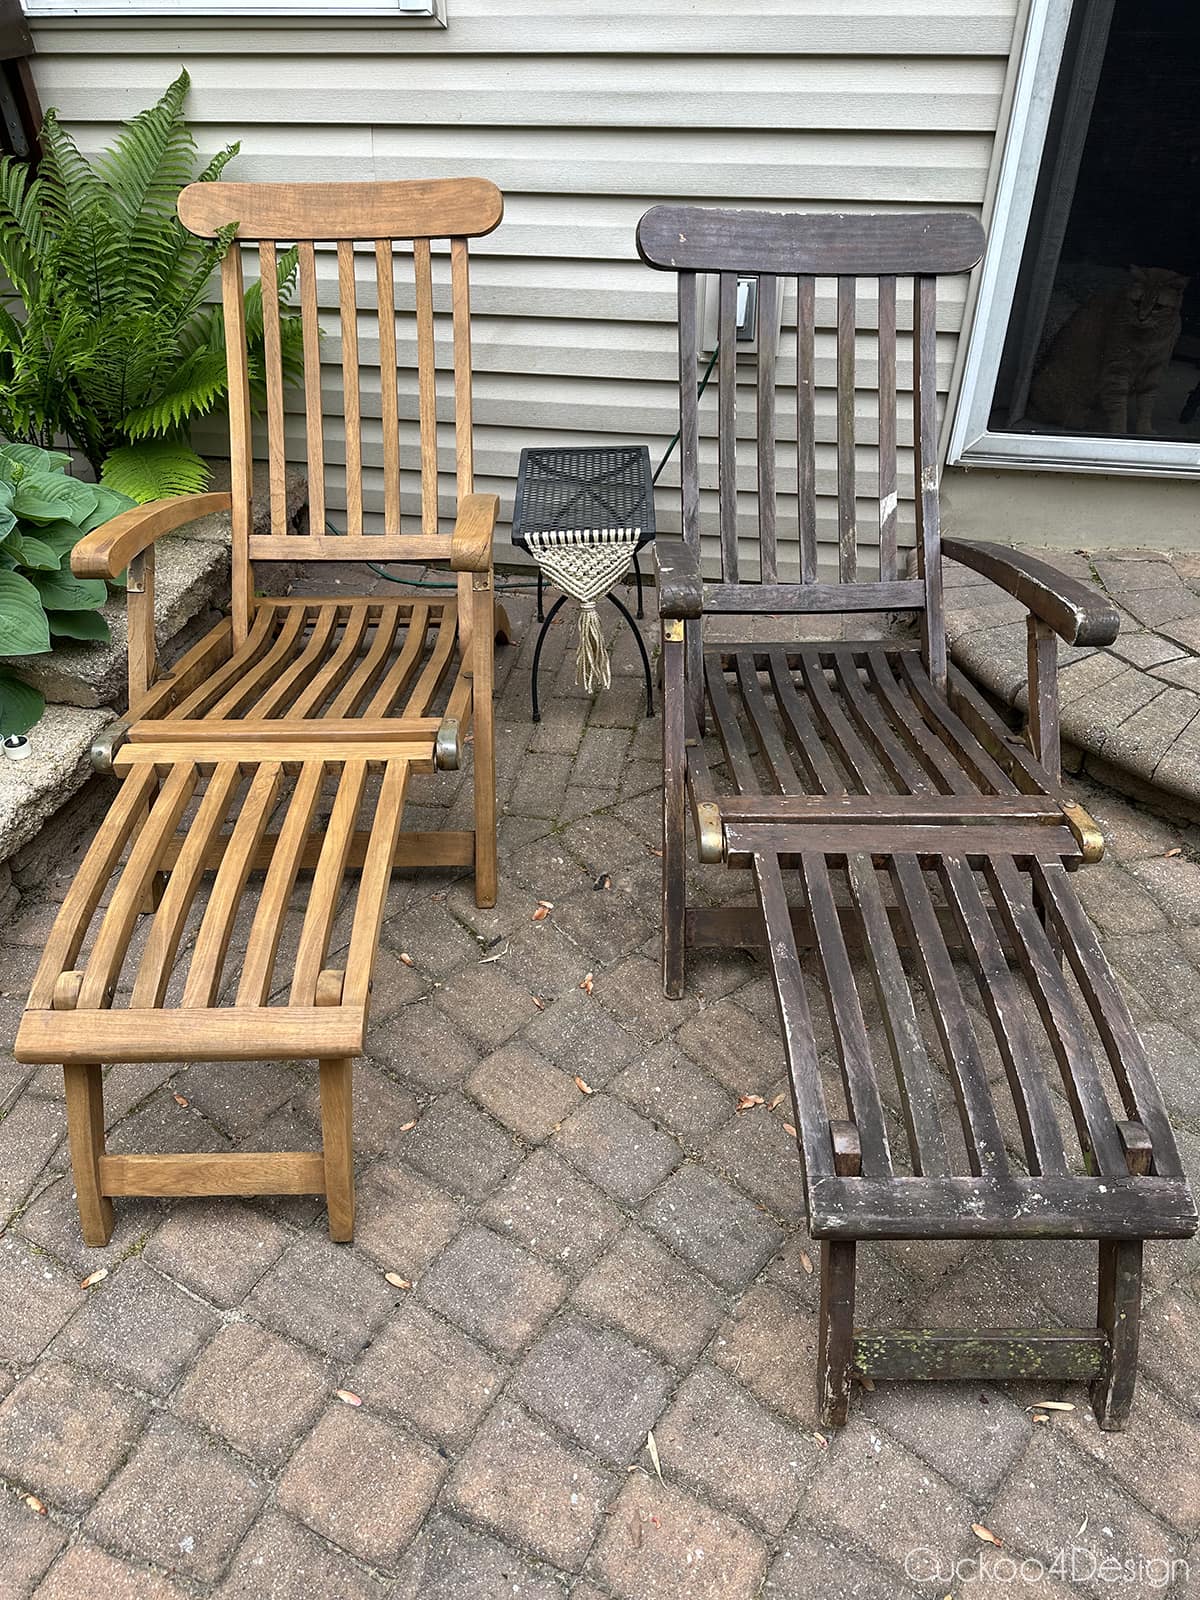
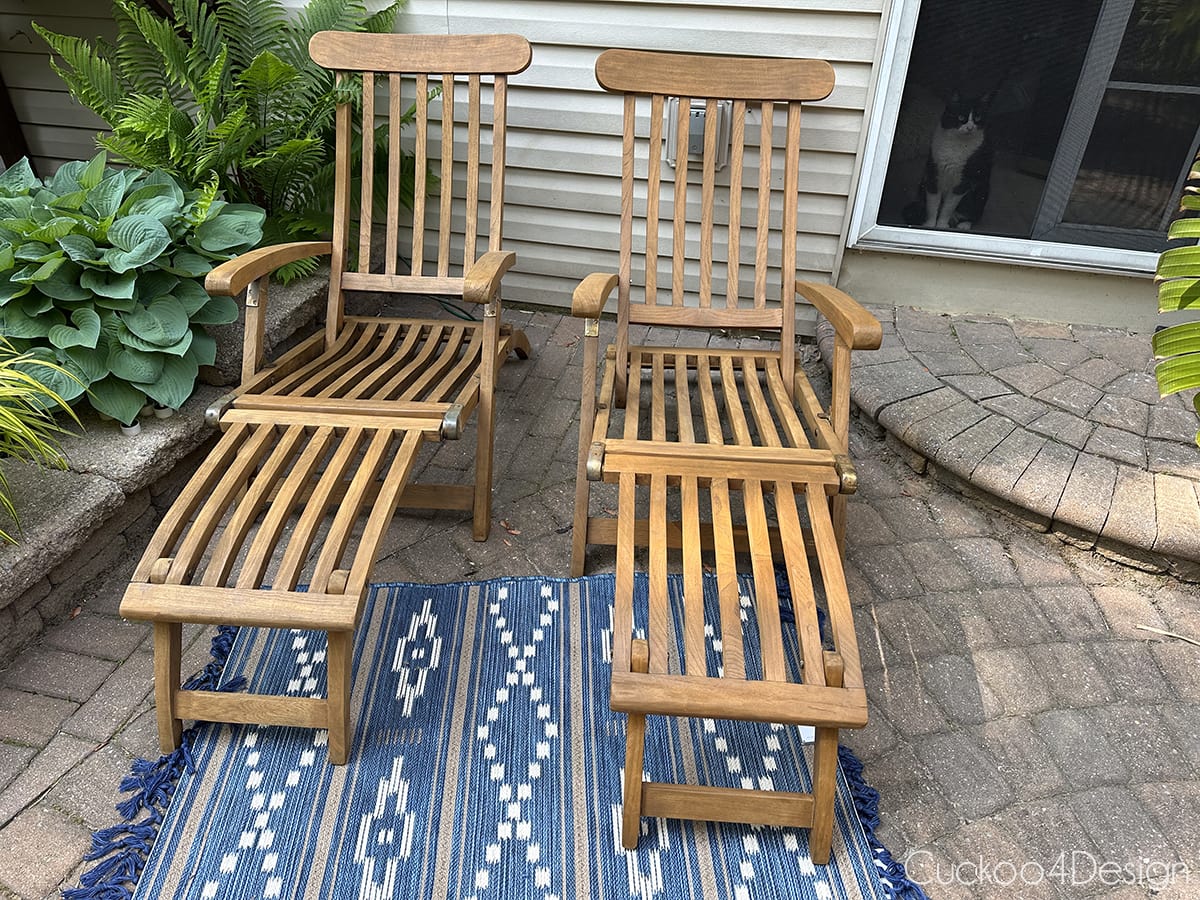
Before starting on the second chair, I took a side-by-side comparison photo so I could show you guys. I think it’s pretty amazing!
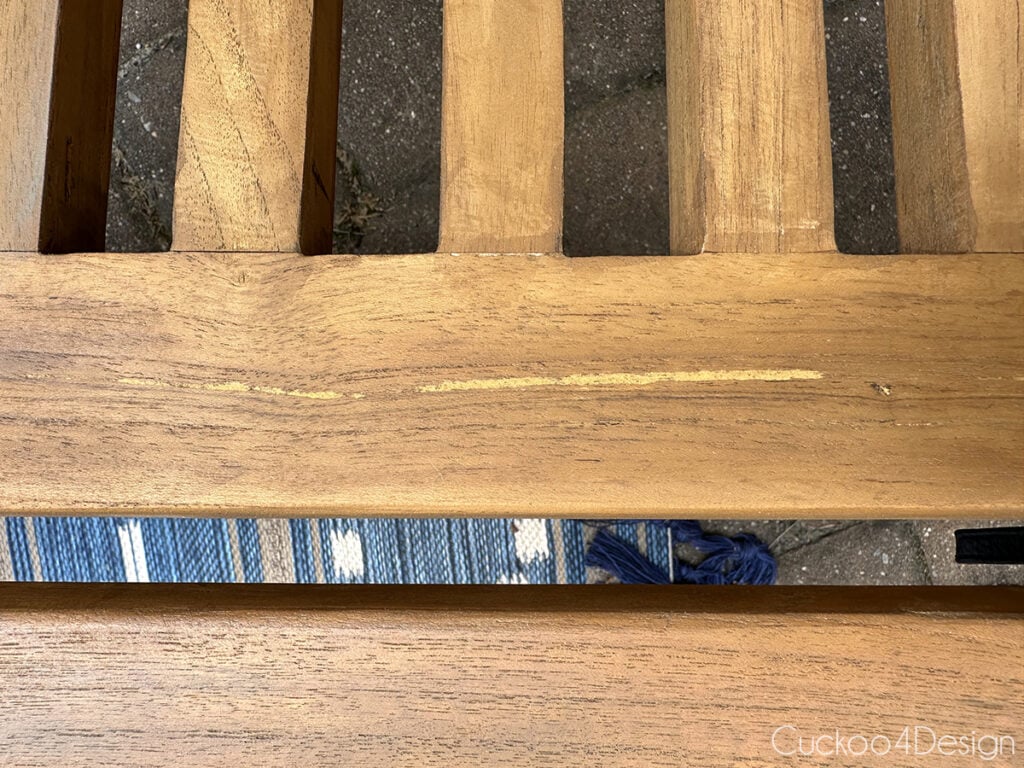
And here is a close-up of the wood filler after I applied two coats of the wood protector. The filler doesn’t take the color the same way the teak wood does. It’s not ideal but I can live with it.
It makes me so happy to see the chairs restored to their former glory. There is something so gratifying and satisfying when looking at the before and after and knowing that you did this all by yourself.
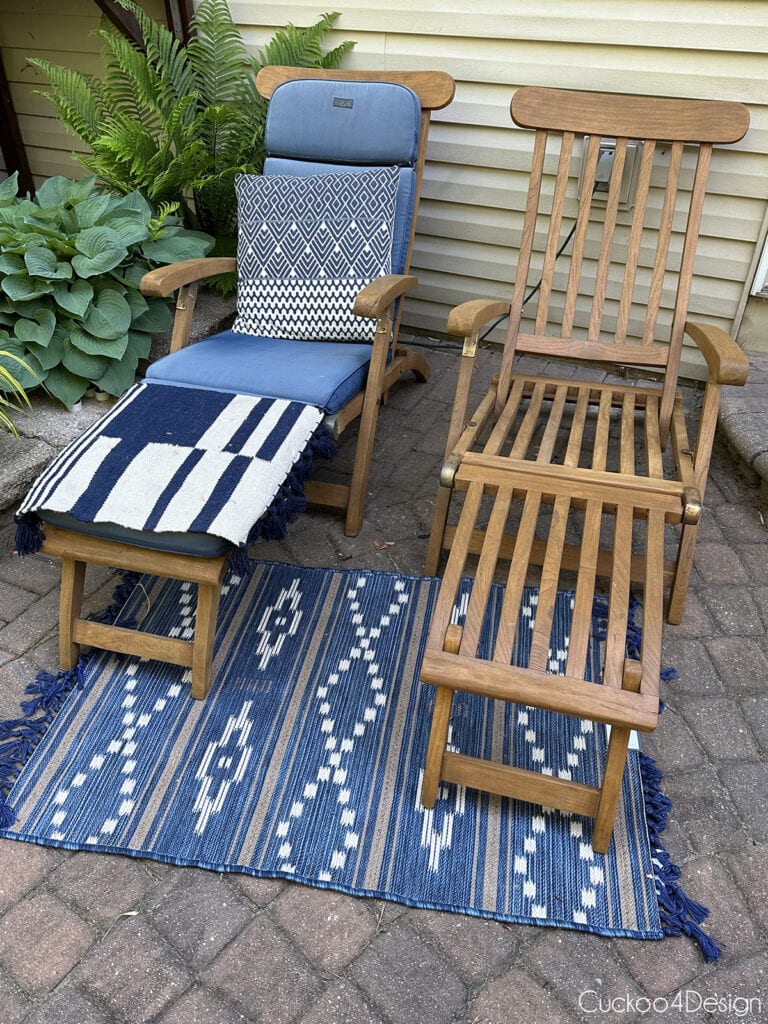
Our entire outdoor space is mostly decorated in blue and white and while the blue cushions have also seen better days, they still work.
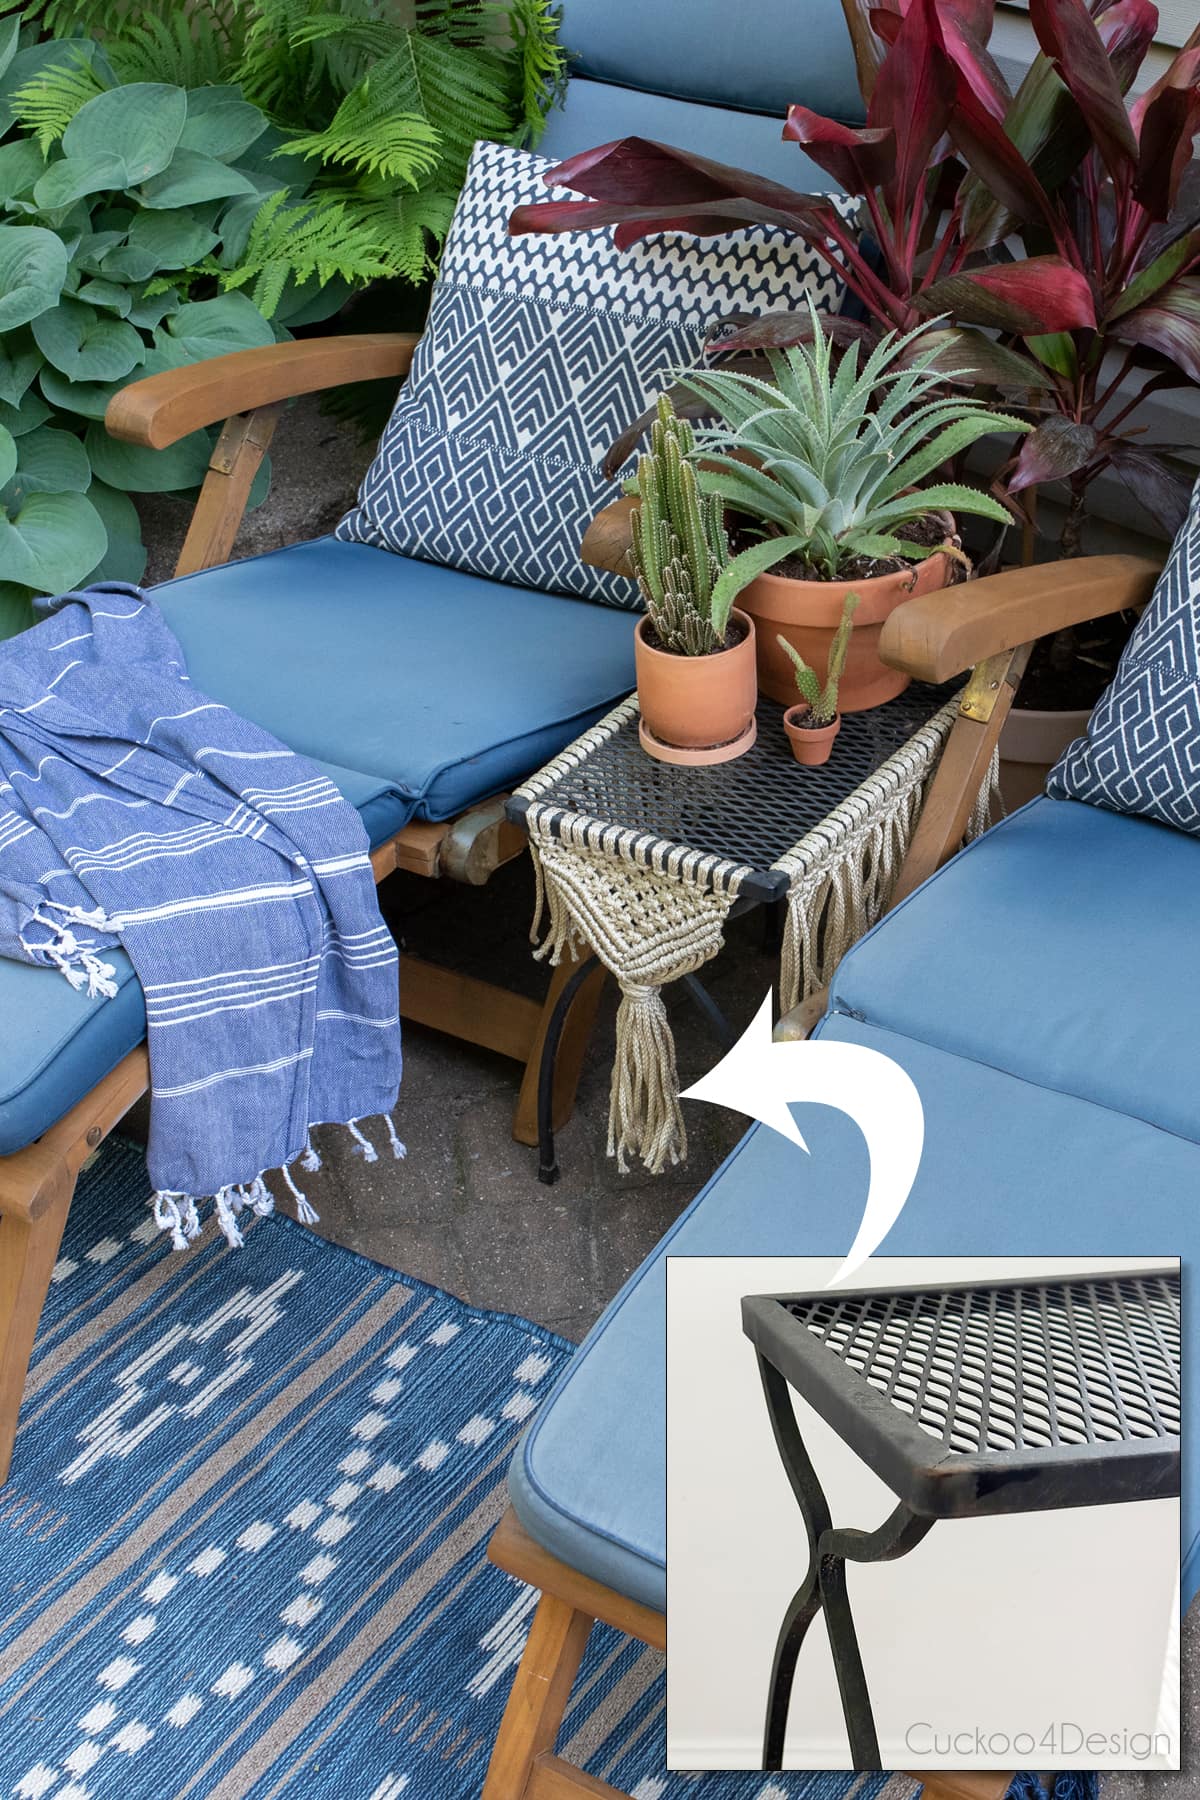
You might also like my recent metal patio table makeover. It is perfect for in between those chairs now.
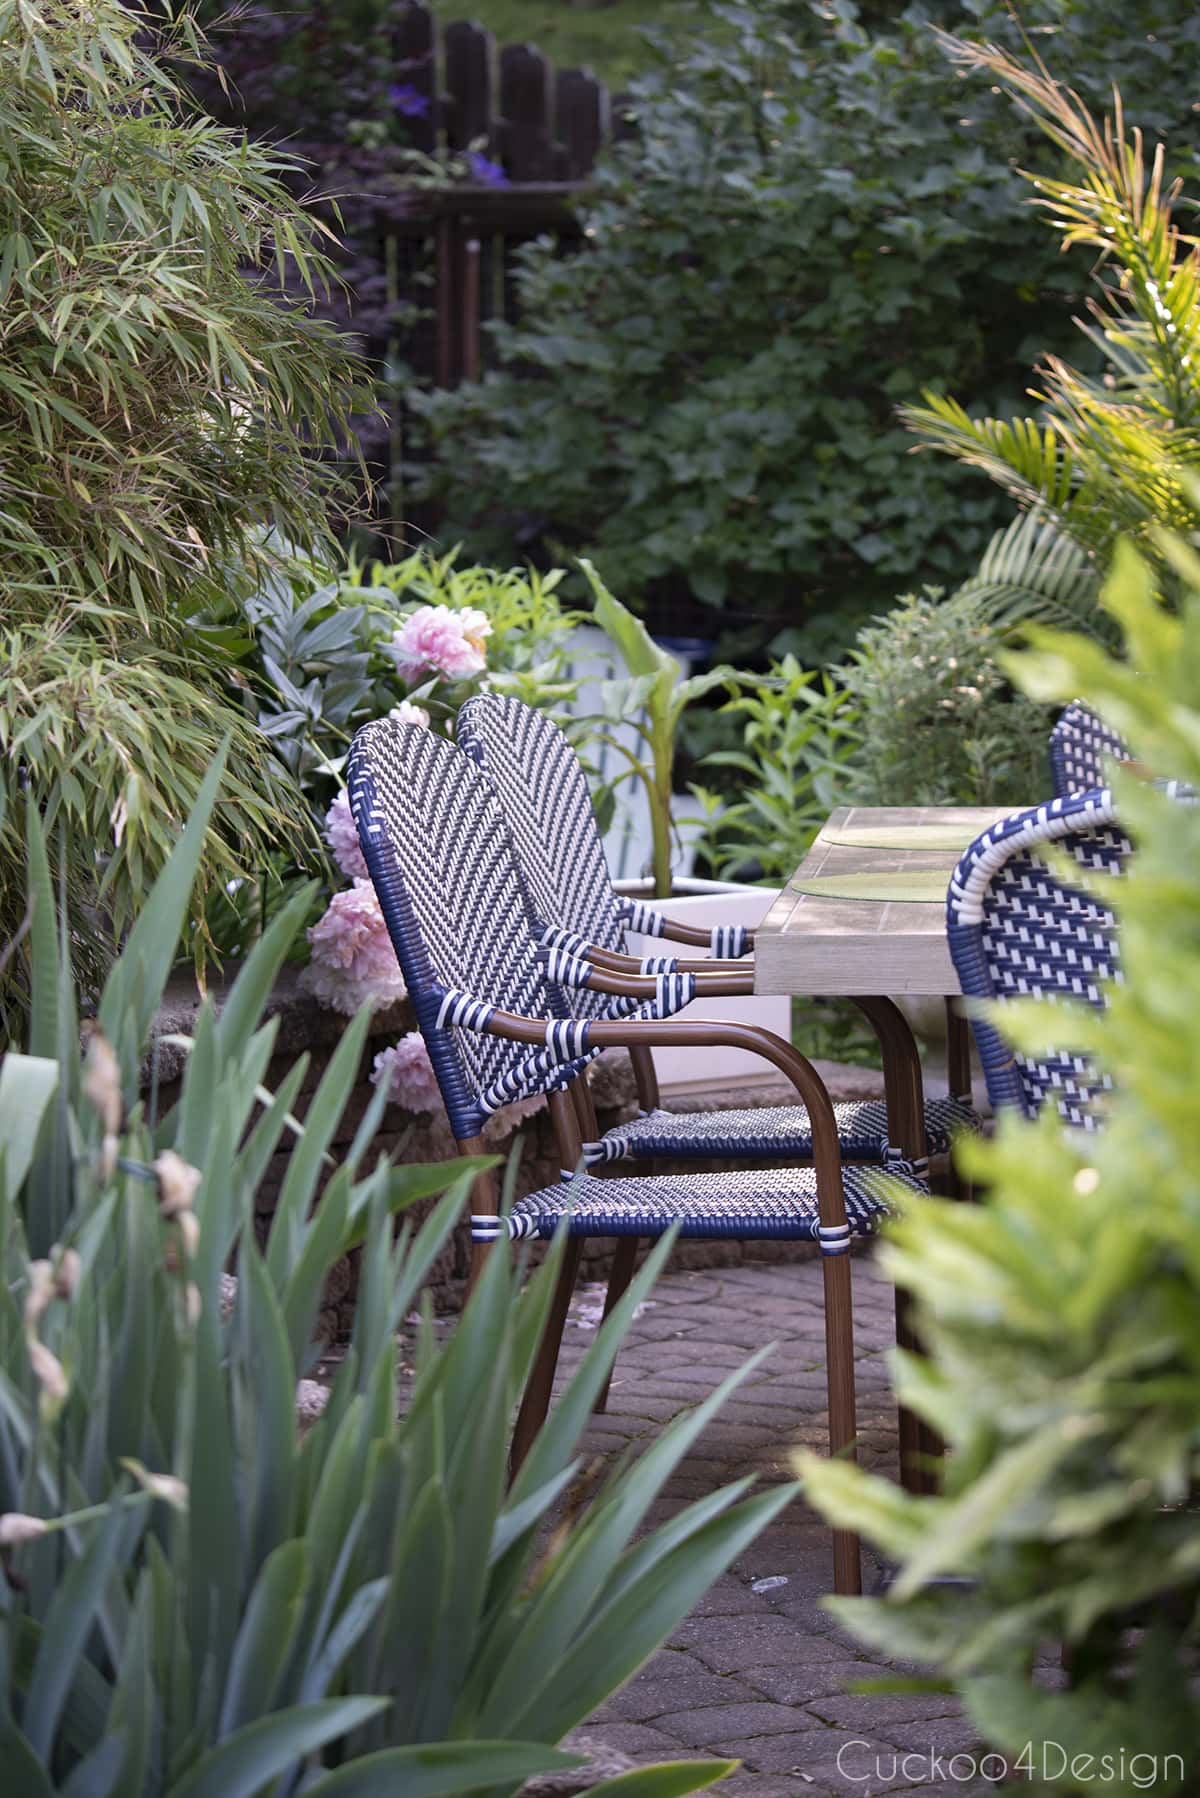
These are the patio chairs and table that are facing the loungers. I bought the chairs at Target a couple of years ago and still love them so much. The patio table is from Home Depot. I am a fan of mixing and matching.
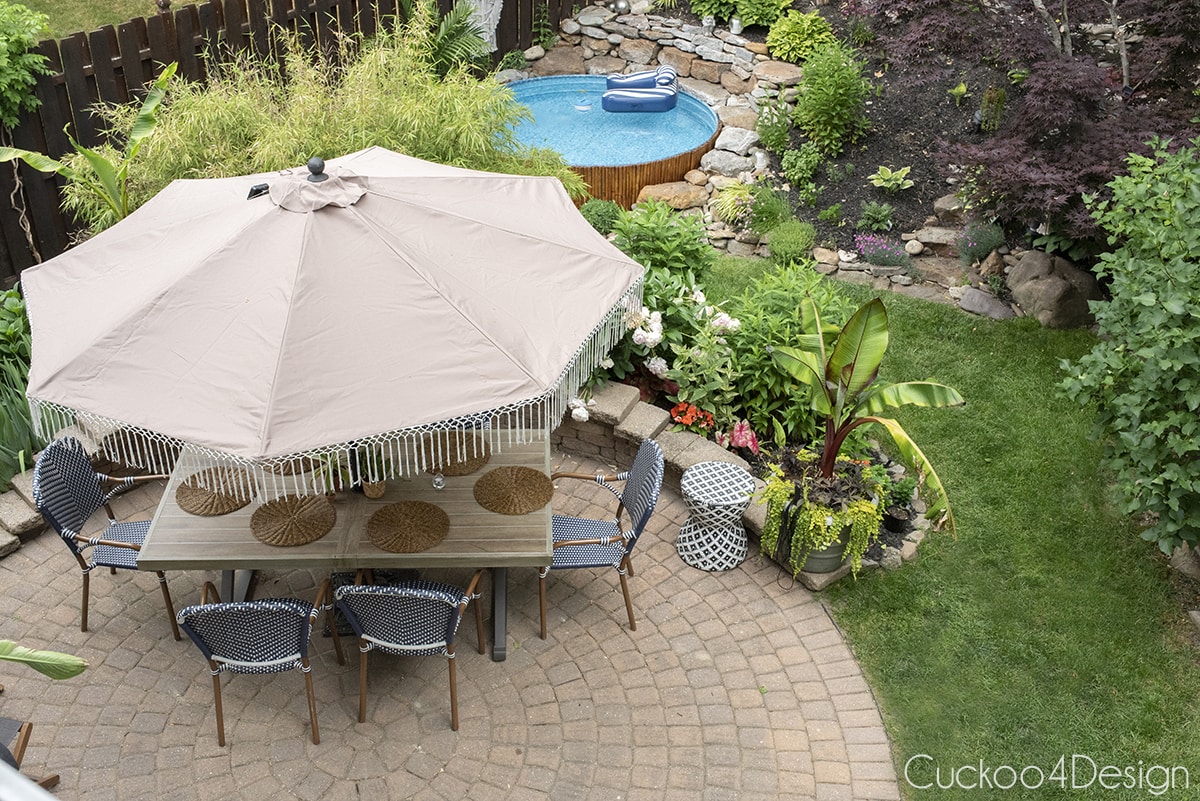
Also, check out my favorite patio umbrella replacement canopies and how to measure a patio umbrella replacement canopy. And my blog post about how to mix and match patio furniture to get some outdoor decorating ideas.
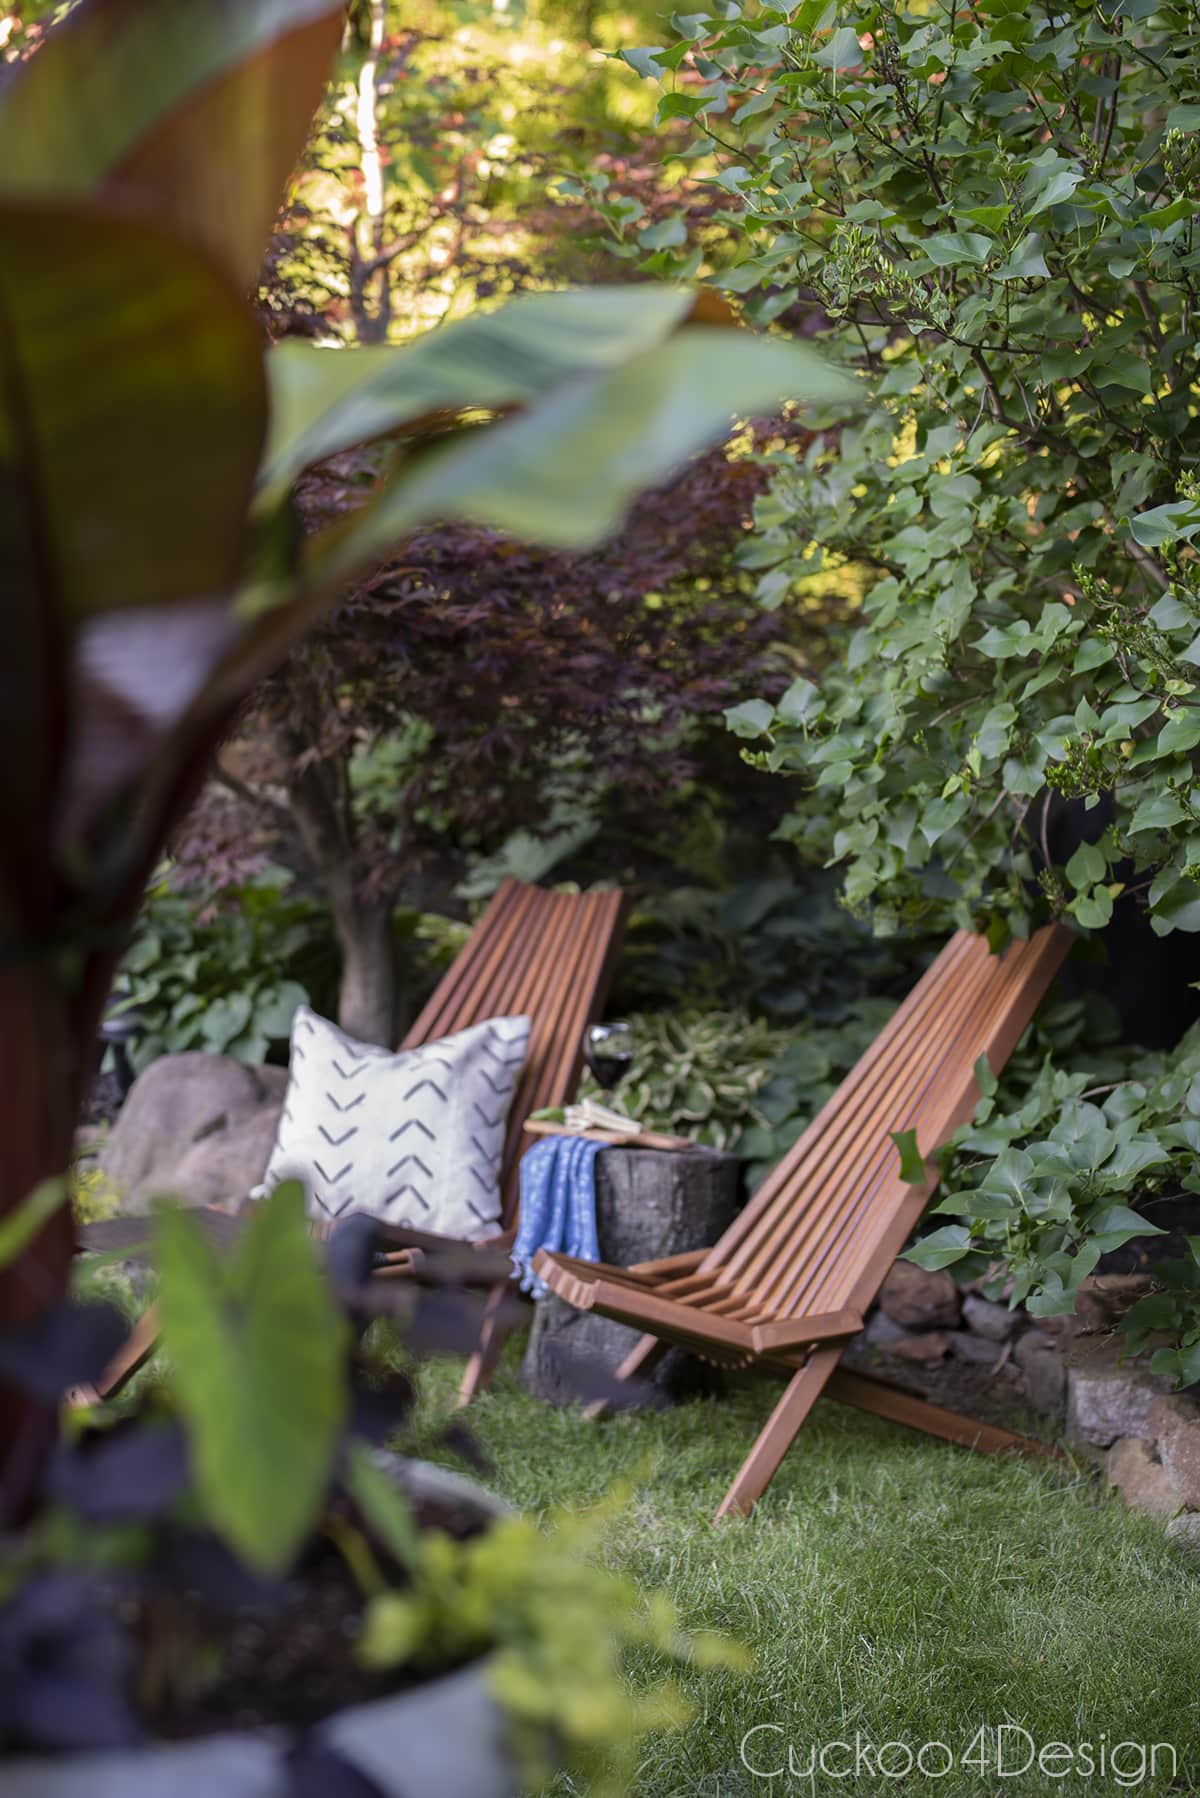
Last year I bought these small teak folding chairs and I will take much better care of them so I don’t ever have to give them a major overhaul.
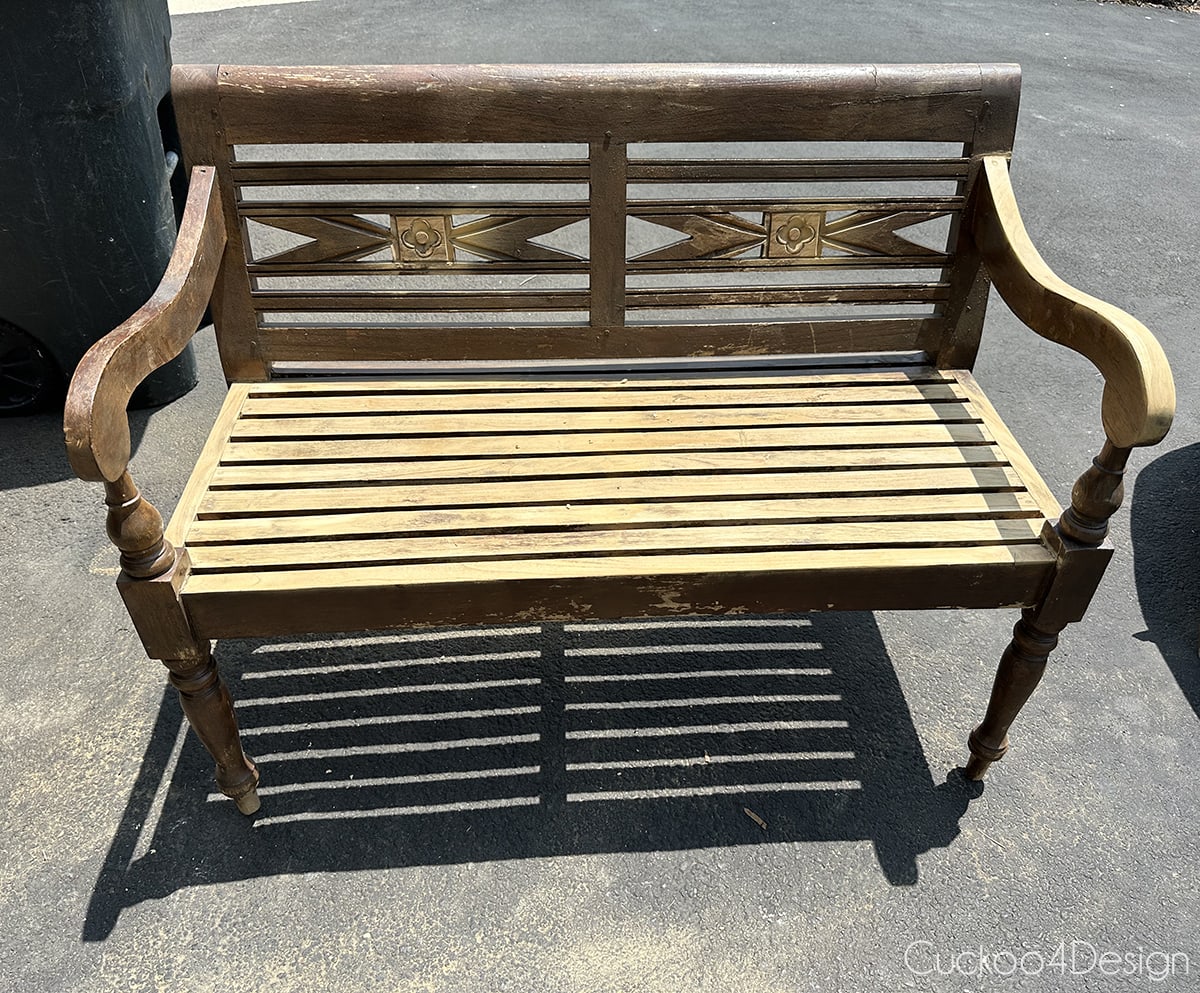
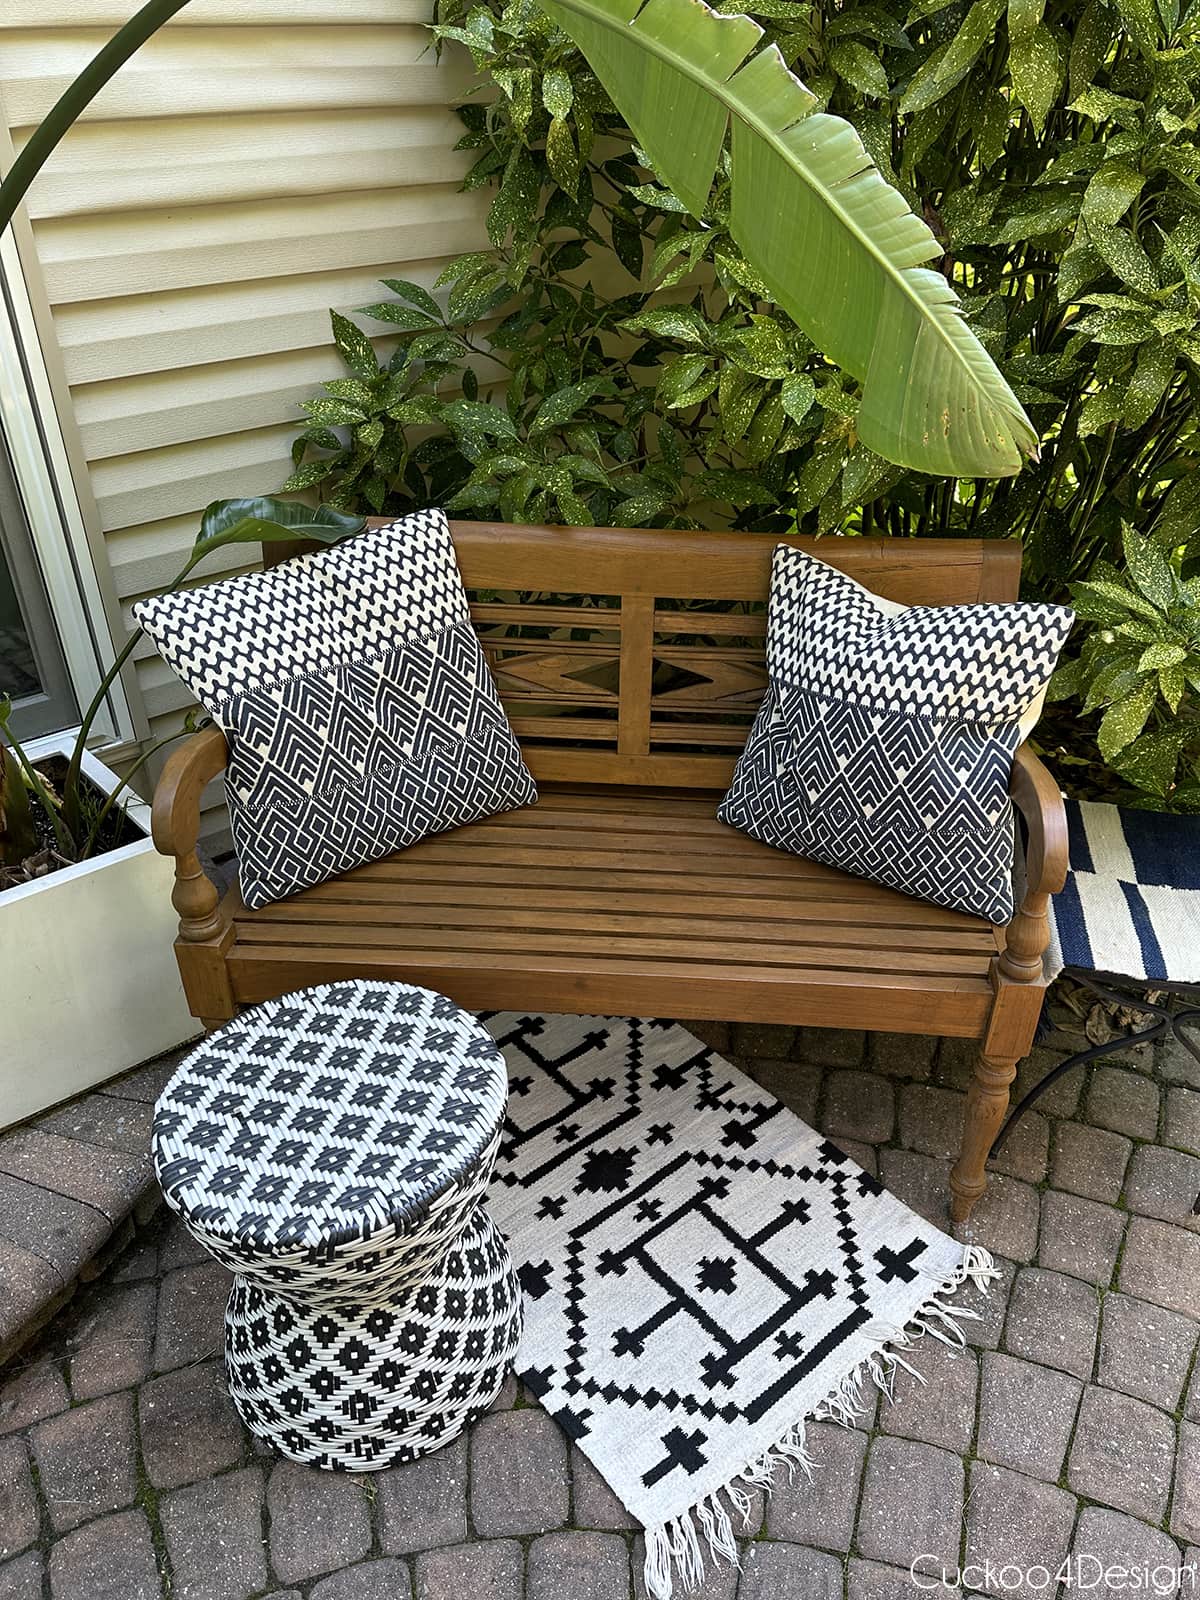
This bench is next! Unfortunately, I had started sanding the seat already when I noticed that I didn’t snap a before photo yet. Oops!
The bench looks like it is actually acacia wood which is a hardwood and I can also use the same teak protector and restoration method for it. I can’t wait to finish the bench so I can add a photo to this post.
Update: The bench is finally done and you can see more details and photos in my blog post about how to sand spindles.
And don’t forget to pin this project for future reference!
Tschüß,

How to restore teak outdoor furniture
Breathing new life into outdoor furniture doesn't have to be difficult with this easy-to-follow guide on how to restore teak furniture to its former glory. All you need is elbow grease, patience, and some basic supplies.
Materials
- teak cleaner or homemade teak cleaner (mild soap and white vinegar)
- various sandpaper
- different grit sandpaper blocks
- pressure washer (optional)
- teak protector
- clean rags
- rubber gloves
- dust masks
- small bowl
Tools
- orbital sander or another palm sander
- screwdrivers
- soft bristle brush
Instructions
- Clean the teak wood furniture
You can try out a pressure washer to minimize having to scrub and sand the teak pieces. For most teak restorations, just scrubbing the teak wood with a soft bristle brush and teak cleaner, or warm water and mild dish soap solution might be enough.
If you do use a pressure washer to clean the old teak wood then be careful in questionable areas that look damaged already since the pressure washer can shred and damage the wood further. Let the wood dry after cleaning. - Patch any damaged teak wood
If your wood is really damaged, then you need to patch those areas so moisture can't penetrate the cracks and damage the wood further.
Use a wood filler made for interior/exterior wood in a natural color. Use a putty knife and your fingers to spread the wood willer into the damaged areas of the wood. Let the wood filler dry completely. - Sand the teak wood
Use a palm sander or orbital sander with various fine-grit sandpaper discs to sand the teak wood. Pay extra attention to the areas that are patched with wood filler.
It is recommended to wear a dust mask and eye protection when sanding! Try sanding in the direction of the grain until the wood looks clean and feels smooth.
A block sander worked great in between the seat slats. This part took a lot longer since it needs to be done by hand. (If you have lightly weathered gray teak furniture then an overall light sanding might be enough.) - Wash teak furniture after sanding
It is important to clean all the sanding dust and debris off the surface of the wood so it doesn't mix with the teak protector that you will apply in the next step. Use a sponge and a clean water and vinegar solution to gently clean the wood. Then rinse the teak furniture with a garden hose.
After rinsing, make sure you let the teak patio furniture dry completely. - Apply teak sealer or protector
Shake the container well and pour some of the liquid into a bowl. Wearing rubber gloves is definitely recommended. Dip a clean lint-free rag into the teak protector liquid and rub the solution into the dry wood.
Apply at least two coats of the teak protector and let it dry. - Maintain your teak furniture
To make sure your teak furniture doesn't deteriorate again, clean your teak furniture regularly. Add more teak protector if needed.
Notes
- Try out in a small section whether a good cleaning with teak cleaner or light sanding is enough or if you should give it a complete overhaul with a good sanding.
- Teak oil versus teak protector or sealer: Teak sealers and teak protectors are made to protect the wood from moisture and make it more durable, so they are definitely a better choice than mineral oil or linseed oil found in teak oils.


