DIY Marbled Watercolor Curtains Tutorial
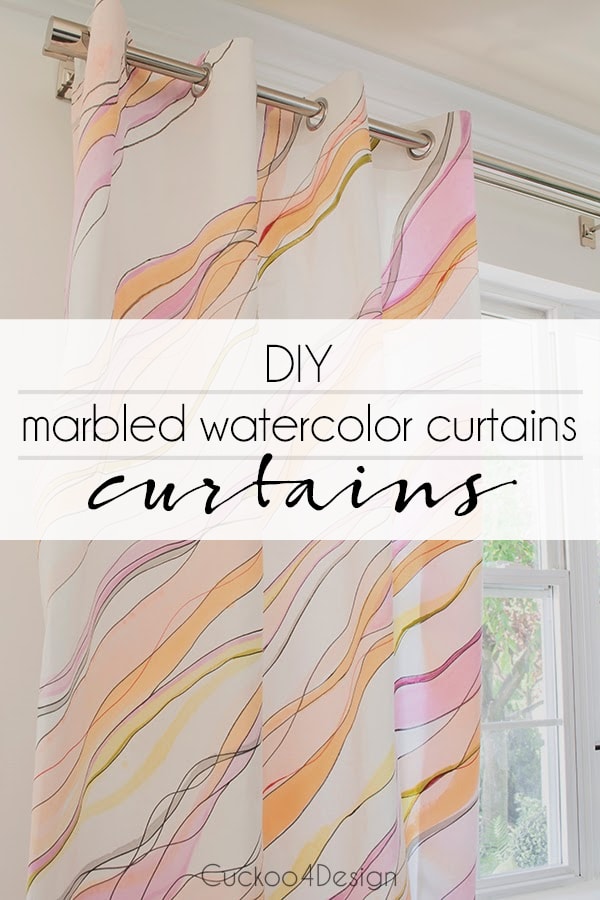
Today I want to finally share the tutorial for our new DIY marbled watercolor curtains that I showed you in my last home tour.
I love making my own curtains and am no stranger to these types of DIY projects. You can also check out my black and white checkered curtains, my black and white painted curtains and DIY horizontal striped curtains if today’s pattern isn’t your thing.
DIY Marbled Watercolor Curtains
This post may contain affiliate links from which I will earn a commission at no extra cost to you. View my full disclosure policy.
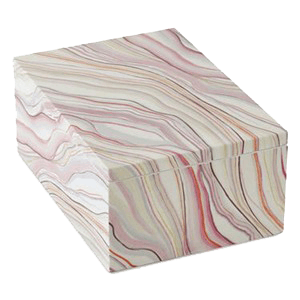
These watercolor curtains were inspired by a Jonathan Adler box I had purchased at JCPenney a while back. I wanted to nail down the same type of marbled watercolor pattern and I believe I accomplished that.
A major plus was that I happened to have everything I needed for the project. I didn’t need to buy a single thing. Hoarding pays off sometimes folks, I tell ya.
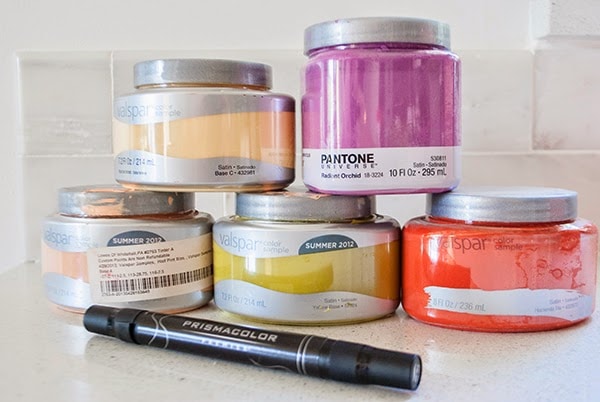
Materials needed for watercolor curtains:
- paint samples in just the right colors but you can use any type of craft paint
(most of them were $1 oops paint samples) - black fabric paint pens
- fabric medium
- prewashed and ironed Ikea Merete curtains
- iron
- large bowls
- various different sized brushes
- tarp and painter’s tape optional
Instructions for how to paint watercolor curtains
You need the same amount of large bowls as you have paint color samples. I used 5 different colors to achieve the look of my watercolor curtains.
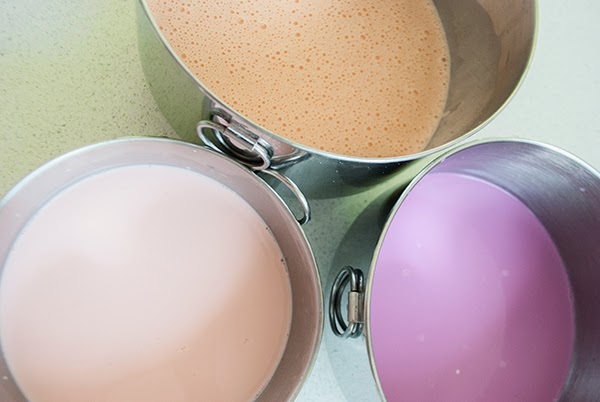
Watering down your paint
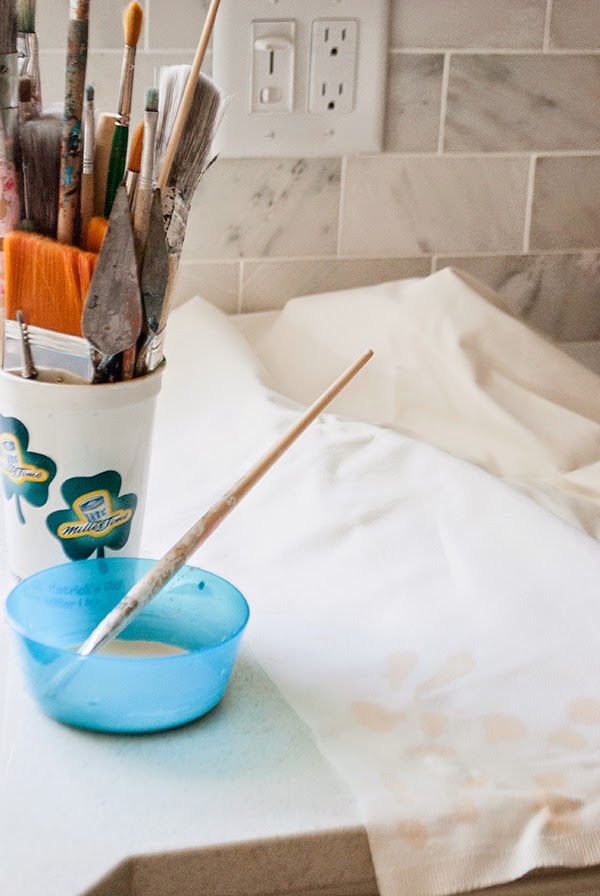
I used a little bit of paint and an equal amount of fabric medium and then watered everything down immensely. Yes, really really watered down as you can see in the little buckets. It was around one tablespoon of paint and a full mixing bowl of water. This all obviously depends on how saturated you want your curtains to look in color.
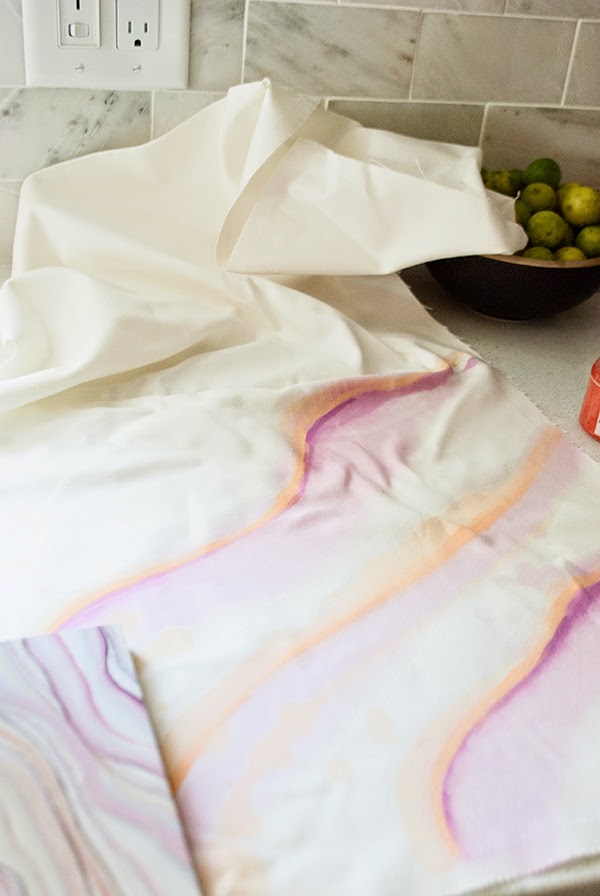
Then I tried the colors and technique out on a piece of scrap fabric.
This is where you get to play around with the different sized brushes to create different thicknesses of veins for the marbled effect.
I noticed that I needed to add some more paint to the dark pink watered down color to have a more saturated color for that specific vein to replicate the look of the box.
Finding a spot to paint your watercolor curtains:
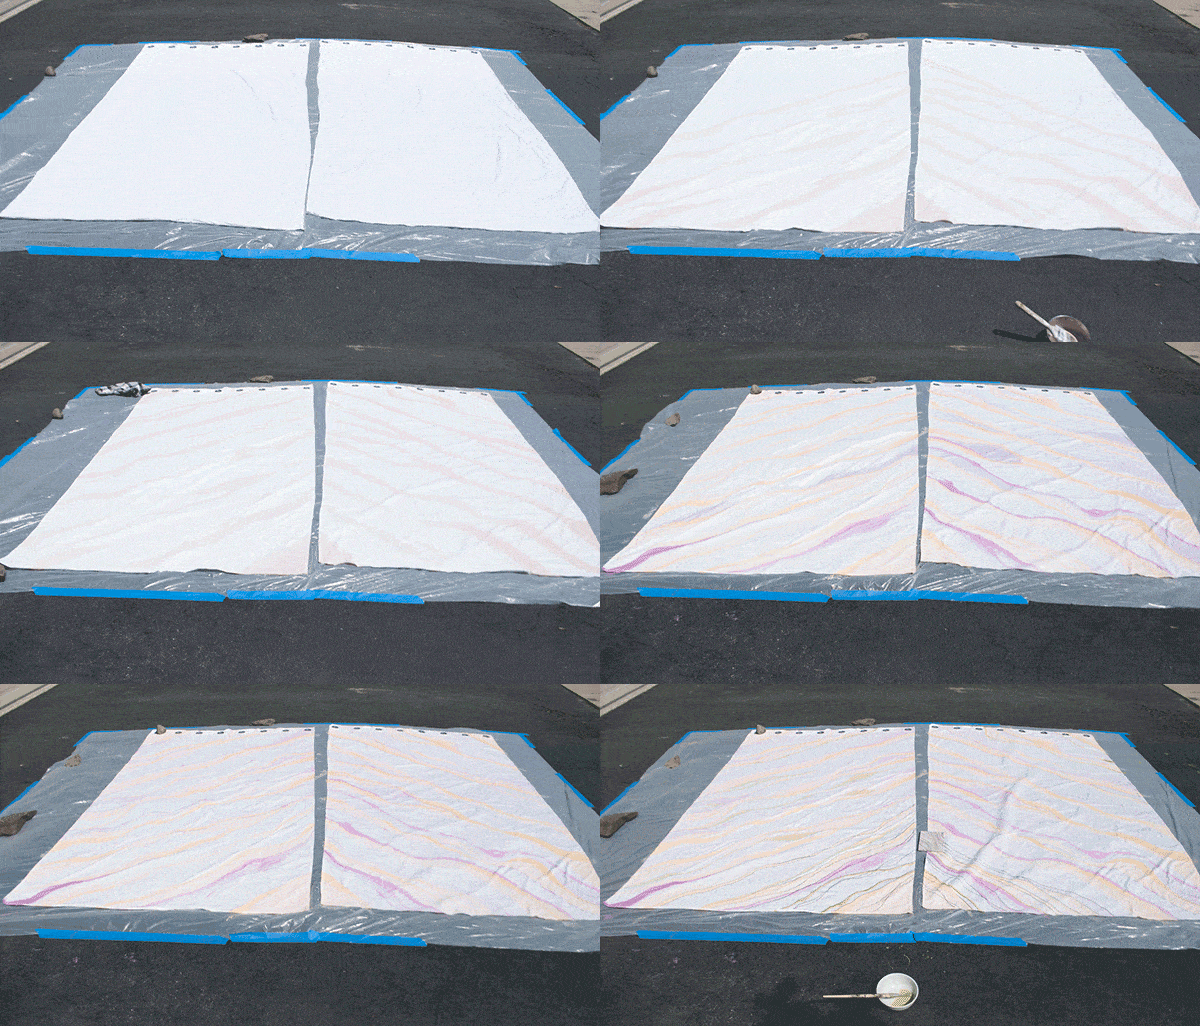
After that, I taped a piece of plastic to the floor in the driveway and placed my prewashed (very important) panels on top.
Then I went to town by loosely painting in hints of colored veins as you can see in this little gif. Just replicate what you already practiced on the scrap piece of fabric.
The entire process is as simple as layering different colors in wavy patterned lines. I started with the lightest color and painted waves all over the curtain followed by layering the darker ones on top.
I know they are barely visible in the bright sunlight. And it was windy that day too. That’s why the tarp is moving like that.
Unfortunately, I couldn’t finish all the painting in my driveway because a thunderstorm ruined that for me. Bummer, but I think you get the idea, right?
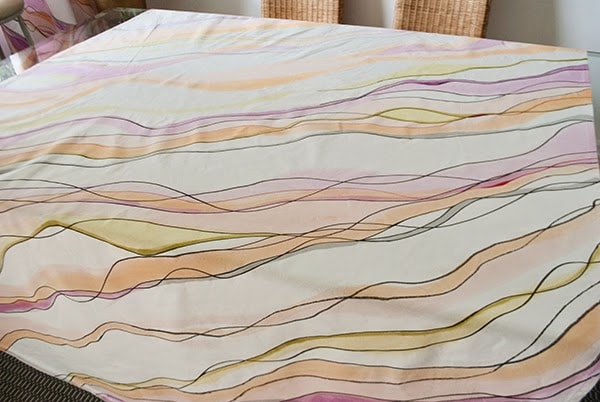
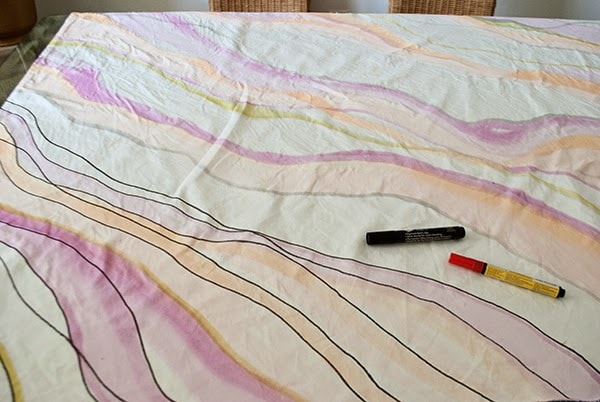
I had to go inside and finish the rest on my dining room table.
After I painted all the different colors in, I went over it with a black fabric pen and a tiny bit of red here and there but the red detail is definitely not needed. You can barely see the red in the photos.
Embrace imperfections! That’s key for this project.
In the end, I heat set the marbled watercolor pattern with my iron.
And DONE!
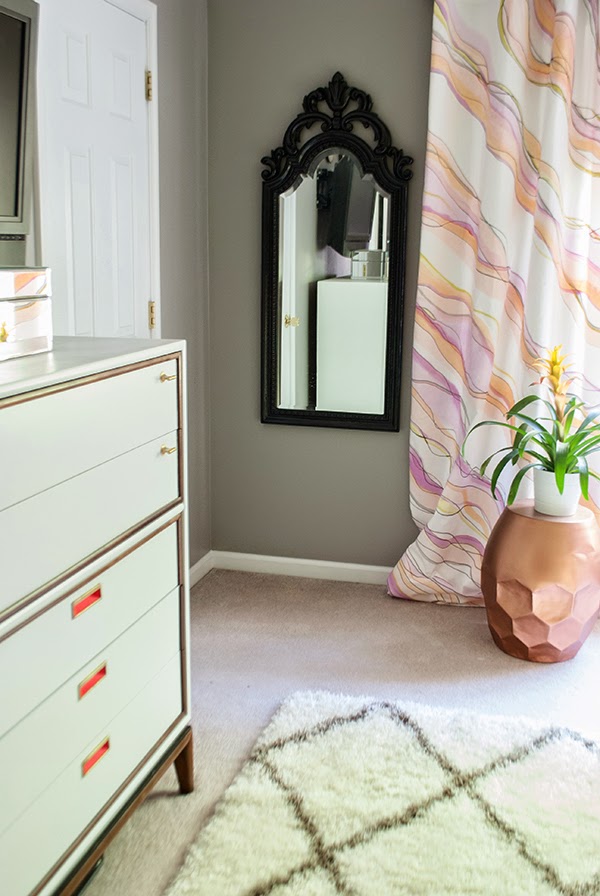
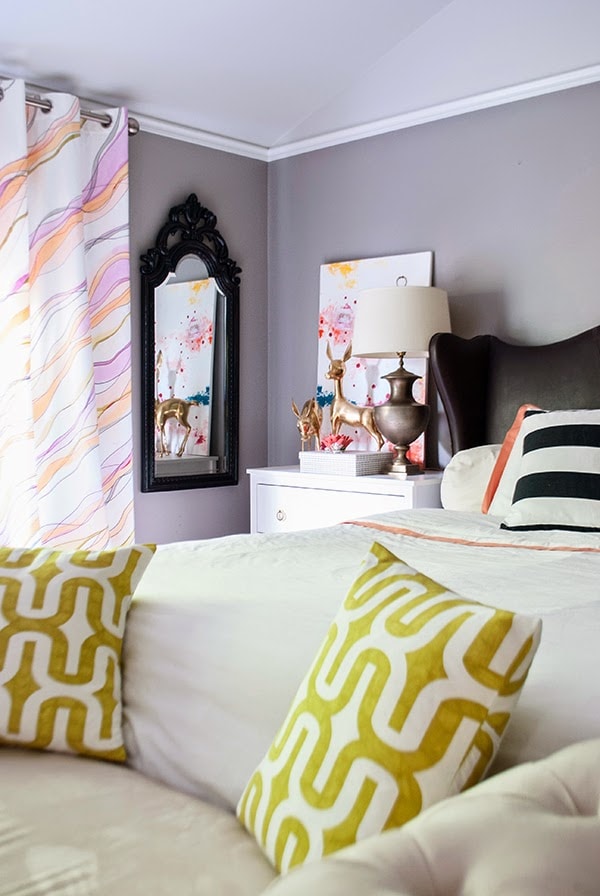
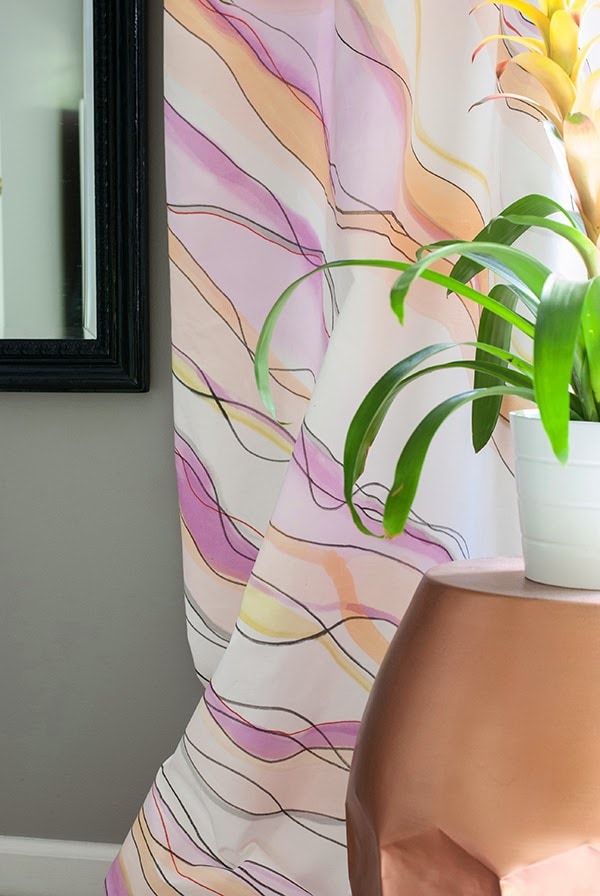
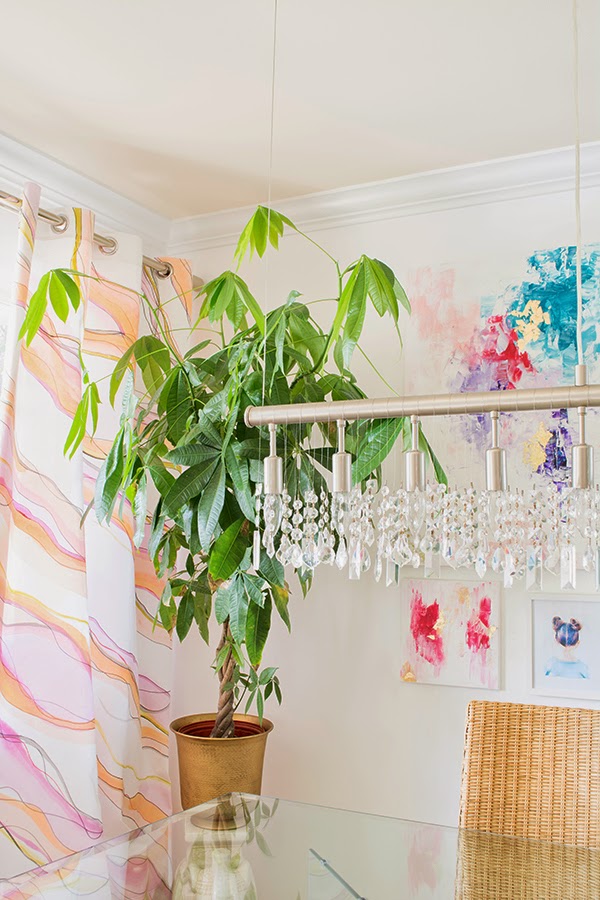
Photos of the finished watercolor curtains:
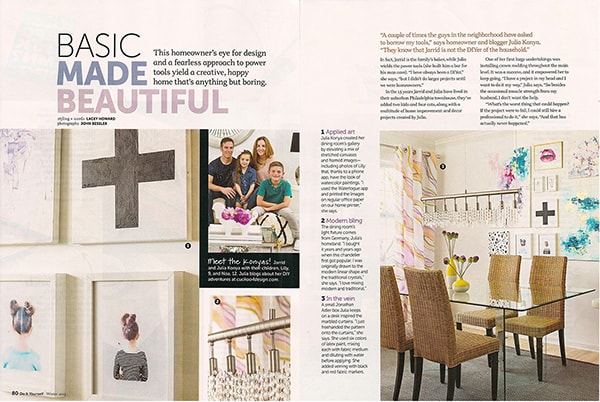
Over time I have placed the curtains all over the house to change up the looks of our rooms. They even made it into an issue of DIY magazine.
See more photos of our colorful dining room version HERE and more photos of our colorful master bedroom version HERE.
I received the great honor of being included in domino magazines round-up of The 17 Best DIY Blogs.
I have been a huge fan of domino for a long long time and I’m pinching myself that they included me in this incredible group of bloggers. Check out who else is on that list!!!!! Vintage Revivals, Young House Love, Centsational Girl…!!!!!!!! And lots of other amazing blogs!
Check out my other window treatment tutorials:
[pt_view id=”4f405fawvk”]
Tschüß,

(Youleeya)





Julia, this is incredible! I still can’t believe how it turned out! Pinned!!! Definitely one of my favorite project and I’m may have to attempt it 🙂
Whoa…..those are fabulous!
you are so patient and also ridiculously talented! mine would never look this good! gorgeous!!!!
Blown away! Seriously. Those are just beautiful!
Those are amazing! No wonder Domino loves you as much as I do!!
Kelly
I think I’ll be quoting you for the rest of my life…”Embrace imperfections!” Love it! It’s great to see an original DIY.
These are just unbelievable – love them!!!
Oh they are so beautiful. I would love to have some like them, but I don’t think I am brave enough to even try. I decided on white drapery panels (made from cheap white sheets and then cafe curtains in between and I have already found myself loving some colors…… like handkerchief styles in pretty colors. I am working on getting up my nerve. How many ounces of fabric medium did you need for the two panels?
You did such an incredible job Julia! Loved how your curtains turned out and they look exactly like your inspirational piece. Like Jonathan designed them himself. ♡
Congrats on the domino business!!! Totally deserved because of projects like this. My mind is blown. I would have a hot mess of squiggles and you have a product JA is going to start selling soon. High five! (no hugs)
Those are beautiful, great job!
Well first off….a big fat congratulations on the Domino love!! Second, these are some sexy drapes! Amazing job!!
Super pretty Julia!! I love your process – they turned out perfectly! Congrats on Domino, super exciting!! 🙂
It’s projects like these that landed you on that Domino list Julia! You 100% deserve that honor! I totally want to try this. Maybe paint some upholstery fabric and then upholster a chair? Who knows!
This is just so amazing. You are amazing Julia. What a fantastic project. And yes. What Emily said 🙂
These are fabolous Julia!!LOVE your creativity❤️
Amazing!! Wow wow wow, Julia! I’m so impressed. And congrats on the Domino feature – you deserve it!
Those are amazing! They came out really great! Kudos to you!
Ok, that seriously looks like a professional pattern, but something you drew freehand. Wow! So impressed my friend! And congrats on Domino, that’s awesome!
I should try these, because I’m GREAT at embracing imperfection ;). Seriously, they’re just lovely–great job!
COngrats on the feature!! That is so big!! yeay! And Domino! wao, I hope you are drinking champagne right now 🙂 I love this DIY…so fun and beautiful. The end result is stunning. You are so creative!
Seriously lady….in freakin sane!!! This is just waaay too good girl:)
This is so clever and so fabulous – I don’t even know what to say about it. Bravo!
I love how these turned out! The touch of red is such a sweet surprise! Congrats on your Domino feature! 🙂
Those are so beautiful. Free handed art work makes me so nervous. I am envious, love em! : )
So pretty, I just love these! Can you tell me the names of the colours you used? I especially love the purple Pantone!
Hi, the purple is the Pantone color of the year, Radiant Orchid and it’s the only one I can name. The others were from 2012 (yikes, that’s how much I hoard 😉 and they were in the oops paint section that I frequent sometimes. The label only says custom sample. I feel really bad not being able to tell exactly what it is.
But if someone would like to replicate the look you could just take a photo of my paint samples and pick some that look similar. if I get more requests from readers, I might just take my samples to Lowes and see if I can find similar swatches.
great tutorial Julia and congrats on the Domino DIY!
Hi Julia, I just found your blog via Julie-“less-than-perfect life of bliss”. I love your house and you have so many great projects! I was looking at your kitchen posts because I want to use similar marble tile backsplash in my kitchen. I noticed you painted your cabinets with Insl-X Cabinet Coat. I am considering using this paint because I want to paint our cabinets and they currently have a beautiful factory finish in a color I hate 🙁 I want a similar finish but in white. I have spent over a year researching white paints for my cabinets so I am a little nervous just to get “white”. I’m wondering if you could tell me if the white is bright or is it slightly warmed up? It seems perfect with your backsplash so I’m guessing it is not cream at all . . . . I would love any information you can give me about the color and possible the wear of this paint. Thank you so much. Ellie Witt [email protected]
You’re a genius! Those panels are drop dead gorgeous!!!
Wow! They look amazing and could totally be expensive designer’s curtains!! 🙂
Love, Midsommarflicka
Thank you!
I adore the curtains. They are so soft and elegant! Congrats on being named by Domino! That is quite and accomplishment! xo
jennifer@decoratingdelirium
Thanks so so much Jennifer.
First, BIG Congrats, that is so cool, I couldn’t be happier for you!! I always love your original diys, these are gorgeous!!
Wow. Just wow. I absolutely LOVE these curtains. They are gorgeous!
Just found your blog, and your posts are awesome! I just bought a house (literally like 4 days ago we closed) so I’m about to start all kinds of decorating. Those curtains are fabulous, I just might have to try and make them! :]
Thank you Maggie! You should try it!
Wow, these are stunning! Can’t believe they’re DIYed. Beautiful job : ]
Like I said before, so gorgeous! Like a work of art on your windows!
wow! gorgeous! I love how you really translated your inspiration to a totally new medium. also, so glad I just found your blog!
Thank you so much!
So amazing, Julia! Love how you did these, and congrats again on Domino! Have a great weekend!
Unbelievable – you are genius. What an incredible job you did.
Thanks Debbie
Oh my gosh, I just love these! So pretty. What kind of fabric did you use? Will any type of fabric take the paint? Thanks!
Thank you!
I used Ikea Merete curtains. Only cotton type fabrics will take the paint. Synthetics won’t take to the paint the same way.
Seems I lost my comment! :(These curtains are amazing! I saw you on Apartment Therapy and had to come check it out! I’ll be adding these to the list for our next room diy (master bedroom) as they’d be perfect. I even have the paint samples already from our current project (girl nursery). Great work! Congrats on Domino!
Thank you so much and good luck with your project!
There are just no words to tell you how much I love these. I am blown away with the fact that you came up with this project and that you executed it flawlessly. They are simply gorgeous!!
Absolutely incredible! Best painted curtain tutorial I’ve seen 🙂
Those are fantastic!! I had seen the same JA box now Im wishing I had picked it up! I noticed in one of the pics the metallic copper side table/stool you had next to the curtains & I was wondering if it came that way or if you personalized it? Is it ceramic? I ask becasue It looks great & I have a similar stool Id like to do a similar metallic effect on…wanted to see if you had any tips you could share…
Hi Marie, that stool was from Target and I painted it with copper spray paint. It pops up here and there in my posts because I love it.
And thanks so much for your sweet comment.
These are gorgeous! I have been on the hunt for curtains and something like these would be perfect! Thanks for the tutorial. It’s also exciting to see a fresh new DIY idea 🙂
Thanks so much Sarah
I’m literally sitting here on the couch with my mouth wide open. These are so stunning. You’ve just opened my eyes to so many ideas. Pinning and DOING this!
Awww thanks so much Amy! They were a spur of the moment project.