

How to Measure and Replace a Patio Umbrella Canopy
When we got our old black and white striped outdoor market umbrella out of the attic this year, the patio umbrella canopy had seen better days. It was moldy, stained, and even had several holes. We had owned it for a long time, and not even washing it made it look better. Since the frame was still in good condition, I knew the smartest move was to replace the patio umbrella canopy instead of buying a whole new umbrella. Here is exactly how I measured for the right fit and how easy the whole process turned out to be.

How to measure and replace a patio umbrella canopy
This post may contain affiliate links from which I will earn a commission at no extra cost to you. View my full disclosure policy.
Our umbrella has 8 ribs, but the process of measuring is the same, no matter what type you have. For a round umbrella, you need to measure the diameter and also count the umbrella ribs. Our umbrella has a tilt, but that didn’t matter for the size of the canopy.
What if I have a cantilever or square umbrella?
The measuring process is actually the same whether you have a standard center pole umbrella, a cantilever offset umbrella, or even a square umbrella. Count the ribs and measure the rib length just as described in the steps below. The main difference with a cantilever umbrella is that the canopy attaches differently, which is usually with a sleeve rather than a finial. So pay close attention to the attachment method described in the product listing before ordering.
For a square or rectangular umbrella, you’ll measure the rib the same way, but make sure to note the shape when ordering, since square canopies are not interchangeable with round ones, even if the rib length is the same.
Step 1: Count the number of ribs
First thing, no matter what type of patio umbrella you have, it is important to count the ribs. You definitely can’t use an umbrella cover that was made for a different amount of ribs.
Step 2: Slightly crank in your umbrella
I don’t like completely closing the umbrella. Instead, crank it in about halfway. If it is closed completely, the ribs get kind of lost in all the folds of the umbrella fabric.
Step 3: Measure the length of an umbrella rib arm to determine the umbrella size
Next, measure the rib length. Rest your measuring tape on a rib starting at the top finial of the umbrella to the bottom of the rib which is the outside edge of the umbrella.
And here is how you determine the right size of your umbrella.
- If the rib measures around 54 inches: 54″ times two equals 108″ which is 9 feet
- If your rib measures around 48 inches: 48″ times two equals 96″ which is 8 feet
- If your rib measures around 42 inches: 42″ times two equals 84″ which is 7 feet
- If your rib measures around 36 inches: 36″ times two equals 72″ which is 6 feet
So my rib measured 54 inches, and I could determine this way that I have a 9-foot umbrella with 8 ribs that I counted earlier.
Step 4: Order a new umbrella canopy
Now you can order the right replacement canopy according to the size that you just determined. The good thing is that the umbrella manufacturing companies will tell you exactly which size they are selling, so you will be sure it fits. Make sure to read some reviews ahead of time because some of the cheaper replacements tend to be a little off. Sometimes that’s barely visible, though.
Step 5: Take down the old canopy
Start by unscrewing the top finial to free the canopy from the frame. I found it helpful to lift the fabric off each rib first before dragging the canopy off completely. My umbrella also had velcro straps on each rib that needed to be unclipped first.
Step 6: Slide the new canopy over the frame
Drag the new canopy from one side over the umbrella frame until the center hole lines up with the top of the frame.
Step 7: Attach the new canopy to the frame
Screw the finial back onto the top to hold the canopy in place, then slide each rib into the corner pockets at the edge of the fabric.
Step 8: Test the new setup
Open and close your umbrella a few times to make sure everything sits properly and looks right.
Below is a super quick 54-second time-lapse showing just how easy it was. You don’t even need to remove the umbrella pole from the table! (This is also the same process if you want to remove the umbrella canopy to wash it.)
My favorite umbrella canopy replacements for a 9-foot patio umbrella with 8 ribs
While you can’t go wrong with a standard ivory umbrella (don’t get me wrong, I love them), I feel like you can add some extra interest or texture with something patterned or fringed. When you buy a plain umbrella, you can add some detail yourself, as I did previously. Check out my outdoor tassels tutorial that I made for my umbrella a while back. I really liked that look.

(different black and white striped cover)
I also found these two really unique handmade 9-foot umbrella canopy replacement covers on Etsy that I just had to share. (The image will take you to the actual shop!)

Our new patio umbrella cover
As I said earlier, our black and white striped cover was in bad shape. I love black and white prints so much (see my favorite black and white swimming pool accessories) but I was ready for a change, especially since we have so much going on in our tiny backyard.
Here you can see how bad our umbrella cover actually was.
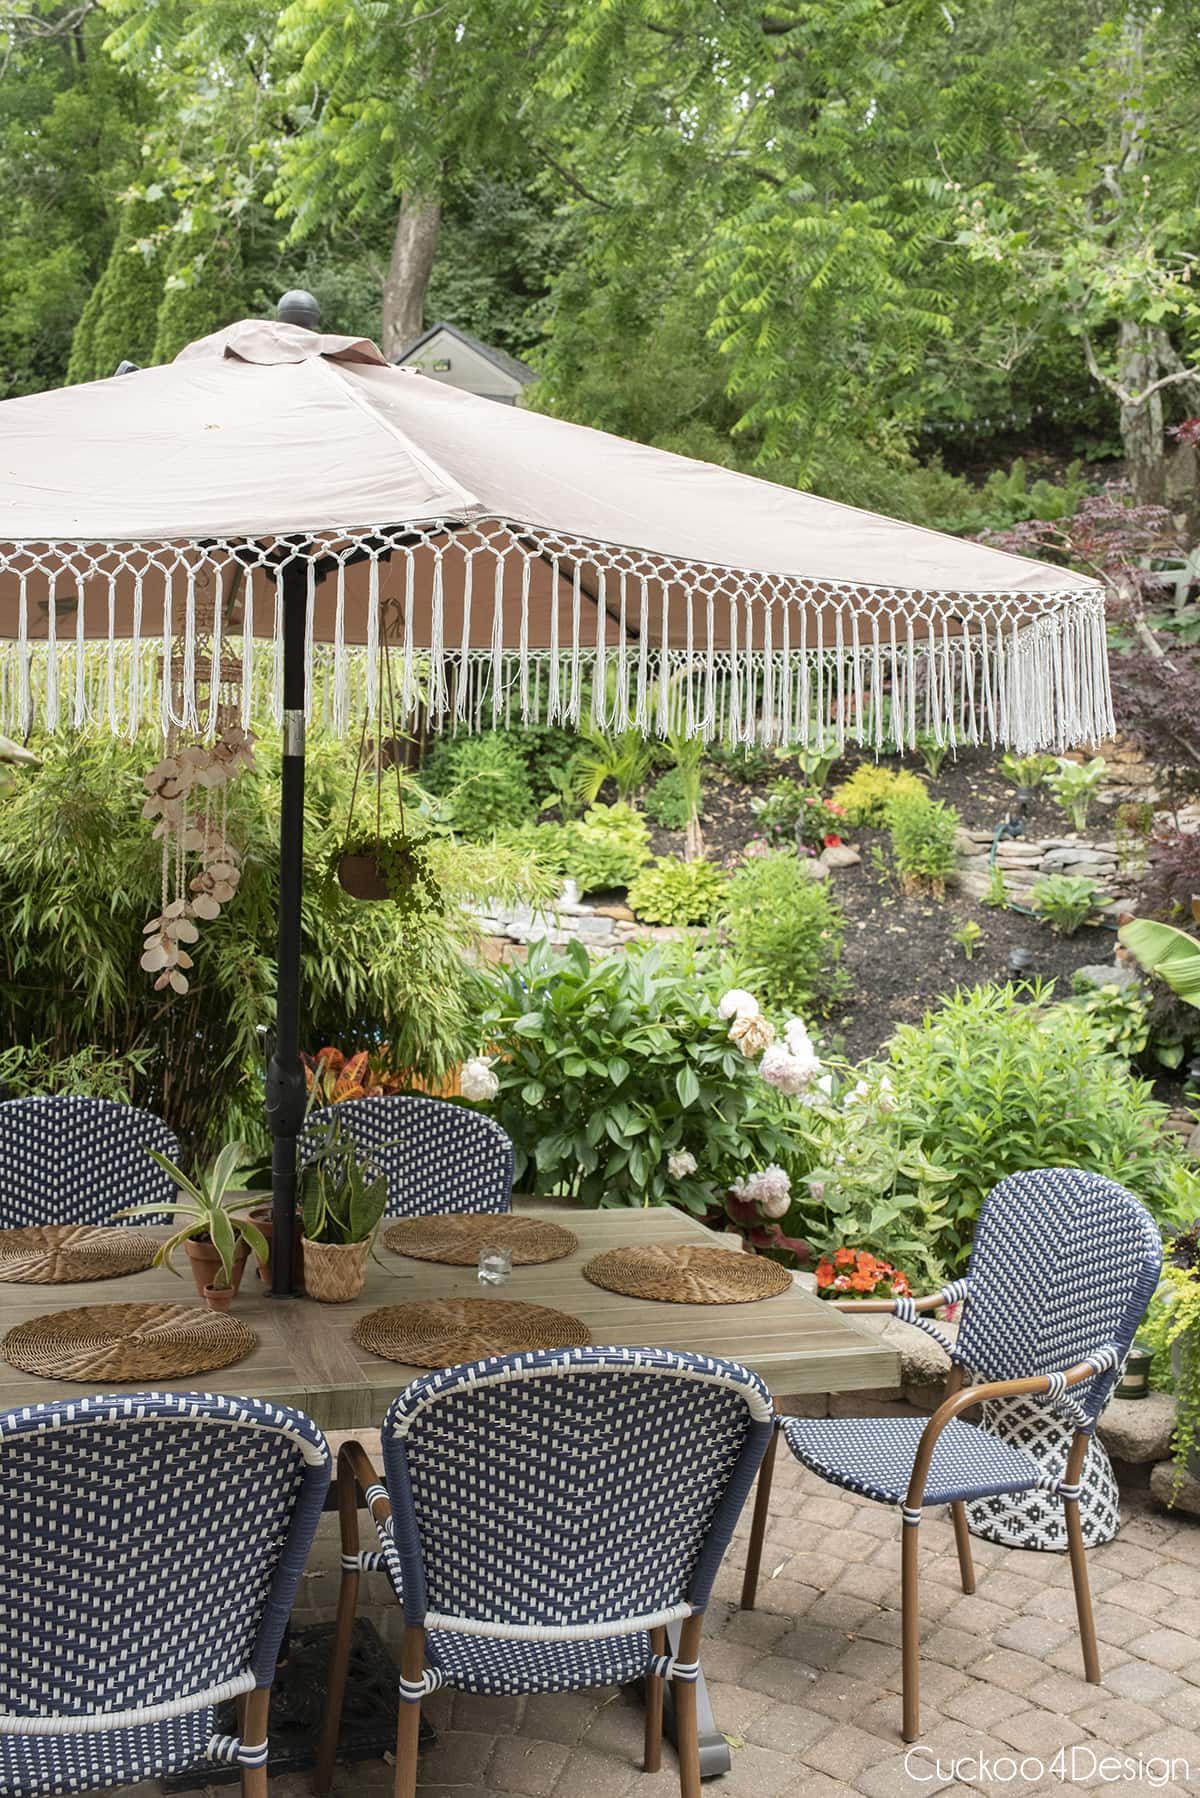
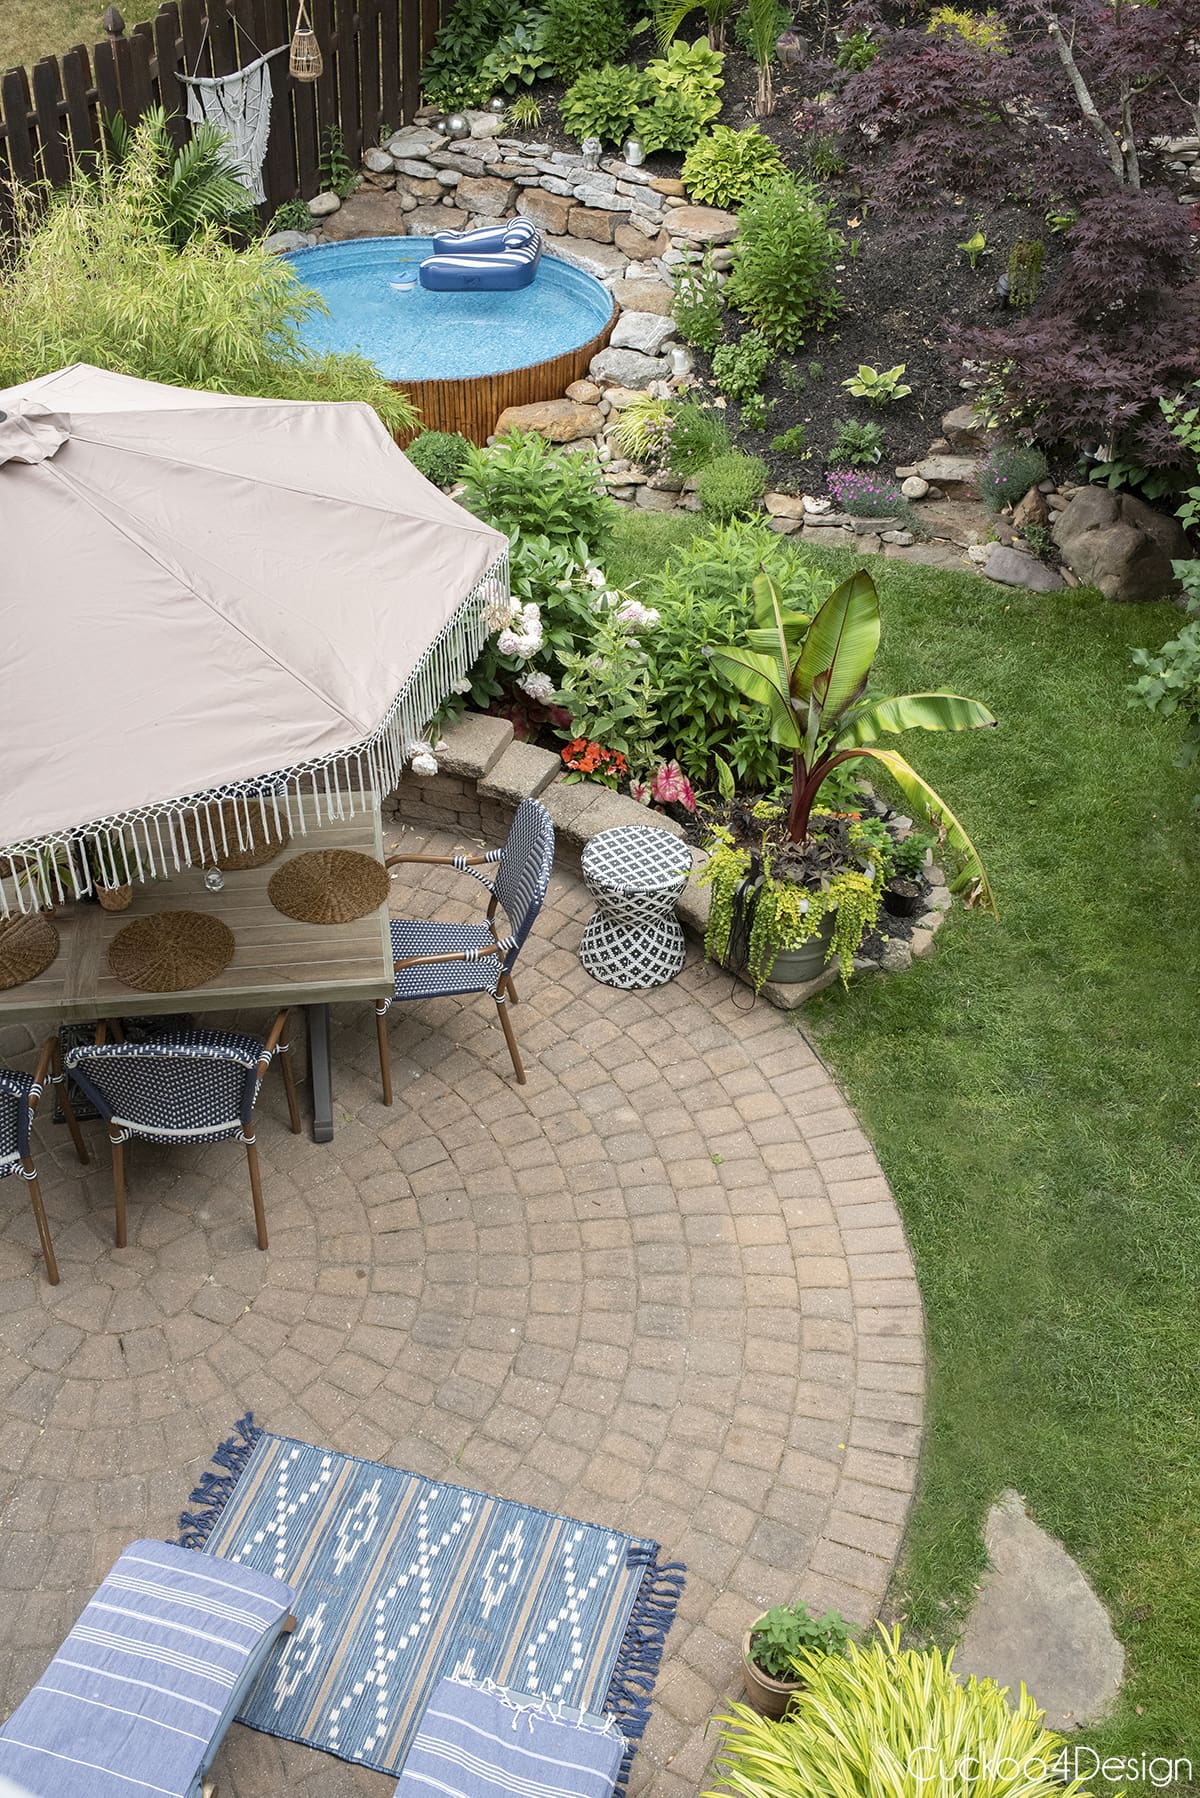
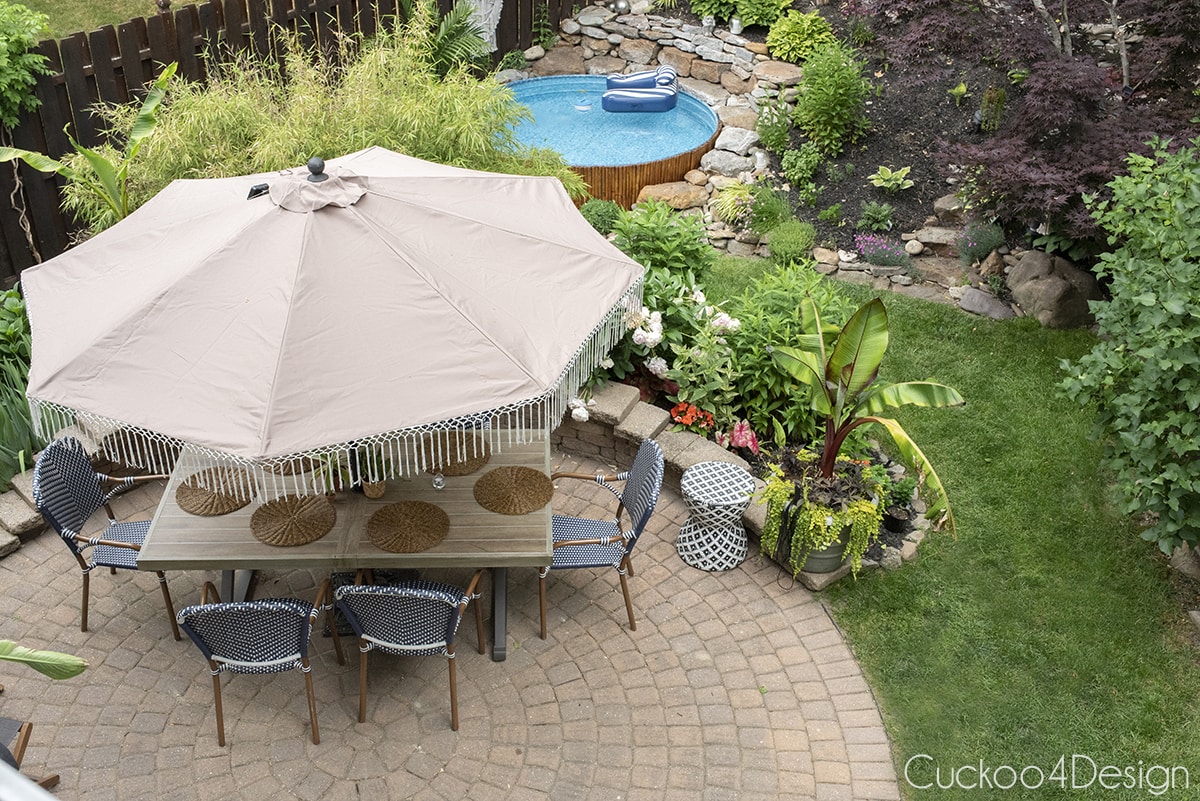
So let me introduce you to my new and improved patio umbrella in our outdoor area. I chose number 4 in the color of number 5 which is taupe. The new fabric is polyester, the capri color version of this canopy is made of premium Olefin fabric.
I just fell in love with the tassel valance fringe and it has the perfect fit. The taupe color tones everything down a bit and I love how it looks from inside our house when looking out from the living room.
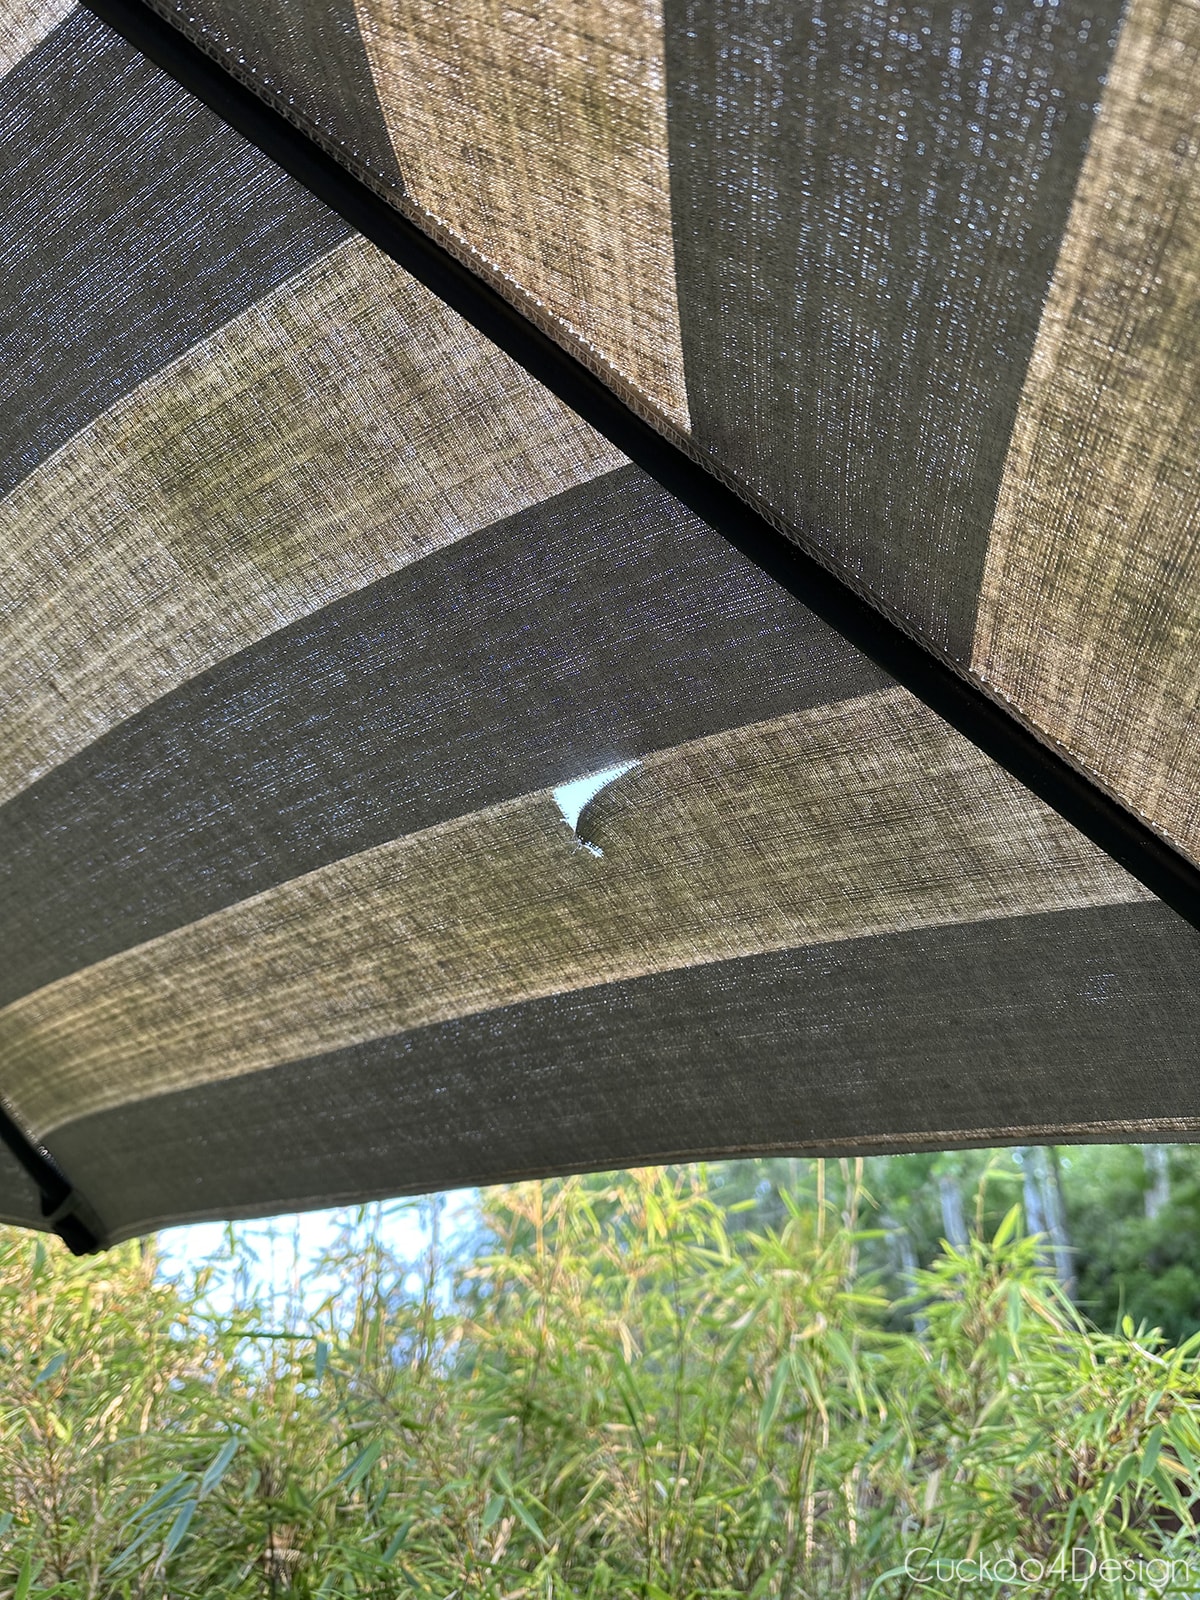
We’ve had some windy conditions lately with the smoke coming in from Canada and the new outdoor umbrella held up great!
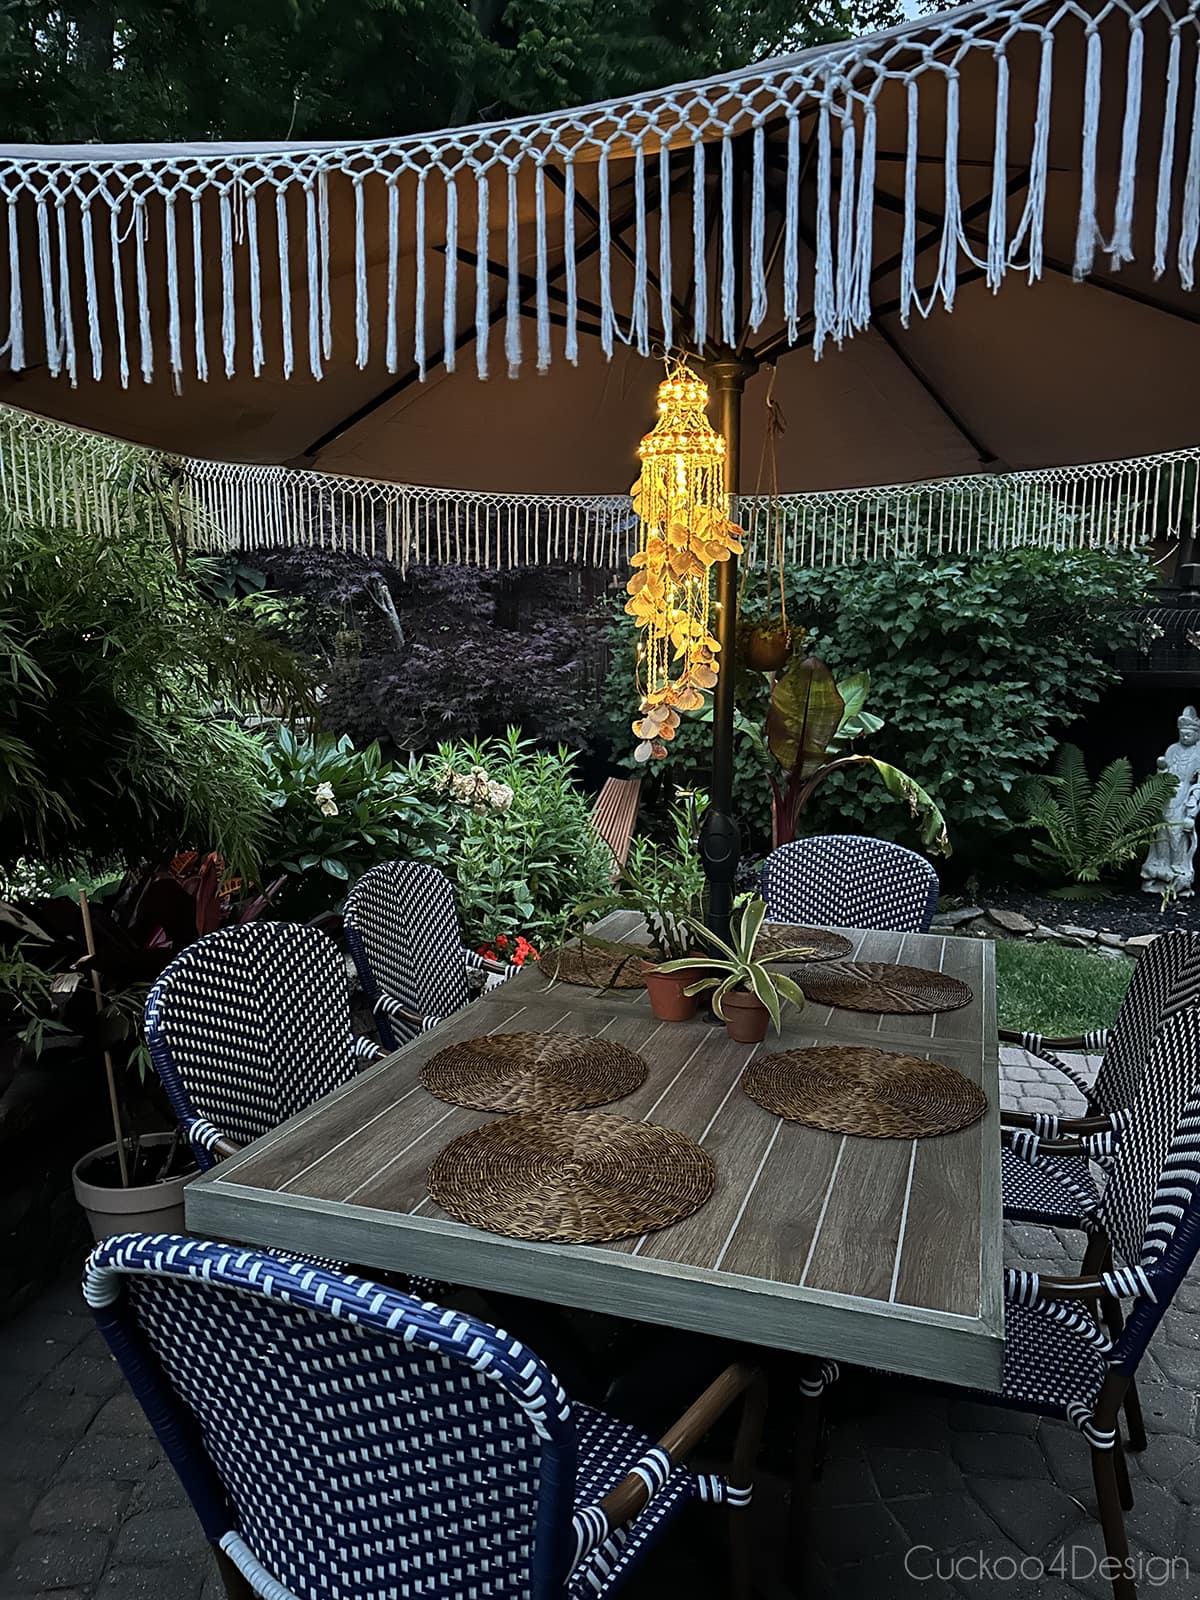
Do you see the seashell windchime inside the umbrella? I added some solar fairy lights to it, and it looks magical at night. You can slightly see the solar panel resting on top of the umbrella to the left.
The planter is a coconut shell cut in half with Creeping Jenny inside. If there is a storm I can crank the umbrella in with the seashells and coconut planter still inside. You can see that I’m telling the truth in my super short video.


Also, check out my blog post about how to mix and match patio furniture to get some outdoor decorating ideas.

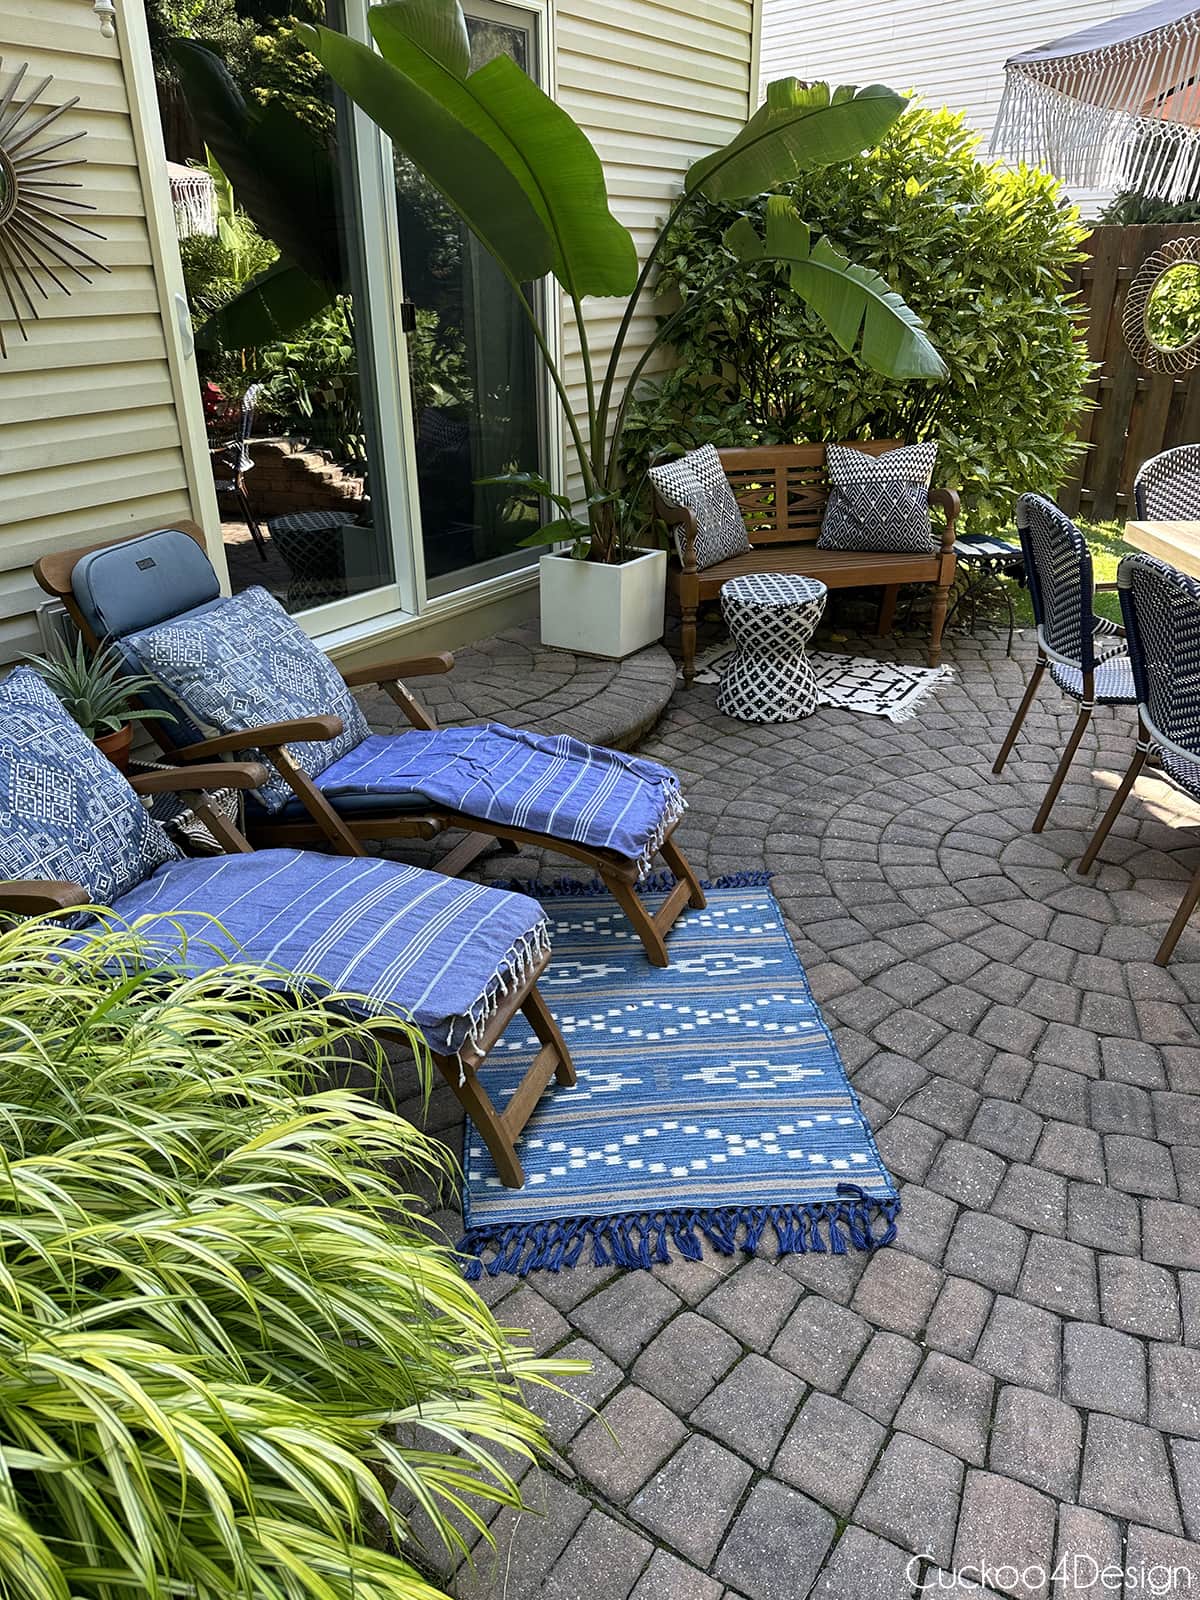

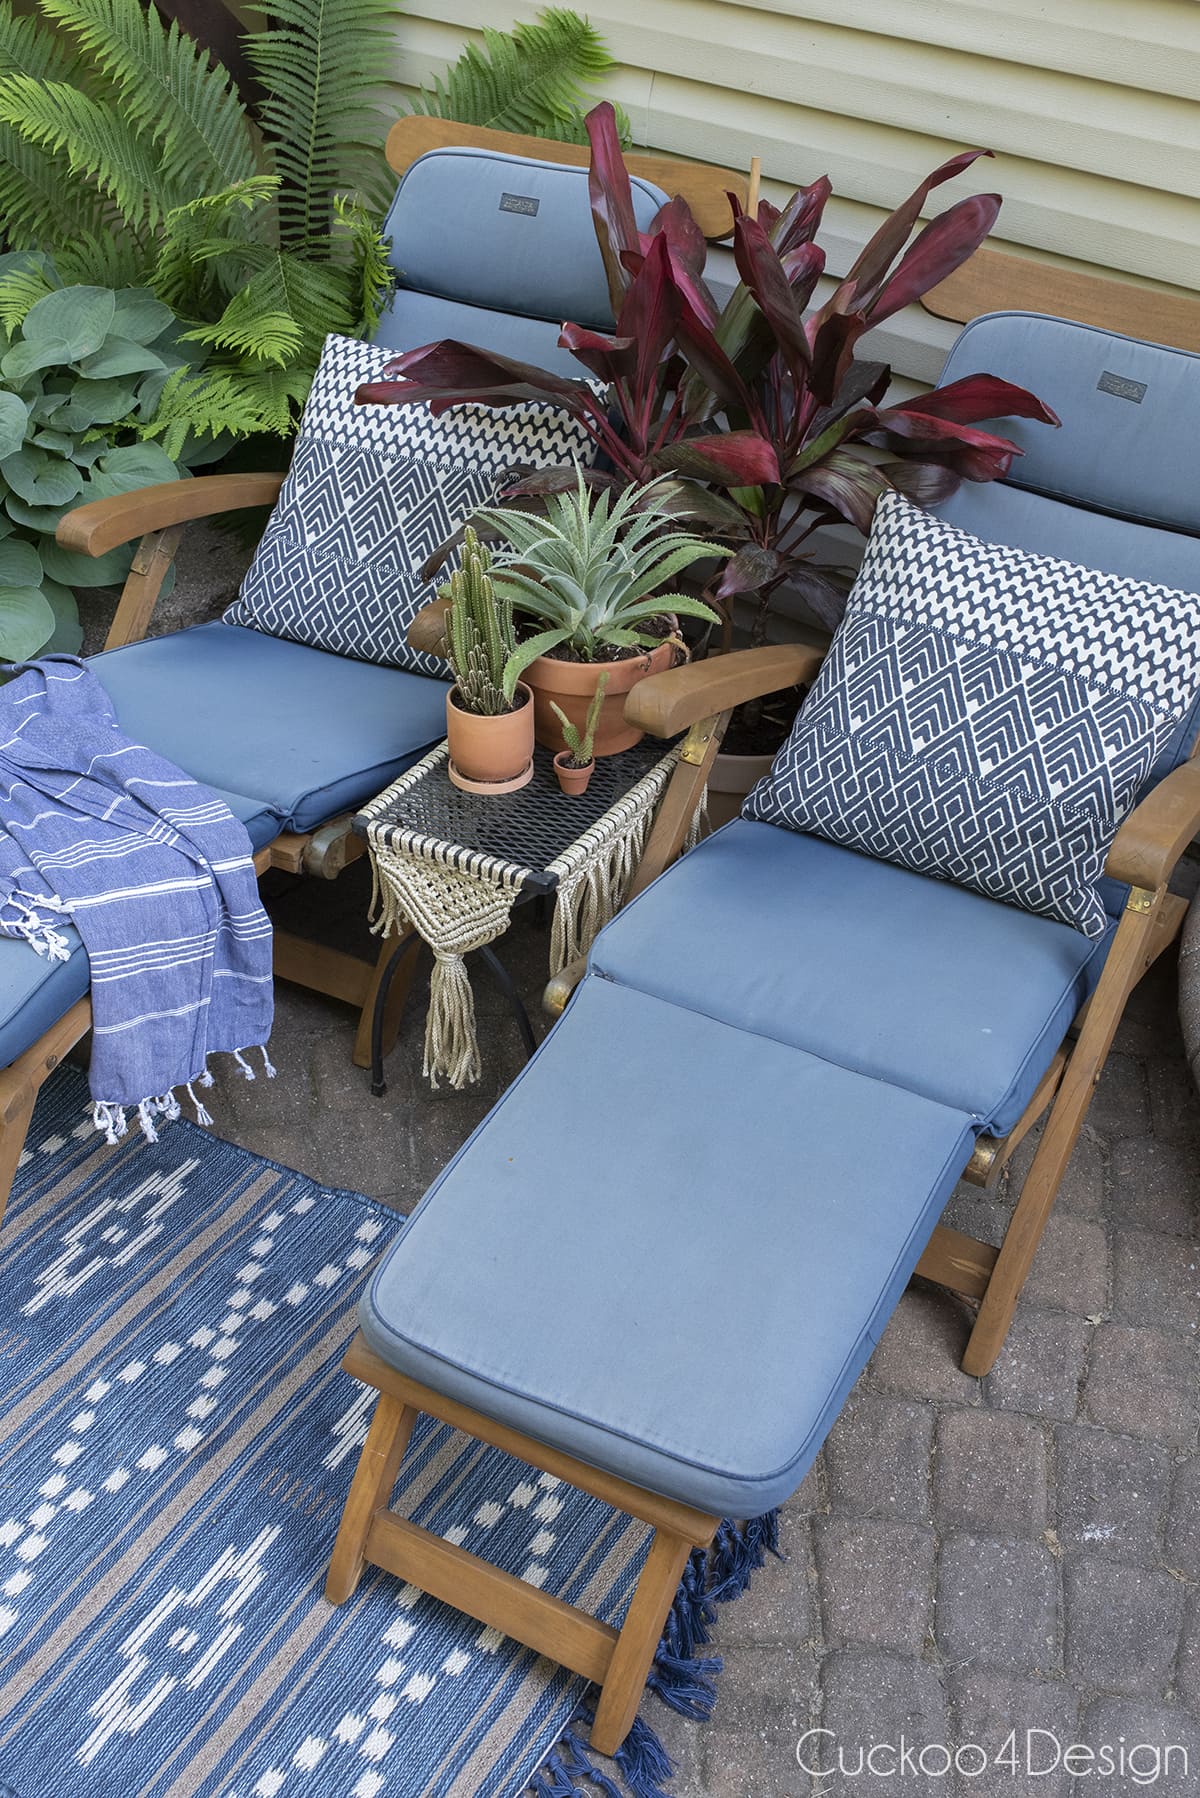
Replacing the canopy is a fraction of the cost of buying an entirely new umbrella. I love to not throw out everything right away. This is also why I decided to revive our old sun lounge chairs and metal table.
Check out my blog posts about how to restore teak outdoor furniture and my little metal patio table makeover. My chairs look like new ones now.
If you are new to my blog, then check out our DIY stock tank pool that we built in 2019 and love so much.
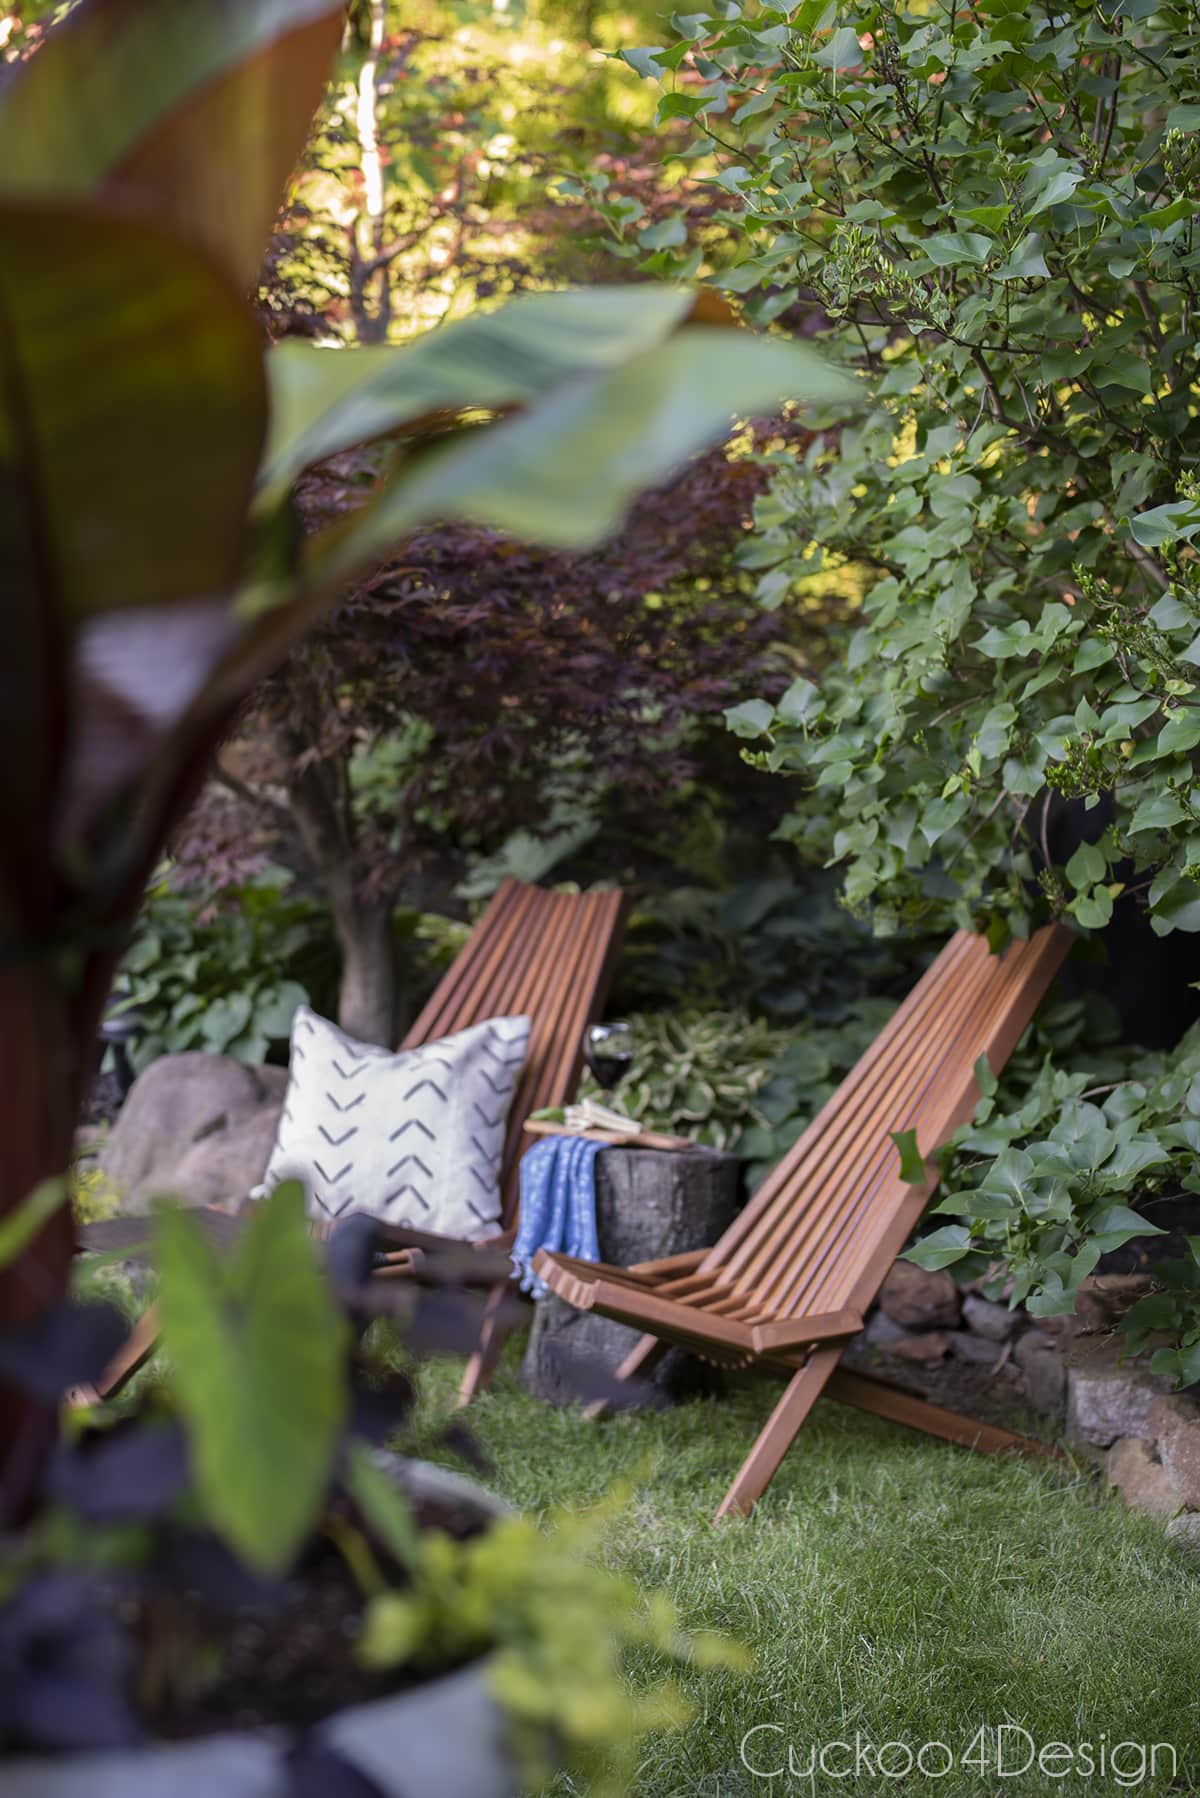
We just love our outdoor space and garden, and spend as much time out here as possible.
Replacing a patio umbrella canopy is one of those projects that feels more intimidating than it actually is. Once you know your rib count and umbrella size, finding the right canopy is straightforward, and the installation takes no time at all. It is such an easy way to completely refresh your outdoor space without spending a lot of money.
Tschüß,

It might be a small back yard but it sure packs a punch. Absolutely one of my favourites. Thank you for sharing.
Thanks so much Barb. We do love it a lot.