

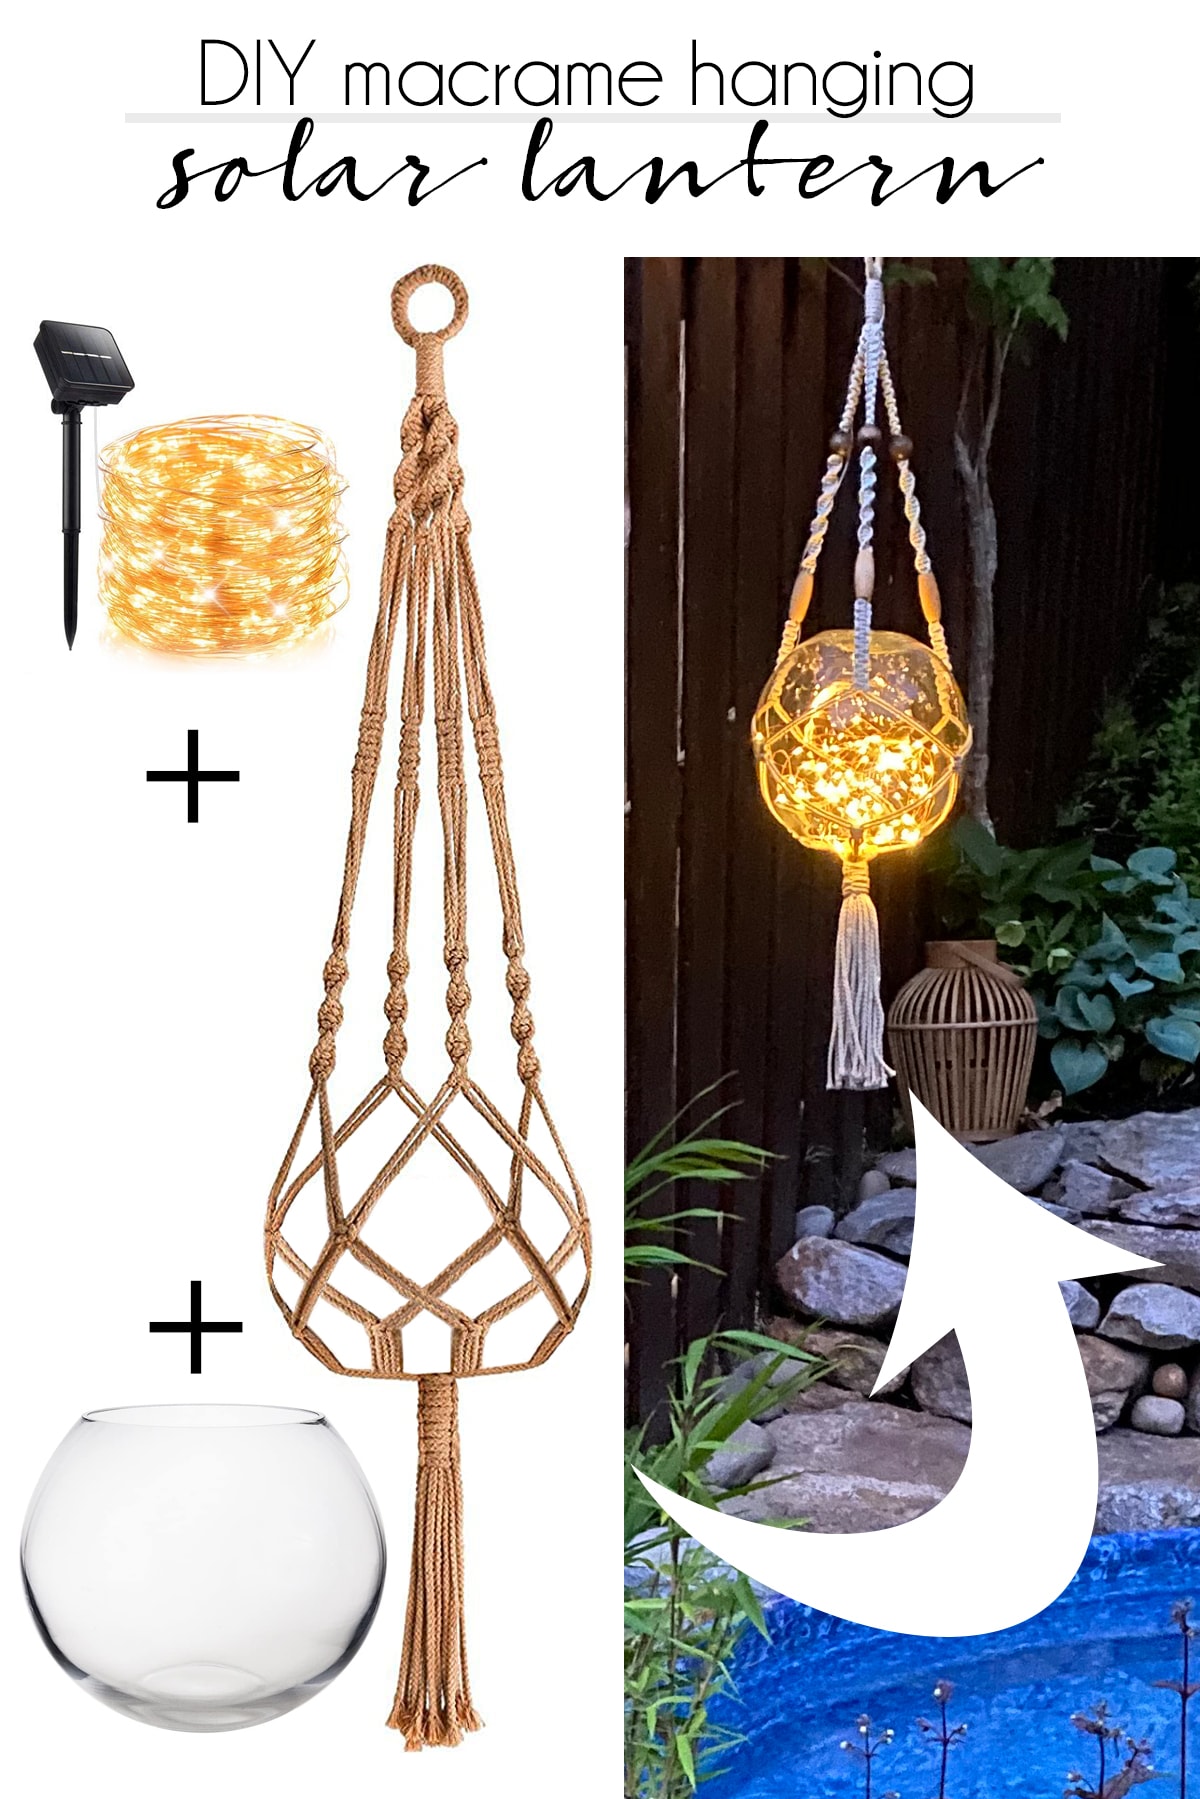
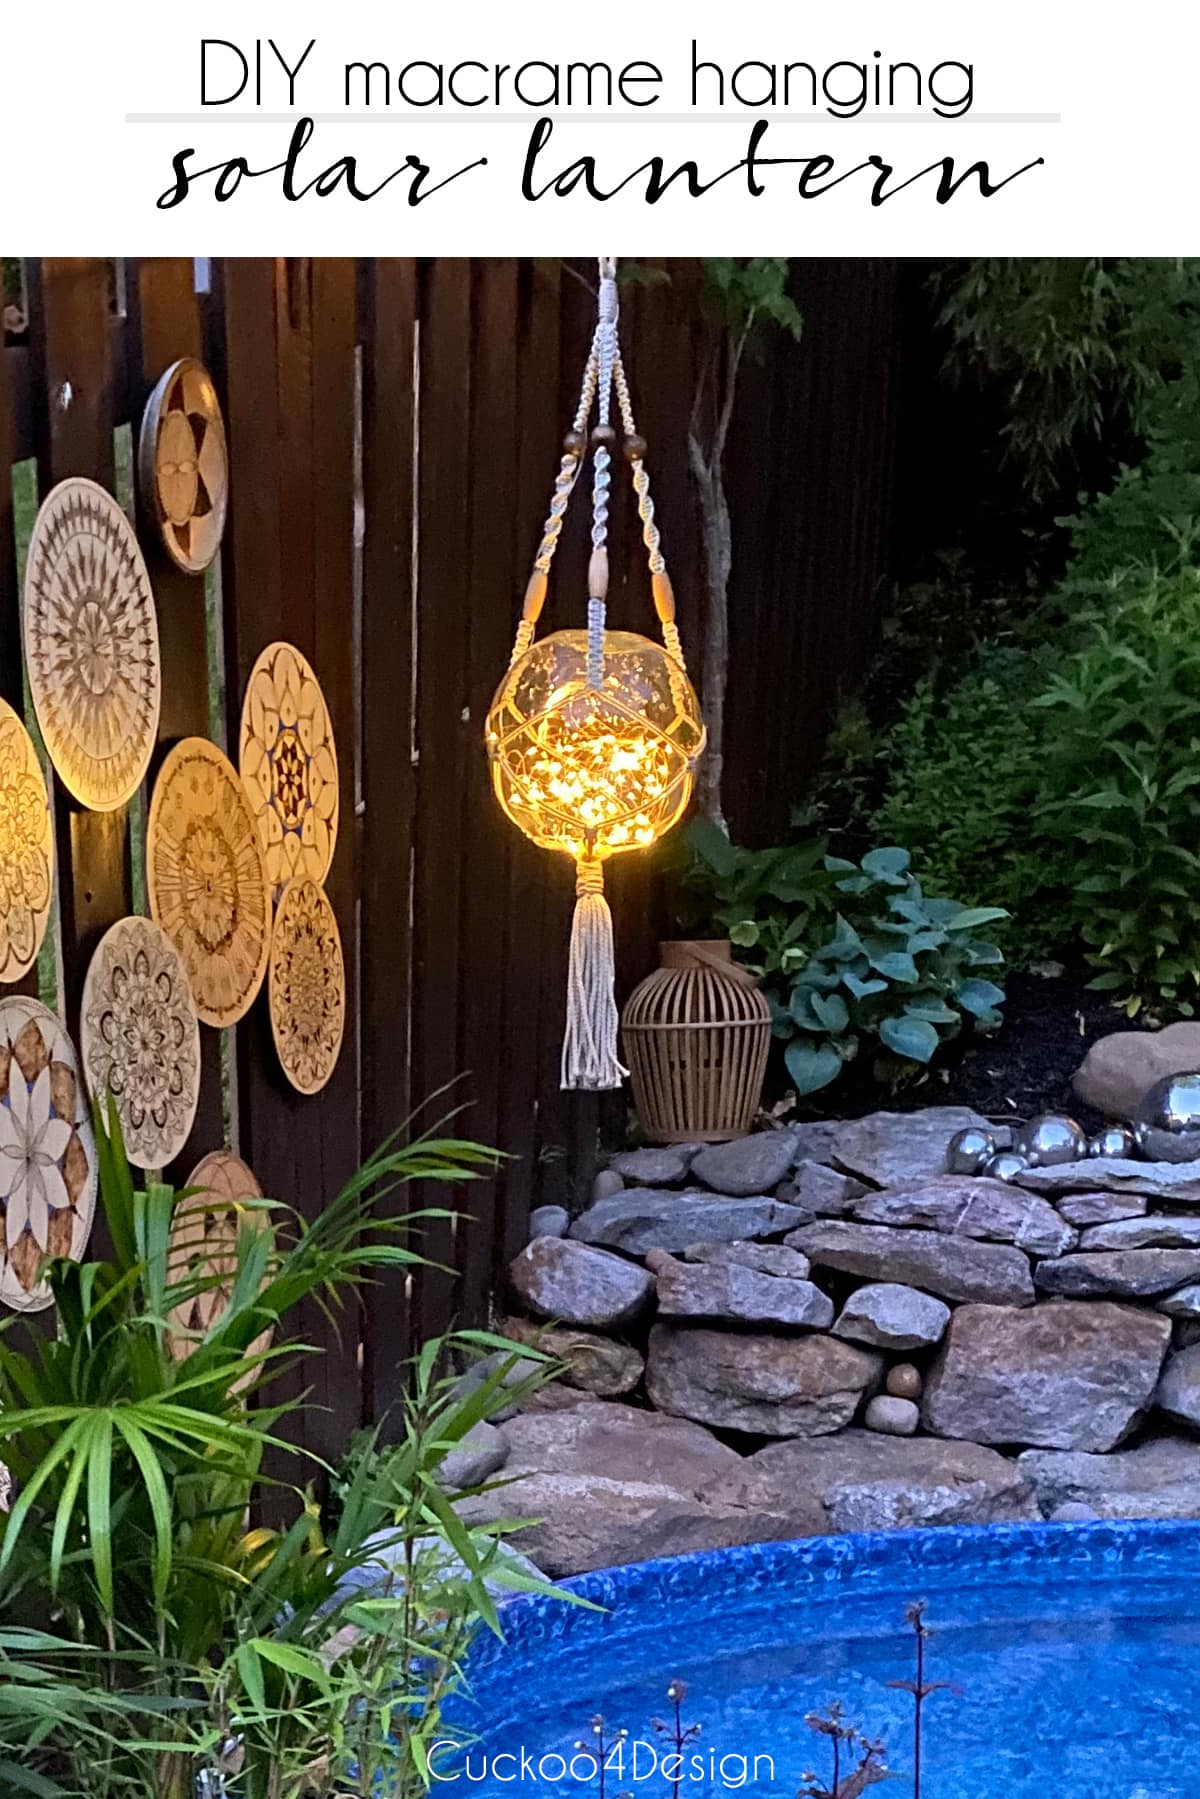
DIY Macrame Lantern With Solar Fairy Lights
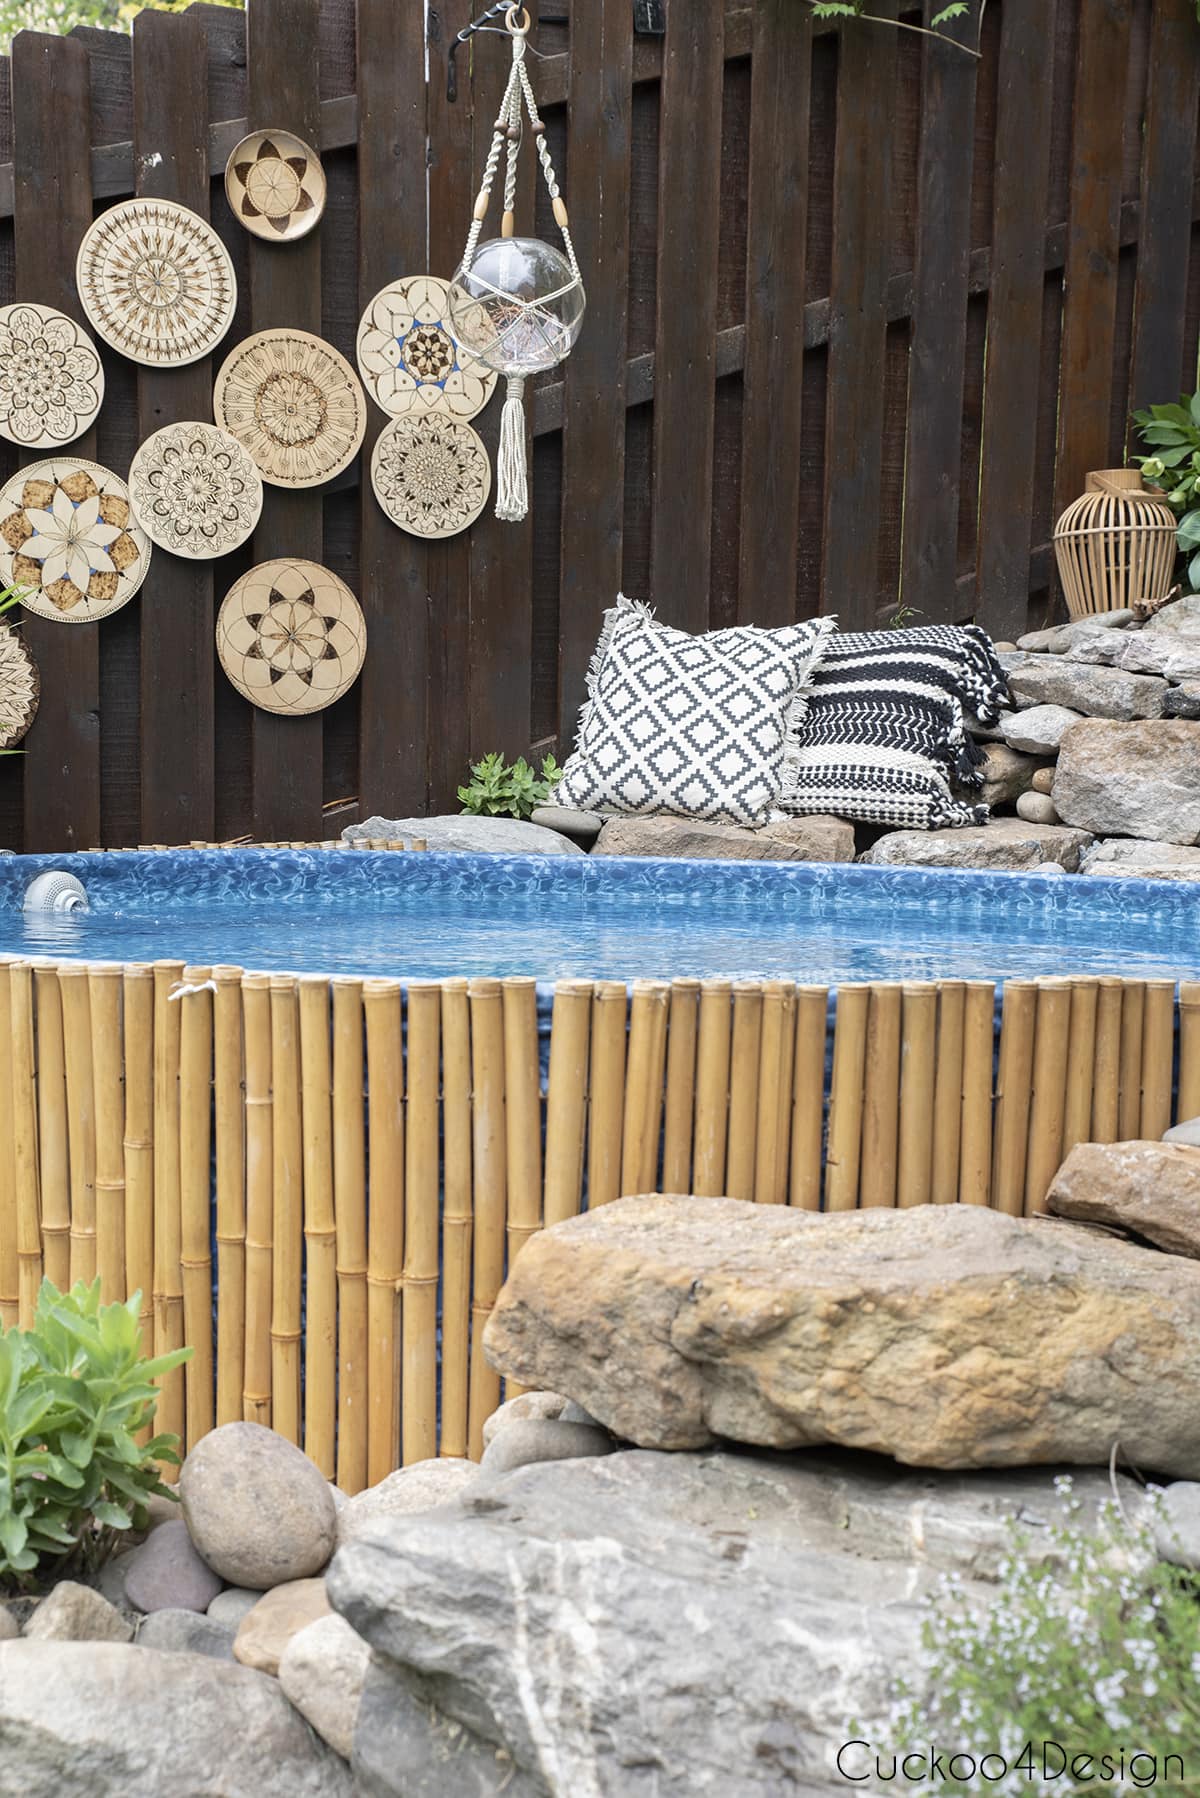
I made this macrame lantern with solar fairy lights to hang over our stock tank pool, and it has been one of my favorite additions to our backyard. Since you should never have an electric cord close to water, solar was the obvious choice, and the warm, fairy light glow it gives off at night looks nothing like typical solar lighting.
If you want to buy a macrame lantern instead of making one, you’ll actually find quite a few these days, but here’s the problem. Almost none of them are made with synthetic yarn, which means they’re not meant to be left outside in the elements. I even found listings that say “indoor outdoor use” but are made from jute or cotton, which will absorb moisture, grow mold, and break down after a season or two. Most of them also hold the glass bowl with the opening facing up, so rainwater pools inside. Mine sits with the bowl upside down so water can’t collect in it. Since I couldn’t find one designed for actual outdoor use, I made my own, and it has held up for years.
Materials needed
- wood ring (I used this in the video, but it broke after a couple of summers outside. I’d recommend a rustproof shower curtain ring or galvanized carabiner hook instead for anything hanging long-term outdoors.)
- glass fishbowl
- synthetic macrame yarn (in pearl)
- optional wood beads (HERE and HERE)
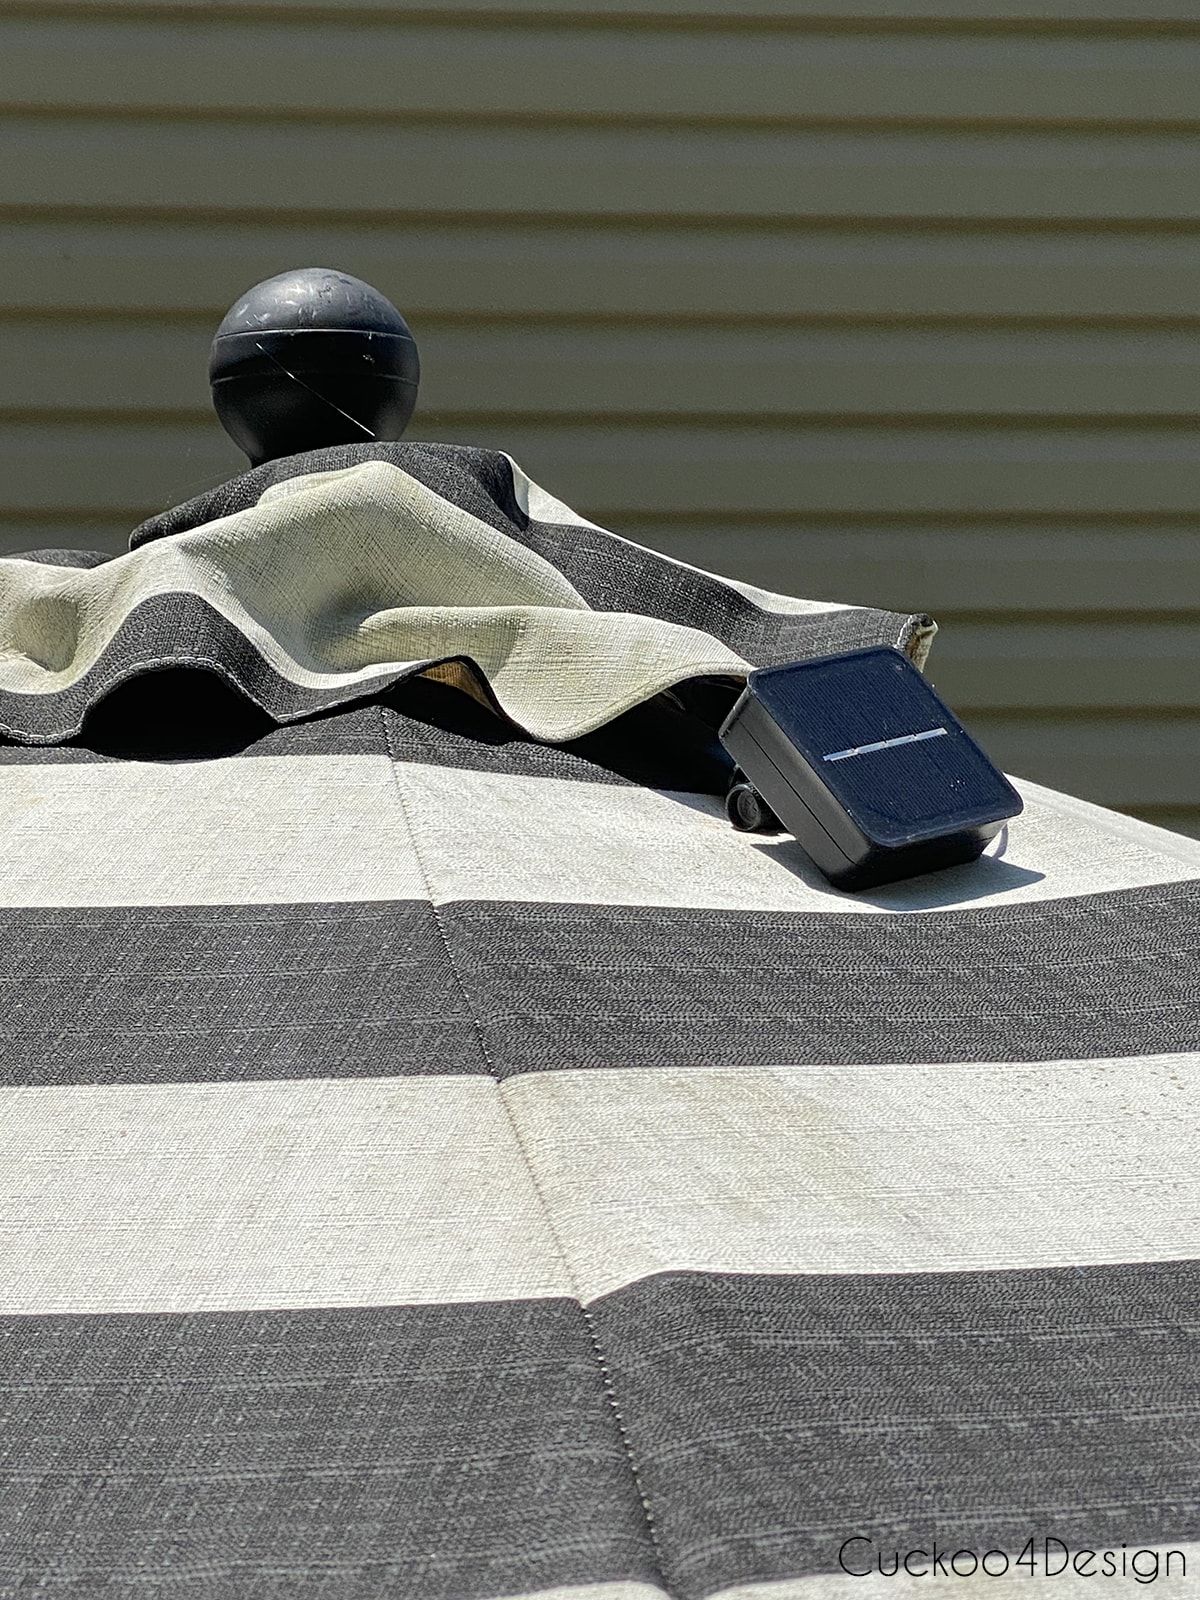
- solar fairy lights (I bought the 2-pack and used the second light in my patio umbrella)
- metal plant hook (if you are hanging the lantern the way I did)
- scissors
Macrame cord usage tip: The best cords to use for outdoor macrame projects are polyolefin fiber, nylon, or polypropylene because they are synthetic and don’t disintegrate when exposed to the elements. Especially, moisture that creates mold can really damage a natural cord/yarn. Cotton, jute, hemp, and wool are better used for indoor macrame projects.
Can you buy a macrame plant hanger instead of making one?
This post may contain affiliate links from which I will earn a commission at no extra cost to you. View my full disclosure policy.
If you don’t feel like making the macrame hanger for this lantern, then you can just buy a finished macrame hanging planter and add the fishbowl. This macrame plant hanger is actually made from polypropylene, and that brand has several different lengths and sizes. Most plant hangers are made from natural materials (example HERE or HERE), and they won’t hold up outside.
This is basically what this macrame lantern is, a simple macrame plant hanger with a fishbowl added upside down so the water can’t get into the bowl, and then adding solar fairy lights. In my macrame planter tutorial, you can see exactly how to make the specific square and spiral knots up close.
However, making the hanger yourself gives you control over the length and size of the macrame lantern, so let me show you what I did.
Macrame lantern video tutorial
You can watch my video tutorial in addition to the written tutorial below. It is always good to see what my hands are doing. If there are issues loading the video, you can also watch the video on my YouTube channel.
Step-by-step instructions
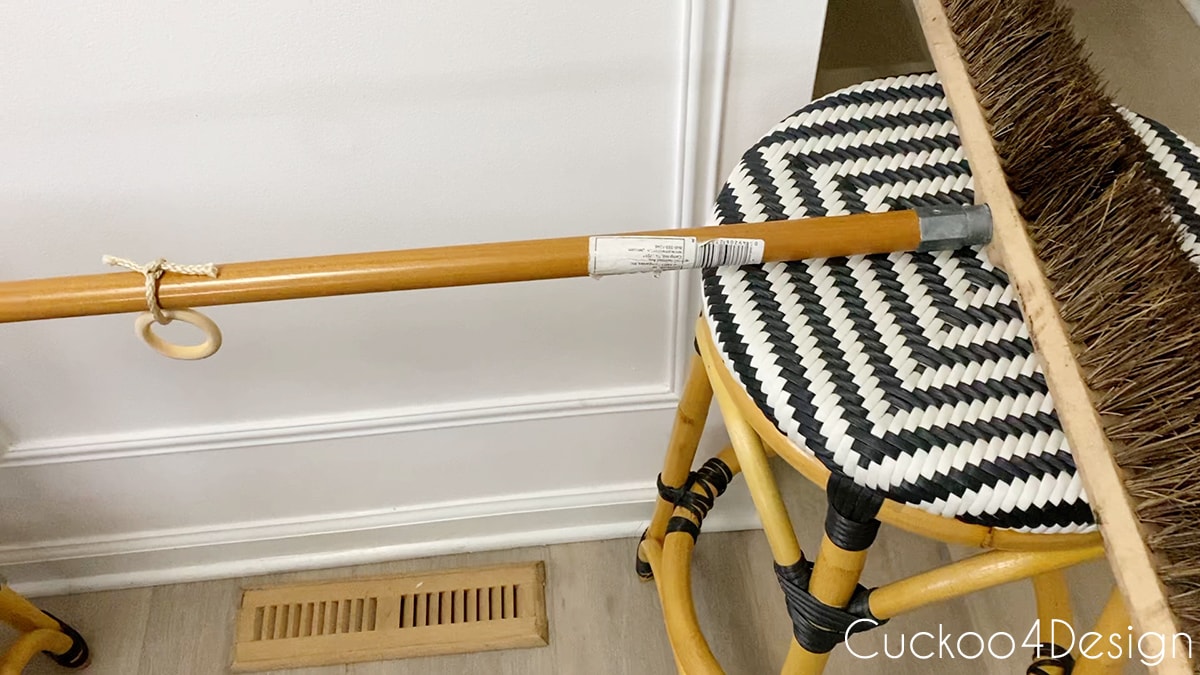
I like starting a macrame piece like this by placing a broom on top of my bar or counter stools, as shown below.
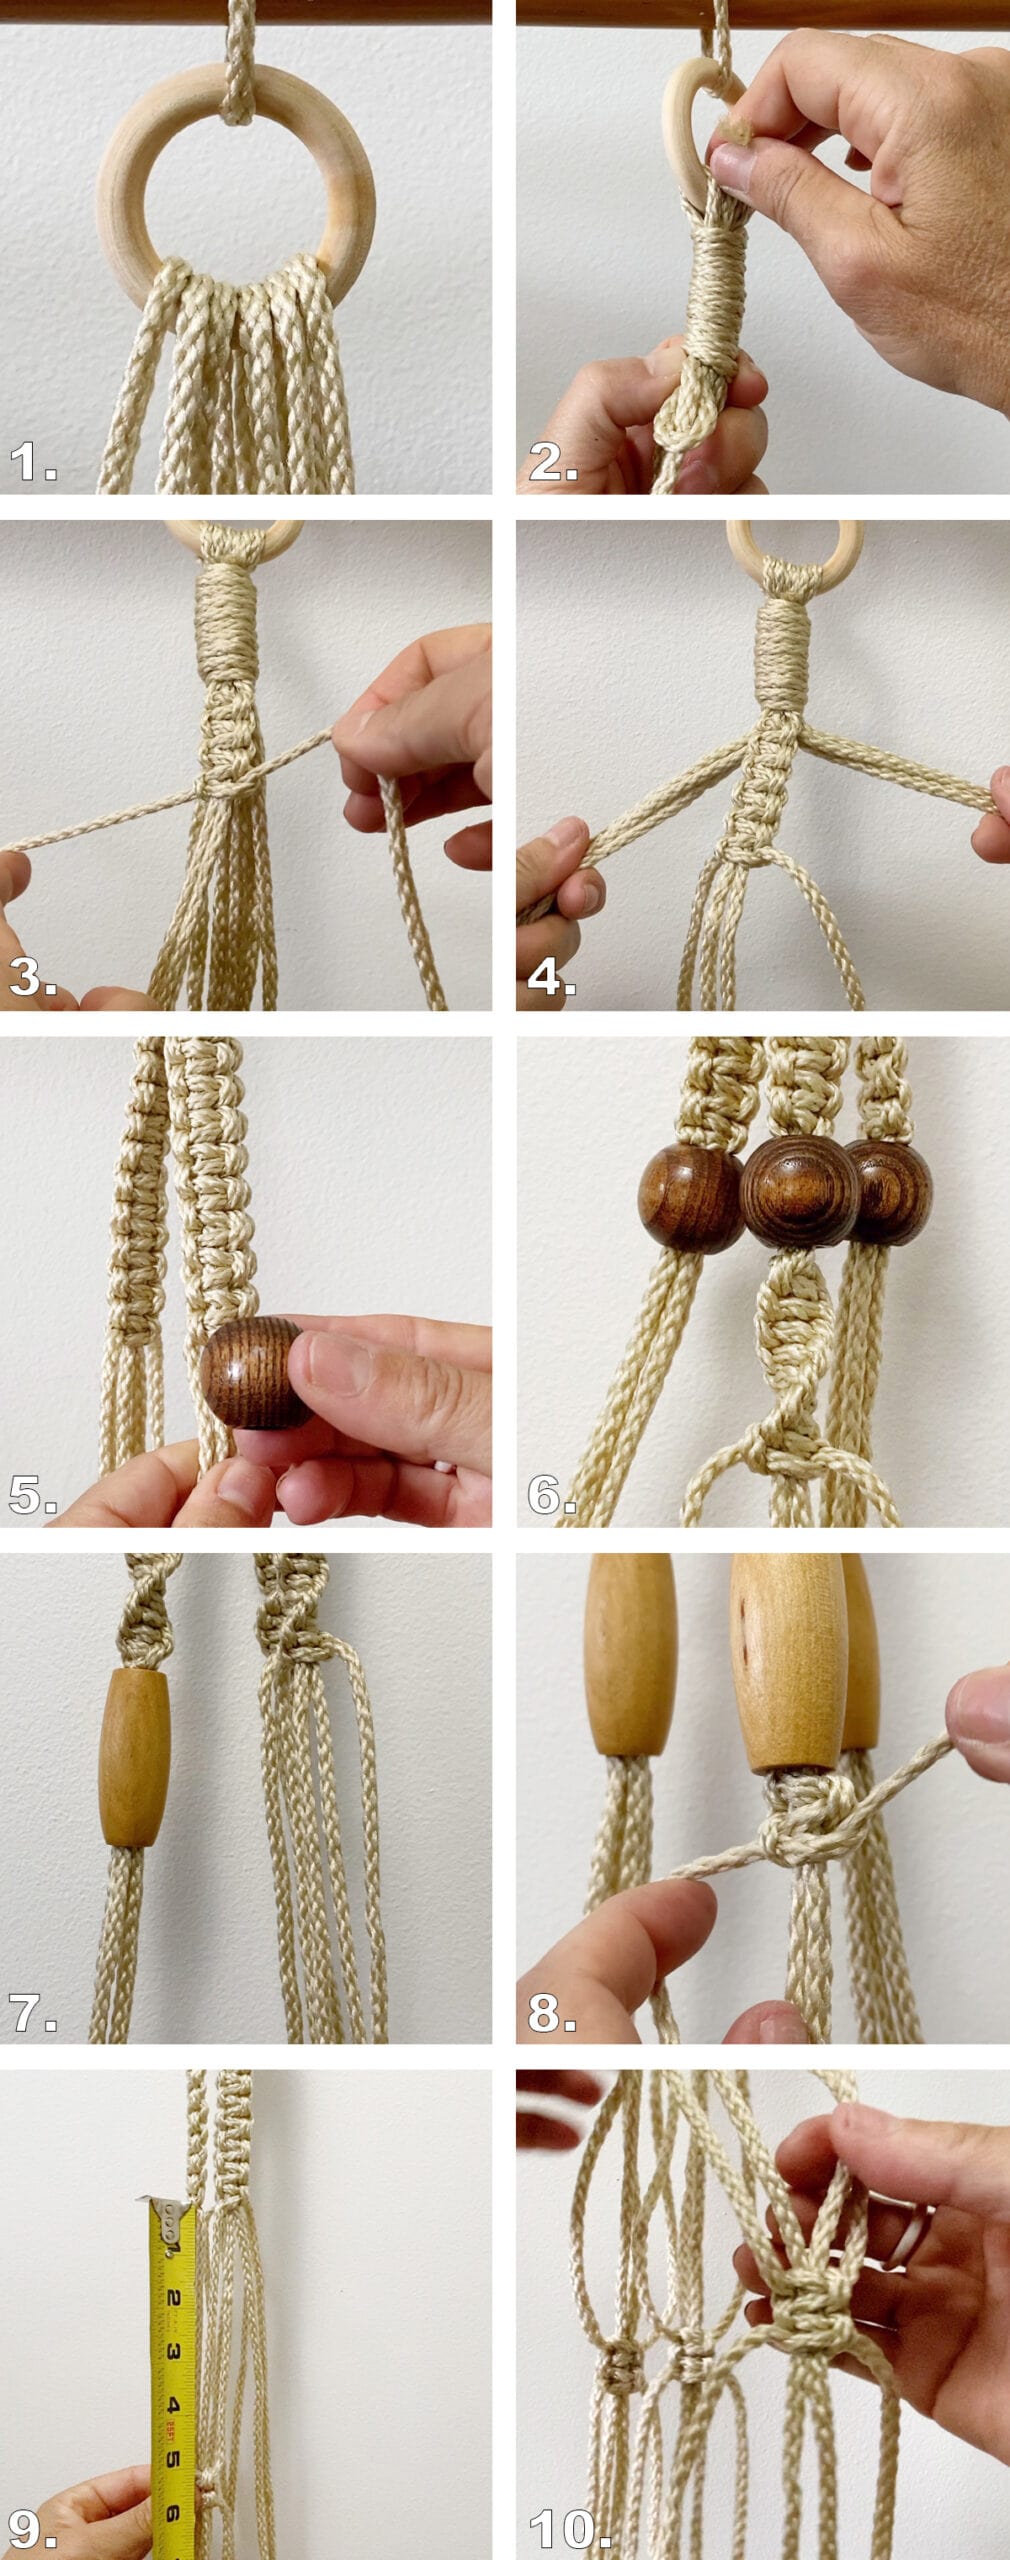
- Cut 6 x 20-foot pieces of yarn and add them to the ring, folded in half.
- Securely tie them together with the gathering knot method as shown in the video.
- Gather the strands into three groups of 4 pieces of yarn and add Square Knots to them as shown in my video. My rows of square knots are 5 inches long each.
- (Separated sections for the Square Knots)
- Then I added 3 wood beads.
- After that, I decided to add three 5-inch long strands of Spiral Knots.
- I had more beads at hand, so I added them in this step.
- For some more symmetry, I added another couple of 5-inch-long rows of Square Knots.
- Measure 5 inches down again and grab a piece of yarn from 2 square knot strands next to each other. Connect them with 2 square knots.
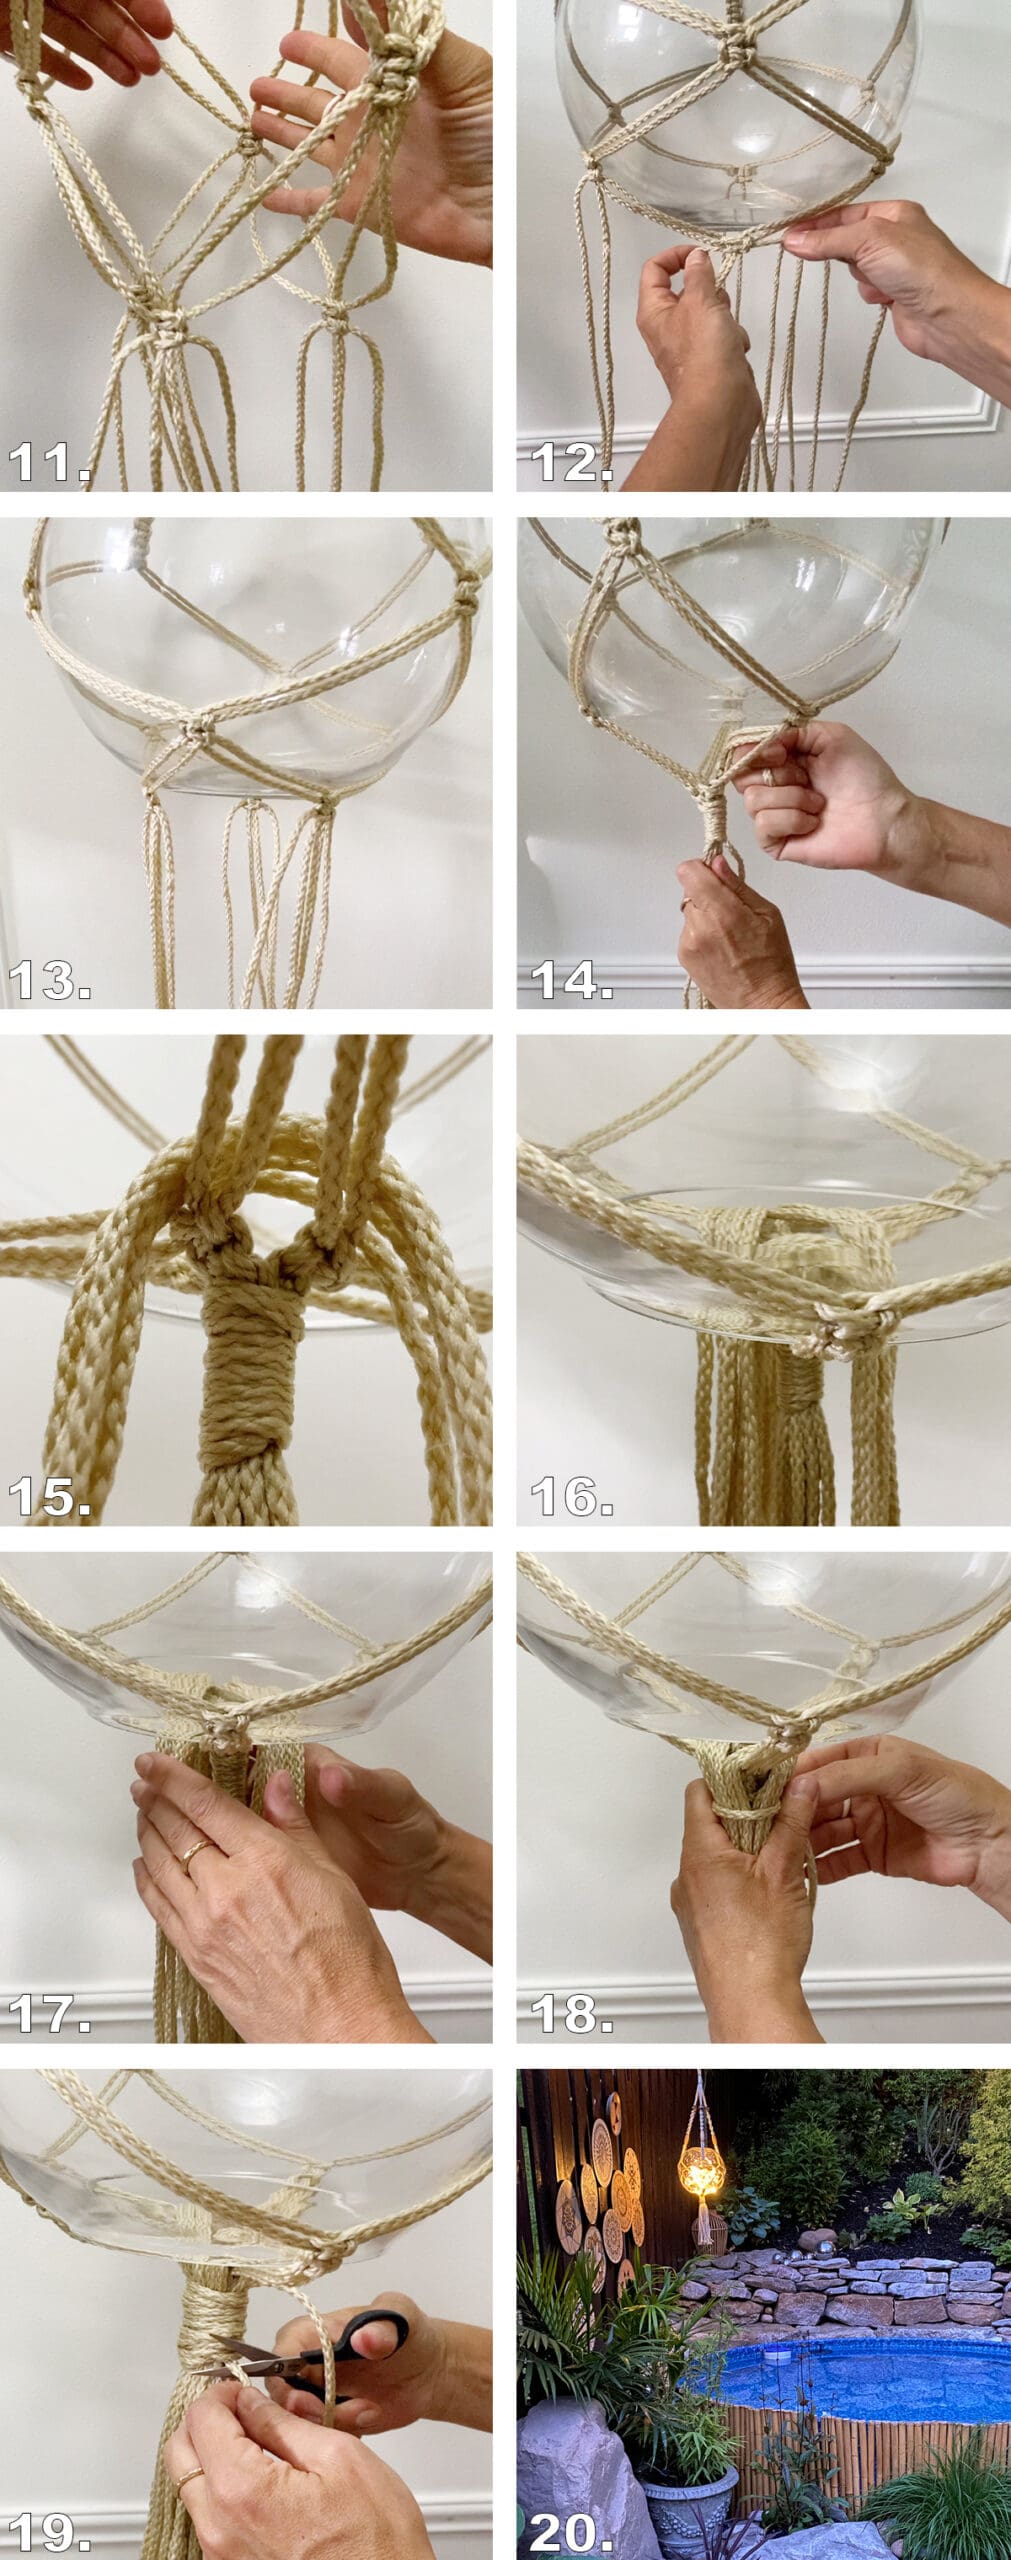
- Keep going around the perimeter to connect the strands.
- Measure down 5 inches again and do the same thing with 2 Square Knots. This creates a web that you can place a planter or bowl into.
- Add the fishbowl so you can see where you have to place the bottom knots to keep the bowl in place.
- Here you can see the bottom Square Knots.
- Gather all strands and securely tie them in place with the same gathering knot method. ( I used a 6-foot piece of yarn for that)
- I didn’t like the thickness of the bottom tassel and wanted it to be much bigger. So I cut 30-inch pieces of yarn and folded them in half over the bottom strands as pictured.
- Here you can see all sides of the added yarn folded in half. I added 4 strands per section.
- Grab all the yarn with the existing tassel in the middle.
- Now you just have to tie them together with the gathering knot method again.
- Trim the knot and the bottom tassel
- FINISHED! All you need to do is place the fairy lights into the upside-down bowl. Wrap the wires around the backside of the macrame and around the hook. I hid my solar panel on the fence facing the sun.
I used the same Square Knot grid for my macrame teepee tutorial.
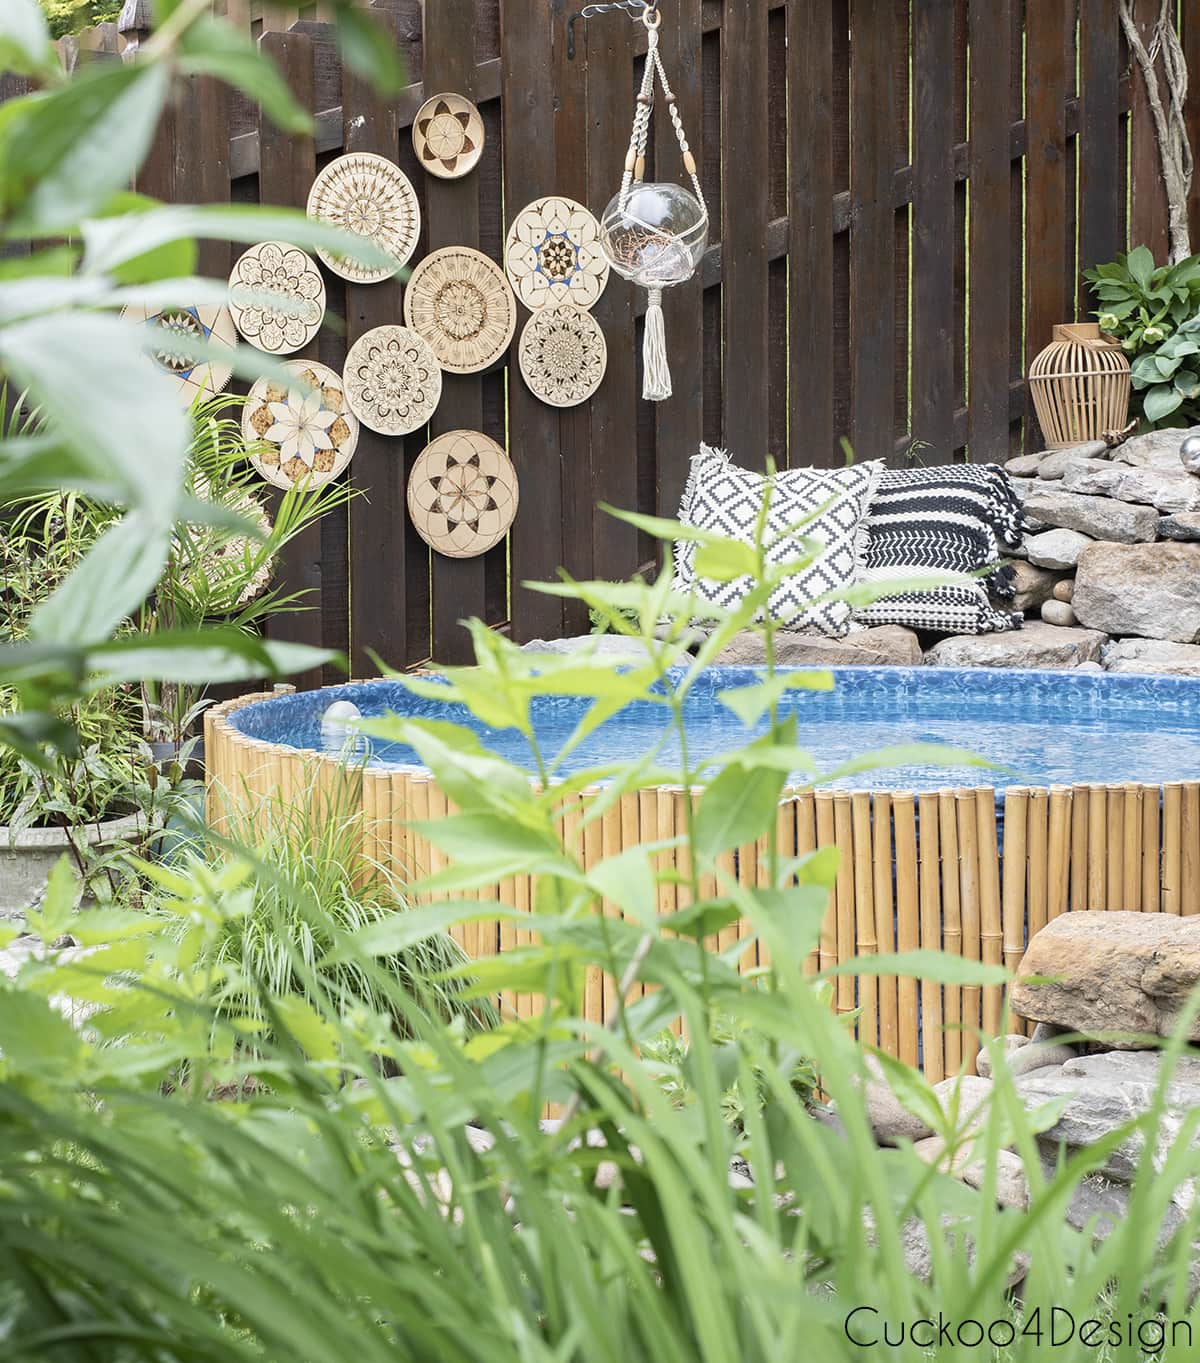
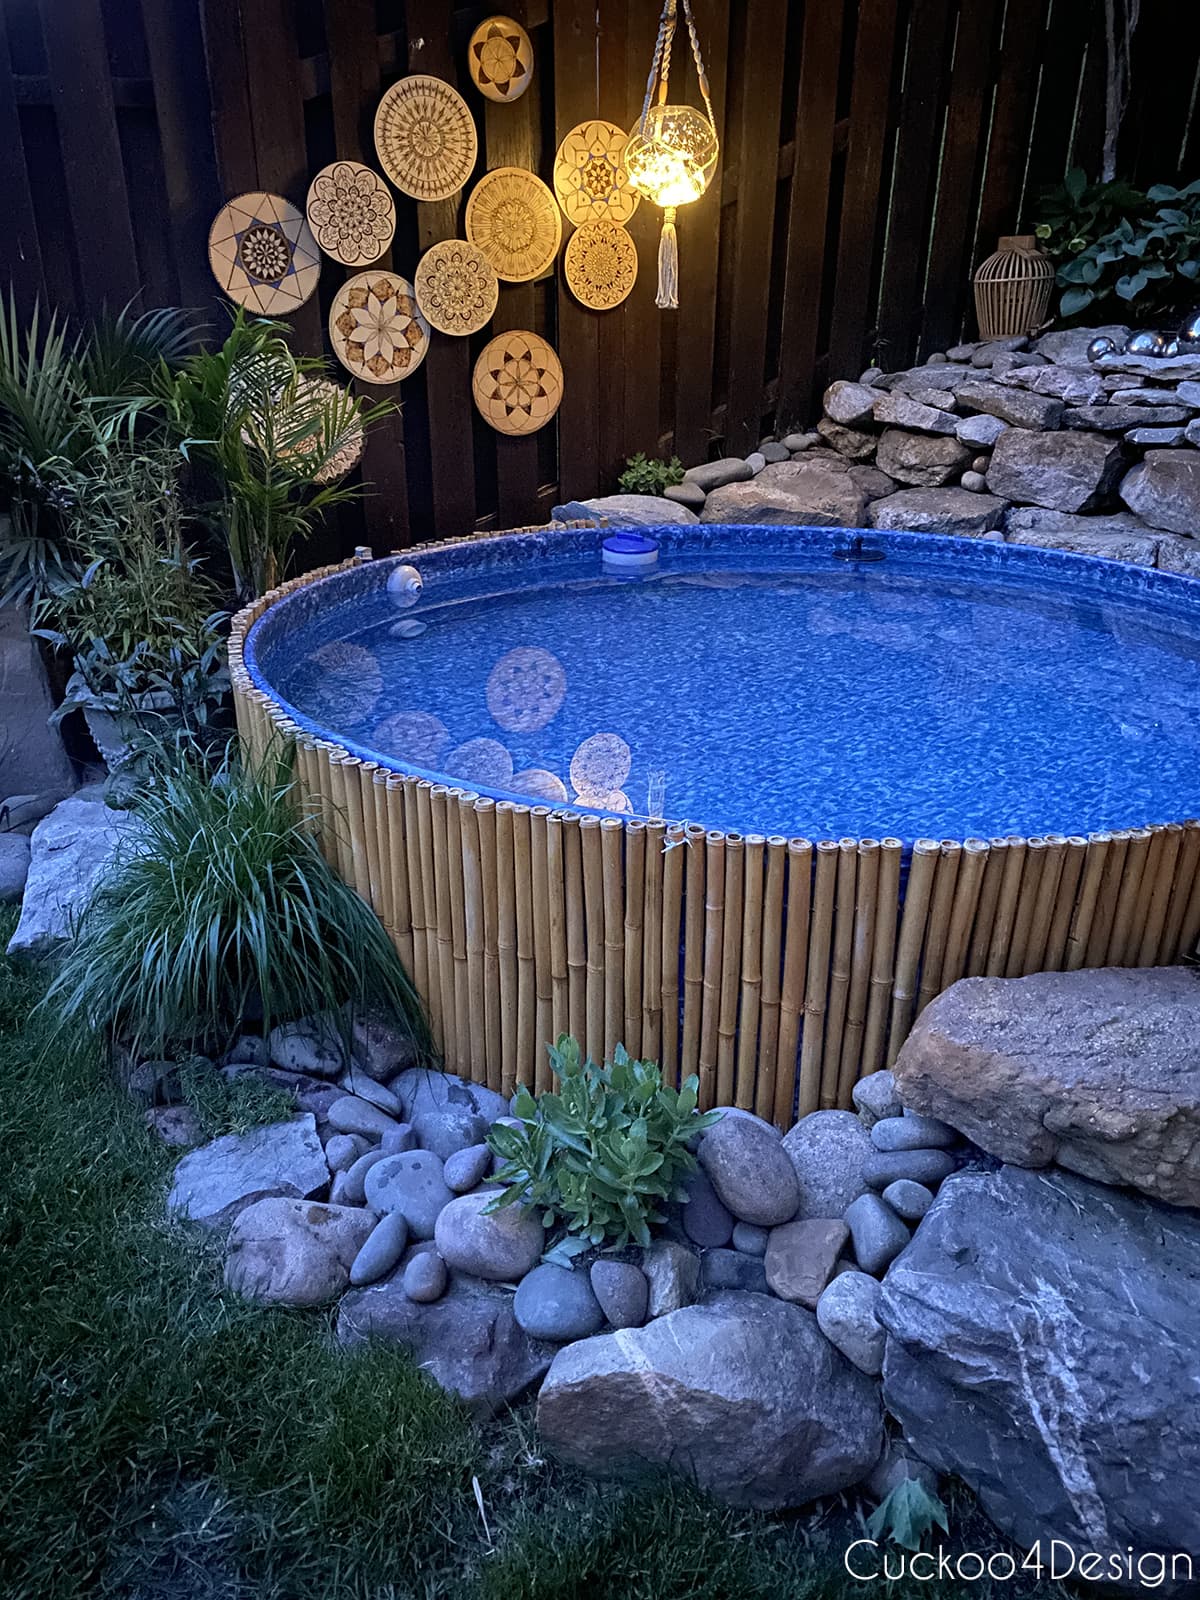
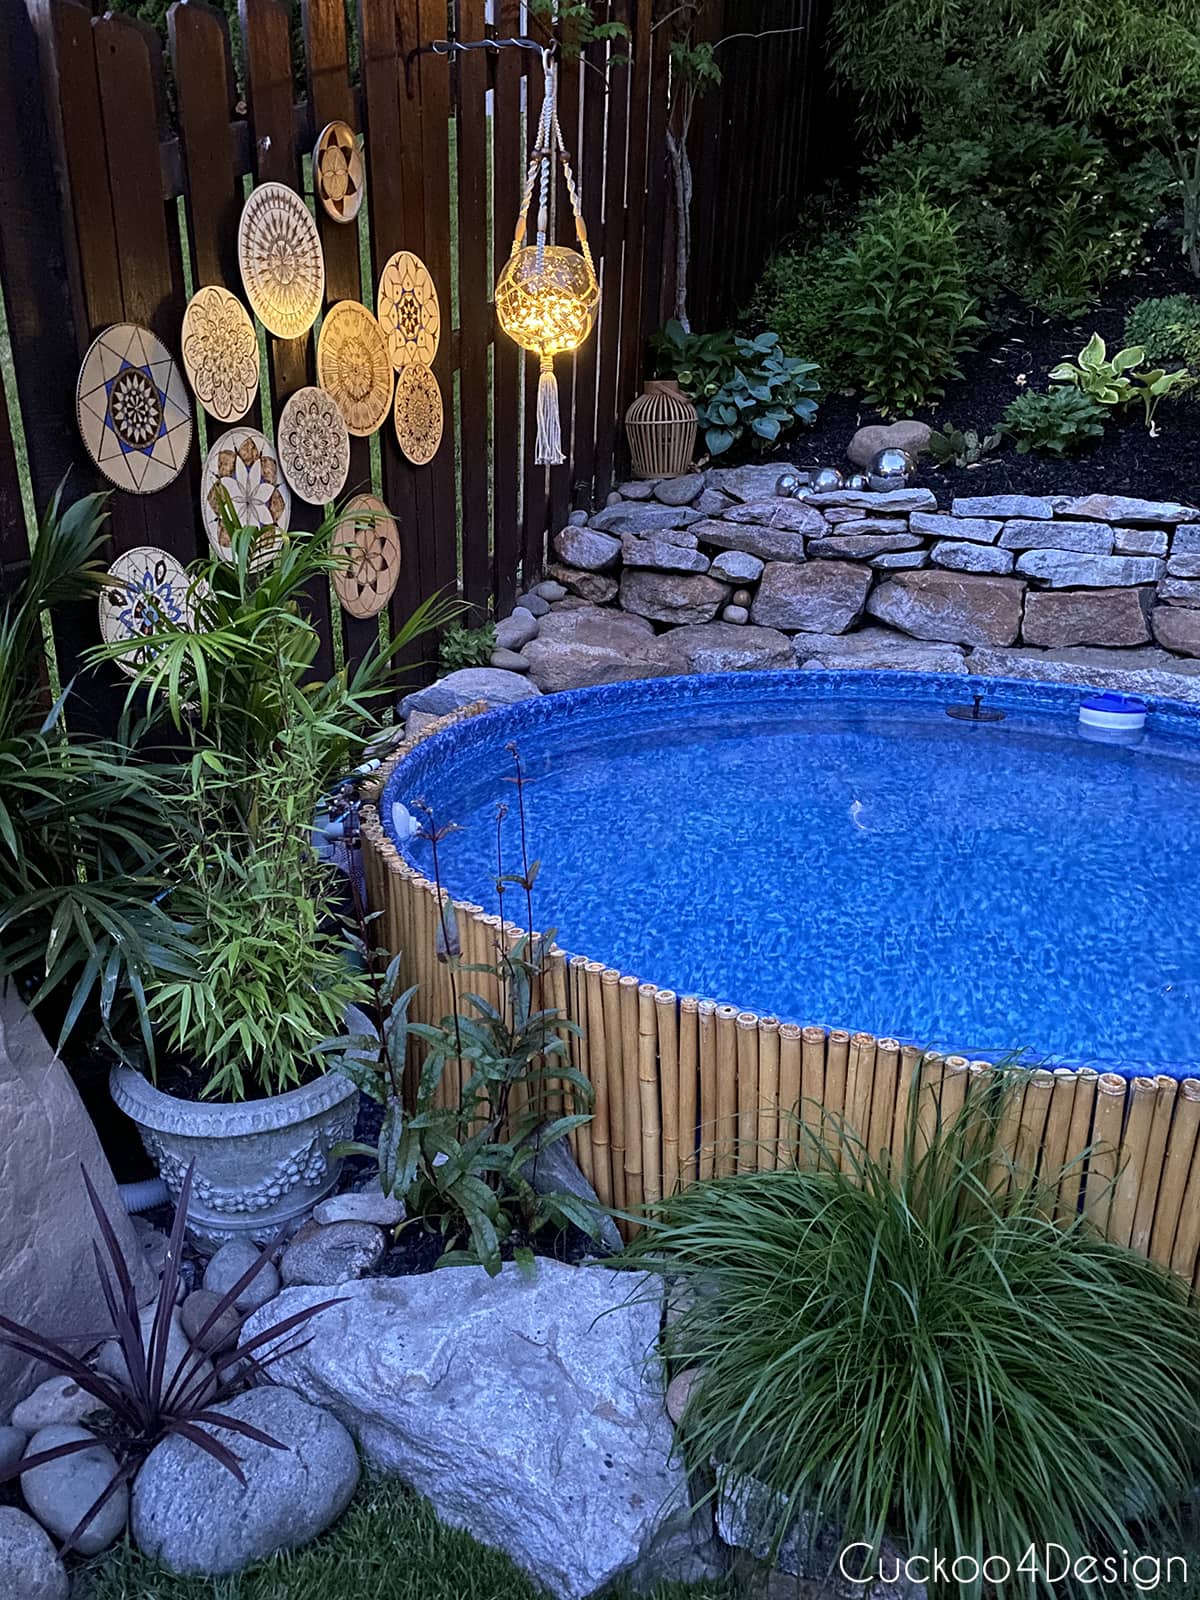
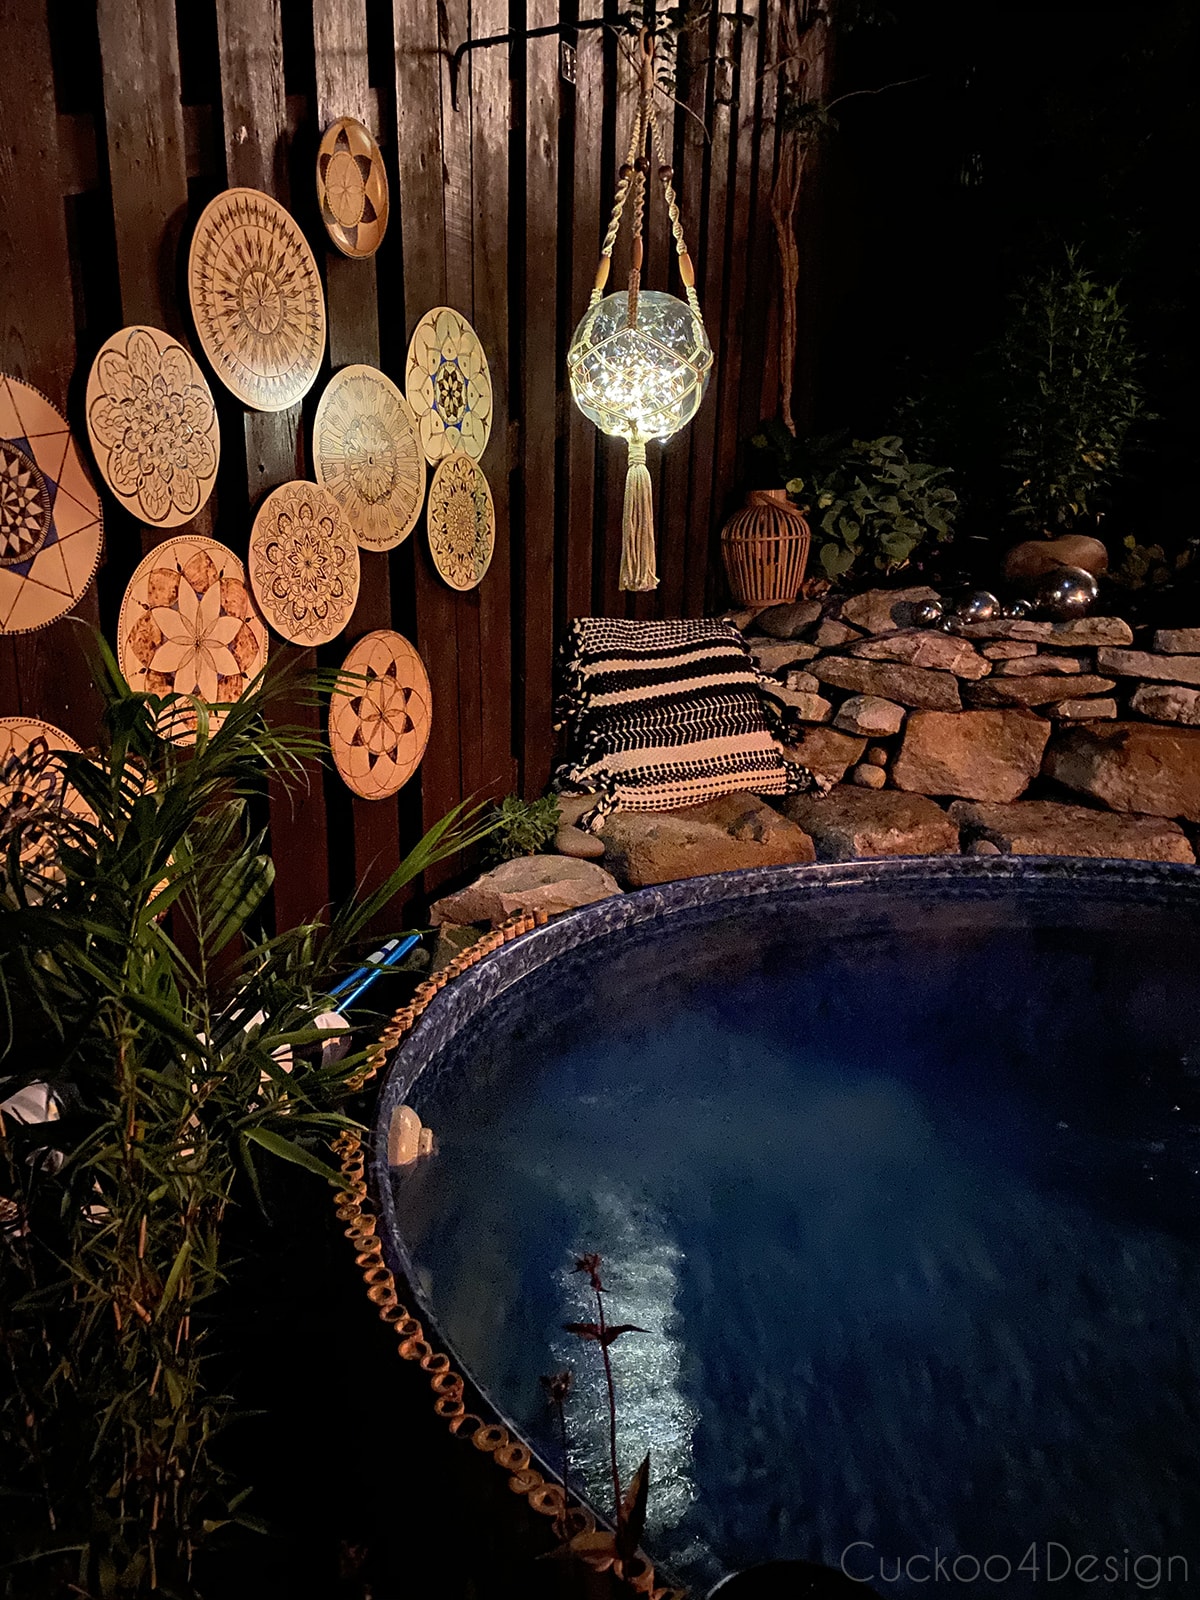
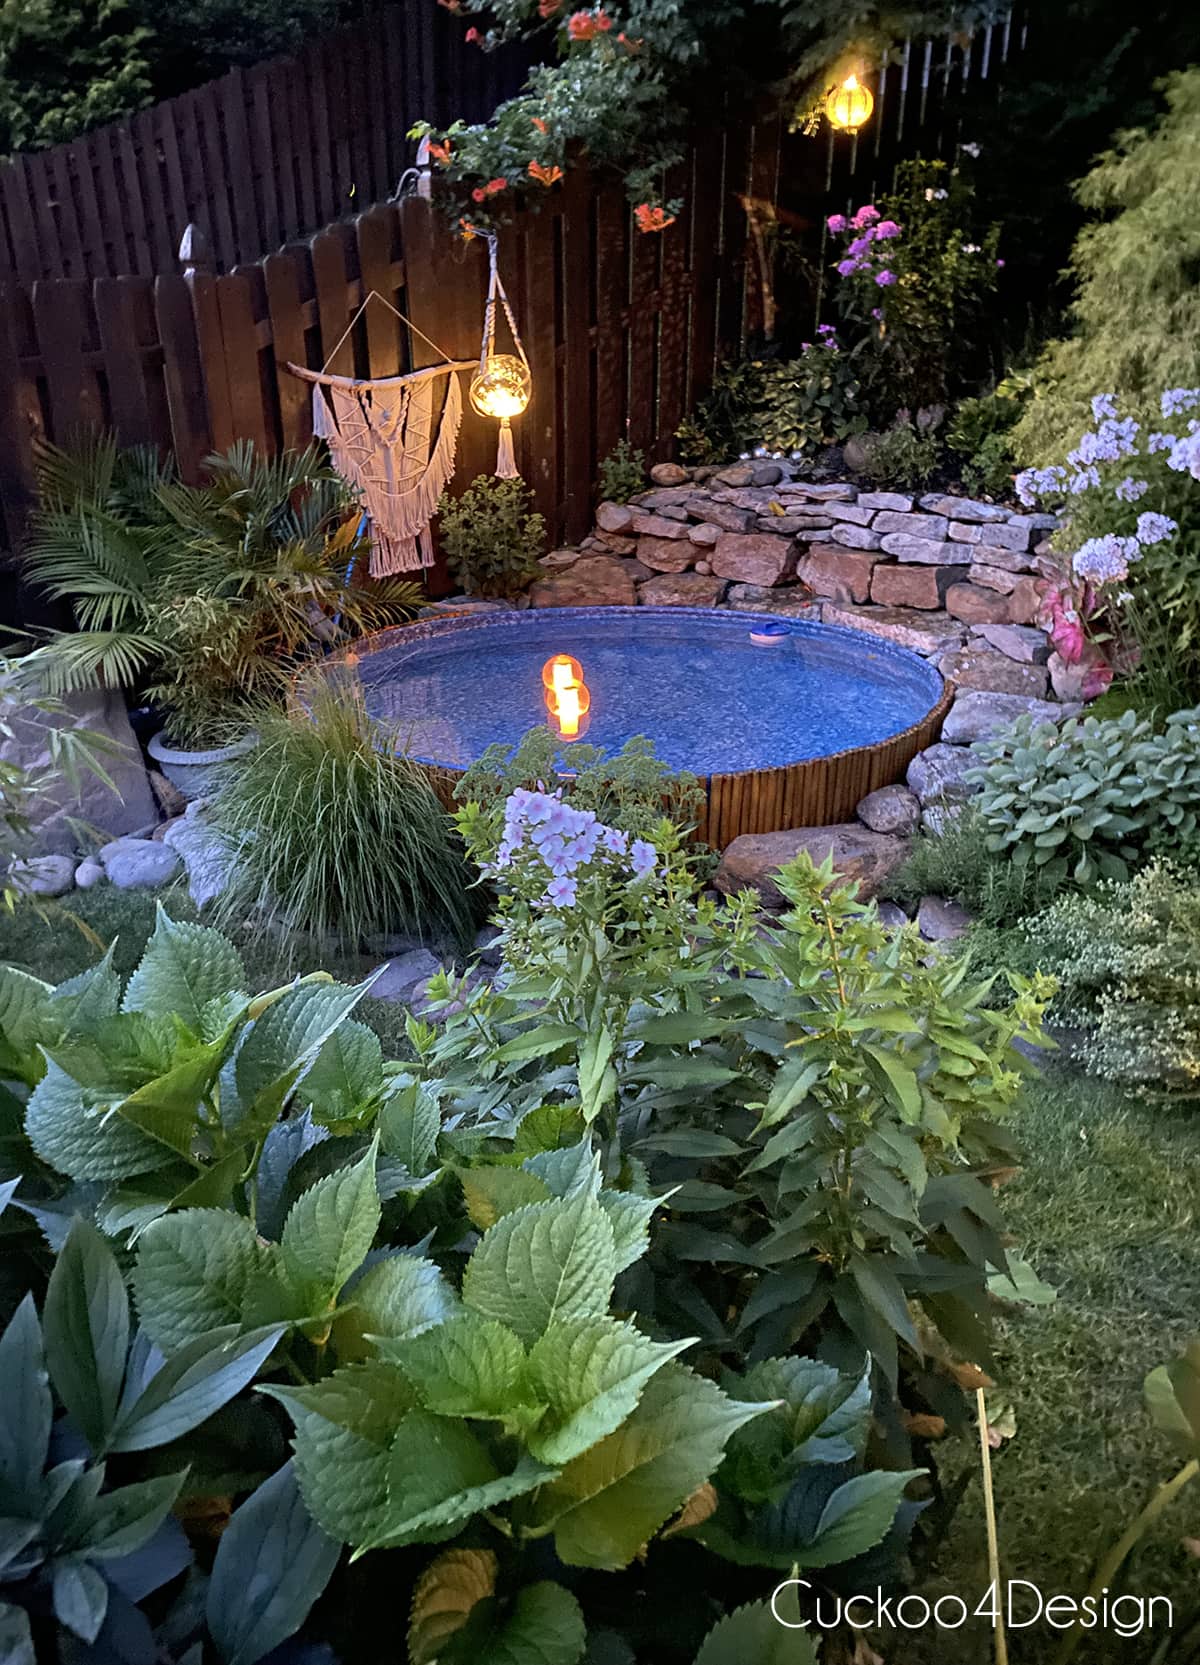
Finished macrame lantern by the stock tank pool
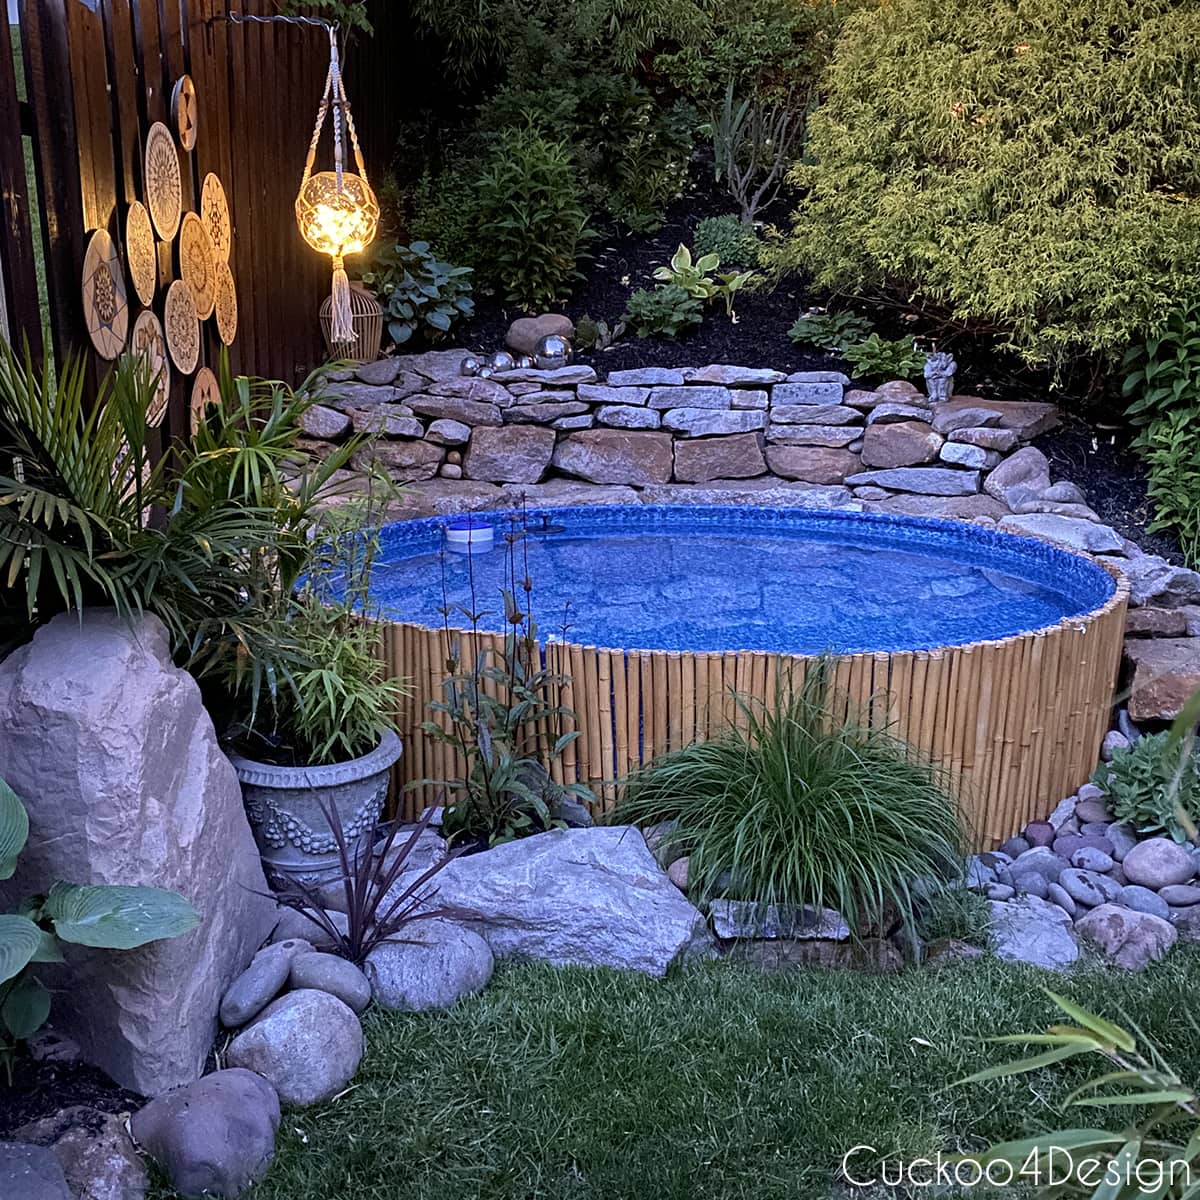
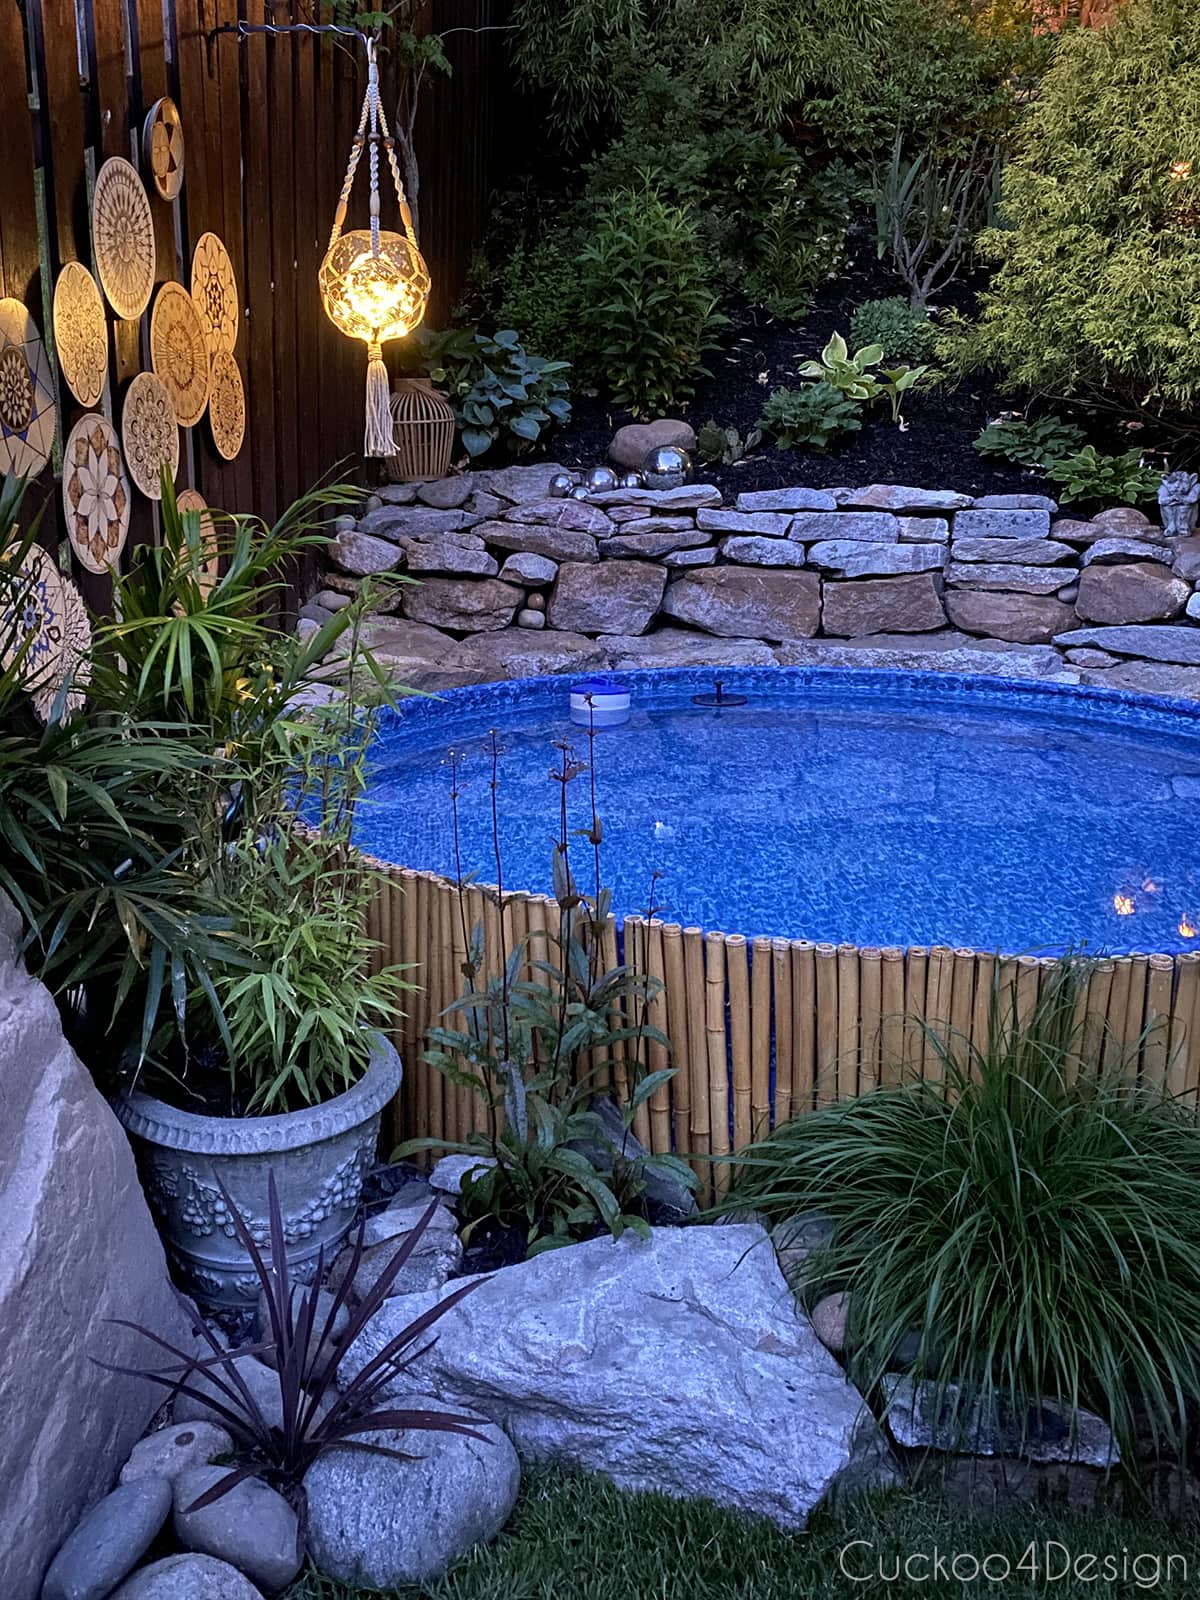
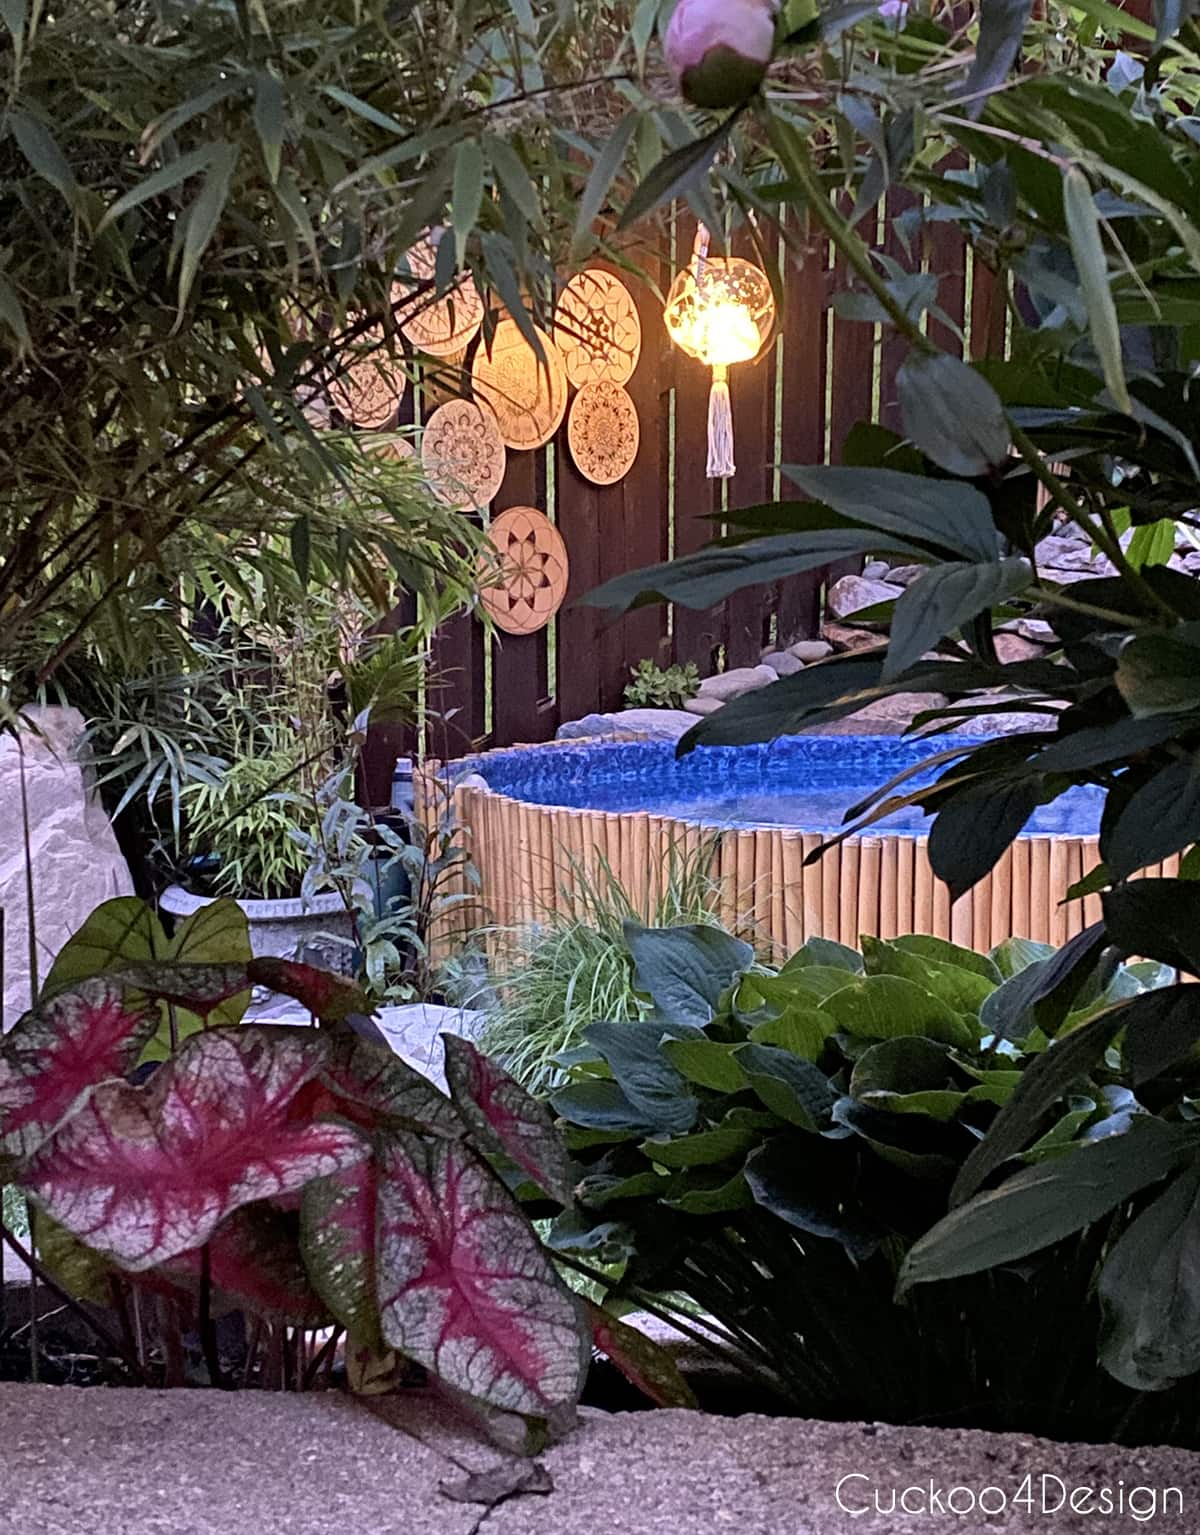
I especially love how the hanging solar lantern looks at night. The fairy lights have such a warm glow and don’t at all look like standard solar lights.
You might also like my DIY macrame chandelier and DIY boob light cover using a planter basket.
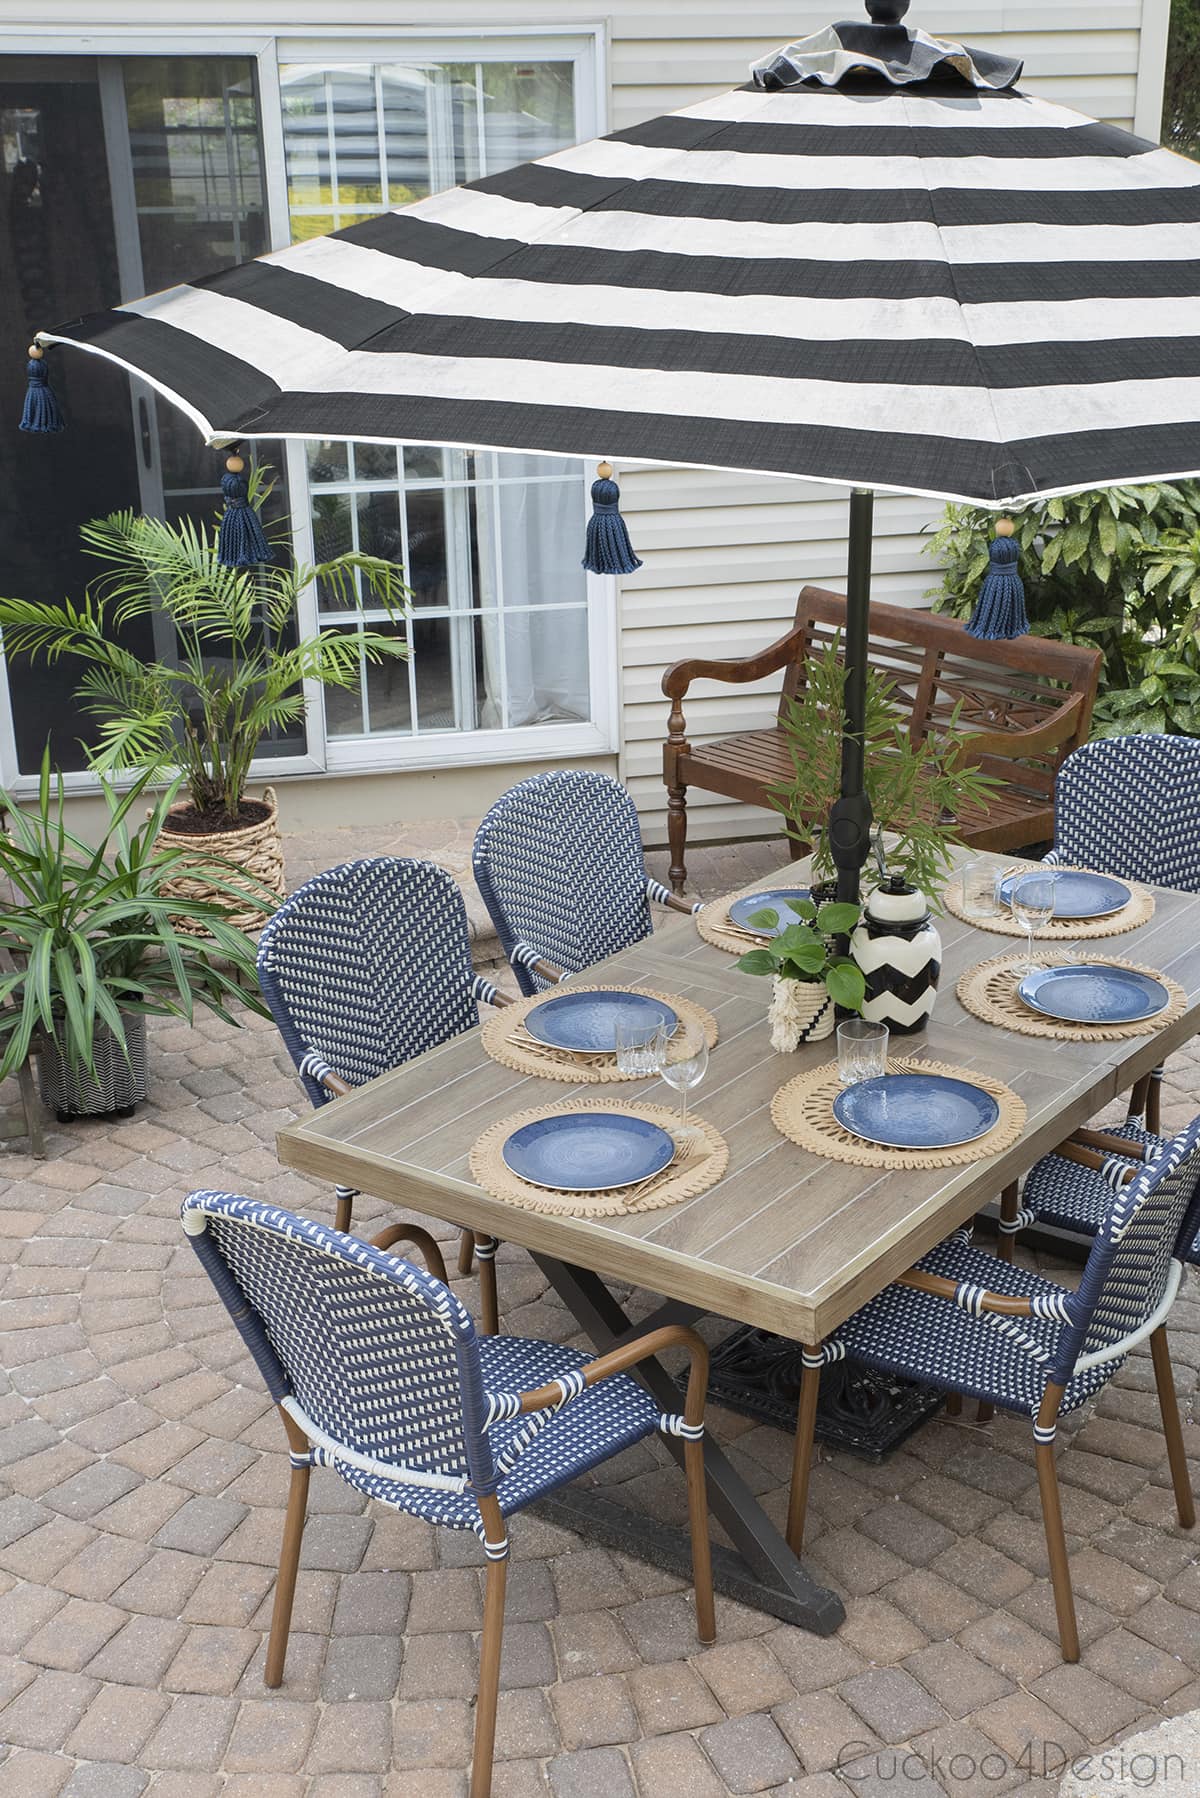
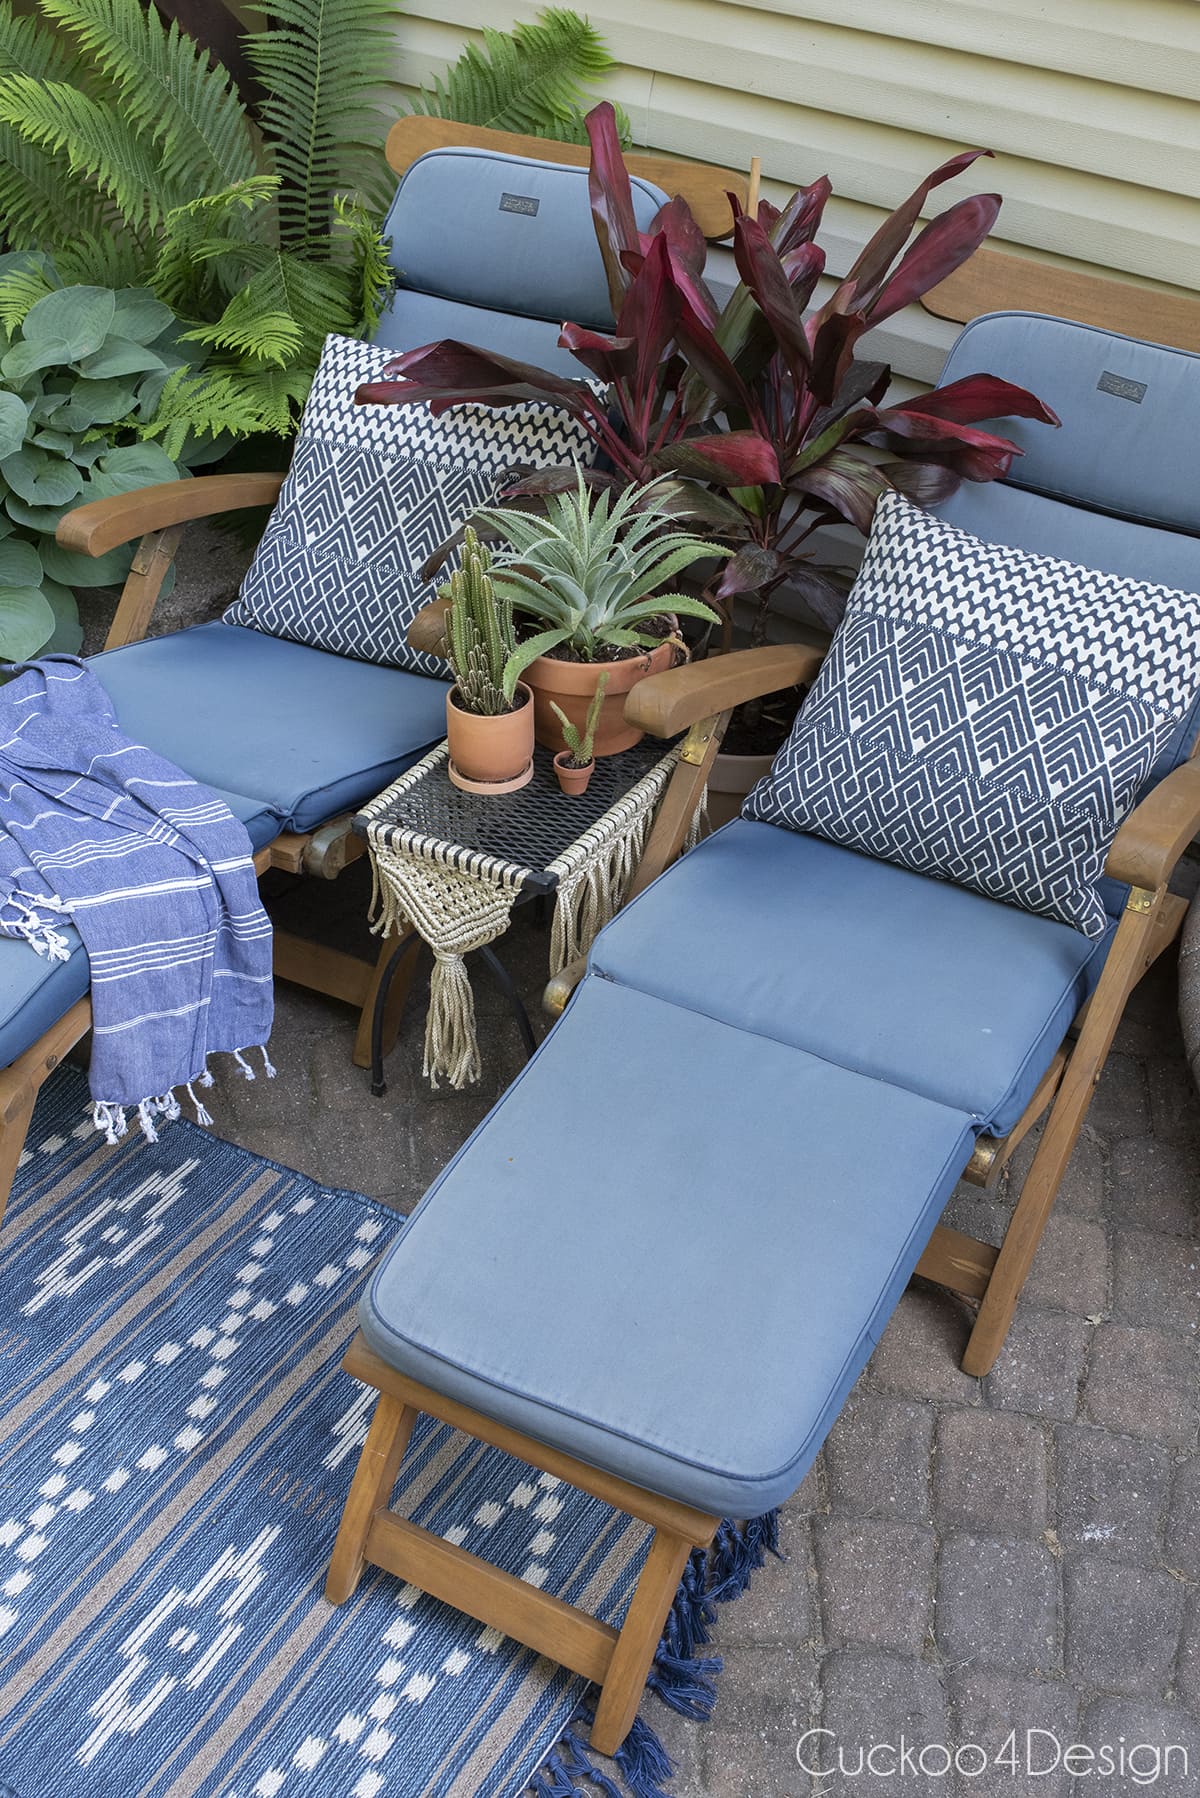
On the other side of the yard is our patio. As I mentioned above, I used the other strand in my patio umbrella by threading the strand through the top. I placed the solar panel on the top of the umbrella.
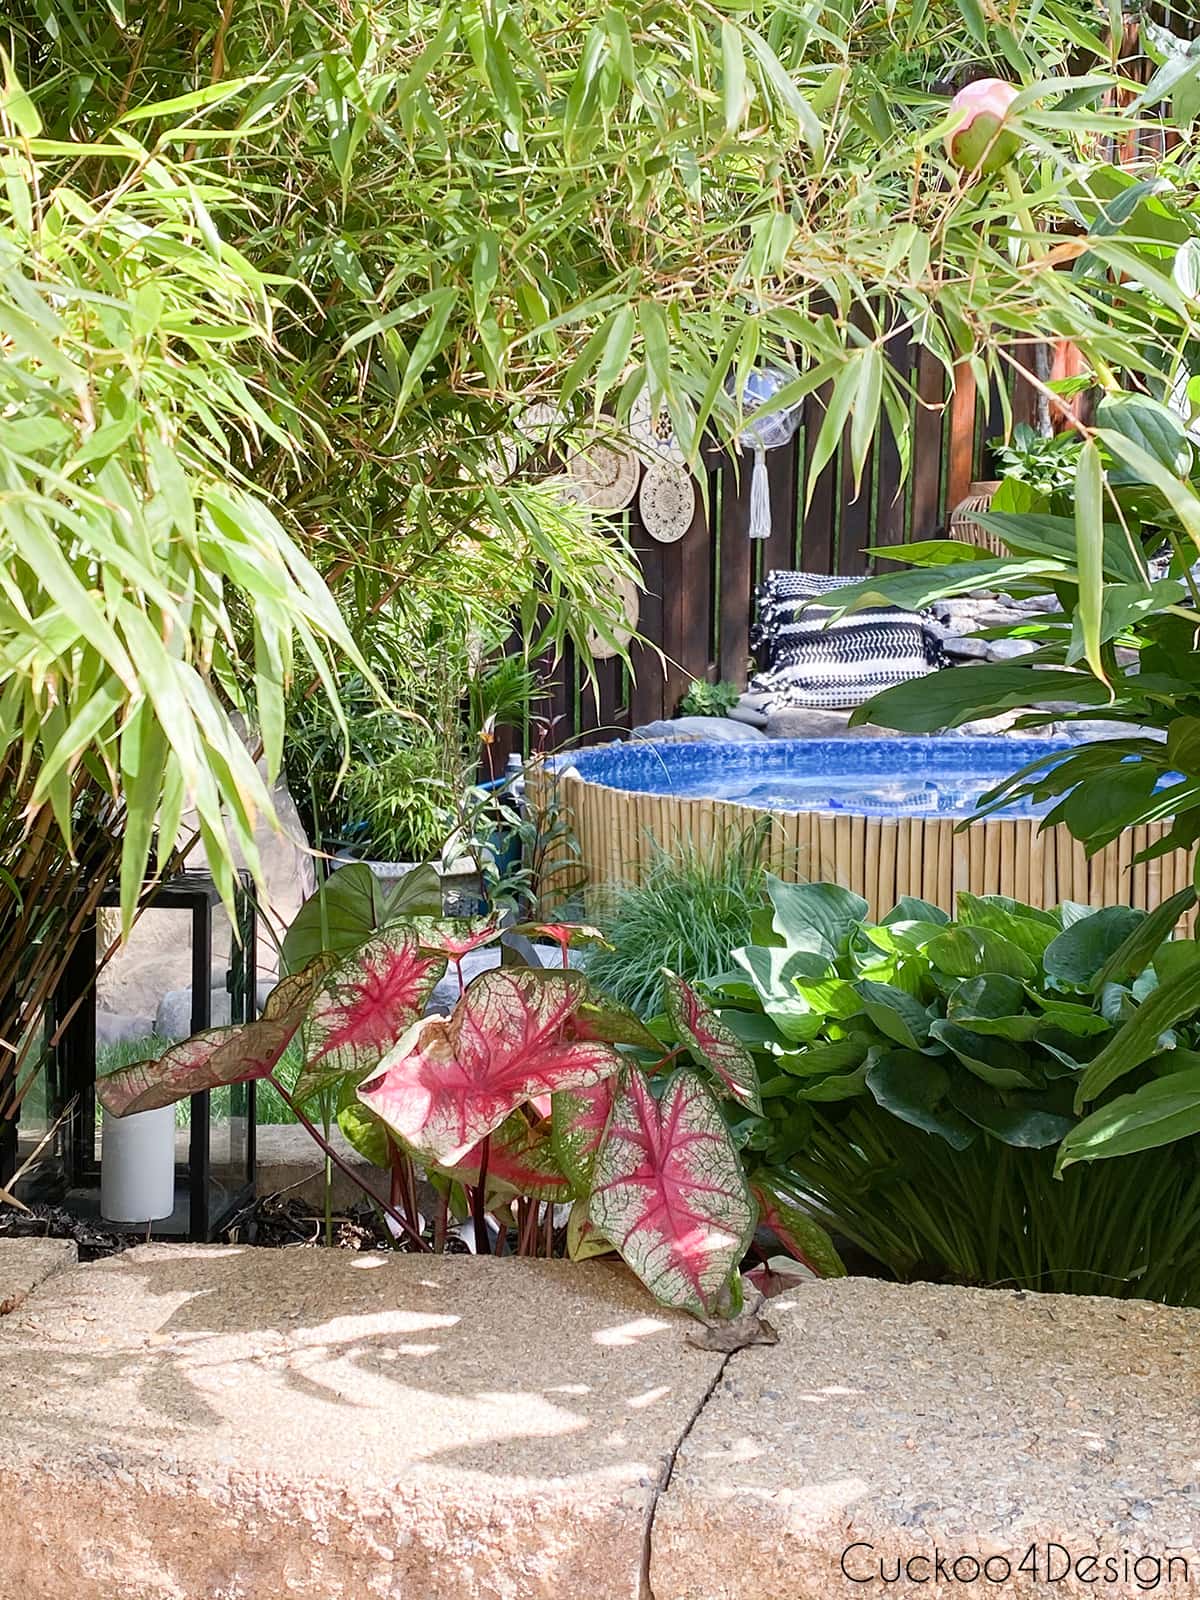
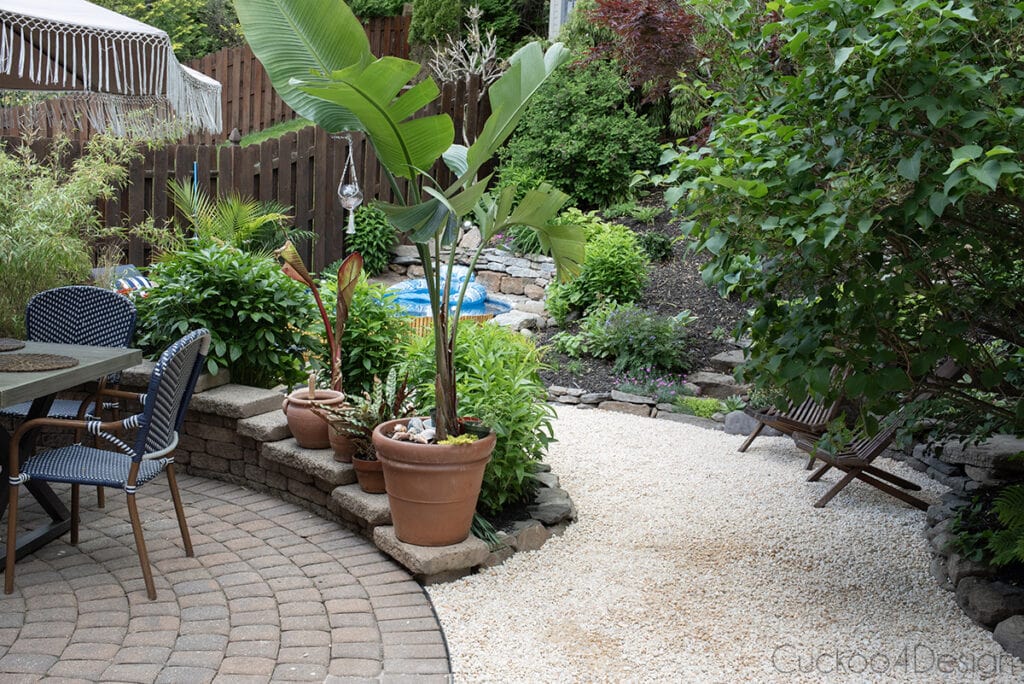
As you can see below, we still have the macrame lantern above the pool years later, but the yard has changed quite a bit because we decided to replace grass with gravel.
I used the same synthetic yarn in a different color on my small side table. Just check out my metal patio table makeover tutorial. And I recently gave my lounge chairs a much-needed makeover. Check out my blog post about how to restore teak outdoor furniture.
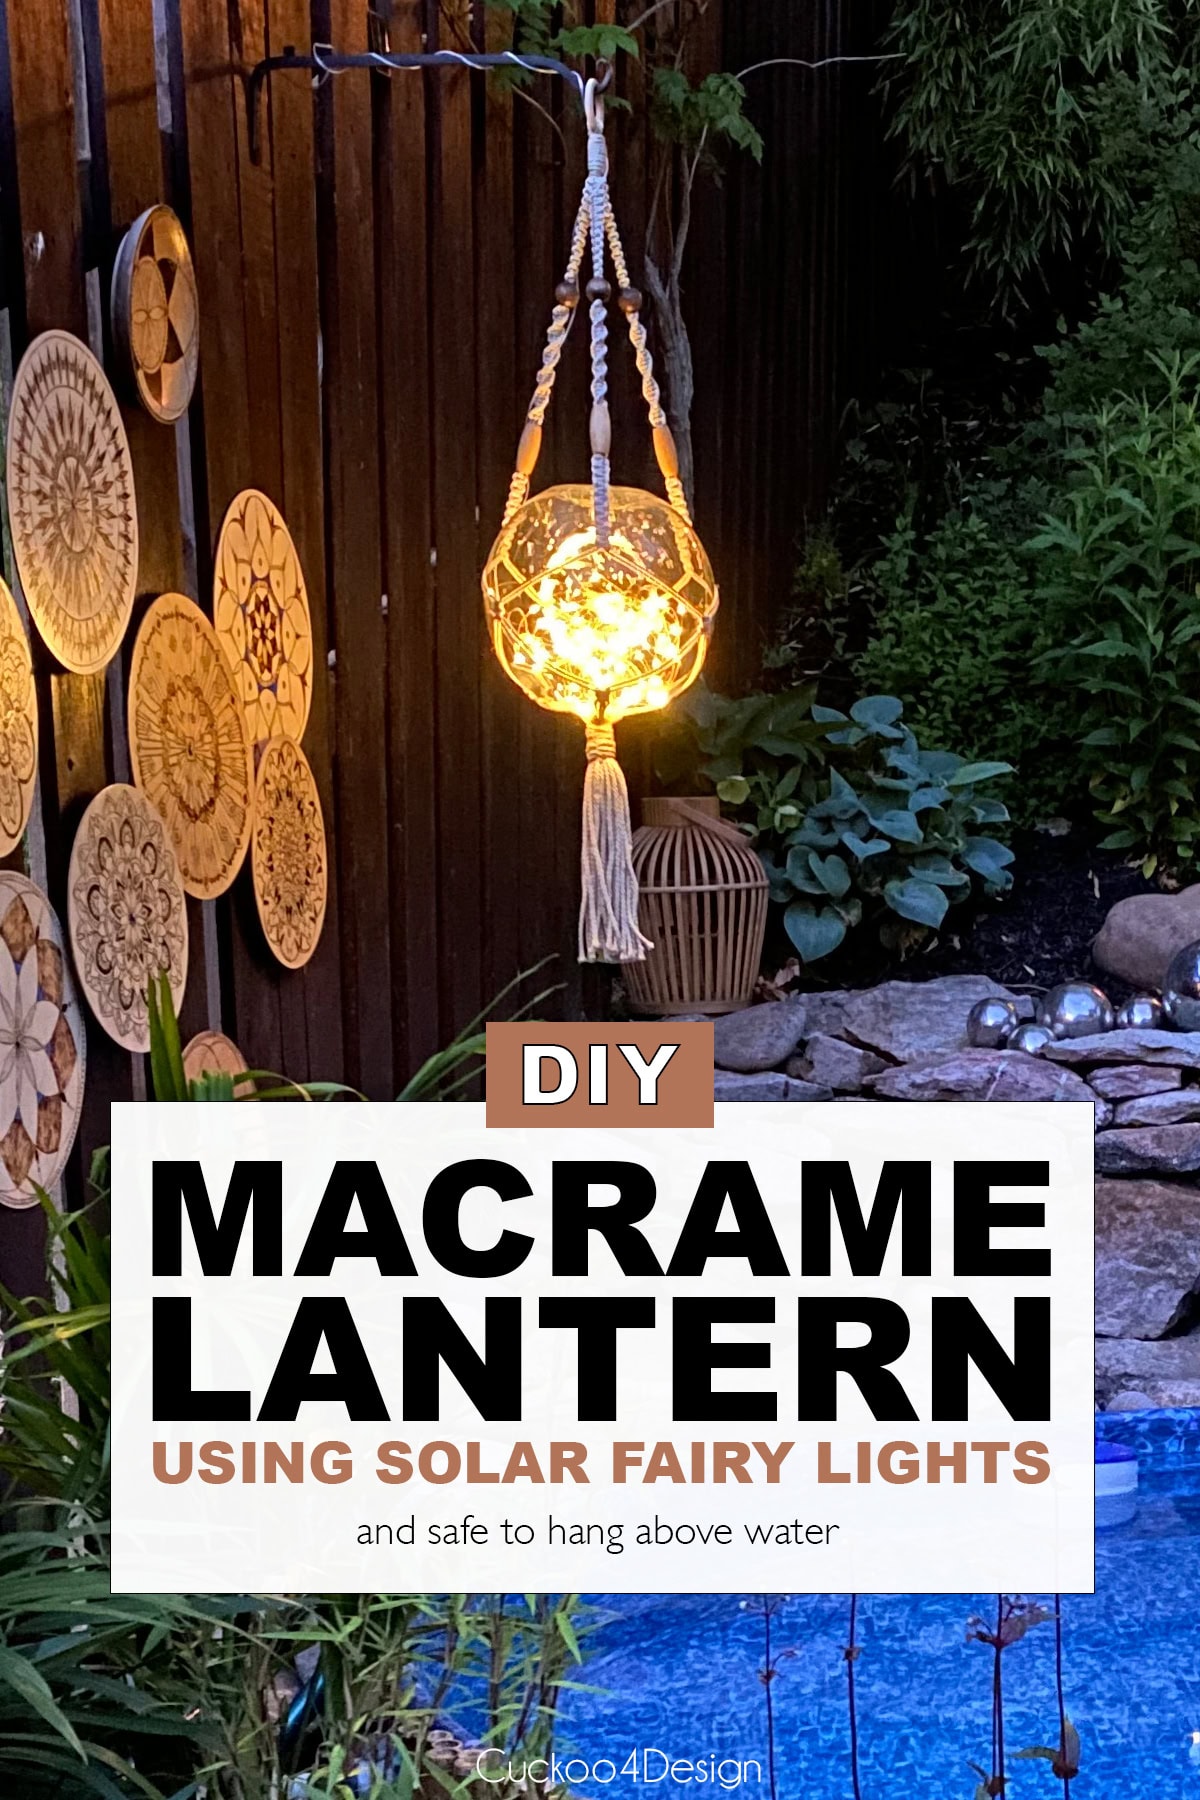
This lantern has been hanging outside through rain, heat, and thunderstorms, and the synthetic yarn has held up really well. It looks especially good at night when the fairy lights come on. It honestly doesn’t look like a solar light at all, more like something you’d see at a boho outdoor dinner party. If you have a stock tank pool or any outdoor space where you can’t run a cord, this is such a good solution. And if you want to see more of how we set up our stock tank pool, check out my full stock tank pool post.
Tschüß,

So pretty Julia! I don’t know how you keep coming up with these beautiful ideas! My deck needs a few of these. Carol
Thanks Carol, maybe you should add some 😉
This is lovely. Wish you had posted a photo of your umbrella too. I have tried to put lights on mine and it wasn’t very successful. Thanks for all the fun projects you send us!
Thanks Frani! You are right and I added a photo of the top of the umbrella to show how I added them.
Well I don’t have a stock tank pool but I want one of these lights!
That really puts out a lot of light! Love it.
this is SO cool, Julia! I pinned it and would love it on my patio or by my back kitchen door!