

installing a Delta Touch faucet on an Ikea floating vanity
This post is sponsored by Delta Faucet and as always all opinions are 100% my own.
You are probably thinking “Why is she getting another faucet for her bathroom, doesn’t she already have one?” and you are right we do have a nice one but let me explain. The faucet I used for the vanity is a matte black kitchen bar faucet. The look is definitely beautiful but the functionality was a little restricted. It didn’t bother us all that much but if you can step it up a notch, then why not right?
Installing a Delta Touch faucet on an Ikea floating vanity
This post may contain affiliate links from which I will earn a commission at no extra cost to you. View my full disclosure policy.
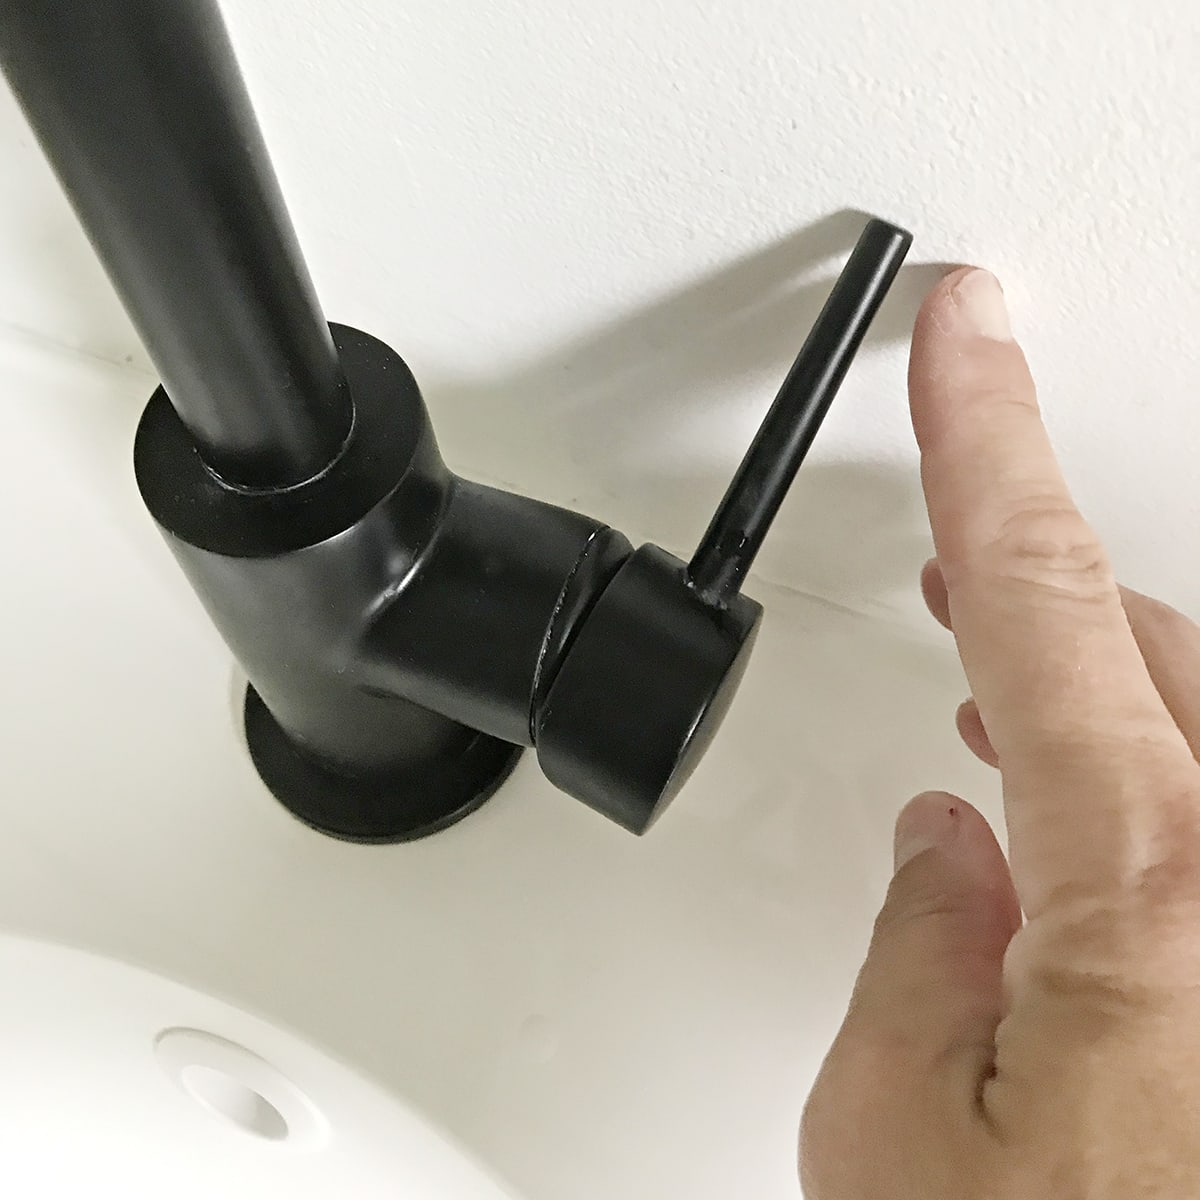
See in the below photo how the faucet handle hits the wall. I couldn’t make the water really hot which isn’t a big deal in the bathroom but not ideal either.
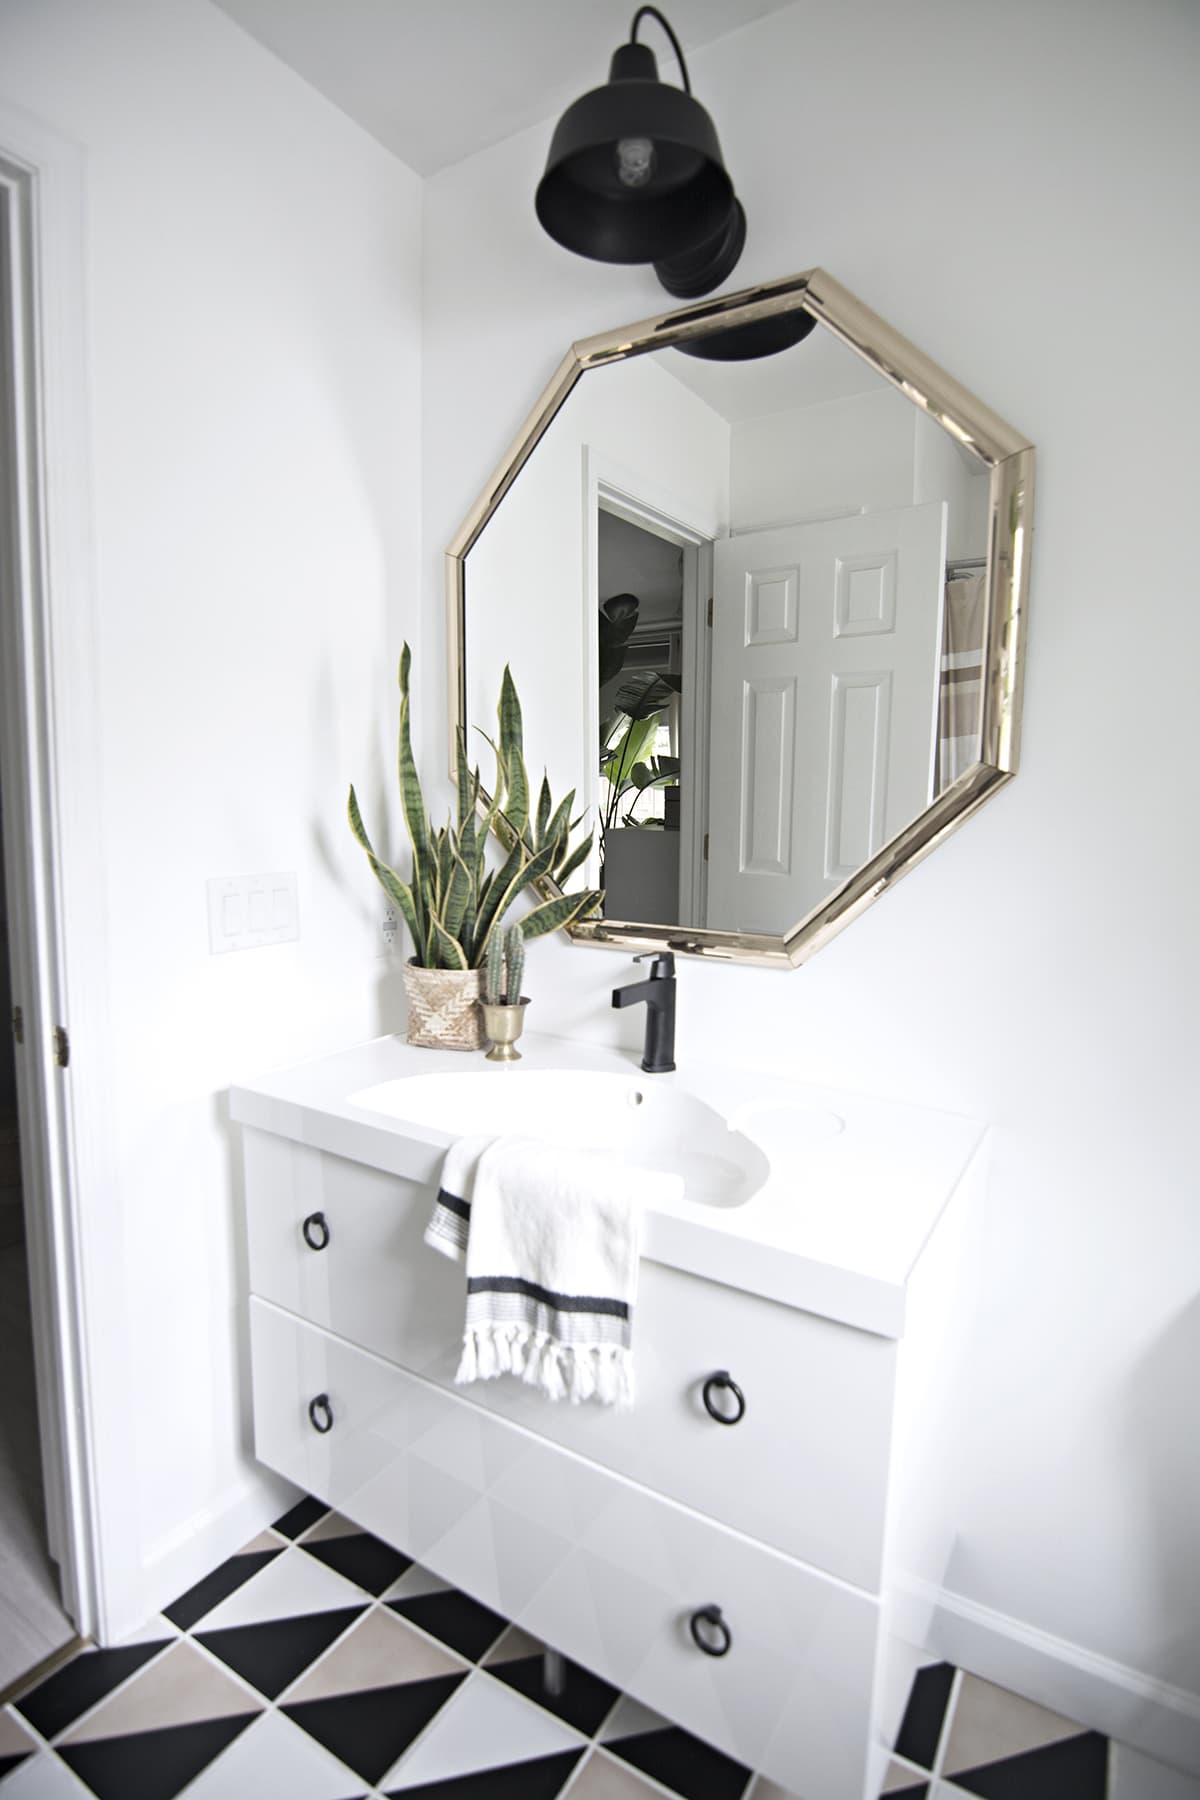
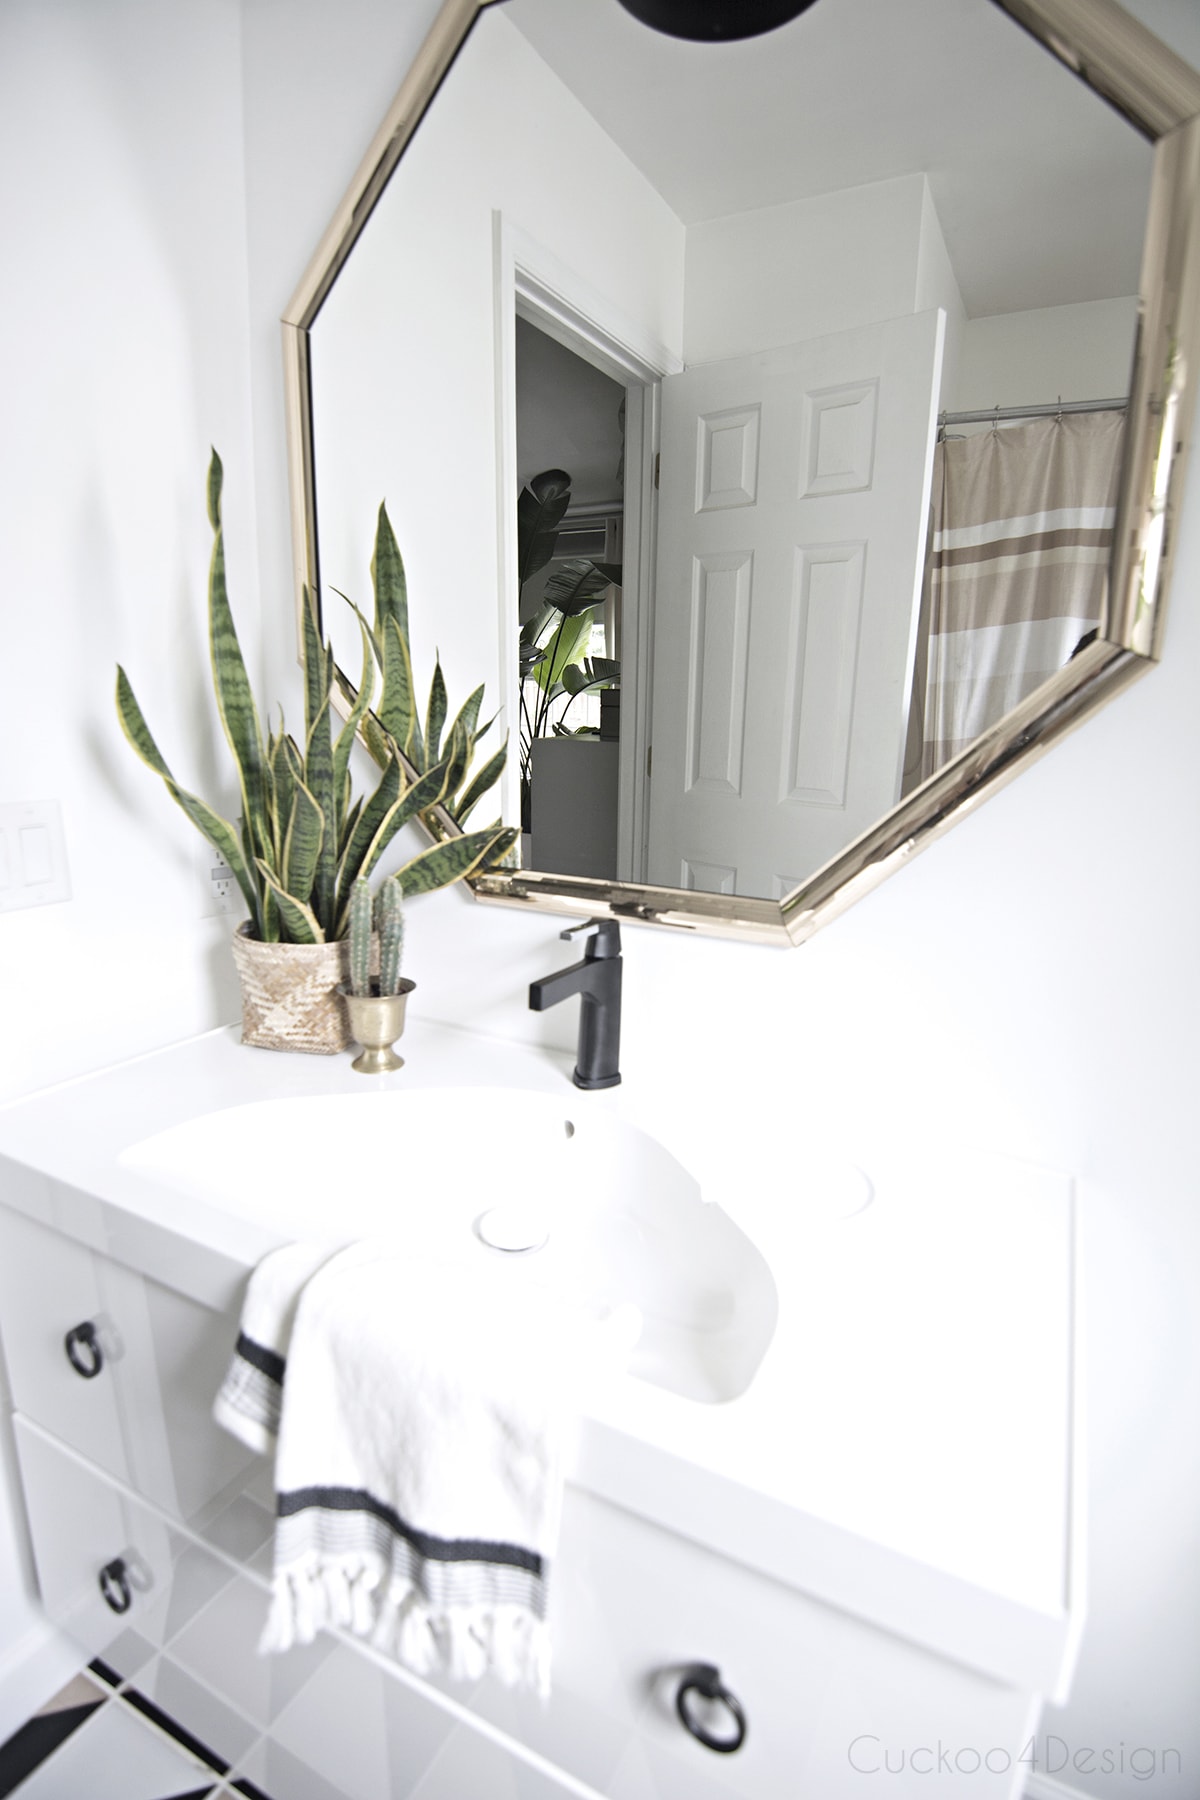
I wanted to see if I can fit a Delta Zura Single Handle Centerset Bathroom Faucet with Touch2O under an Ikea Gordmorgon floating vanity.
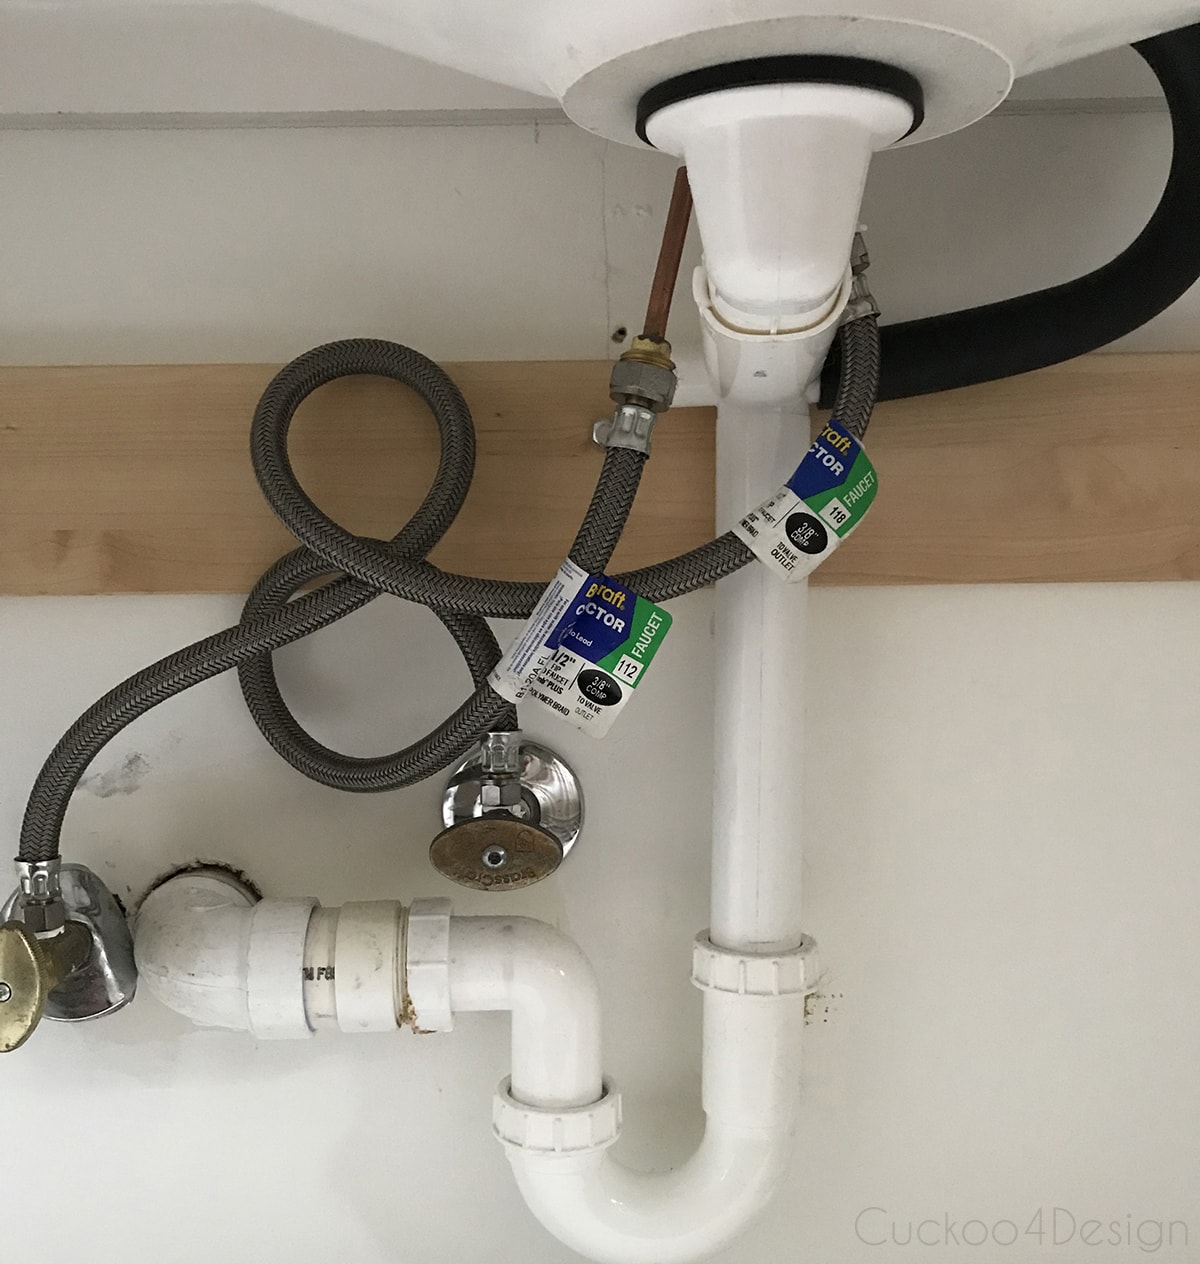
In the below photo, you can see what it looks like under an Ikea Godmorgon vanity. Everything needs to be against the top and side of the vanity so the drawers still fit in.
My always present helper.

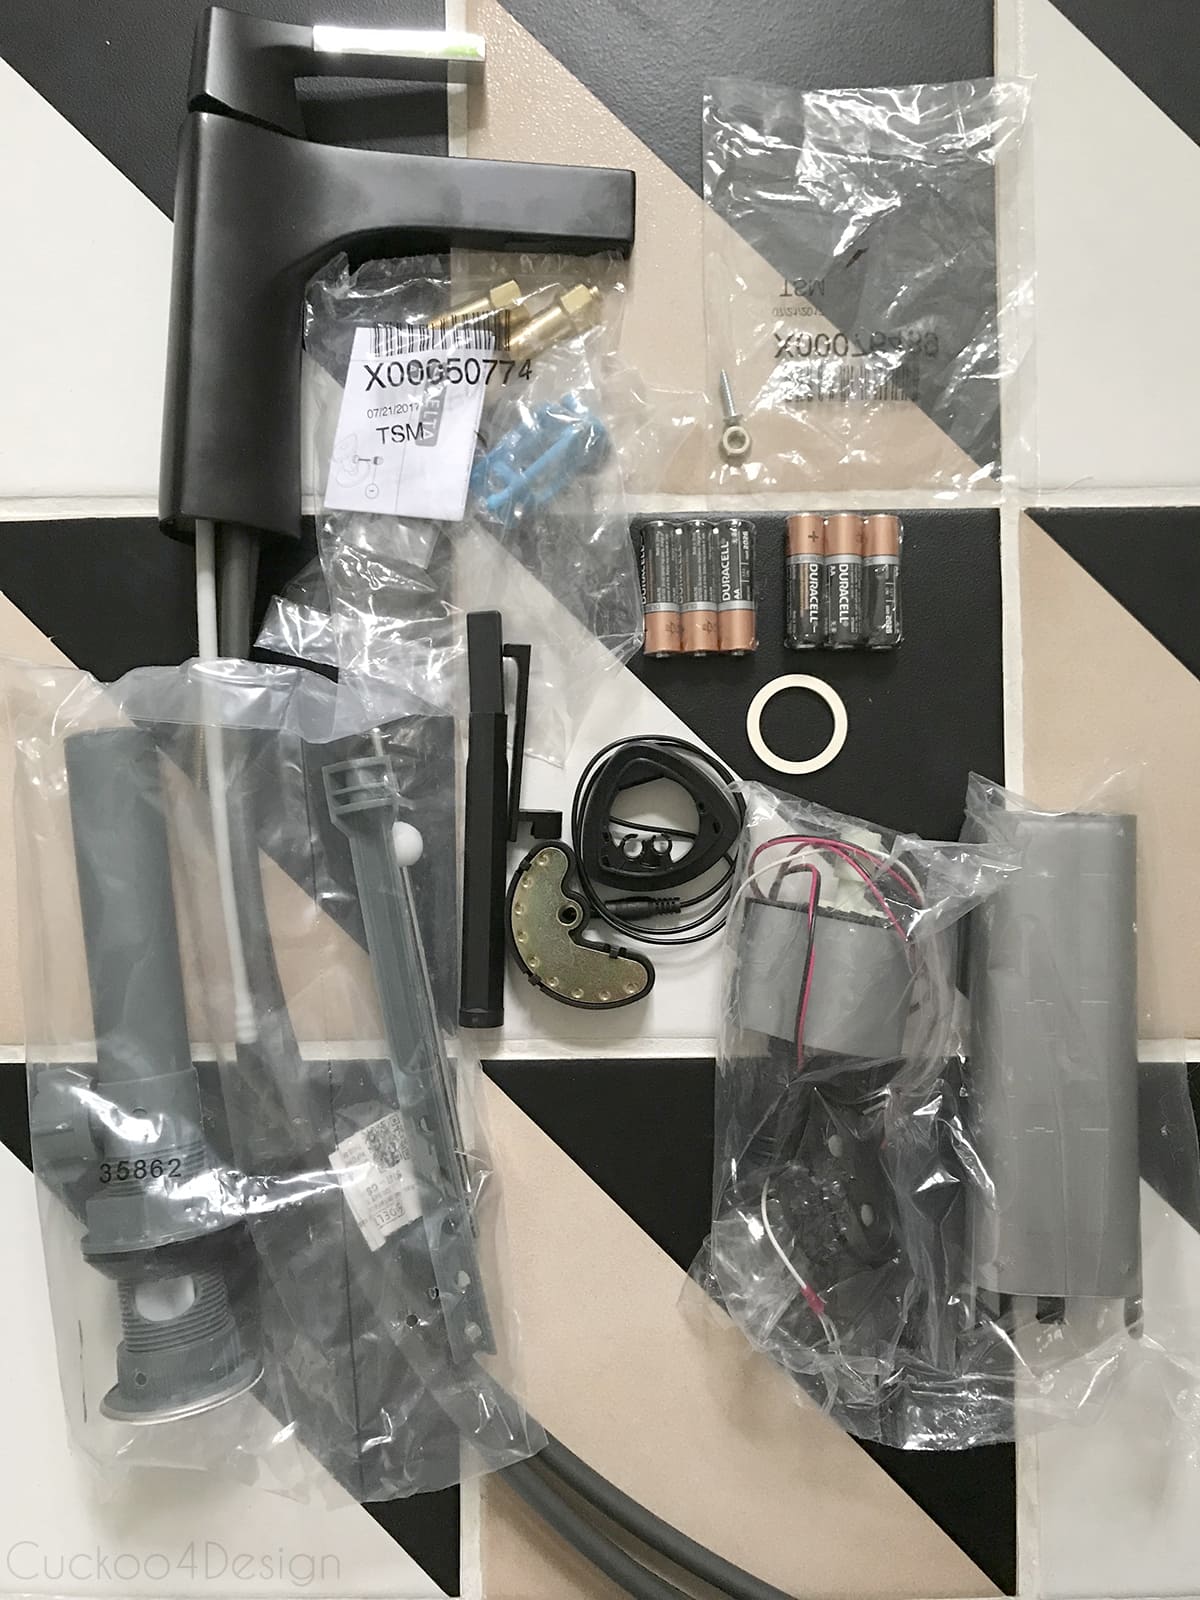
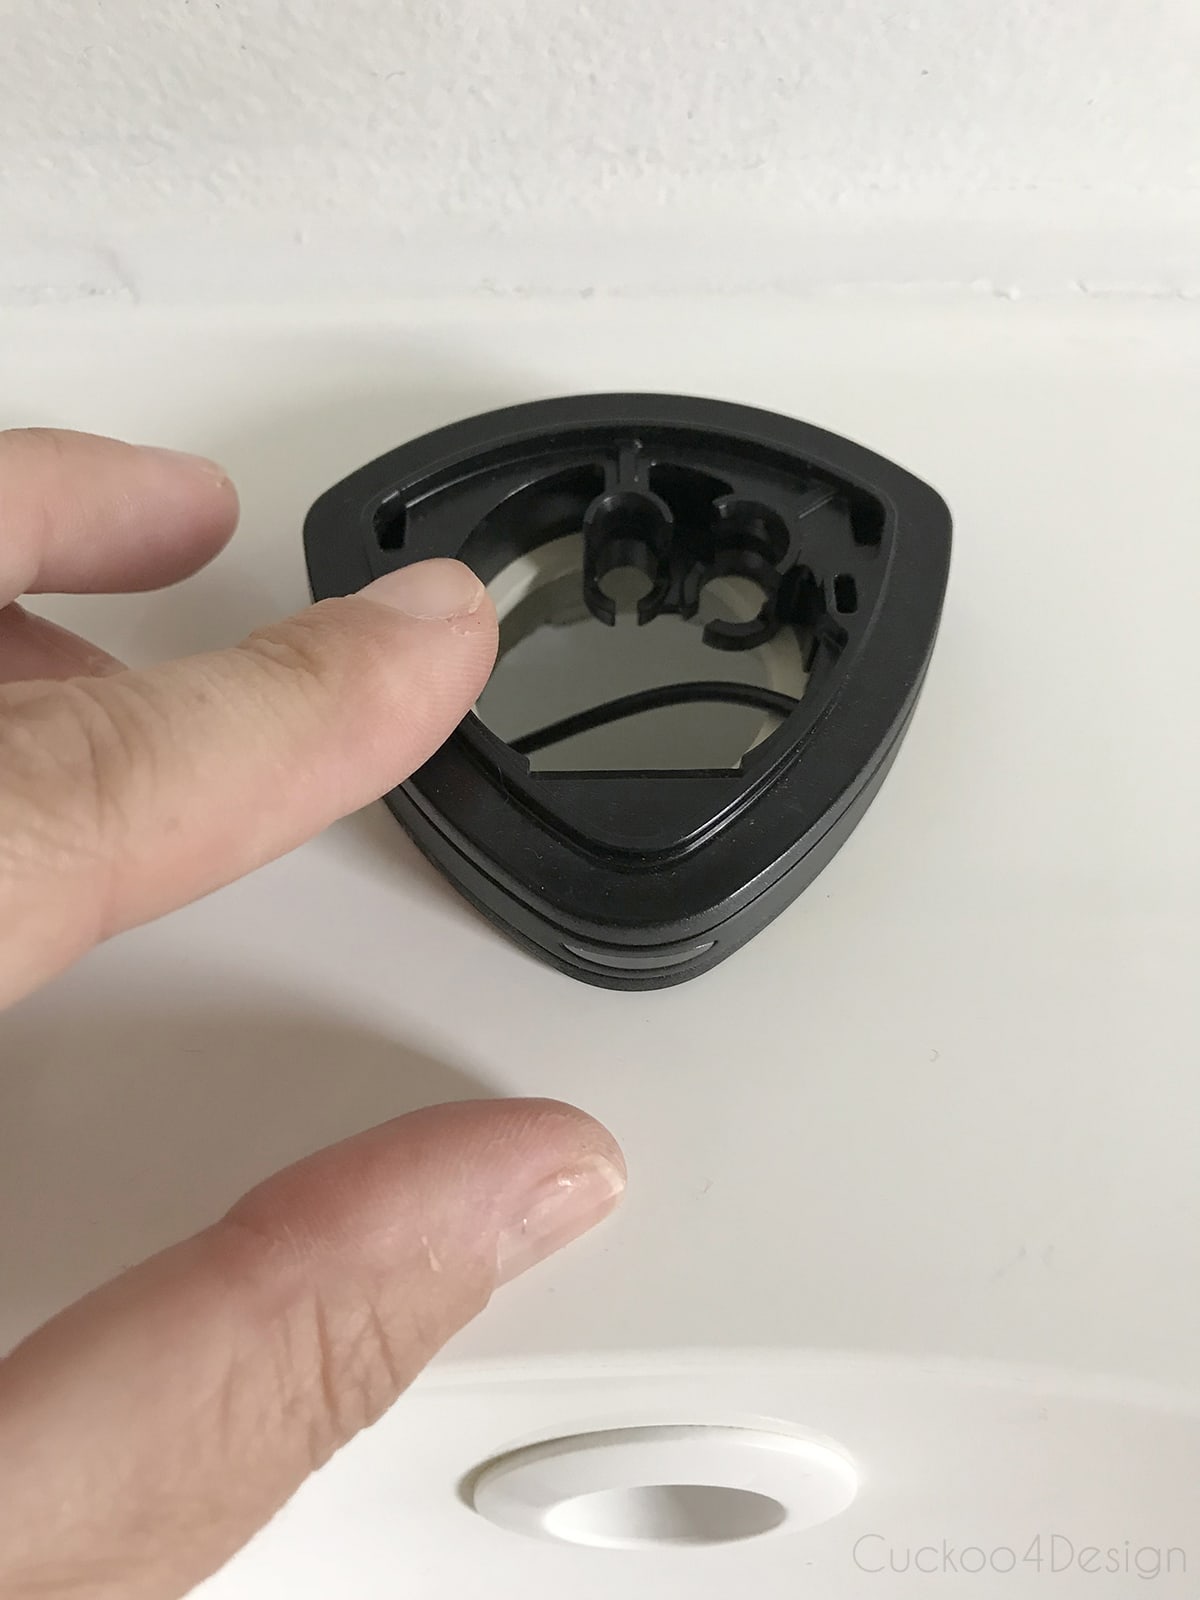
Here are all the pieces to the faucet. After reviewing the instructions, I already knew that I was not going to be able to use the drain that came with the faucet because of the bent drain that is needed to have the drawers function correctly.
Materials and supplies needed
- wrenches to fit the screws (the set comes with a plastic wrench but I still found it helpful to get behind the hookup with my own wrench)
- faucet comes with everything else needed
Instructions
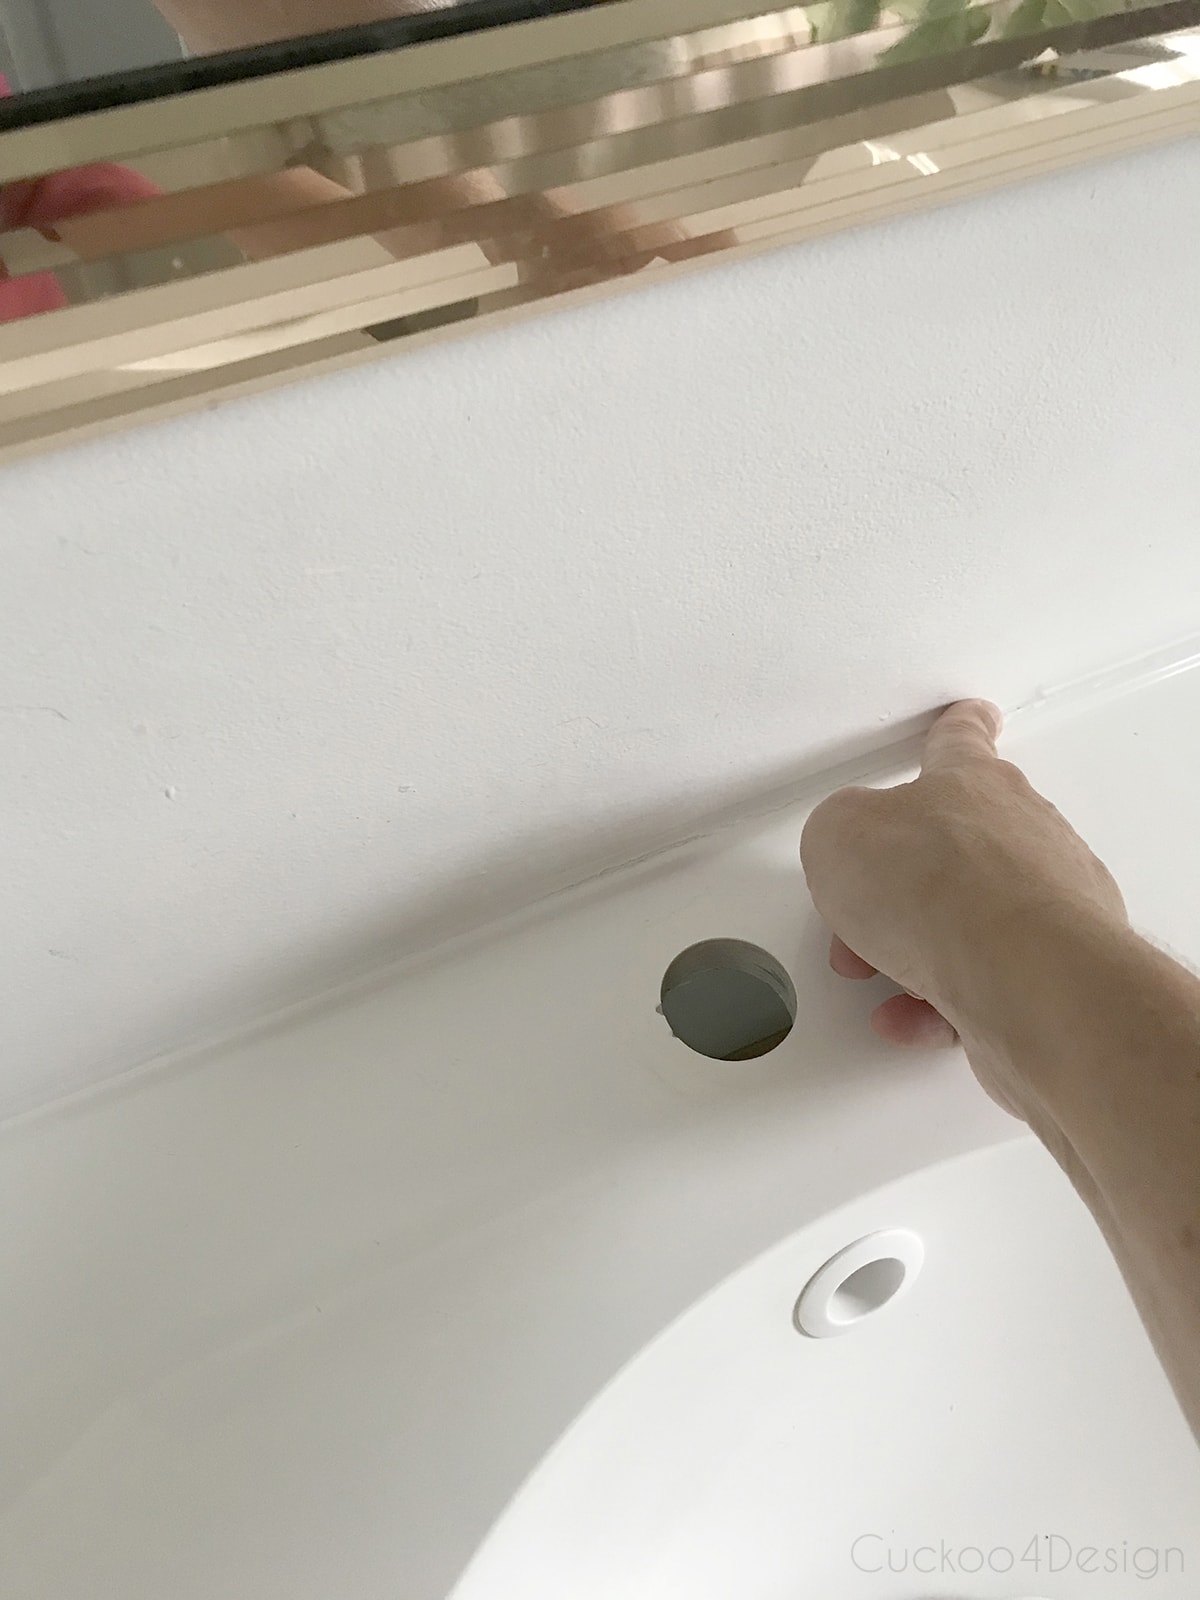
After I turned off the water, I removed the old kitchen bar faucet. It’s always a good idea to install a new fresh coat of caulk at the back of the sink when there is no faucet which I did as you can see in the below photo.
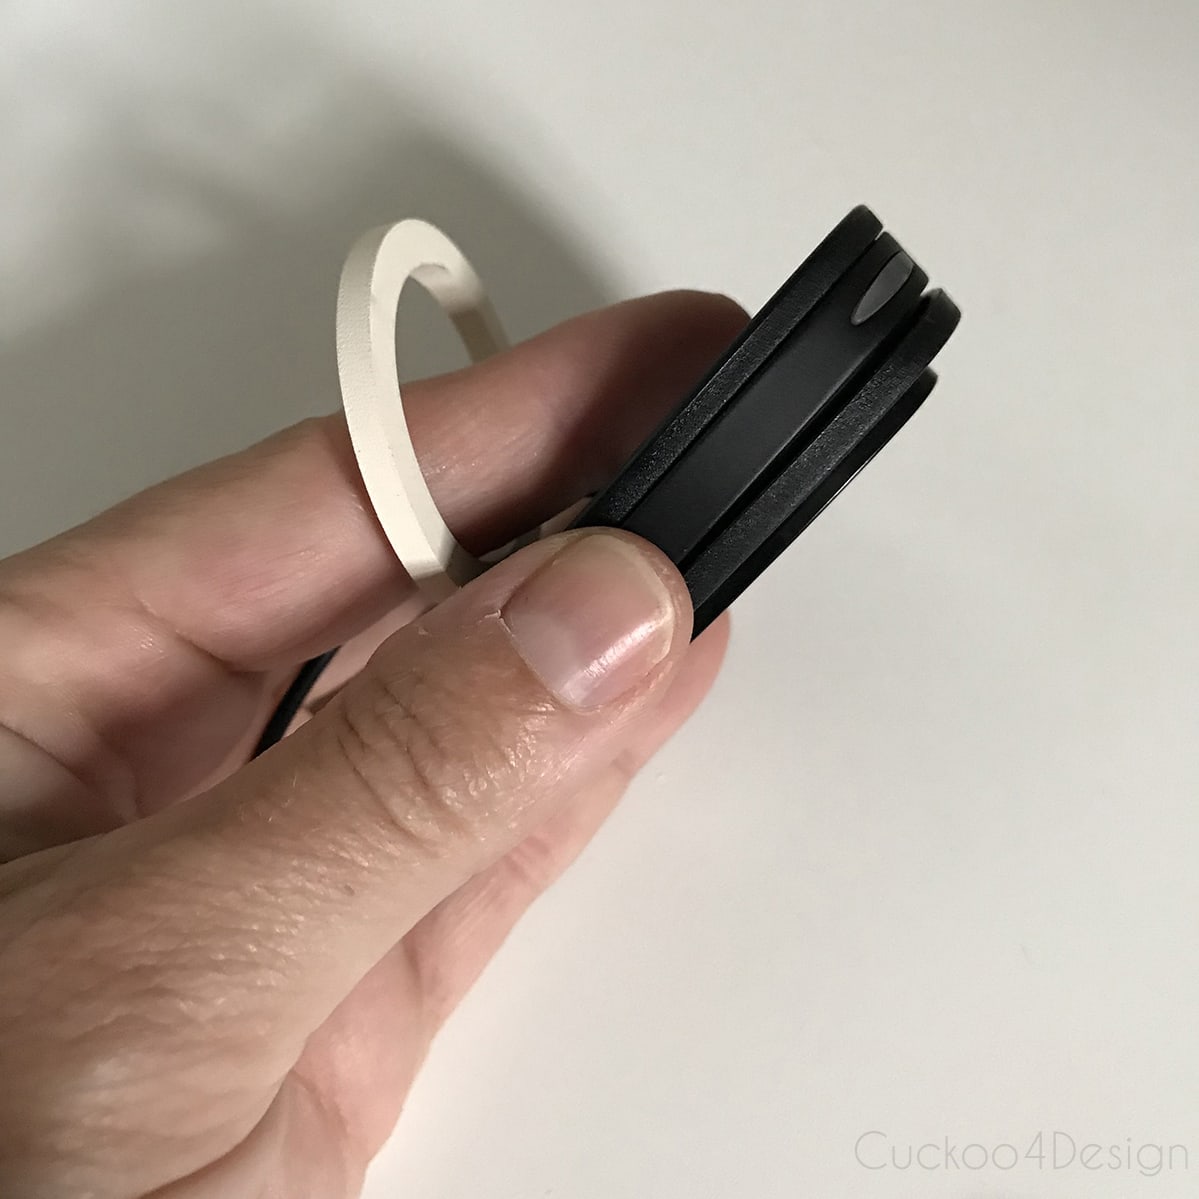
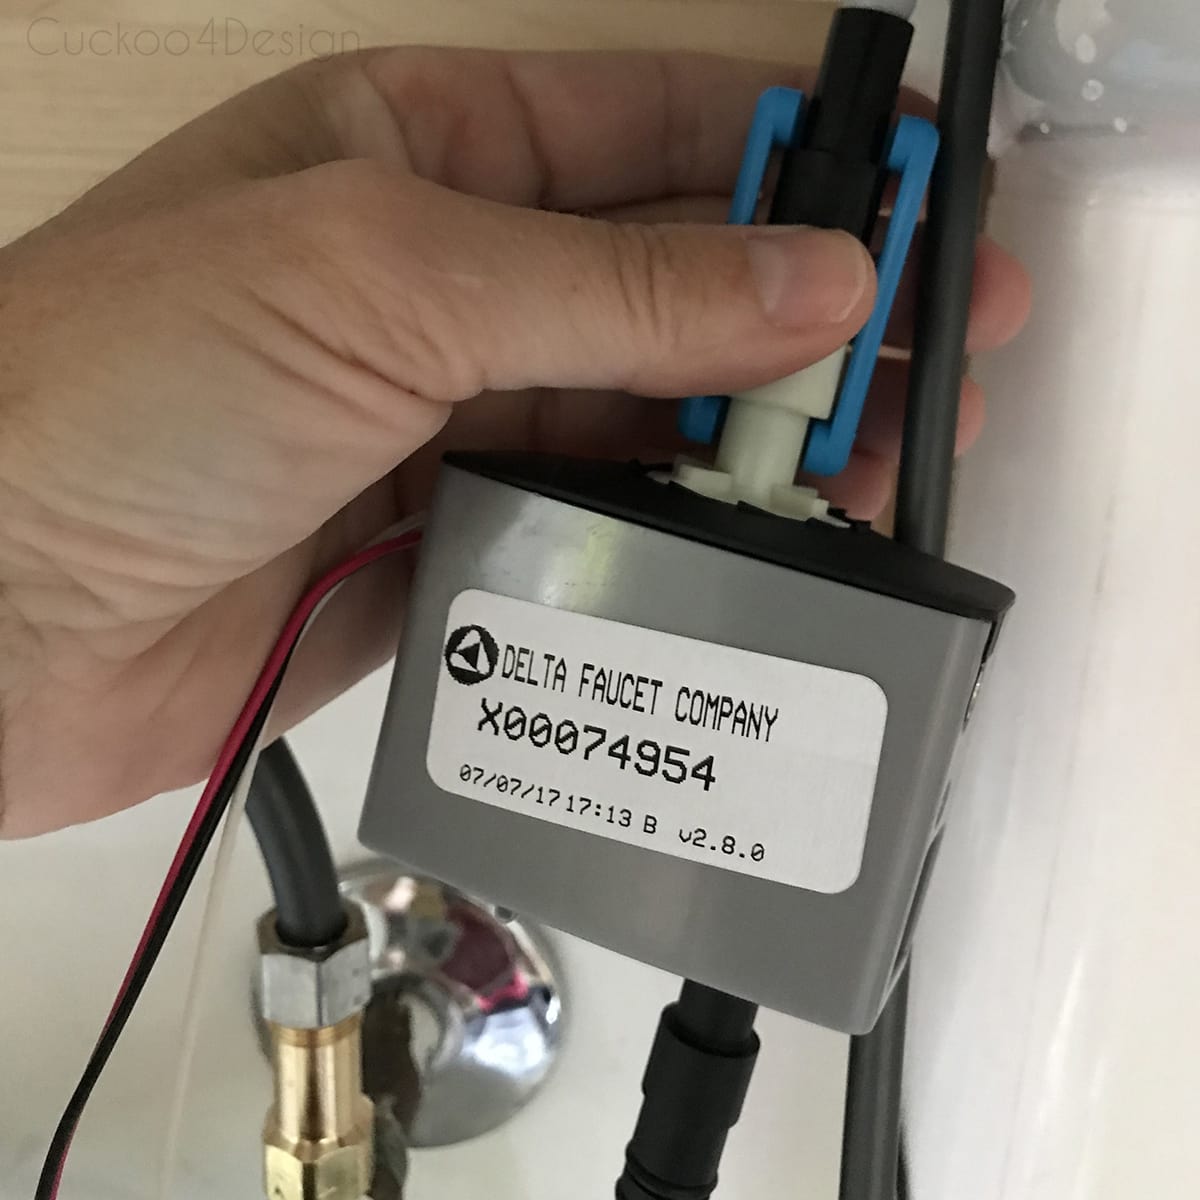
I started out with the first piece which is the most important. The touch indicator with wiring.
Then I threaded the faucet and hoses through the sink hole.
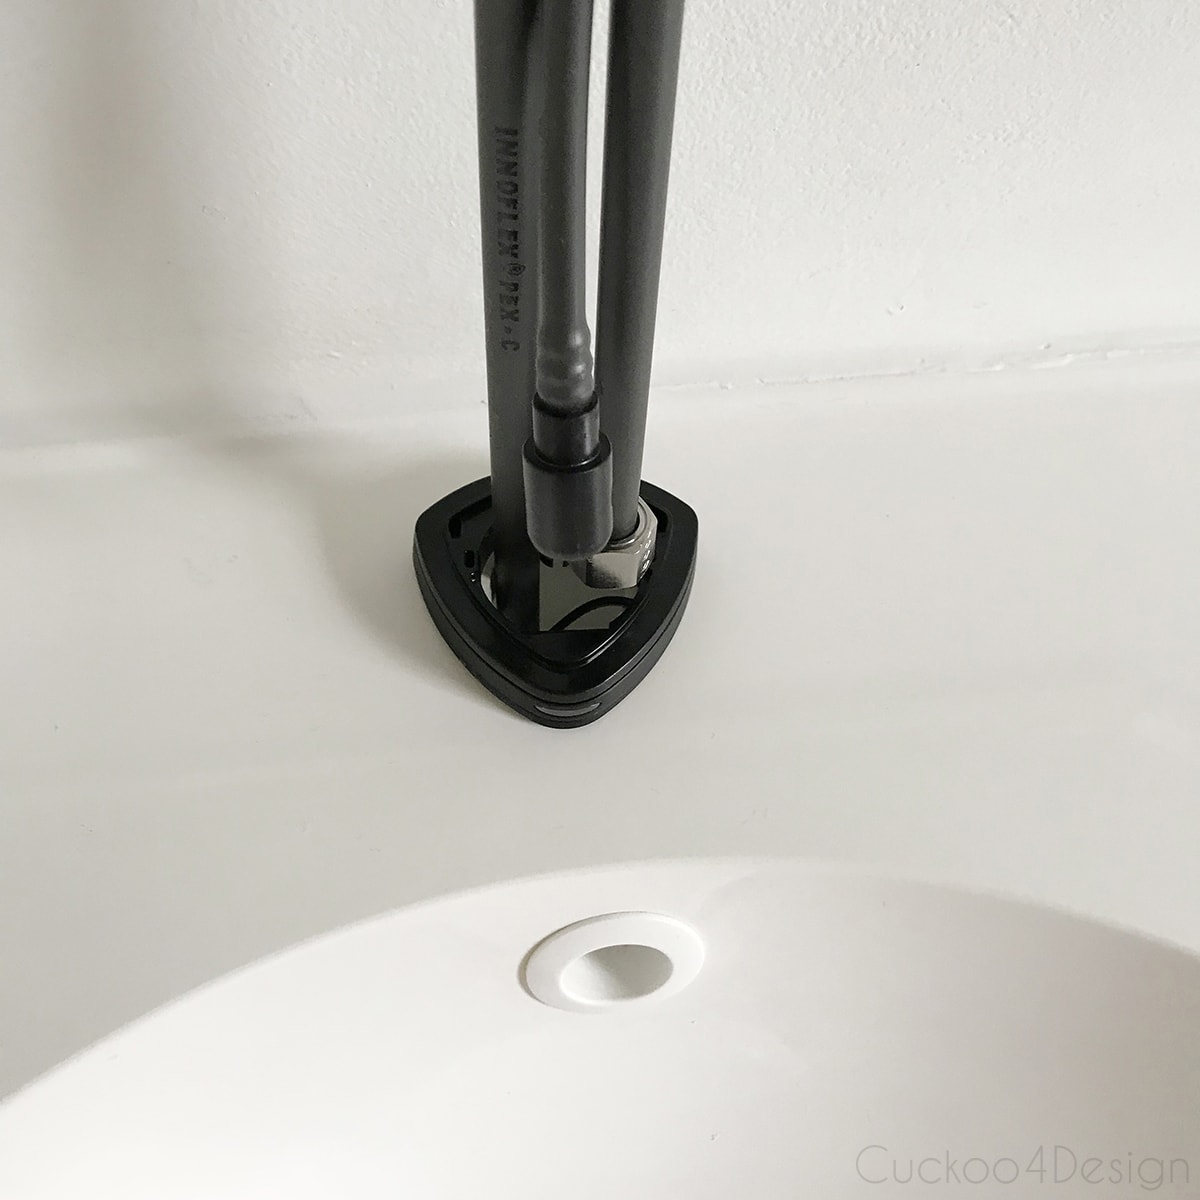
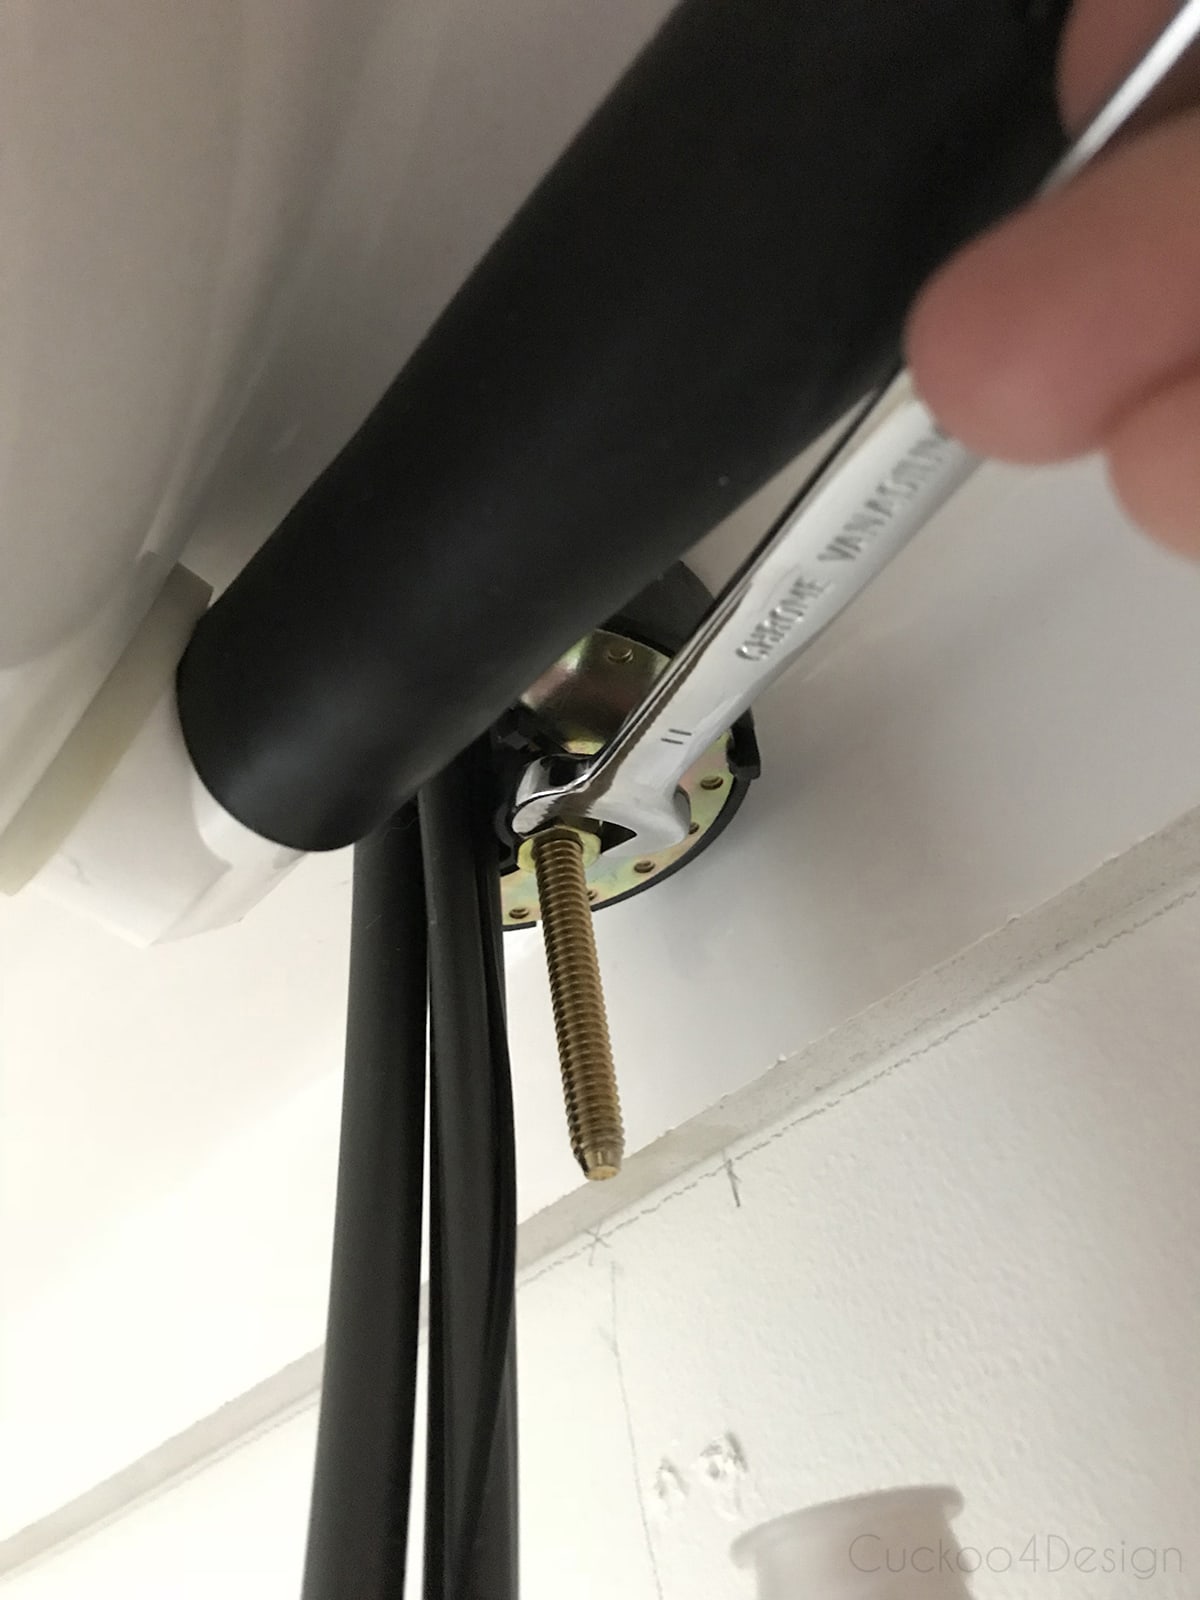
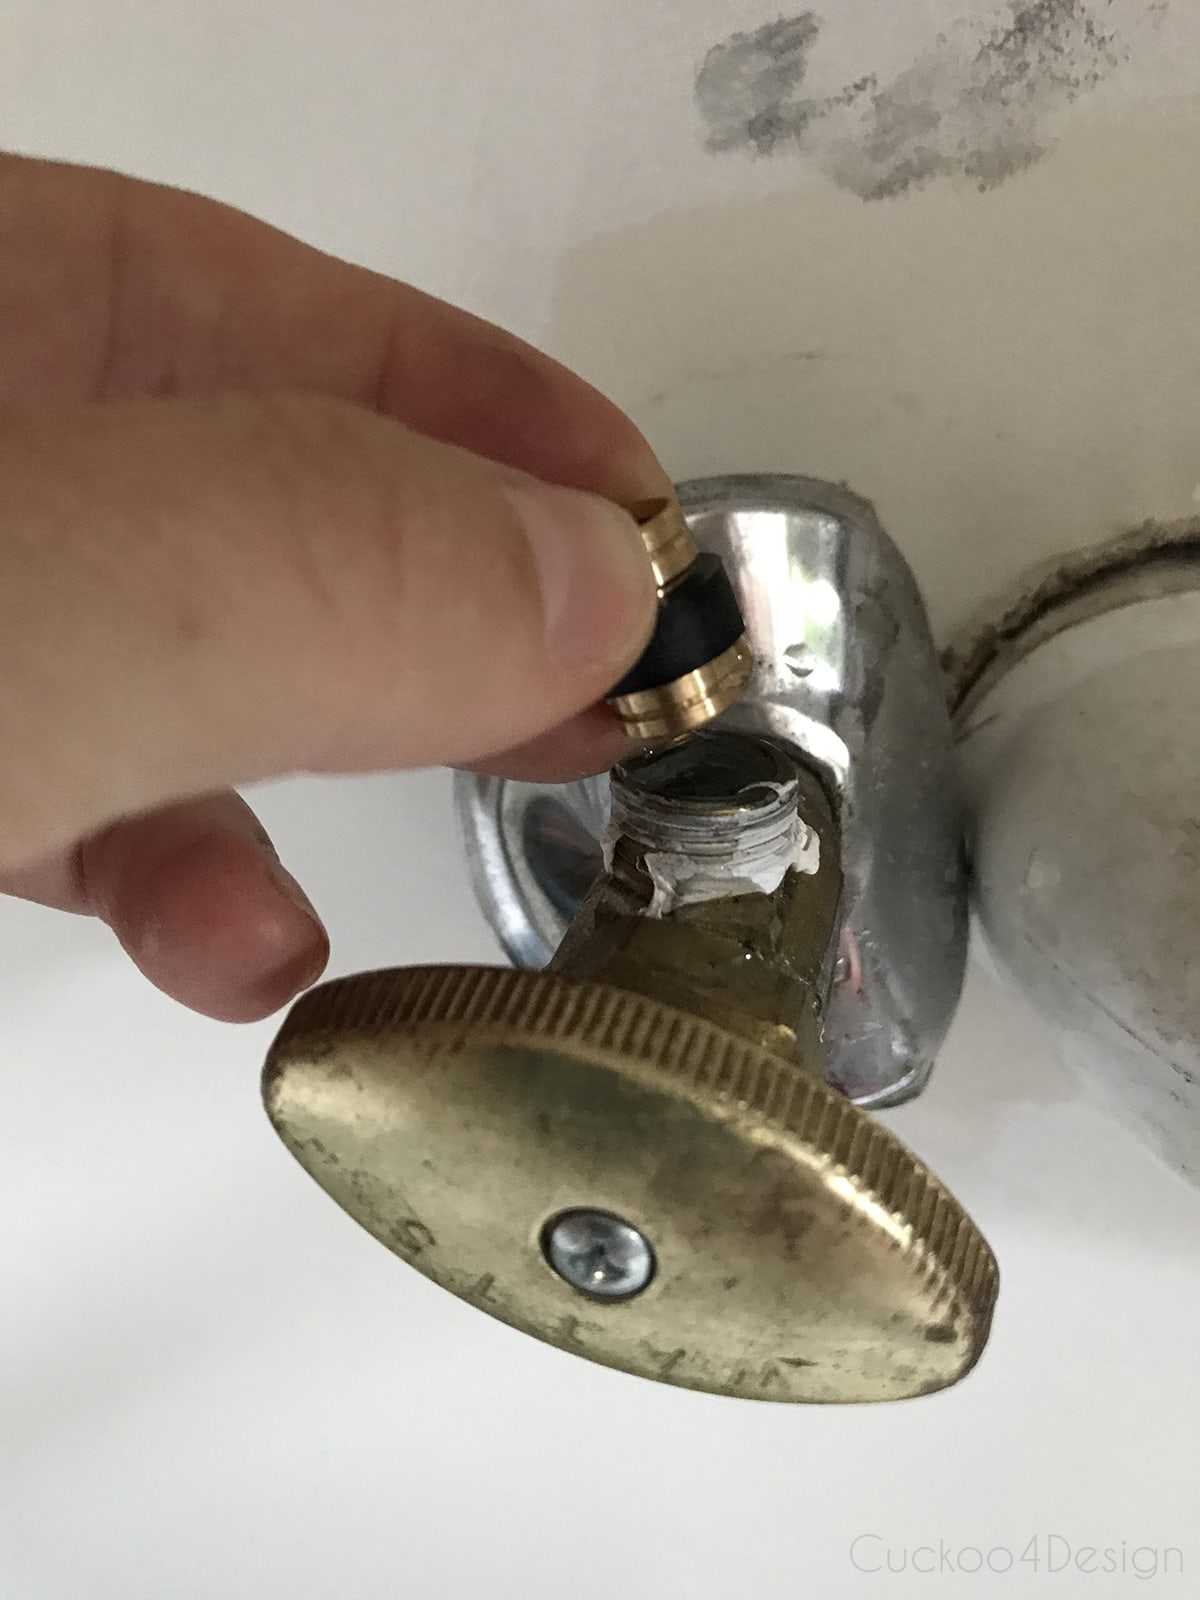
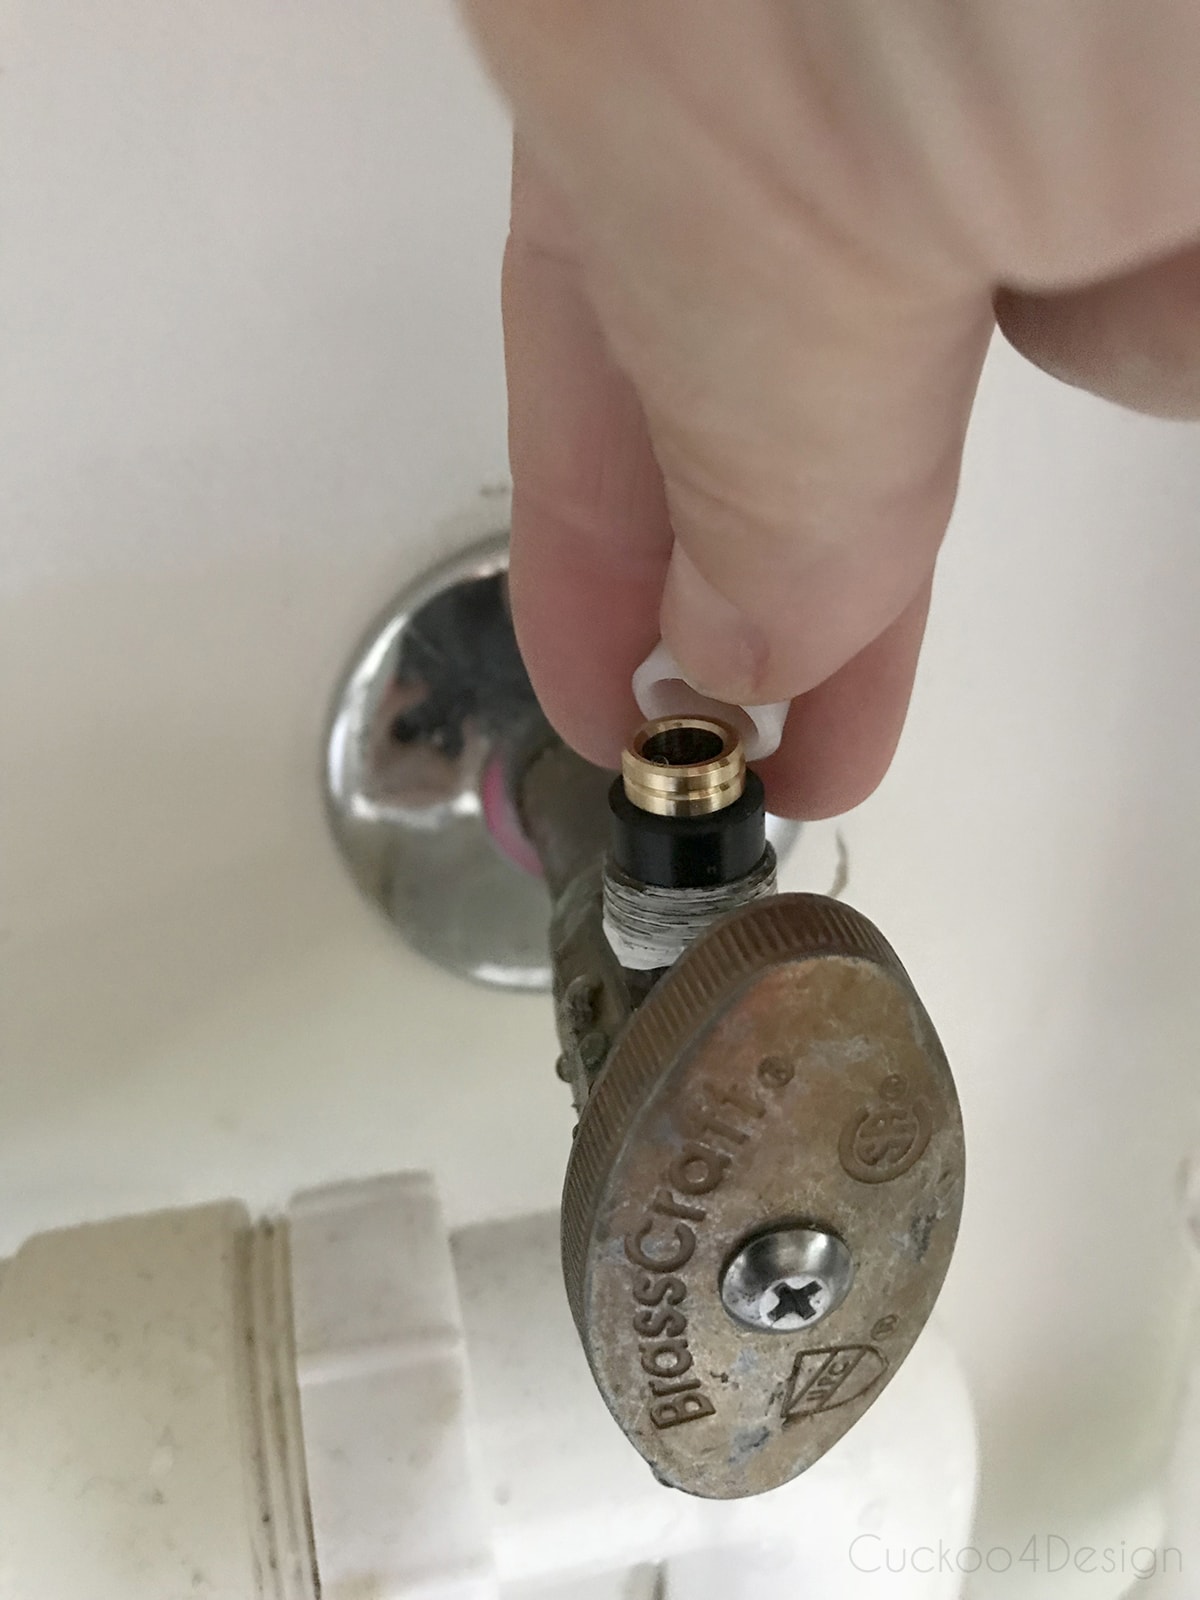
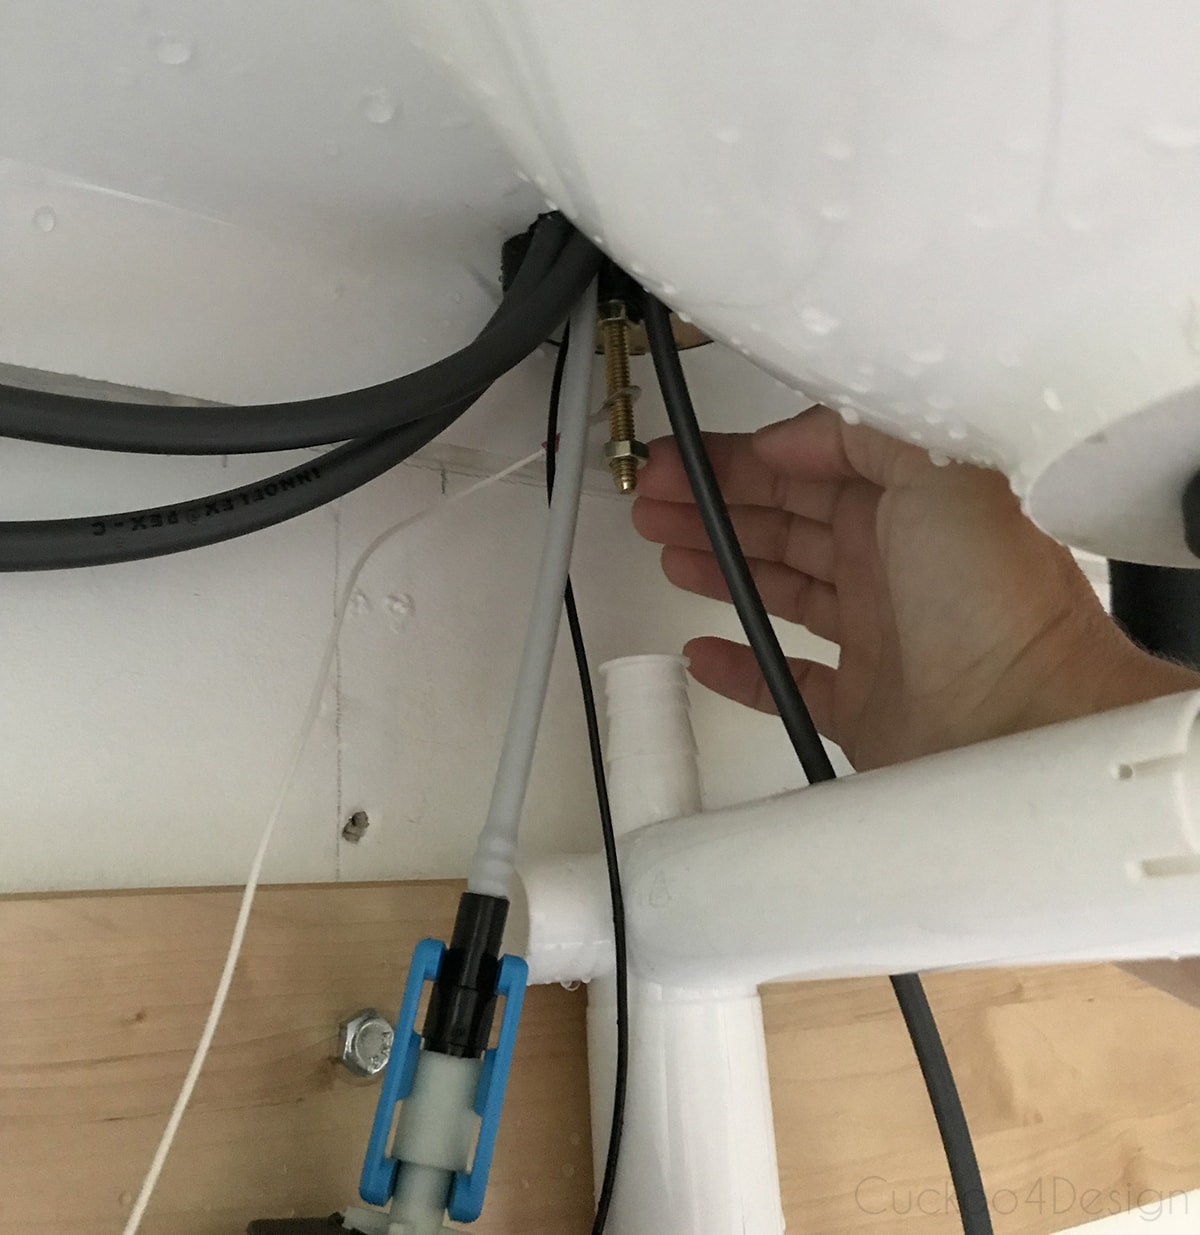
The Delta faucet comes with a tool to tighten the under-mount screw but on the Godmorgon vanity you can’t use it and you have to use a standard wrench to tighten the screw to keep the faucet in place.
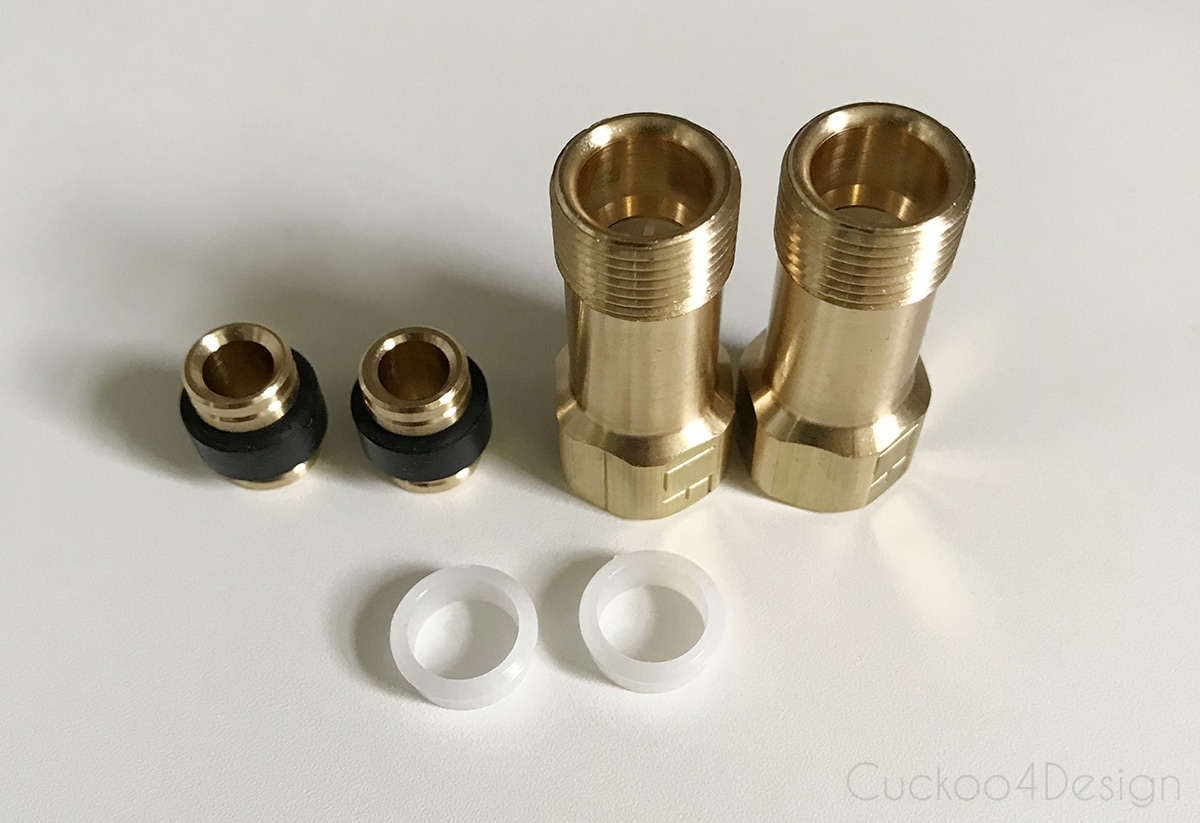
The next pieces are needed for the water hook up.
The step-by-step instructions that come with the faucet are super easy to follow and it went really smoothly.
One piece after another and it all came together perfectly.
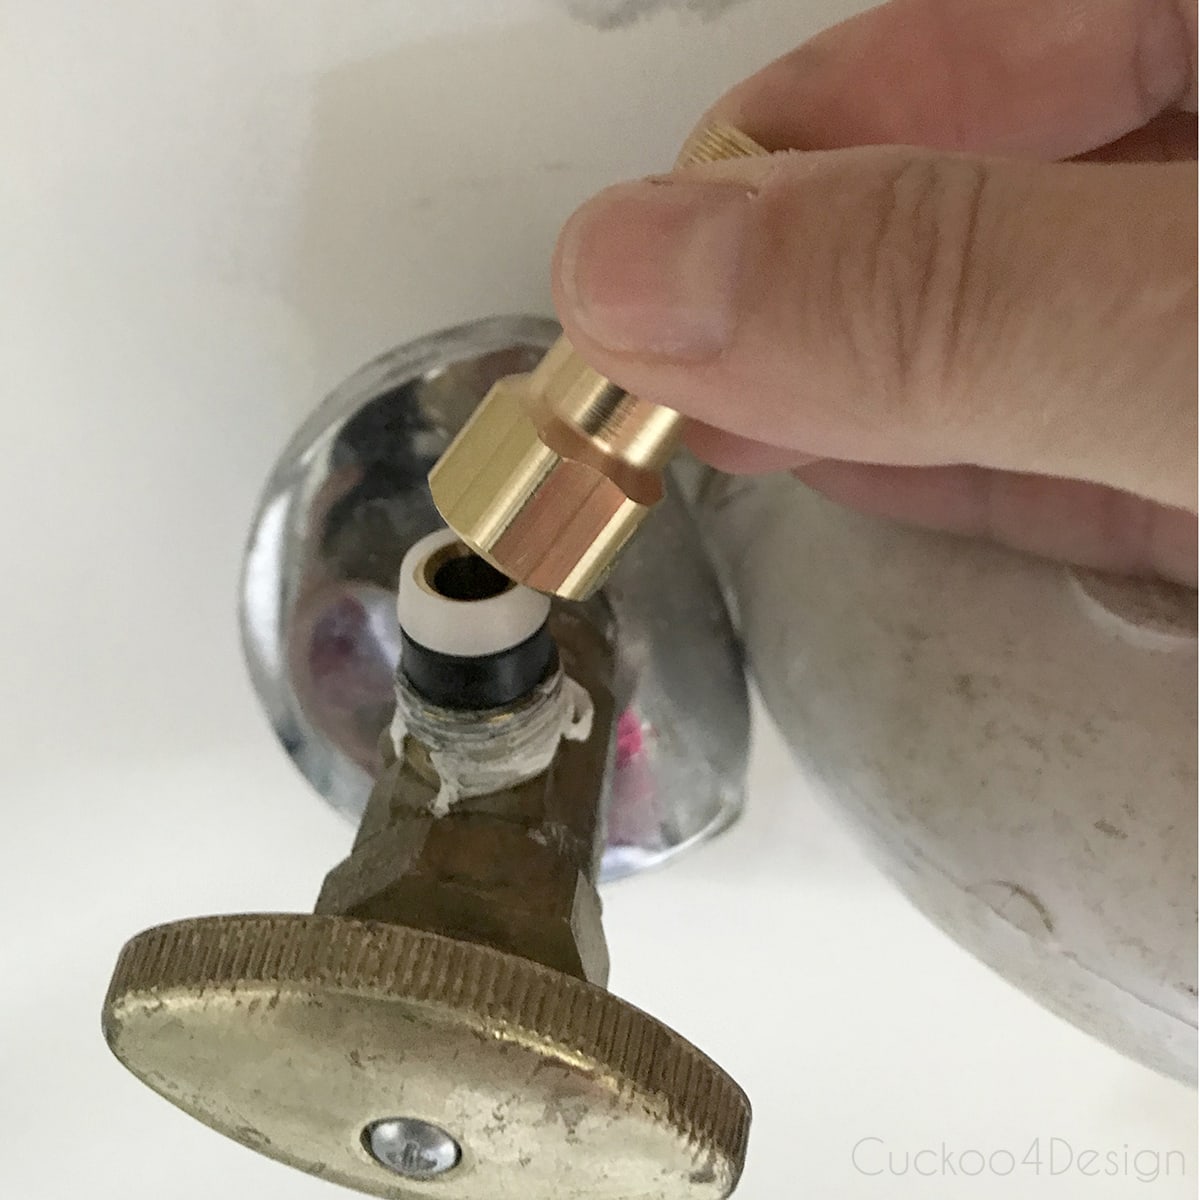
Connect the hose parts.
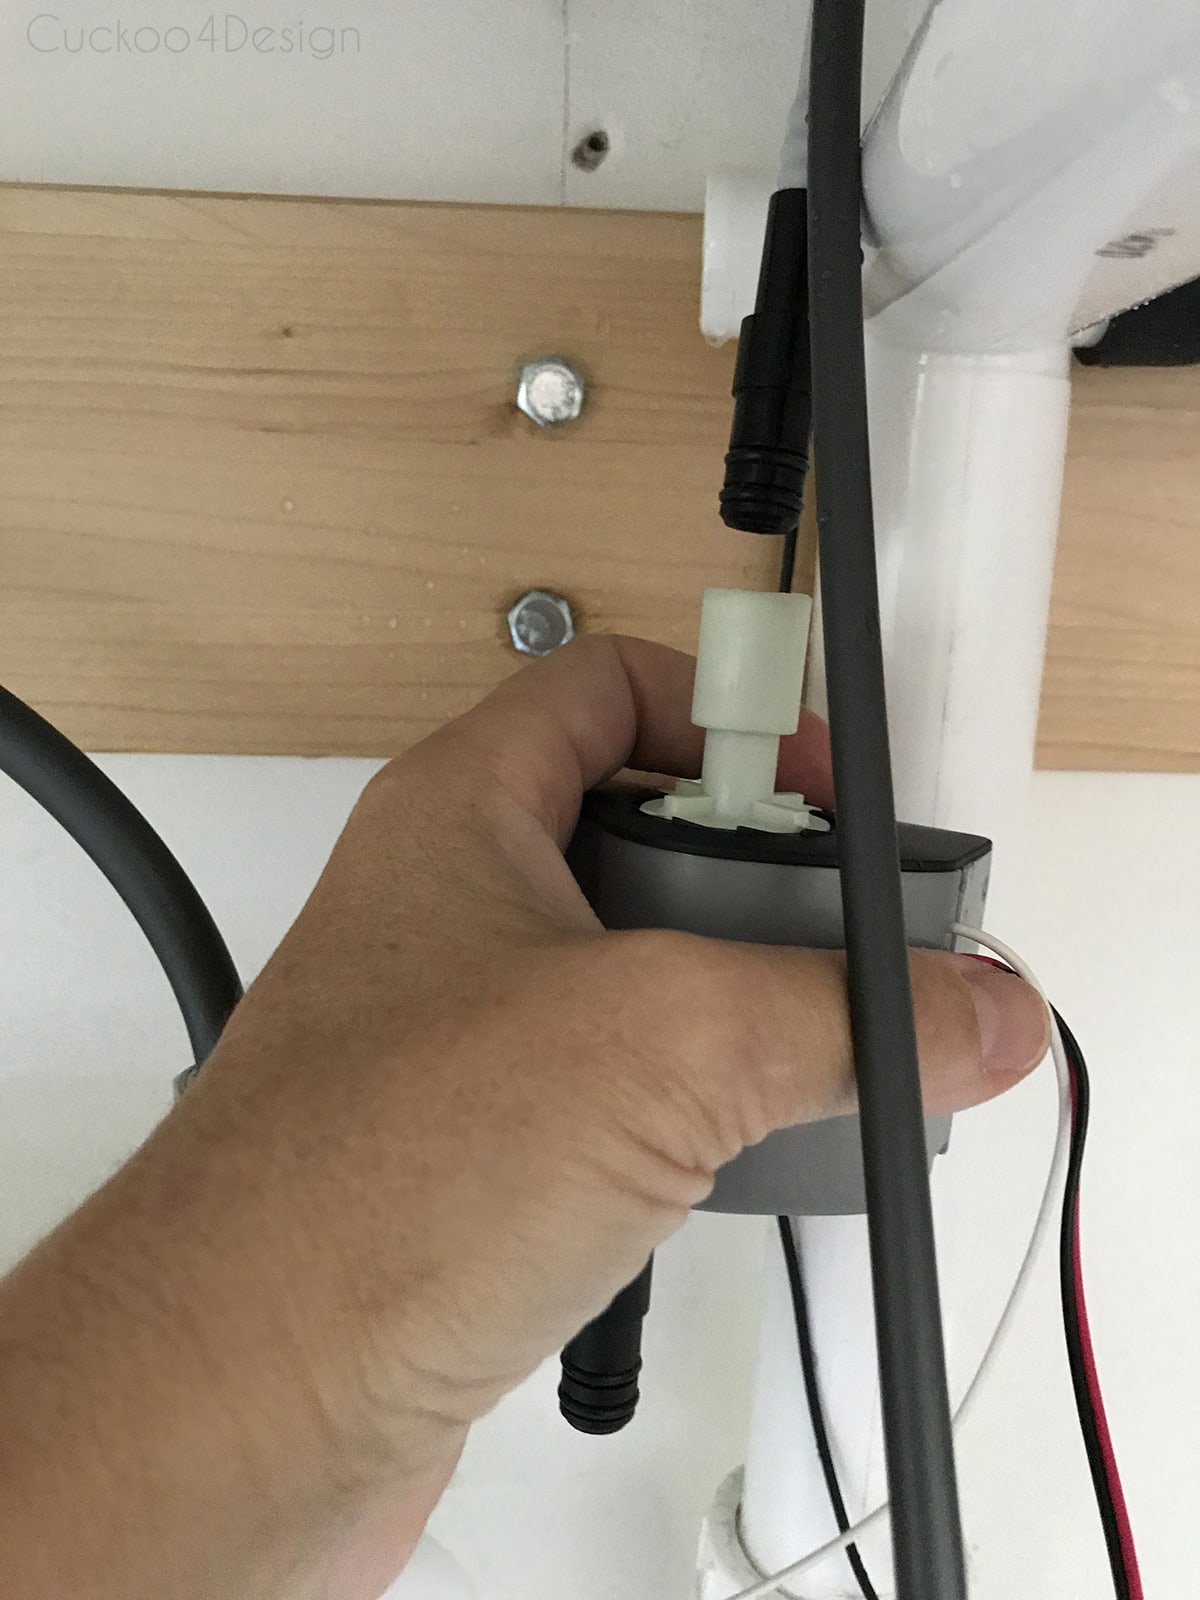
Always make sure you connect the electrical pieces the right way.
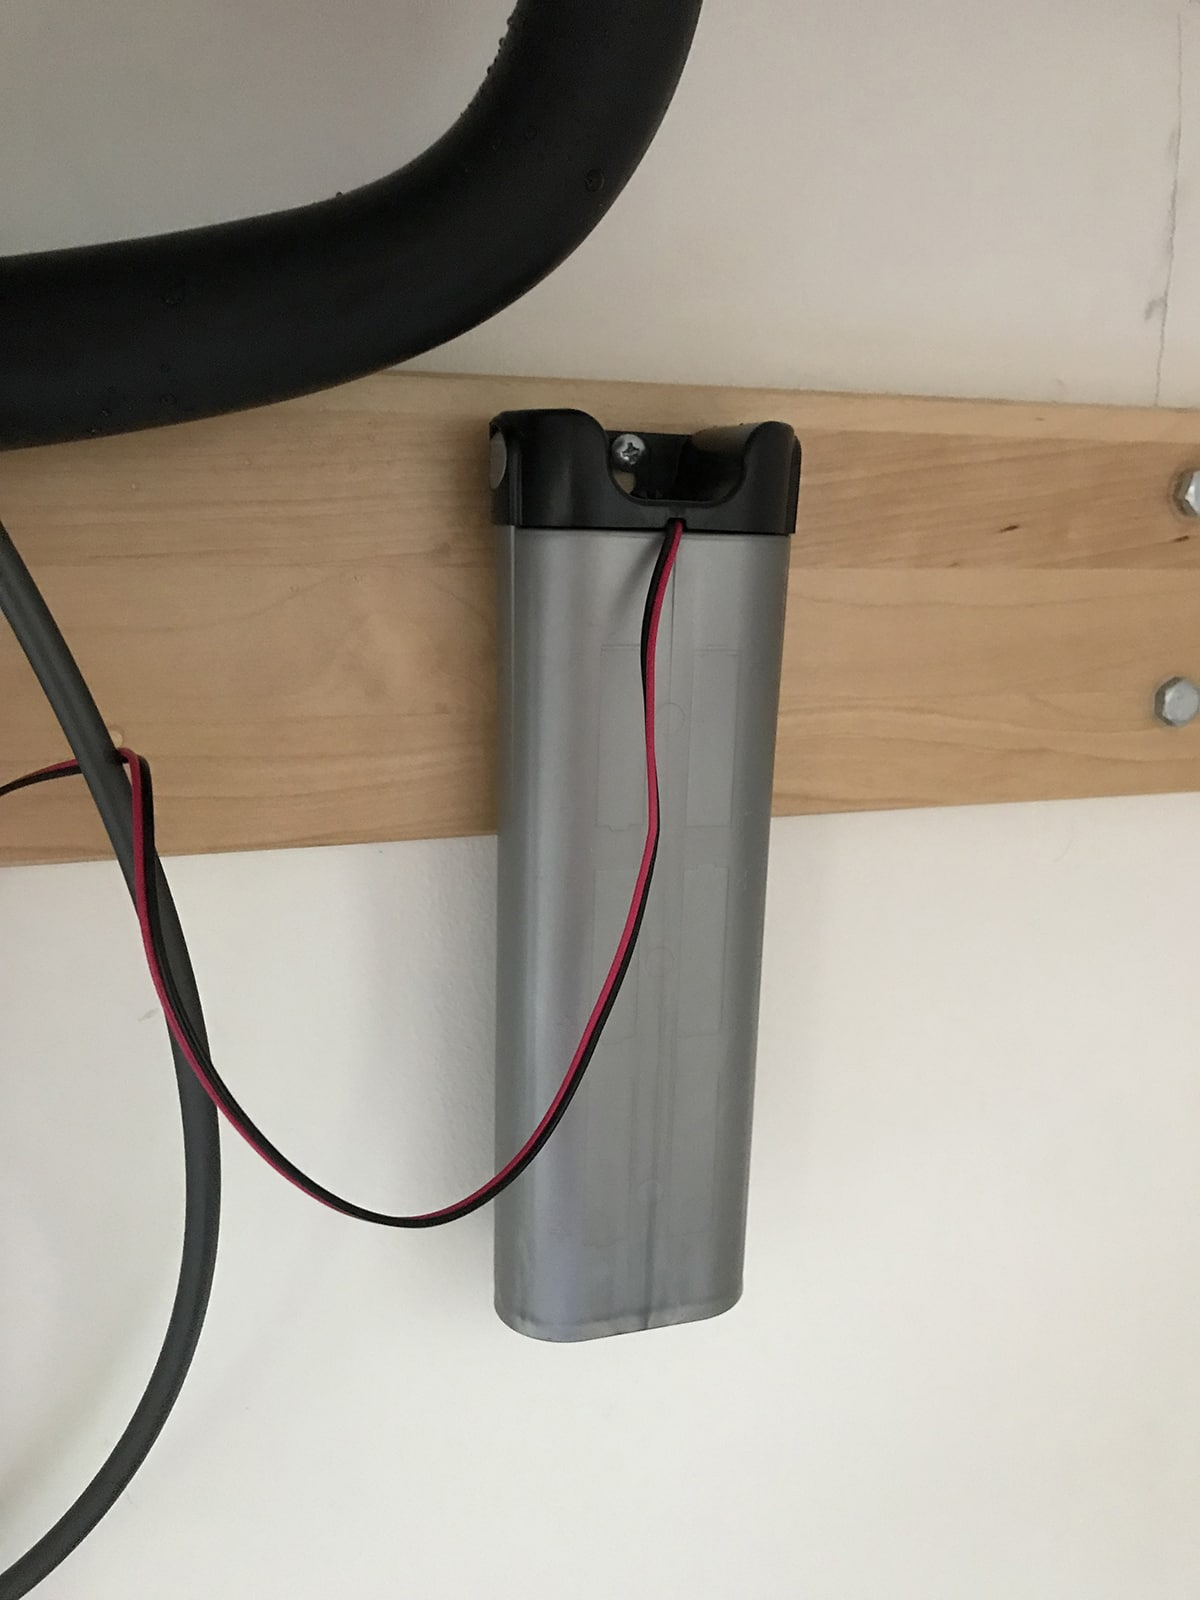
The nice thing about the Godmorgon floating vanity is that it is mounted with a big piece of wood in the back which in this case can be used to mount the faucet battery.
It all fits under the vanity perfectly except, like I said, the drain. I kept the white popup drain and drain hole that came with the Ikea vanity and just removed the back pull-up lever for the sink drain.
{see my blog post about my tile makeover}
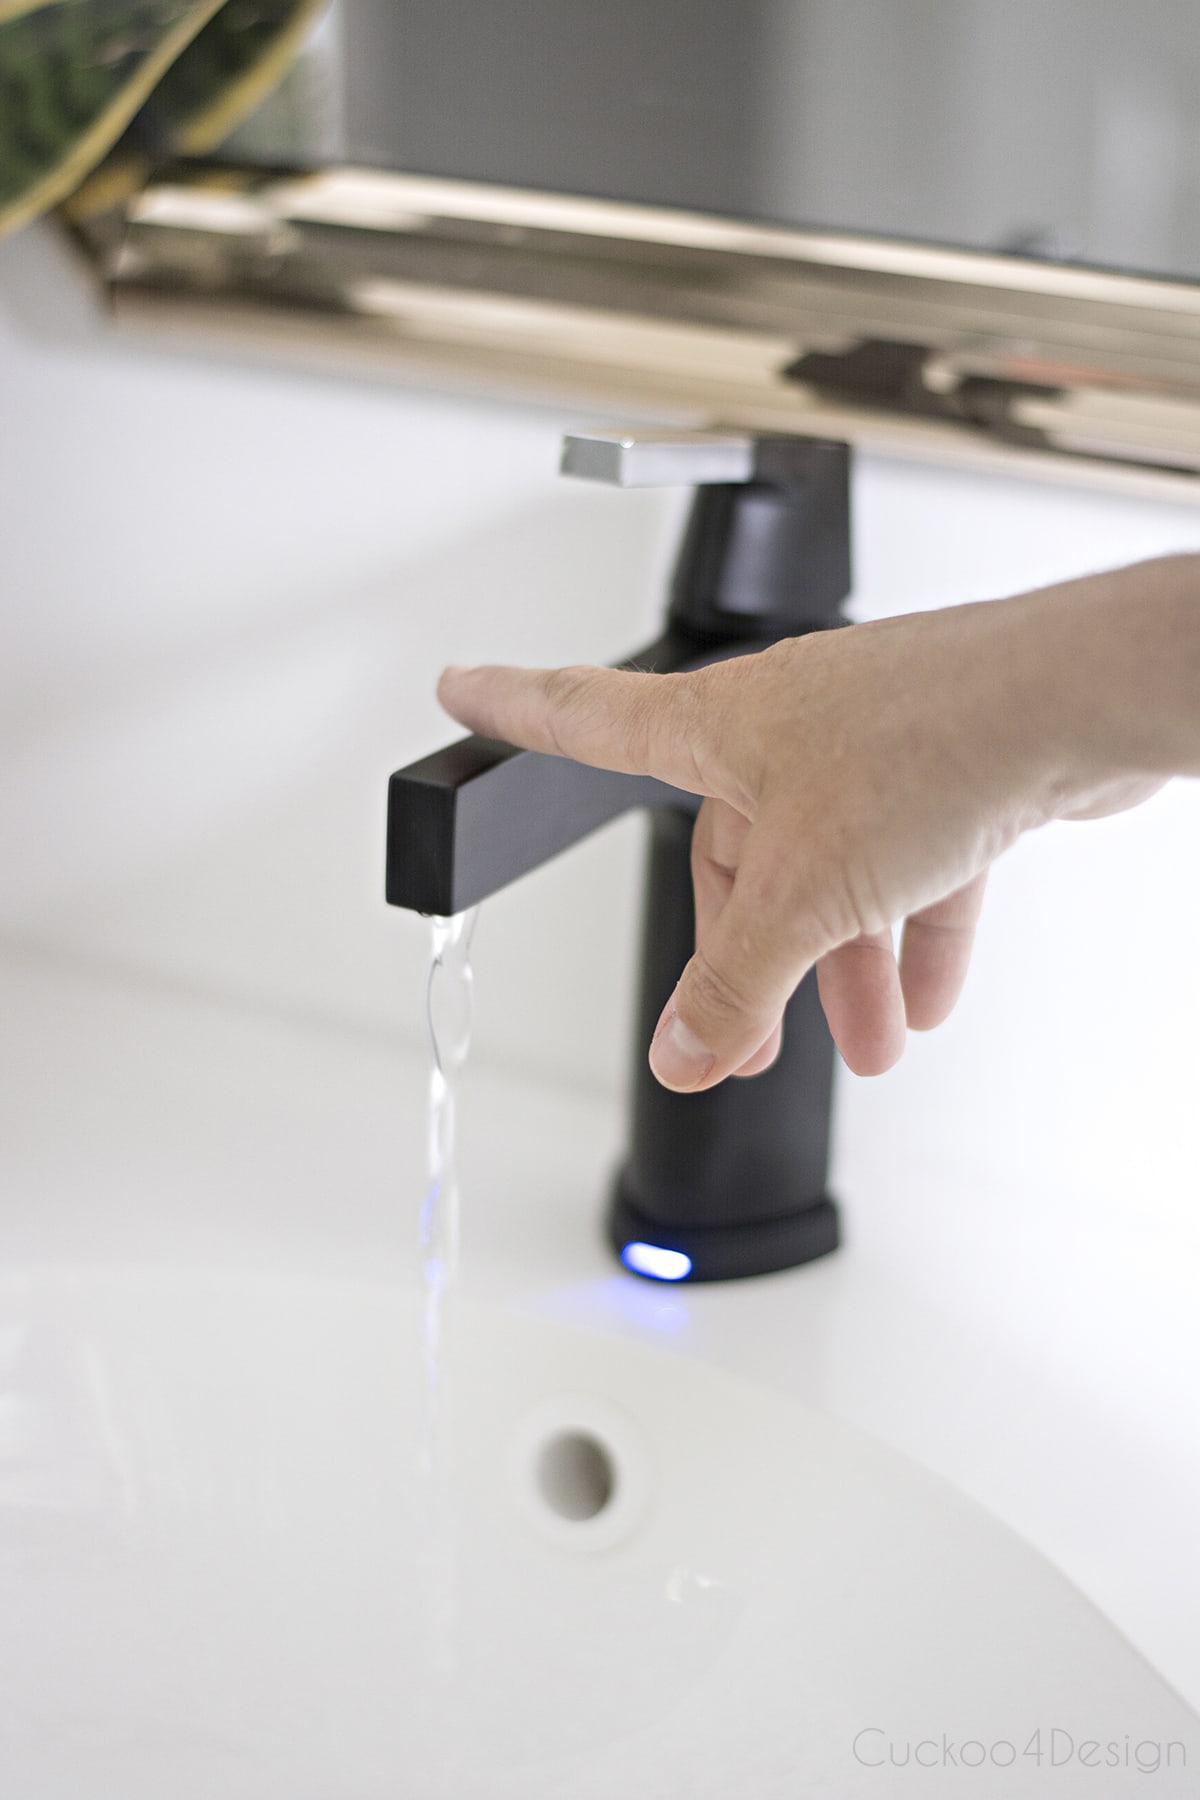
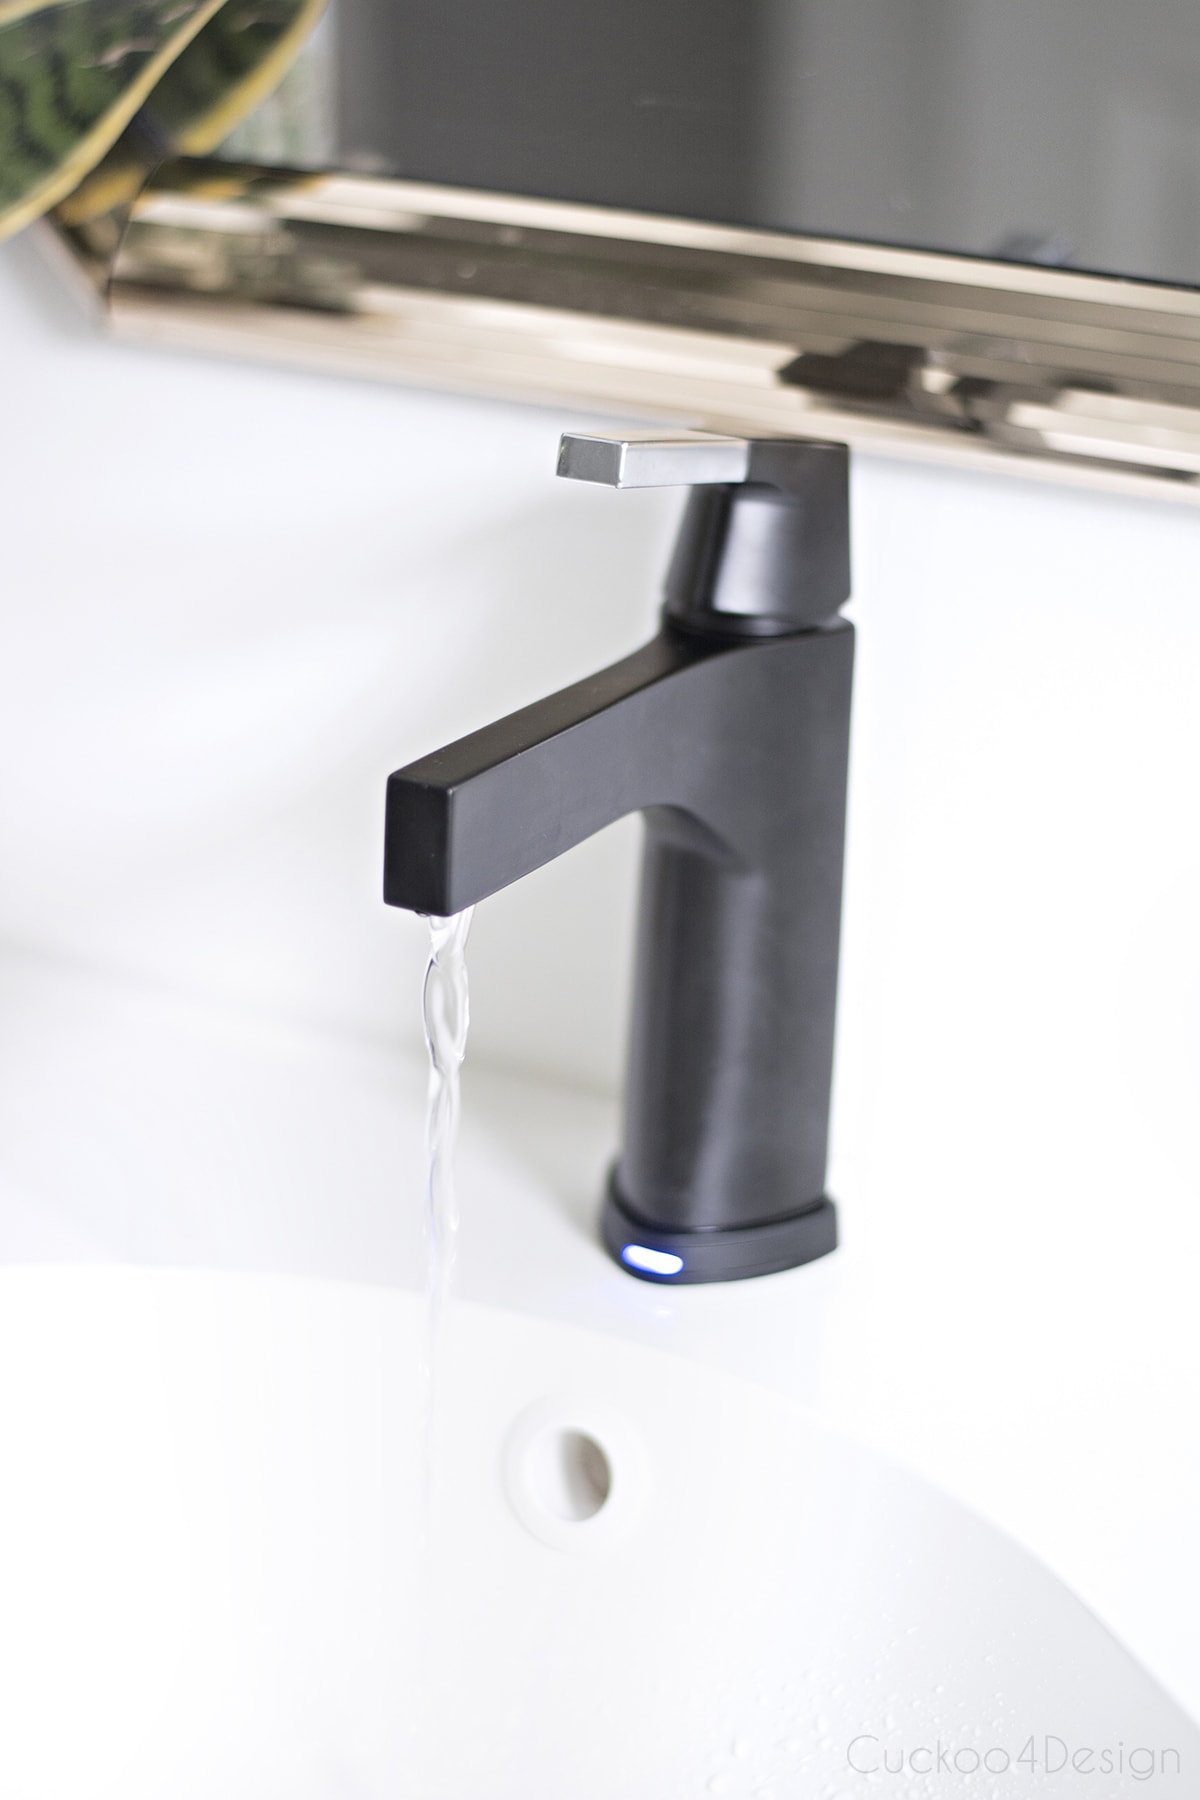
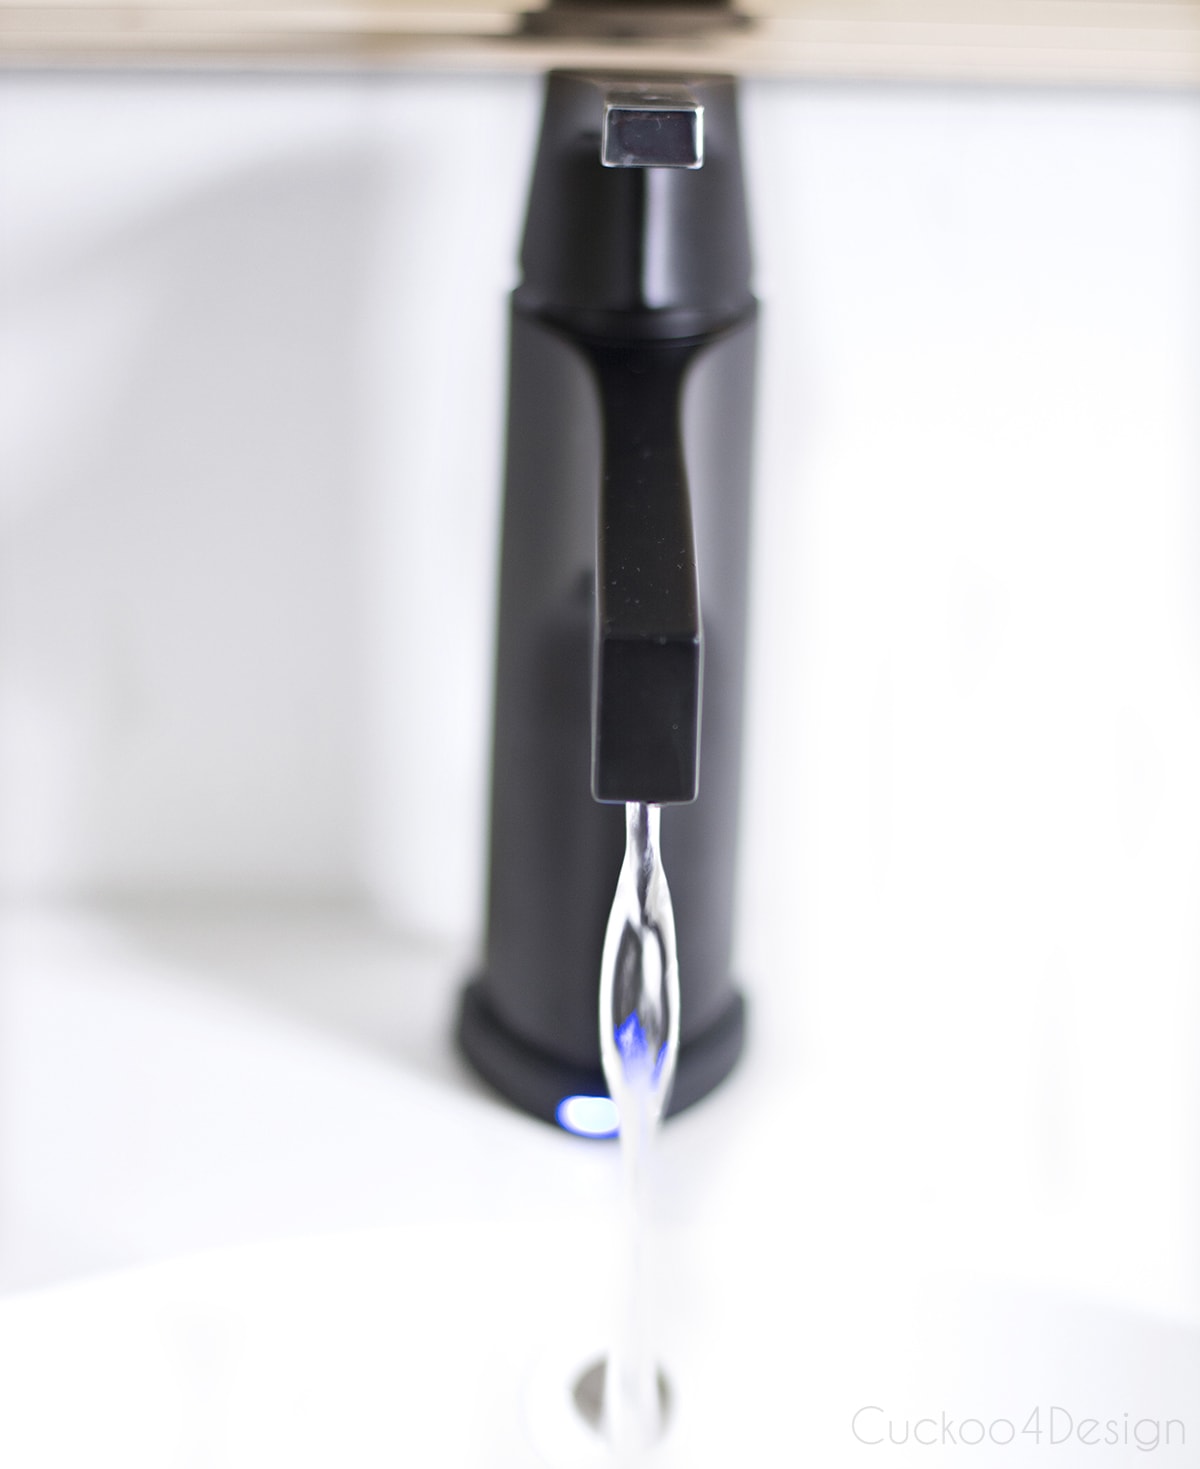
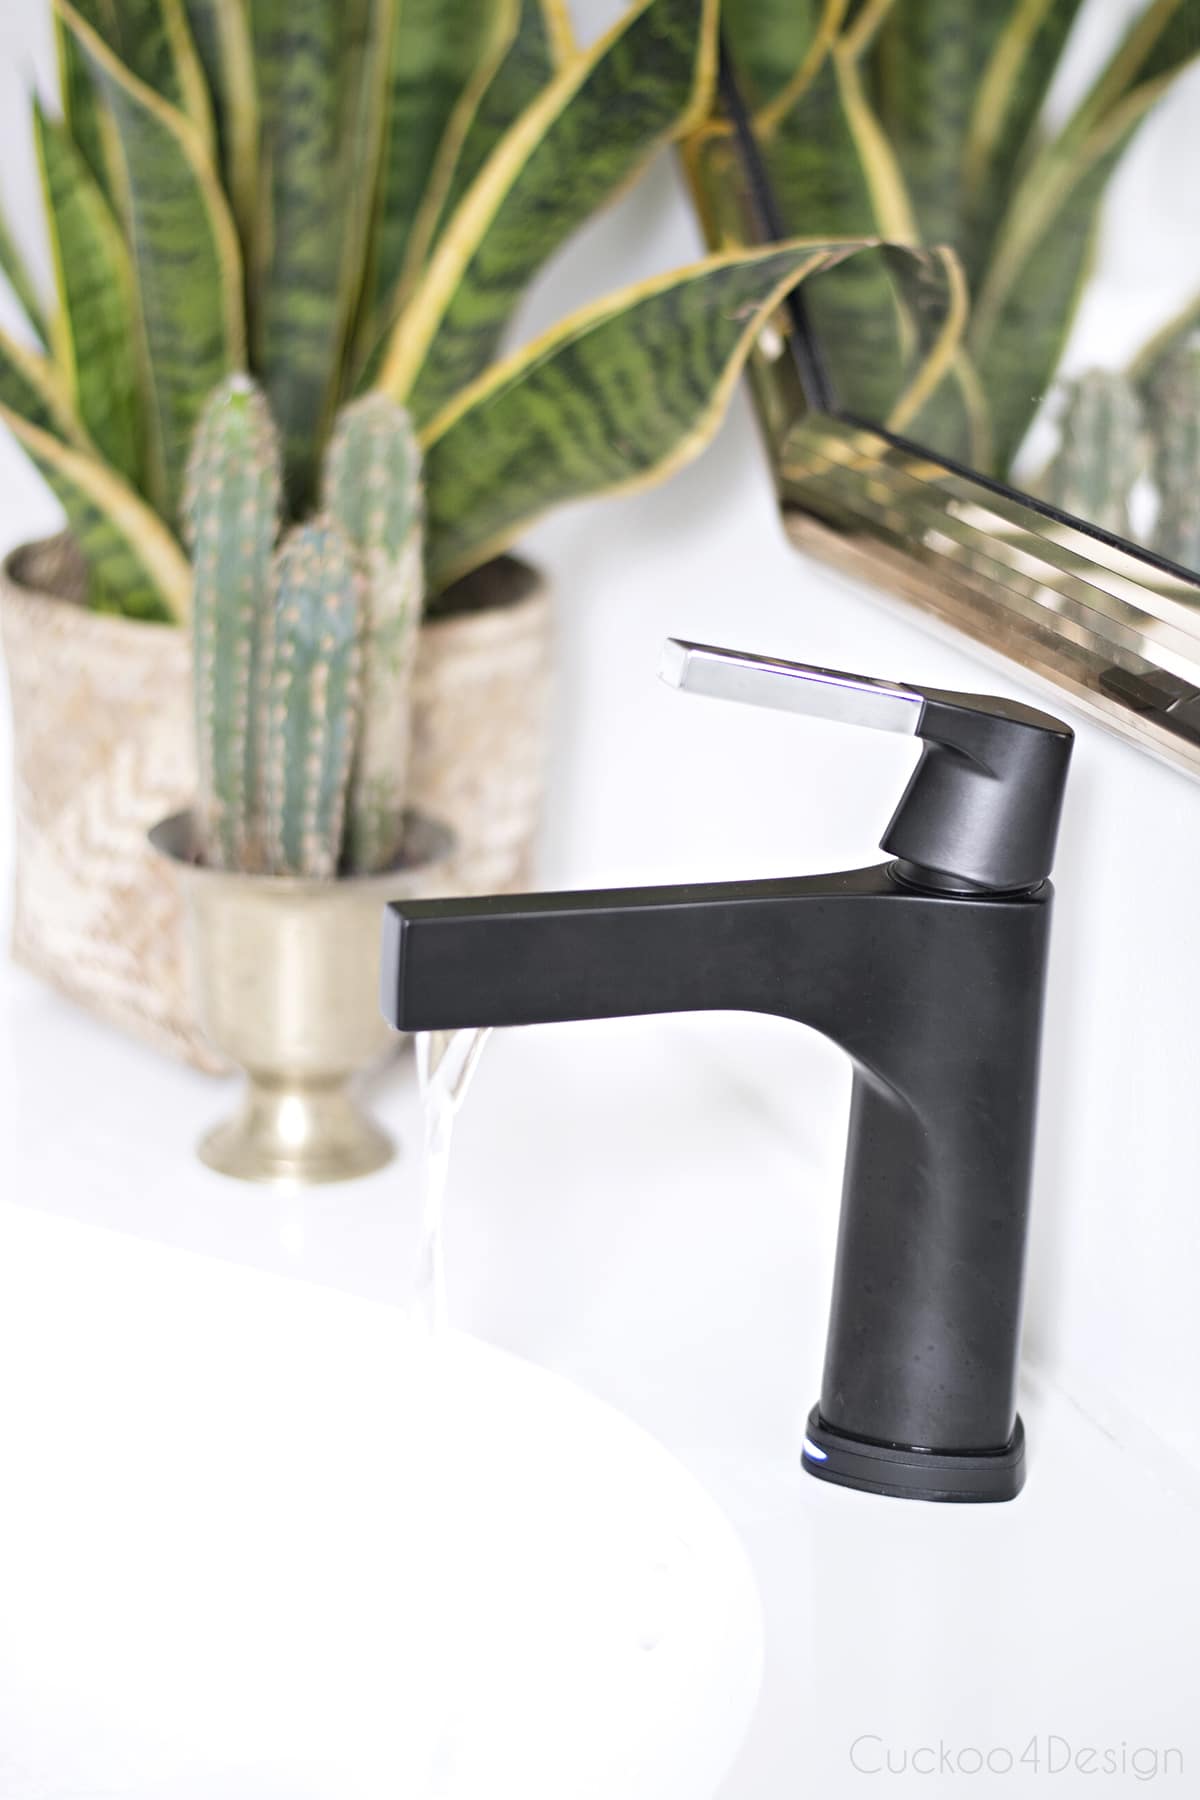
It is a really sleek and modern faucet and looks great with this type of vanity. Don’t you think so?
My entire family is obsessed with the touch feature which we have in the kitchen as well. Check out our gold Delta faucet in the kitchen!


Sources:
ring pulls HERE | old bar faucet HERE | new touch faucet HERE | Ikea vanity HERE | mirror is from Goodwill, find similar one HERE | light HERE which is spray painted black | tile sticker DIY HERE
Look how slim and beautiful it is and I love mixing the chrome accent with our gold mirror. Mixed metals is always a plus in my book.

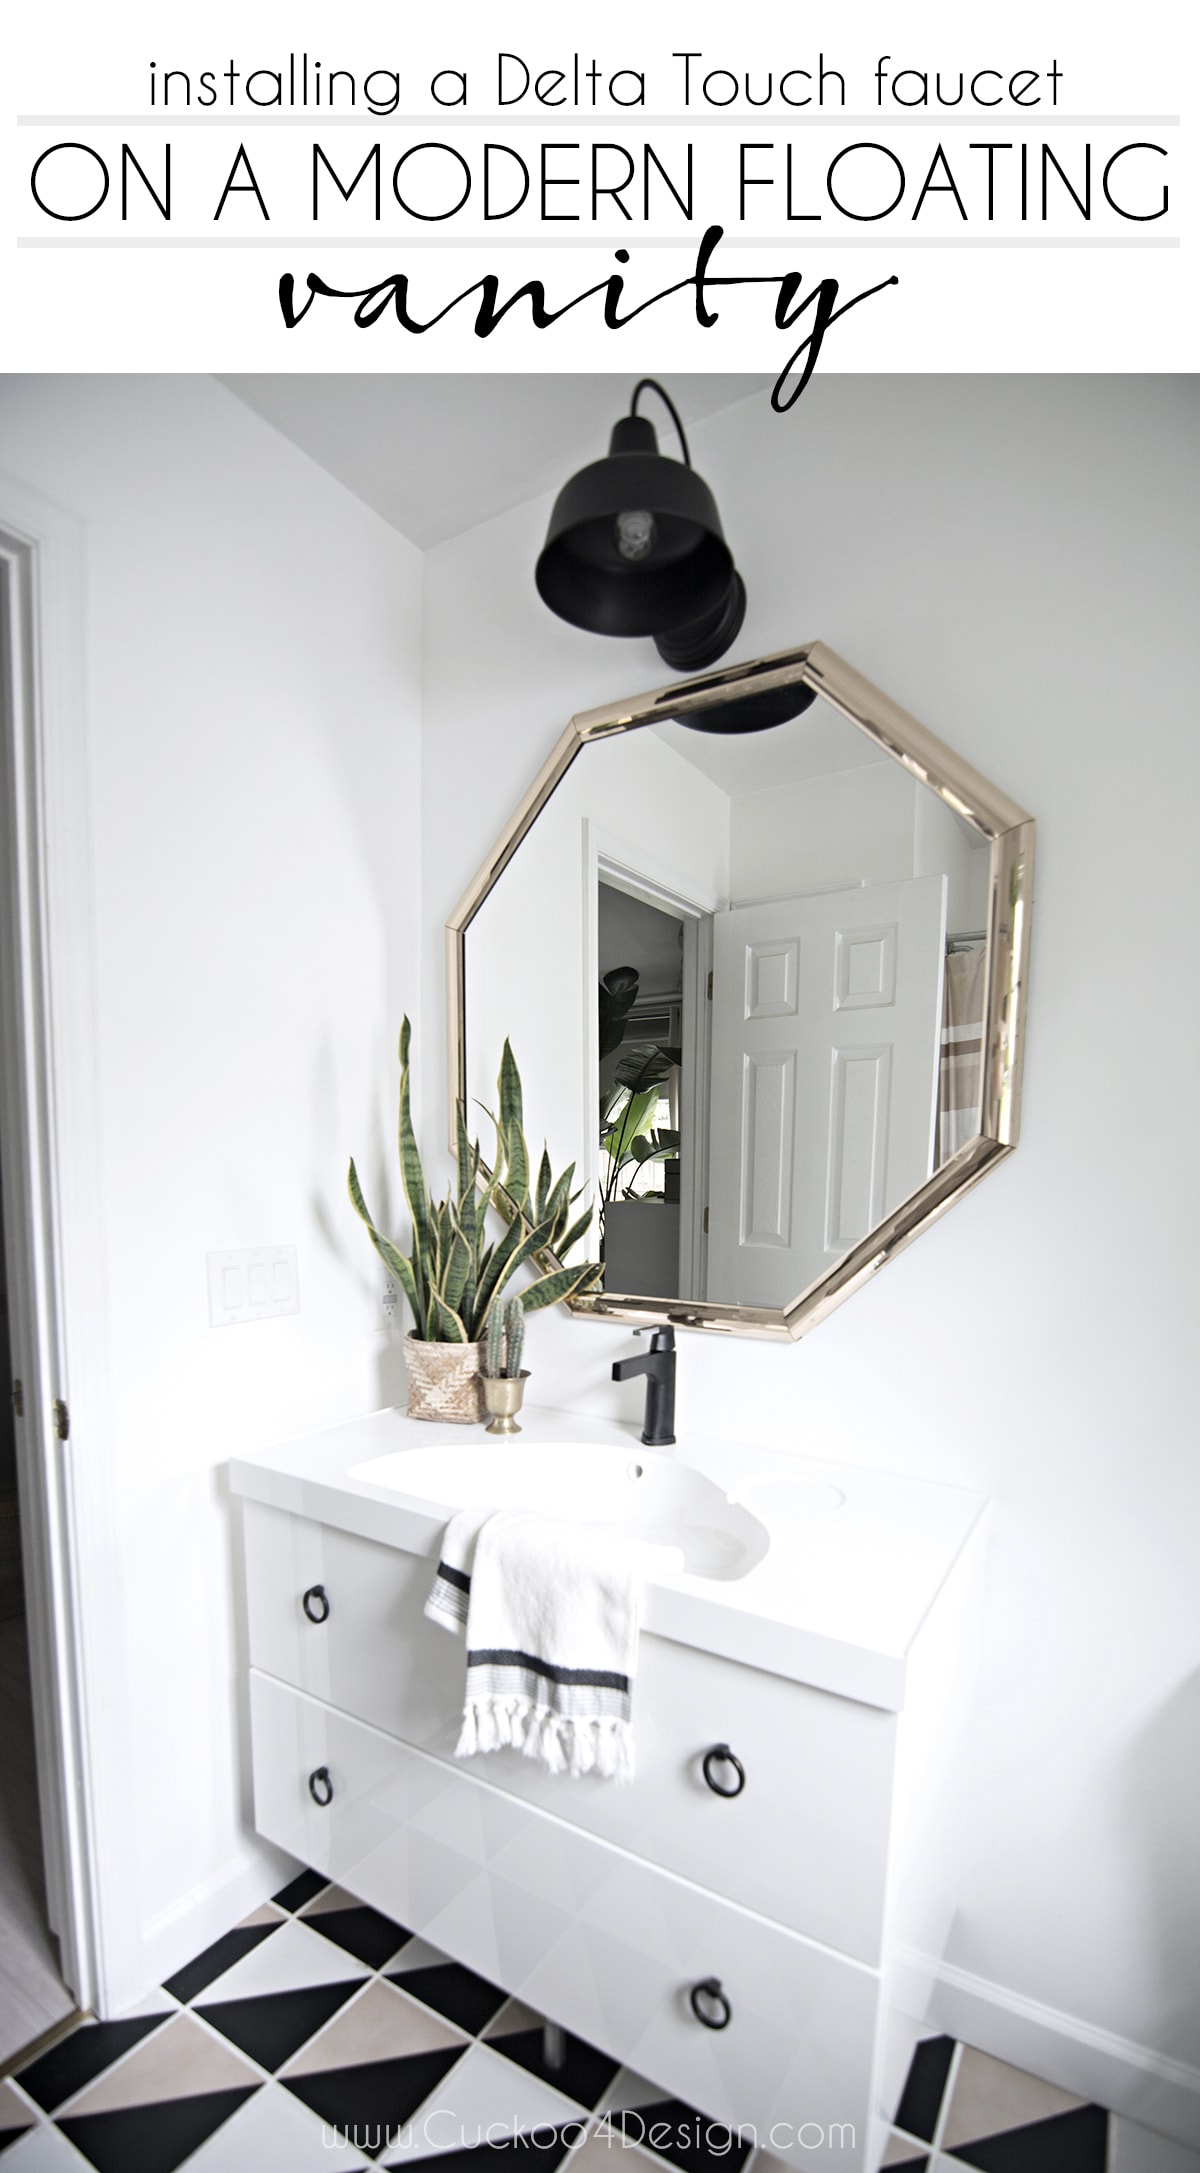
So if you are wondering if you can install a Delta Touch faucet on a floating vanity? Then the answer is yes! The components all fit under the vanity without a problem and it looks and functions great.
Other bathroom posts
- peel and stick tile review
- blush bathroom makeover
- stenciled powder room makeover
I’m so excited about this new bathroom addition.
Tschüß,

That really is a beautiful faucet Julia ☺????
Hi! Where did you get the white trap and strainer to fit the ikea sink.
At Ikea, it came with the sink top.
Beautiful bathroom! Very nice design and execution!
Thank you Erika