

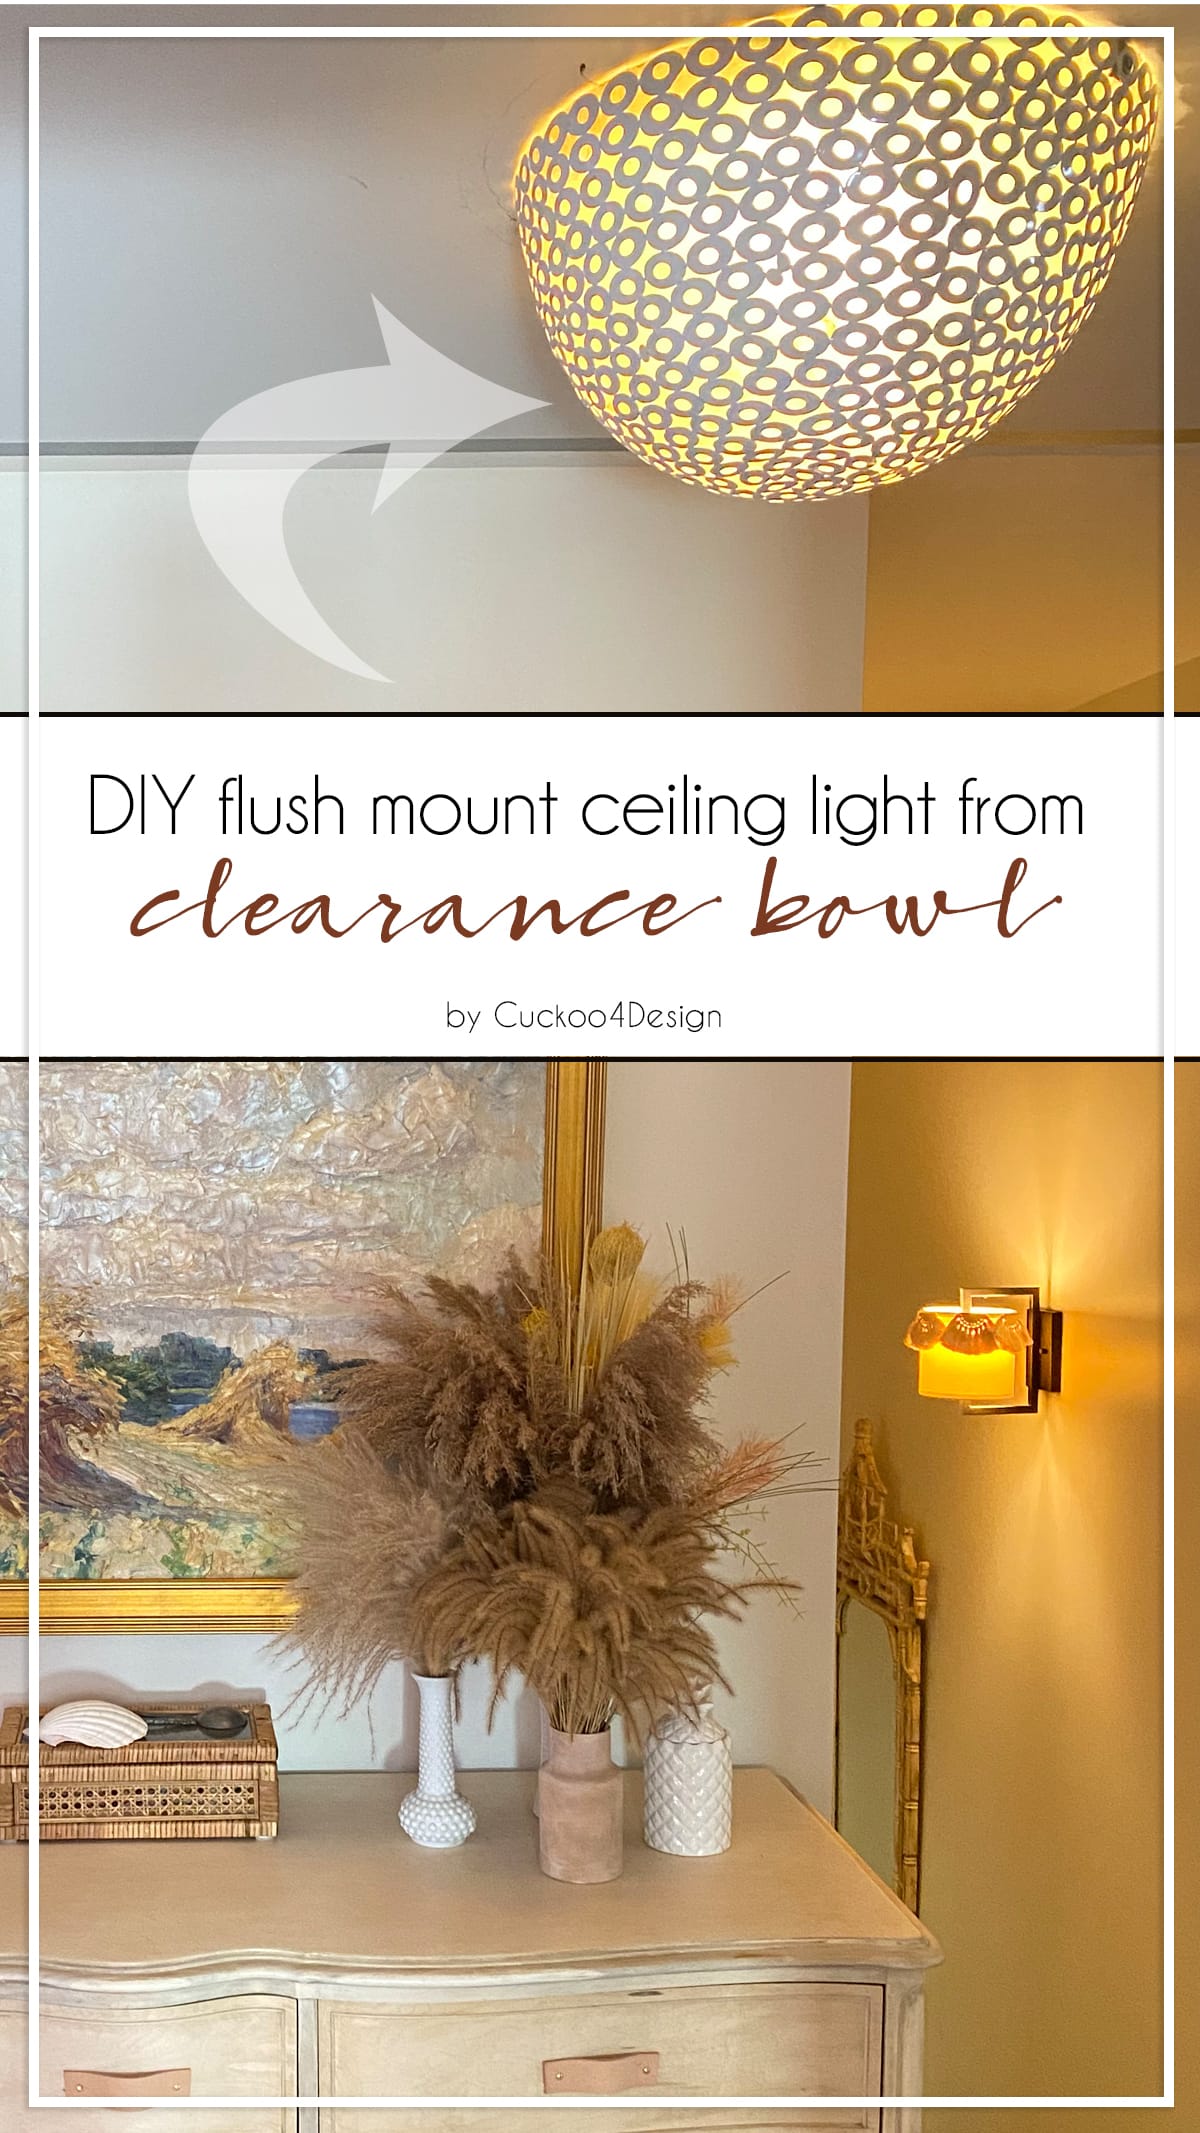
HomeGoods clearance bowl as DIY flush mount ceiling light
The other day I found this big white metal bowl at HomeGoods for $15 and immediately thought about creating a DIY flush mount ceiling light.

One of my kitties disagreed because he was convinced it’s a cat bed, haha, but I had different plans!

I hate, HATE most ceiling fixtures, especially the standard builder ones.
 |
| This is my hated UGLY light fixture! |
The only fixtures I ever like are “”mucho dineros” and if you ever sell your home, they usually stay behind. Not good!
I found these light fixtures on Houzz and if you could breed them and they had babies, the outcome might look somewhat like my NEW flush mount ceiling fixture.

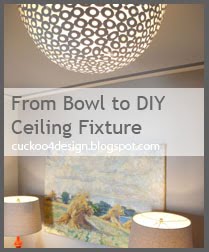
DIY flush mount ceiling light from HomeGoods clearance bowl
This post may contain affiliate links from which I will earn a commission at no extra cost to you. View my full disclosure policy.
While this isn’t a revolutionary idea, I still think it’s pretty cool.
Materials needed
- metal clearance bow with holes
- Tissue paper
- mod podge
- brush
DIY flush mount ceiling light instructions
I could have spray painted the circles in a different color but I liked the white metal and picked some light grey tissue paper for contrast that I already had and mod-podged the paper to the inside of the bowl to give it that transparent look.
By that I mean that I brushed the inside of the bowl with some mod podge. Then added the paper over that layer of mod podge and padded it down.
I let it slightly try because I didn’t want to rip the delicate tissue paper.
And then I went over with some more mod podge with the brush.

It took me several attempts to figure out how to hang the somewhat heavier thing. But it’s up and hanging and it’s “purrty”. If you are wondering, I used two small wood blocks that I screwed into the ceiling and then I screwed the shade in place from both sides. Works like a charm. Should I draw up one of those childish pictures to show you what I mean???? Well let me know!
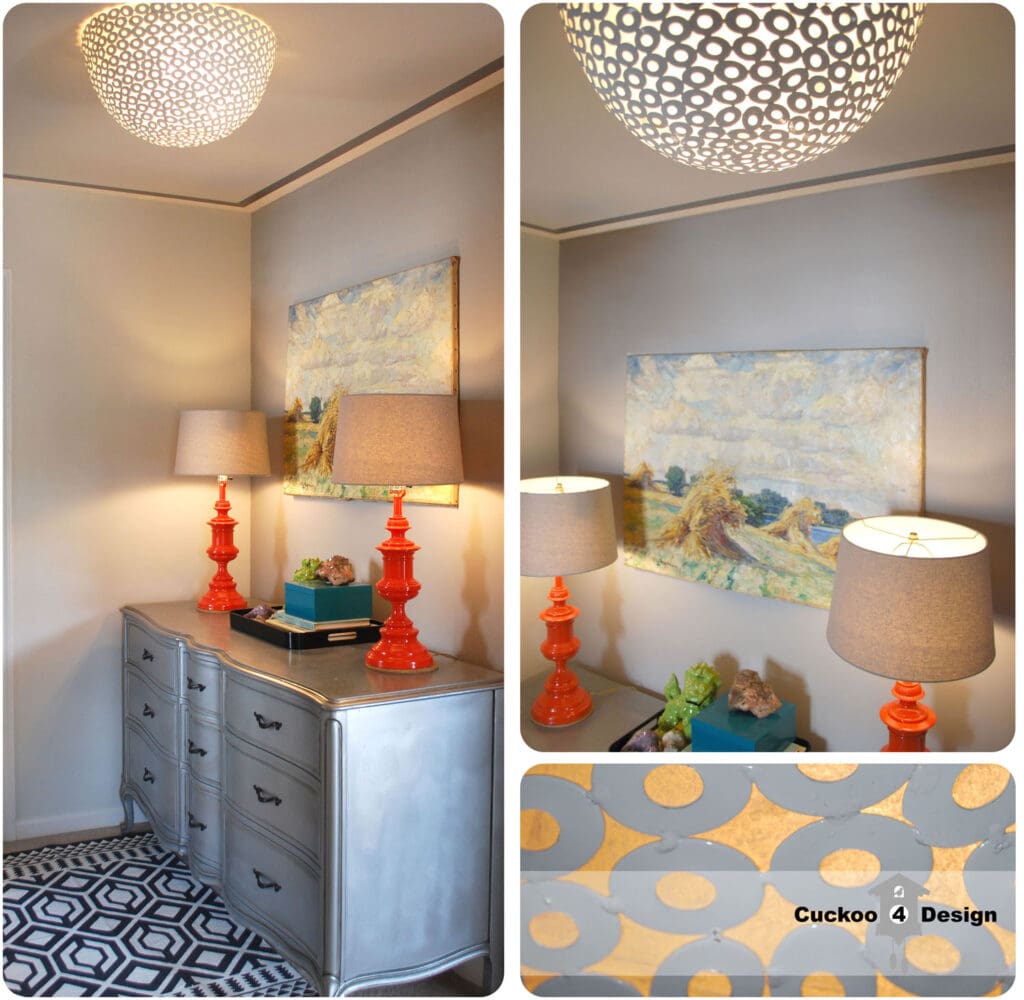
This is what my upstairs hallway looked like and was really happy with it!
What do you think?


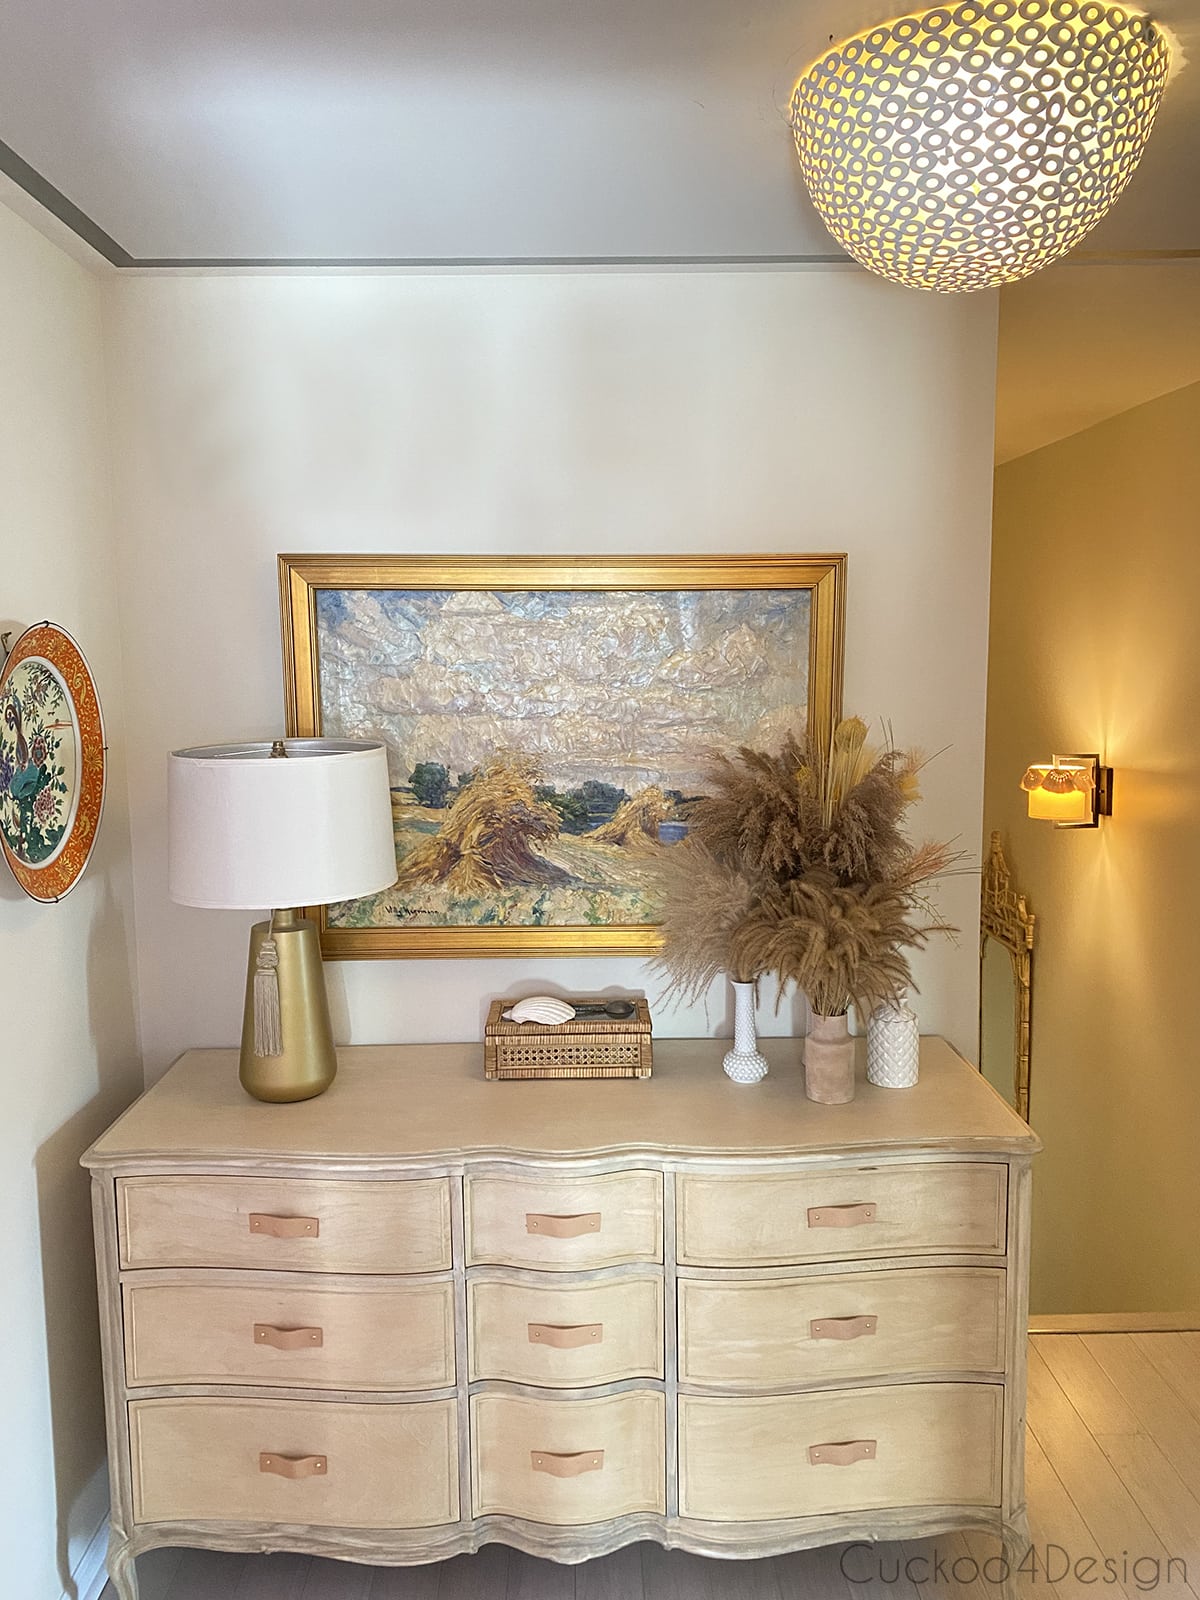
Now years later it looks a bit different but I still love it. The painting got a new frame and I refinished the dresser with a bleached wood treatment.
Update: Click HERE to see how I hang a DIY flush mount light fixture. I made a macrame flush mount fixture that gets hung up the same way as this one.
Stop by again soon fellow webber “und guten Tag.

Some of my other light fixture tutorials:
[pt_view id=”8b483bfeg0″]

Hi, I came over from Miss Mustard Seeds FFF and I love your new ceiling light!
Awesome job on the dresser and lamps too!
Thank you so much!
Wow, sooo pretty! I love it and the whole space. Very personalized and funky.
xo,
Kelli
Thank you so much!
Great creative leap!
<3 Christina at I Gotta Create!
Wildly Original linky party is open.
Danke schön!
What do I think?? Well, since you asked….I think it is AWESOME, very clever, and if I ever get invited to your house for a party I might try and find a way to fit it into my purse. I love your blog. You are programmed into my “favorites” list…AND YOUR CAT ENCLOSURE HAUNTS MY HUSBAND’S HONEY-DO LIST! He WILL make me/the cat one or I will beg/nag for.ev.er!
Aww, thanks so much Sarah! You must have very large purses, LOL!
What a fun idea and it looks fabulous in the space. Stopping over from Shabby Nest 🙂
🙂 Thank you 🙂
This is so pretty and clever and yes, I may need one of those pictures to show how you screwed the shade onto the blocks. I just love this!! I’ve been swooning over those same light fixtures on houzz and this is such a great (and affordable) idea! Thanks for sharing!
Hi Ellora!
Thank you so much! And I might have to post a silly drawing of the mounting contraption 🙂
I have a whole stack of projects where I need to draw up an explanation for how I did it.
Once and for all I have to learn now to take more pictures along the way. I’m just too eager to get it done. But I’m getting better at the picture taking thing.
Thanks for stopping!
This comment has been removed by the author.
genius! looks great!
Thanks 😉
That is a truly amazing and clever idea! Love it.
Smiles!
Sammy ~ Renew Redo
Danke schön 😉 and thanks!
Great save! You are just so creative! It is a adorable.
Well thank you so much!
That is the coolest light fixture. That’s thinking outside of the box.
Thank you Judy, I appreciate it!
What a great idea! It looks fabulous and I love the fact that you put tissue inside it. Never would have thought of that.
Thanks Jacky! The tissue paper works because the bowl is deep enough that the paper won’t get hot when the light is on!
I saw your light fixture on Kate’s “Best of the Blogosphere and am in love! I agree…the light fixture’s I have are hideous, but the ones I heart are way more than I’ll ever spend! I can’t wait to go shopping for a new idea! Thanks for sharing this.
And the cat enclosure: I would totally do that. We have a screened porch that acts as our “cat house”, but if I didn’t, I’d be outside building away right now.
Thanks so much! And I’m glad you like my cat enclosure! Never knew there were so many cat fans out there!
Thanks for coming over and come again 😉
fabulous!!!! Great idea and thanks for sharing!
Thanks for coming to my blog, Vel!
How creative of you ! I love it.
Thank you, Tammy!
How awesome is that! Just saw this over at Centsational Girl and I just love it. Great Job!
Thank you Shavonda!
Me too! You win the clever award! We’ve all seen these bowls at the discount design stores…but wouldn’t have thought of your solution! Bravo!I hope you’ll check out http://www.theblogsisters.com, if you’re not too busy out-smarting us all!Cheers!,Barbara
LOL and thank you! And yes I will come and check out theblogsisters!
Thanks for stopping by.
What a Great Idea!! I will be trying this one…
Thank you Carla!
Fabulous! I’ve been eyeing our boob light in the foyer wondering what I could do with it. And I was just at HG, I’ll have to be on the lookout for a bowl!
Thank you Jessica and good luck with your bowl hunt 😉
I would like to invite you to join me at the Clever Chicks Blog Hop this week! http://www.the-chicken-chick.com/2012/11/clever-chicks-blog-hop-10.html
I hope you can make it!
,
Cheers,
Kathy Shea Mormino
The Chicken Chick
Thanks Kathy!
It looks great though 😉
But I still can’t get the way you fixed on the lamp 🙁
Did you see my drawing? I know it’s not that nice, sorry! But I simply screwed 2 wooden blocks to the ceiling on the inside perimeter of the bowl. Then I placed the bowl over the blocks and screwed the bowl into place from the sides…meaning the screws go through the bowl into the blocks.
That looks so cool. I am going to have to try that in the “library” part of our living room by our front door. If I survive my 10 foot ceilings without falling off the ladder, I will post pics. Again, that is so cool.
Thanks so much Chris and good luck with your light fixture!
Love your light fixture and that it was such a bargain! I also love the painting you have hanging above the dresser.
Did you paint it? Do tell.
Hi and thanks, no I didn’t paint the painting. It’s from a German painter that was friends with my great-grandfather. I love it too and it makes me think of my grandmother.
Love it!
Thank you!
I love this! I’m heading over to see how you hung it next! (Came over from ECC’s CWTS link up!)
Hi Chaney! Thank you so much!
Bravo! What a great idea. Clicked over from the Creating with he Stars contest to pin this!
<3 Christina at I Gotta Create!
Wildly Original linky party every Wednesday.
Thank you!
This comment has been removed by a blog administrator.
I love this! I have a similar bowl!!! Never thought of doing that!! So creative.
Thanks!
This is ridiculously fabulous!!! I LOVE it!
Thanks Samantha!
So when you need to change the bulb, you just unscrew the bowl from the blocks? How do you ensure that the holes in the blocks don’t get chewed up and loose over time? I seriously love this…I can’t stand the builder grade fixtures in my home, either!
Sarah
Hi Sarah! I hate the builder’s fixtures too. And most flush mount lights at home improvement stores aren’t that pretty either or too expensive. Yes, I do unscrew the light on the blocks but only had to do so once so far. I’m not concerned about the wood wearing out since it would even hold up if I’d just insert a nail or pin.
Hope that helps.
I love the look. My only concern is that it is a fire hazard with the paper and glue so close to the hot bulb…. Or is it not as close as I think it is?
I was concerned about that too but the bowl is actually so huge that the paper doesn’t even get warm. So no worries there!
I’ve learned so a great deal over the internet in this years. The vast majority of my expertise I credit to reading through terrific blogs like yours. Appreciate it!
you are one clever person.
Thanks so much Angie
This is so great! What an upgrade from builder’s boring!
Thanks so much Melinda
This is an old post so I hope you get this comment! How did you take the original fixture down? I have the same one and I can’t figure out how to take it off to change the bulbs. I googled “I can’t take off my light fixture”and found your blog!
Love it! Just be careful you don’t put paper too close to a hot bulb.
You have done so great! I cant wait to try it! but i guess im one of those that do need a child drawing to understand how the bowl is attached.
Thank you Vanessa